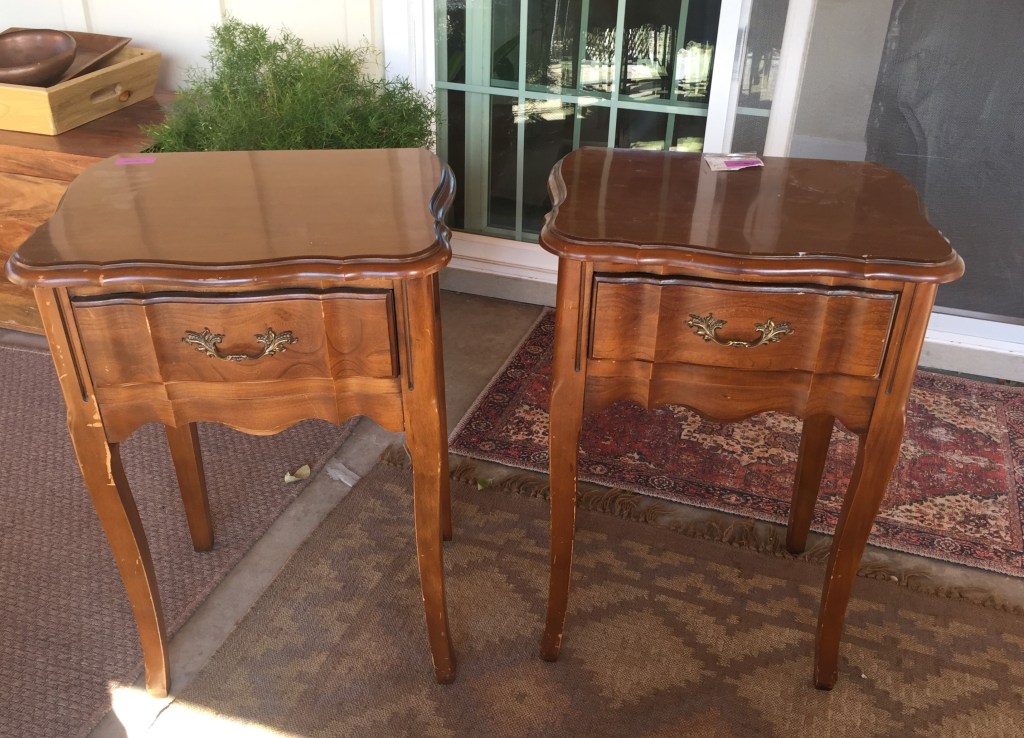
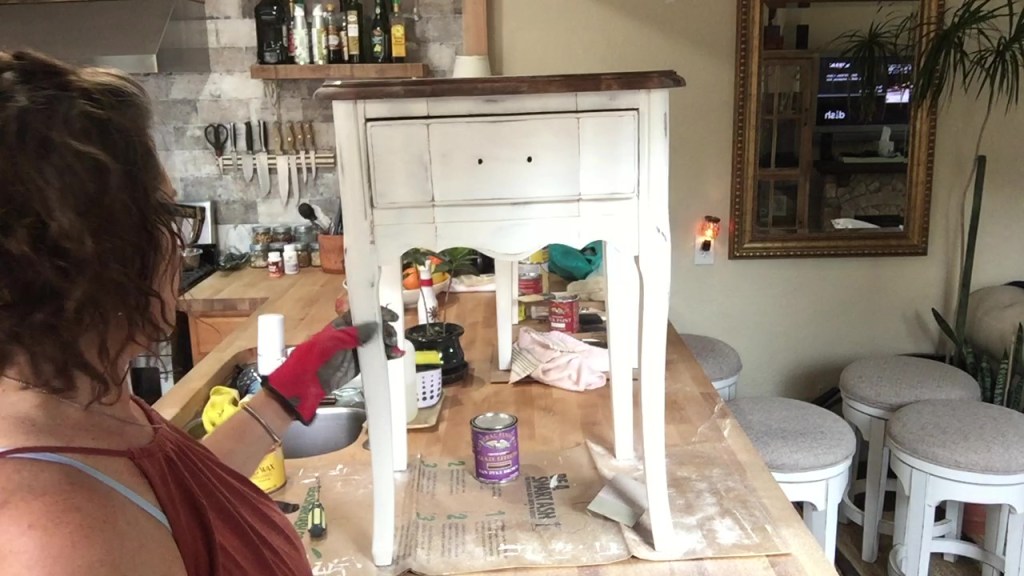
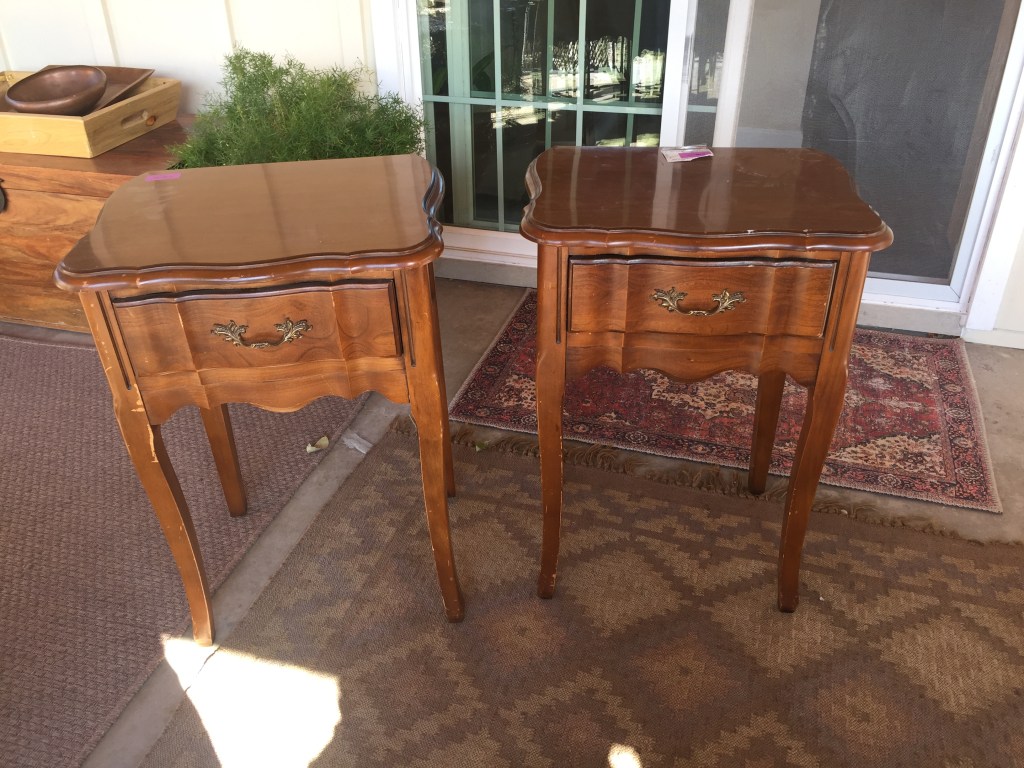
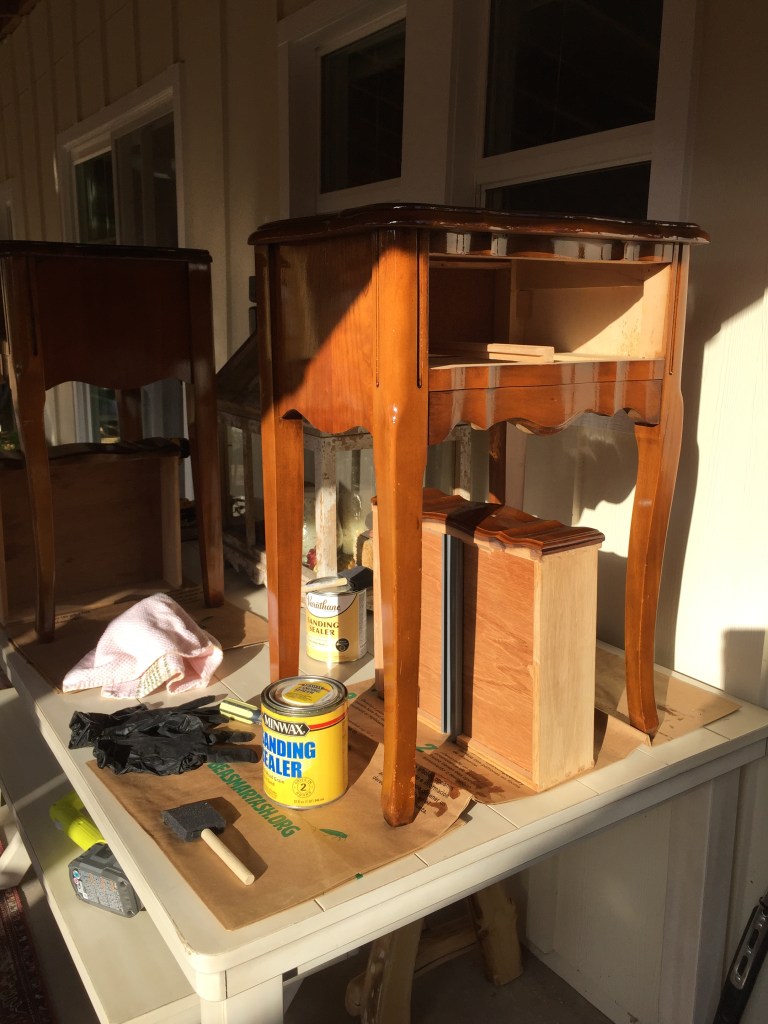
Found these beauties at Goodwill for $10 each. Looks like something that would have been in my grandma’s house very long ago. I have an idea to make them cool again!
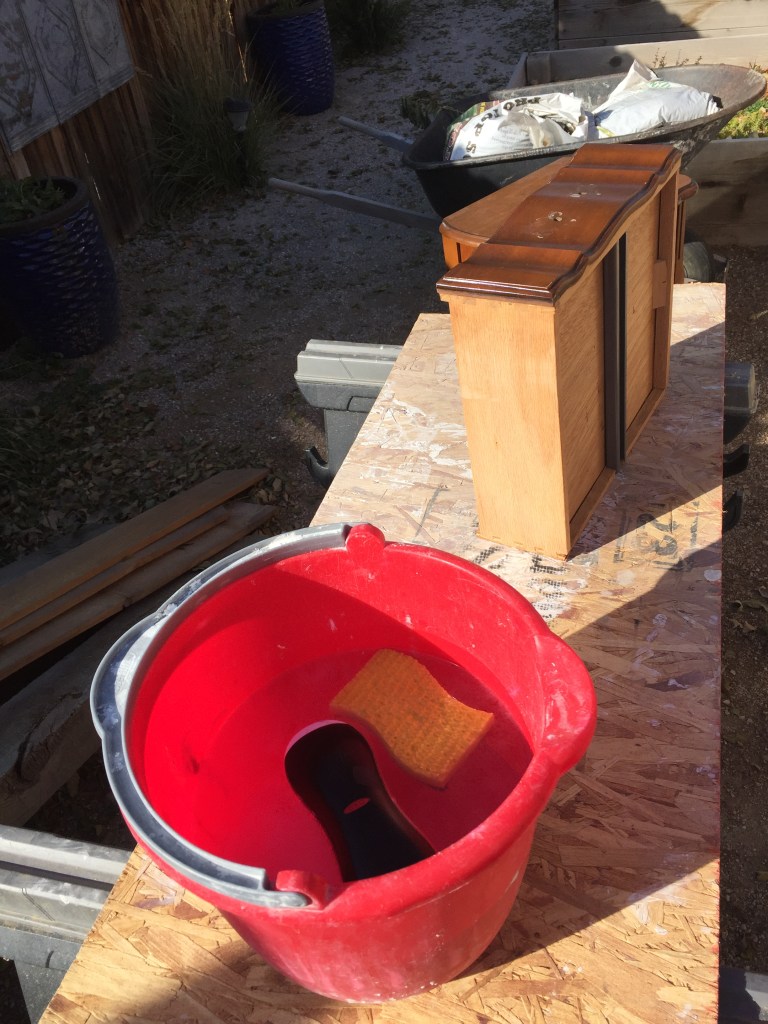
Step 1: Cleaning A thorough cleaning with TSP heavy duty cleaner (use gloves), and a light coat of sanding sealer to give it a fresh and smooth base.
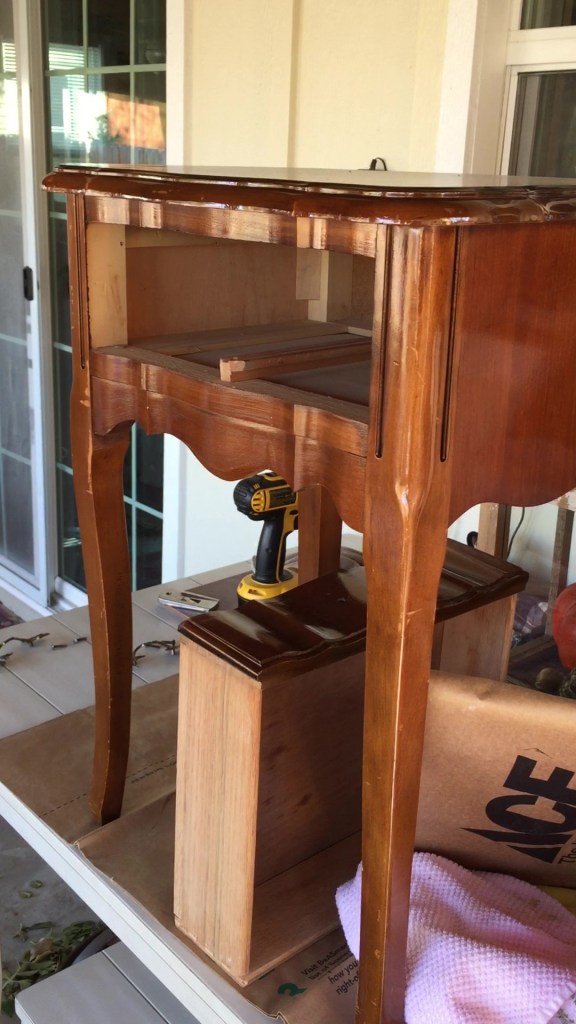
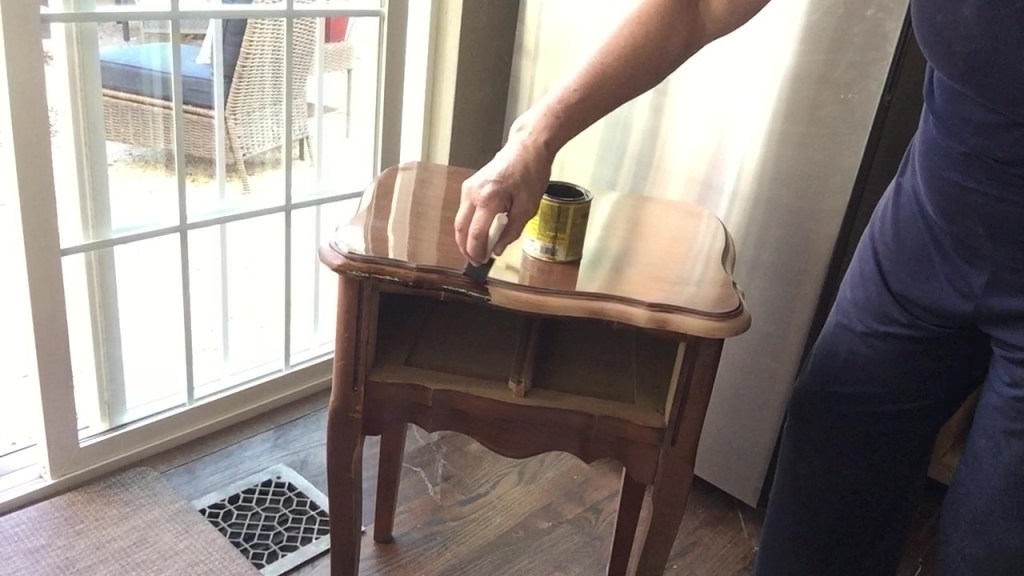
Step 2: Sanding Sanding the top edge to remove the old stain and lacquer before staining it to match the top.
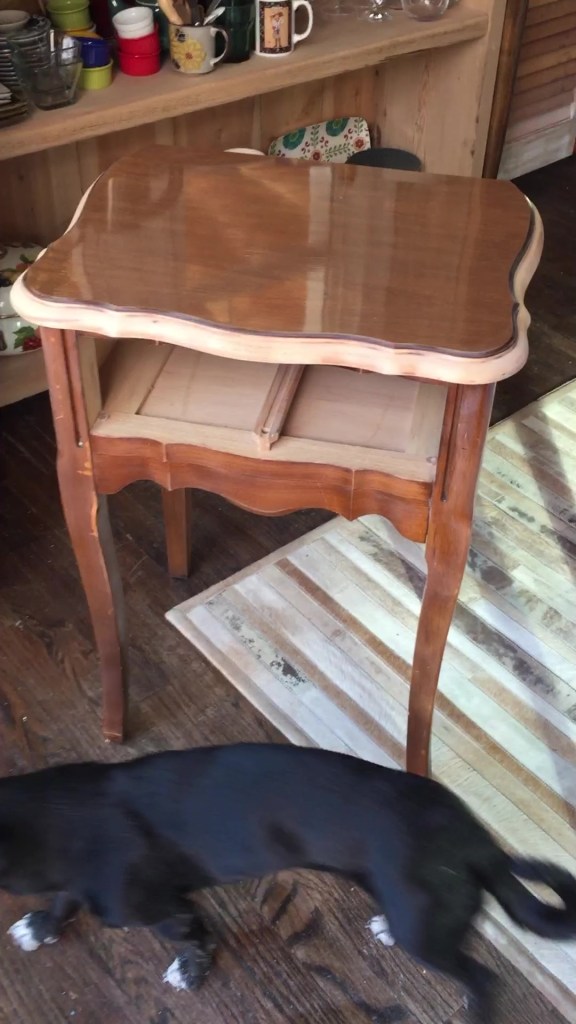
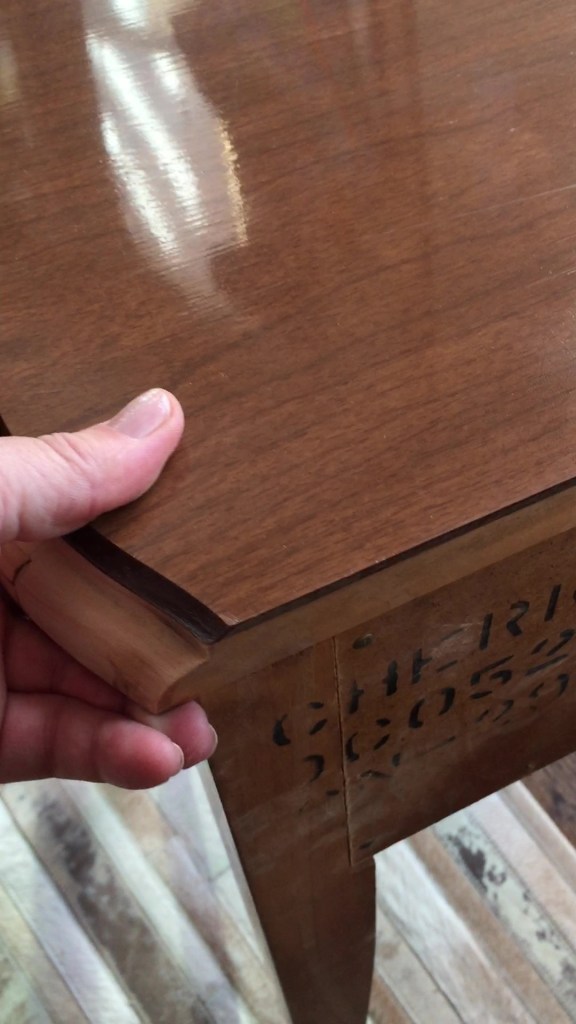
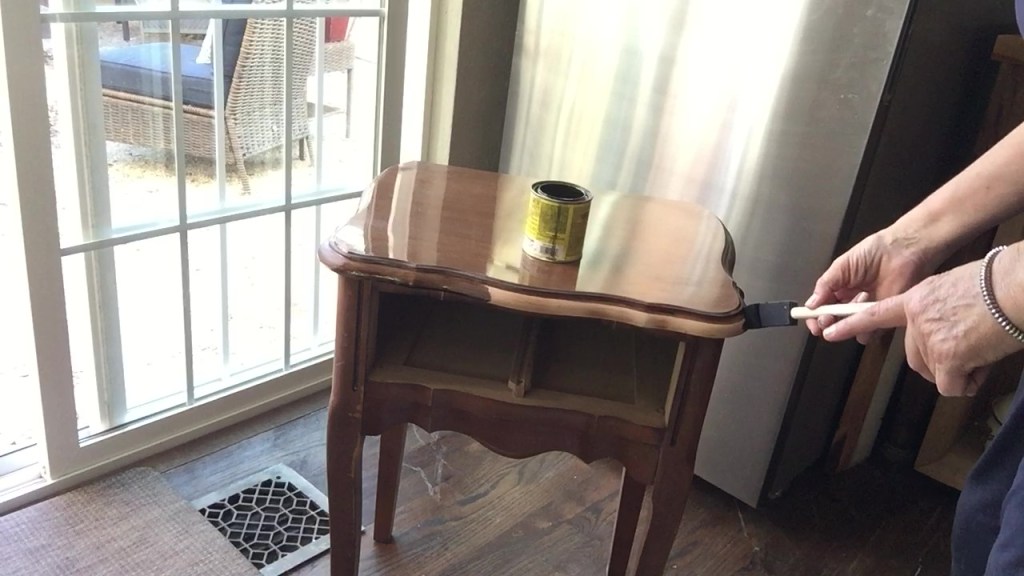
With the edge sanded and clean, ready for stain. I’m using Dark Walnut on this nightstand.
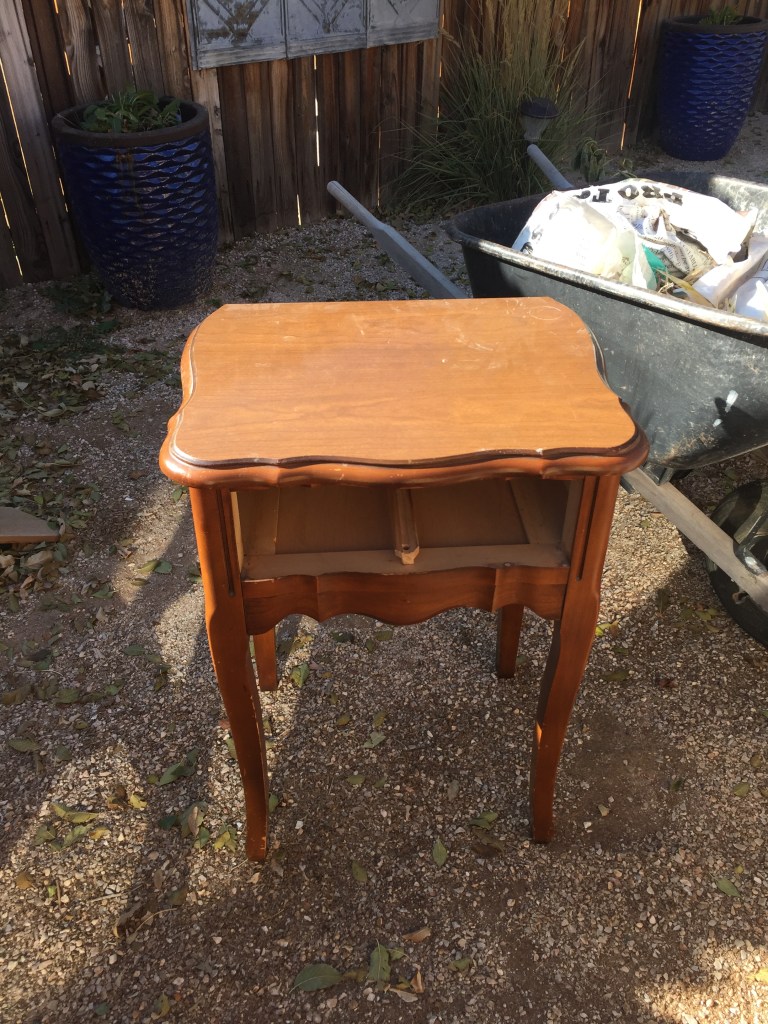
I discovered a thin layer of vinyl on the top of the table, with a photo veneer grain. It looks great and I’ve decided to leave it on and stain the edge to match. The veneer protects the top from water rings and scratches and it’s in great shape. I didn’t notice it until I looked closely!
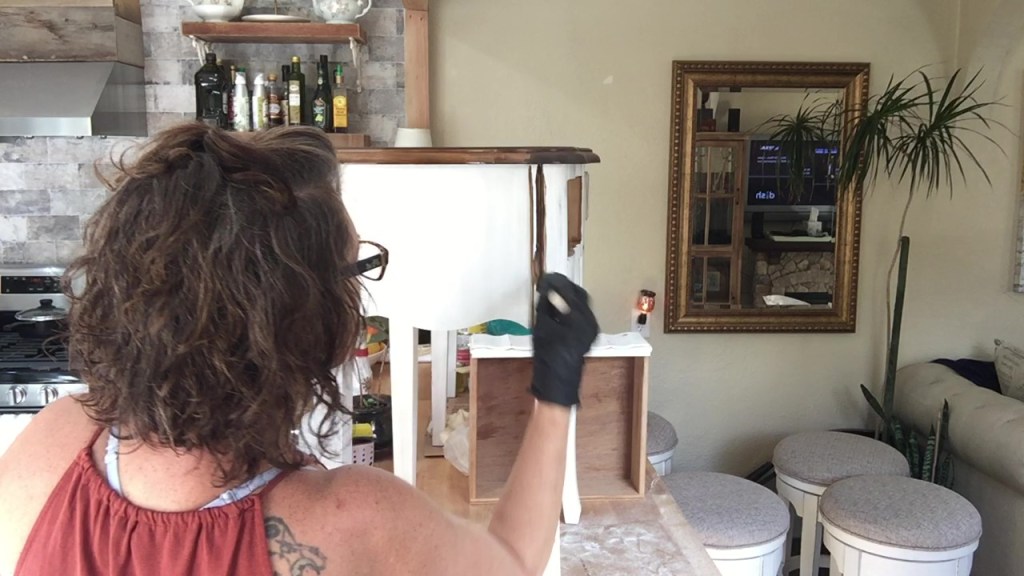
Step 3: Staining Using a small foam applicator, I stain the edge with 2 coats, allowing 20 minutes between layers to absorb.
I wipe the excess off after a few minutes.
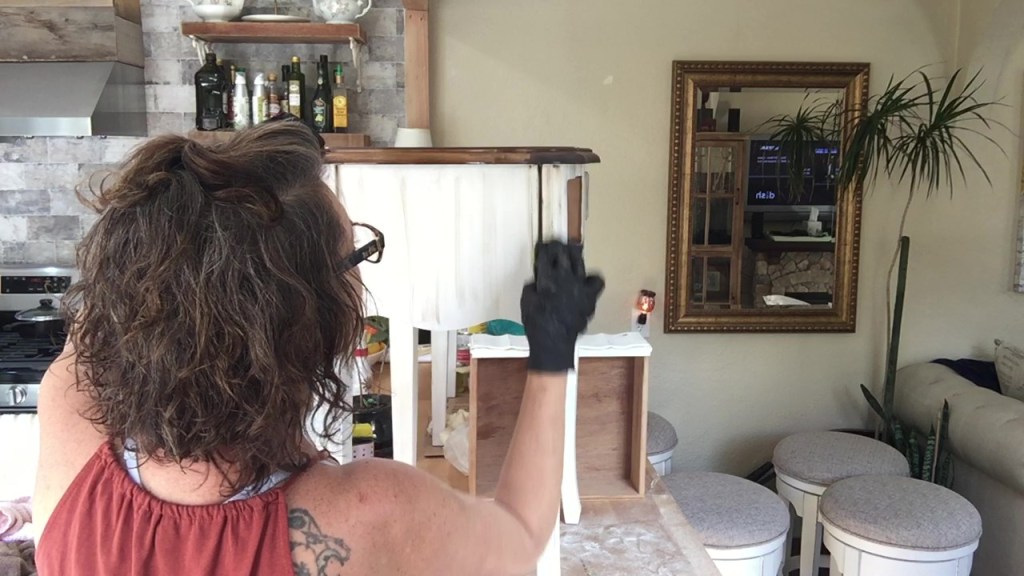
Step 4: Cleaning I clean the dust off before painting.
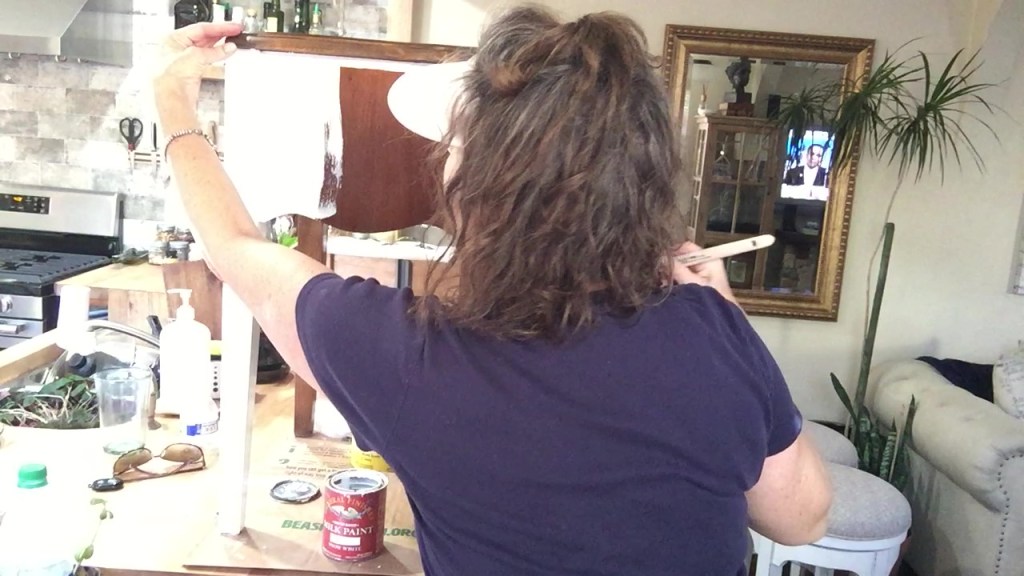
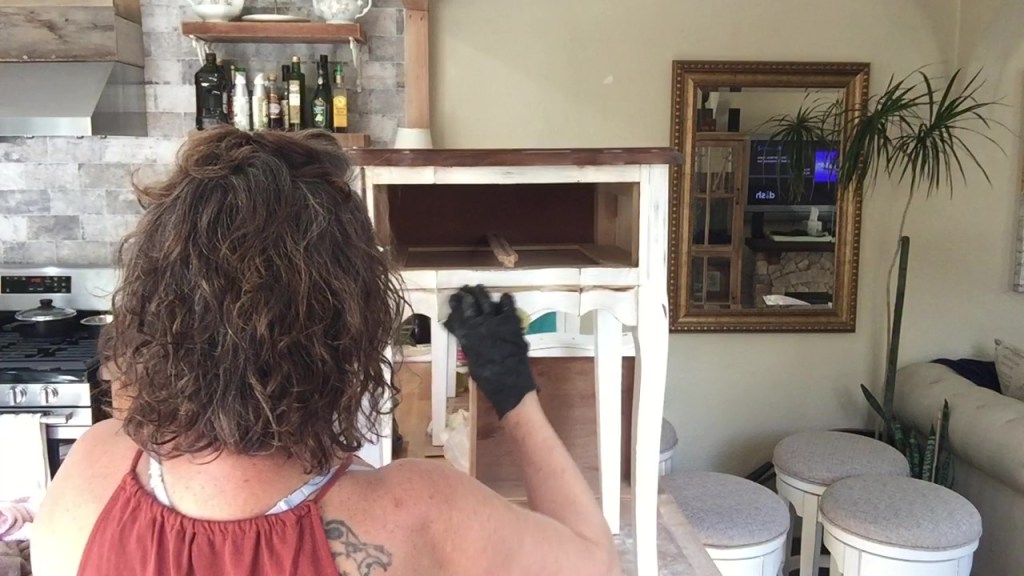
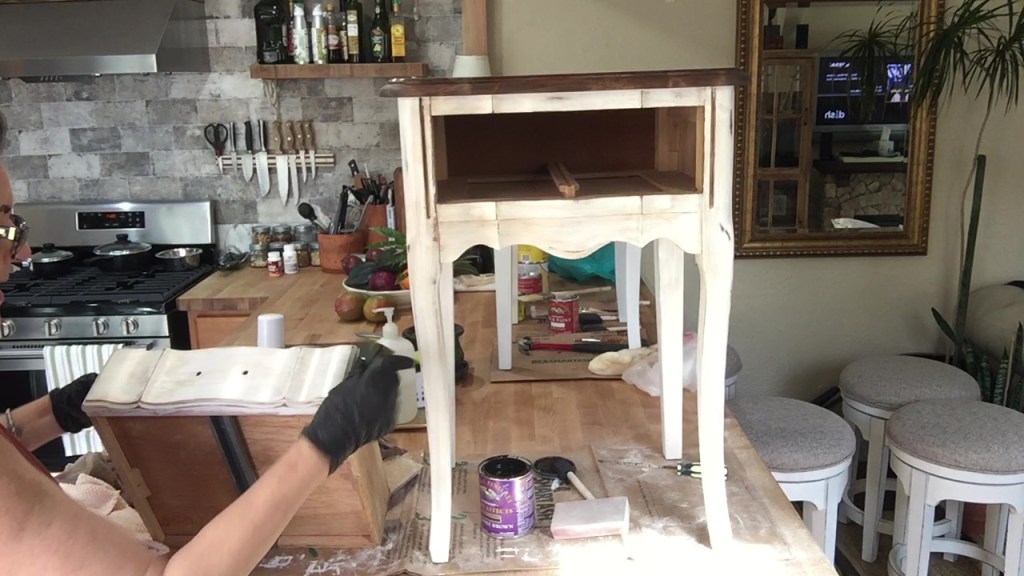
Step 5: Painting Leaving the top stained, I add the first layer of Milk paint to the night stand. I use a milk paint from Rockler woodworking, color Snow White.
It’ll take 2 coats of paint, drying in between layers. I’m looking for an opaque finish before distressing with sand paper.
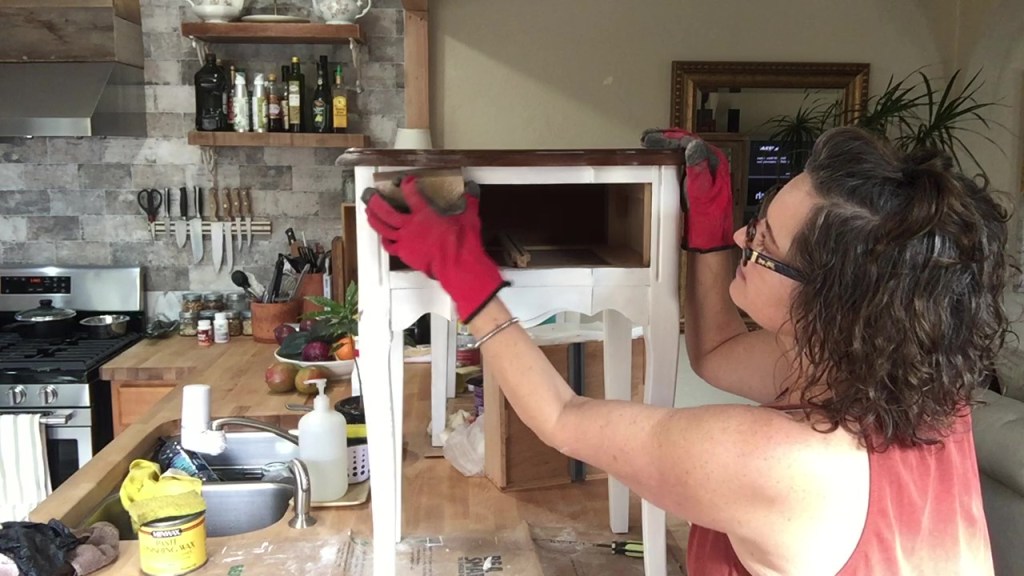
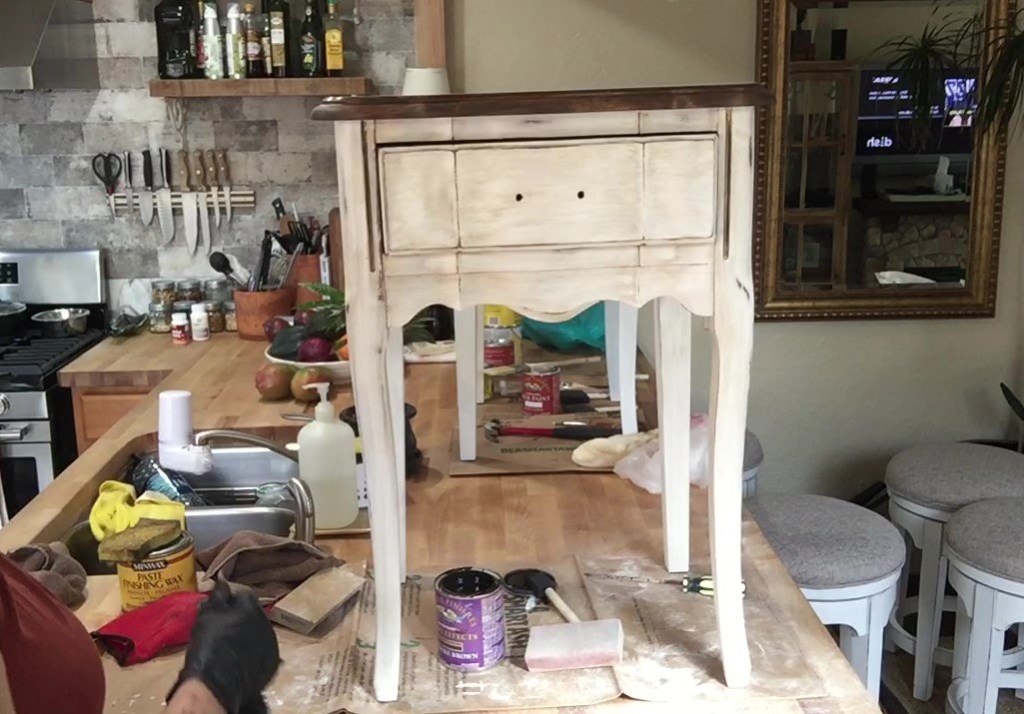
Step 6: Distressing After 2 coats of paint, I am distressing the cabinet with a 60 grit sanding block. I’ll try to give the cabinet a worn look, sanding areas that might show natural wear and tear from years of use.
I look for spots on the cabinet that will highlight the natural shape of the cabinet and feature some details in the design.
Most of the interest of the cabinet is on the front, but I want the sides to feel organic with some slight distressing.
Once I feel like the distressing is done, I’m now ready for the glaze.
Step 7: Cleaning A good cleaning before glaze.
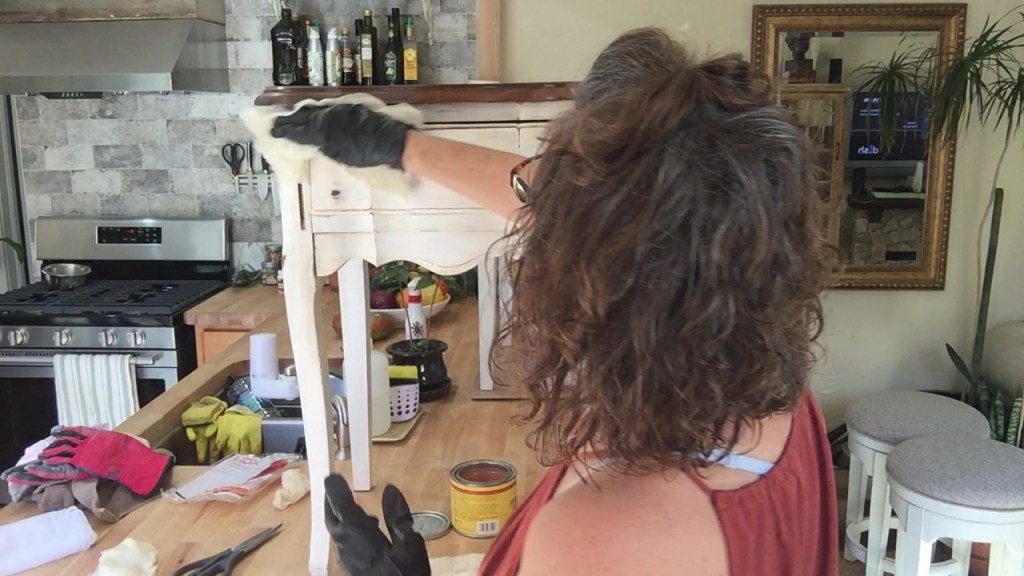
Step 8: Glaze Using another foam applicator and a wet sponge, I apply the glaze to areas of the cabinet that I want to highlight and use the sponge to work the glaze, wiping it until I achieve the look I’m hoping for.
I use glaze on the whole cabinet, focusing mostly on the front and the drawer.
The applicator allows me to get into small thin spaces and not deposit too much glaze. I’m using Van Dyke Brown glaze for this project.
I spread a small amount of glaze onto the piece, and use the sponge to dilute and distribute the glaze over the surface. This step highlights the irregularities of the cabinet and gives it dimension.
I repeat until I achieve the look I’m wanting.
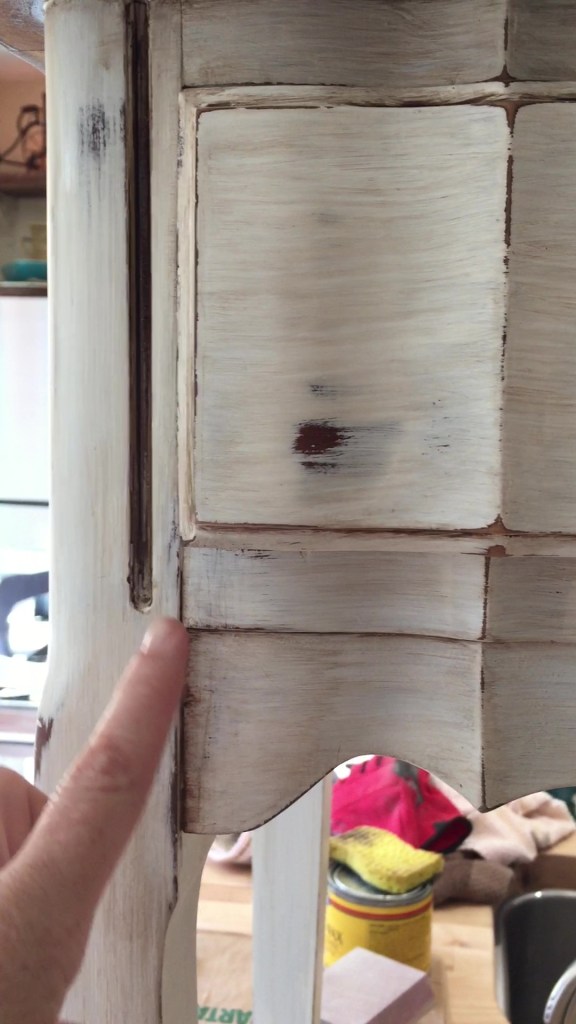
This is after the glaze has been applied. See how much more dimension the cabinet has with the glaze?
This step is the key to making the cabinet look authentic and full of history. I do this process all the way around the cabinet.
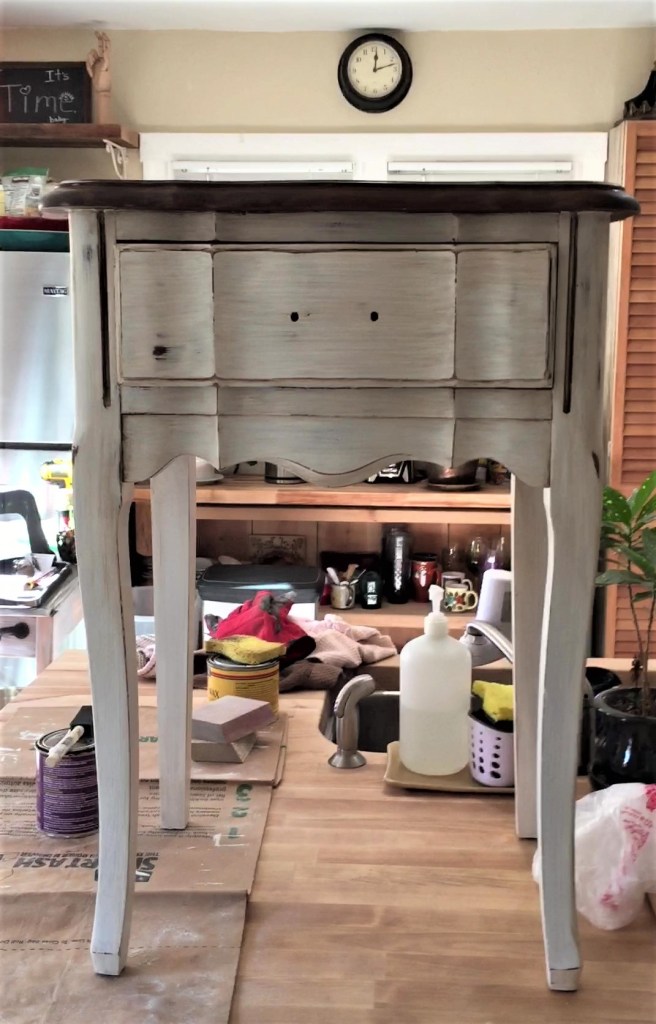
Once I’ve glazed all the panels on the cabinet, I come back to add more and make adjustments before the final step of finishing wax.
The drawer is very visible on the cabinet, so I want to highlight and feature the shape and design.
Before I’ve glazed the drawer. See how much darker the glaze shows on the cabinet compared to the White drawer?
Finishing up the glazing on the drawer.
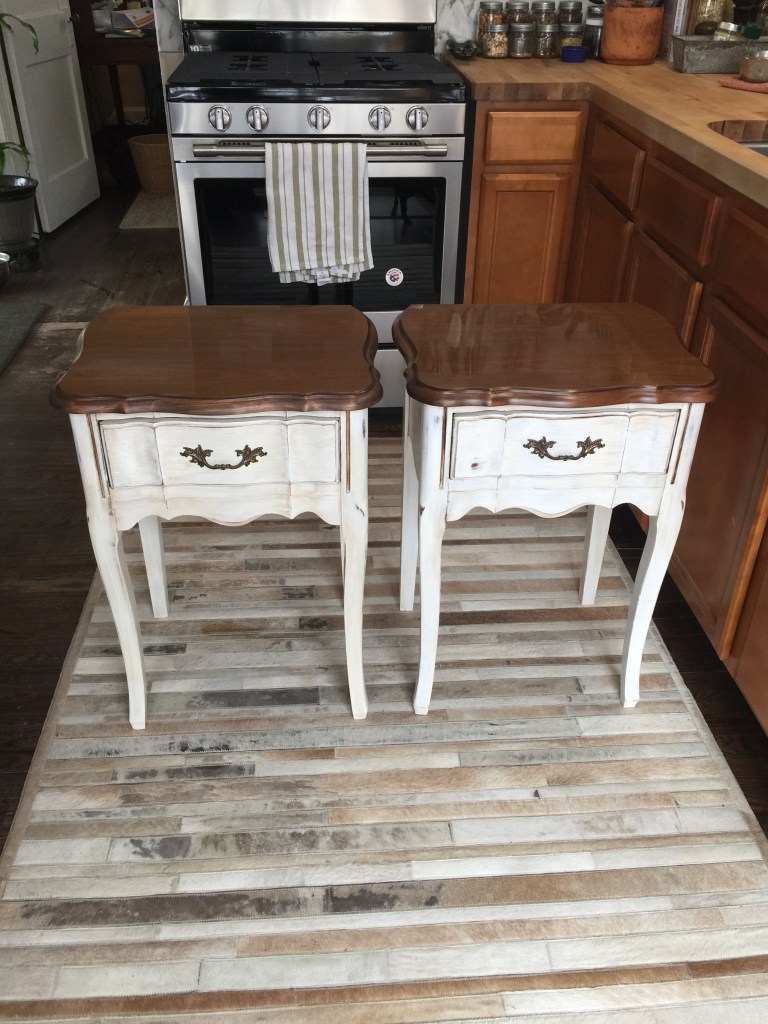
Wow! It looks so much different than when first saw them at Goodwill!
Here’s a close up of the finish after glazing. It looks great!
These steps give this cabinet a whole new look! It takes some vision to recognize these thrift store gems, but I look for pieces with classic style and update the finish, hardware or use to make them feel current and hip!
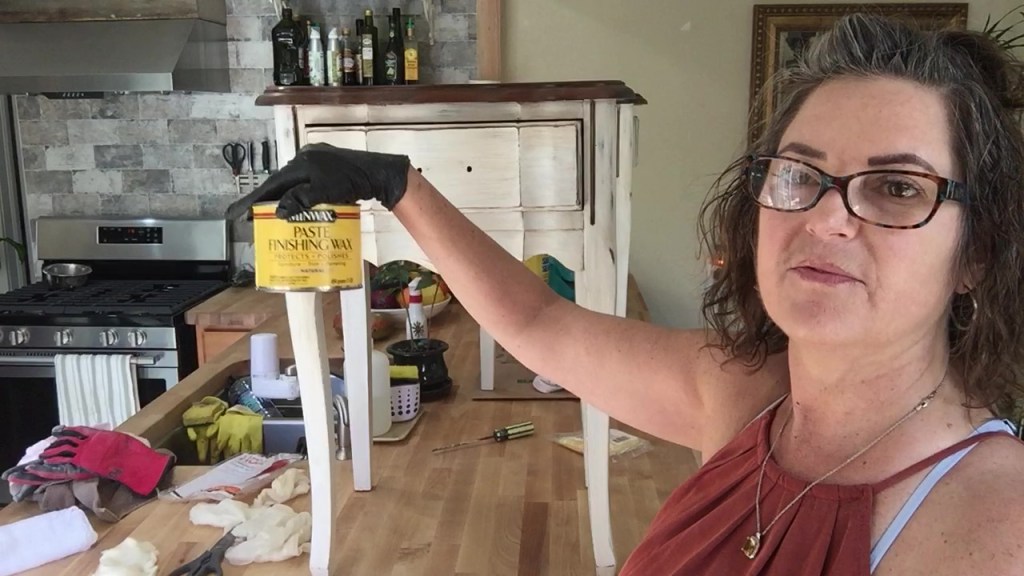
Step 9: Cleaning The final wipe down with tack cloth to remove any particles before the finishing wax.
This step makes a big difference in the final finish!
Lowe’s bought Minwax, so it’s now available at Lowe’s only. Varathane is the brand Home Depot offers now.I’m sure they’re comparable, but I recommend sticking with one brand of wax for a entire project.
Then I use cheesecloth to apply and buff the wax after it has dried.
Step 10: Finishing wax Using the cheesecloth and wax, I rub the finishing wax over the entire cabinet.
This step will protect the cabinet and give it a beautiful sheen and dimension.
I do 2 coats, letting each coat dry before buffing.
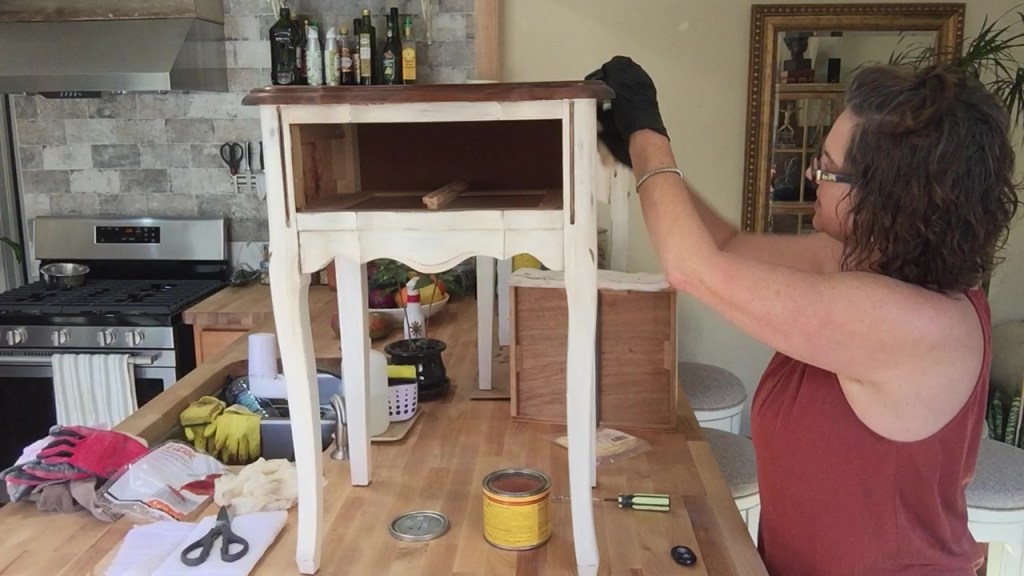
Finally done! I’ll mount the hardware and show you the final result.
This project took about 9 hours to complete. I’ve tried to detail the steps for you, so you can attempt it on your own. The bottom line is you’ll have to get your hands dirty to really learn the technique and develop your own style. However, I encourage you to try it if your inspired by this tutorial. I find furniture refinishing to be rewarding , not just financially, but also for the feeling of satisfaction when taking an outdated functional piece of furniture and turning it into a thing of beauty and value!
Wow! I love the results. These small night stands are beautiful and will compliment someone’s home perfectly!
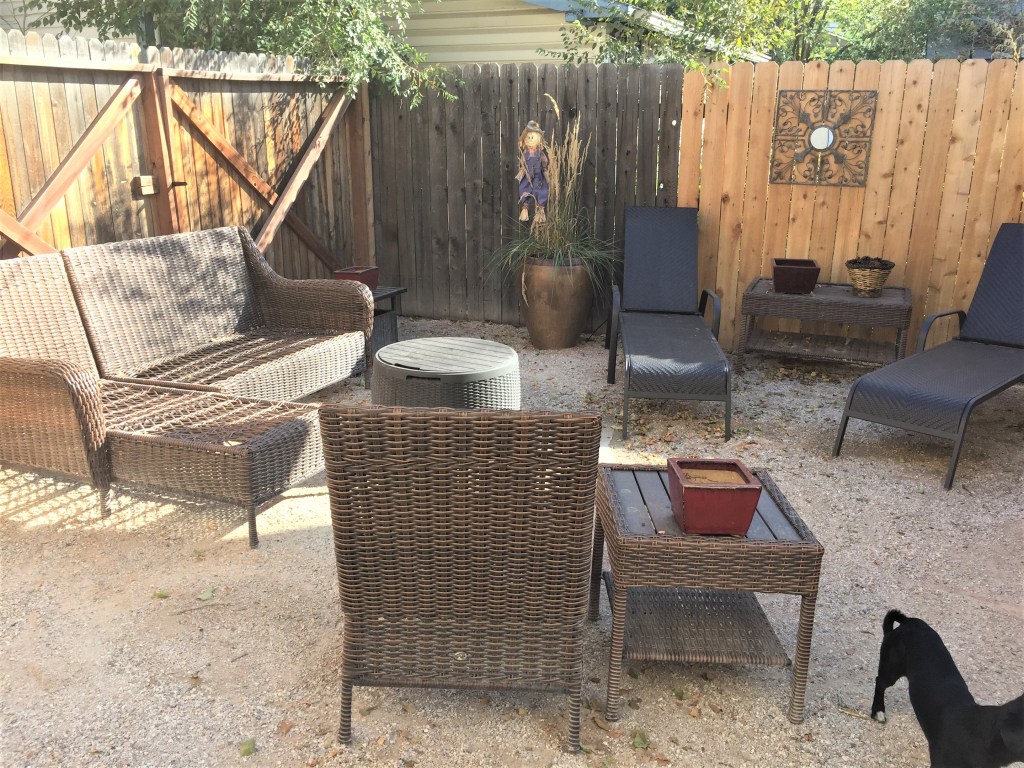
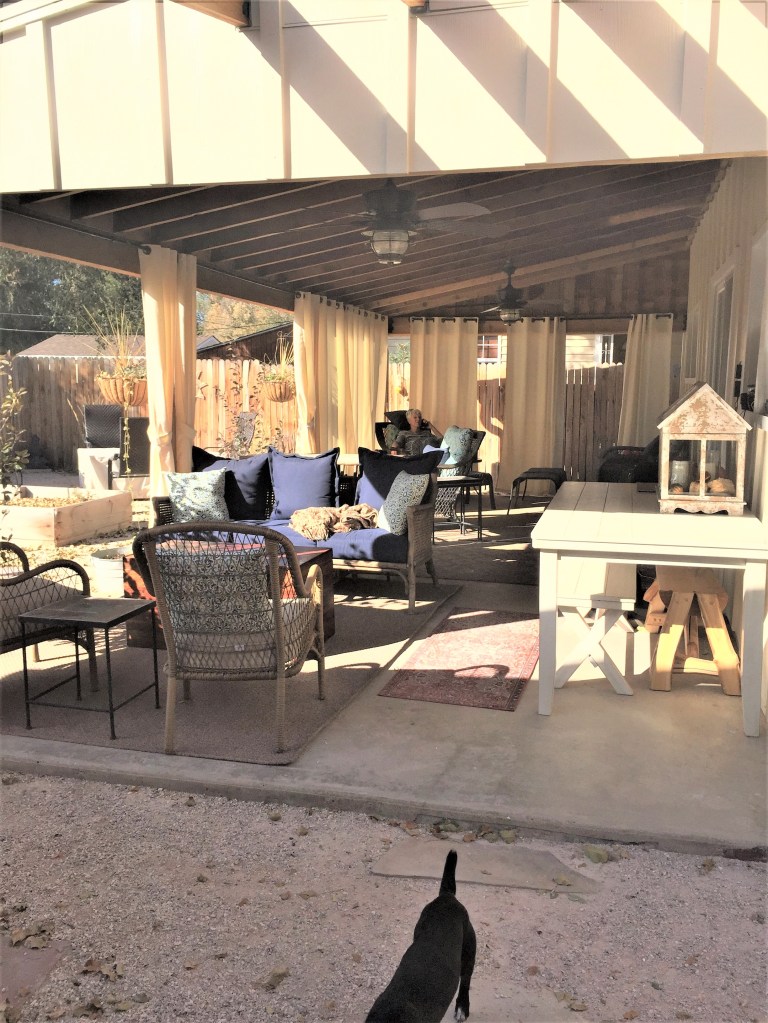
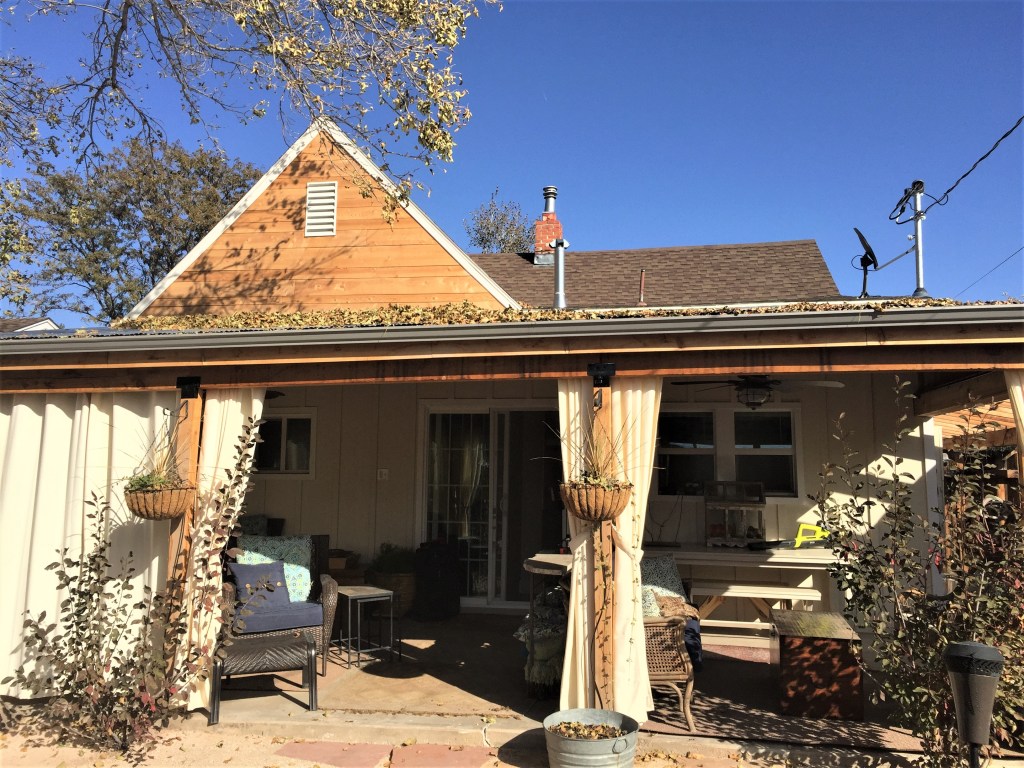
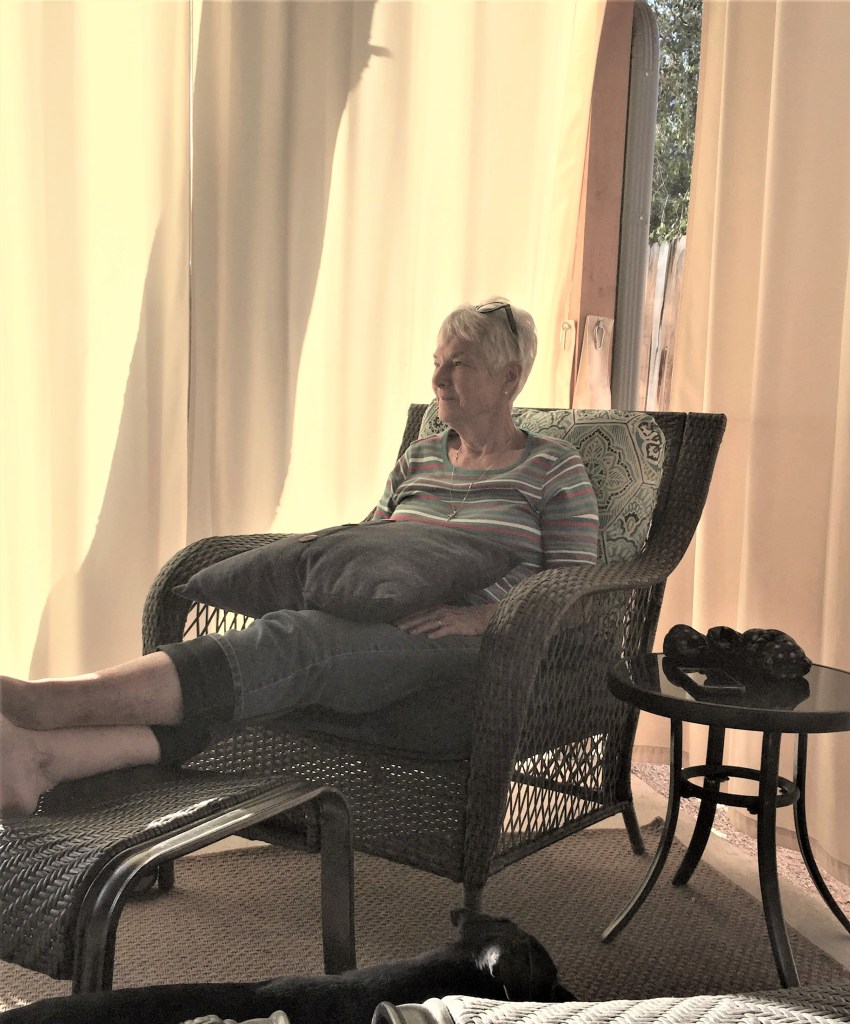
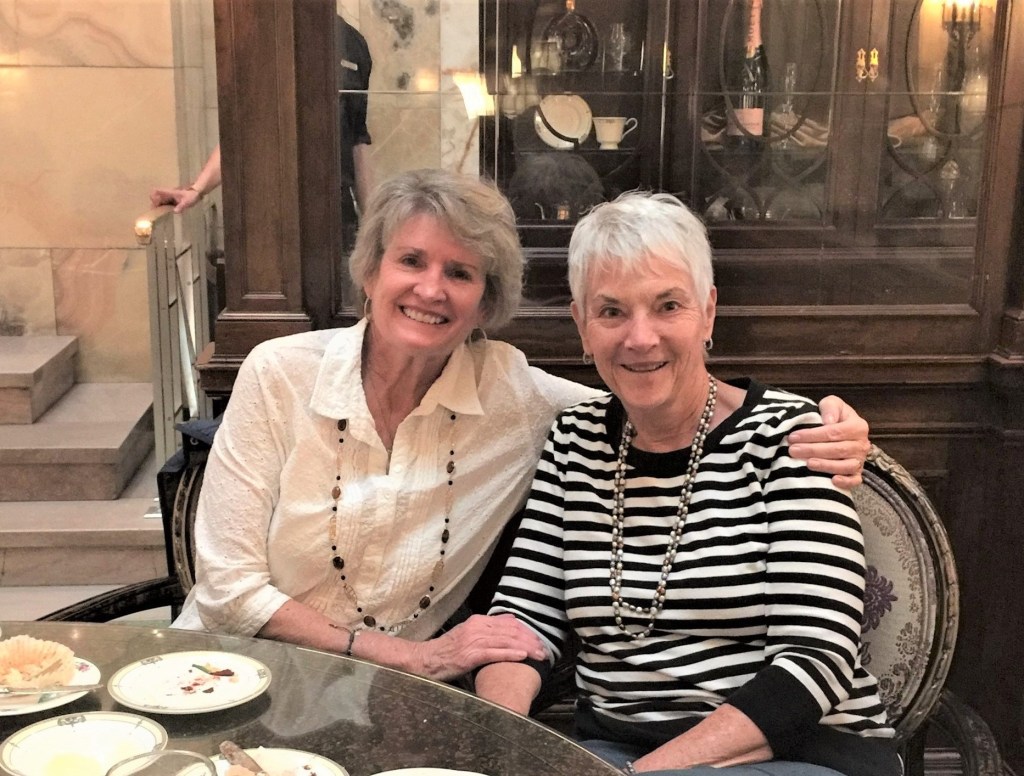
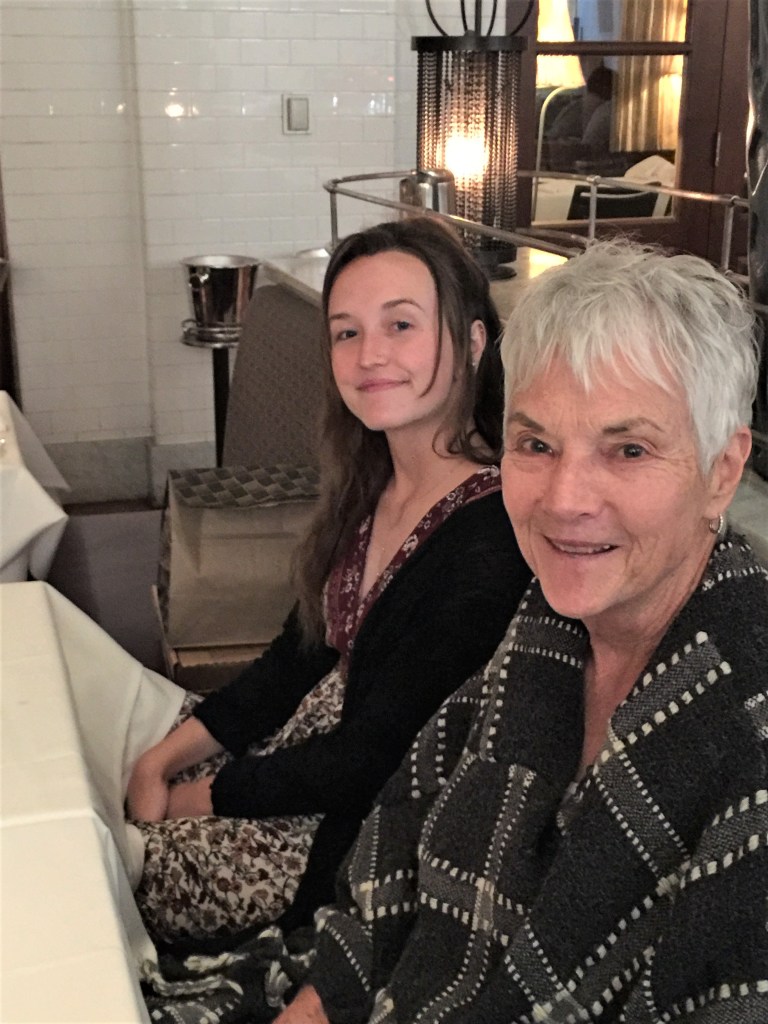
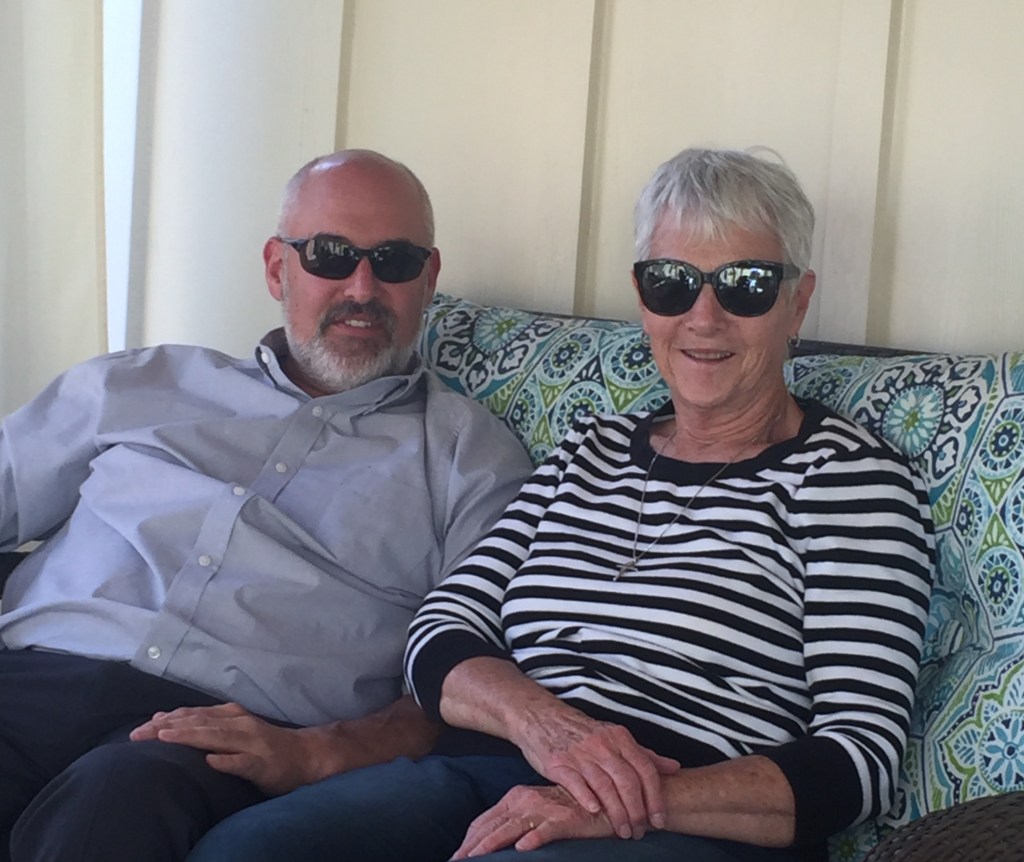
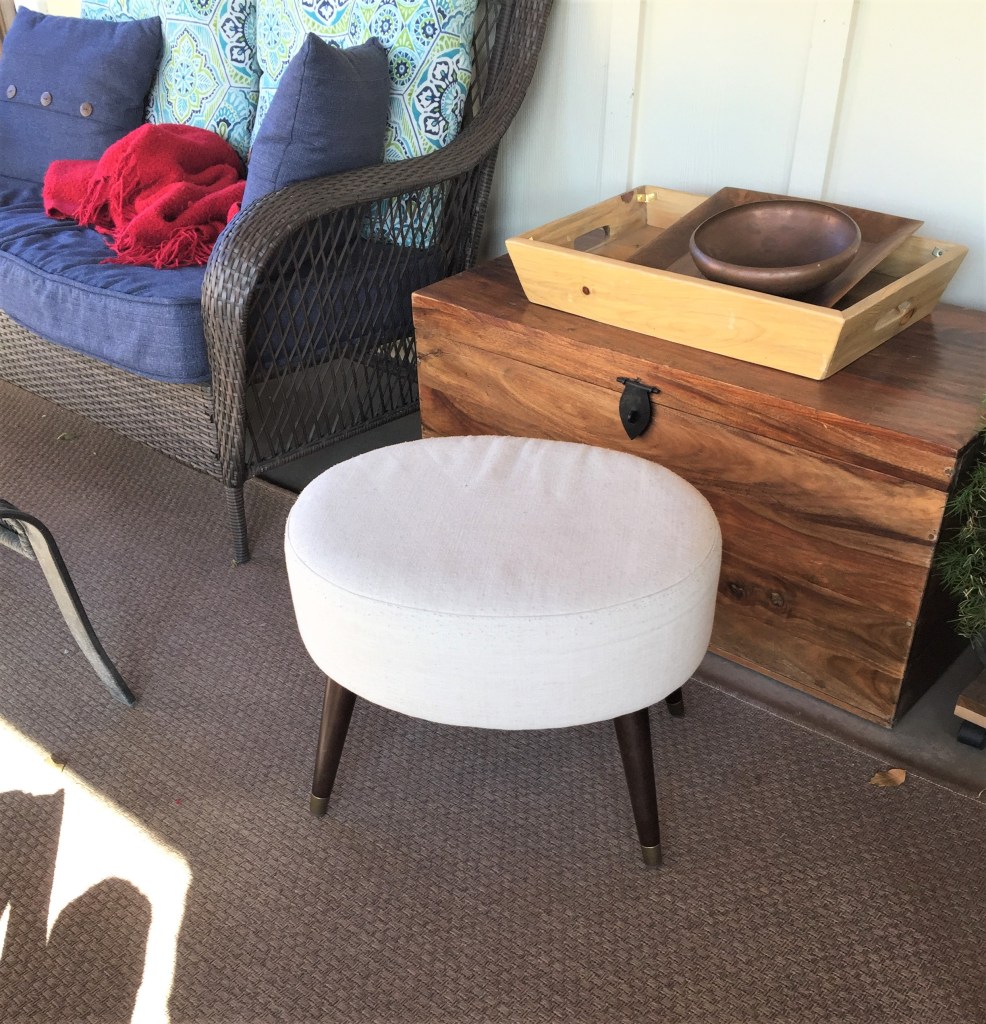
Fall is here and changing my landscape everyday!At the dentist for a root canal. You can see I’m not very excited about this. However, I made it out to be much worse than it actually was and I feel so much better after the procedure.First snow of the season. I got about 4 inches overnight. Only 2 ladies showed up for water aerobics the next morning, and I’m glad to have been one of the ladies who made it on a snowy day in the city!One of the rentals had people arriving the same day. I think they appreciate having a fresh layer of snow when visiting Colorado in the fall.Mom came to stay for a week to celebrate her 75th birthday this November. I picked her up mid-day! Mom and I made some changes to the patio for the winter, trying to maximize the sun throughout the season.A different seating pattern for the season. Hopefully, I can use this space all winter, in the warmest part of the day. Mom in the background, enjoying a break on the patio in the afternoon.This tree drops leaves all over the patio roof and they slowly drift down to the ground with a breeze.So vibrant and lovely at 75!We had a tea reservation at The Brown Palace. Kasey and Nikki joined us to celebrate her birthday. Gorgeous girl!And Mom’s dear friend, Diane surprised her by showing up. They had not seen each other for 20 years and both turn 75 this November. Super special!We enjoyed tea, finger sandwiches and pastries in the beautiful historic hotel atrium.A couple days later, Mike’s family met us at Il Fornio restaurant for a birthday dinner.Awesome food and a wonderful family gathering!Mom with Lauren. Beautiful ladies!Mom and I worked in the yard and cut back the foliage. I hate to see it all disappear, but I know after the next 6 months, we’ll be ready to see new Green reappear in the spring!One afternoon, Micheal came over for lunch. We made Panini with salad and sat on the back patio, talking and laughing!Mom flew home after a lovely week in Englewood and I wentlooking for a new project. I found these 2 nightstands for $10 each. I’ll refinish them and give them new life!This simple little $10 stool will also get a makeover and feel sexy again!My friend suggested a new Fur cover and she’s right!It was late afternoon when I got this home, but I managed to strip the hardware off and clean both tables with TSP before applying a layer of sanding sealer. Make sure you use gloves with this product! It’s not meant for skin. Prep is really the biggest part of these projects. I’ve set up a work space in the yard for my projects.TSP works great as a heavy duty cleaner. Use gloves with TSP! It strips off any grime and creates a great surface for paint. I love that it prevents me from having to strip the finish off a piece before painting!After cleaning, I apply a light layer of sanding sealer to make the surface more smooth and consistent before paint.My sister gave me this card and I think it’s inspiring and beautiful!Now, I’m sharing it with you!
This amazing photo was taken by my mom from her house in Idaho. It’s a view of Henry’s Lake from their driveway. Gorgeous!
My wonderful Aunt Katie came to visit with my mom for 3 days. It’s so fun and special to see her and have a chance to spend time together without all the kids and grand kids. She’s a positive and vibrant spirit and I’m grateful to have the time with her!
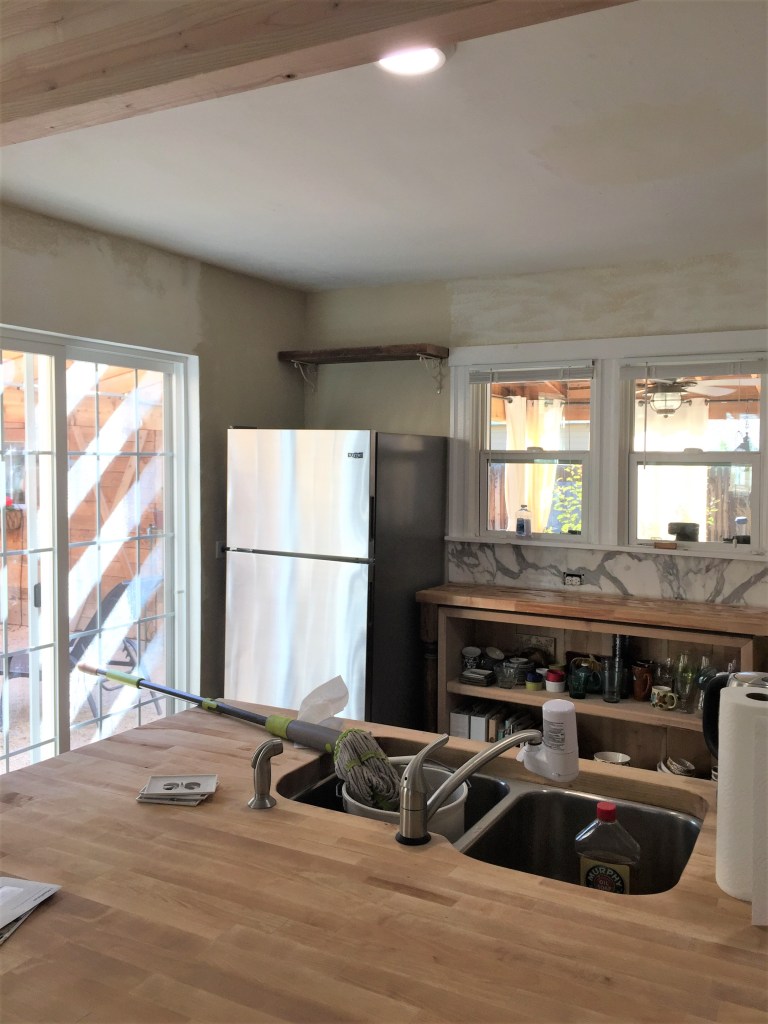
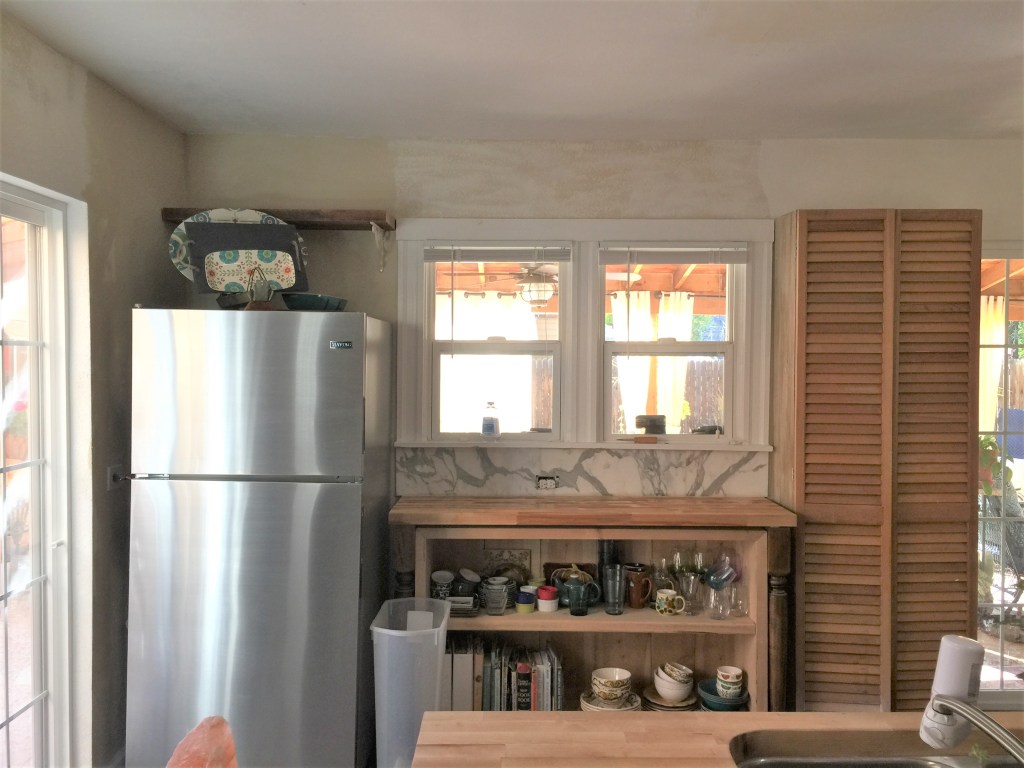
The first time entertaining in my new kitchen.
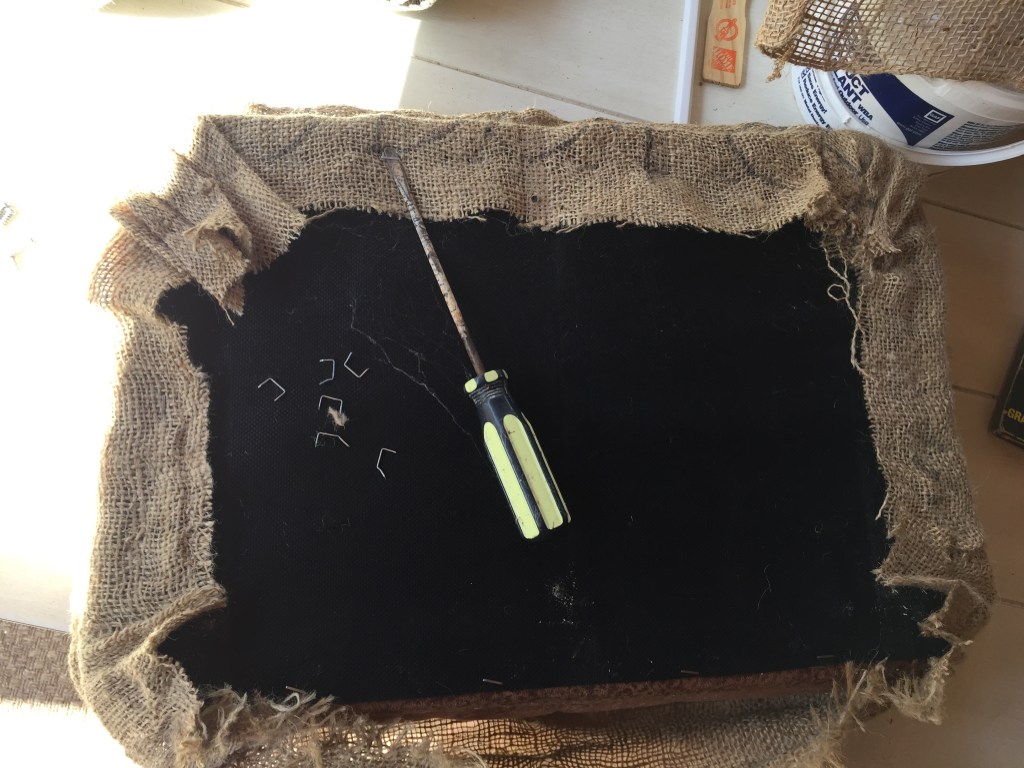
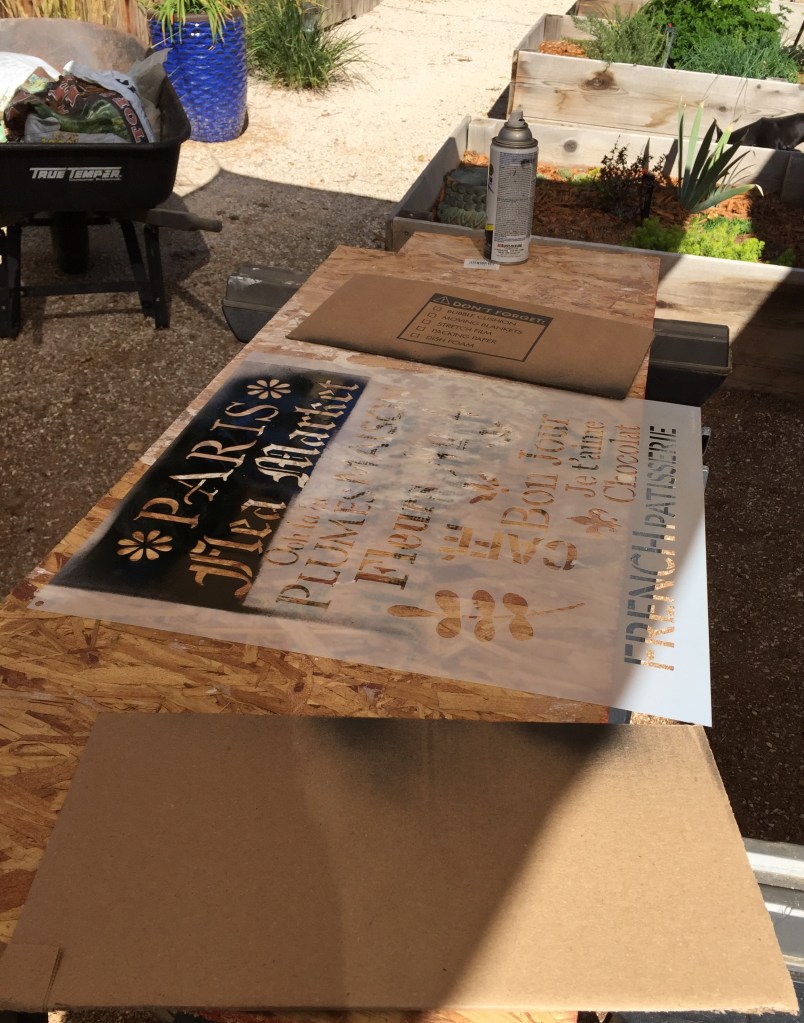
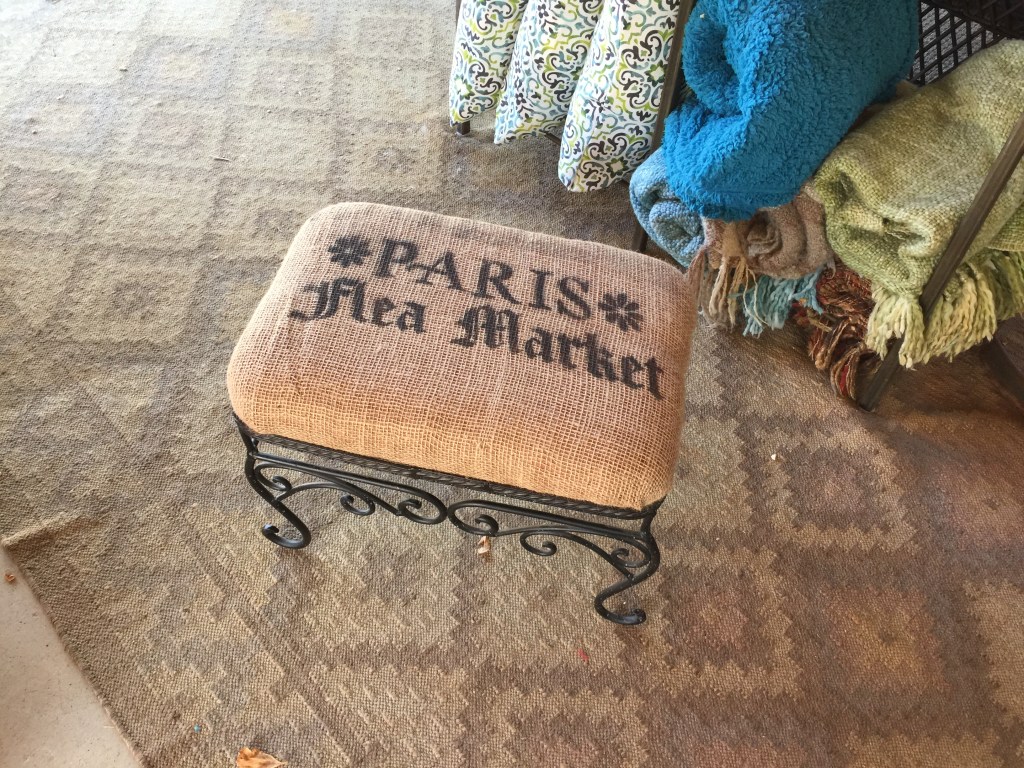
This little foot stool has been in one of the rentals for several years and the burlap, recycled from when I was in the rug industry, is showing signs of wear.
It’s simple to recover it, but I want to make it feel European to match the style of the rental.
I had some extra burlap and this fun French style stencil, which I used to create interest and give it a French flair.
Cute enough! And the fabric is less distressed. Voila’!
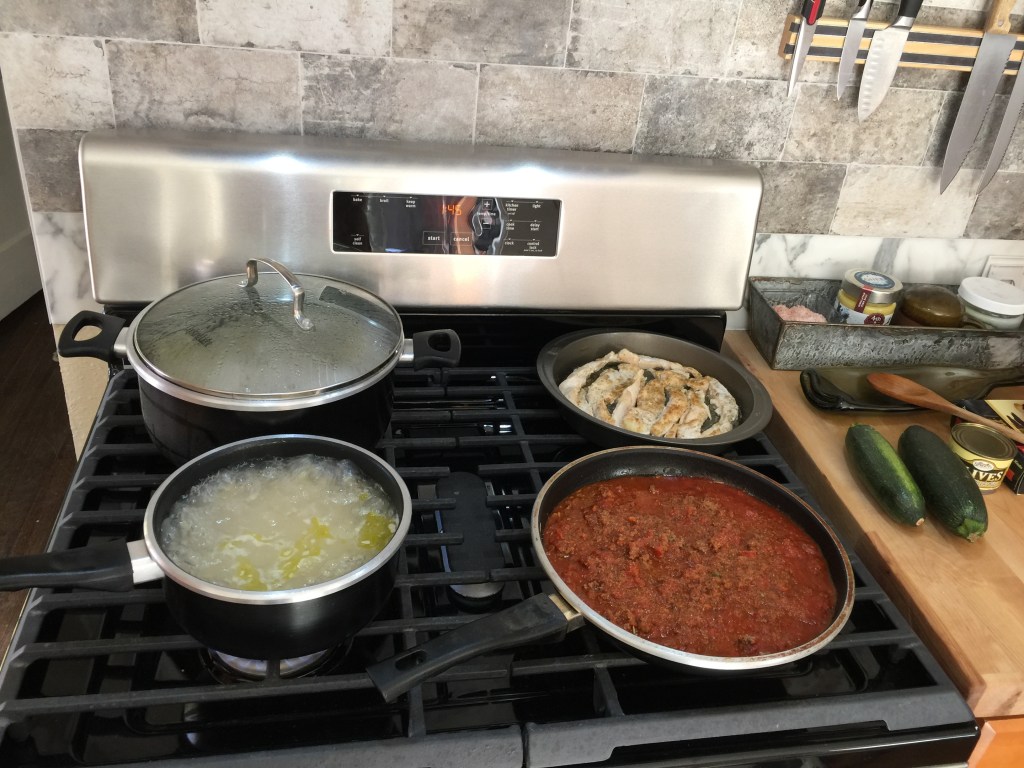
A good friend of mine is in the long process of Chemotherapy and I am helping her out with some cooking.
We settled on Lasagna, Baked Penne and Enchilada’s!
While I’m cooking, I might as well make some for my house too!
After the 1 week remodel that turned into a month long remodel, I needed a break from it all and found my way up to Gunnison to see some fall colors and the family. Preston relaxing on the patio, overlooking Blue Mesa!
My beautiful sister, taking in the gorgeous view of the Reservoir.
This is how to find peace and relax! The weather was perfect and the colors in full spectacle!
I drove the dogs past Gothic toward Schofield Pass and found a good place to stop and walk around. They were most interested in the cow pies, so I put them in the back of the truck for a scenic pic of the colors.
There were many people in the area taking pics and walking around. I was fortunate to find this place away from the crowds to enjoy the day.
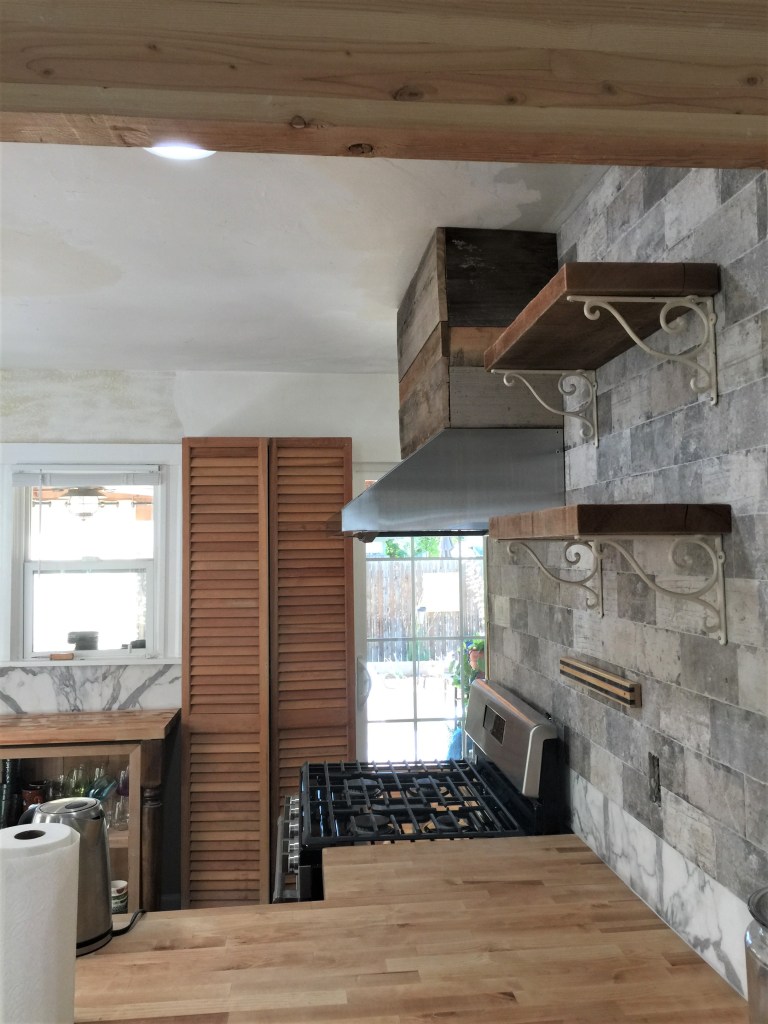
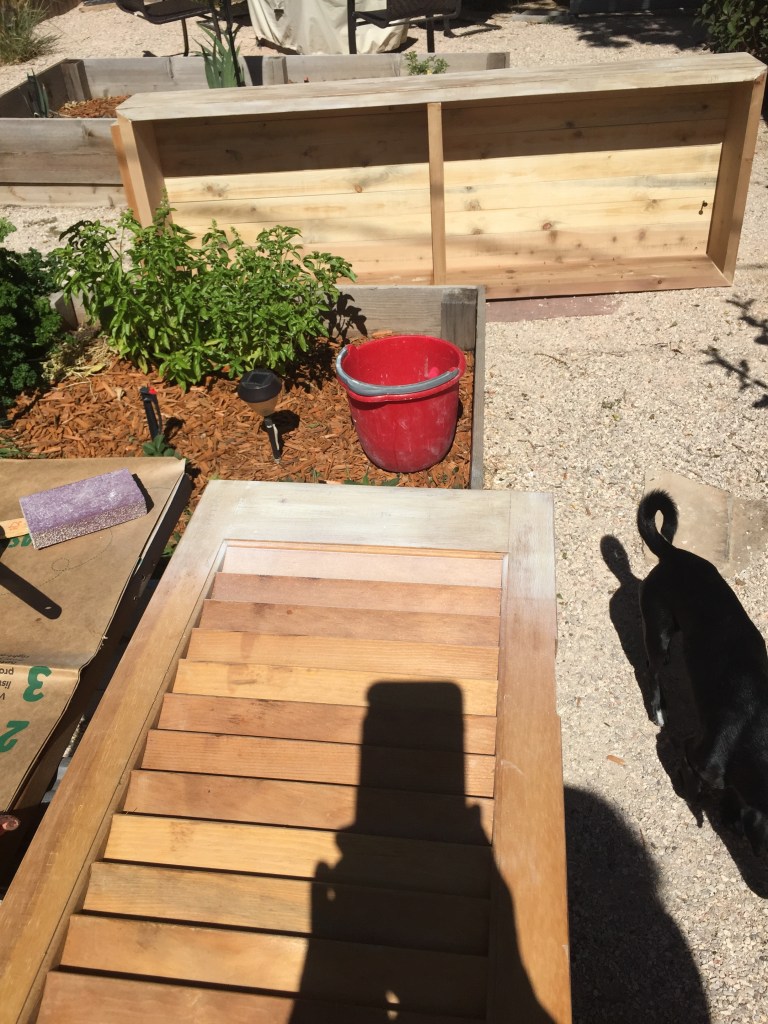
Once I returned home, I started cleaning and working on the details from the remodel. I had David put up some shelving above the fridge for more storage.
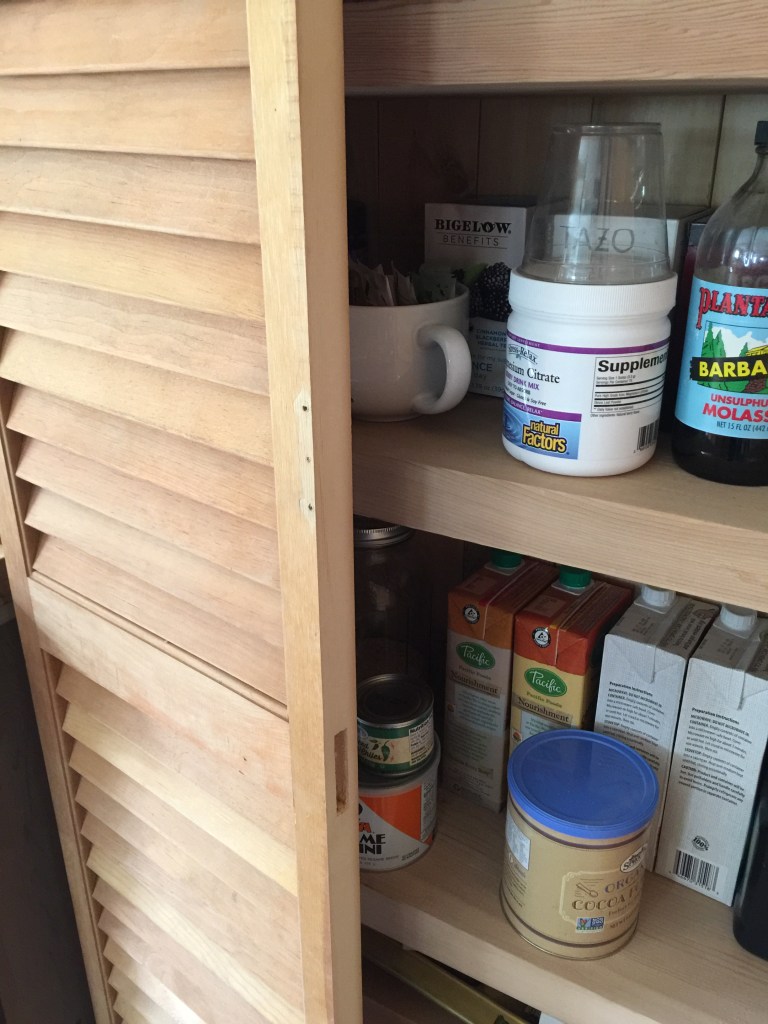
He cut down the pantry doors to fit the cabinet. I Love the texture they add to the space!
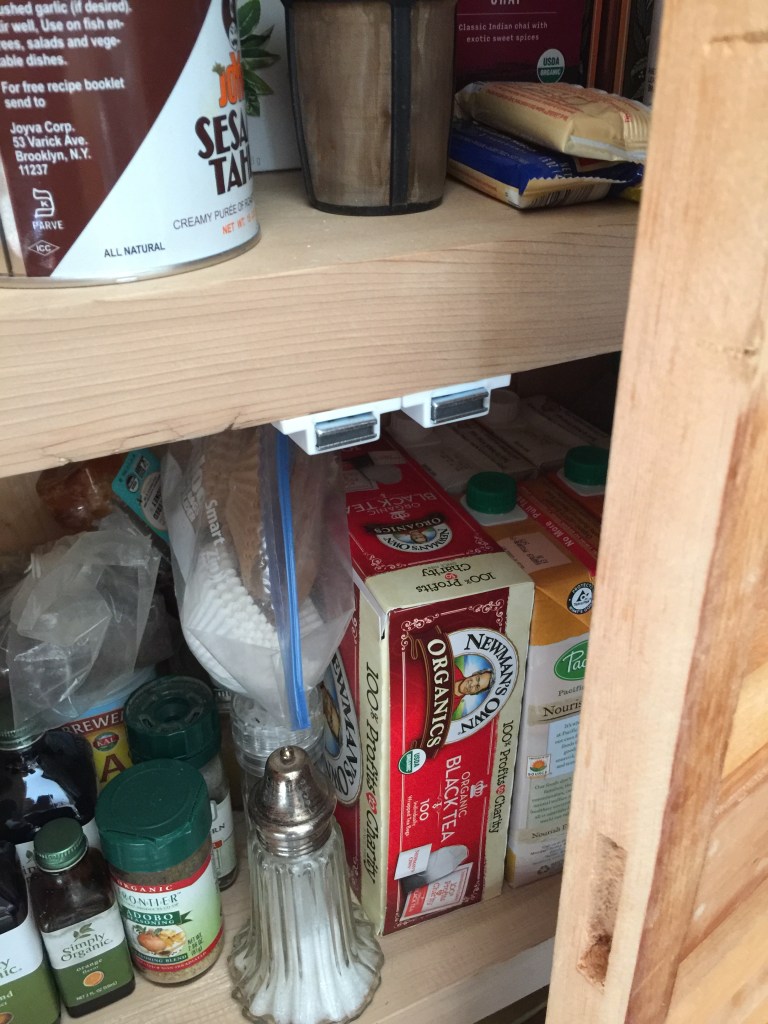
Some of the details include shelves and cool brackets, barn wood and ceramic Brick tile.
Before the doors…
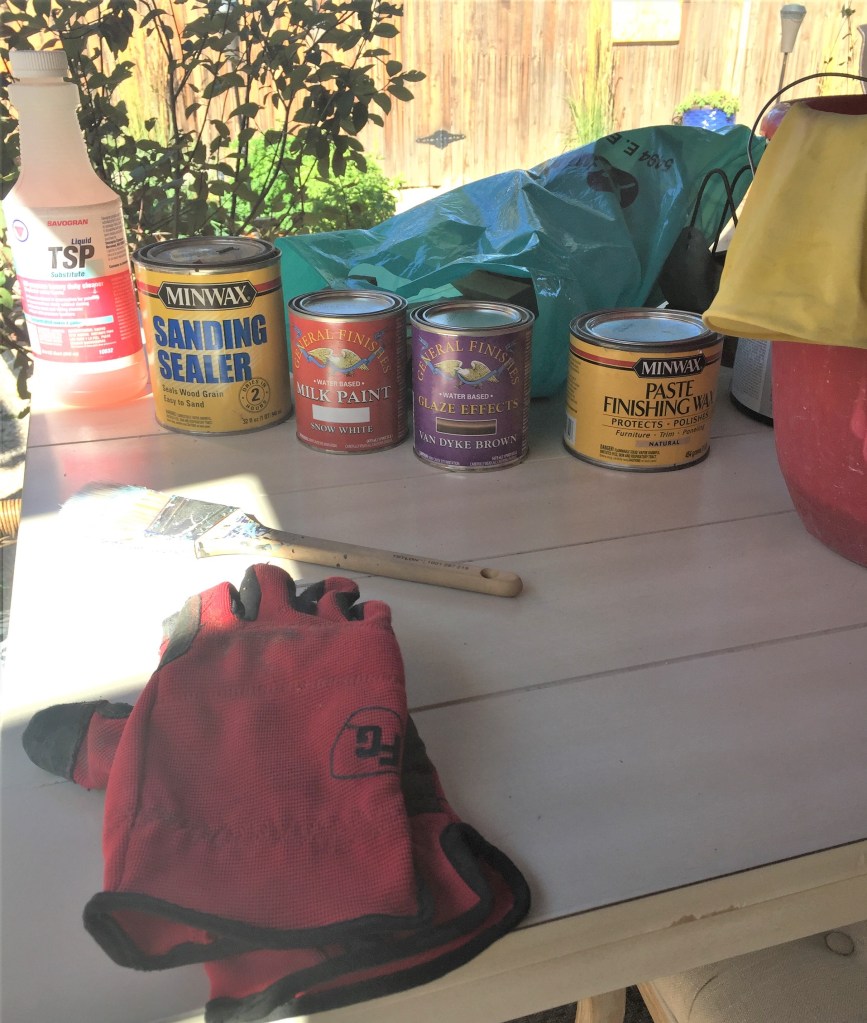
These were found at Habitat for Humanity for $10! Super great find! However, they were dirty and needed cleaning. I use TSP cleaning solution with a brush to remove the dust and spills on the wood.
This is my set up to refinish cabinets. Cleaning and prep is the biggest part of the project! Clean with TSP, then a coat of sanding sealer, light sanding, paint (maybe 2 coats), more sanding to distress, glaze to highlight any imperfections and give it patina, then 2 coats of finishing wax. This process must be re imagined with each project. I’ve learned that it takes a few try’s to get the look I want, then I go forward with that process to finish all the cabinets to match.
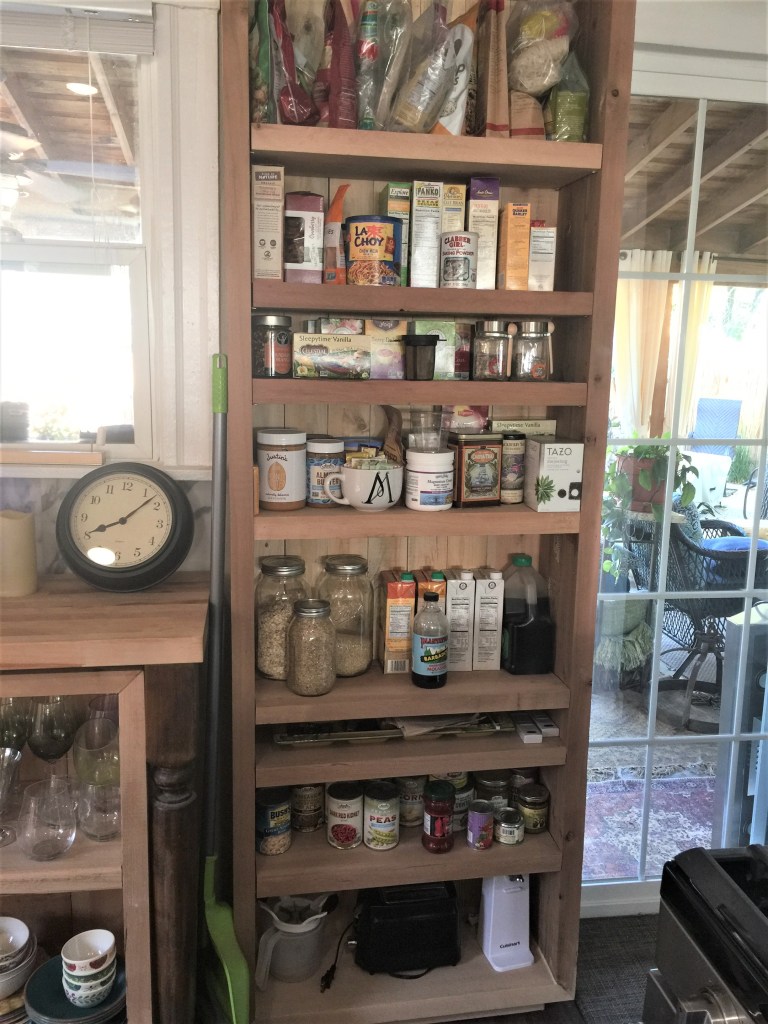
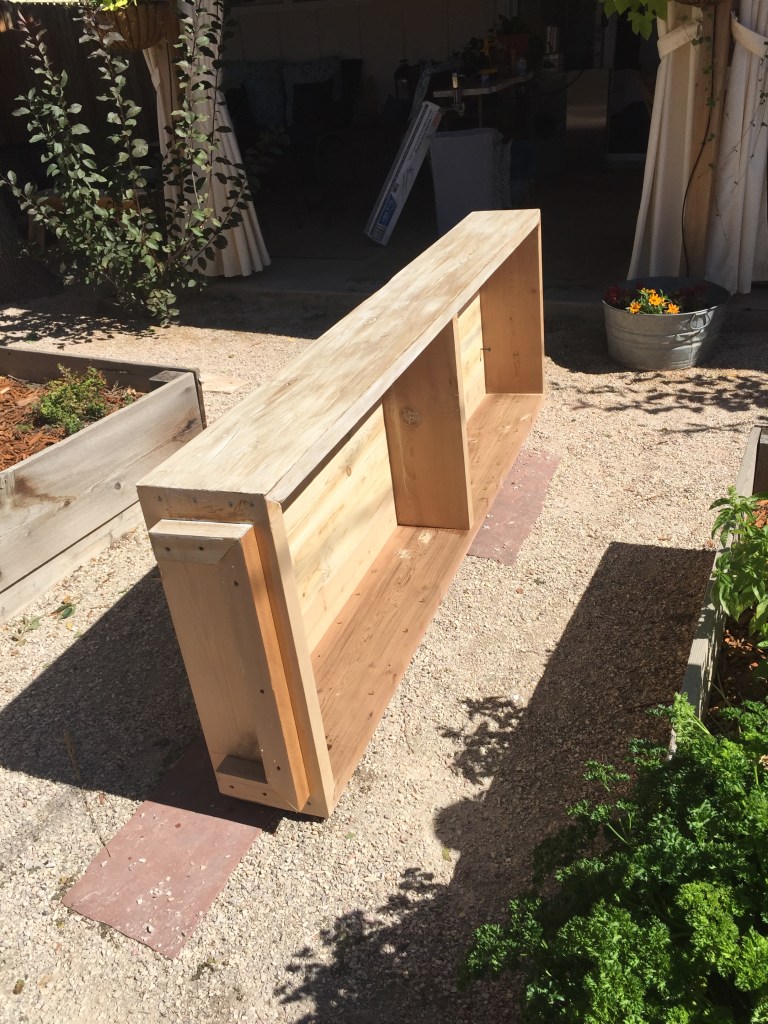
This is the pantry cabinet David built for me. I took it outside to begin the treatment, looking for the right technique. The outside panel is done and ready to mount the pantry doors again.
I also wanted to try the technique on a small part of the door. I’ll finish it later, but needed to see how it looks with paint and some glaze.
When we cut the door down to size, we exposed some joints in the wood. No worries! Luckily, my style is rustic farmhouse, so I feel comfortable having imperfections in my cabinets and doors. I do need door latches.
My door latch solution is magnetized brackets. Simple!
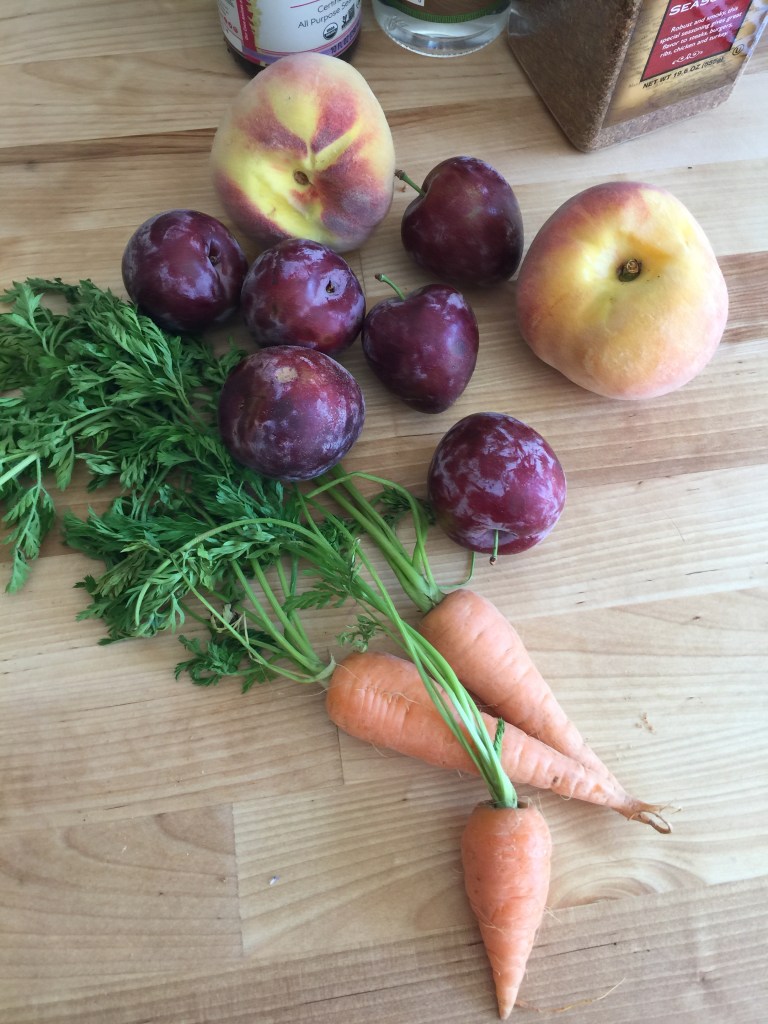
Before I left Gunnison, Susie gave me fresh produce from the farmer’s market on Saturday morning in town. How cute are these baby carrots?
I feel better having taken a break from my remodel project! It’s always great to get up the the mountains and especially when the fall colors are in full display!