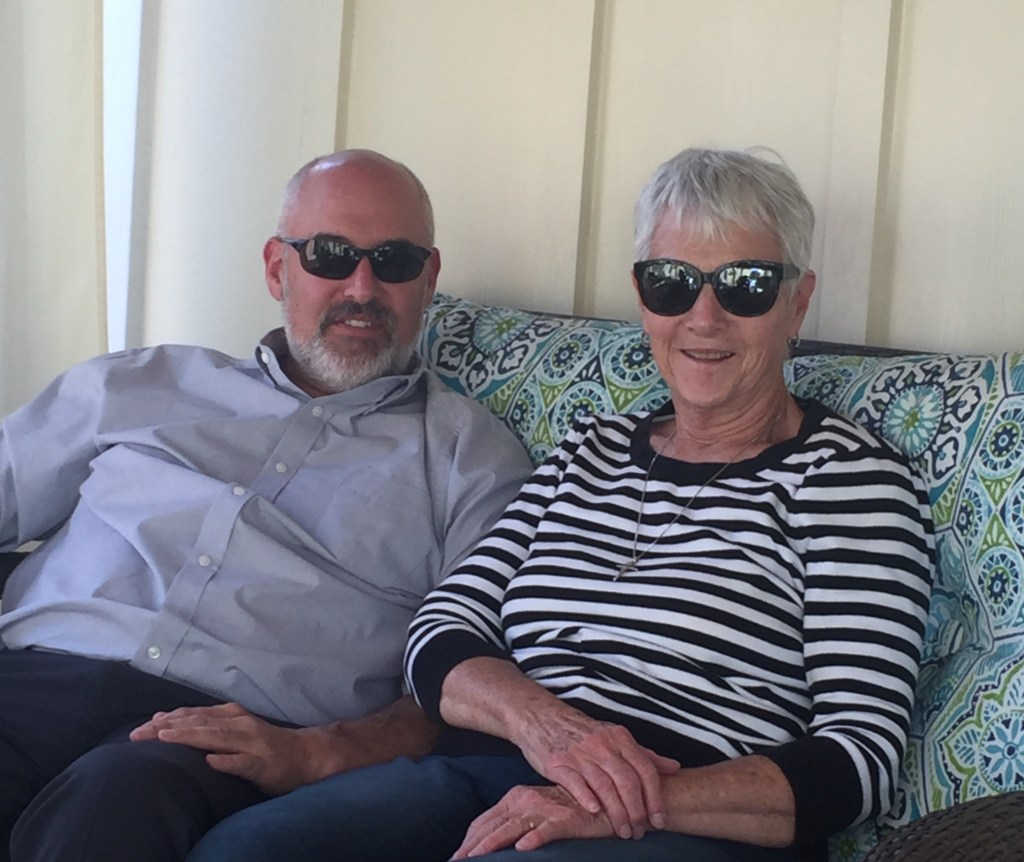
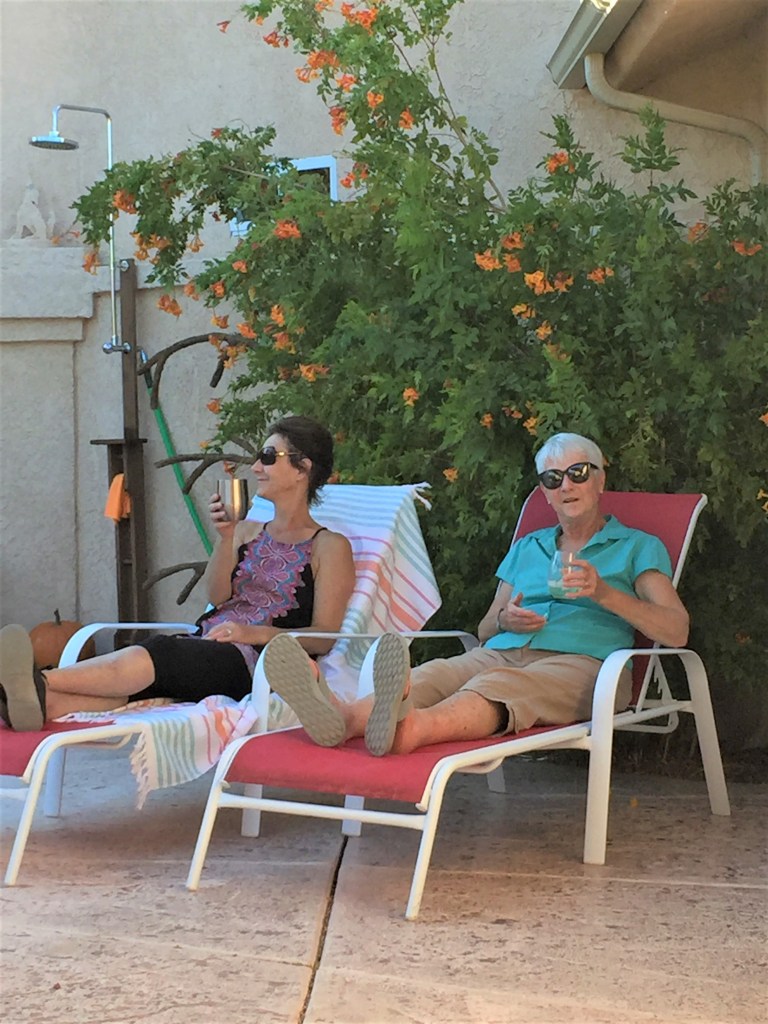
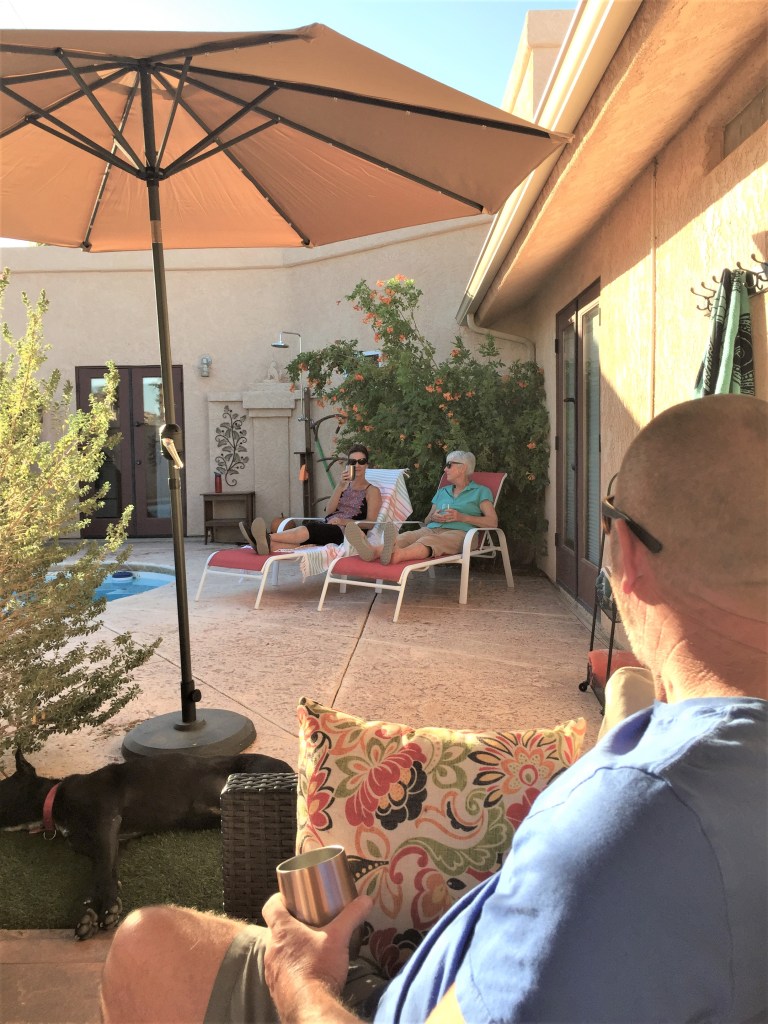
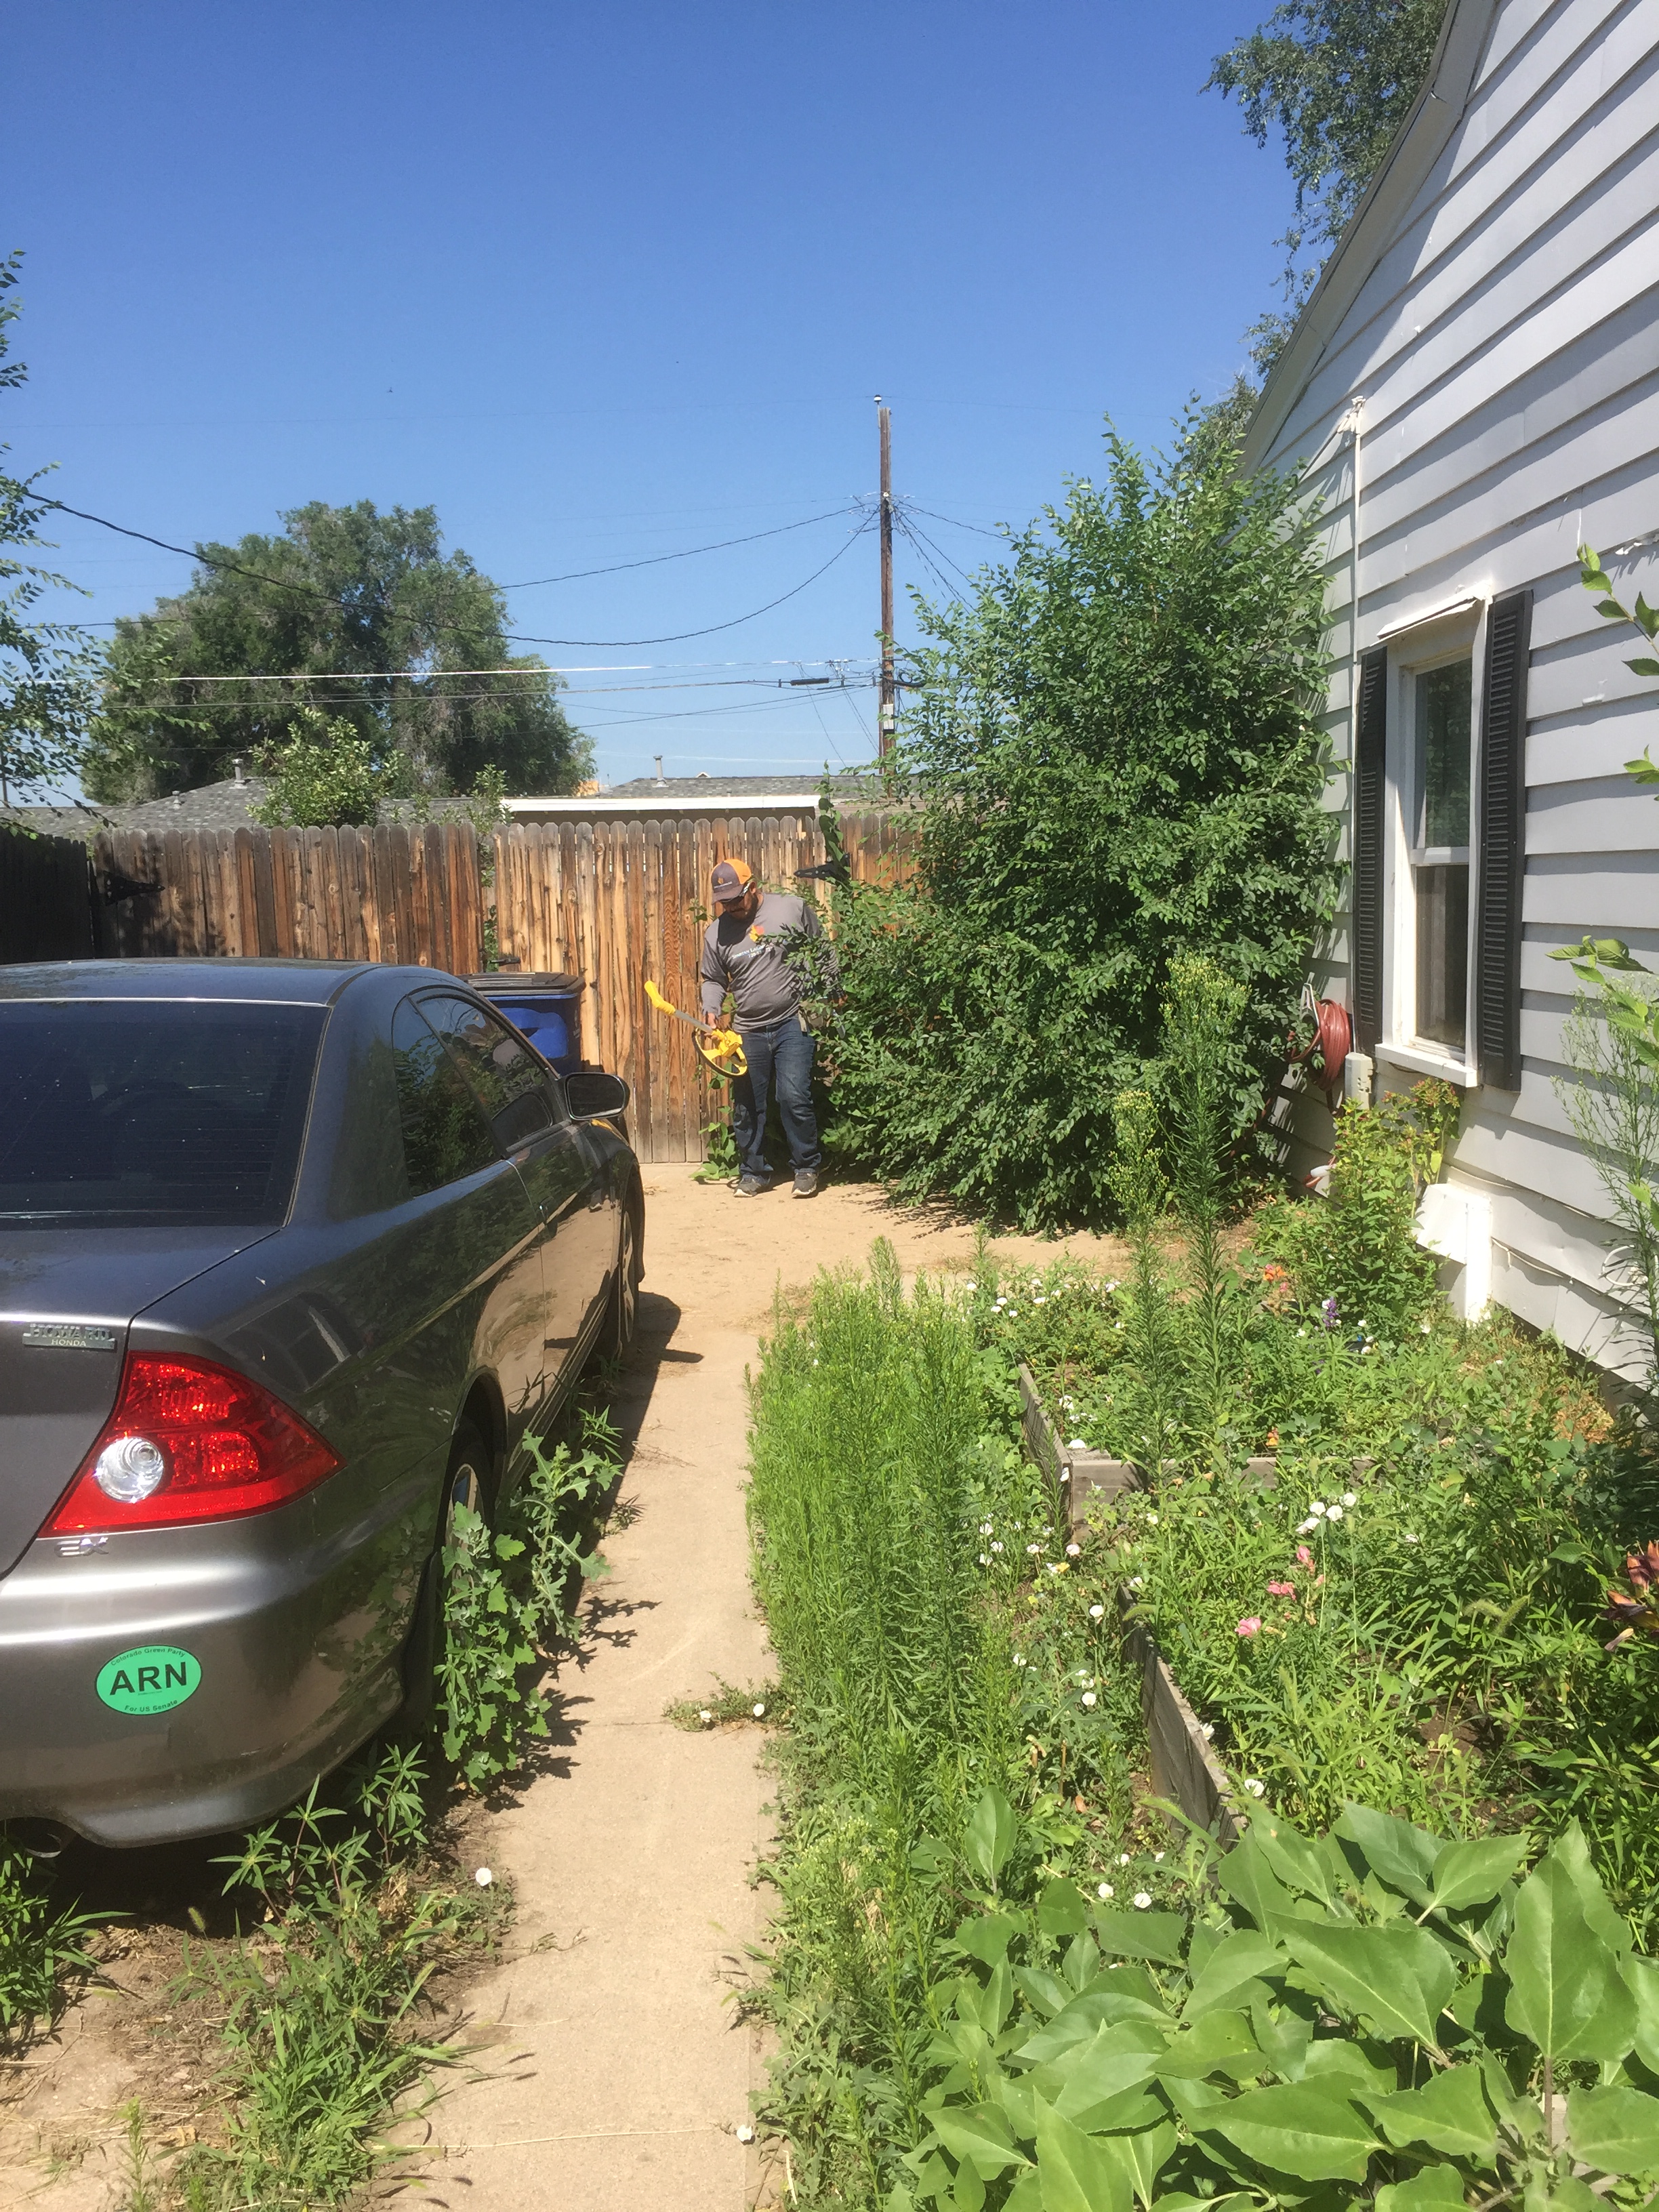
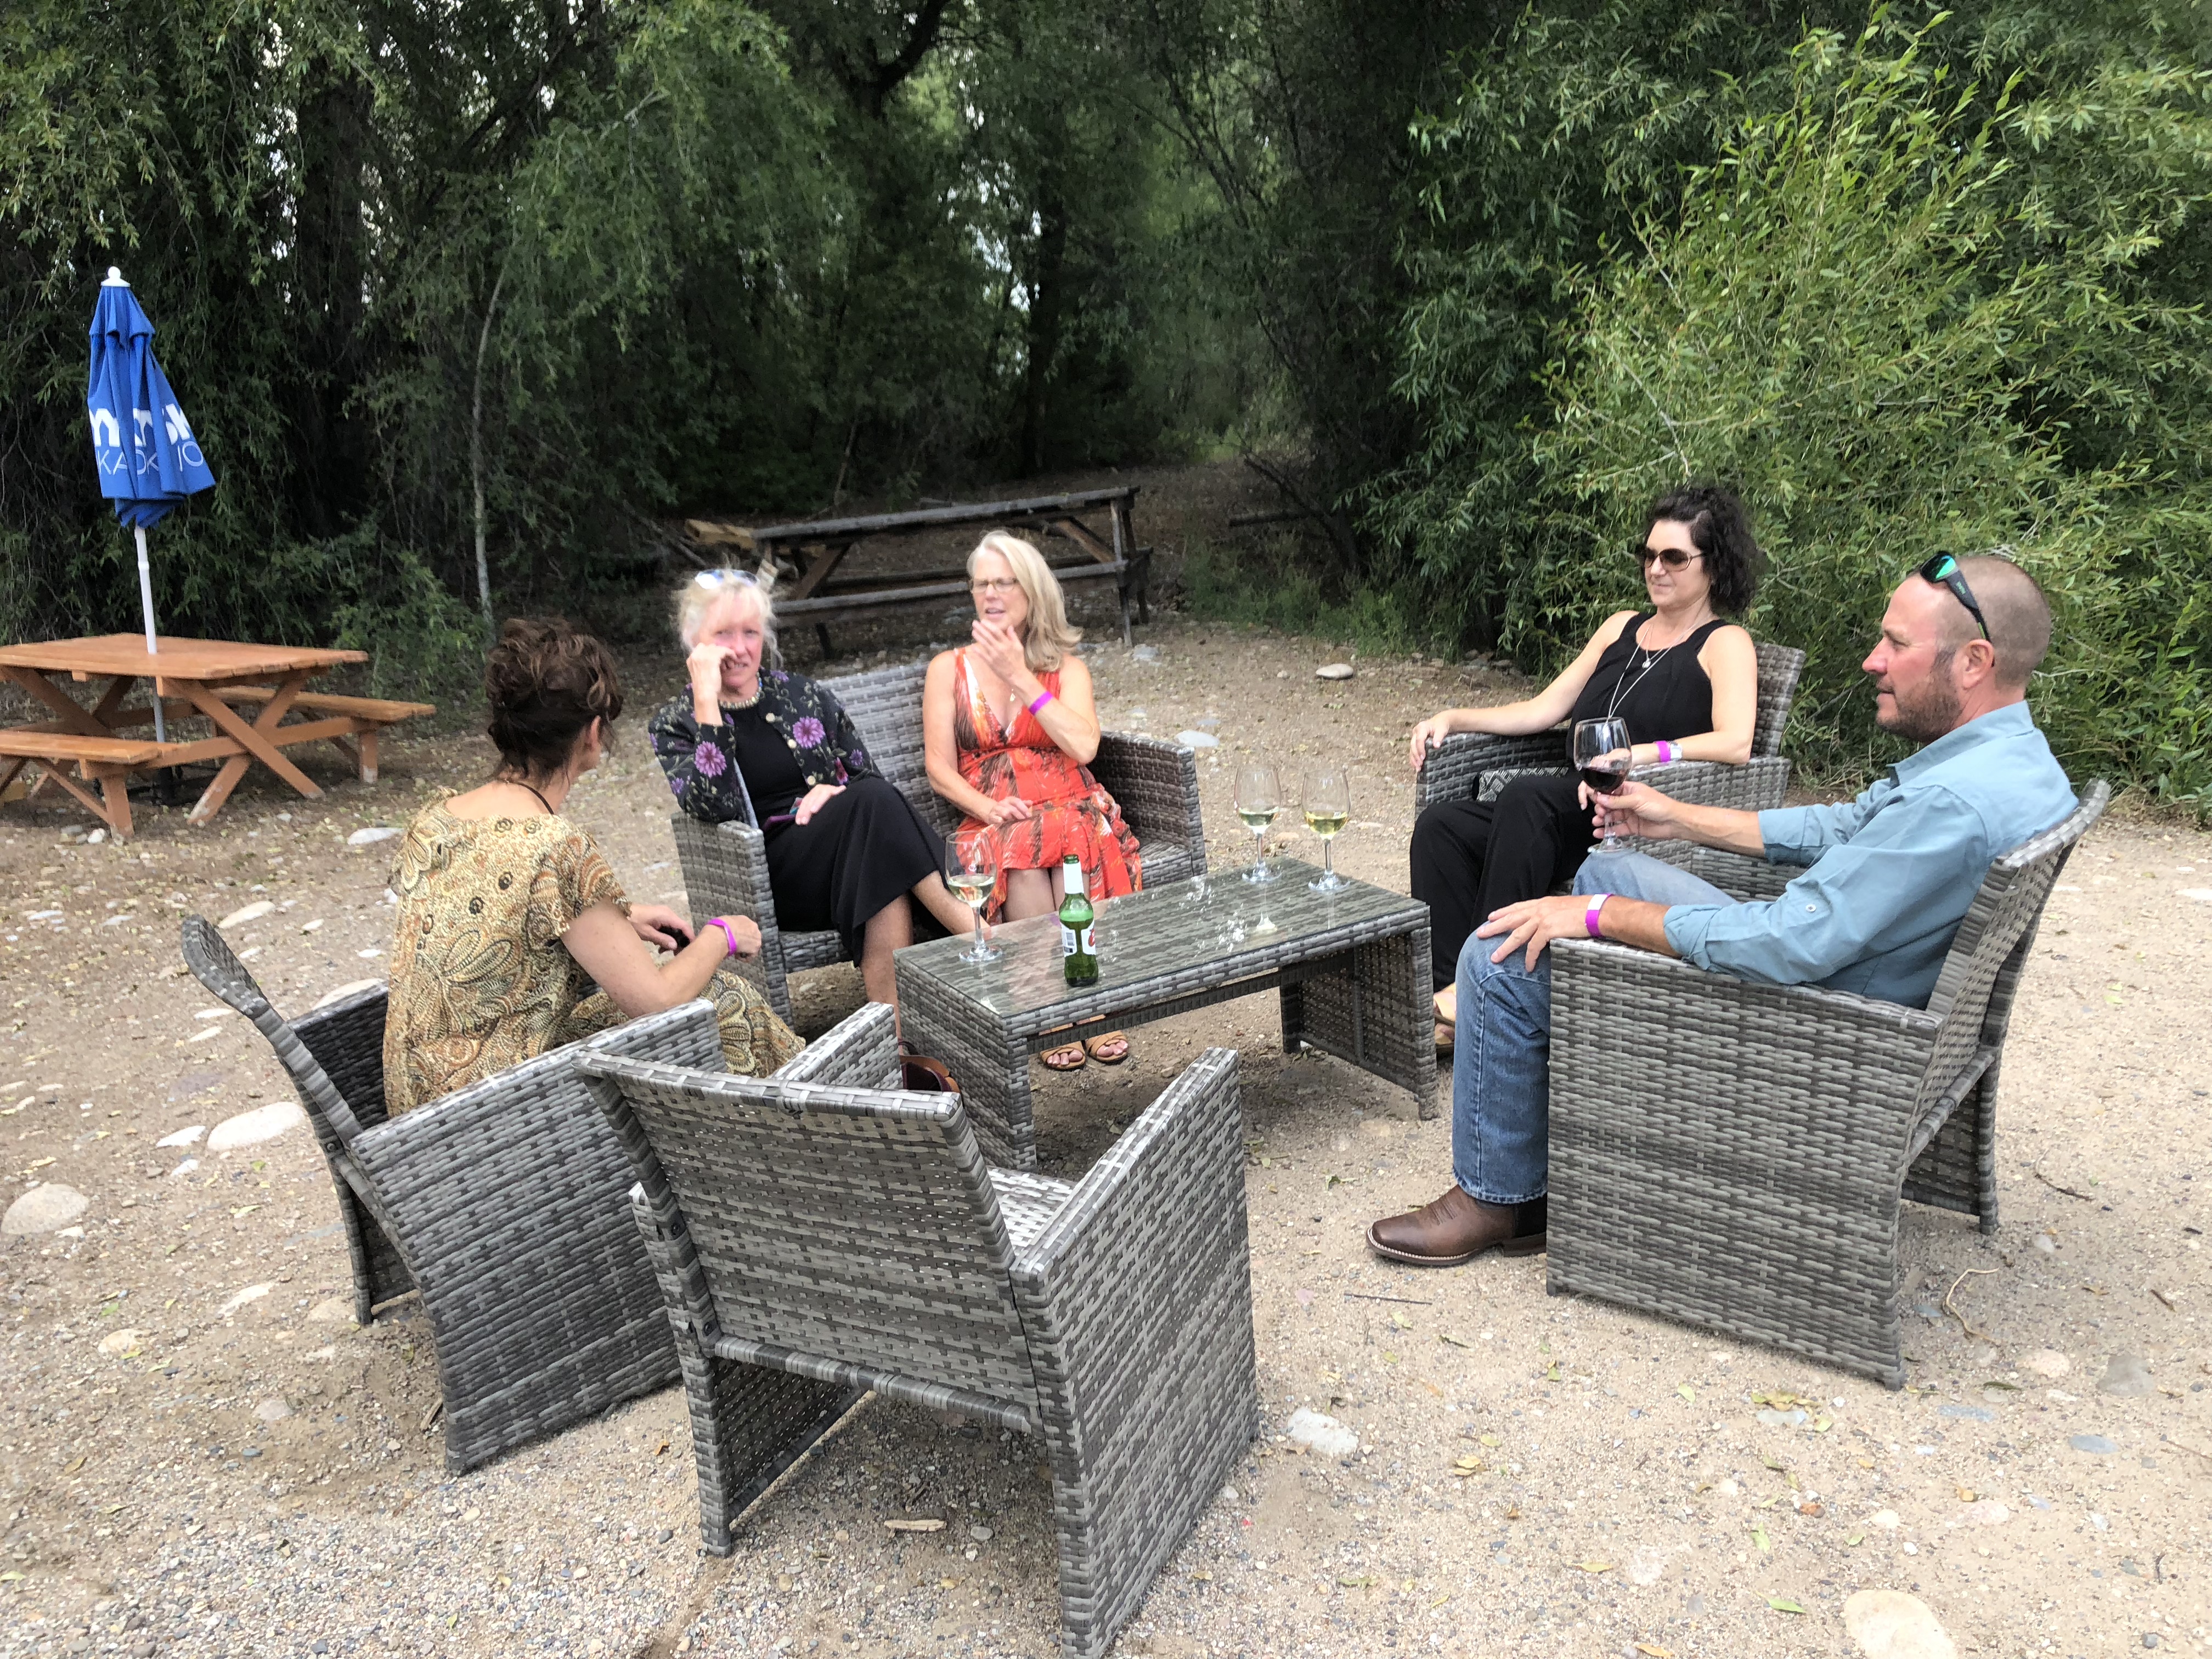
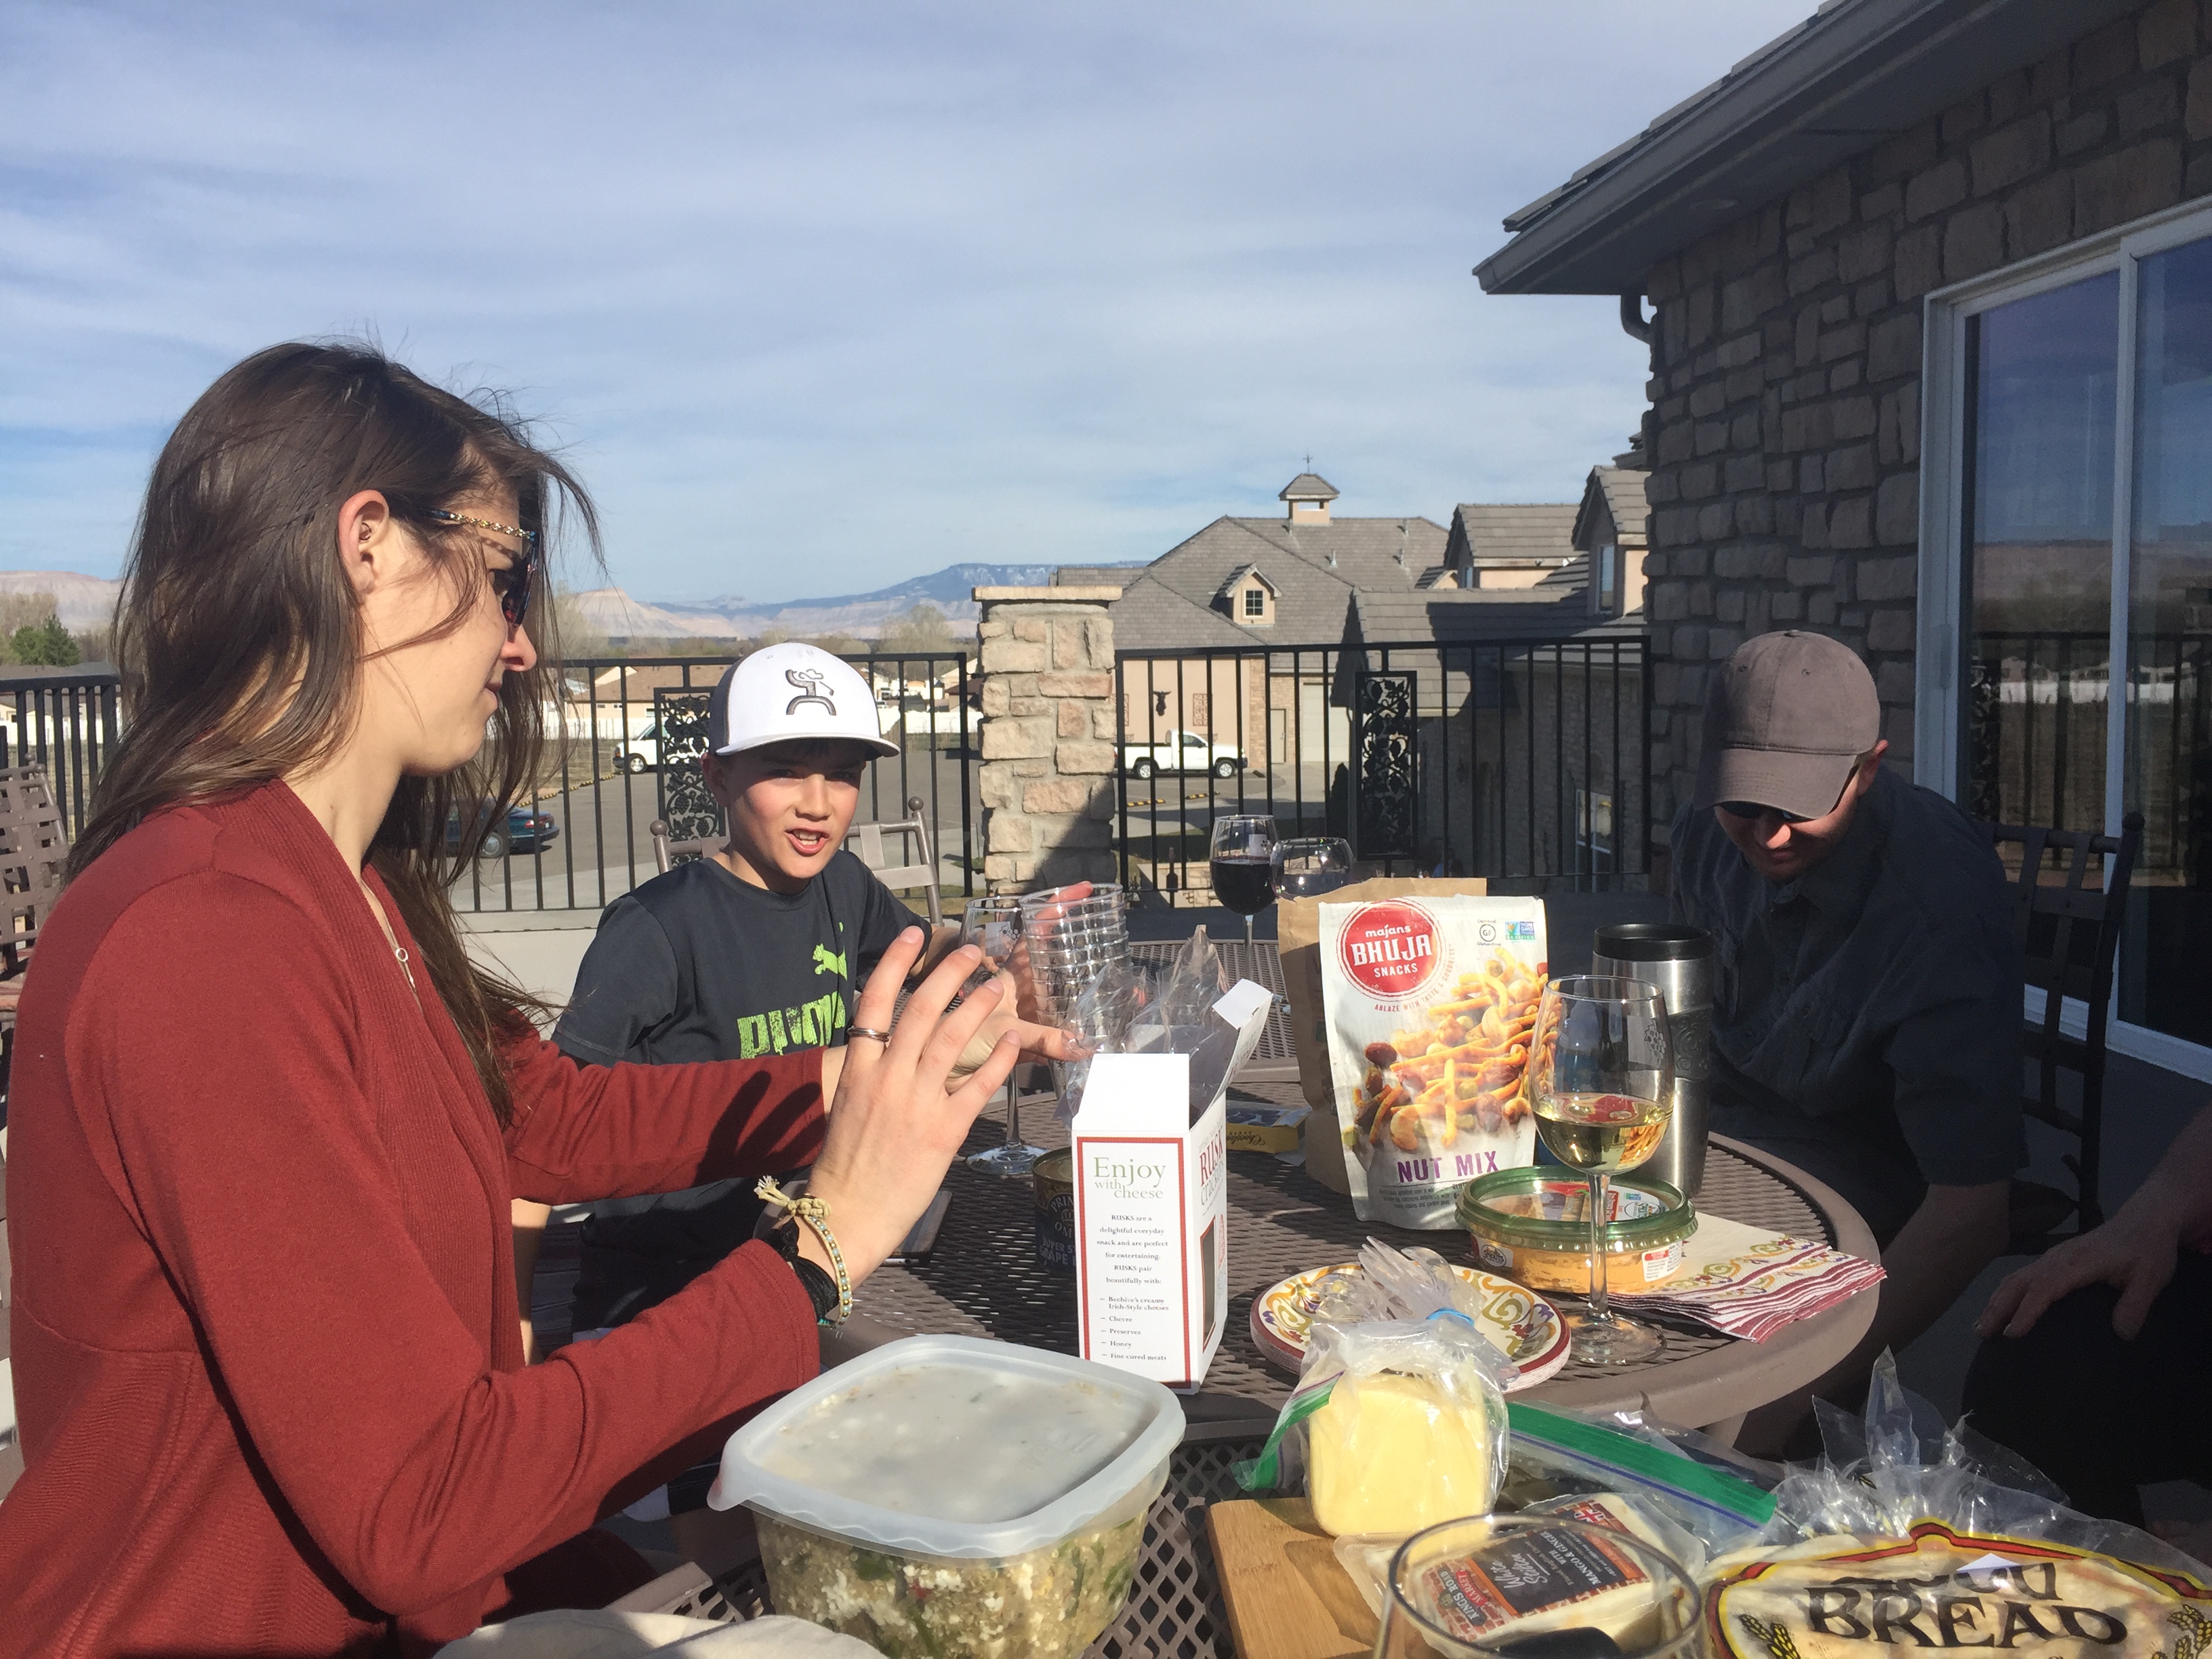
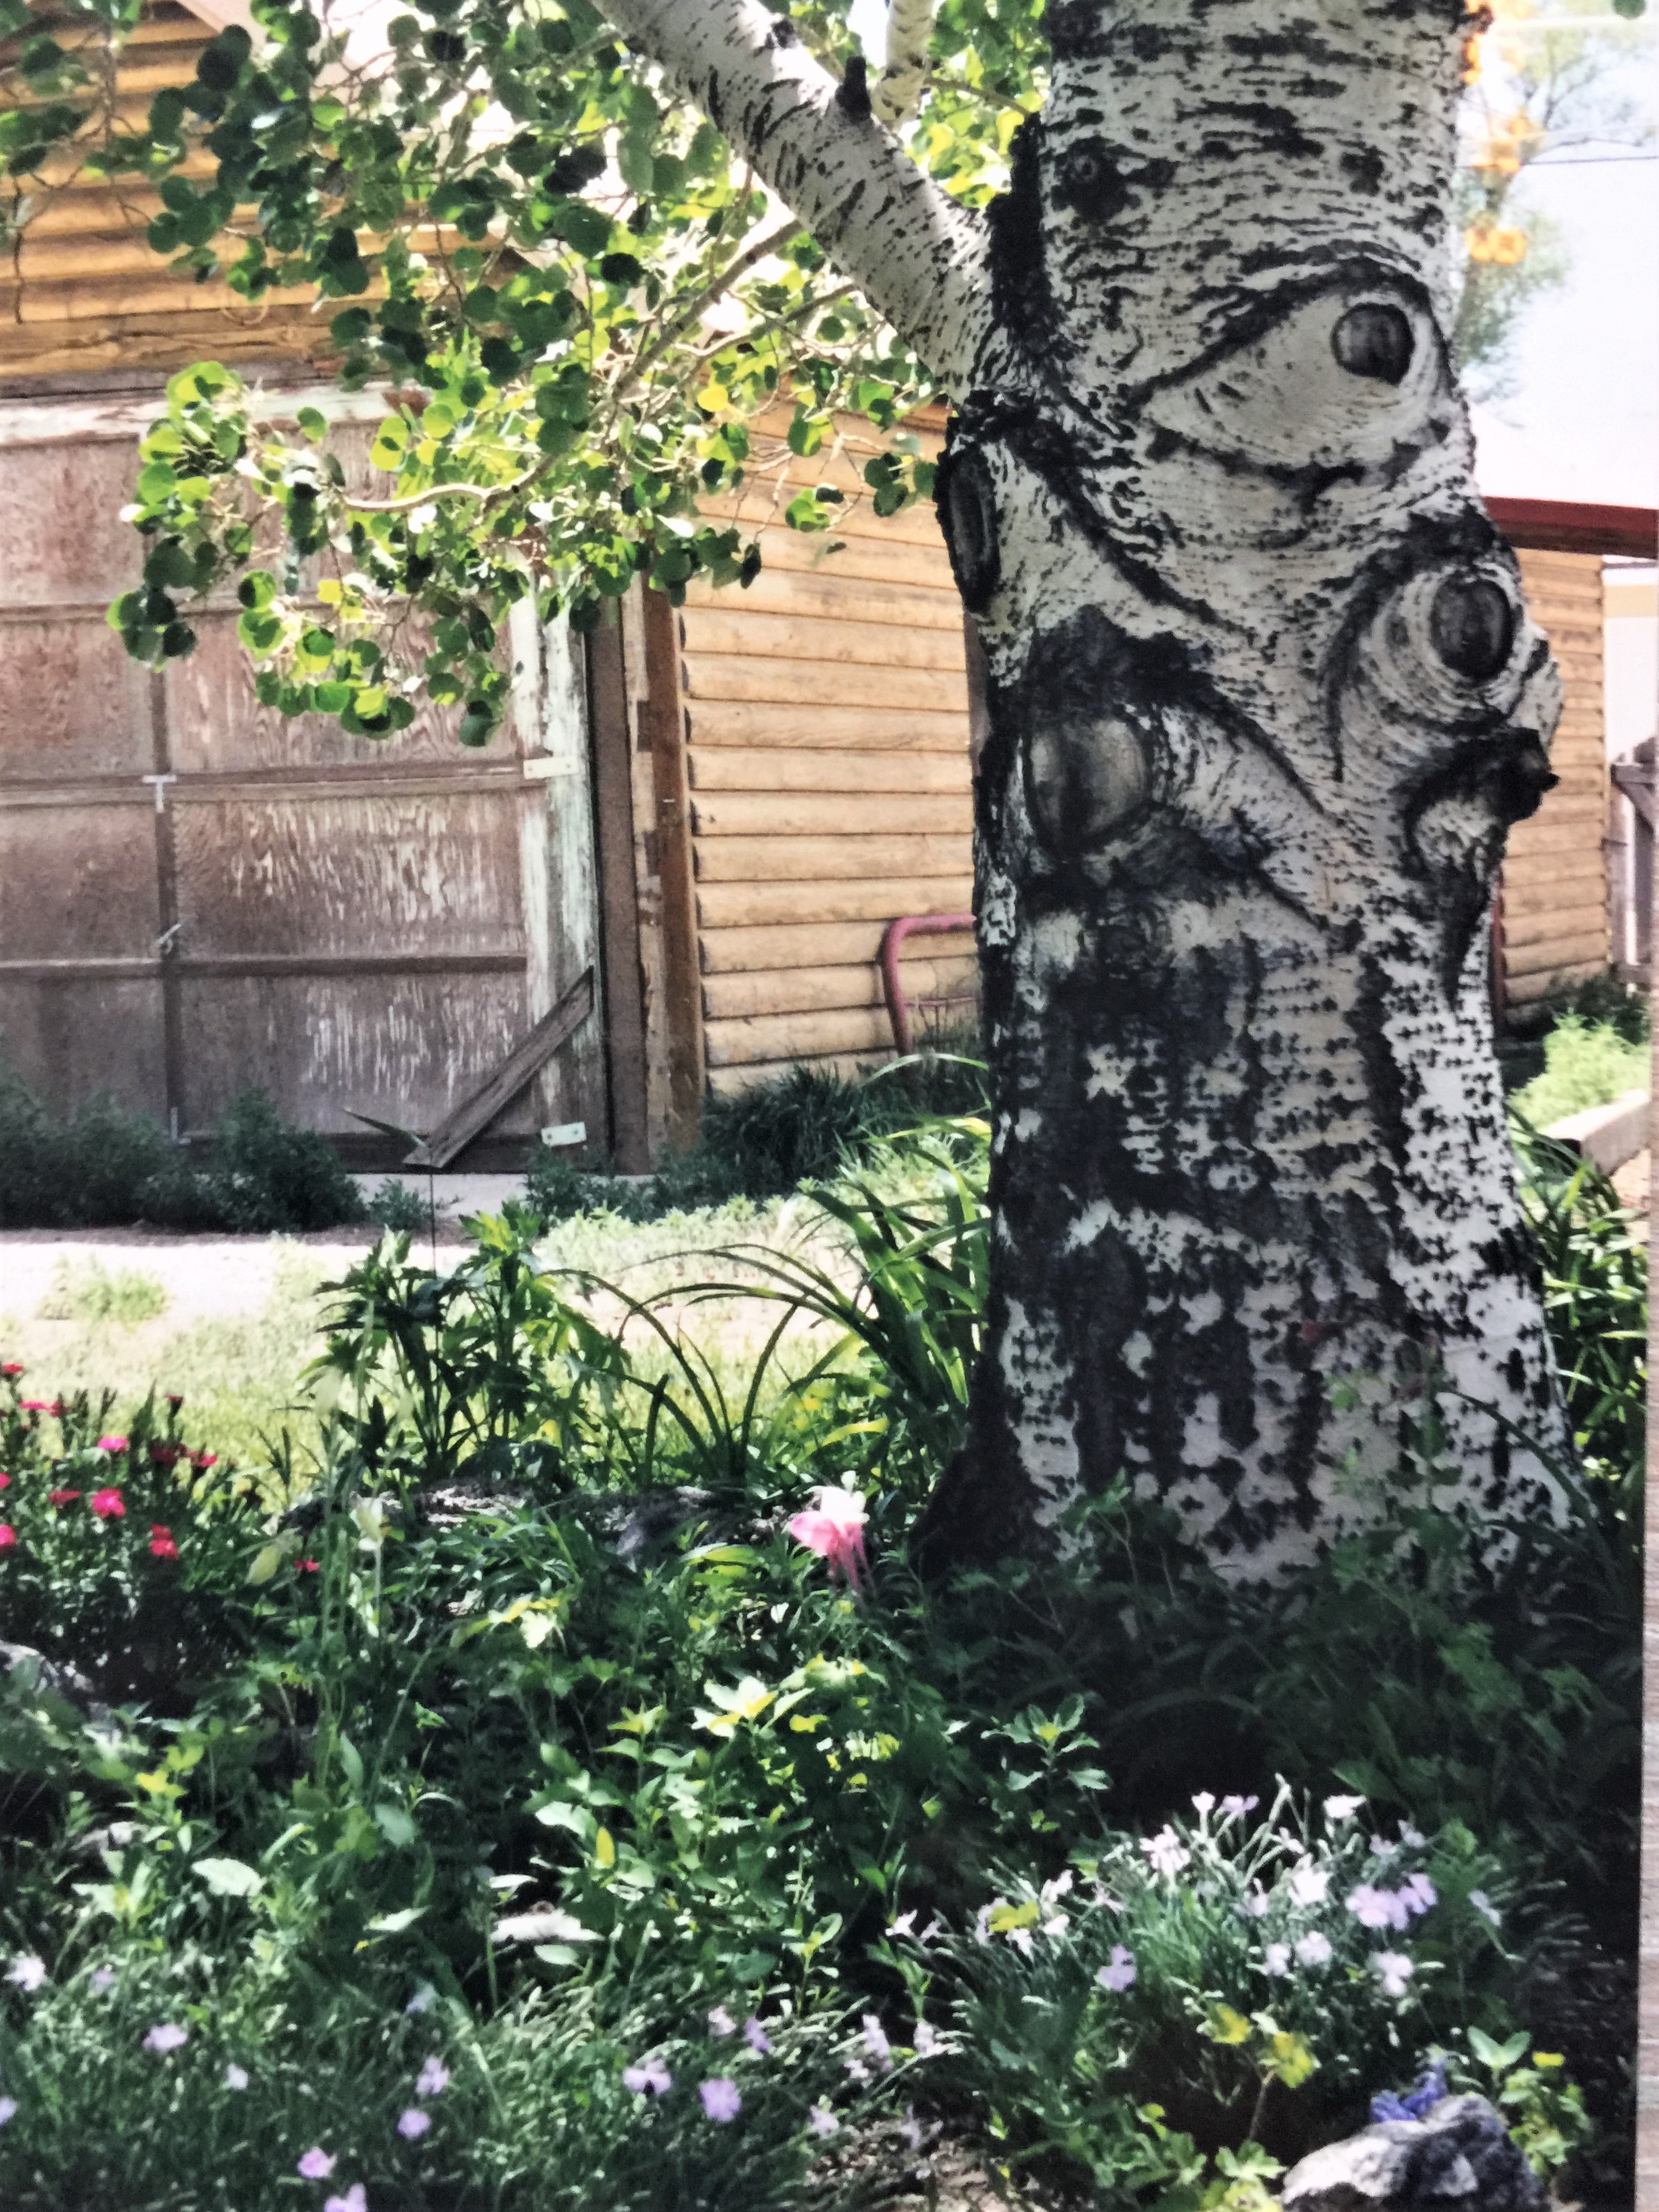
Like many people, I find myself bouncing between feeling grateful and safe to anxious and unsettled, sometimes back and forth all day long. I try to stay occupied and positive throughout the day and look for ways to stay productive and feel like I’m still moving forward. Although this moment in our history will pass, right now it’s important to nurture ourselves with healthy and positive thoughts and activities while we wait for the relief we know is coming. It’s been helpful for me to make a list of activities I can choose from at any given moment, when I need a distraction, feeling bored or looking for ways to focus on all the beautiful things we have in our lives. Today, I’m sharing some of my distractions with you!
Things to do when I need a distraction!
Vacuum 1 room or all rooms
Dust
Wash the interior and/or exterior windows
Re-Organize /Re-Style Bookshelves
Balance Checking Account
Organize any and all closets
Pair food storage containers with lids
Clean out refrigerator/toss expired food and condiments
Clean Baseboards
Swiffer cobwebs
Clean mini-blinds
Update Bathroom with new curtain, towels and bath mat
Cook, try new ingredients and recipes
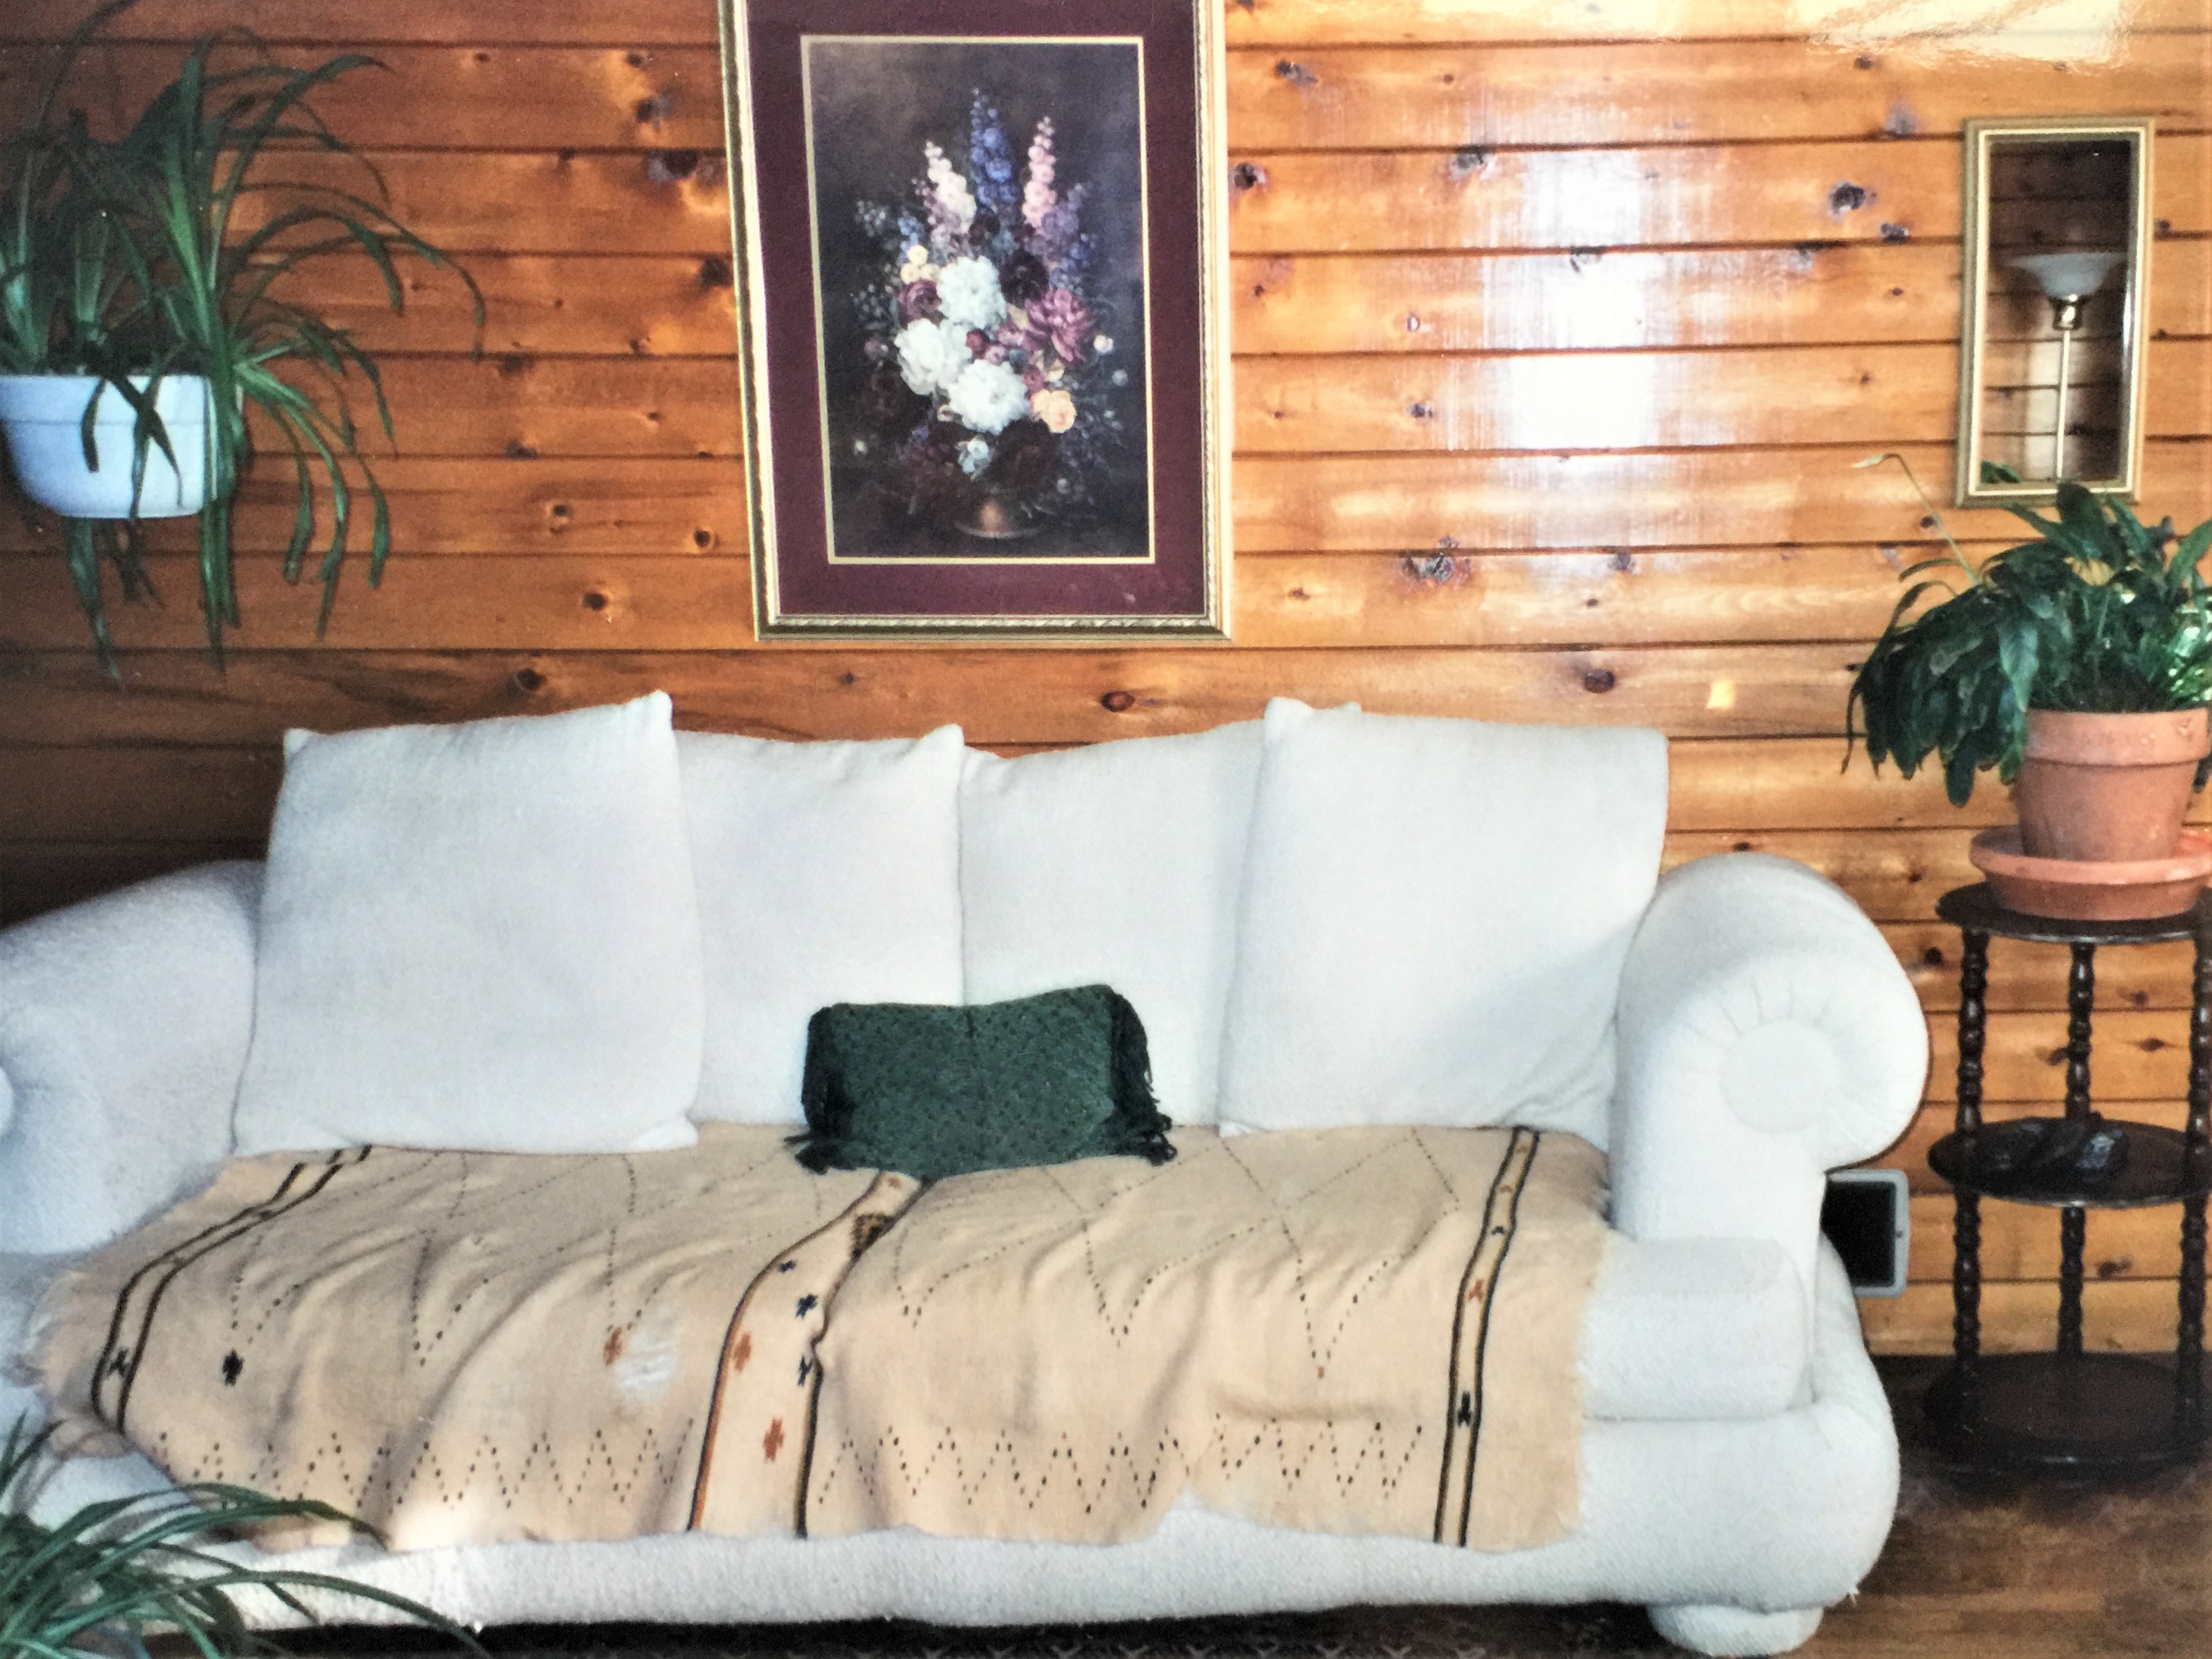
Update Living Room pillows, throws and rugs
Prepare frozen cookie dough for future use and for gifts
Bake for neighbors
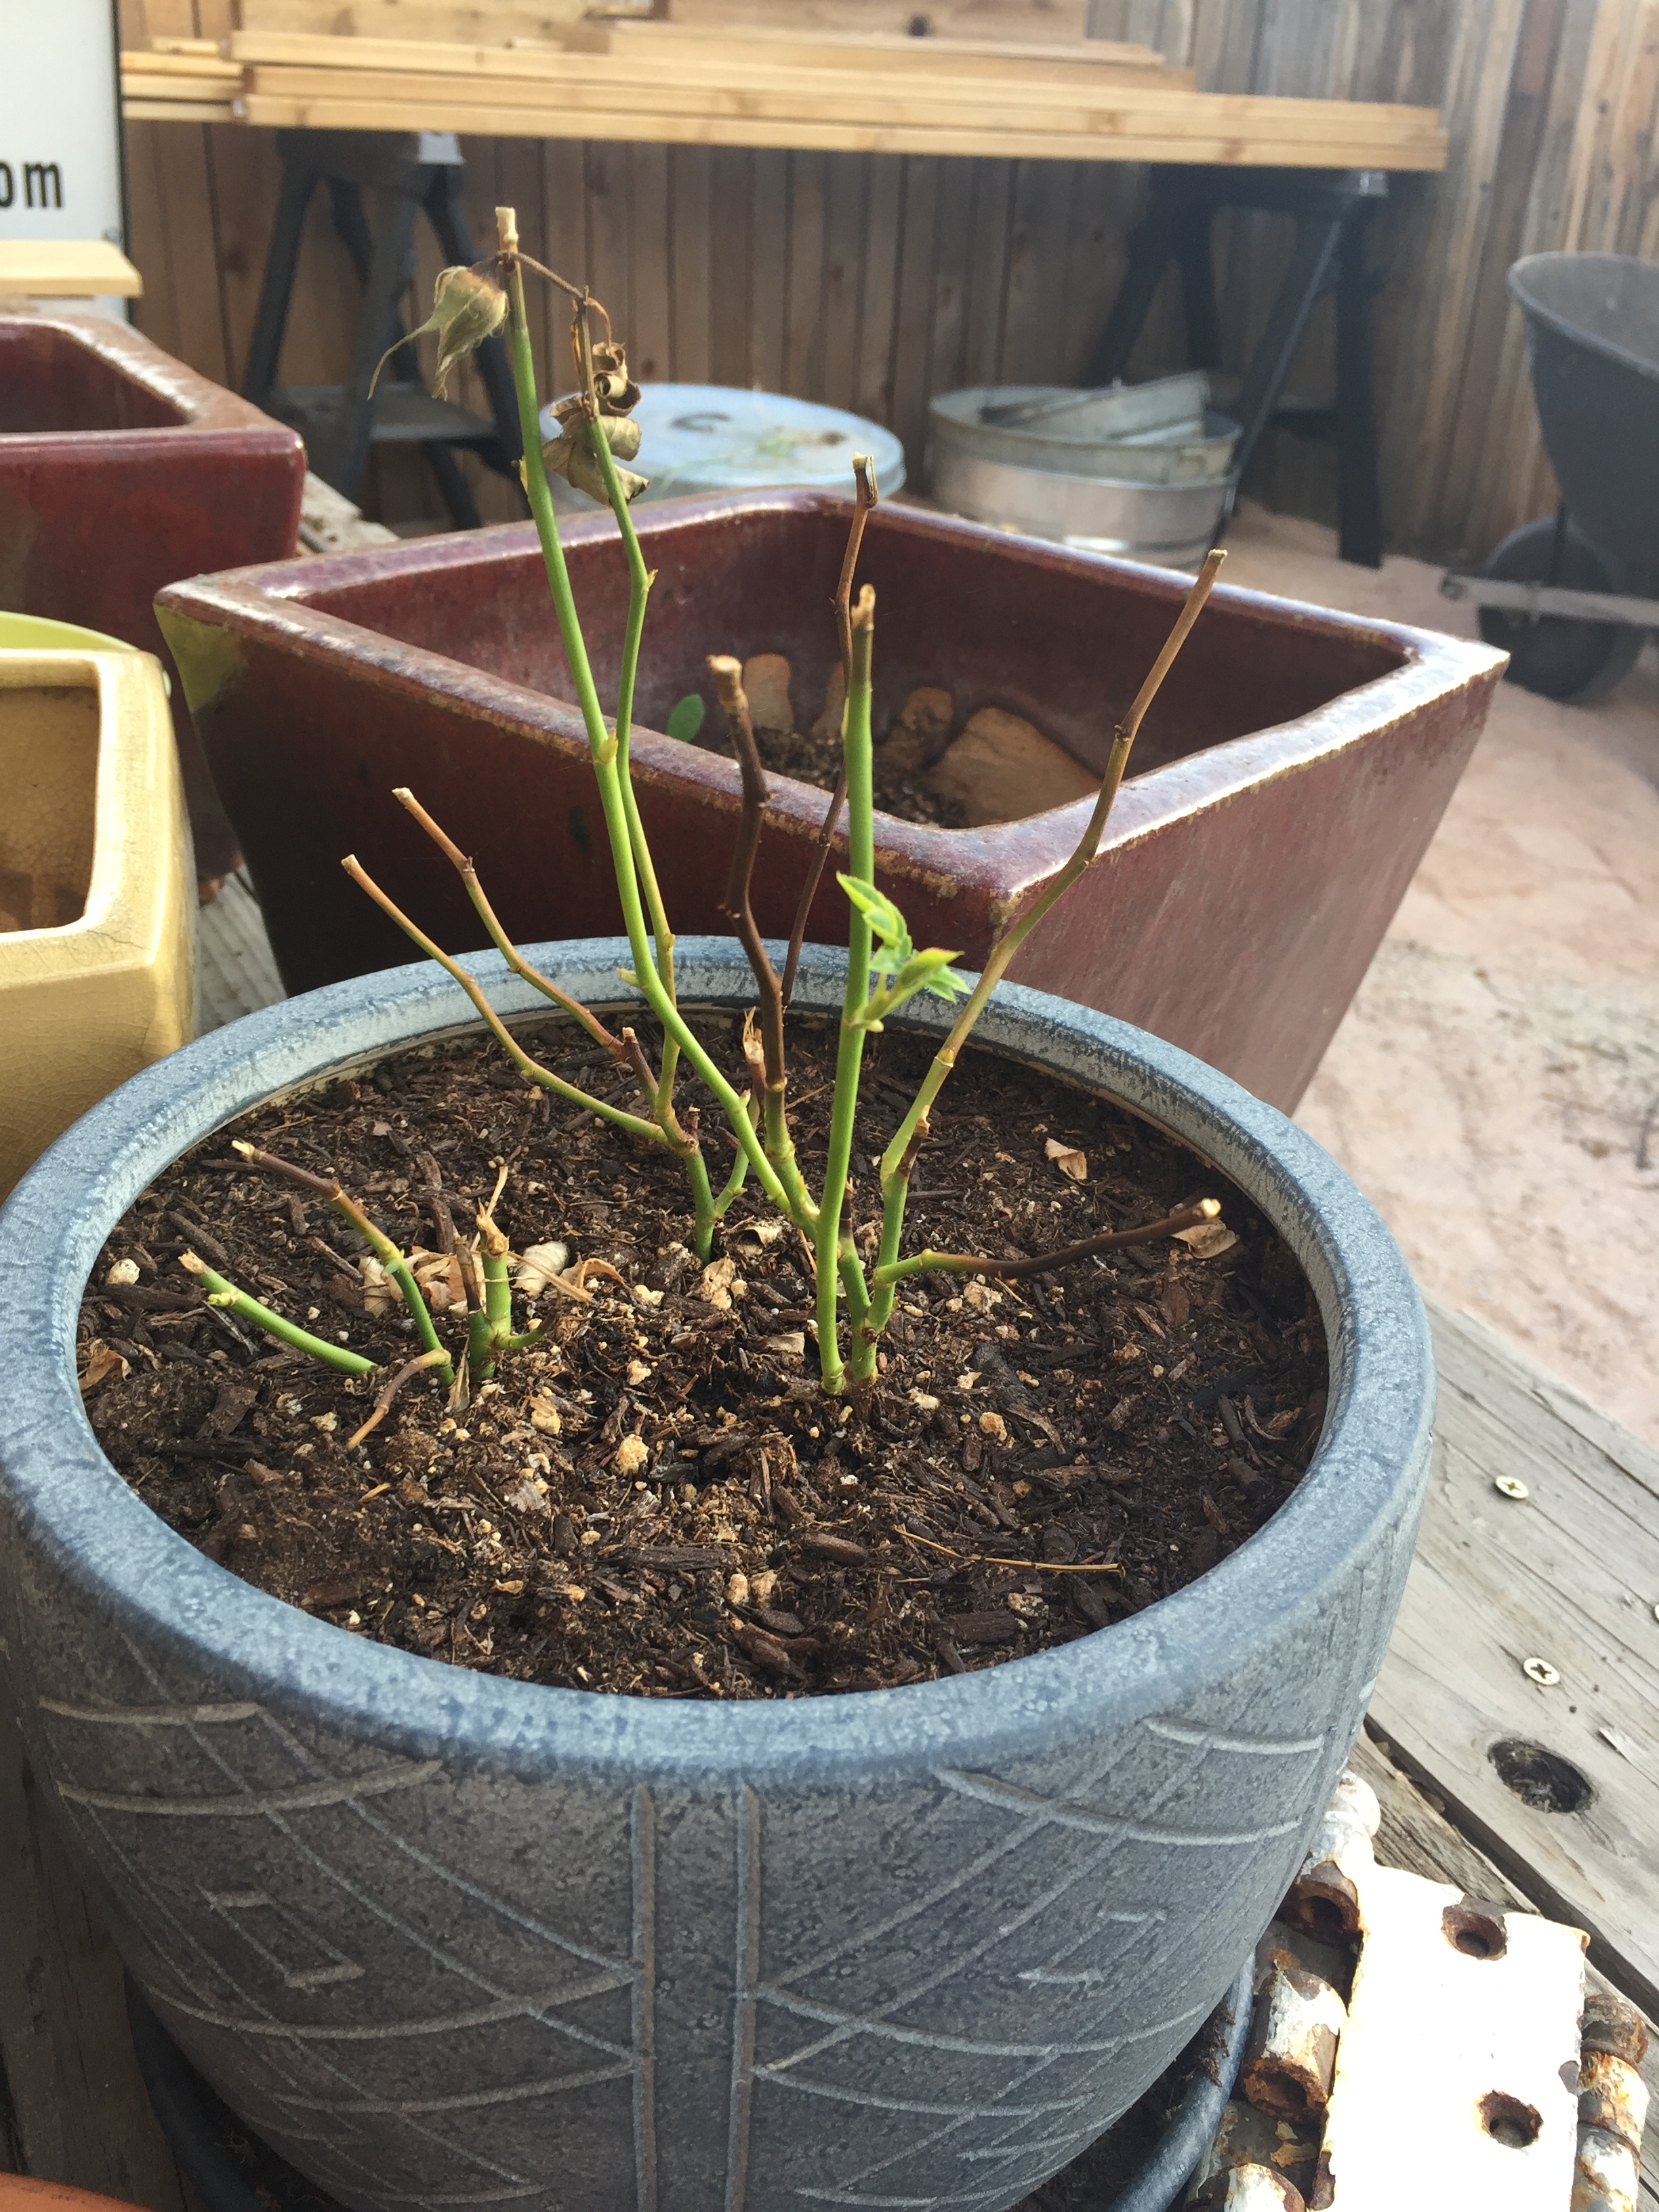
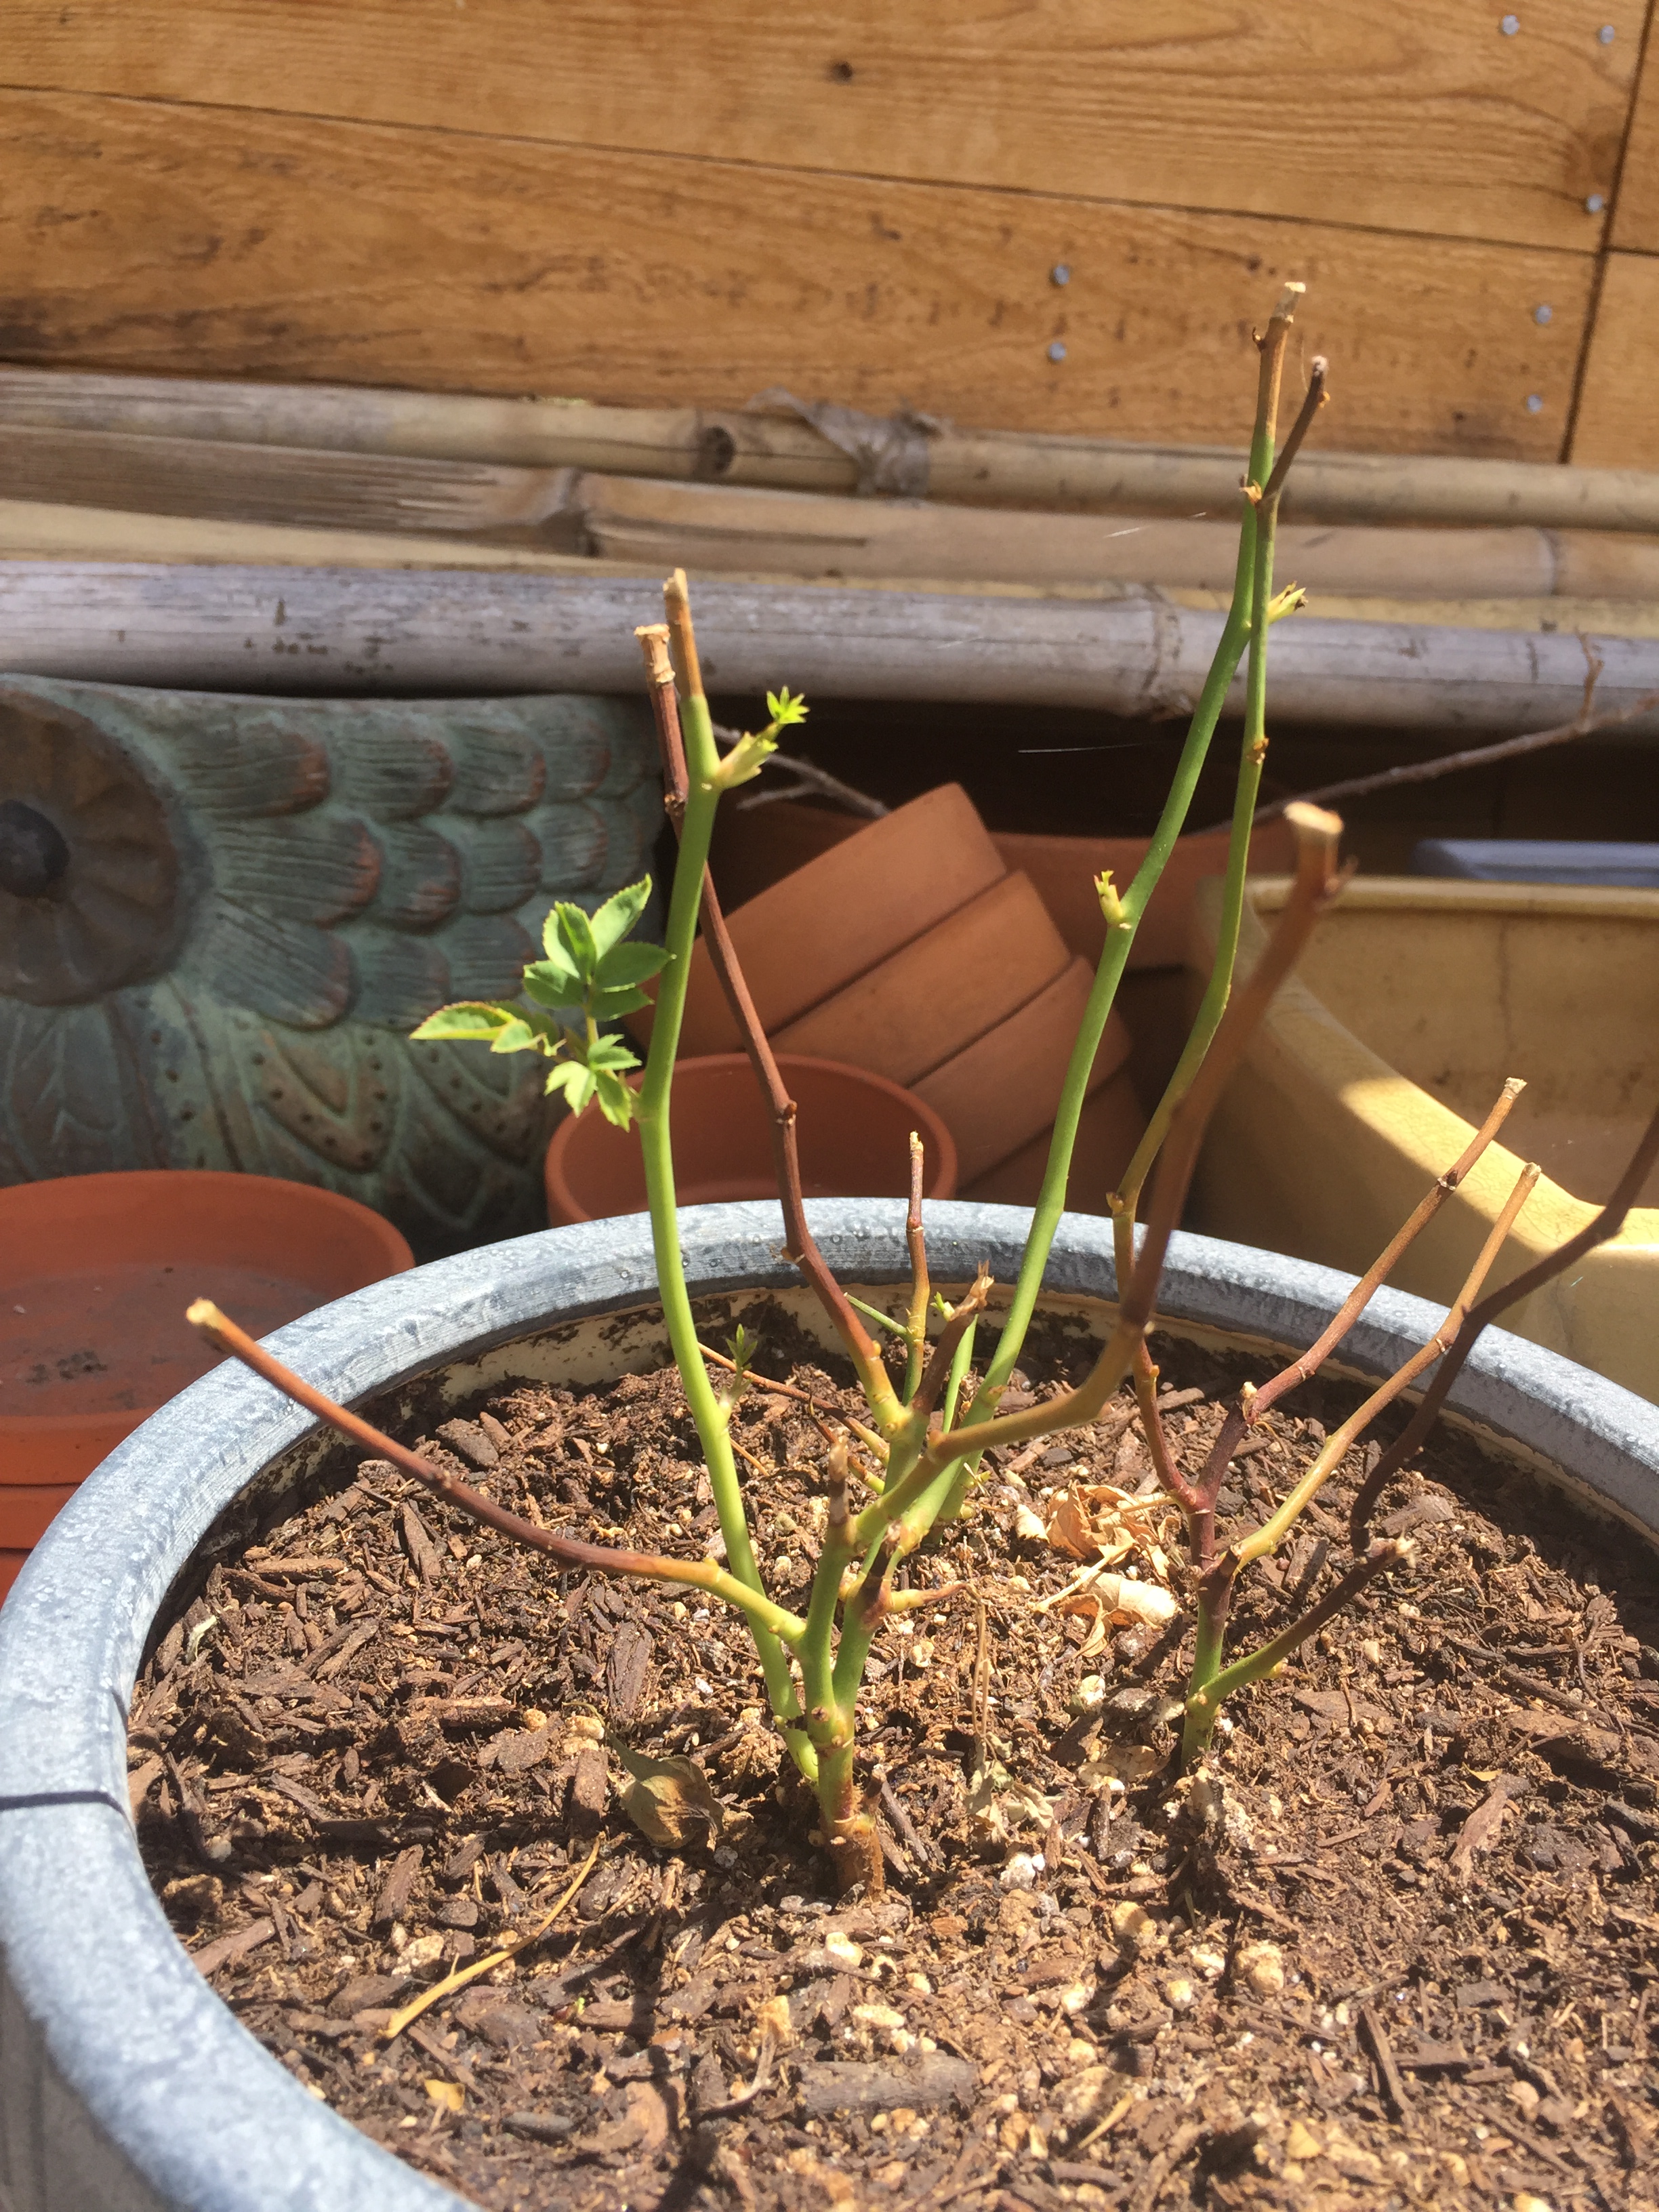
Propagate plant cuttings for spring planting
Write and send cards to friends or neighbors
Do sit/stand exercises, use a resistance cord while watching TV
Do a set of crunches and sit ups
Shave your Sweaters
Mend/repair Clothing
Switch out your sheets/bedding for the season
Rearrange framed photos or update the frames and matting
Kiss your pet
Clean your ceiling fans
Paint old furniture
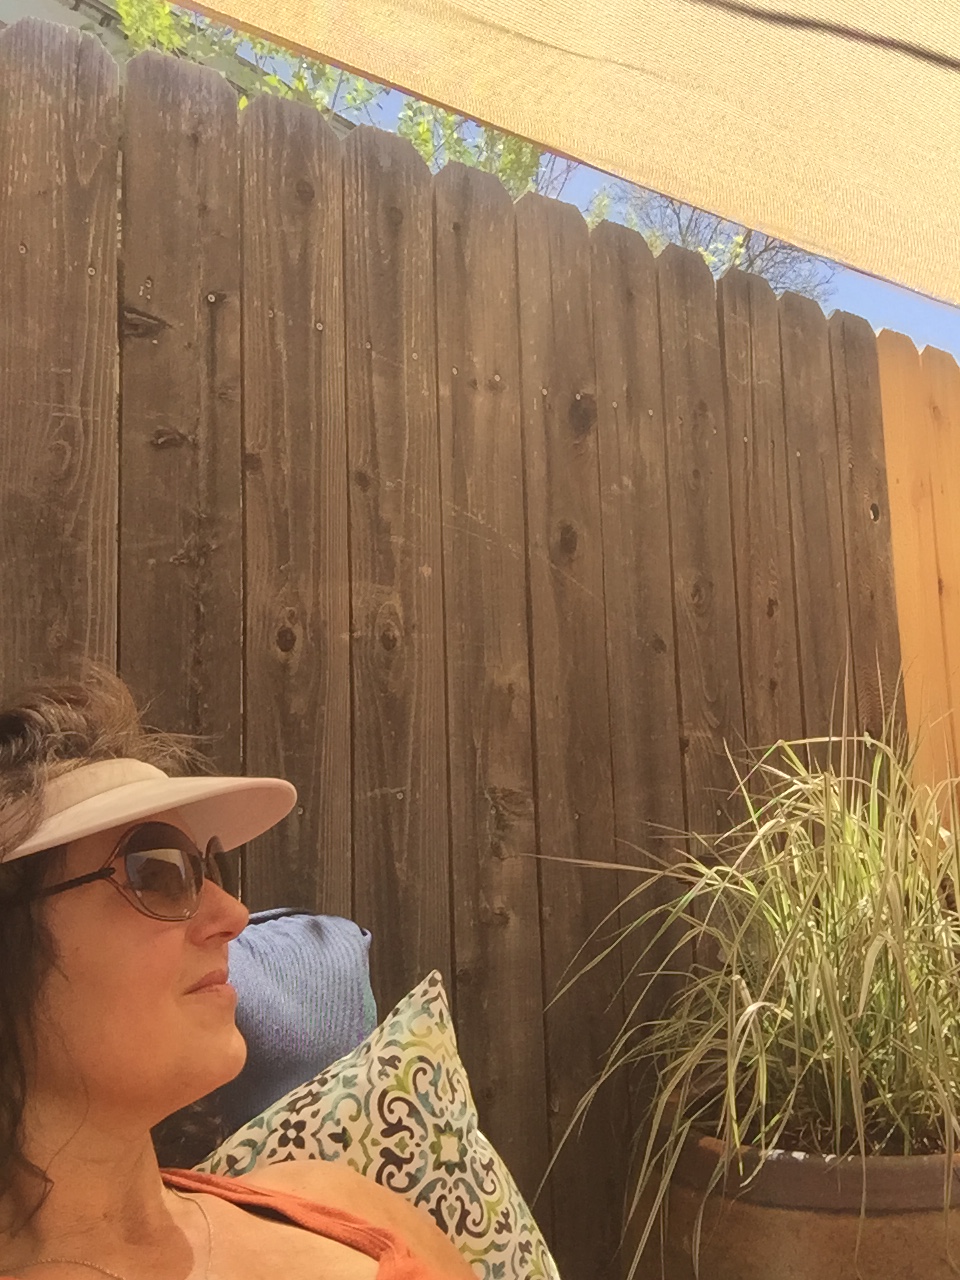
Sit in the sun for 15 minutes each day
Write in a journal
List all the things your grateful for
laugh as hard as you can, until your crying, if possible
Give yourself a manicure/pedicure, beard trim, bang trim
Do yoga
Try a DIY new haircolor, if your brave
Re-organize your laundry area/kitchen cabinets/spices/ under the sink
Be outside for at least 15 minutes a day
Create a daily “tea time” to look forward to, sit and relax for a few minutes
Text your Mom or better, call her
Find a topic to research and learn about it
Learn or brush up on a language, other than your 1st language
Do a puzzle
Paint or draw a picture, write a poem
Bathe your pet
Take a walk
Dry fresh herbs
Use your least favorite piece of clothing and work it into a great outfit. Or get rid of it!
Donate to a recycling center
Drink more water
Decorate your home entrance
Buy fresh flowers
Pick an ingredient and research a new recipe to include it
Rent a steam cleaner and clean your rugs and upholstery
Rotate your mattress
Change your furnace filter
Move your furniture around or repurpose it
Lose 5 pounds
Make a Dentist or Dr. appt, if you’ve been putting it off
Name any wildlife you see from your home or yard
Look online for homes for sale in your area to see what your house is worth
Throw a ball for your dog
Go to bed early
Do something that intimidates you and gain confidence
Apologize for something that you keep thinking about
Pick up a new hobby or return to an old hobby
Give yourself a break- You’re doing the best you can
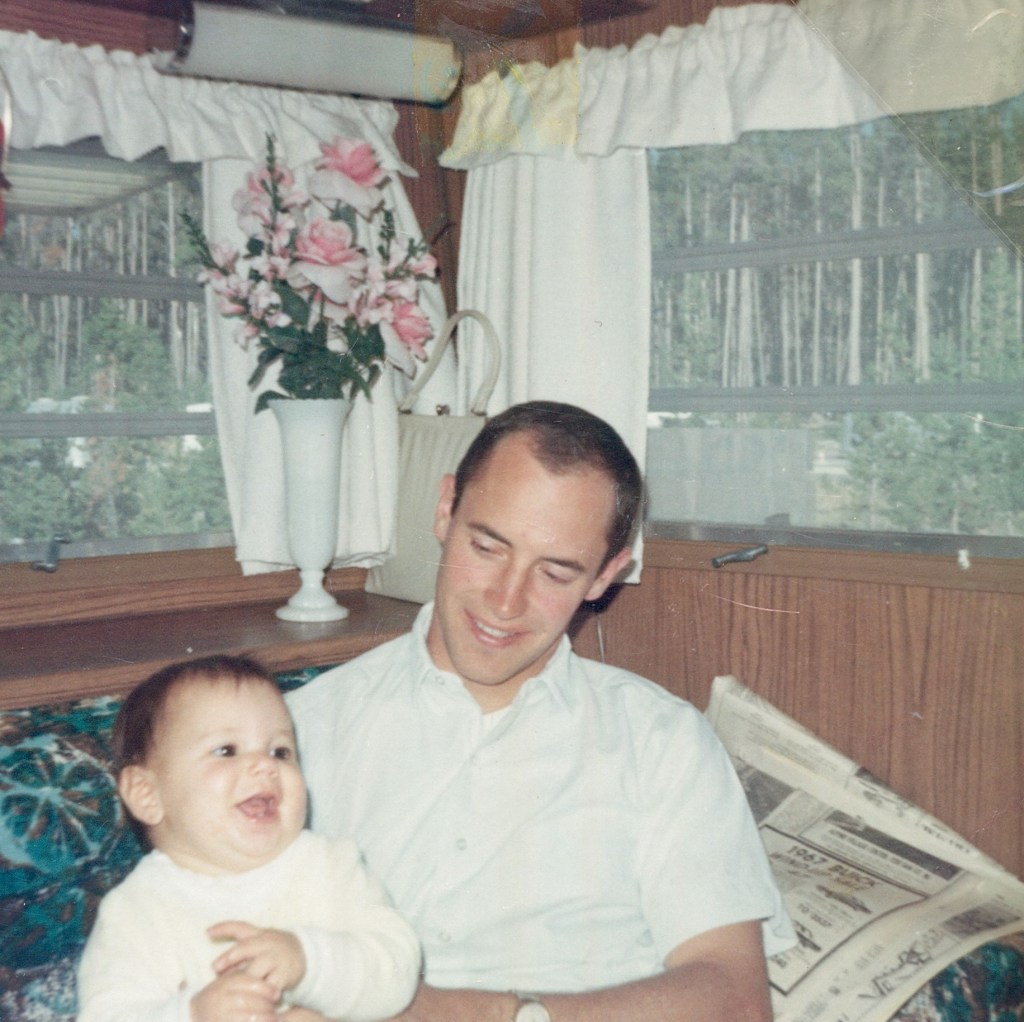
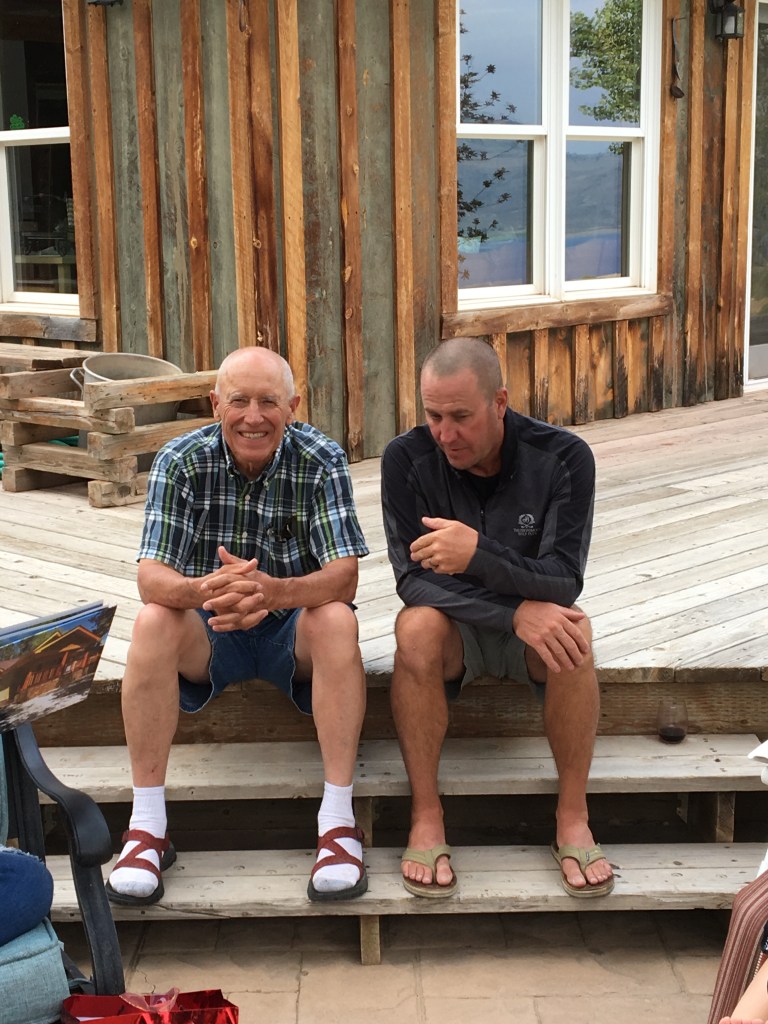
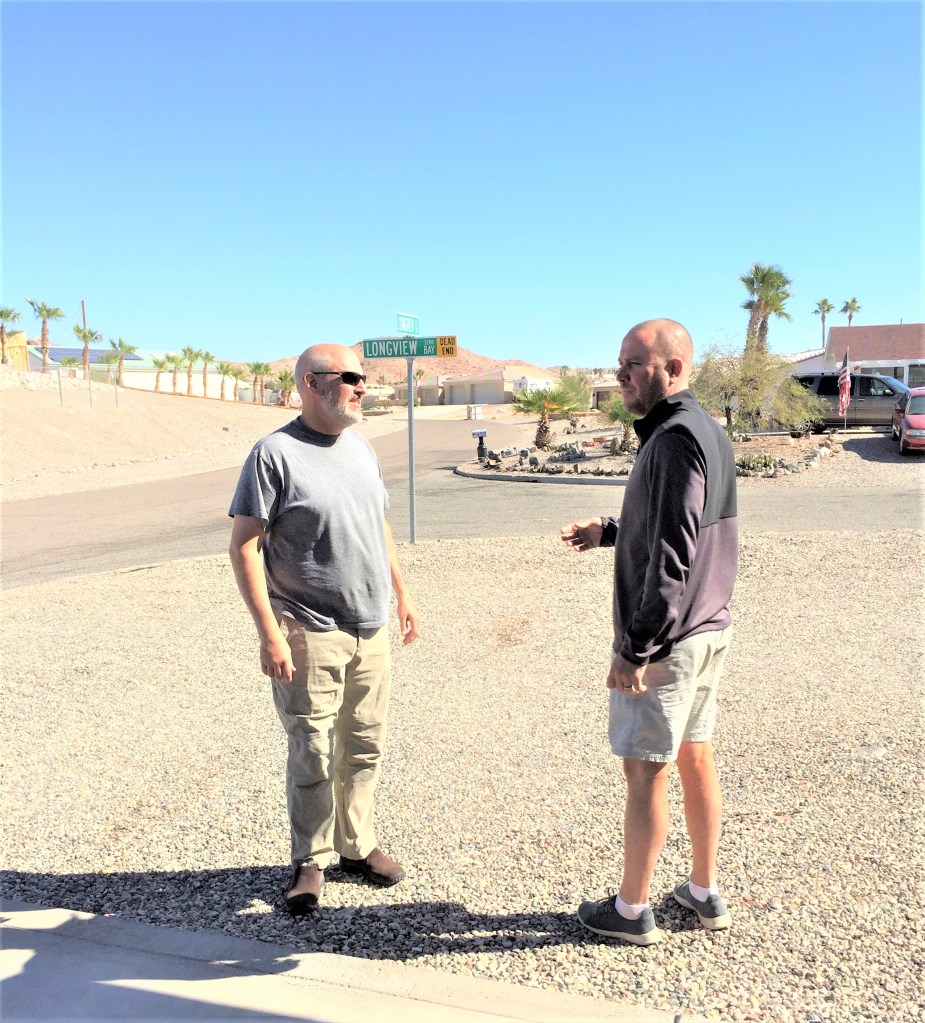
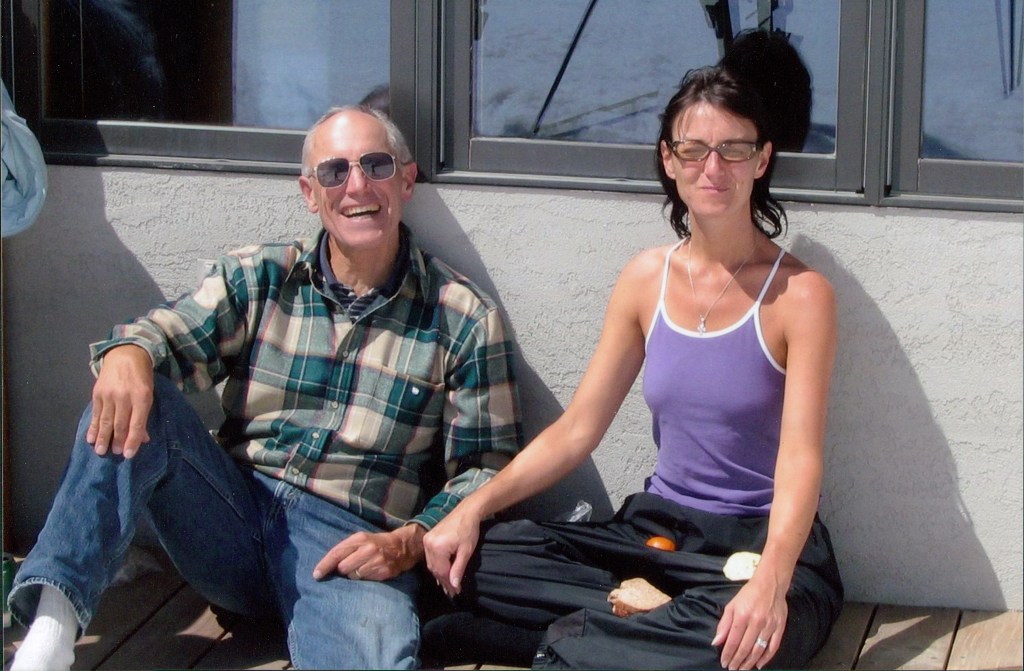
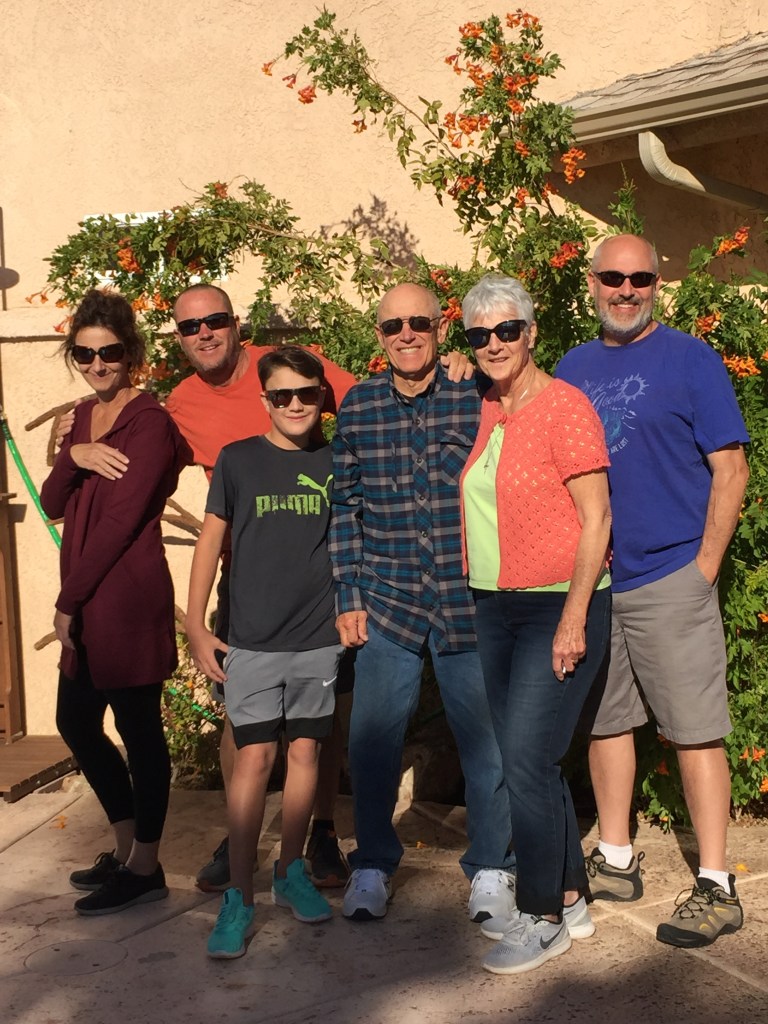
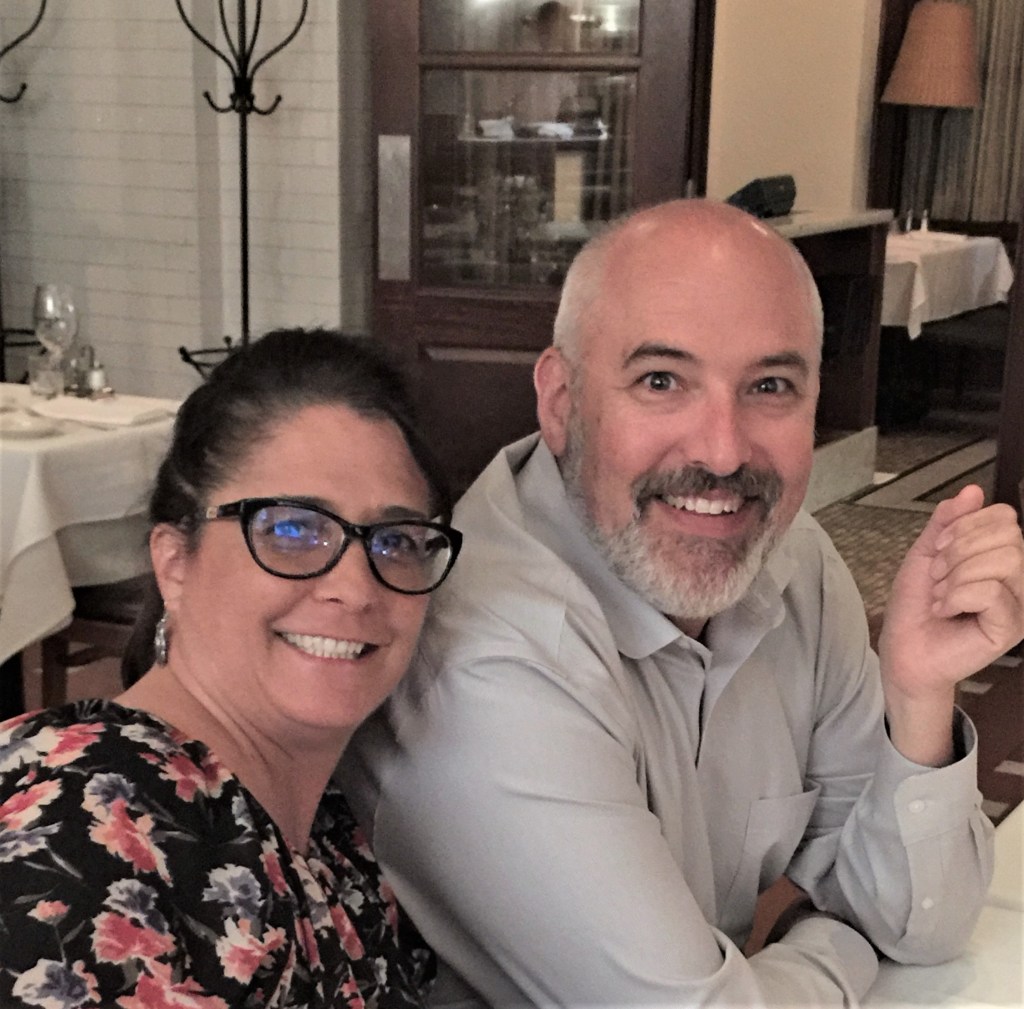
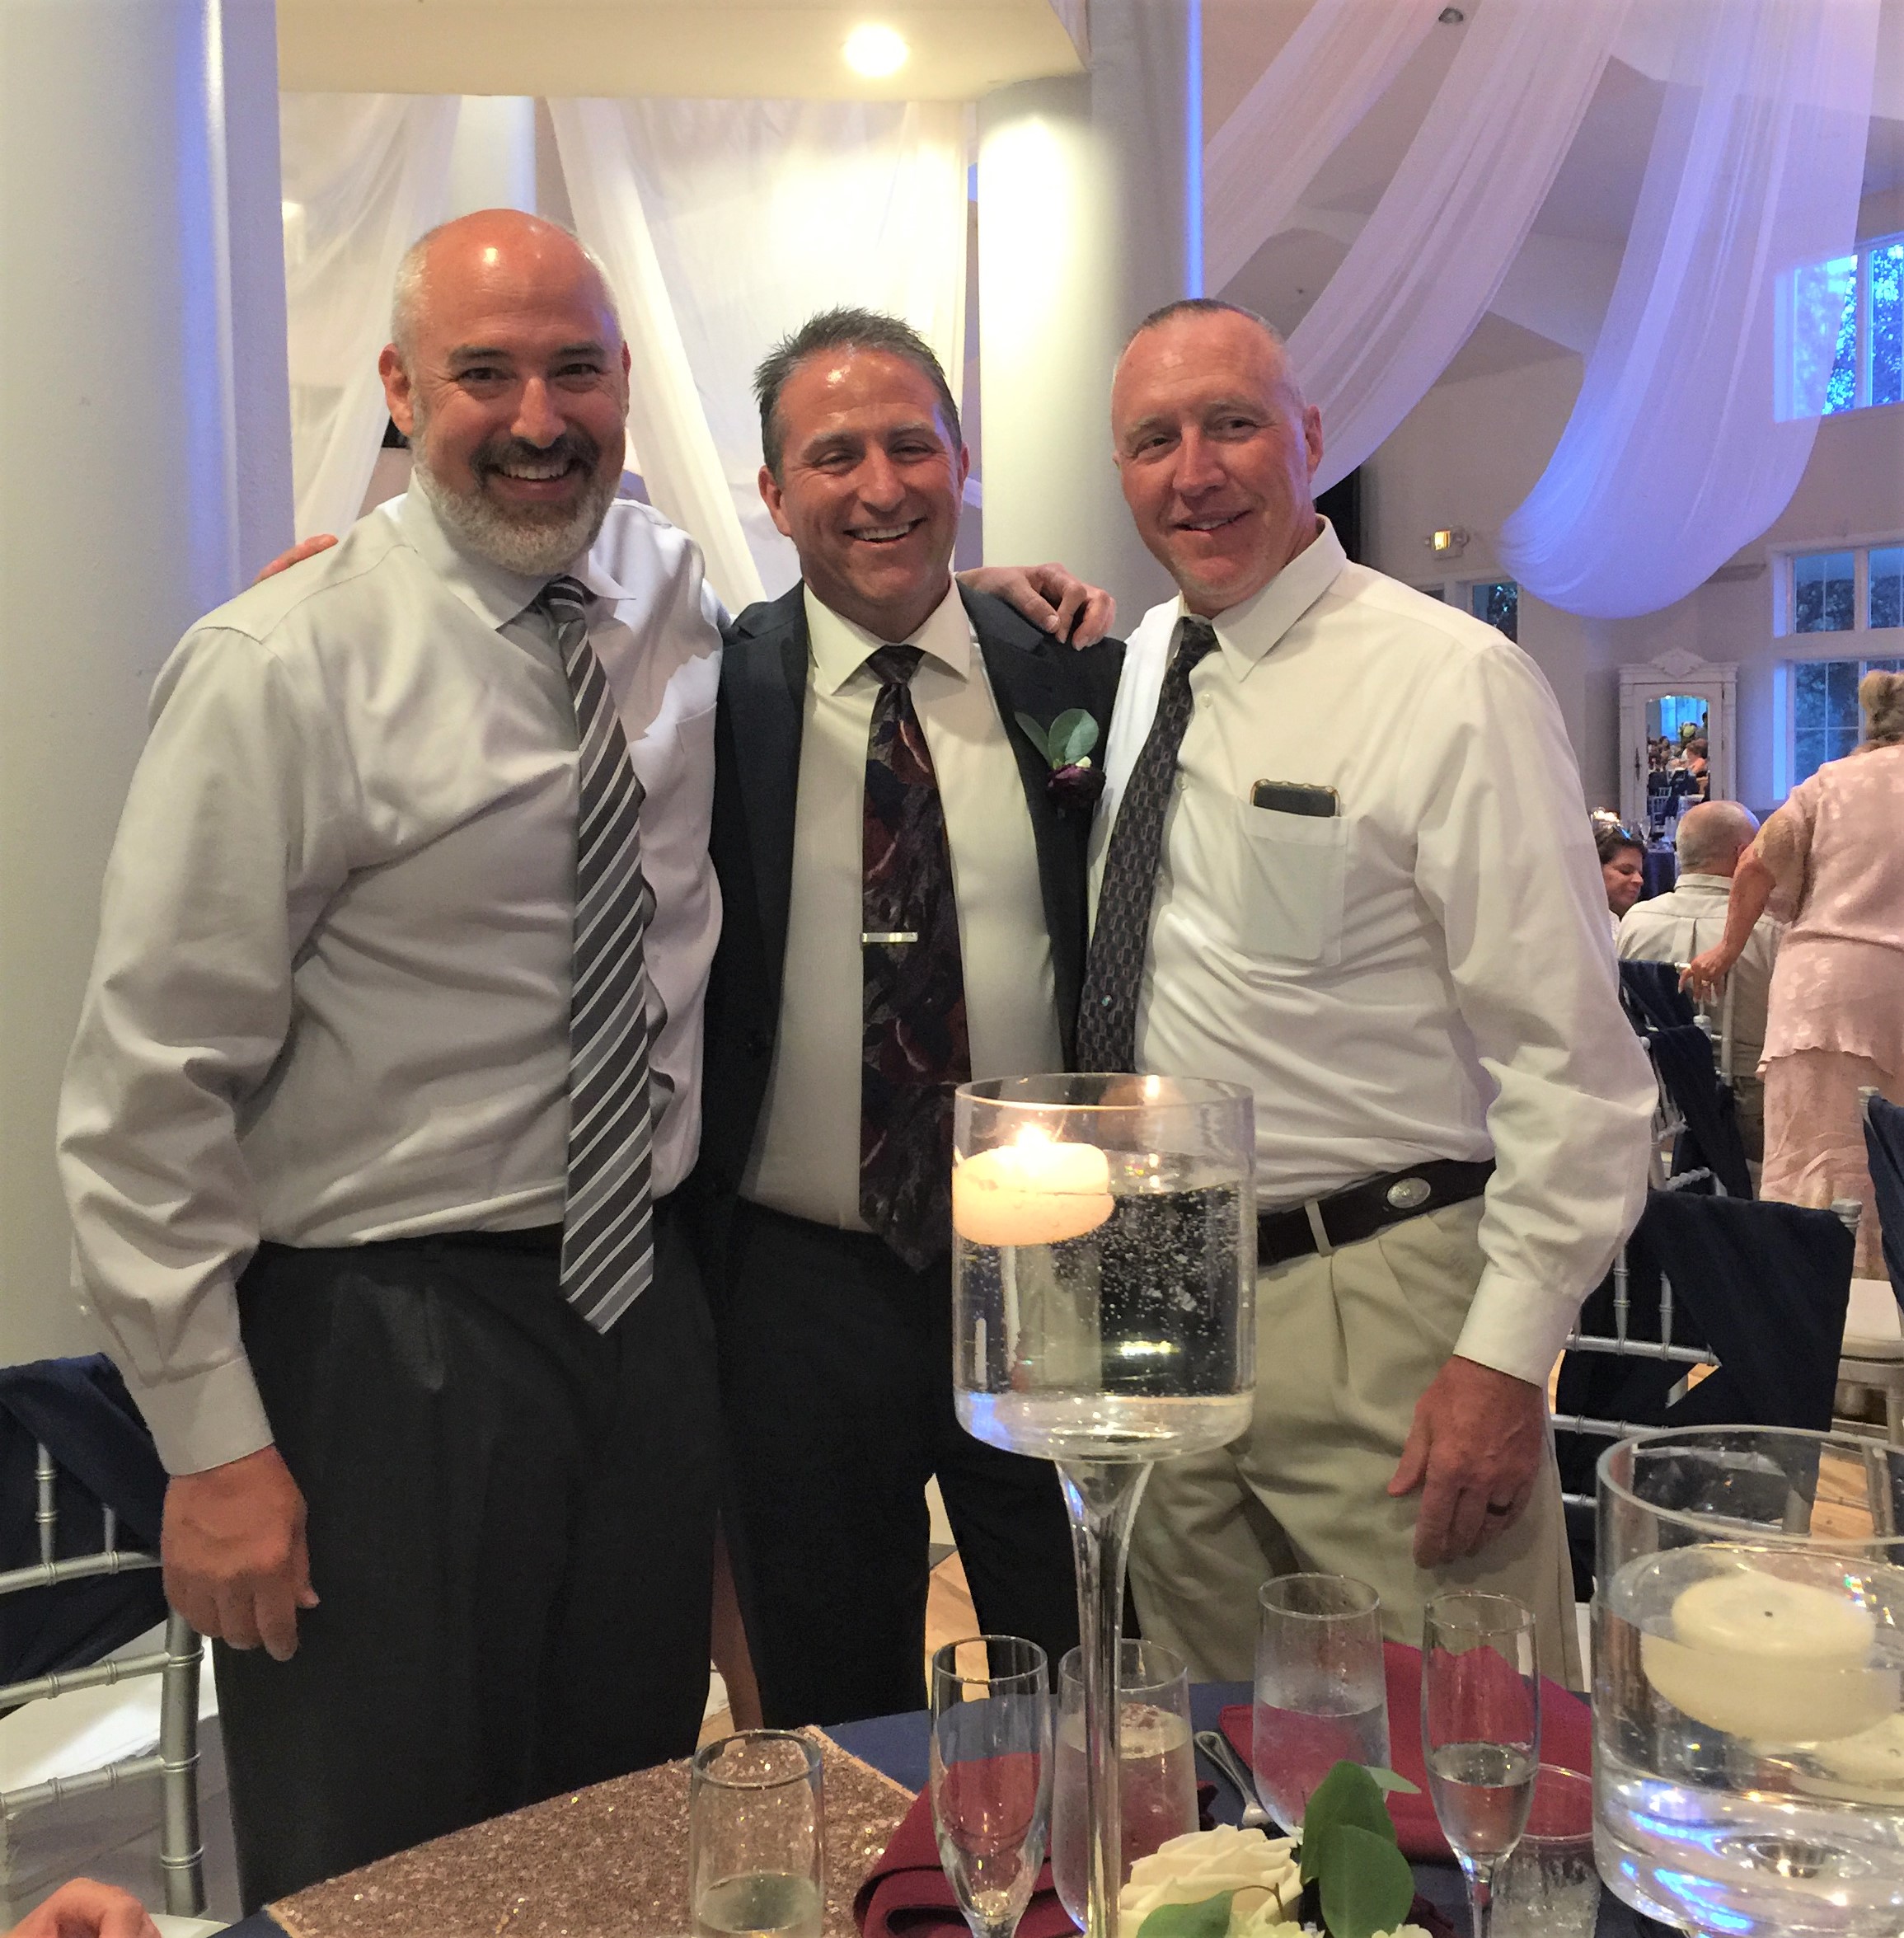
Being “Dad” is a tough job! You’re expected to save the world, have all the answers, show no fear and participate in occasional tea parties. These good guys have mastered all these challenges and more! Thanks to all 3 for doing a great job being Dad!
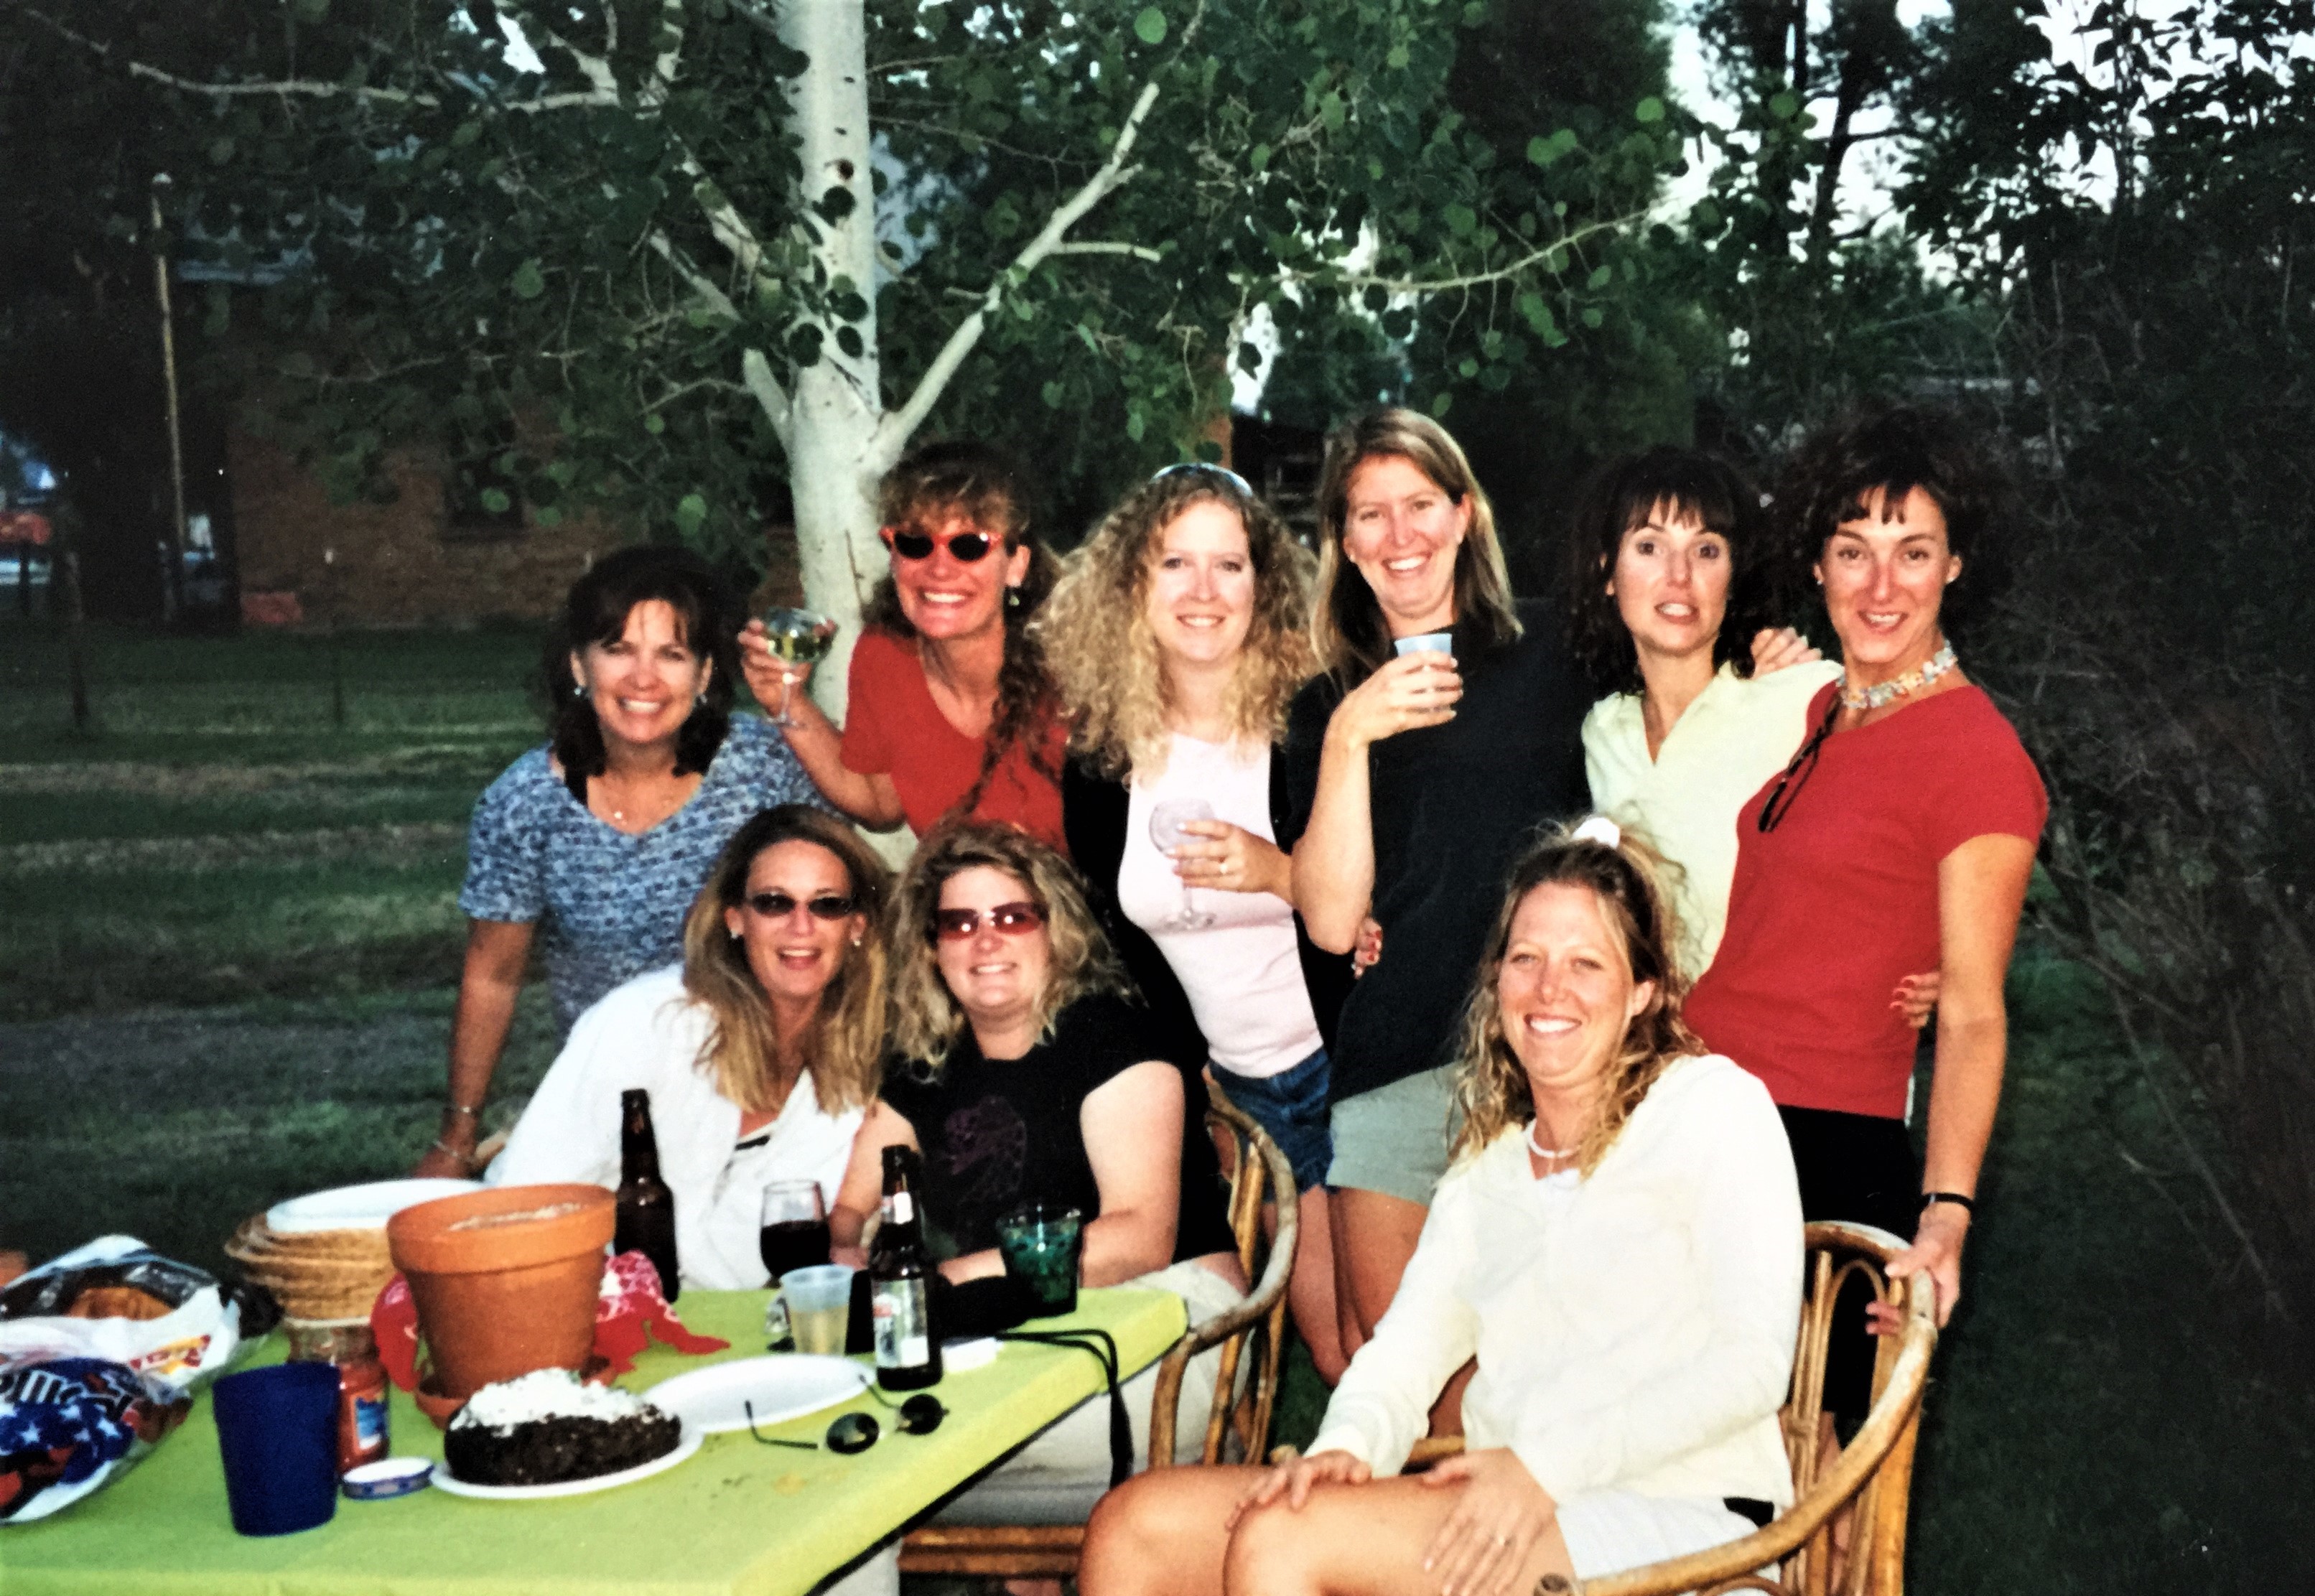
Mark, Dad and Michael grabbing lunch on Lake Havasu, AZMichael and Dad with newborn, Lauren PaigeSusie, Preston and Mark on Blue MesaDad and I in Yellowstone National ParkDad and Mark at Blue MesaMichael and Mark in Lake HavasuDad and Susie in Crested ButteMichael and Dad in Moab, UTMark, Susie (posing as a turtle) and Ryan in Telluride, COMom, Michael, Lauren and Kasey in Island Park, Id
Kasey and Michael in Broomfield, CO
Mark and Preston, Lake Havasu, AZSusie and Dad in Crested Butte, COLauren lending a comb over to her dad.Dad’s 75th Birthday celebration in St. George, UT
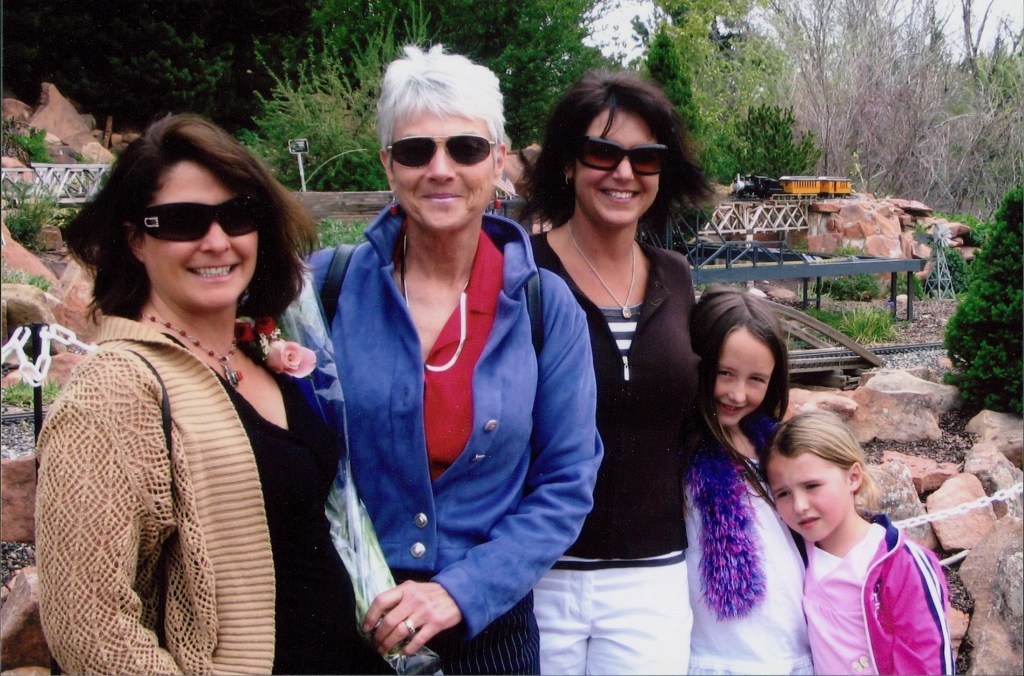
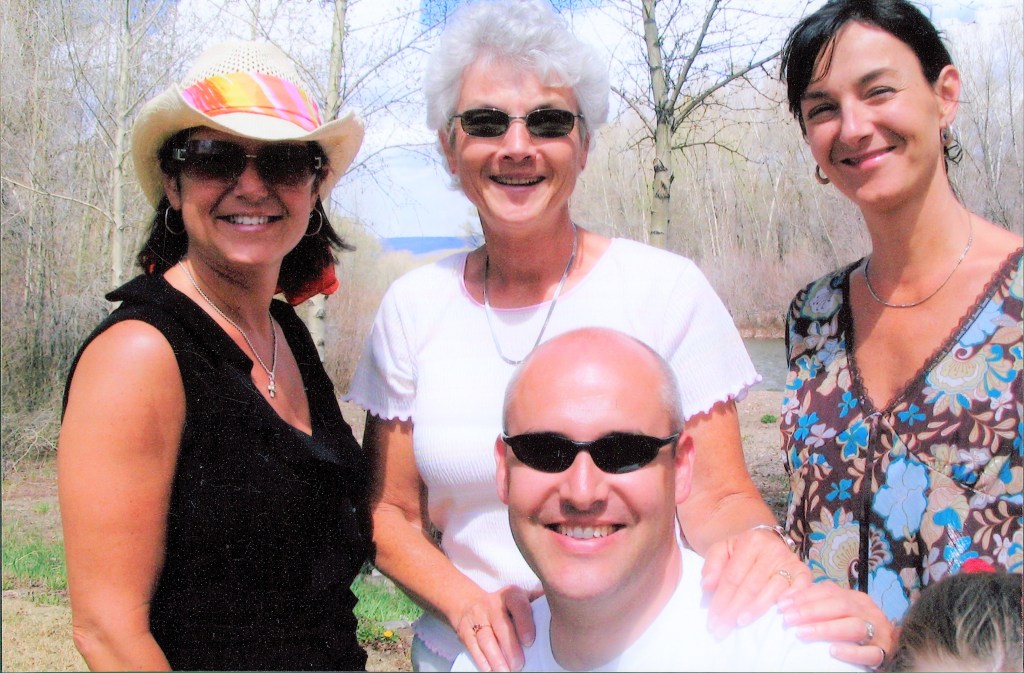
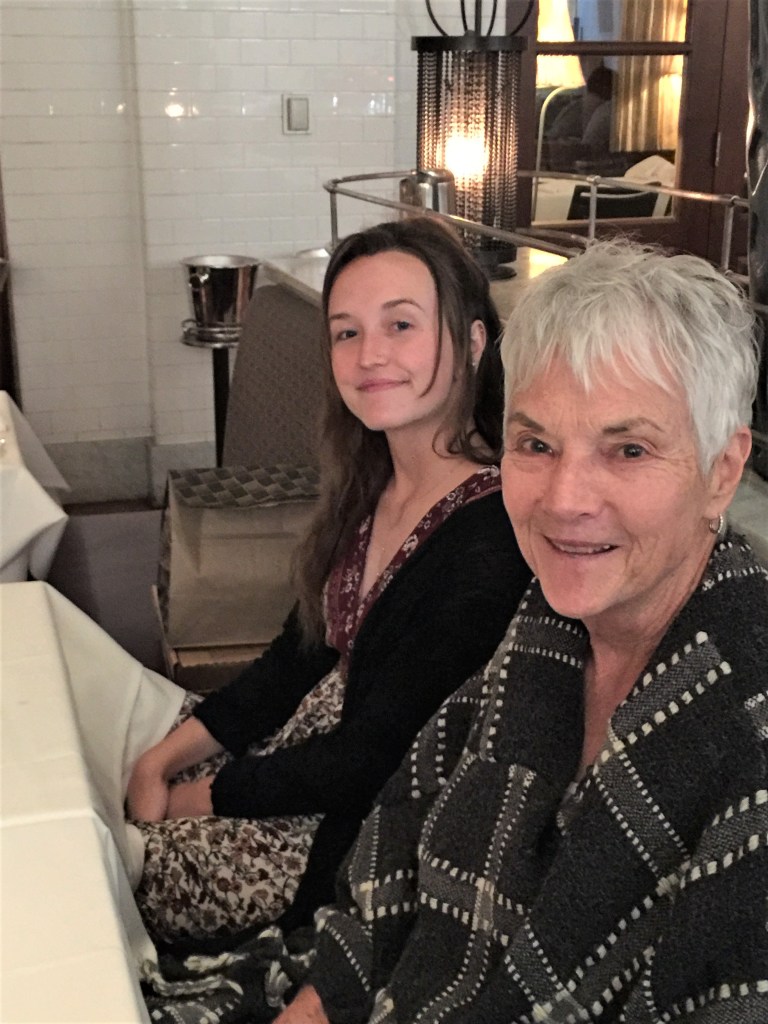
This time alone has sharpened my appreciation for family and friends. Realizing how much we depend on each other, especially during challenging times is a great reminder of what is important in our lives. I’m so grateful for my own Mom, my sister and Sister in Law! Happy Mother’s Day to all the mothers out there, living and passed. ❤❤❤
Mother’s Day 2009, Hudson Gardens, Littleton, CO
Celebrating Mom and Susie’s birthdays in November 2019, Lake Havasu, AZ.
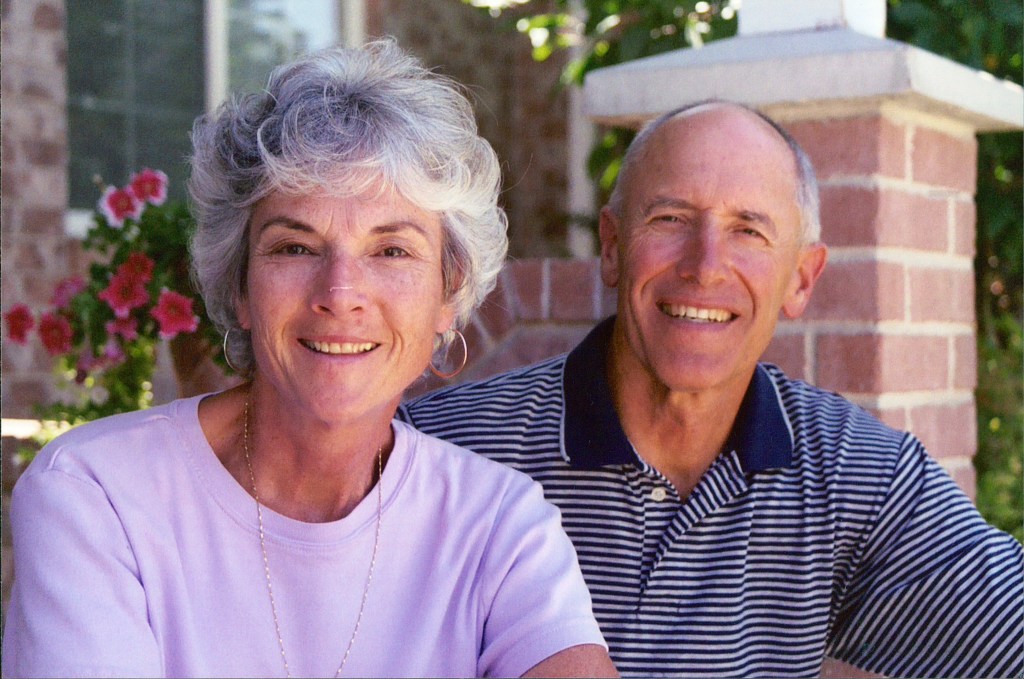
Mom with her favorite man in the world!
Mom with her kids, 2003 Gunnison, CO.
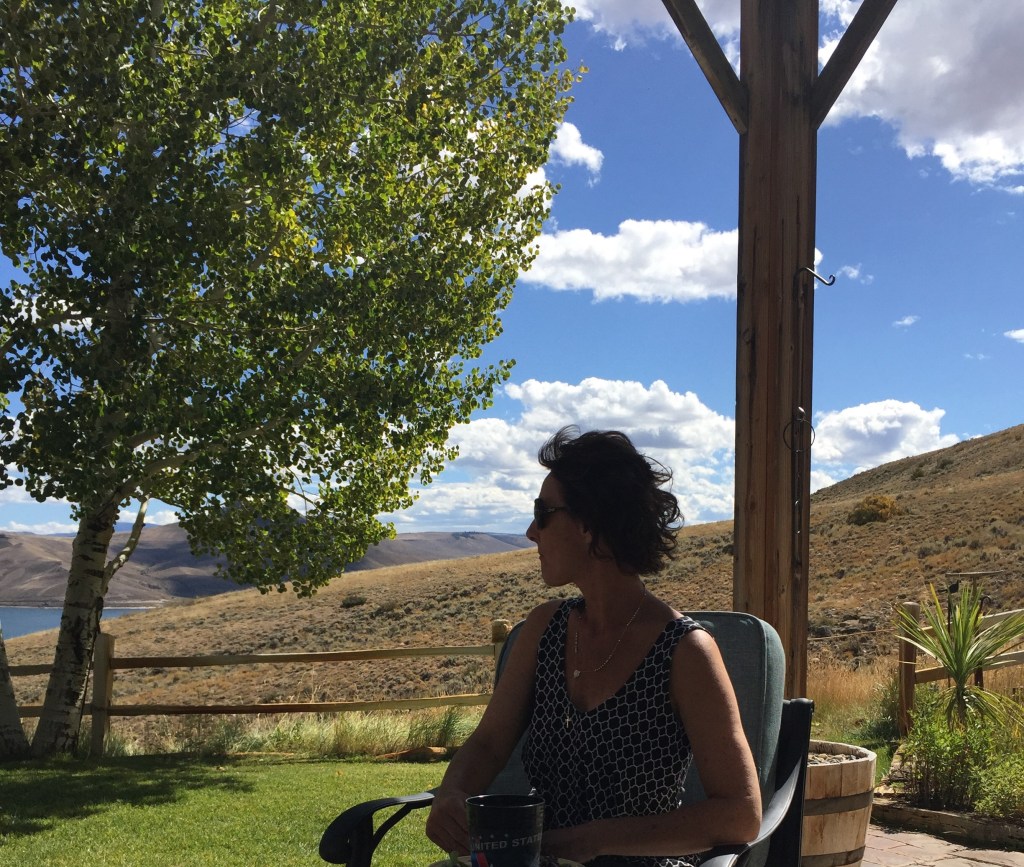
Susie at home, 2019 Blue Mesa, Gunnison, CO
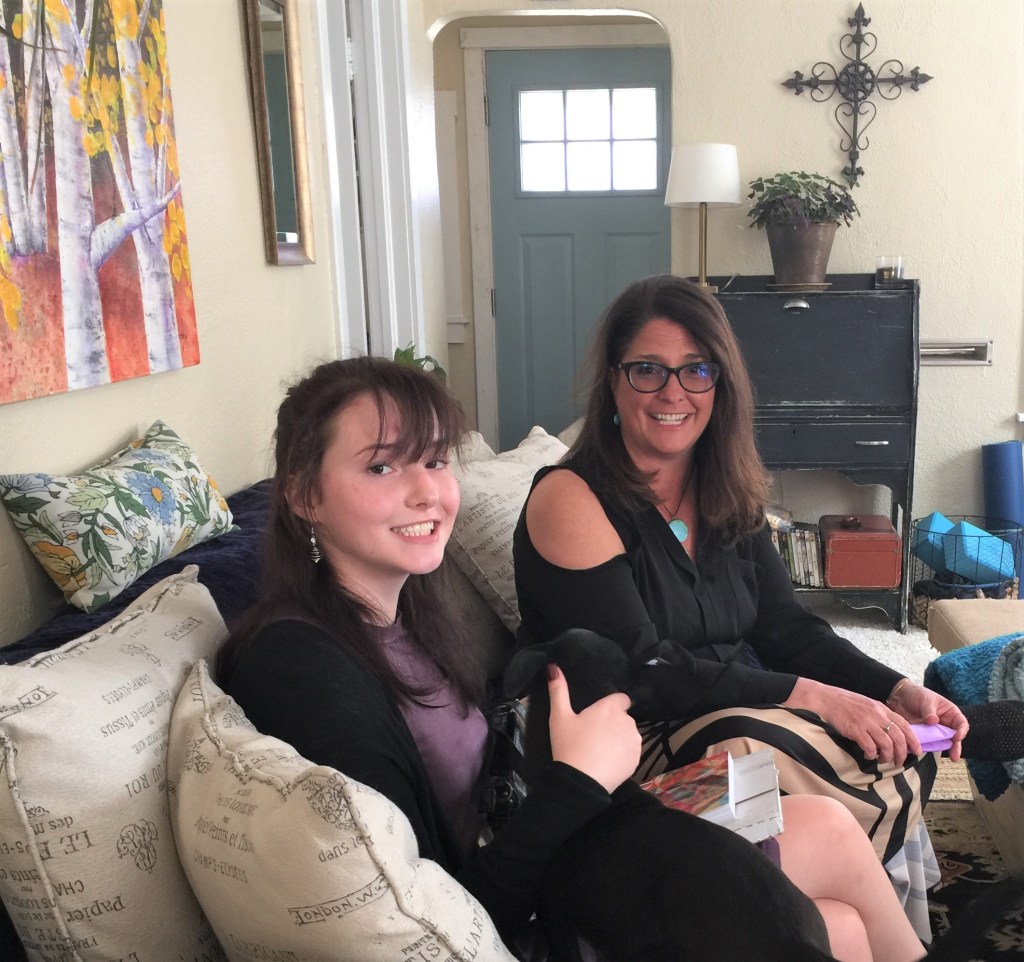
Nikki with her youngest daughter, Kasey. 2019 Englewood, CO
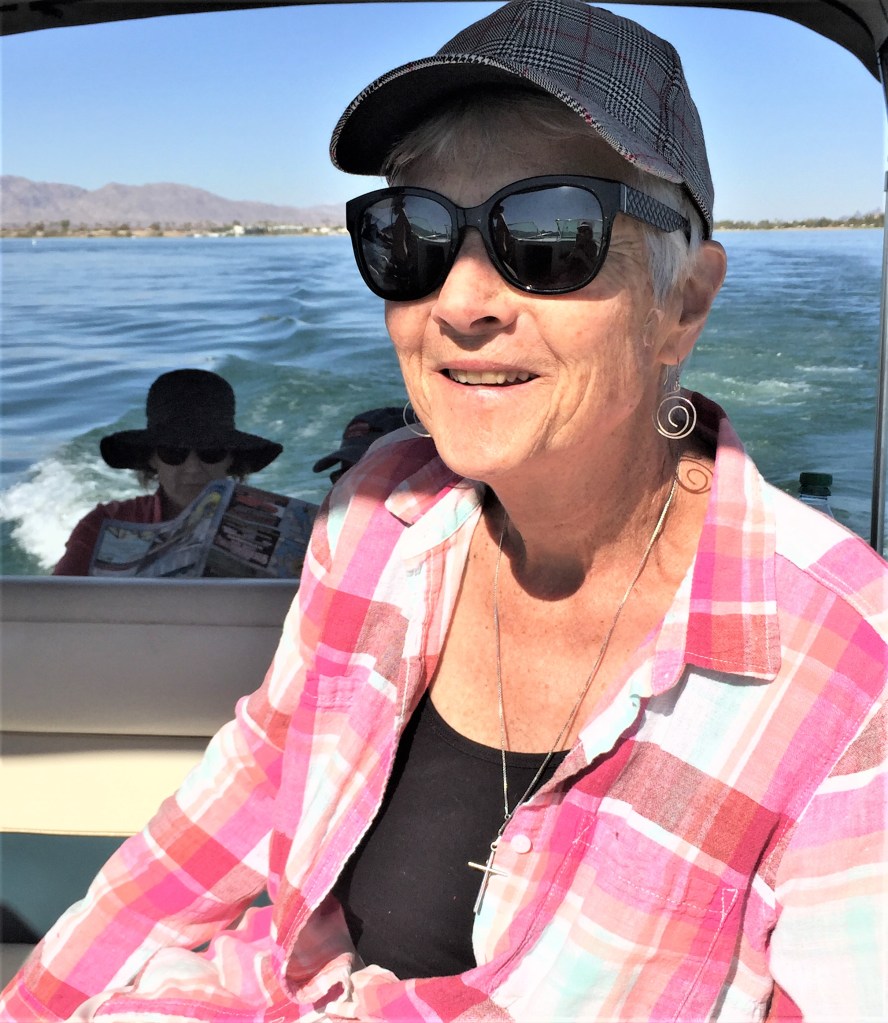
Mom enjoying a boat ride, 2019 Lake Havasu, AZ
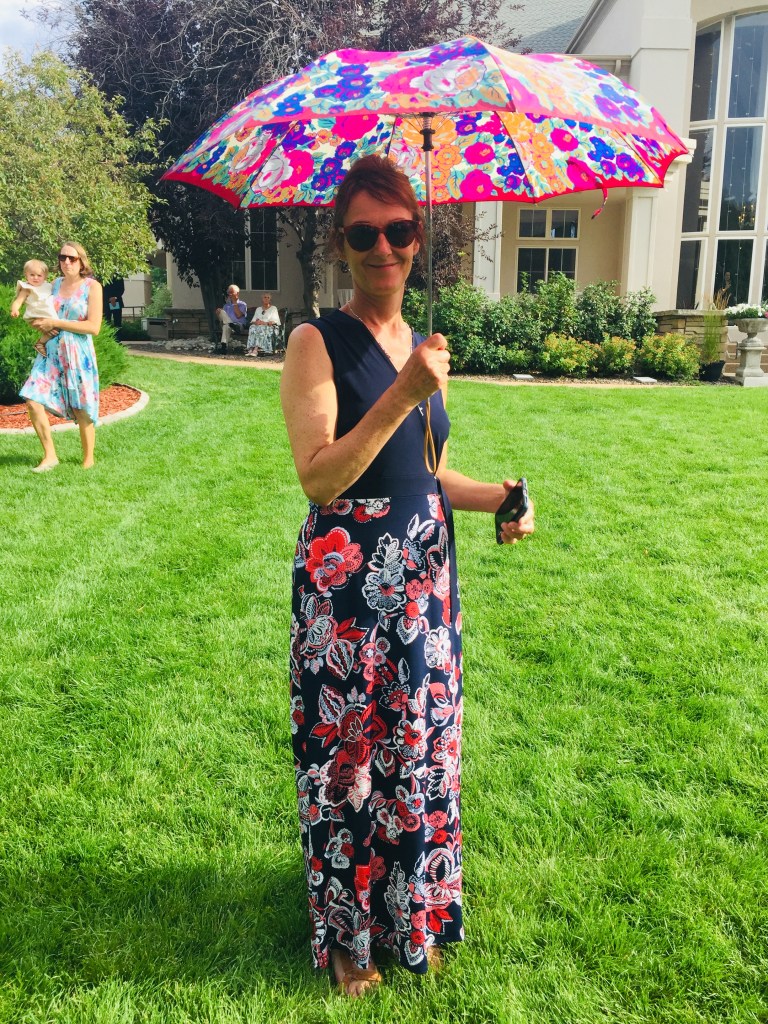
Susie attending a friend’s beautiful wedding, 2019 Broomfield, CO
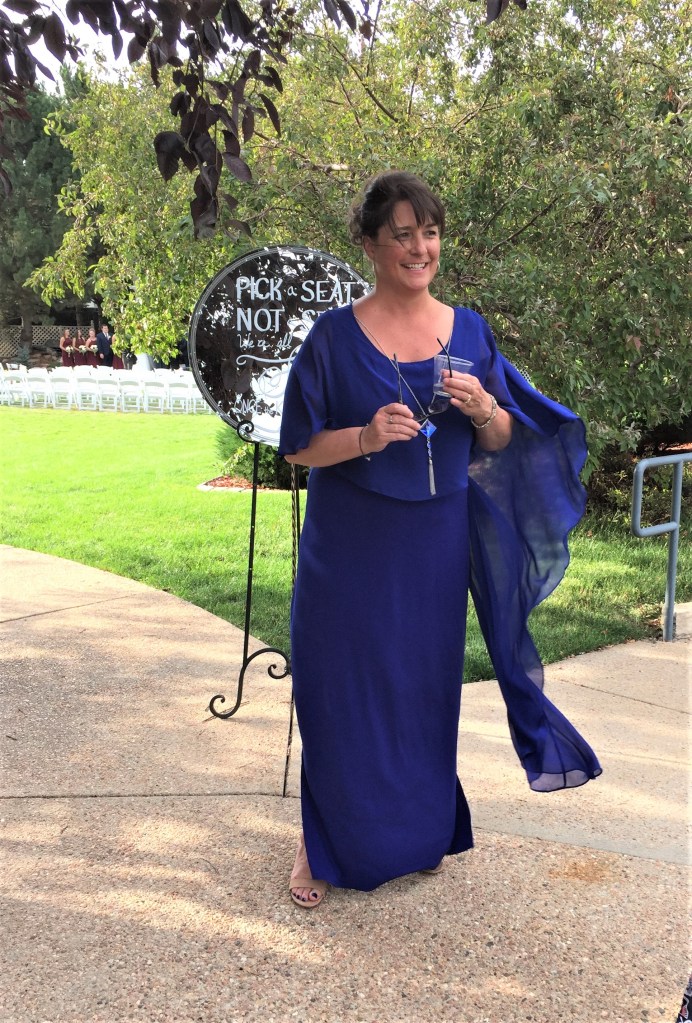
Nikki, a vision in Blue, 2019 Broomfield, CO
Mom and Michael enjoying an afternoon on the patio.2019 Englewood, CO
Susie and Mom, 2006 Denver, CO
Susie and I heading into a Rockies game, 2018, Denver, CO
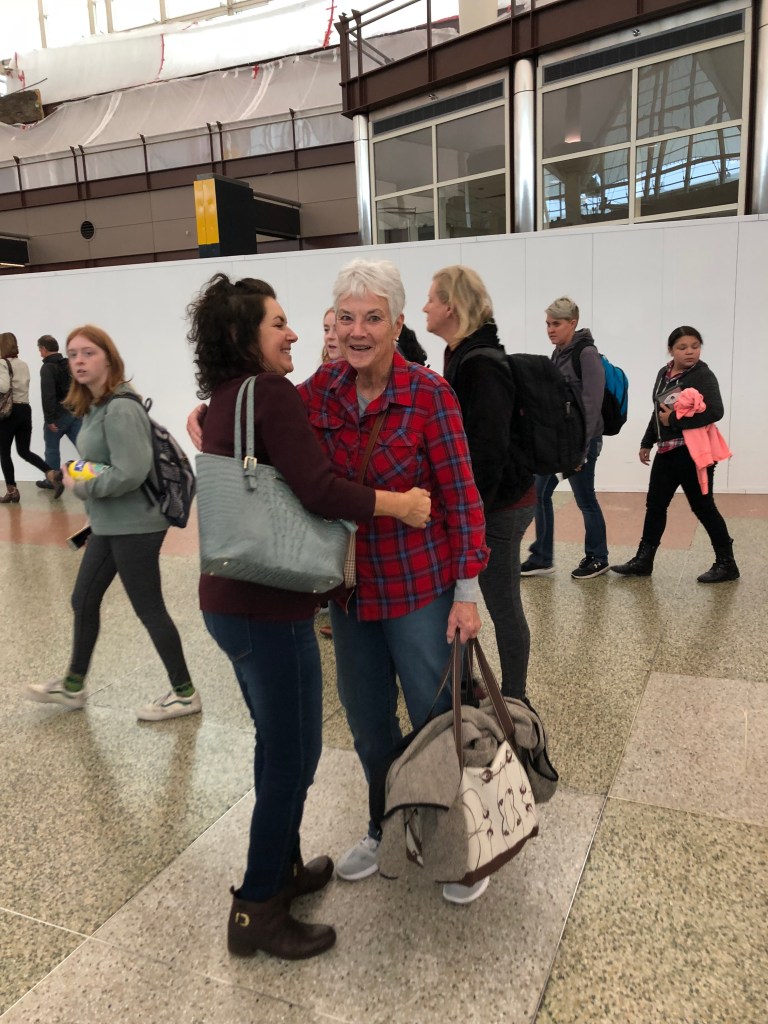
Welcoming Mom at DIA, 2018
Mom and Dad’s 50th Anniversary gathering, 2015 Glenwood Springs, CO
As we all retreat into the safety of our homes, we are contemplating the impact of social distancing in our otherwise pretty comfortable lives. We recognize the real superheroes in our communities and pray for their well being. We long for the normal activities we are now managing without and reconnecting with the most important people in our lives. We are grateful to see glimpses of people in other countries share their videos of compassion and generosity from small balconies as we try to stay connected and support one another. I am uplifted by the outpouring of love, patience and consideration. Stay safe, people! We will get through this! Enjoy this simple video update of the miracles among us!
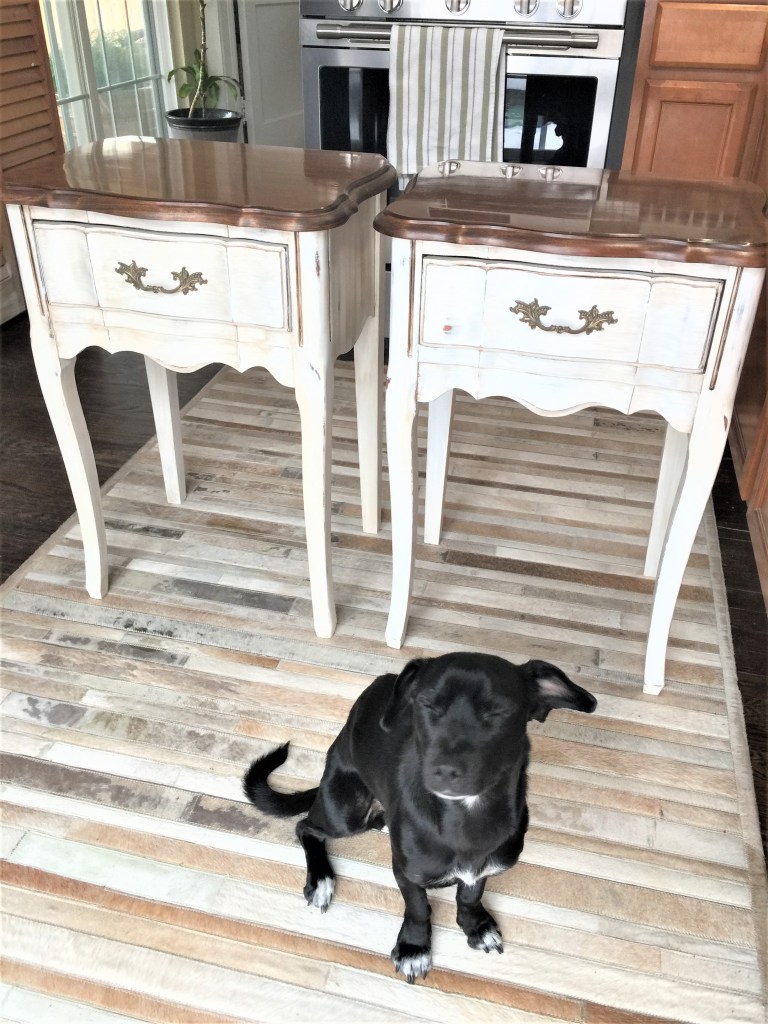
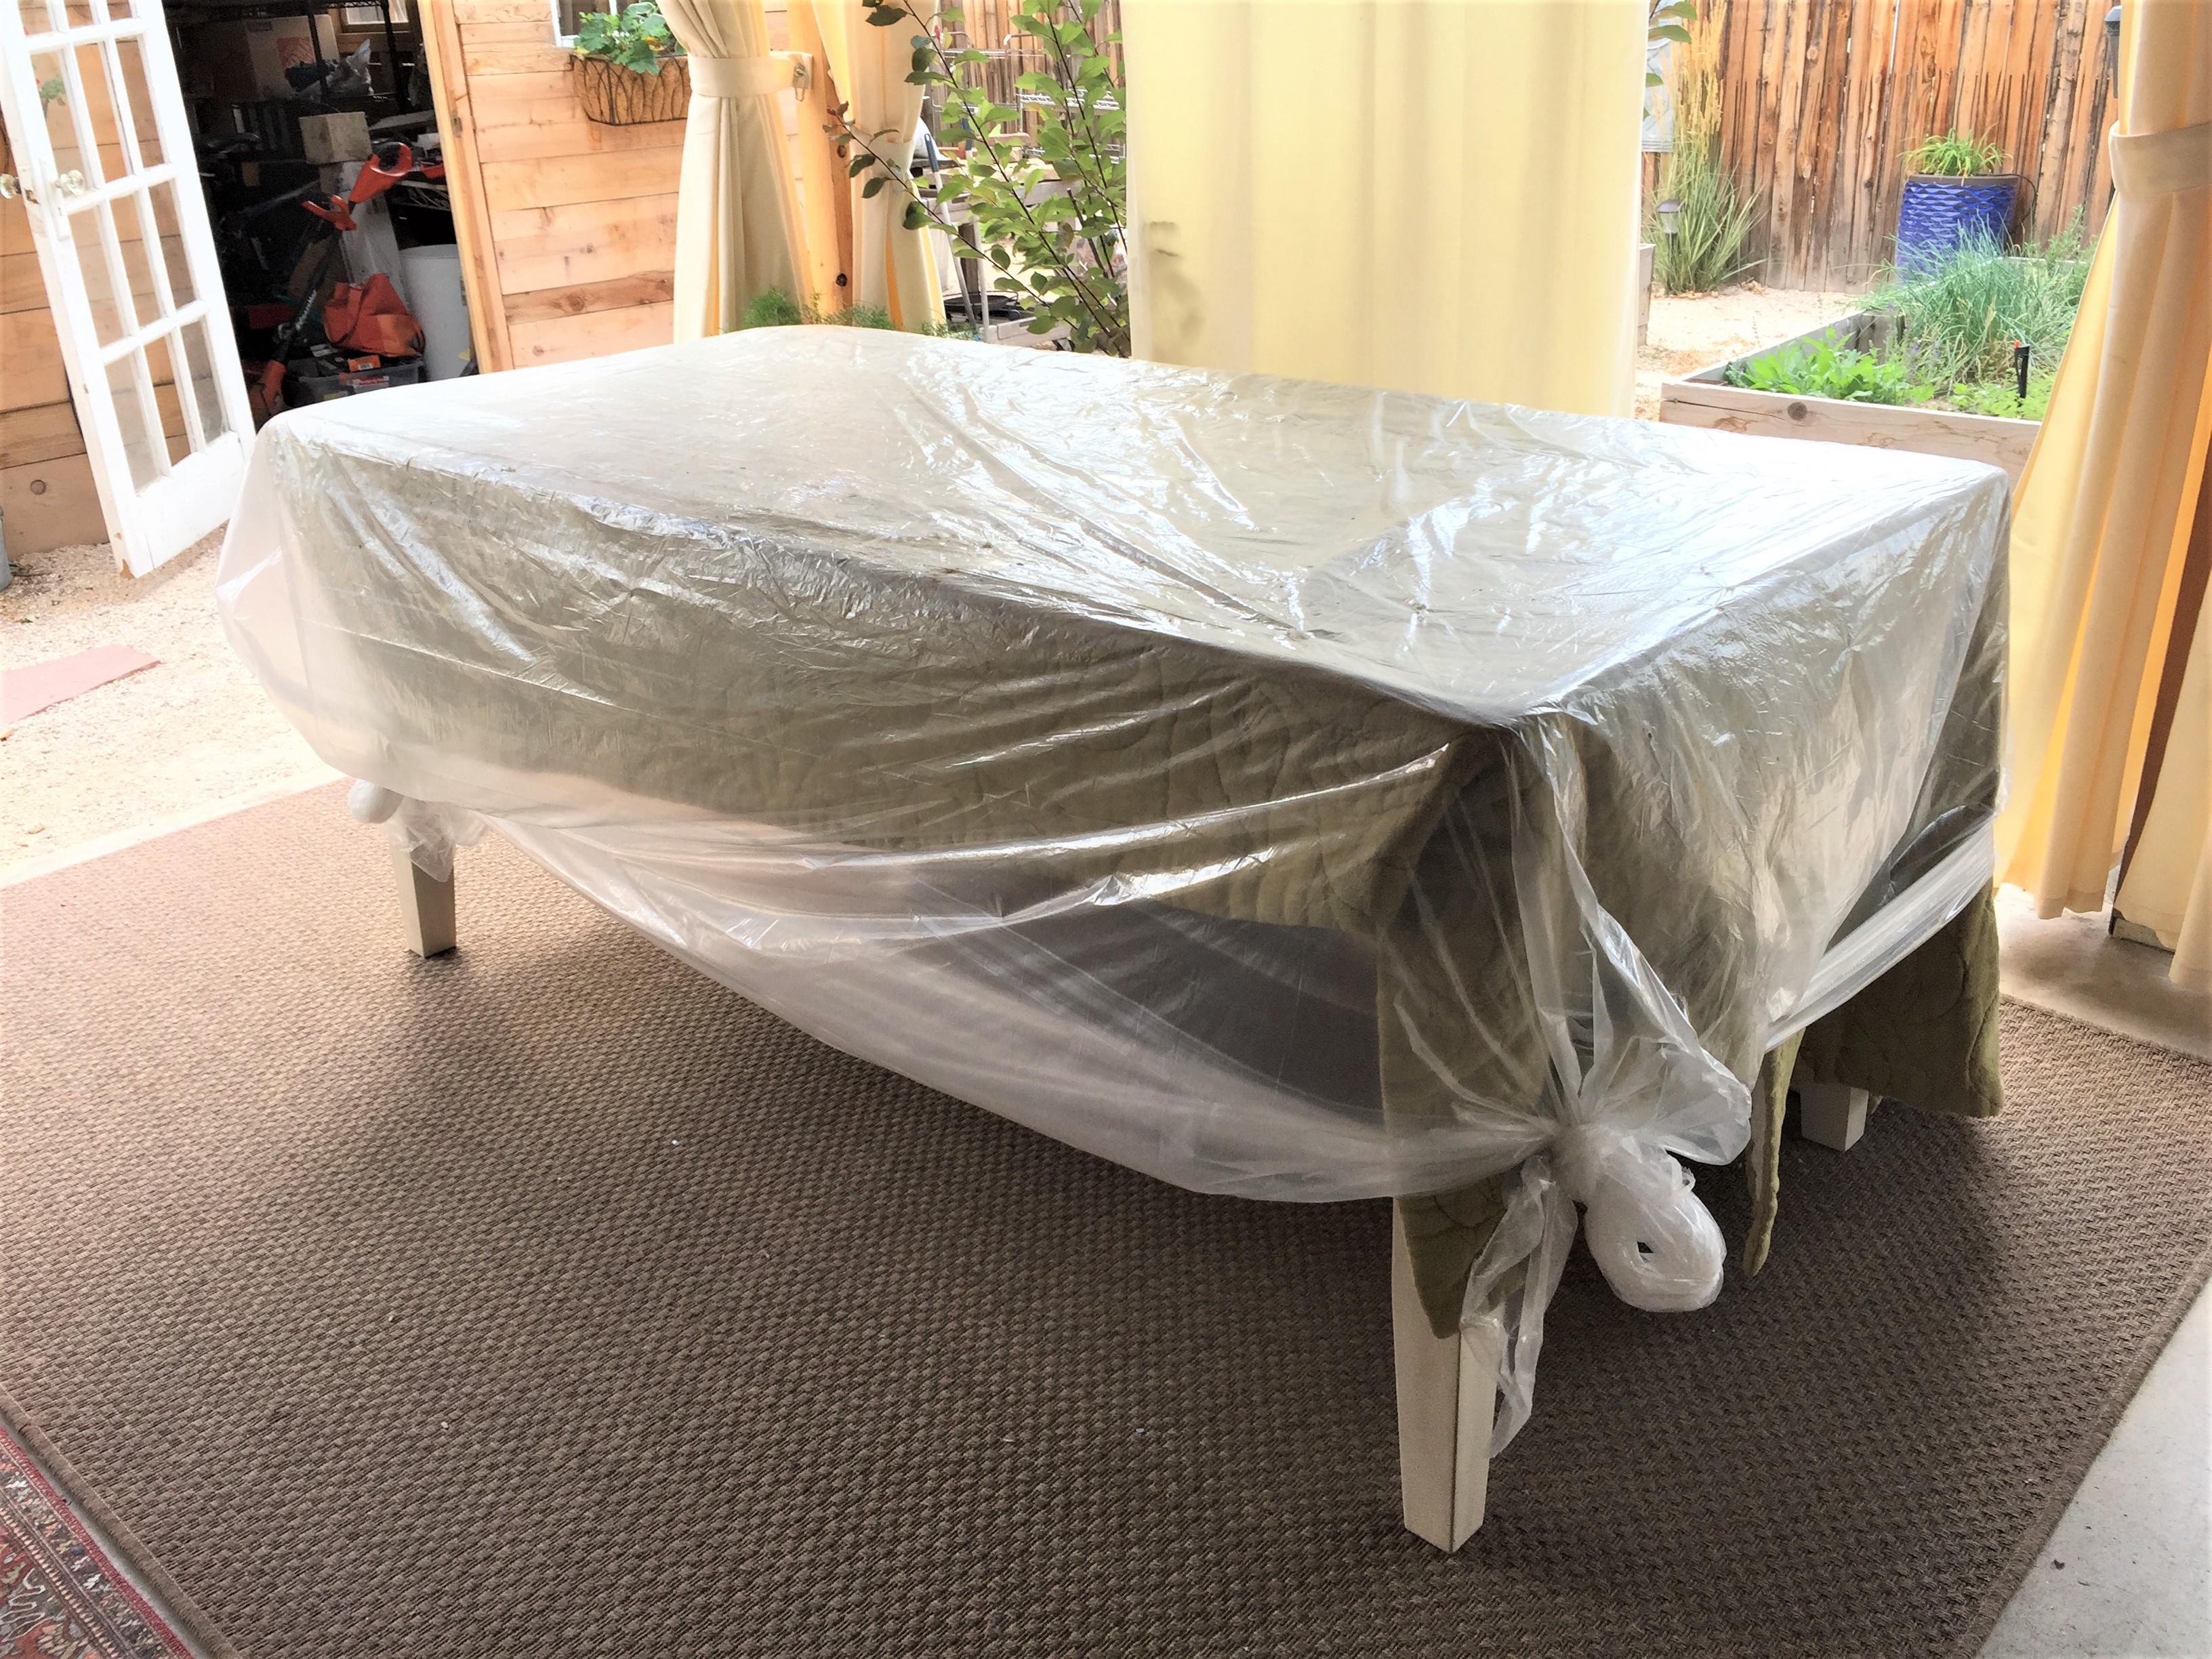
Since I can remember, going to the thrift store was an exciting adventure. I eventually stopped thrifting, due mostly to time constraints. Recently, I rediscovered this fun hobby. Over the winter, I’ve been acquiring old antique accent pieces, refinishing them and will turn them into a side hustle. I’m so excited for my new adventure and now, I want to share it with you!
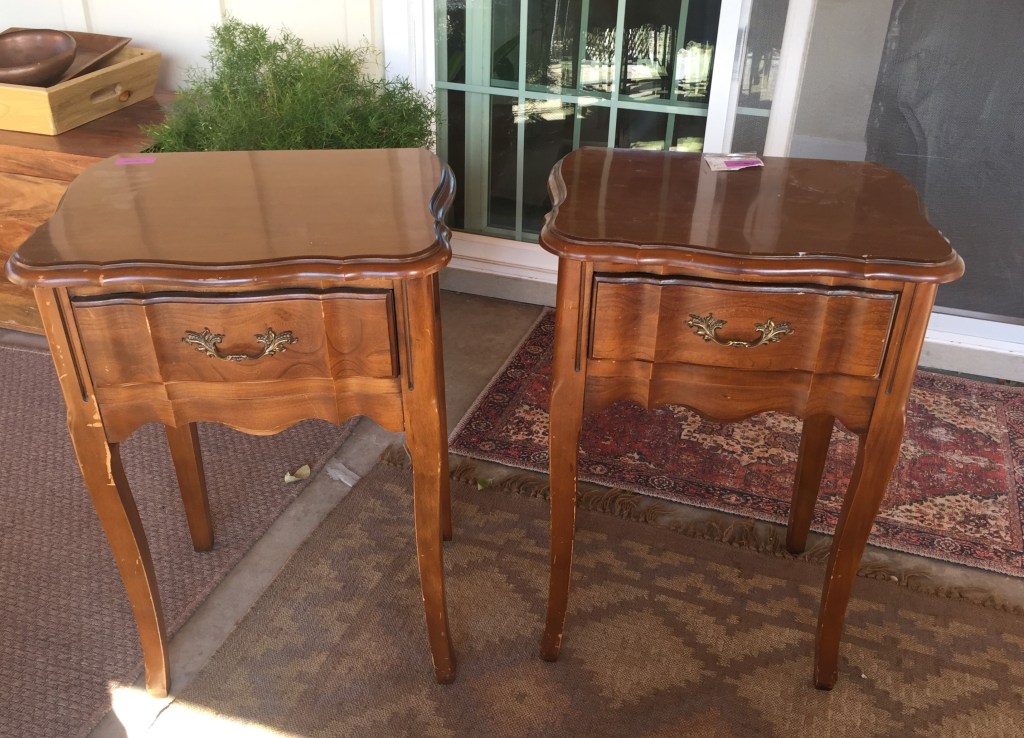
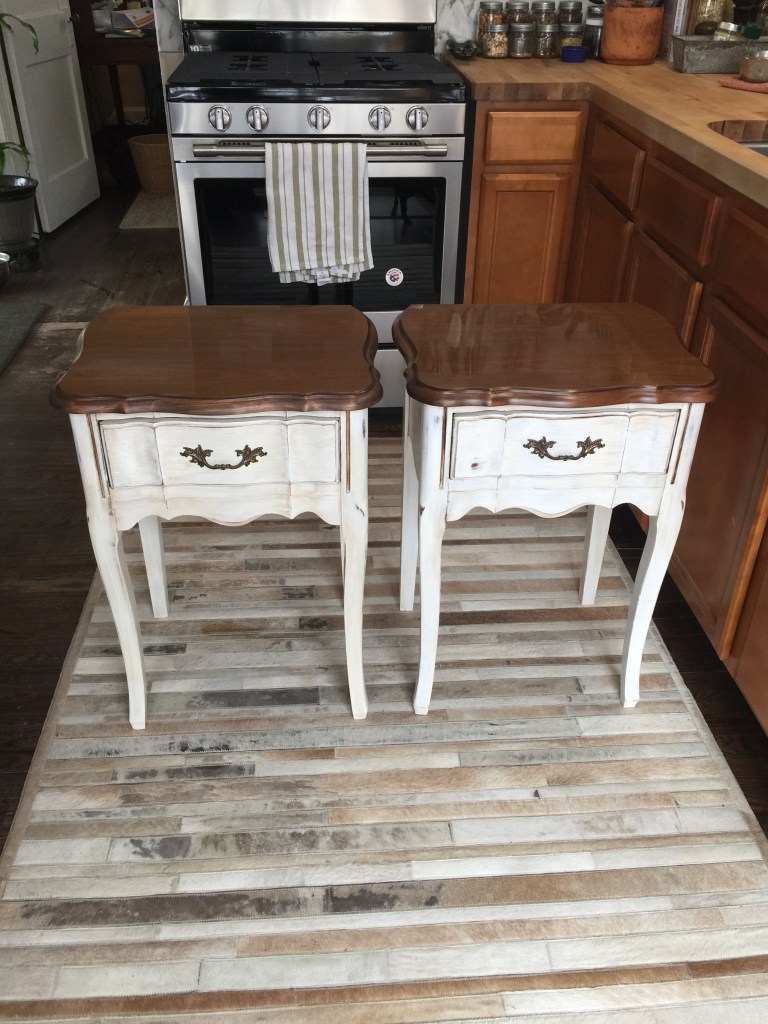
Lucy, modeling these refinished nightstands, wind blowing in her ears!These were $10 each.
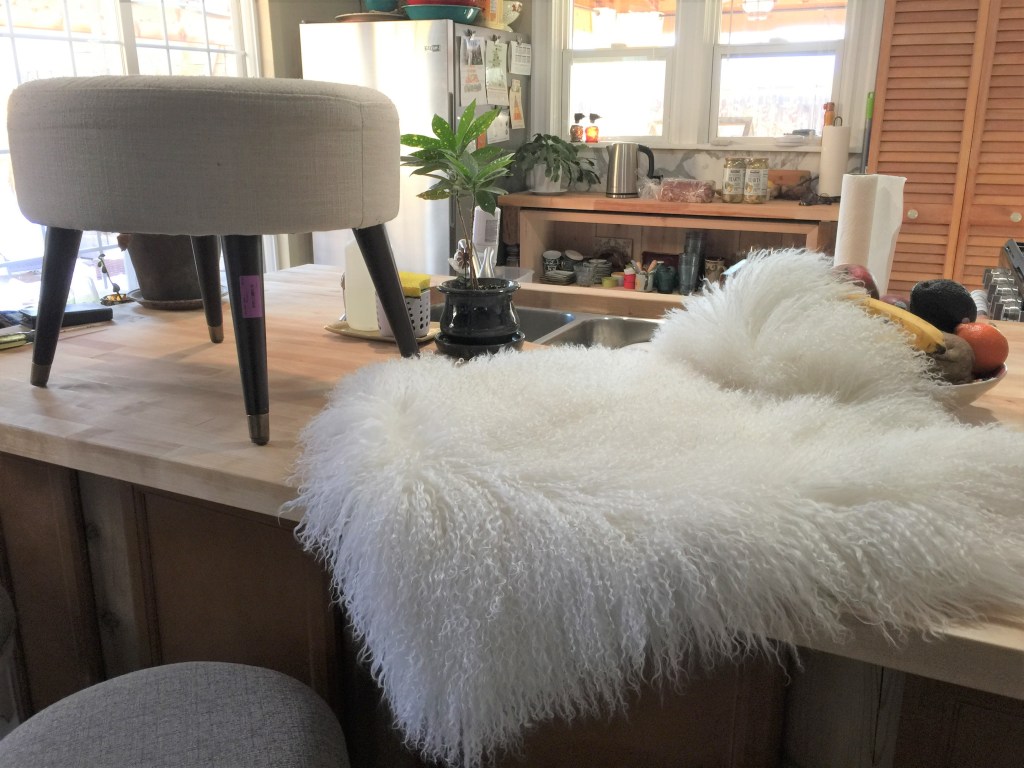
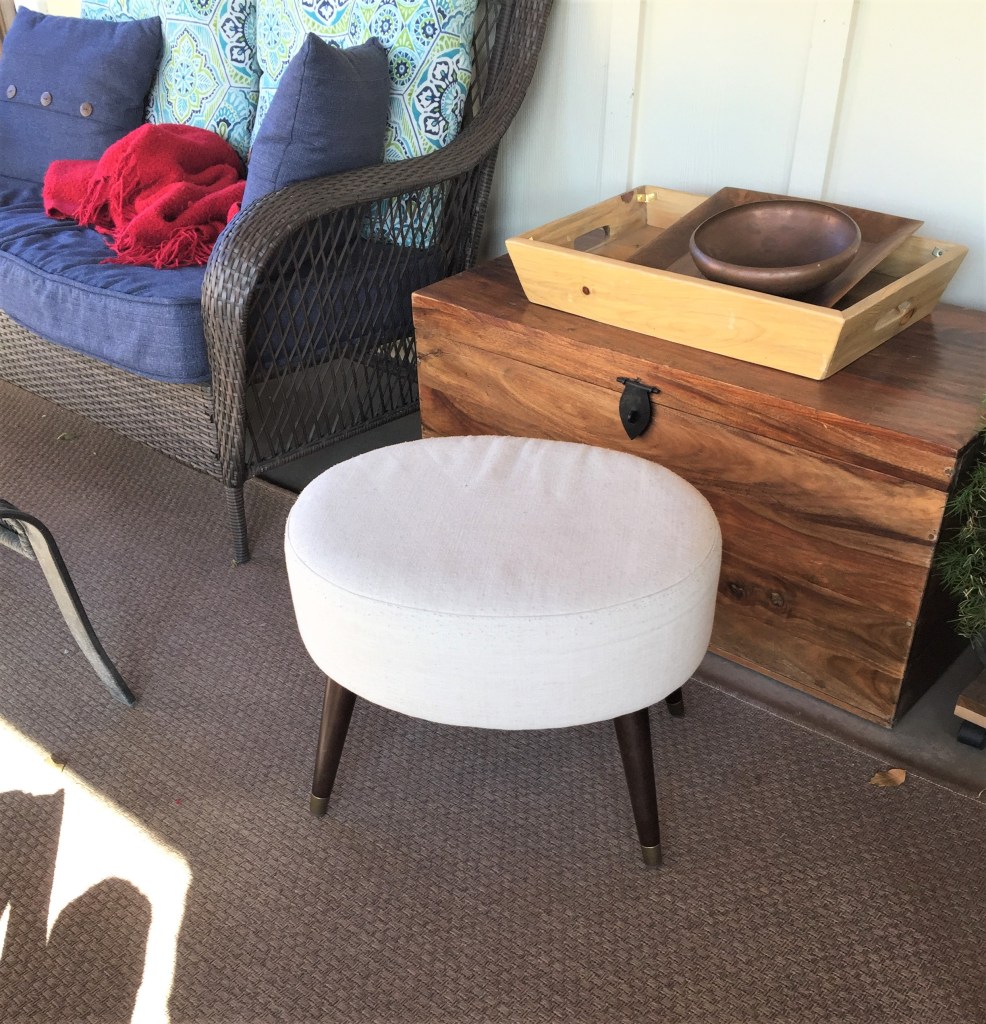
Mid century Modern stool. Purchased for $10.
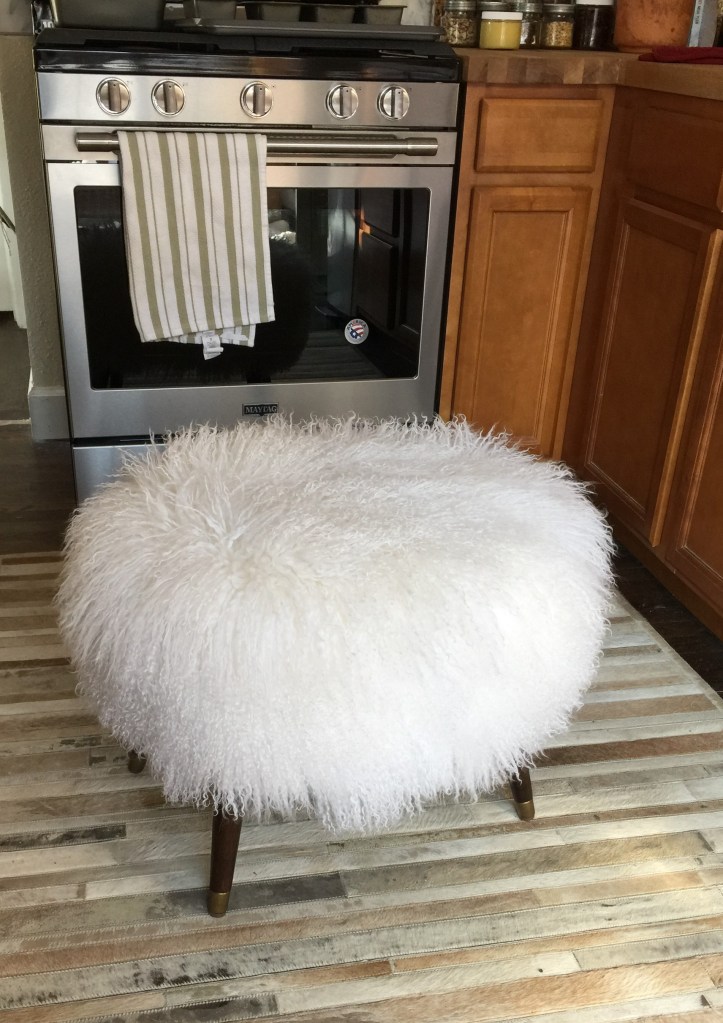
I bought a piece of Mongolian sheepskin and used it to Glam up this basic stool! Fur was $100.
Voila! These sell for $500 in high end shops.
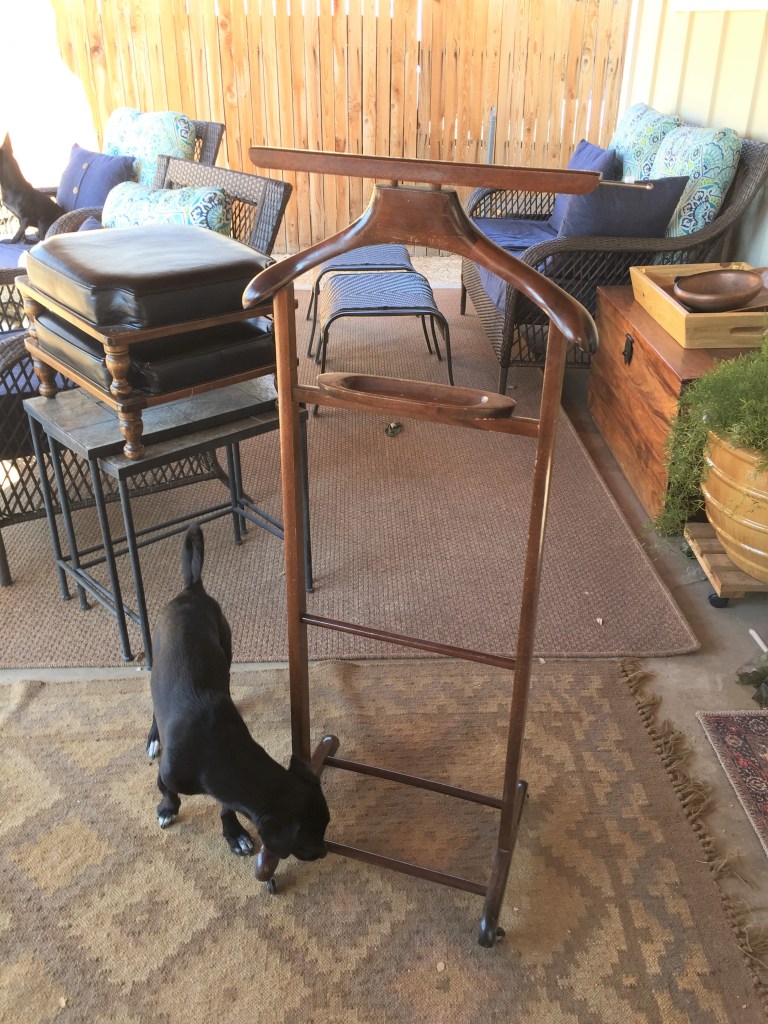
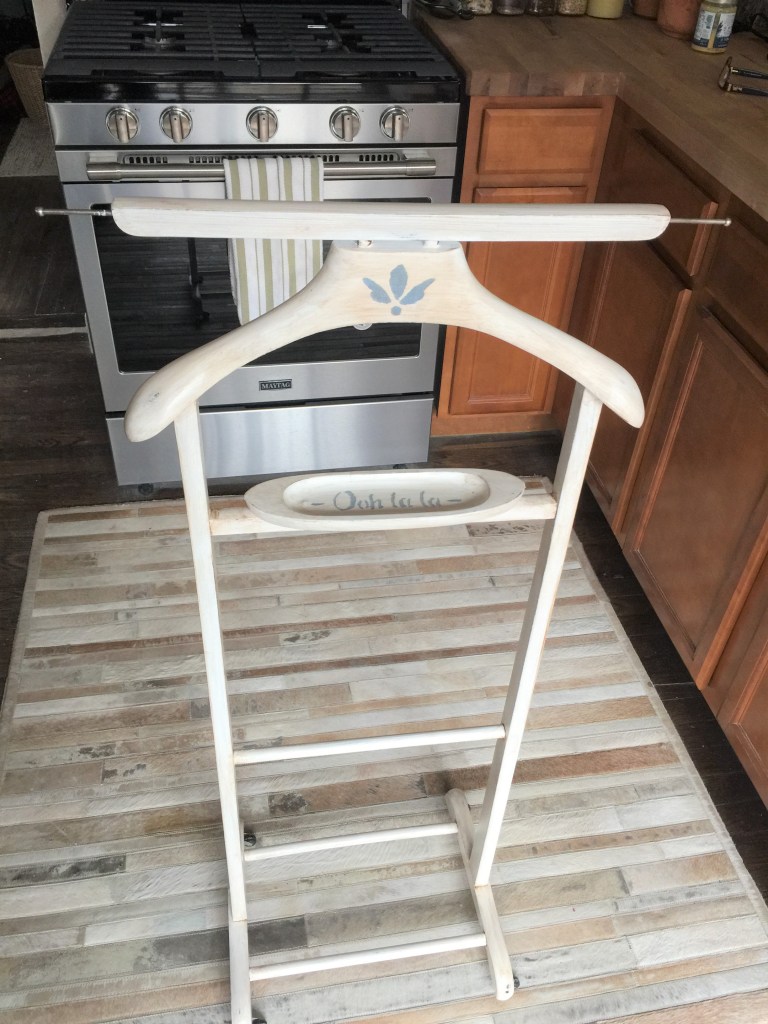
Valet stand, with shelf for earrings and accessories. Purchased for $10.
Oh La’ La’, Indeed! What a unique and fun piece to add to your dressing area.
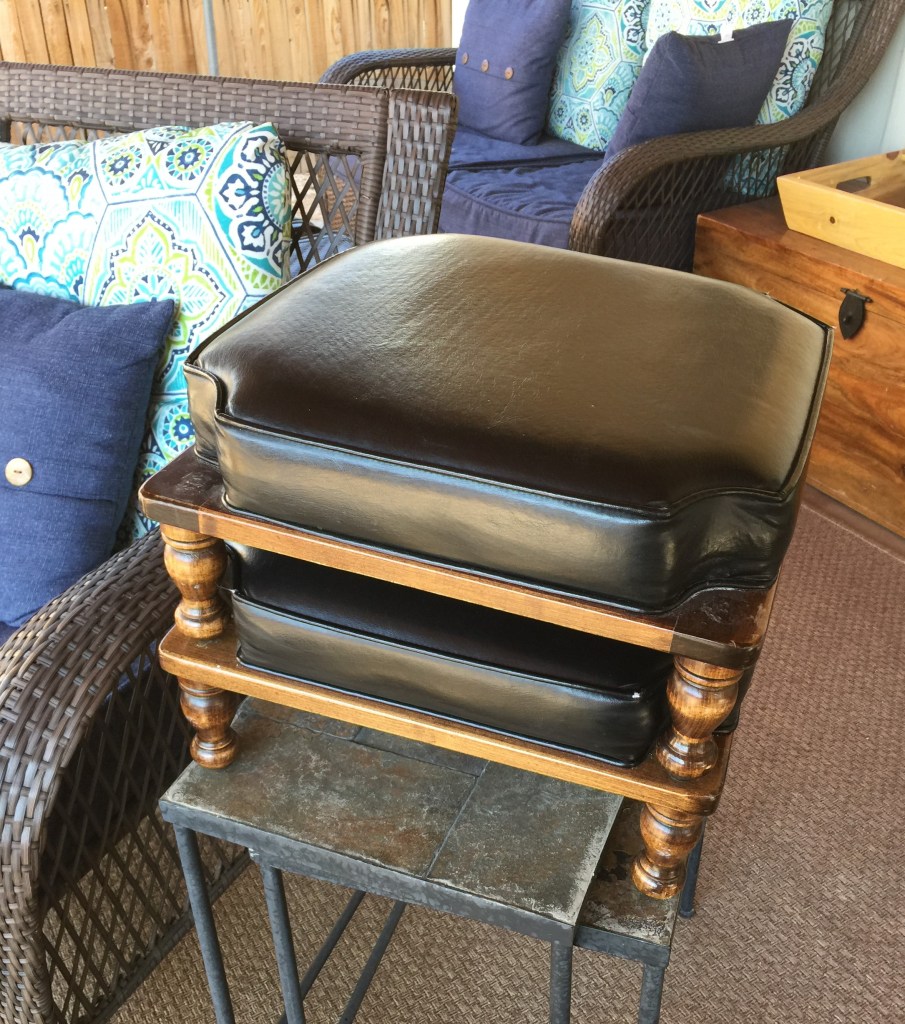
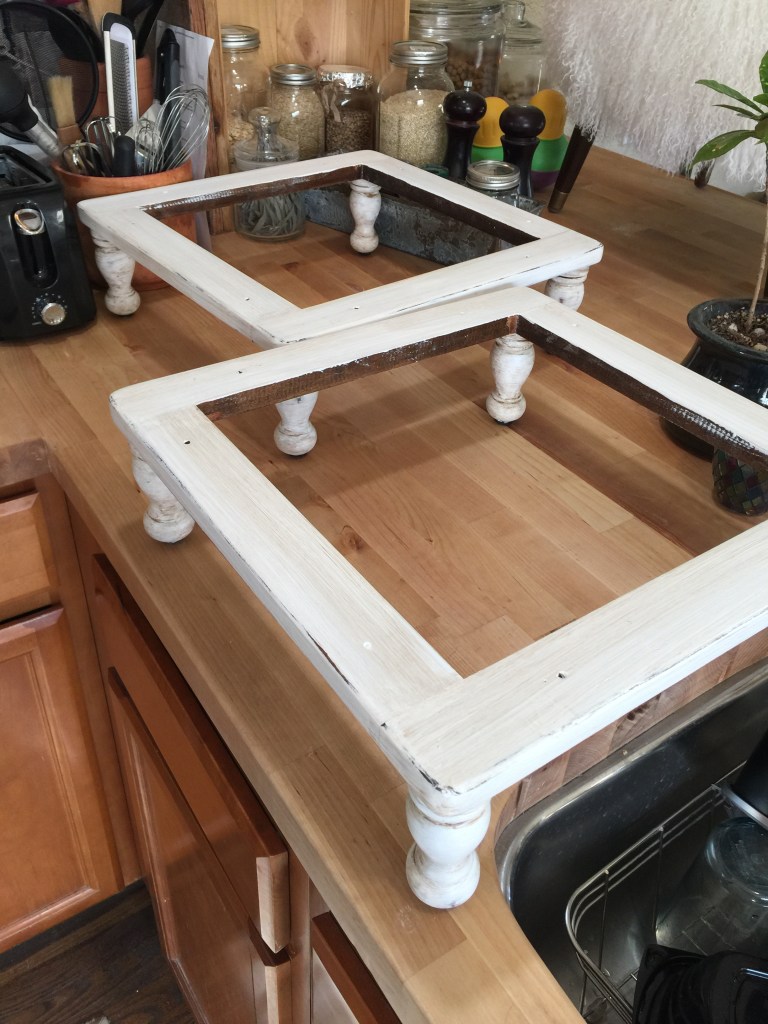
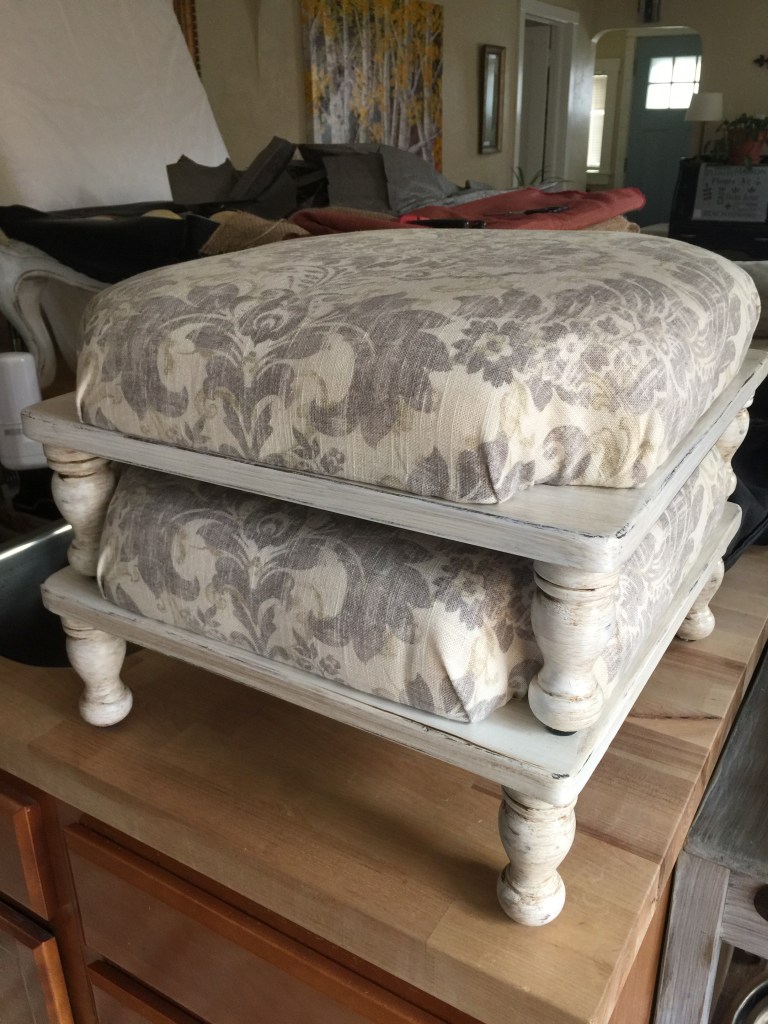
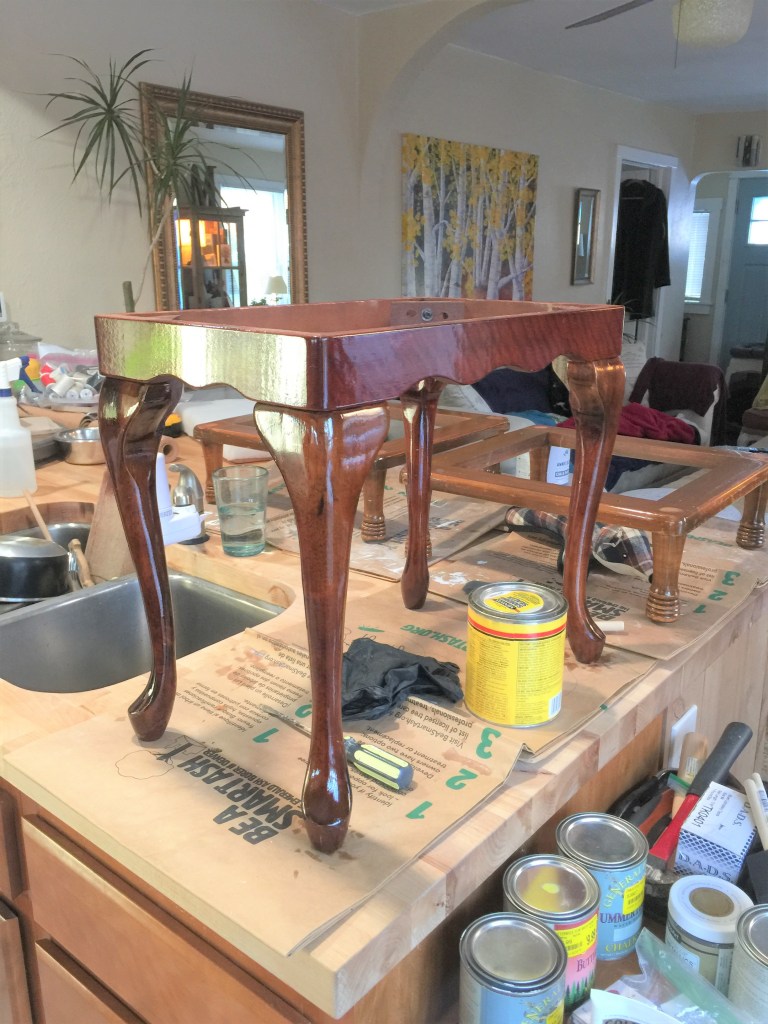
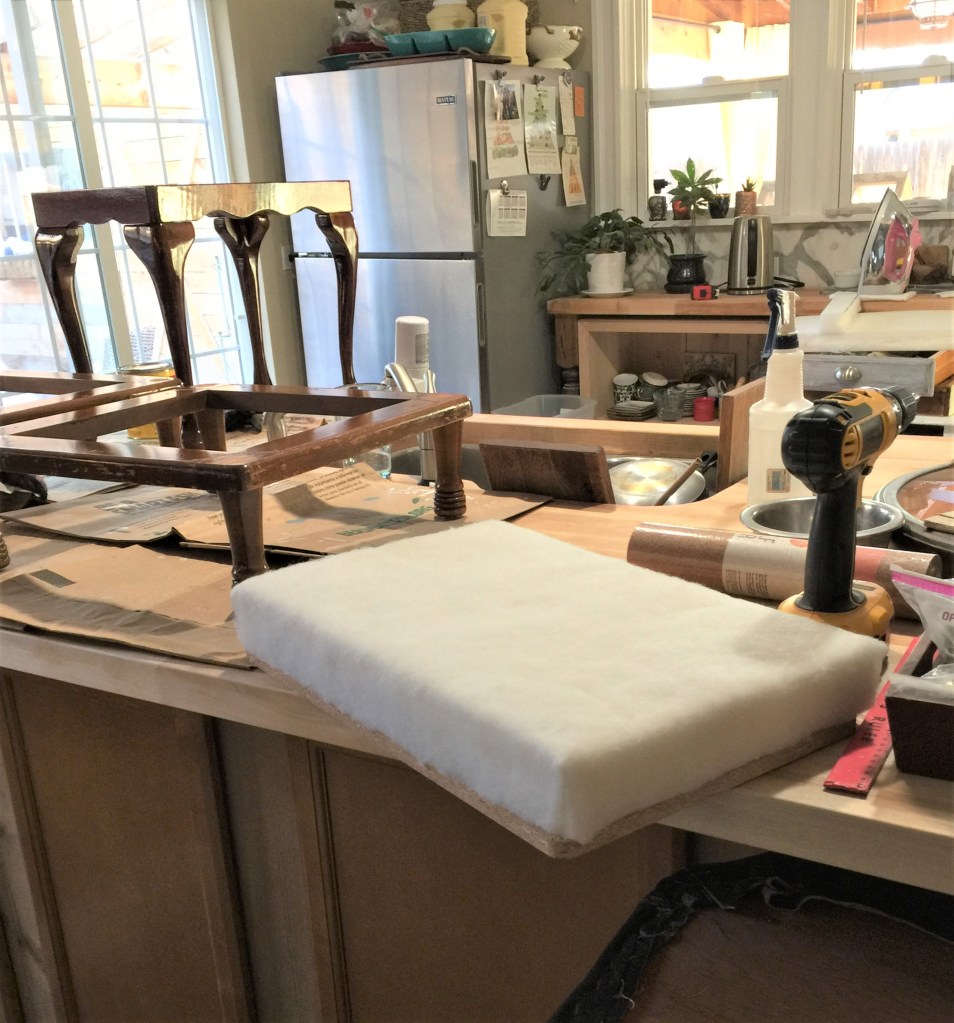
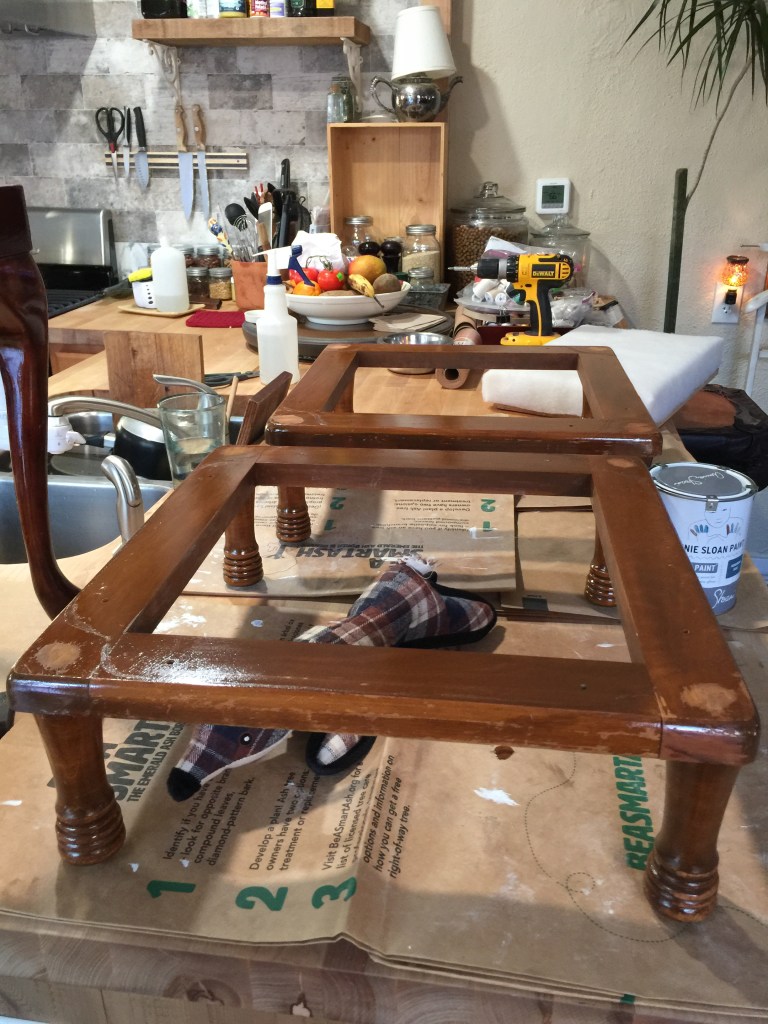
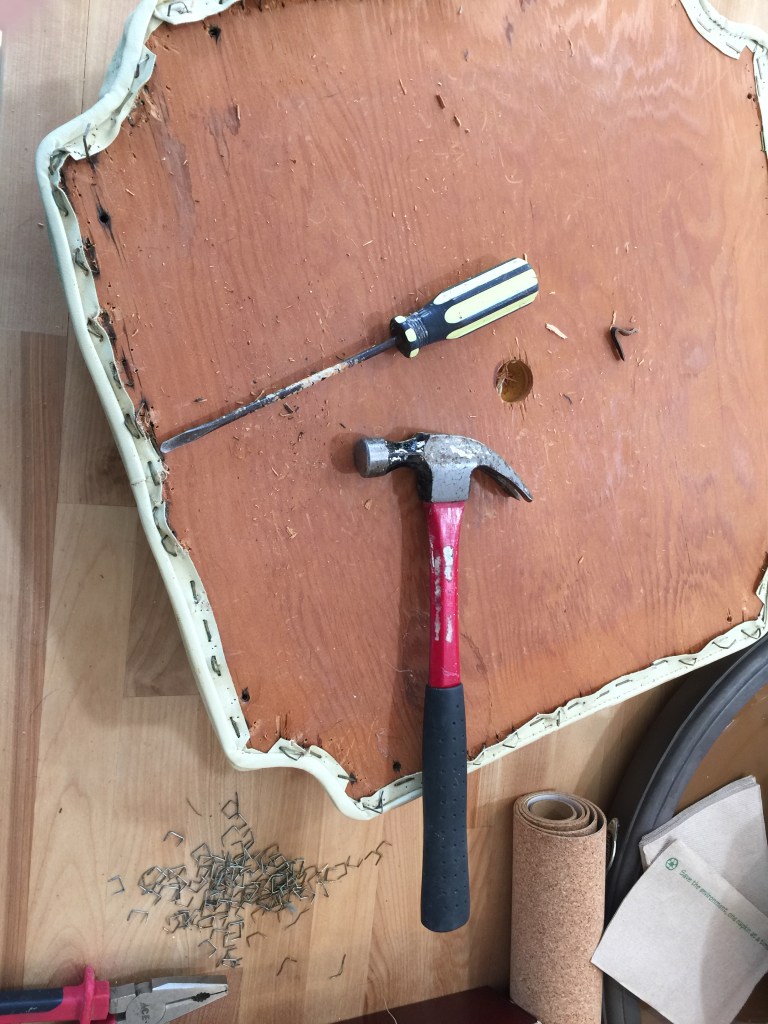
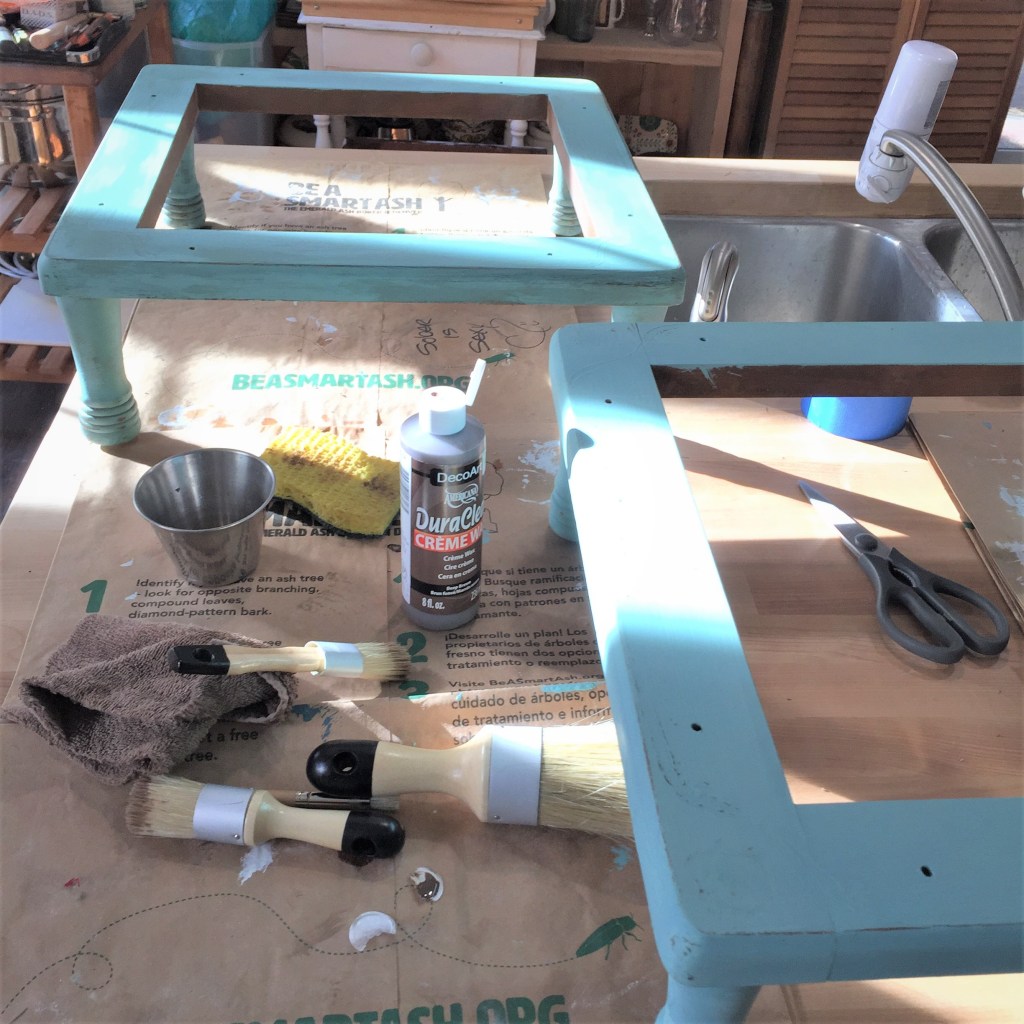
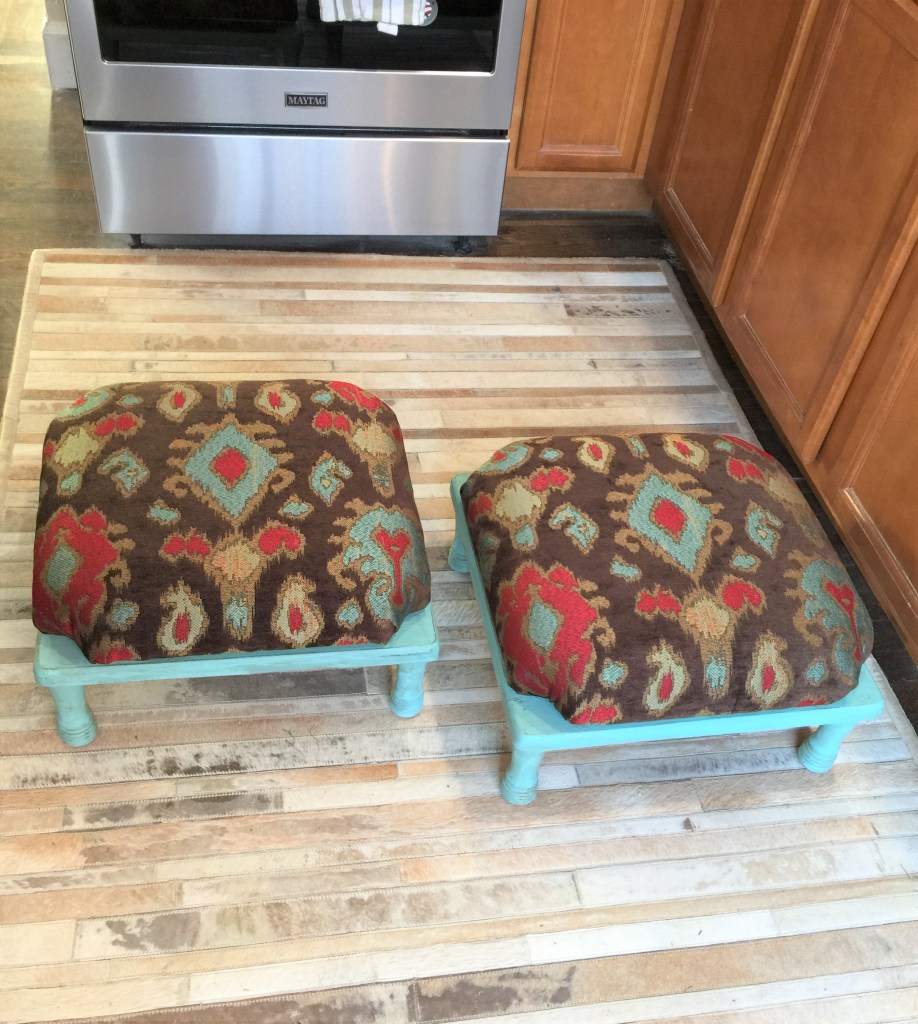
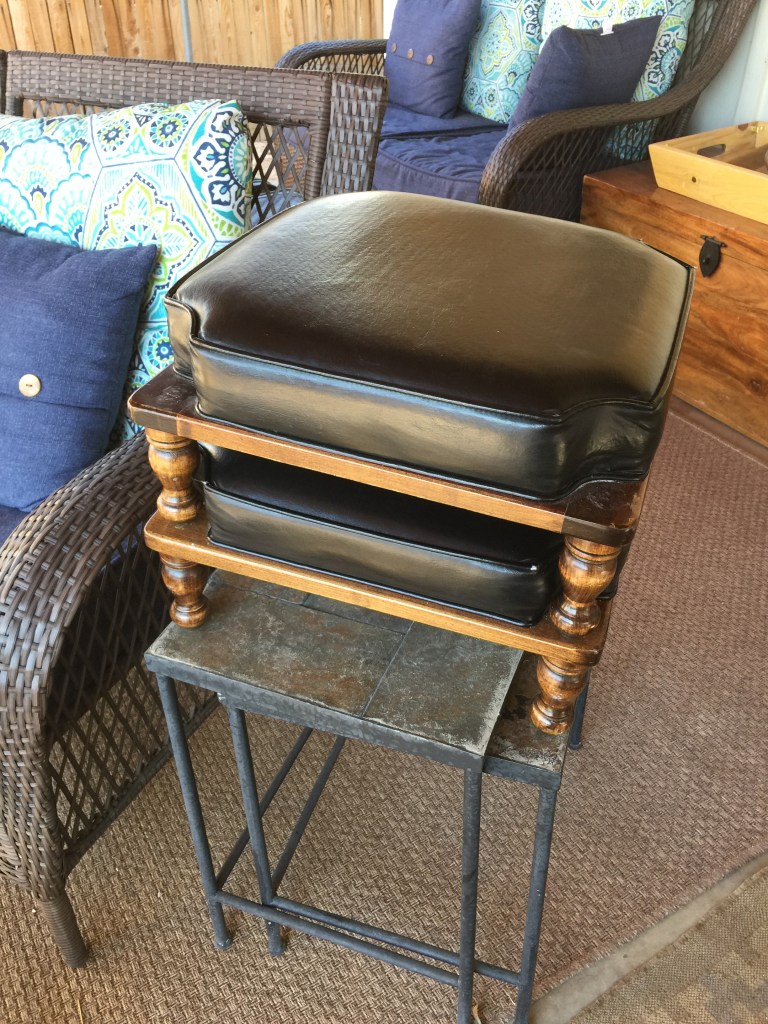
You’ve likely seen a version of these mid century modern stacking foot rests. I bought these for $10 each.
I stripped them down, sanded and painted the bases and recovered the cushions.Removing staples.Mmmm Hmmm…..After sanding sealer, I lightly sanded the bases before painting.
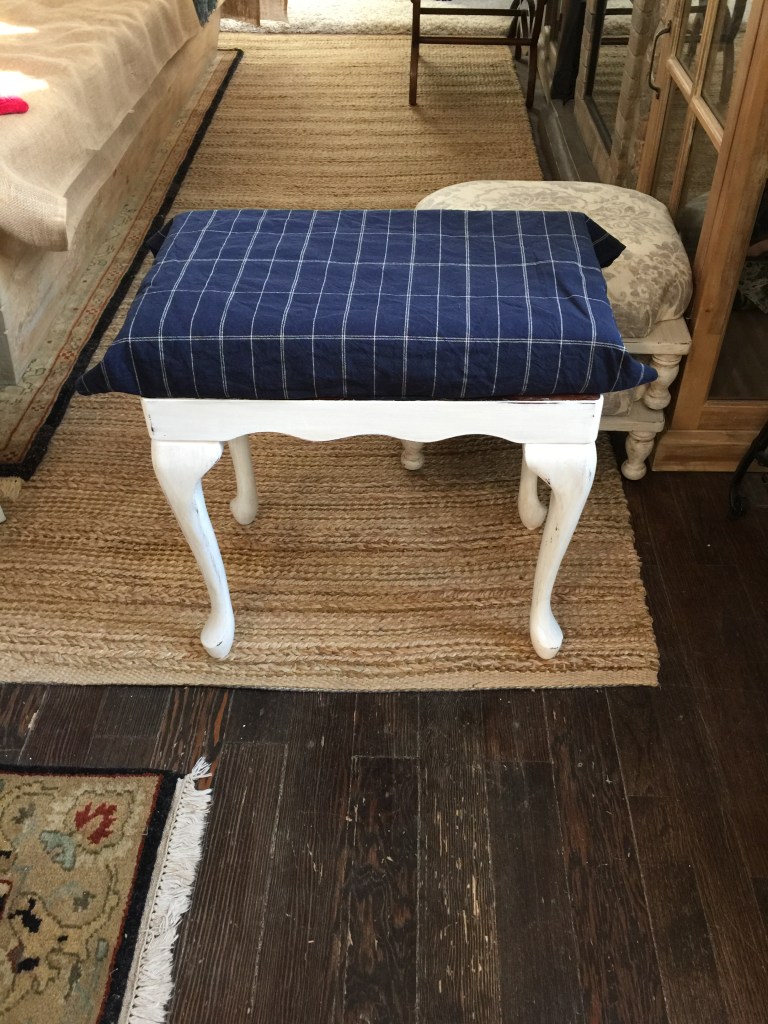
Painted and distressed, the antique White freshens them up.
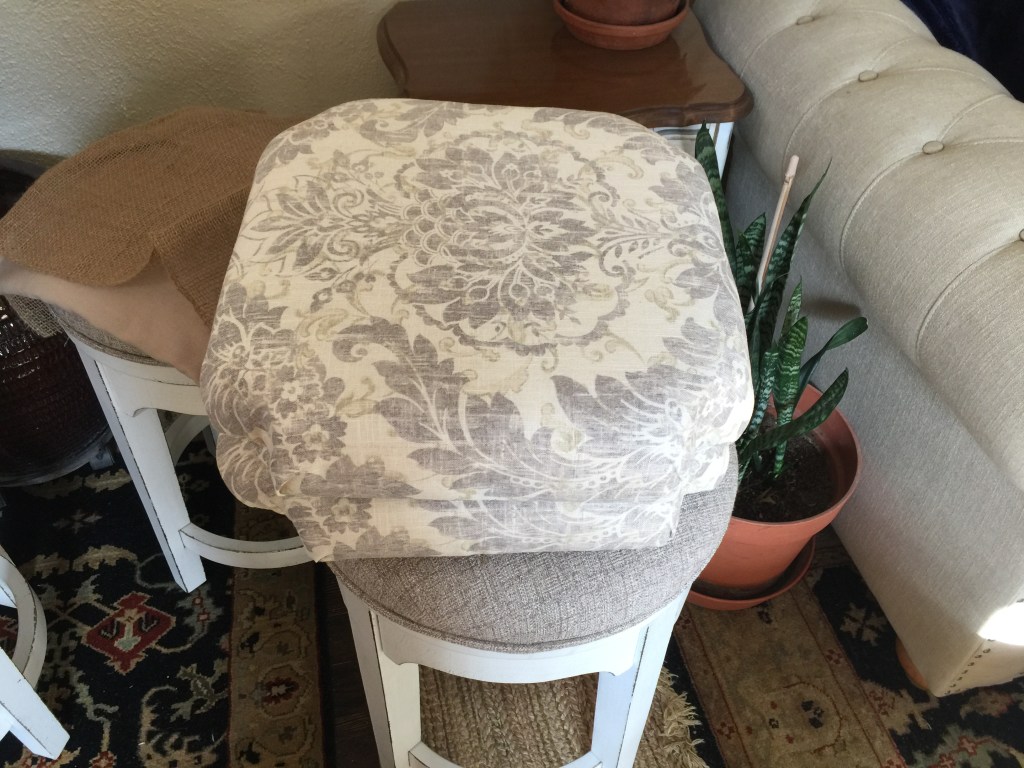
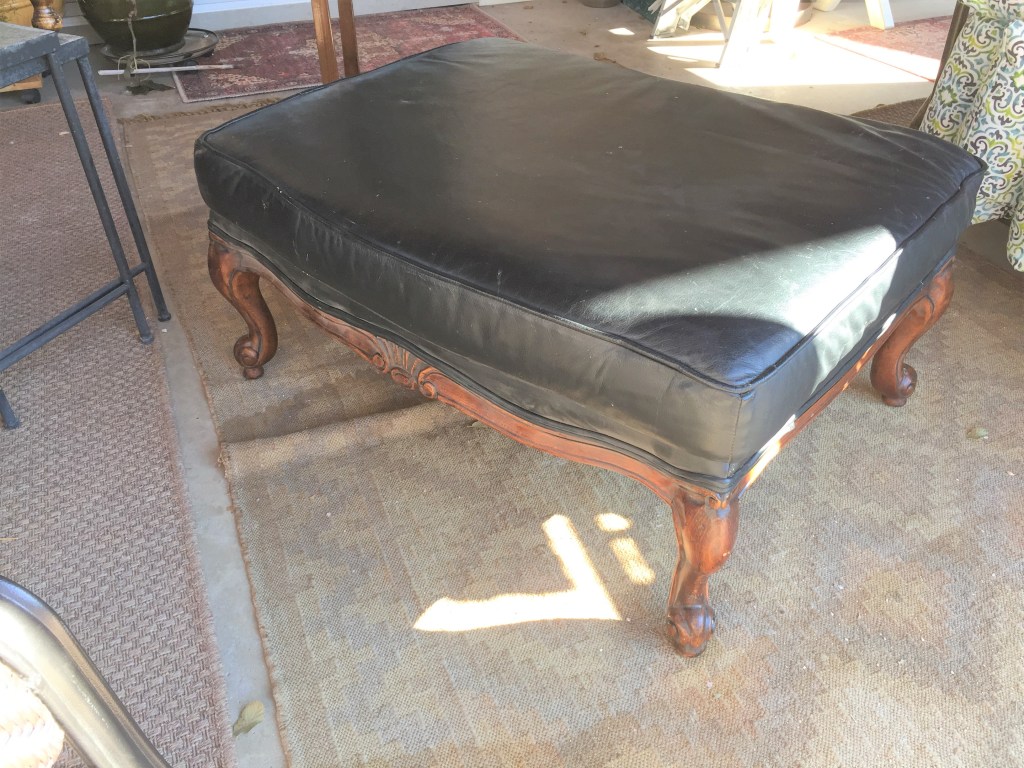
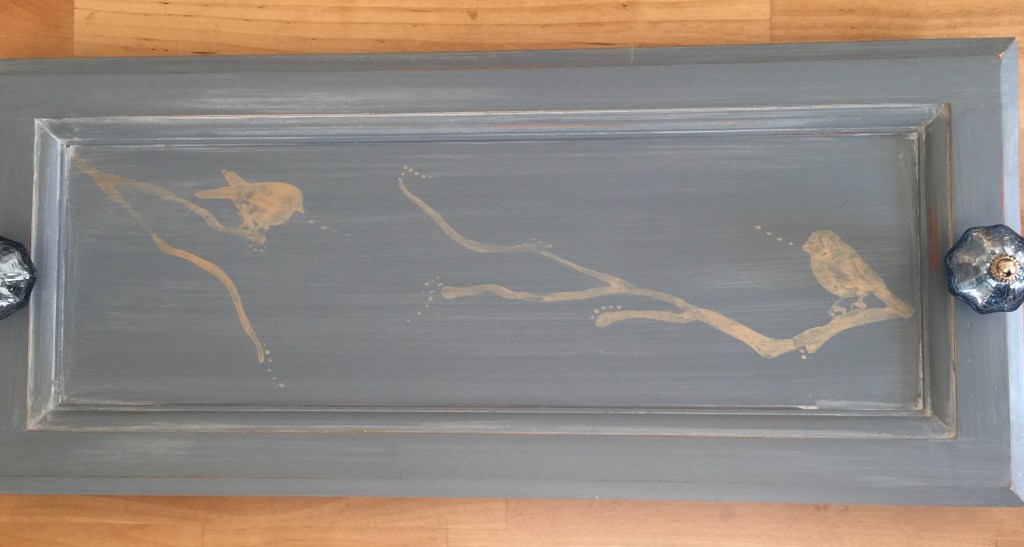
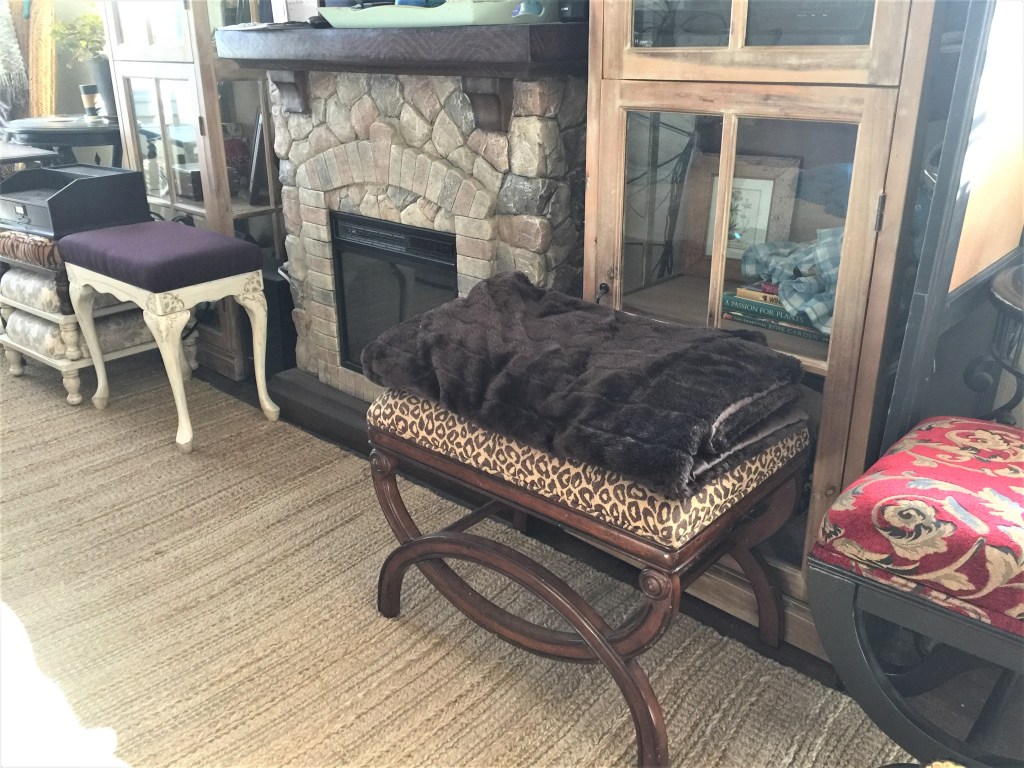
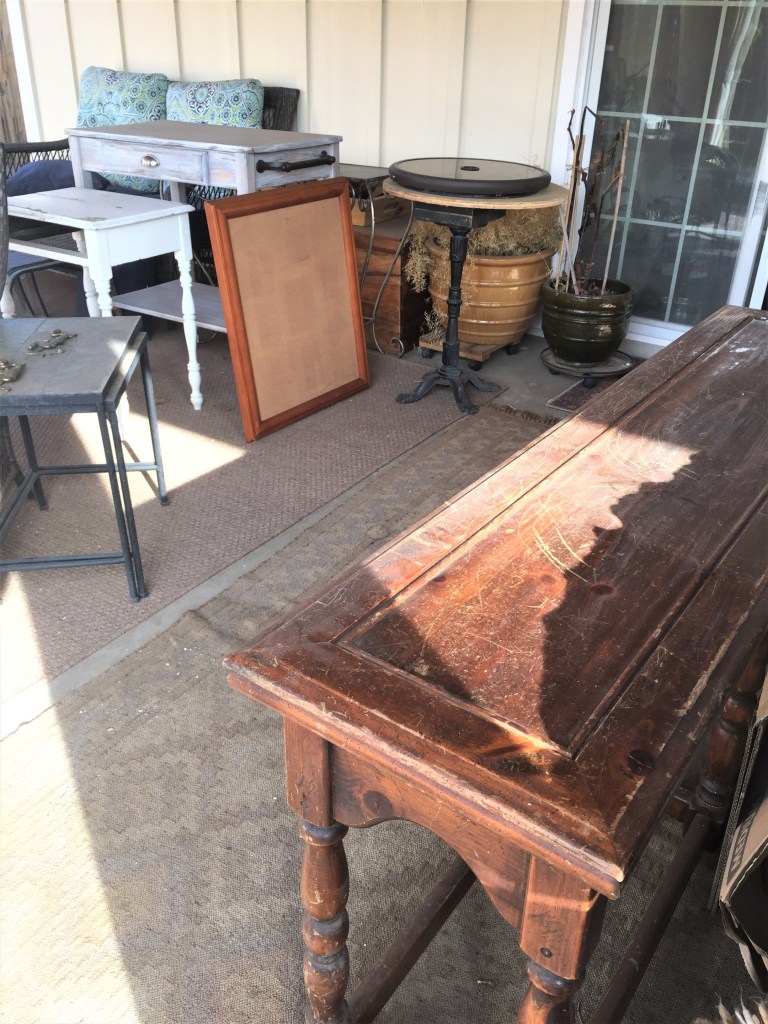
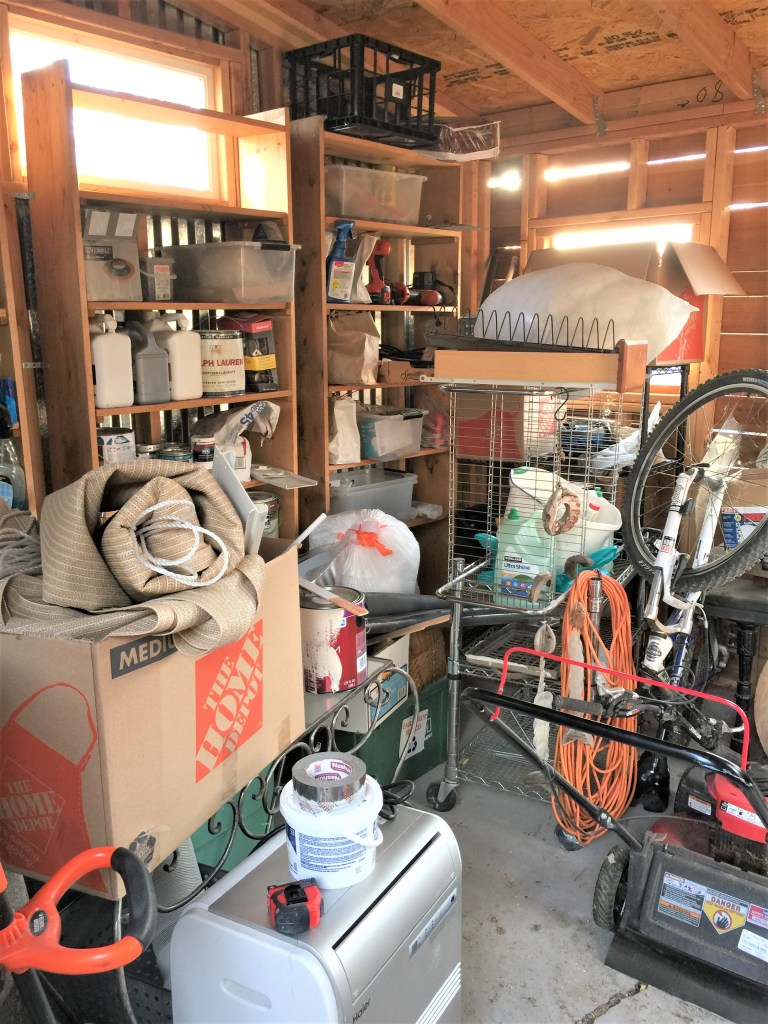
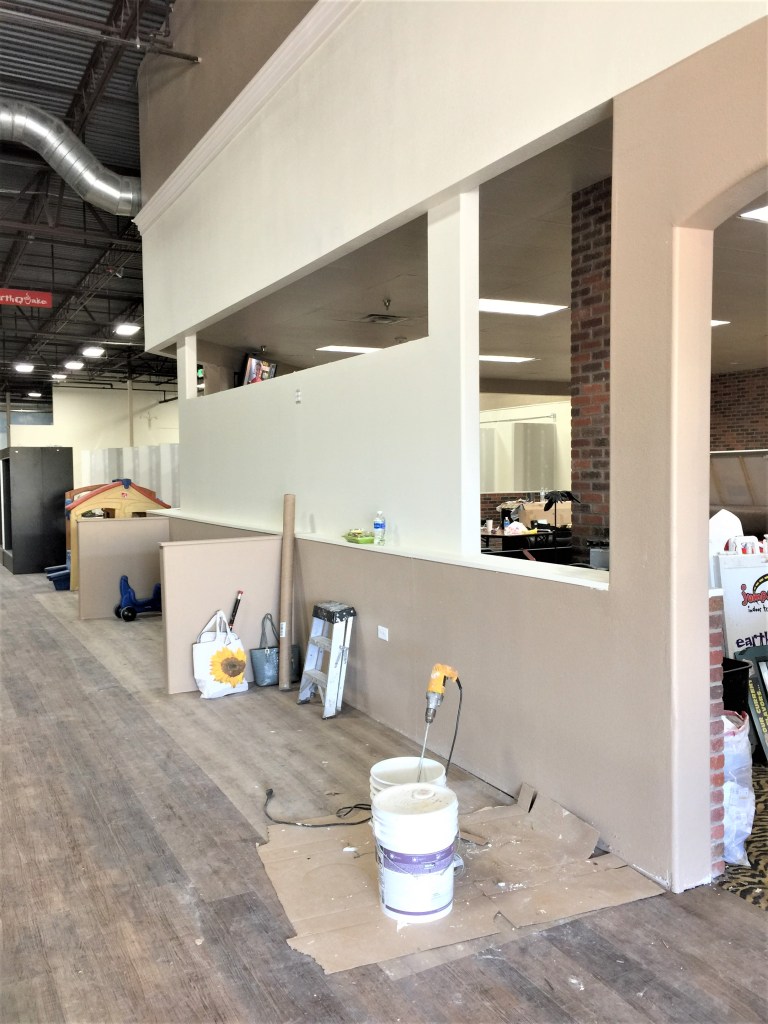
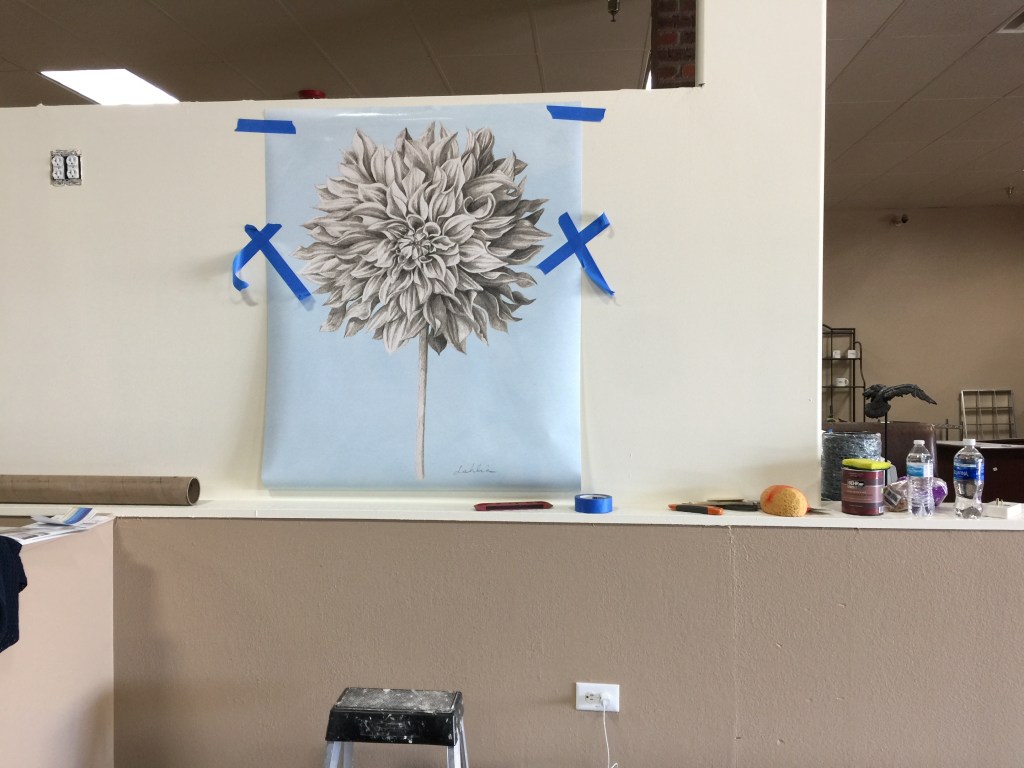
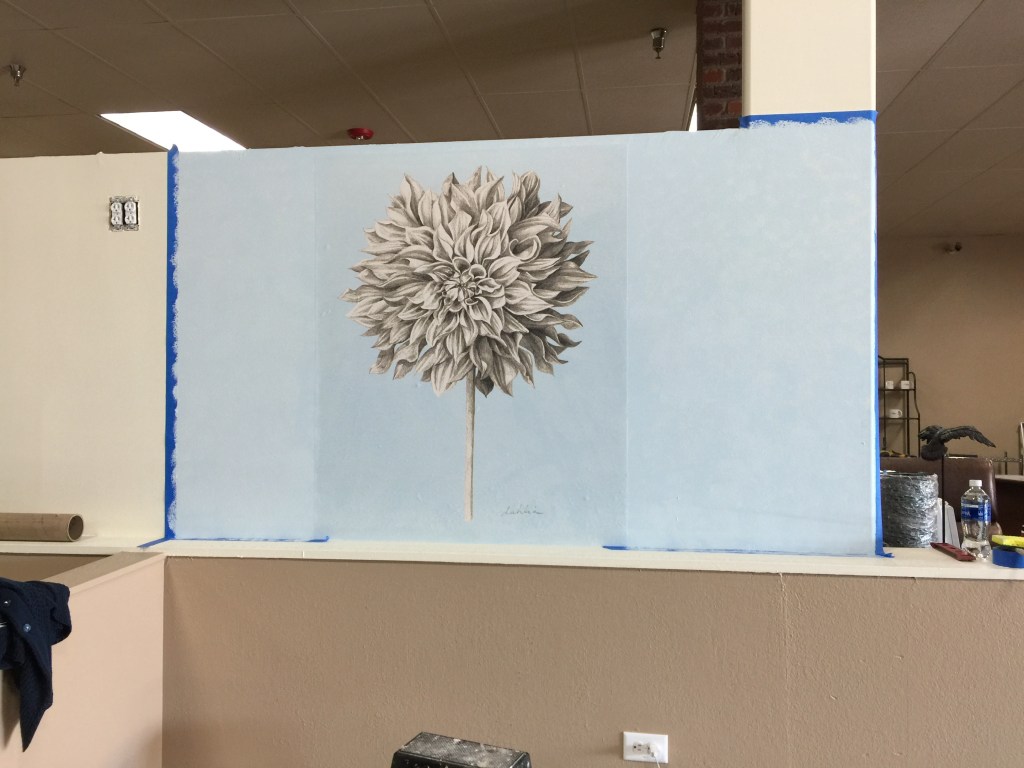
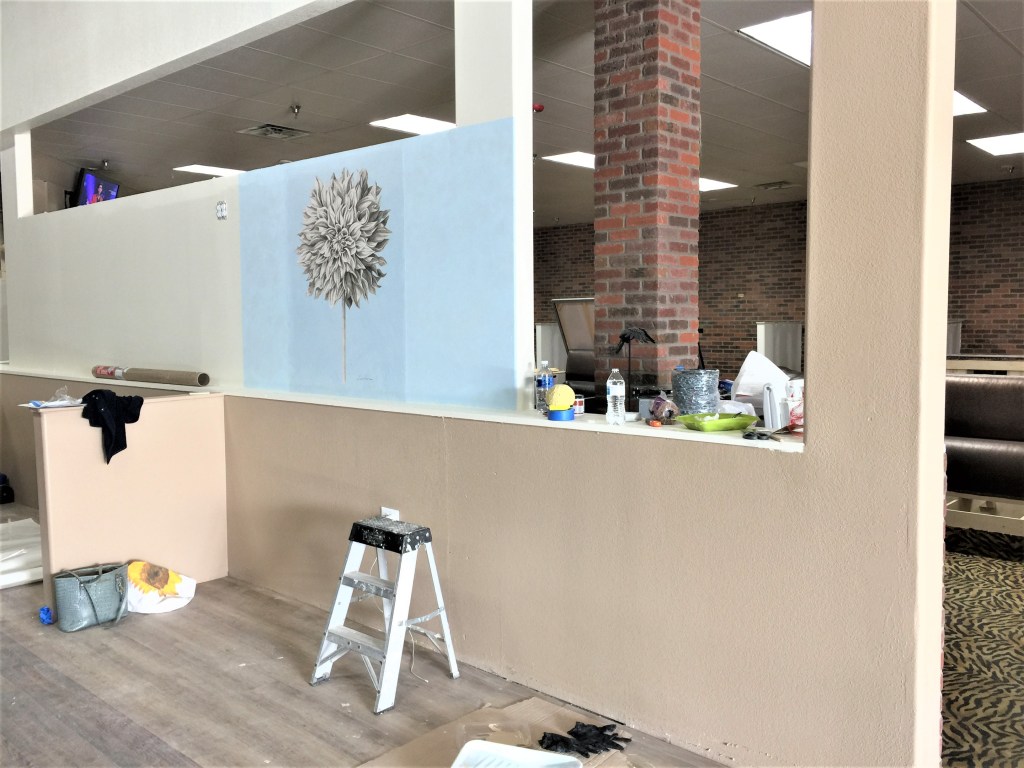
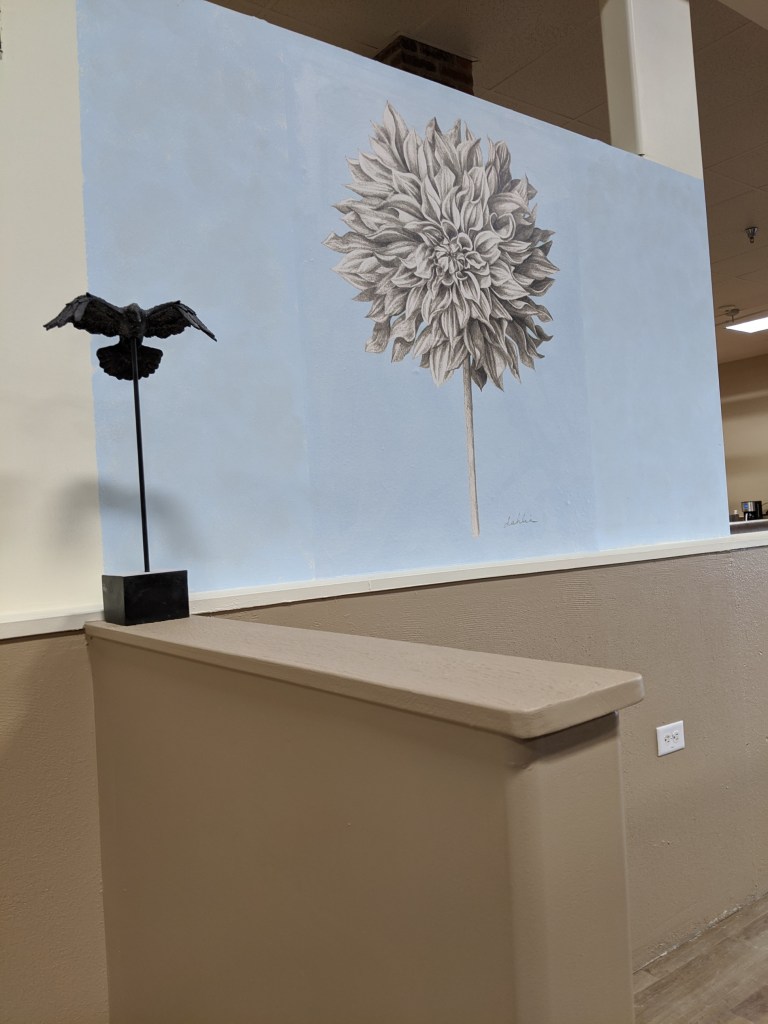
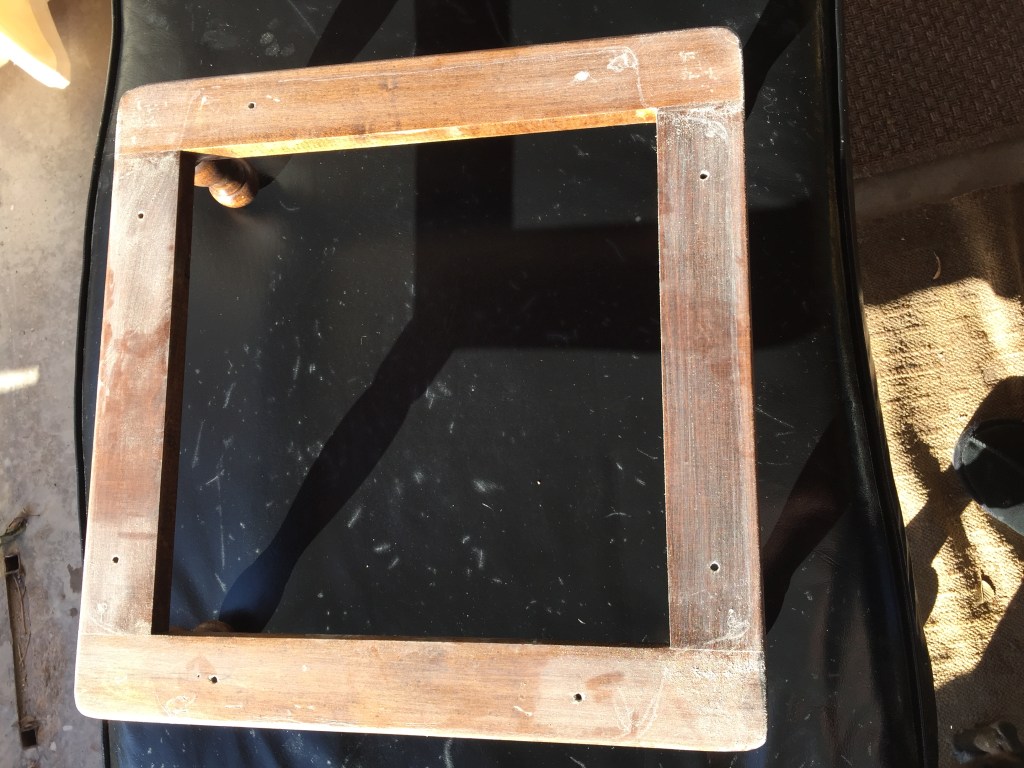
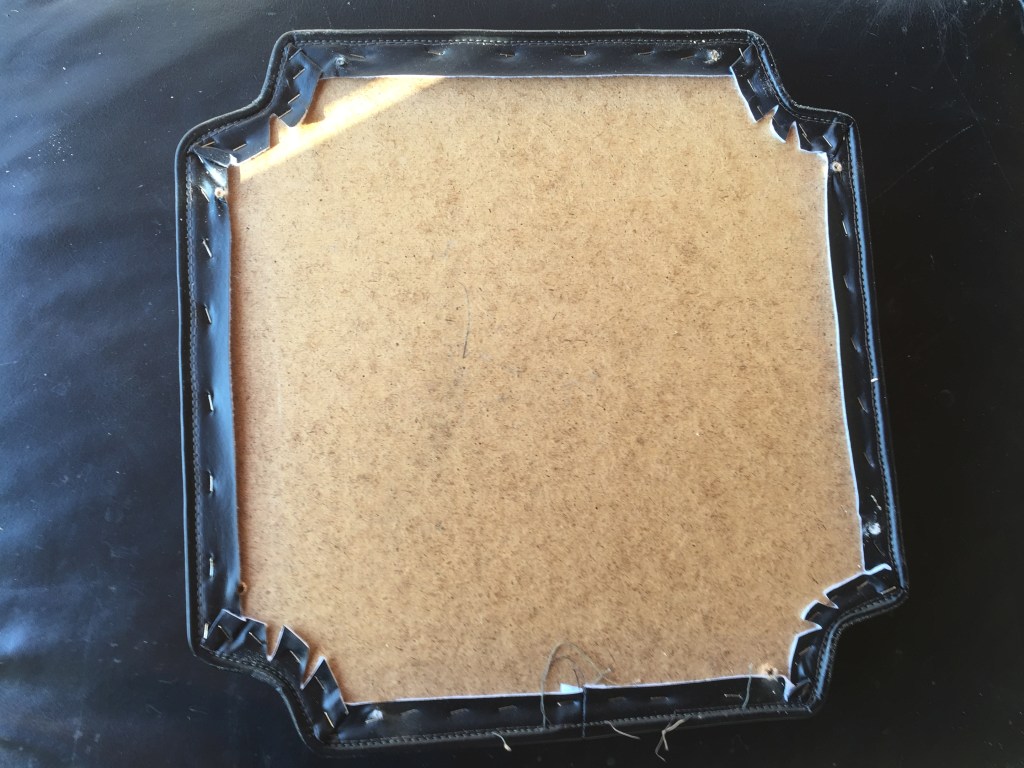
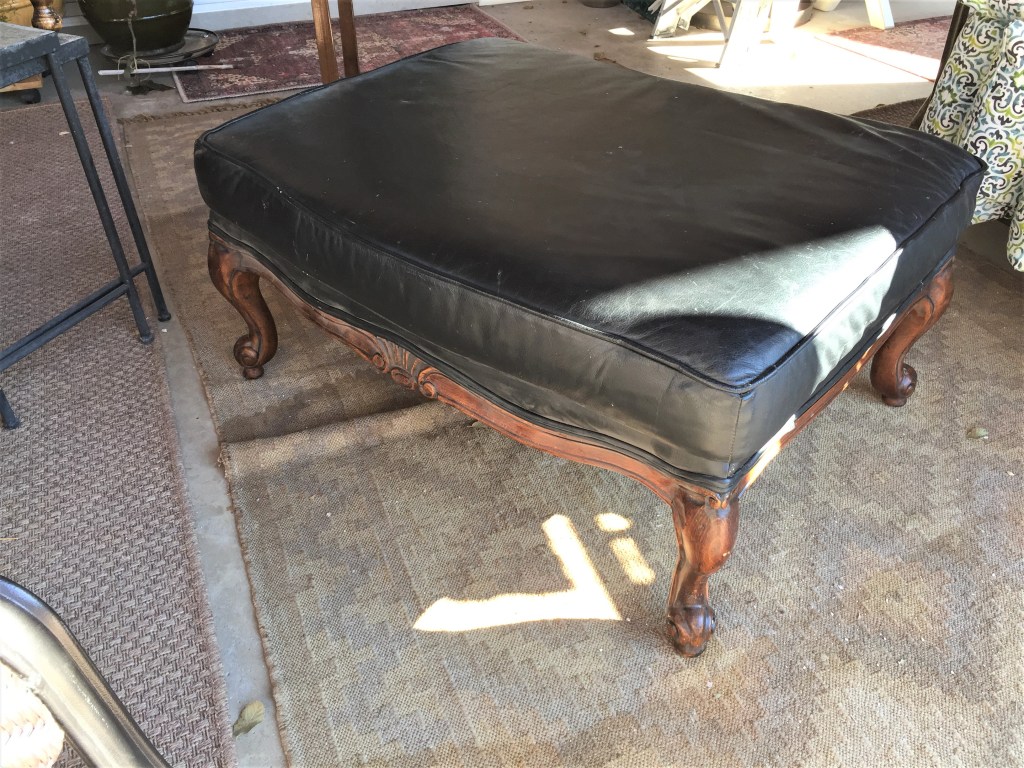
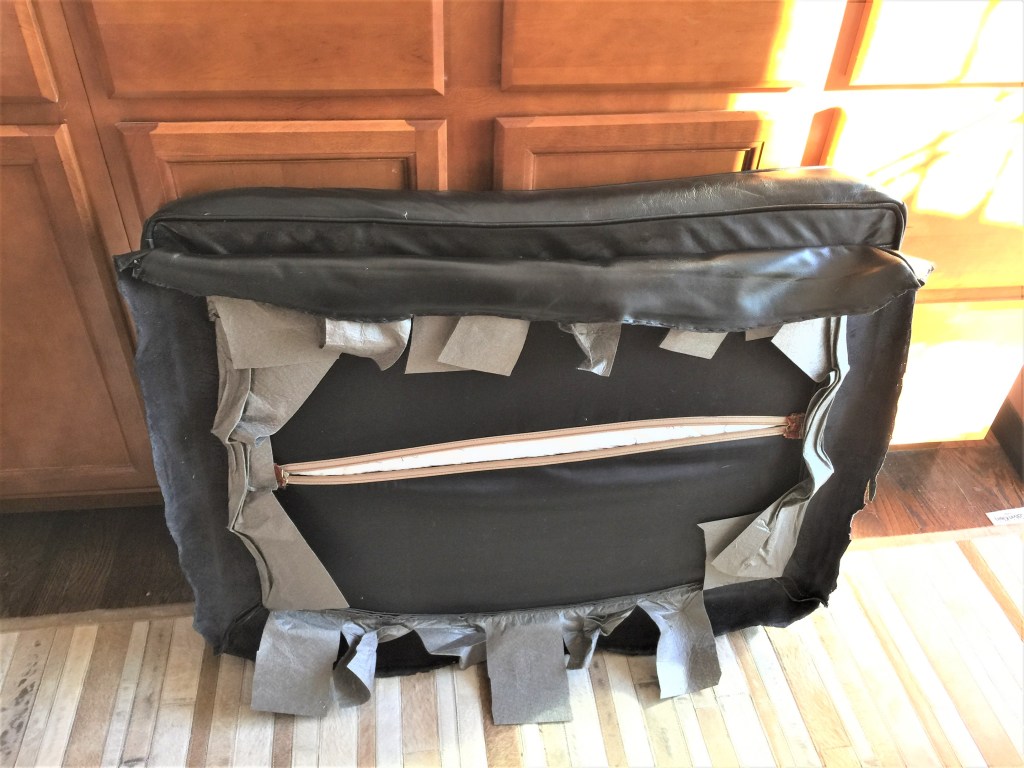
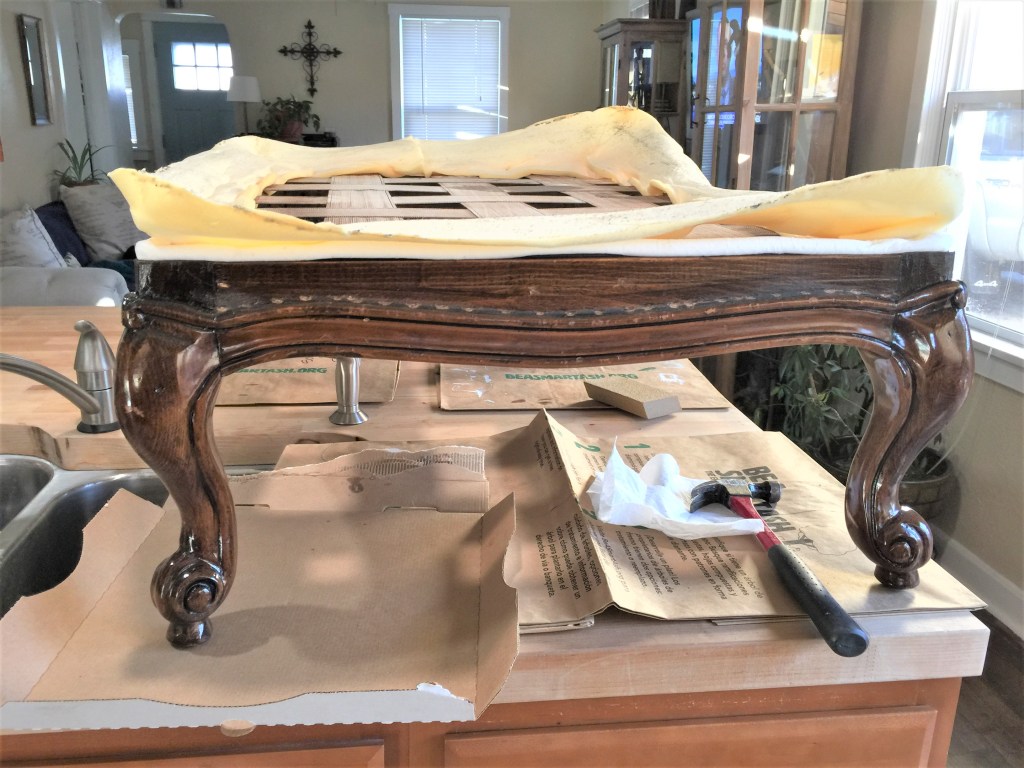
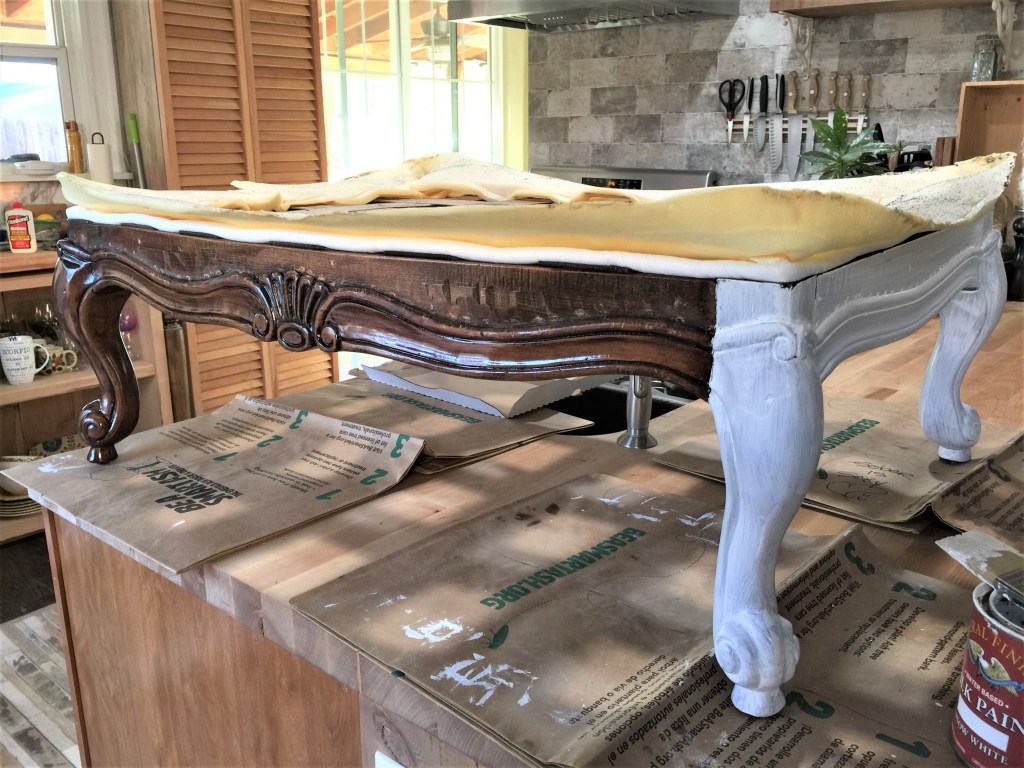
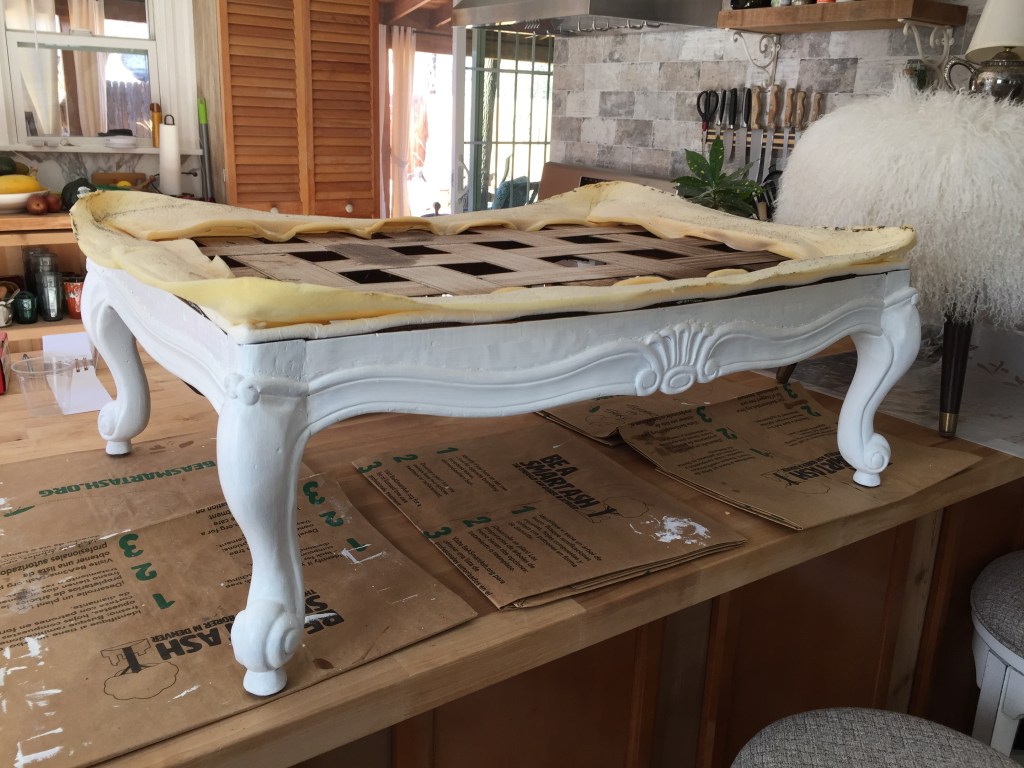
I found this beautiful Damask fabric at Hobby Lobby.Covered the cushions after wrapping the original foam in poly-fill cushion wrap.These updated pretty’s look fresh, while providing mobile foot rests for any part of the home.A large leather ottoman with great details on the carved base was dark and heavy looking. I bought it for $14.99.Because I’m learning as I go, I study each piece as I disassemble it. This ottoman turned out to be much more difficult than I expected.This is the cushion component. I say component, because it’s actually many pieces sewn together to make an attached cushion. I’m intimidated at this point. I mean, look at this and tell me what you would think? Holy sewing skills, Batman!The base was fairly easy and fun! All the carving makes it so cool. I get anxiety every time I start to paint a new piece of wood furniture. I remember Mom telling me as a kid, that antique wood should not be painted. However once the process is complete, I’m glad I did paint it!The base is done and now, I turn my attention to the cushion with teeth chattering…..I spared you the long process of recovering the cushion. It took a lot longer than I wanted and a couple trips to Western Upholstery, where they walked me through the steps, and lots of online research, but….I absolutely love how it turned out. Like many of my projects, I consider keeping it for myself!Another simple glossy stool.I stripped the old fabric off and added a thick layer of poly fill wrap to the foam.I considered a couple different fabrics, but it still seemed uninspired…So, I stenciled an ornate design at the top of the legs to highlight the shape and ended up covering the seat with a Burgundy fine gauge quality wool. It’s classy, but a bit special too!I’ve had these stackable foot stools for 10+ years, using them in my living area. They are dark and had been covered in dark Brown leather. Inspired by the other pair I redid, I decided to refinish these also.Staple stripping…When thrifting, I came upon a fabulous fabric that inspired me to go with a decidedly more modern and bright design style for this pair. This is risky!WoW! How can one be prepared for this much color and verve? These were requested by my sister before I even got to show them off. Maybe I’m onto something!I kept these cabinet doors from when I remodeled my kitchen last fall. I filled in the hinge and screw holes, painted them, added stencils and handles and look what they are now!A beautiful serving tray. One of a kind and up-cycled! Love this. As much as I love my new open kitchen, I have been using it for a work space and need to have a designated area to keep my tools and store furniture.Currently, my living area is full of newly refurnished accent pieces and new acquisitions waiting to be made over.Same for my back porch. I need some work/storage space!And this will be the space. As you can see, my shed is full and needs to be cleaned out and organized first. I’m sure some of you know how this happens!I love the natural light in here. I had my electrician wire my shed for power and light and it will be a prefect place for my new work space!I found Old Crows Antique mall. It’s new and opening in March 2020. I rented this wall and floor space from the black electrical box on the white wall to the doorway on the right side. My space is 13 ft wide x 3.5 feet deep.I’ve always thought about doing this, but finally in 2020, will see it to fruition!I ordered this beautiful mural from Magic Murals for my wall.The pony wall is up between me and my neighboring space and everything is now painted. I’m here to put up my mural today!Luckily, they give you good instructions with the mural! I recommended this company for your mural needs. This one cost $60.4 ft tall x 3.5 feet wide.I tried to match the wall to the background color in the mural and blend the edges together with a painting sponge.Although I can still see the edge of the mural, once I have antiques in the space, you won’t notice the edges as much. The doorway goes to a root beer bar in the store. I love the brick stack visible through the wall opening. My space is high visibility and I’m super excited to fill it!
From another angle. The store used this photo for some of their marketing! Yay!
Spring will be here before we know it. I’m collecting butterflies, bumble bees and flowers to prepare for the opening of Old Crows Antique’s kick off in March 2020!Me, happy to be moving forward with my plan! Check out the Old Crows website: https://www.oldcrowsantiques.com/
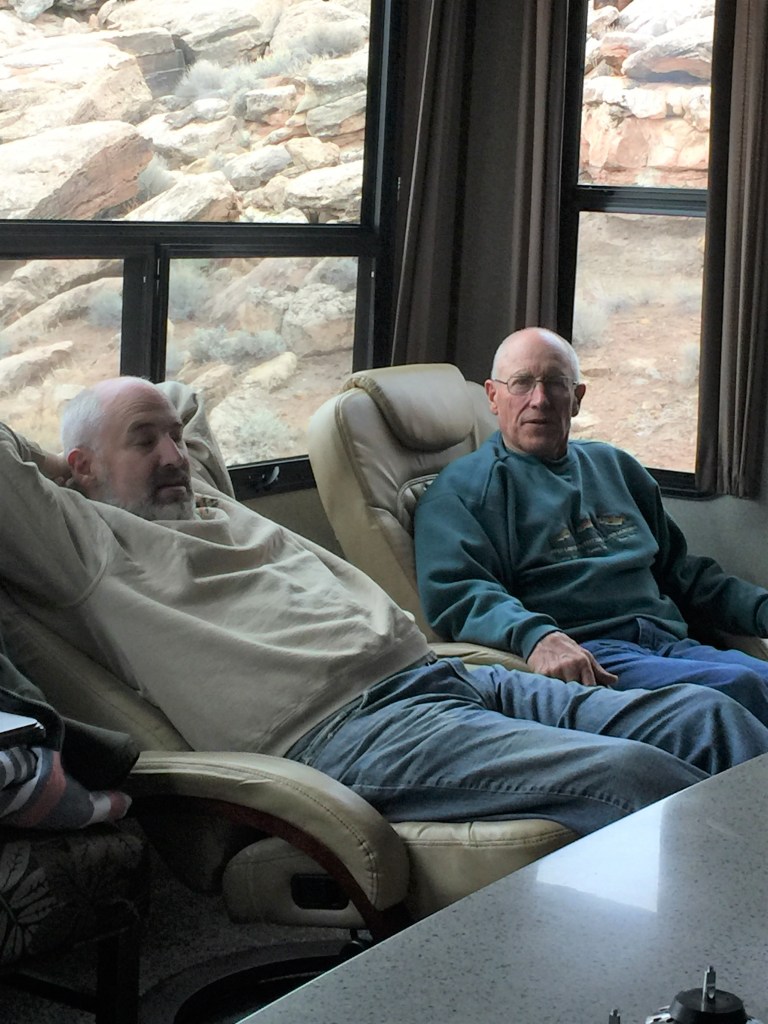
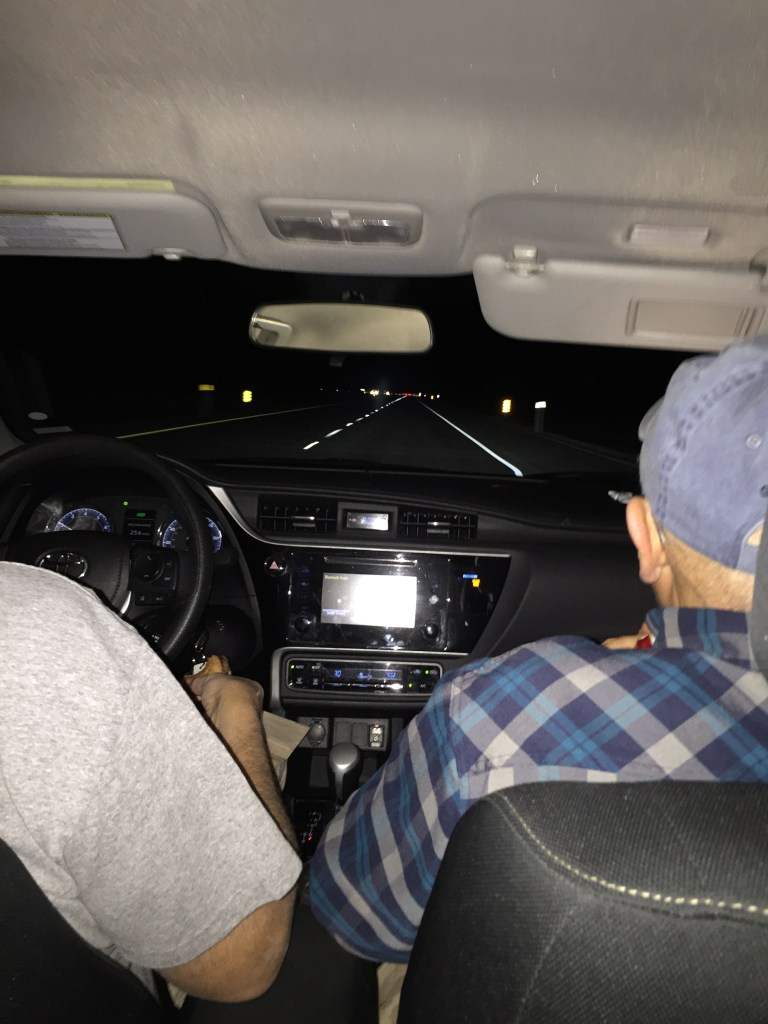
Michael, Dad, Mark and I devised a surprise for Mom and Susie to celebrate their 75th and 50th birthday’s in Lake Havasu this year. Dad, Michael and I flew into Las Vegas, rented a car and drove to Havasu, arriving at 10:00 PM. They were surprised!
The next morning, we all got our first look at their new house, desert landscape and enjoyed waking up in the lovely climate.
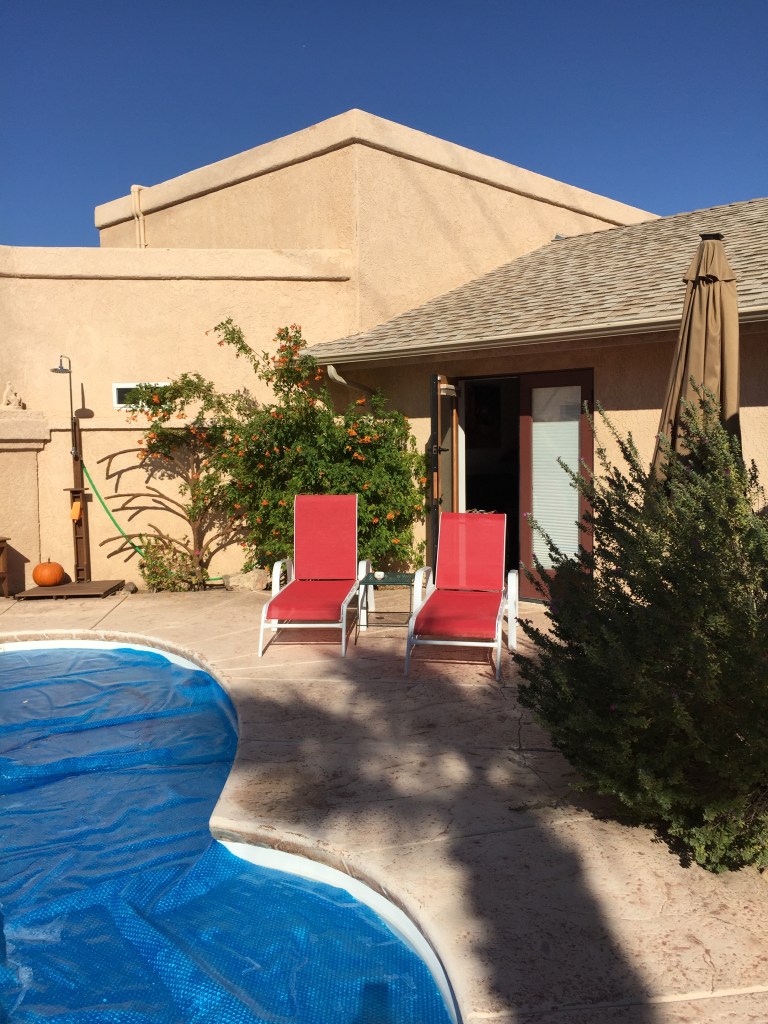
The back yard offers a pool and an attached casita. I stayed in the room you can see behind the red chairs.
Mom and Dad stayed in the Casita, behind the waterfall.
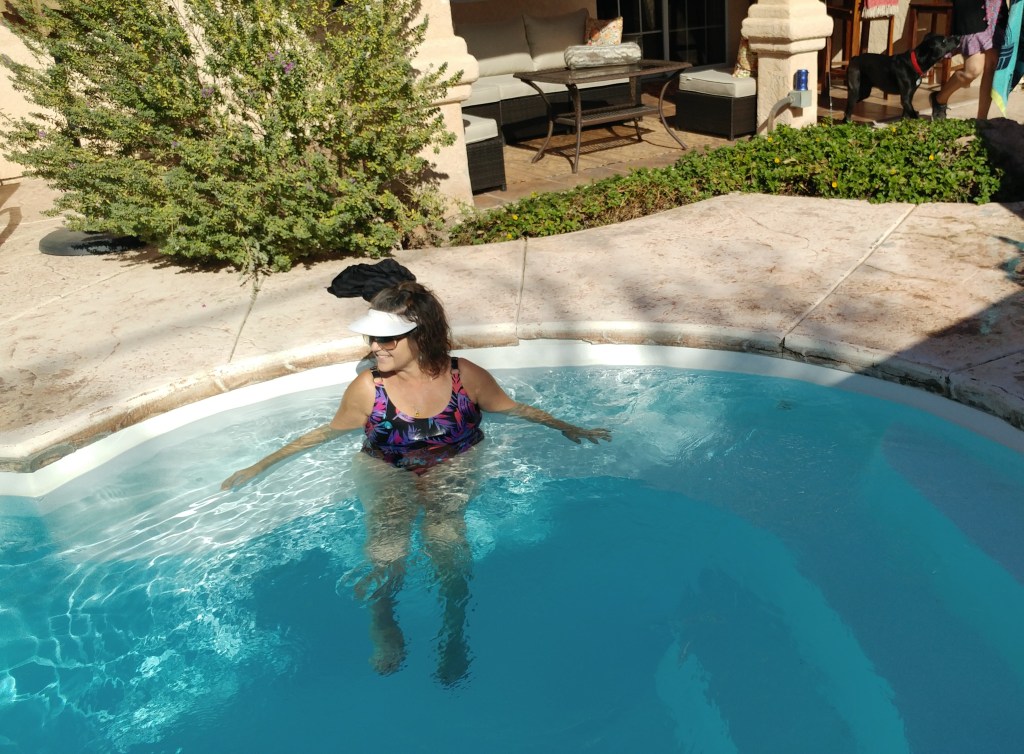
Susie enjoying her Chai tea by the pool! Hello family!
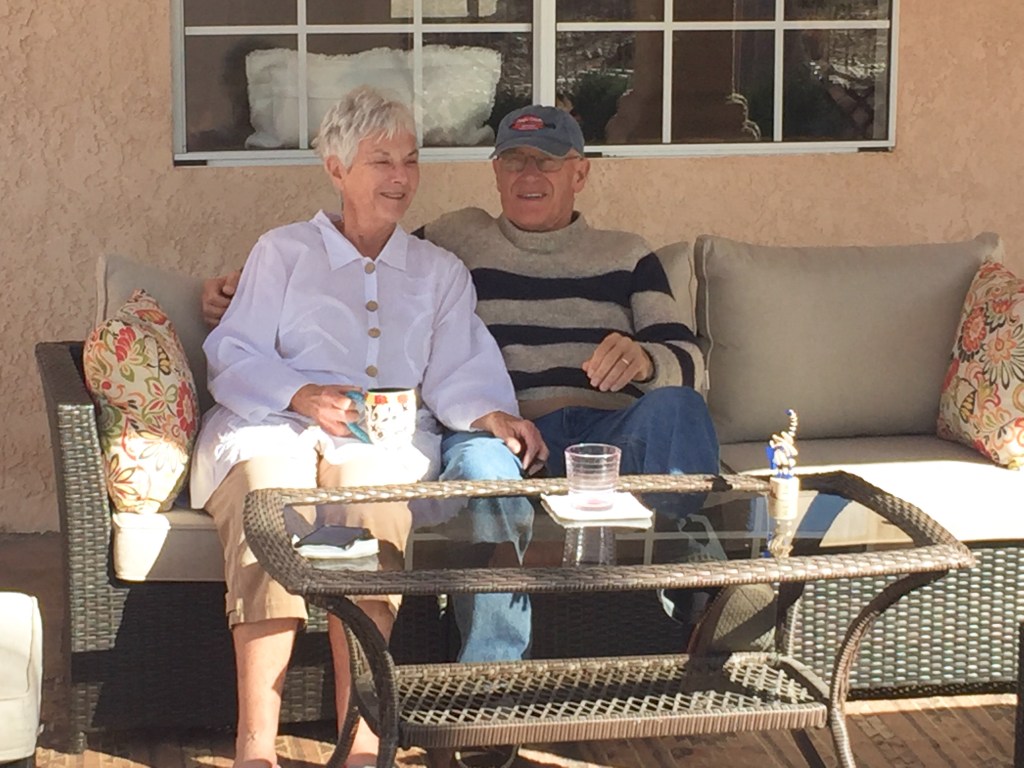
Mom and Dad hold on to each other while surveying the neighborhood from the driveway.
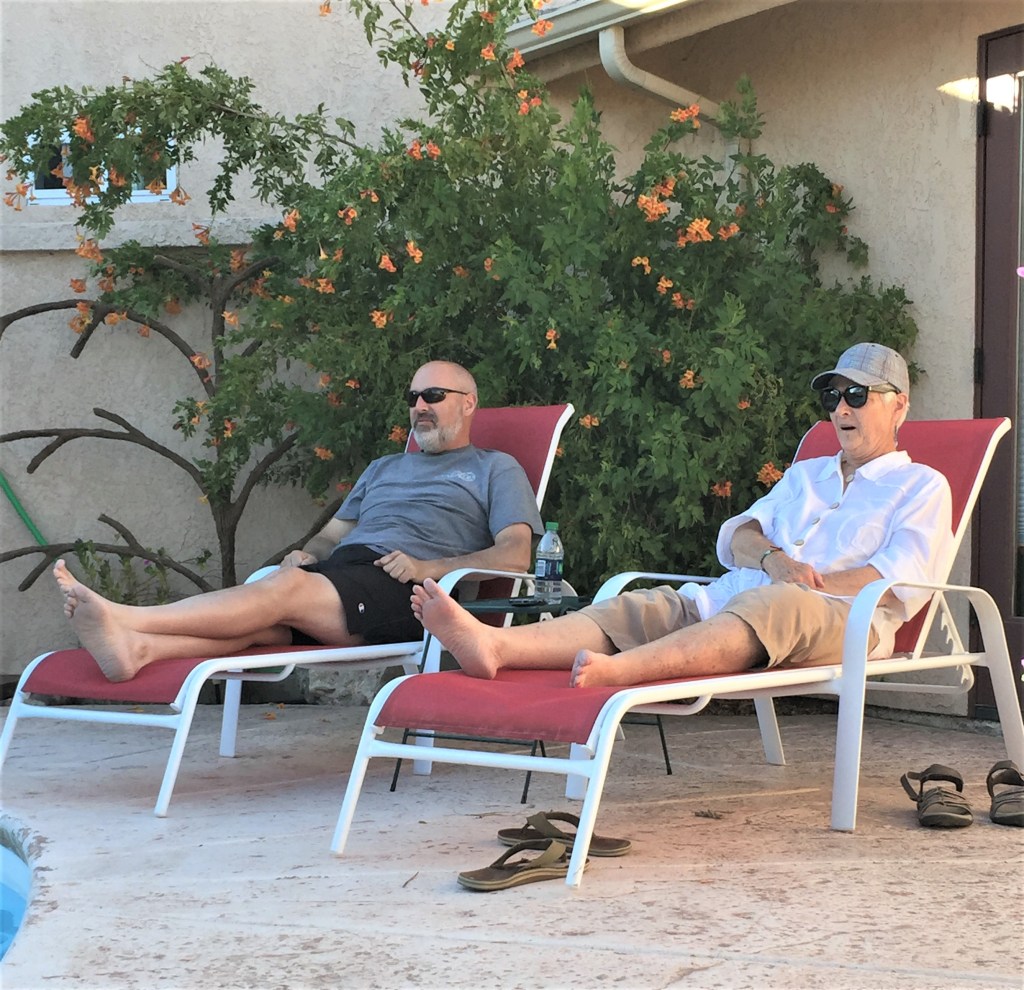
Michael and Mark catching up after breakfast.
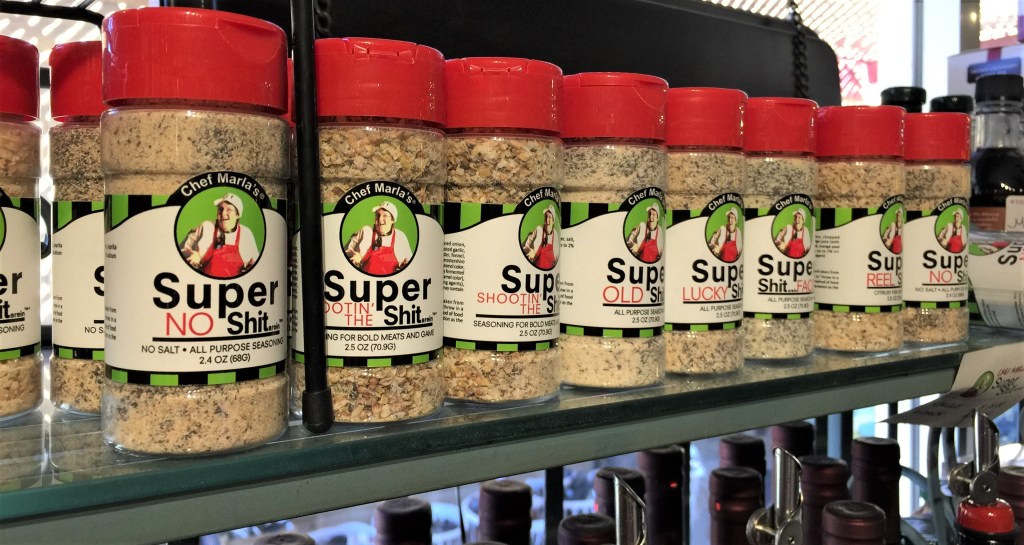
The ladies went into town for lunch and shopping. We found this fun shop with novelty spices. Check out this brand!
I was motivated to get in the pool and do some water aerobics. I was proud of myself for making that happen on vacation!
We all found our perfect spot around the pool in the afternoon!
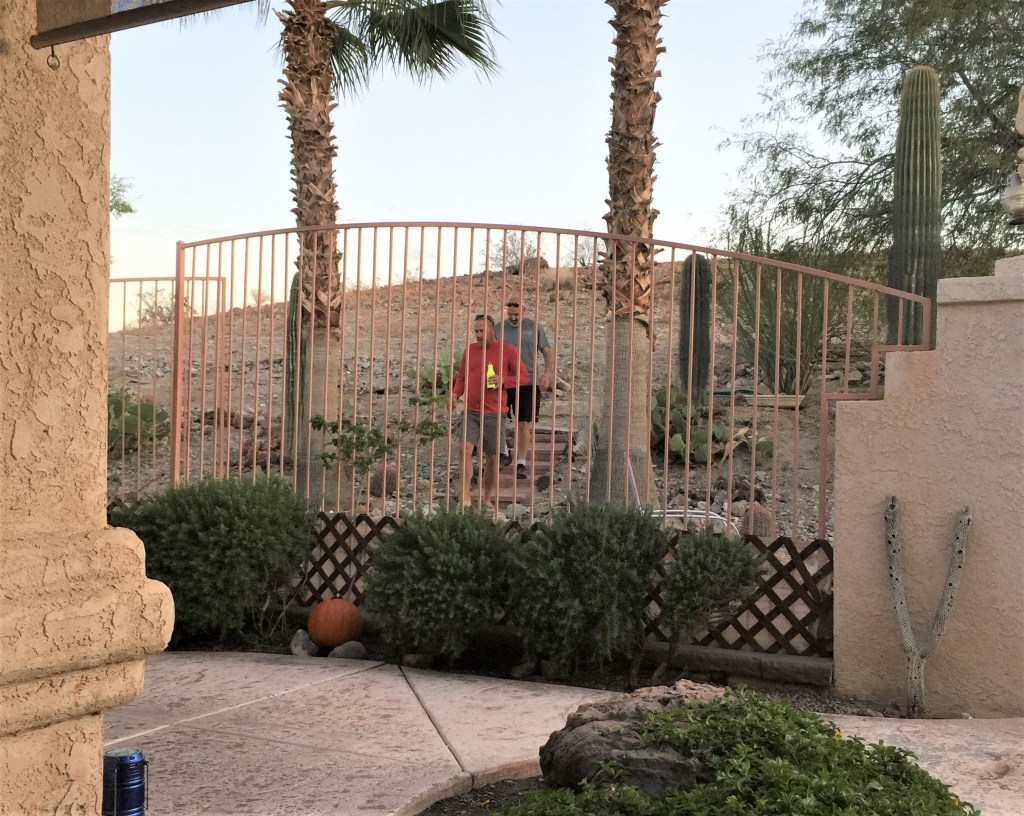
The boys coming back from the lookout behind the house.
Susie taking a break from hostessing while the boys are climbing around in the desert terrain.
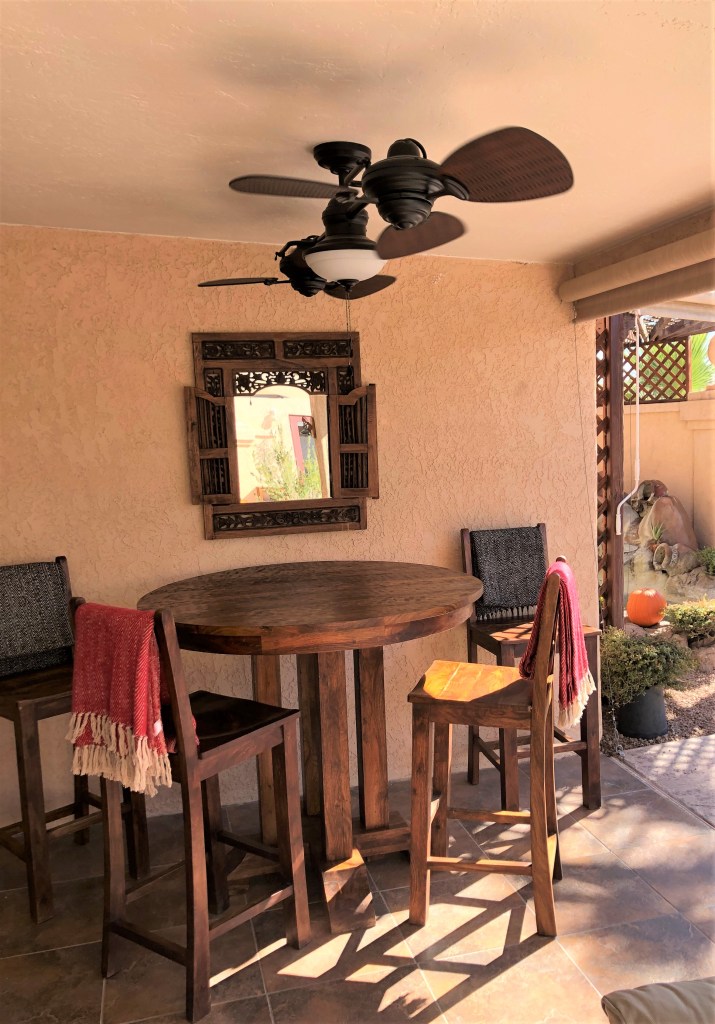
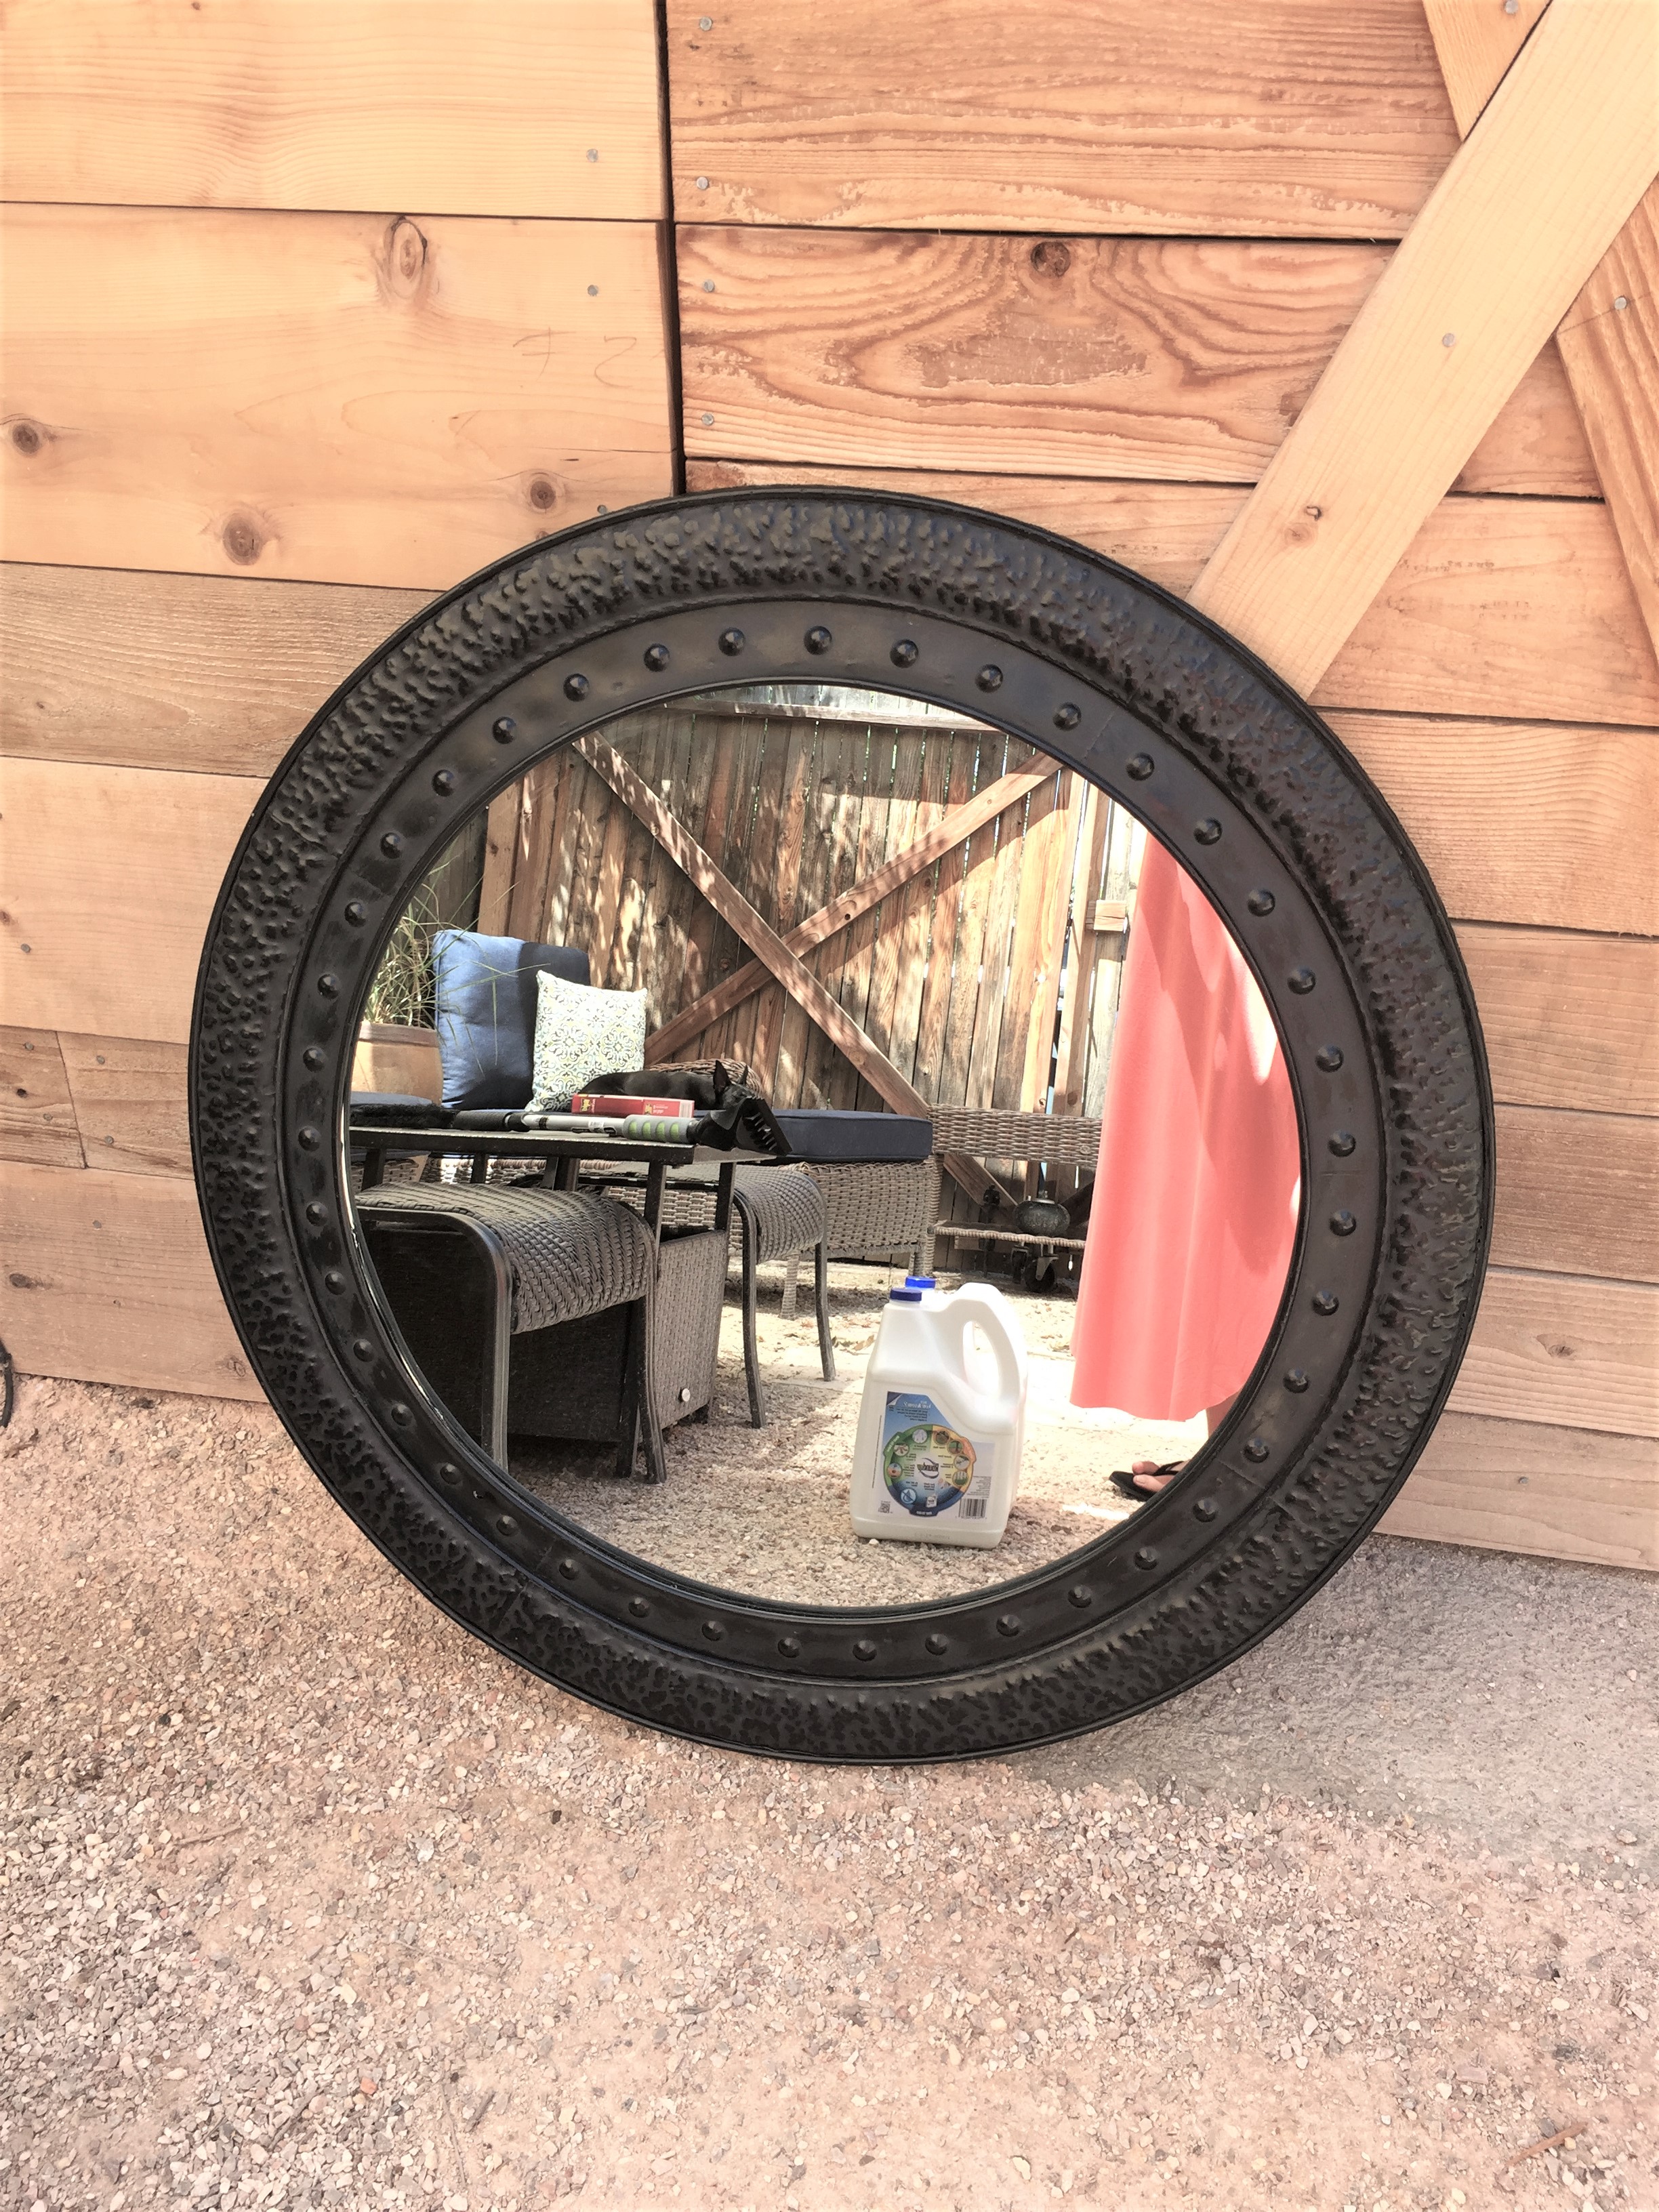
We found this cool teak wood mirror when in town and Susie decided to hang it above the outdoor dining table. It looks perfect!
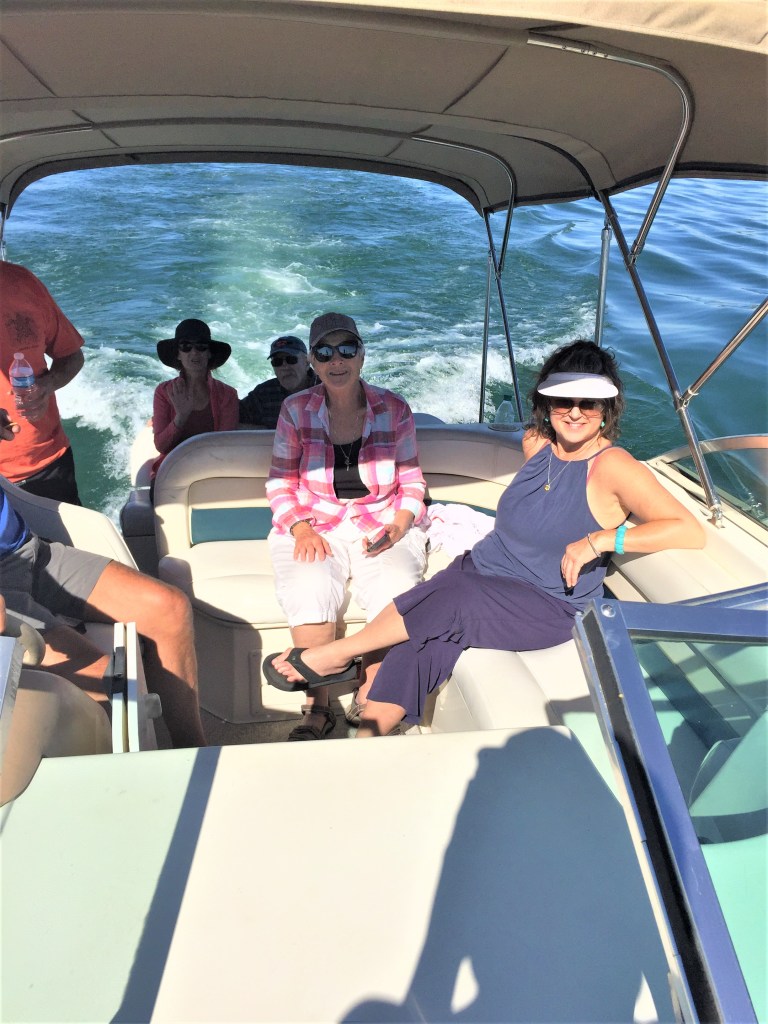
The next day, we all ventured out on Lake Havasu on Mark’s boat.
So fun to be together and floating on the water. The weather was beautiful!
Mom enjoying the sun!
The Captain!
Michael taking the role of co-captain!
Looking back toward Lake Havasu City. It’s built on the hill overlooking the lake. Lake Havasu City is a cool town of about 50K people. Snowbirds and locals hang out at sidewalk restaurants and enjoy the warm weather during the winter months. It definitely feels “beachy” in this town.
Beautiful distant mountains surround the lake.
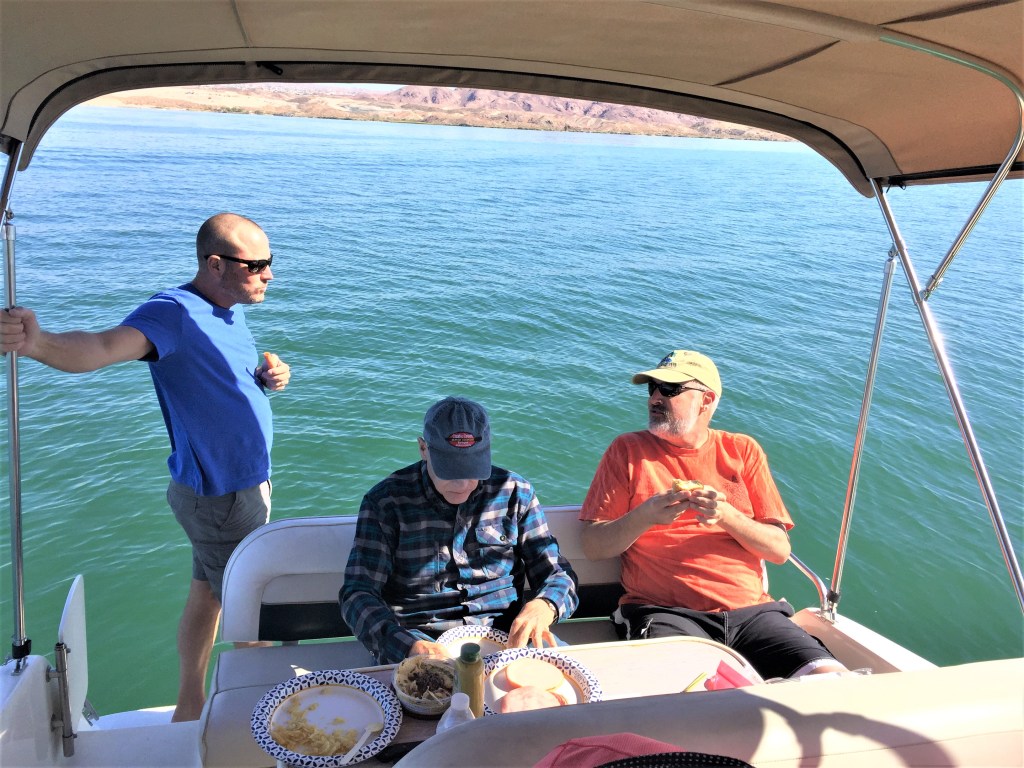
We enjoyed an al fresco lunch of sliders and snacks.
Zooming around the lake, Preston is a great host!
Dad found a seat in the back of the boat.
Thompson men, here!
Mark and Preston happy to be on the water!
Look at this young man! He’s no longer a boy.
My happy place, on the water!
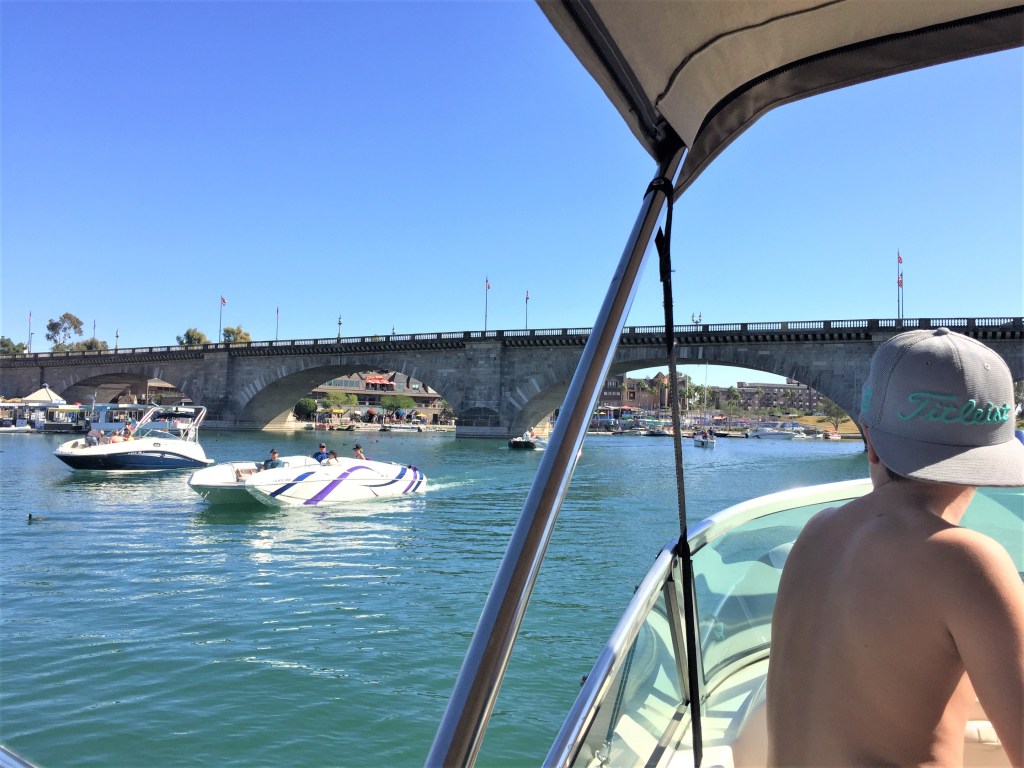
The London Bridge is a tourist attraction at Havasu. The bridge came from England and was reassembled here, connecting the mainland to “the Island”. Everybody cruises the canal between the mainland and the Island. We’re checking out some of the massive muscle boats we see.
Once again, we find ourselves congregating back at the pool before dinner.
Mom and Susie enjoying a glass of wine!
Mark sitting under the patio while talking with Susie and Mom.
The sunset bring everyone outside every evening.
The day Mom, Dad, Michael and I leave for our homes in the mountains.
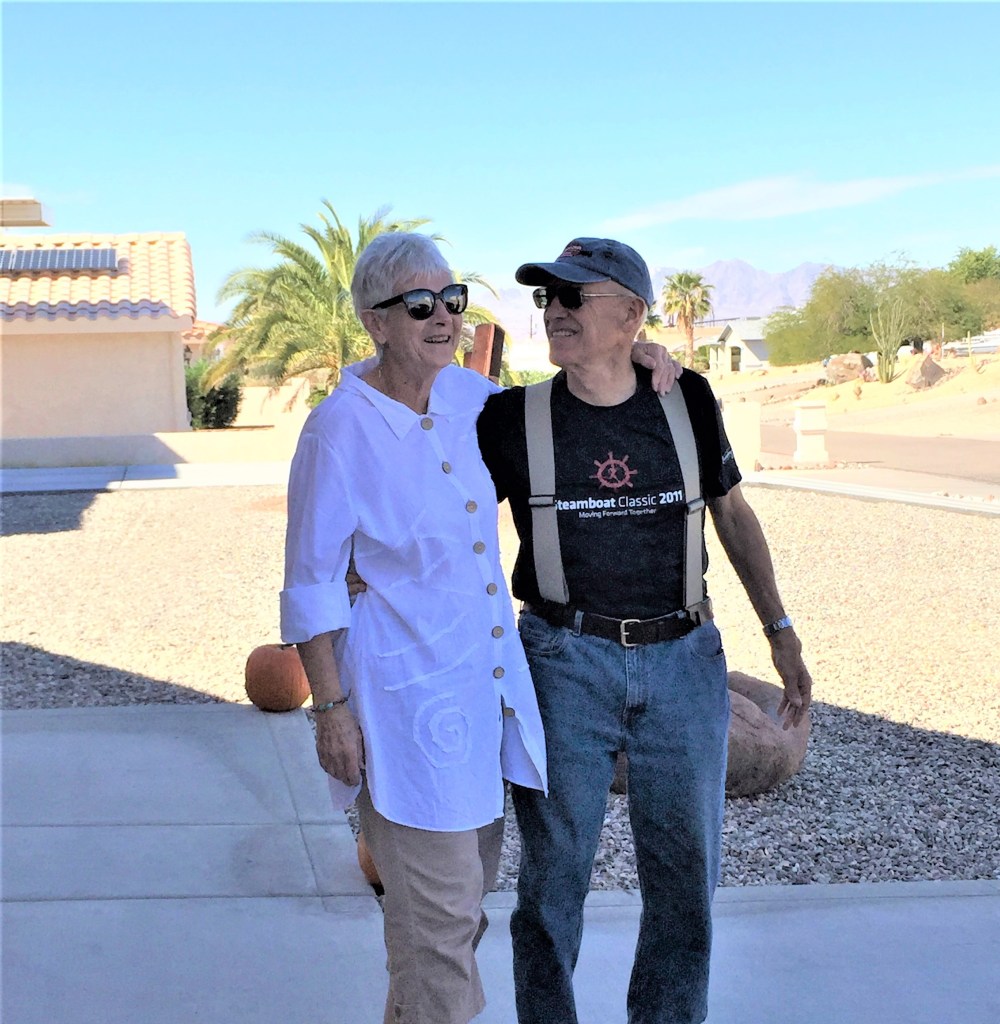
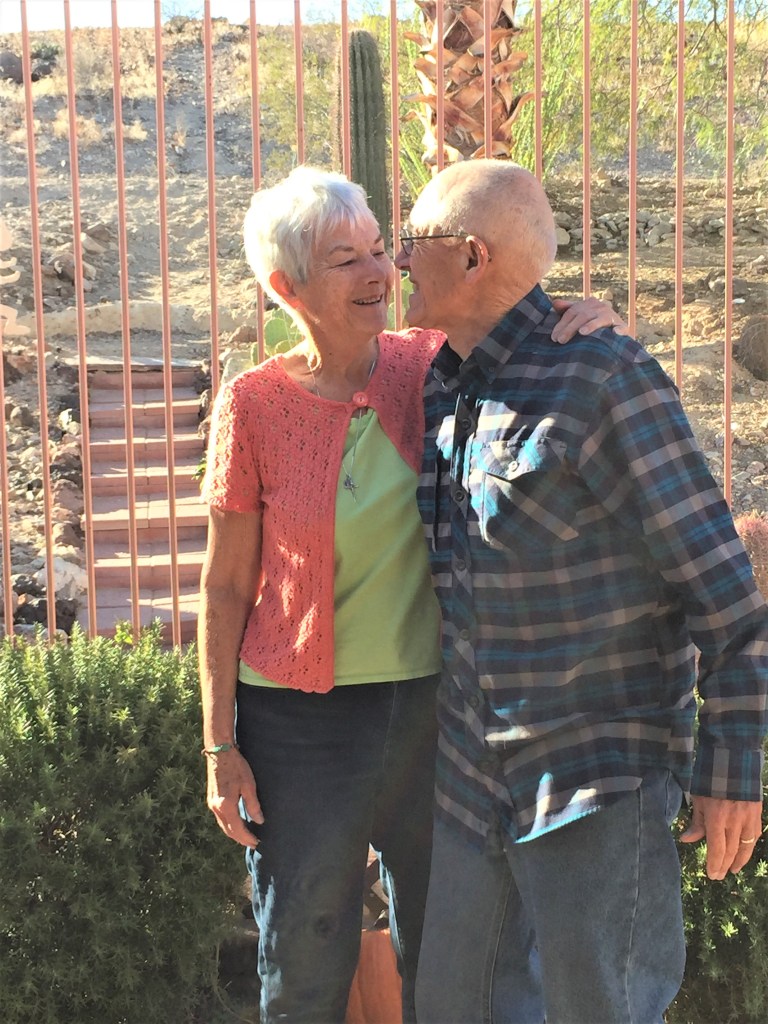
Look at these love birds!
So happy together!
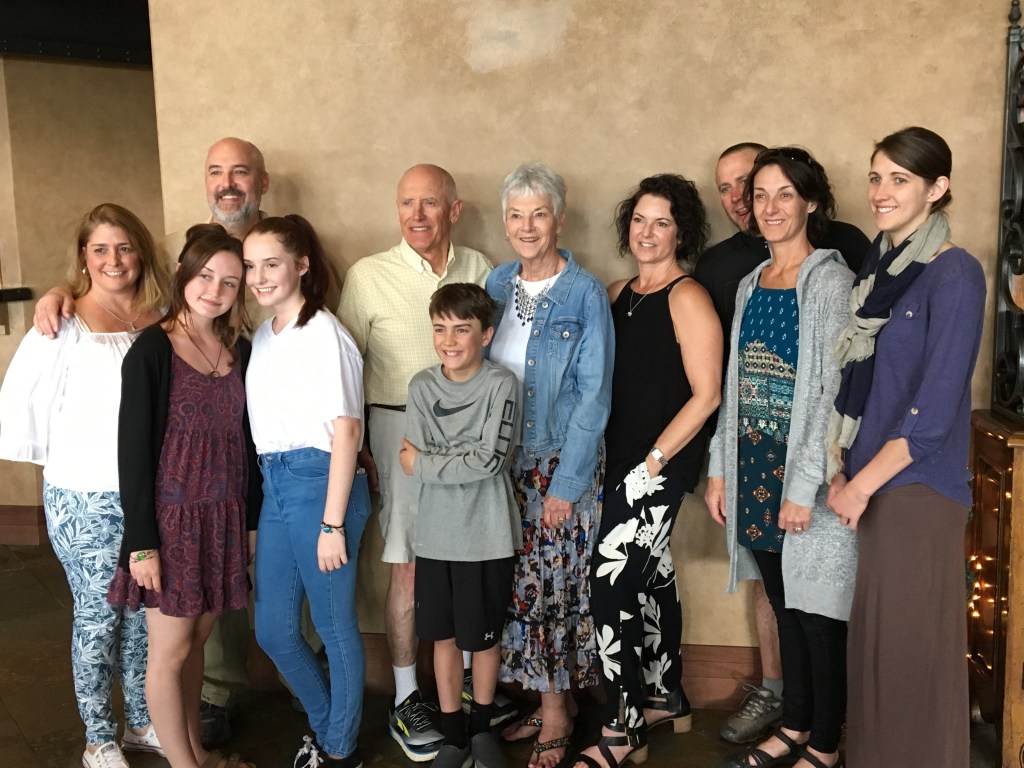
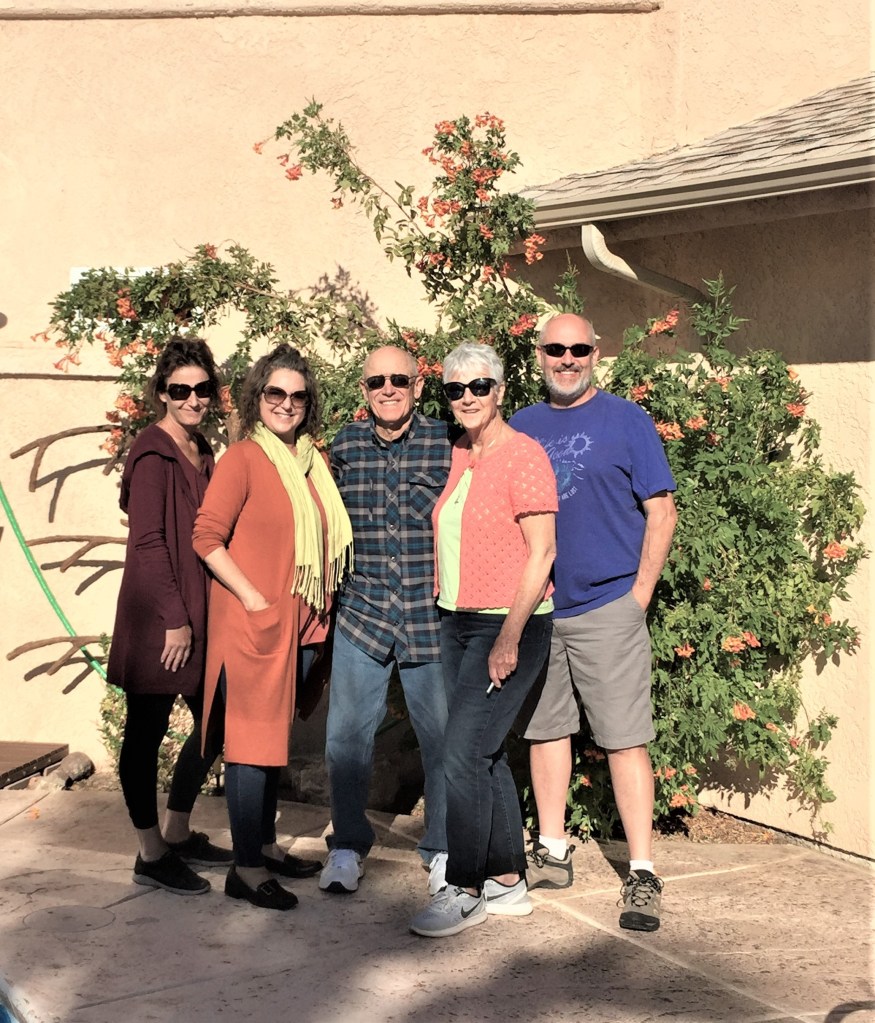
Everyone was a good sport and posed for family photos!
The Thompson’s.
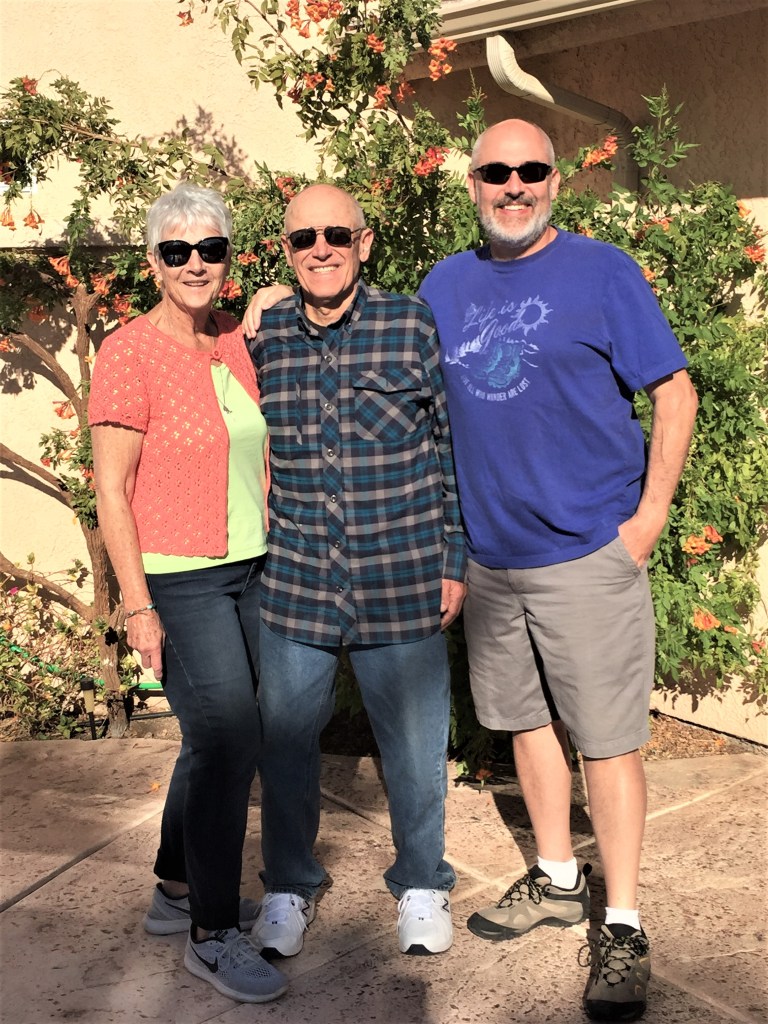
Not too bad for a 75 and 77 year old!Vibrant people!
Good looking!
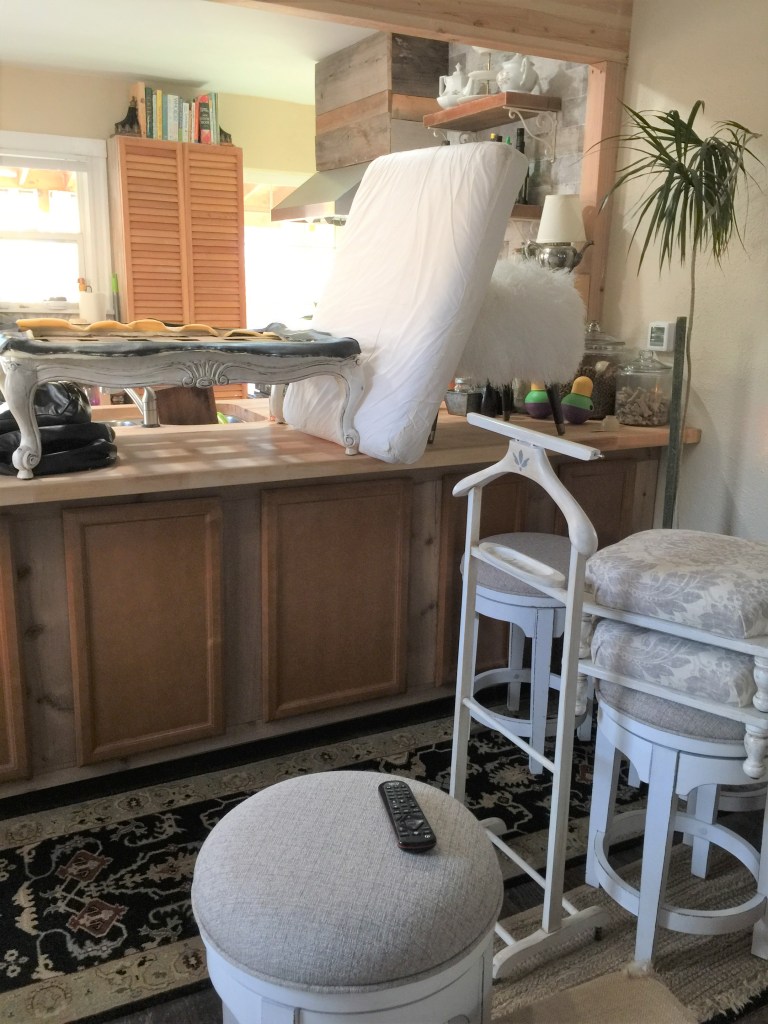
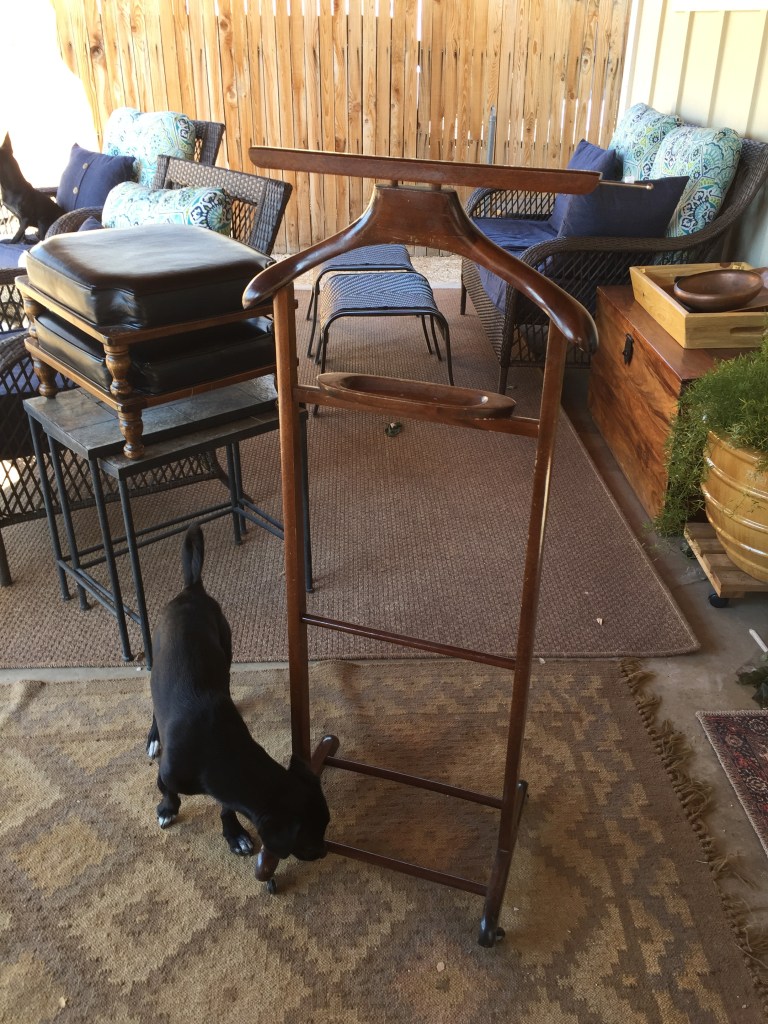
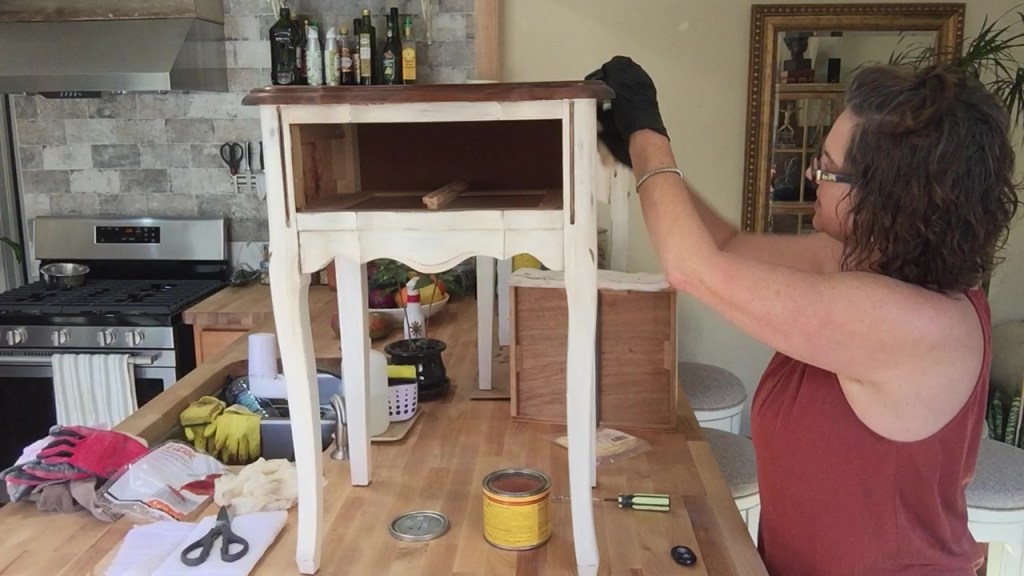
I made it home after 3 nights in Arizona and found some new projects to work on.A vintage valet stand.
A pair of stackable Mid Century Modern ottomans.
Which I tore apart and will paint the base and recover the cushion.
Looks easy enough!
This is the fabric I found for the ottomans.
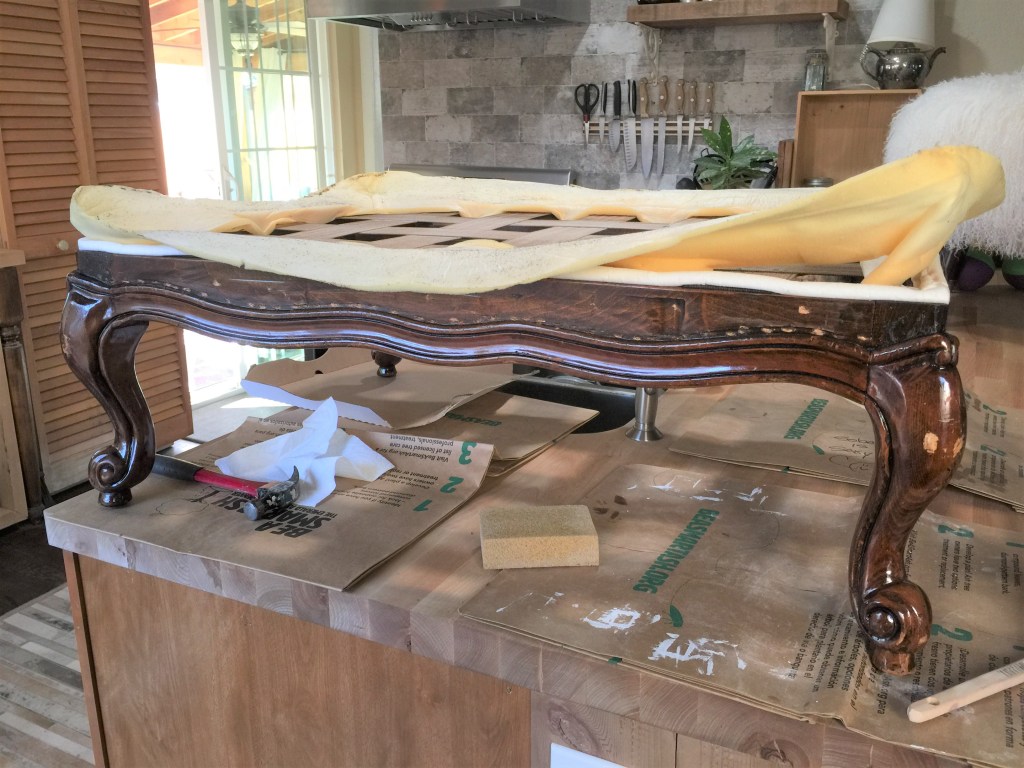
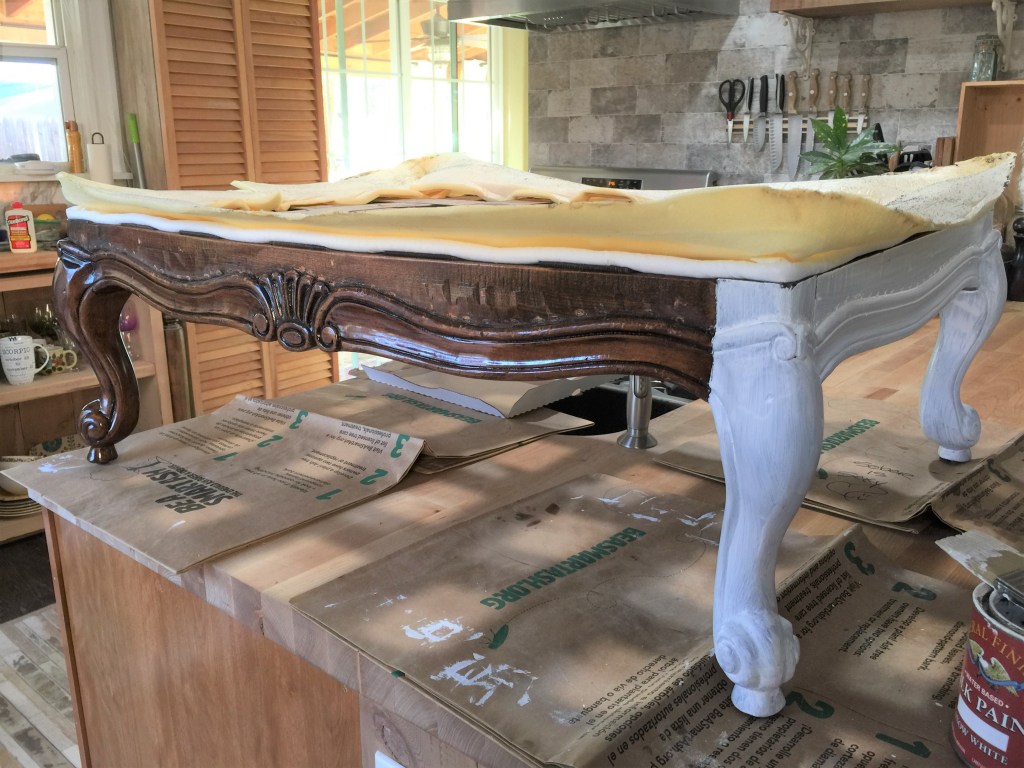
And this leather and carved wood base ottoman.
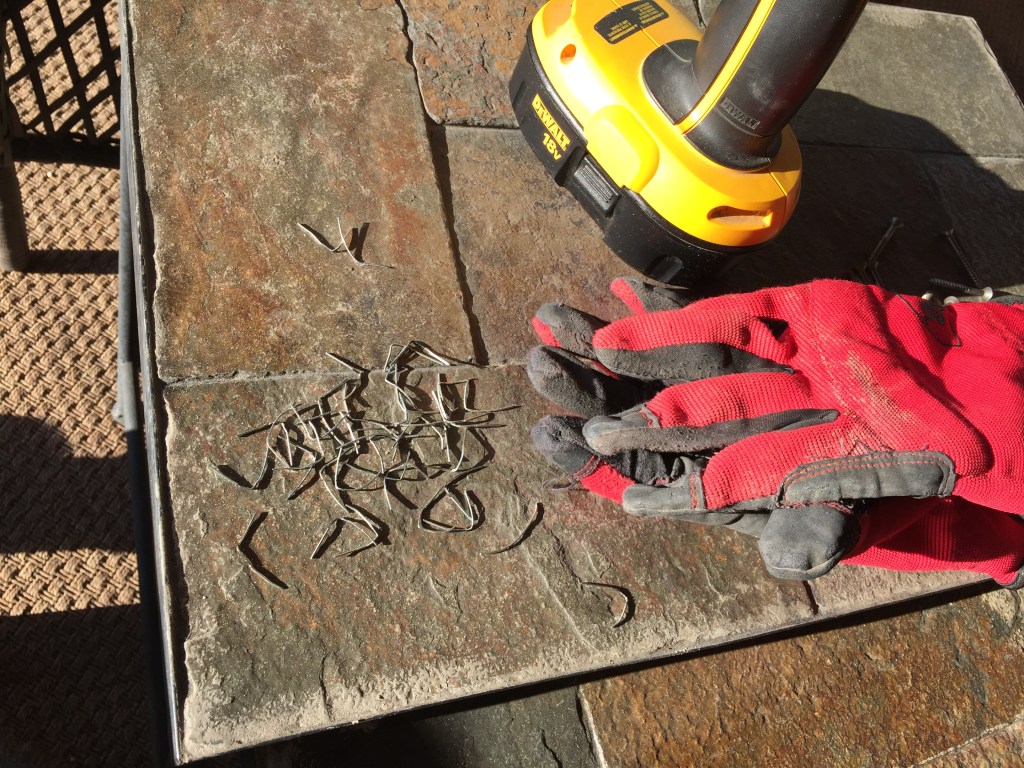
Disassembling the ottoman, one layer at a time so I can understand how to put it all back together.
One by one, I pull out the staples.
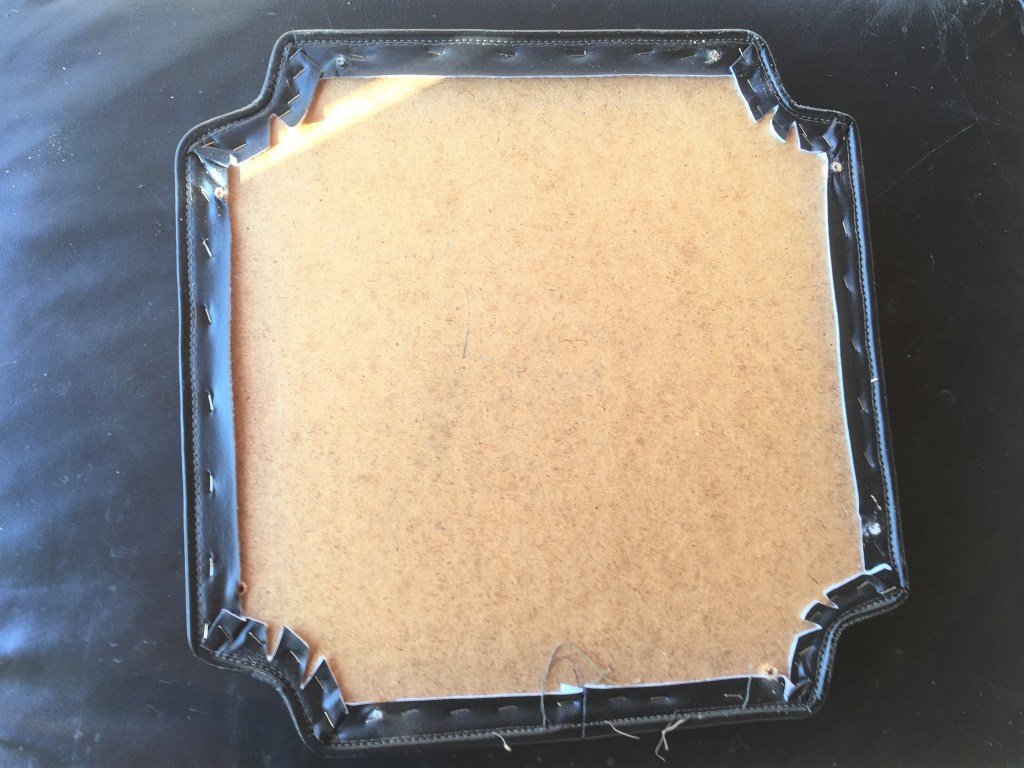
This is what the cover looks like after I get it off the ottoman. I’m intimidated by the complexity of it. I might have to make some changes to the new cushion cover.
Once the leather cover and cushion is pulled off, this is what it looks like.
I always feel a little anxiety when painting wood. It seems like the wrong thing to do. However, once I get the steps completed, the new look is rewarding and fresher. I’ll give these pieces new life.
Painted and ready for distressing and glaze. I’ll keep you informed as I finish these pieces.
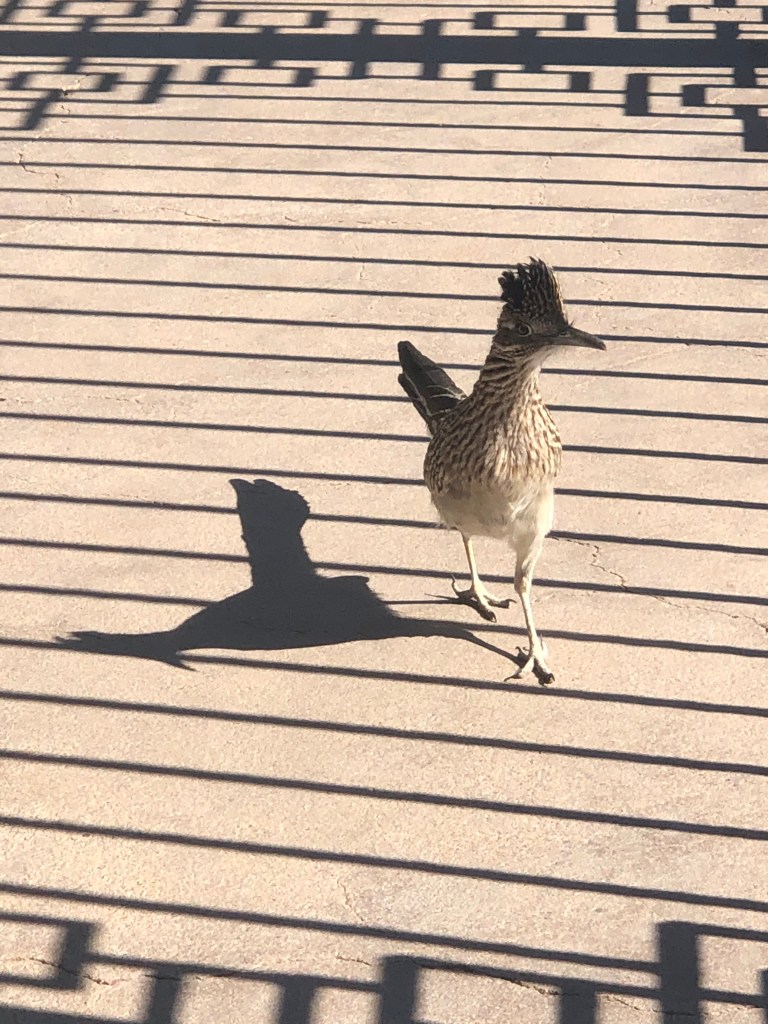
One of the wonderful things about traveling is viewing the unique landscape and the wildlife in each place. Every morning we watched the quail migrate from the left of the house to the right and they return again in the evening. I think this is a feeding pattern. We also saw a coyote jog by just above their house and this roadrunner was available for a photo at the lake.So grateful for my family and the time we spend together!
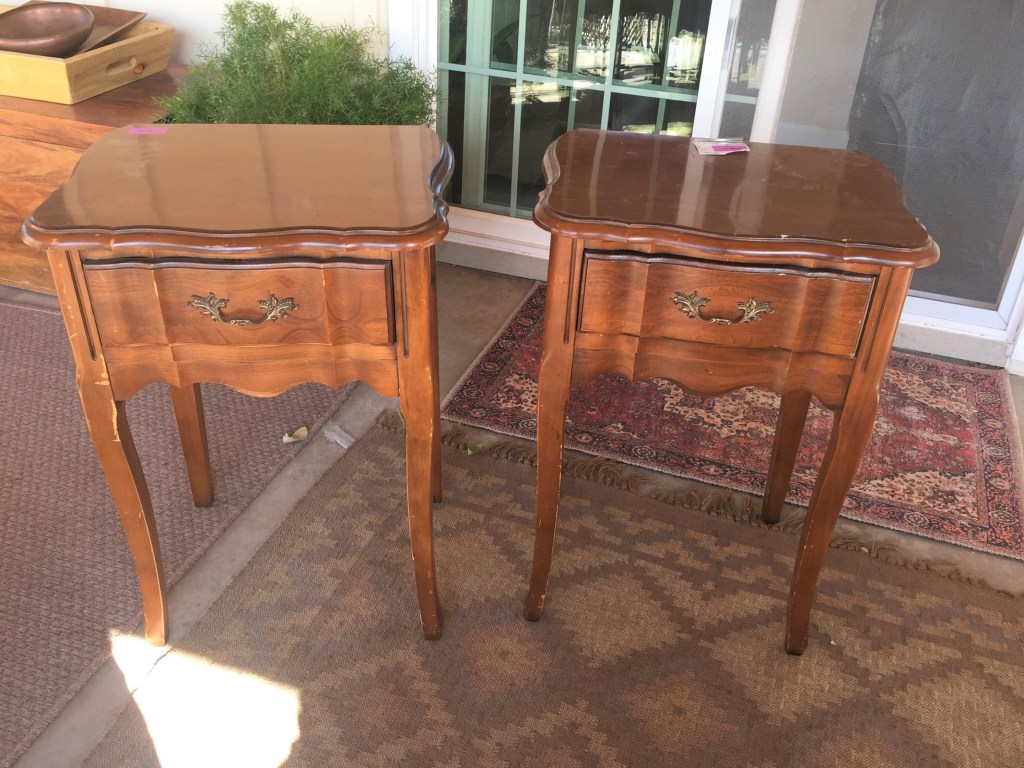
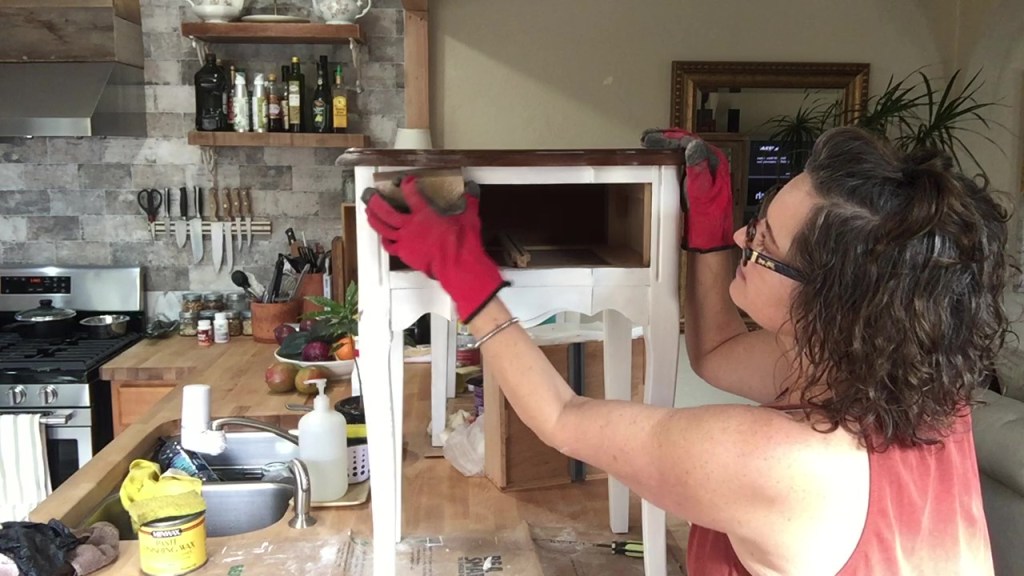
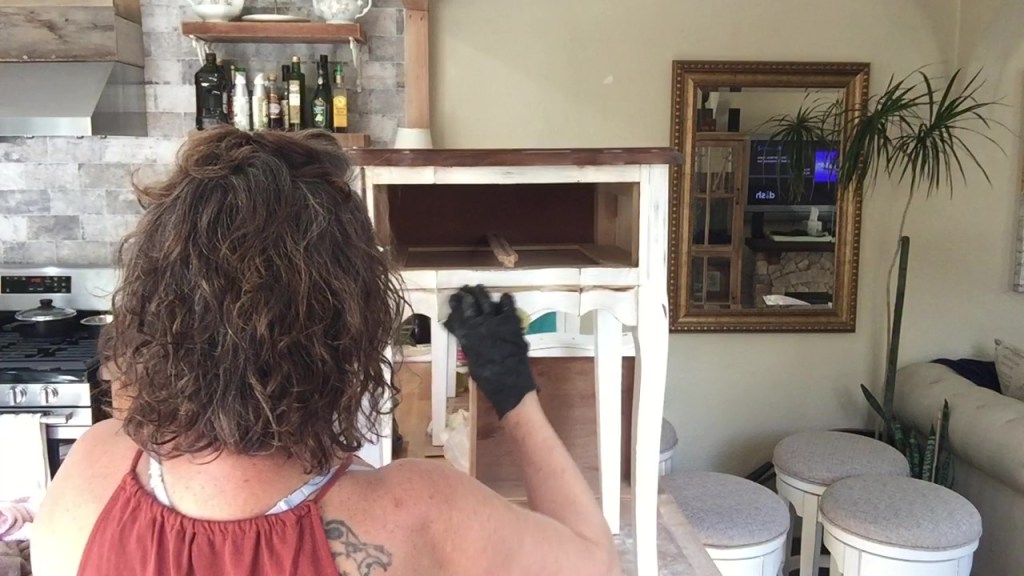
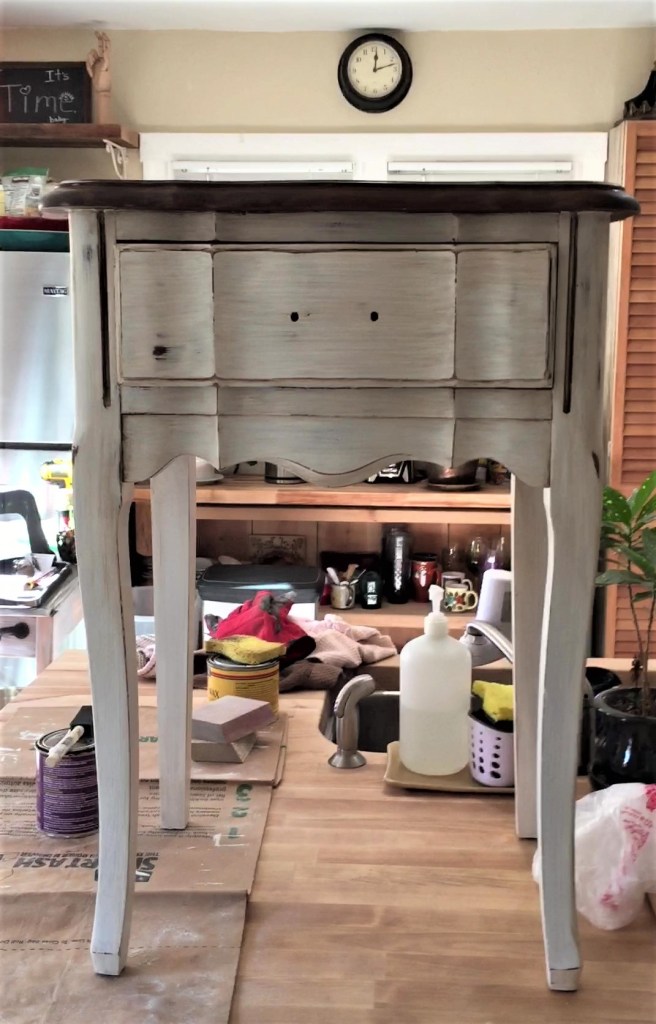
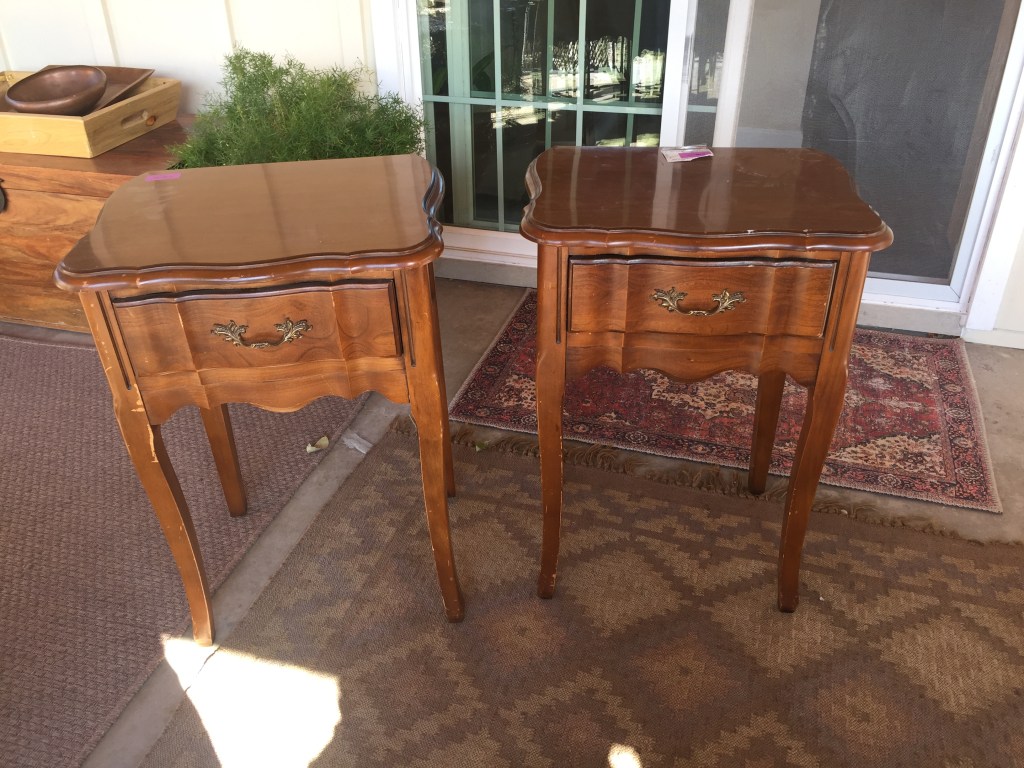
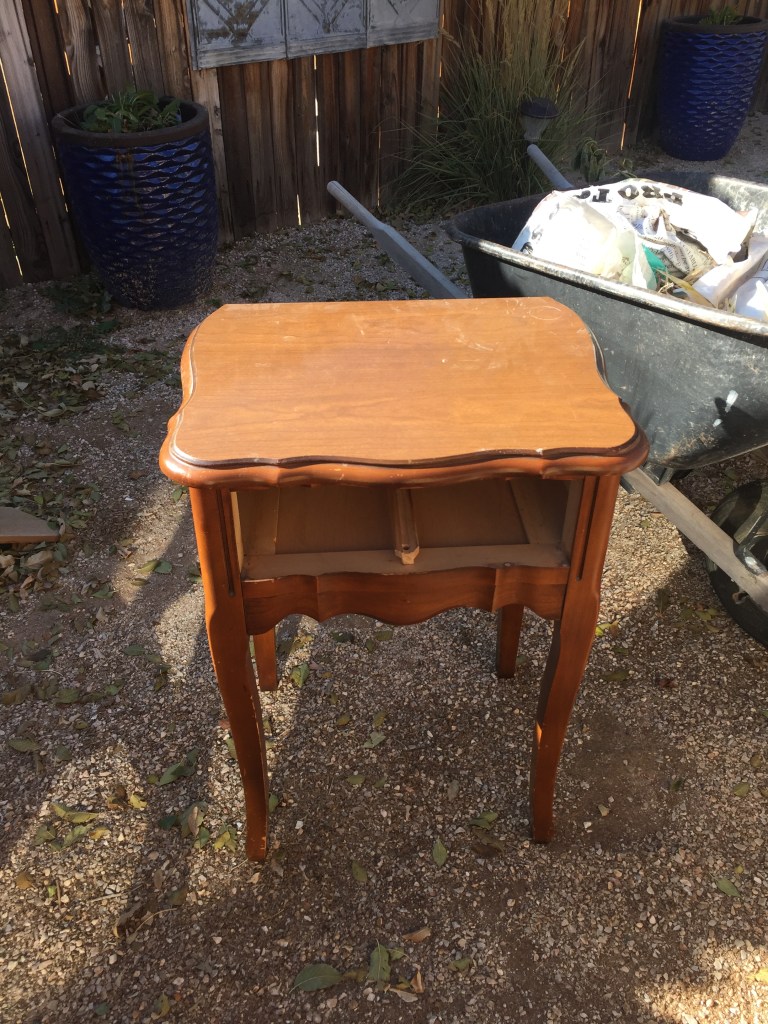
Found these beauties at Goodwill for $10 each. Looks like something that would have been in my grandma’s house very long ago. I have an idea to make them cool again!
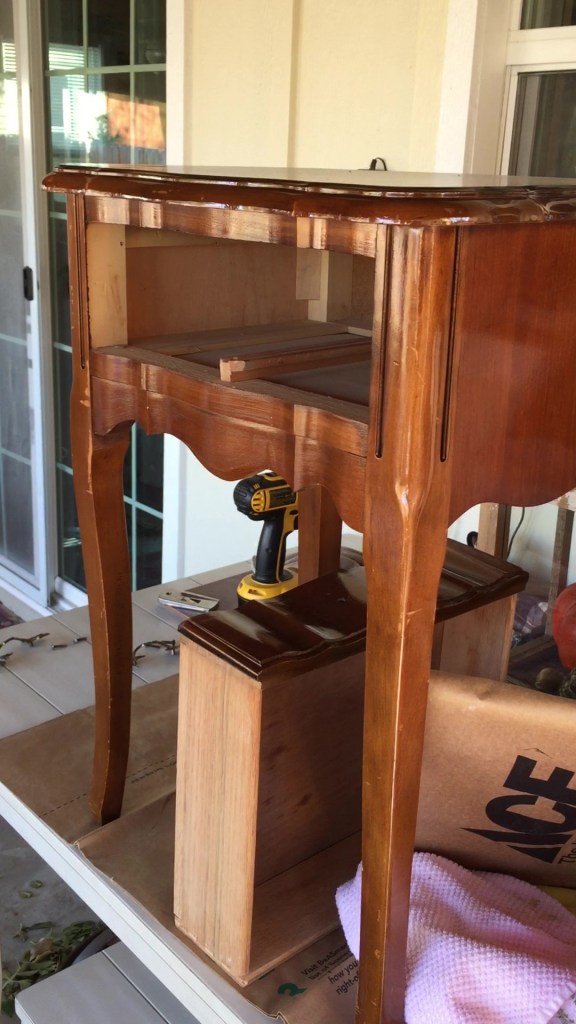
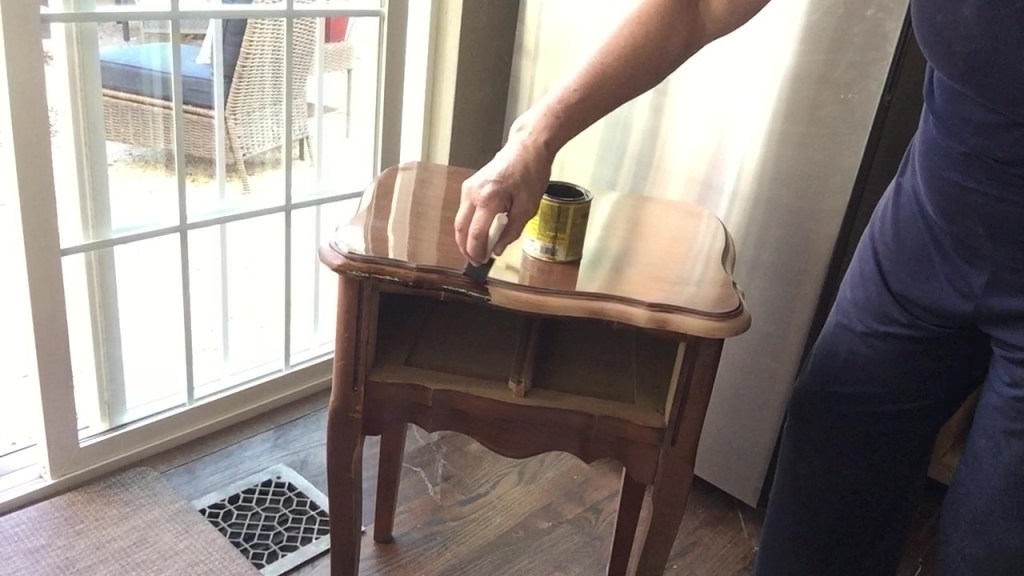
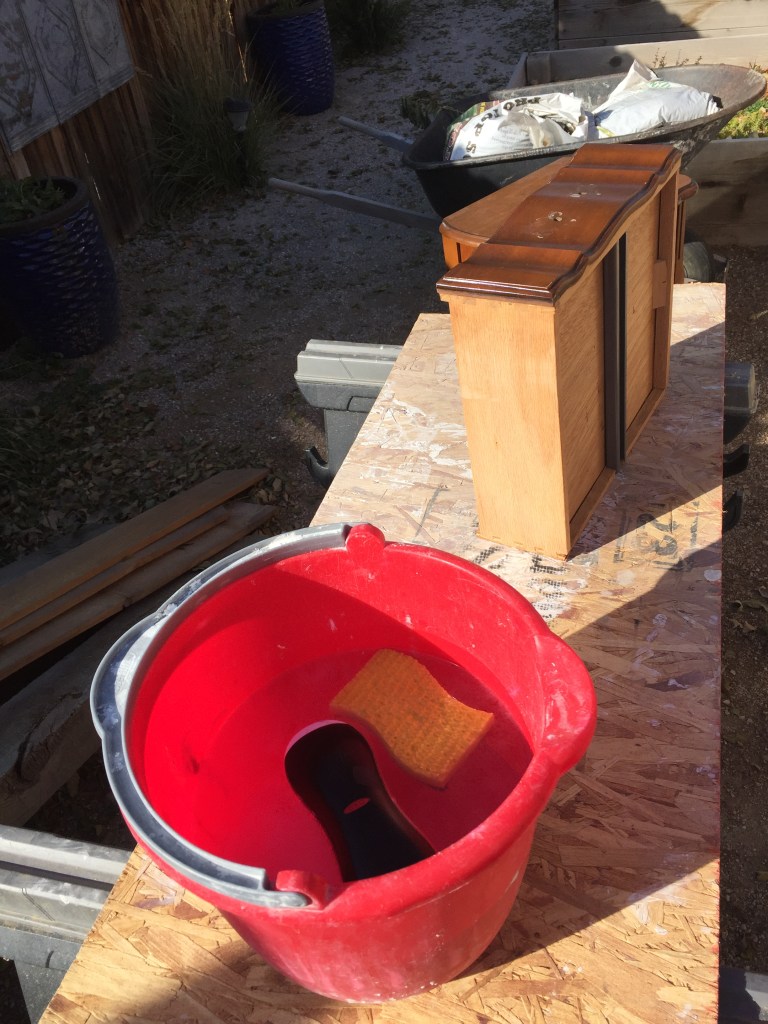
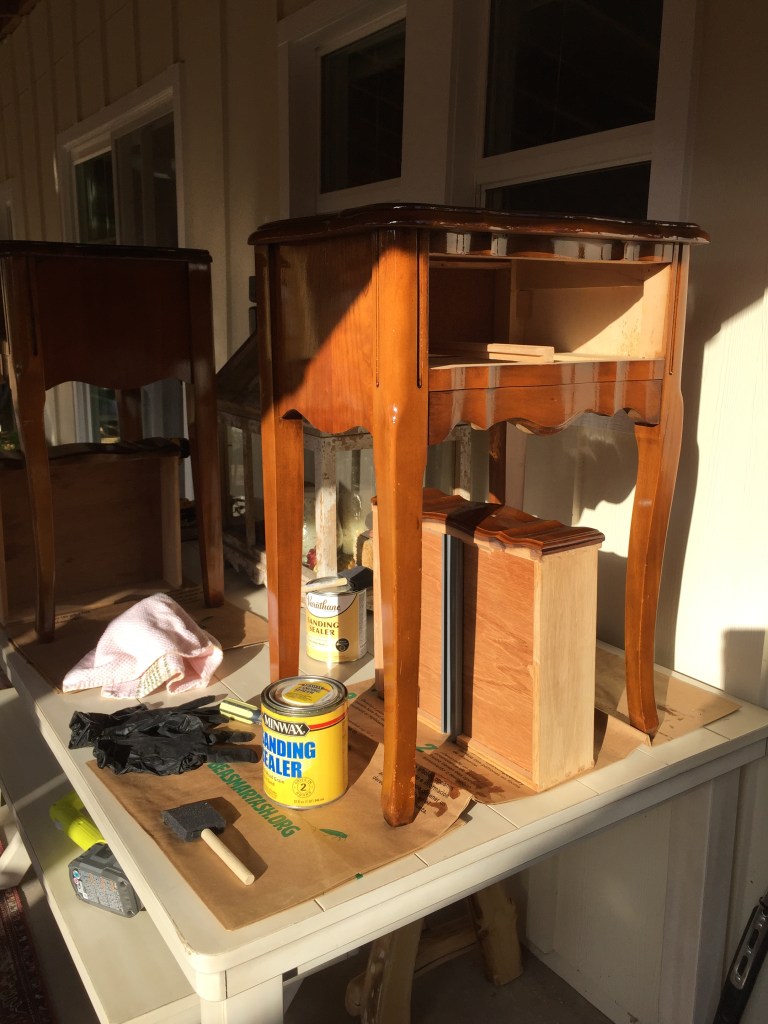
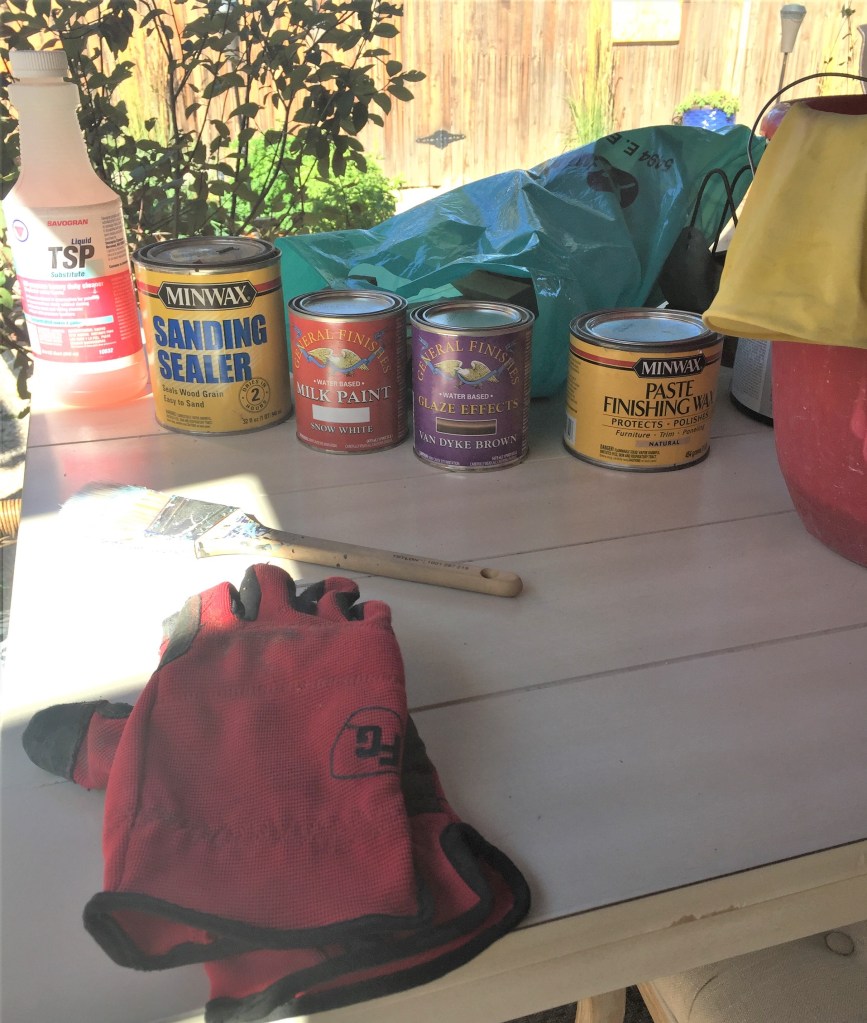
Step 1: Cleaning A thorough cleaning with TSP heavy duty cleaner (use gloves), and a light coat of sanding sealer to give it a fresh and smooth base.
Step 2: Sanding Sanding the top edge to remove the old stain and lacquer before staining it to match the top.
With the edge sanded and clean, ready for stain. I’m using Dark Walnut on this nightstand.
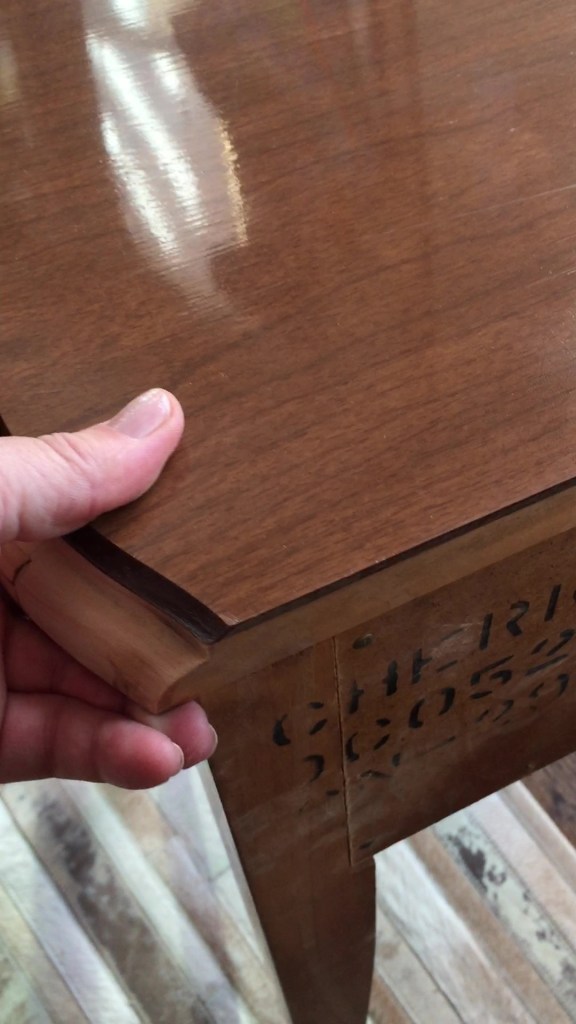
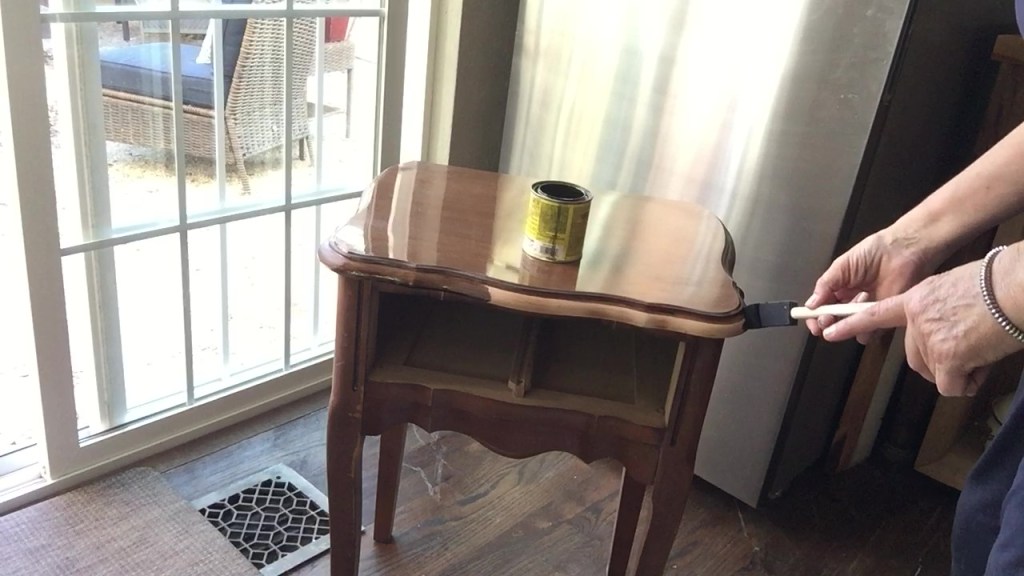
I discovered a thin layer of vinyl on the top of the table, with a photo veneer grain. It looks great and I’ve decided to leave it on and stain the edge to match. The veneer protects the top from water rings and scratches and it’s in great shape. I didn’t notice it until I looked closely!
Step 3: Staining Using a small foam applicator, I stain the edge with 2 coats, allowing 20 minutes between layers to absorb.
I wipe the excess off after a few minutes.
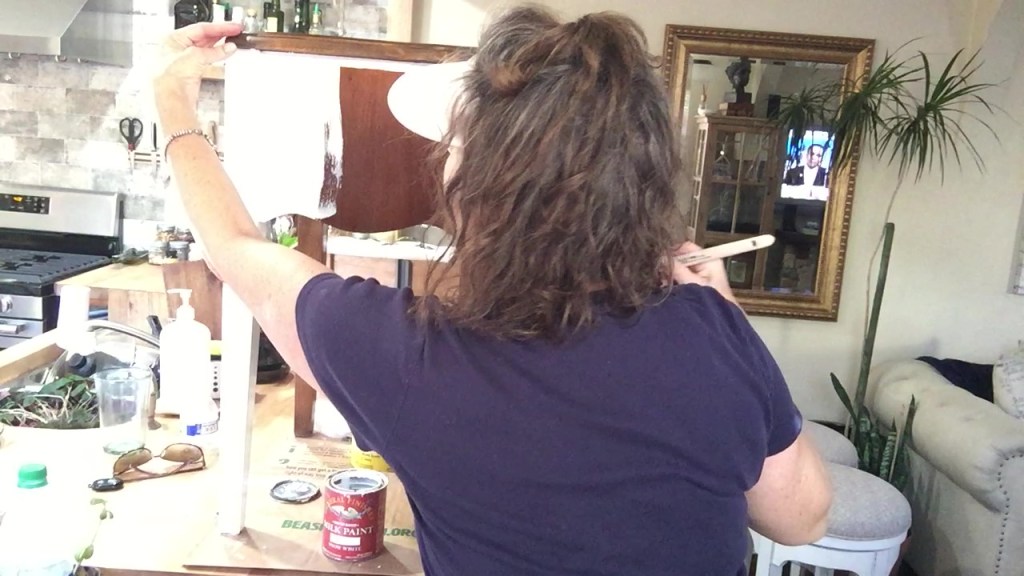
Step 4: Cleaning I clean the dust off before painting.
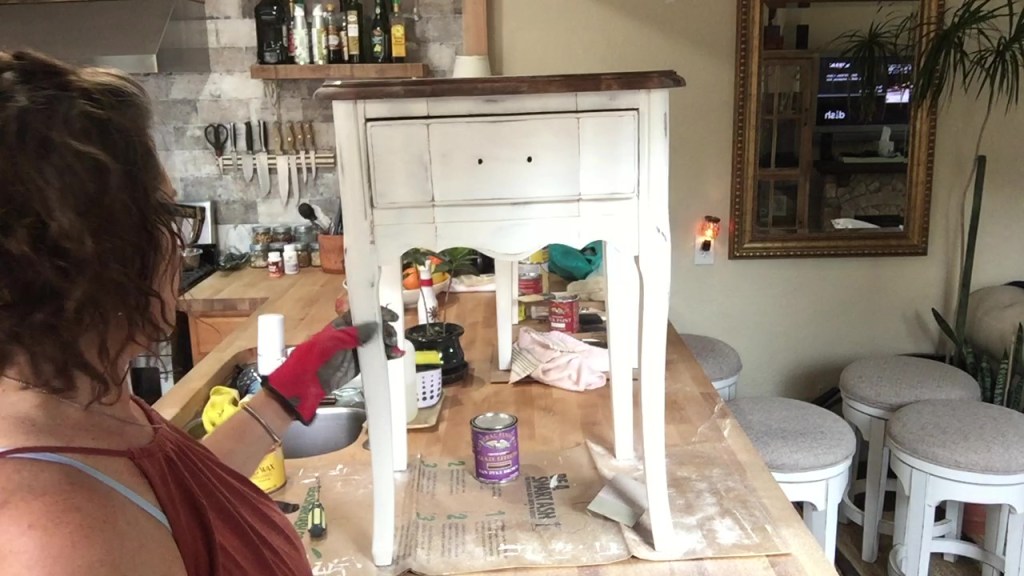
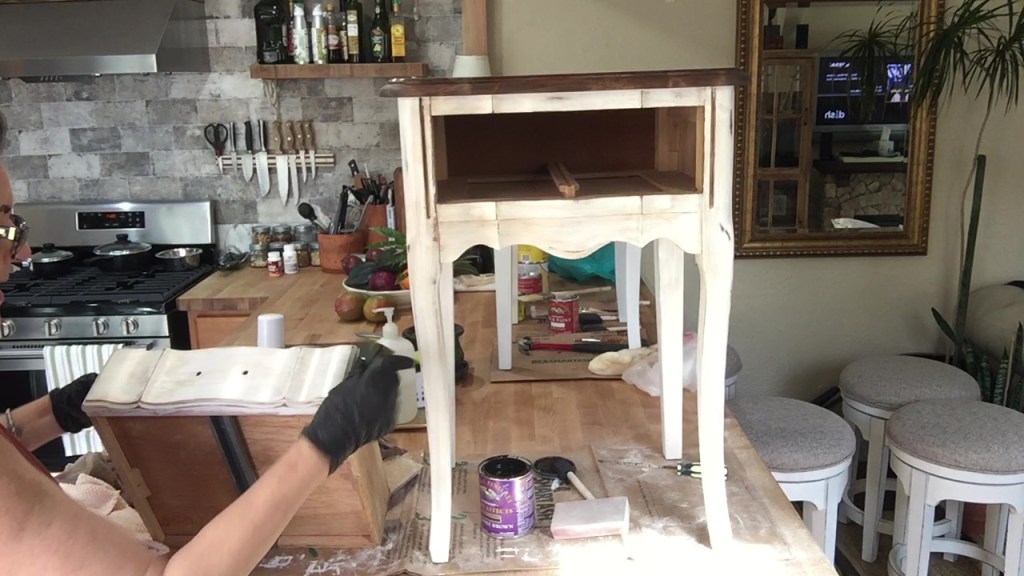
Step 5: Painting Leaving the top stained, I add the first layer of Milk paint to the night stand. I use a milk paint from Rockler woodworking, color Snow White.
It’ll take 2 coats of paint, drying in between layers. I’m looking for an opaque finish before distressing with sand paper.
Step 6: Distressing After 2 coats of paint, I am distressing the cabinet with a 60 grit sanding block. I’ll try to give the cabinet a worn look, sanding areas that might show natural wear and tear from years of use.
I look for spots on the cabinet that will highlight the natural shape of the cabinet and feature some details in the design.
Most of the interest of the cabinet is on the front, but I want the sides to feel organic with some slight distressing.
Once I feel like the distressing is done, I’m now ready for the glaze.
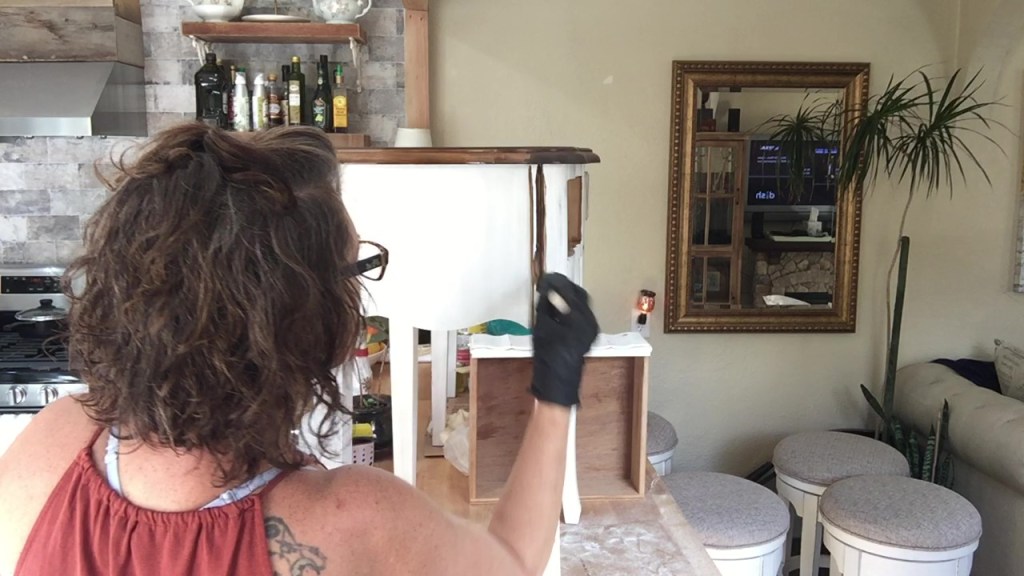
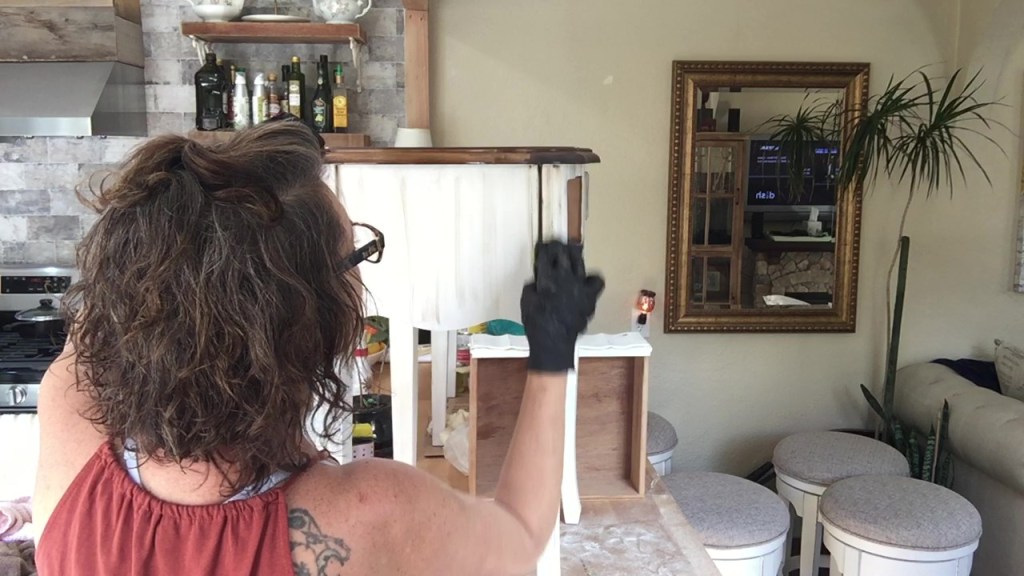
Step 7: Cleaning A good cleaning before glaze.
Step 8: Glaze Using another foam applicator and a wet sponge, I apply the glaze to areas of the cabinet that I want to highlight and use the sponge to work the glaze, wiping it until I achieve the look I’m hoping for.
I use glaze on the whole cabinet, focusing mostly on the front and the drawer.
The applicator allows me to get into small thin spaces and not deposit too much glaze. I’m using Van Dyke Brown glaze for this project.
I spread a small amount of glaze onto the piece, and use the sponge to dilute and distribute the glaze over the surface. This step highlights the irregularities of the cabinet and gives it dimension.
I repeat until I achieve the look I’m wanting.
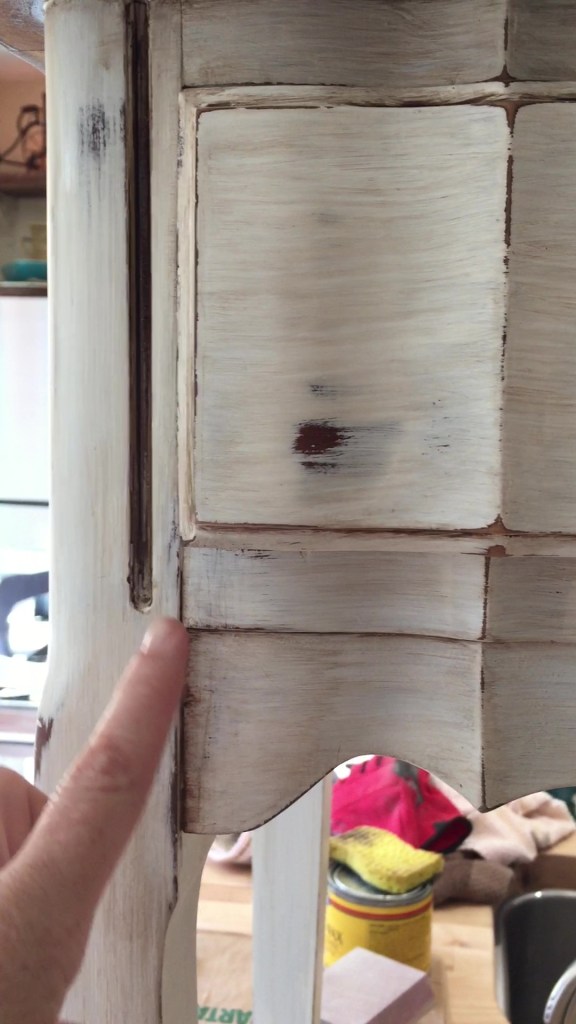
This is after the glaze has been applied. See how much more dimension the cabinet has with the glaze?
This step is the key to making the cabinet look authentic and full of history. I do this process all the way around the cabinet.
Once I’ve glazed all the panels on the cabinet, I come back to add more and make adjustments before the final step of finishing wax.
The drawer is very visible on the cabinet, so I want to highlight and feature the shape and design.
Before I’ve glazed the drawer. See how much darker the glaze shows on the cabinet compared to the White drawer?
Finishing up the glazing on the drawer.
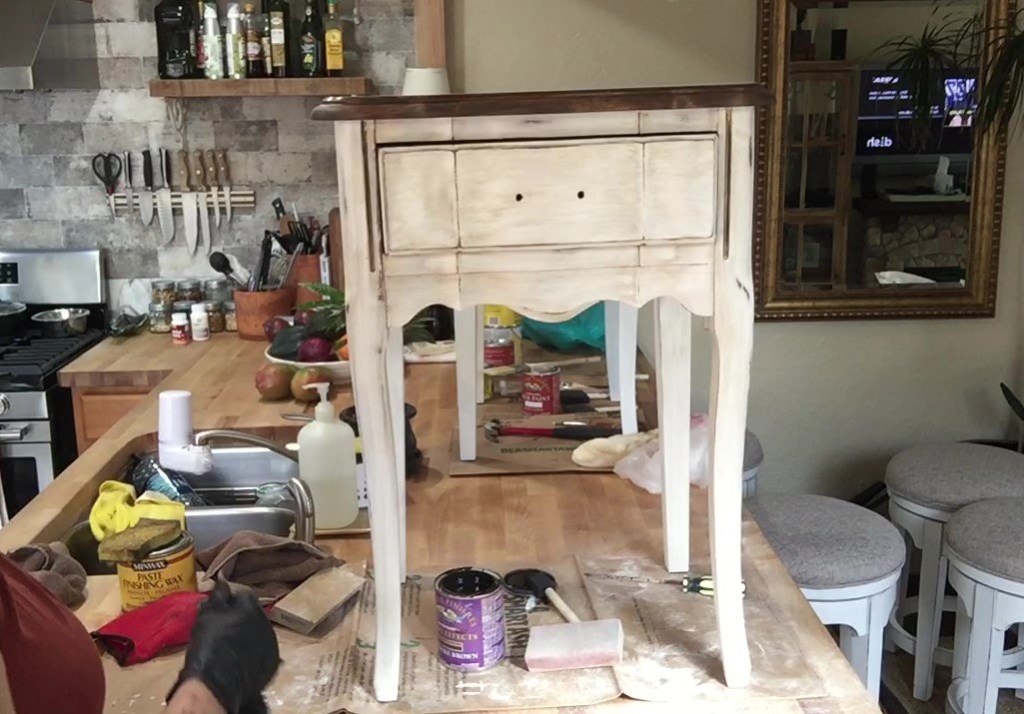
Wow! It looks so much different than when first saw them at Goodwill!
Here’s a close up of the finish after glazing. It looks great!
These steps give this cabinet a whole new look! It takes some vision to recognize these thrift store gems, but I look for pieces with classic style and update the finish, hardware or use to make them feel current and hip!
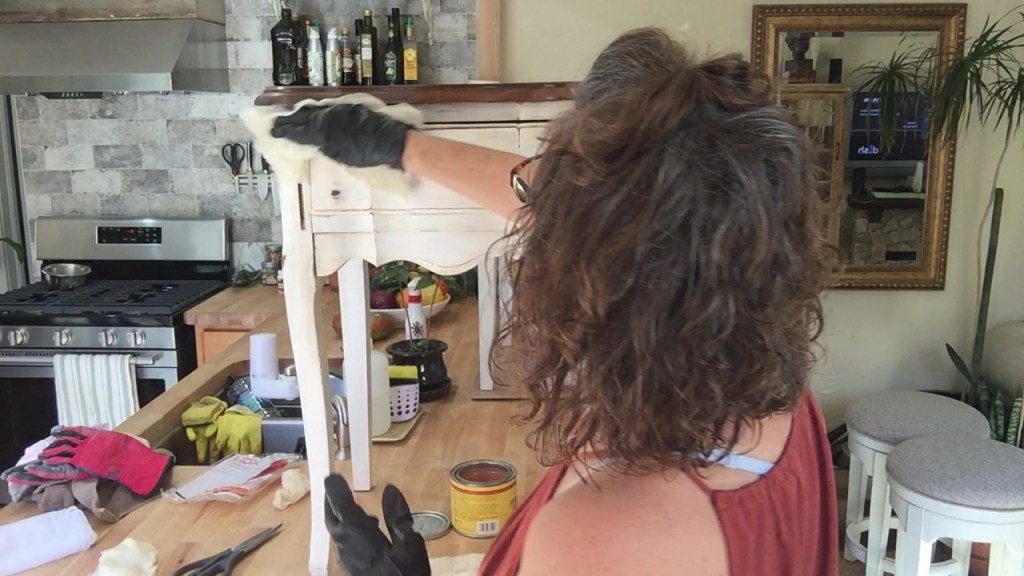
Step 9: Cleaning The final wipe down with tack cloth to remove any particles before the finishing wax.
This step makes a big difference in the final finish!
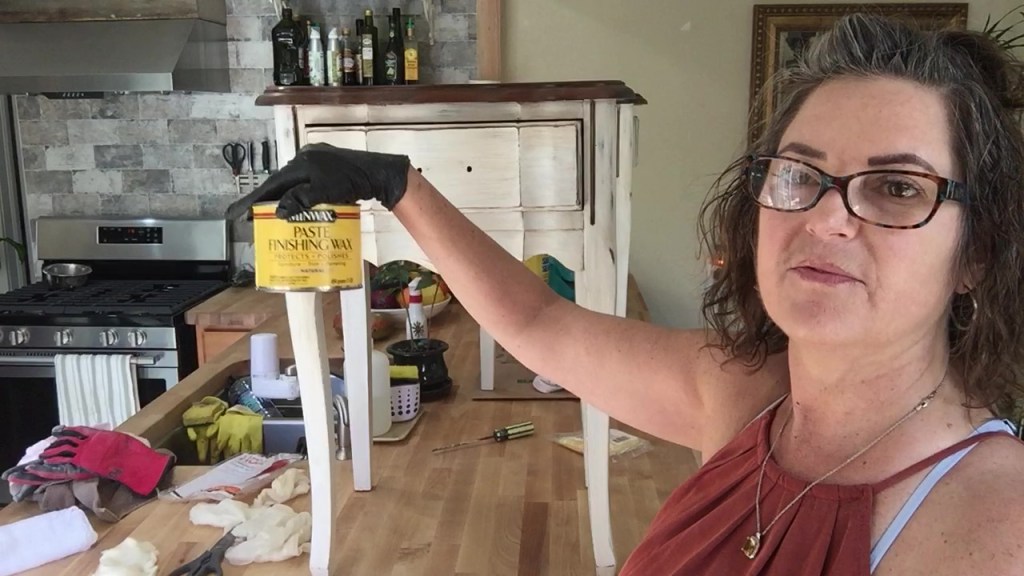
Lowe’s bought Minwax, so it’s now available at Lowe’s only. Varathane is the brand Home Depot offers now.I’m sure they’re comparable, but I recommend sticking with one brand of wax for a entire project.
Then I use cheesecloth to apply and buff the wax after it has dried.
Step 10: Finishing wax Using the cheesecloth and wax, I rub the finishing wax over the entire cabinet.
This step will protect the cabinet and give it a beautiful sheen and dimension.
I do 2 coats, letting each coat dry before buffing.
Finally done! I’ll mount the hardware and show you the final result.
This project took about 9 hours to complete. I’ve tried to detail the steps for you, so you can attempt it on your own. The bottom line is you’ll have to get your hands dirty to really learn the technique and develop your own style. However, I encourage you to try it if your inspired by this tutorial. I find furniture refinishing to be rewarding , not just financially, but also for the feeling of satisfaction when taking an outdated functional piece of furniture and turning it into a thing of beauty and value!
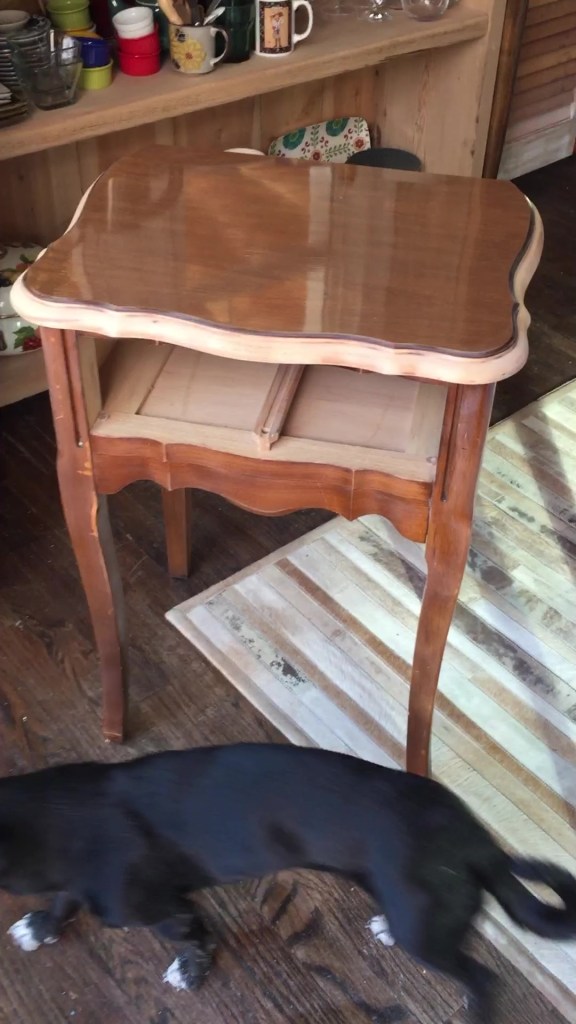
Wow! I love the results. These small night stands are beautiful and will compliment someone’s home perfectly!
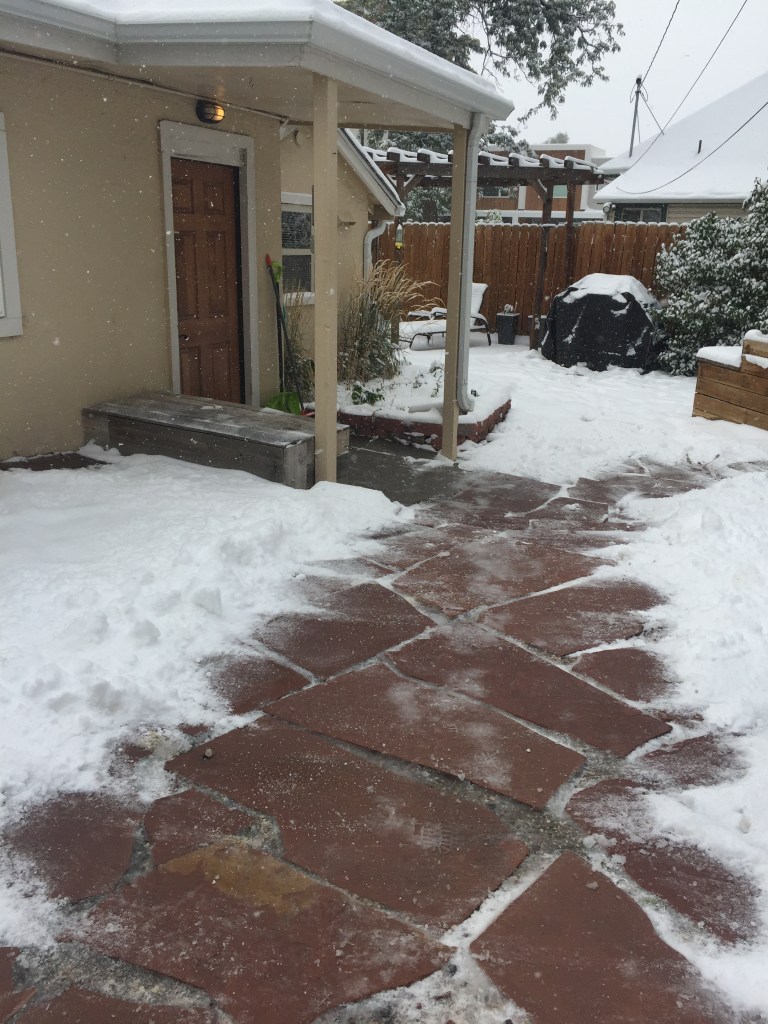
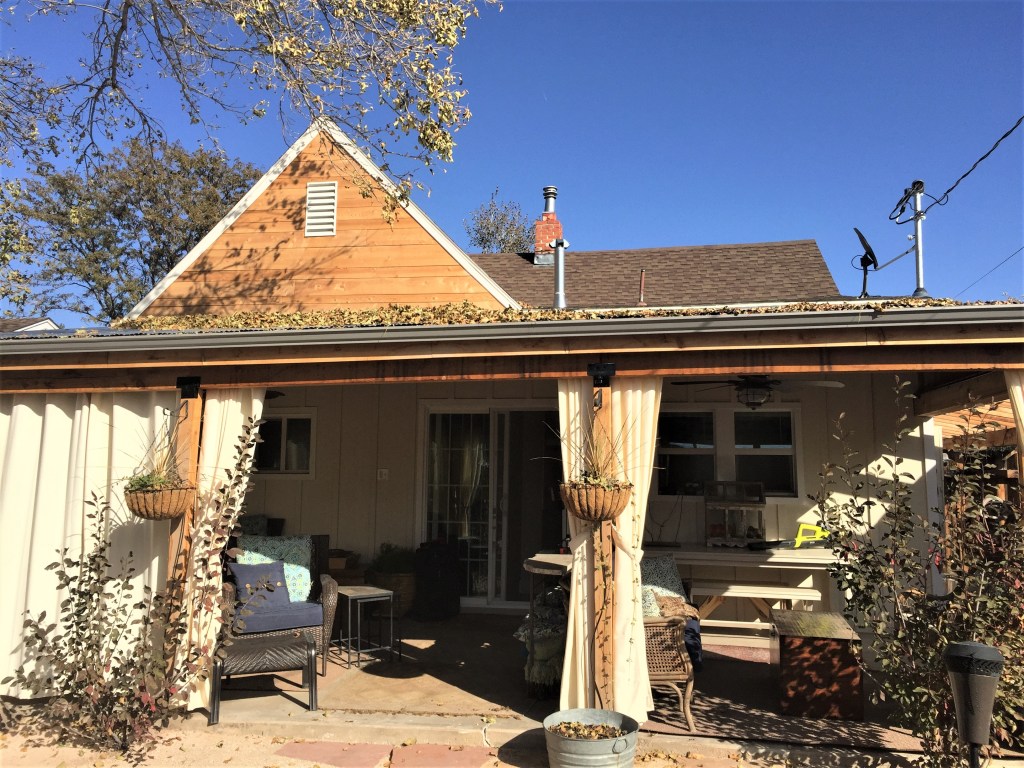
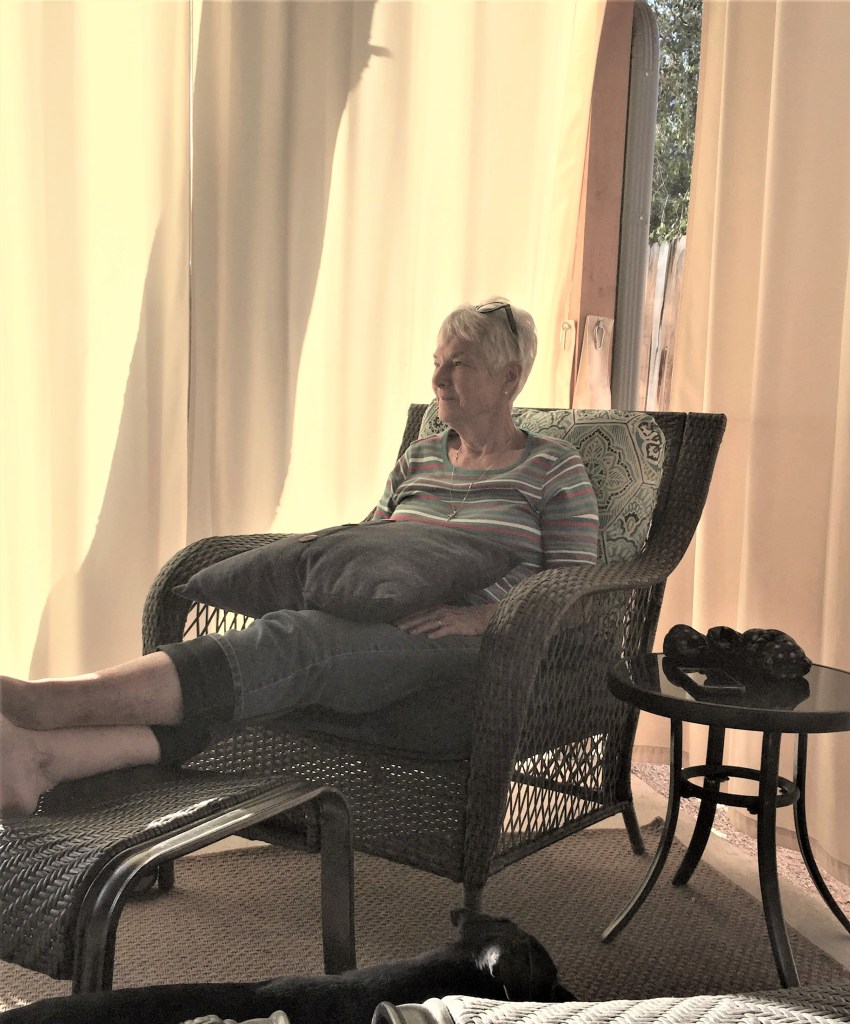
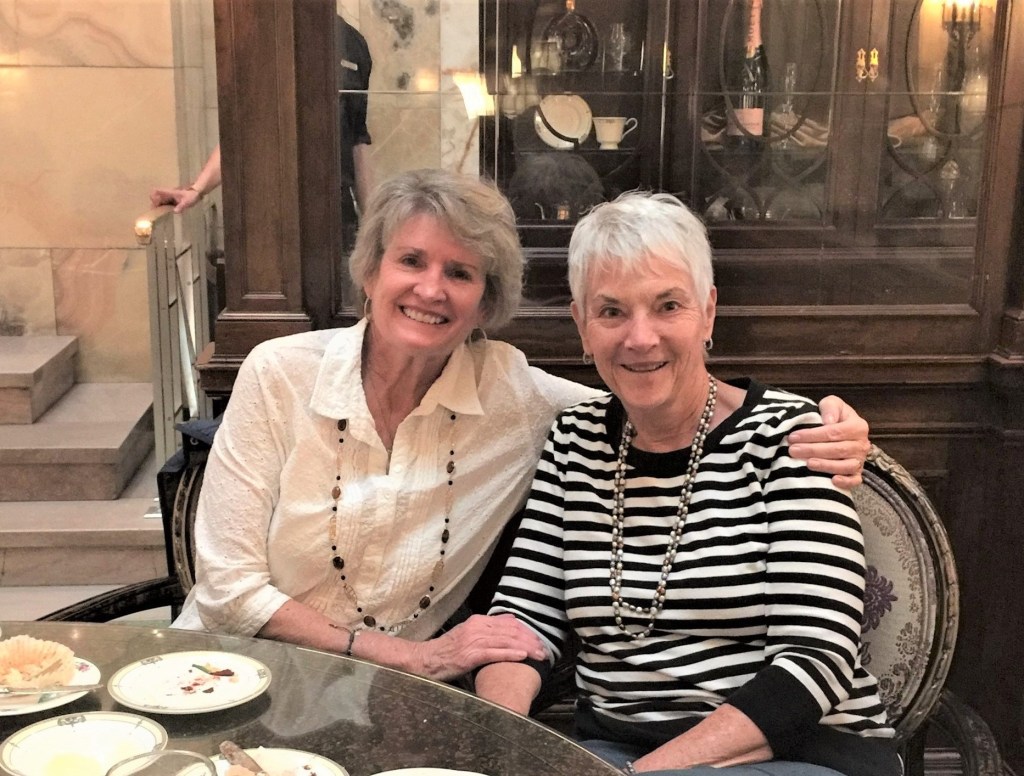
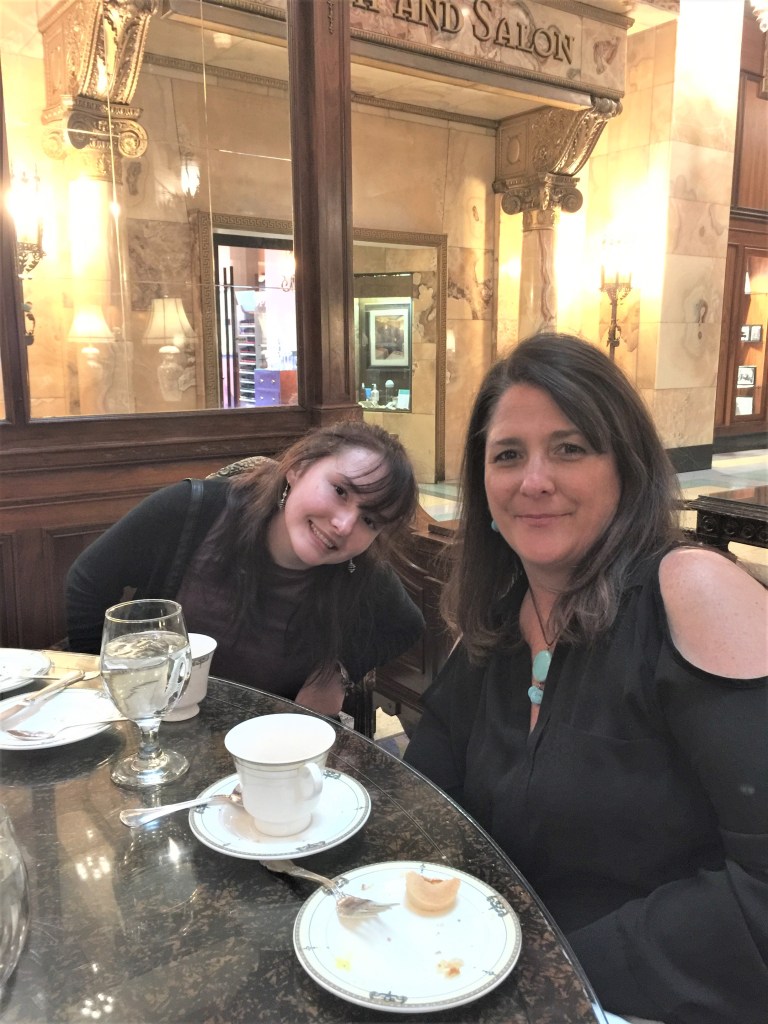
Fall is here and changing my landscape everyday!At the dentist for a root canal. You can see I’m not very excited about this. However, I made it out to be much worse than it actually was and I feel so much better after the procedure.First snow of the season. I got about 4 inches overnight. Only 2 ladies showed up for water aerobics the next morning, and I’m glad to have been one of the ladies who made it on a snowy day in the city!One of the rentals had people arriving the same day. I think they appreciate having a fresh layer of snow when visiting Colorado in the fall.Mom came to stay for a week to celebrate her 75th birthday this November. I picked her up mid-day! Mom and I made some changes to the patio for the winter, trying to maximize the sun throughout the season.A different seating pattern for the season. Hopefully, I can use this space all winter, in the warmest part of the day. Mom in the background, enjoying a break on the patio in the afternoon.This tree drops leaves all over the patio roof and they slowly drift down to the ground with a breeze.So vibrant and lovely at 75!We had a tea reservation at The Brown Palace. Kasey and Nikki joined us to celebrate her birthday. Gorgeous girl!And Mom’s dear friend, Diane surprised her by showing up. They had not seen each other for 20 years and both turn 75 this November. Super special!We enjoyed tea, finger sandwiches and pastries in the beautiful historic hotel atrium.A couple days later, Mike’s family met us at Il Fornio restaurant for a birthday dinner.Awesome food and a wonderful family gathering!Mom with Lauren. Beautiful ladies!Mom and I worked in the yard and cut back the foliage. I hate to see it all disappear, but I know after the next 6 months, we’ll be ready to see new Green reappear in the spring!One afternoon, Micheal came over for lunch. We made Panini with salad and sat on the back patio, talking and laughing!Mom flew home after a lovely week in Englewood and I wentlooking for a new project. I found these 2 nightstands for $10 each. I’ll refinish them and give them new life!This simple little $10 stool will also get a makeover and feel sexy again!My friend suggested a new Fur cover and she’s right!It was late afternoon when I got this home, but I managed to strip the hardware off and clean both tables with TSP before applying a layer of sanding sealer. Make sure you use gloves with this product! It’s not meant for skin. Prep is really the biggest part of these projects. I’ve set up a work space in the yard for my projects.TSP works great as a heavy duty cleaner. Use gloves with TSP! It strips off any grime and creates a great surface for paint. I love that it prevents me from having to strip the finish off a piece before painting!After cleaning, I apply a light layer of sanding sealer to make the surface more smooth and consistent before paint.My sister gave me this card and I think it’s inspiring and beautiful!Now, I’m sharing it with you!
This amazing photo was taken by my mom from her house in Idaho. It’s a view of Henry’s Lake from their driveway. Gorgeous!
My wonderful Aunt Katie came to visit with my mom for 3 days. It’s so fun and special to see her and have a chance to spend time together without all the kids and grand kids. She’s a positive and vibrant spirit and I’m grateful to have the time with her!
The first time entertaining in my new kitchen.
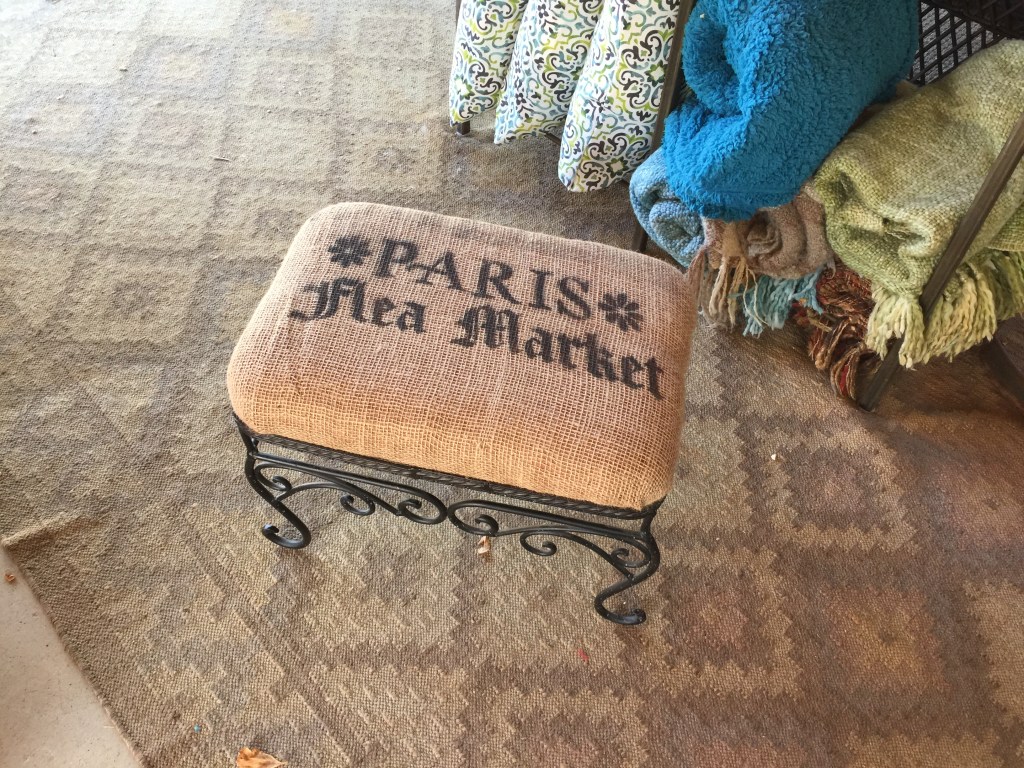
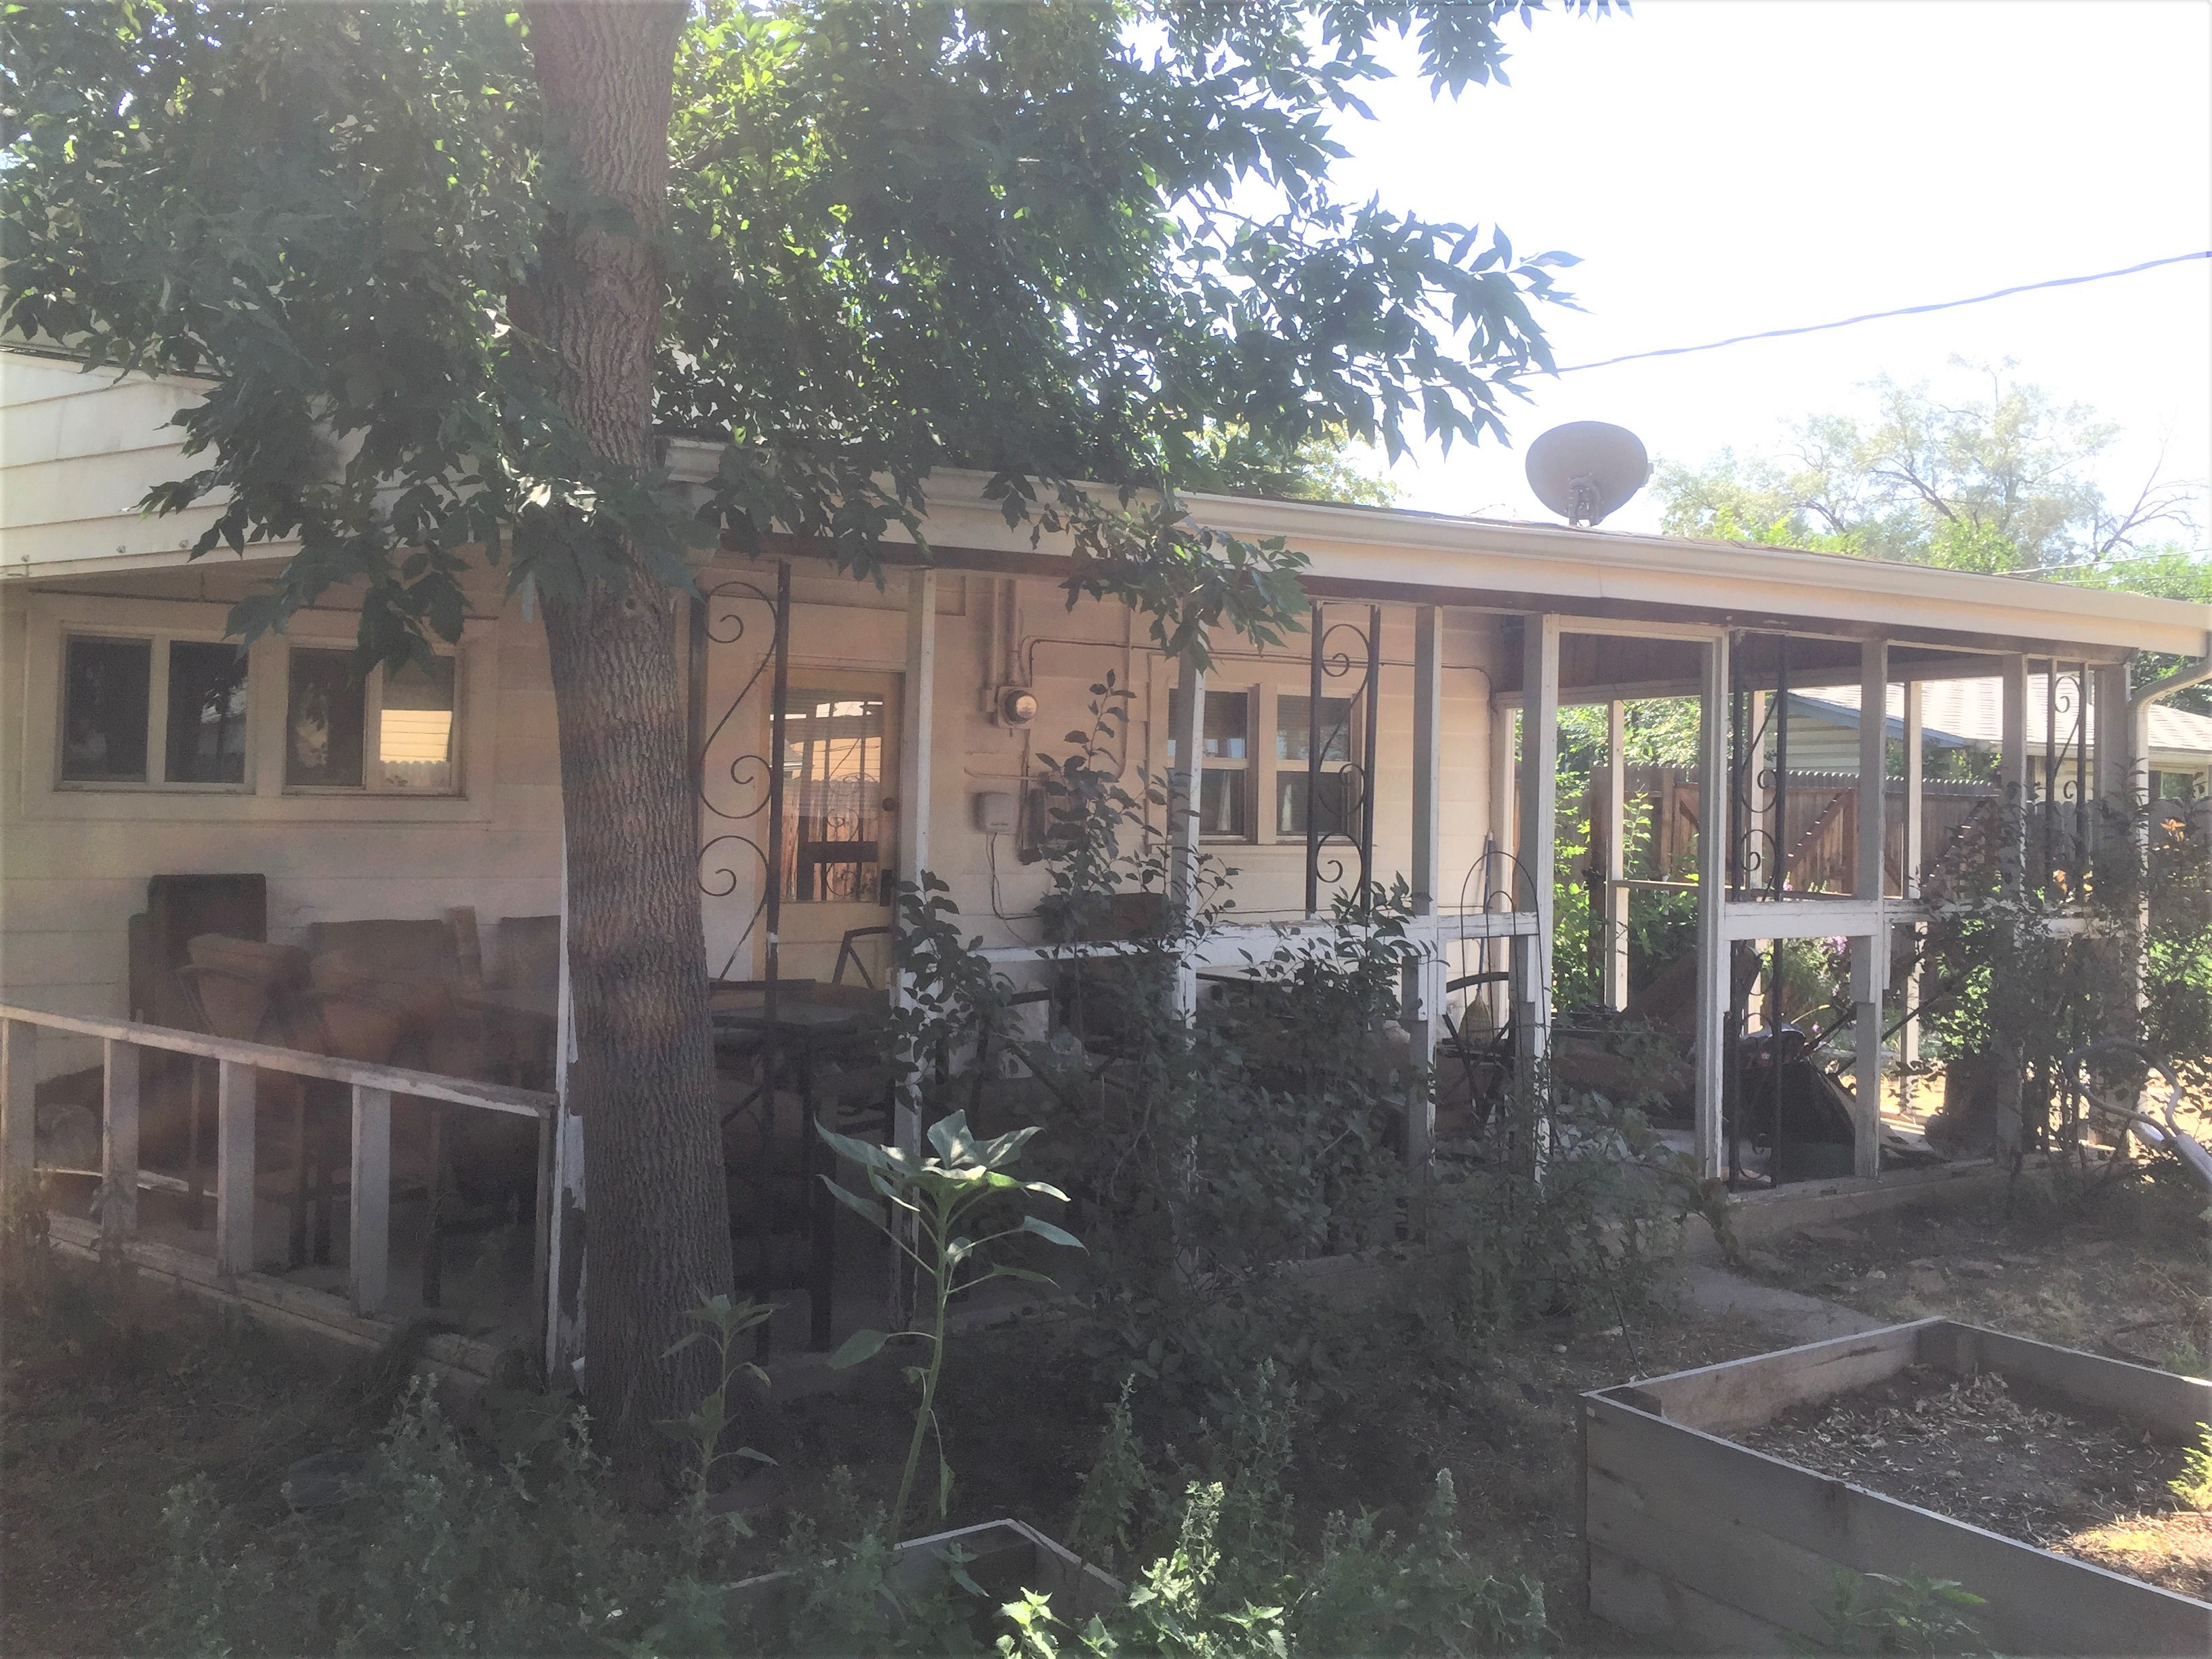
This little foot stool has been in one of the rentals for several years and the burlap, recycled from when I was in the rug industry, is showing signs of wear.
It’s simple to recover it, but I want to make it feel European to match the style of the rental.
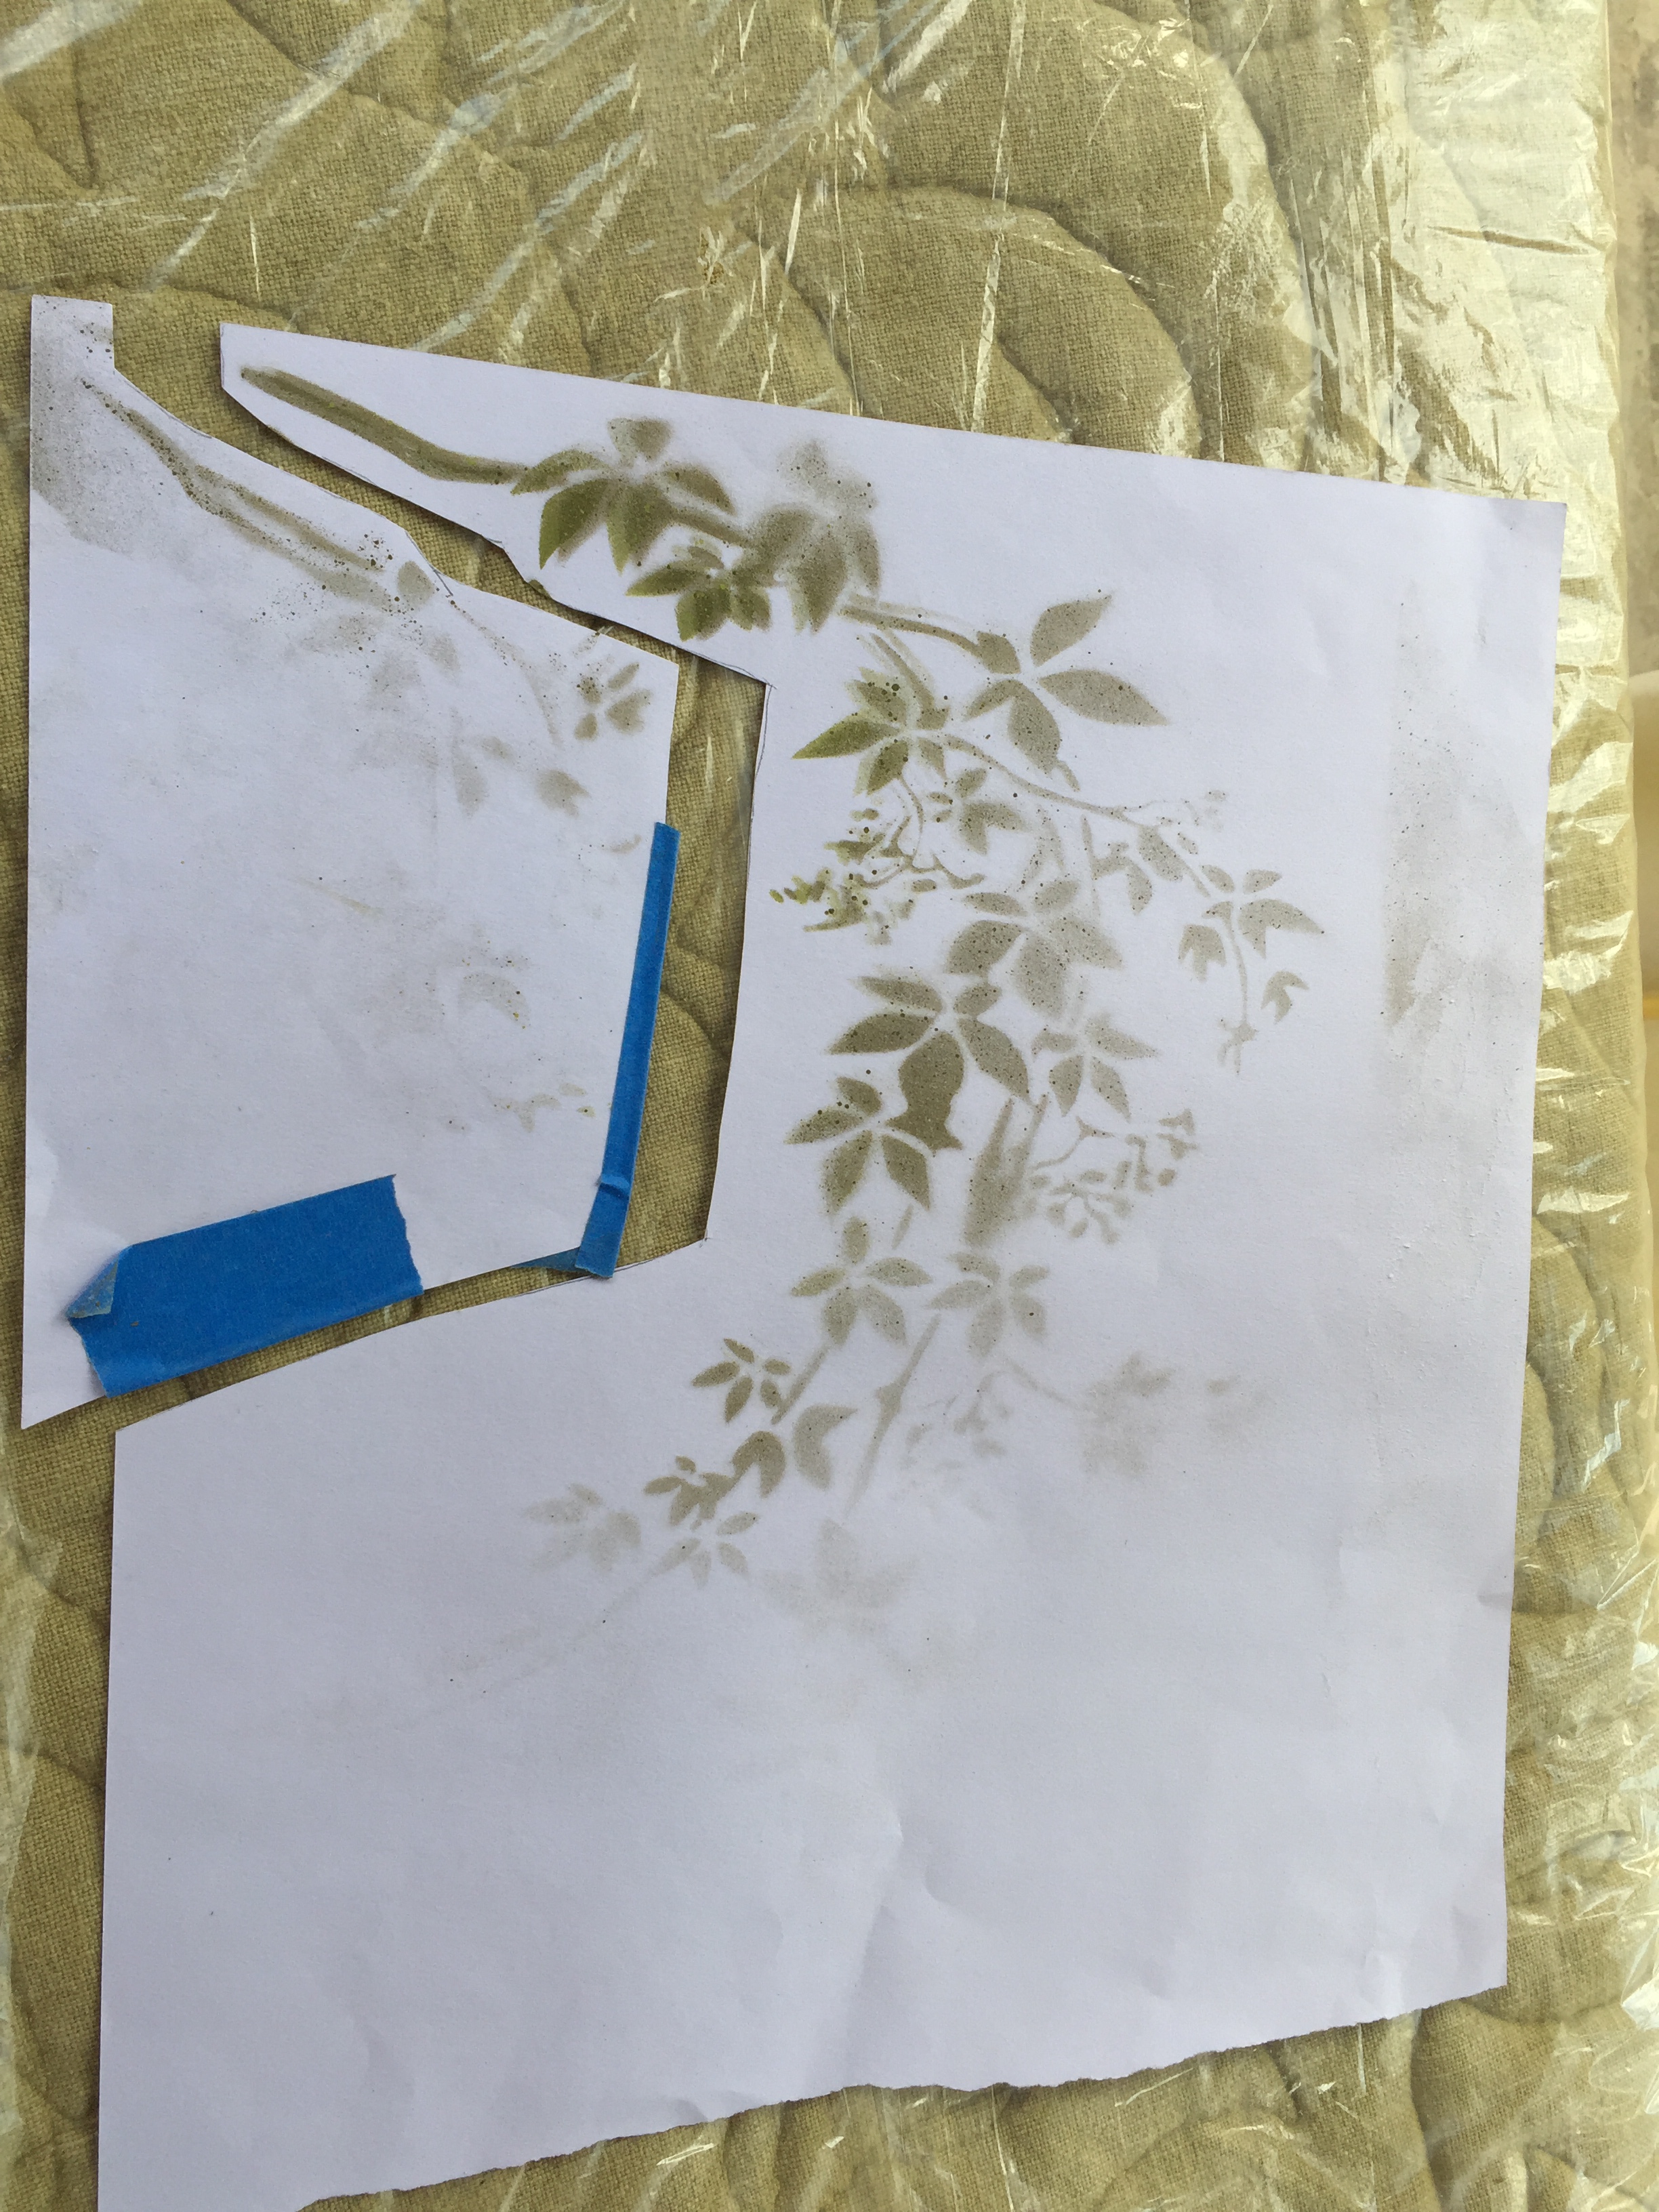
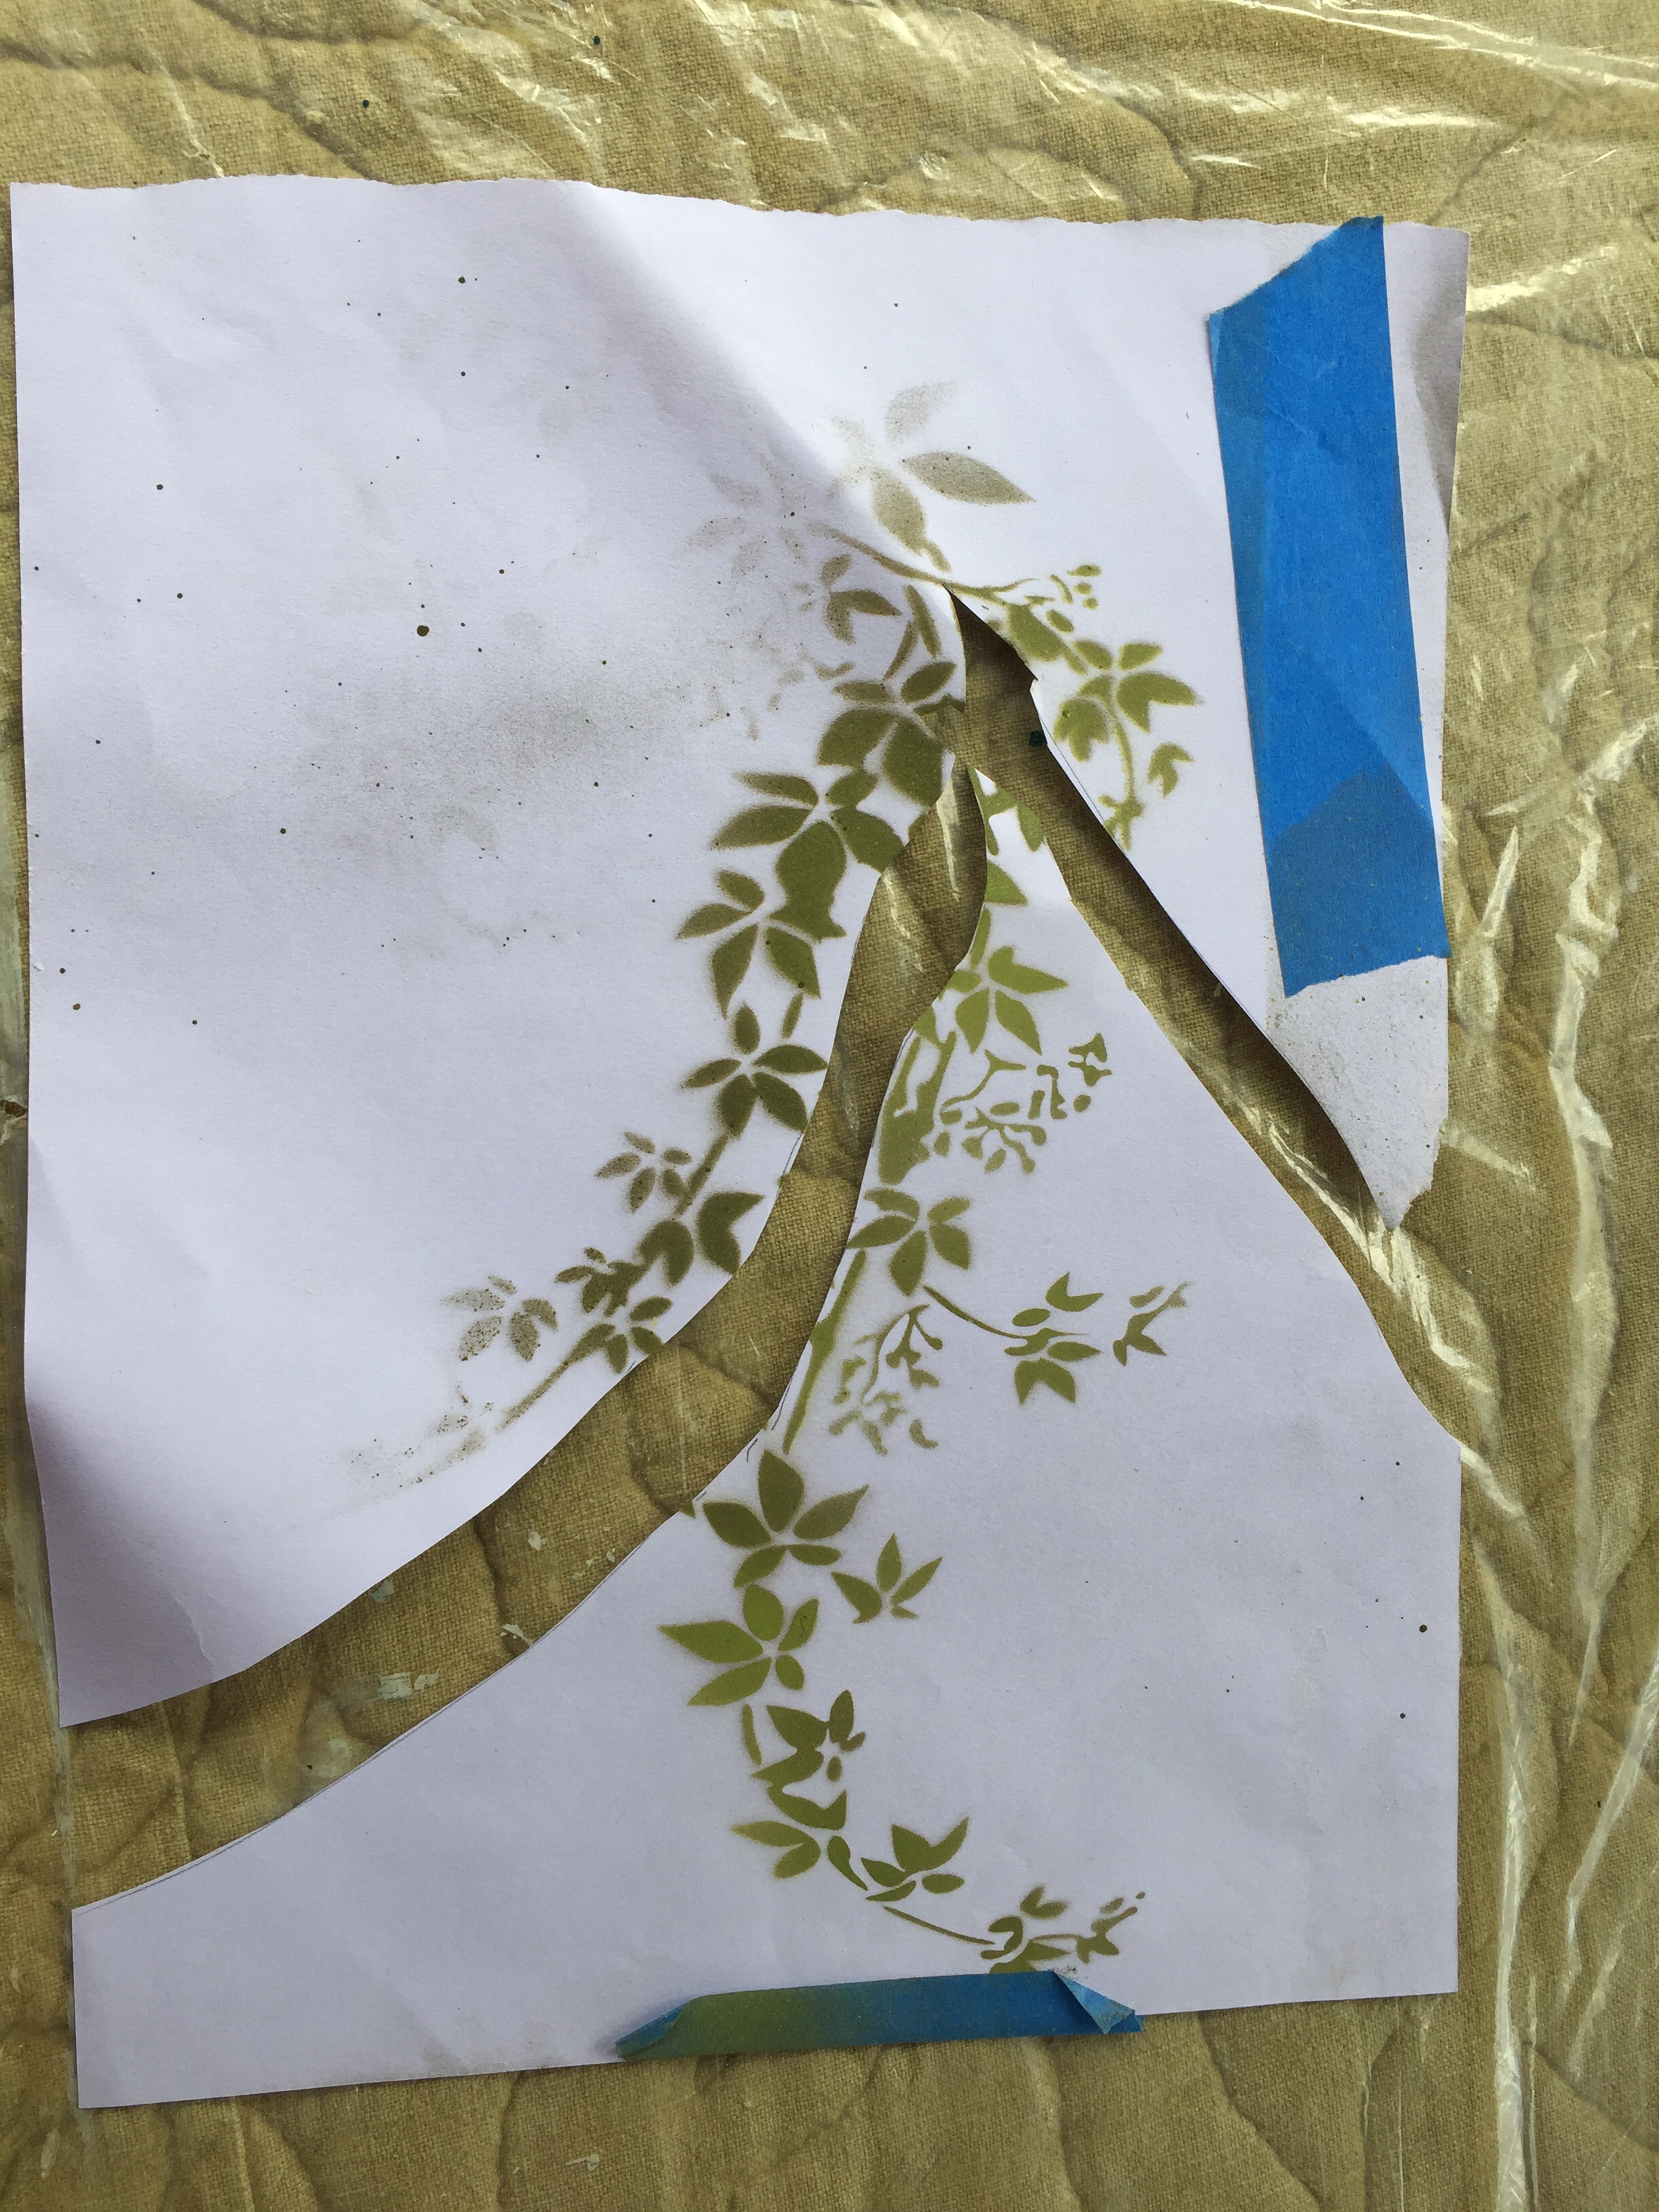
I had some extra burlap and this fun French style stencil, which I used to create interest and give it a French flair.
Cute enough! And the fabric is less distressed. Voila’!
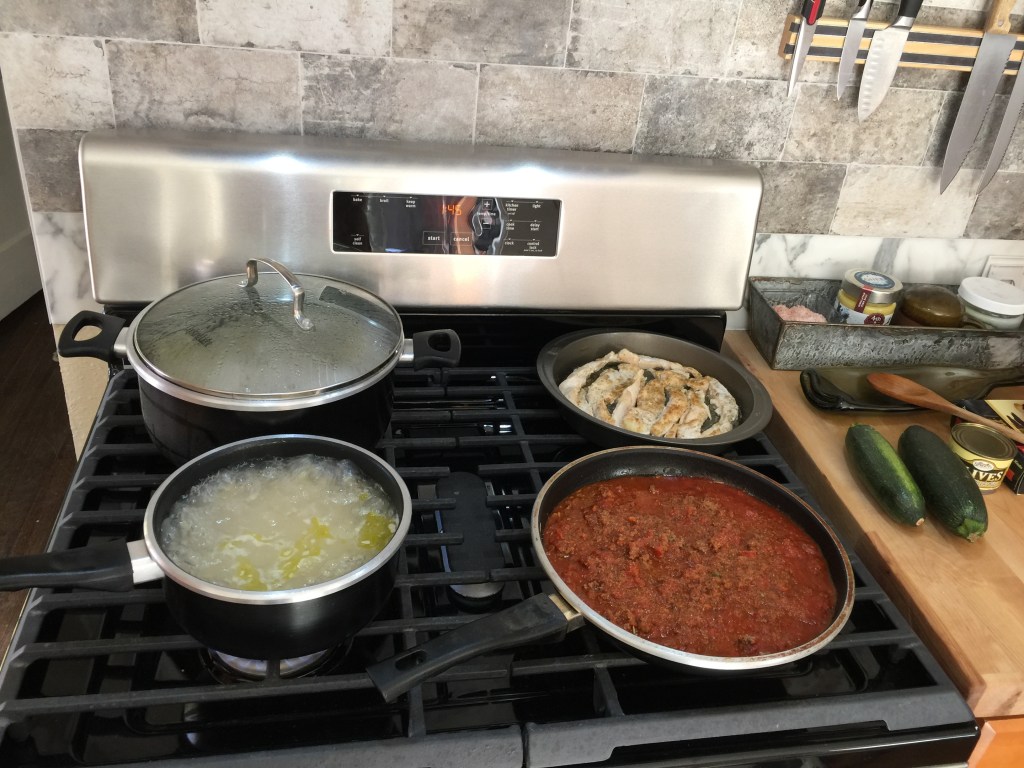
A good friend of mine is in the long process of Chemotherapy and I am helping her out with some cooking.
We settled on Lasagna, Baked Penne and Enchilada’s!
While I’m cooking, I might as well make some for my house too!
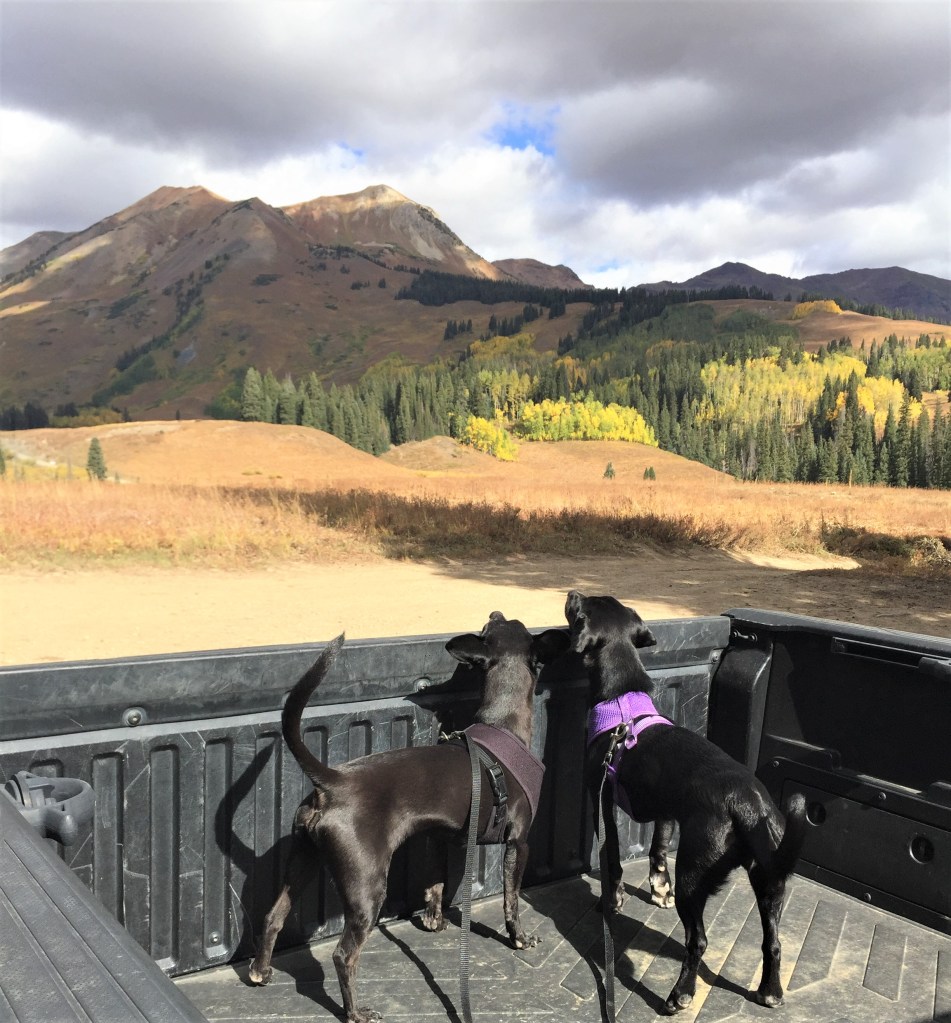
After the 1 week remodel that turned into a month long remodel, I needed a break from it all and found my way up to Gunnison to see some fall colors and the family. Preston relaxing on the patio, overlooking Blue Mesa!
My beautiful sister, taking in the gorgeous view of the Reservoir.
This is how to find peace and relax! The weather was perfect and the colors in full spectacle!
I drove the dogs past Gothic toward Schofield Pass and found a good place to stop and walk around. They were most interested in the cow pies, so I put them in the back of the truck for a scenic pic of the colors.
There were many people in the area taking pics and walking around. I was fortunate to find this place away from the crowds to enjoy the day.
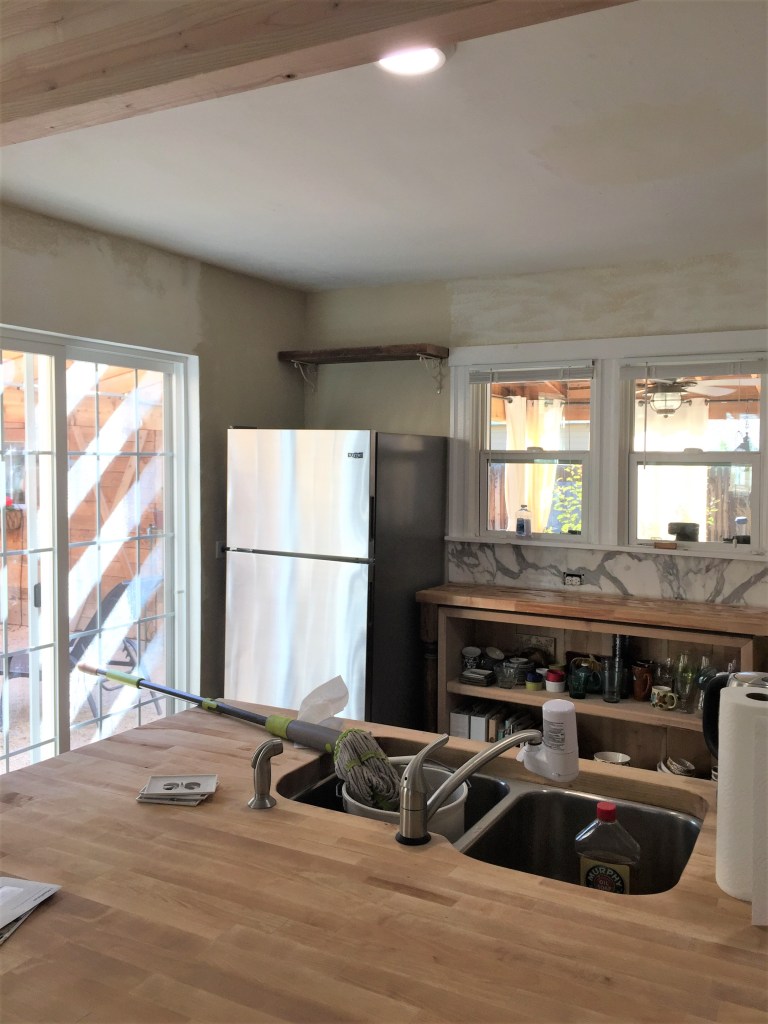
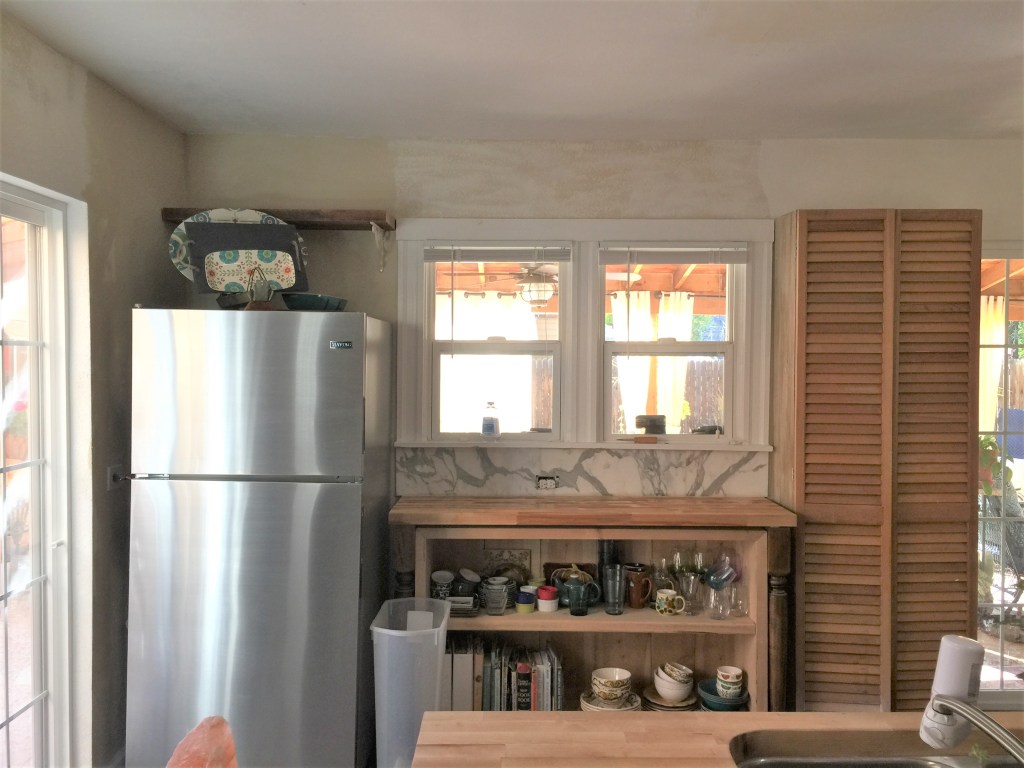
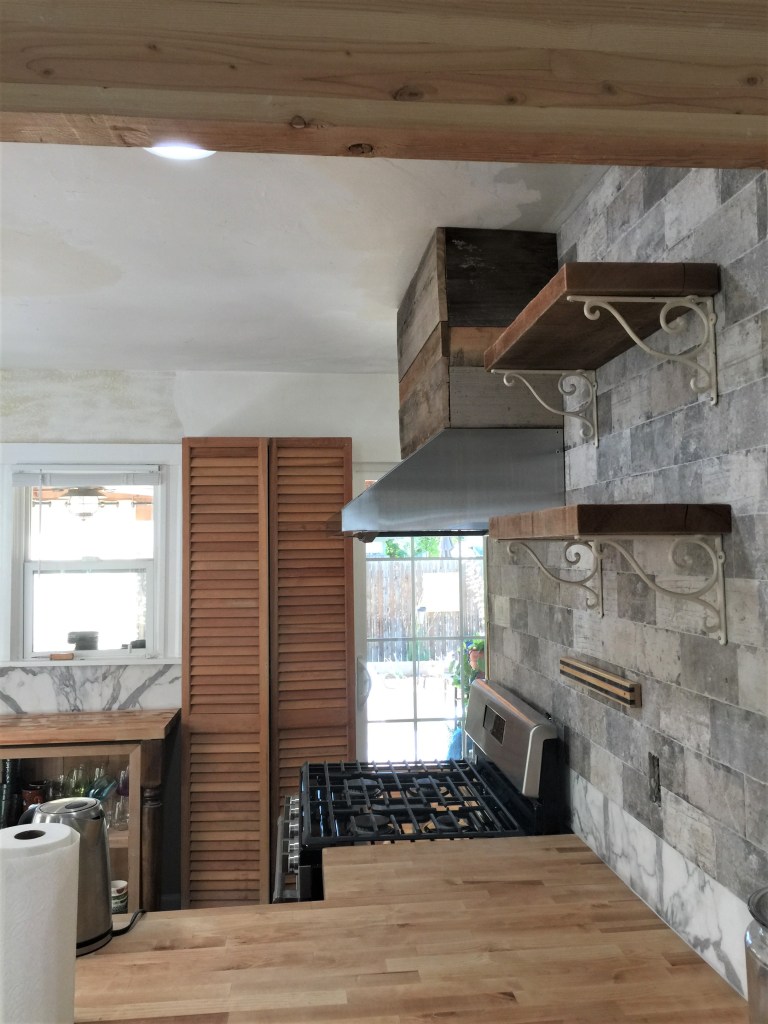
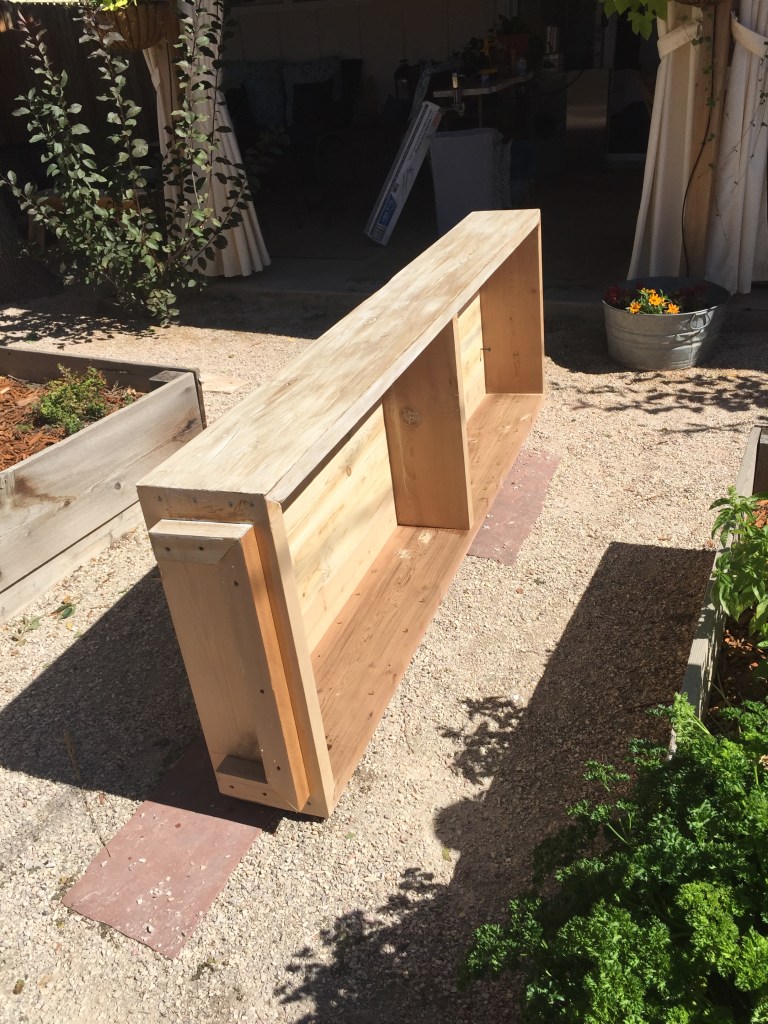
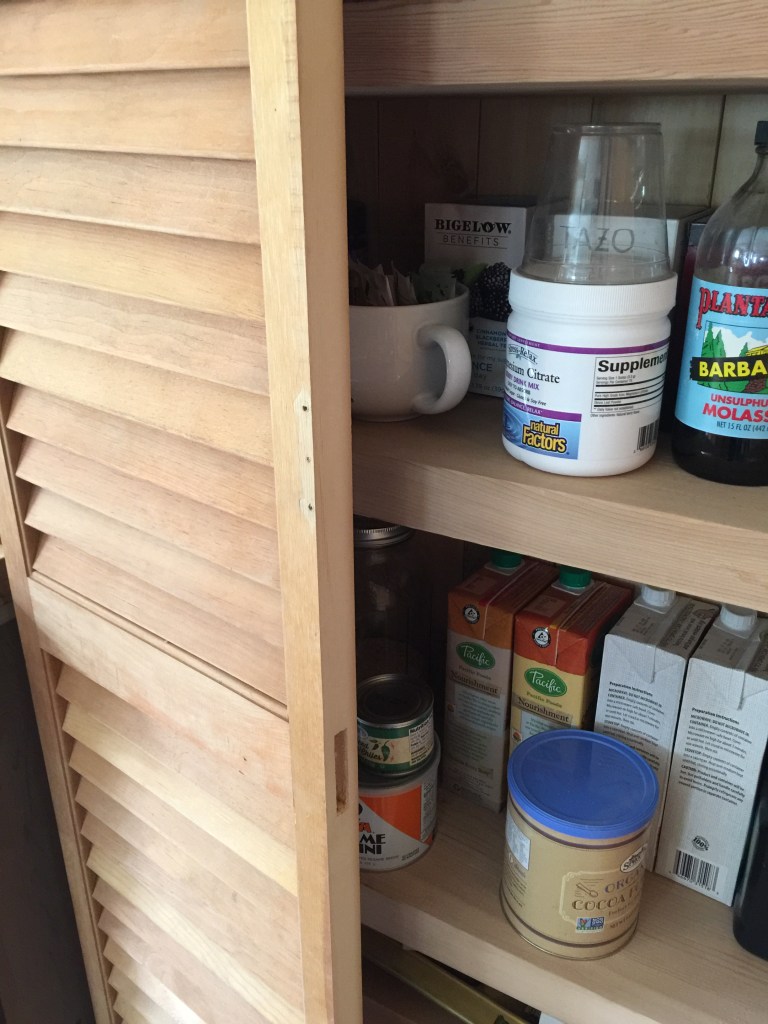
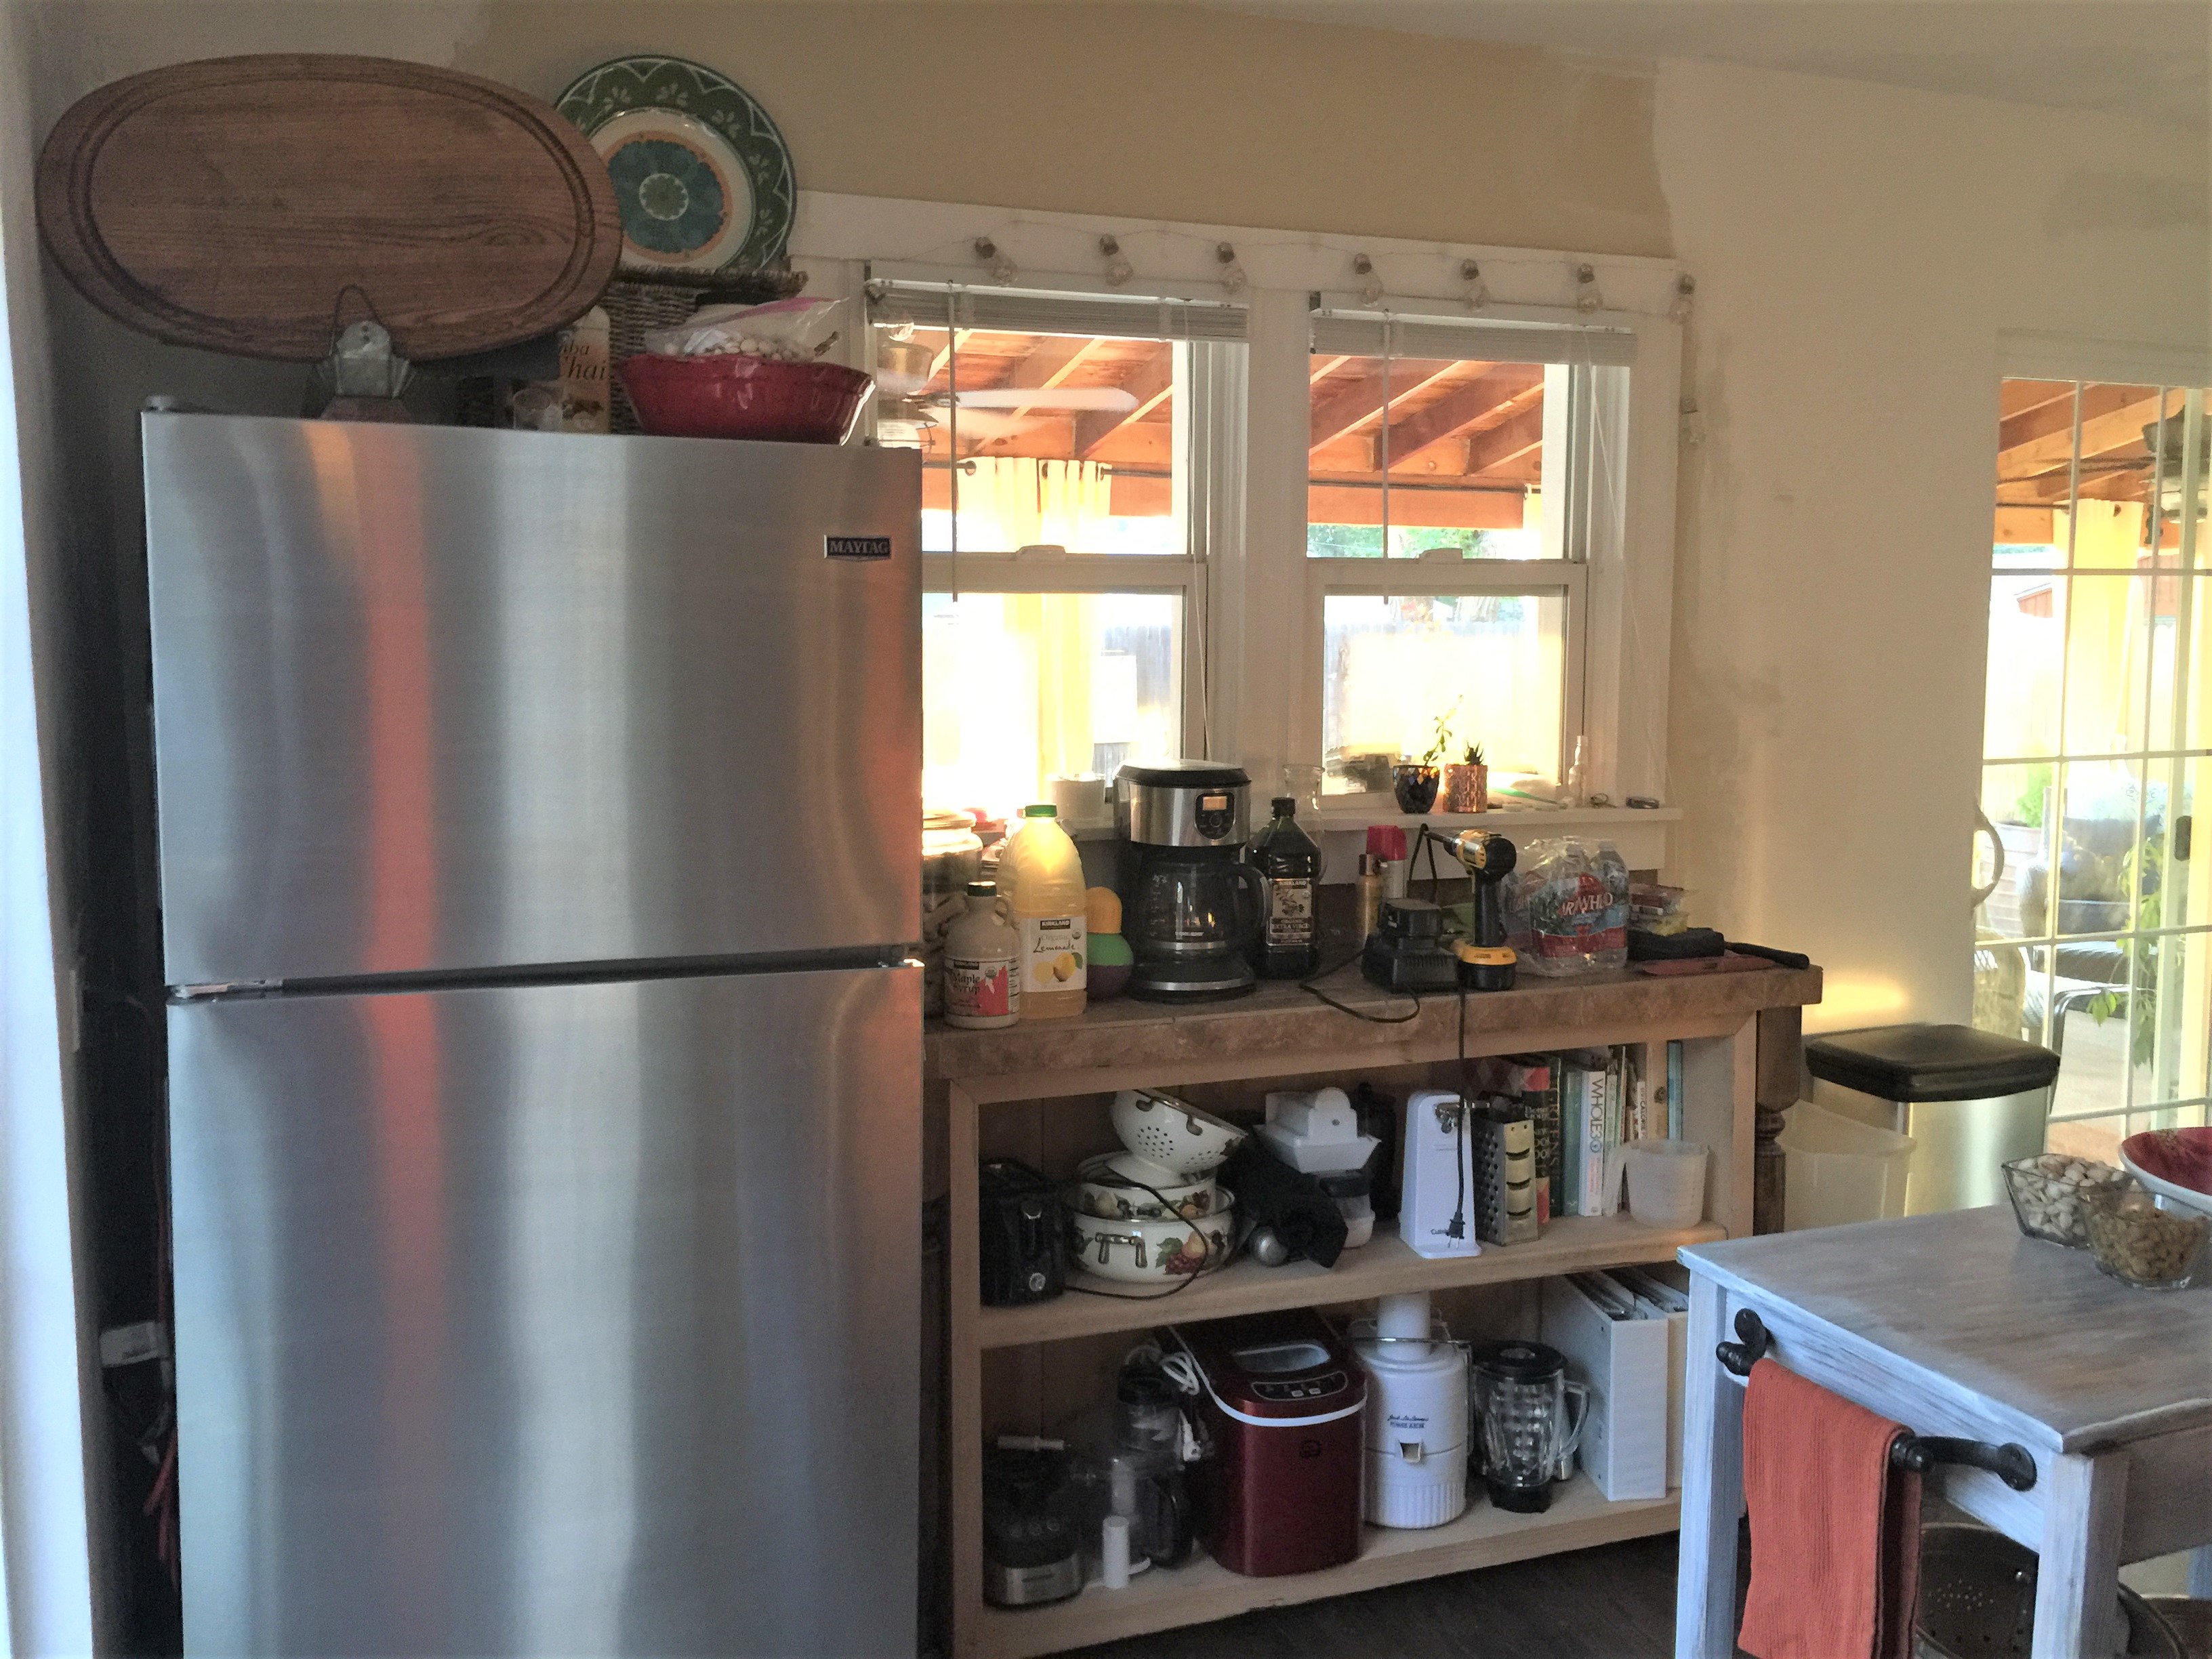
Once I returned home, I started cleaning and working on the details from the remodel. I had David put up some shelving above the fridge for more storage.
He cut down the pantry doors to fit the cabinet. I Love the texture they add to the space!
Some of the details include shelves and cool brackets, barn wood and ceramic Brick tile.
Before the doors…
These were found at Habitat for Humanity for $10! Super great find! However, they were dirty and needed cleaning. I use TSP cleaning solution with a brush to remove the dust and spills on the wood.
This is my set up to refinish cabinets. Cleaning and prep is the biggest part of the project! Clean with TSP, then a coat of sanding sealer, light sanding, paint (maybe 2 coats), more sanding to distress, glaze to highlight any imperfections and give it patina, then 2 coats of finishing wax. This process must be re imagined with each project. I’ve learned that it takes a few try’s to get the look I want, then I go forward with that process to finish all the cabinets to match.
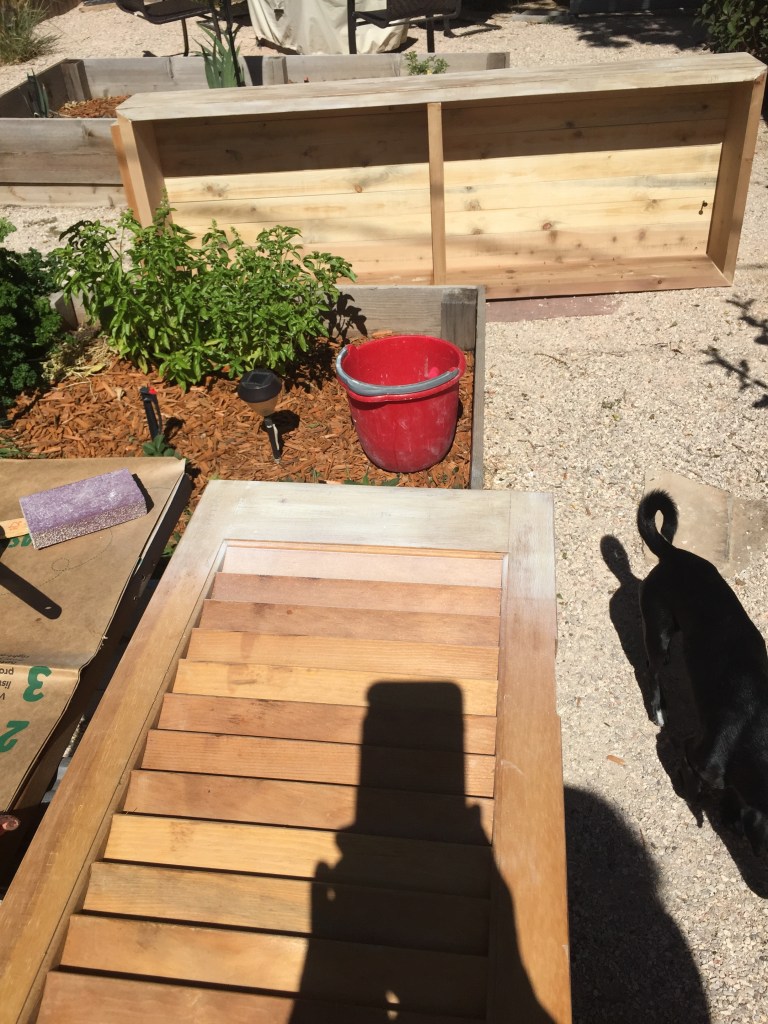
This is the pantry cabinet David built for me. I took it outside to begin the treatment, looking for the right technique. The outside panel is done and ready to mount the pantry doors again.
I also wanted to try the technique on a small part of the door. I’ll finish it later, but needed to see how it looks with paint and some glaze.
When we cut the door down to size, we exposed some joints in the wood. No worries! Luckily, my style is rustic farmhouse, so I feel comfortable having imperfections in my cabinets and doors. I do need door latches.
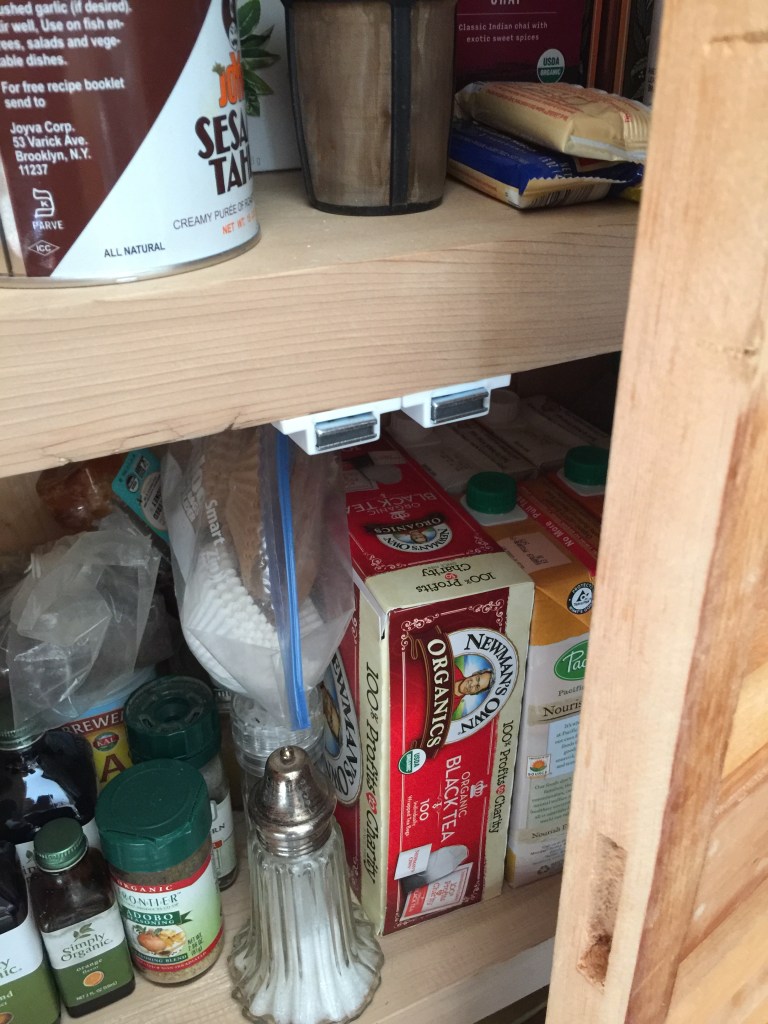
My door latch solution is magnetized brackets. Simple!
Before I left Gunnison, Susie gave me fresh produce from the farmer’s market on Saturday morning in town. How cute are these baby carrots?
I feel better having taken a break from my remodel project! It’s always great to get up the the mountains and especially when the fall colors are in full display!
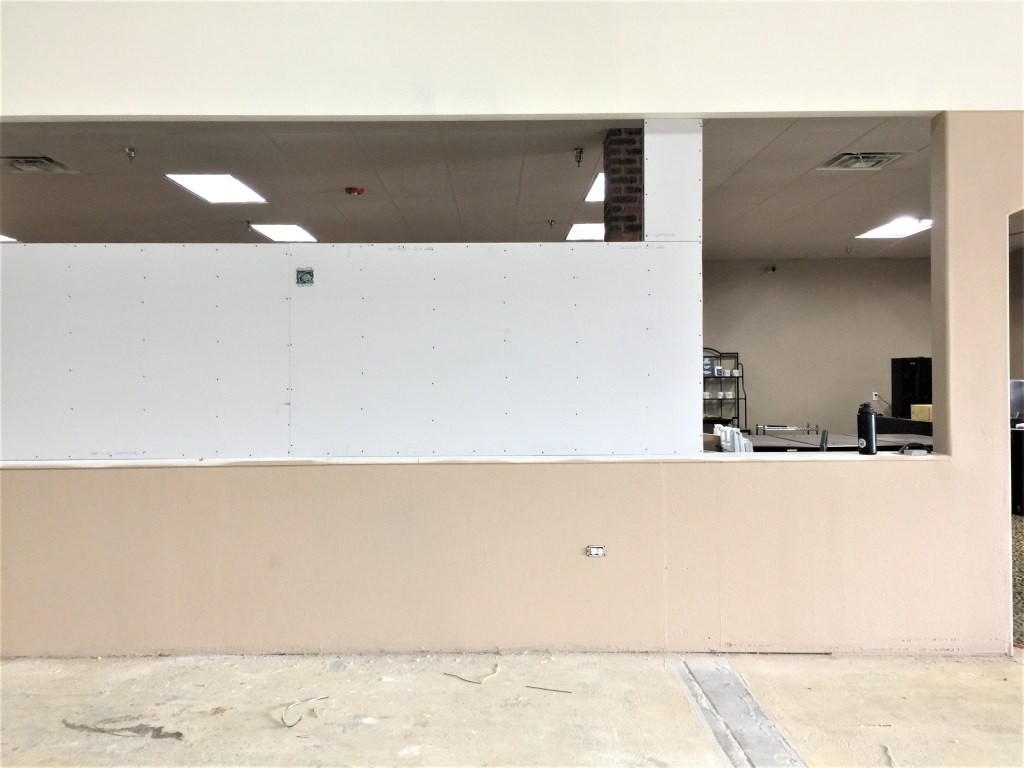
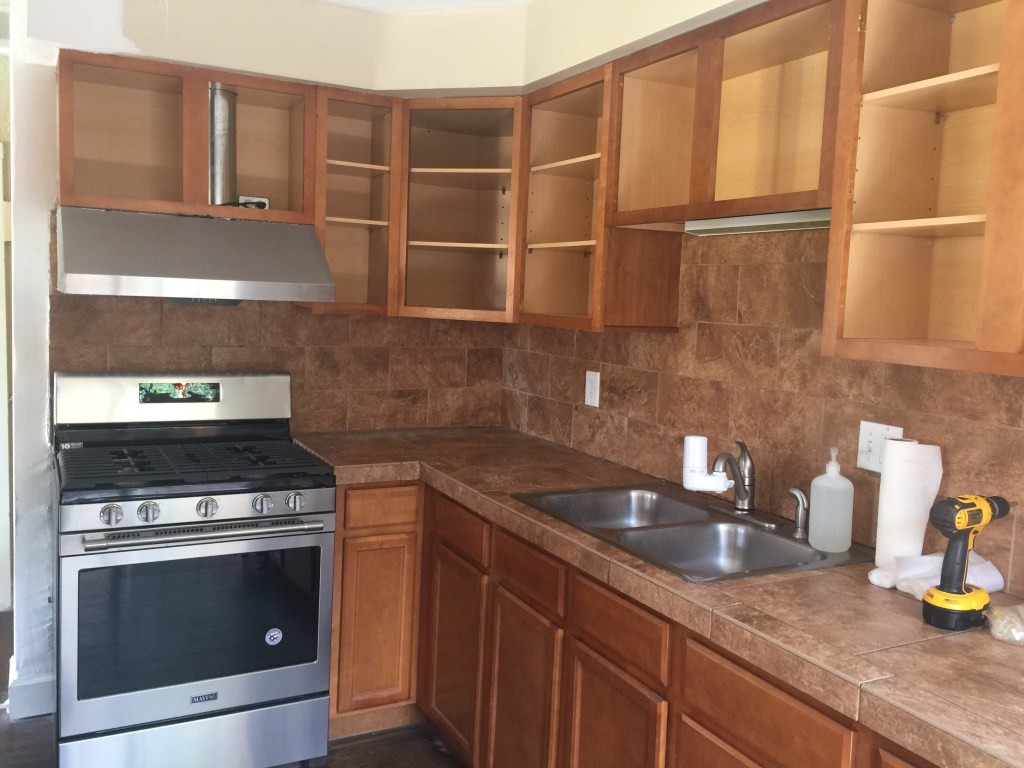
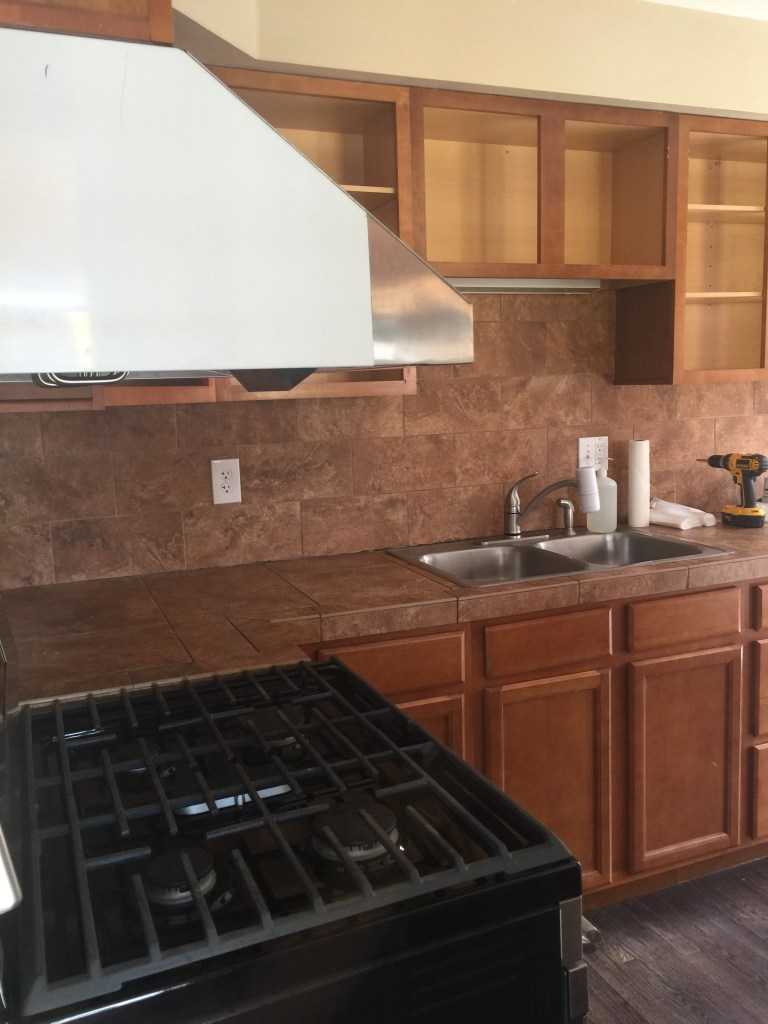
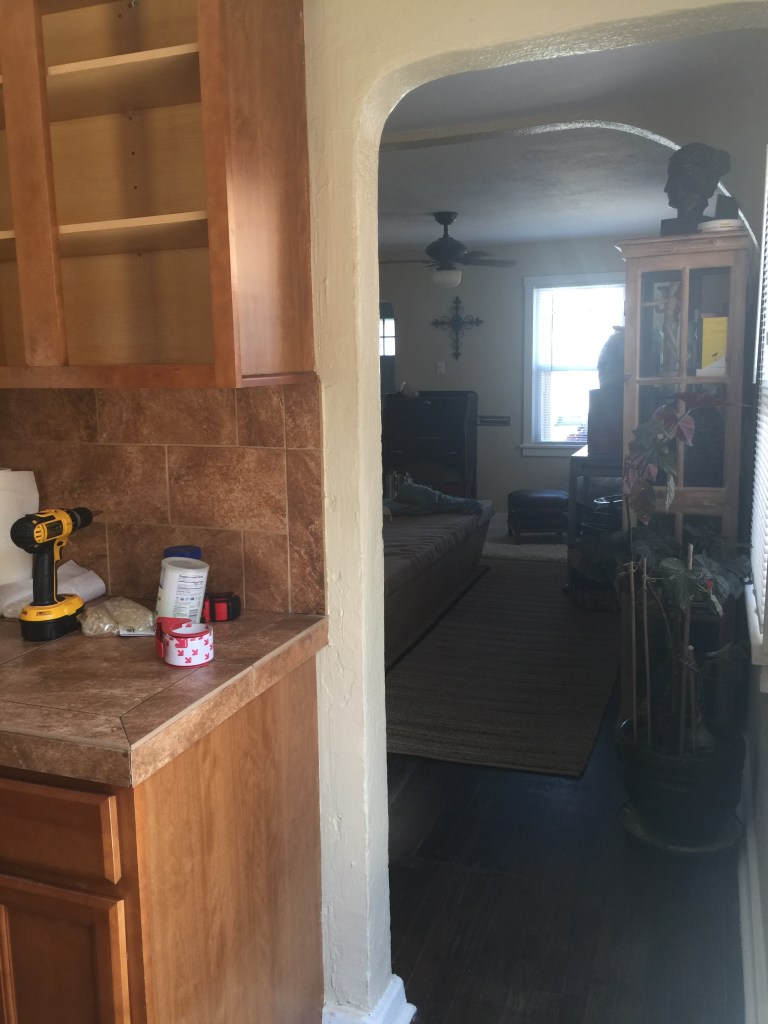
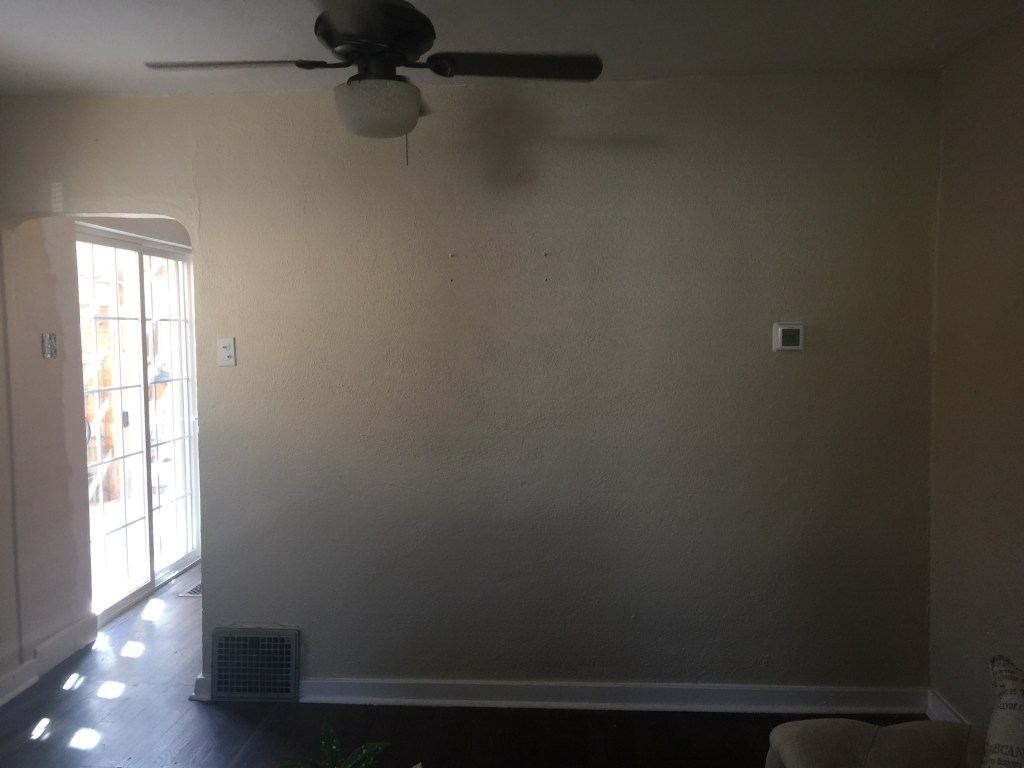
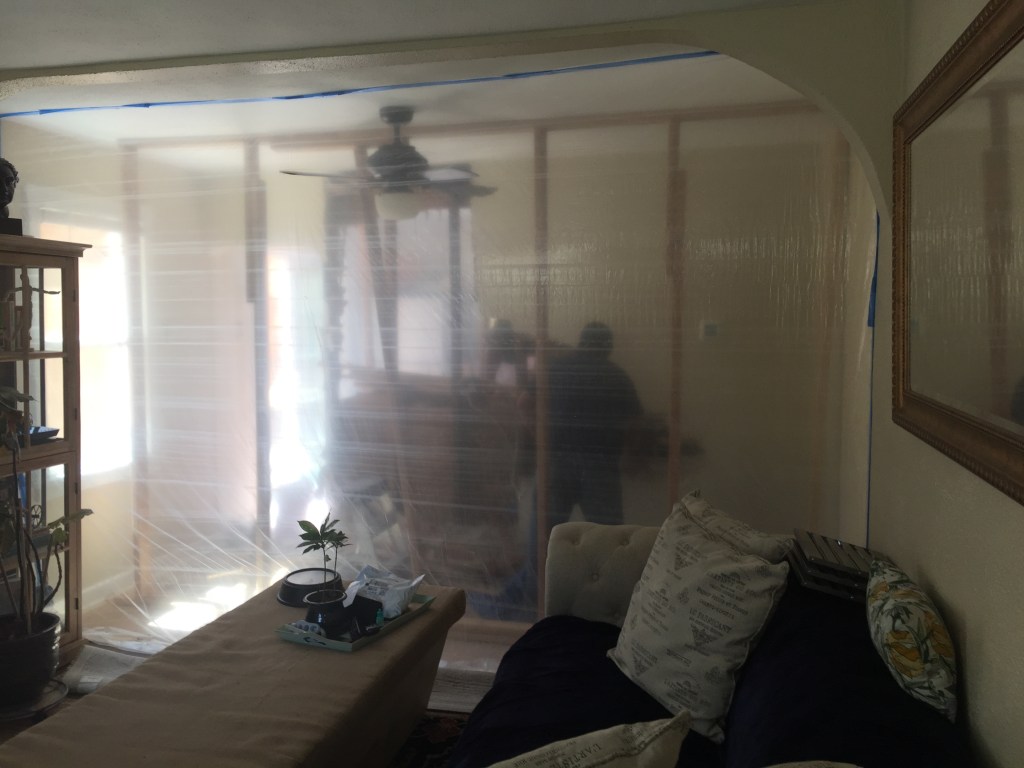
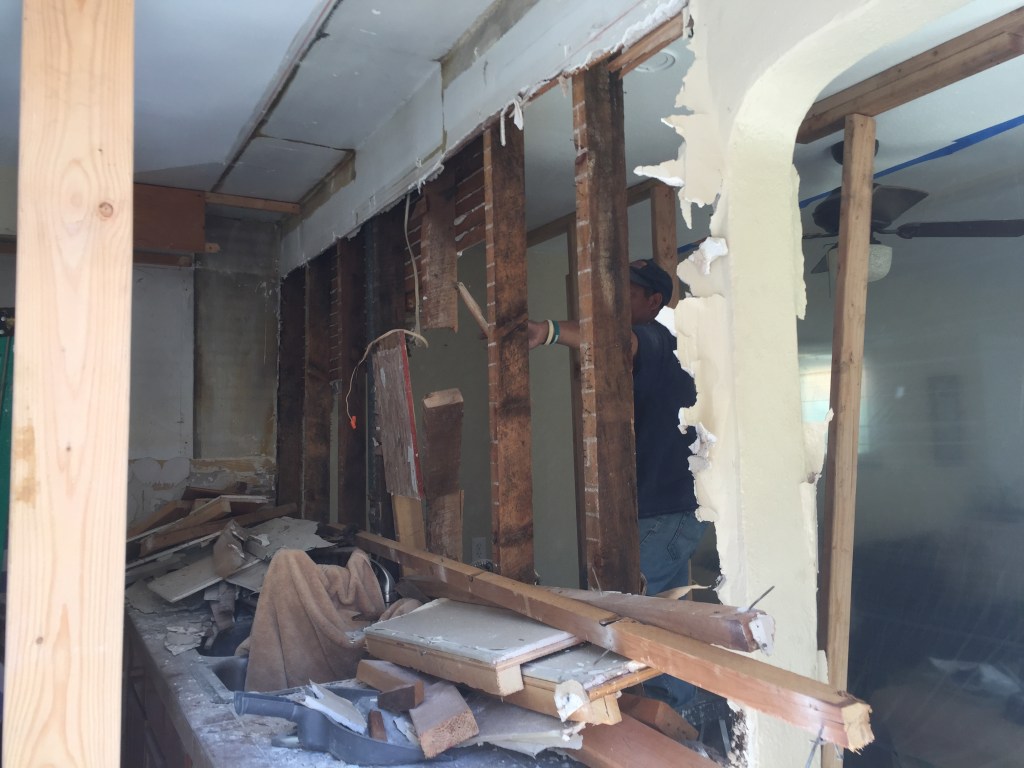
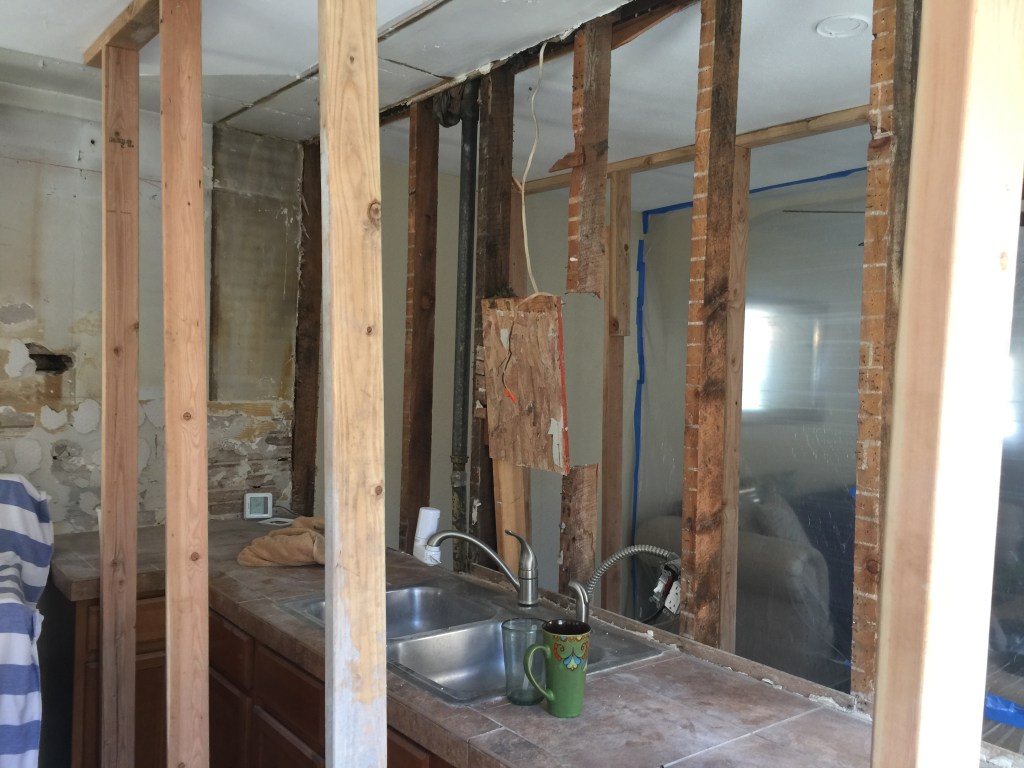
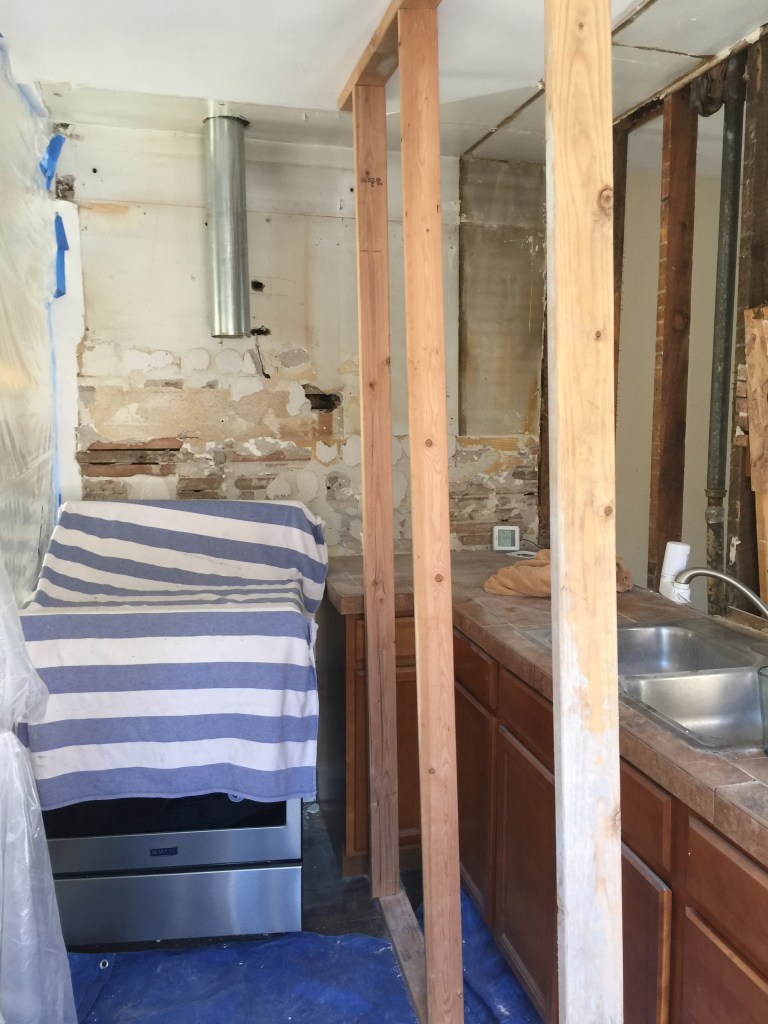
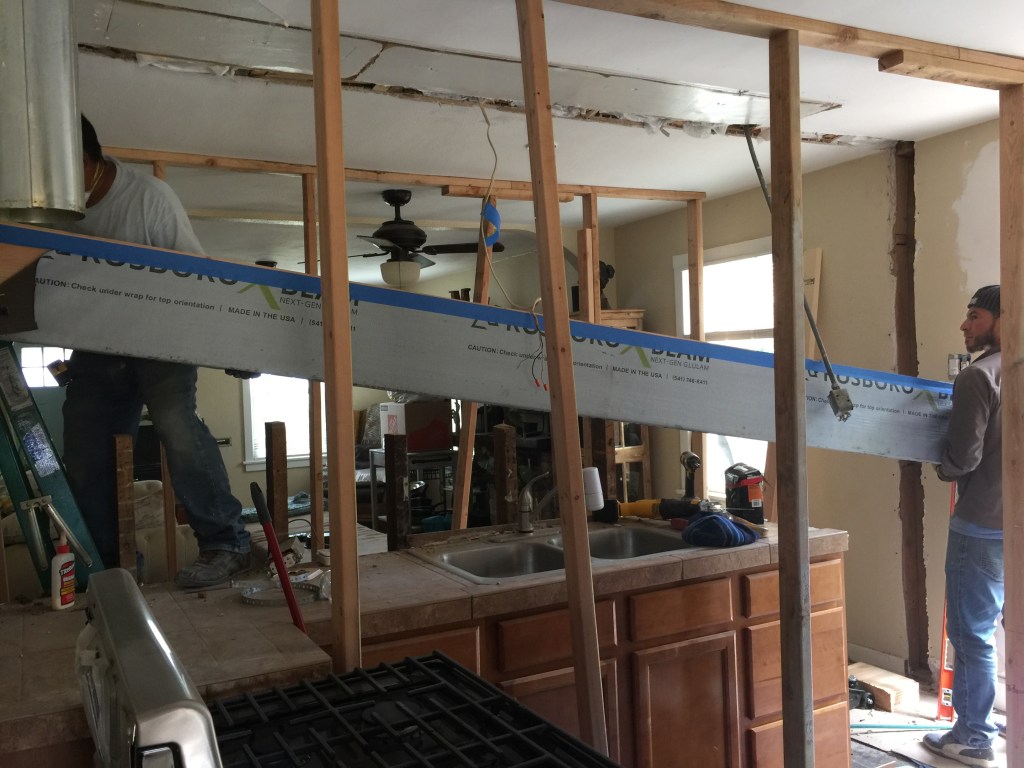
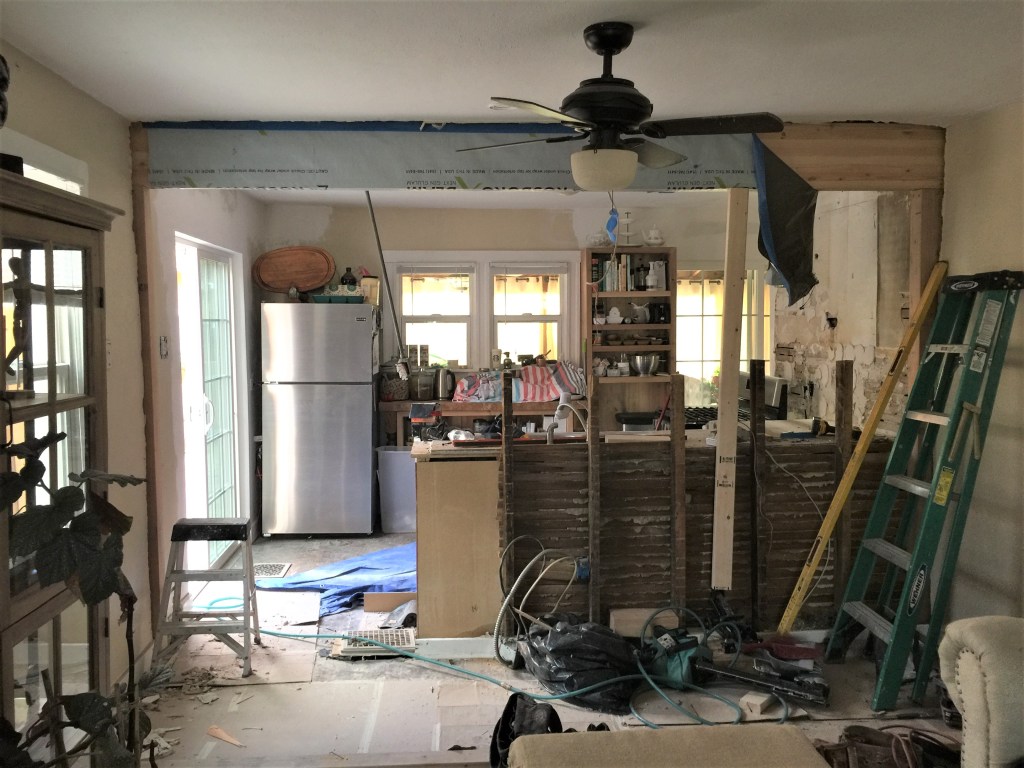
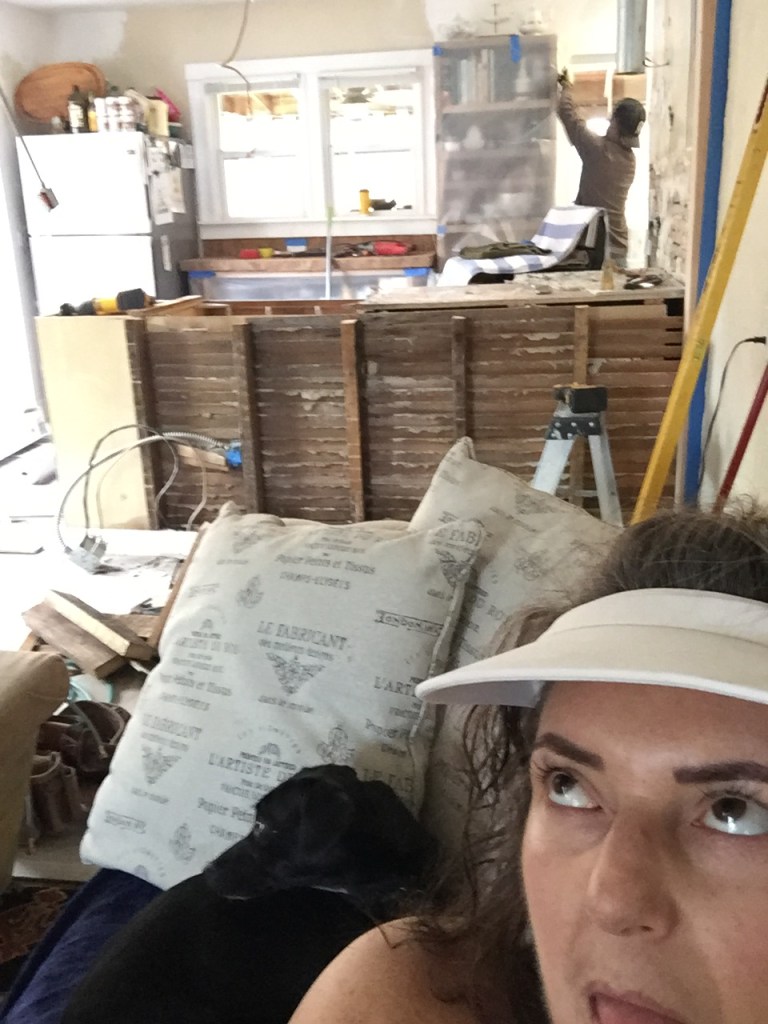
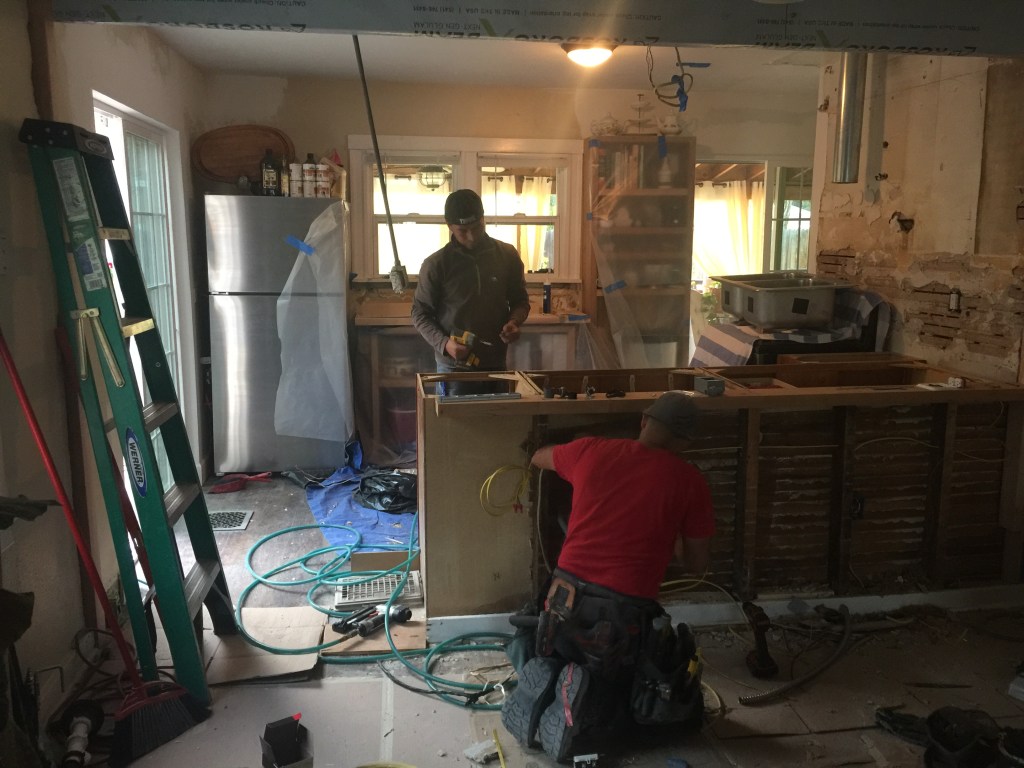
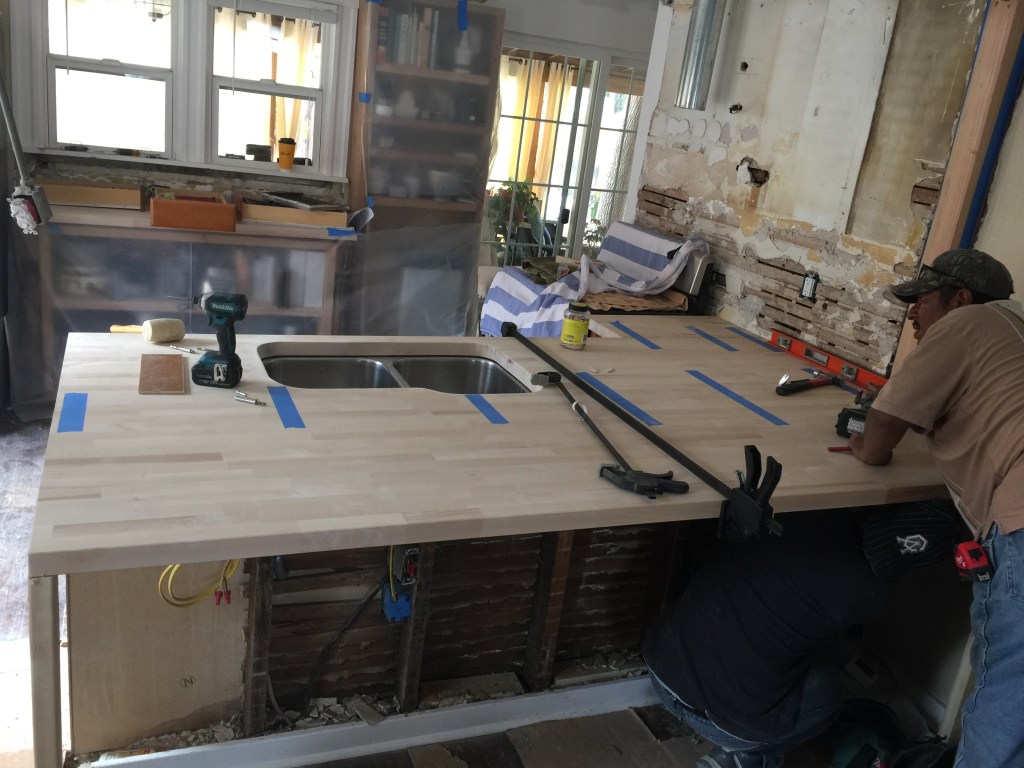
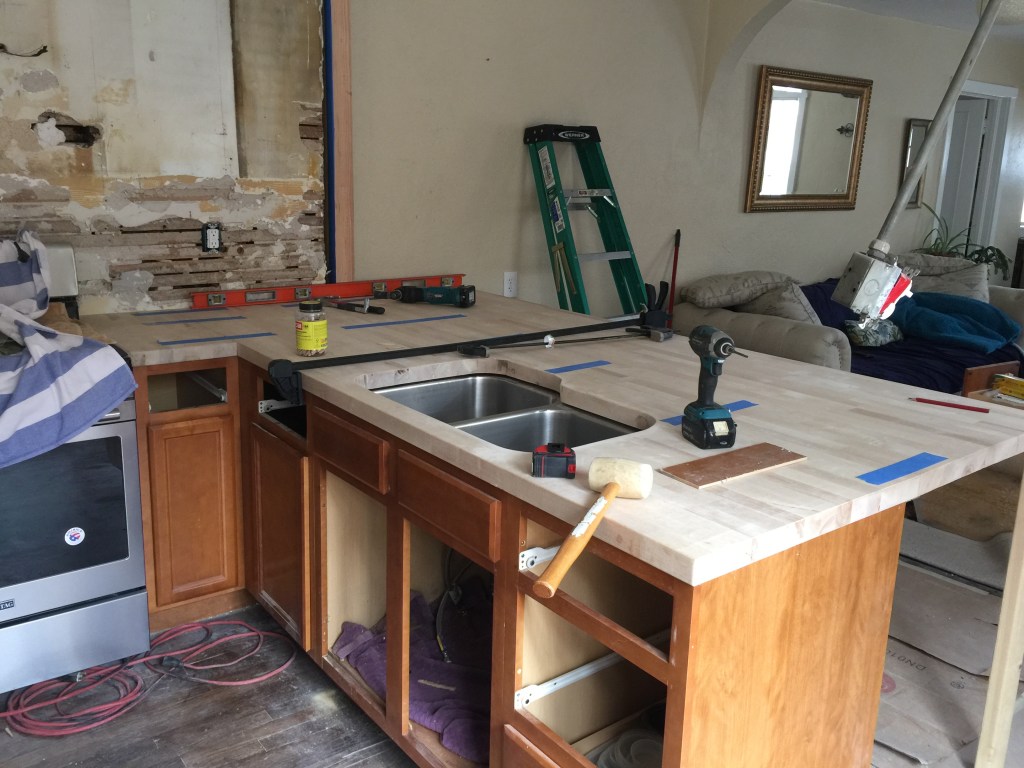
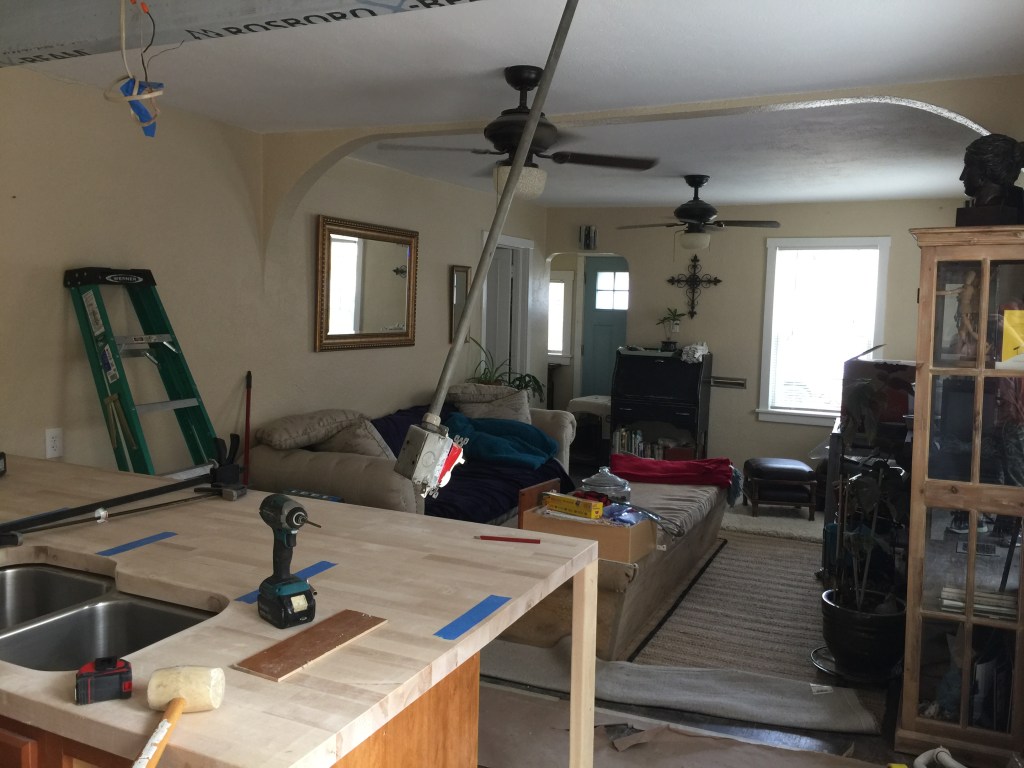
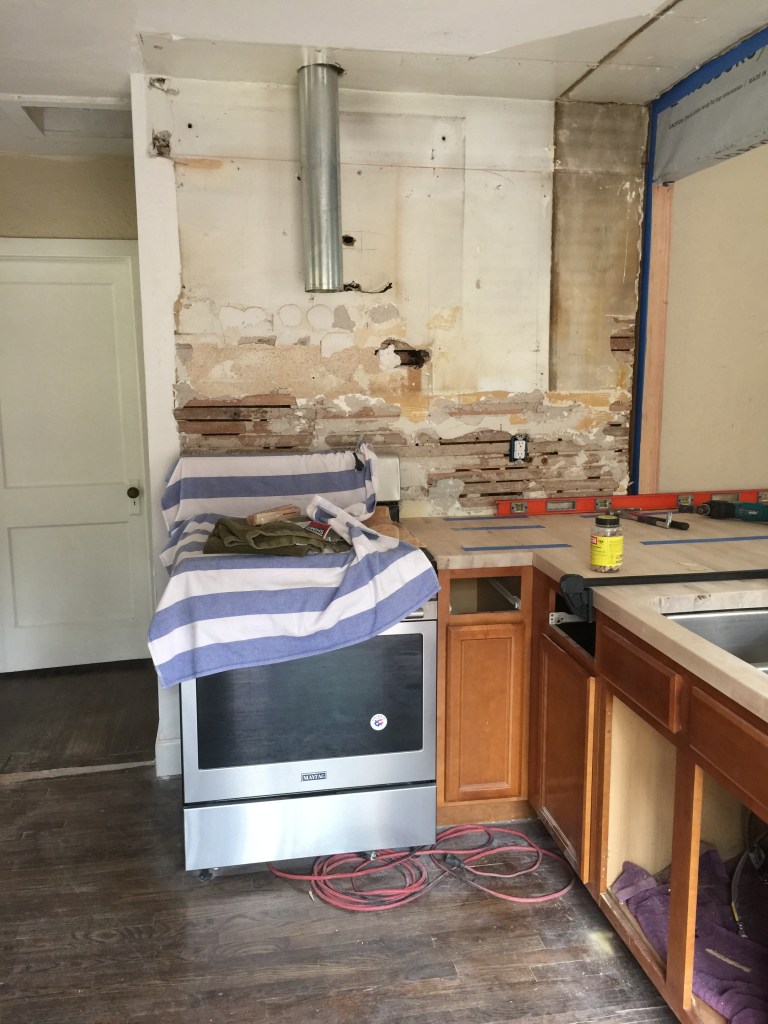
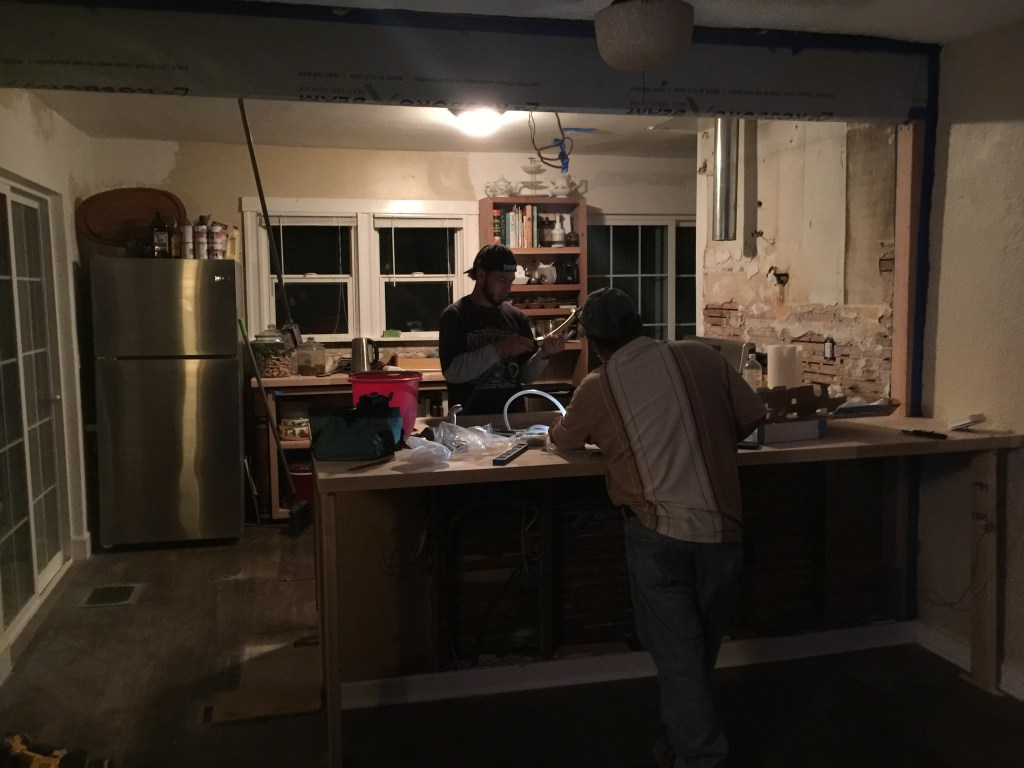
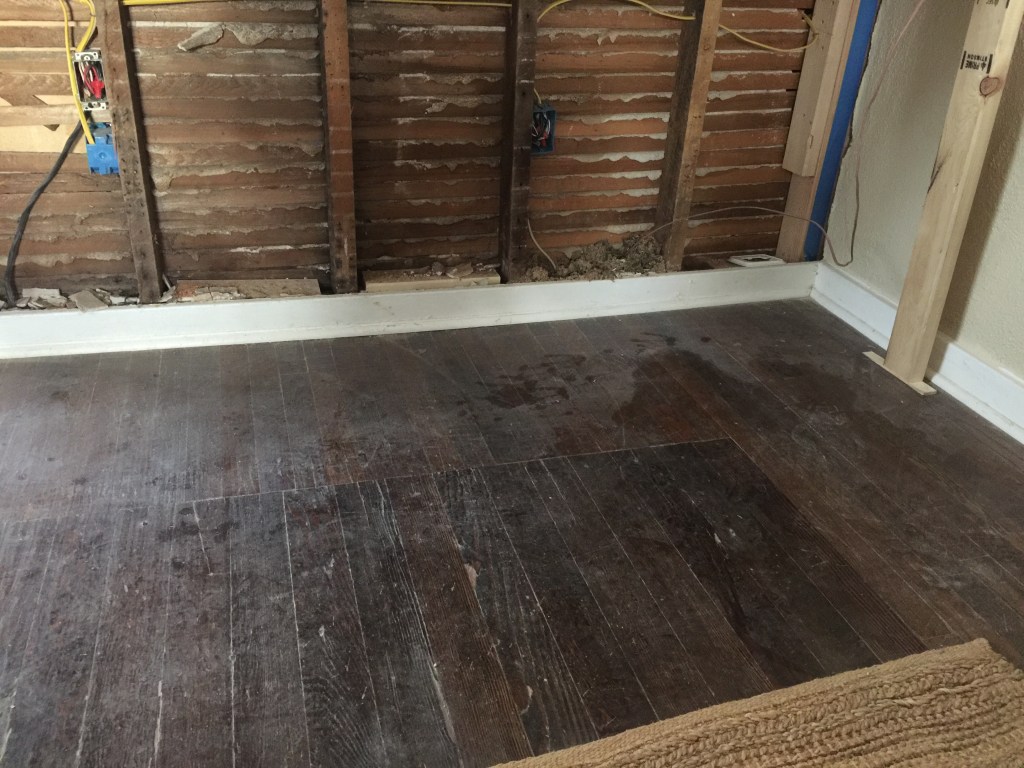
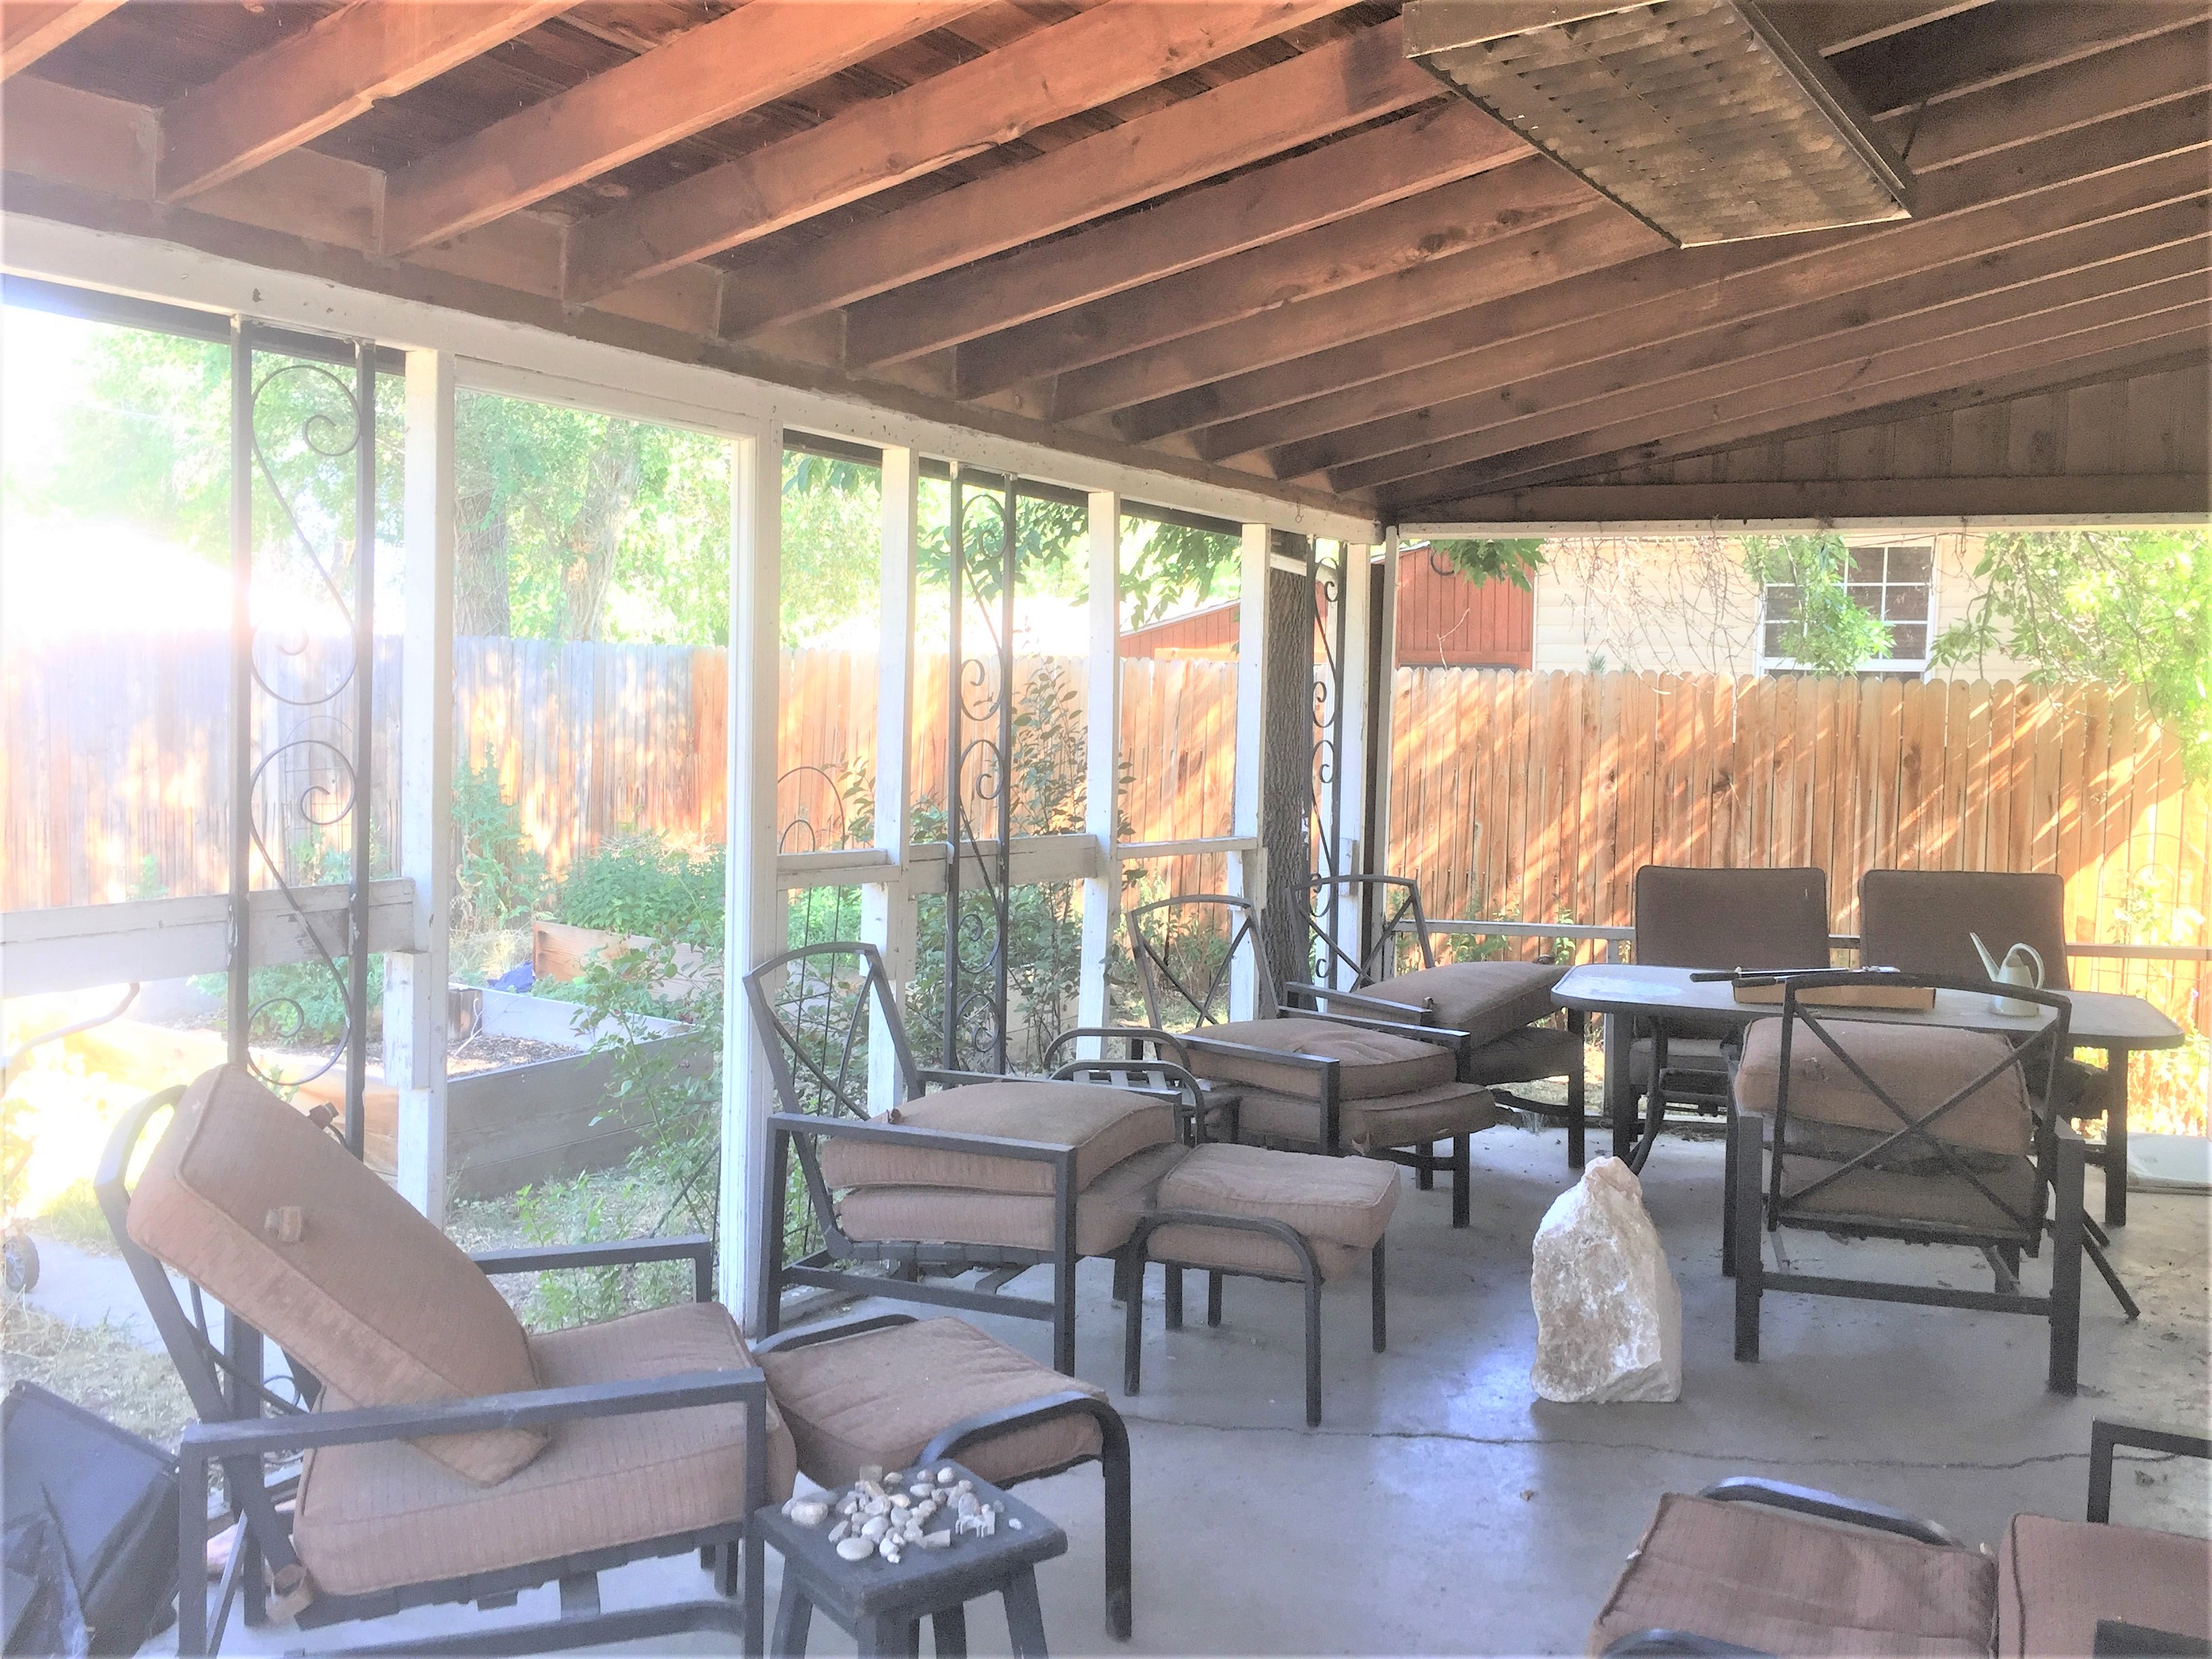
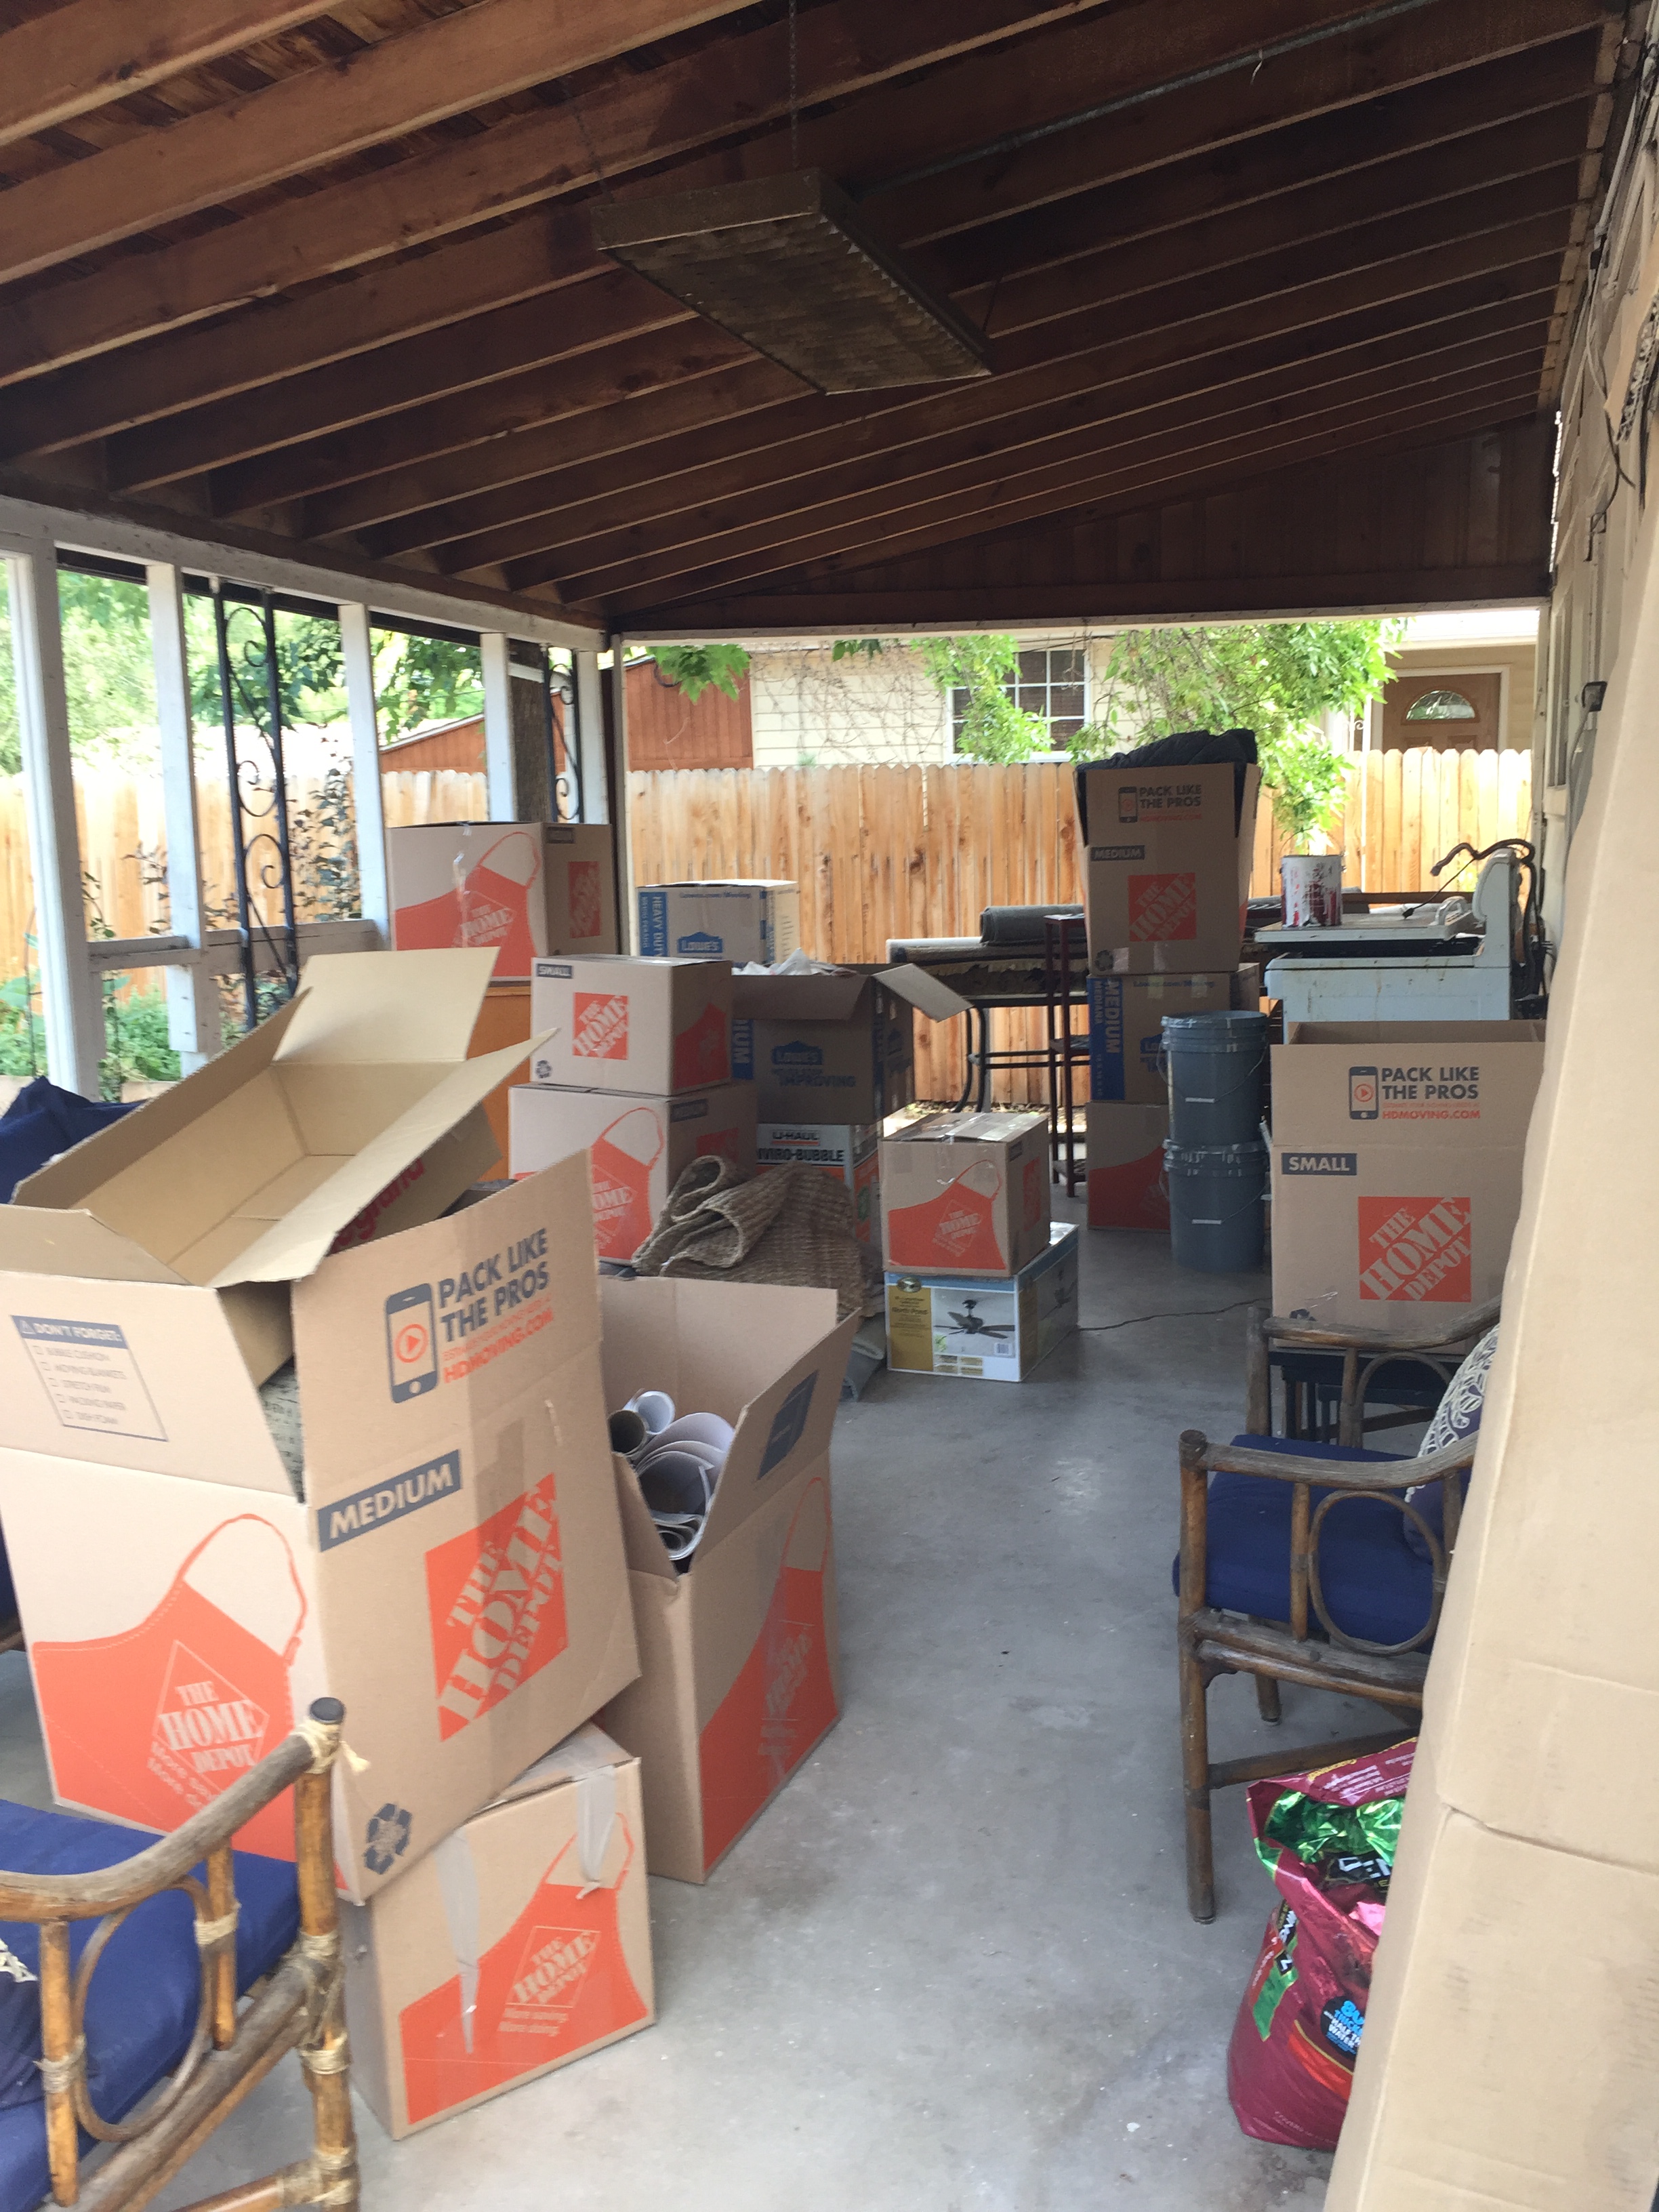
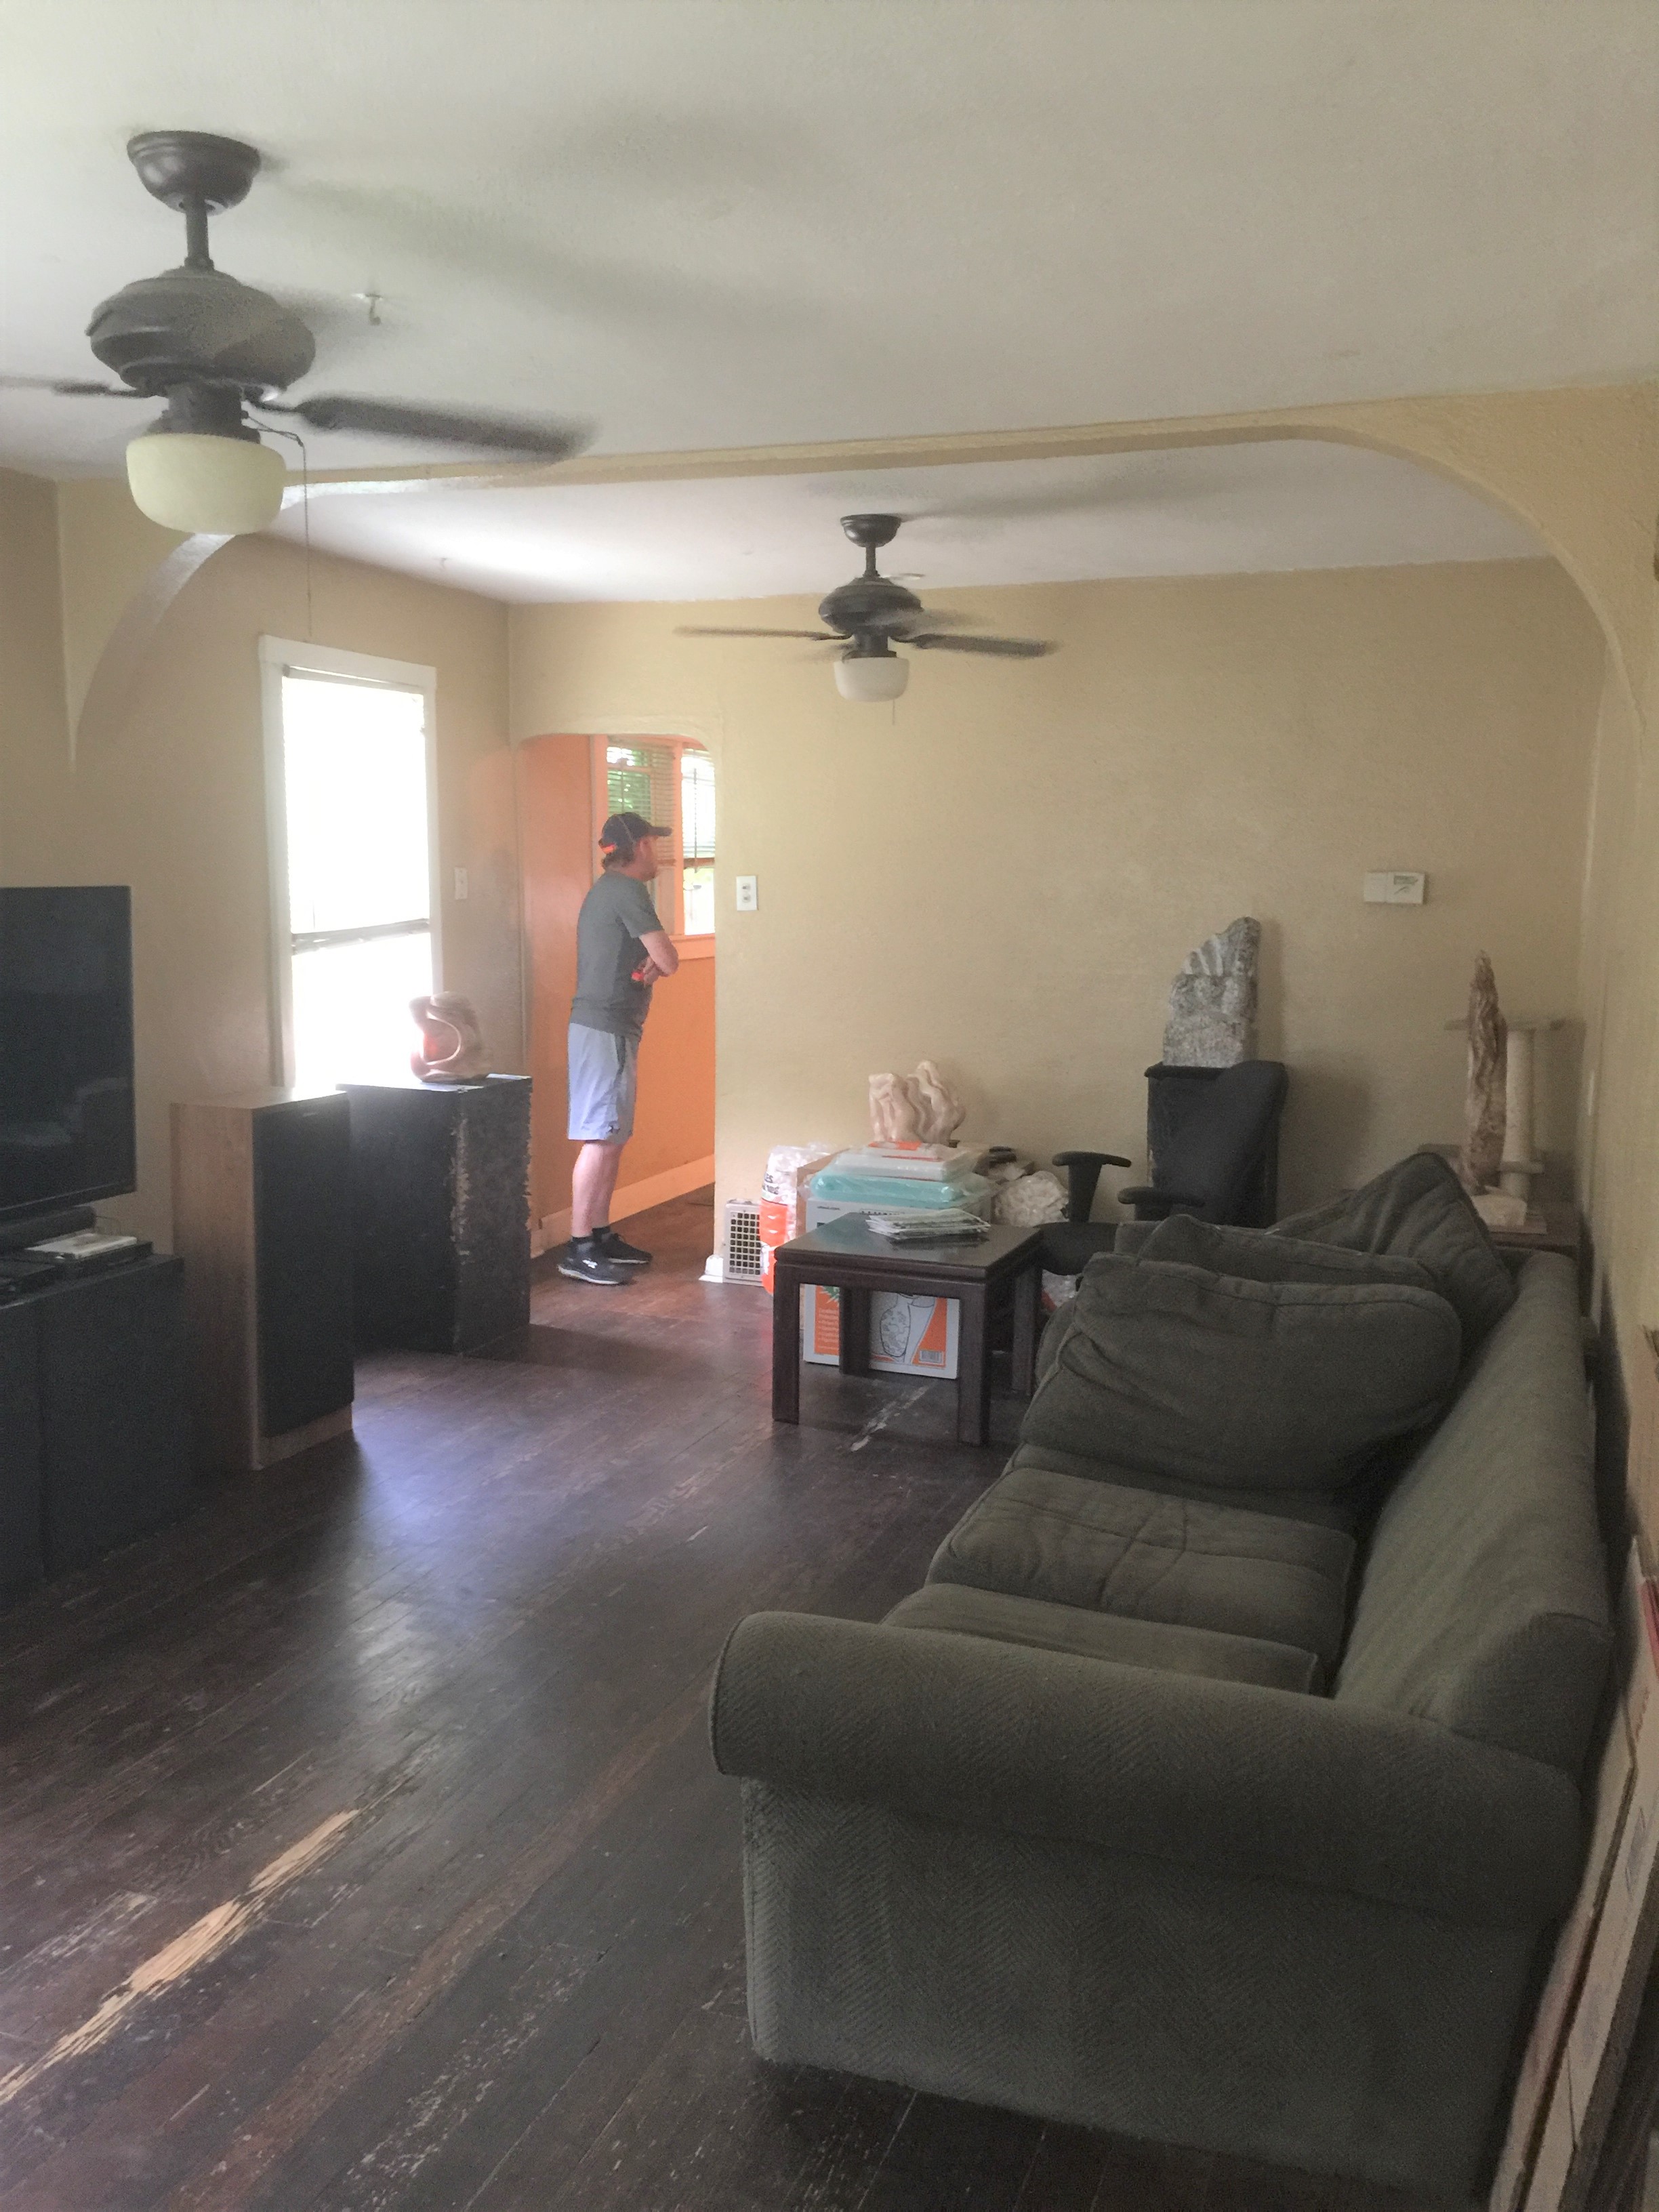
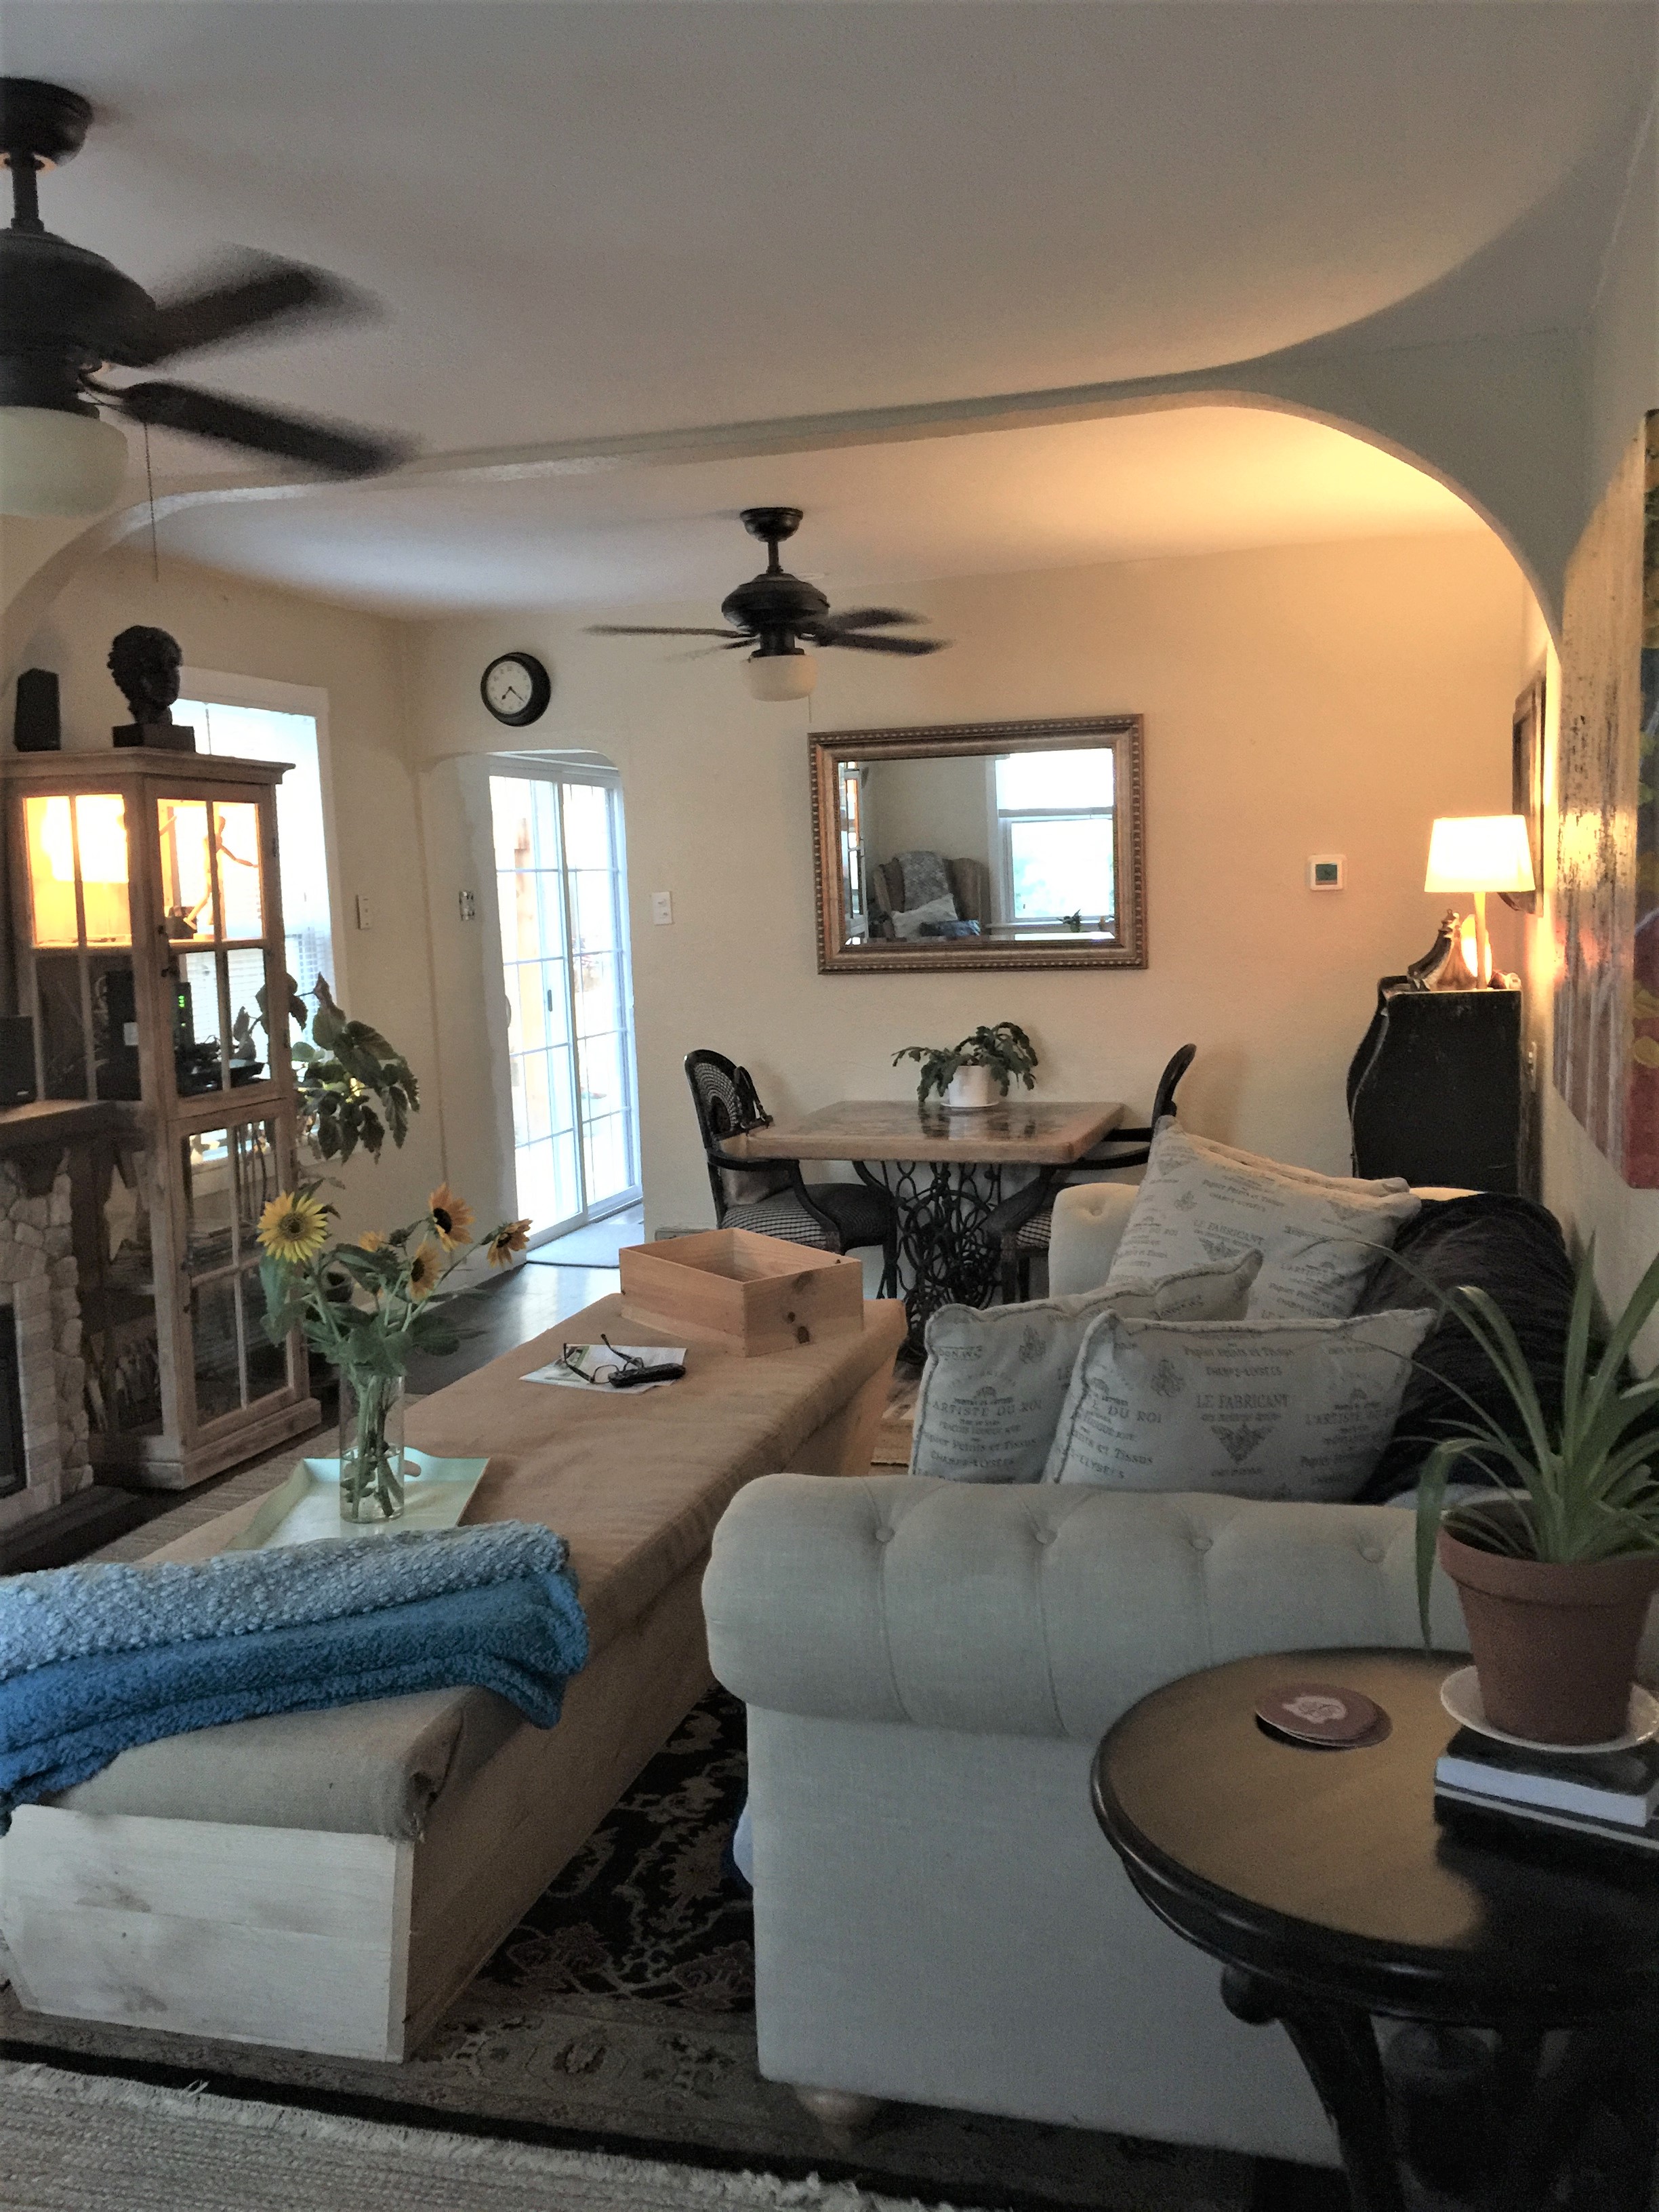
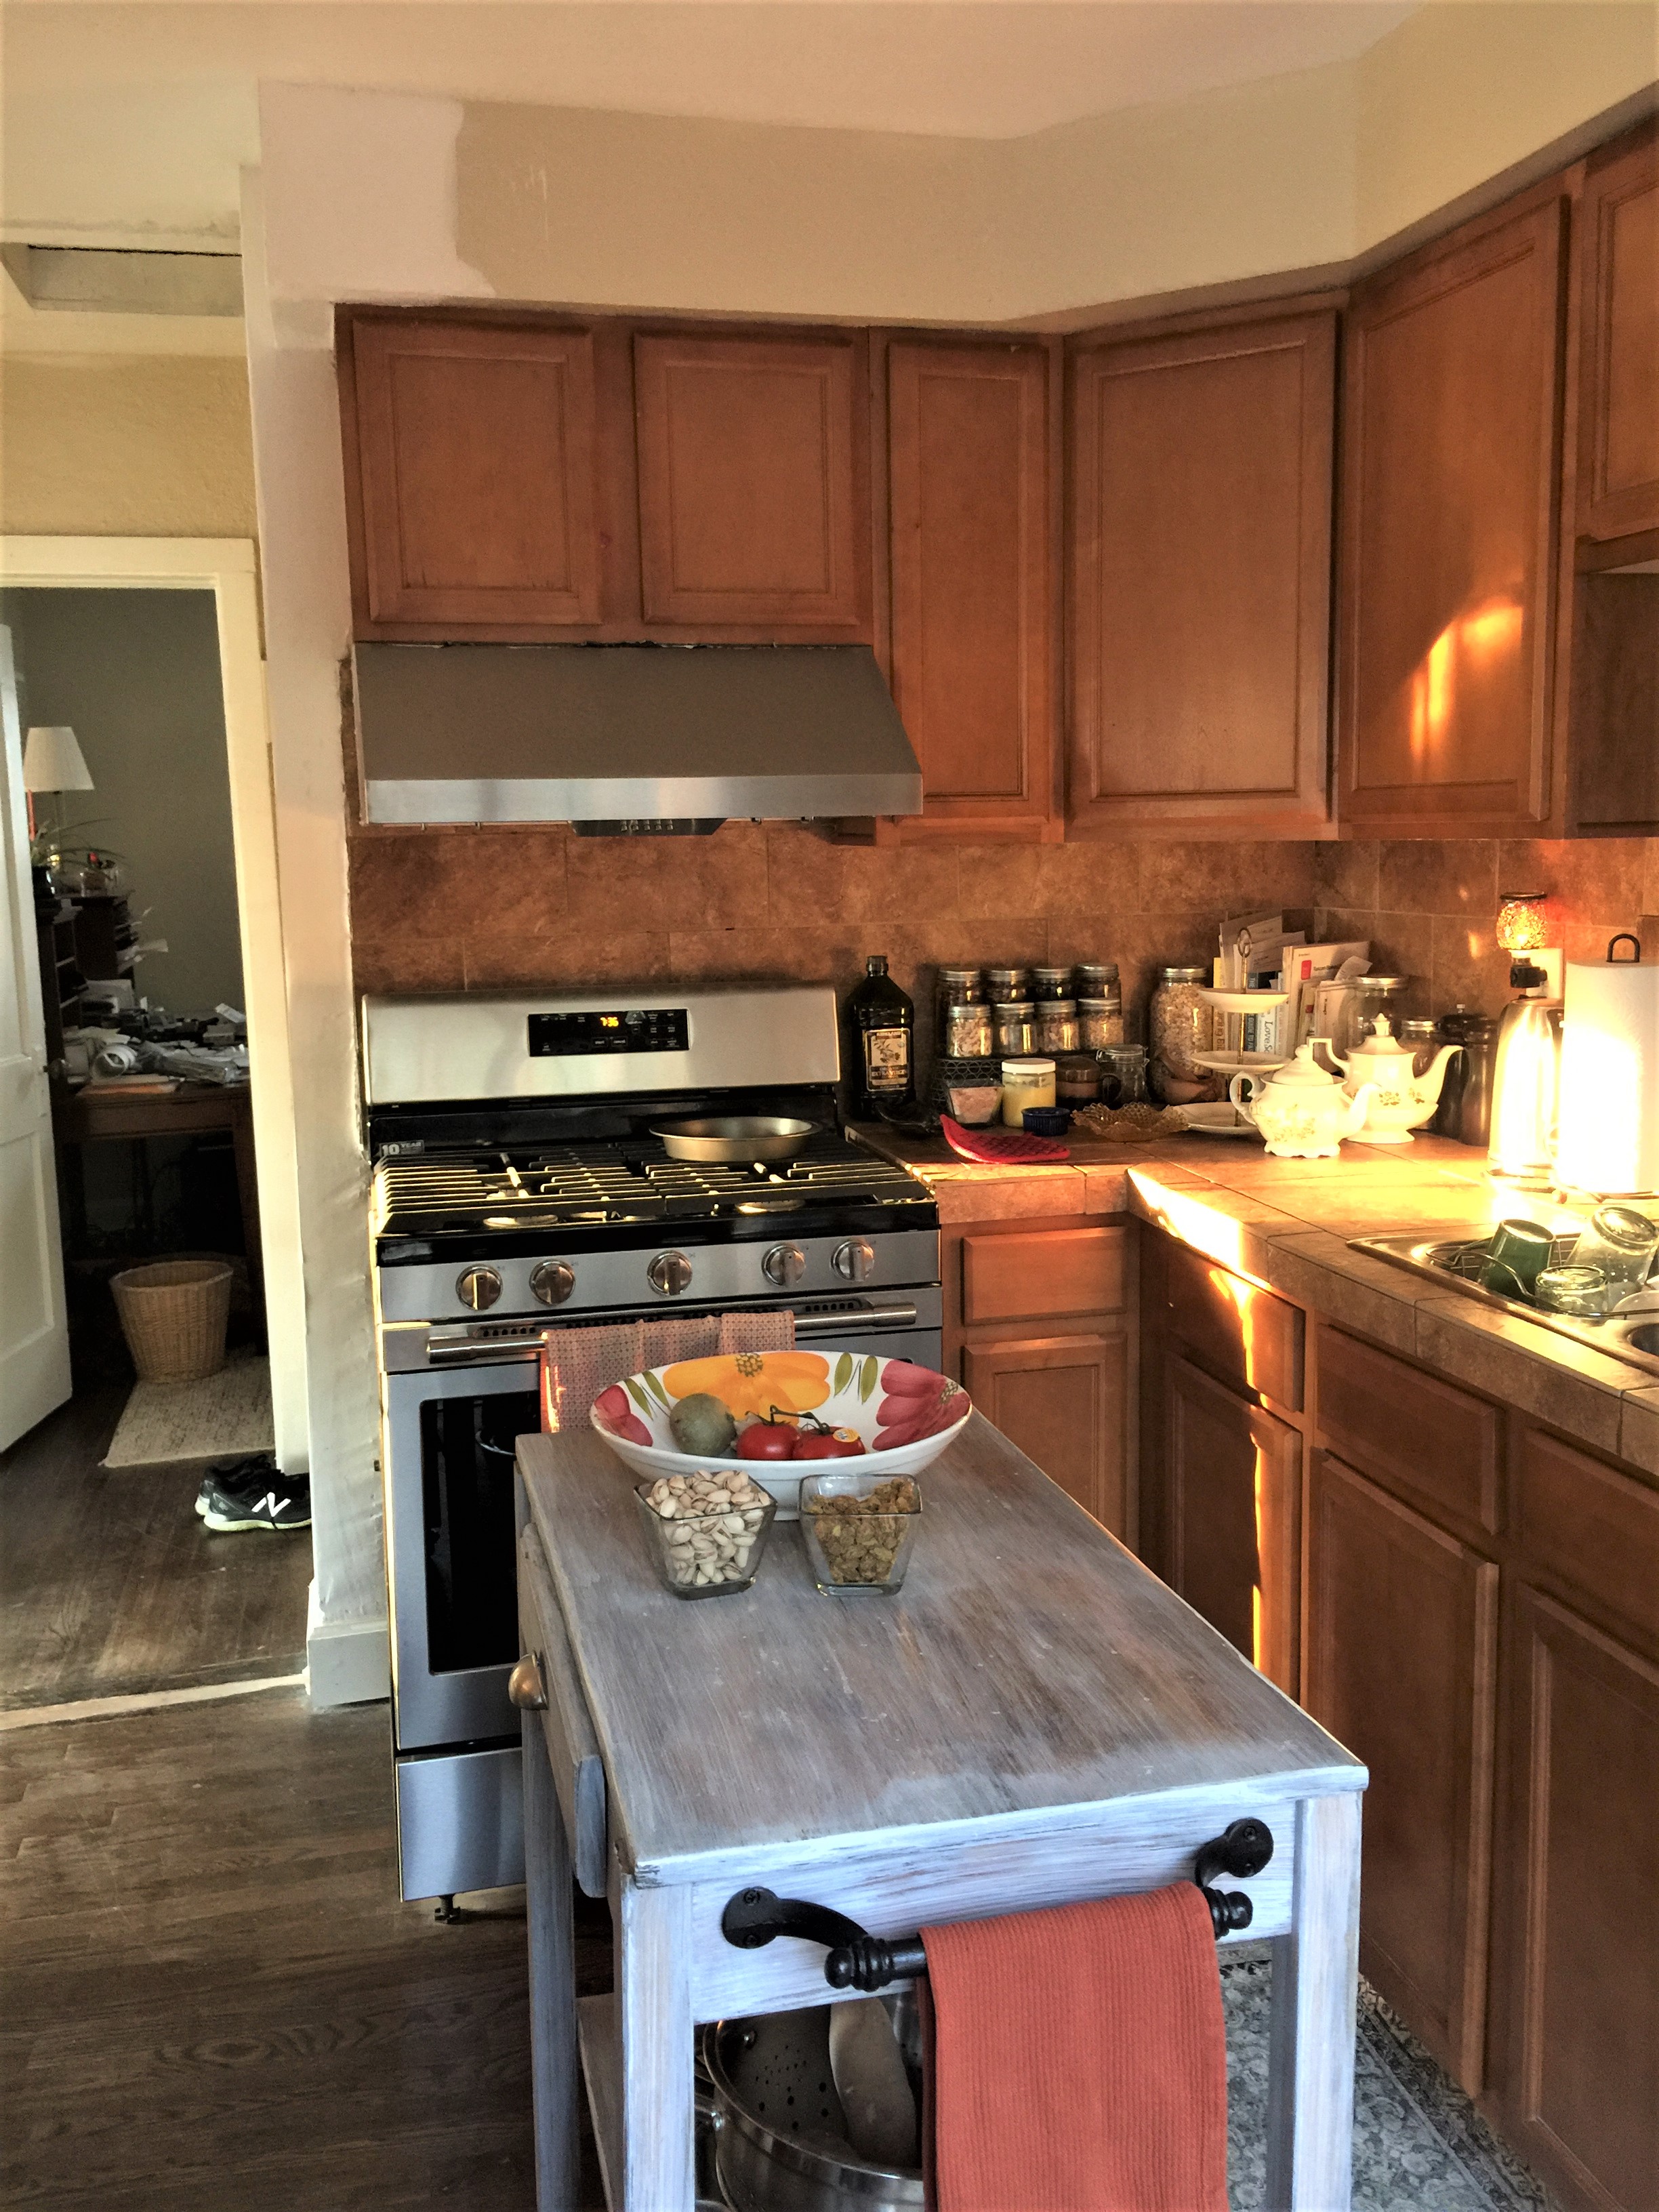
Here’s where we’re at this morning.This is how the kitchen started before we began this remodel. I’ve already taken the cabinet doors off and cleared the space for demo!The goal is to remove this wall and open up the kitchen to the living room.This is the tiny doorway between the rooms.See how dark the living room is compared to the kitchen? I want to make this whole space brighter and welcoming.This is the same wall that will be coming down, from the living room view.Once the plastic is up, David built temporary supporting walls so the existing wall can be replaced with a thick support beam.These old houses have lathe and plaster walls instead of drywall. It’s super dusty and hard to remove. Makes a huge mess!The plaster is gone and the original support beams and being assisted with the temporary walls until we get the new support beams in place..It’s highly recommended NOT to live in your house while you remodel, for many obvious reasons. However, I’ve done this many times and while I agree with that strategy, I still do exactly that! It’s my hobby and each time, it makes me crazy and swear off any more projects. I always come back for more.I’m nervous when the house is being torn apart and rebuilt. Especially when the support beams are compromised. This part of the project is tricky, but David has experience and now they’re lifting the new beam into place.And securing the supporting post for the new beam going across the room.Lucy, my emotional support dog through the project! “It’s ok, my human”Now that the beam is in place, the temporary walls come down, plastic goes away and I can see the whole room opened up for the first time! Love it!I’ve never used marble before, but I’m excited to mix it with a more rustic tile to make the wall behind the stove a focal point. During the project, I’m basically home bound. It’s tough to sit here all day and hear the banging, breathe the dust and have my space being invaded by contractors. The weather is hot this time of year, so I alternate between the crowded back porch at 98 degrees and the A/C inside with the construction going on. And try to be pleasant to everyone all the while.These guys work all day and don’t complain. Even as I make changes throughout the process. They’re troupers and I am grateful to have such a good team for my project!After demo, I have a big pile of debris for trash day.My regular trash guy is awesome and I give him some cash to pick up the excess. This week however, my regular guy was replaced with another crew who weren’t as accommodating. I gave them $20 to take the debris and got a 7 minute monologue about how they need more money to pick up the trash as they loaded it into the dump truck and they would only take half of the pile. What? Is this extortion? Luckily another trash truck pulled up 15 minutes later and took the rest for another $20.Must be good karma.And the dust is everywhere. The sanding took place outside and got on everything!This back porch has already seen many cycles of storage and clean up. So glad to have a covered area to put things when I need the extra space.This is where I sit during the day while the construction zone is happening inside. Not very relaxing, but temporary and you already know how much time I spend out here normally. It’s a small sacrifice.David building and installing the butcher block counter tops. In my mind, the dogs are stressed out with all the noise, men and chaos. In reality I’m being anthropomorphic and it’s me who actually feels that way, not them. Finally, things are beginning to take shape.OMG! I love how open and airy this already is, minus the dust, of course!This isn’t sexy now, but I can imagine how cool this wall will be with the stove hood mounted, the marble back splash and whitewashed brick tile above the counter. I can’t wait!Literally 10:00 PM, trying to get water in the kitchen before a 4 day break. Everyone is tired.DUST!All in all, a good week! Glad to be past the demo and support beam installation. I now have an open living space and an awesome large peninsula island with a slab of wood on top. I’m happy and looking forward to giving you an update as we get the new base cabinet installed and tile hung!
After thinking long and hard, I finally added a new member to the household, Lucy. Formally known as Puzzle (?), Lucy is learning her way around her new house and getting to know her new family members. She is estimated to be around 1 year old, 14 lbs, a Chihuahua/Daschund mix and very sweet personality.
This is the afternoon we brought her home. She had a bath and is exploring her new yard with Rocco. They look a lot alike, same size and color, but her tail is curled and she has some White patches on her body. And because she’s younger, she has more energy.
Look at her cute face!
She is trying to get closer and closer to Rocco. He was first trying to hump her, then ignore her.
Inching closer…
Almost touching, but Rocco moved out of the way.
Everything new to her. The next morning, we showed her where we sit to have tea and watch the day unfold.
Lucy was found on May 20th in a field, near a road with a broken pelvis. It’s speculated that she was hit by a car. Her little body is similar to Rocco, but she’s is thicker, longer fur, shorter legs. He’s more willowy.
Lucy still looks to Rocco for guidance. She follows him around and does what he does. He is tolerating her, but I see him warming up and letting her act more familiar with him.
She’s starting to feel more comfortable and confident.
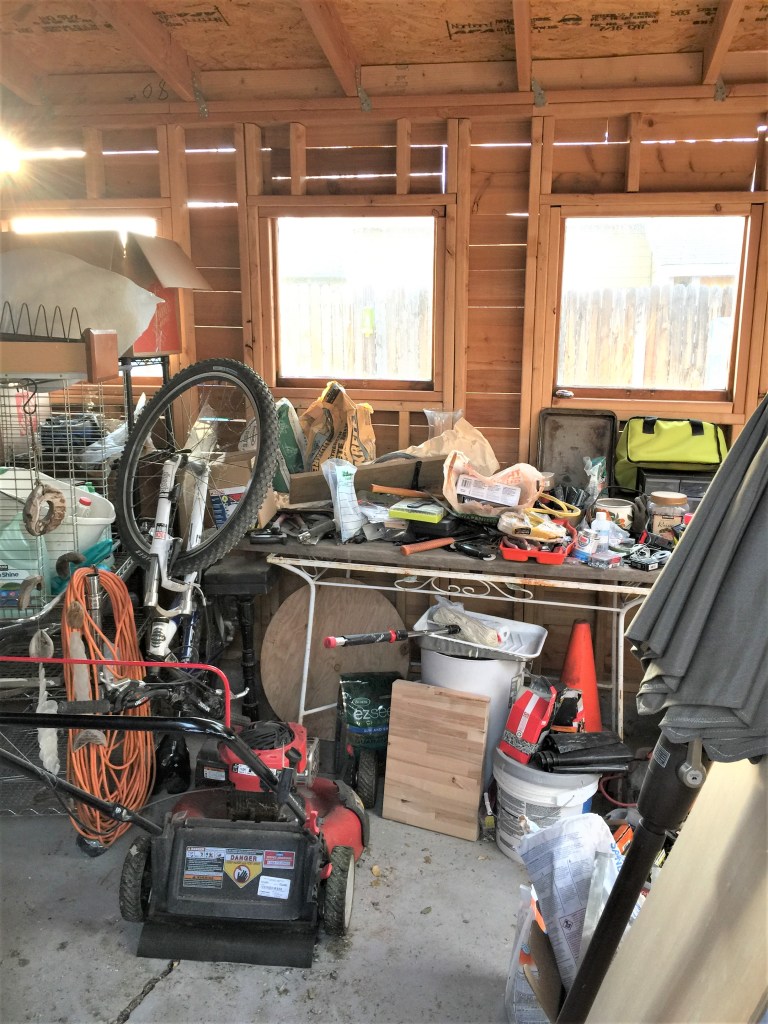
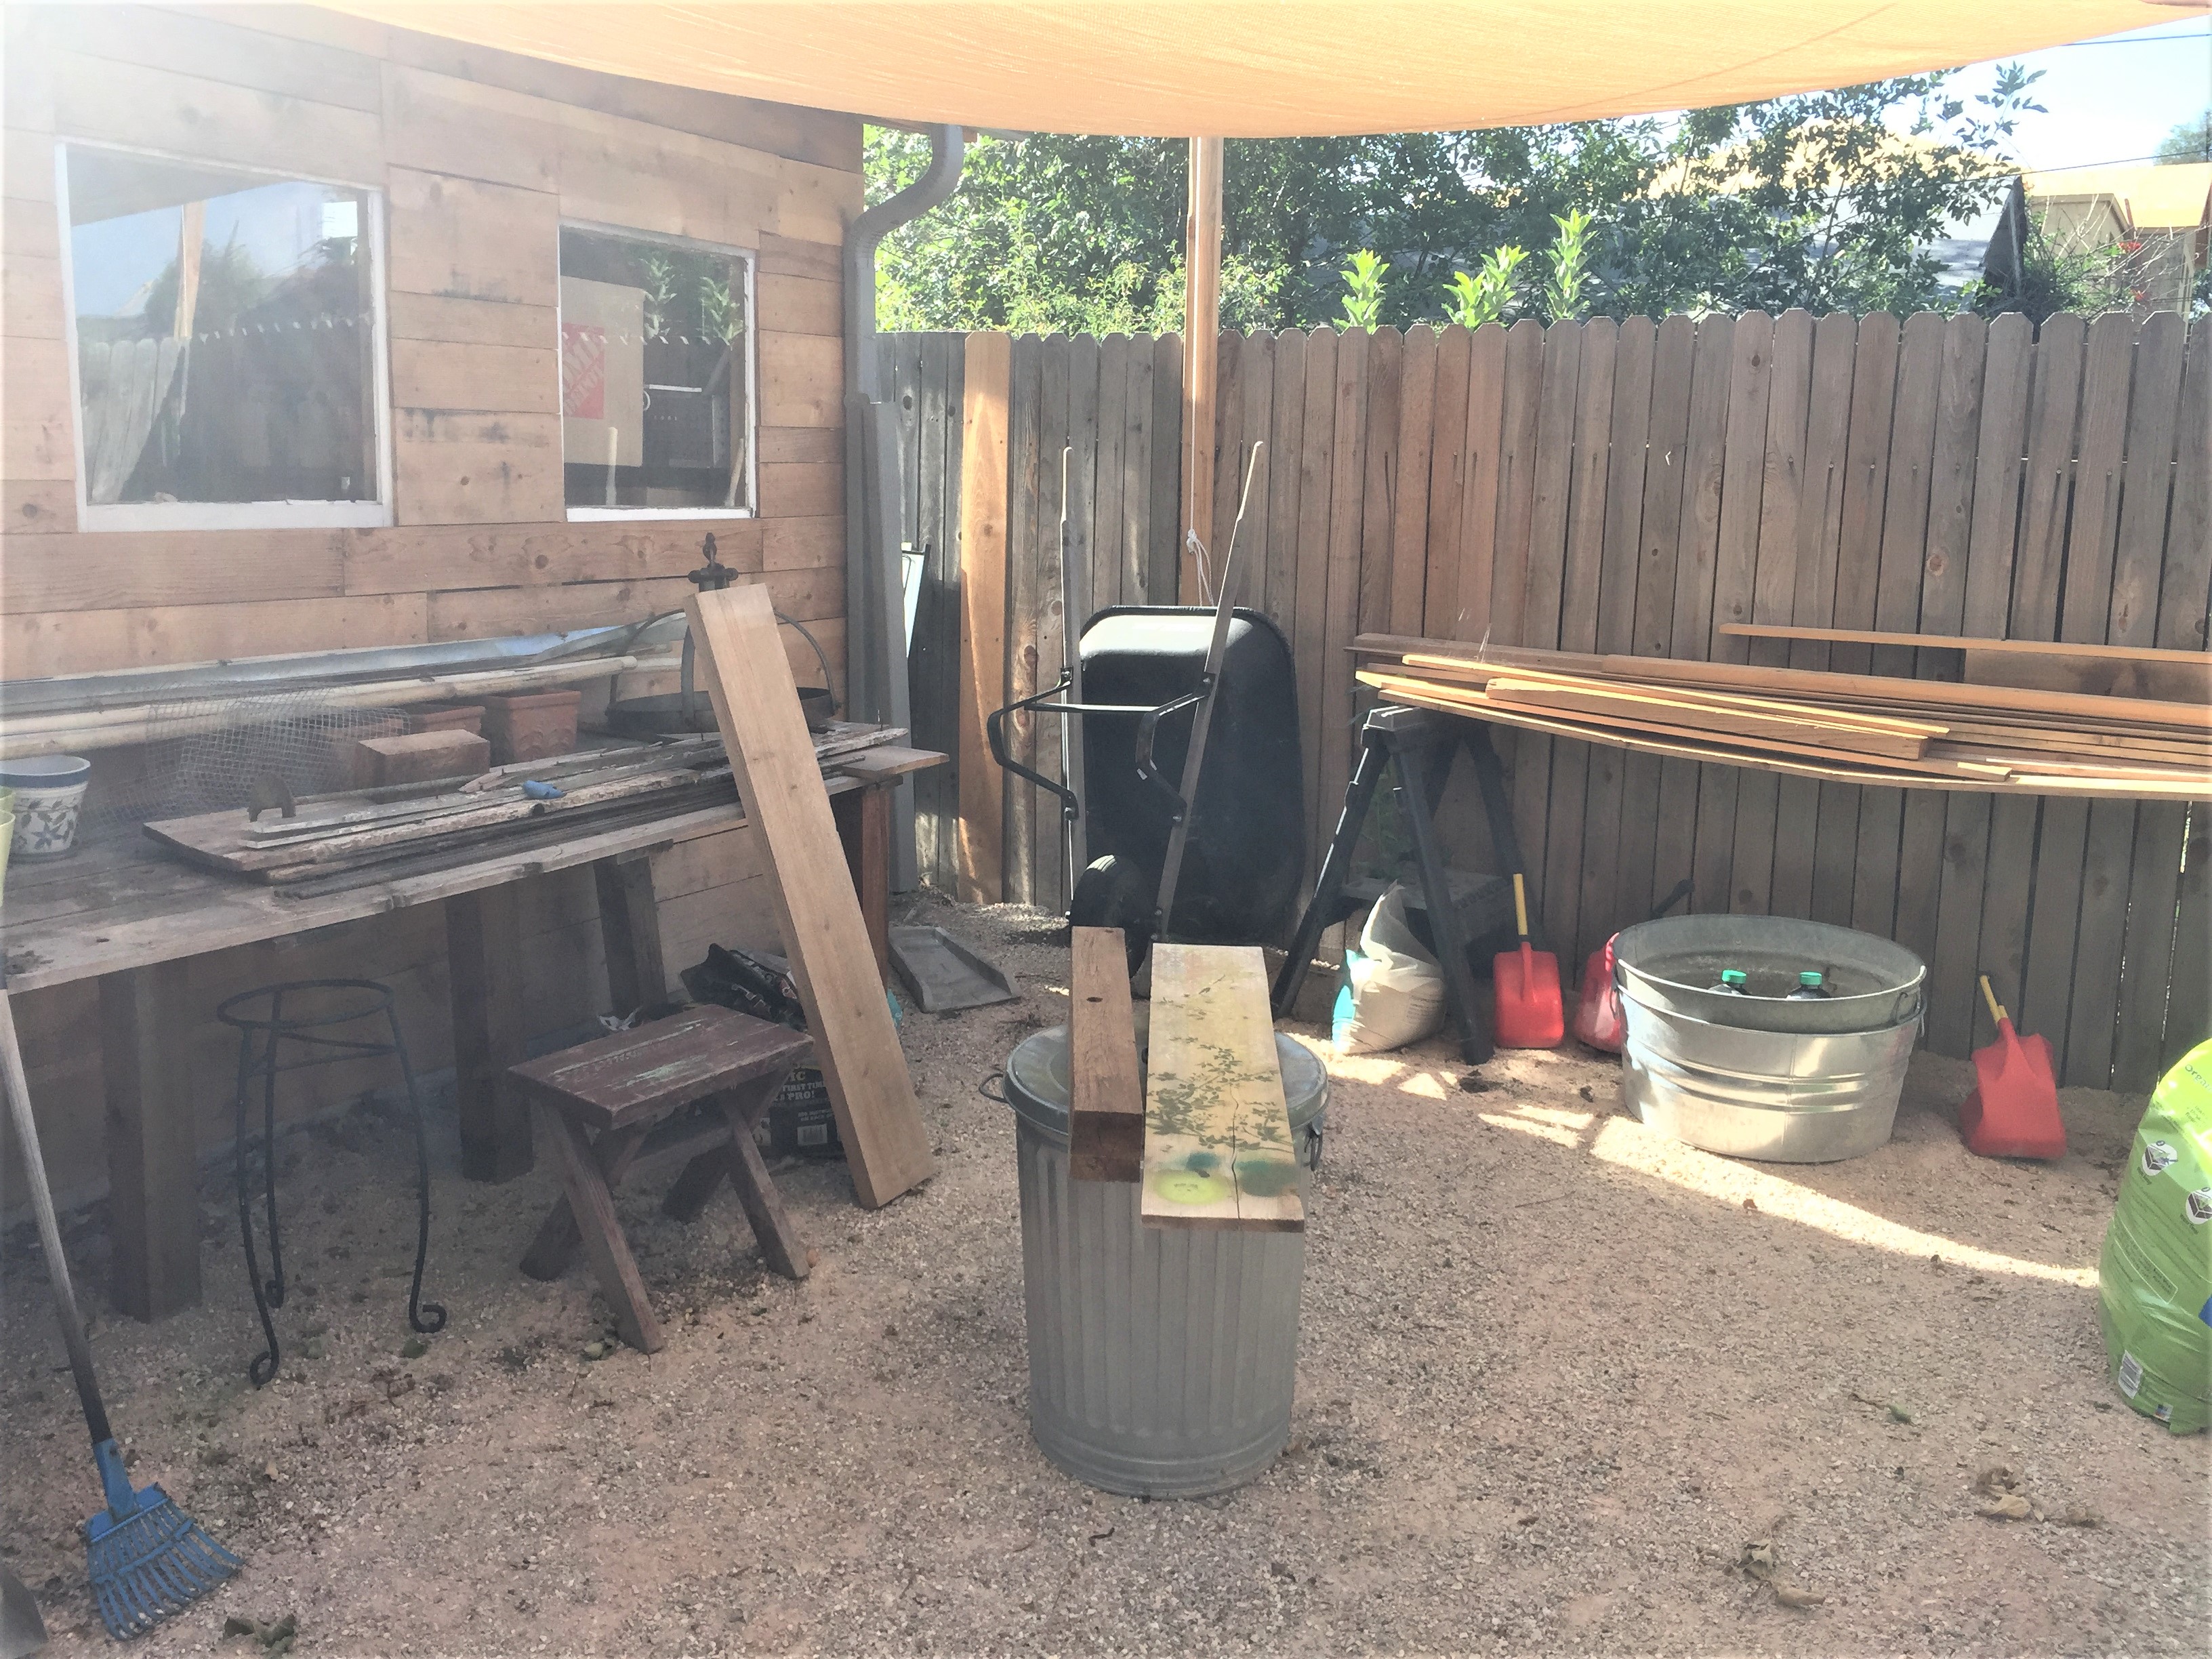
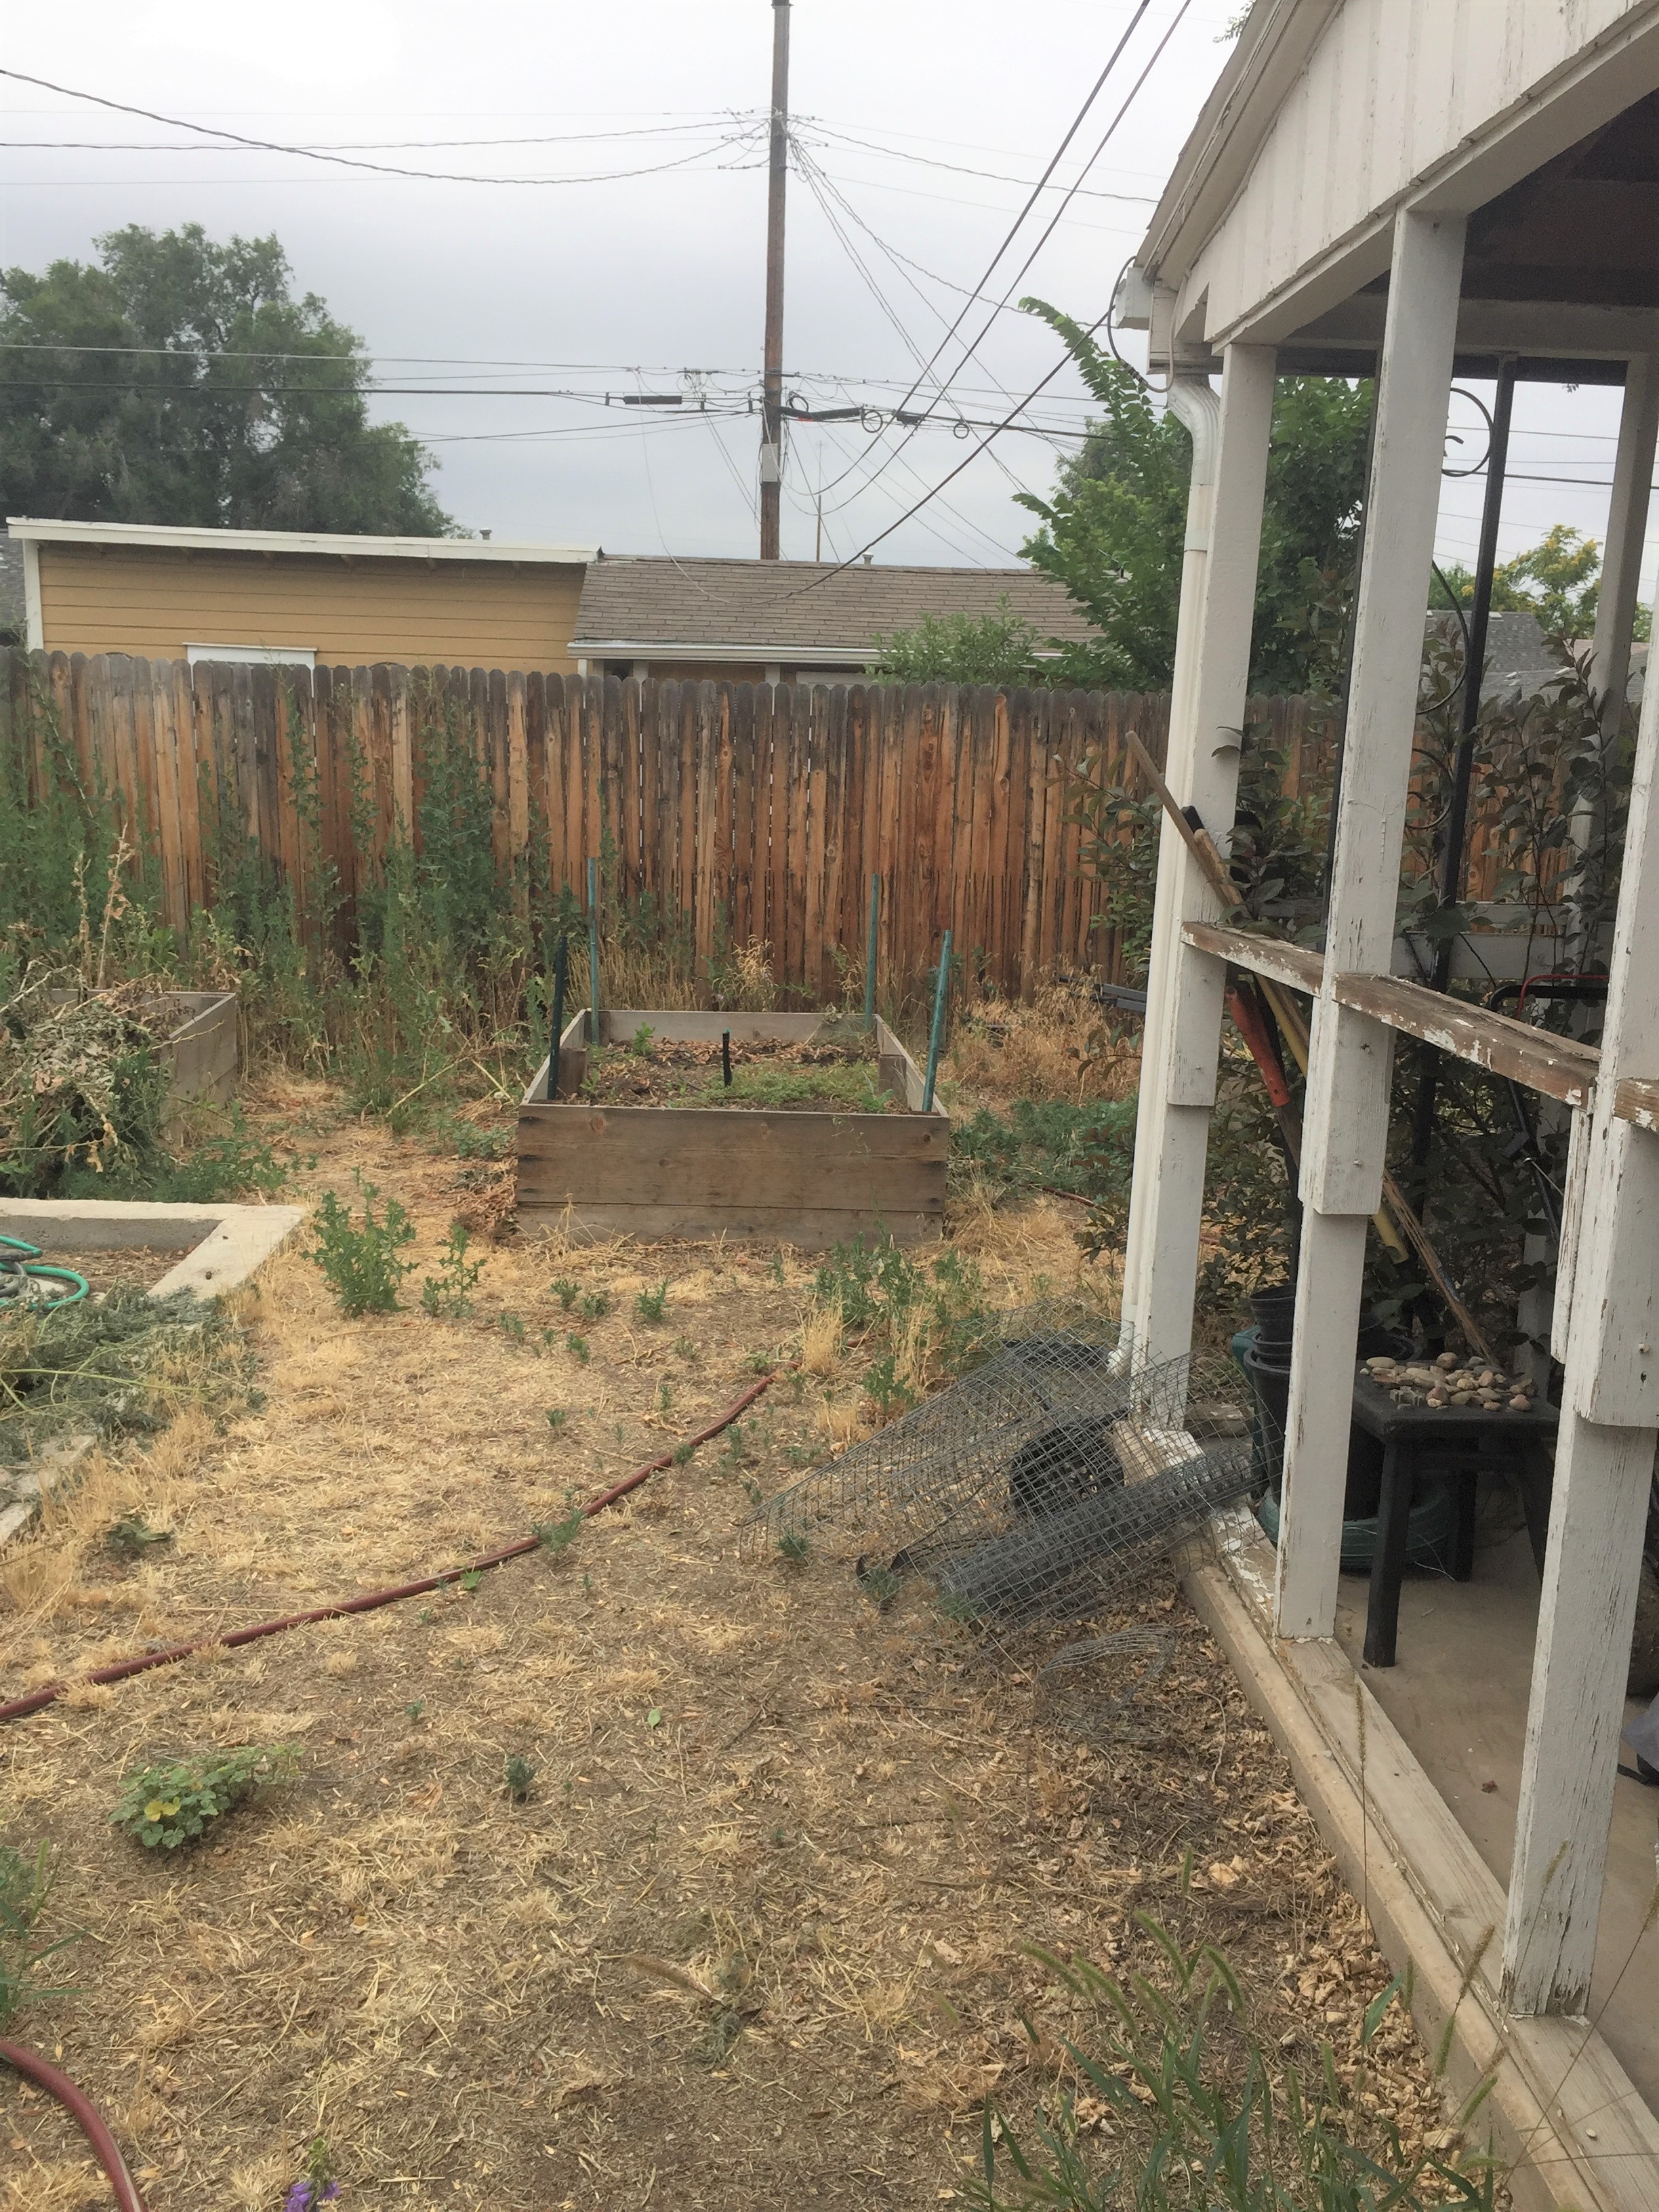
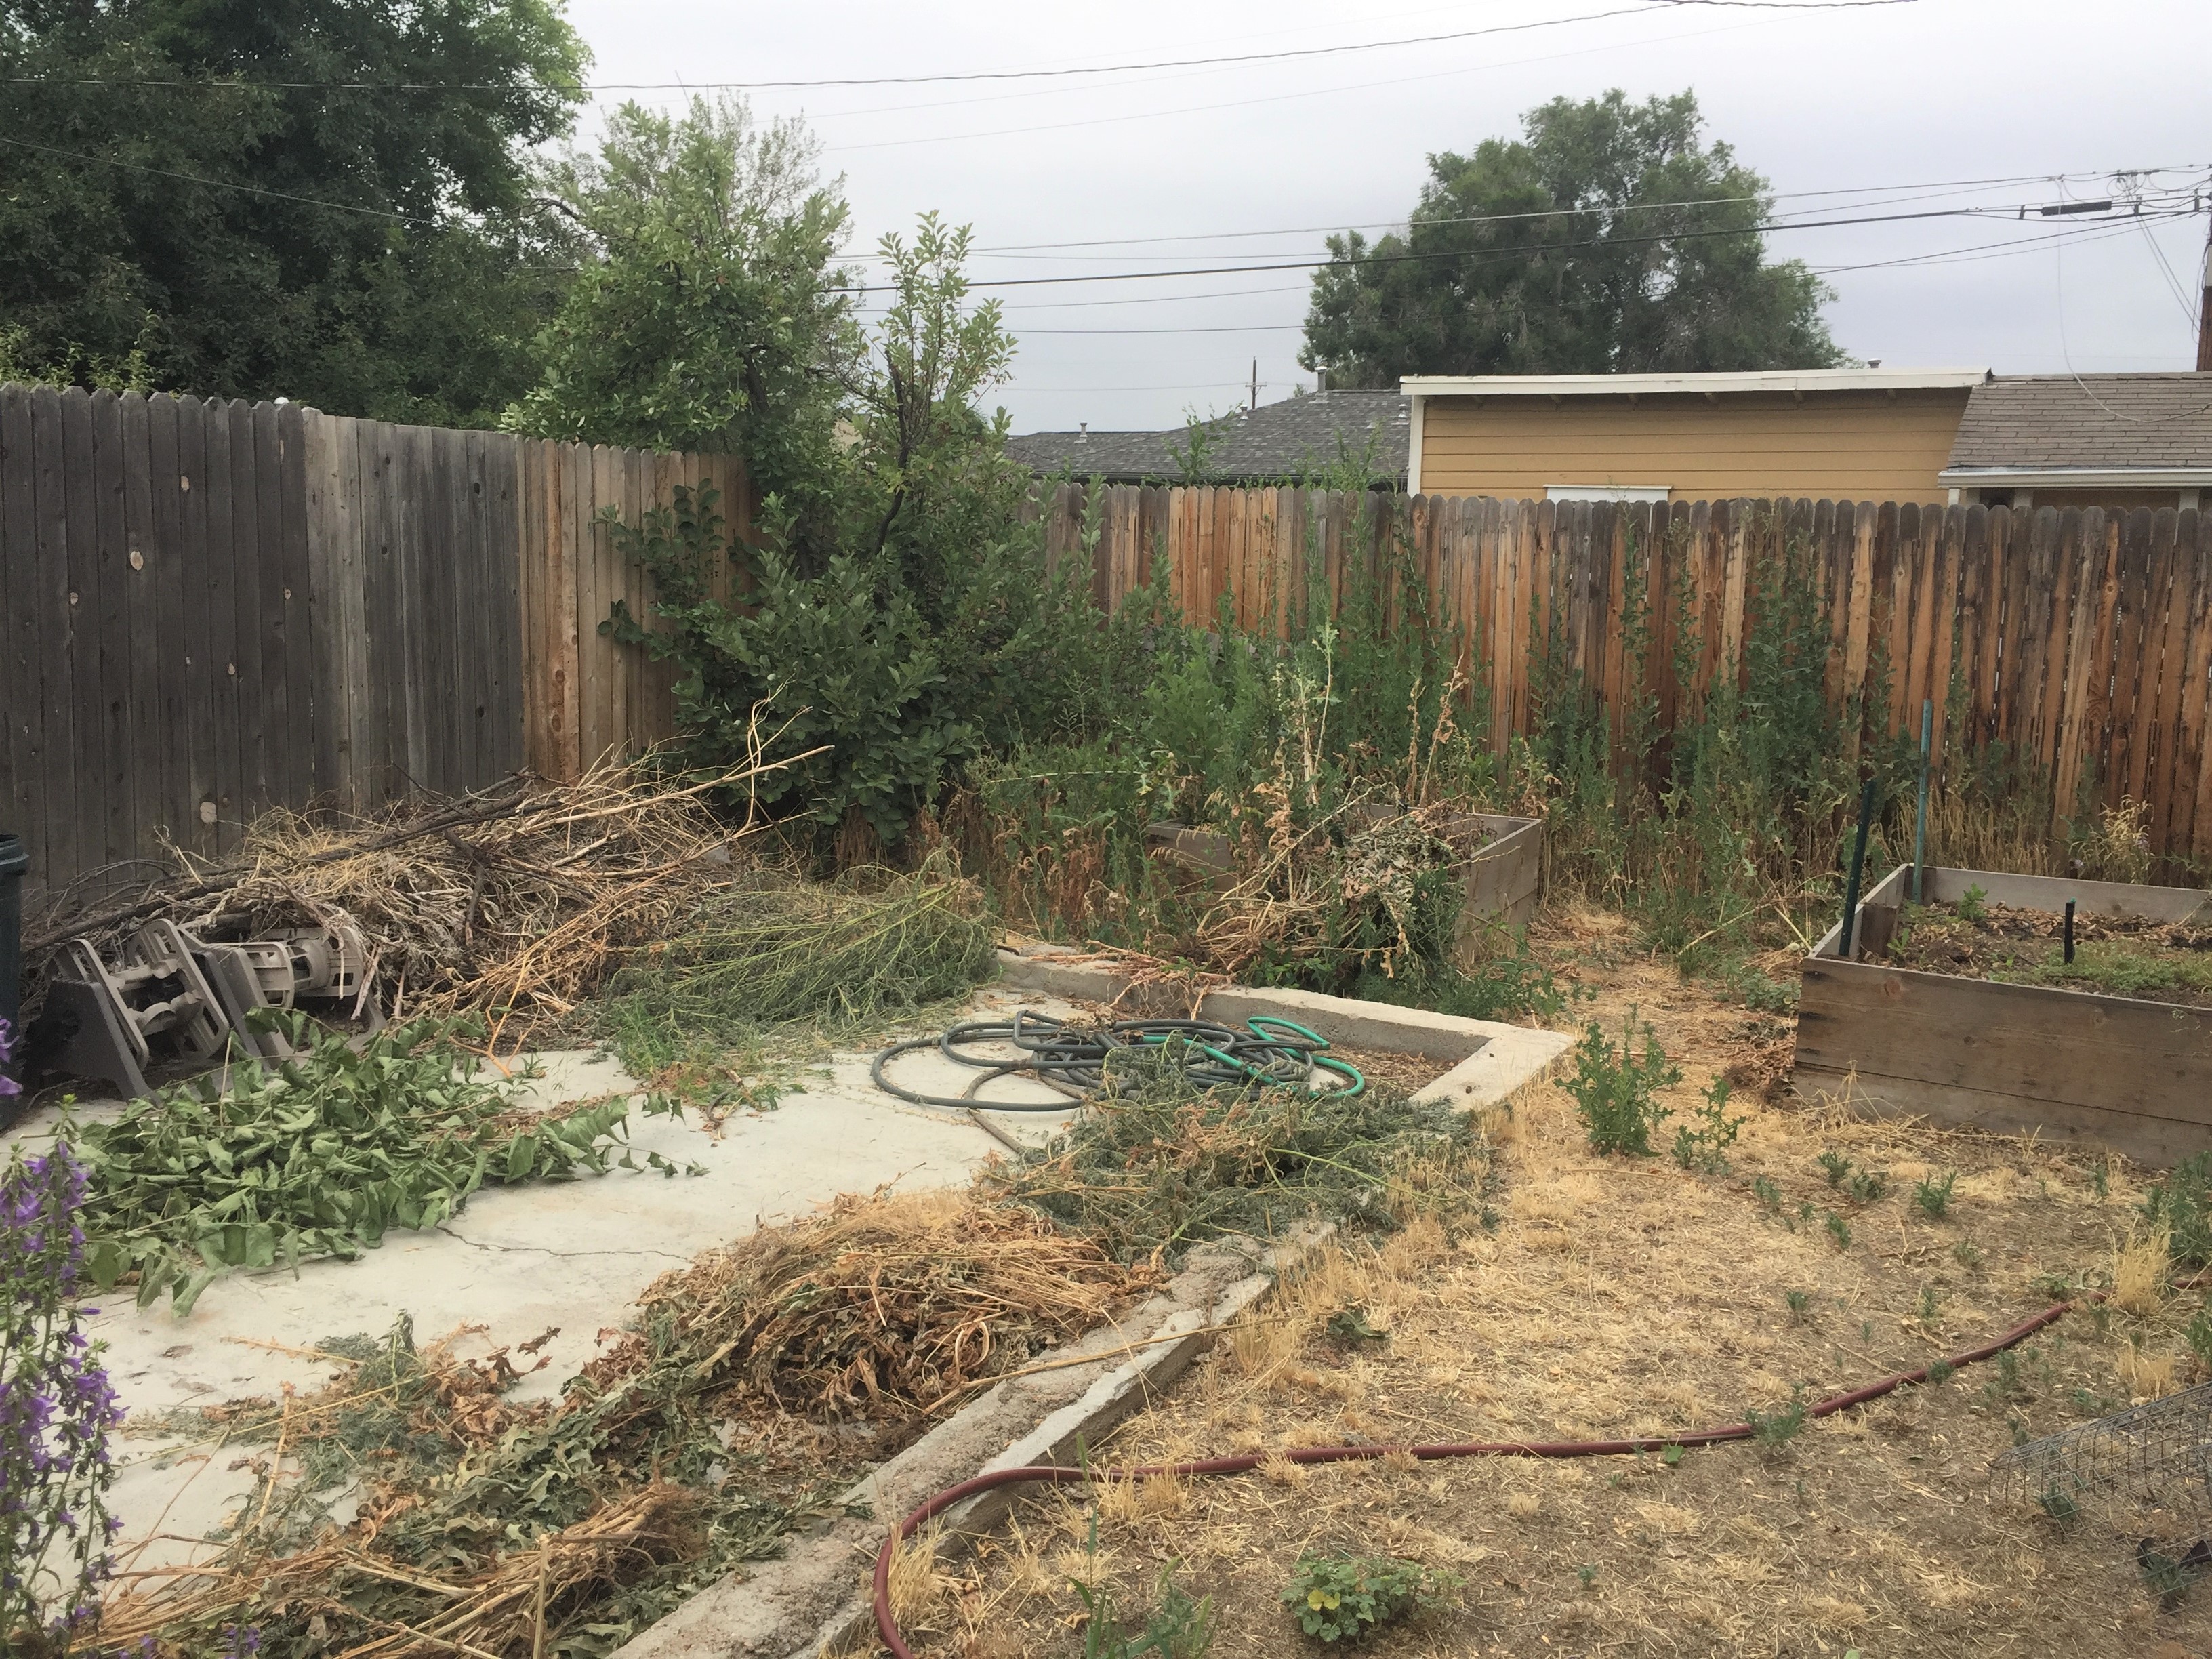
As the summer is nearing the latter part, I’m finding time to finish up my yard and storage areas. My bone yard has been holding outdoor tools and garden equipment. I’ve been picking away at items here, and today will rearrange and organized it.
This project took 45 minutes, so much smaller than I made it out to be in my mind! I should have done this months ago! Now, cleaner and I can find things faster.
And I’ve scheduled this wall to come out next week. This is the first big project I’ve done inside this house, so far. Before winter arrives, I want to open this space up for more light, make the it feel bigger and inclusive. During the colder months, this space IS the living space for the house and can feel claustrophobic over the long cold snowy season.
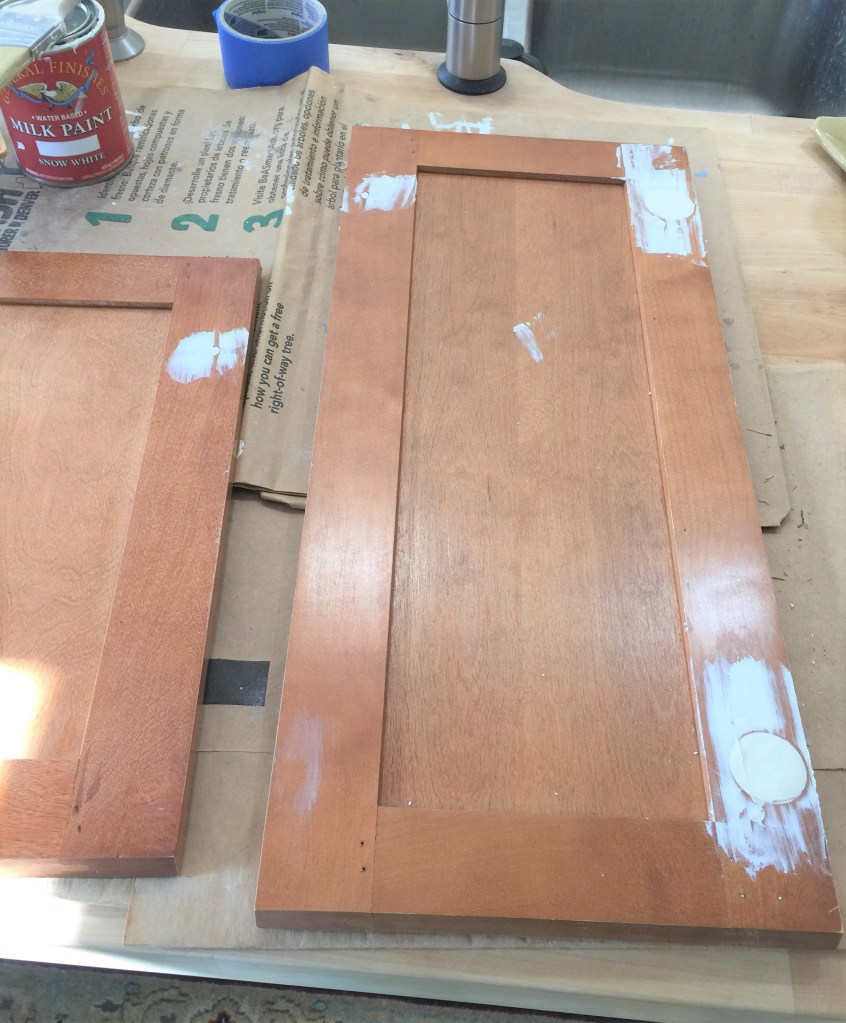
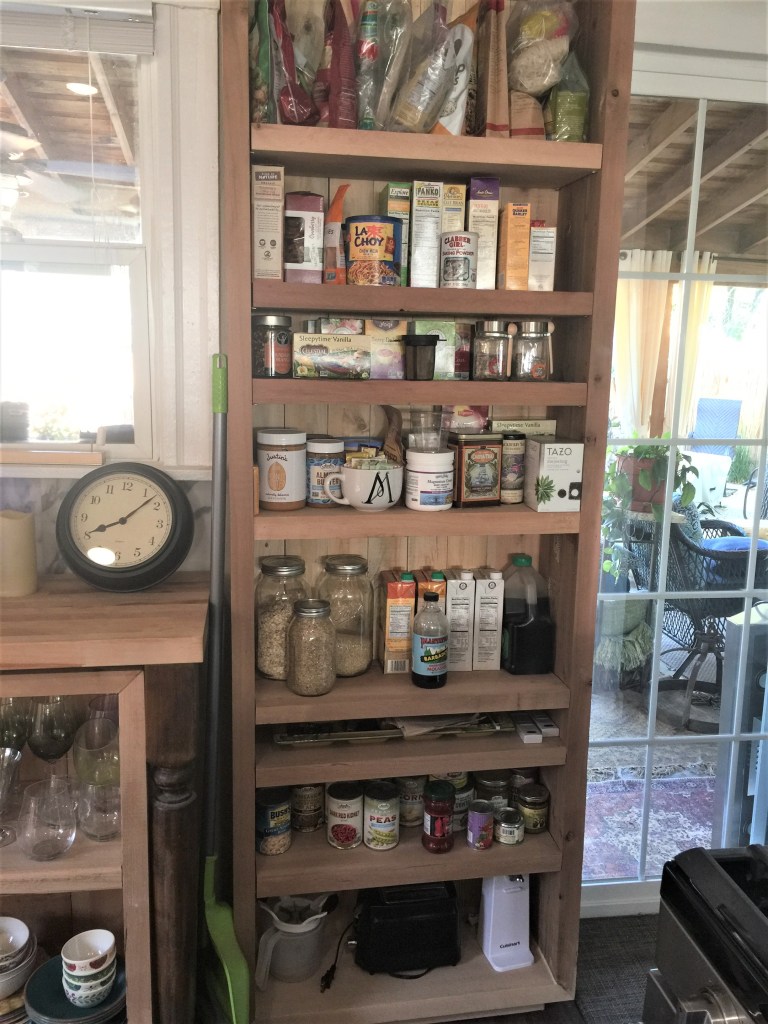
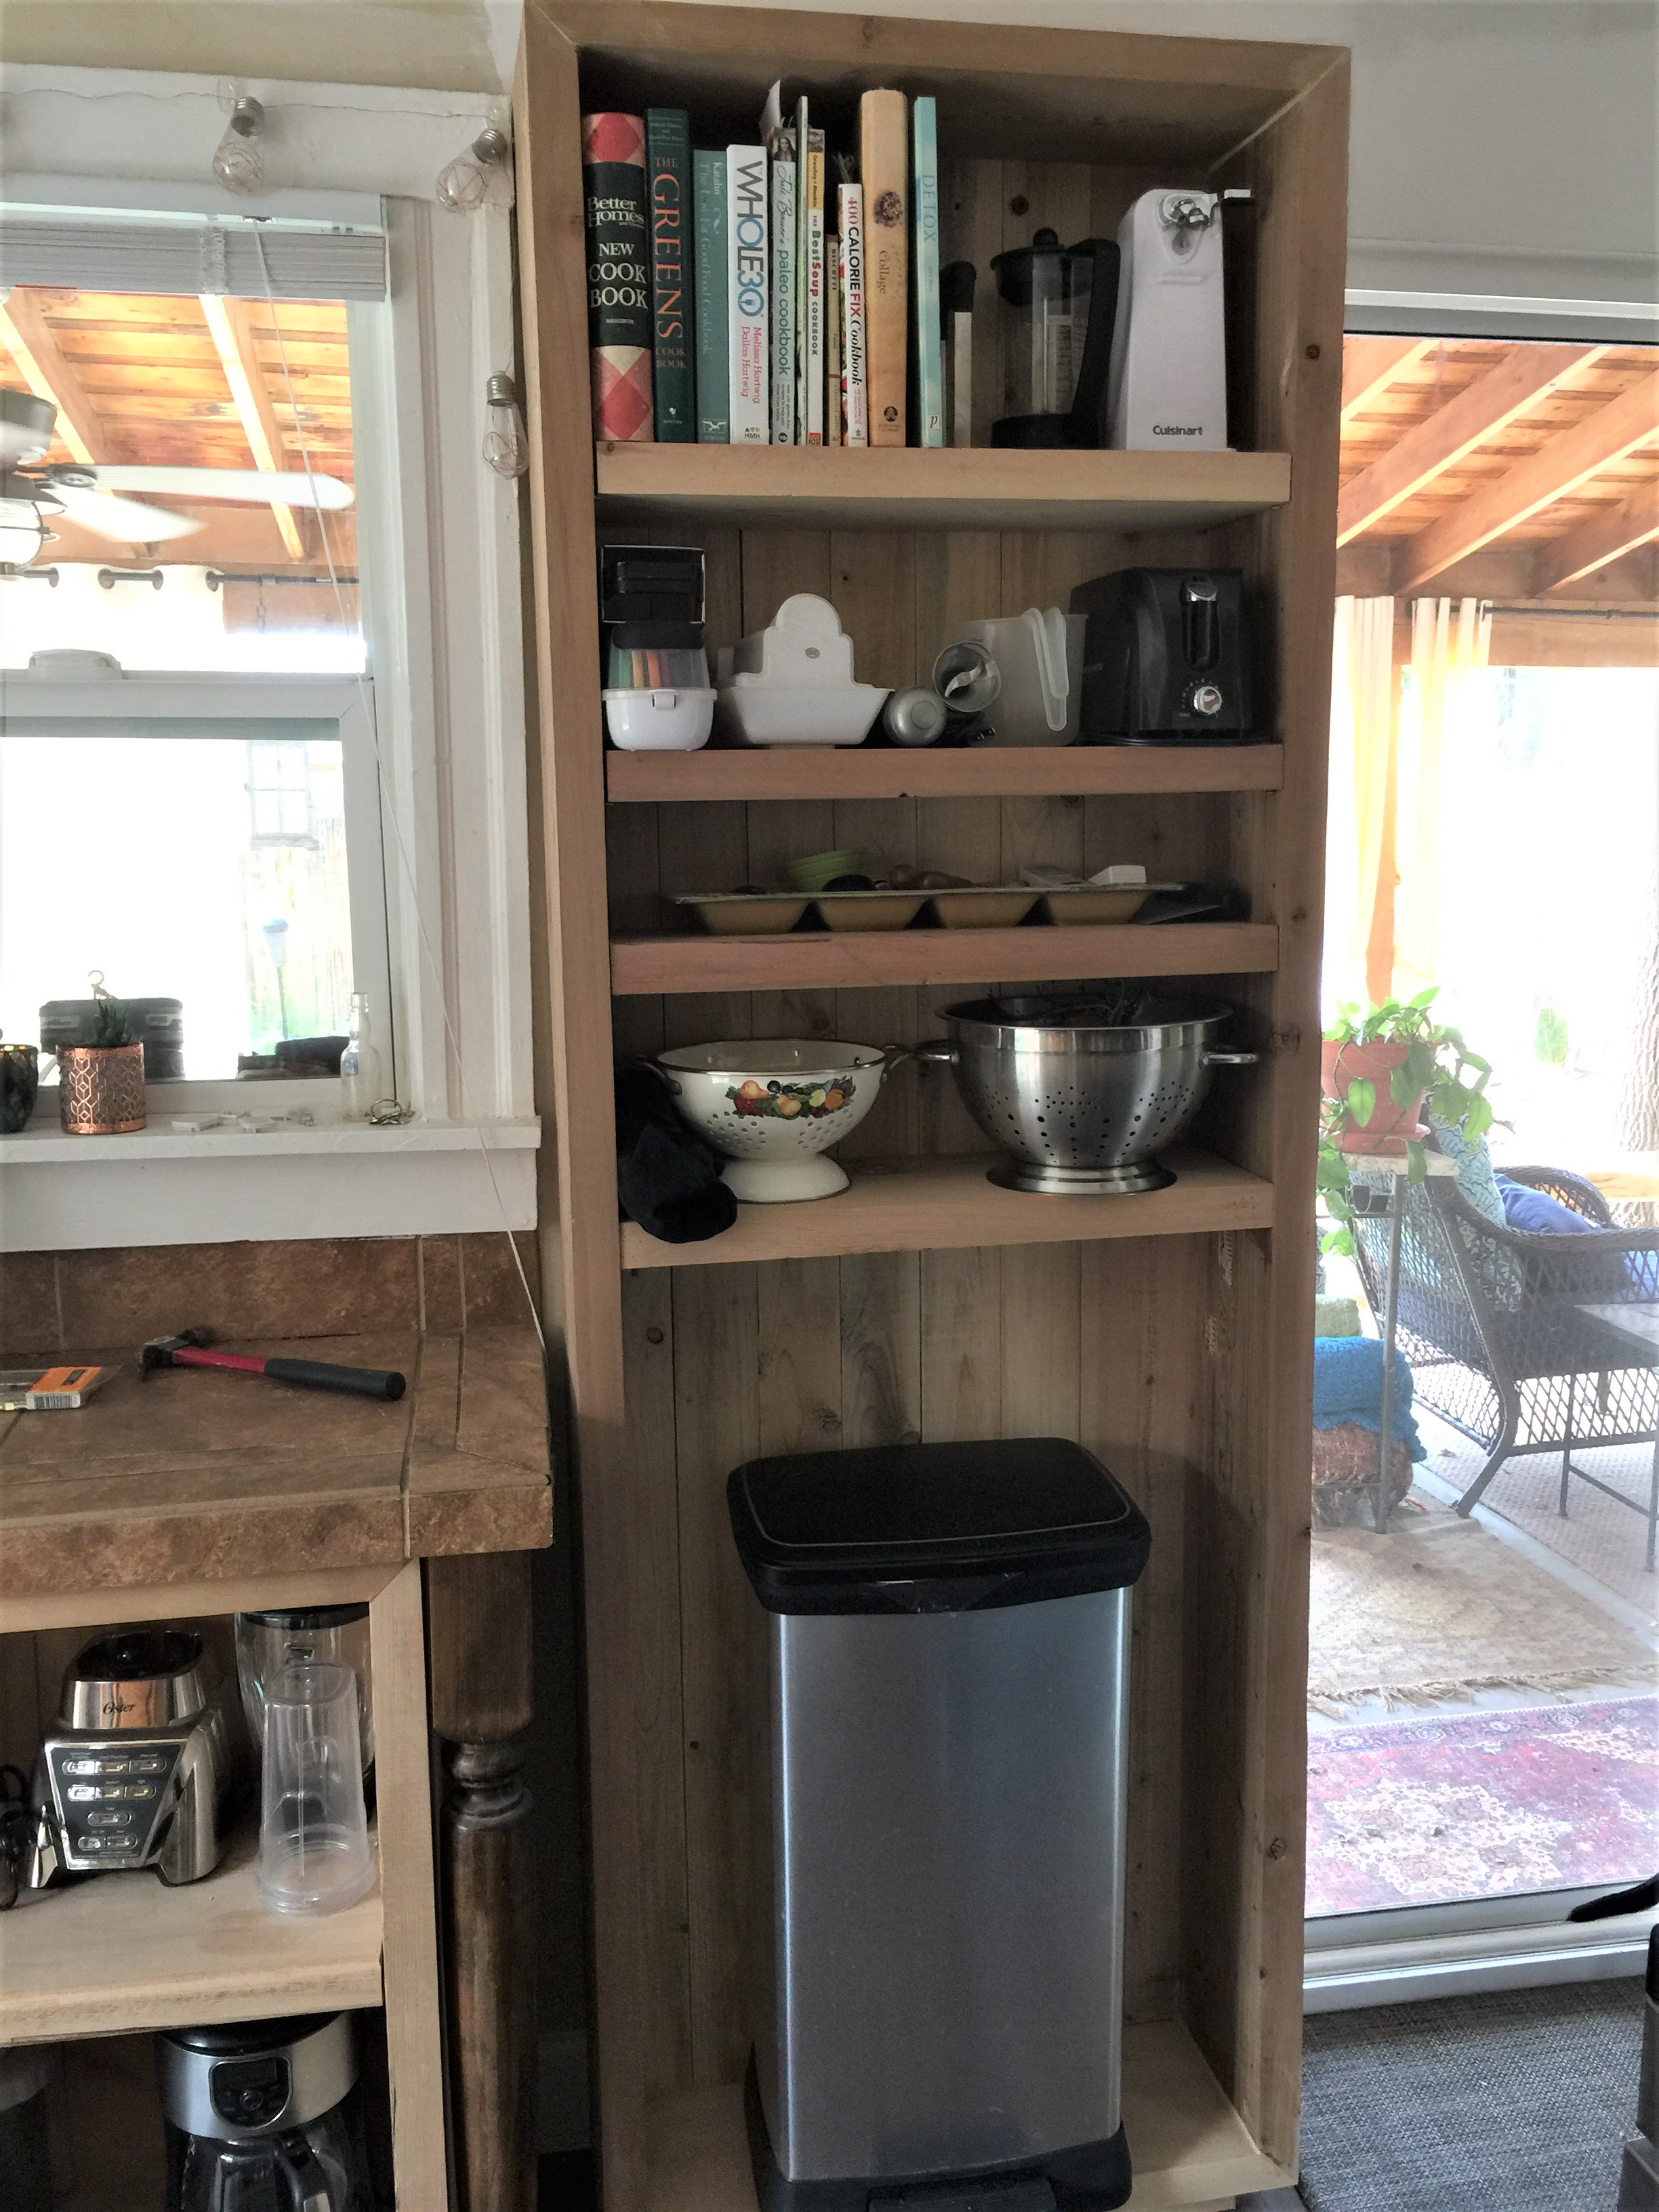
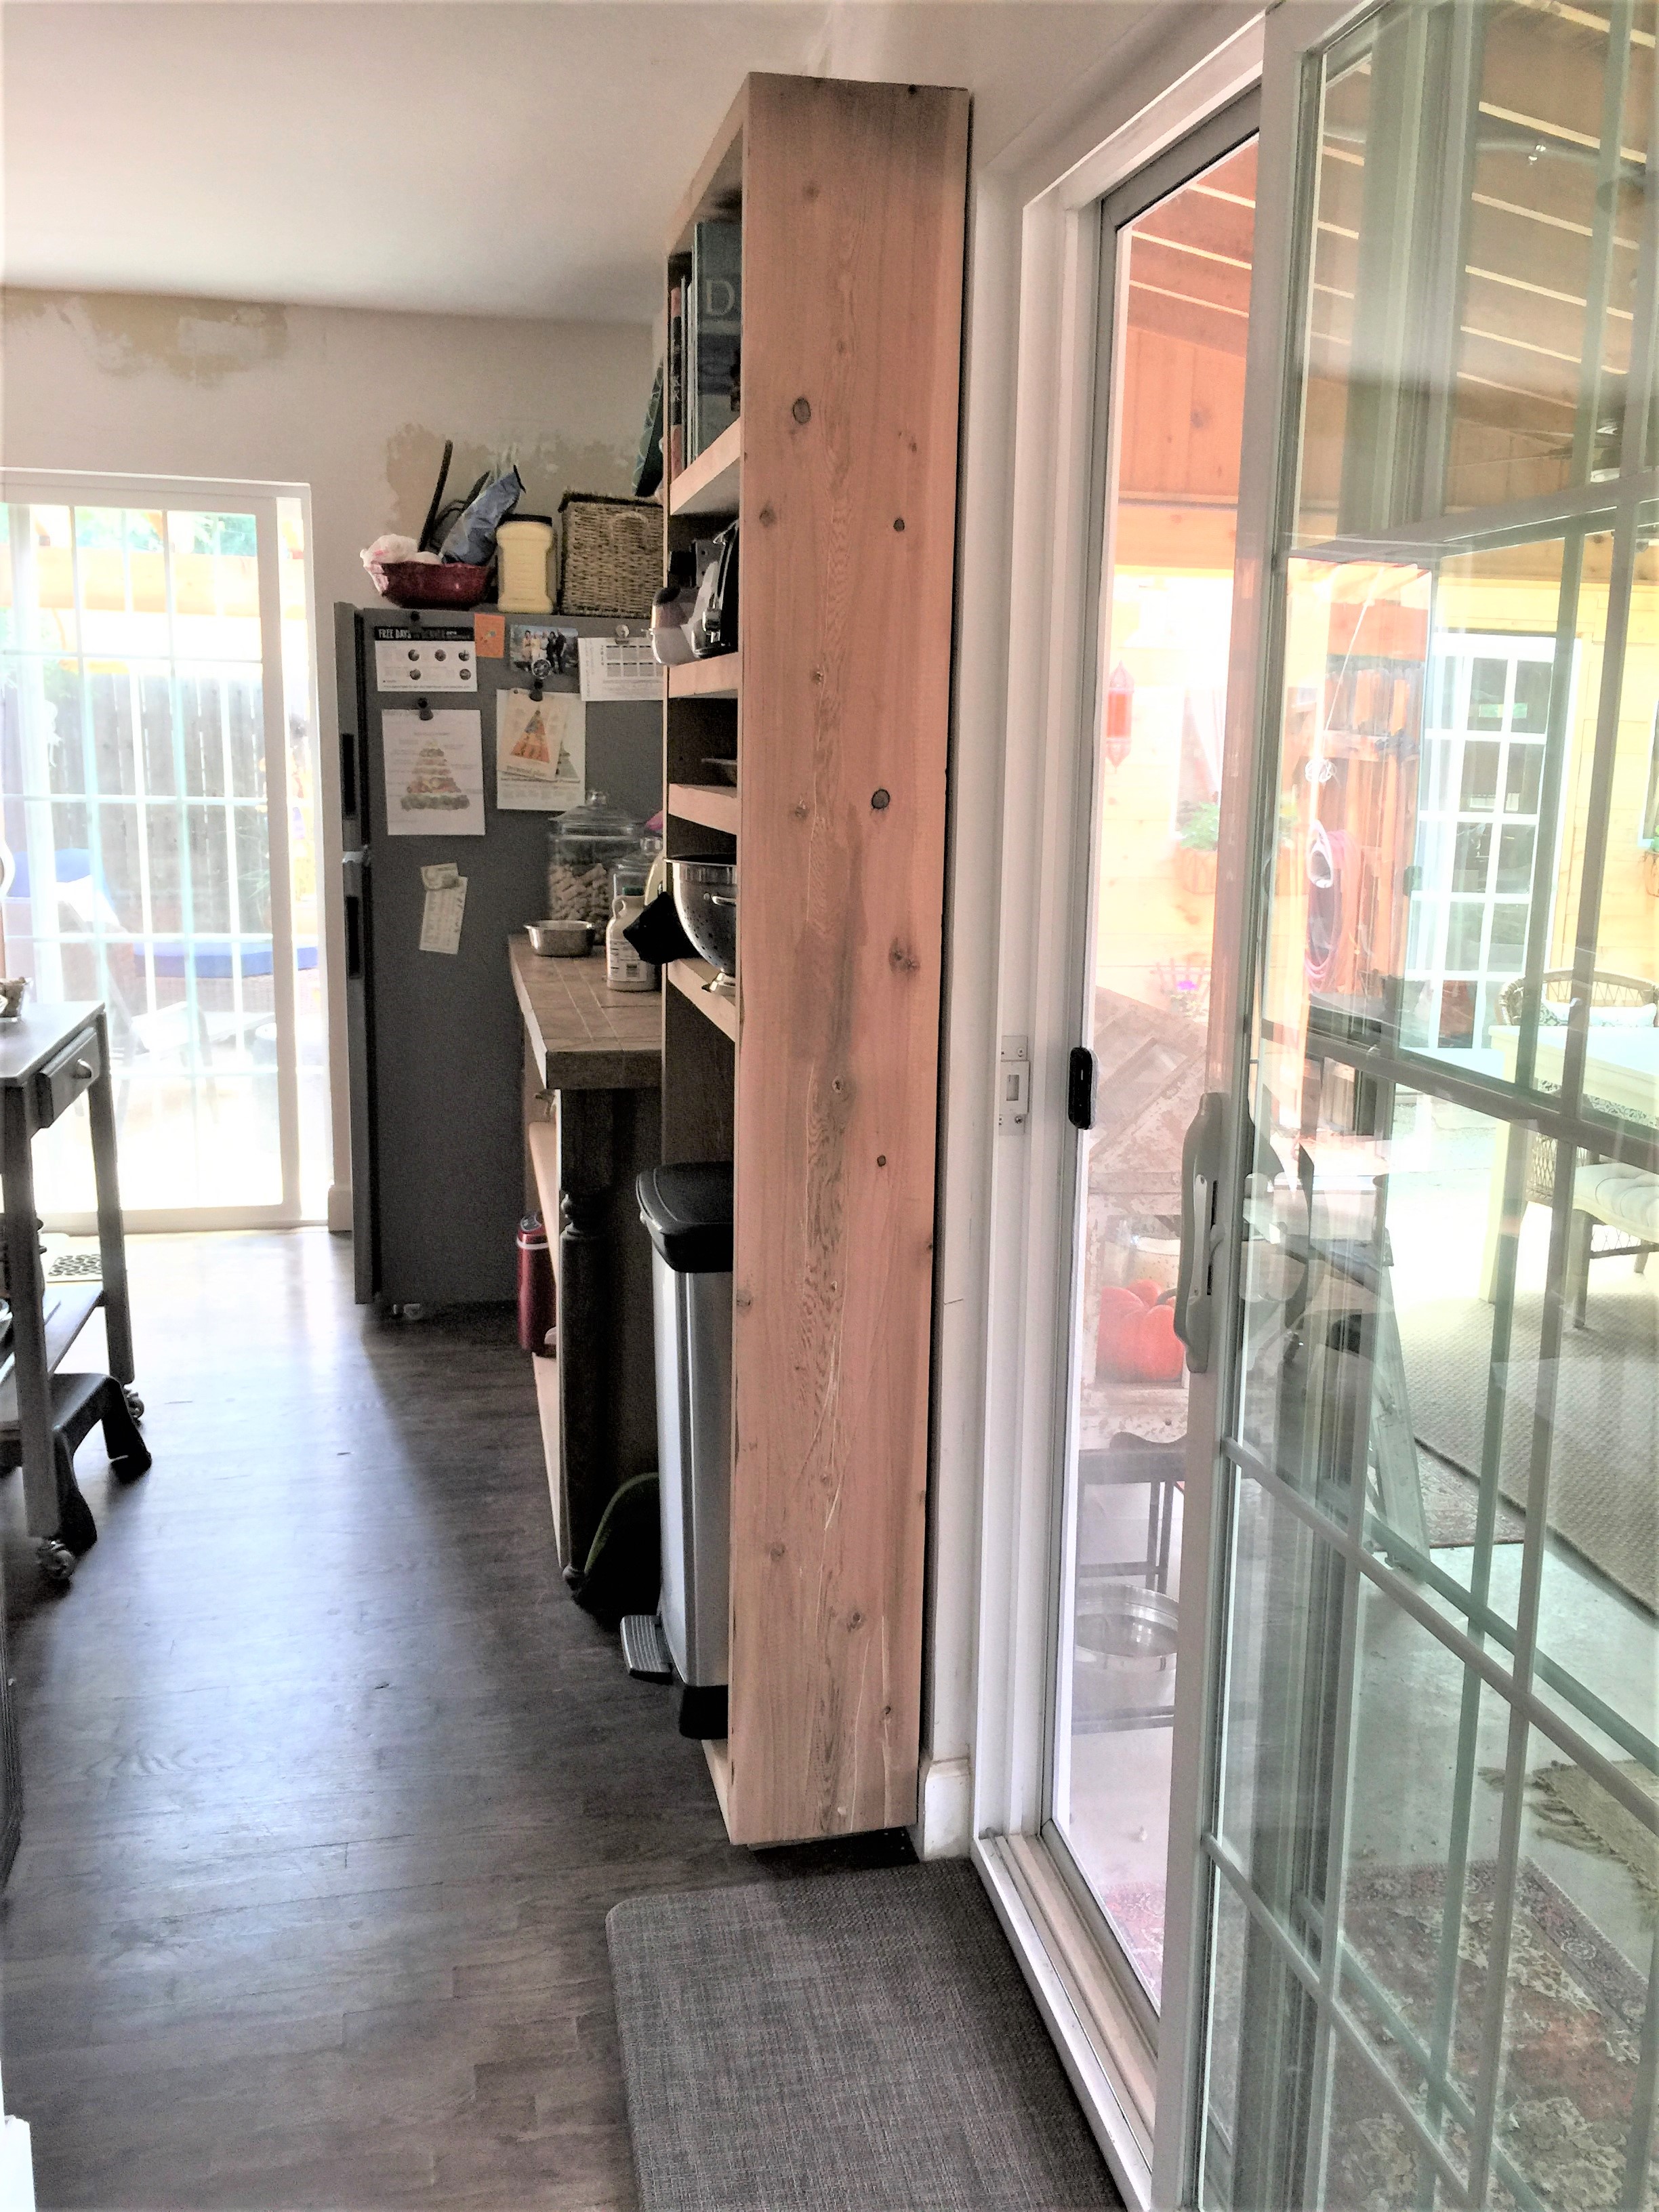
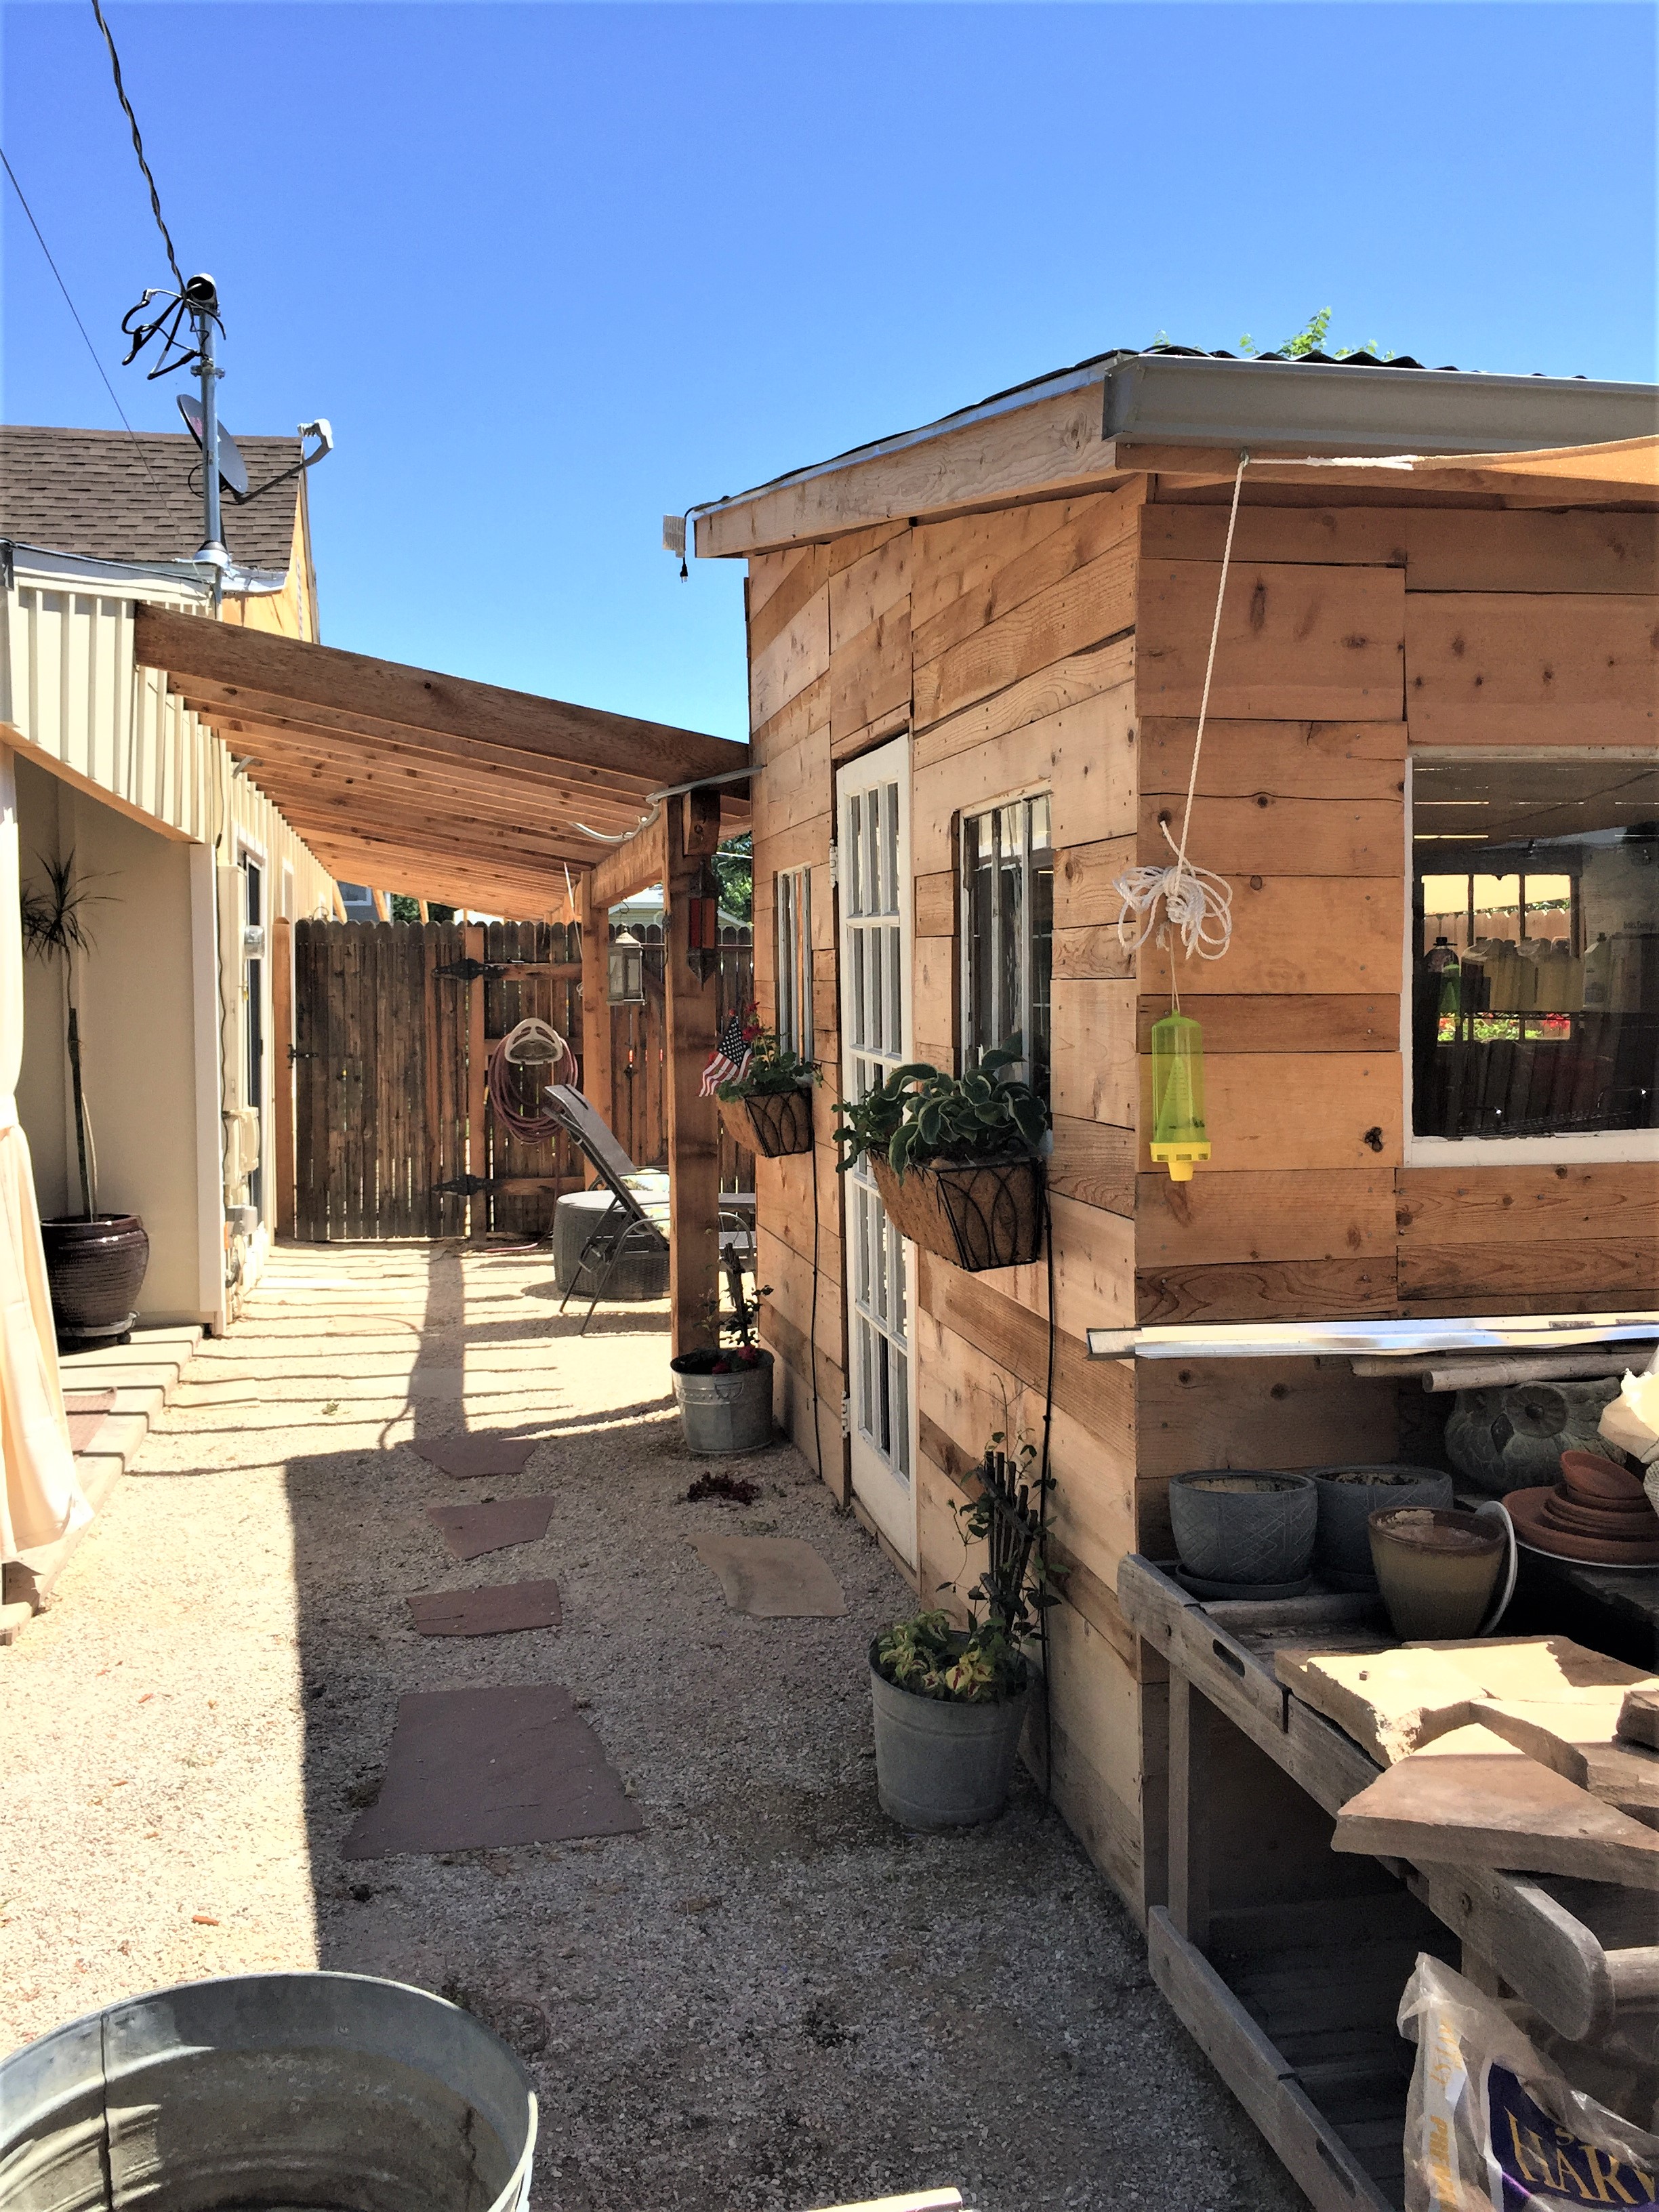
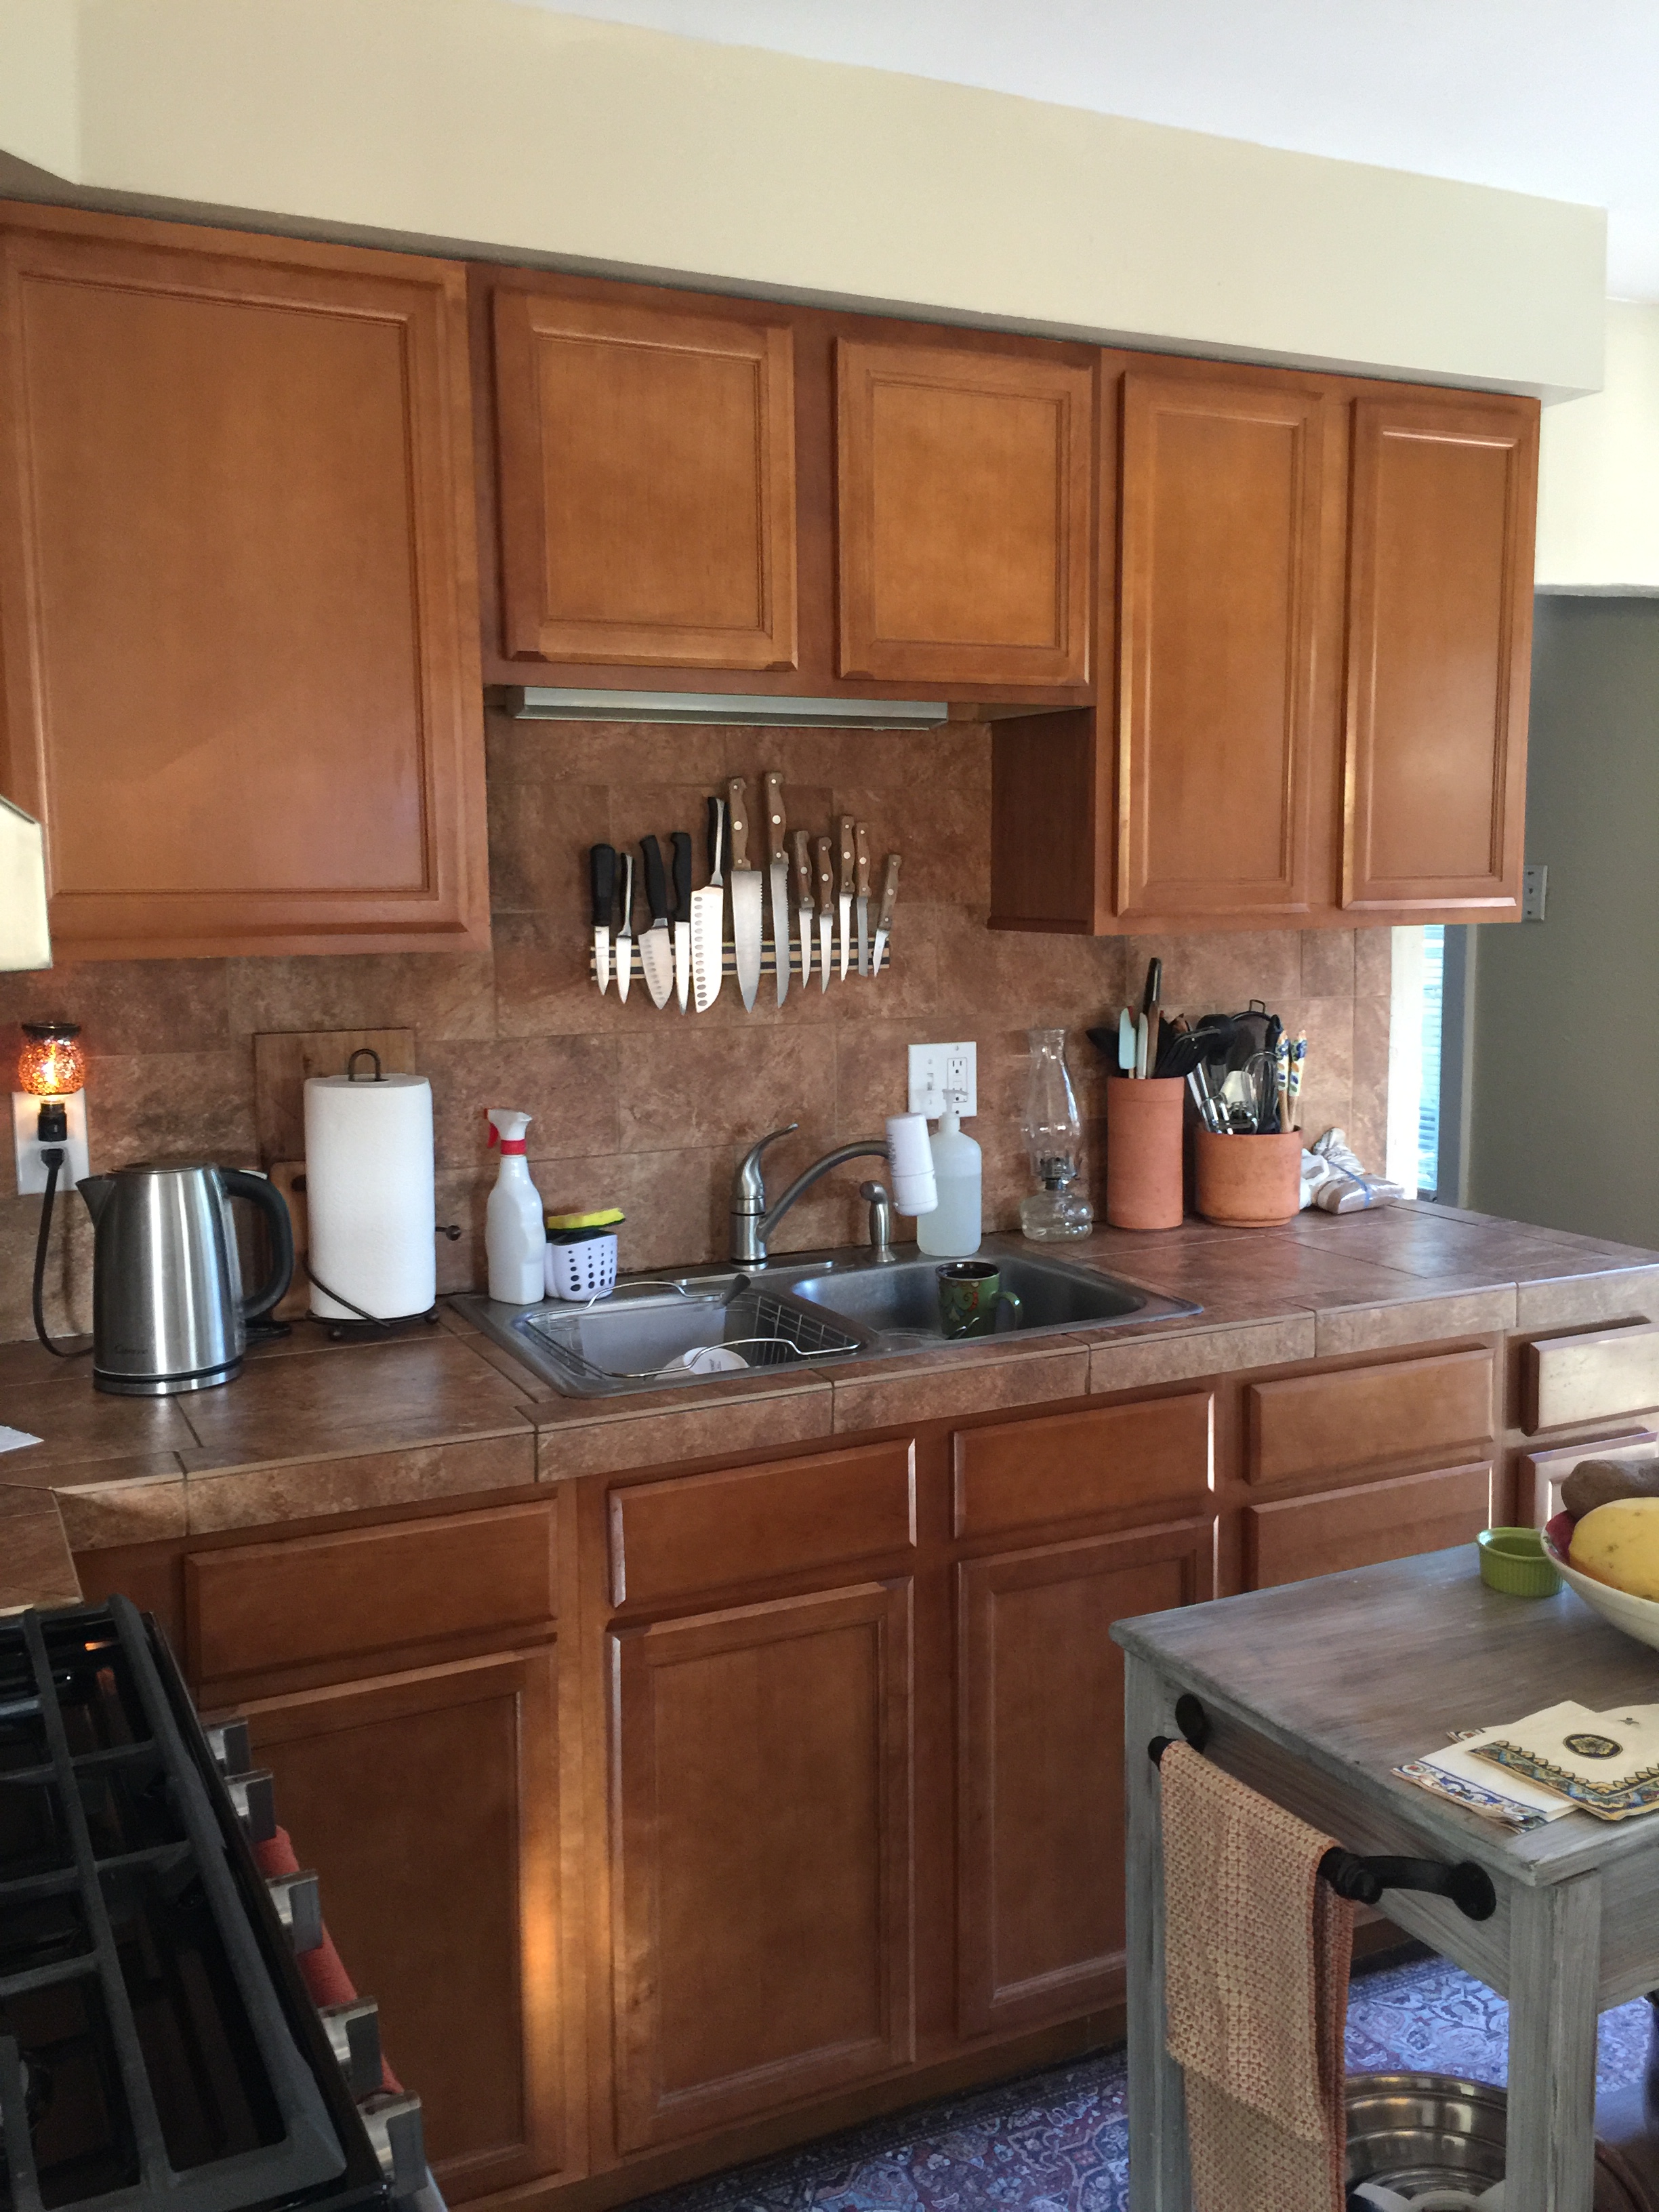
My contractor, David built this cabinet for me. I’m challenged with storage in this house. And when I take out the wall between the kitchen and living room, I’ll have even less cabinet space. This will be interesting, but I specialize in this problem, after working in all these 1930’s bungalows!
David built this base cabinet for me a couple months ago, and the two match. I’m doing this kitchen remodel on a budget and plan to refinish the cabinets myself, use rustic and inexpensive materials and still make it look farmhouse chic in the end. This exterior wall will be the focal point of the whole kitchen/ living room once the wall comes down. I have a couple vintage looking panel doors that may help dress up the tall cabinet. Once the work is done, I’ll decide on the details.
The new cabinet sits adjacent to the back patio door. I had it built to be only 9″ deep so walking into the kitchen doesn’t feel like a hallway.
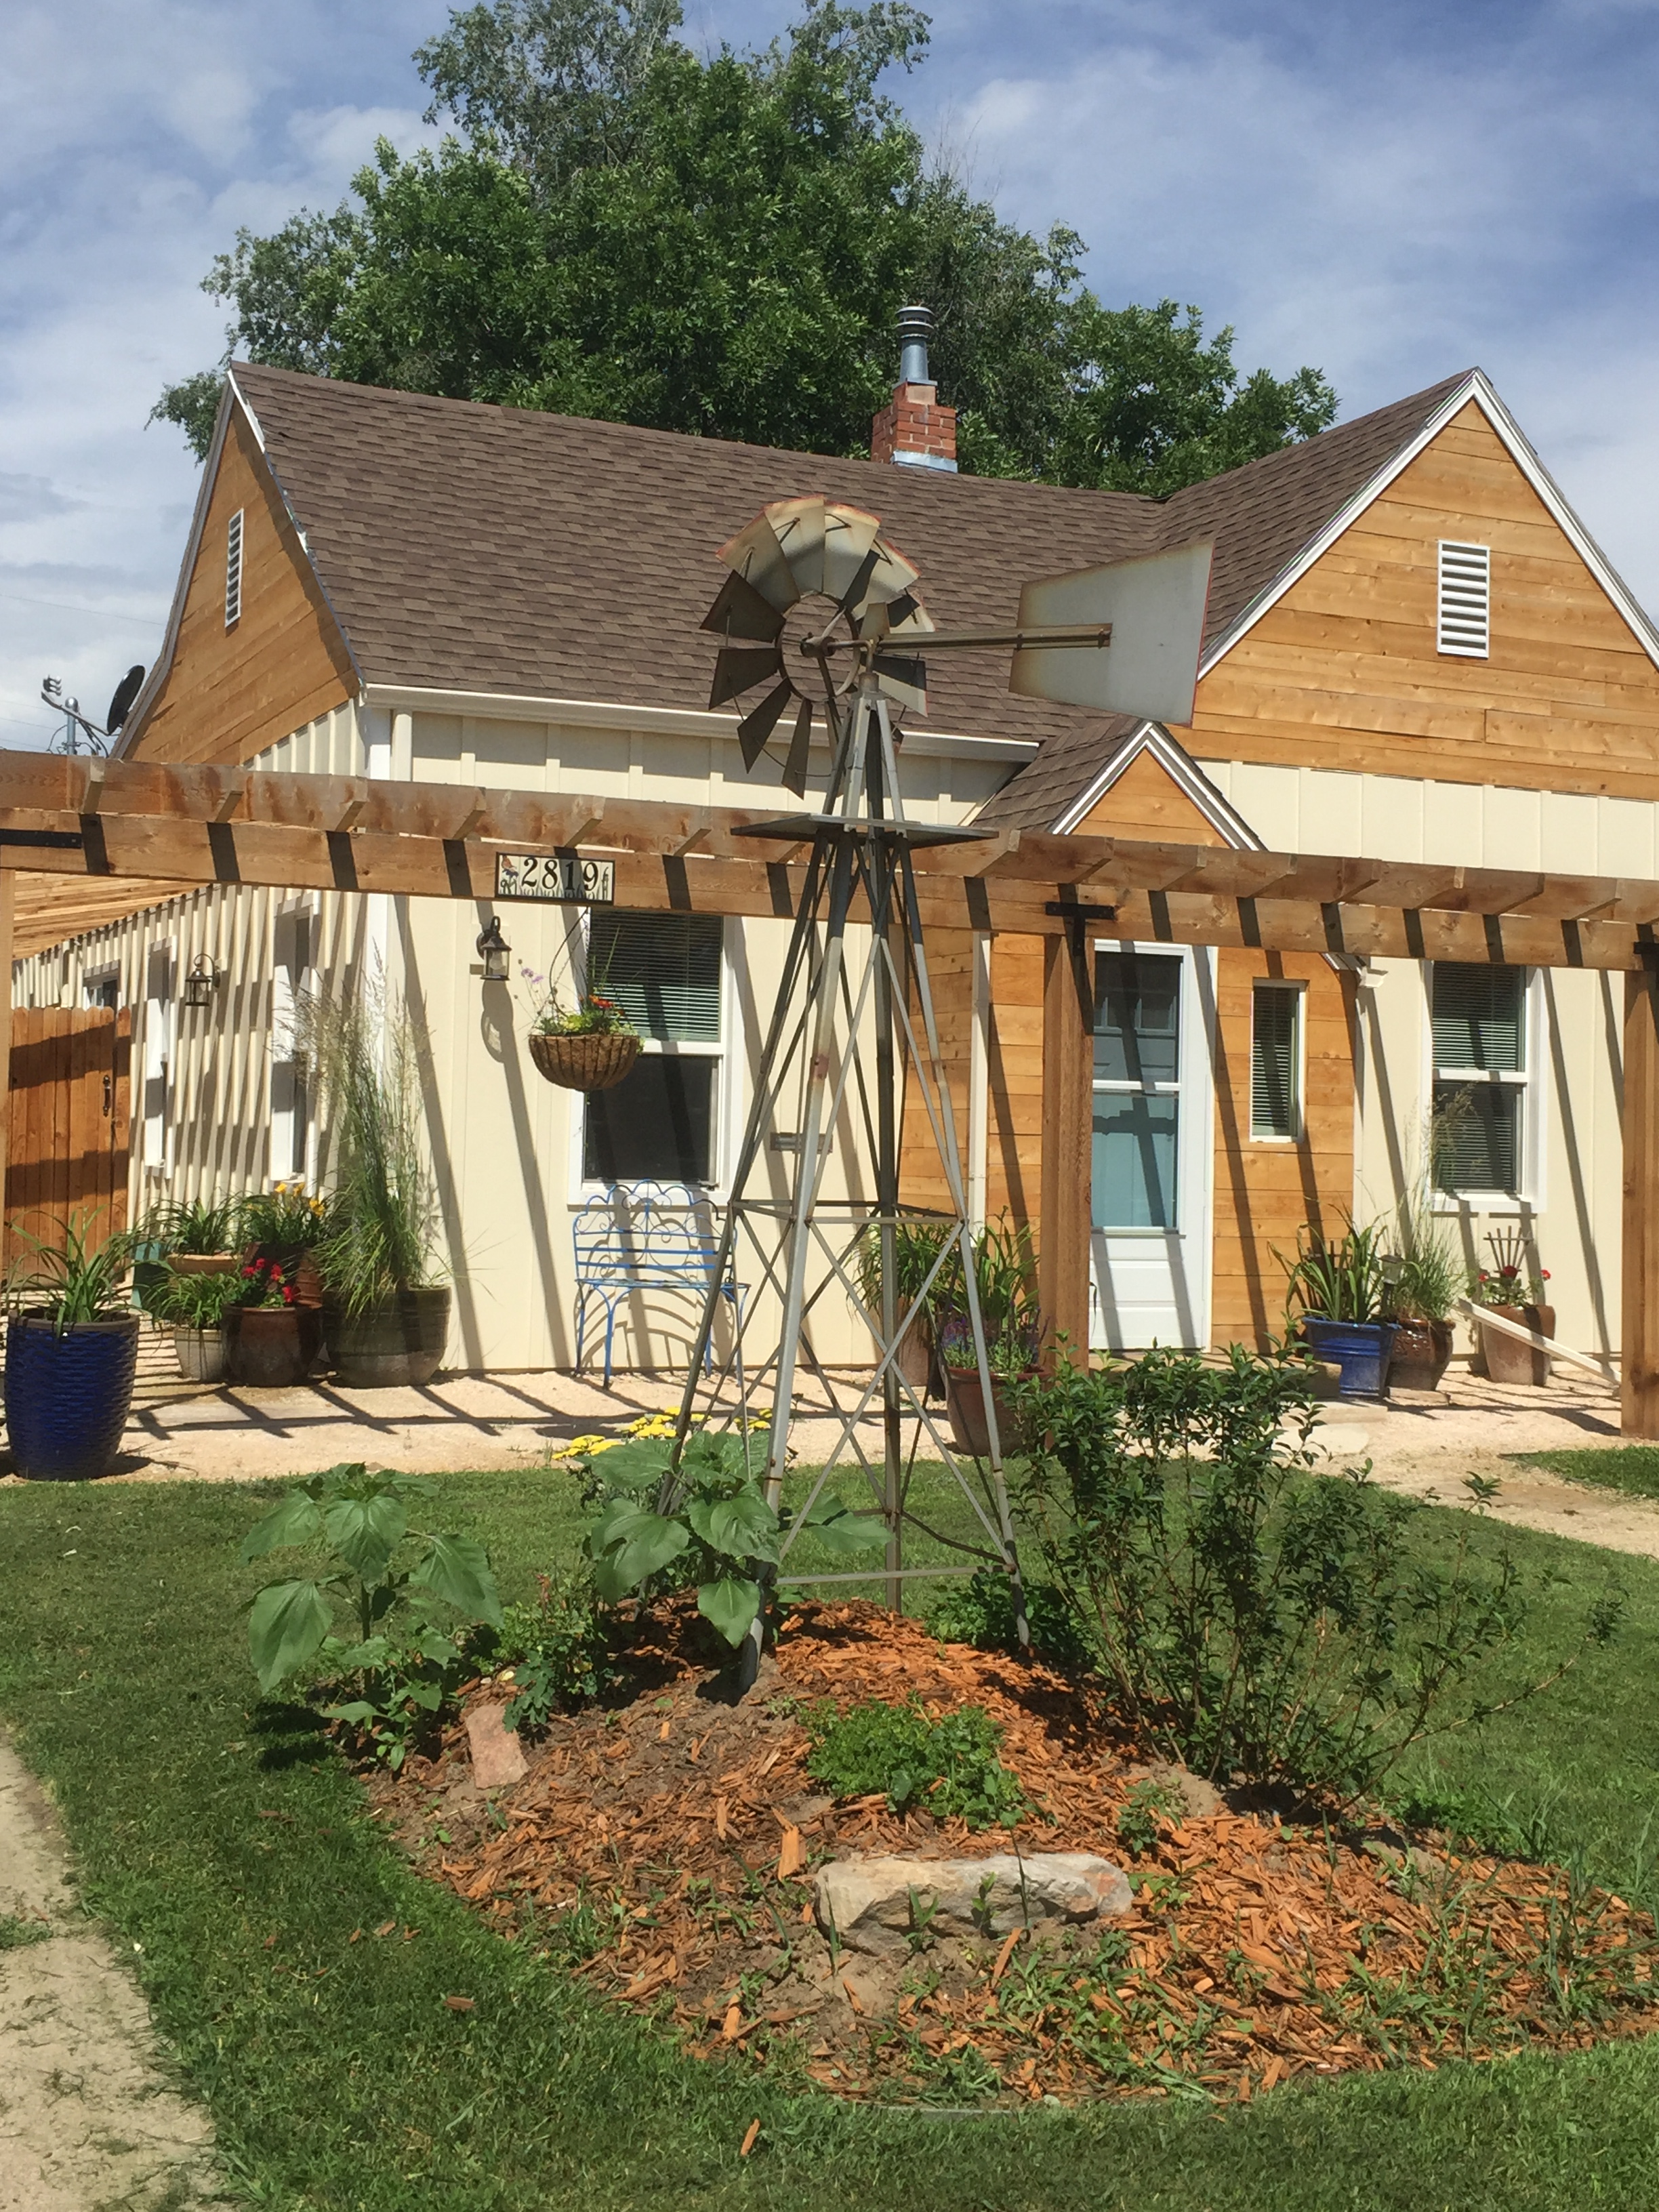
These sunflowers arrived unplanned and they are spectacular! The soil we dug up from one of the old garden boxes and moved to this raised garden in the front yard had sunflower seeds within and they surprised me and the neighborhood when they grew taller than the windmill. My neighbors tell me they love to watch the windmill spinning, moving and entertaining them. So much fun!
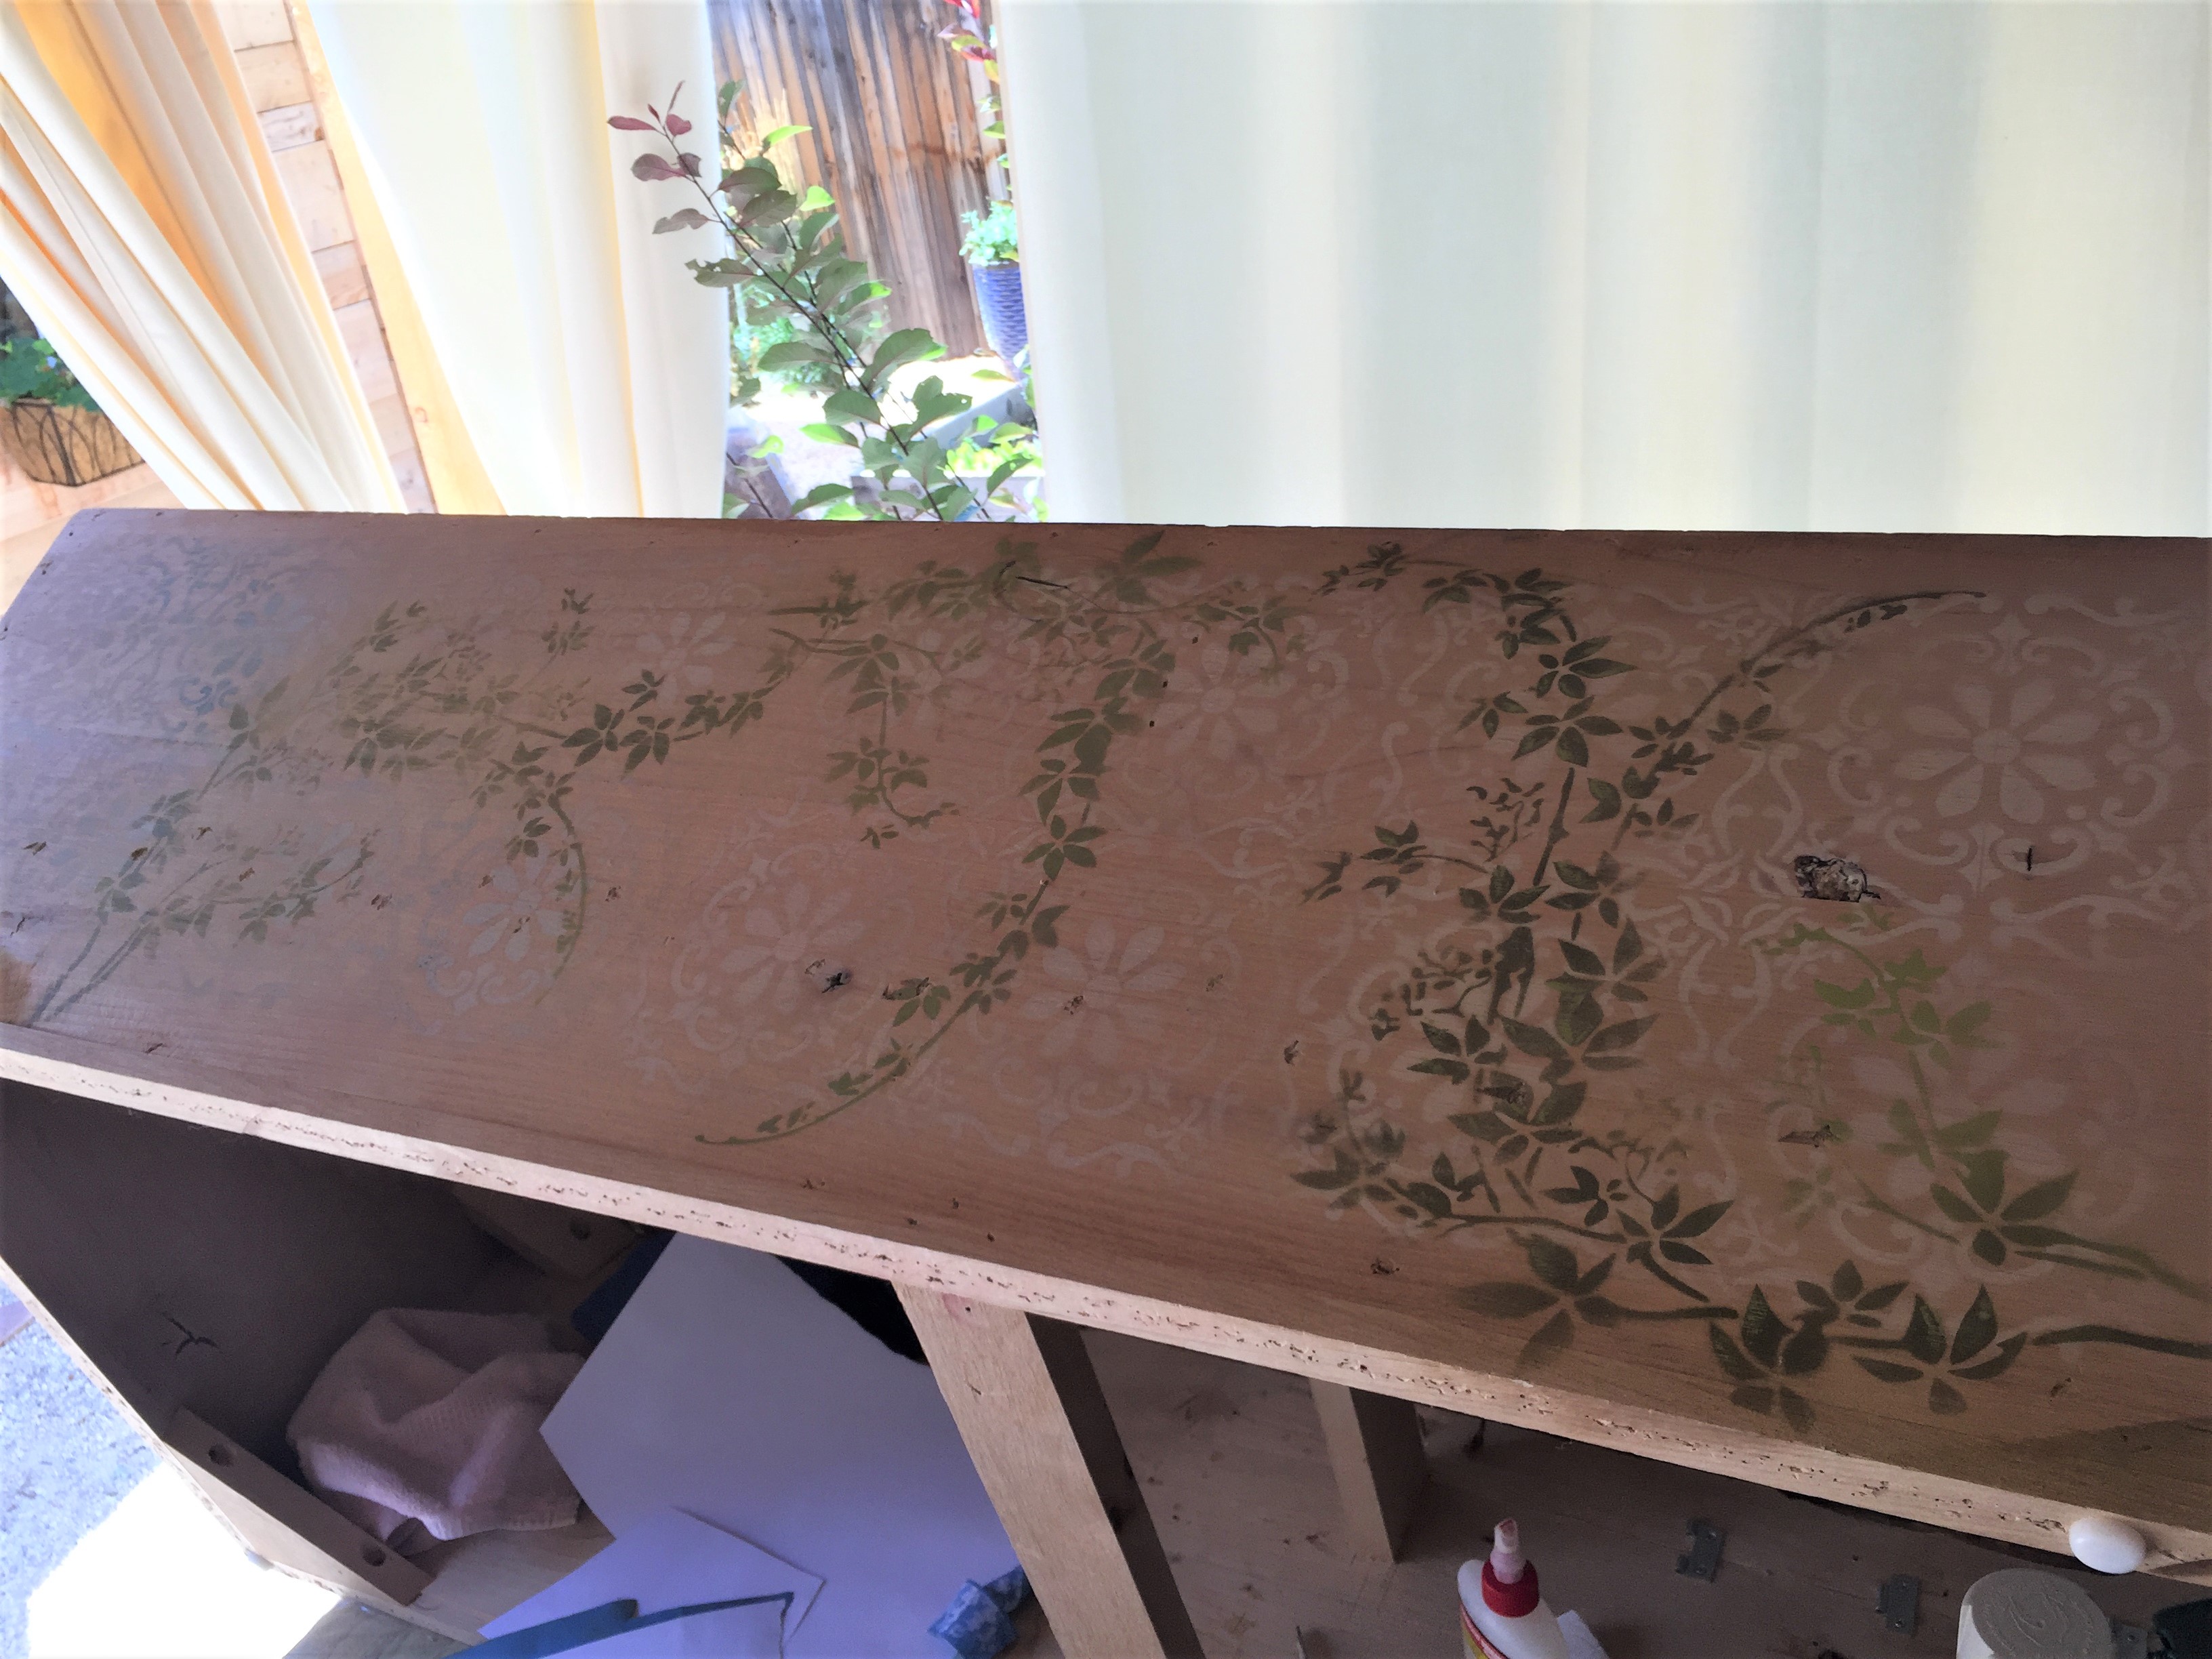
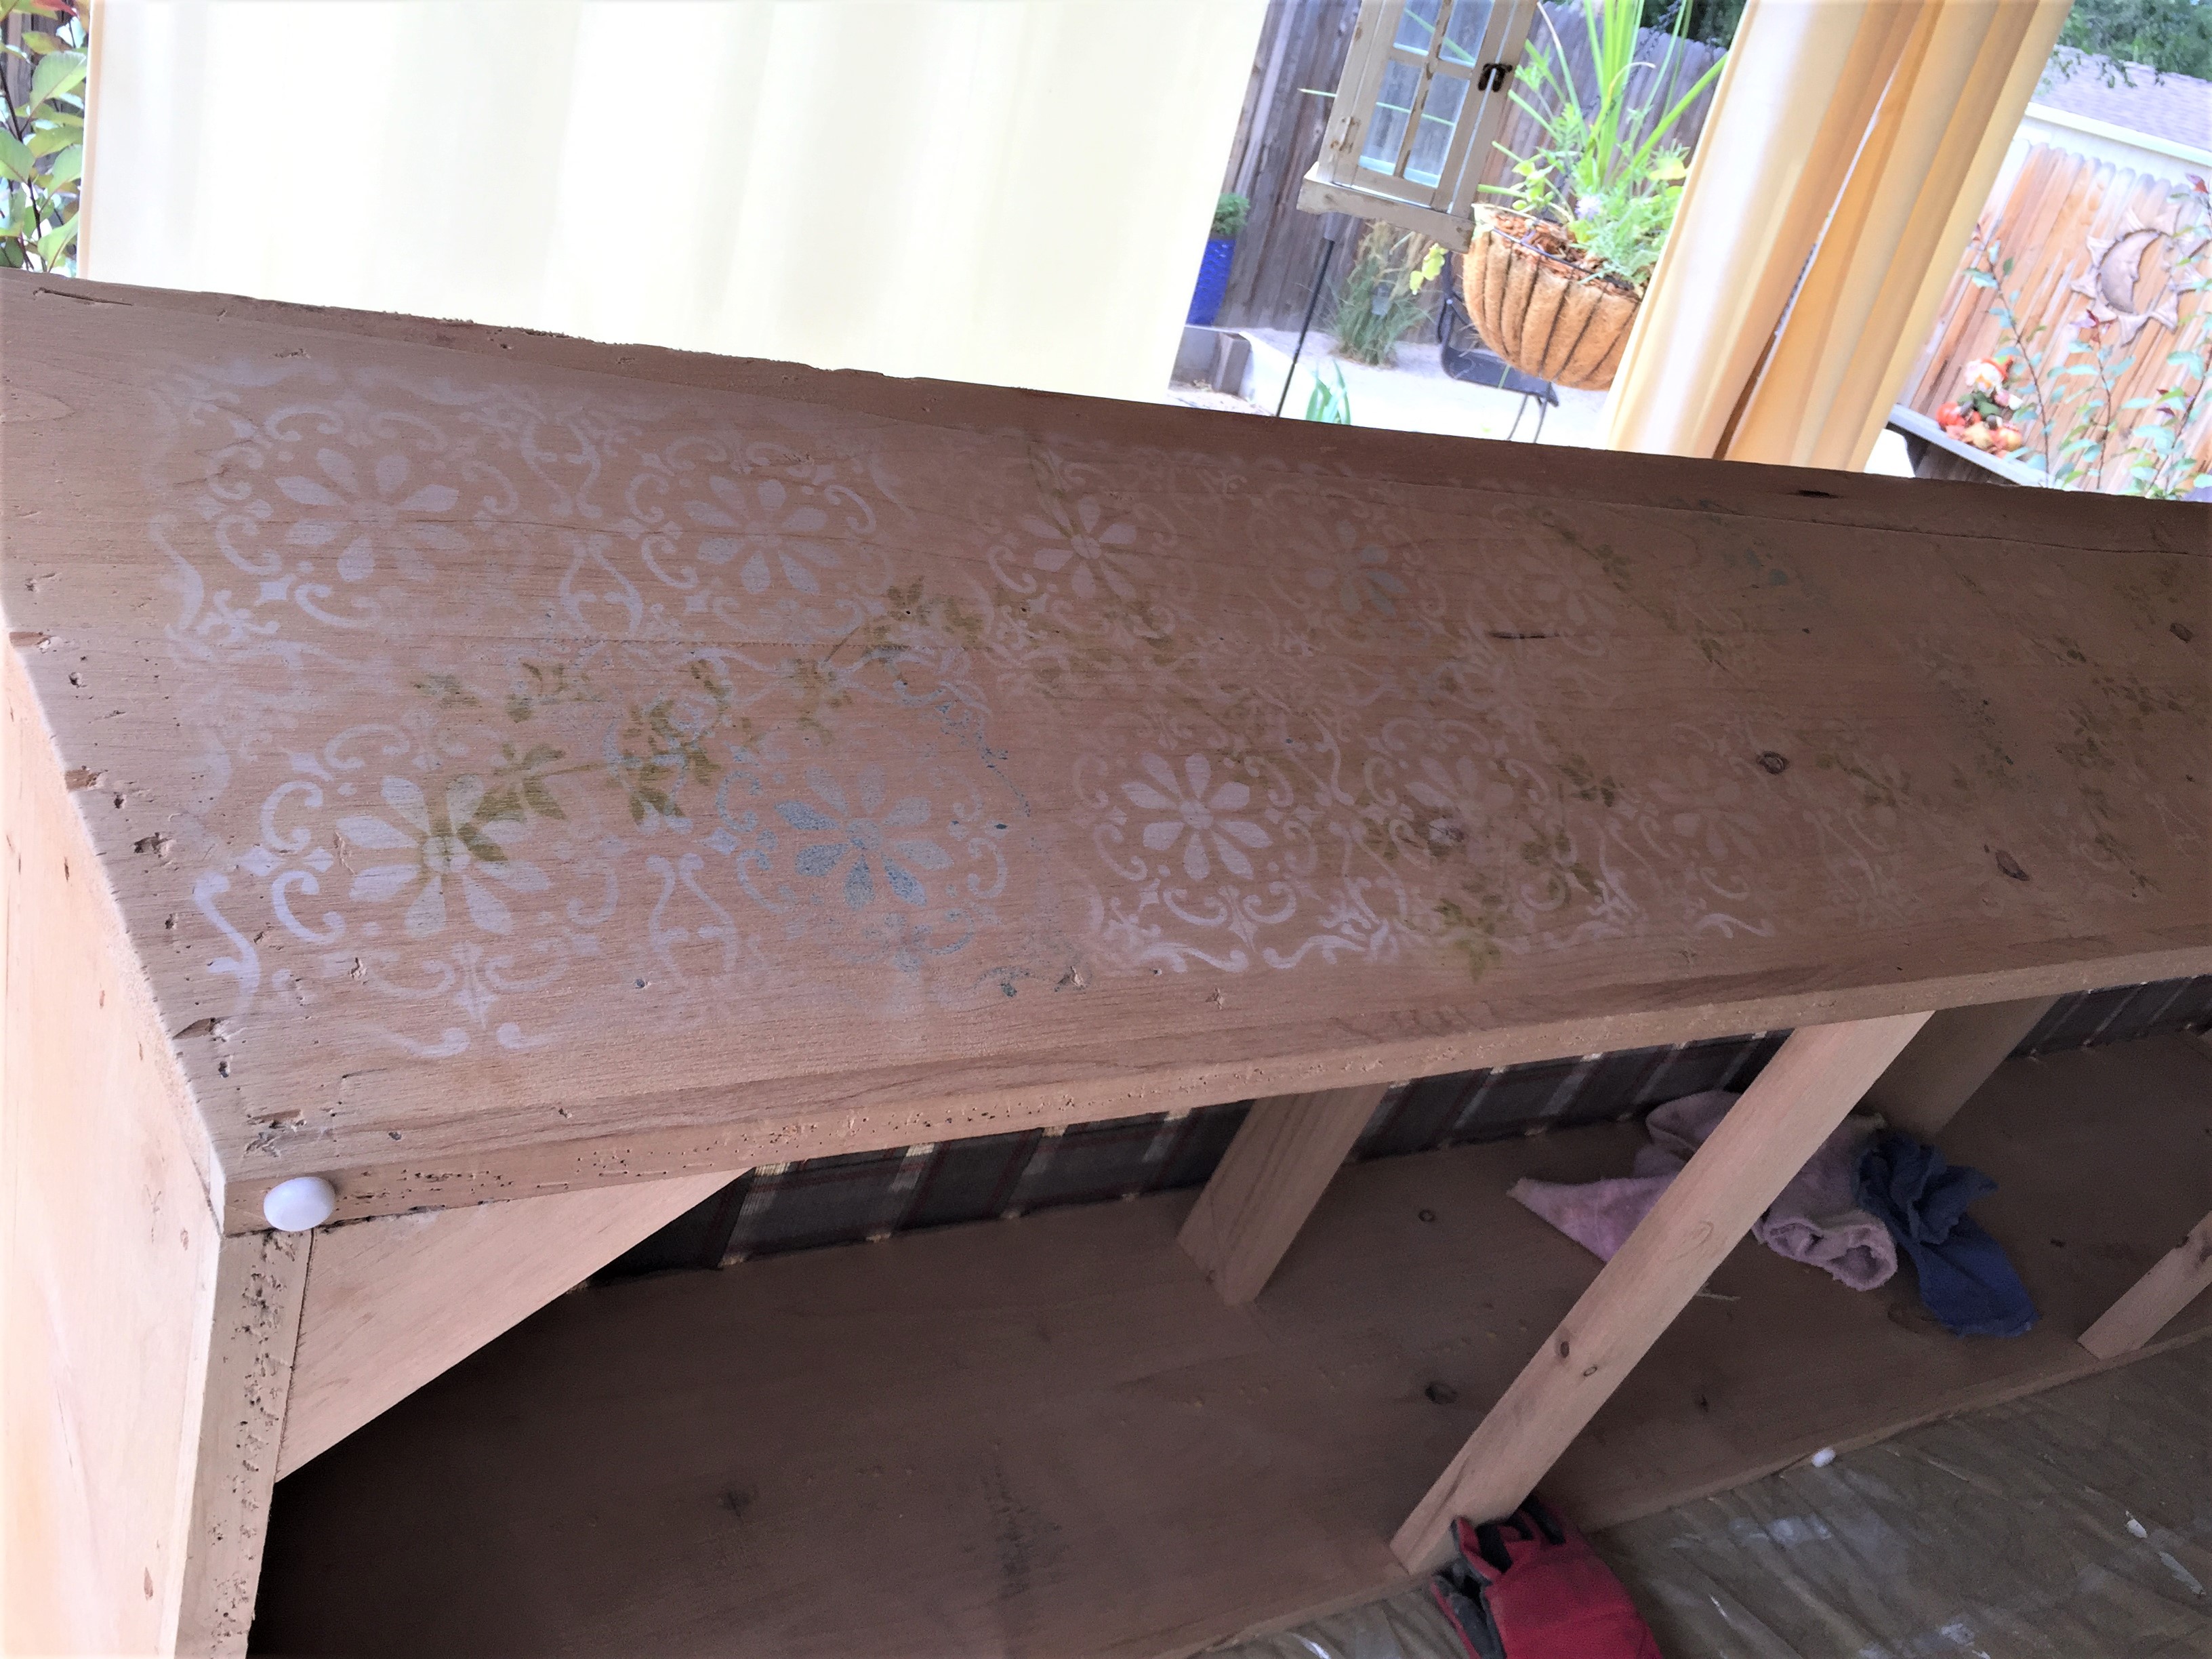
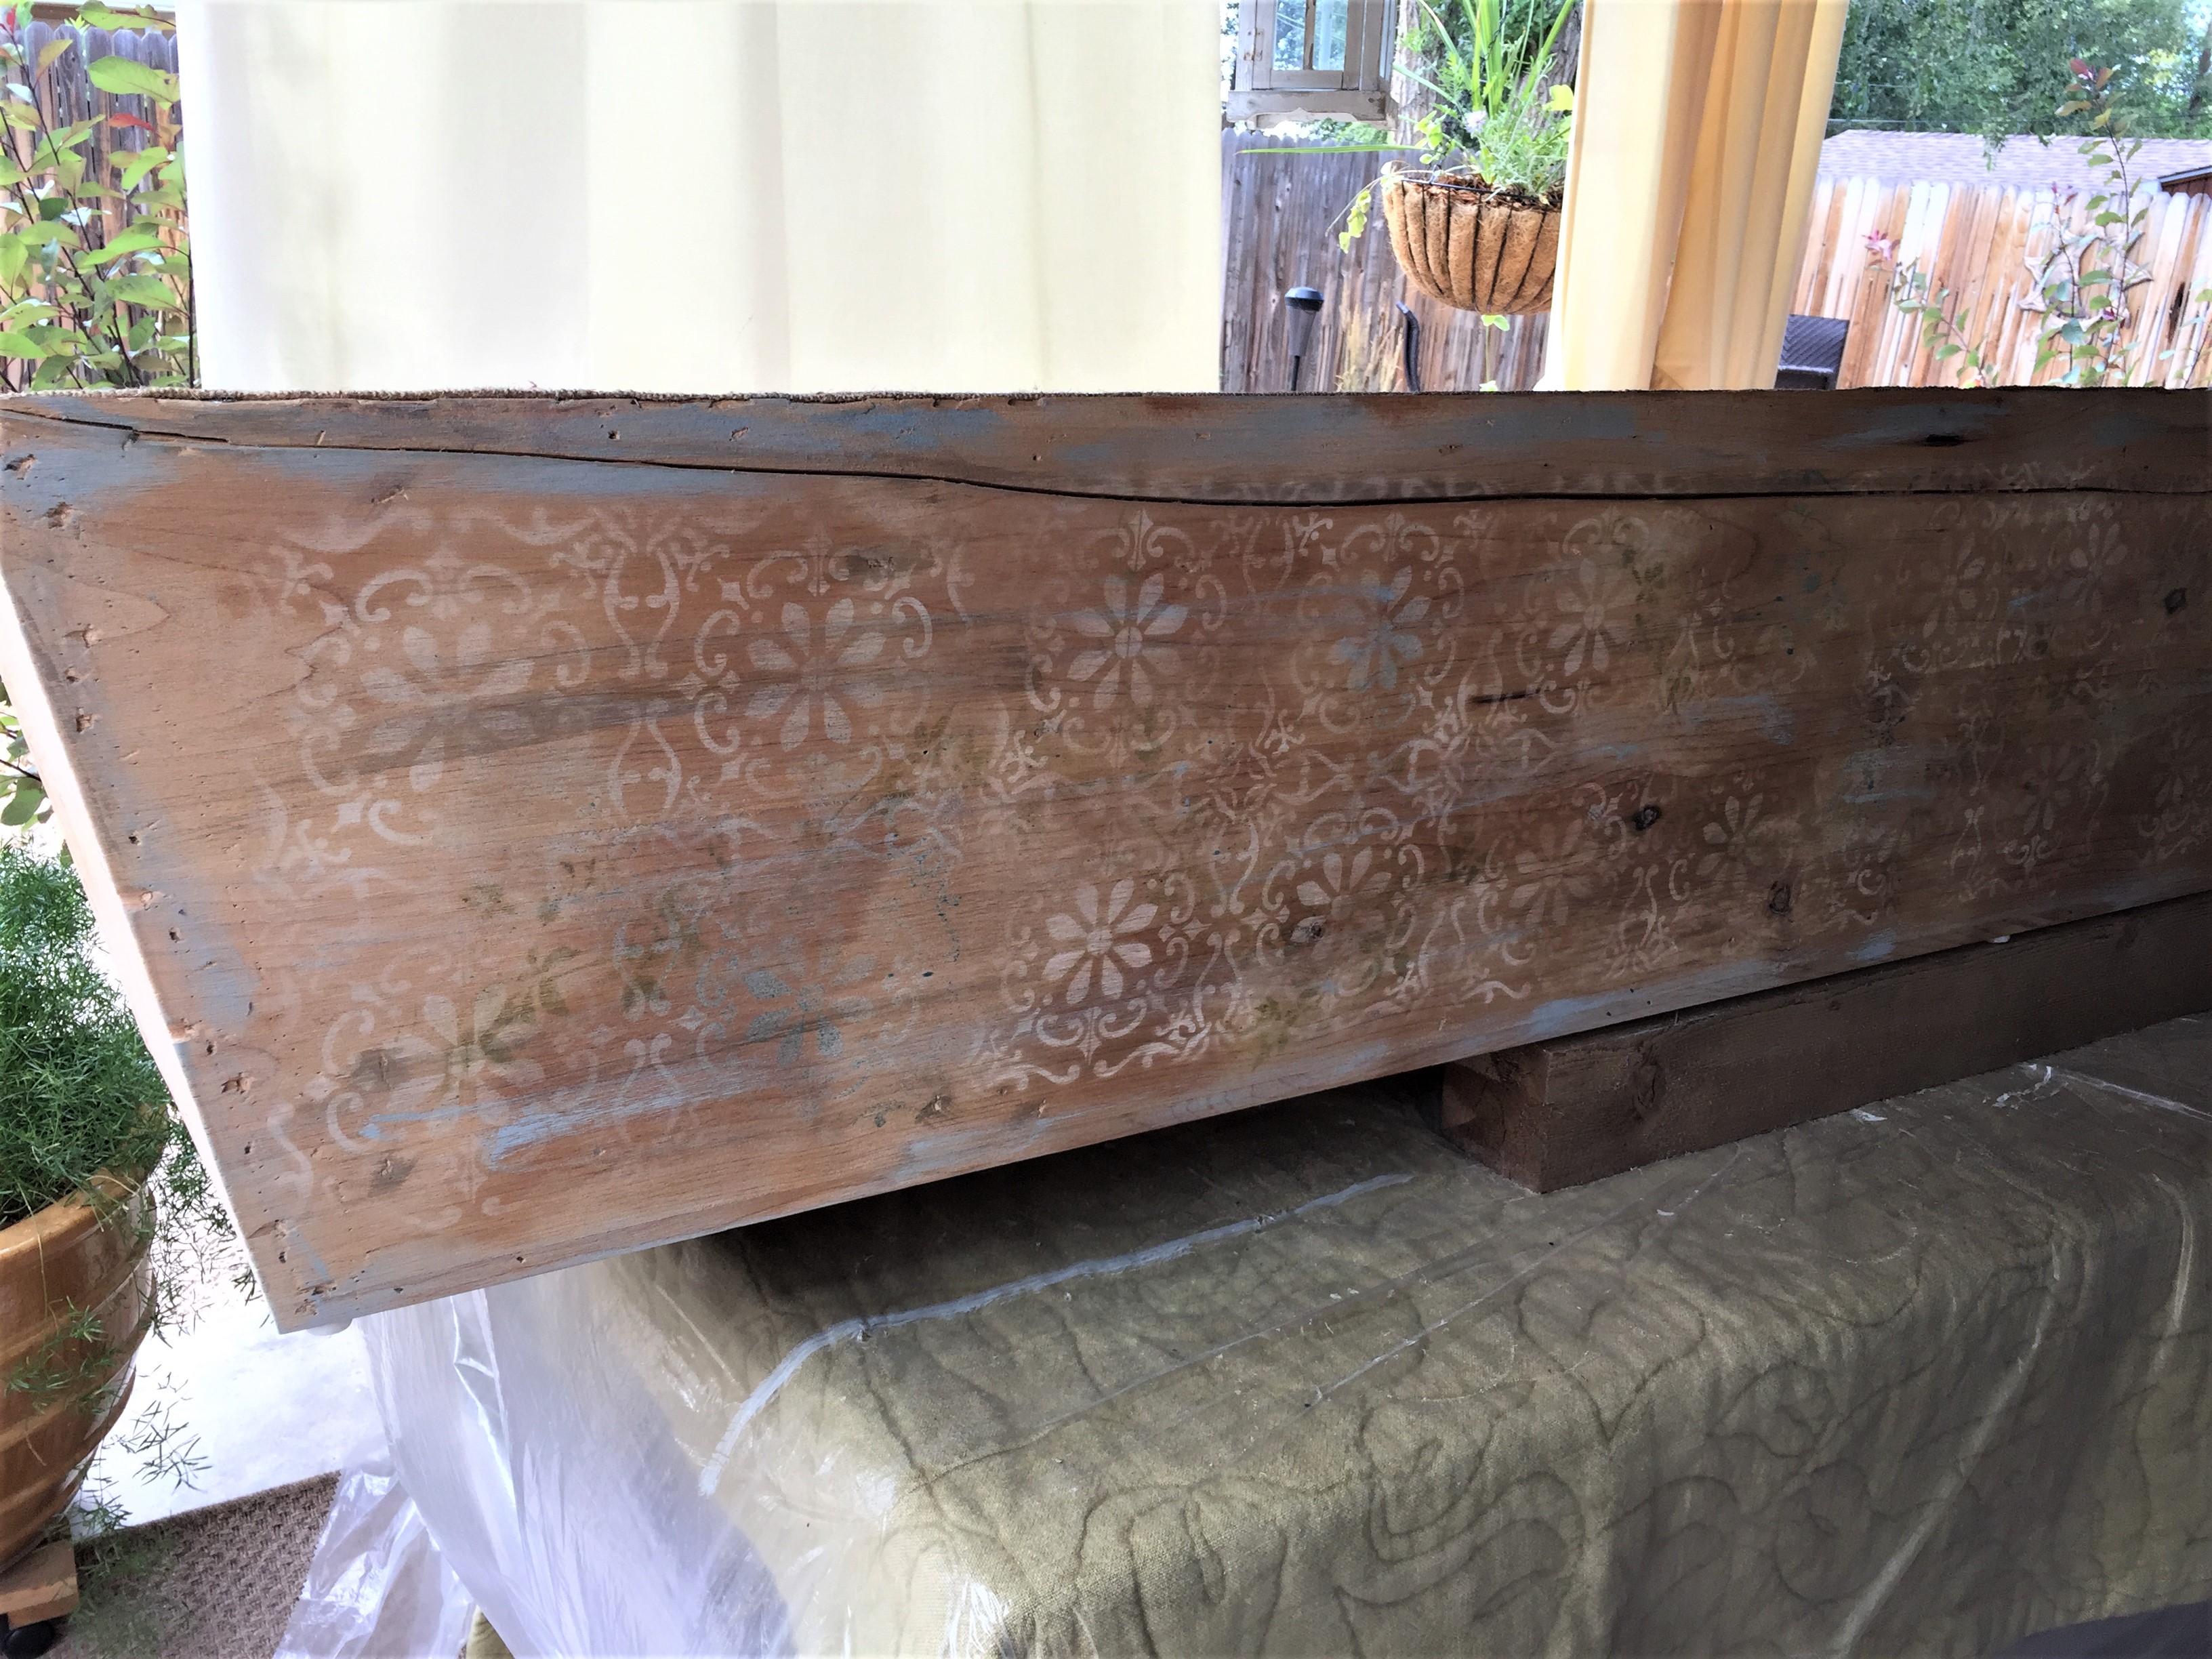
This post gives insight into a couple days spent learning how to use a stencil and paint to update an old wooden box I bought at a thrift store for $20. It’s been in storage for almost a year and I’m now rethinking this fun piece for my new place. Let’s see how this goes!
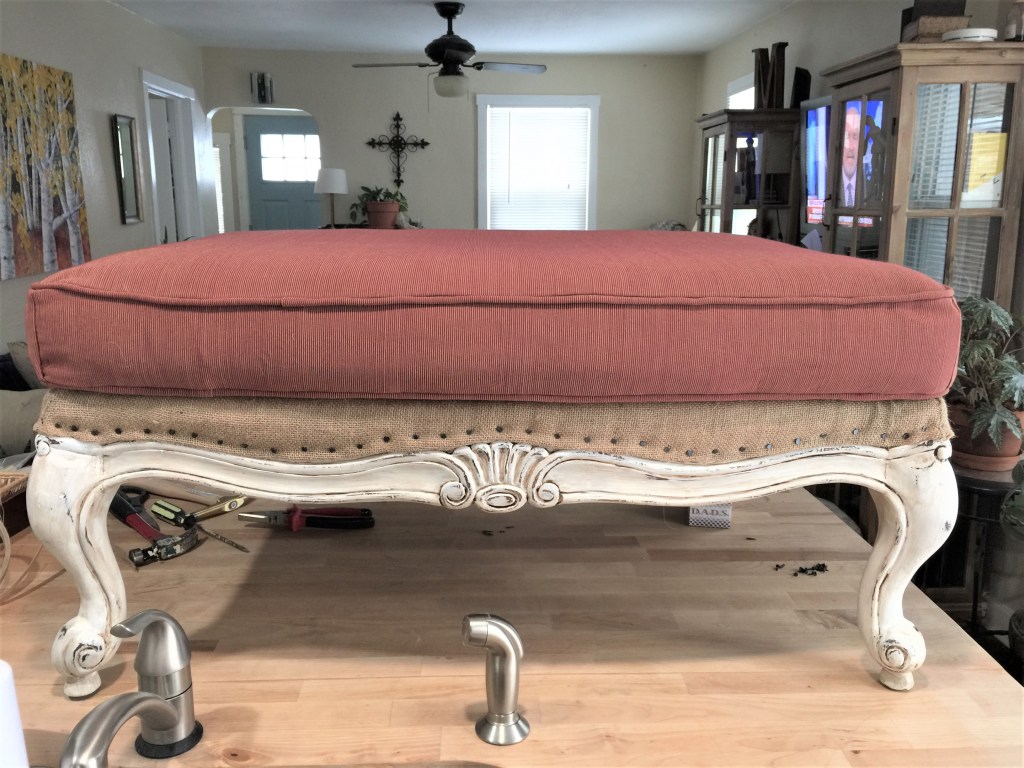
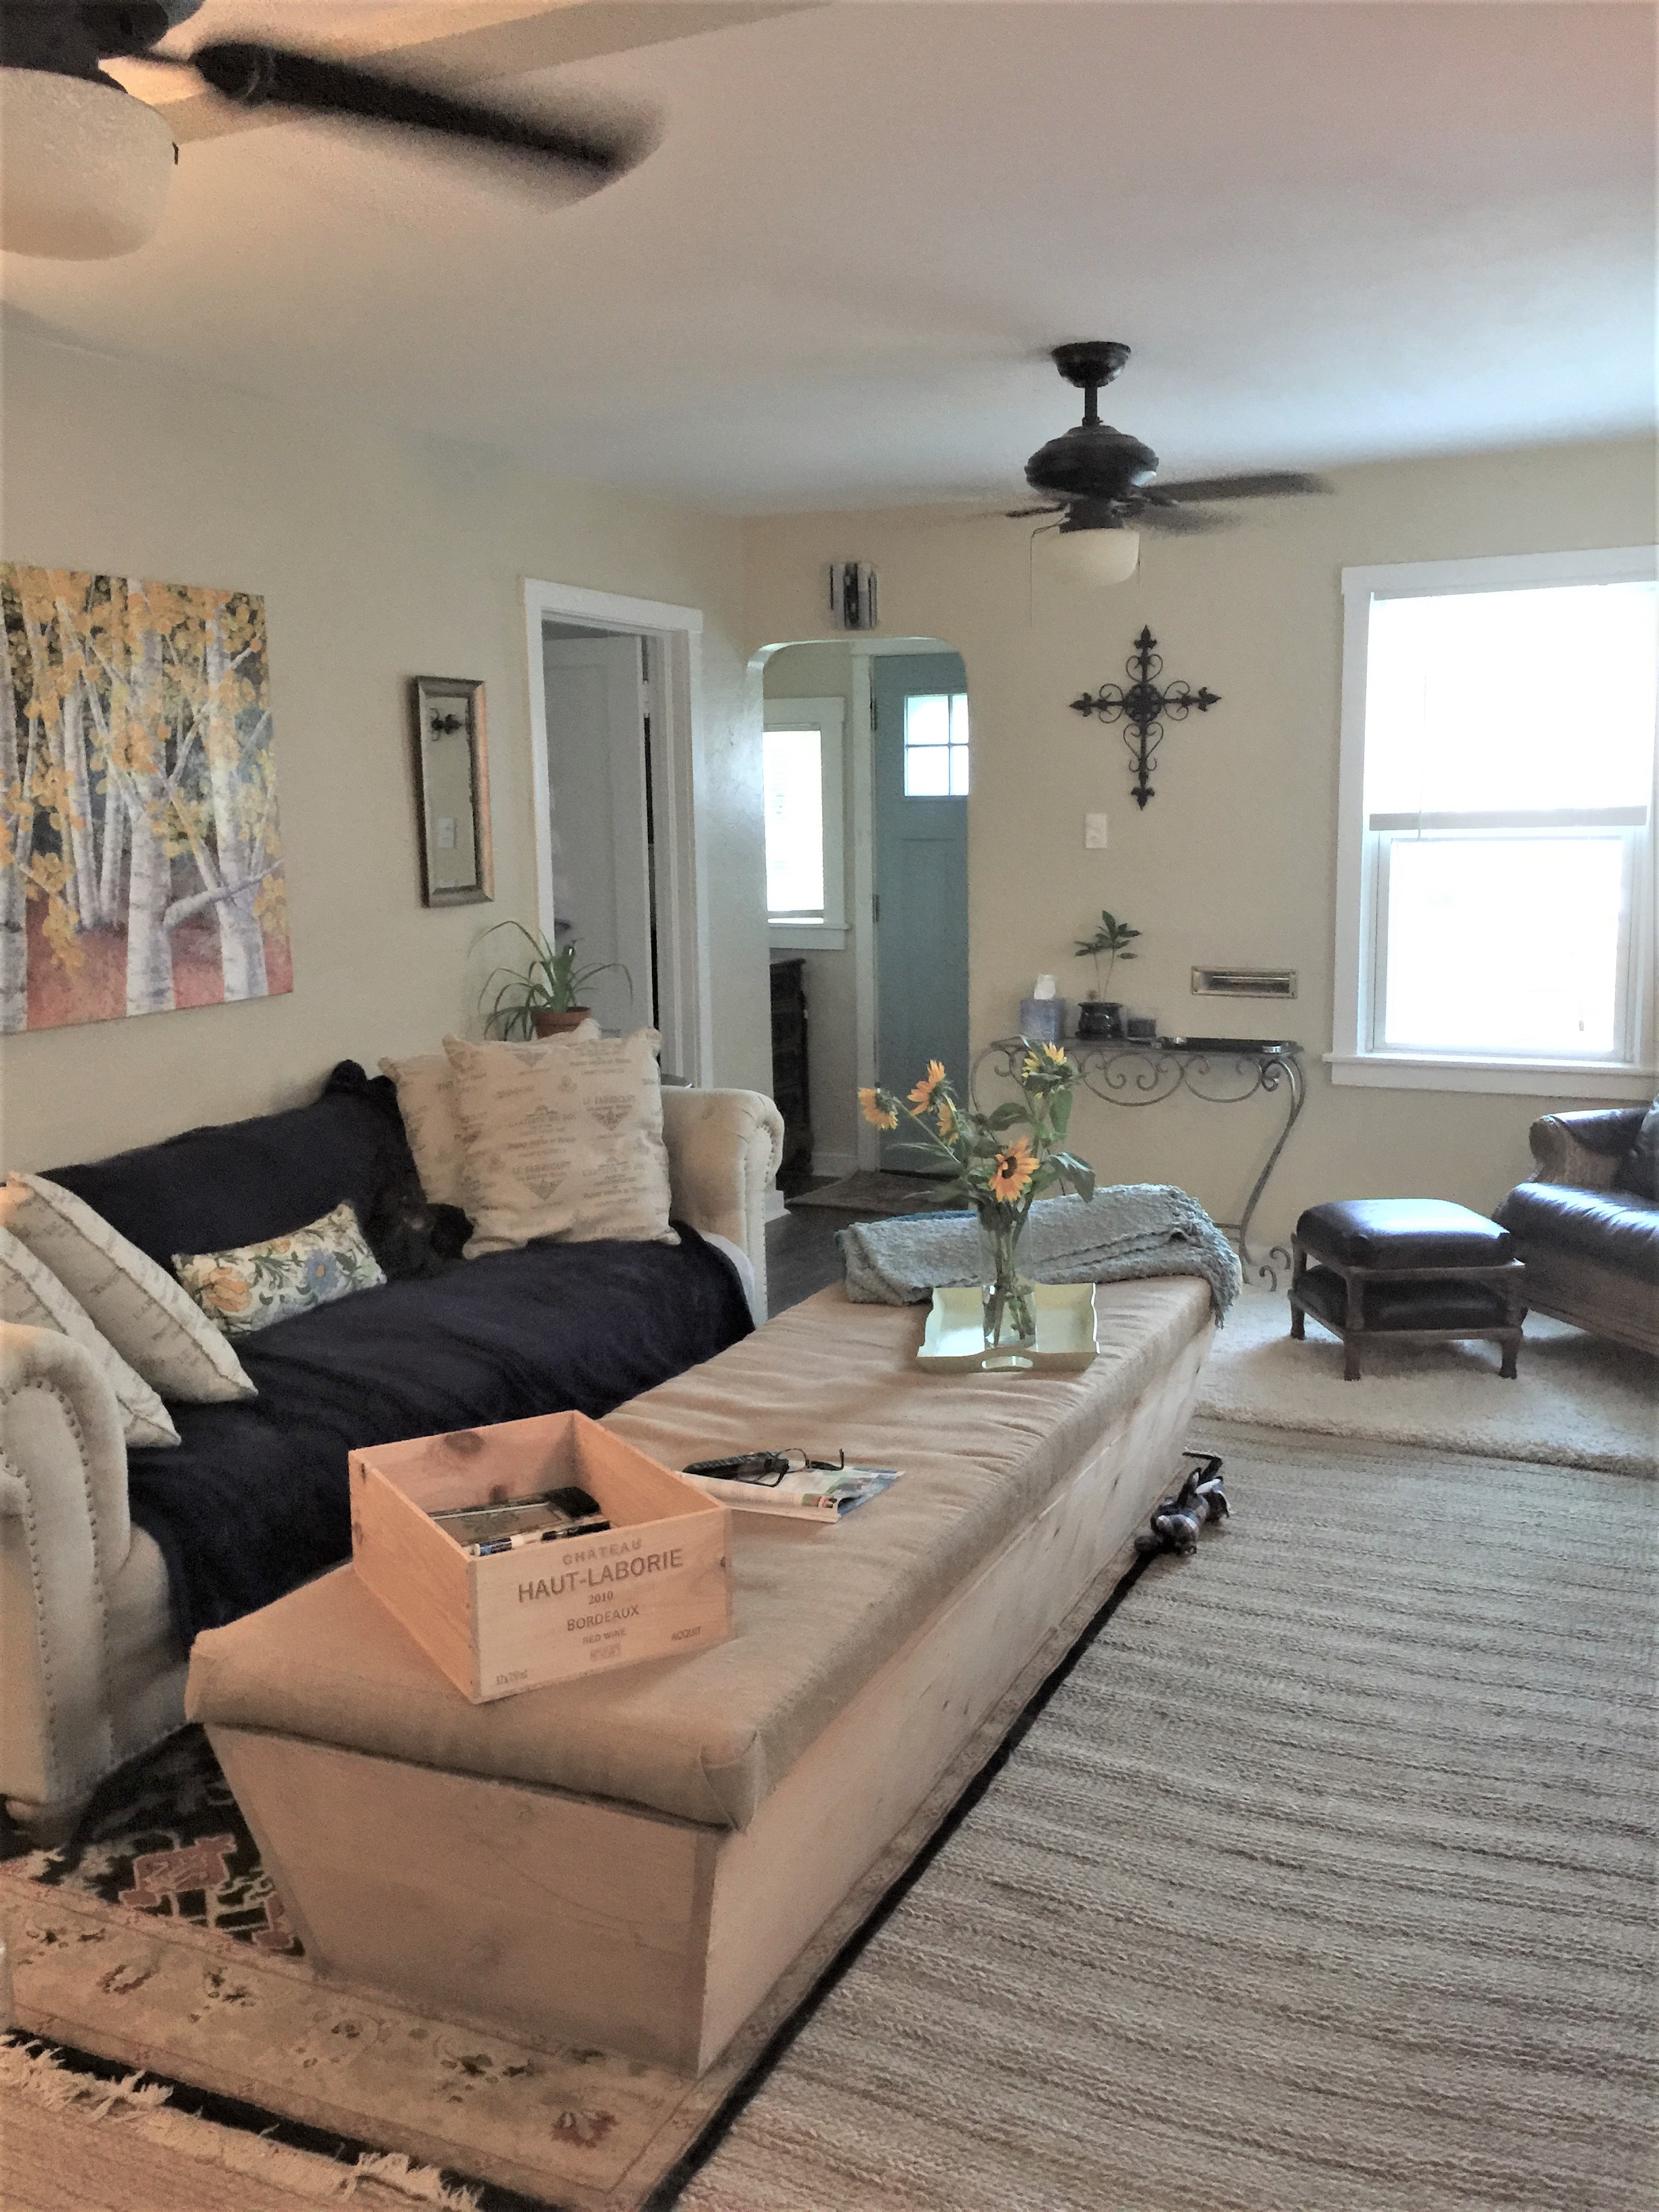
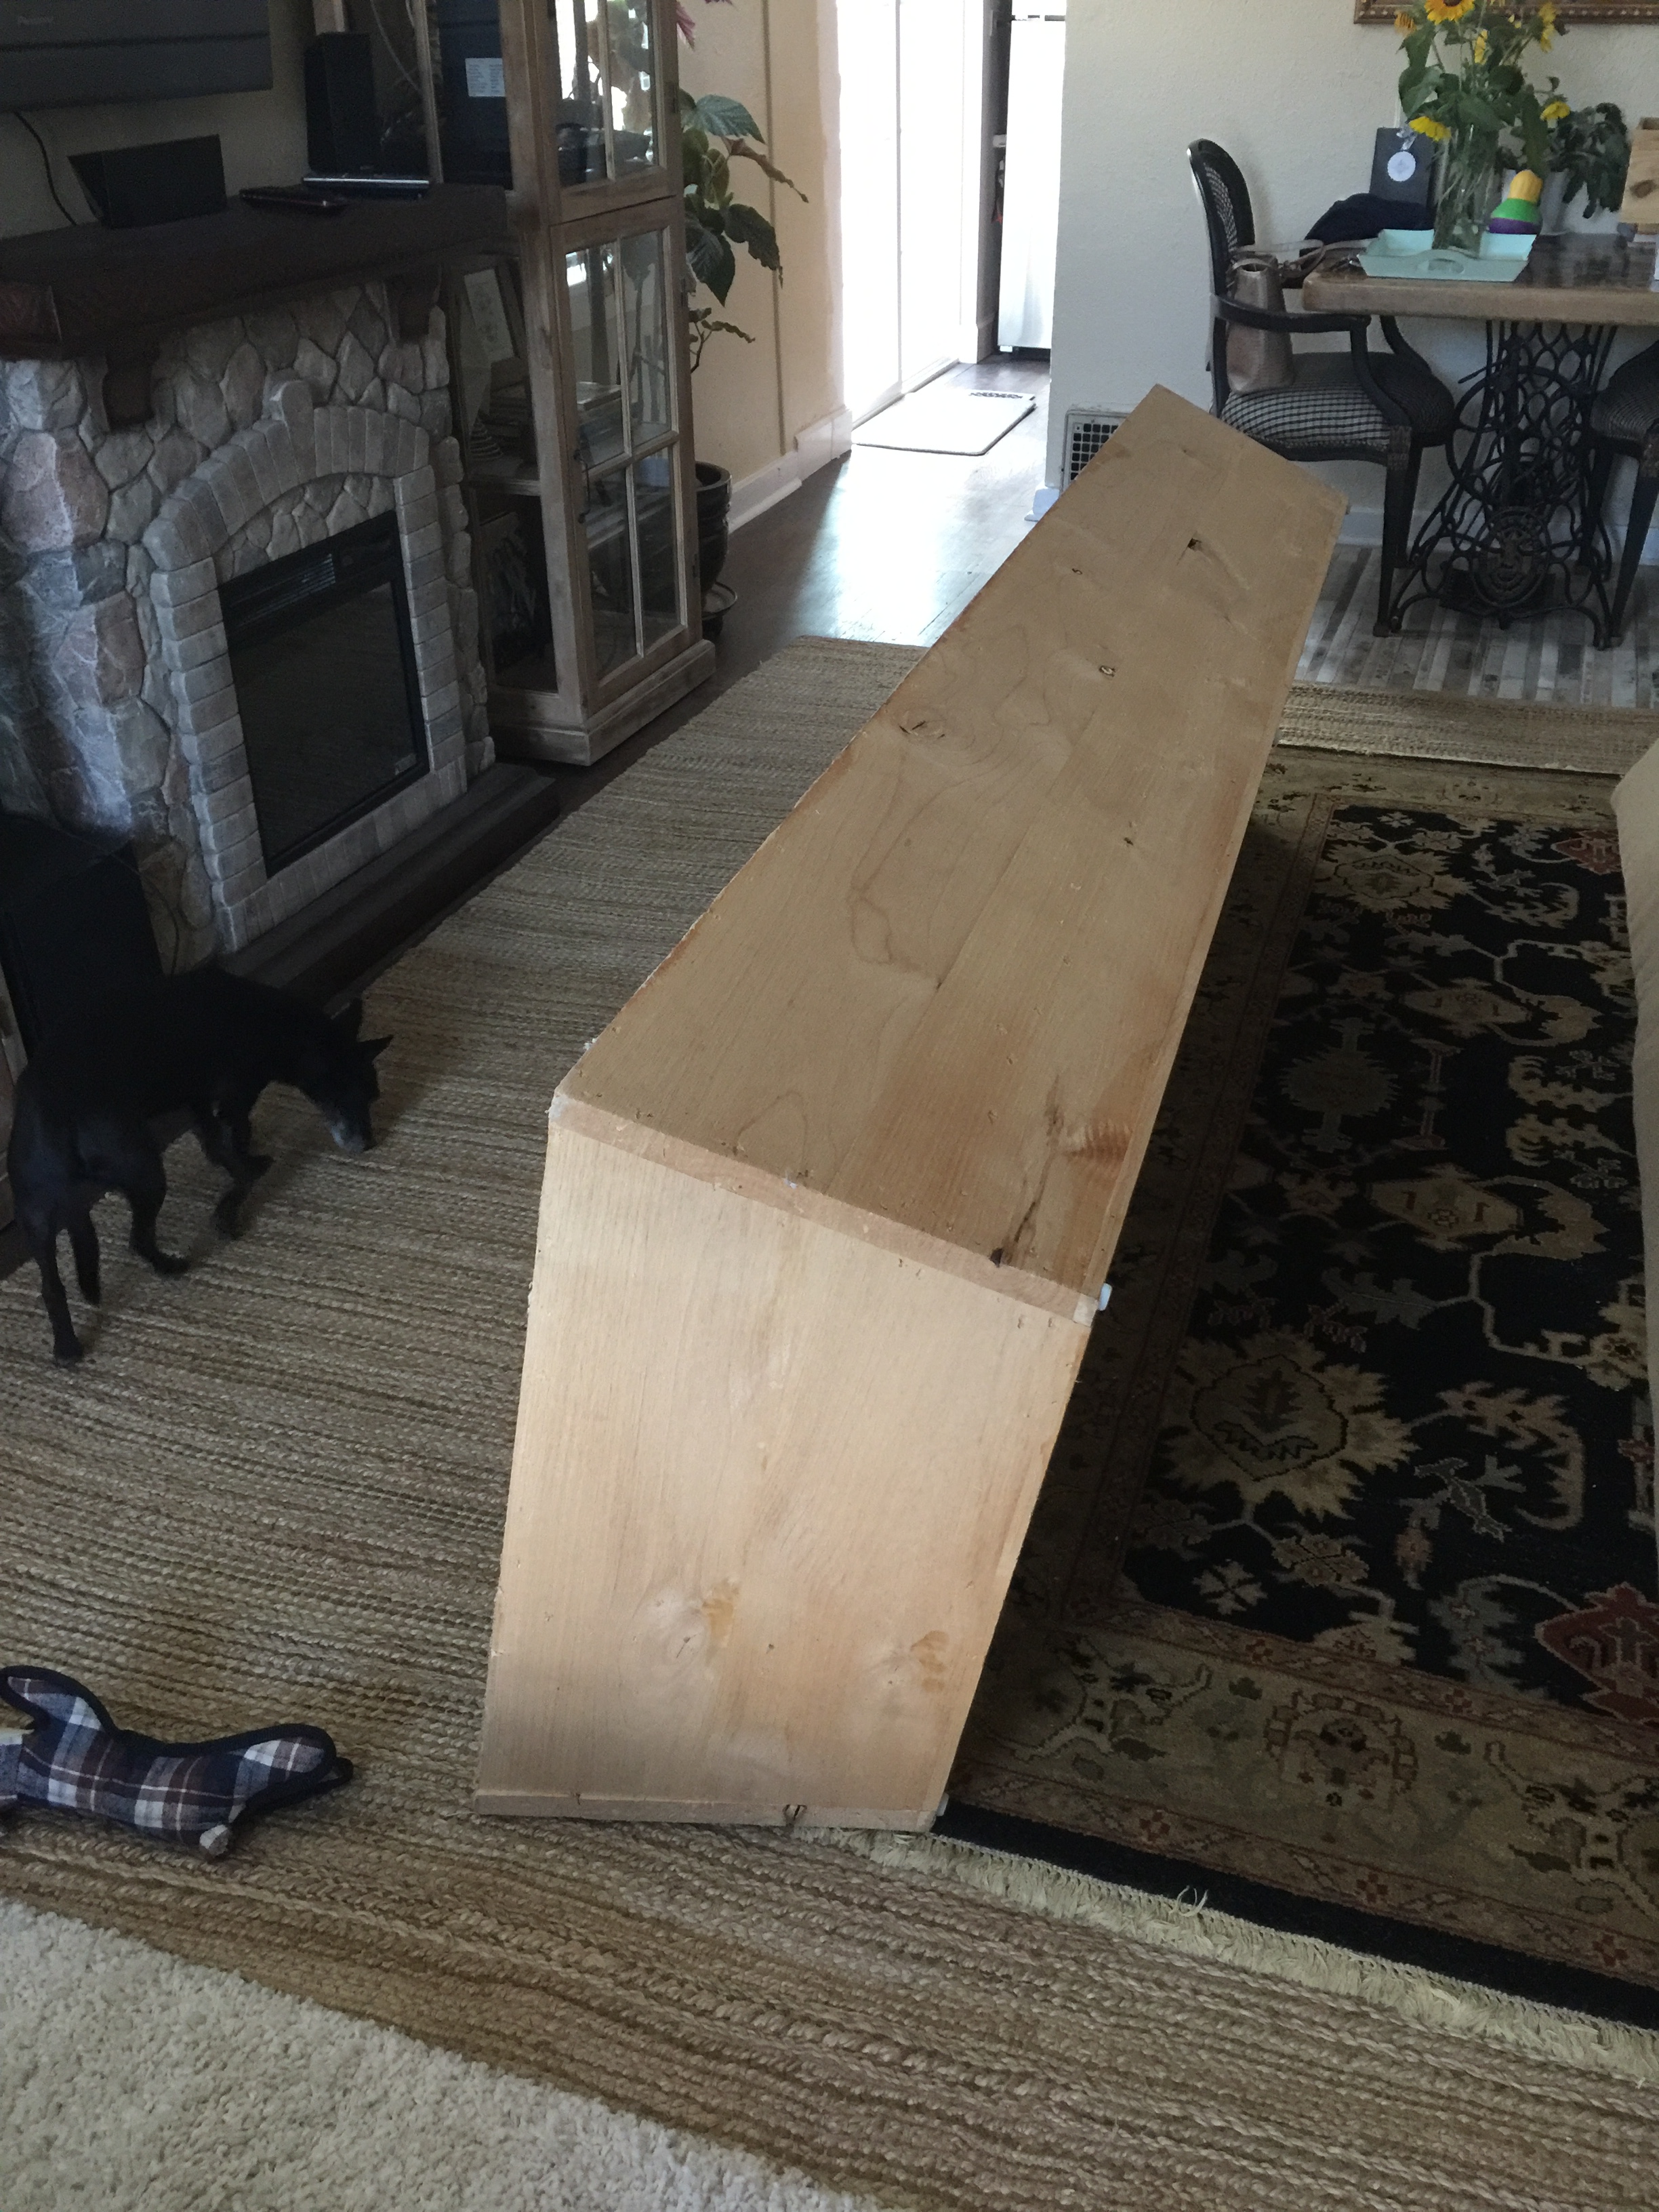
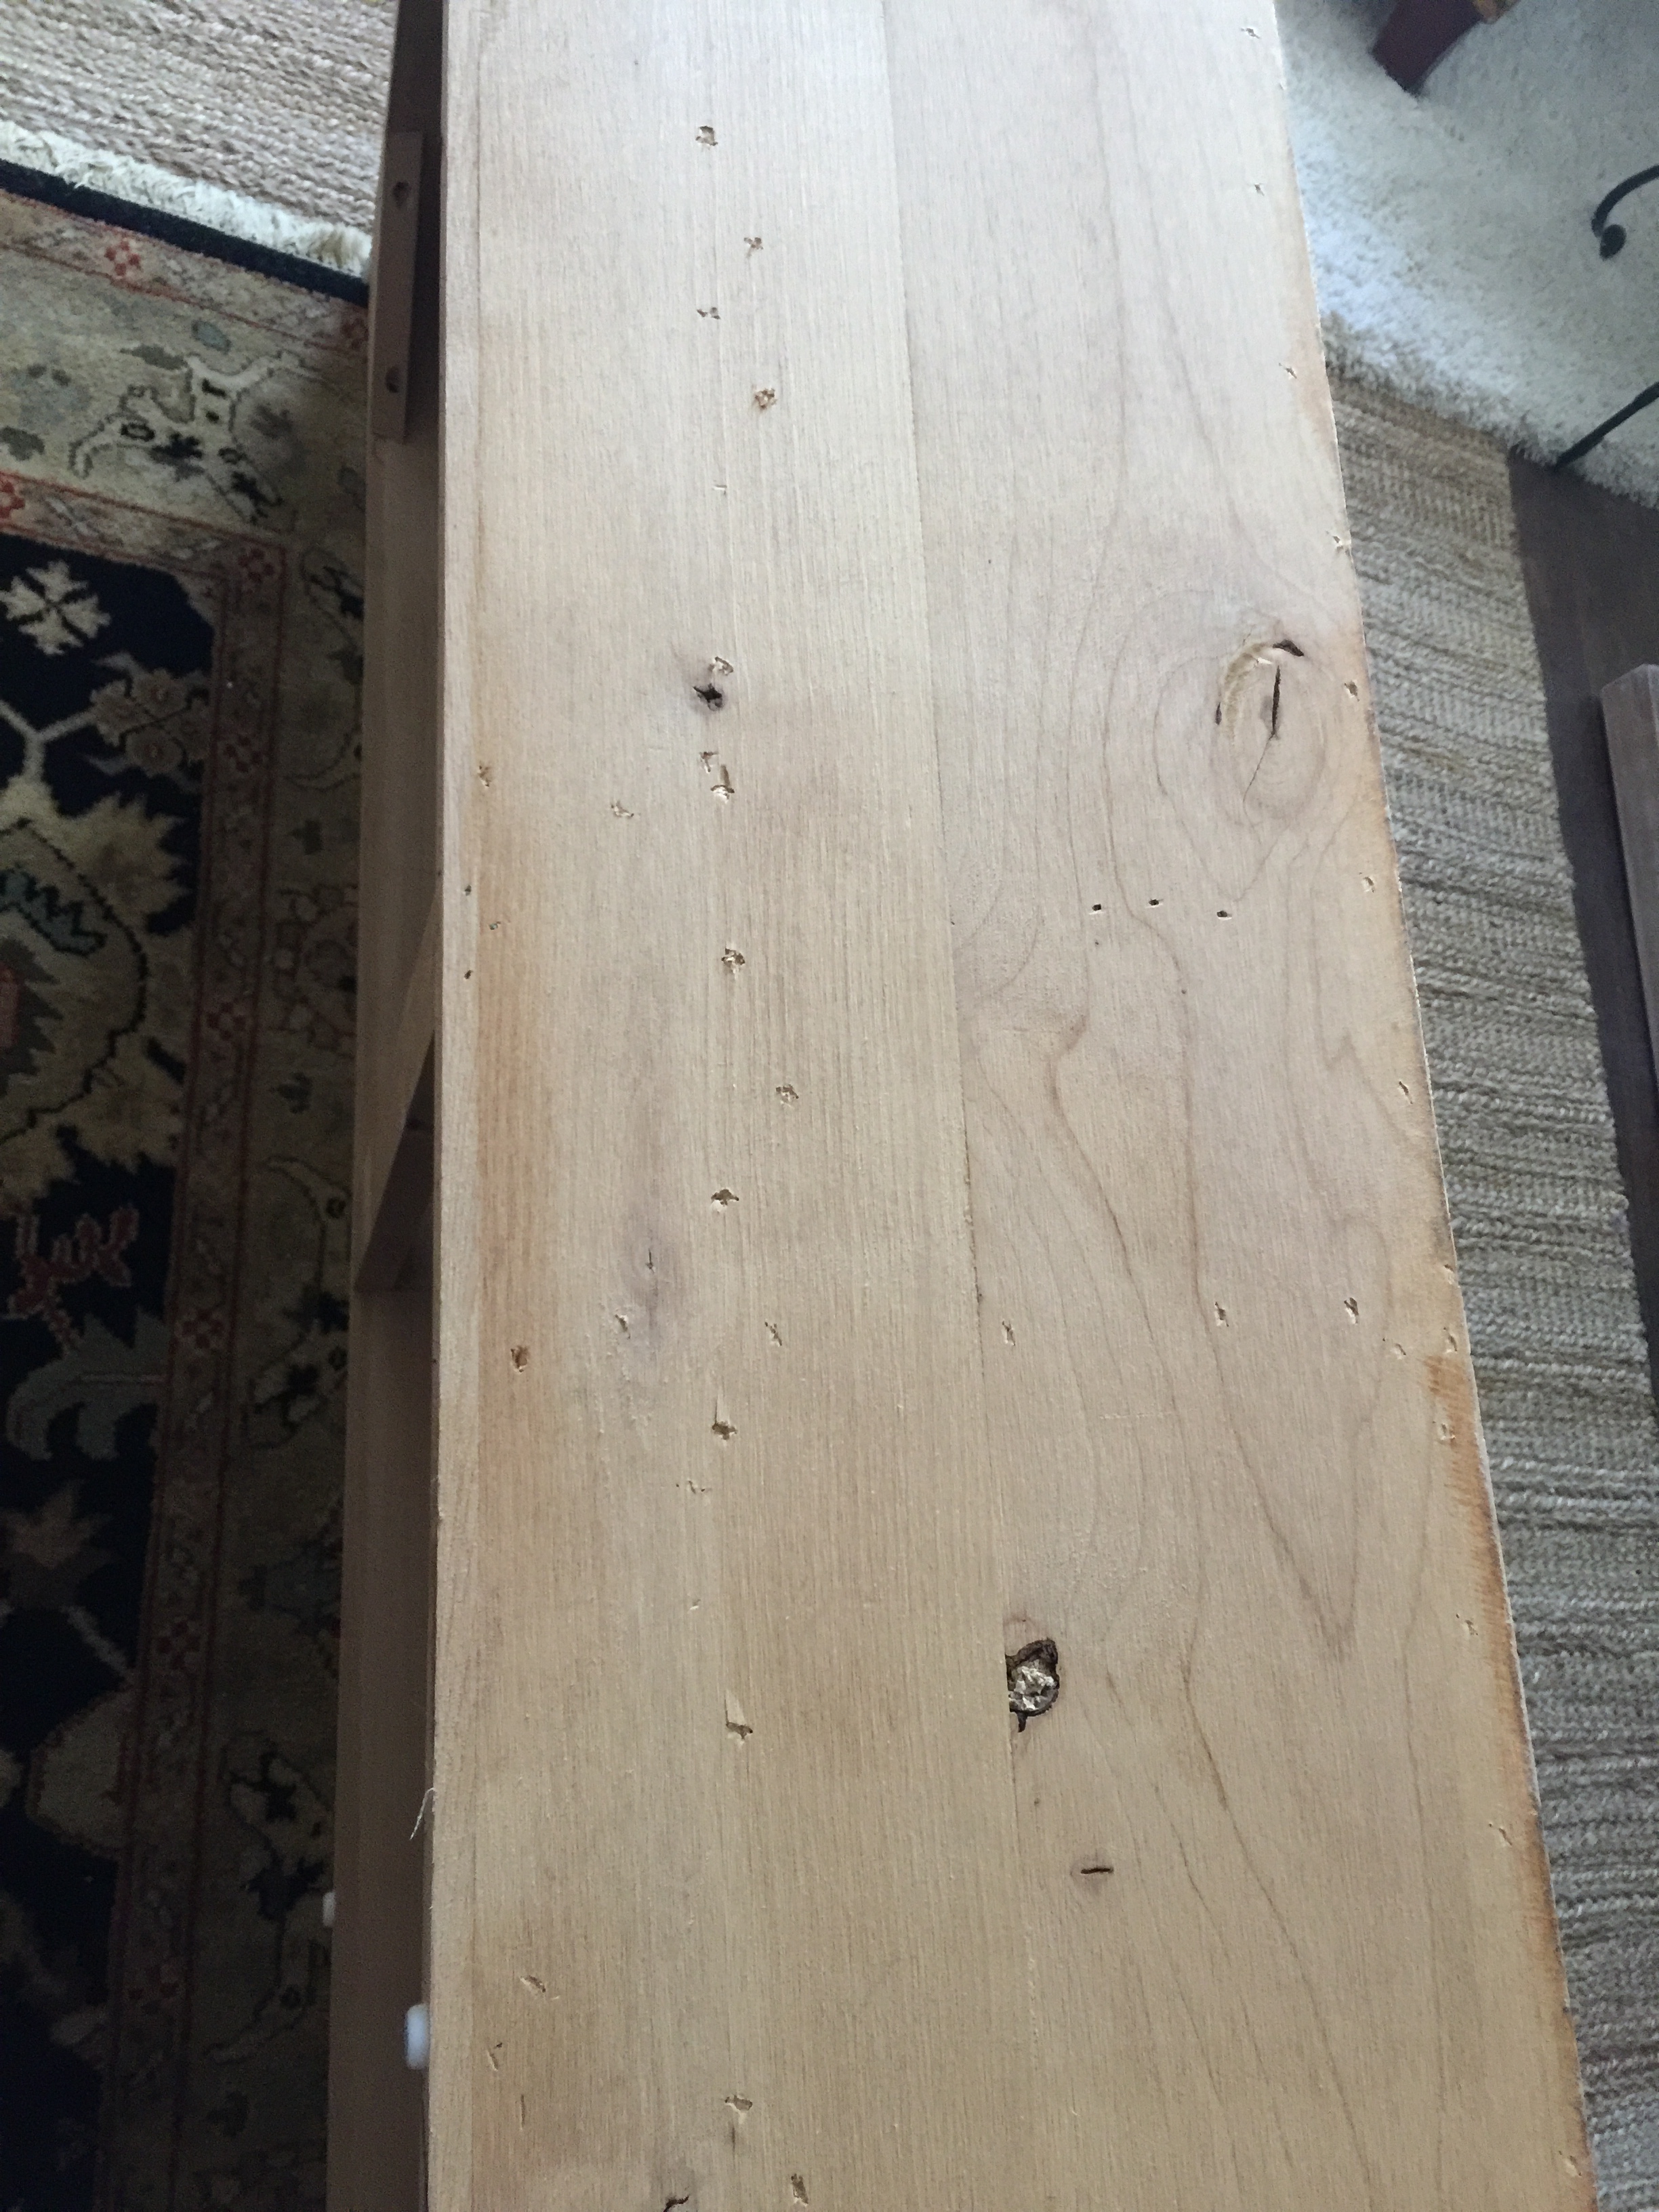
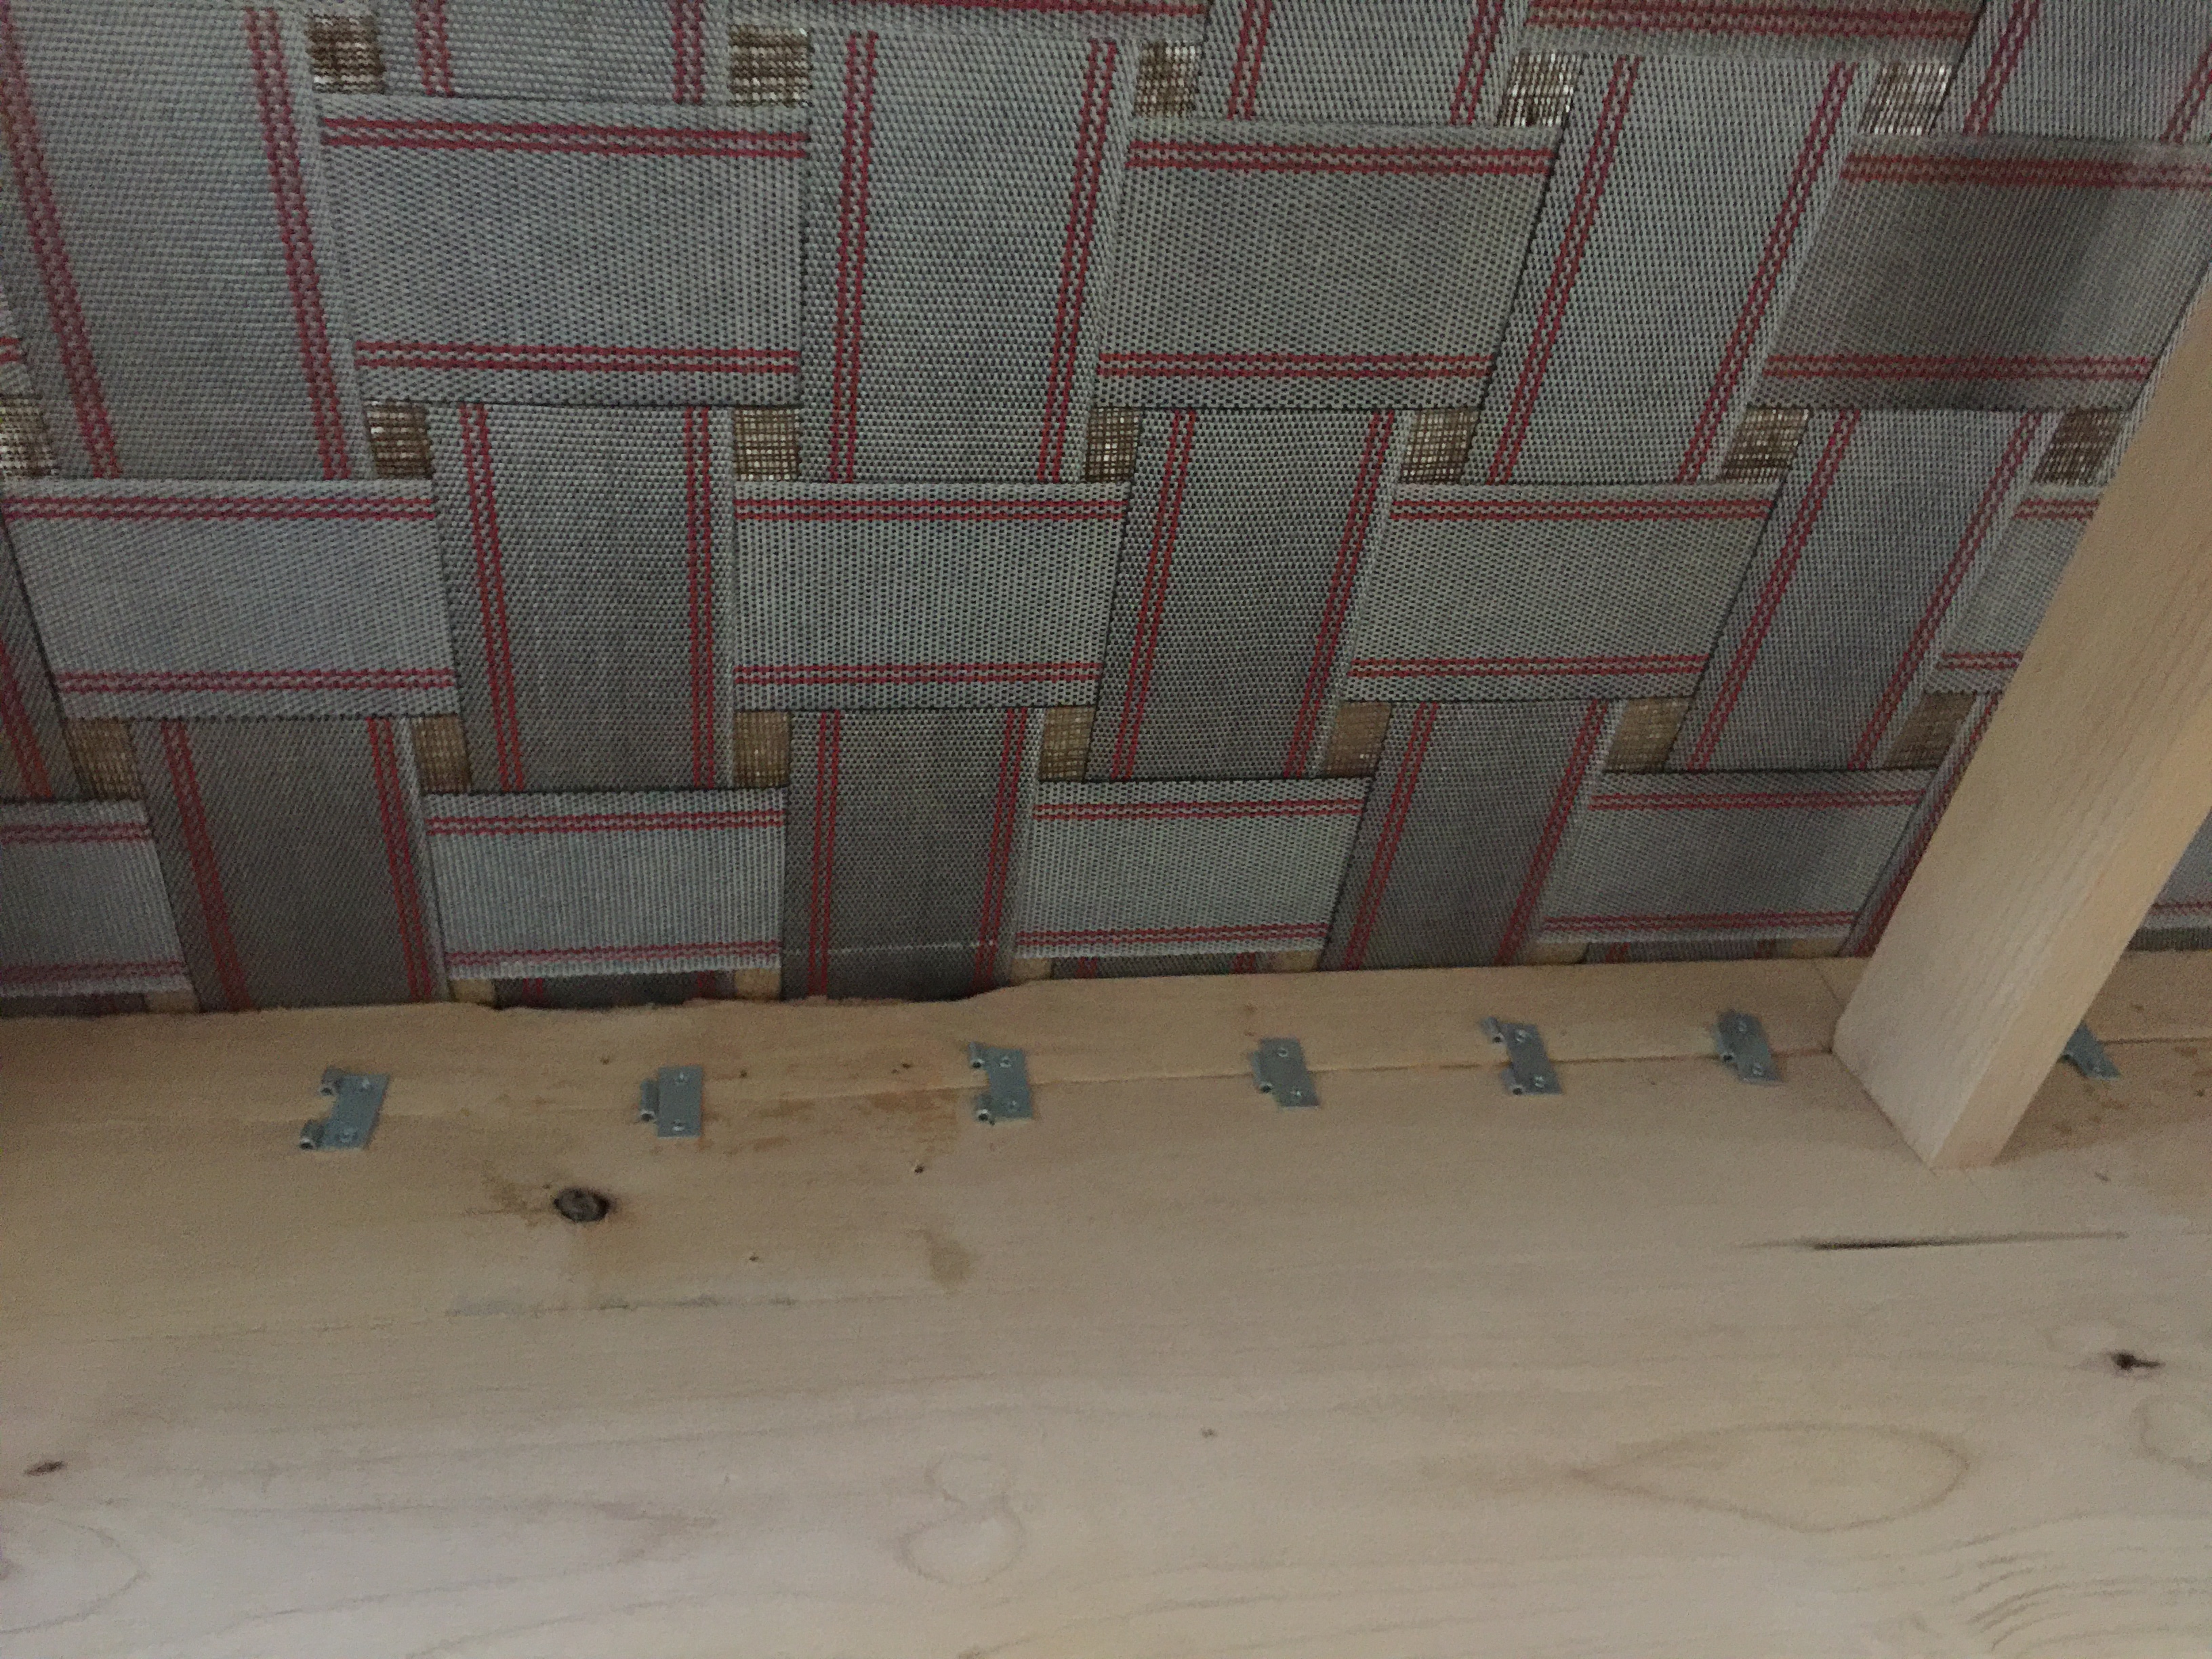
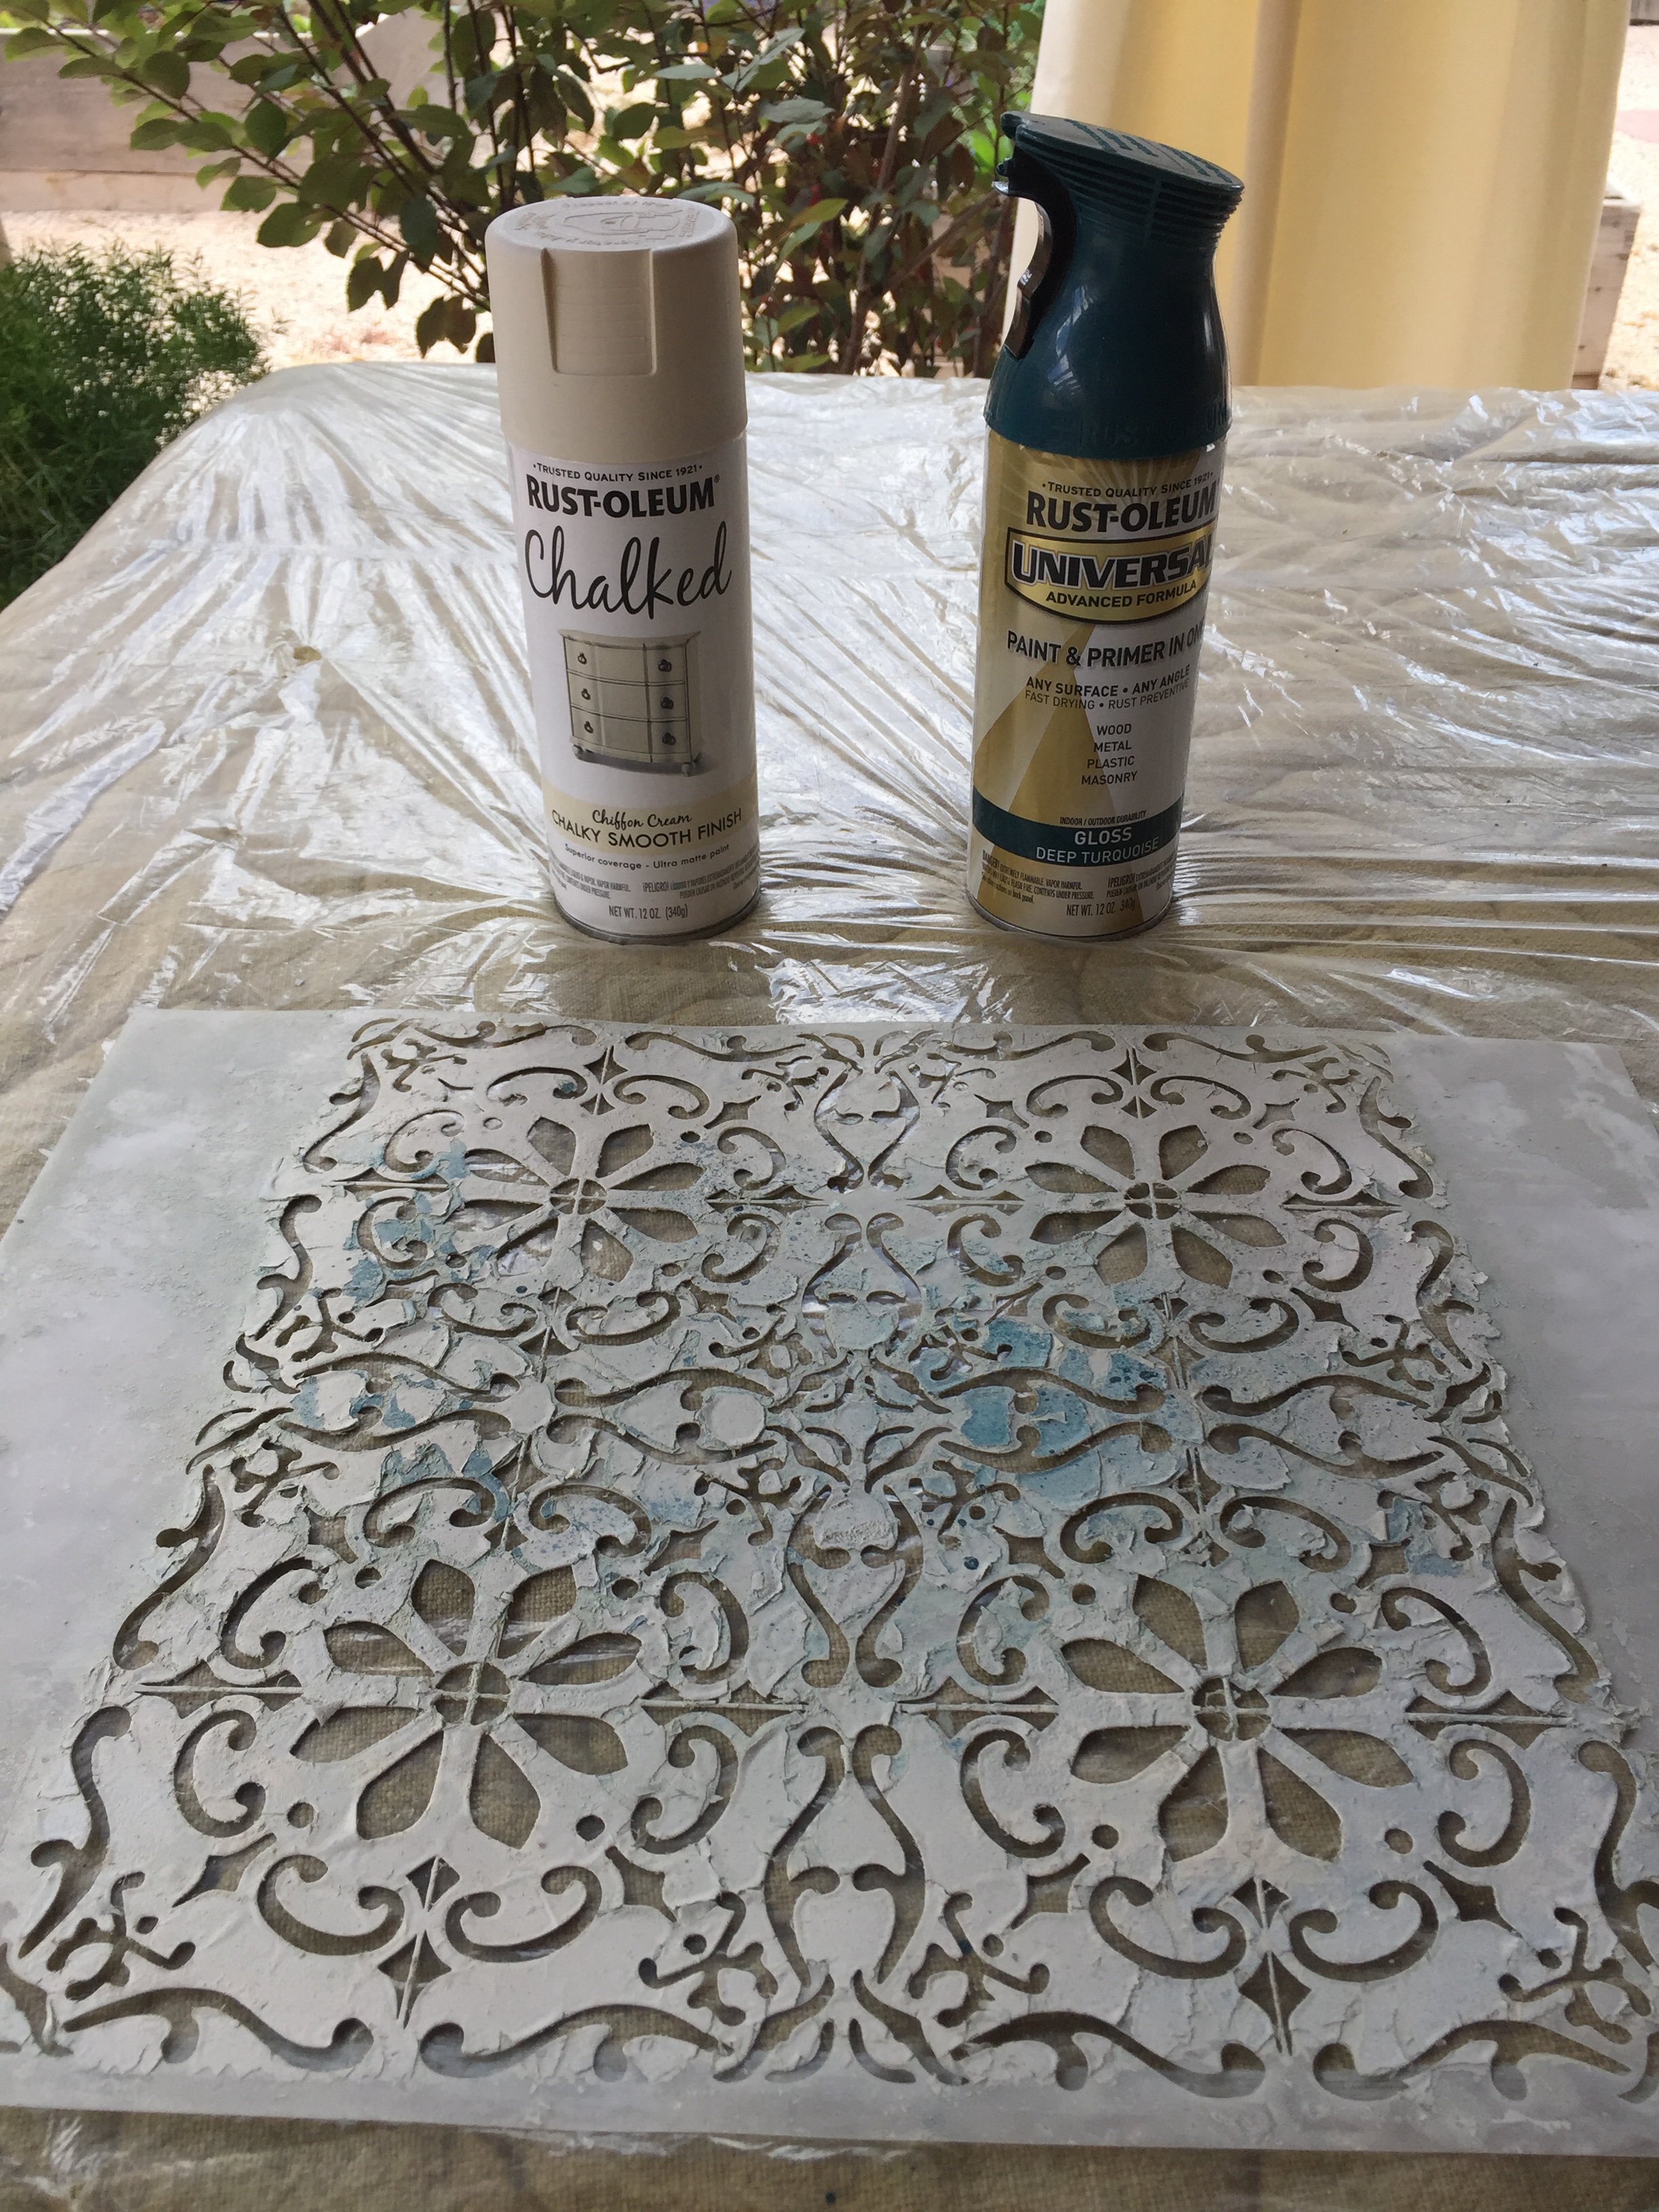
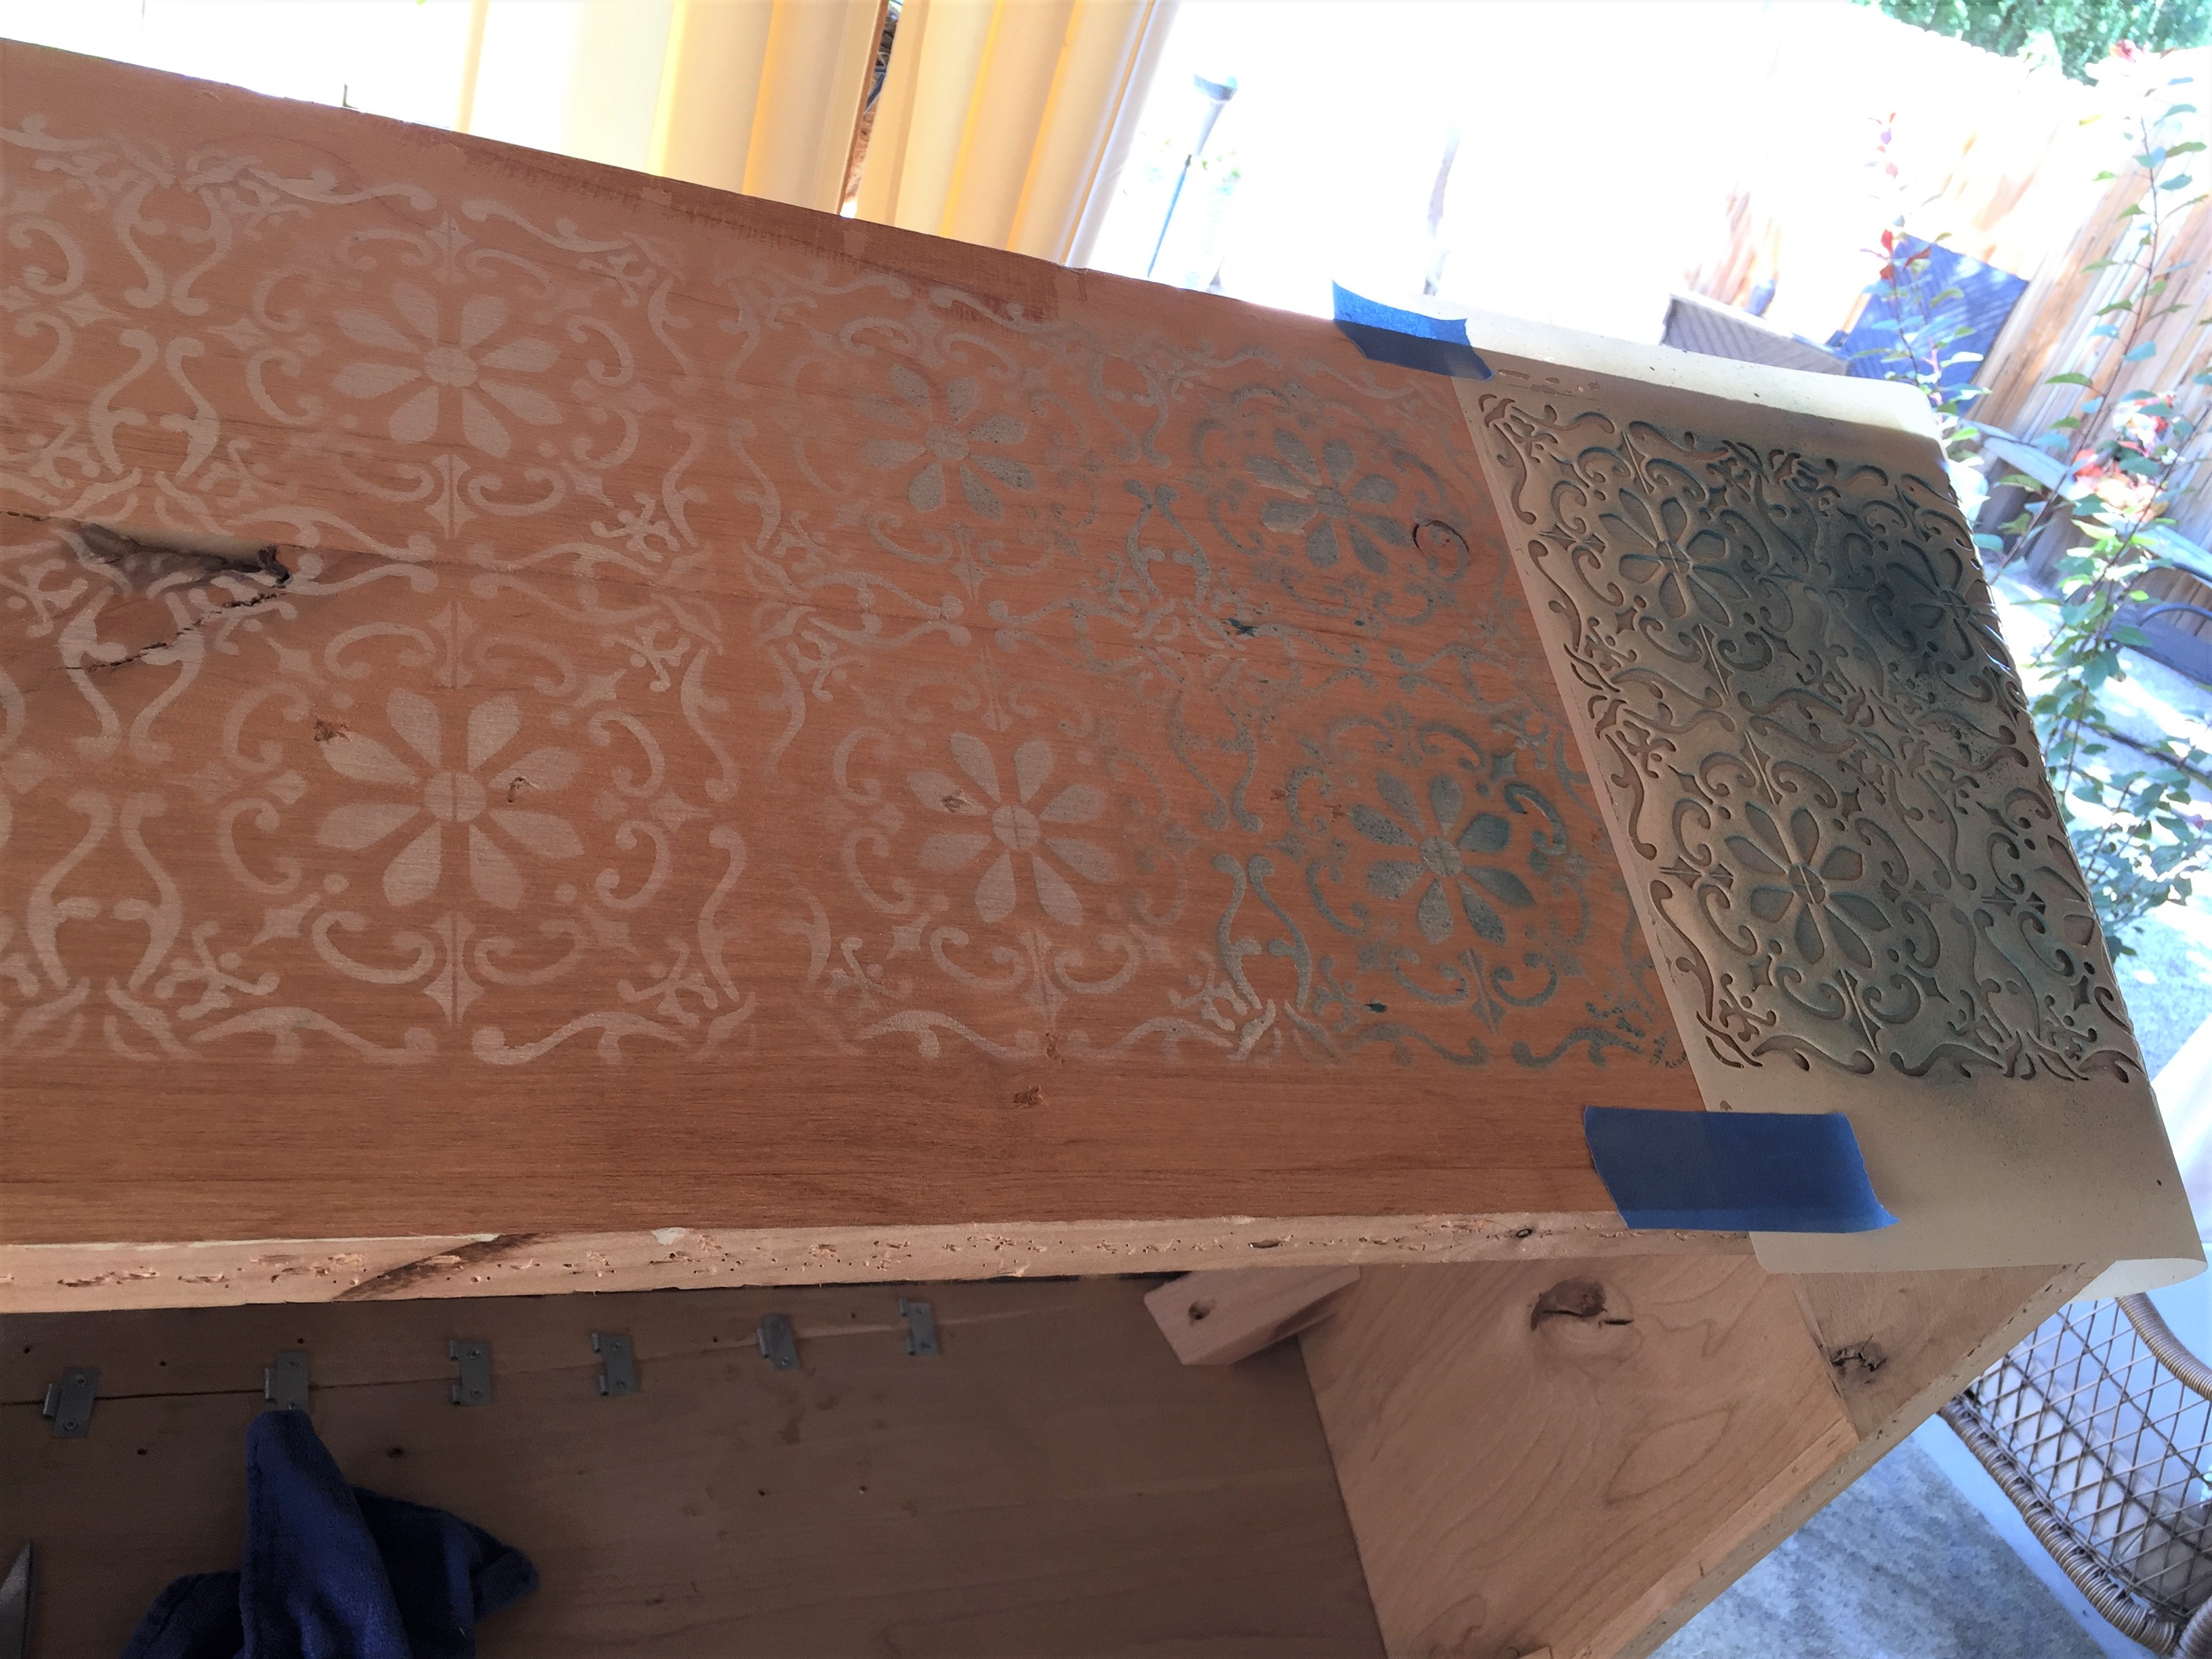
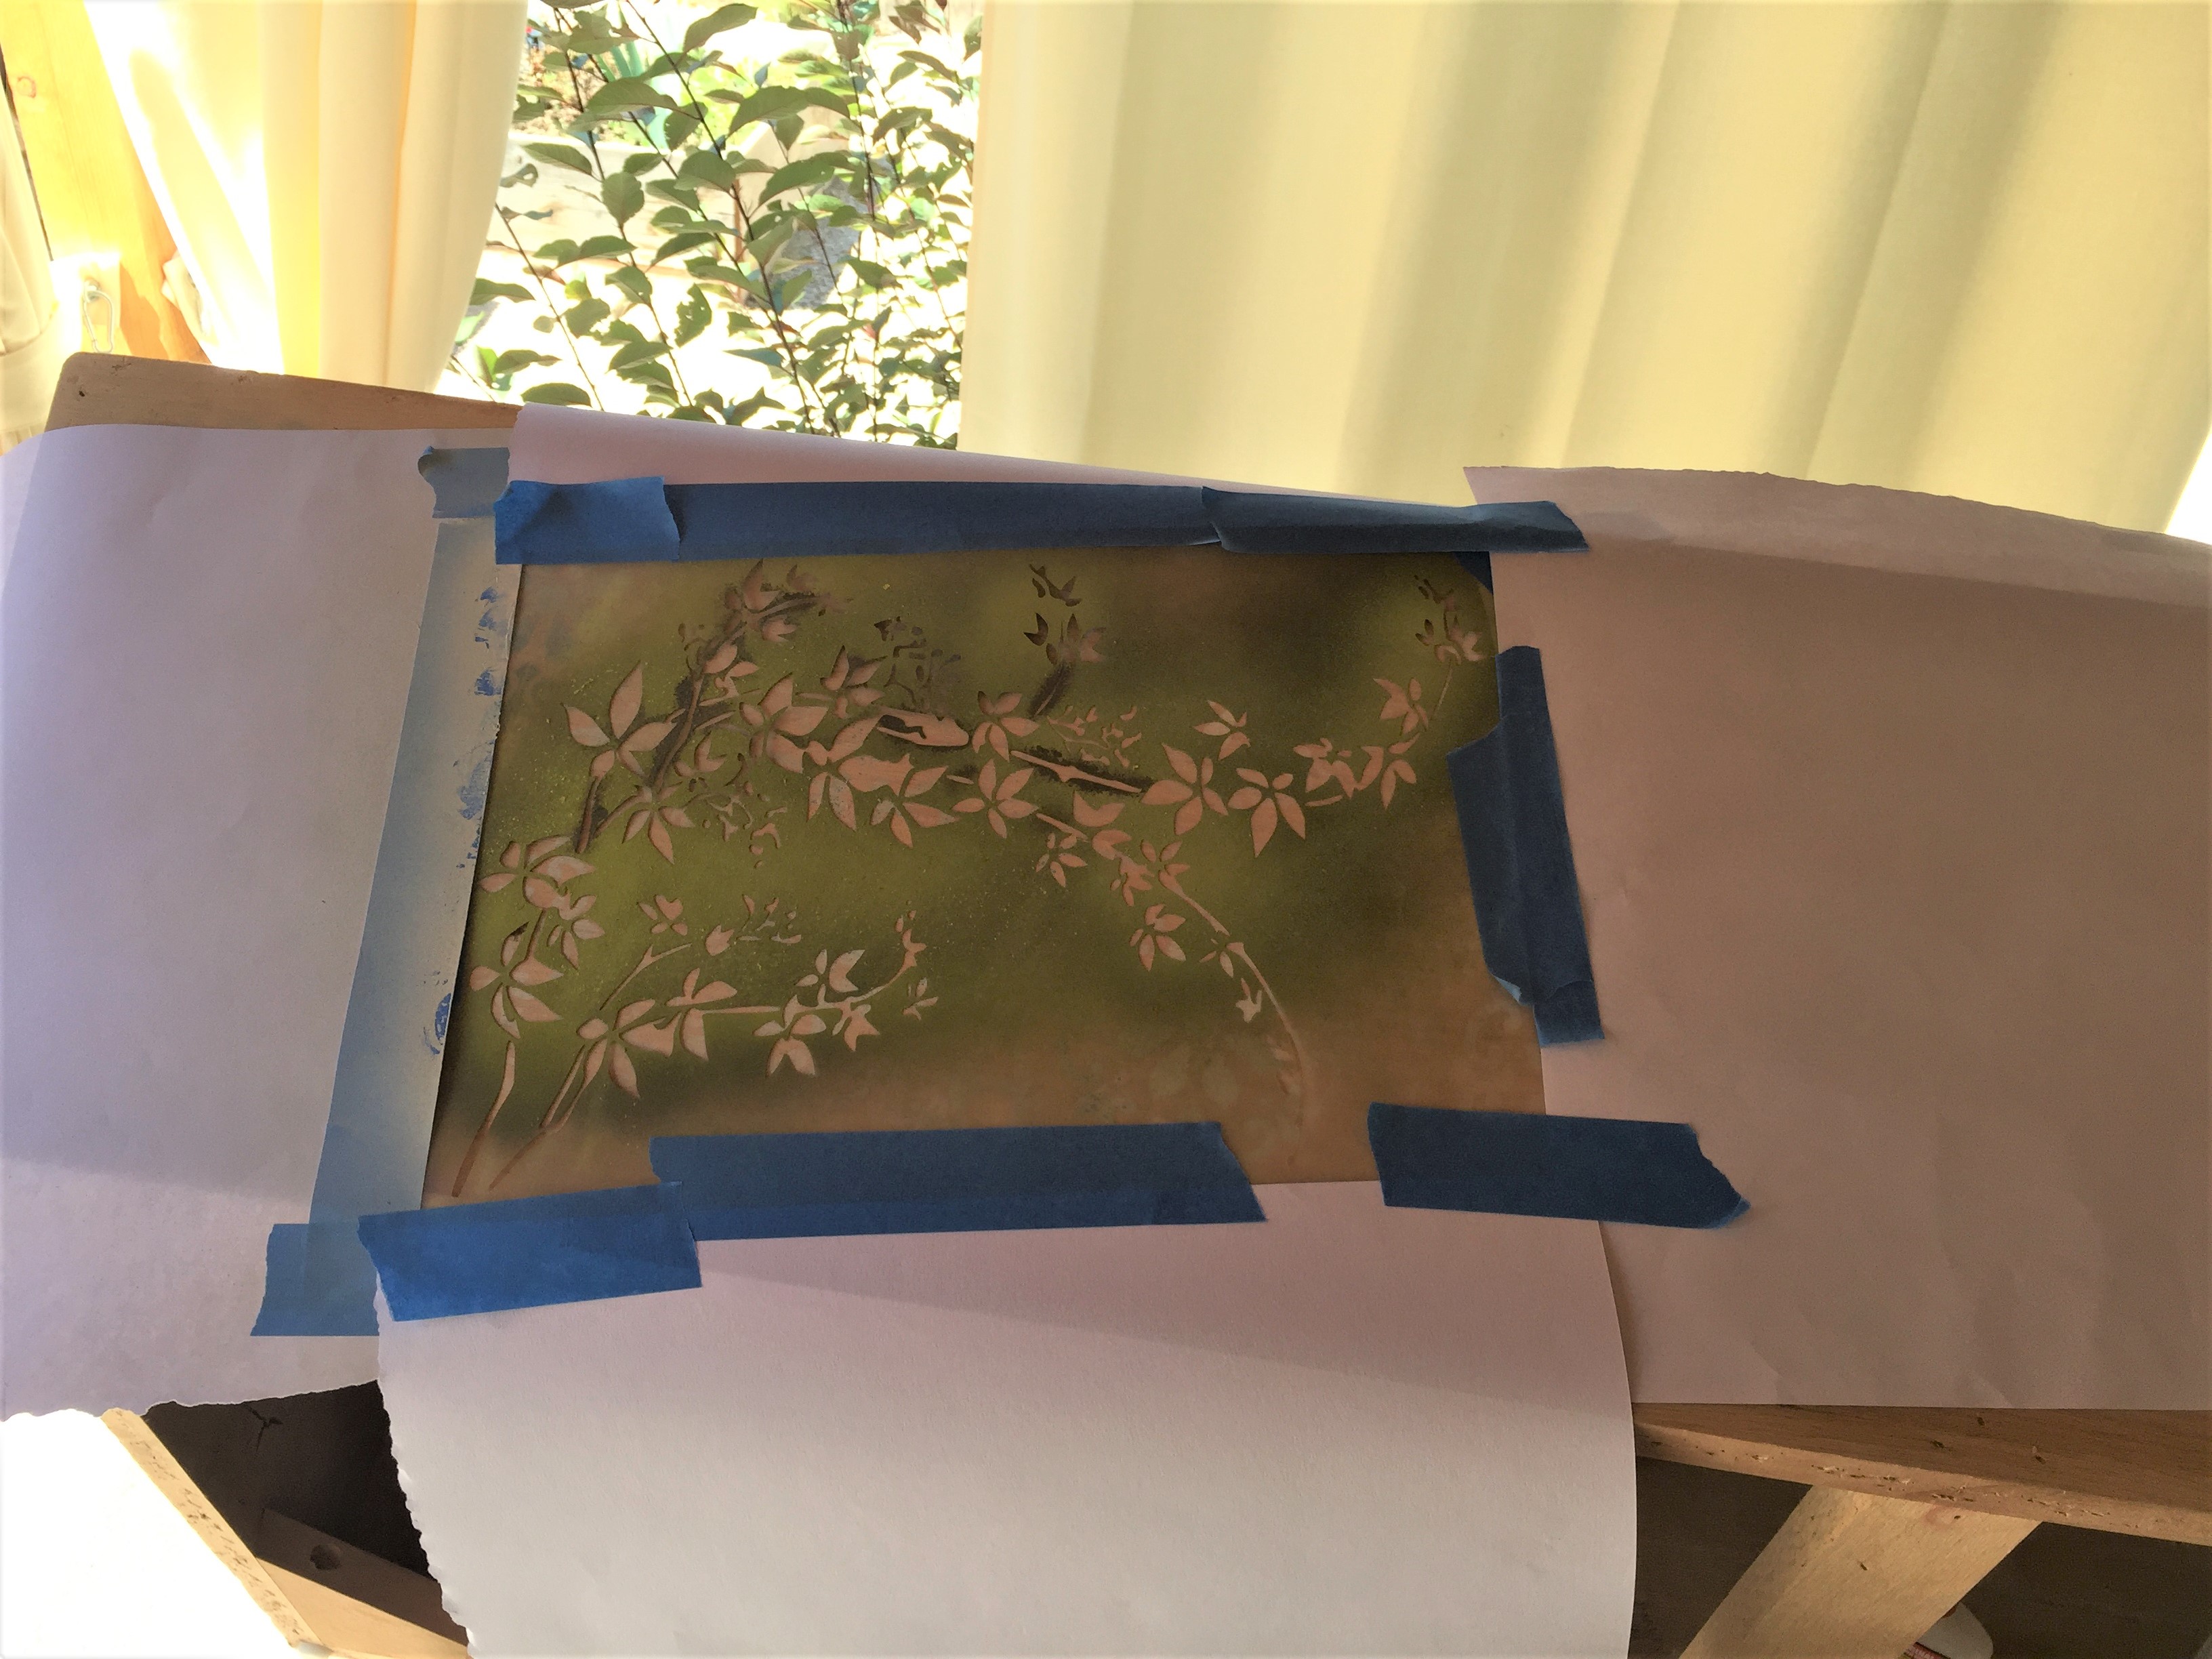
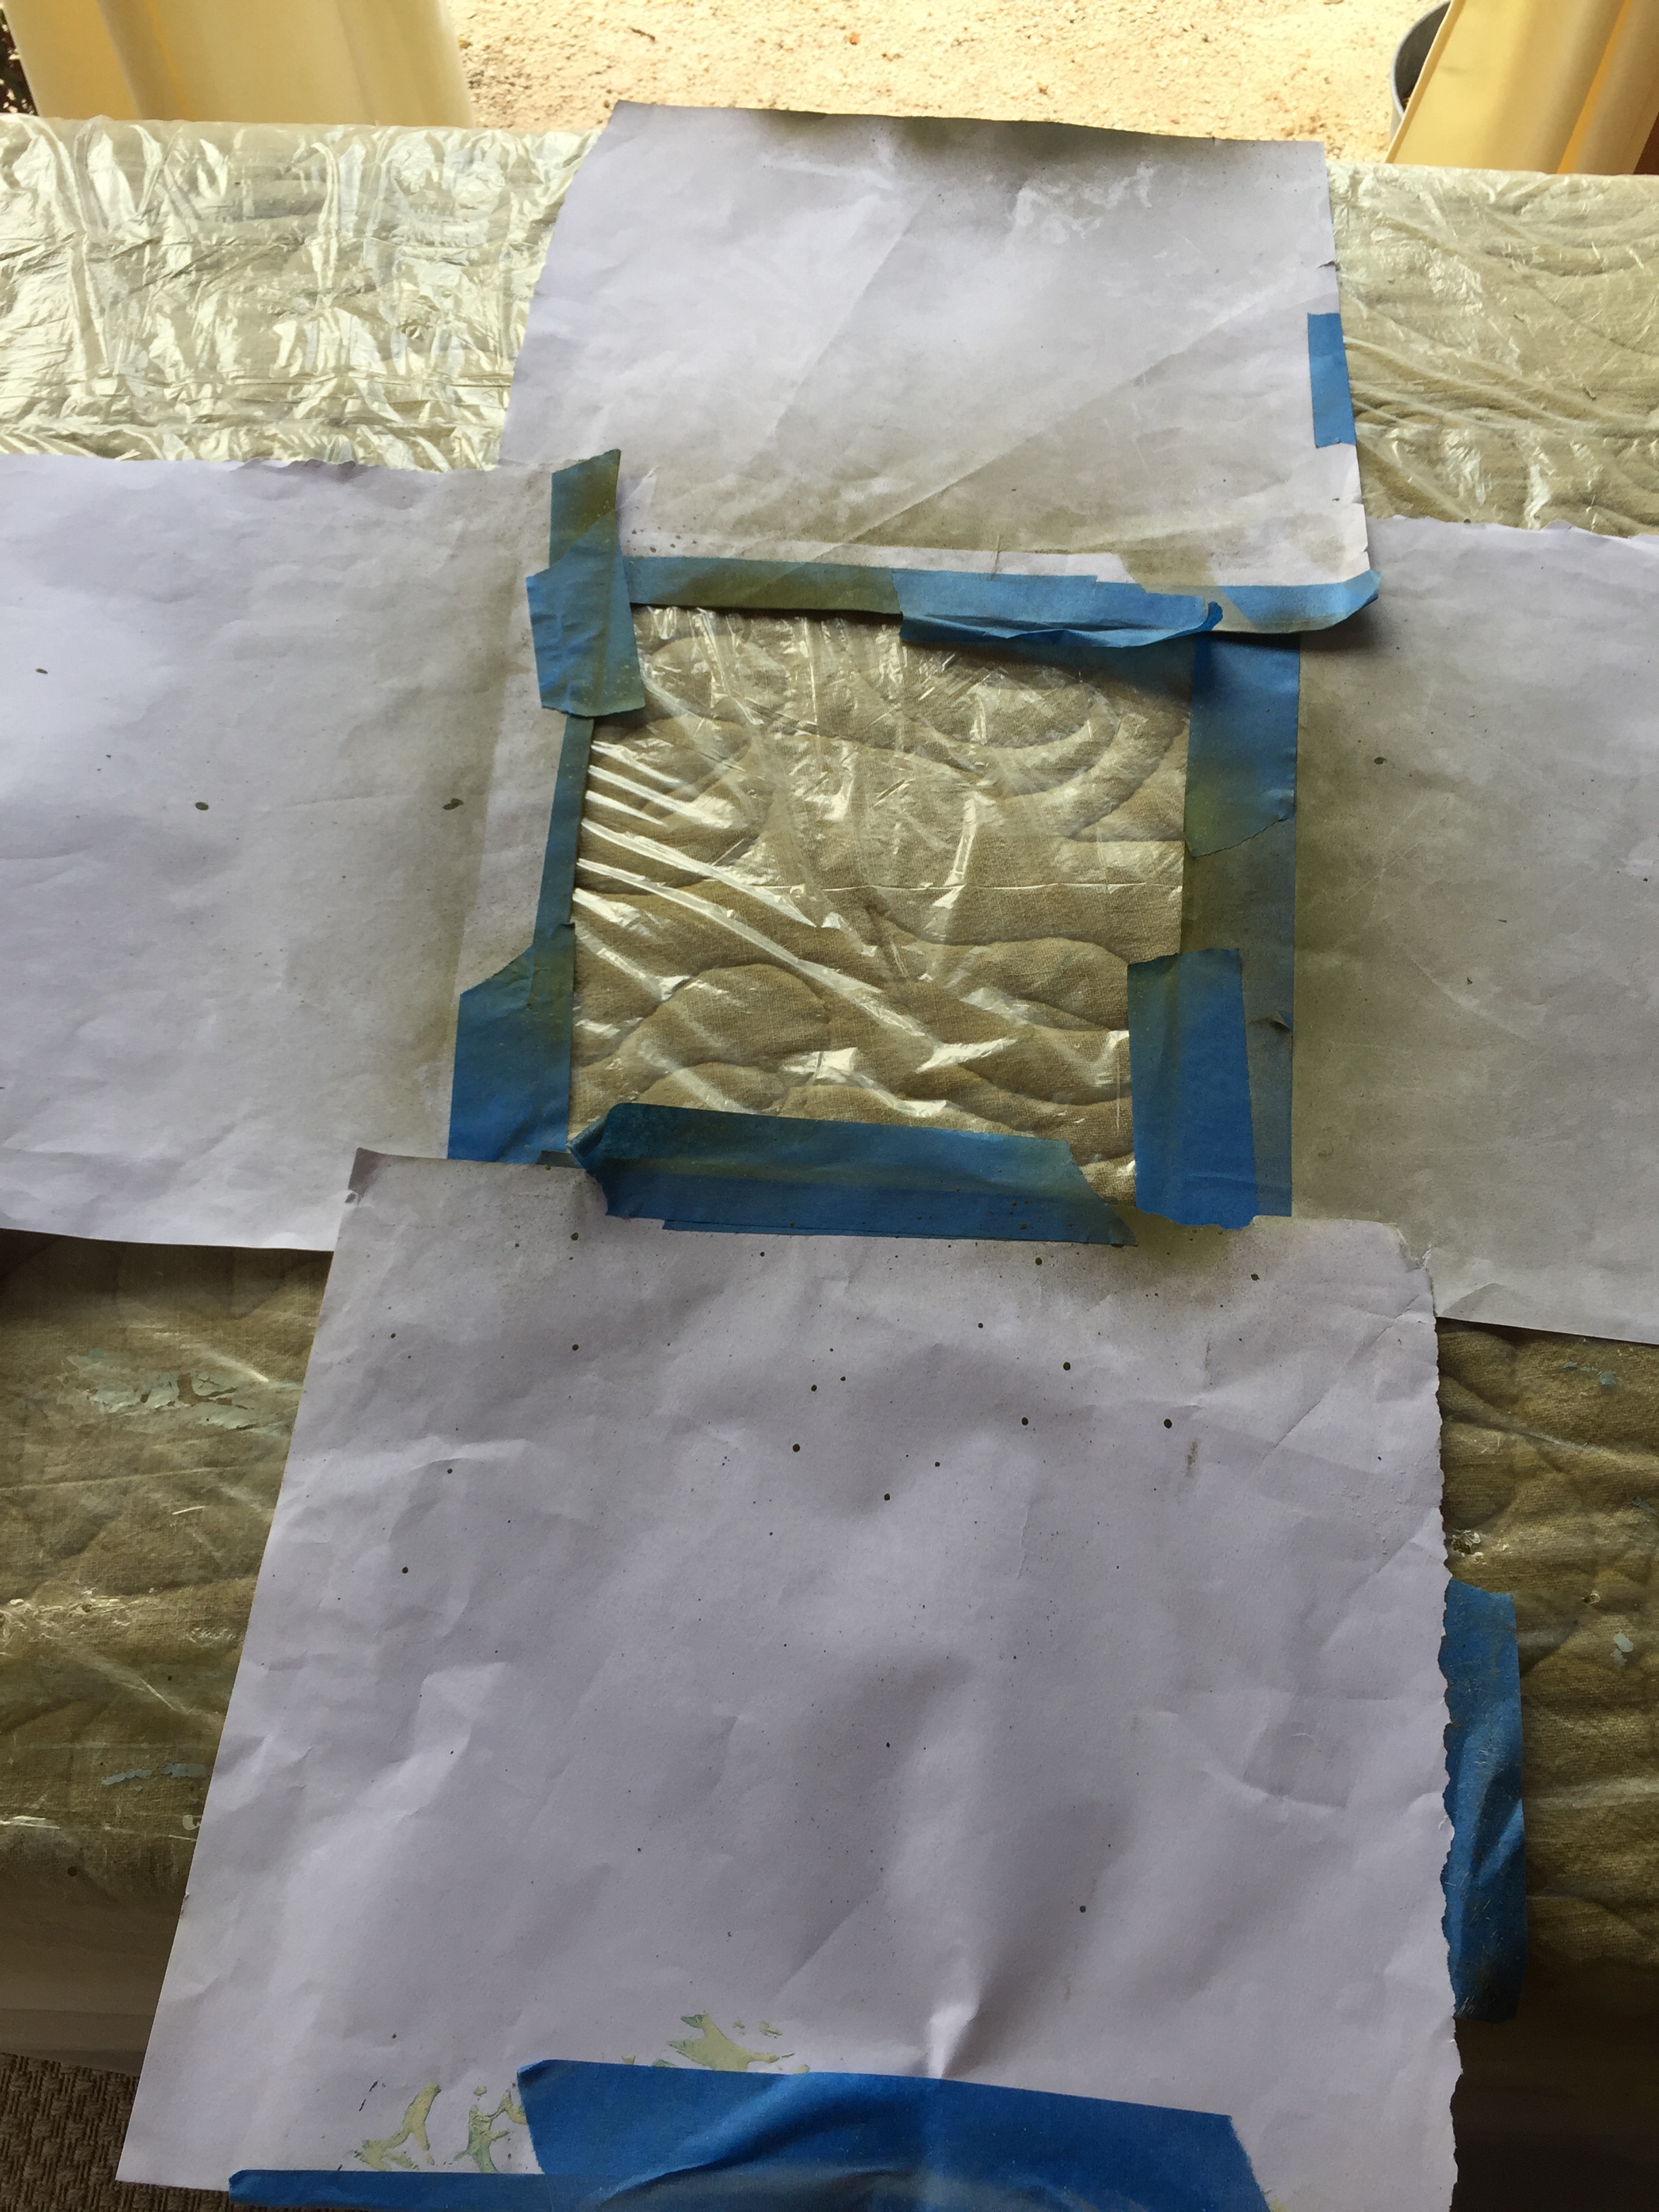
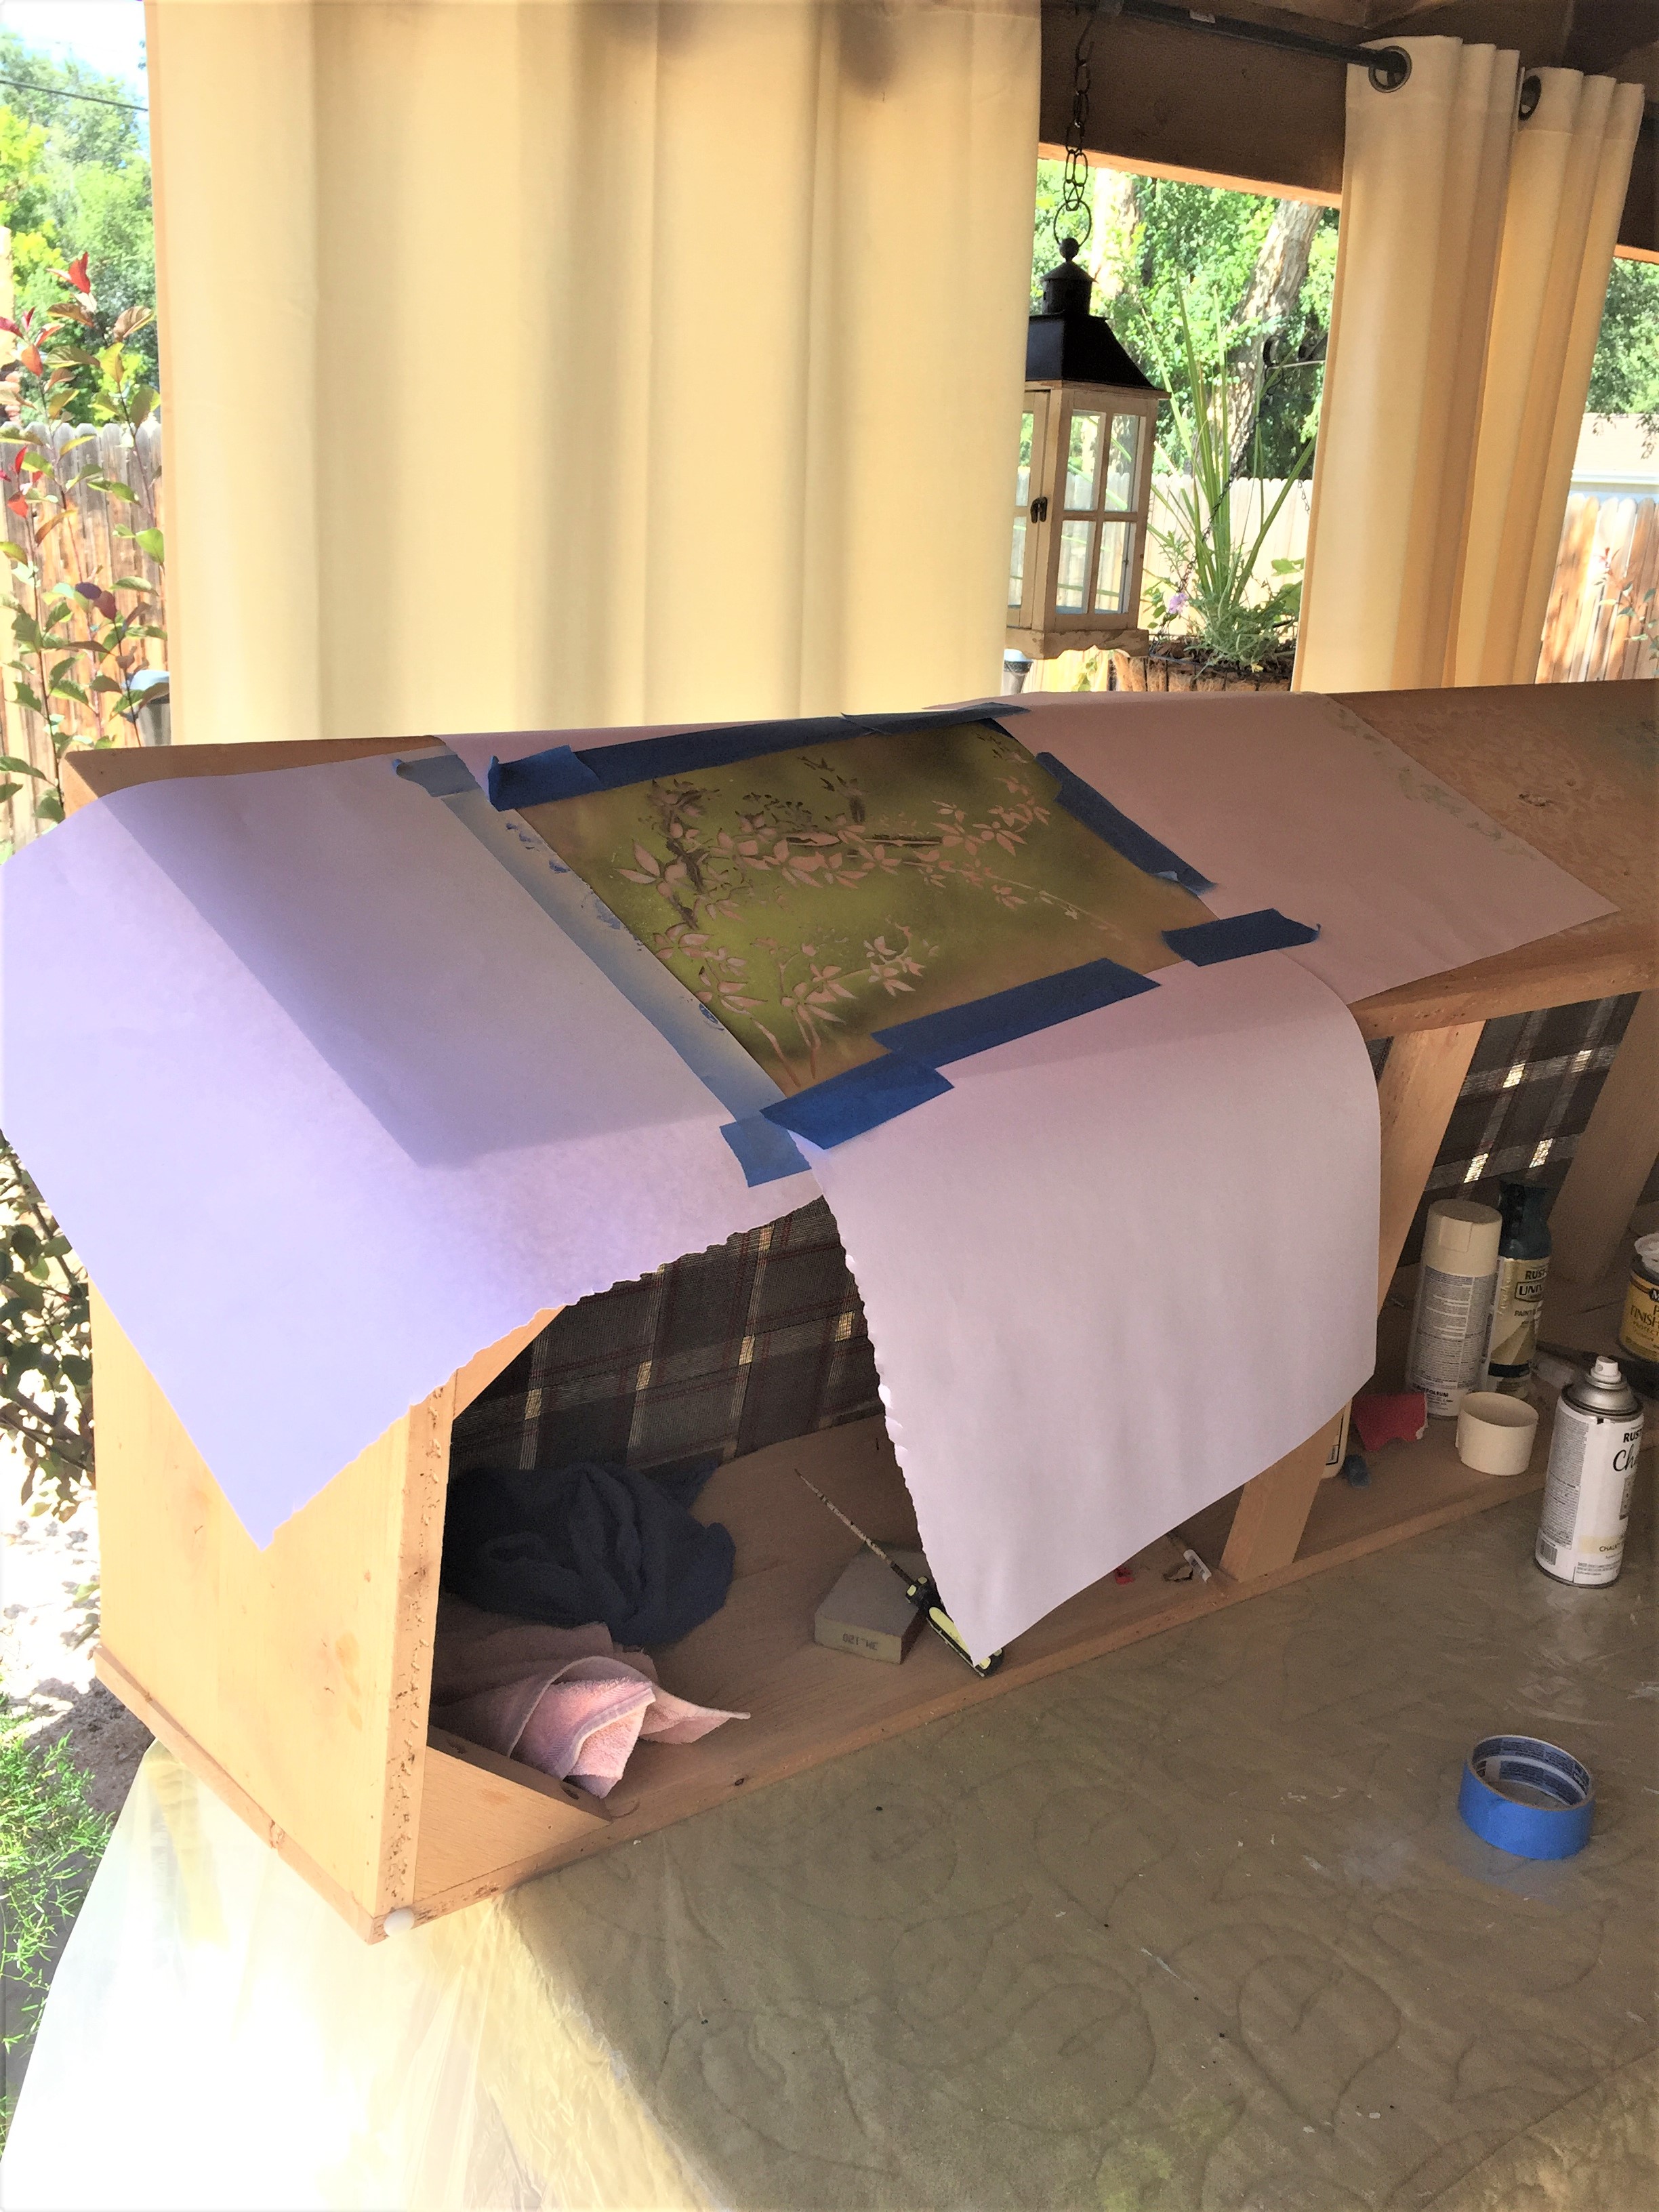
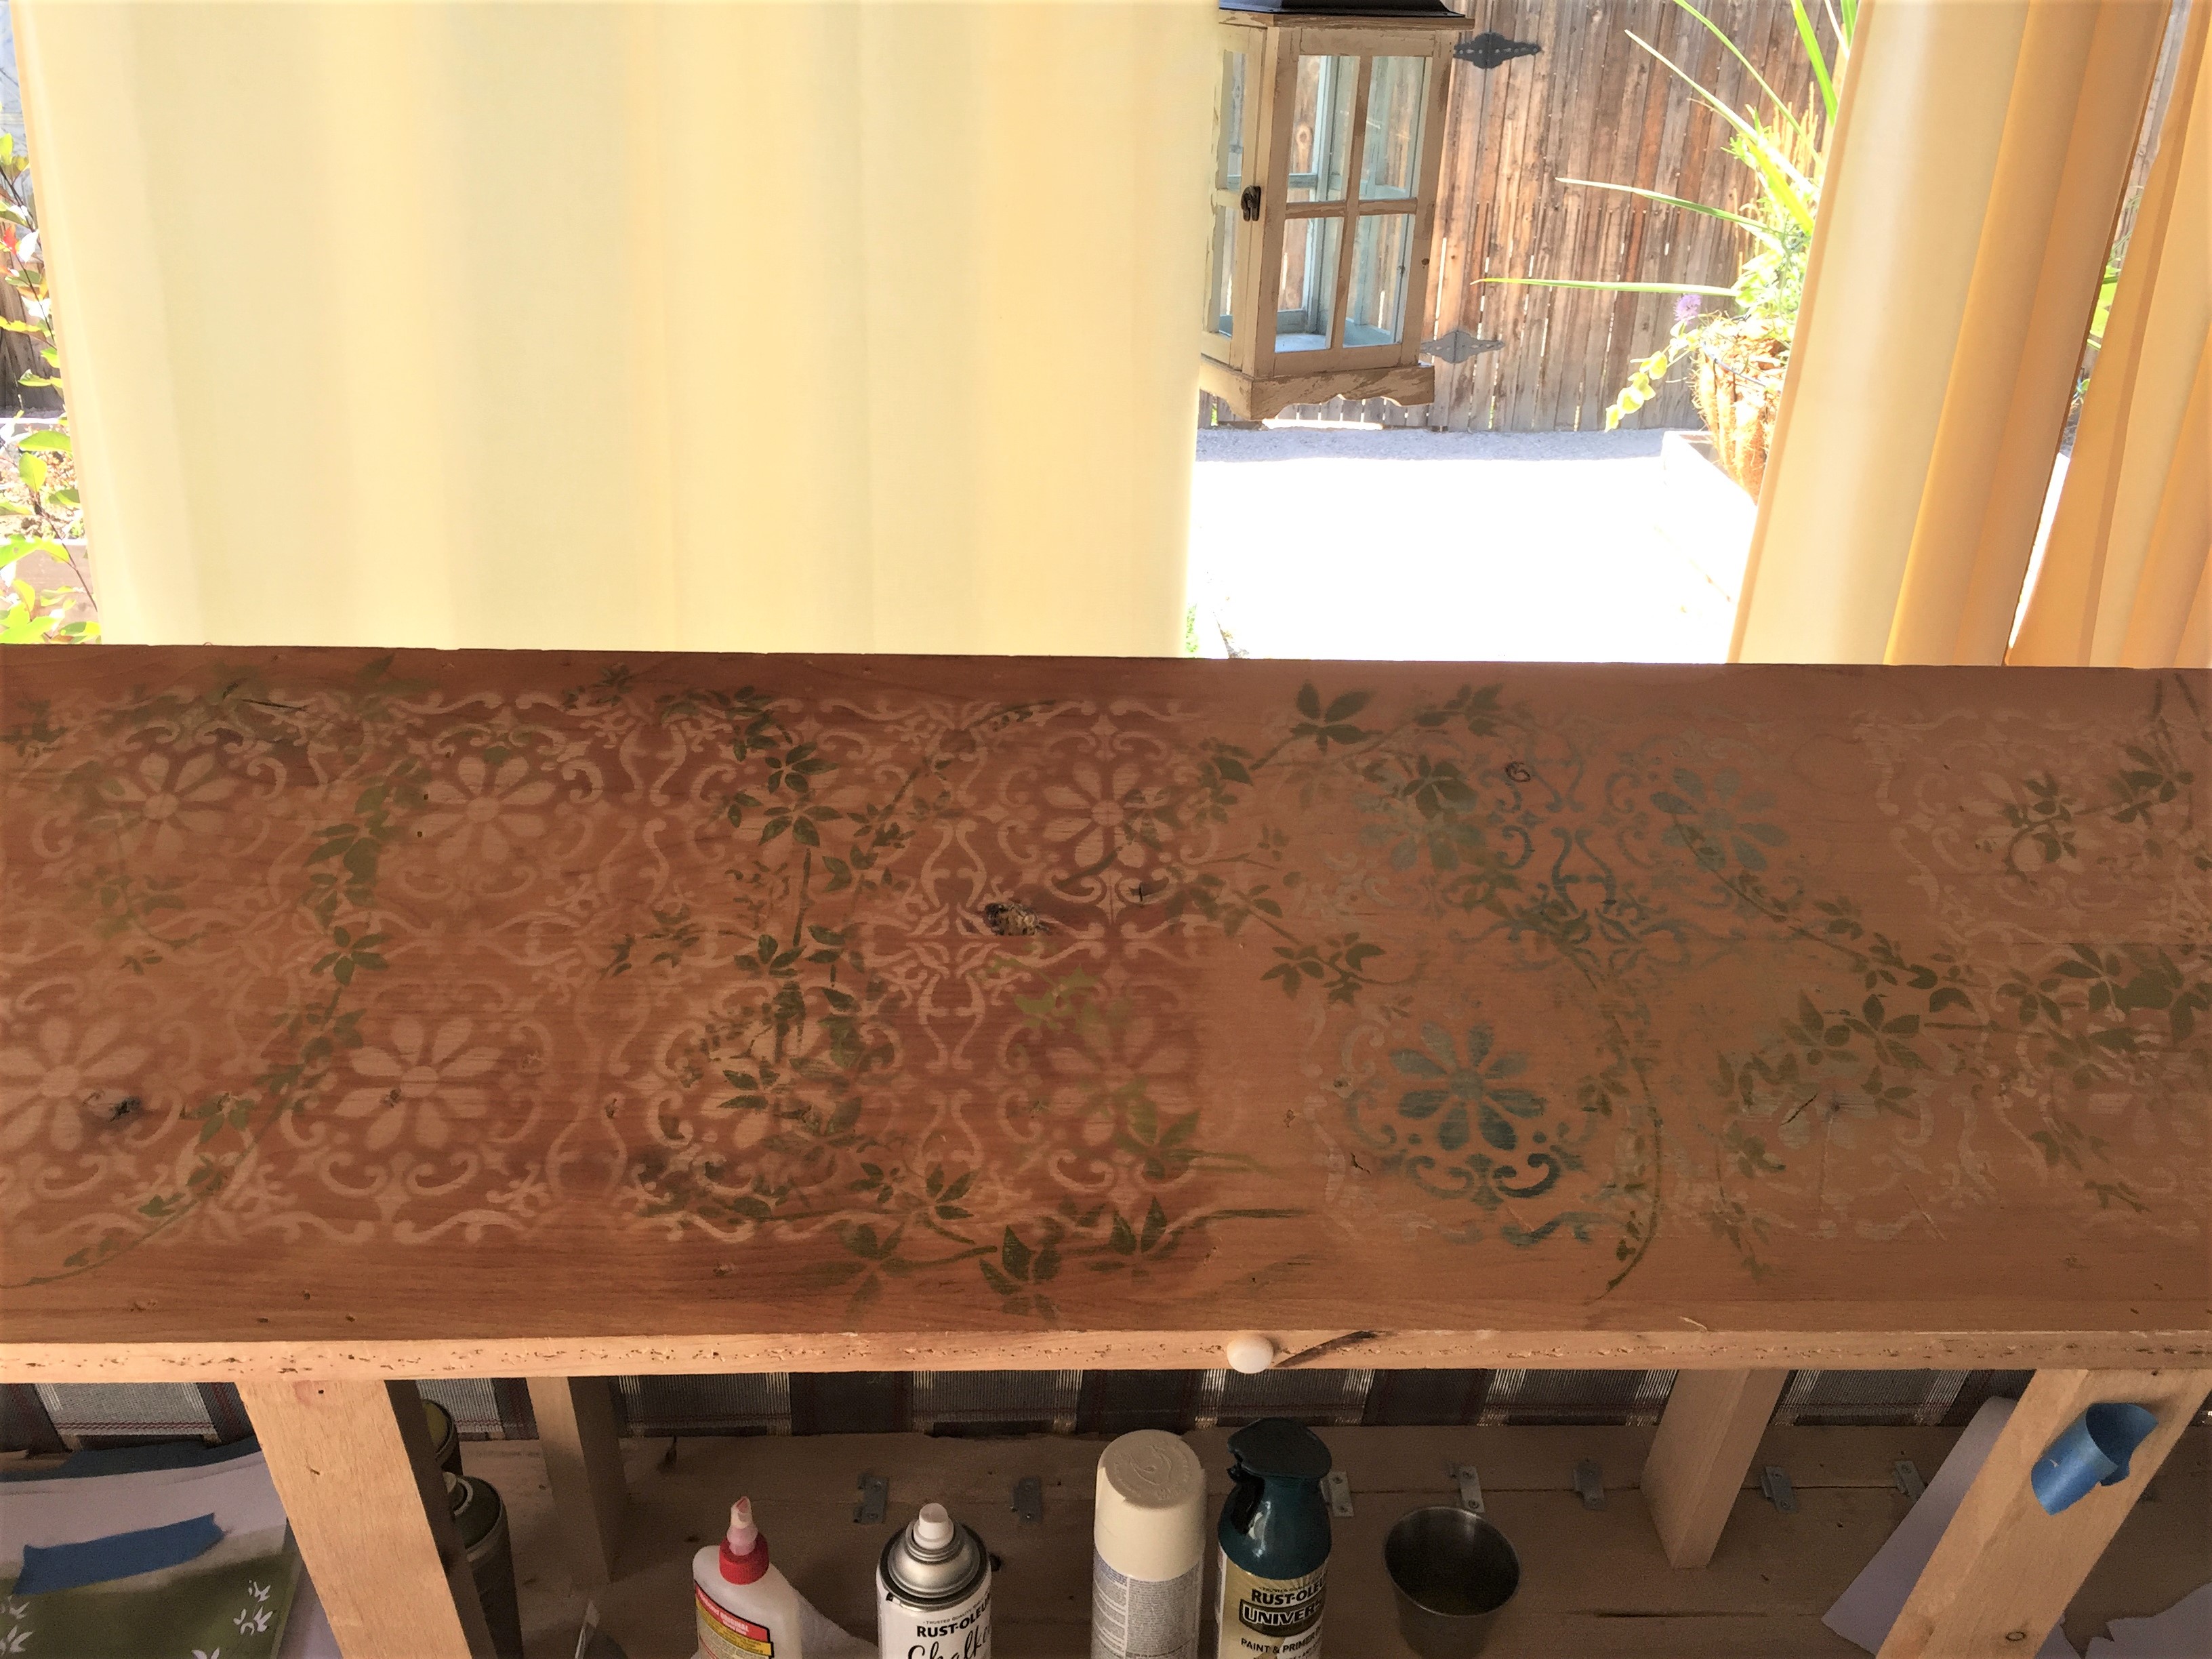
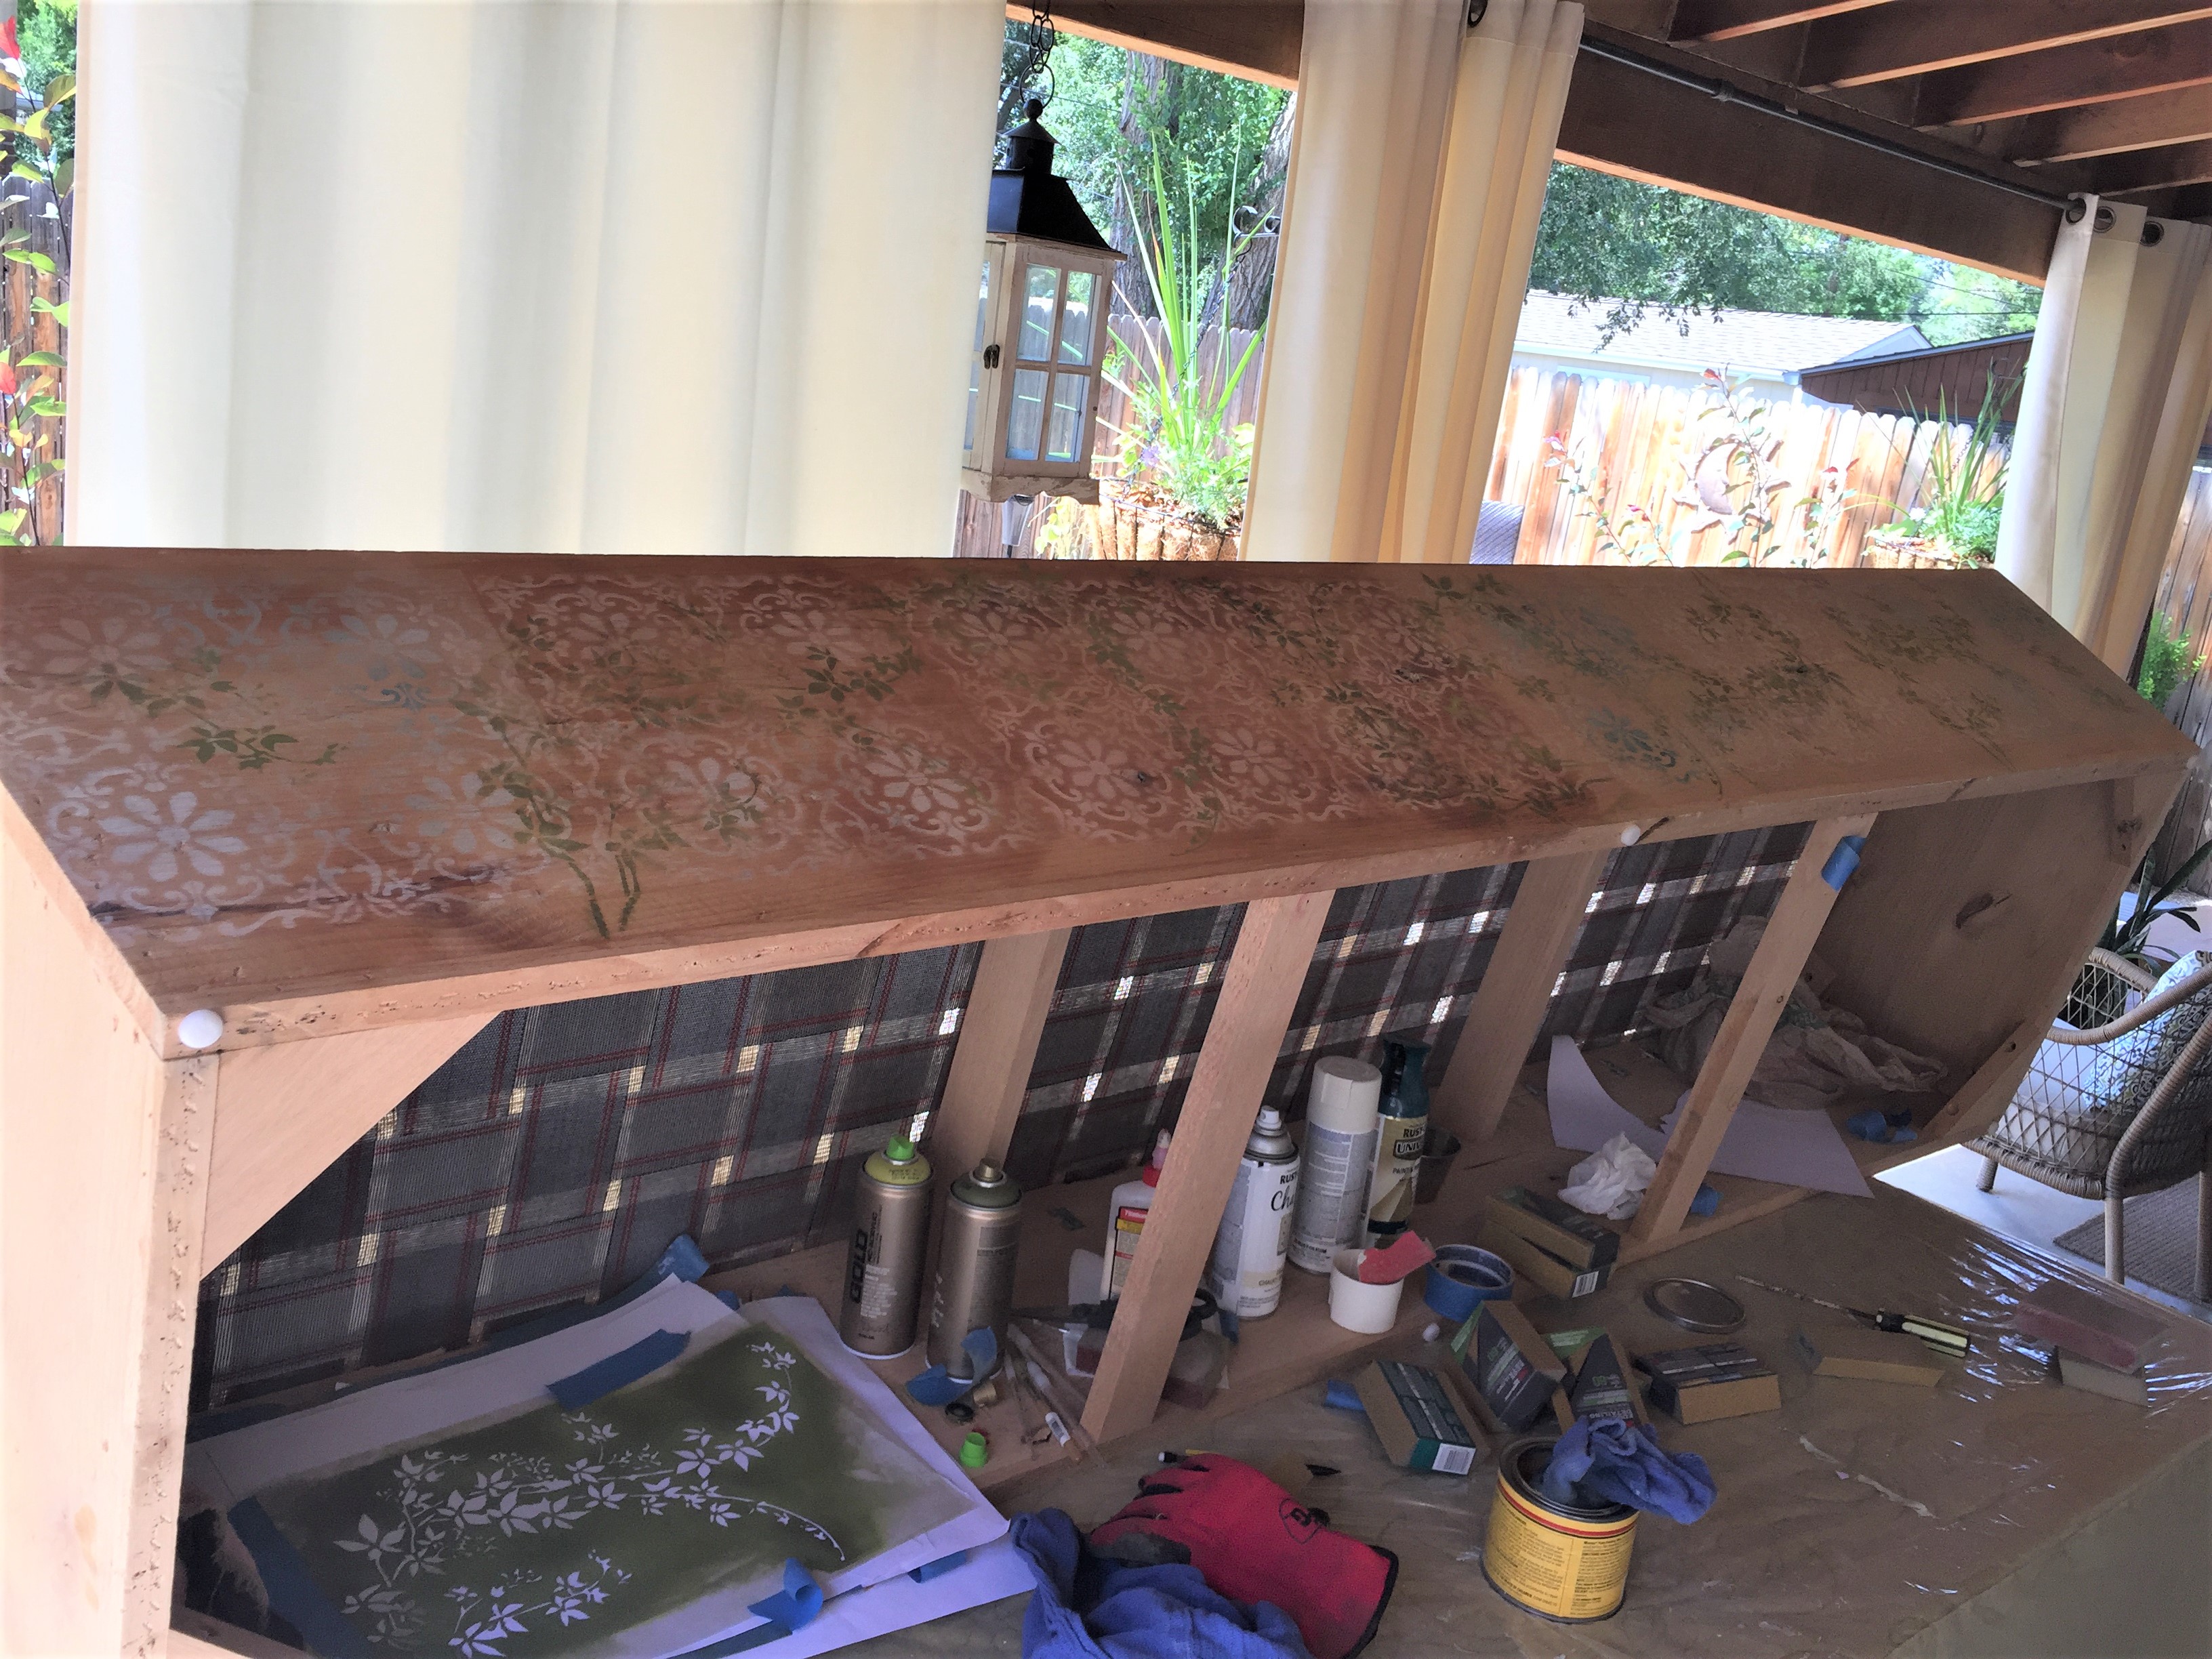
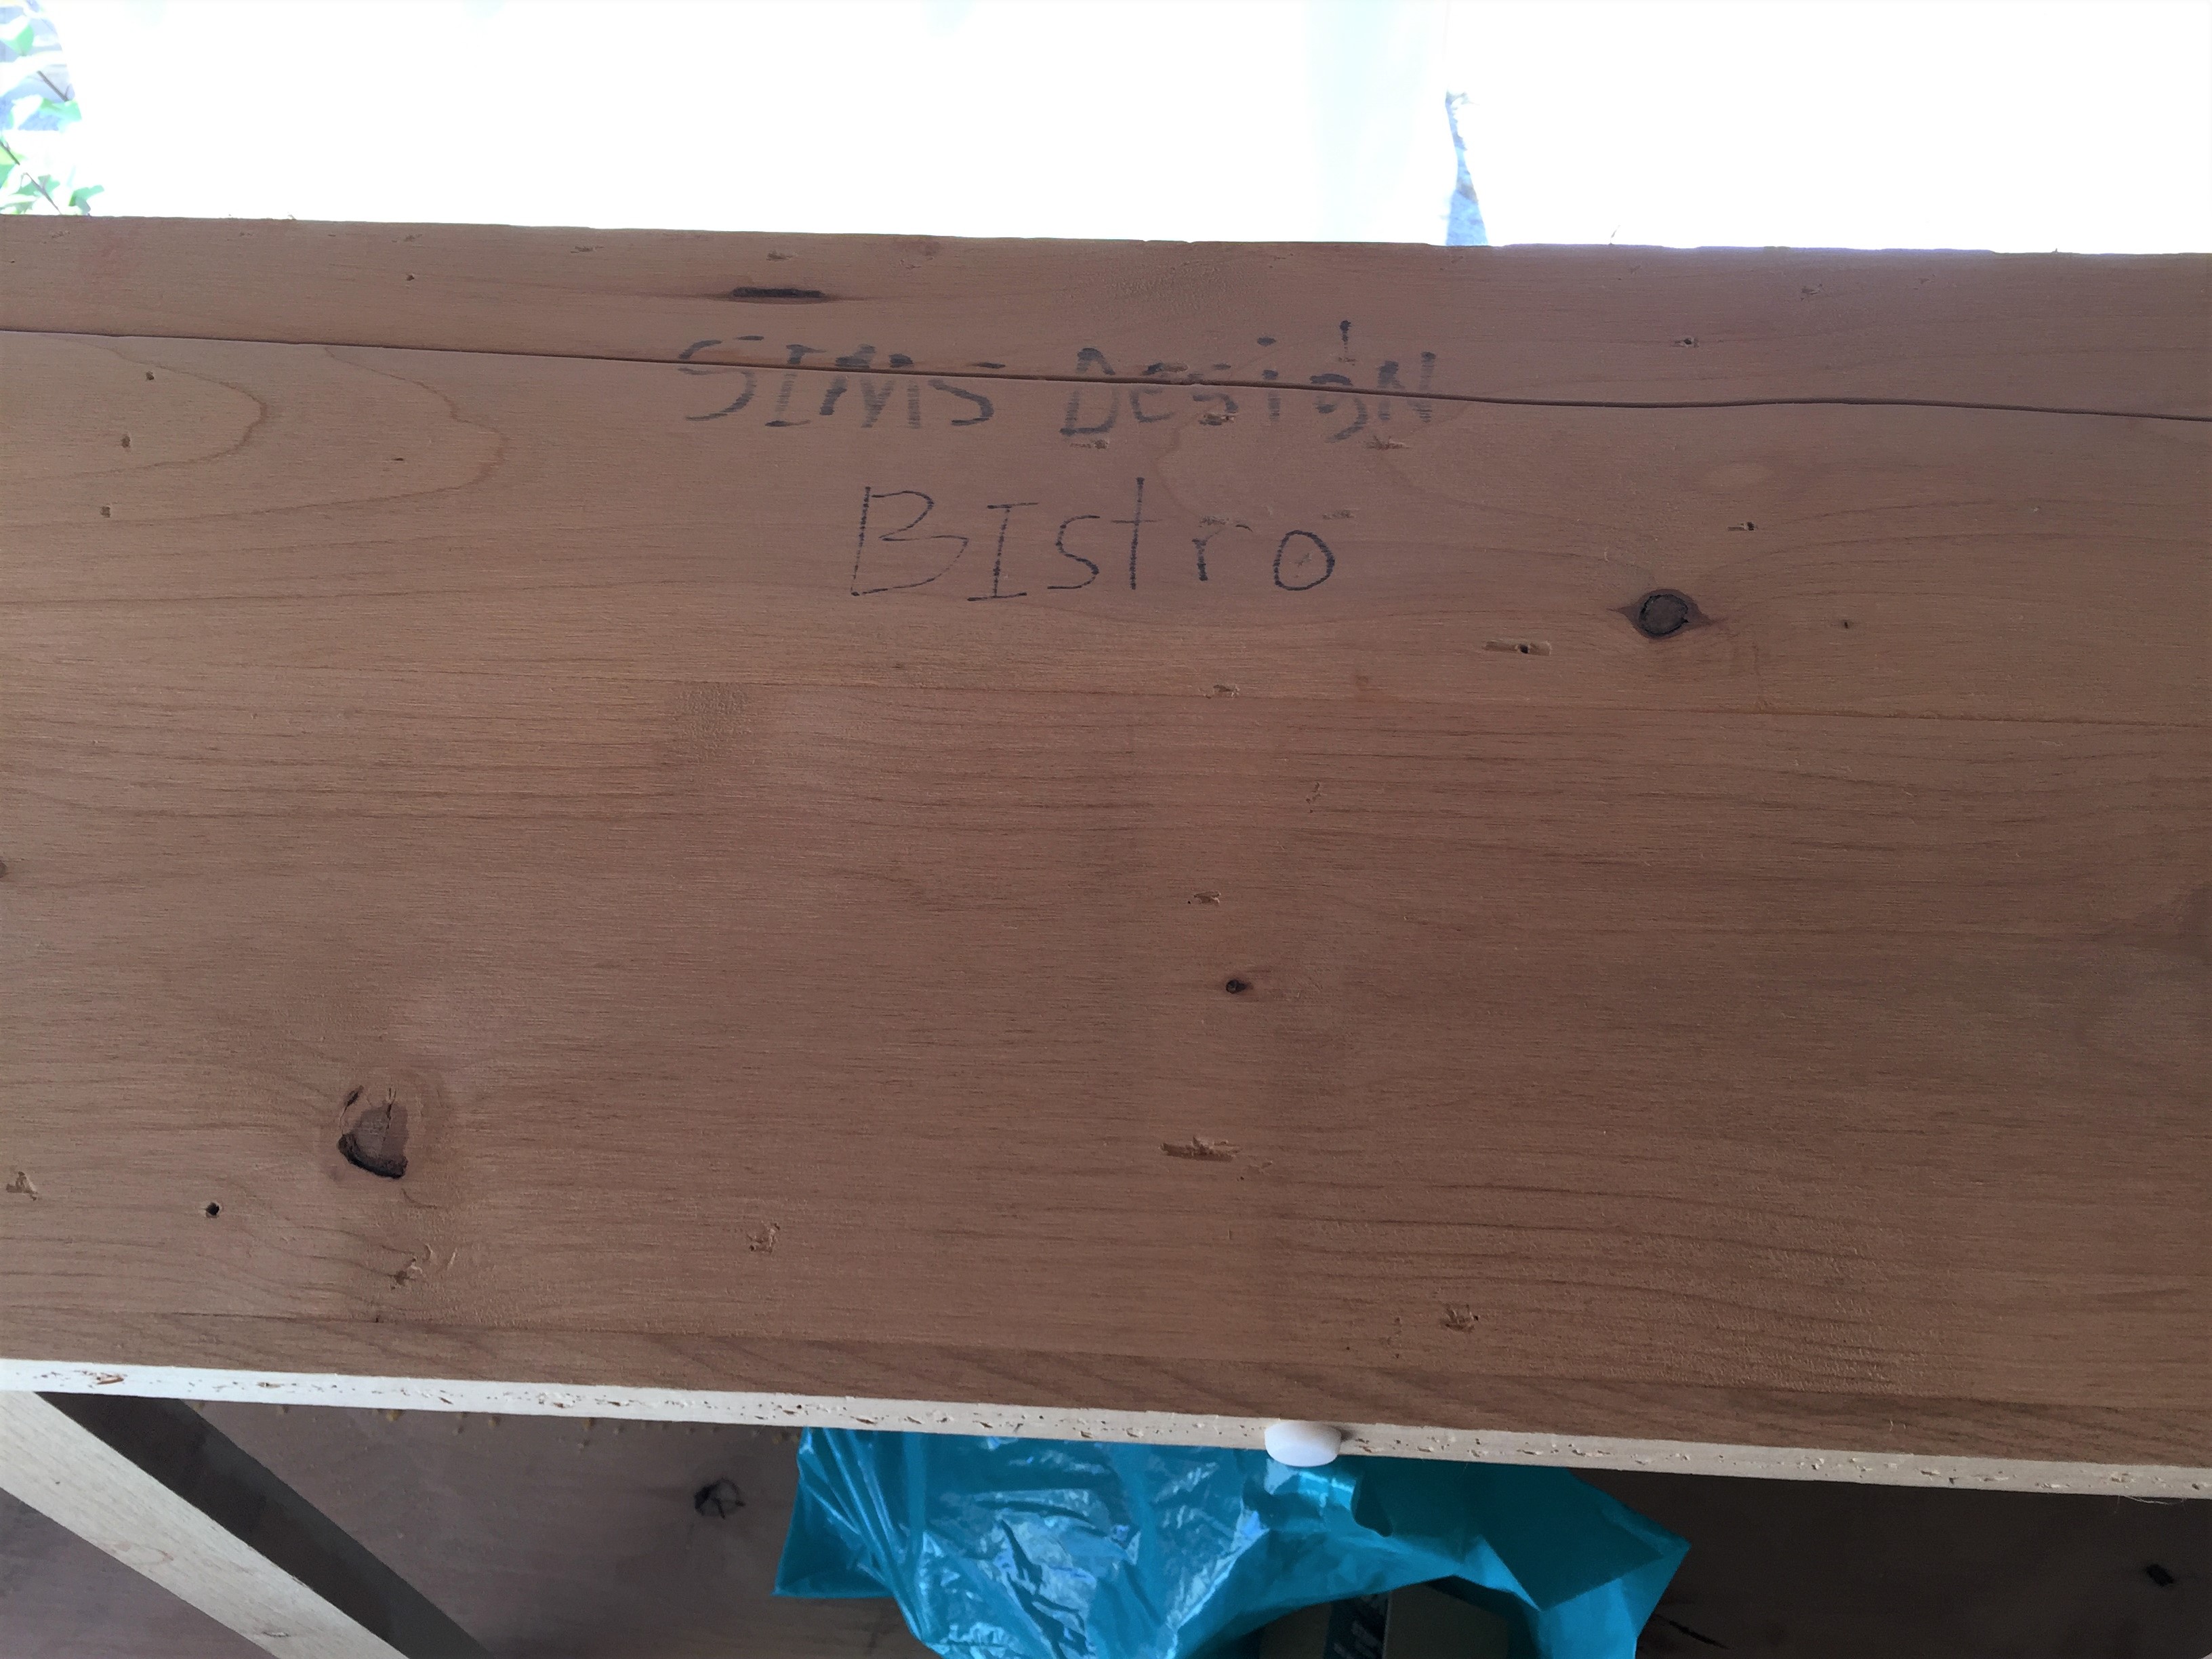
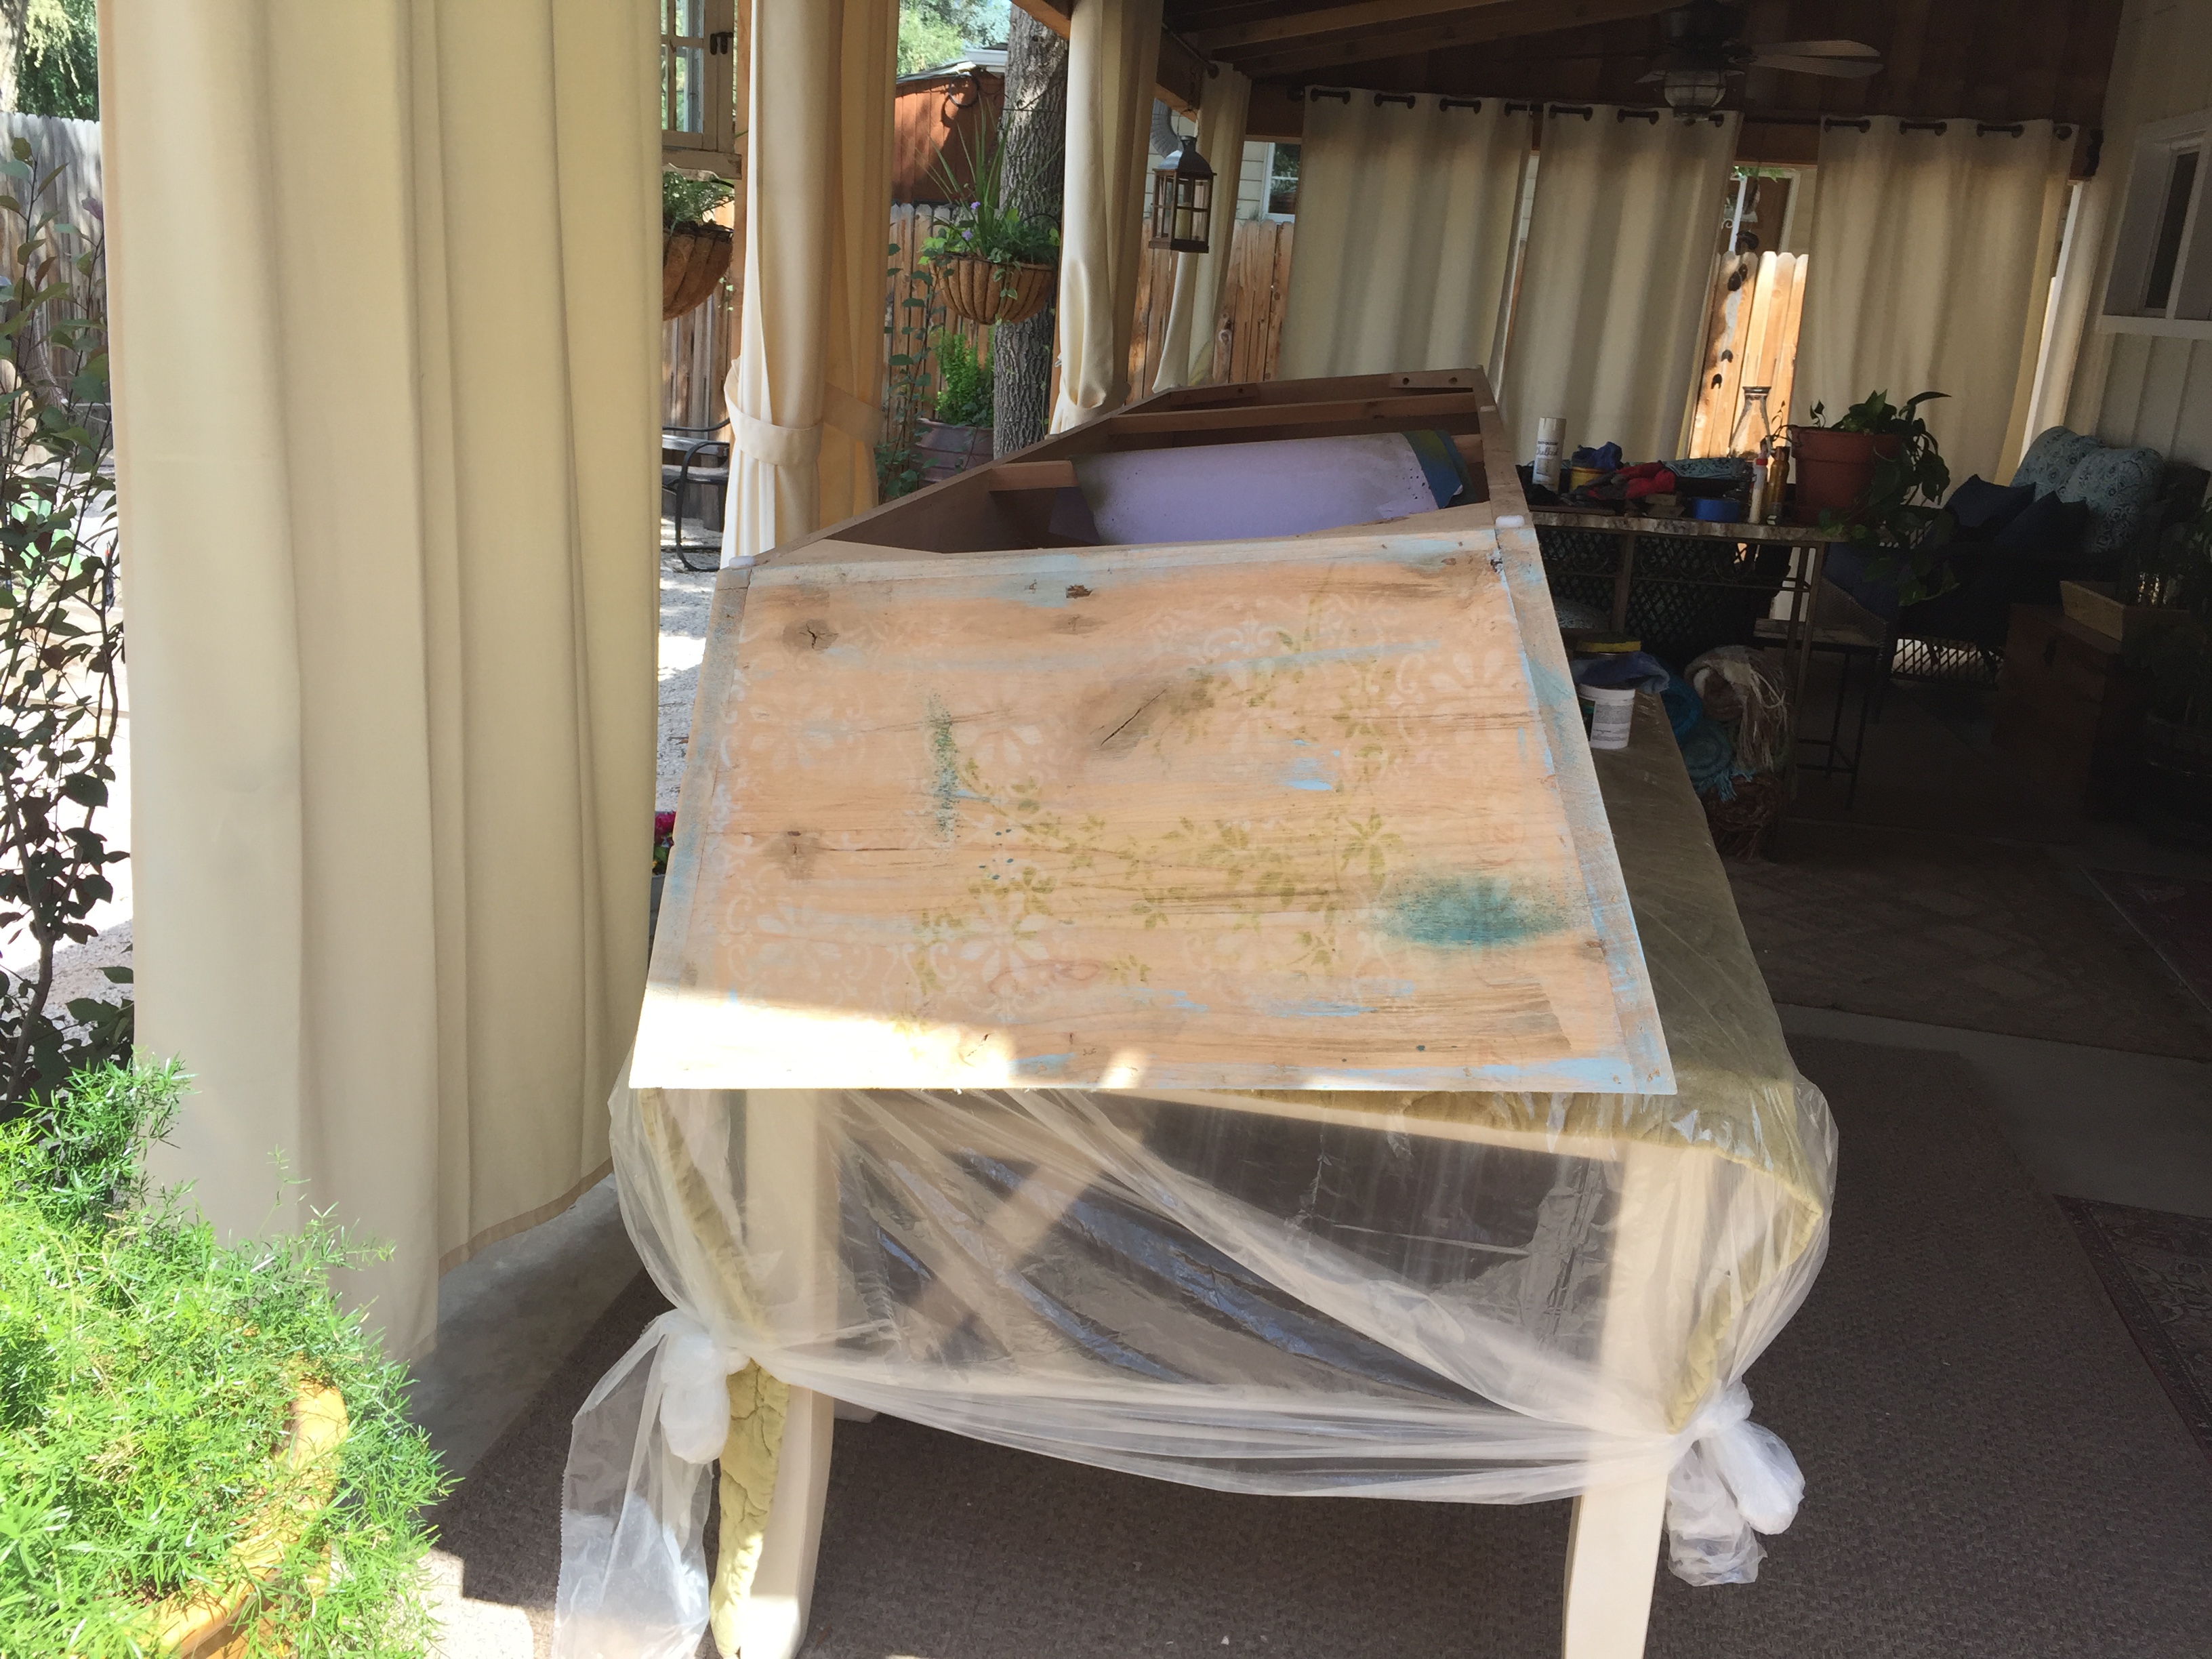
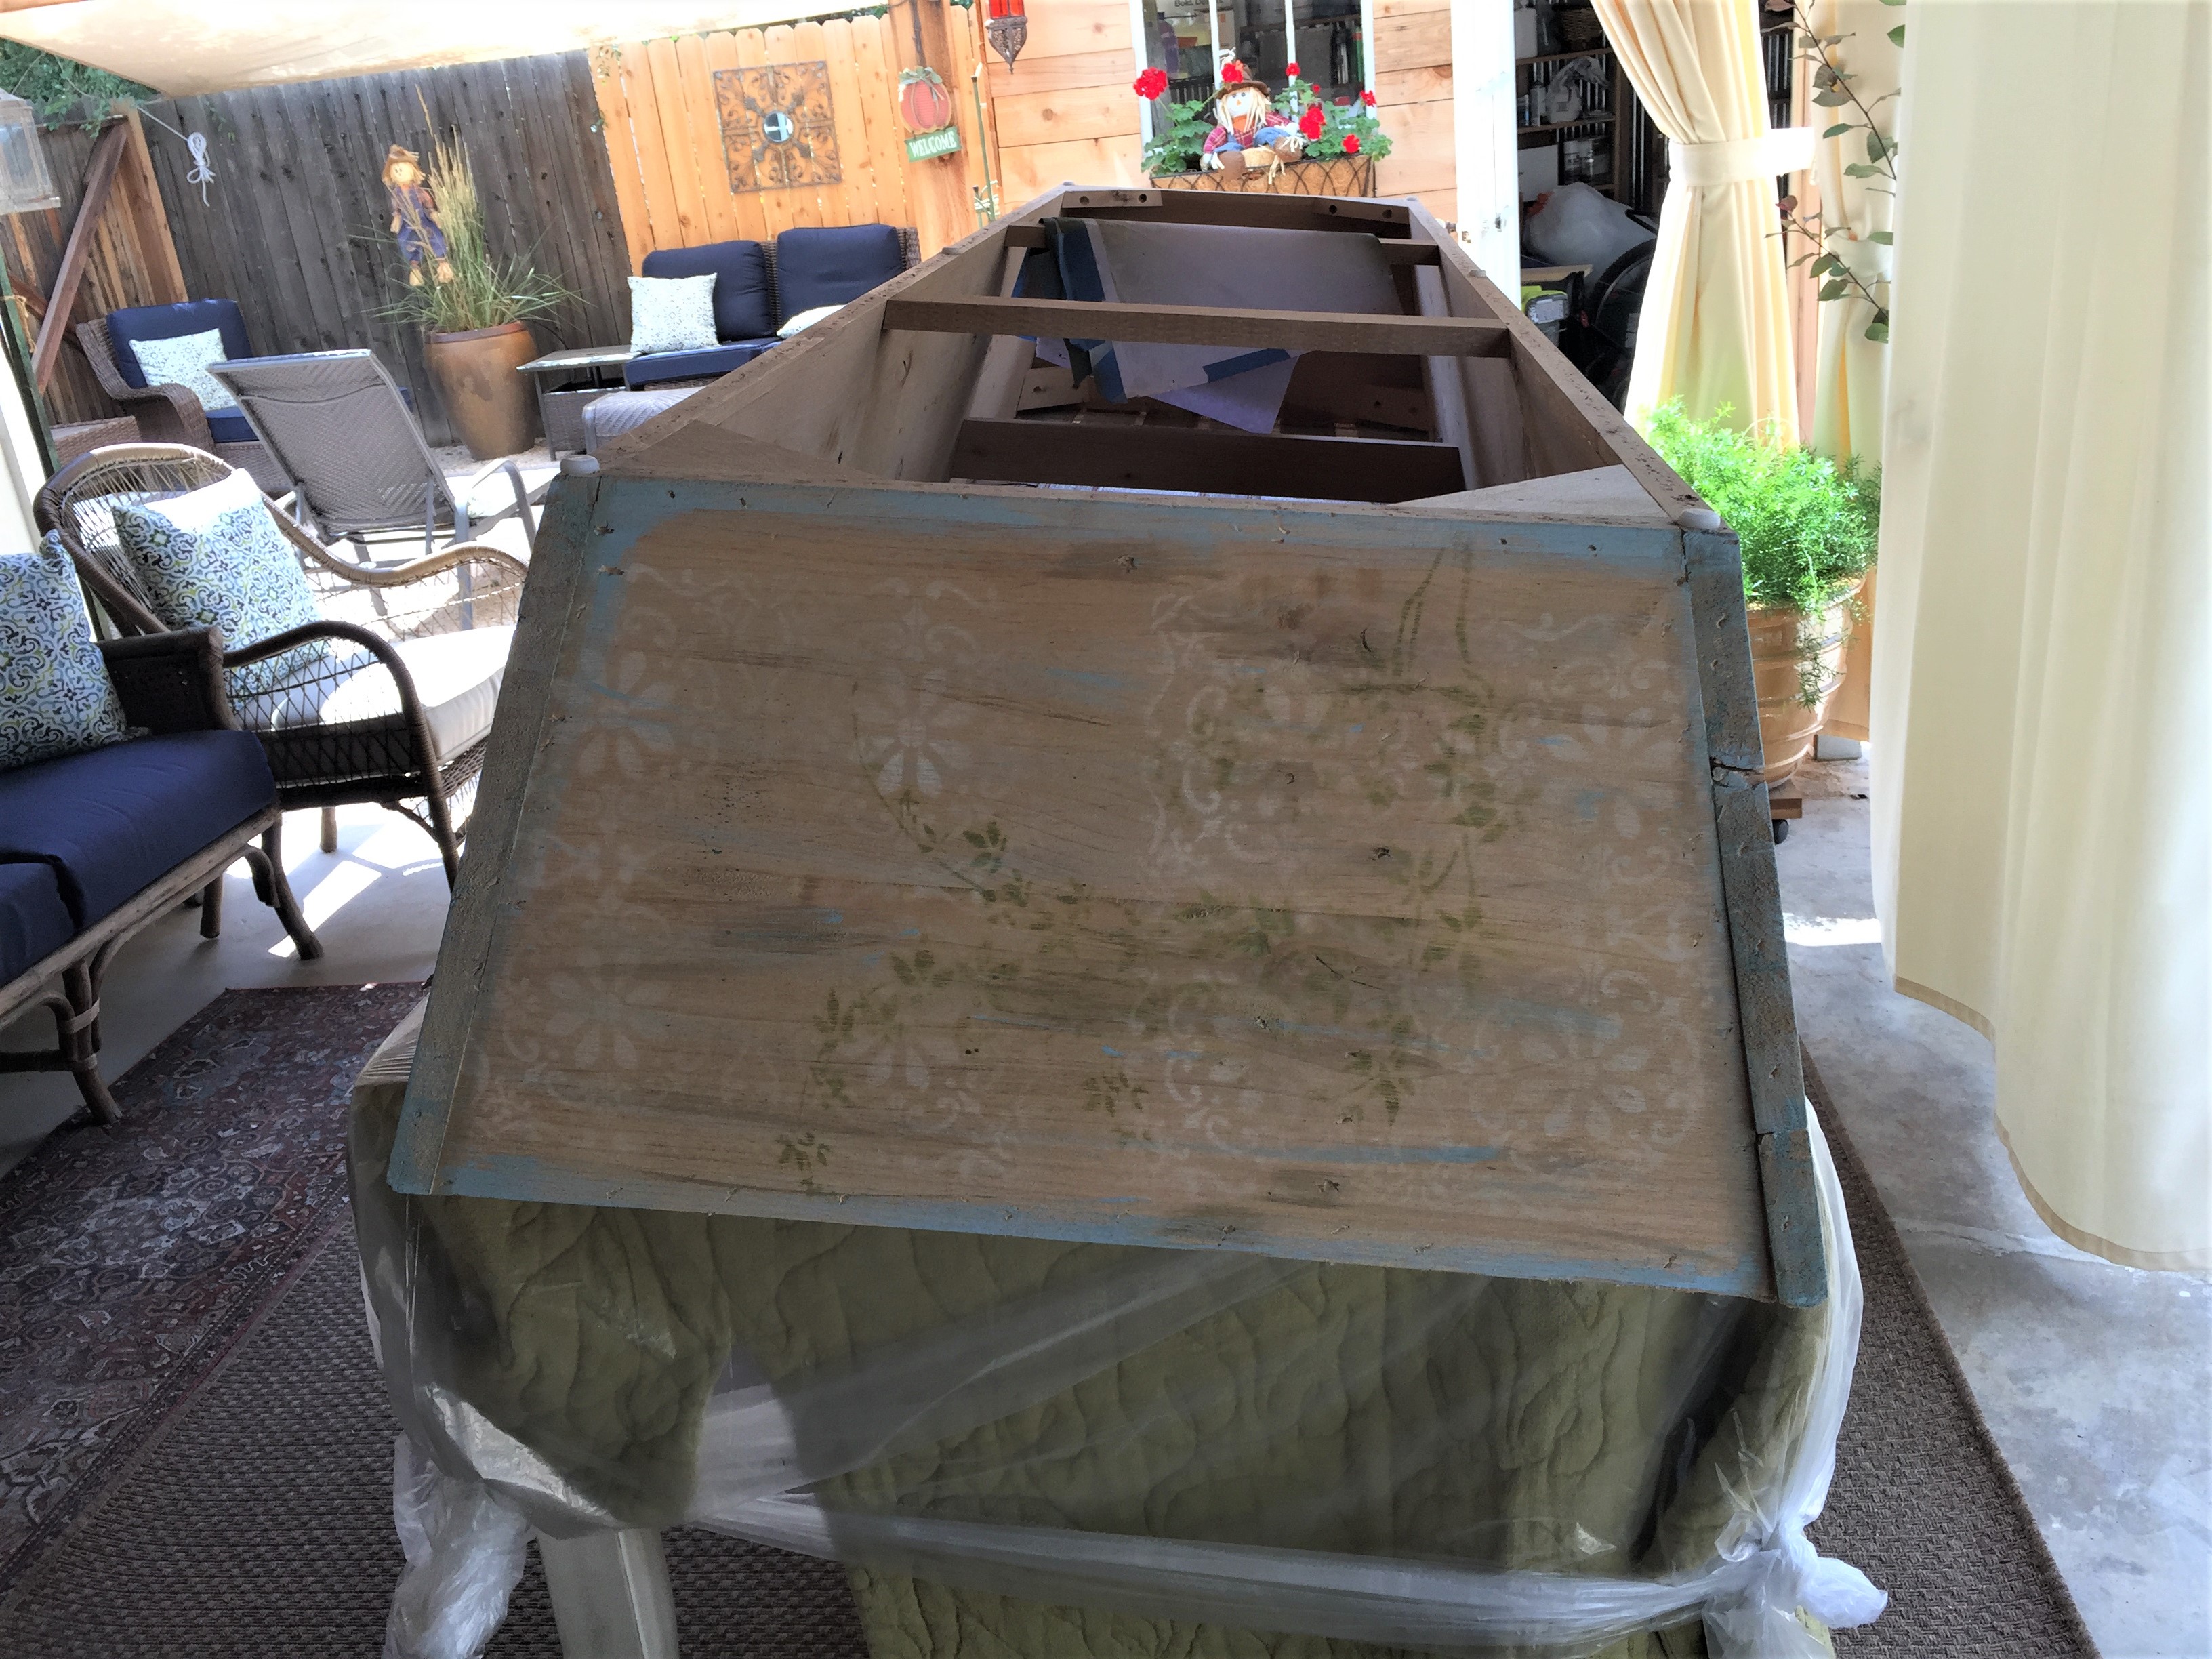
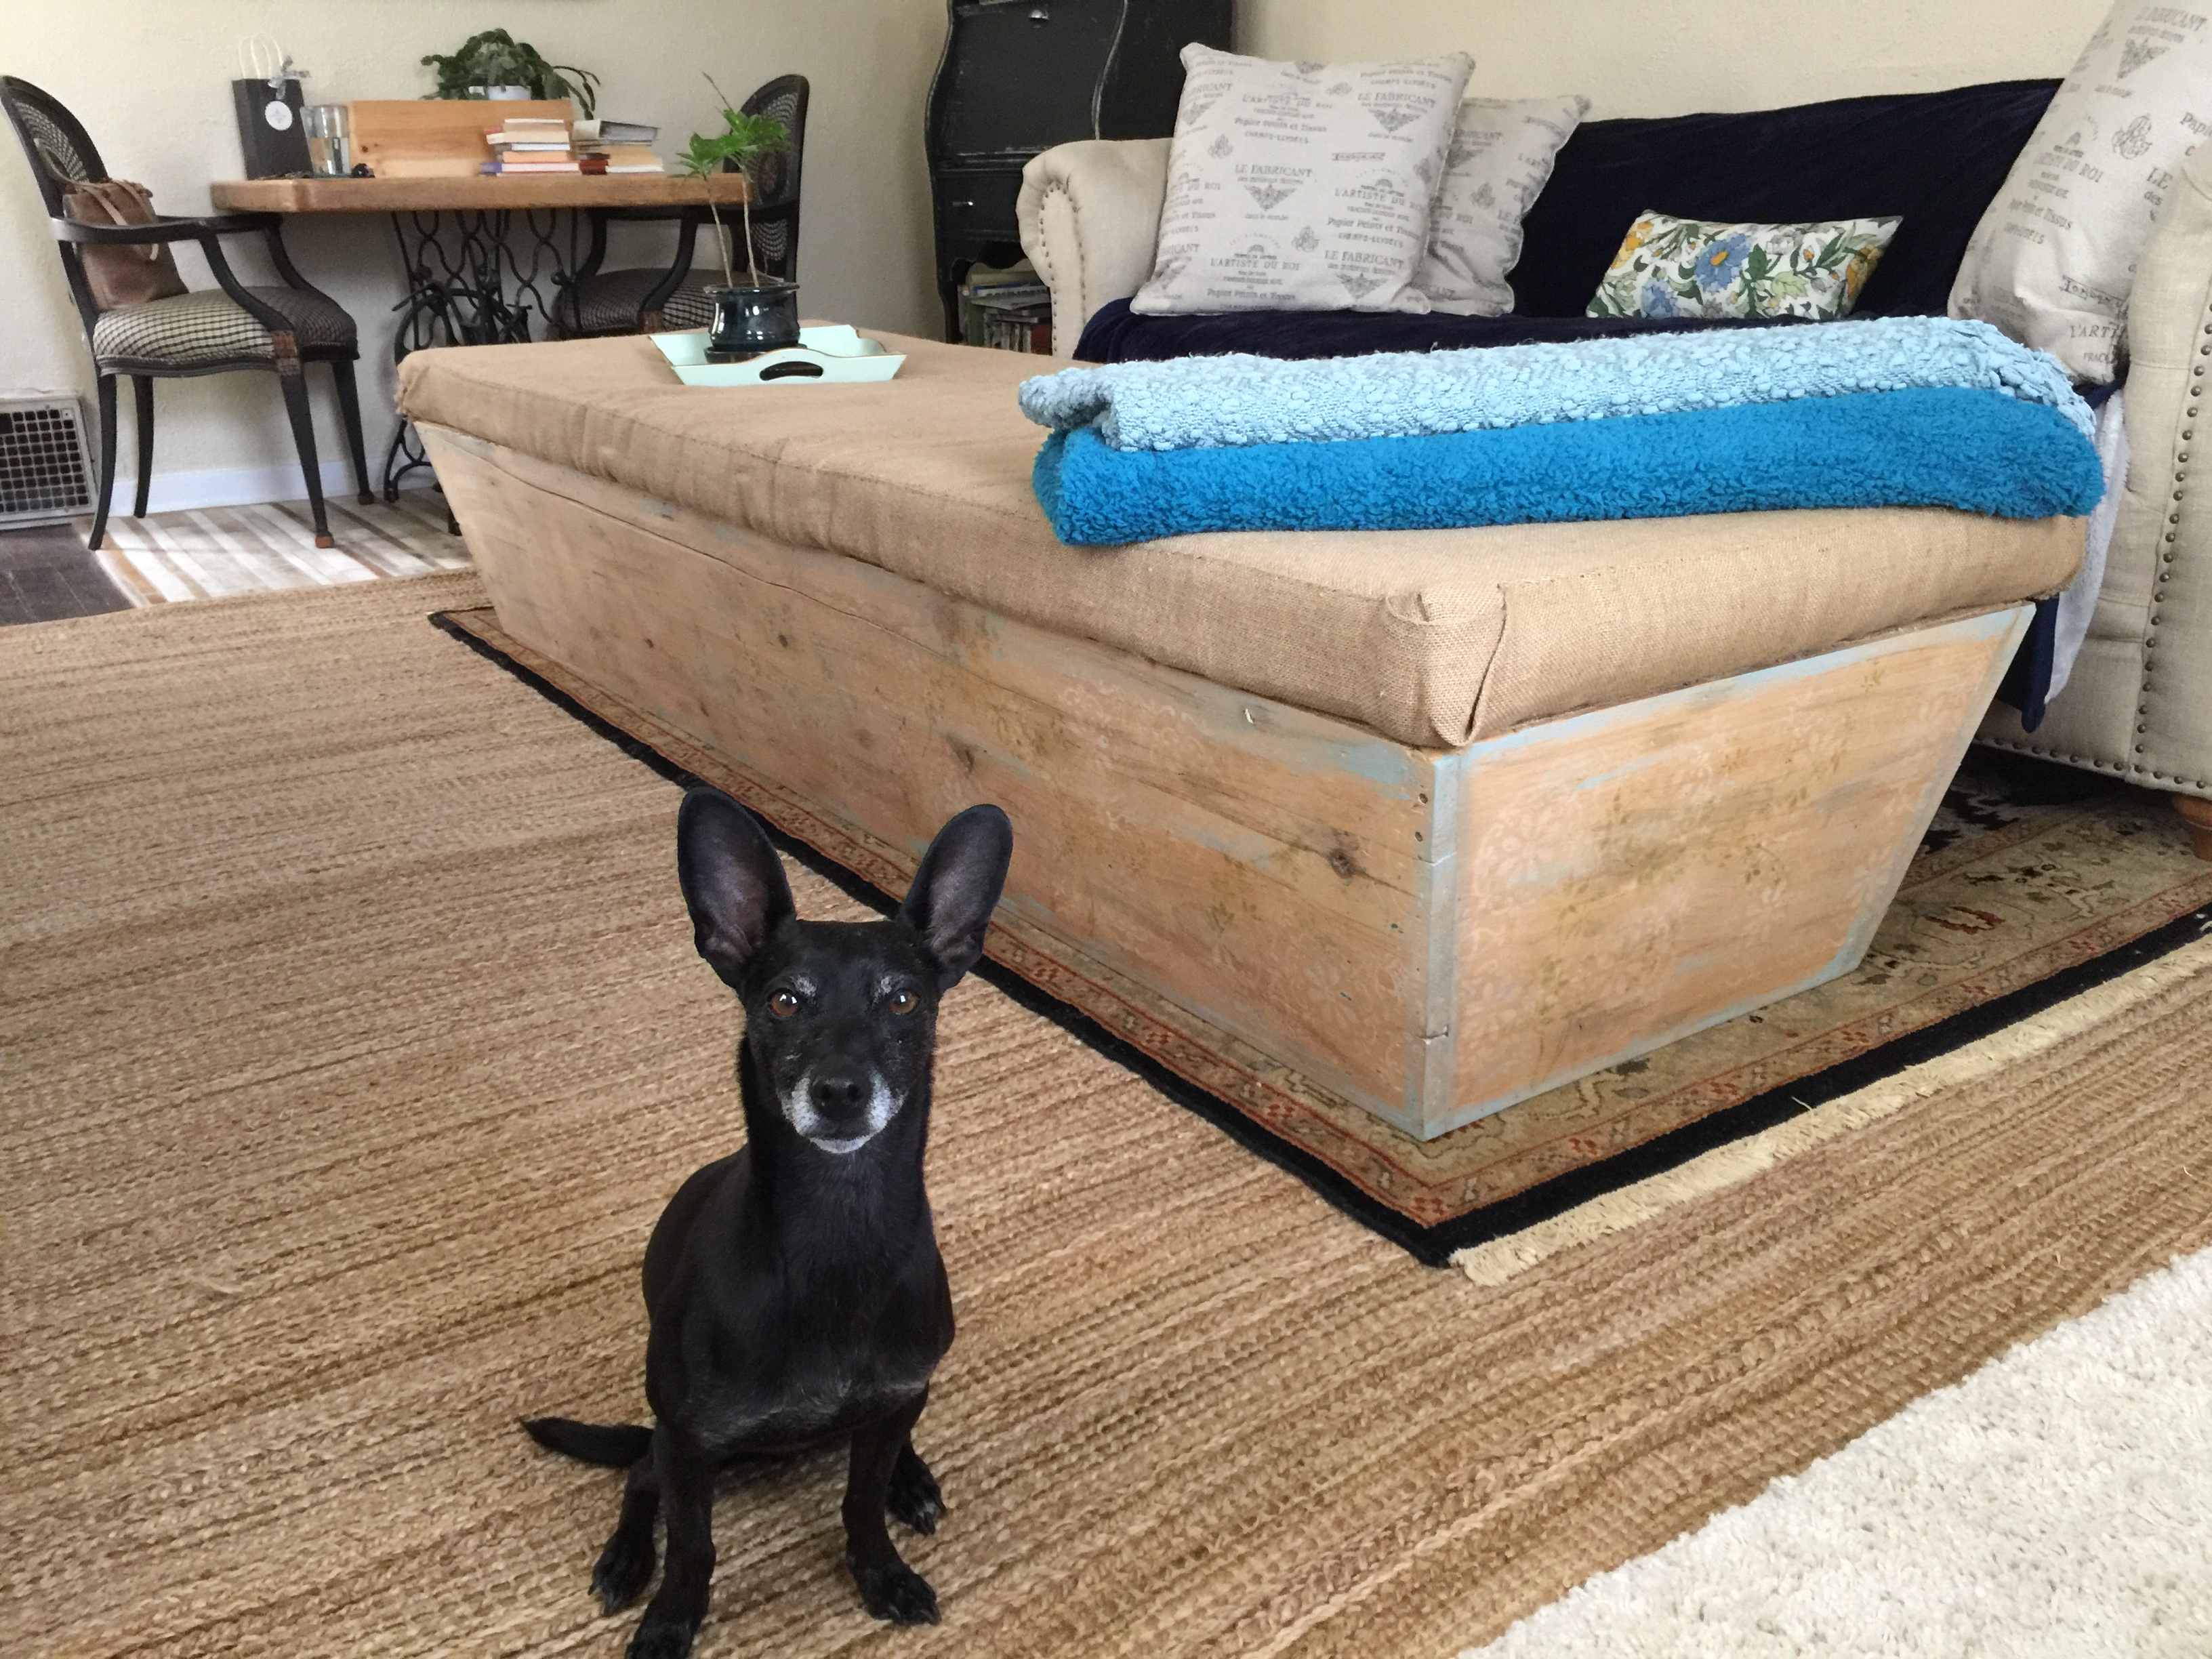
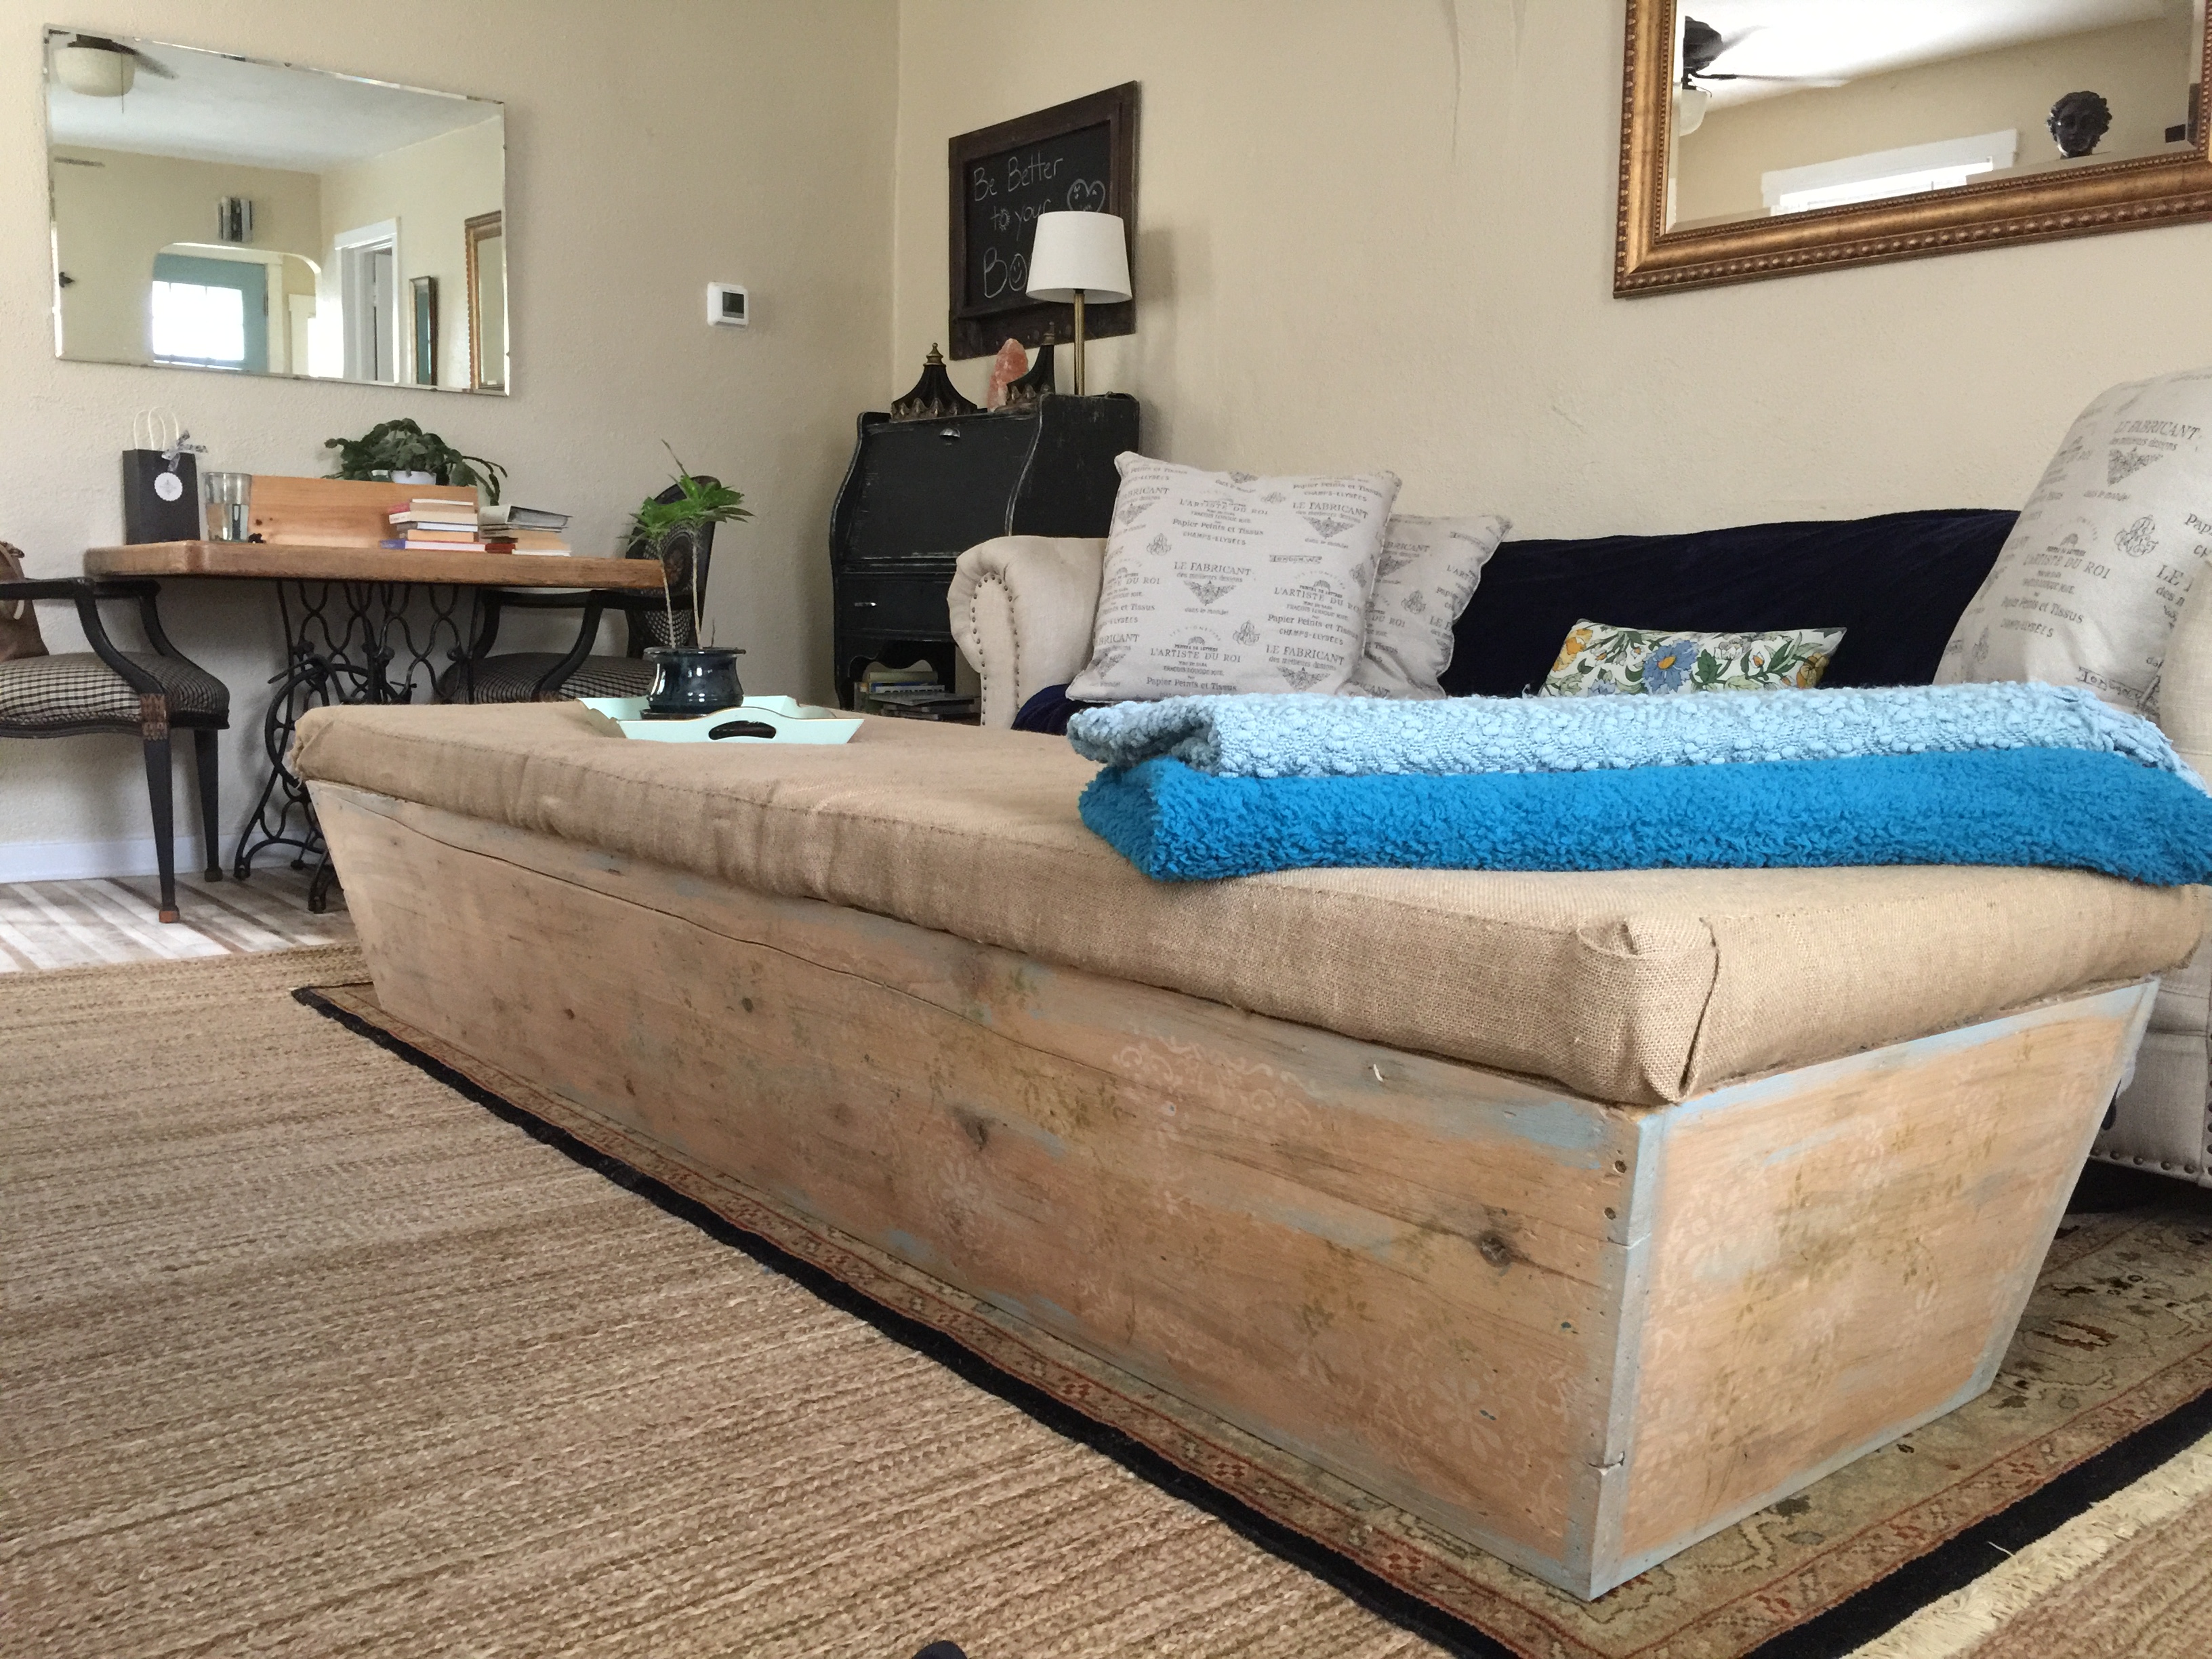
I bought this ottoman a few years back for $20. It was upholstered in a Red and Gold Morroccan tribal fabric and was already cool, but it was dirty and showing wear. I stripped the box down to the wood and made a new foam cushion, covered in burlap.I used it as a banquette bench with my dining table at the Logan house, while I was living there.Cushions made it welcoming and comfortable to sit on, as demonstrated by Rocco!I now use it as a huge ottoman in front of my sofa. It’s 8′ long and 3′ wide. It serves as a bench, an ottoman, a cocktail table, a foot rest and a yoga mat all in one!The wood is unfinished and has some distressing.The box is hollow and has webbing on the top. It also has a long split in the wood that creaked when I sat on the bench. I used some metal brackets to reinforce the 2 sides of the split, from the inside of the box.It no longer creaks!This is my original pattern, on a piece of scrap wood in my yard.I converted my outdoor dining table to a work bench by covering it with an old quilted blanket and painting plastic, tied at the corners. This space is protected from rain and weather, offers good ventilitation and easy access to my project from all sides. One tip: make sure you have plenty of room and light for your project!In the end, these are the supplies I used, left to right: Disposable gloves, screwdriver, Minwax finishing wax and clean cloth, 36 grit sandpaper block, wet clean sponge and Tobacco Green paint, mixed with White paint, water added to make it more watery, Blue painters tape, Blue paint mixed with White paint and watered down and applied with a clean cloth and a clean buffing cloth. I used 2 stencils. This one, with Off White chaulk spray paint and Teal spray paint.I took the patten all the way down the box, blending some Teal into the Off White pattern.My first run.Then, I went over the White pattern with a vine pattern, using 2 colors of Green. Each time, you have to tape the stencil into place and cover all the edges so you dont get overspray! This takes time, people!I wanted to use the vine pattern in different applications, so I made a couple templates to cover the parts I didn’t want and only expose the sections I wanted. This makes my vine pattern seem more randon and less cookie cutter, giving a more authentic look.3 different vine patterns in 1 stencil!And covering the edges also takes time! I reused these same pieces of art paper, as edges, for the whole project.Getting ready to spray some vine.Ok, White pattern and vine pattern done on this side. It’s kind bold though, and I didn’t realized how much sanding I’d have to do to get the look I wanted. I used too much paint at first!On the left side of this pic, I’ve applied the Minwax Paste finishing wax and you can see how rich and dimentional the wood looks! The wood really sucked up the wax and gave it a rich patina! I ended up doing 2 coats of the wax. But the pattern is still too busy, too dark!Assessing my options at the end of a slow going day. I’m exhausted, not quite happy with my results and I need a shower to take this sawdust off my body and out of my nostrils!Ugh!The next day, I’m feeling motivated to sand like crazy and get more distressing in my pattern, antiqued and less bold! I go to Home Depot to buy more 36 grit sandpaper.This is how my workspace looks, temporarily set up on my wine console.This was written on the side of this box, I added the word “Bistro” with a sharpie marker, thinking it would make the box look more French. It didn’t work. I sanded it down again.This is the 2nd side. I learned yesterday, that you need alot less paint than you think, making the sanding process much less work. Now that I’ve done it, I learned how to make it easier and get the result I want. See how much more faded it looks before sanding?And after sanding, paint distressing and the wax is applied.The ends of the box were a breeze! By this time in the project, I’m literally holding the edges in one hand and spraying with the other. I’m a master at this point!The other end. I used the Blue paint wash to frame out the box, making it seem more finished and hopefully, vintage. I also painted Blue streaks into the body of the box panels to give it more dimension.After 3 days, my thrift store find has a new look and feels more French country to me. It’s hard to see the pattern in these pics. It’s more noticable in person and I did want an antique, distressed look for this box.This project was fun and relatively short. I learned alot on the first day, as I tried different things to get the result I was looking for. Refinishing furniture is challenging, generally inexpensive and rewarding when done. This is a great way to rejuvenate an old piece you’ve had for a while or a piece you just found and needs some TLC. I look forward to refurbishing another piece soon!
It’s been a crazy fun year and I’m grateful for and proud of the project I’ve been working on!
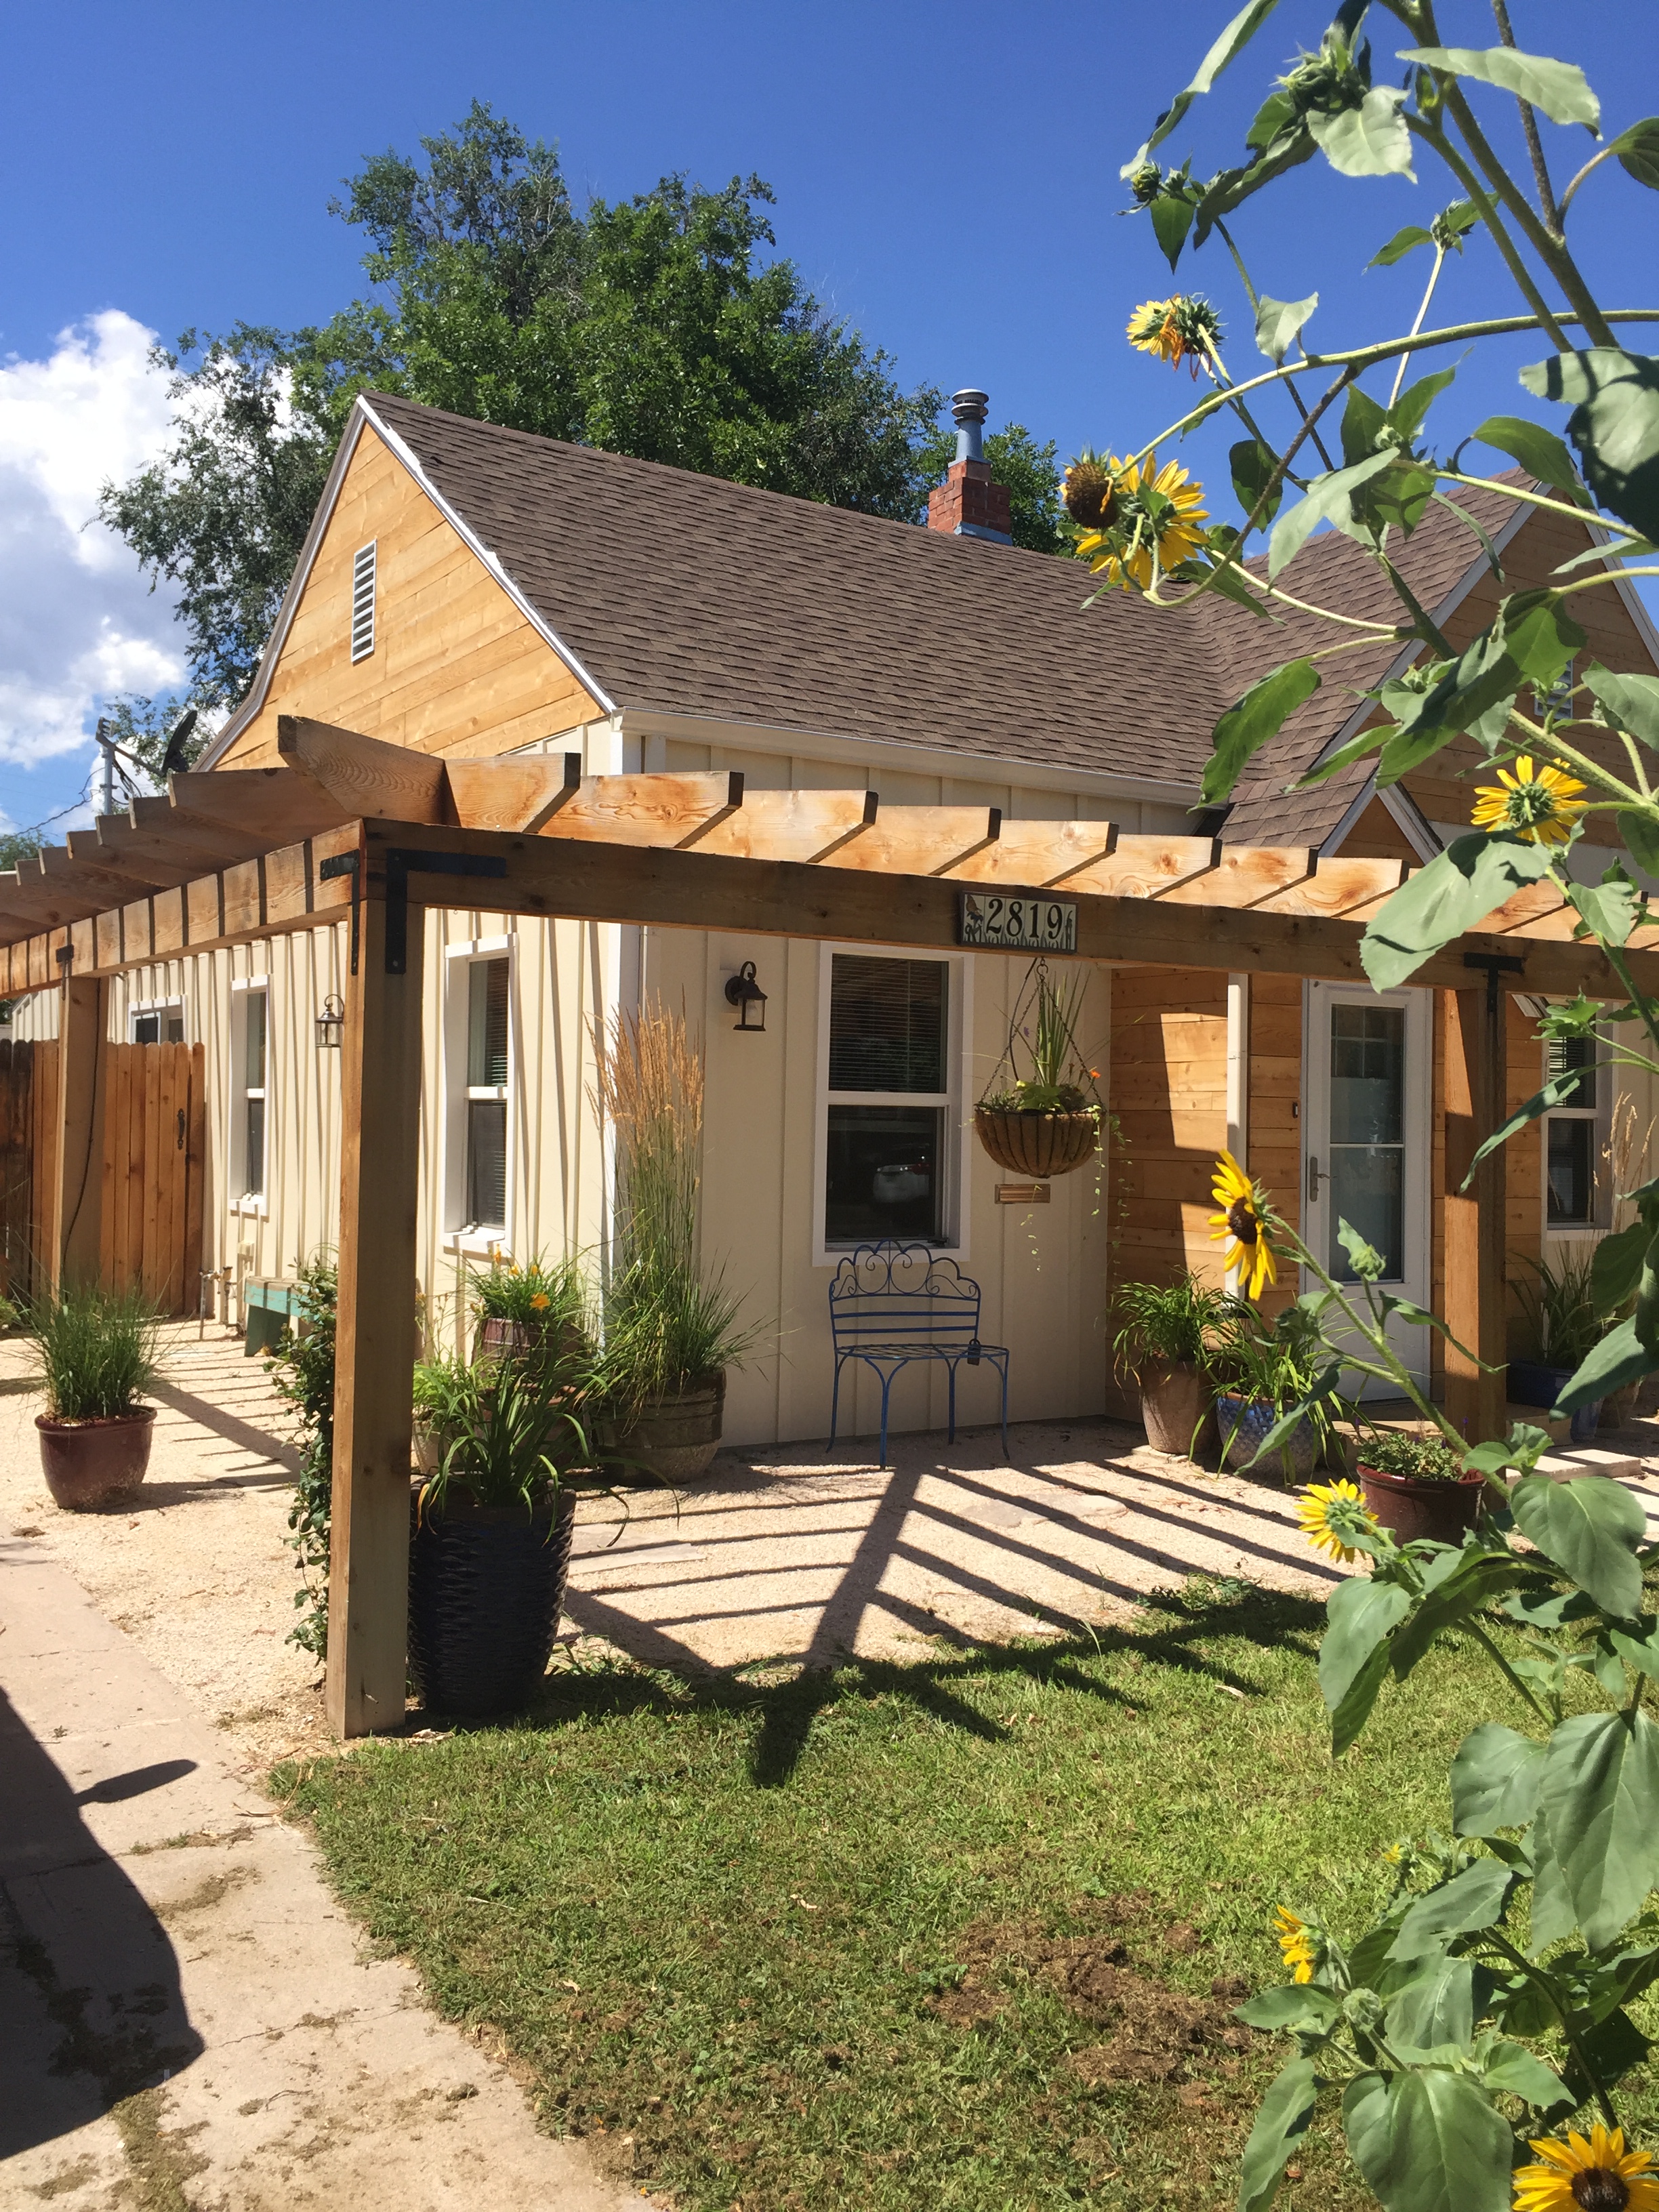
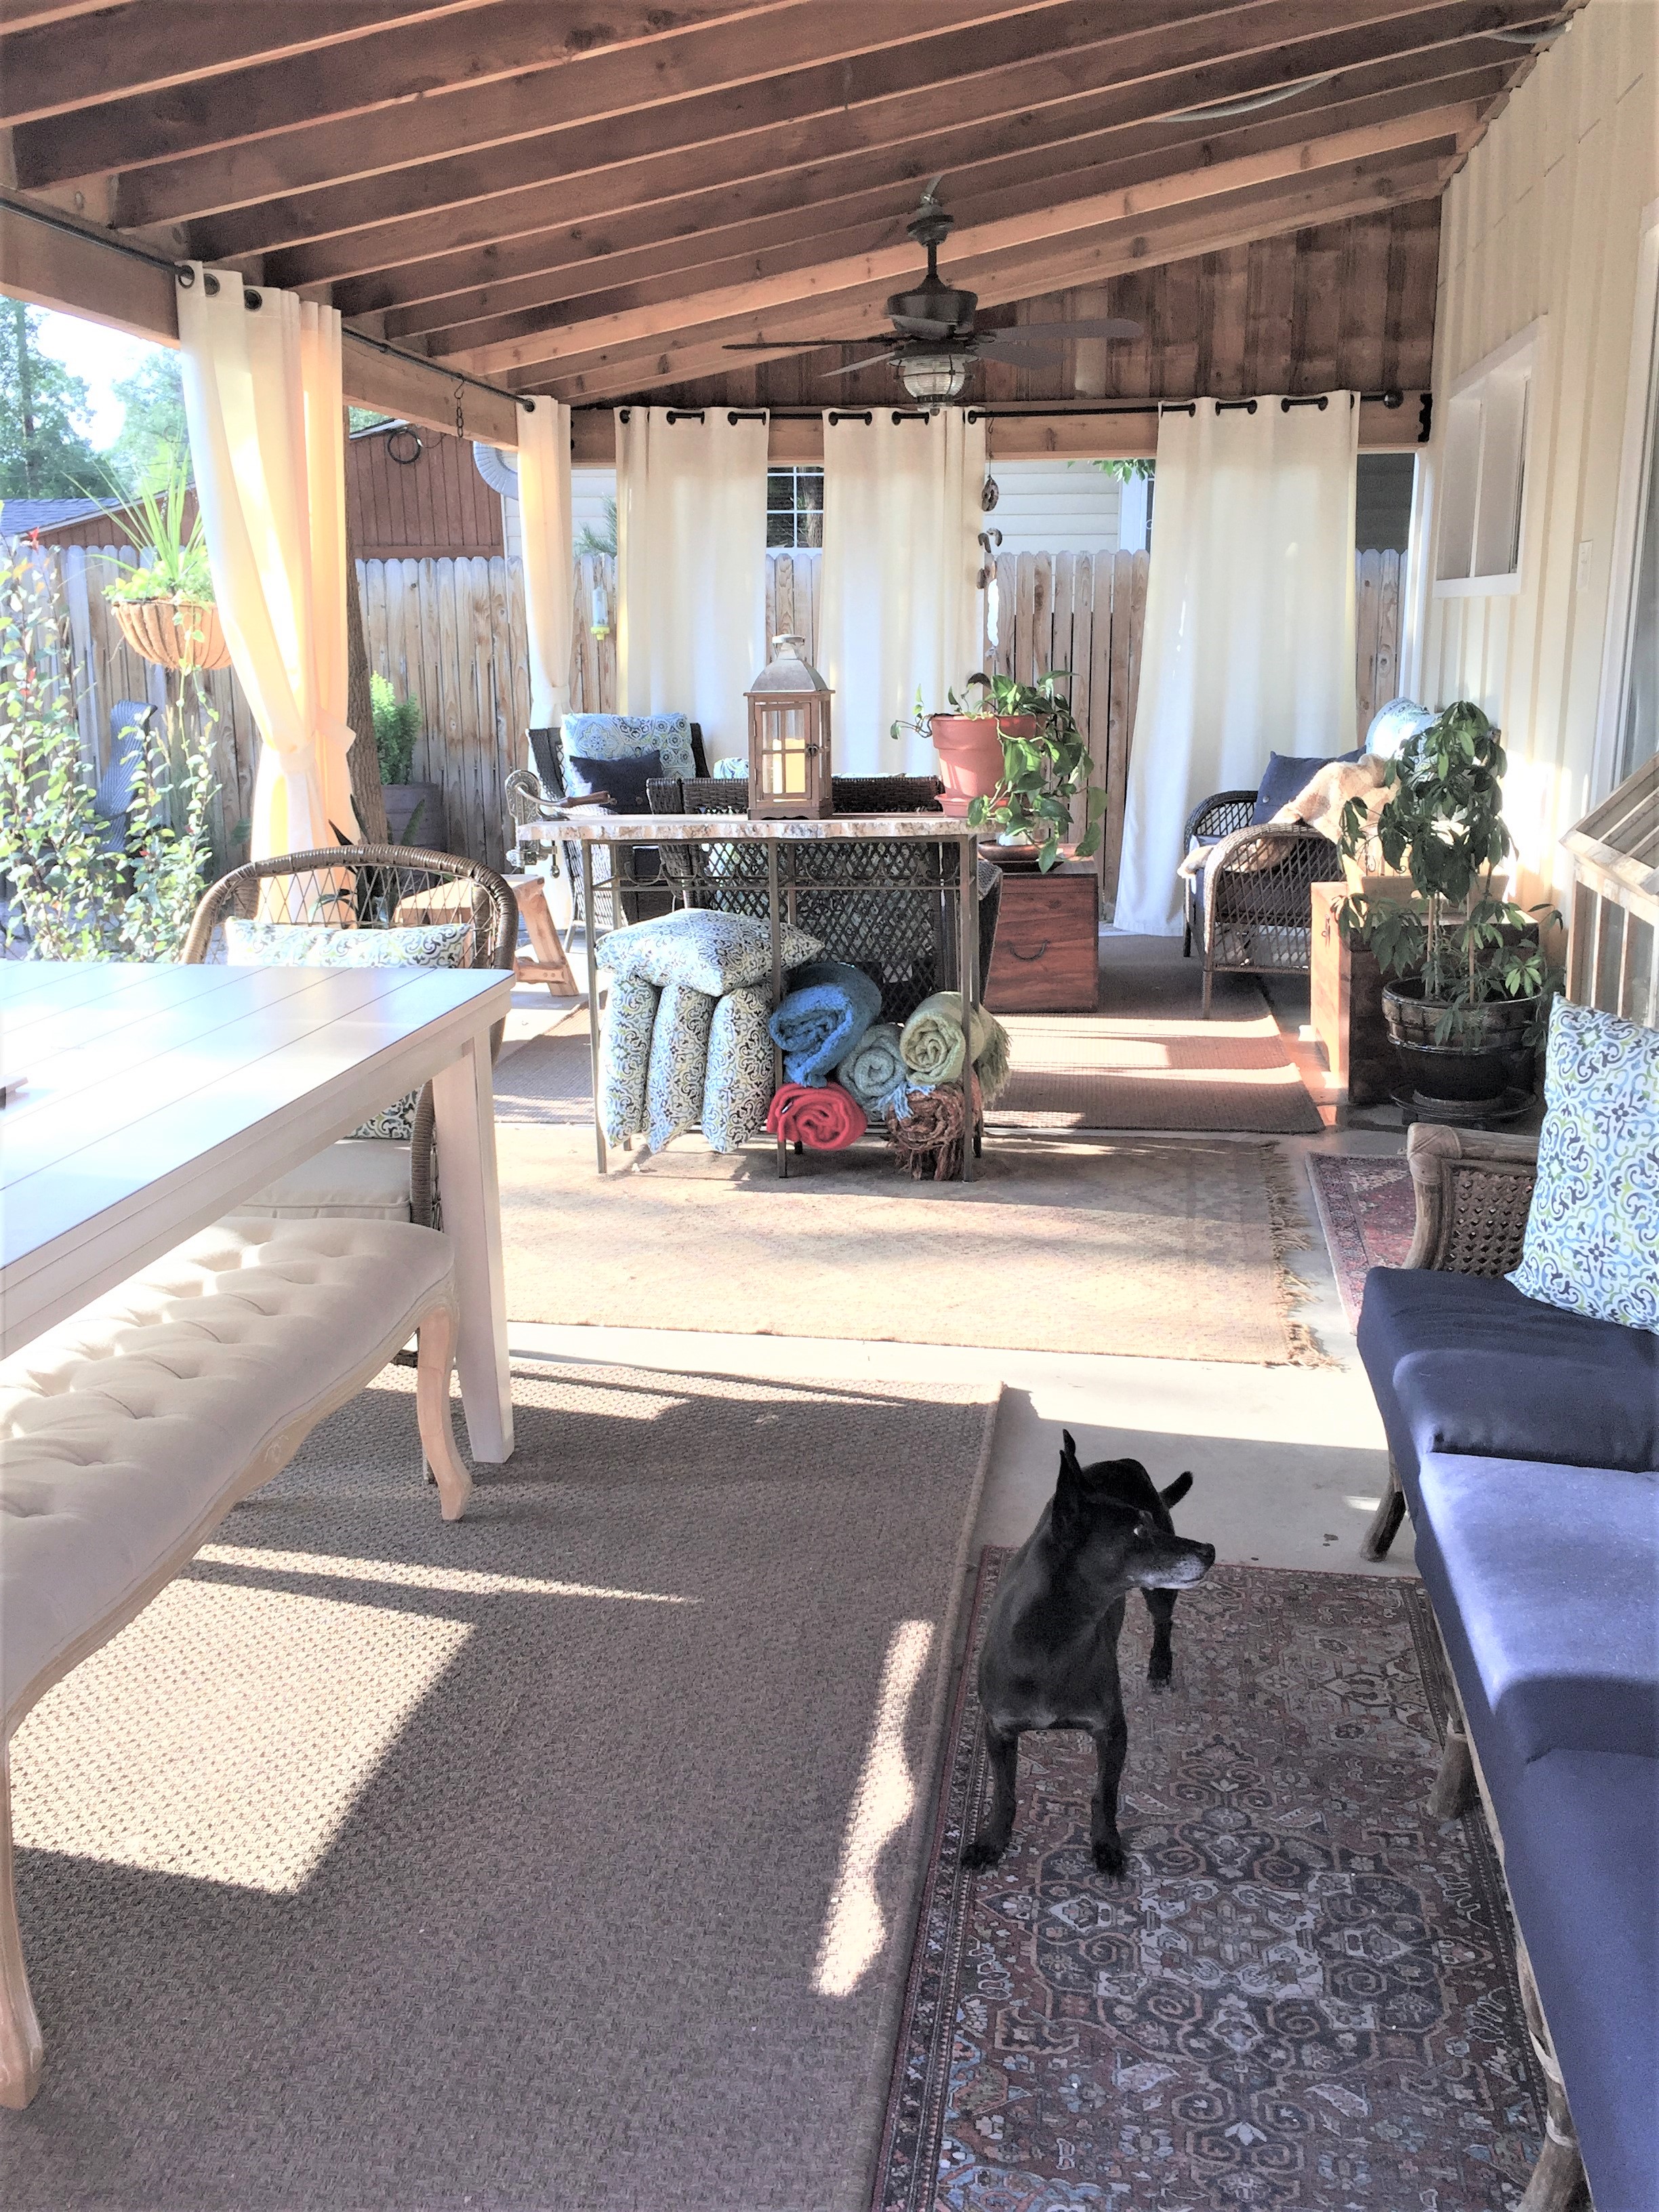
One Year later, after a great summer season, my house looks fresh, bright and welcoming!
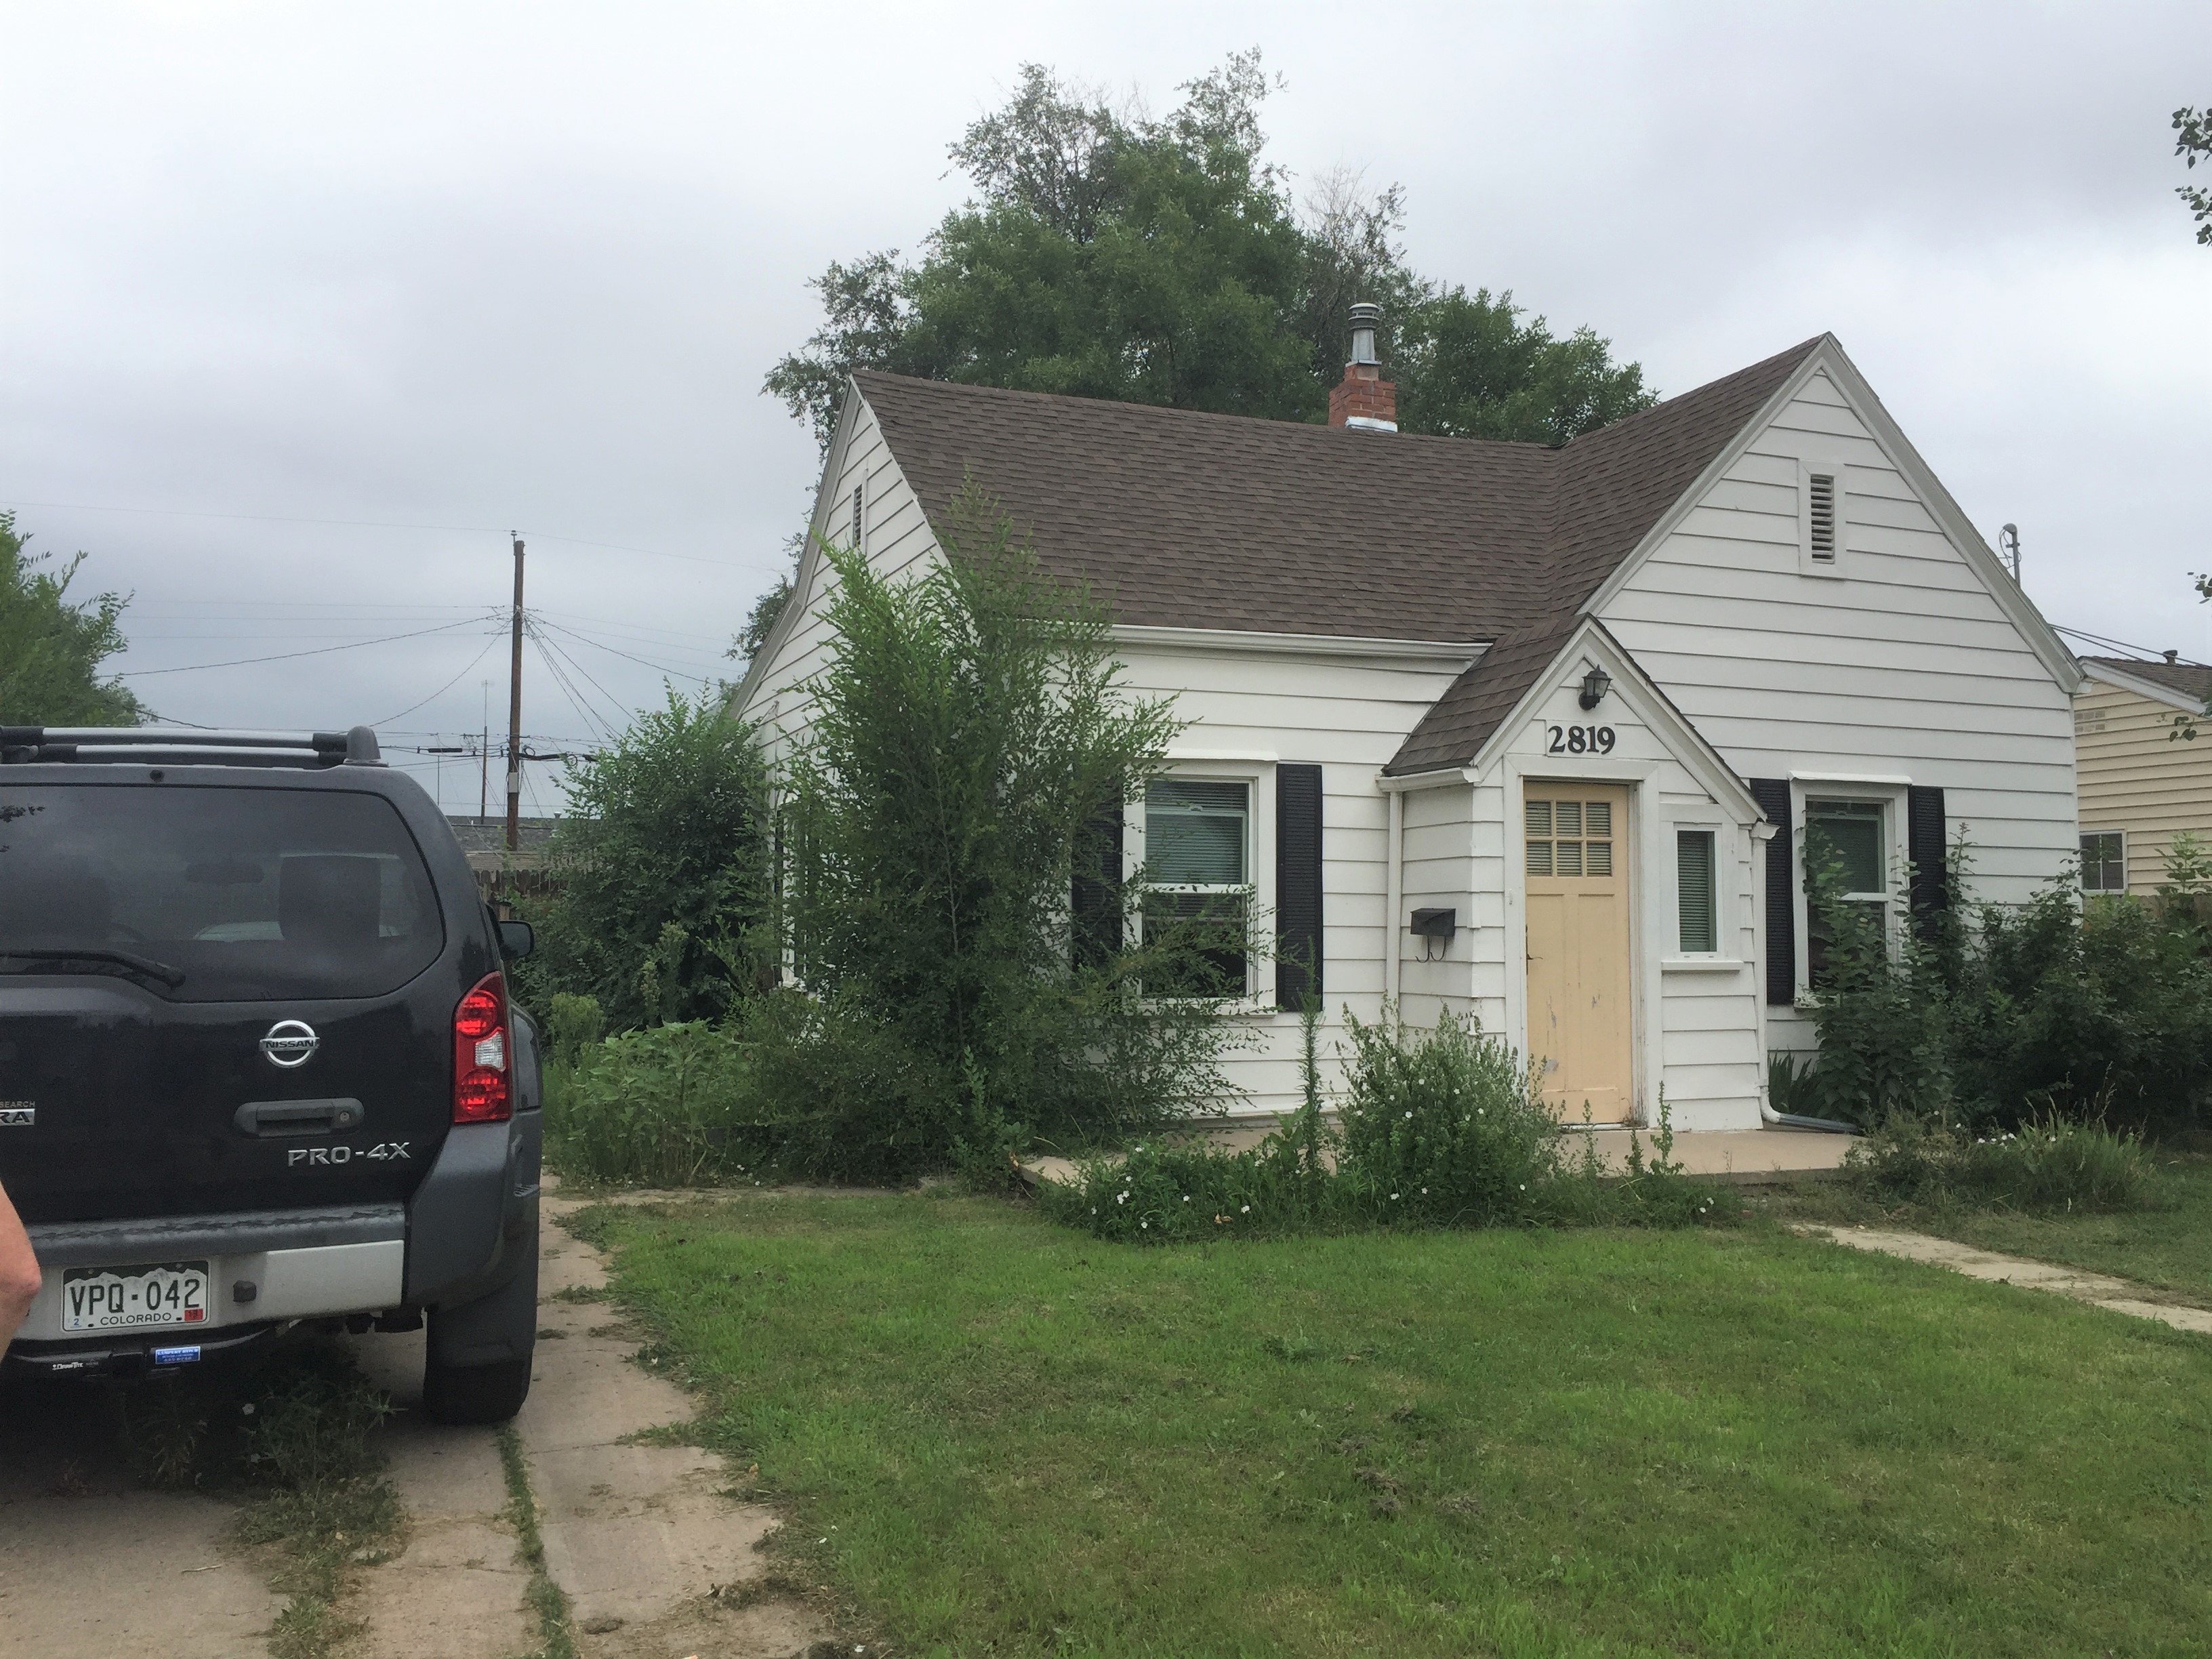
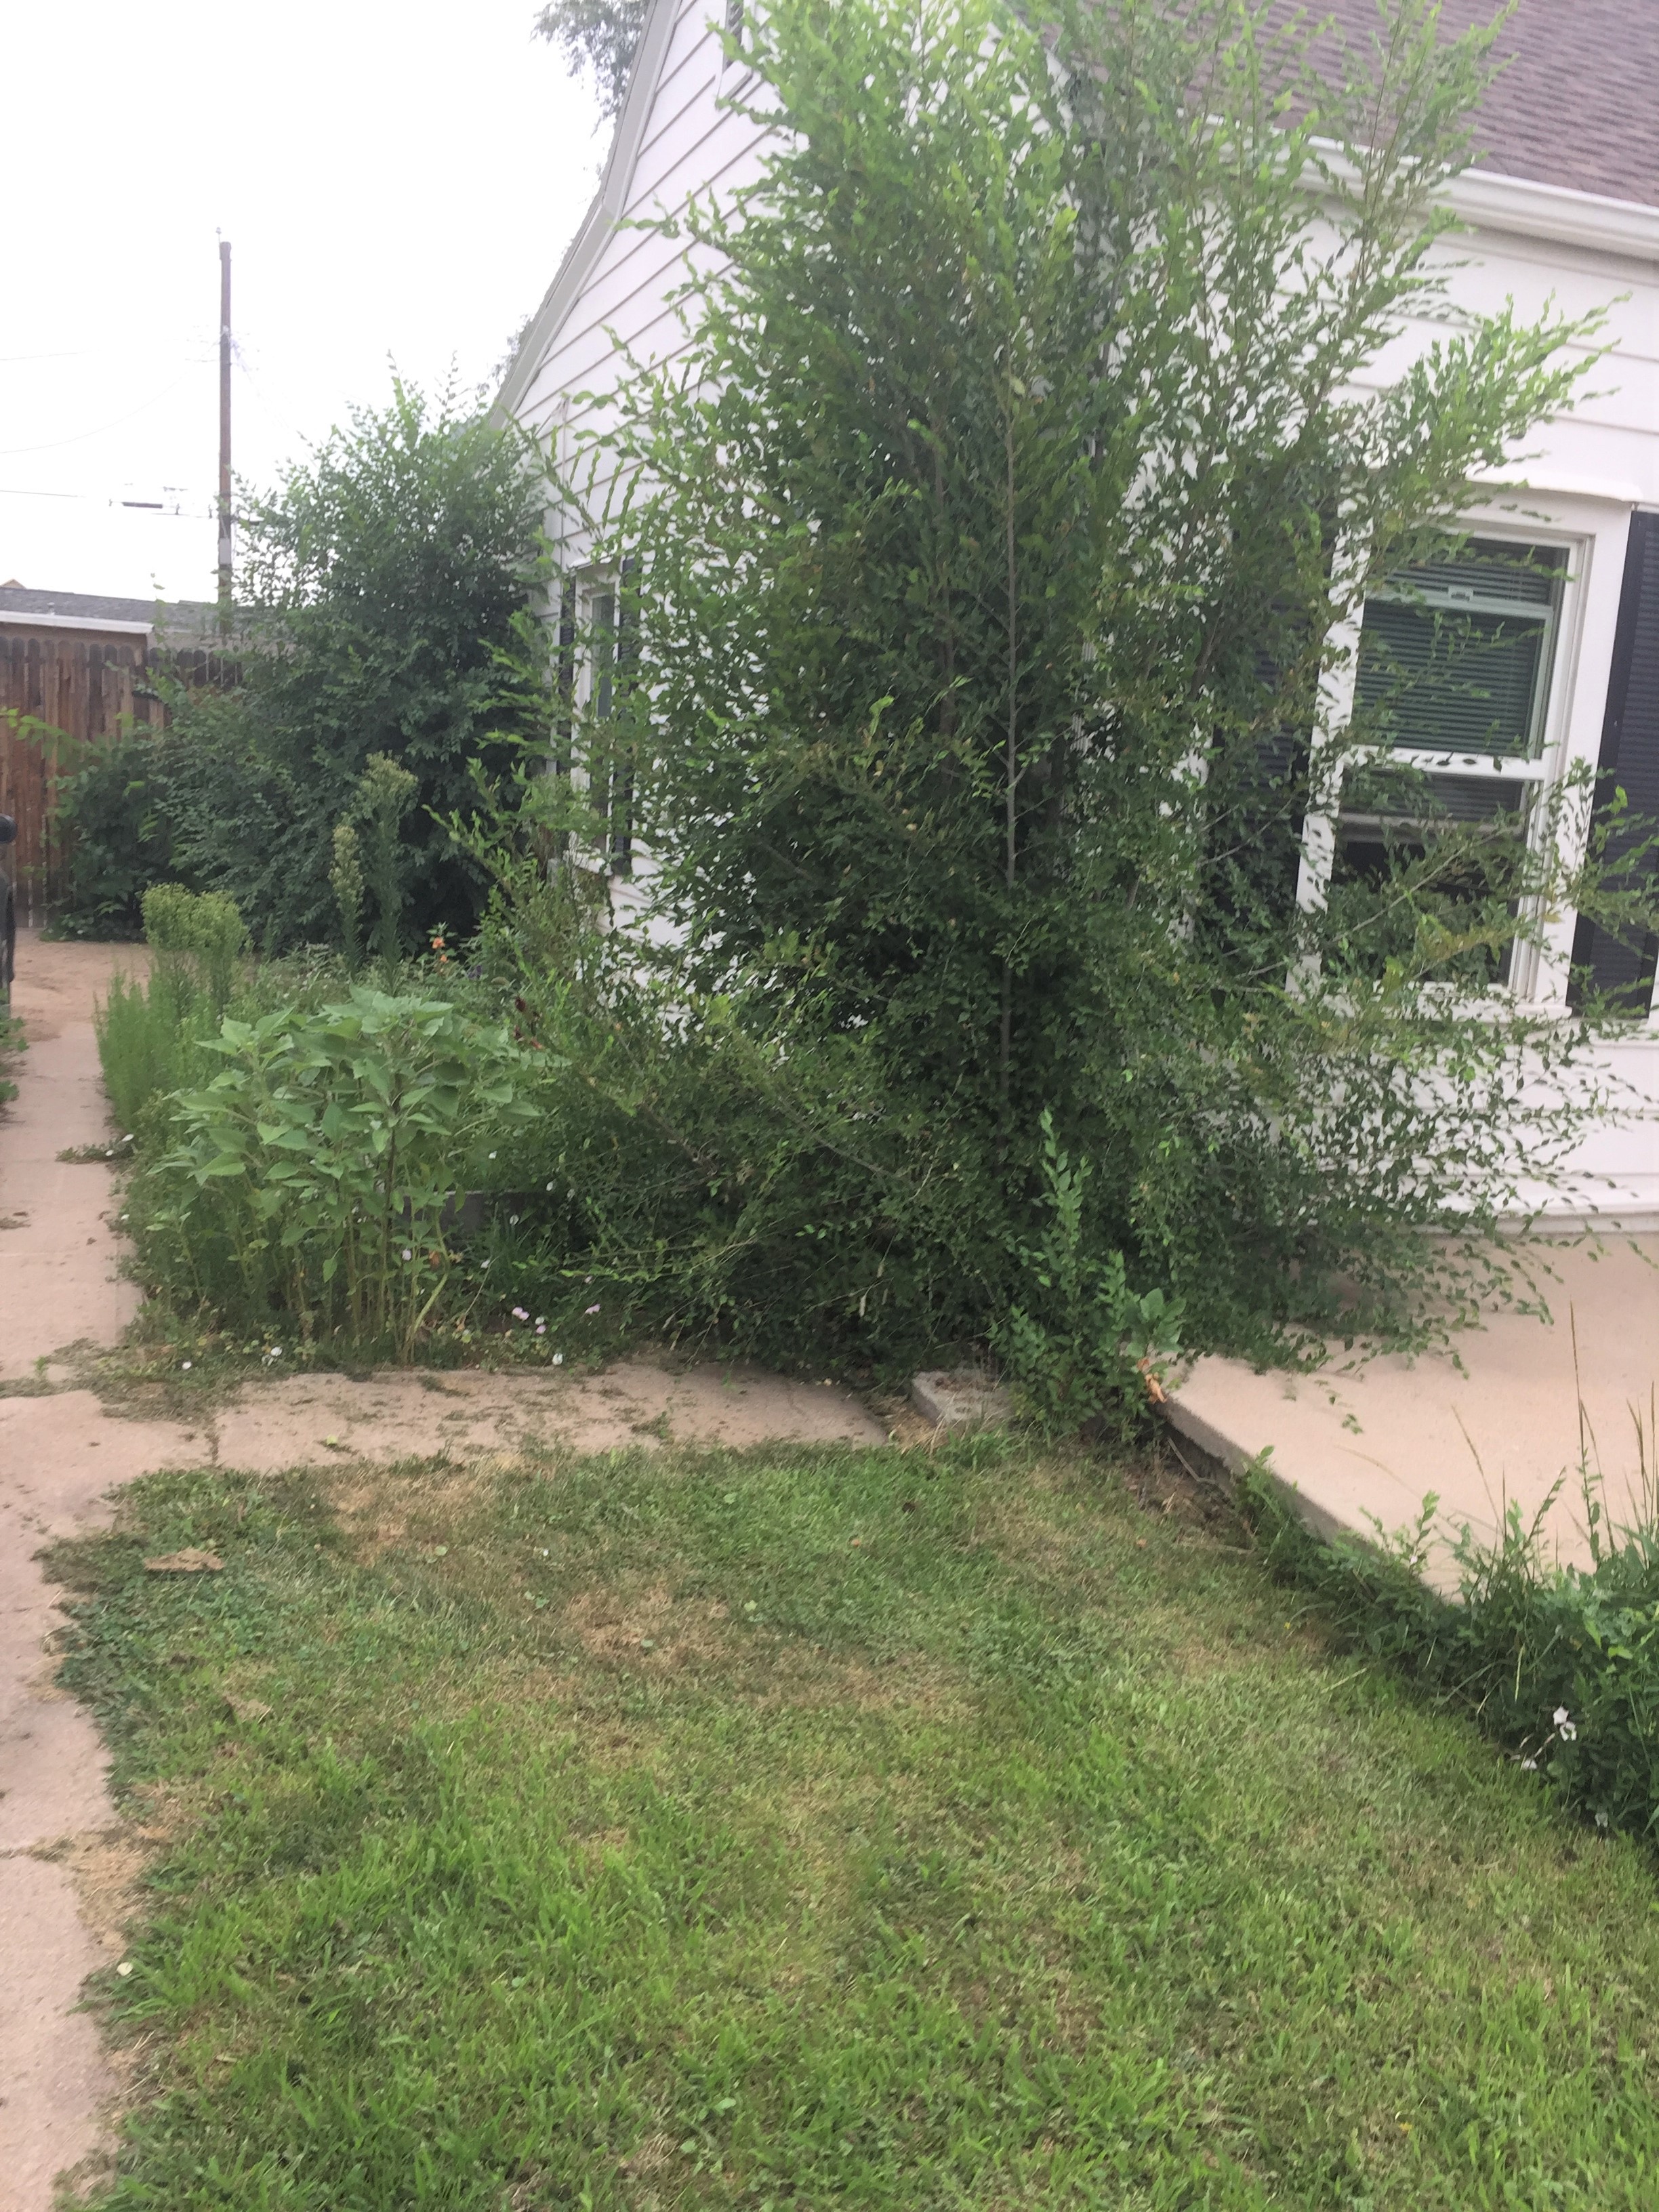
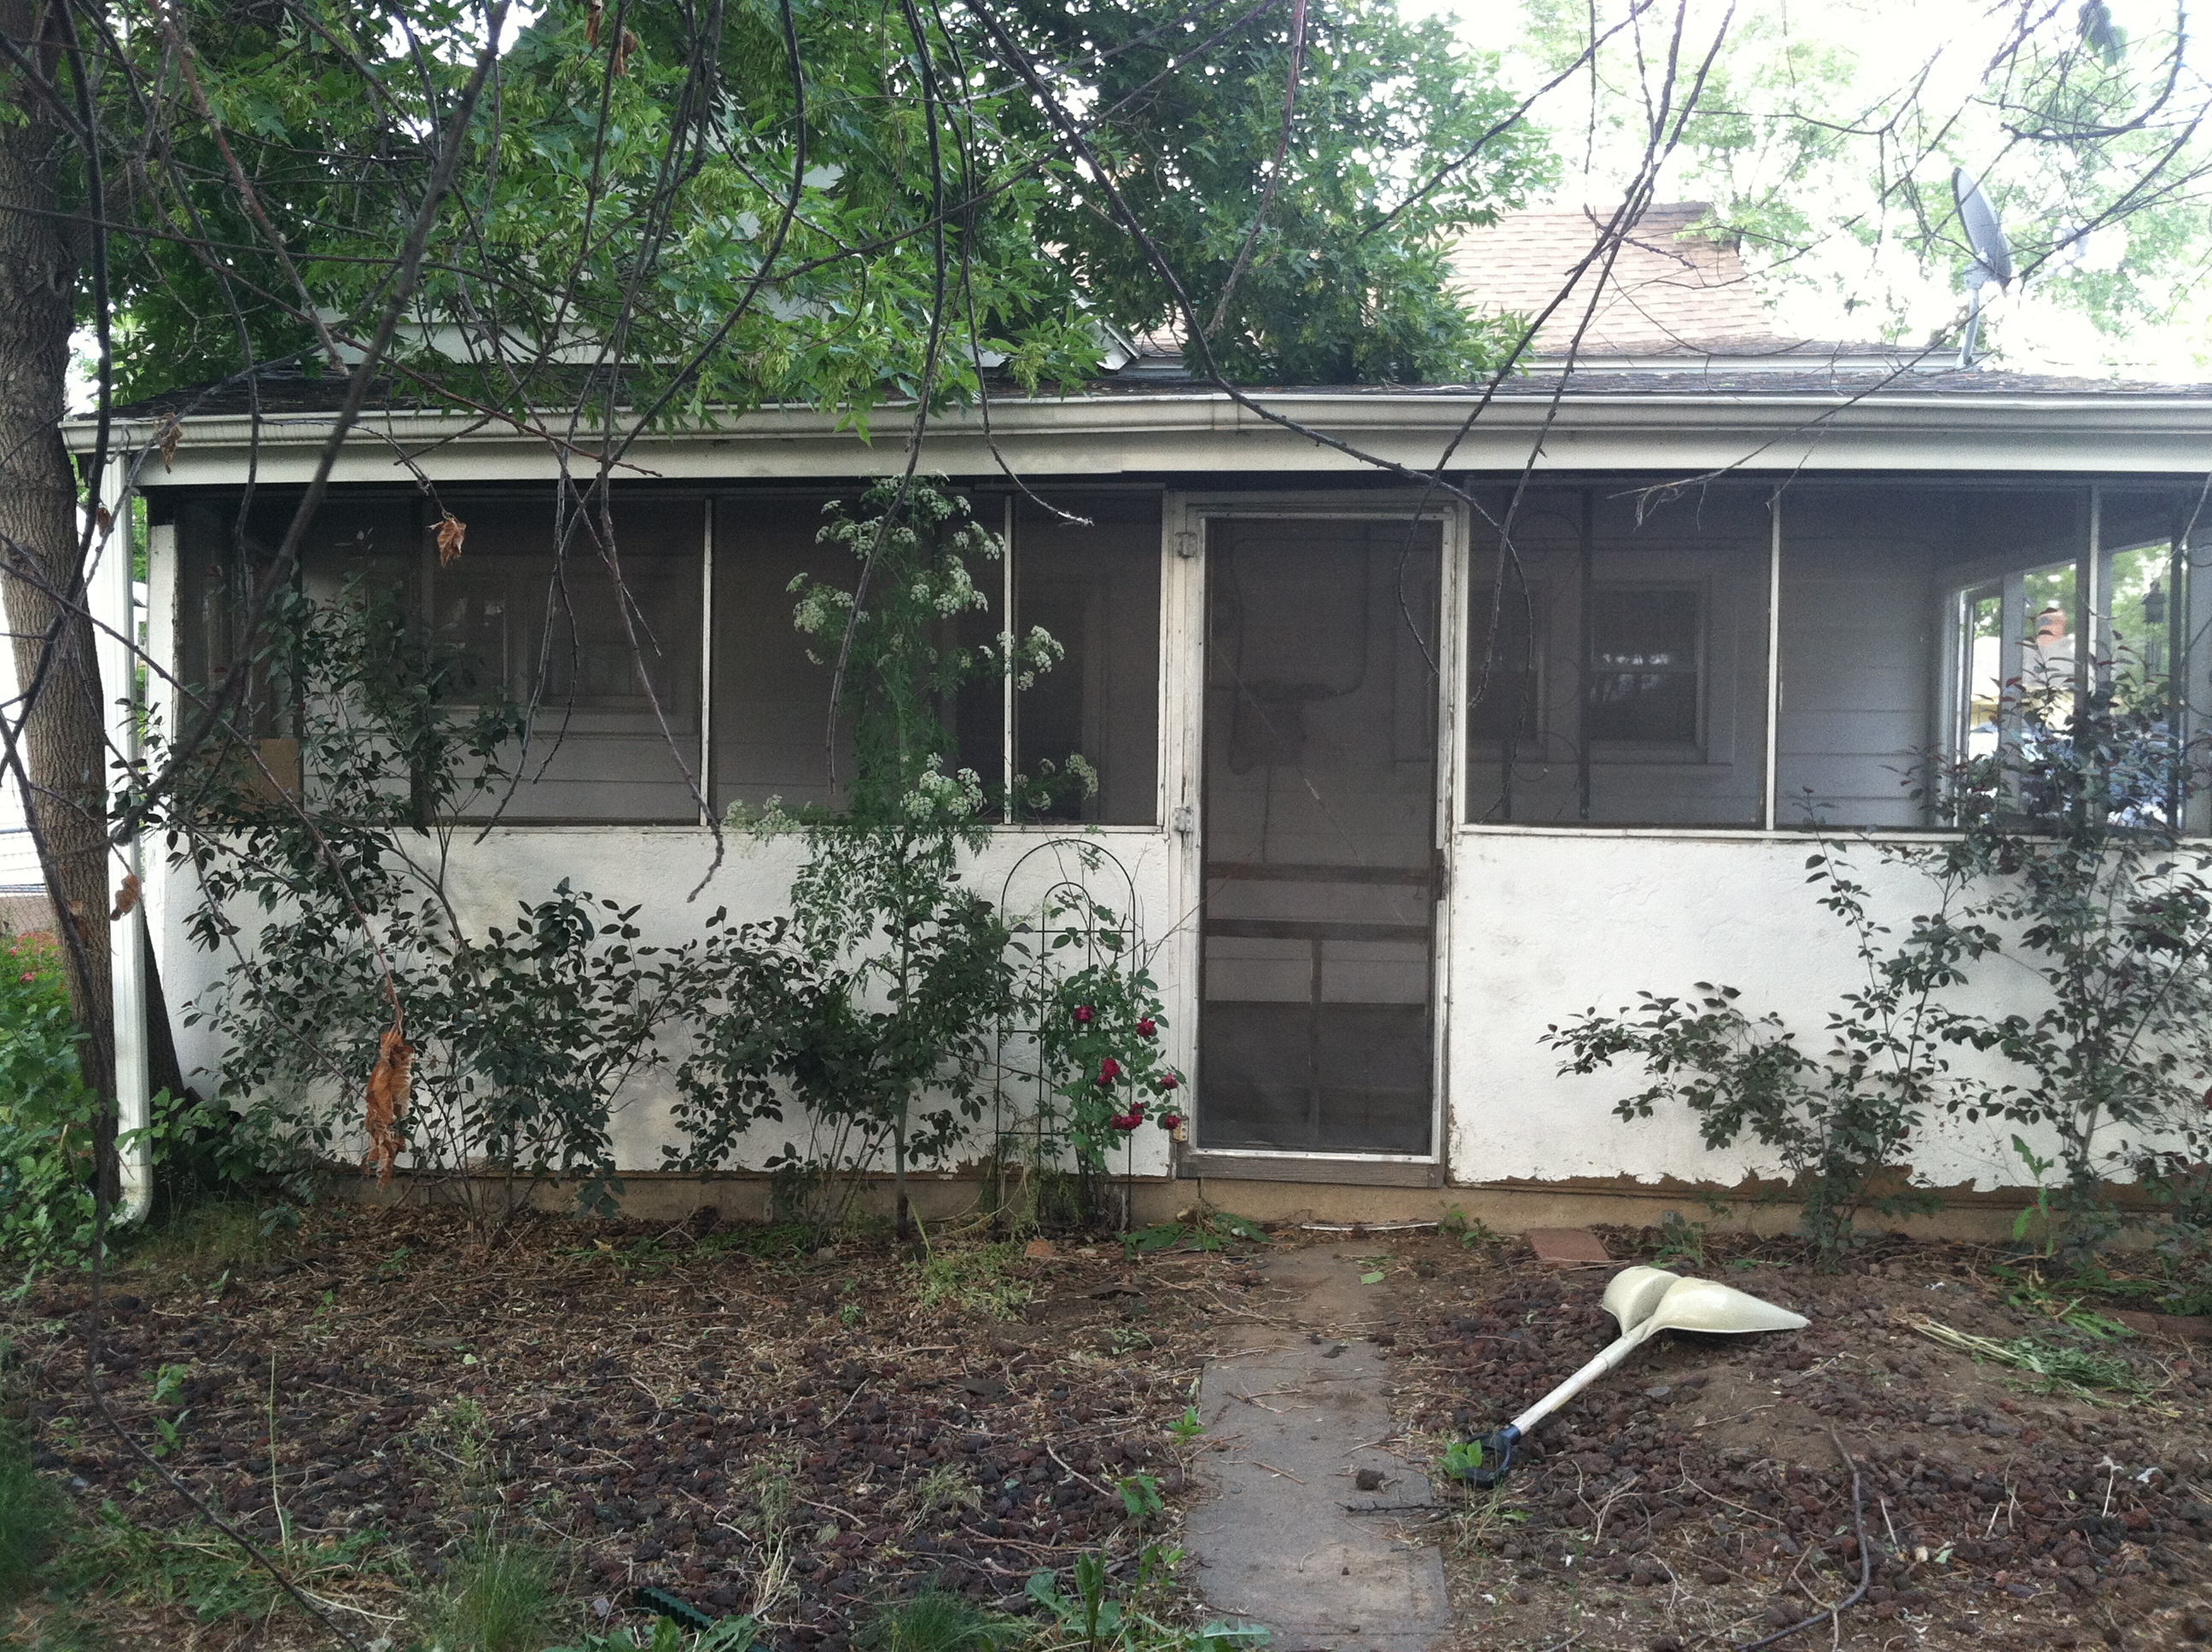
This poor house was so overgrown!
The new landscape is much cleaner and easier to maintain!
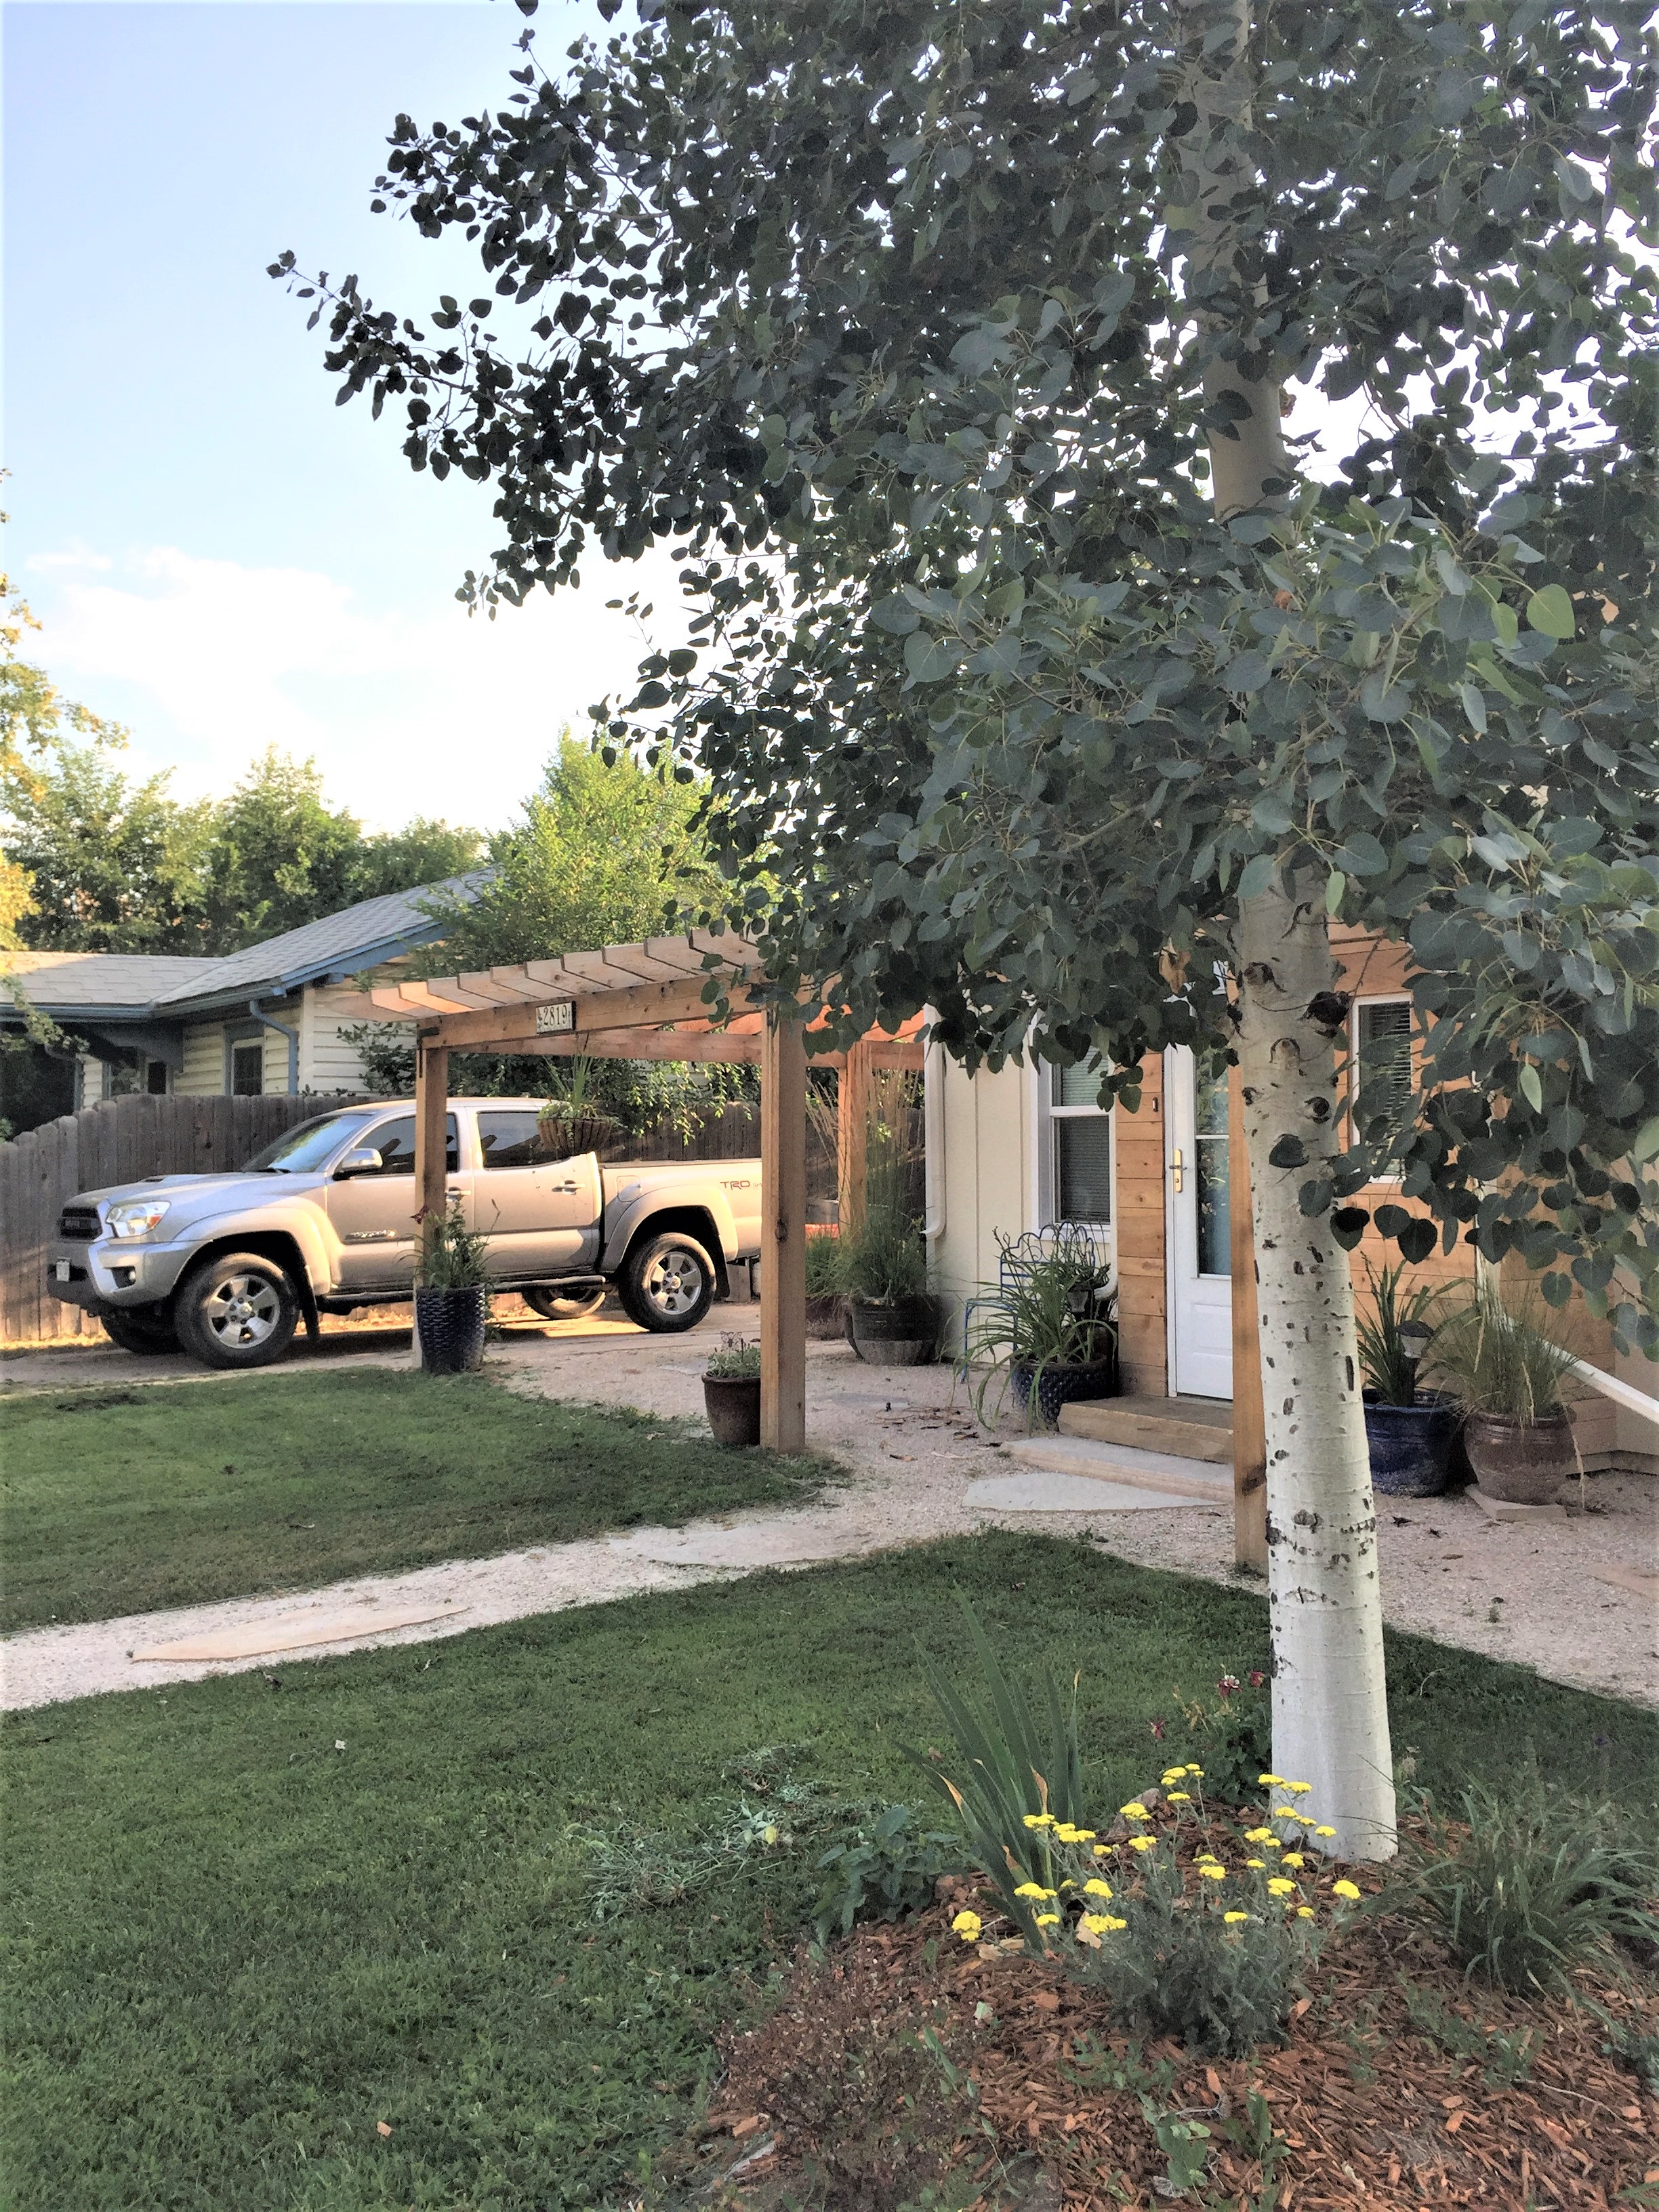
The Aspen Tree is still here but,
the front looks otherwise pretty different.
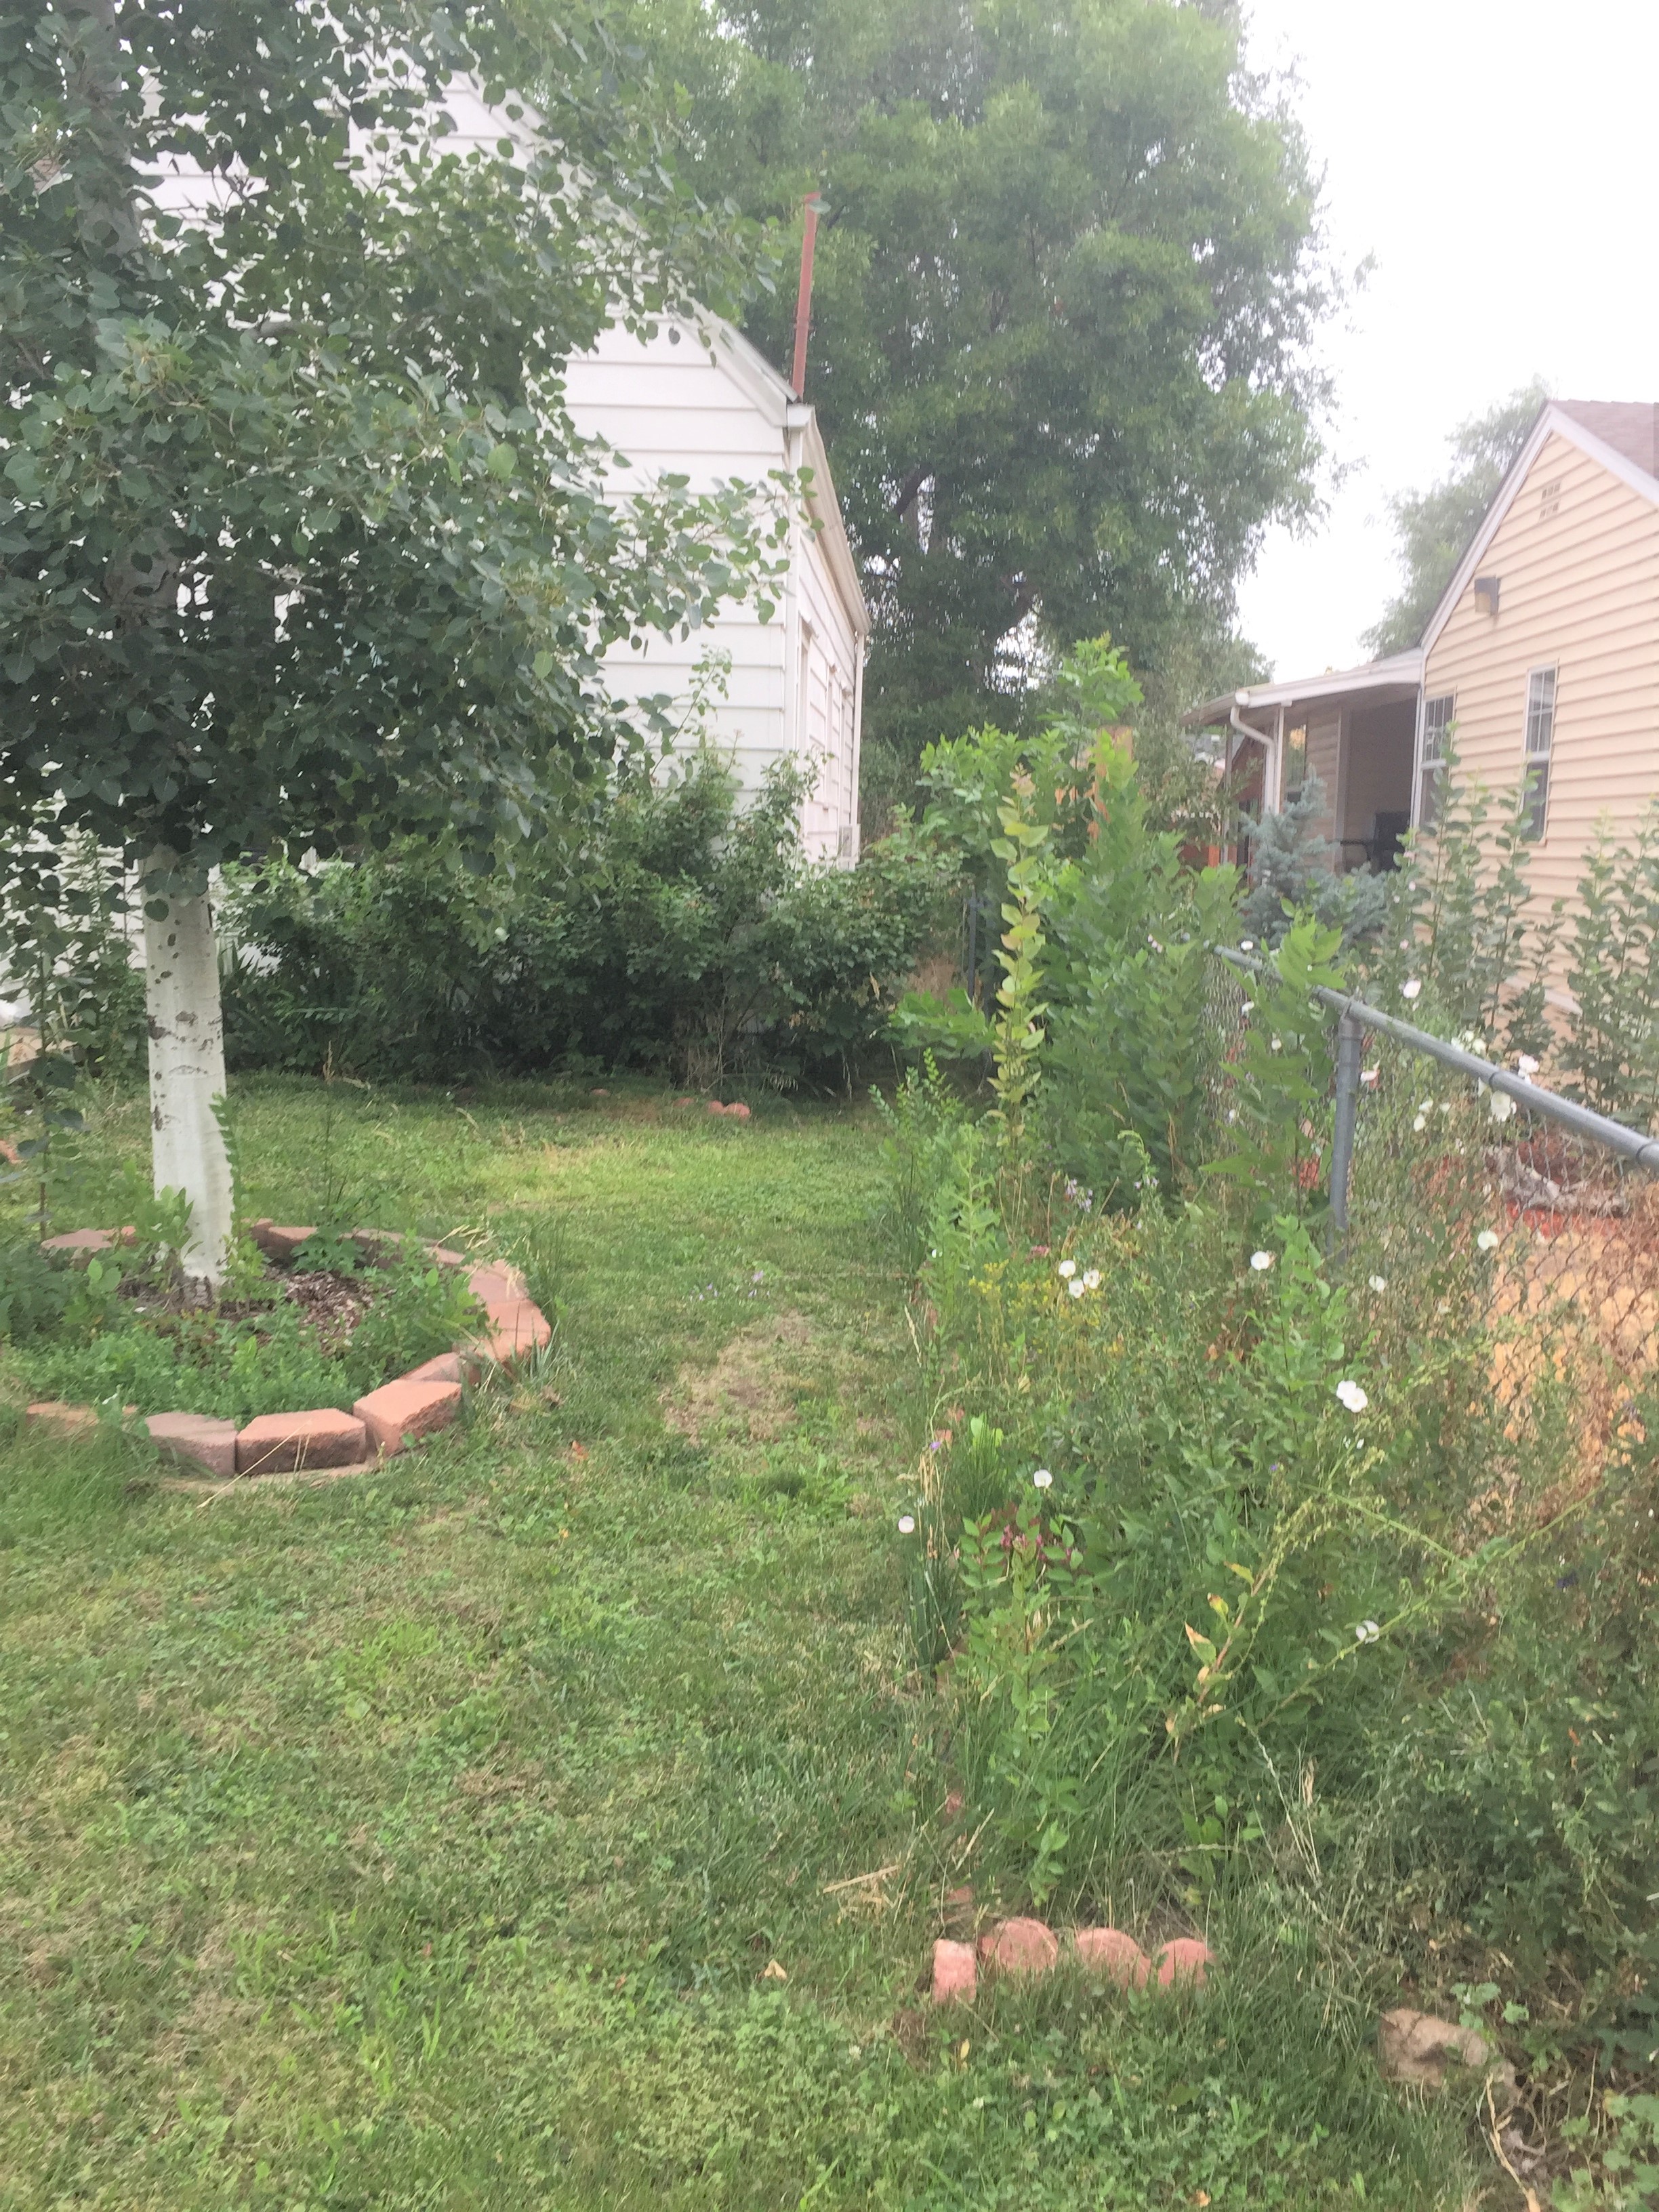
The side yard between my neighbor and I…
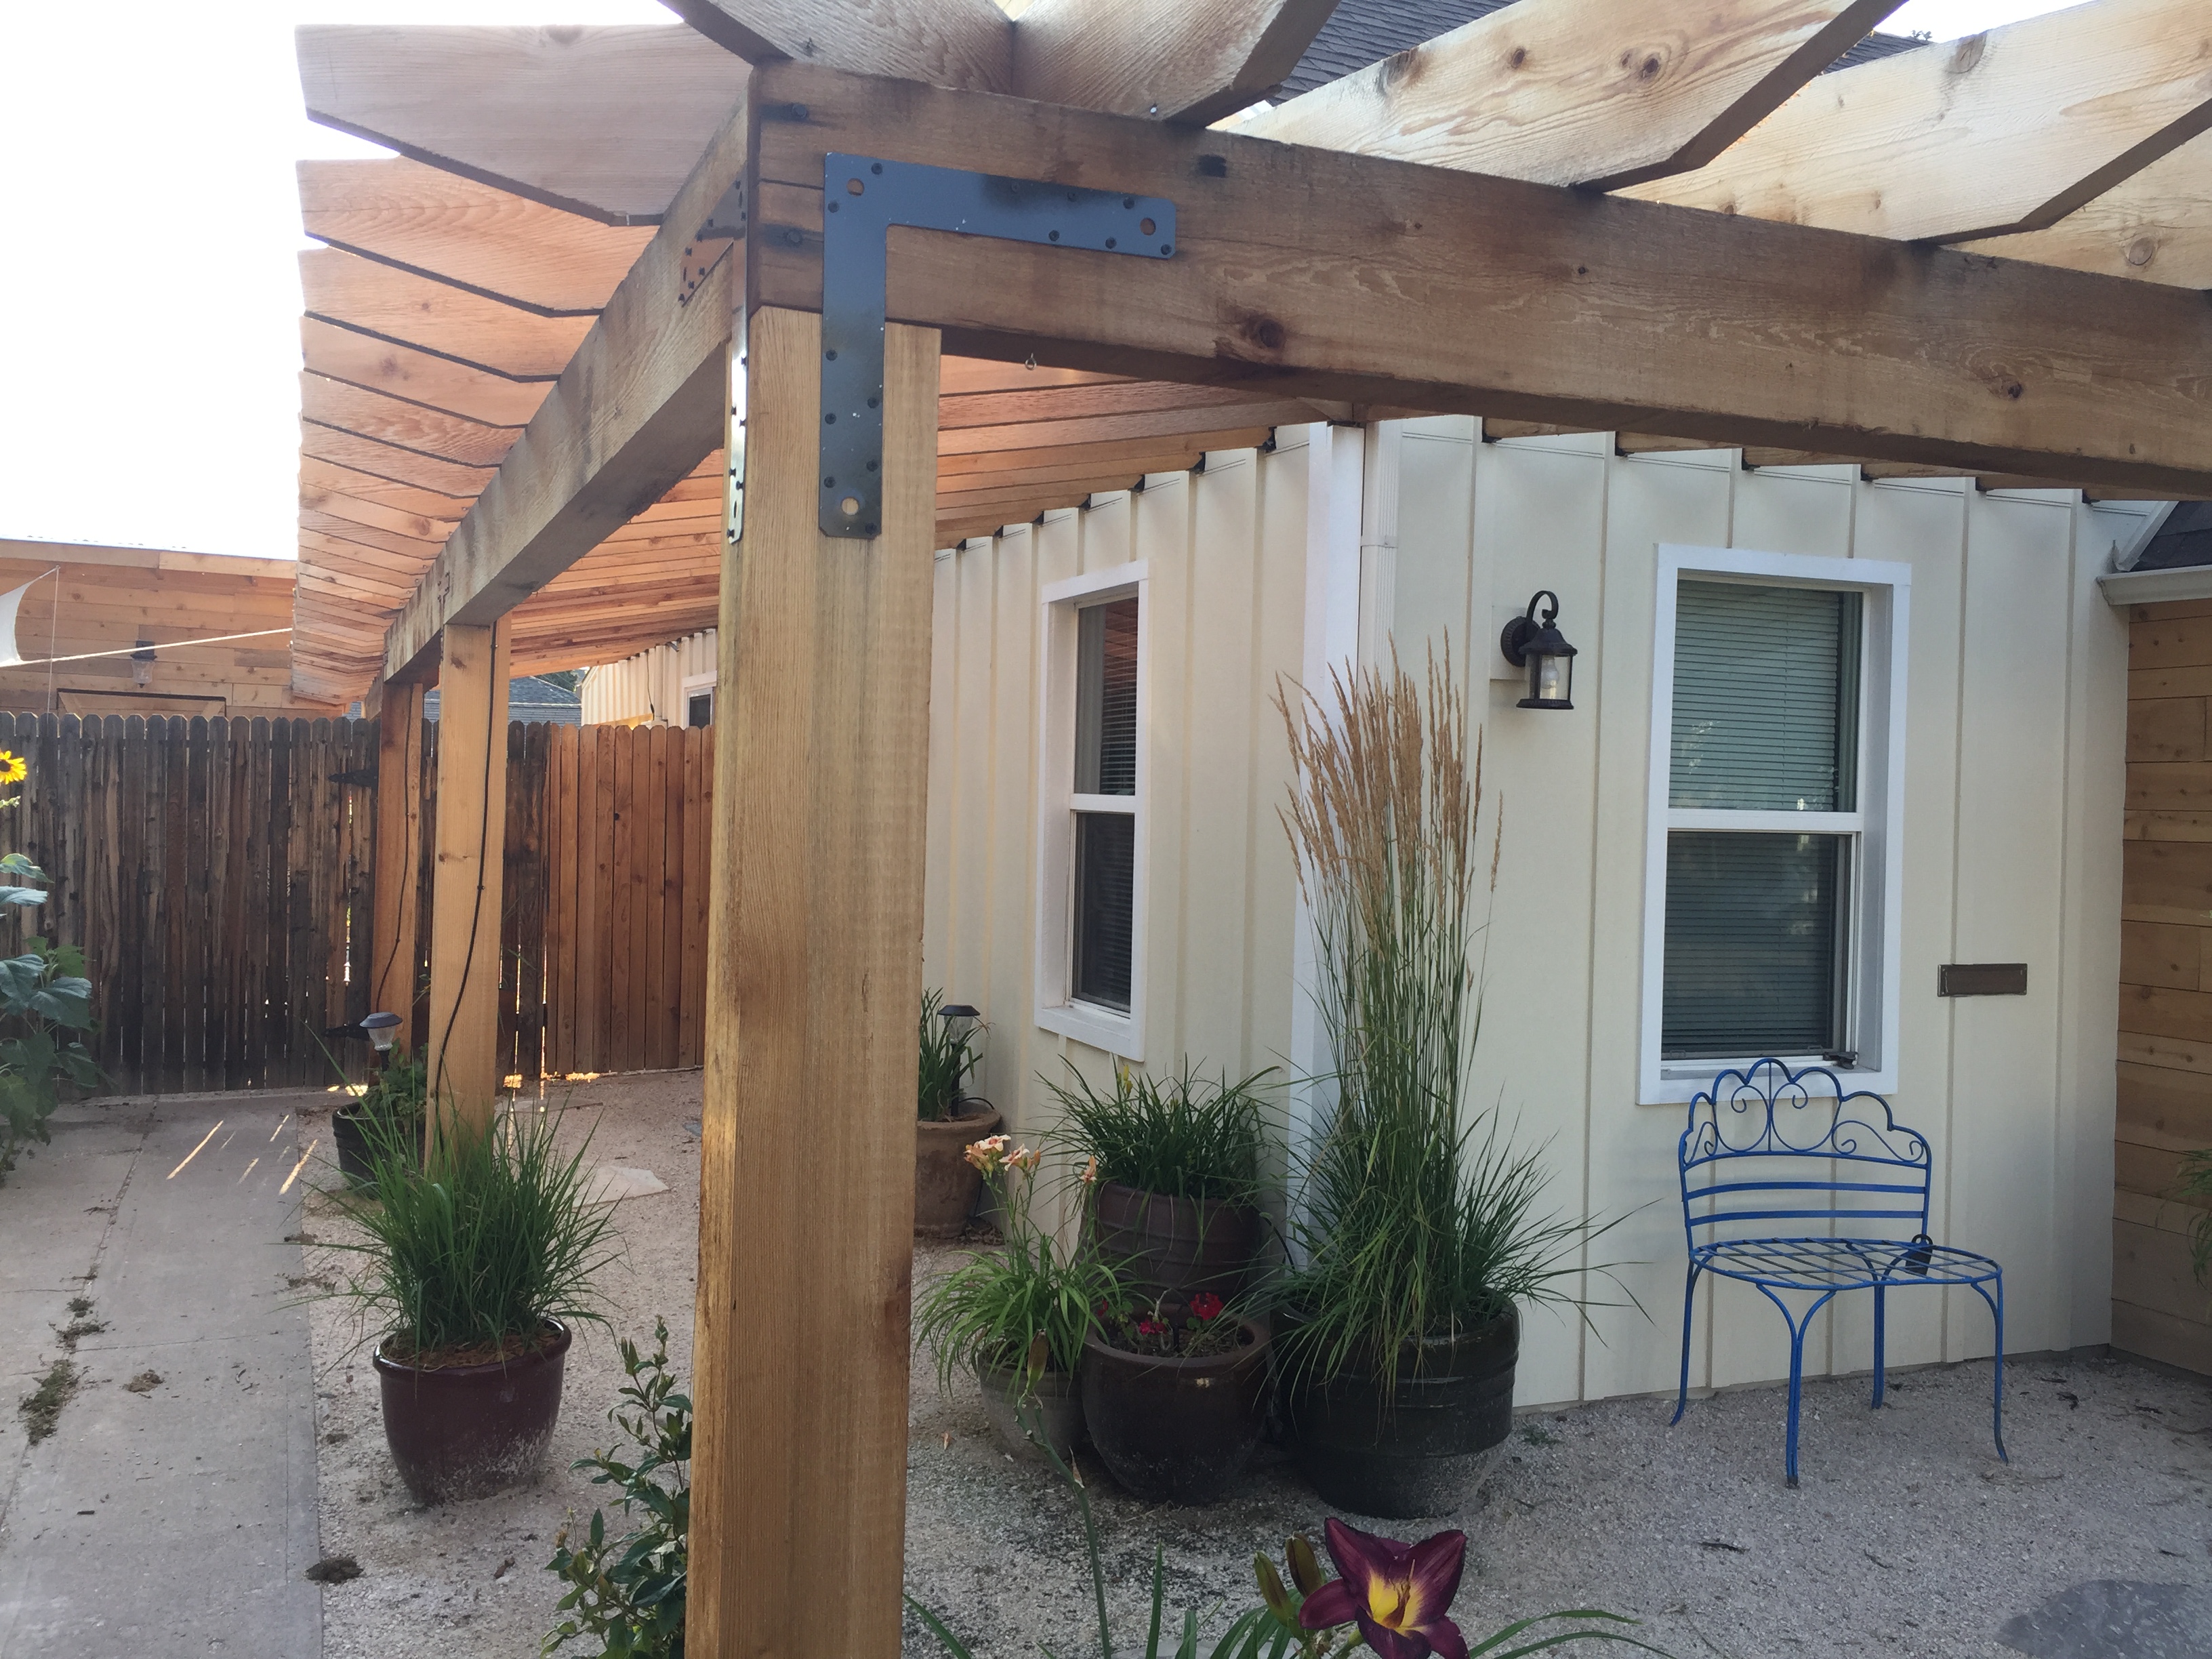
looks better with a cedar fence and gate, Breeze material and filled in grass.
It’s hard to see the cedar garden boxes on the right. And impossible to see the gate behind the volunteer tree the contractor is walking through.
Ah, there’s the gate! And a nice clean walkway under the cedar arbor.
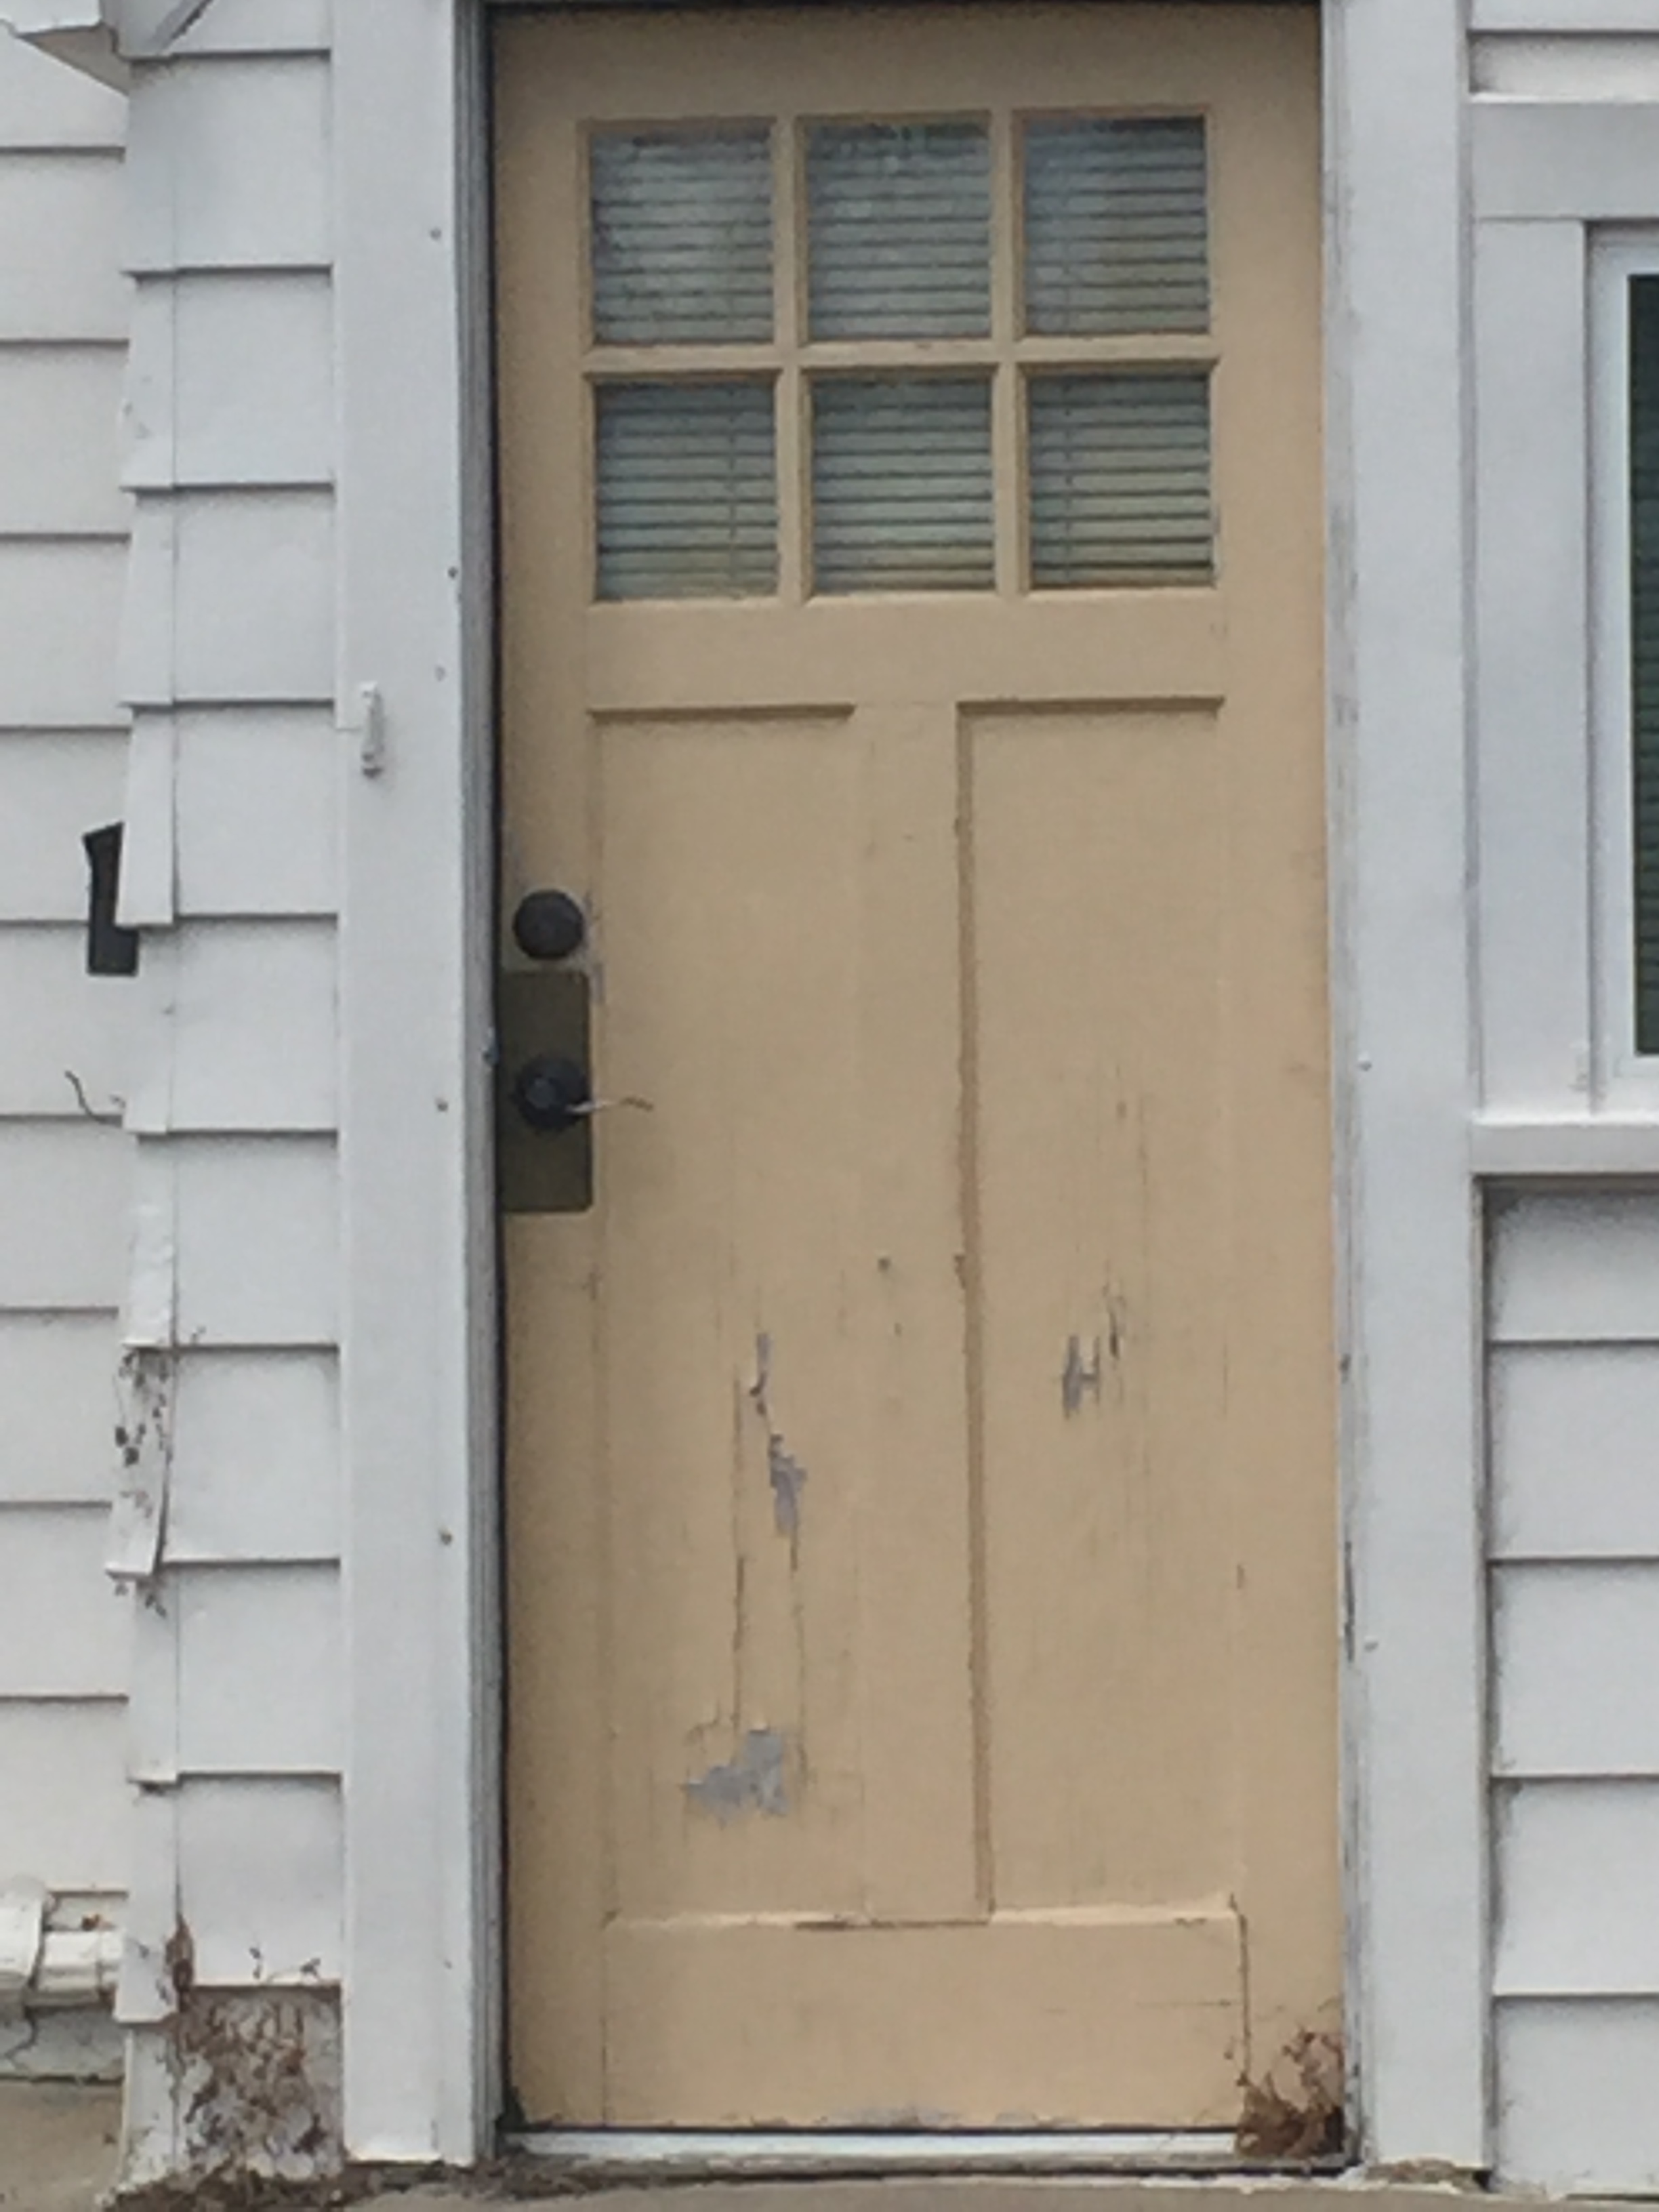
And the front door must have been original! Weeds were growing through the concrete step under the door and into the house.
More welcoming! And interesting to look at, from the street.
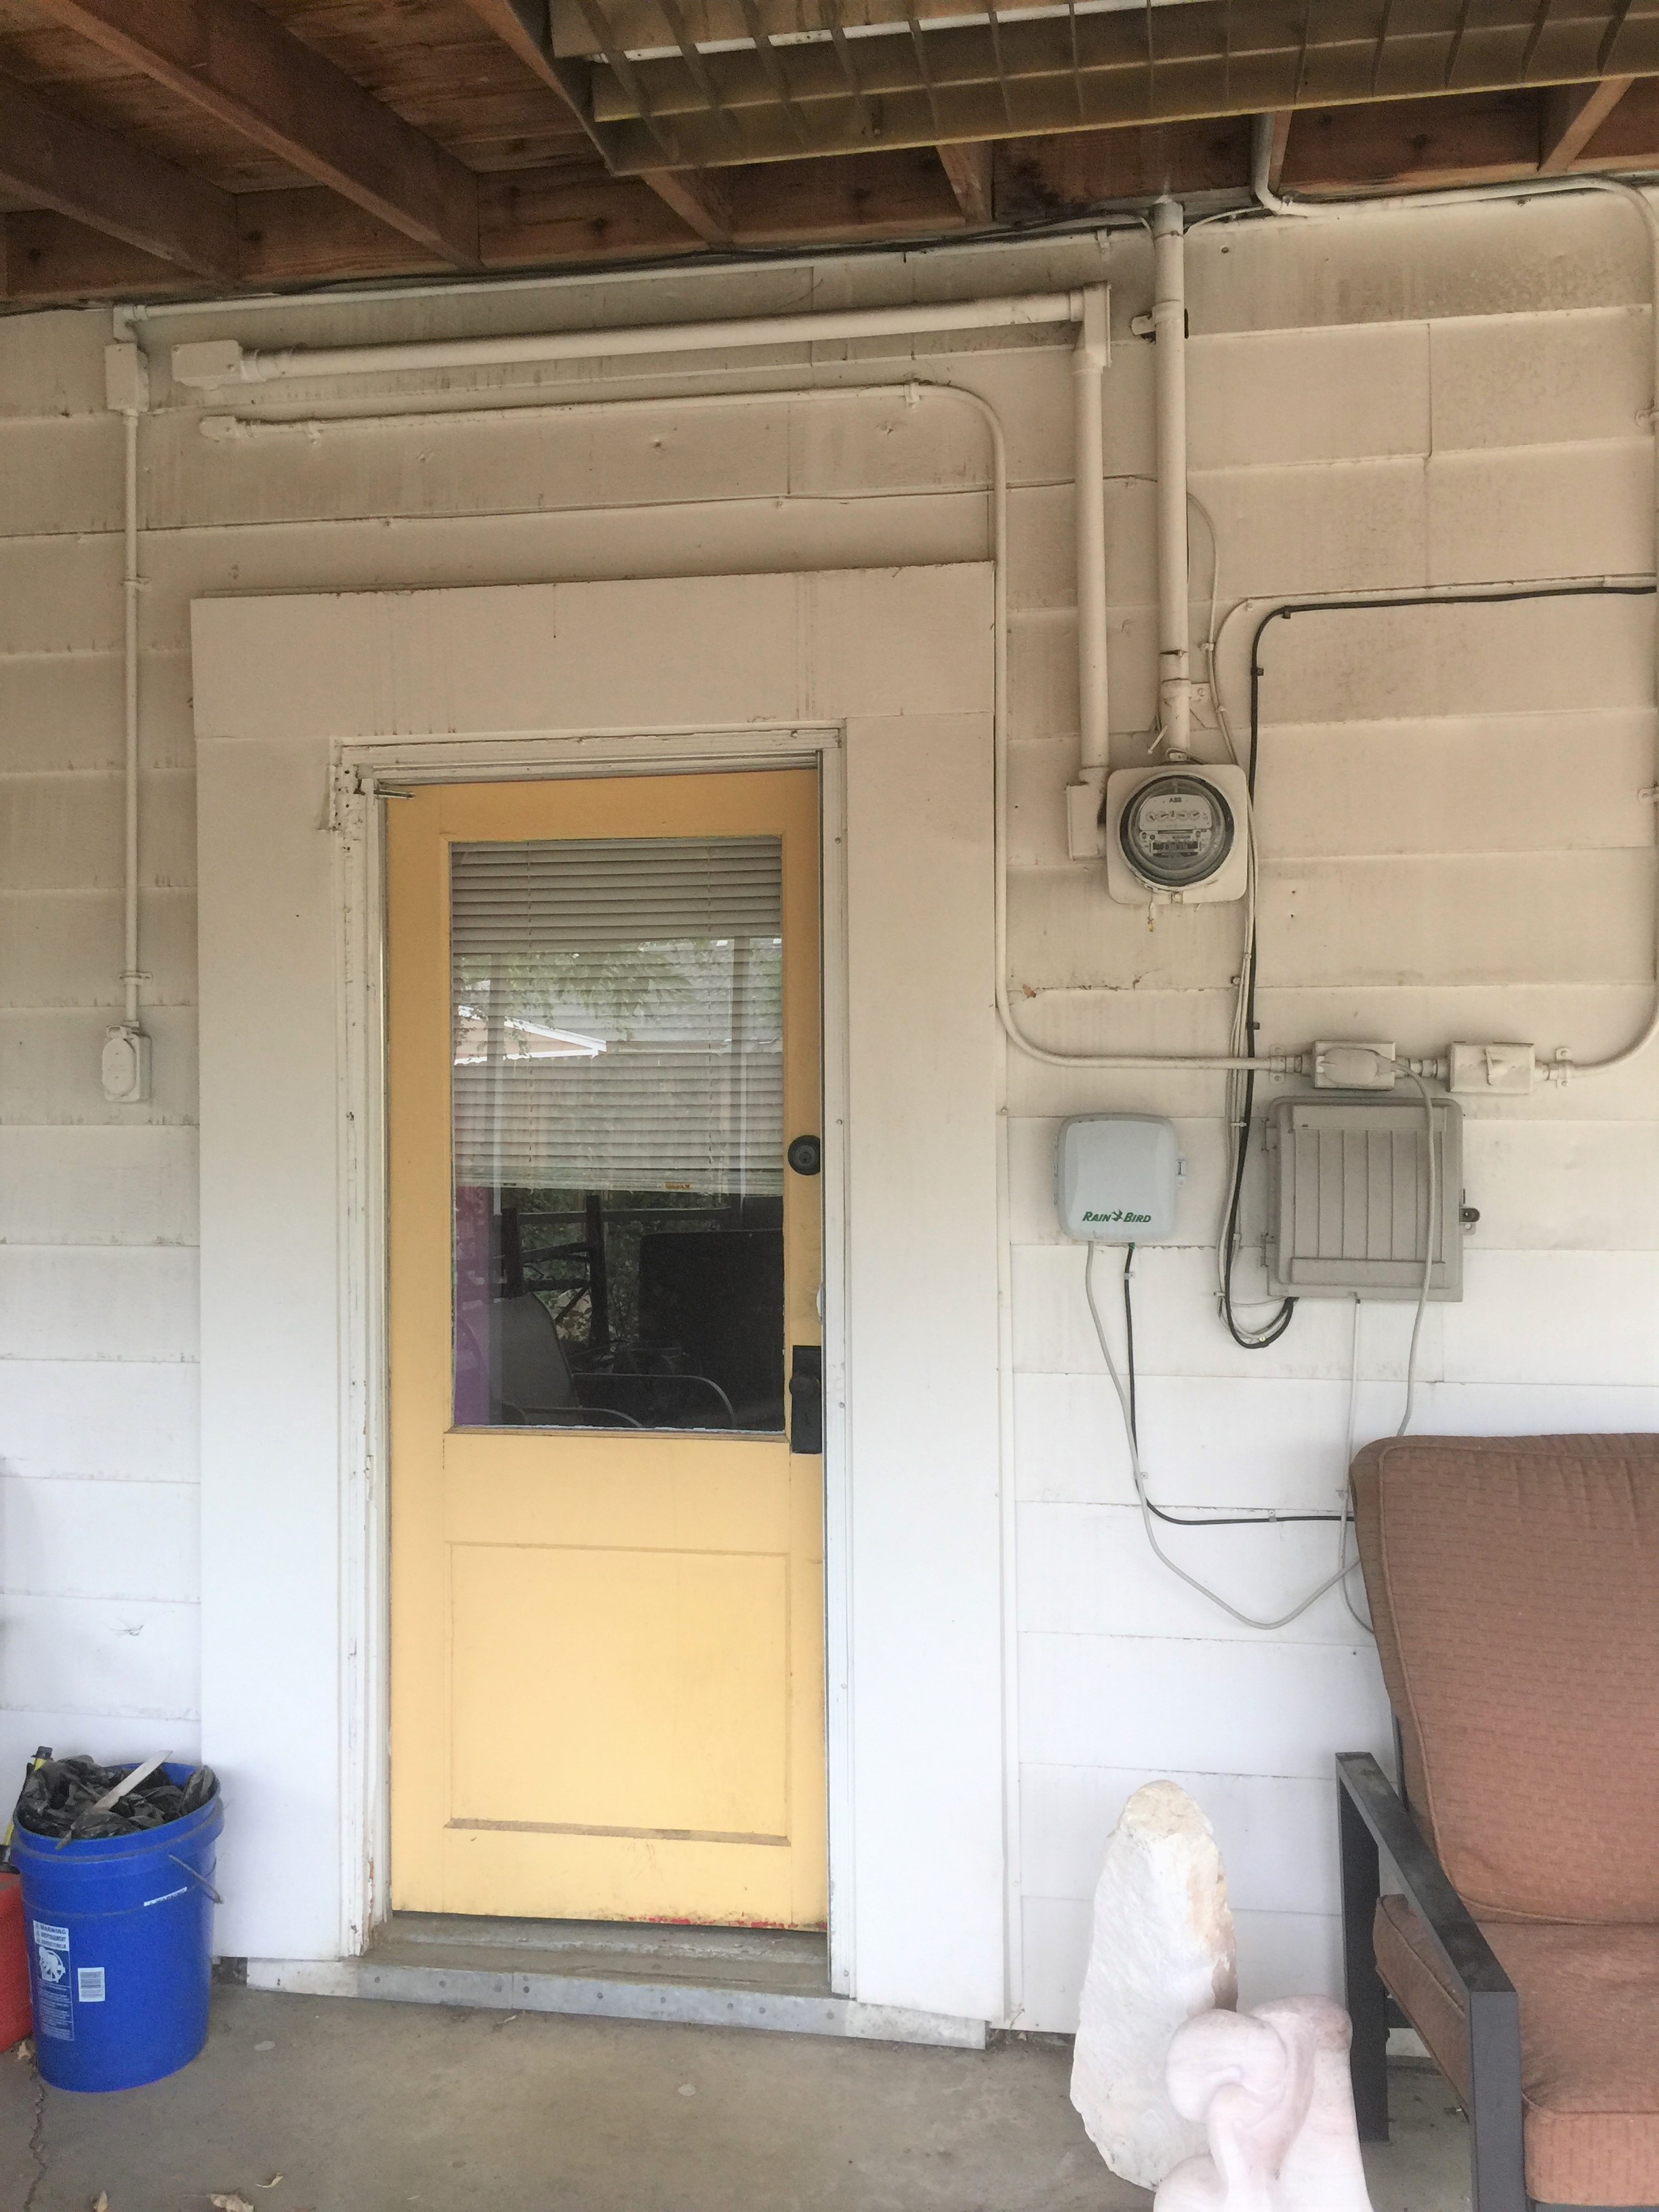
The back door was also in poor shape.
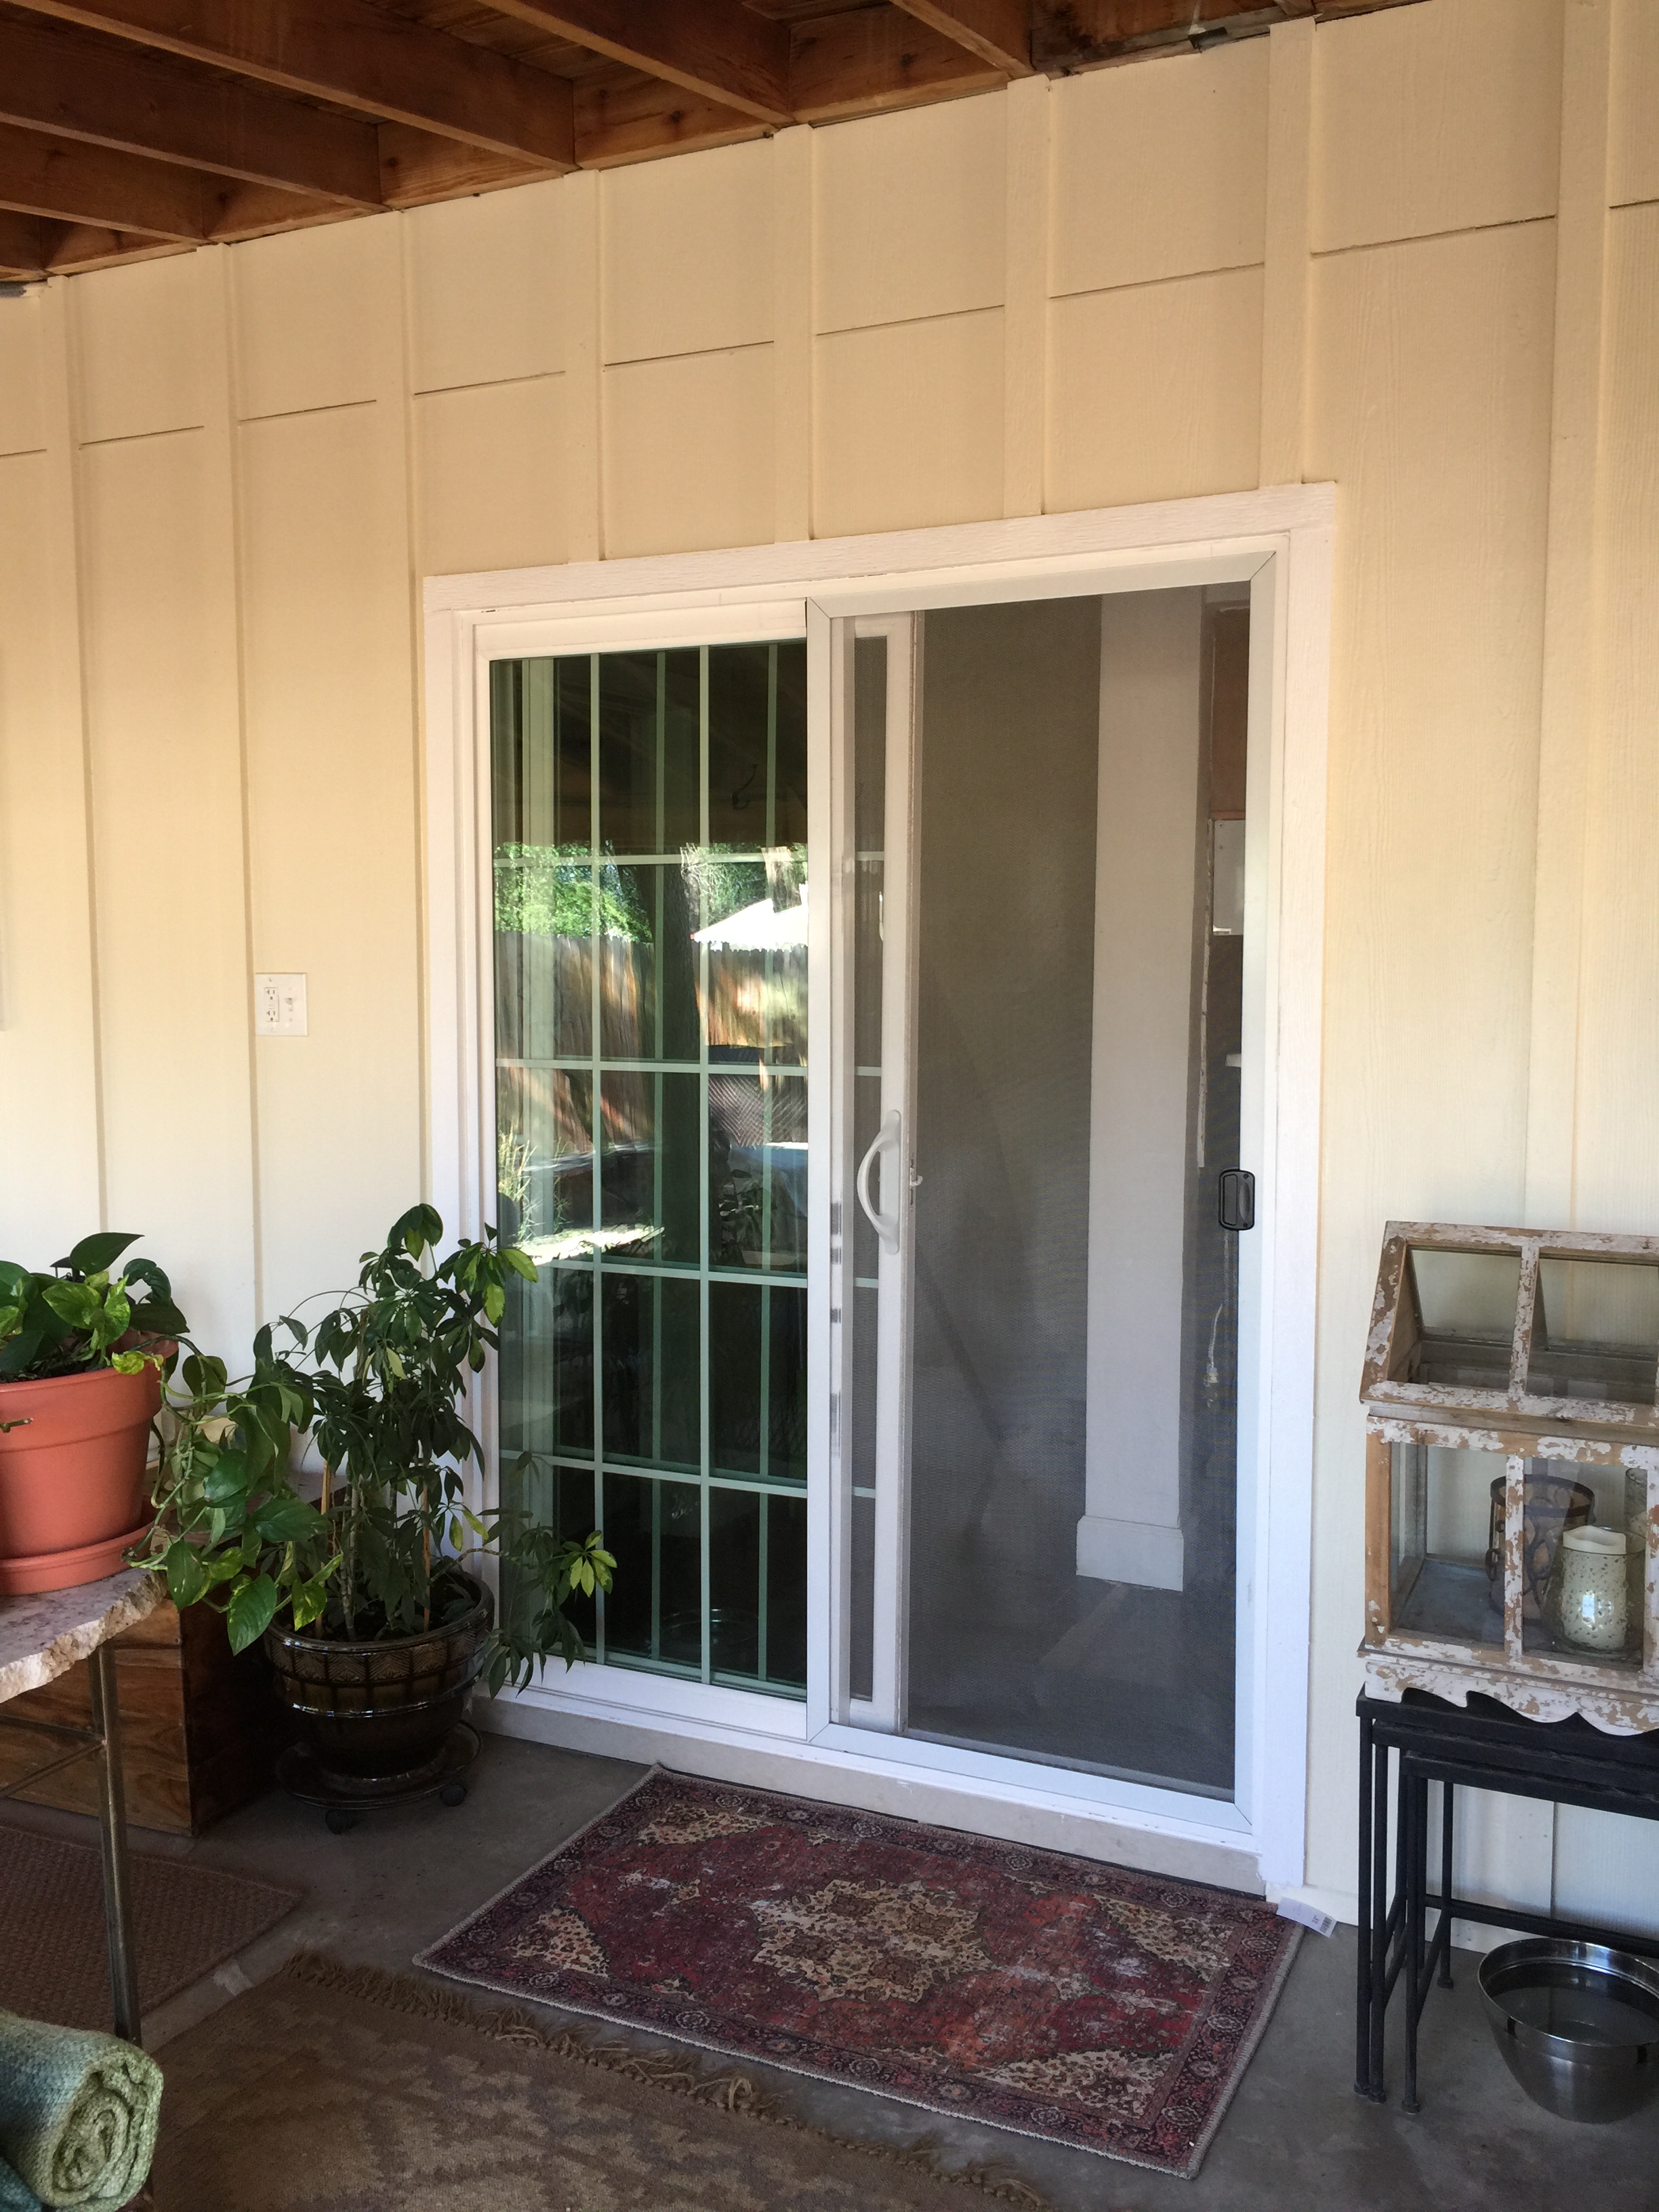
The new slider is more open, let’s light into the house and is so much prettier.
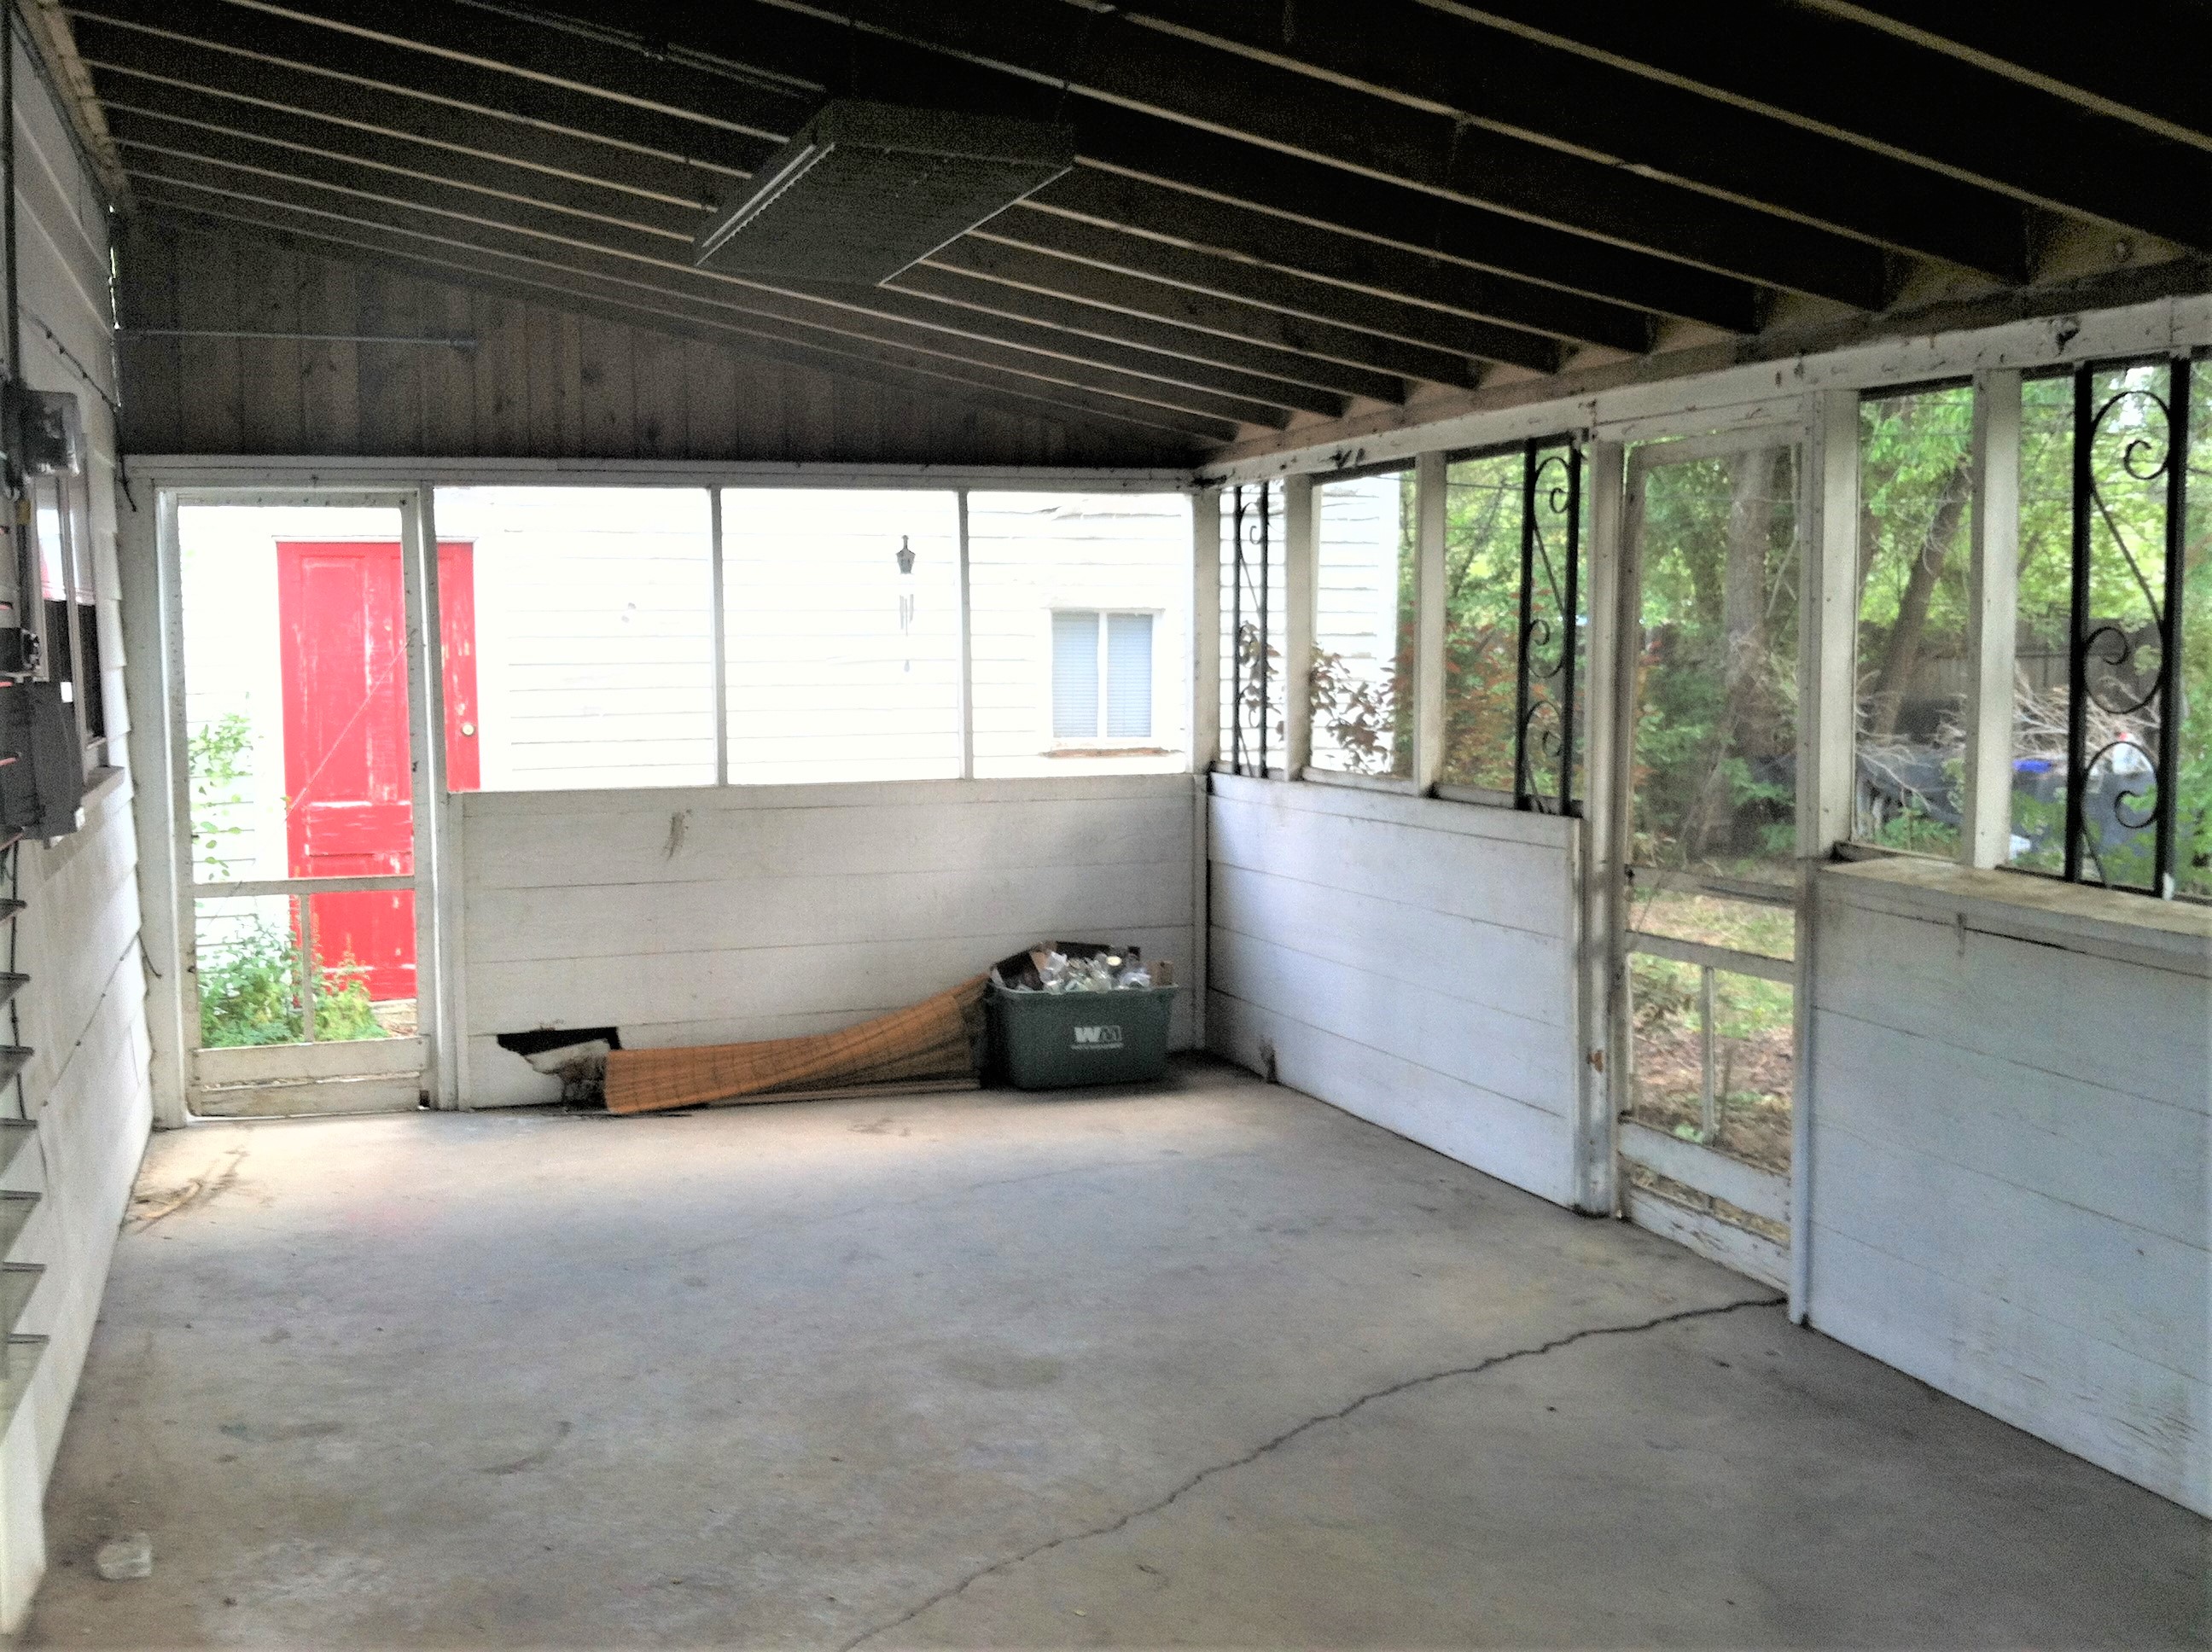
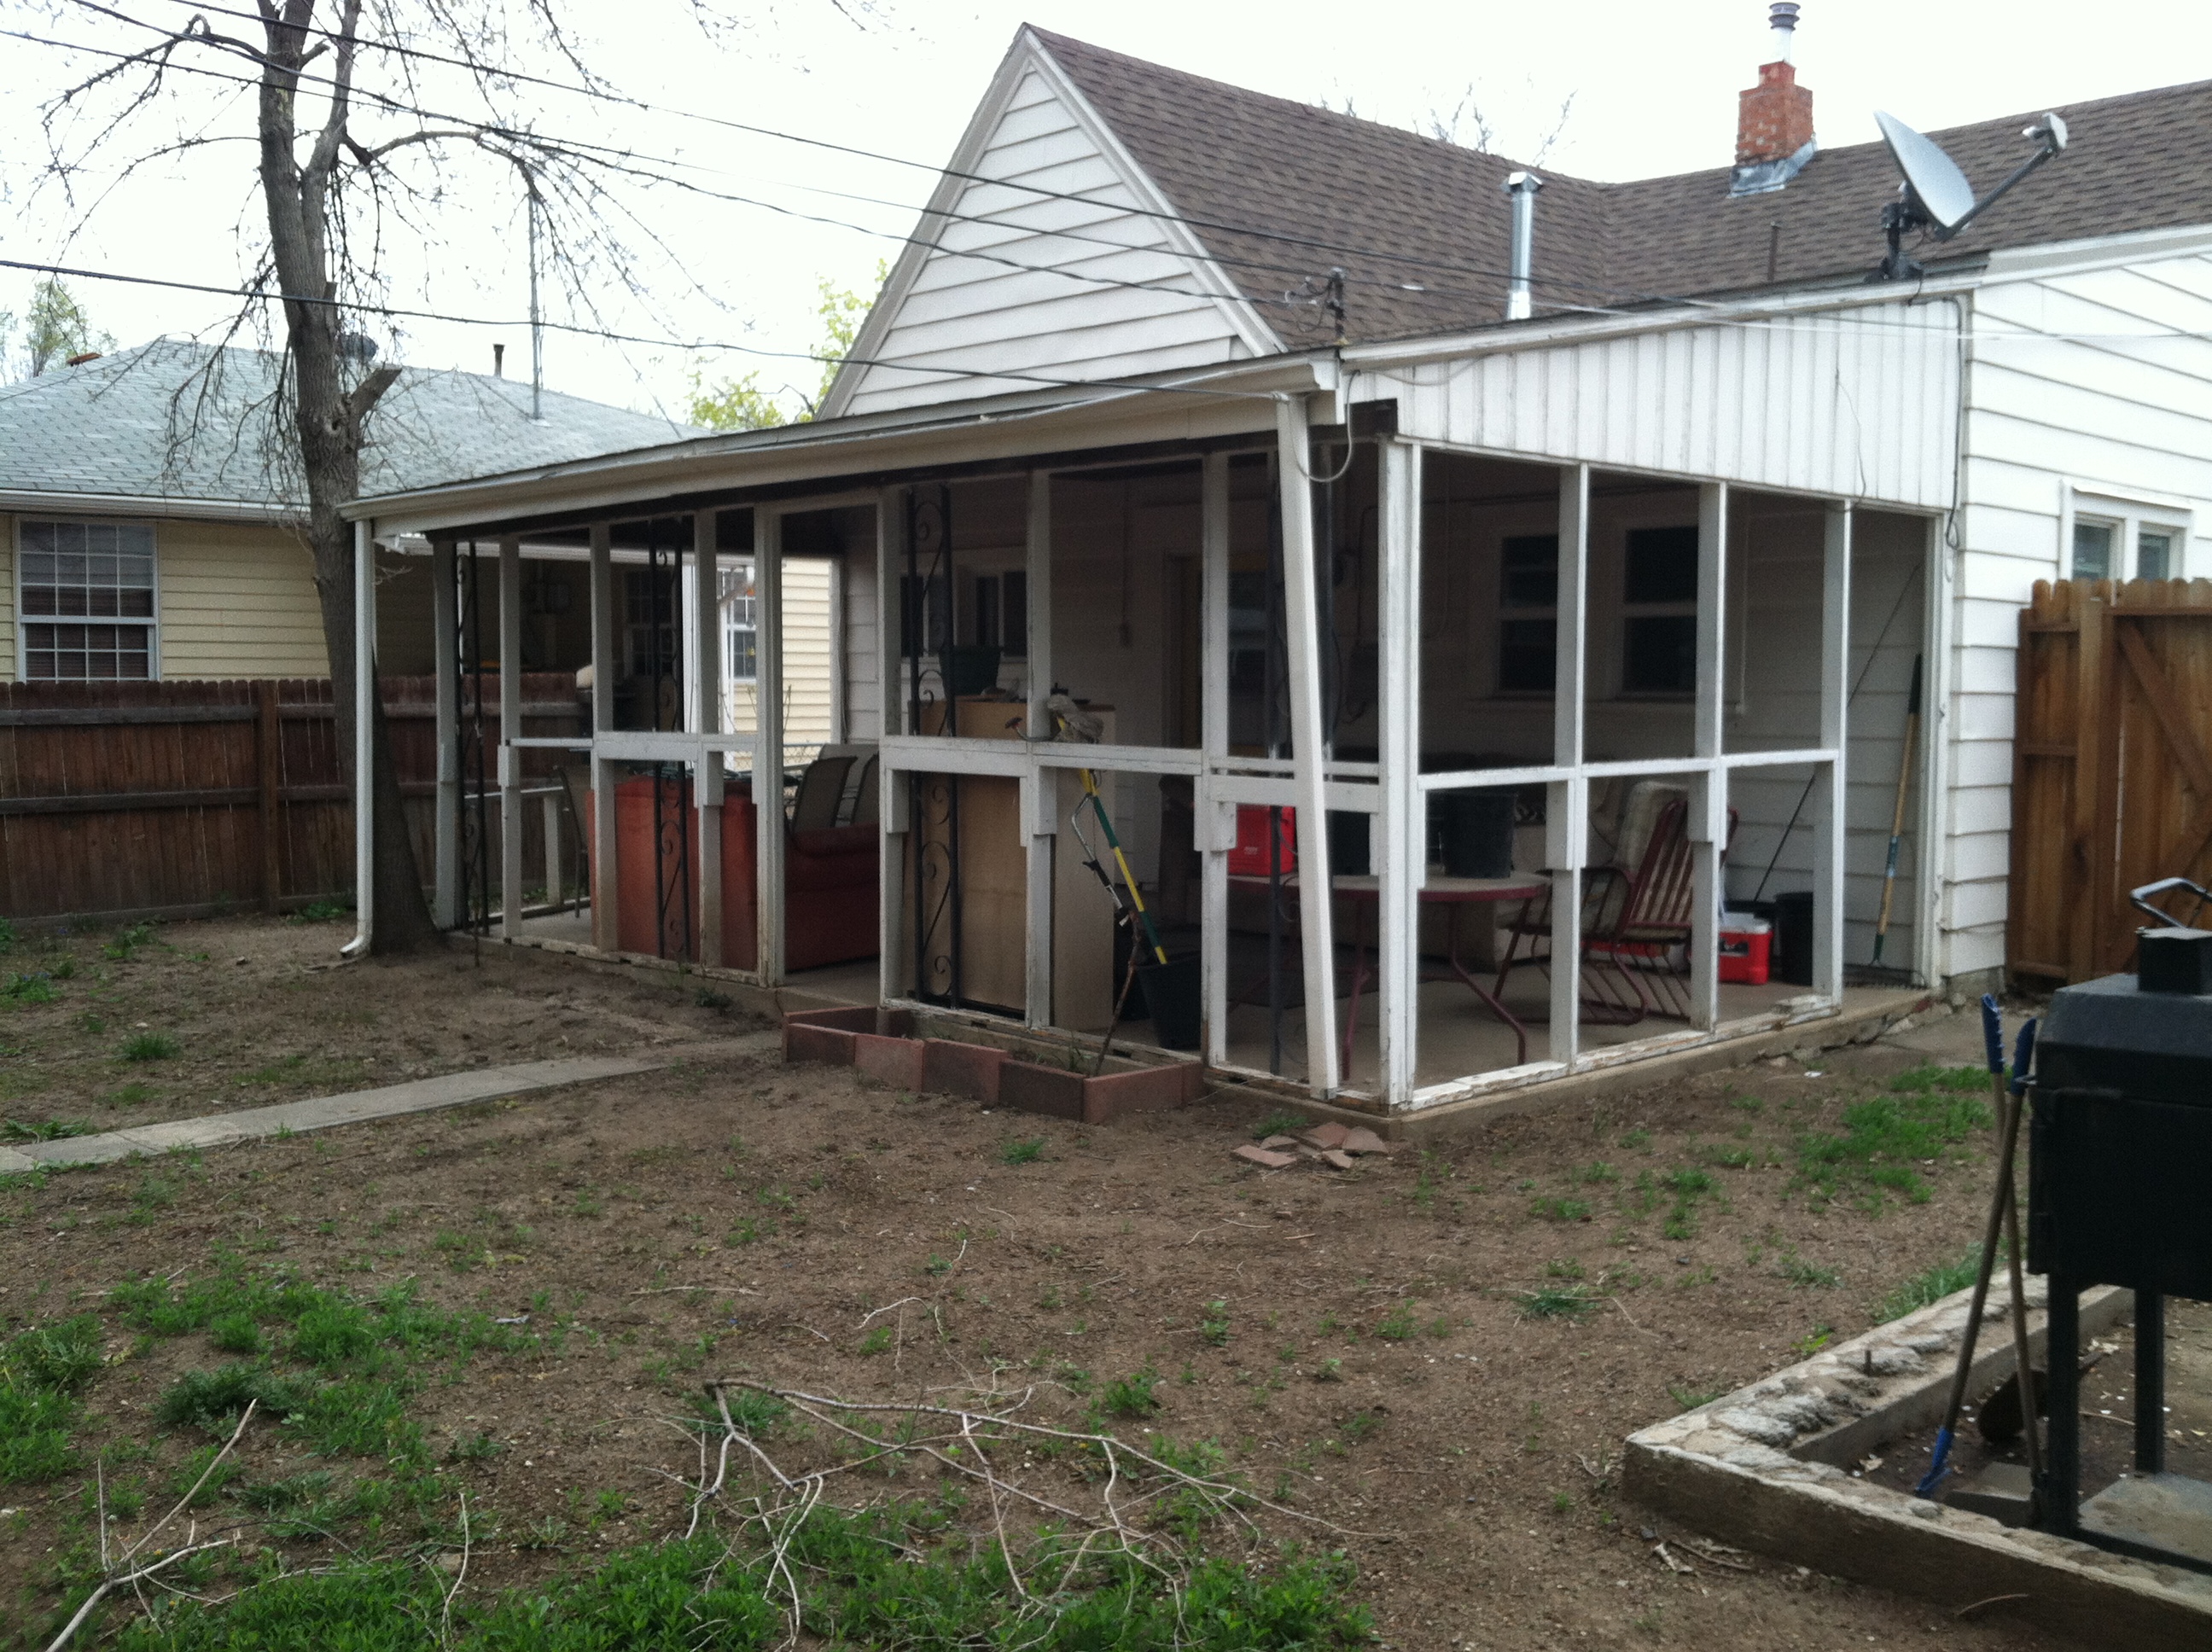
This is the back porch, but this pic was taken around 2011, before the garage came down. It had plywood paneling on the bottom and screen on the top.
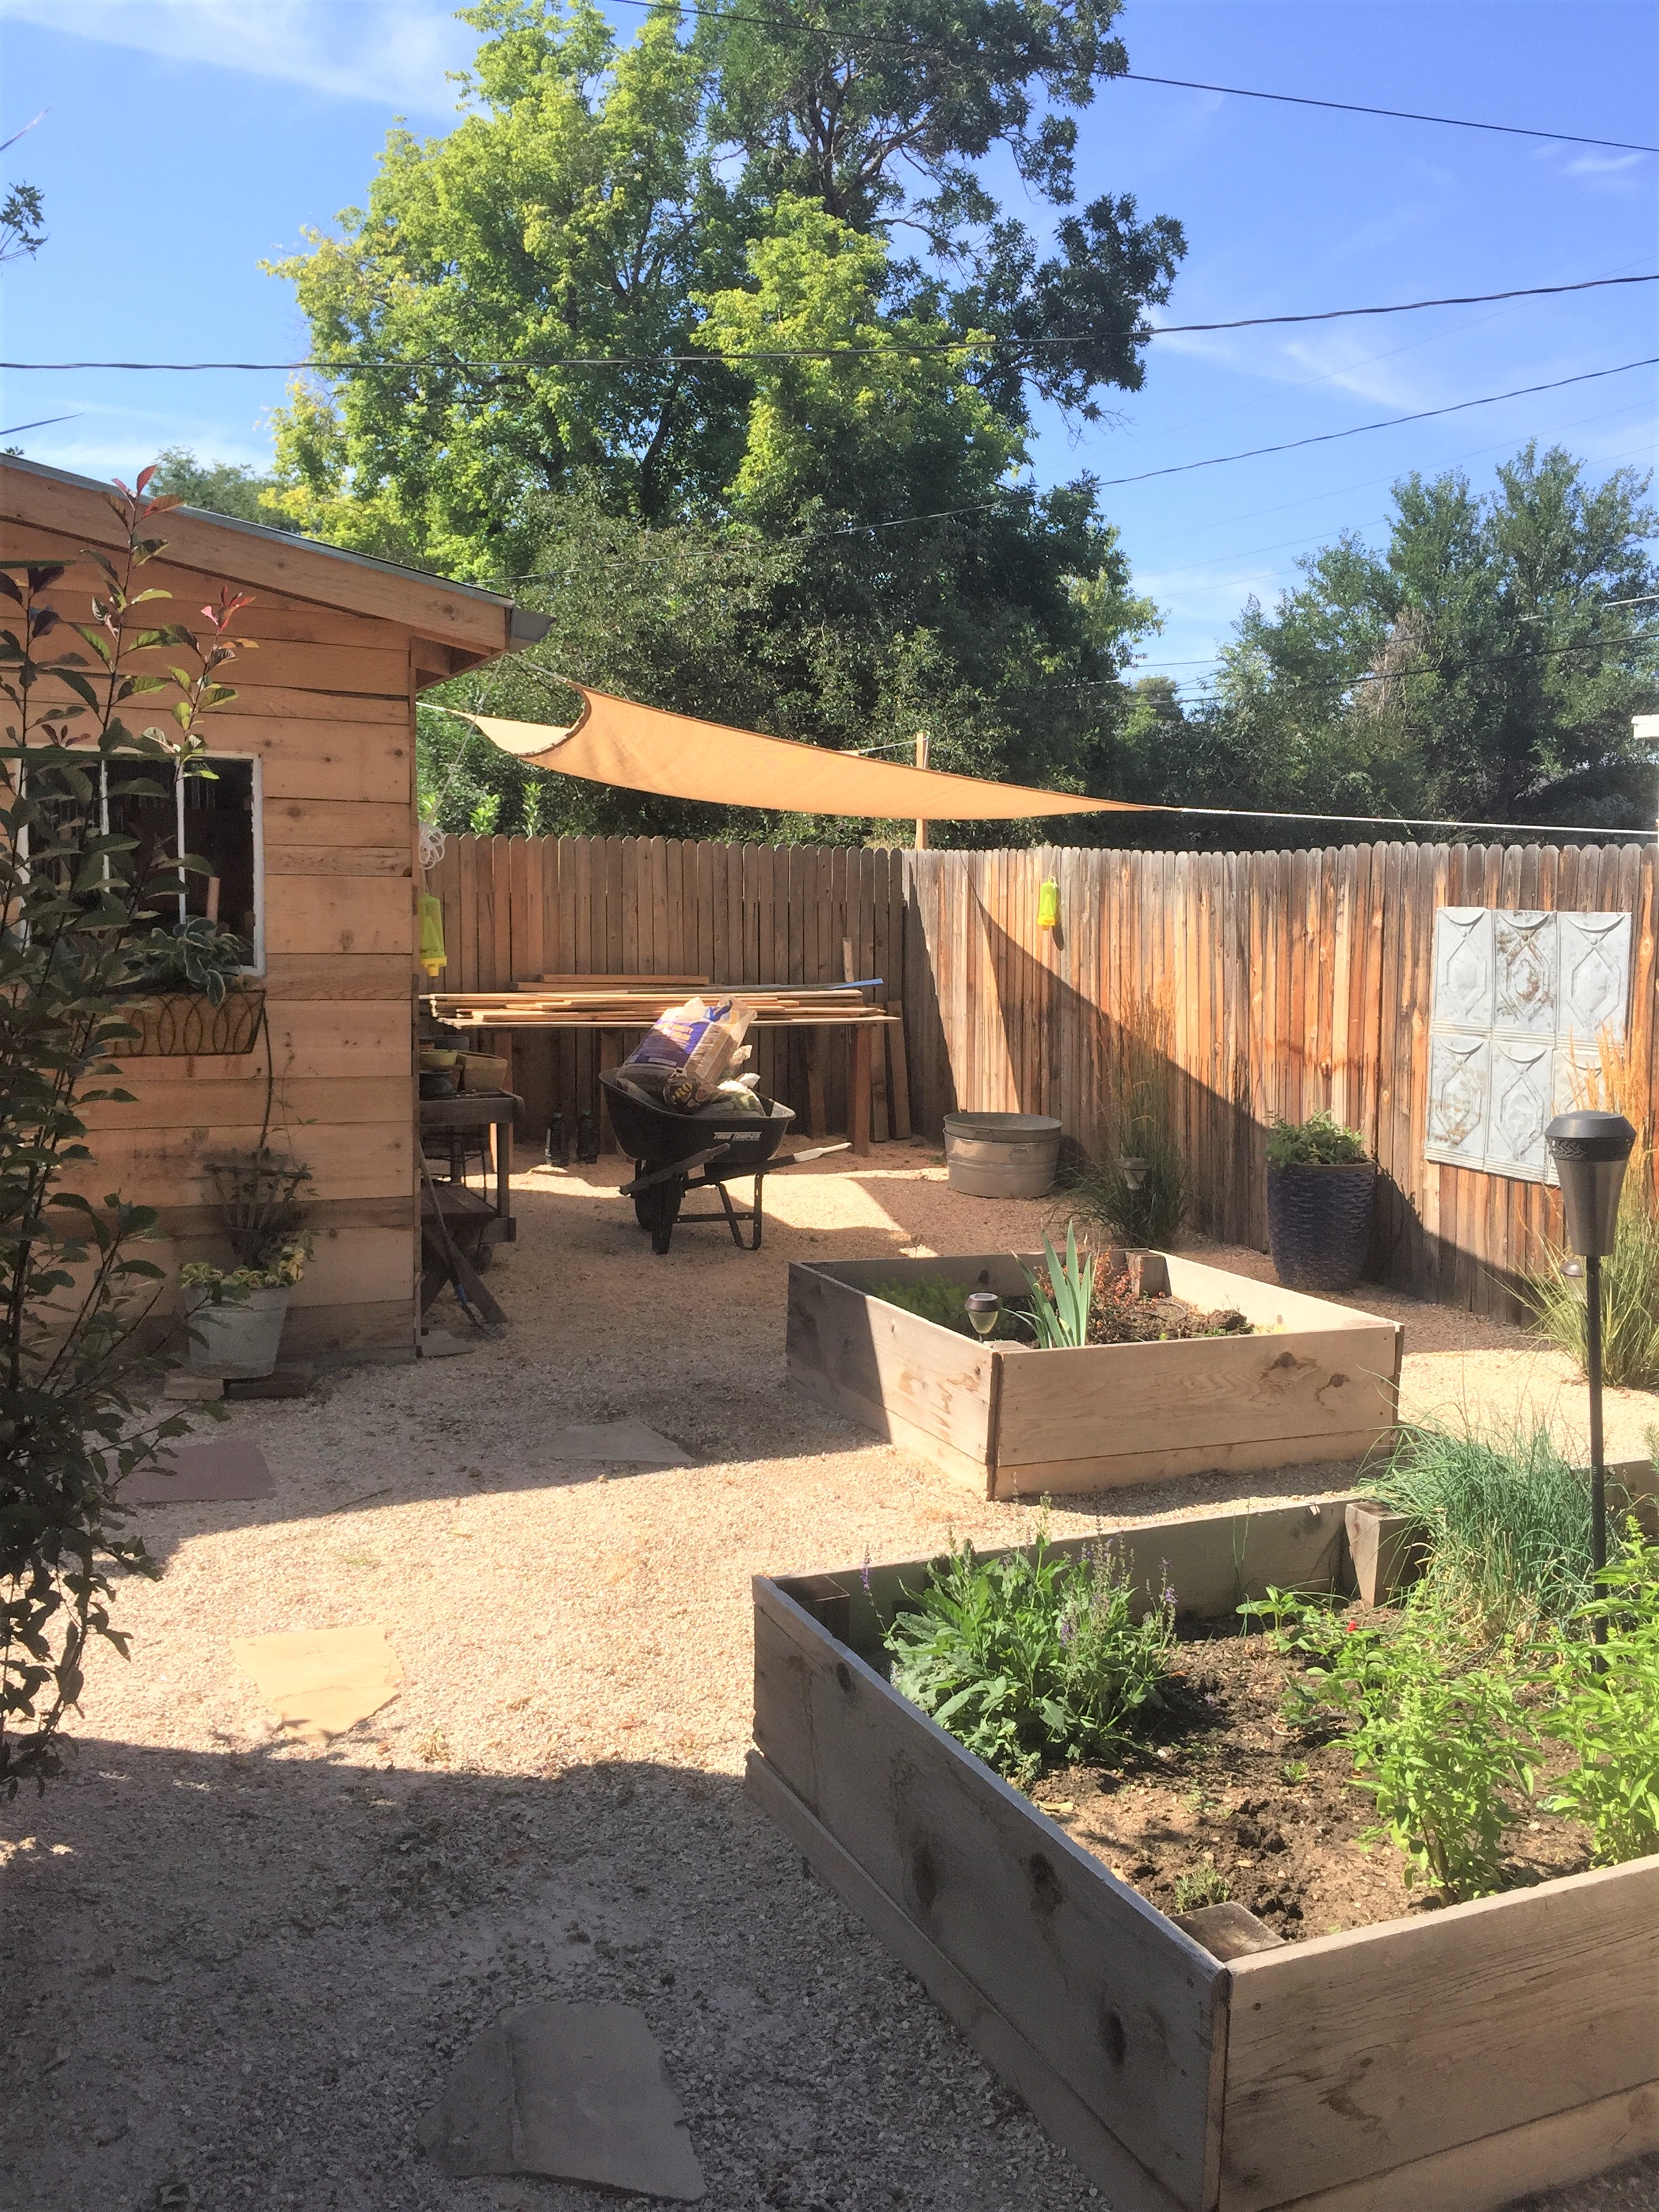
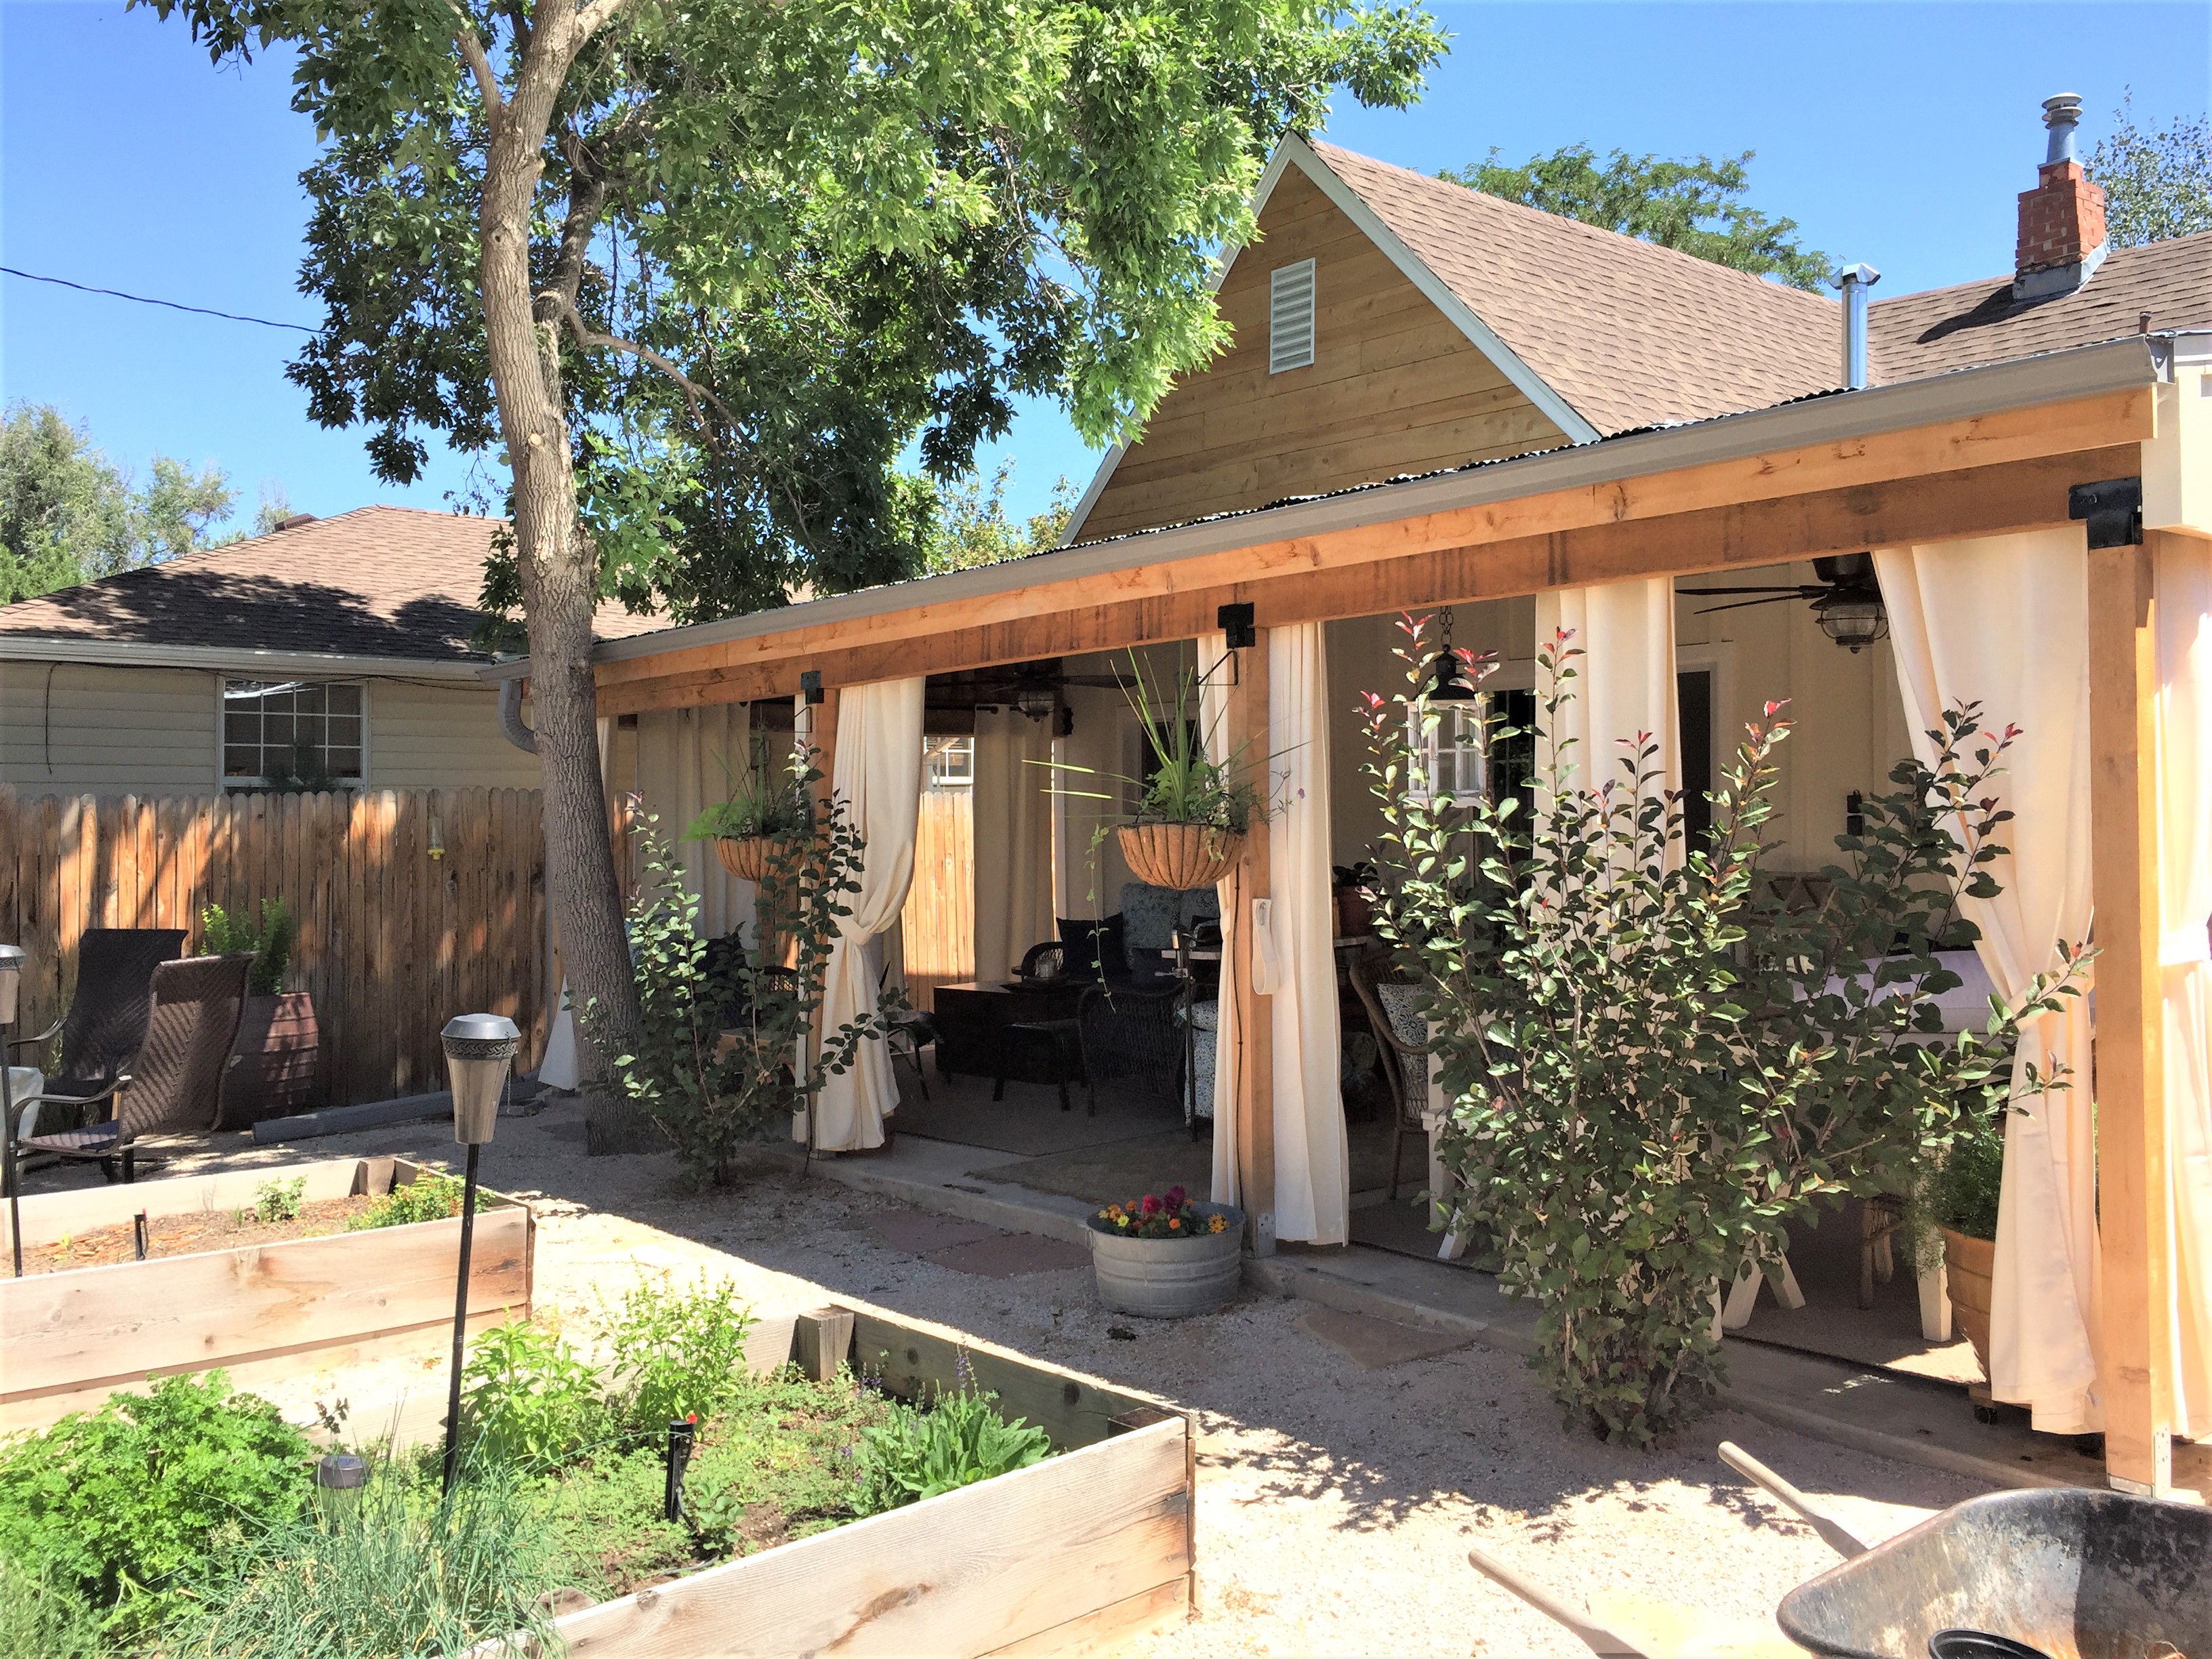
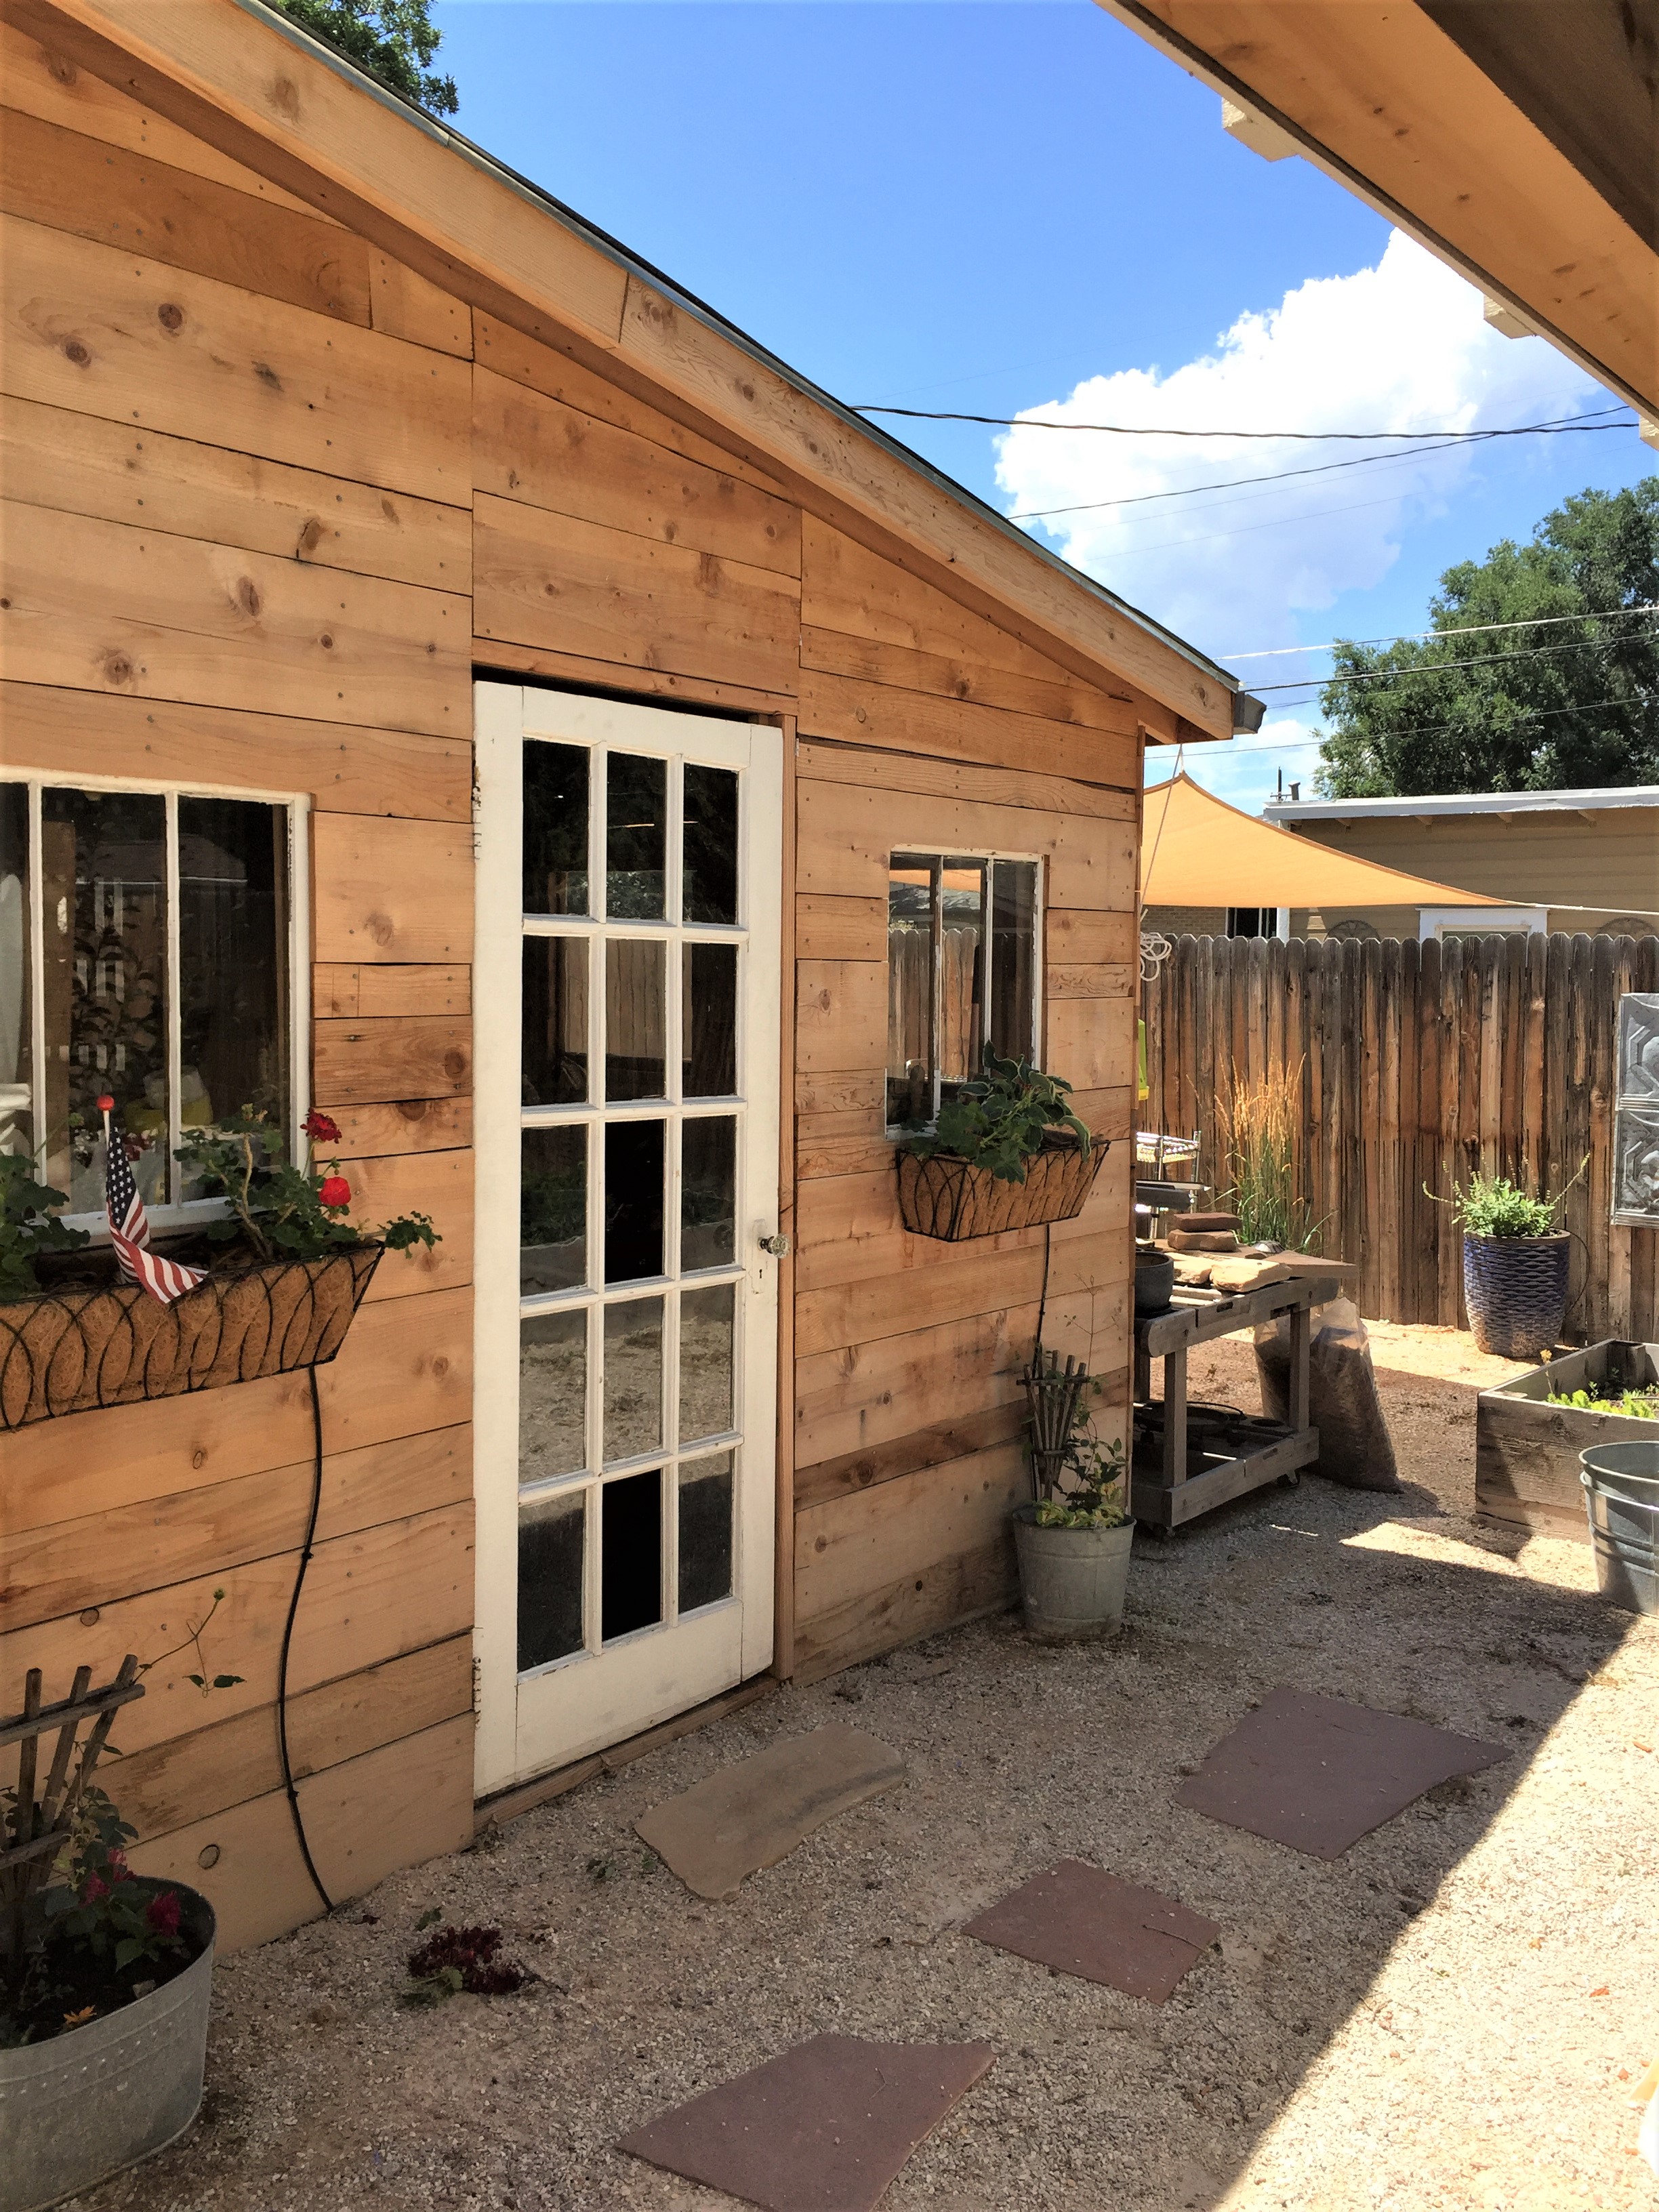
No more plywood! I replaced only the necessary supports with Cedar posts and opened it all up.And a new shed shares the original garage space with a courtyard seating area.
I liked the garage, which had cool original wood siding, but it was so old! The back yard was neglected and overgrown. (pic taken around 2008)
Ahhhh…. Cleaner and low maintenance! Perfect for me!
Straight view of the original back patio.
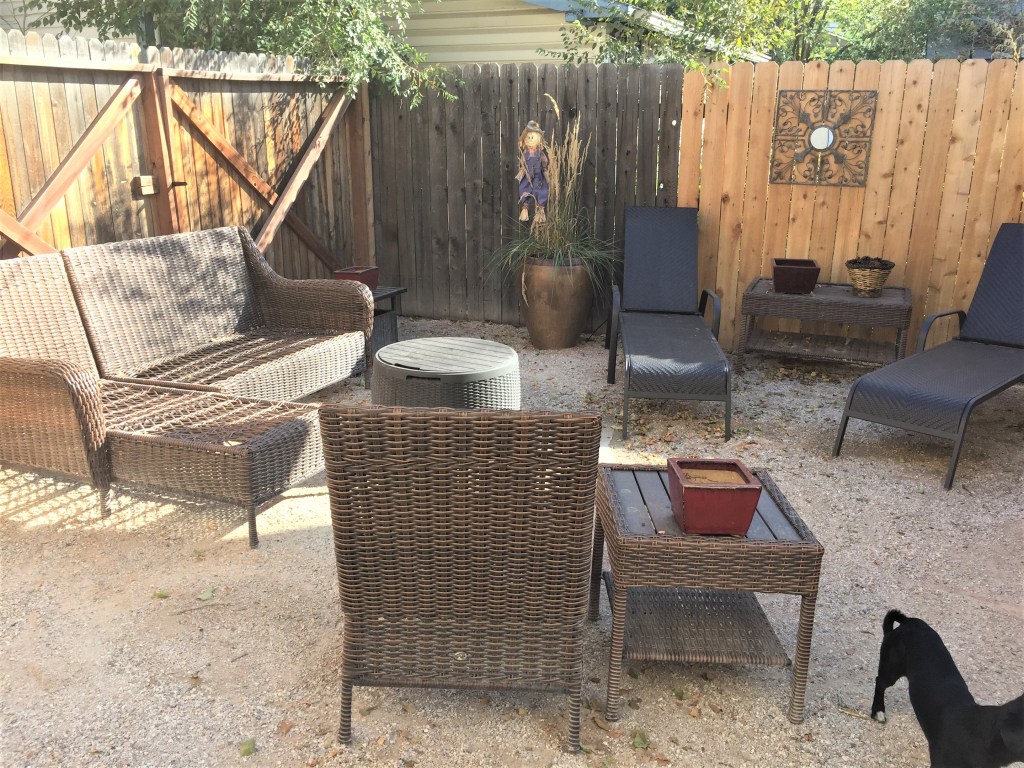
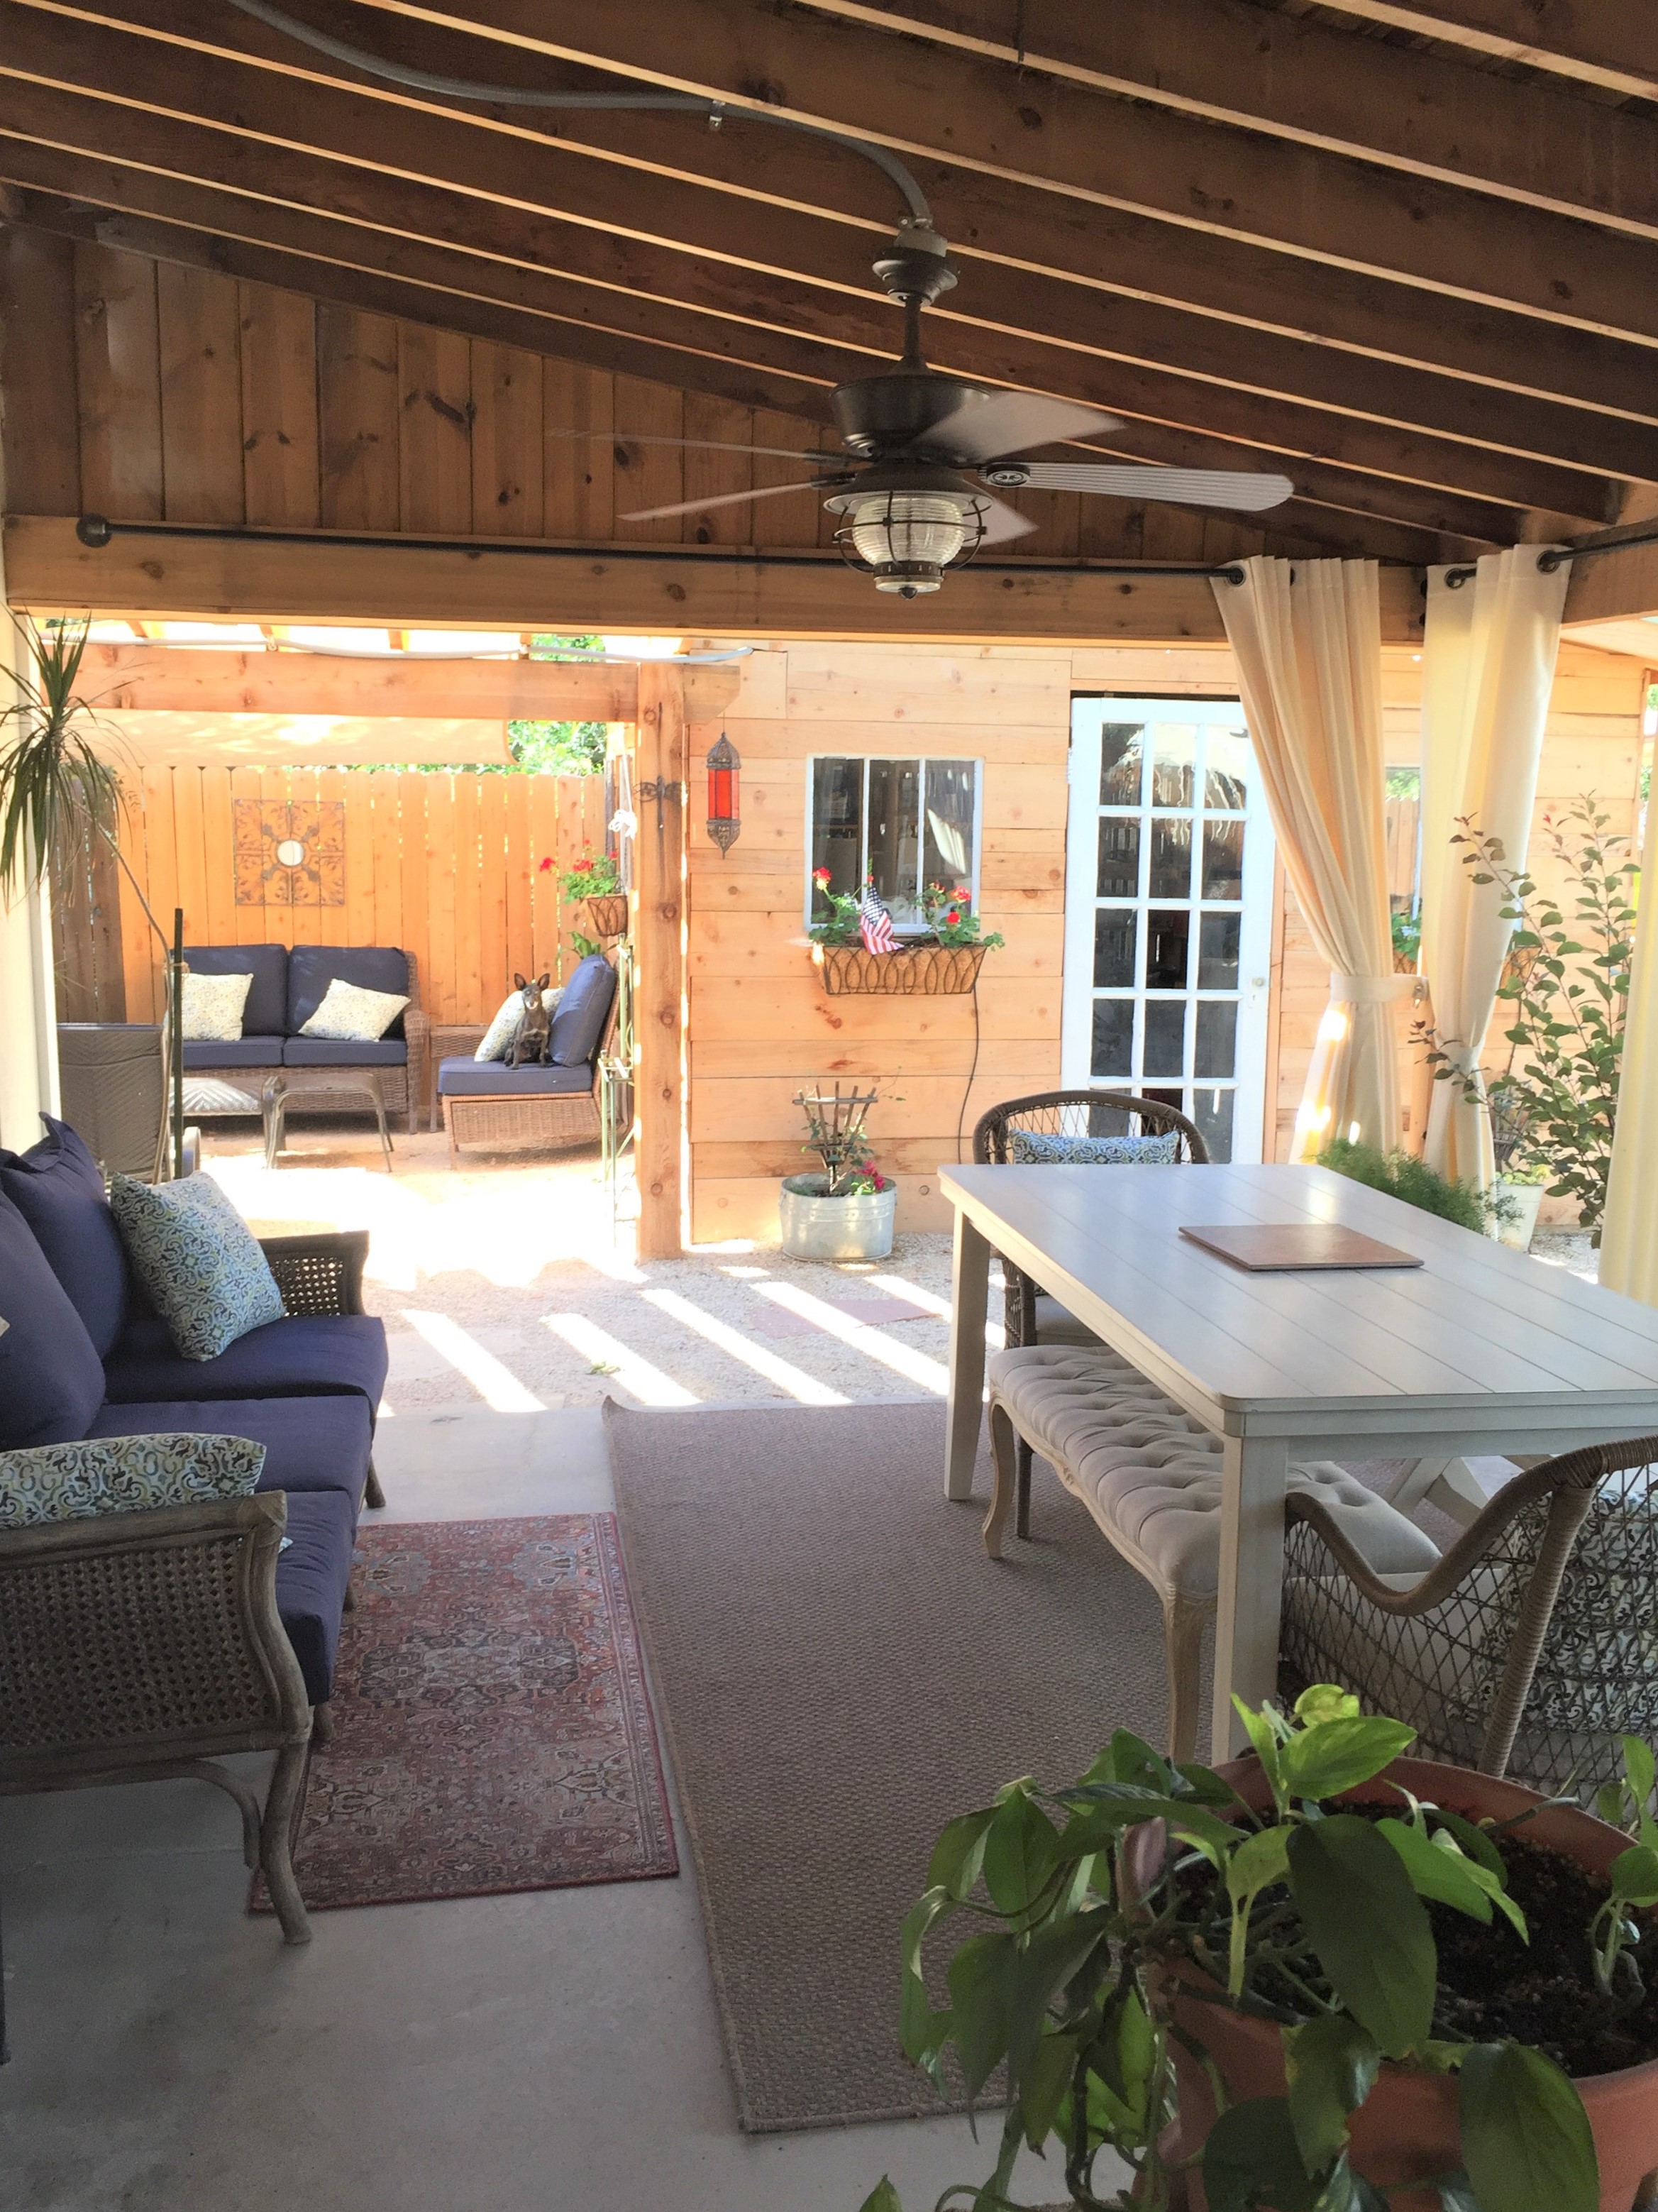
Today, an Oasis in the City!
Amazing how different it looks now!
I want to hang out here!
The far side of the back patio had 2 different types of fencing between the neighbor and I. Redwood, which turned into chainlink. My neighbor also looked right into my patio from their back door. Awkward for everyone!
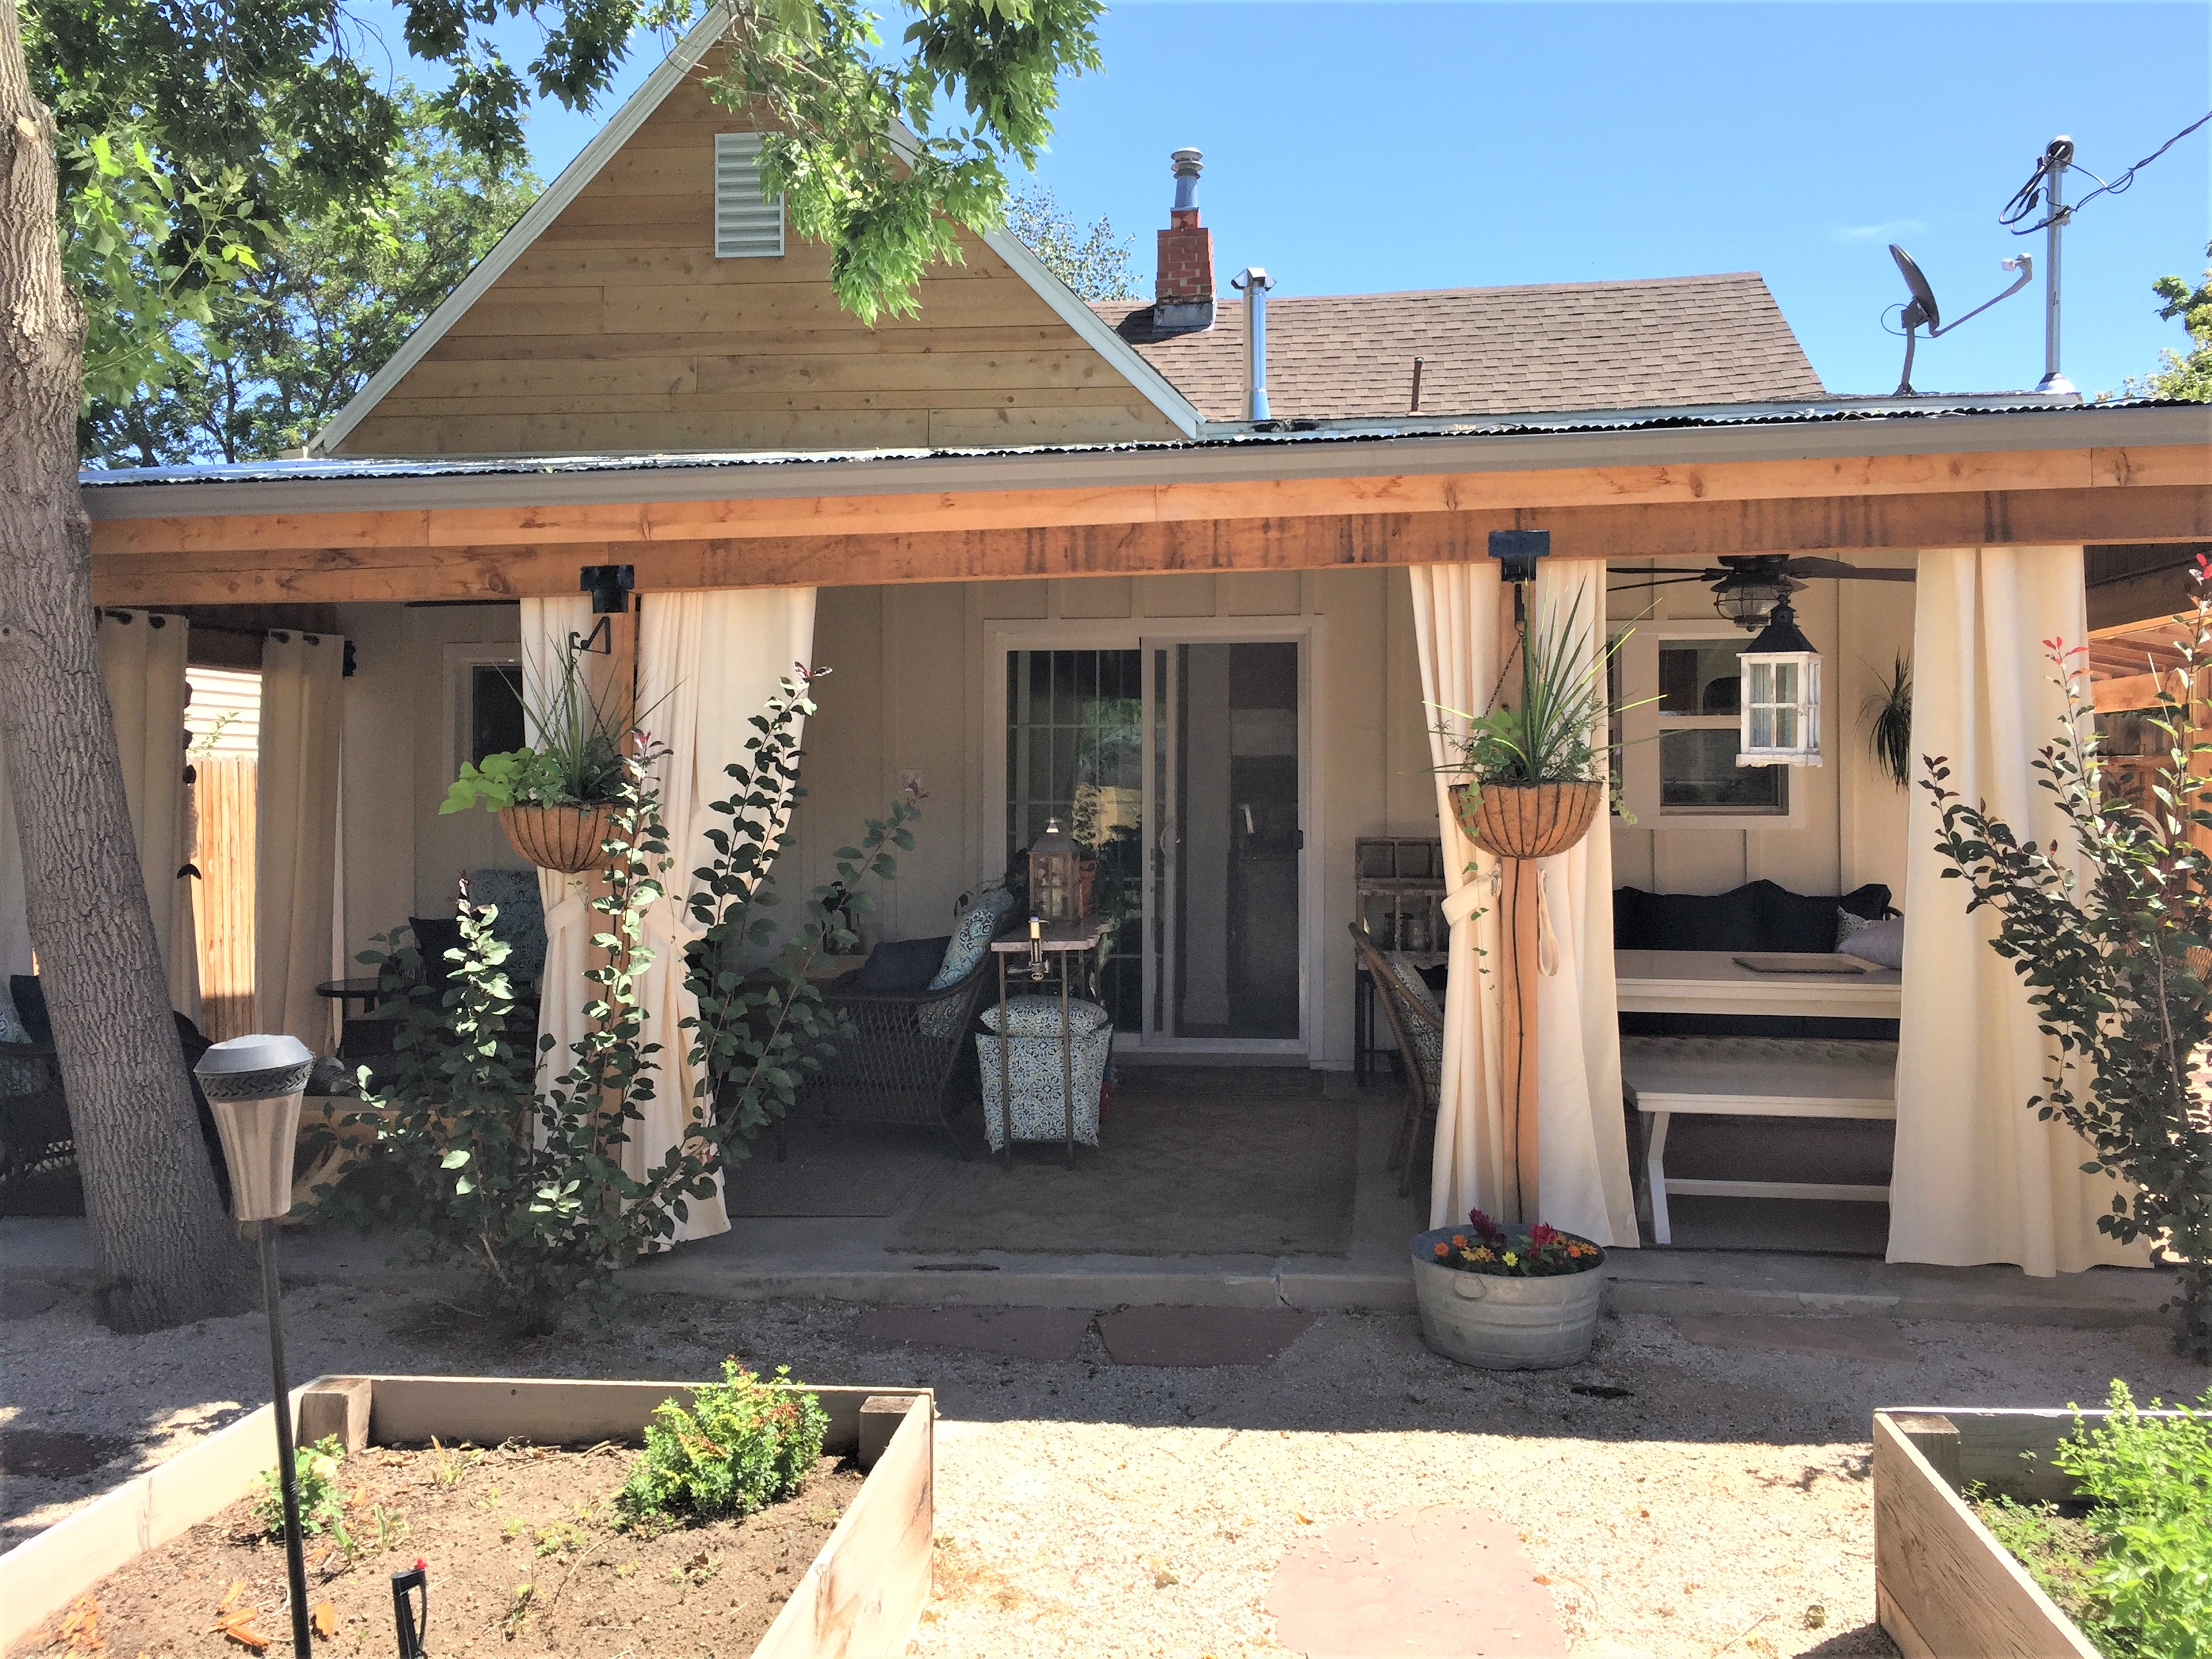
I added taller Cedar fencing from the alley to the front sidewalk and everyone is happier! Plus, I hung some outdoor curtains all the way around the patio, giving both of us privacy that can be adjusted.
The back patio concrete was poured with an angle on the left side, starting at the house and ending at the tree.
I extended the concrete to square up the patio which added extra square footage.
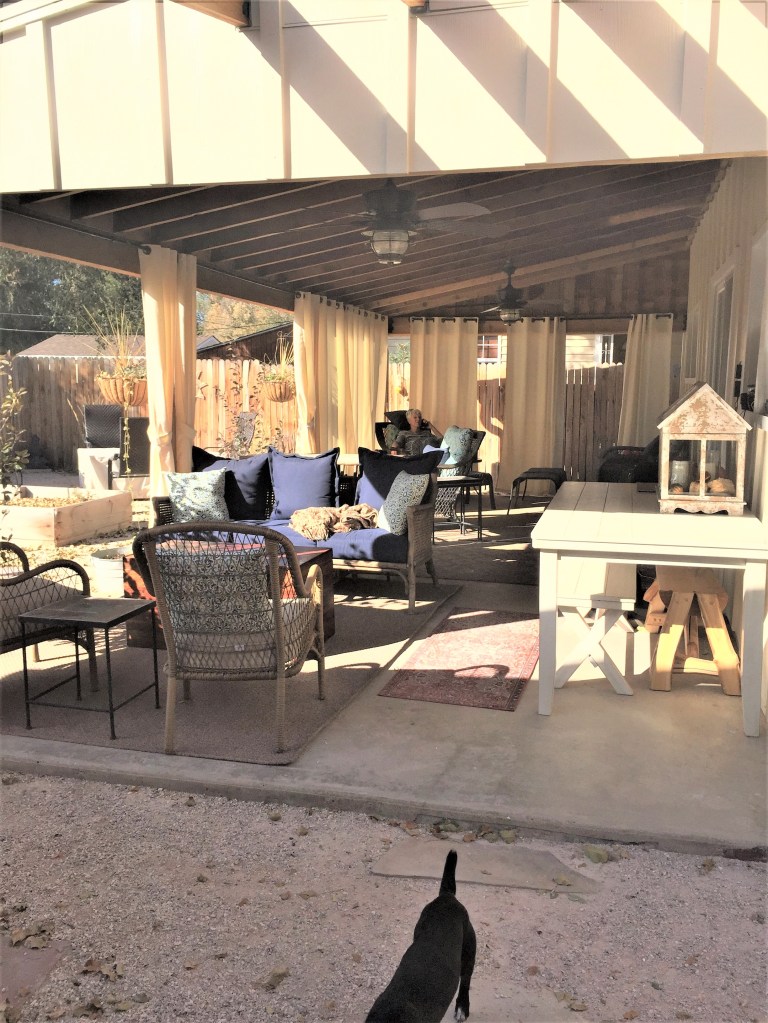
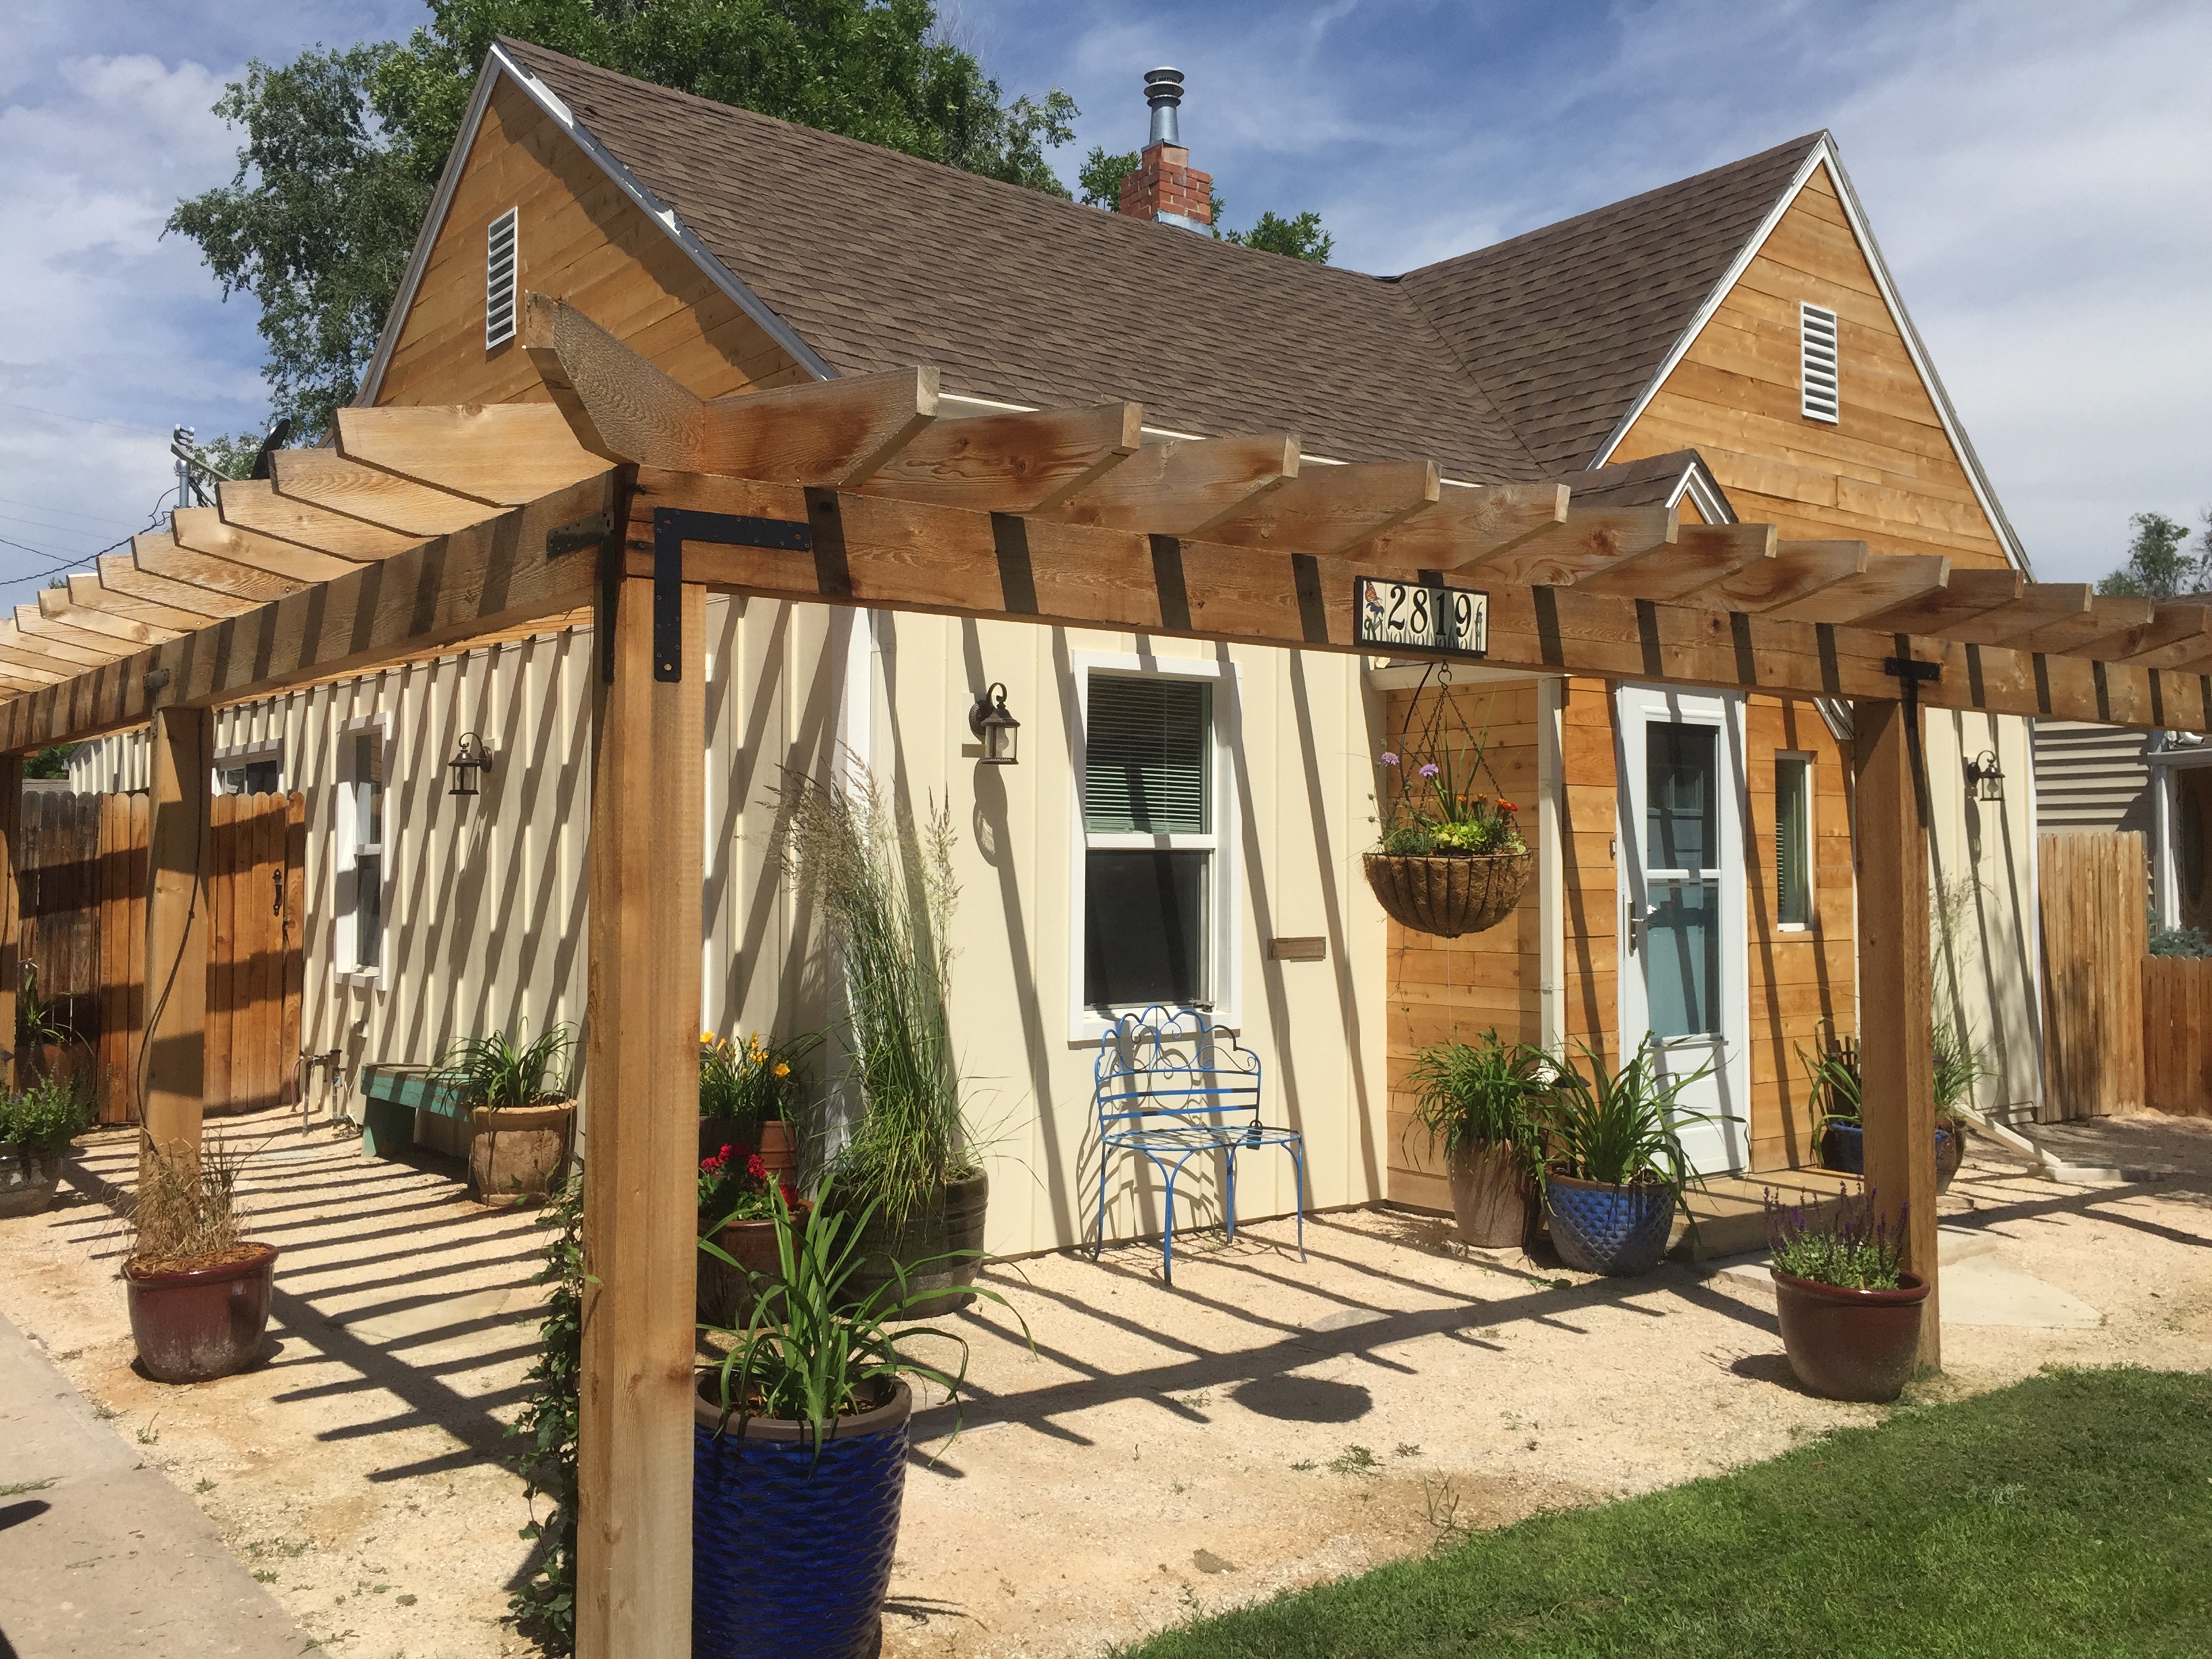
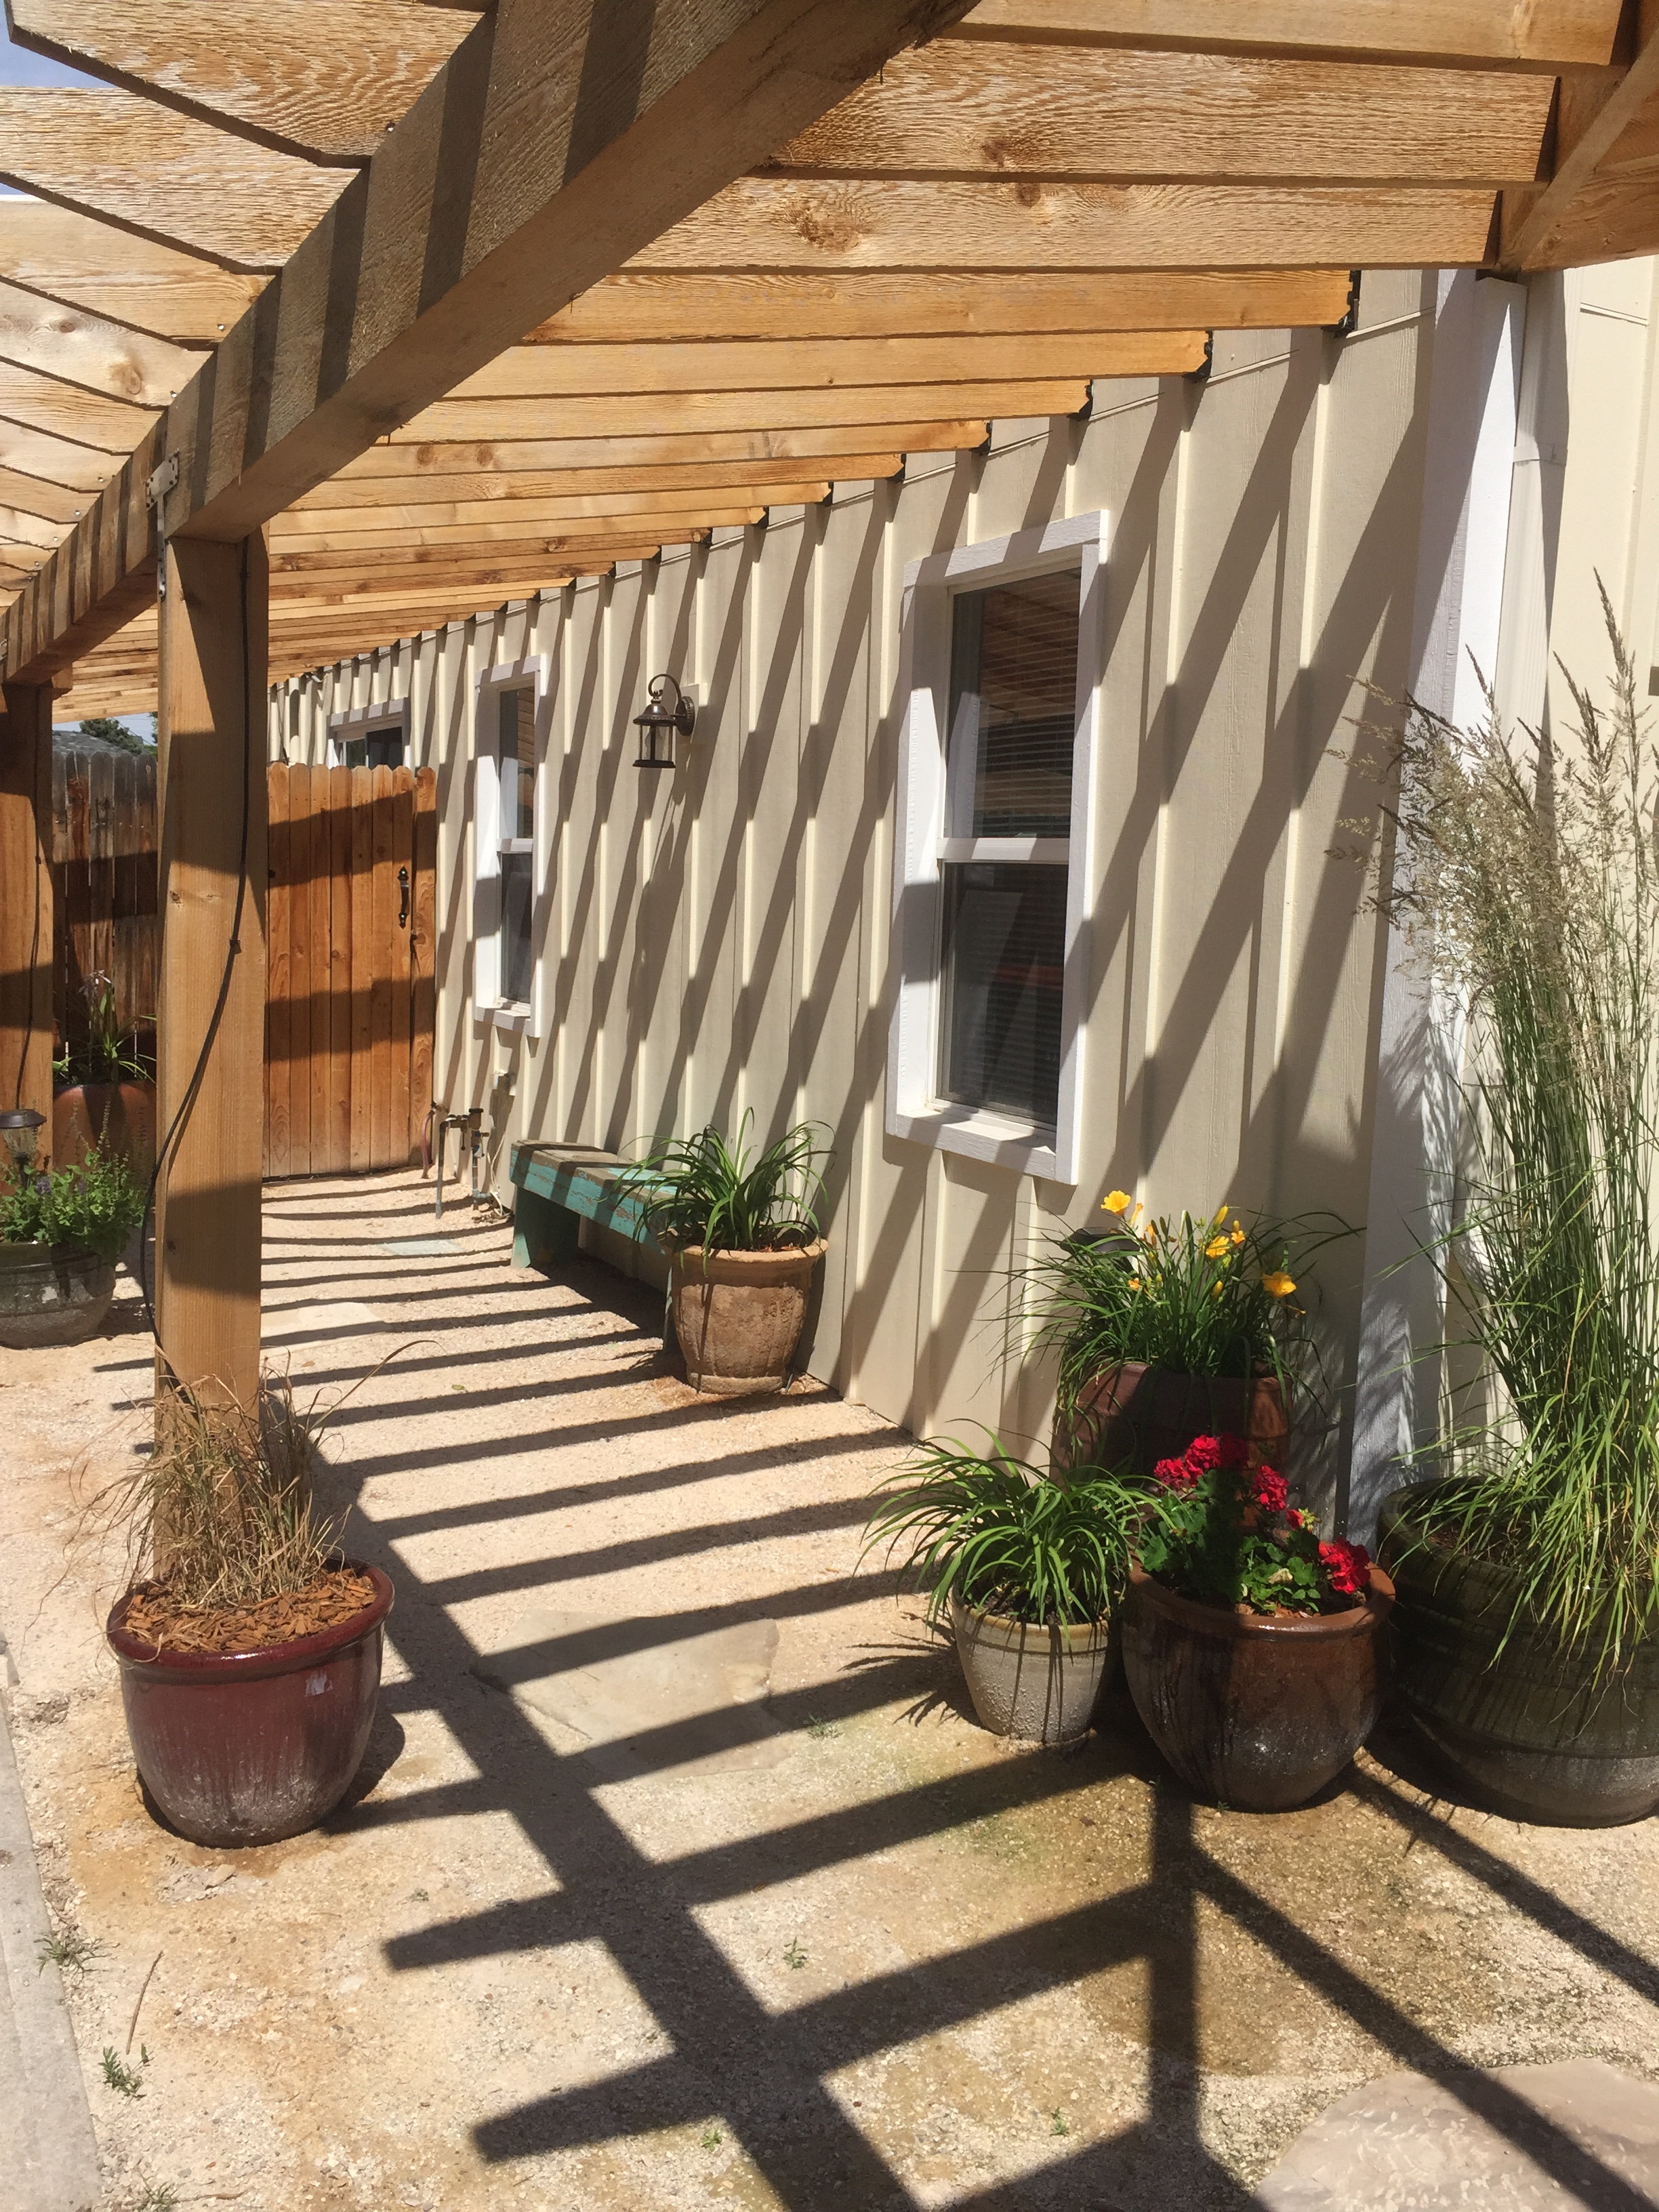
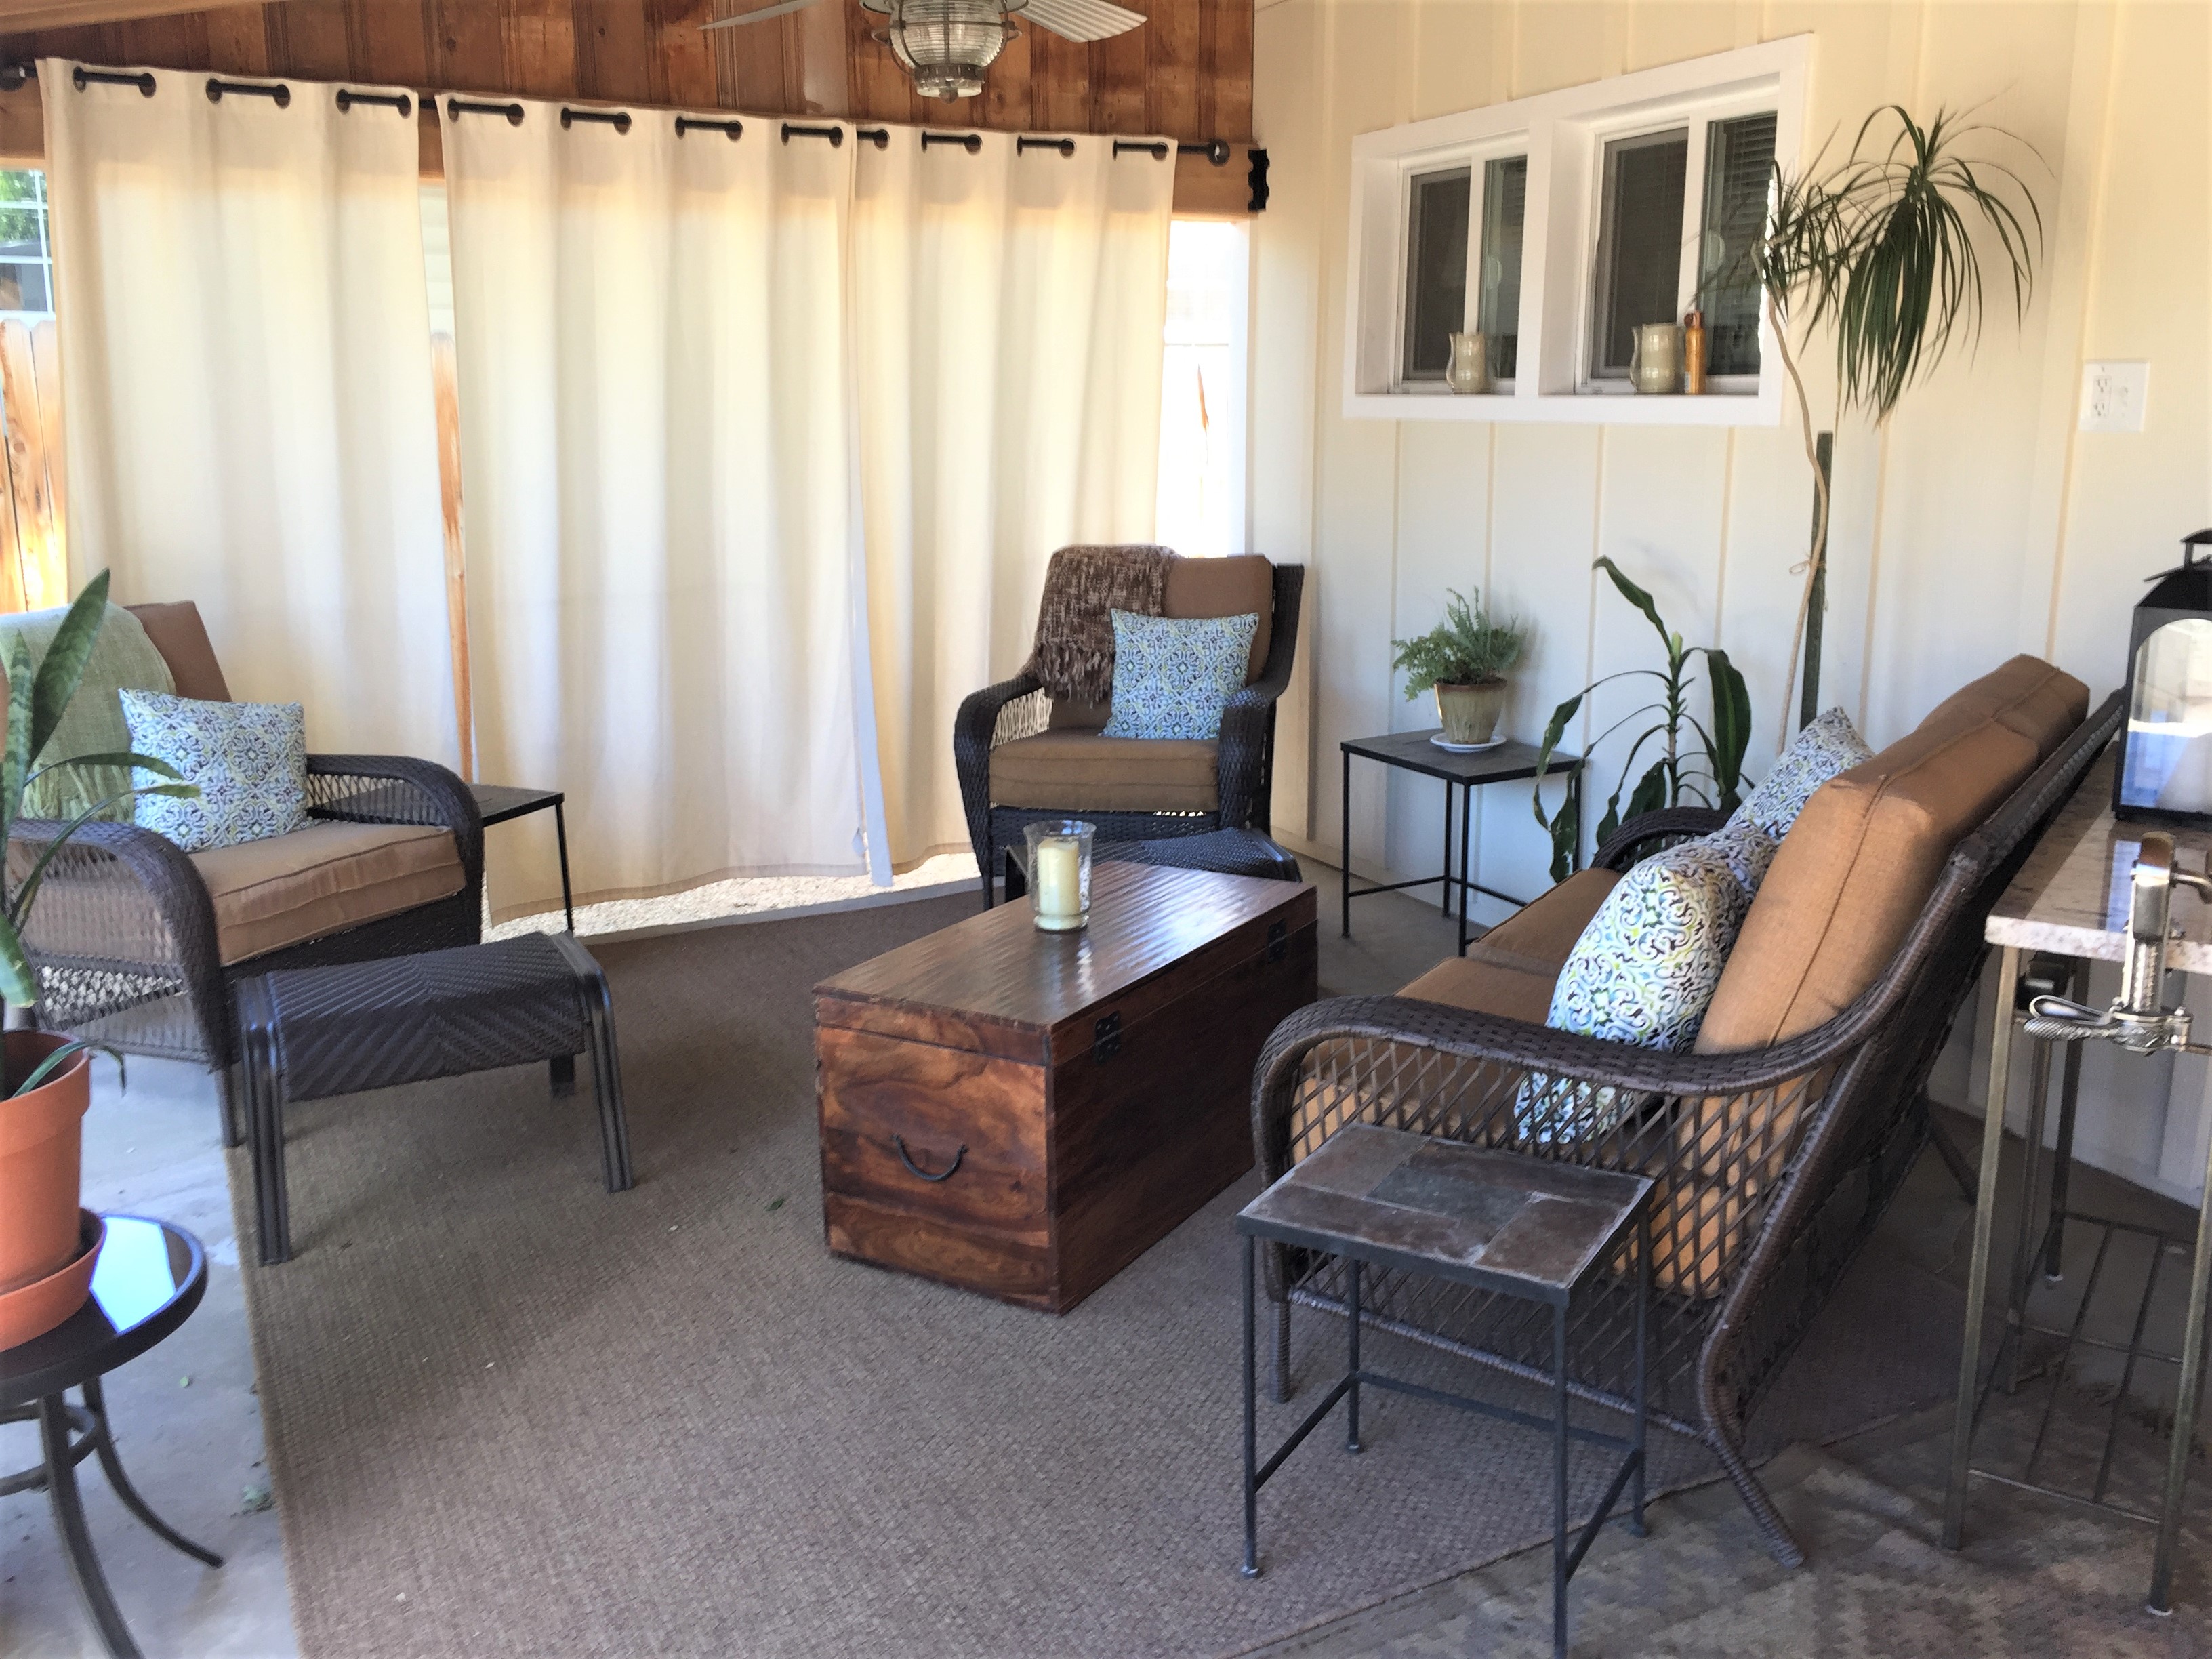
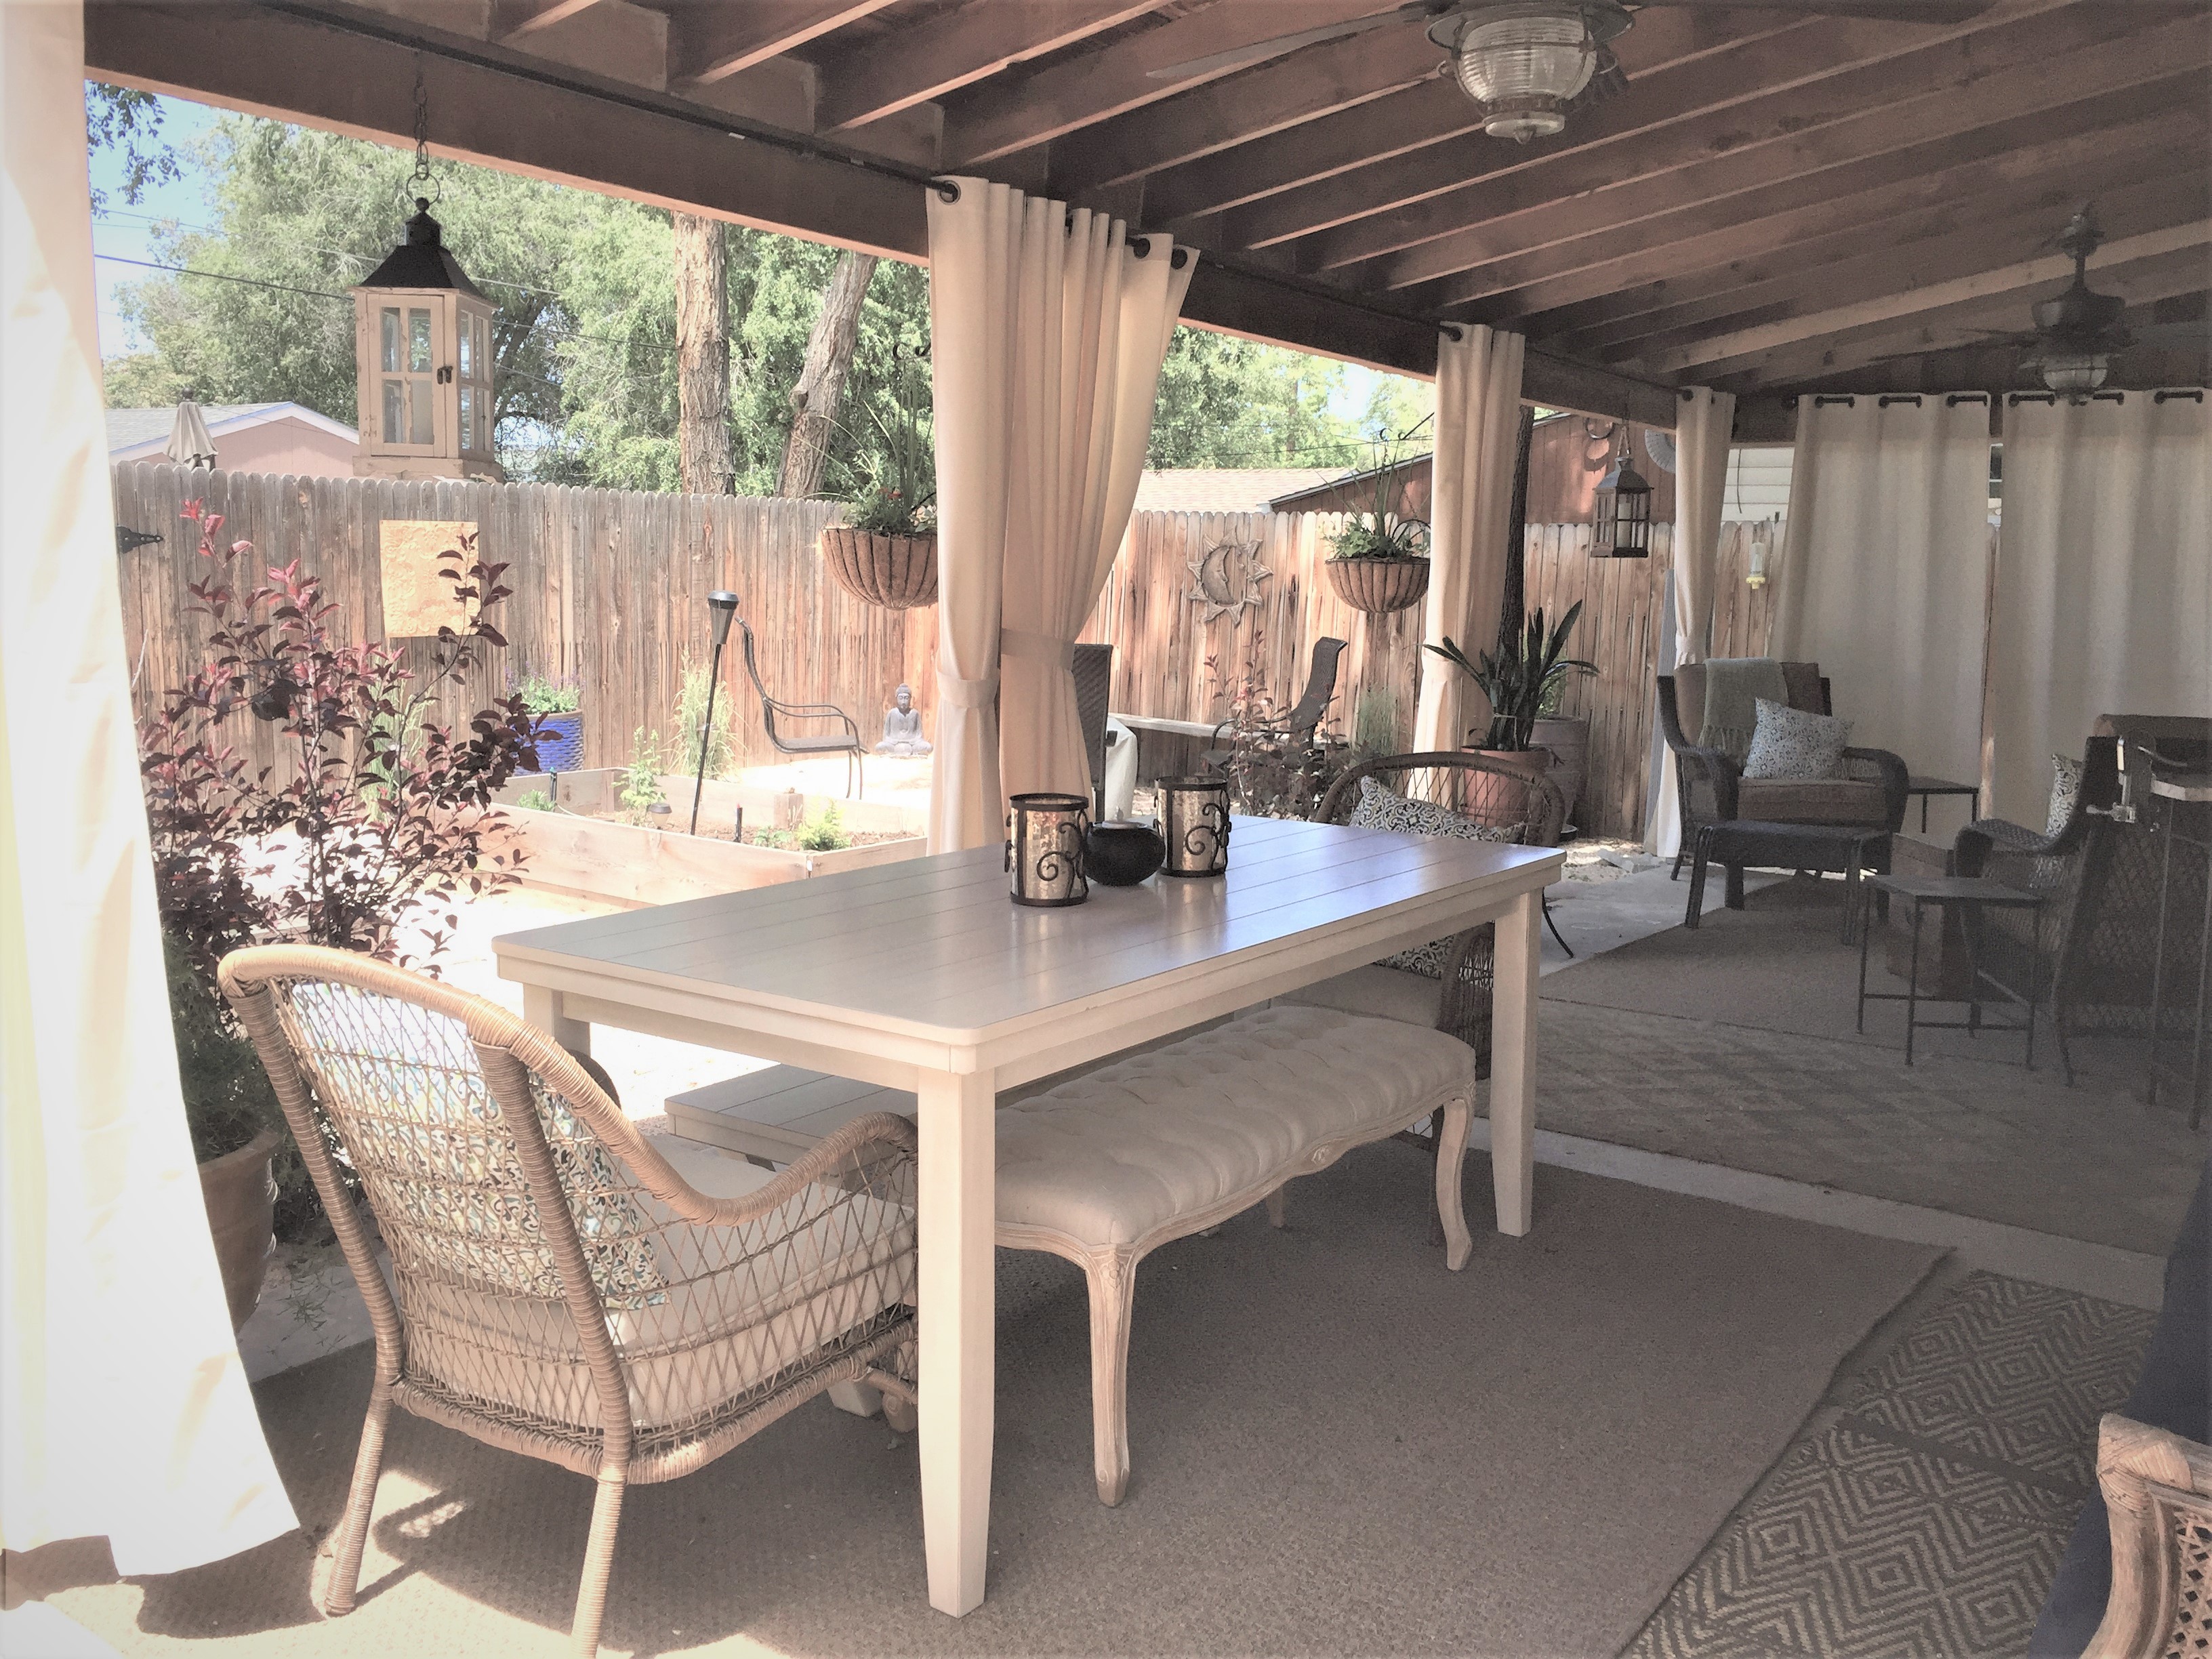
One of the best parts of this 893 square foot house is the patio and outdoor living space. I knew this space should be the heart of the house when I first saw it in 2005. I didn’t however, think I would live here 14 years later and make it into what I imagined it could be!
This space is so comfortable and serene. The breeze flows through the patio, keeping it cool. Ceiling fans move the air and the curtains float. Mmmm.
This is what my life looked like in August 2018, 1 year ago.
This is what it looks like today! Rocco is comfortable here too!
The old garage concrete pad with weeds growing out of the cracks.
Same spot, but now it supports my shed! Clean gravel walkway, courtyard and cedar arbor overhead.
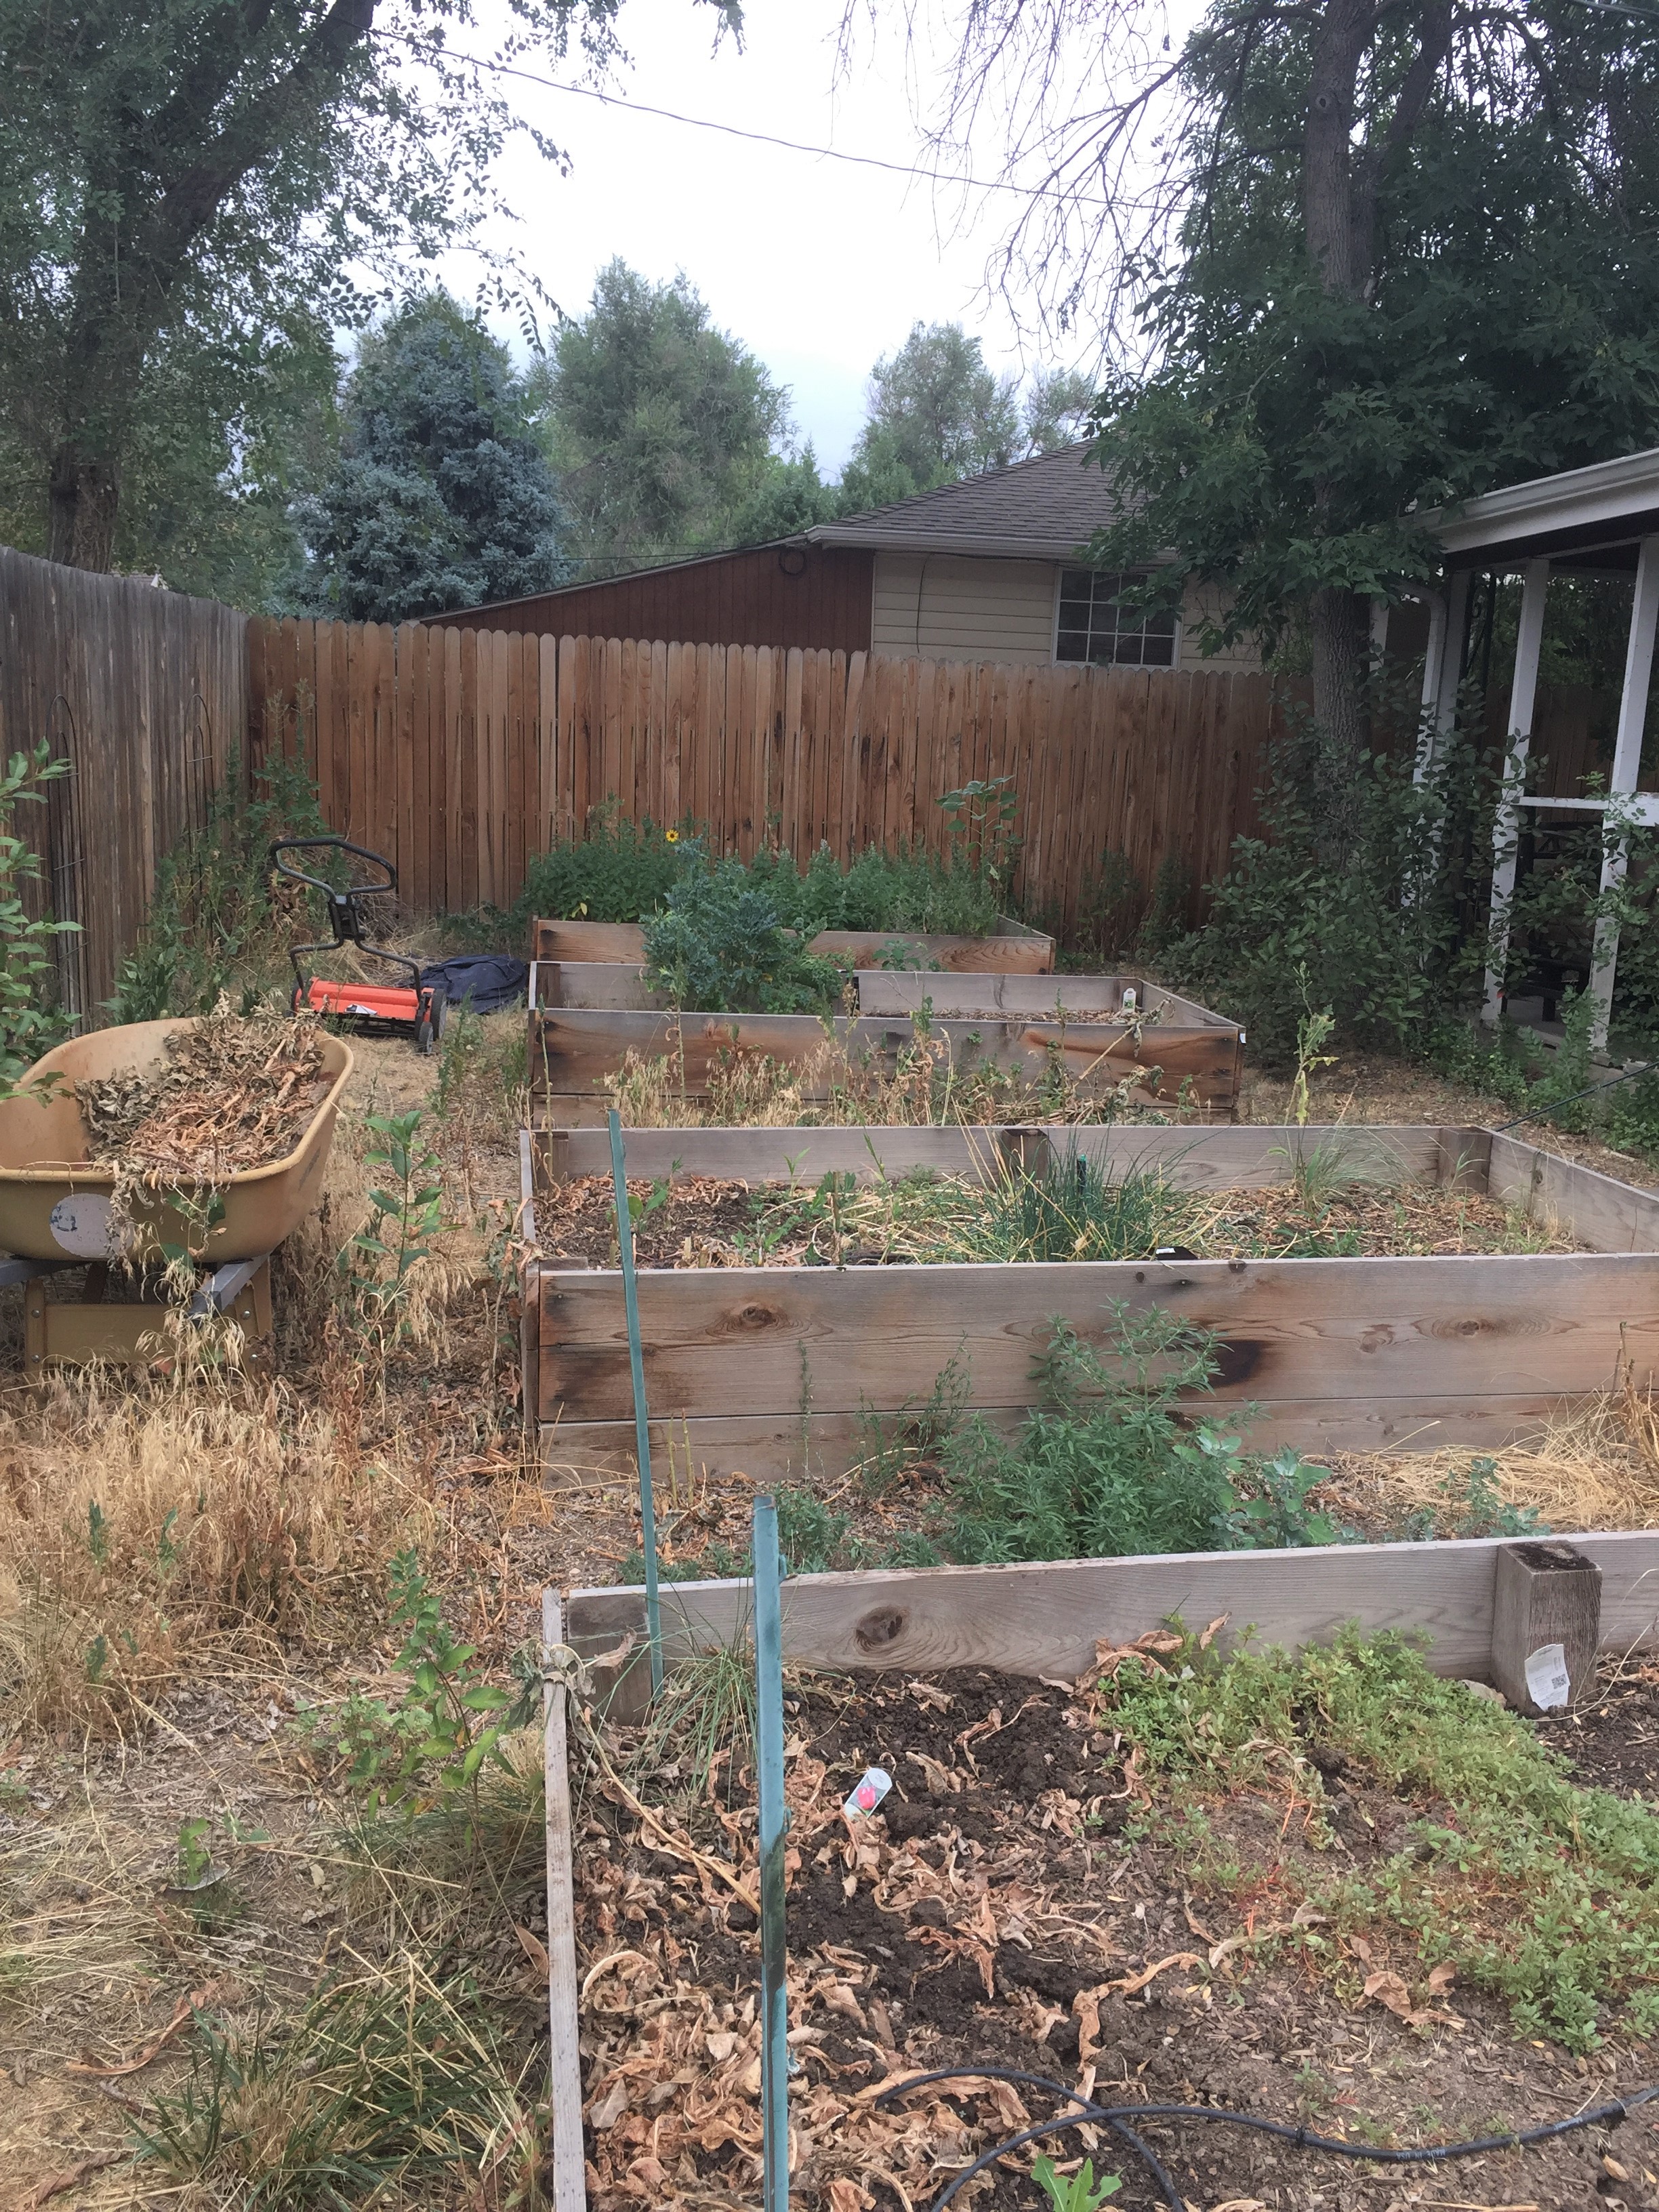
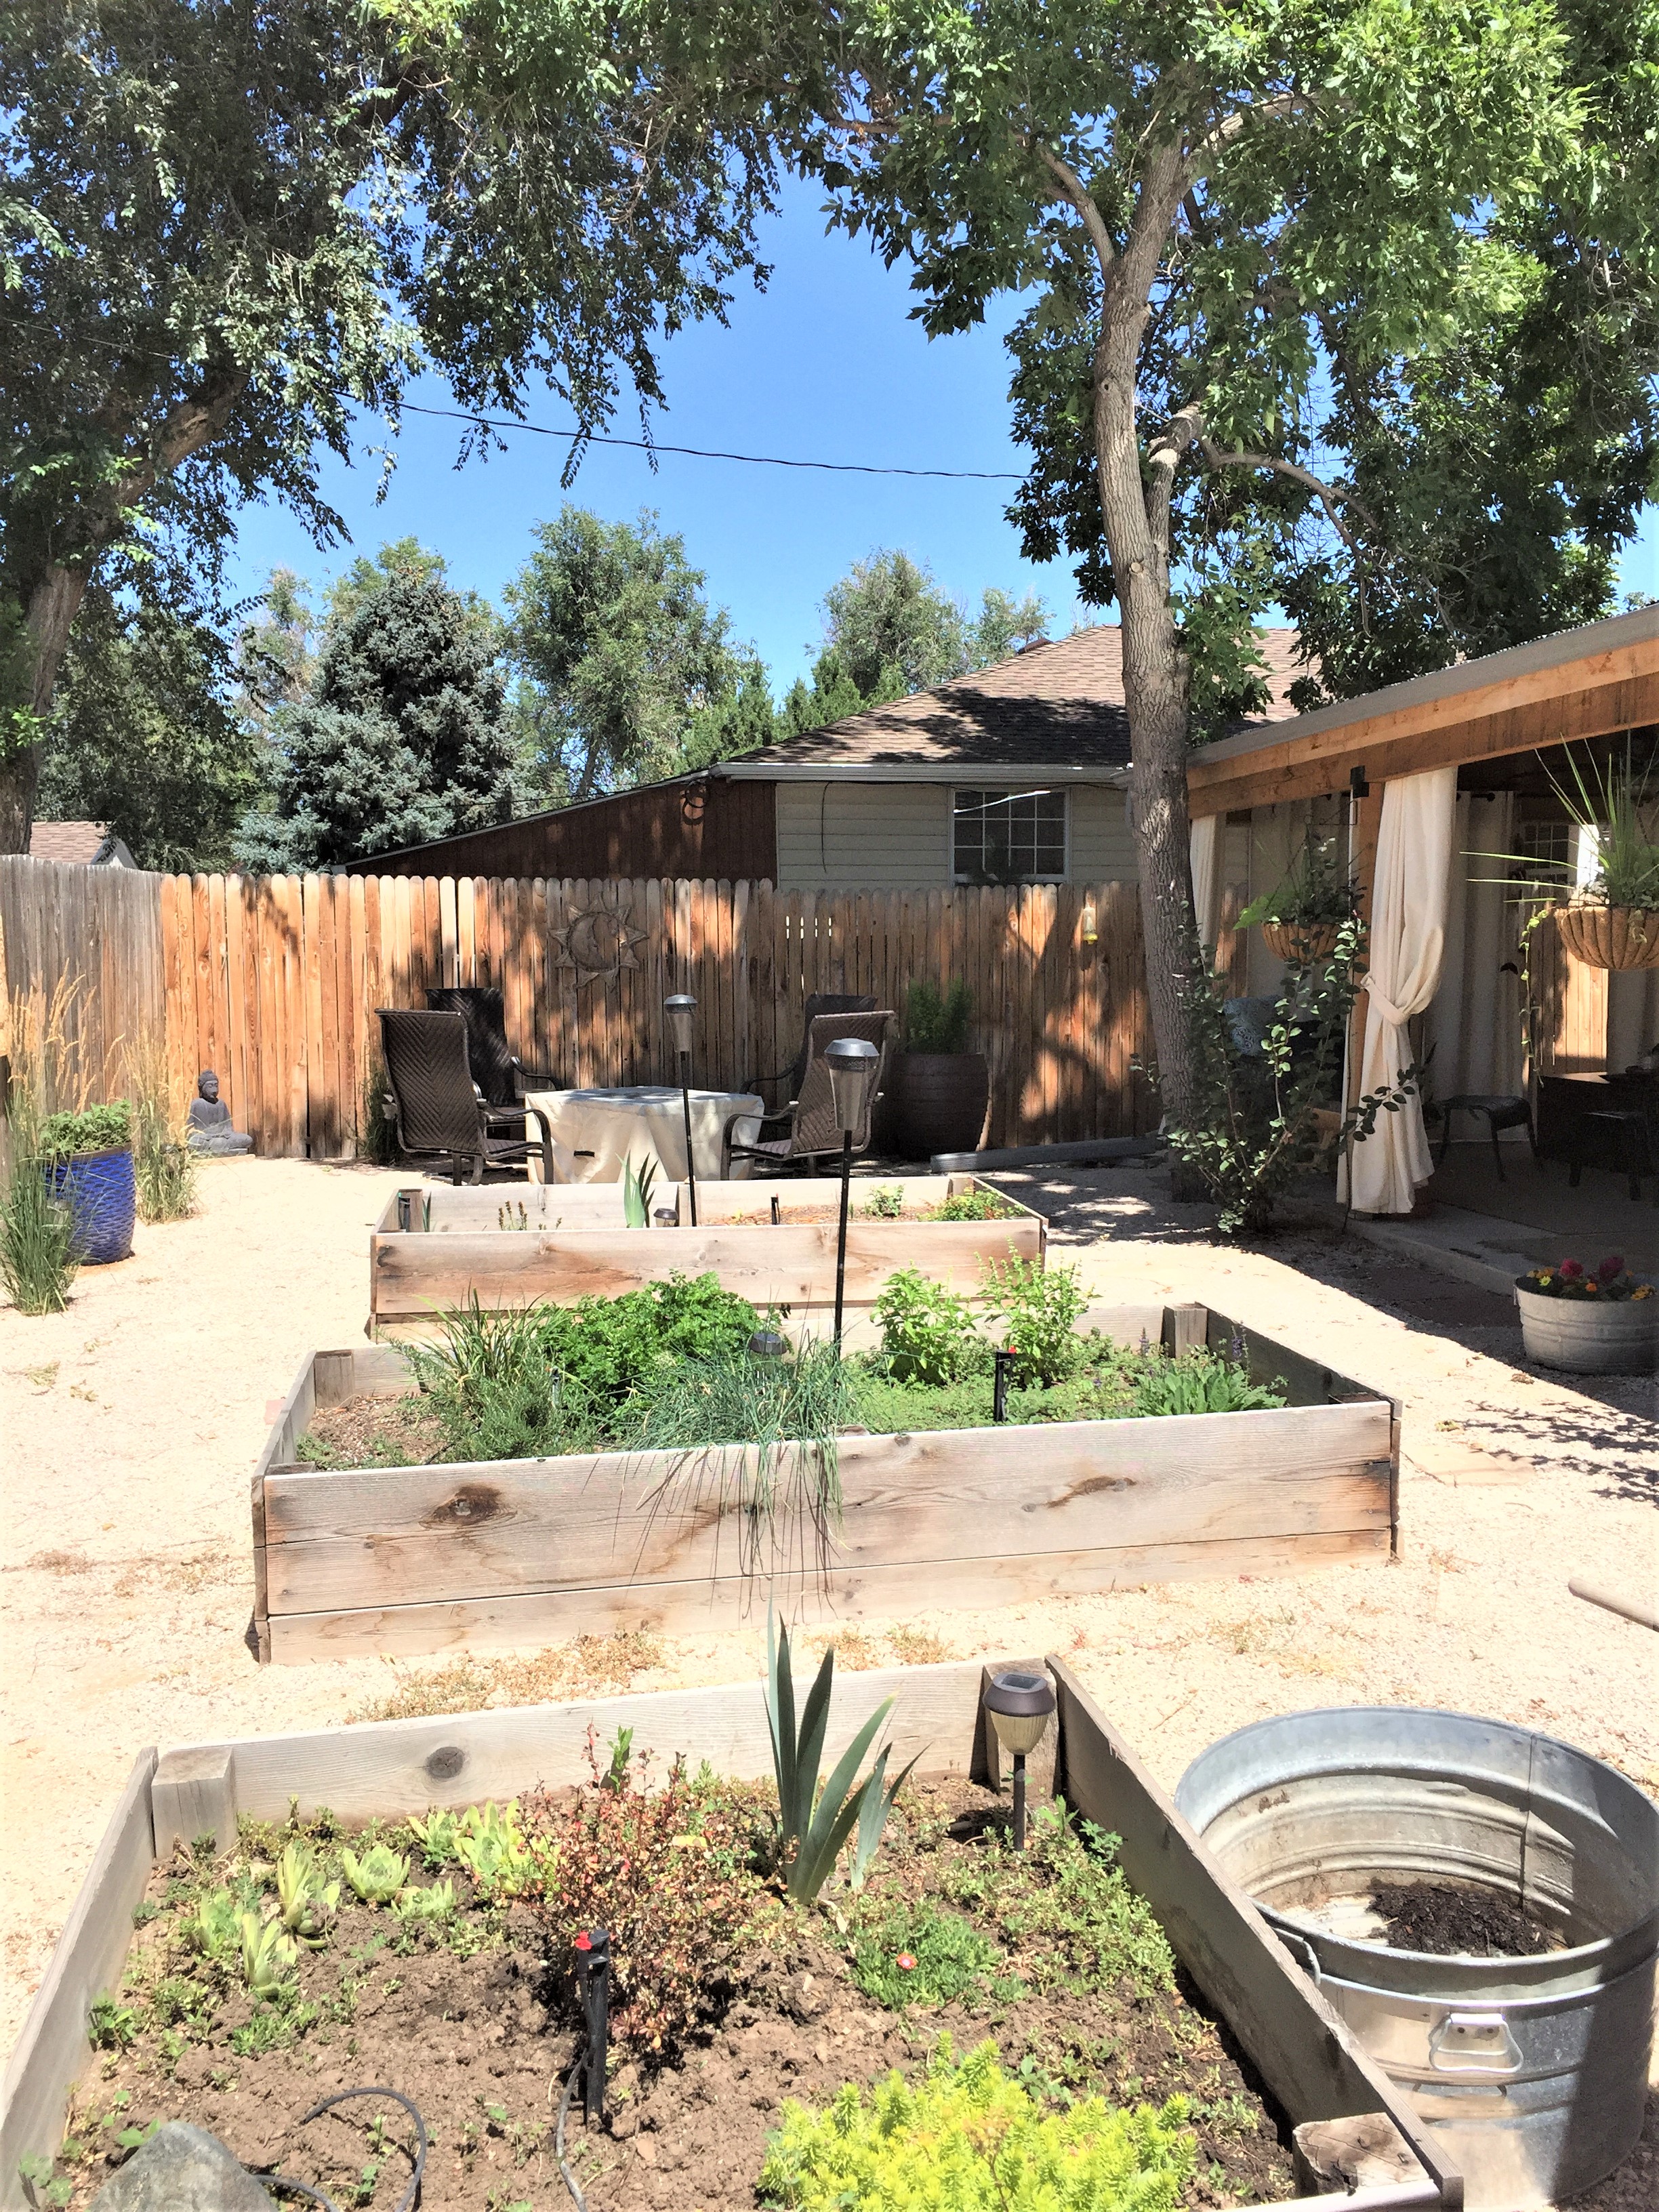
I love how organized garden boxes can make your yard. After some clean up and a new irrigation system…
First year gardens. It’s hard the 1st year trying things out and making adjustments as needed. I’ve read that gardening teaches patience and my the case, it’s true! Every year after, becomes a game of what will come back again and eventually you have a mature garden.
Walking through the side gate, this is what you’d see ahead. This is my main entrance. Lovely!
Now this looks like a place I need to explore more!
Same view, to the left, Ugh!
I even got some extra shade from the shed, making the patio more protected. And honestly, the shed is such a focal point, it makes the whole yard seem like a stage set.
I haven’t done as much in the inside, but I’ve done some things and I have plans for more.
I added A/C, fresh paint, lots of cleaning and a new front door.
The arch on the left goes into the kitchen. I replaced the kitchen windows that you see on the left, with a slider door into the courtyard.
Itreally opened up the kitchen, brought light into the house and now, I walk right onto the courtyard from the kitchen. This was a huge change that made this house feel more updated.
This fun corner of the living room gives the occupant a nice view of the front yard.
I made a cozy seating area with a thick shag rug to give it texture.
A closer view of the arched wall between the kitchen and living area, where I added a new slider door.
I’m planning to take this wall down between the living room and kitchen. This space is the main living space in the house and during the winter, where I spend most of my time.
I’ll lose the upper cabinets and keep the base cabinets. I want to open up the room so it feels bigger, brighter and warmer having the living and cooking space connected.
I’ll remove the weird soffit above the cabinets to open the room up, refinish the existing base cabinets, add rustic support beams, new tile backsplash, new countertops and I’m having a shelf cabinet built…
to match the cabinet you see here, below the windows. As you can see, I need more storage space and I’ll put the new cabinet to the right of the windows. It’s tall and fits the space between the windows and the back door.
Me, happy to be at this point of my project and enjoying my simple life.
I love my newly remodeled space! This project has been so fun because I get to do what works for my lifestyle today. It’s customized for me. And I’m so happy living here. Happy Anniversary, house!
Lauren enjoying her birthday cake slice at PF Chang’s at Park Meadows!
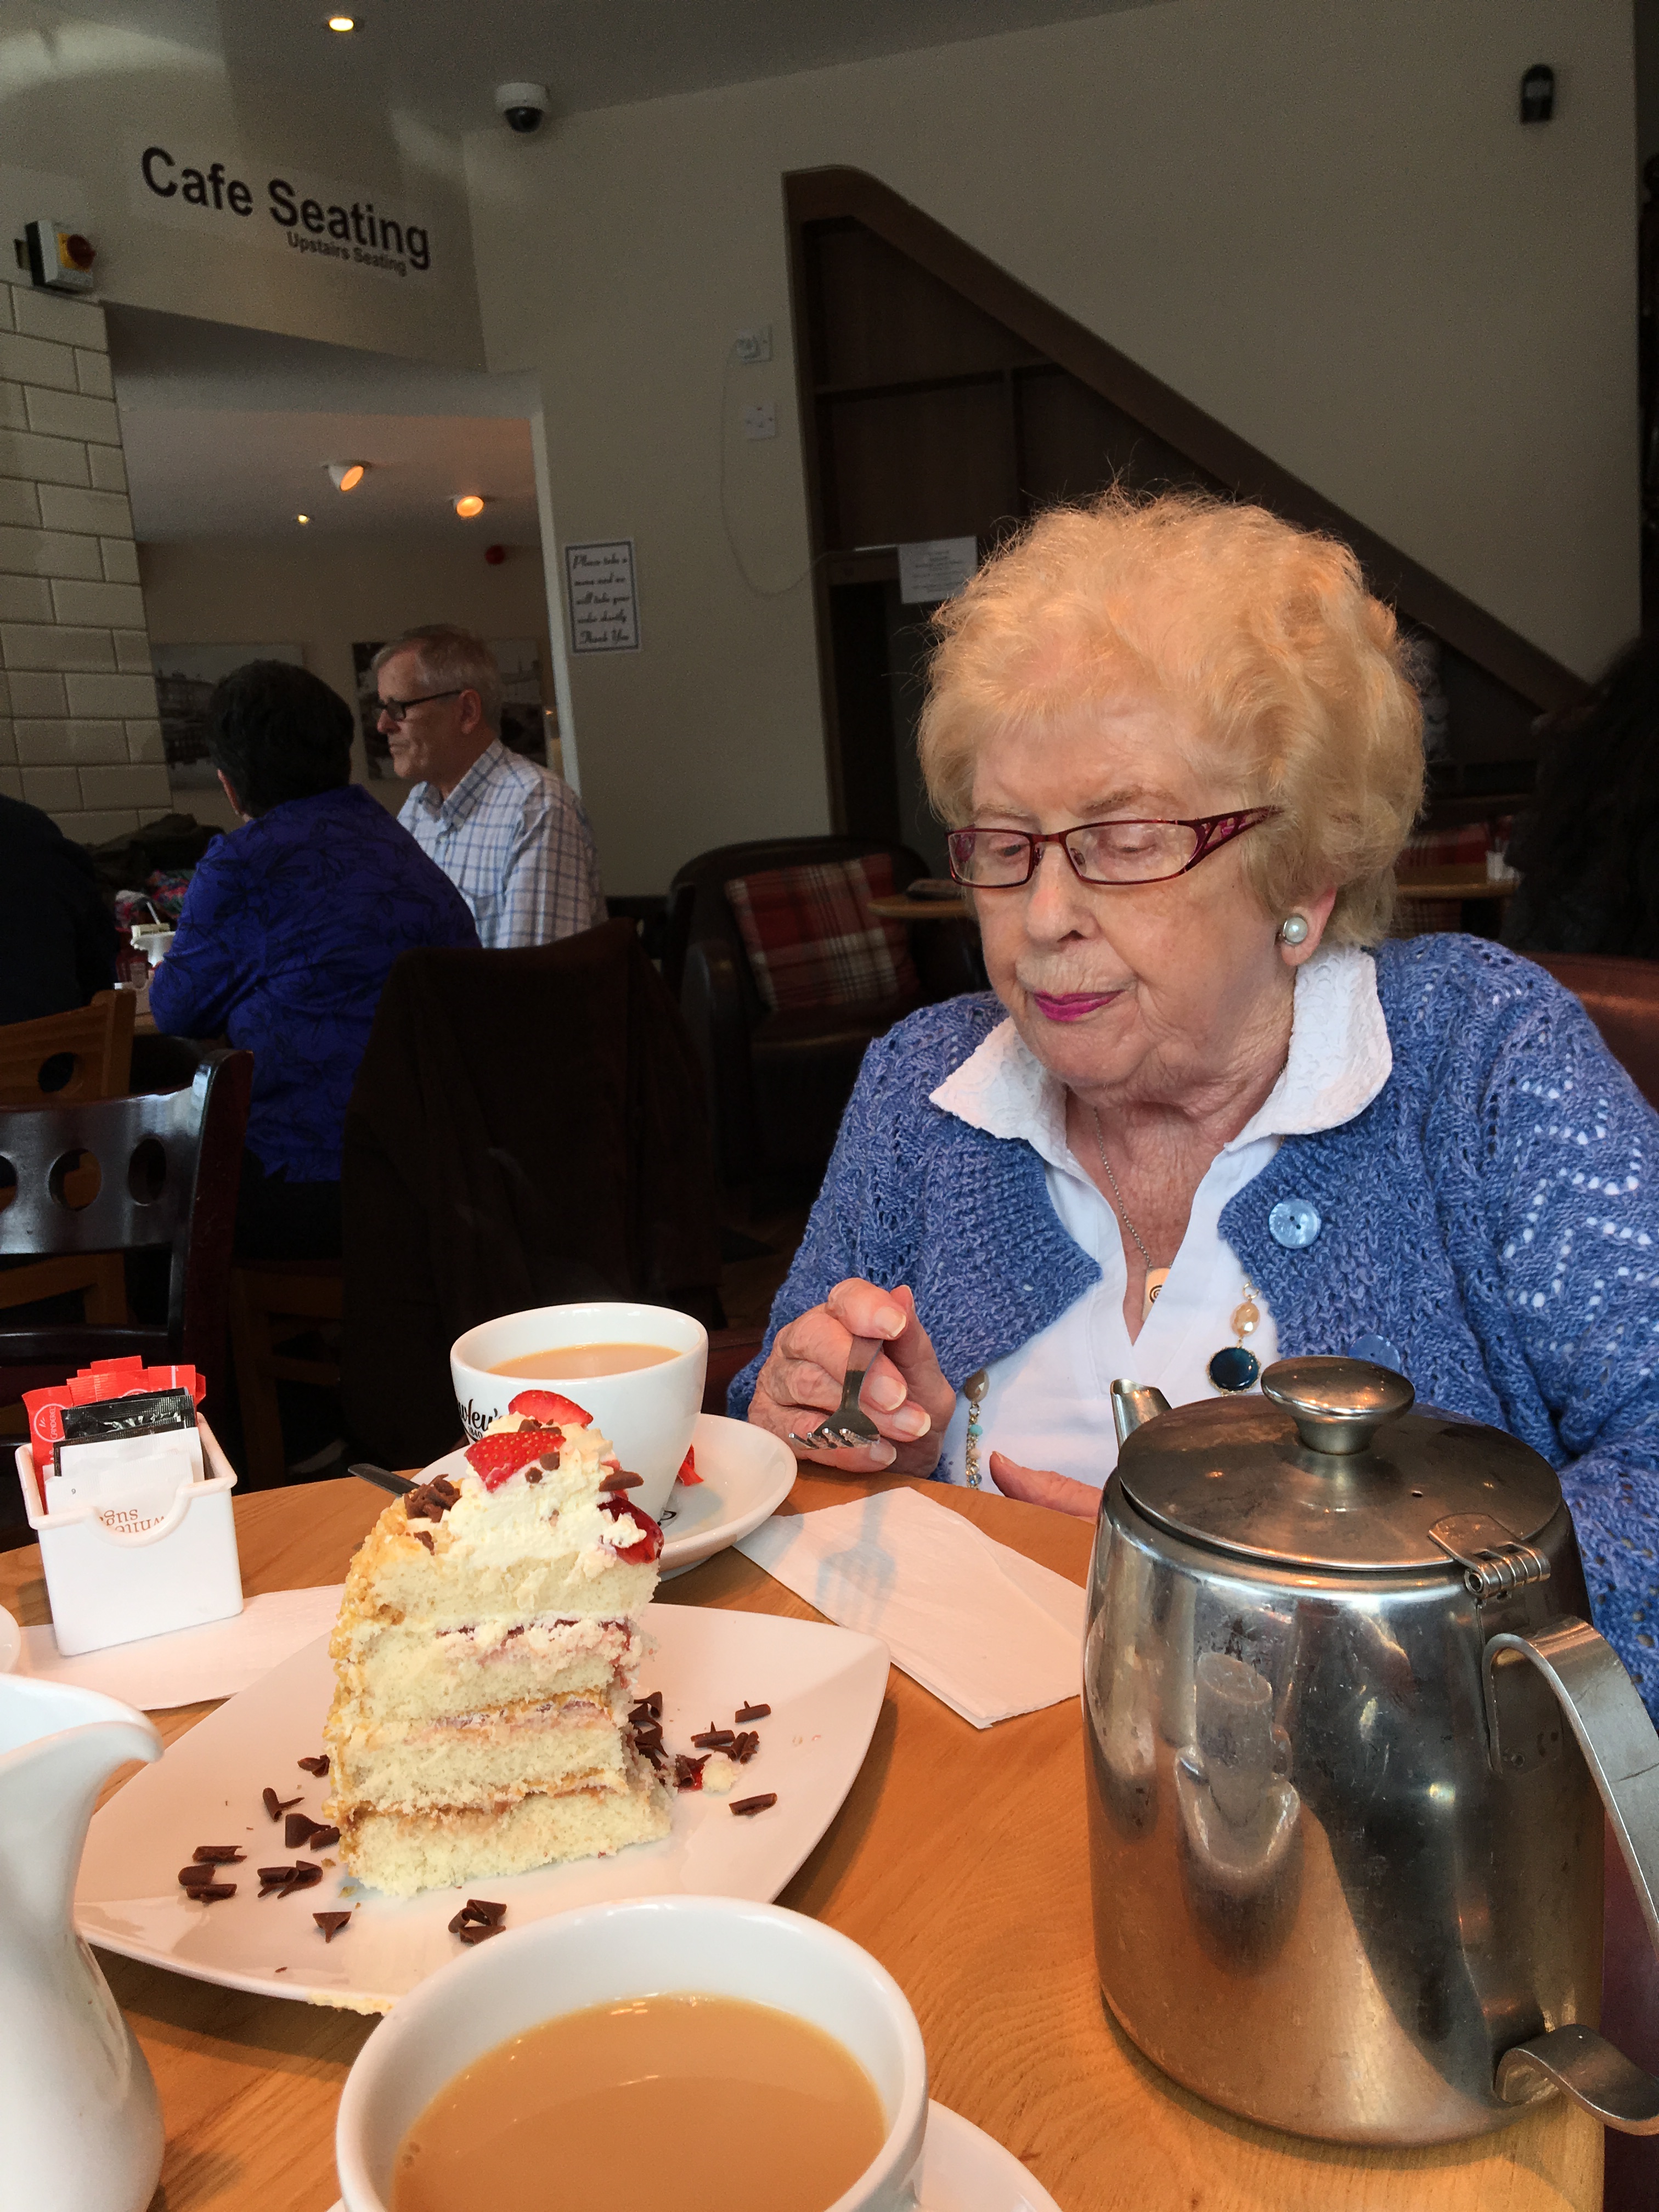
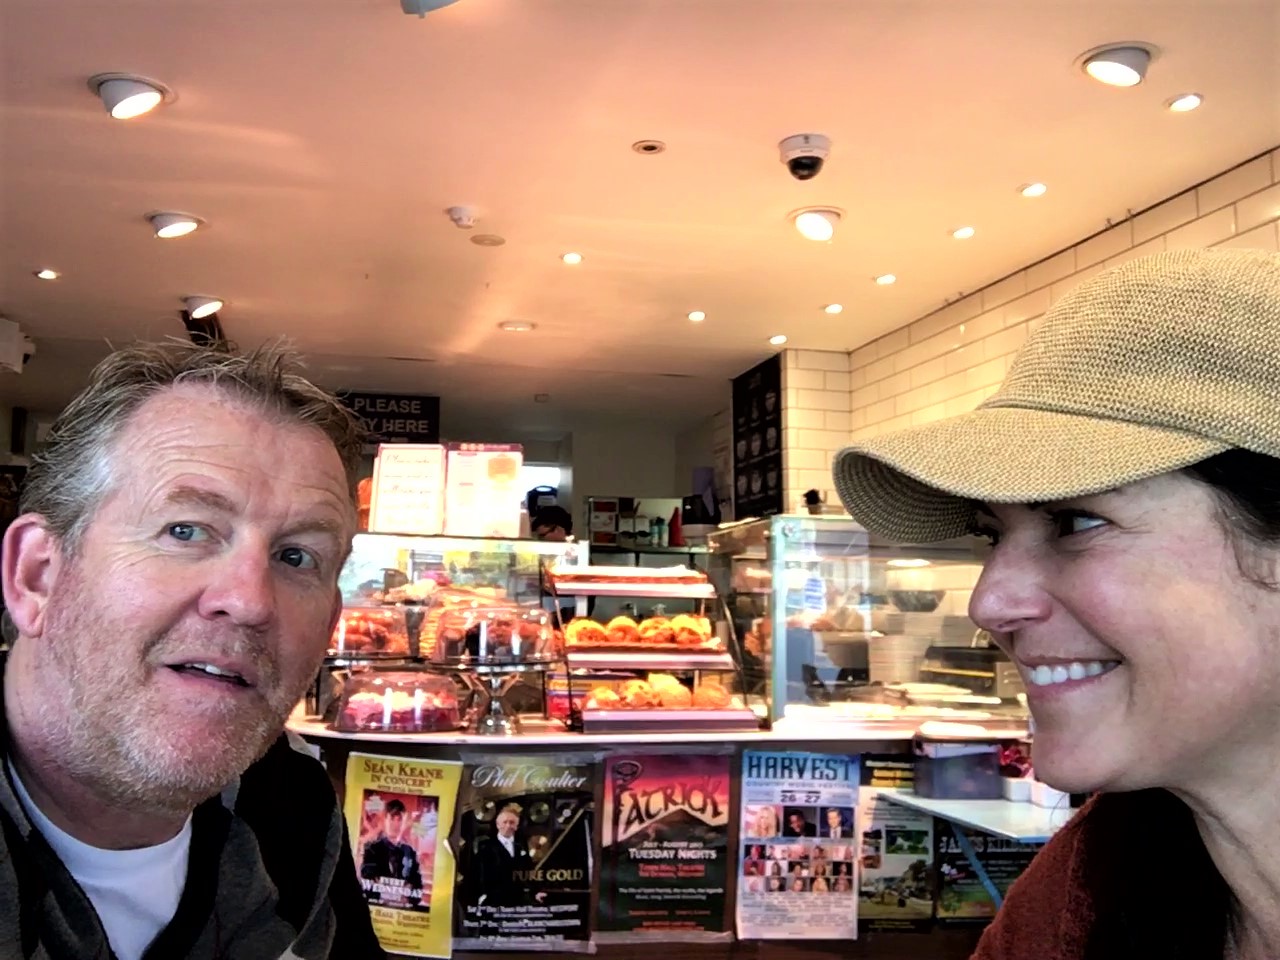
Winnie and I in Westport, Ireland at Sheebeen’s for hot spiced whiskey and dinner.
Mark and Preston at One Barrel in Englewood for dinner.
Mom showing me how to use chopsticks at PF Changes in Lone Tree.
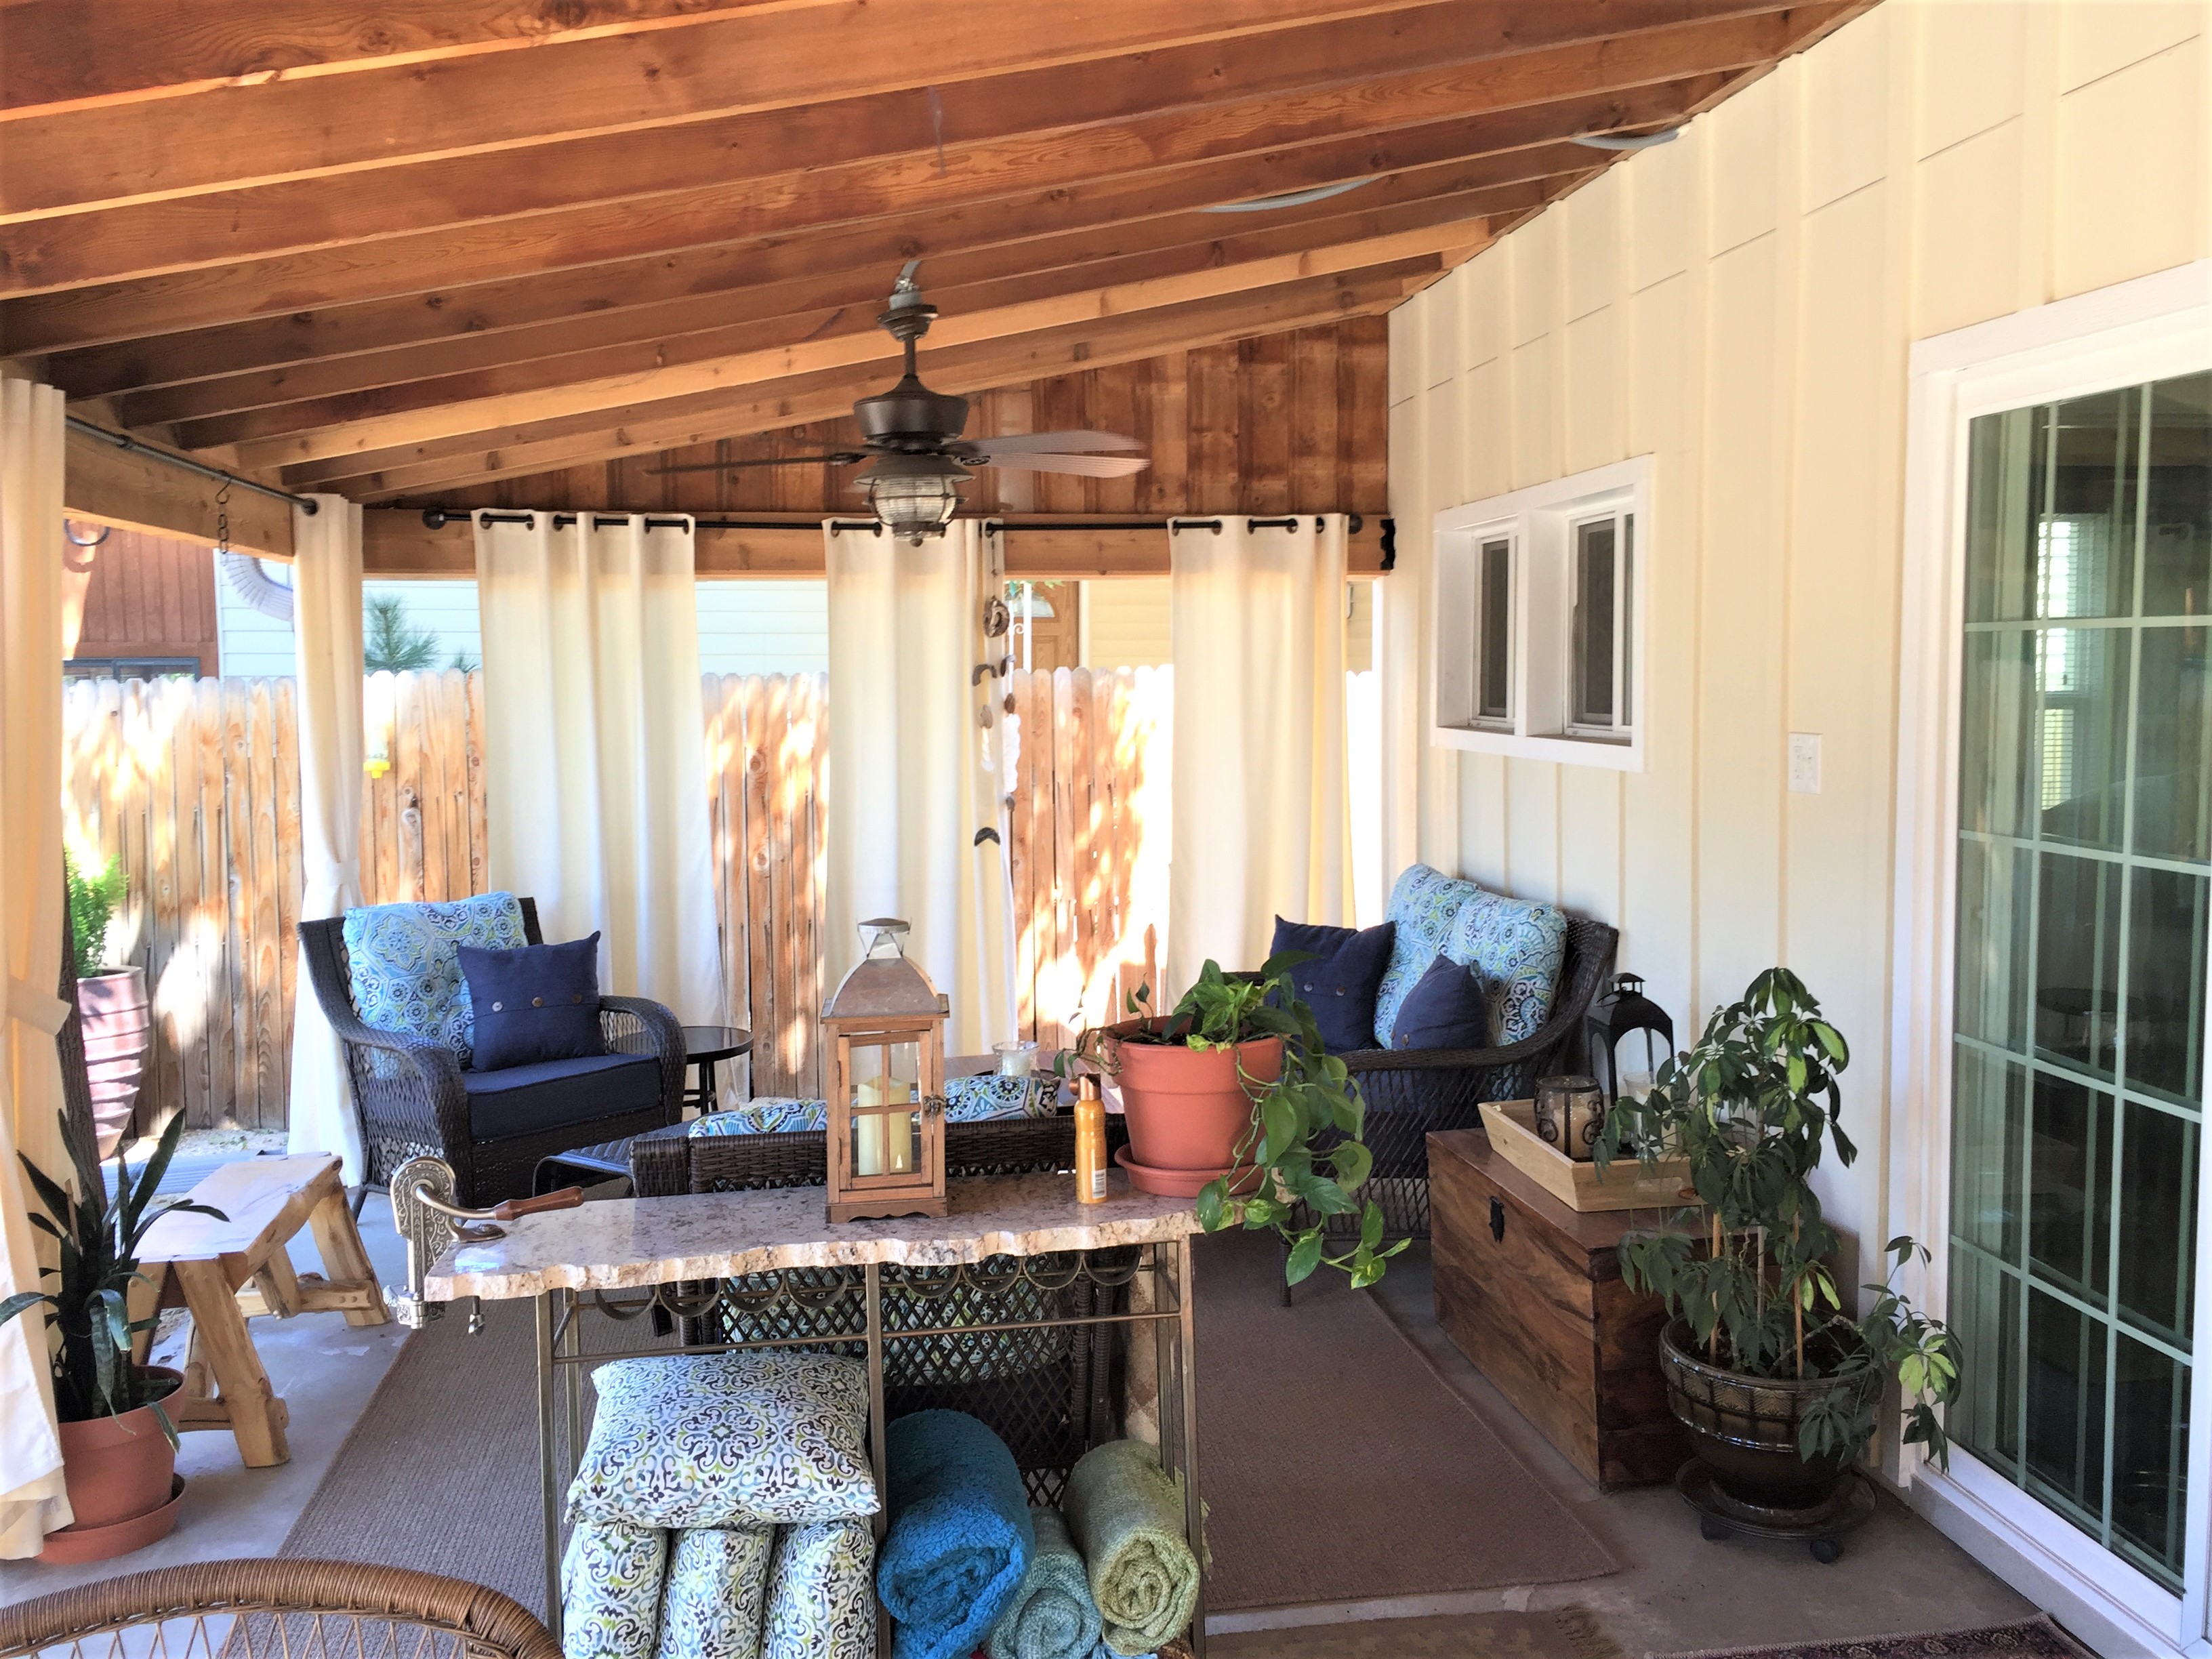
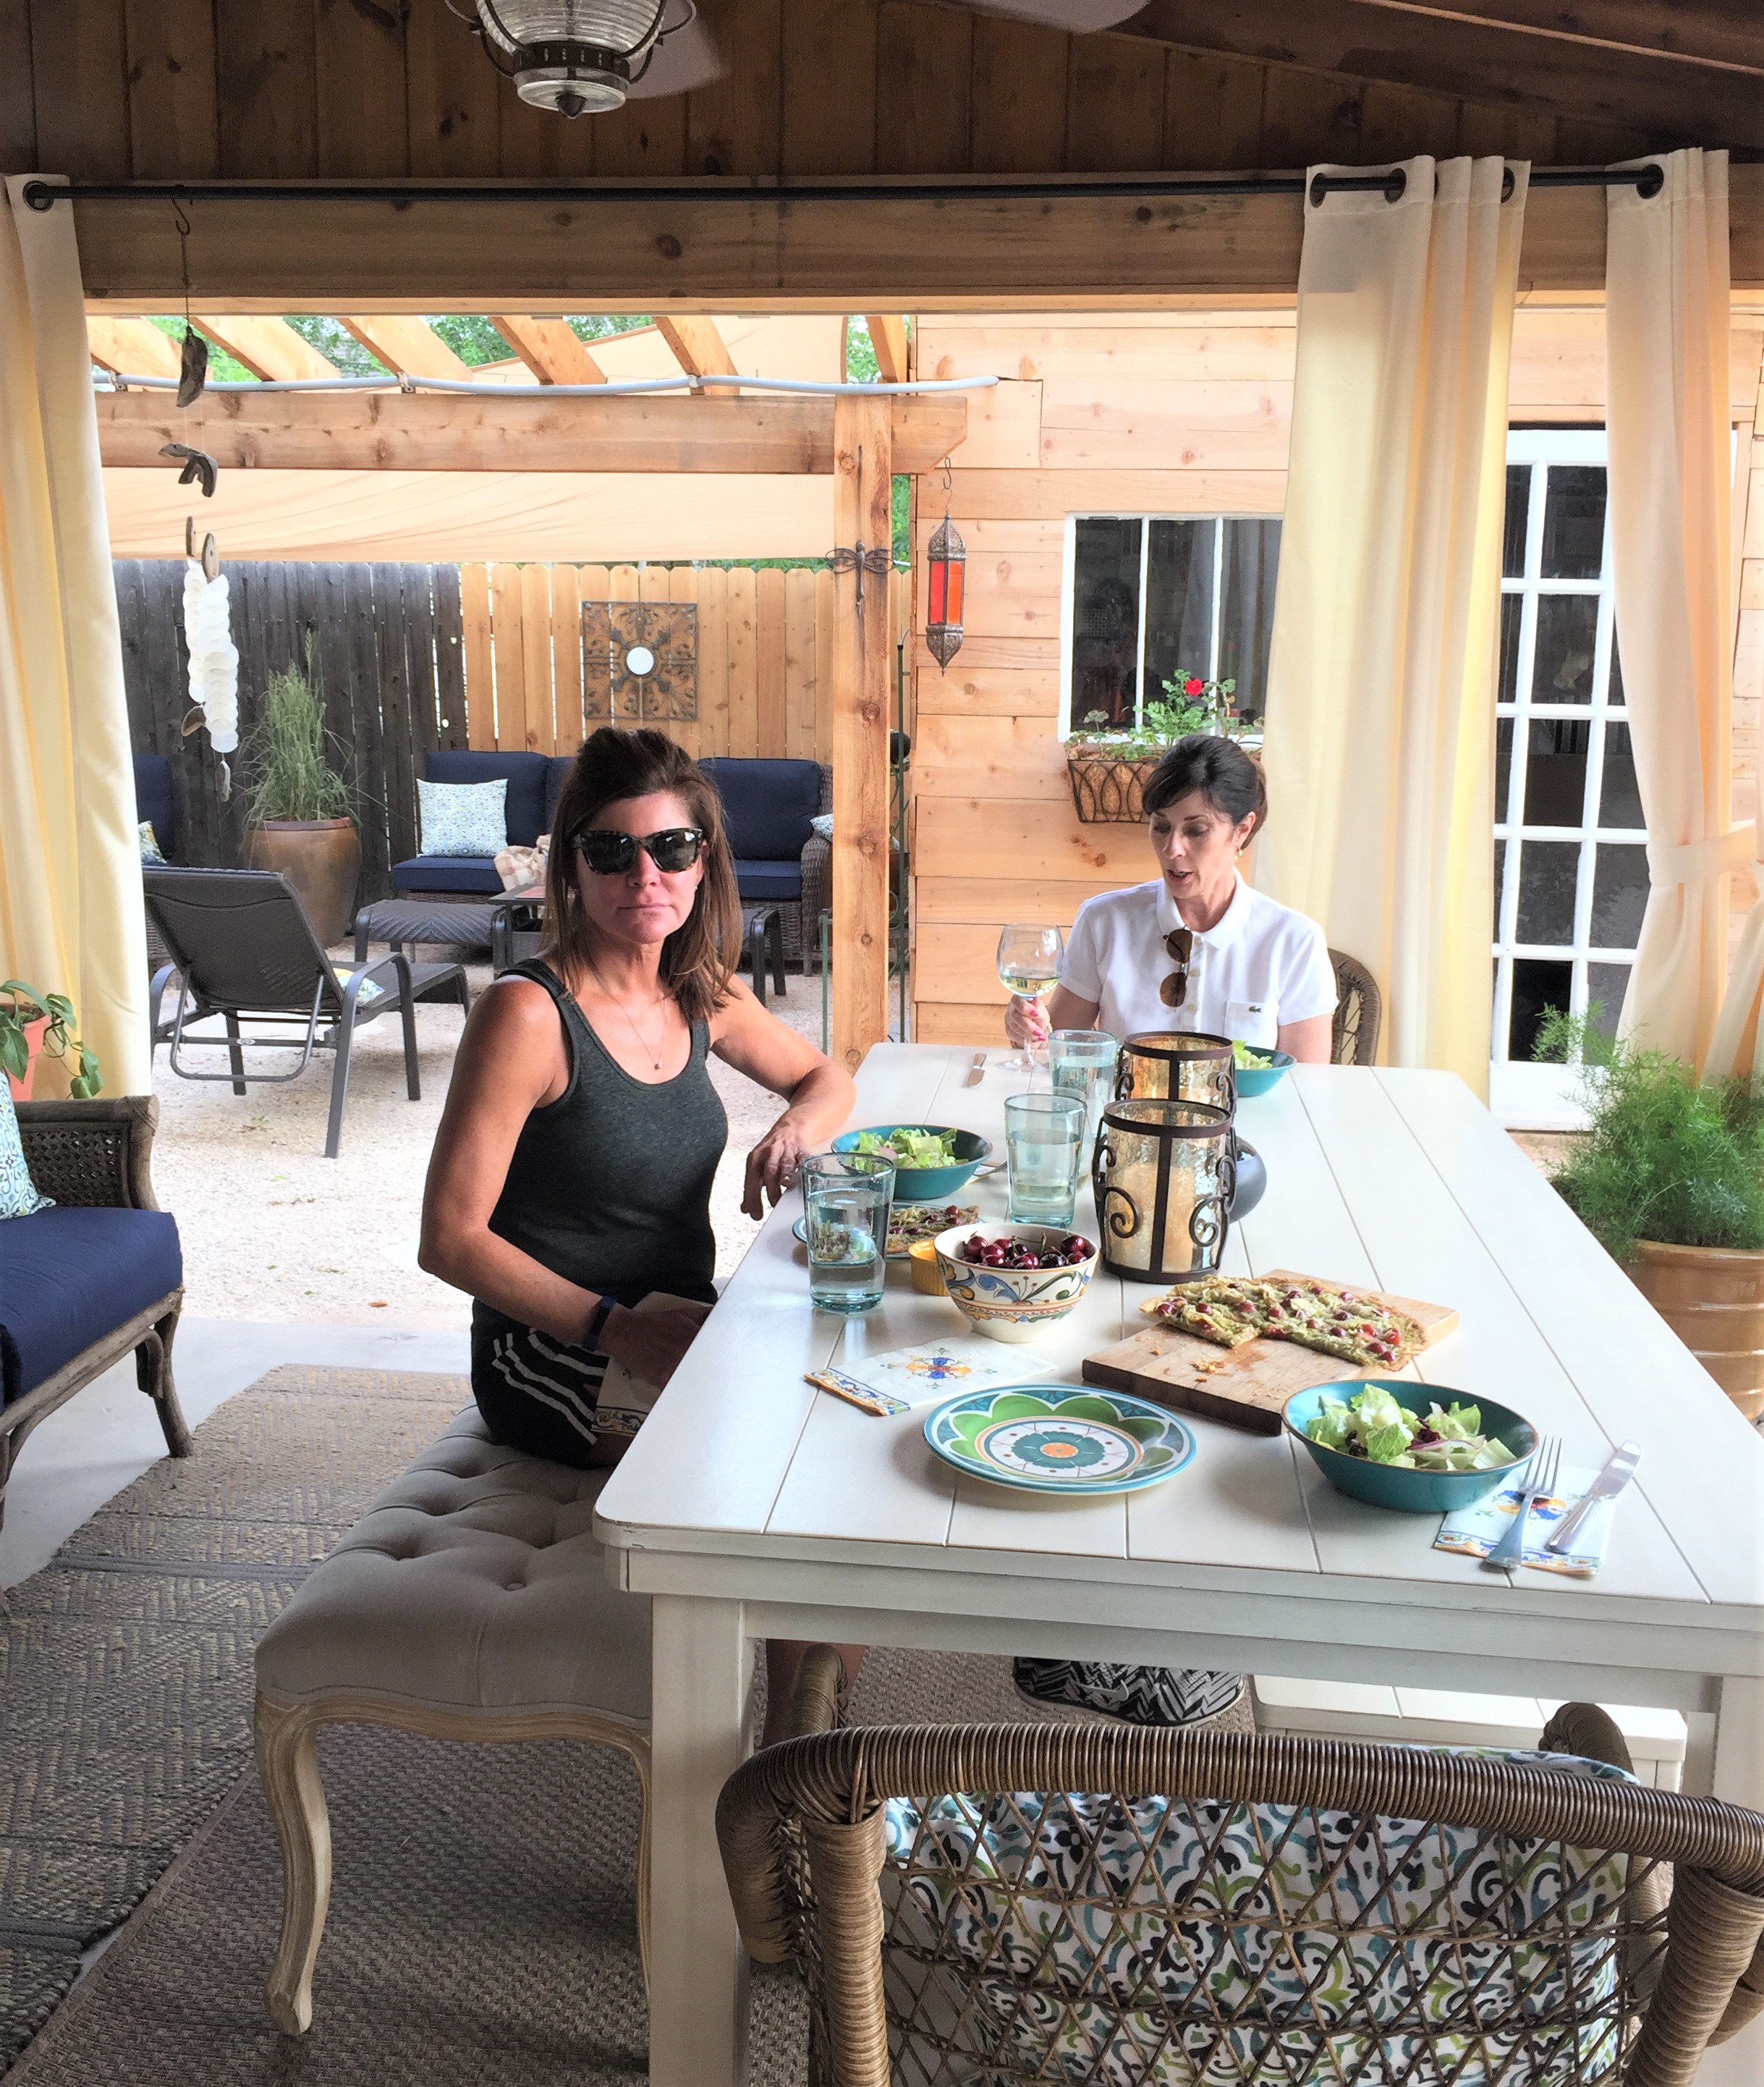
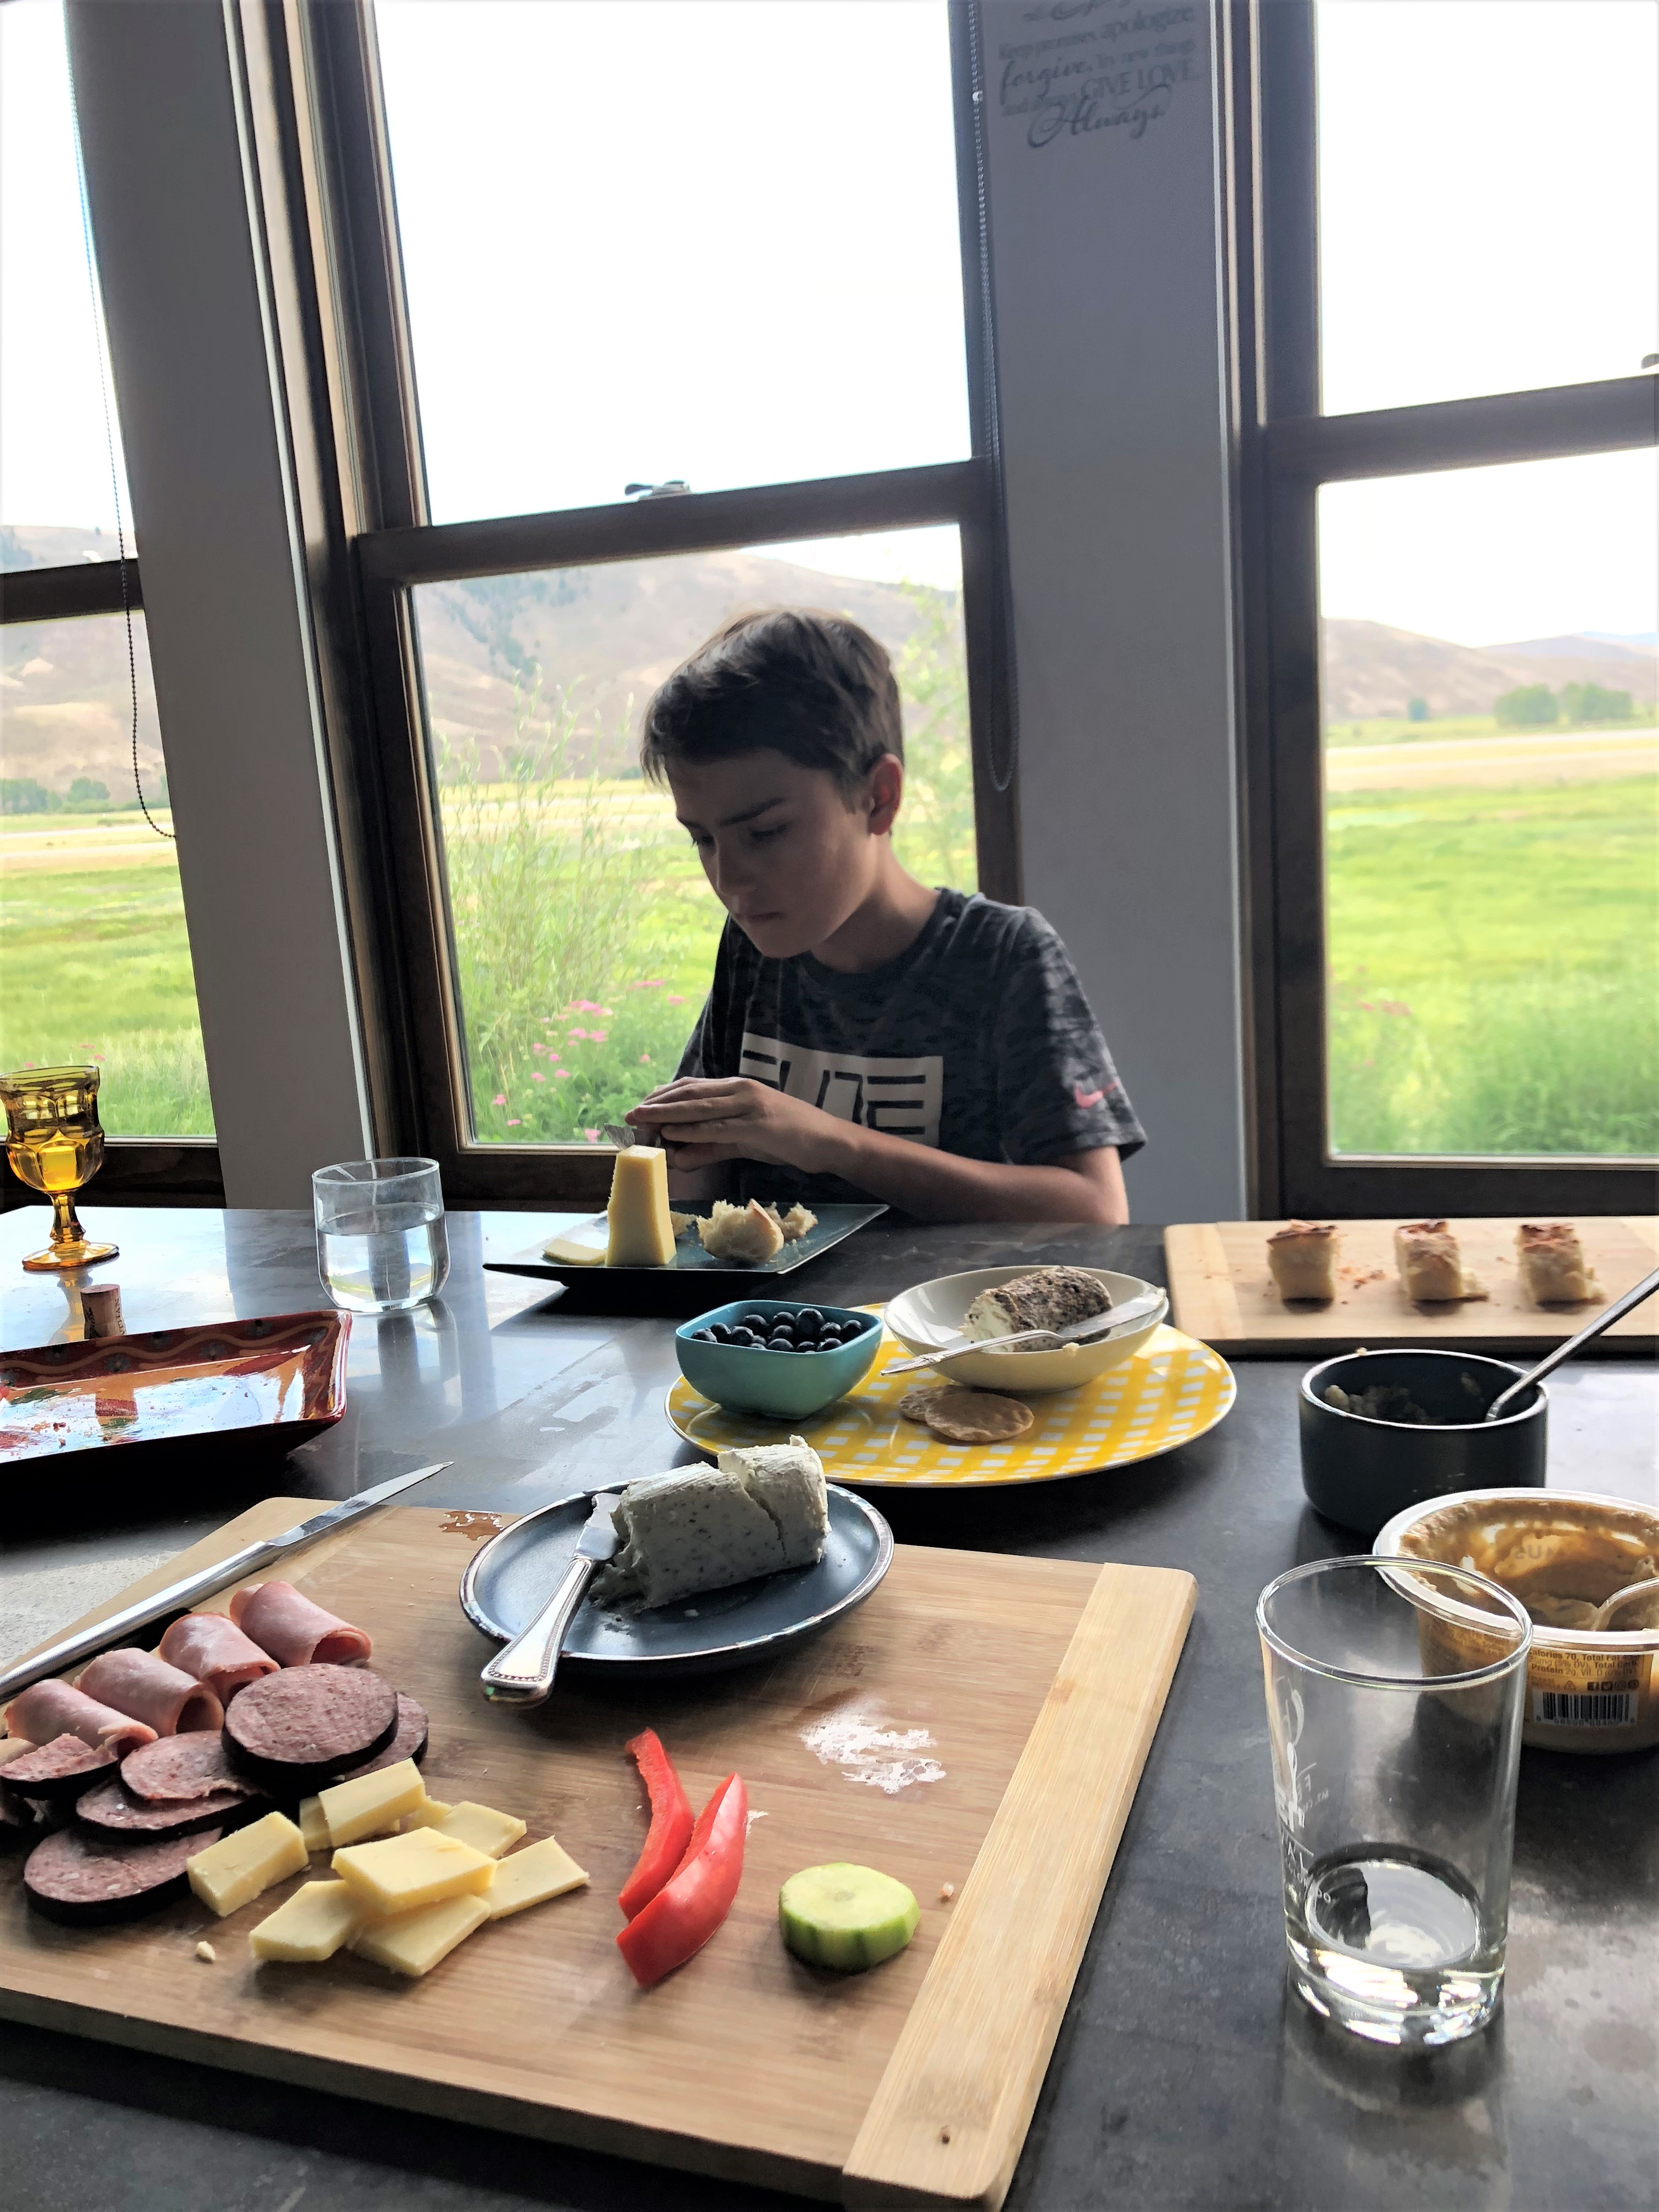
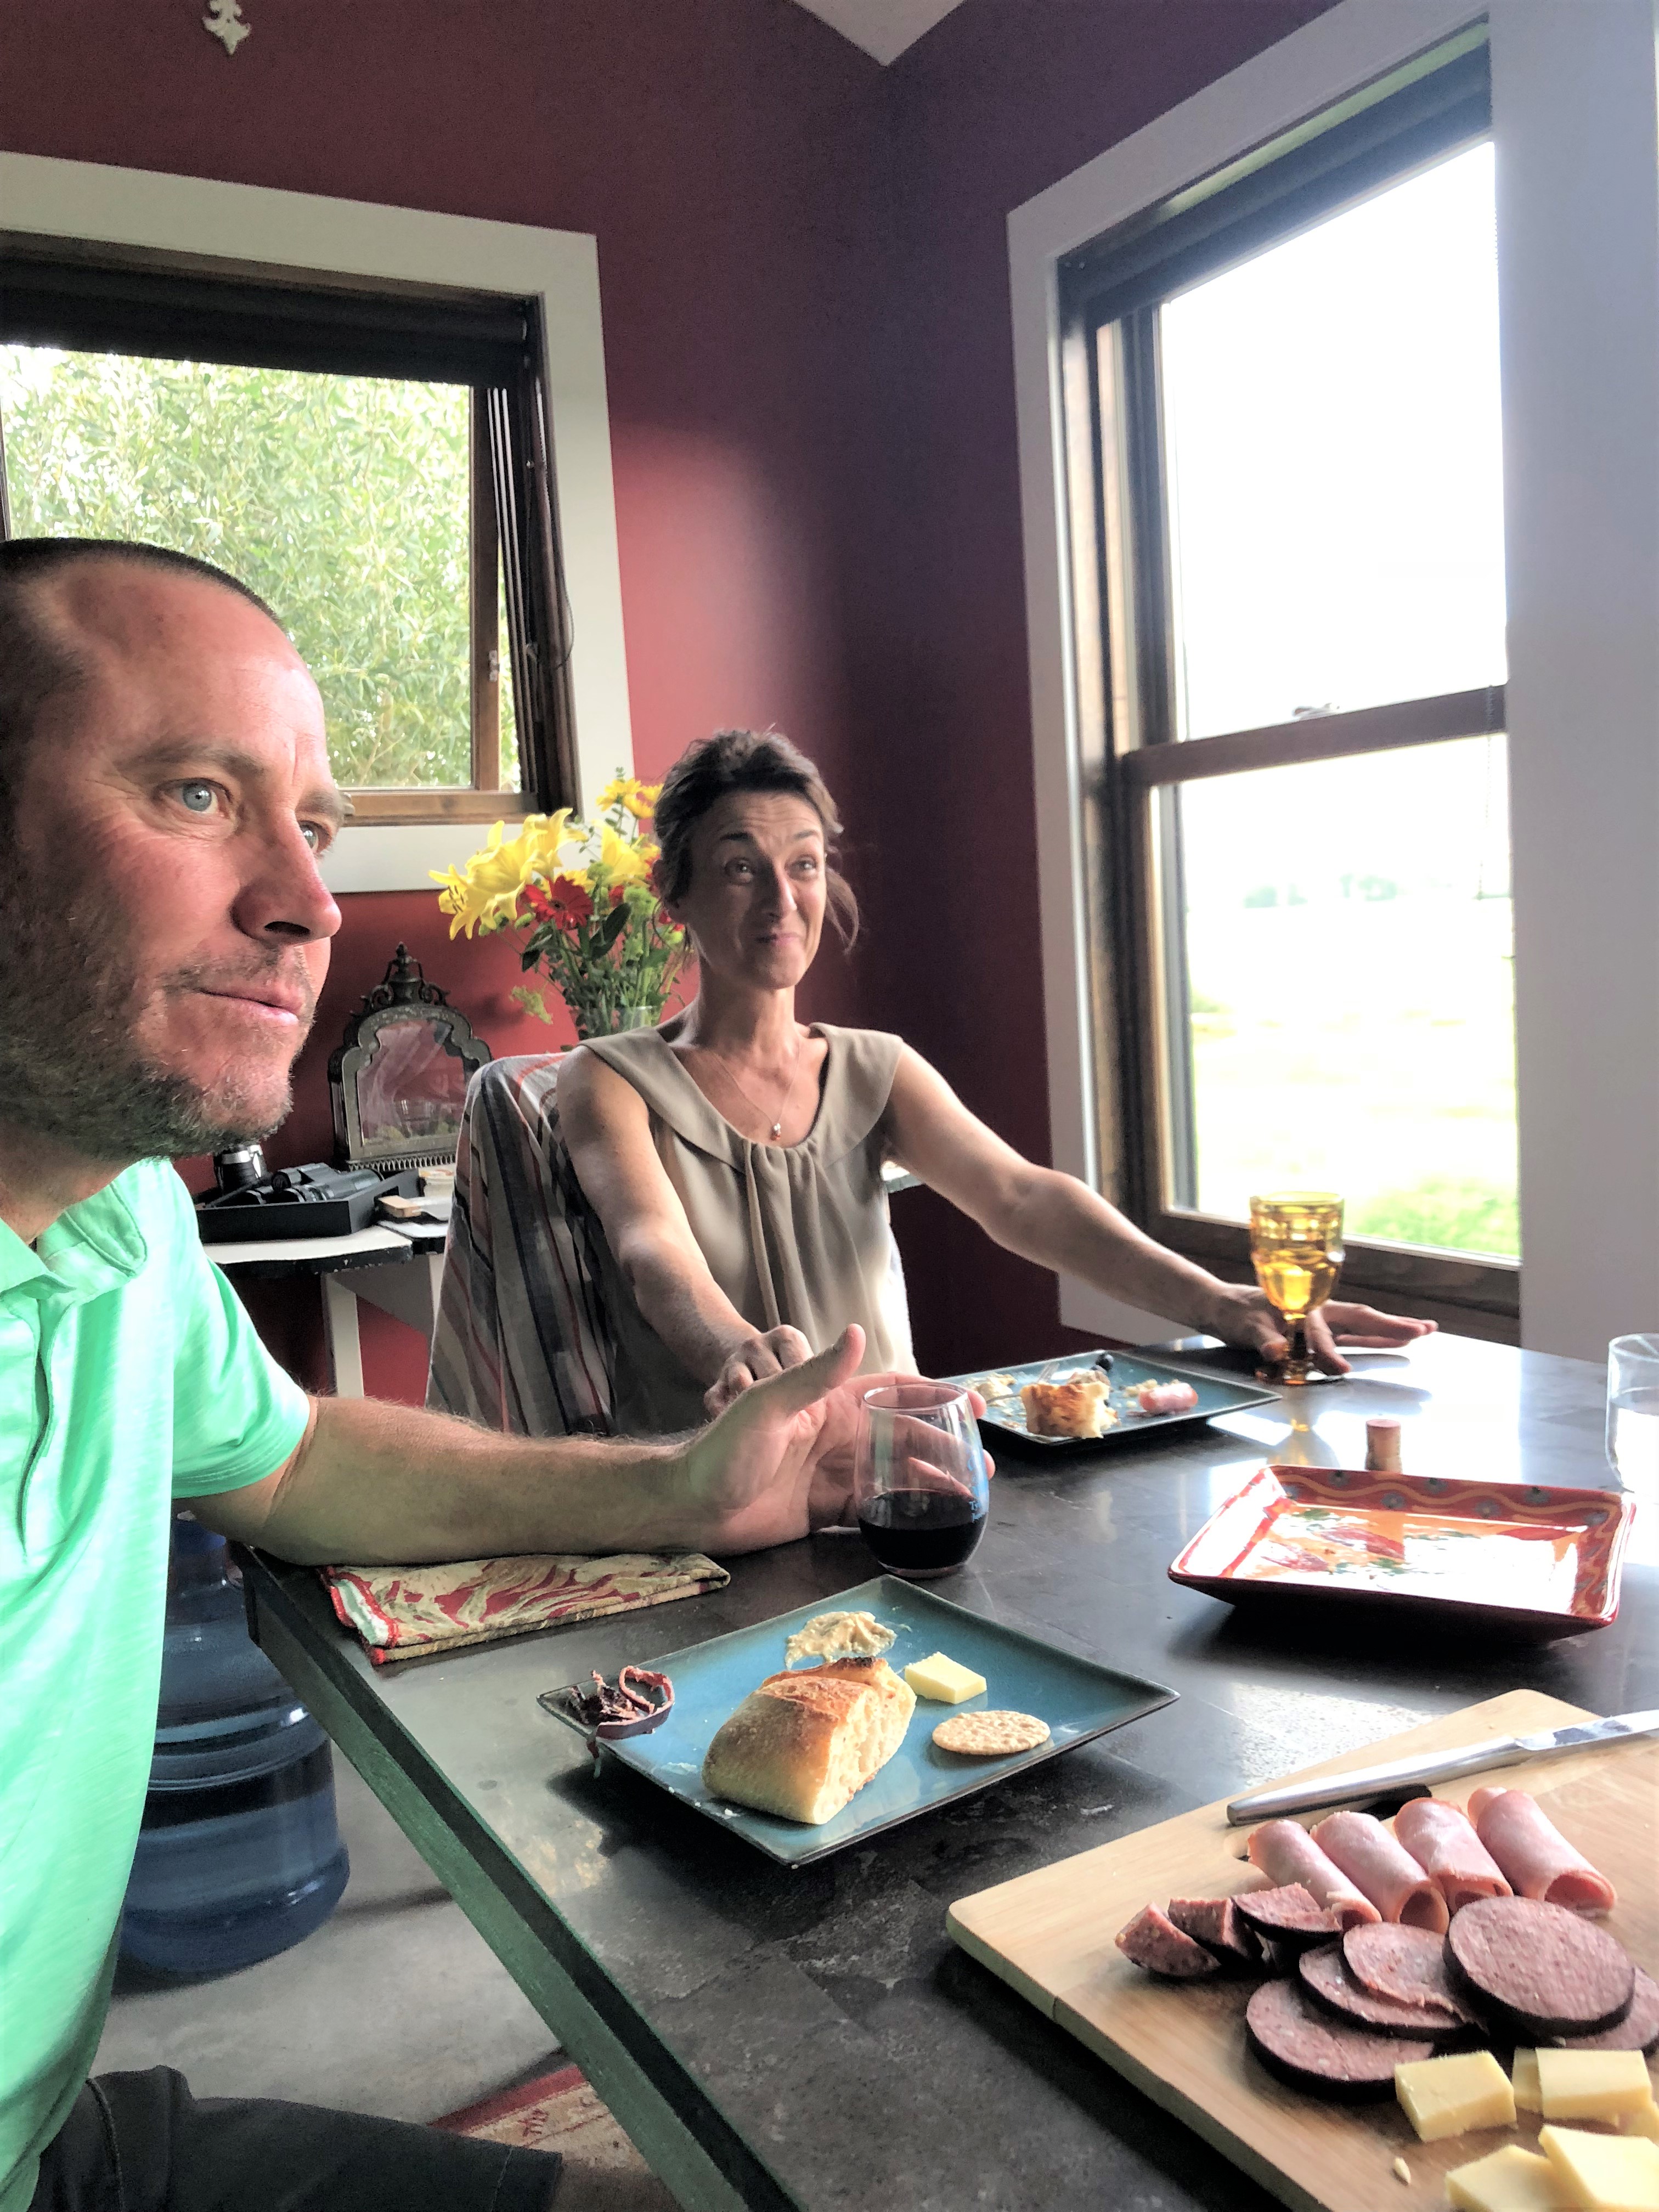
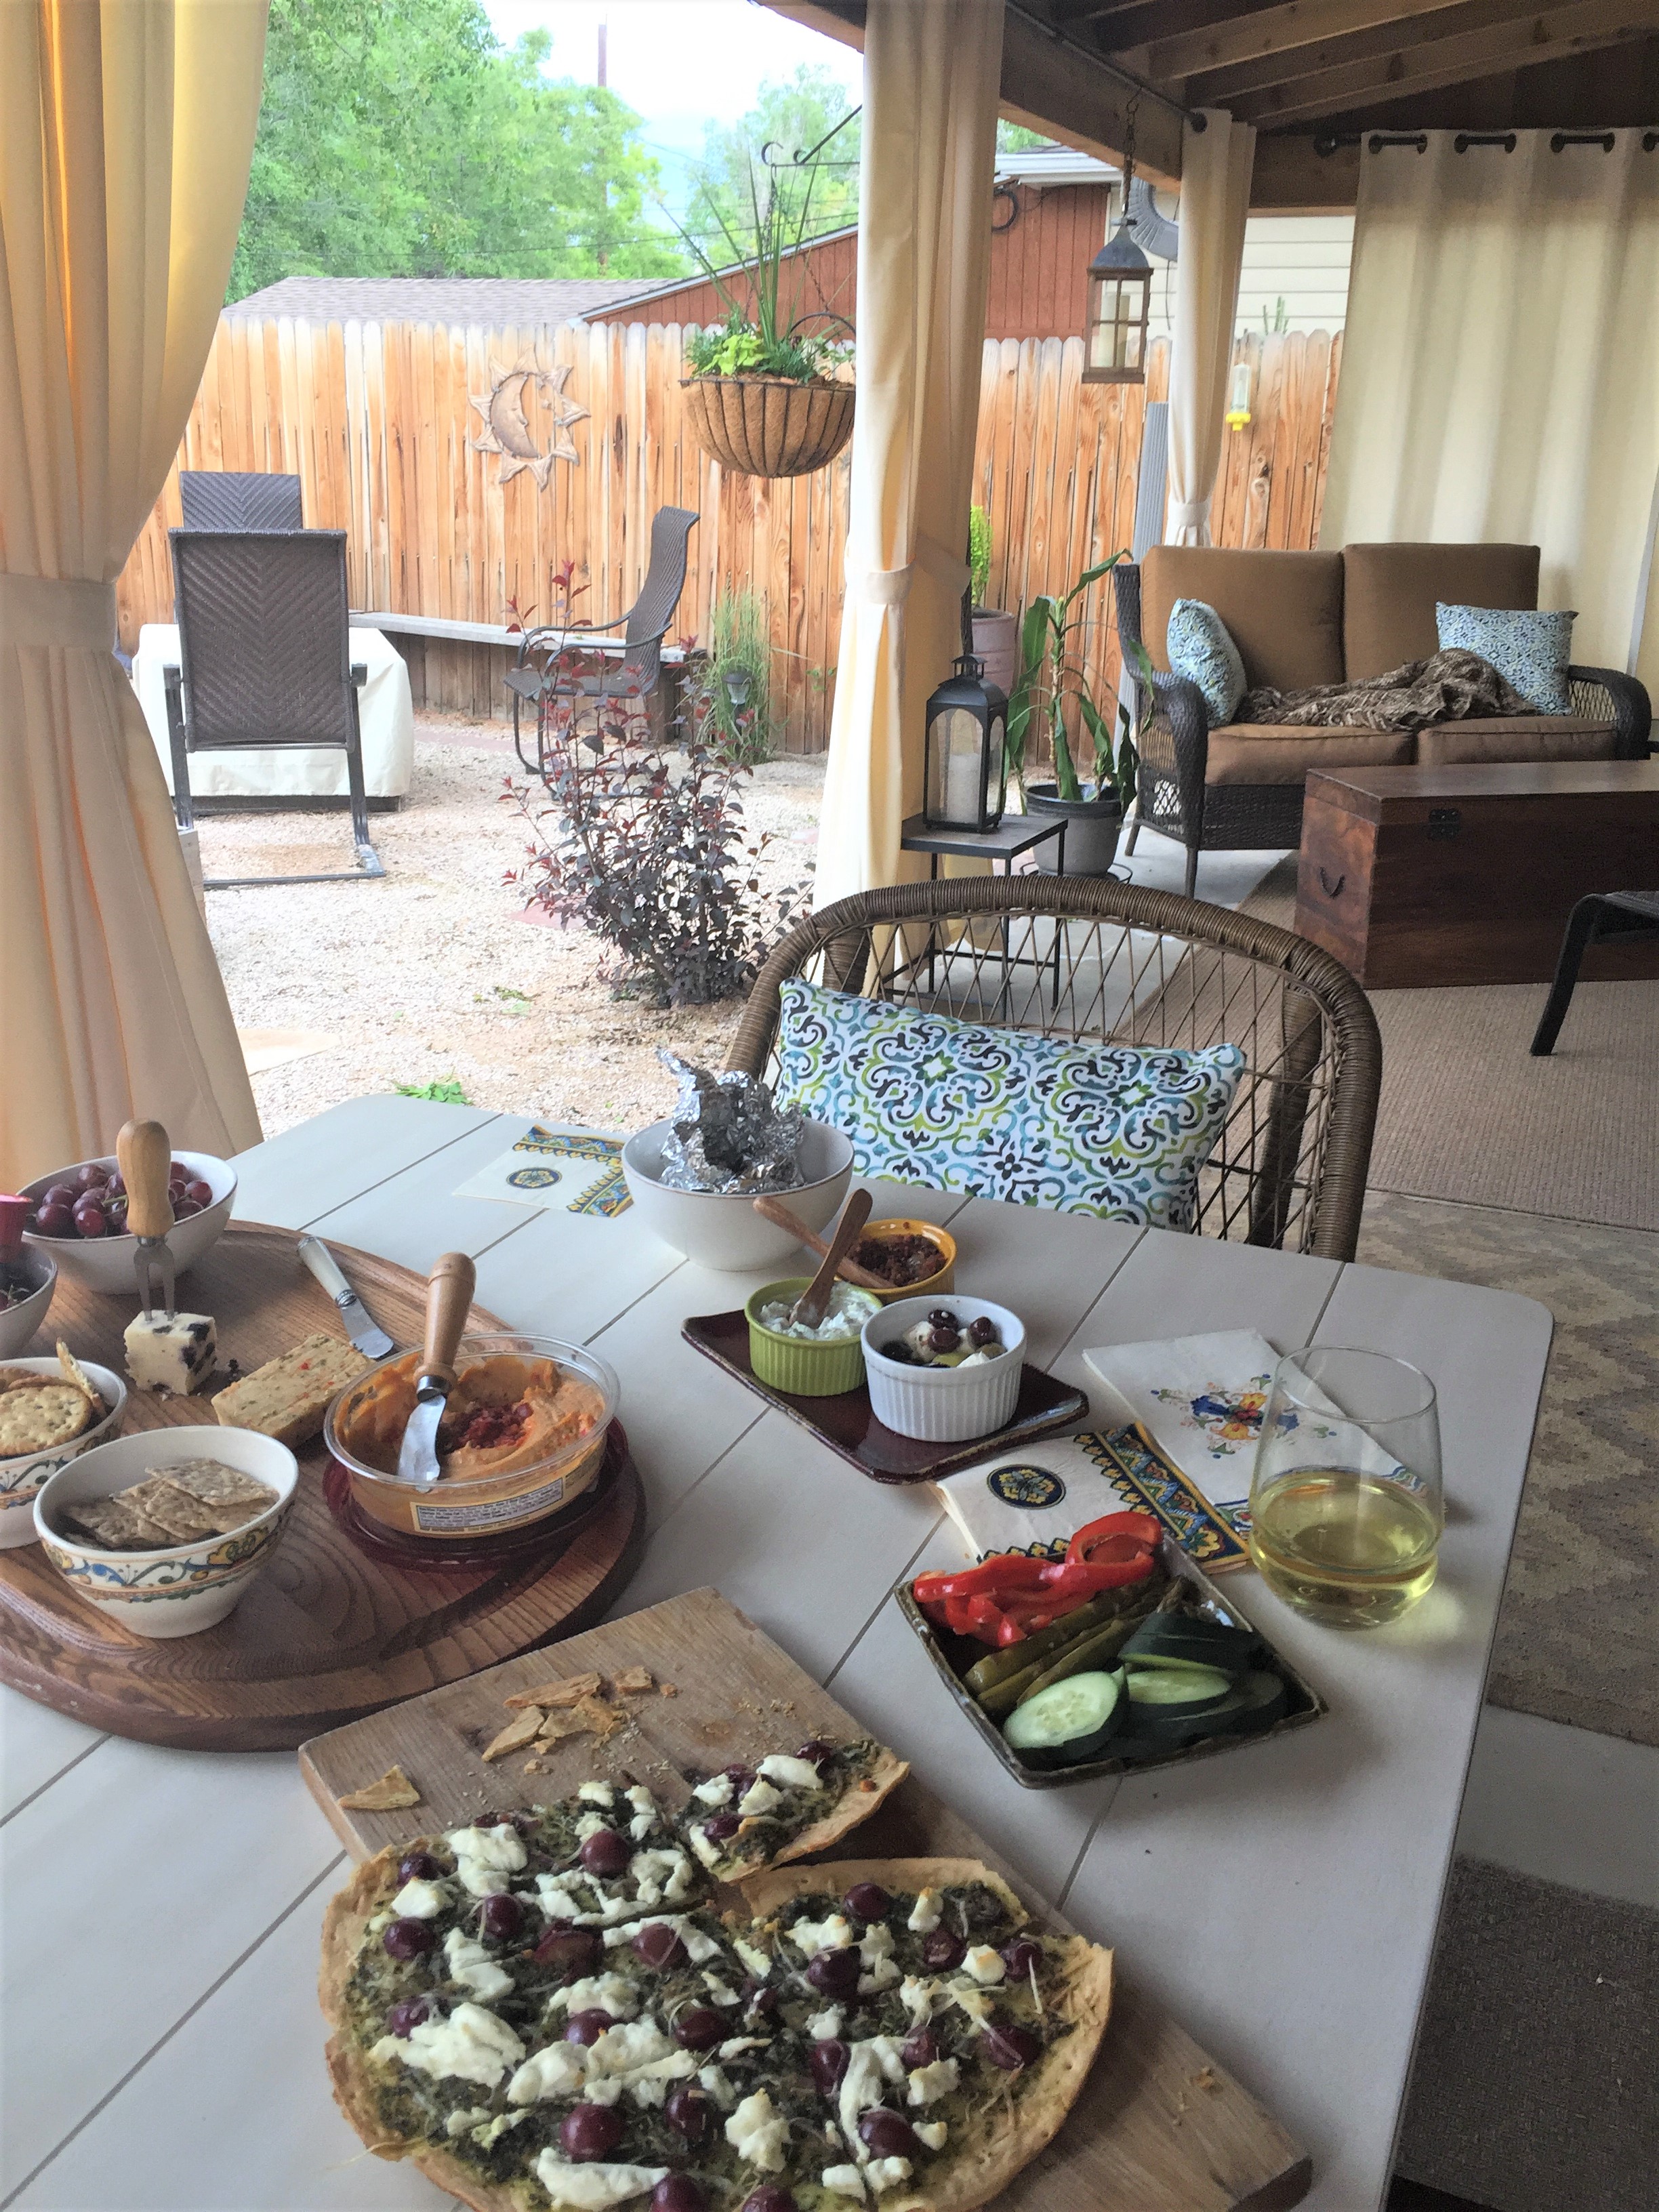
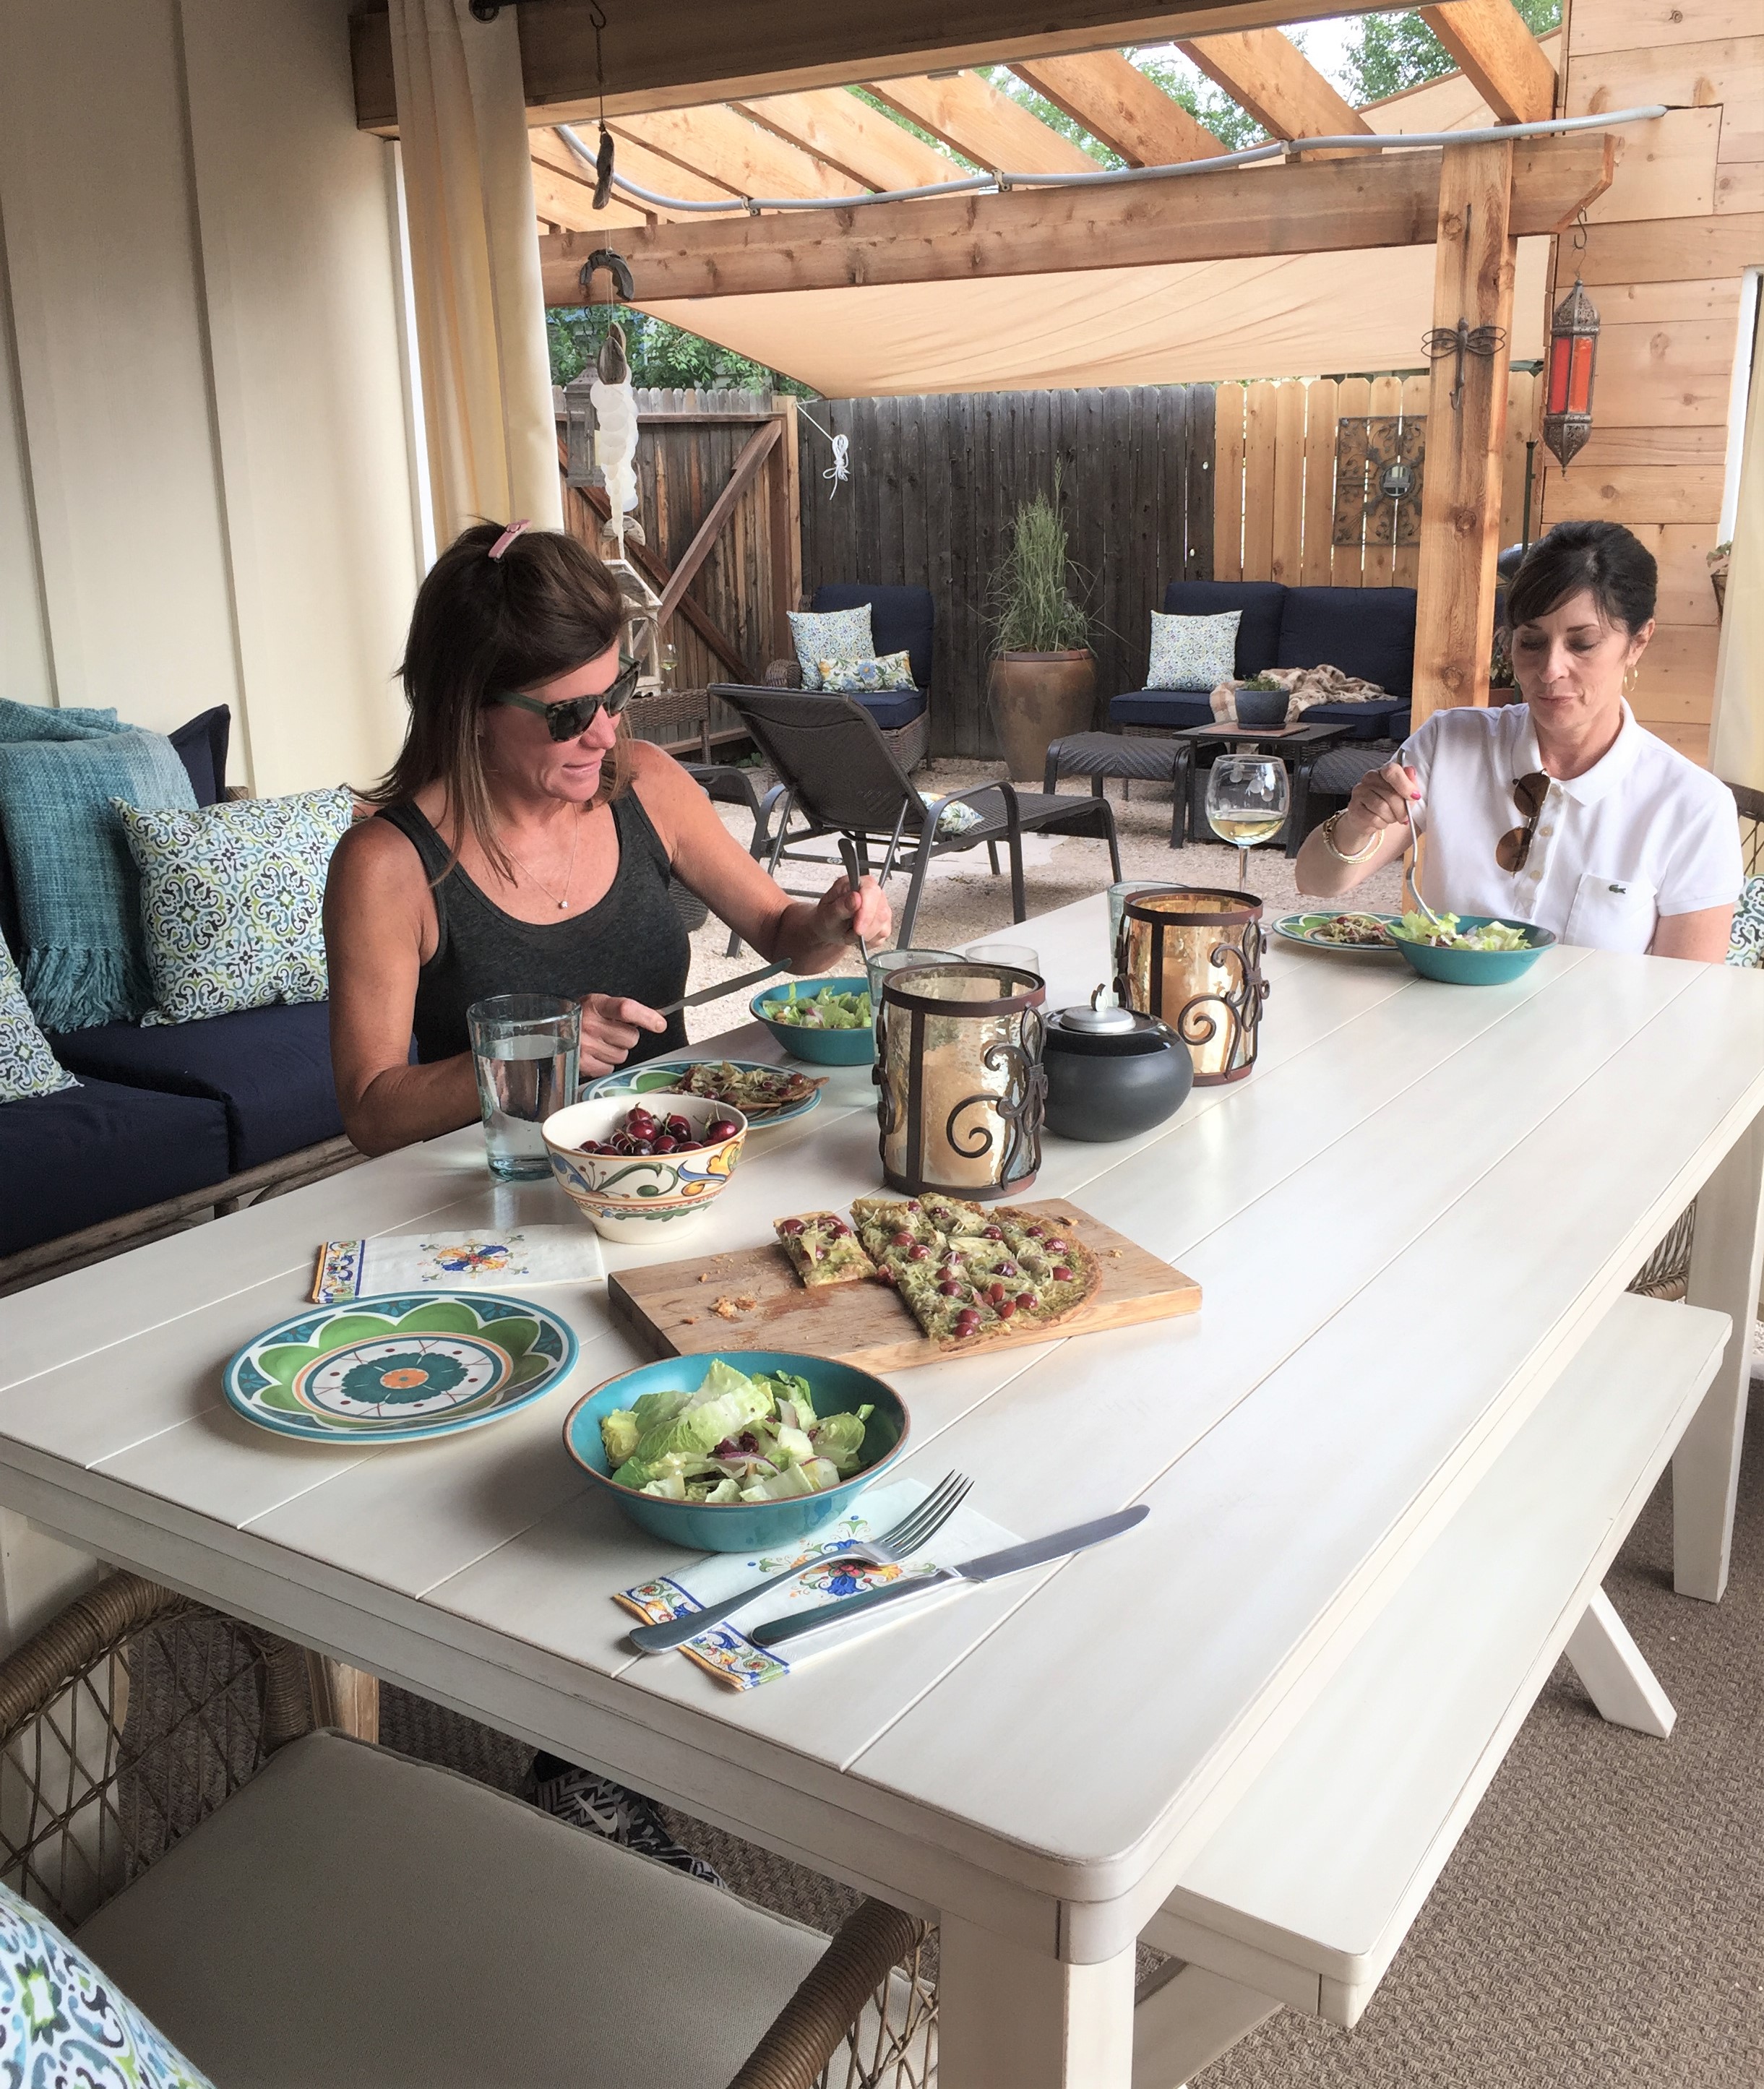
Girlfriends, Beth and Heather joining me for Al Fresco dinner on my back porch.
Here’s the spread on this particular evening. My go to dinner on many evenings.
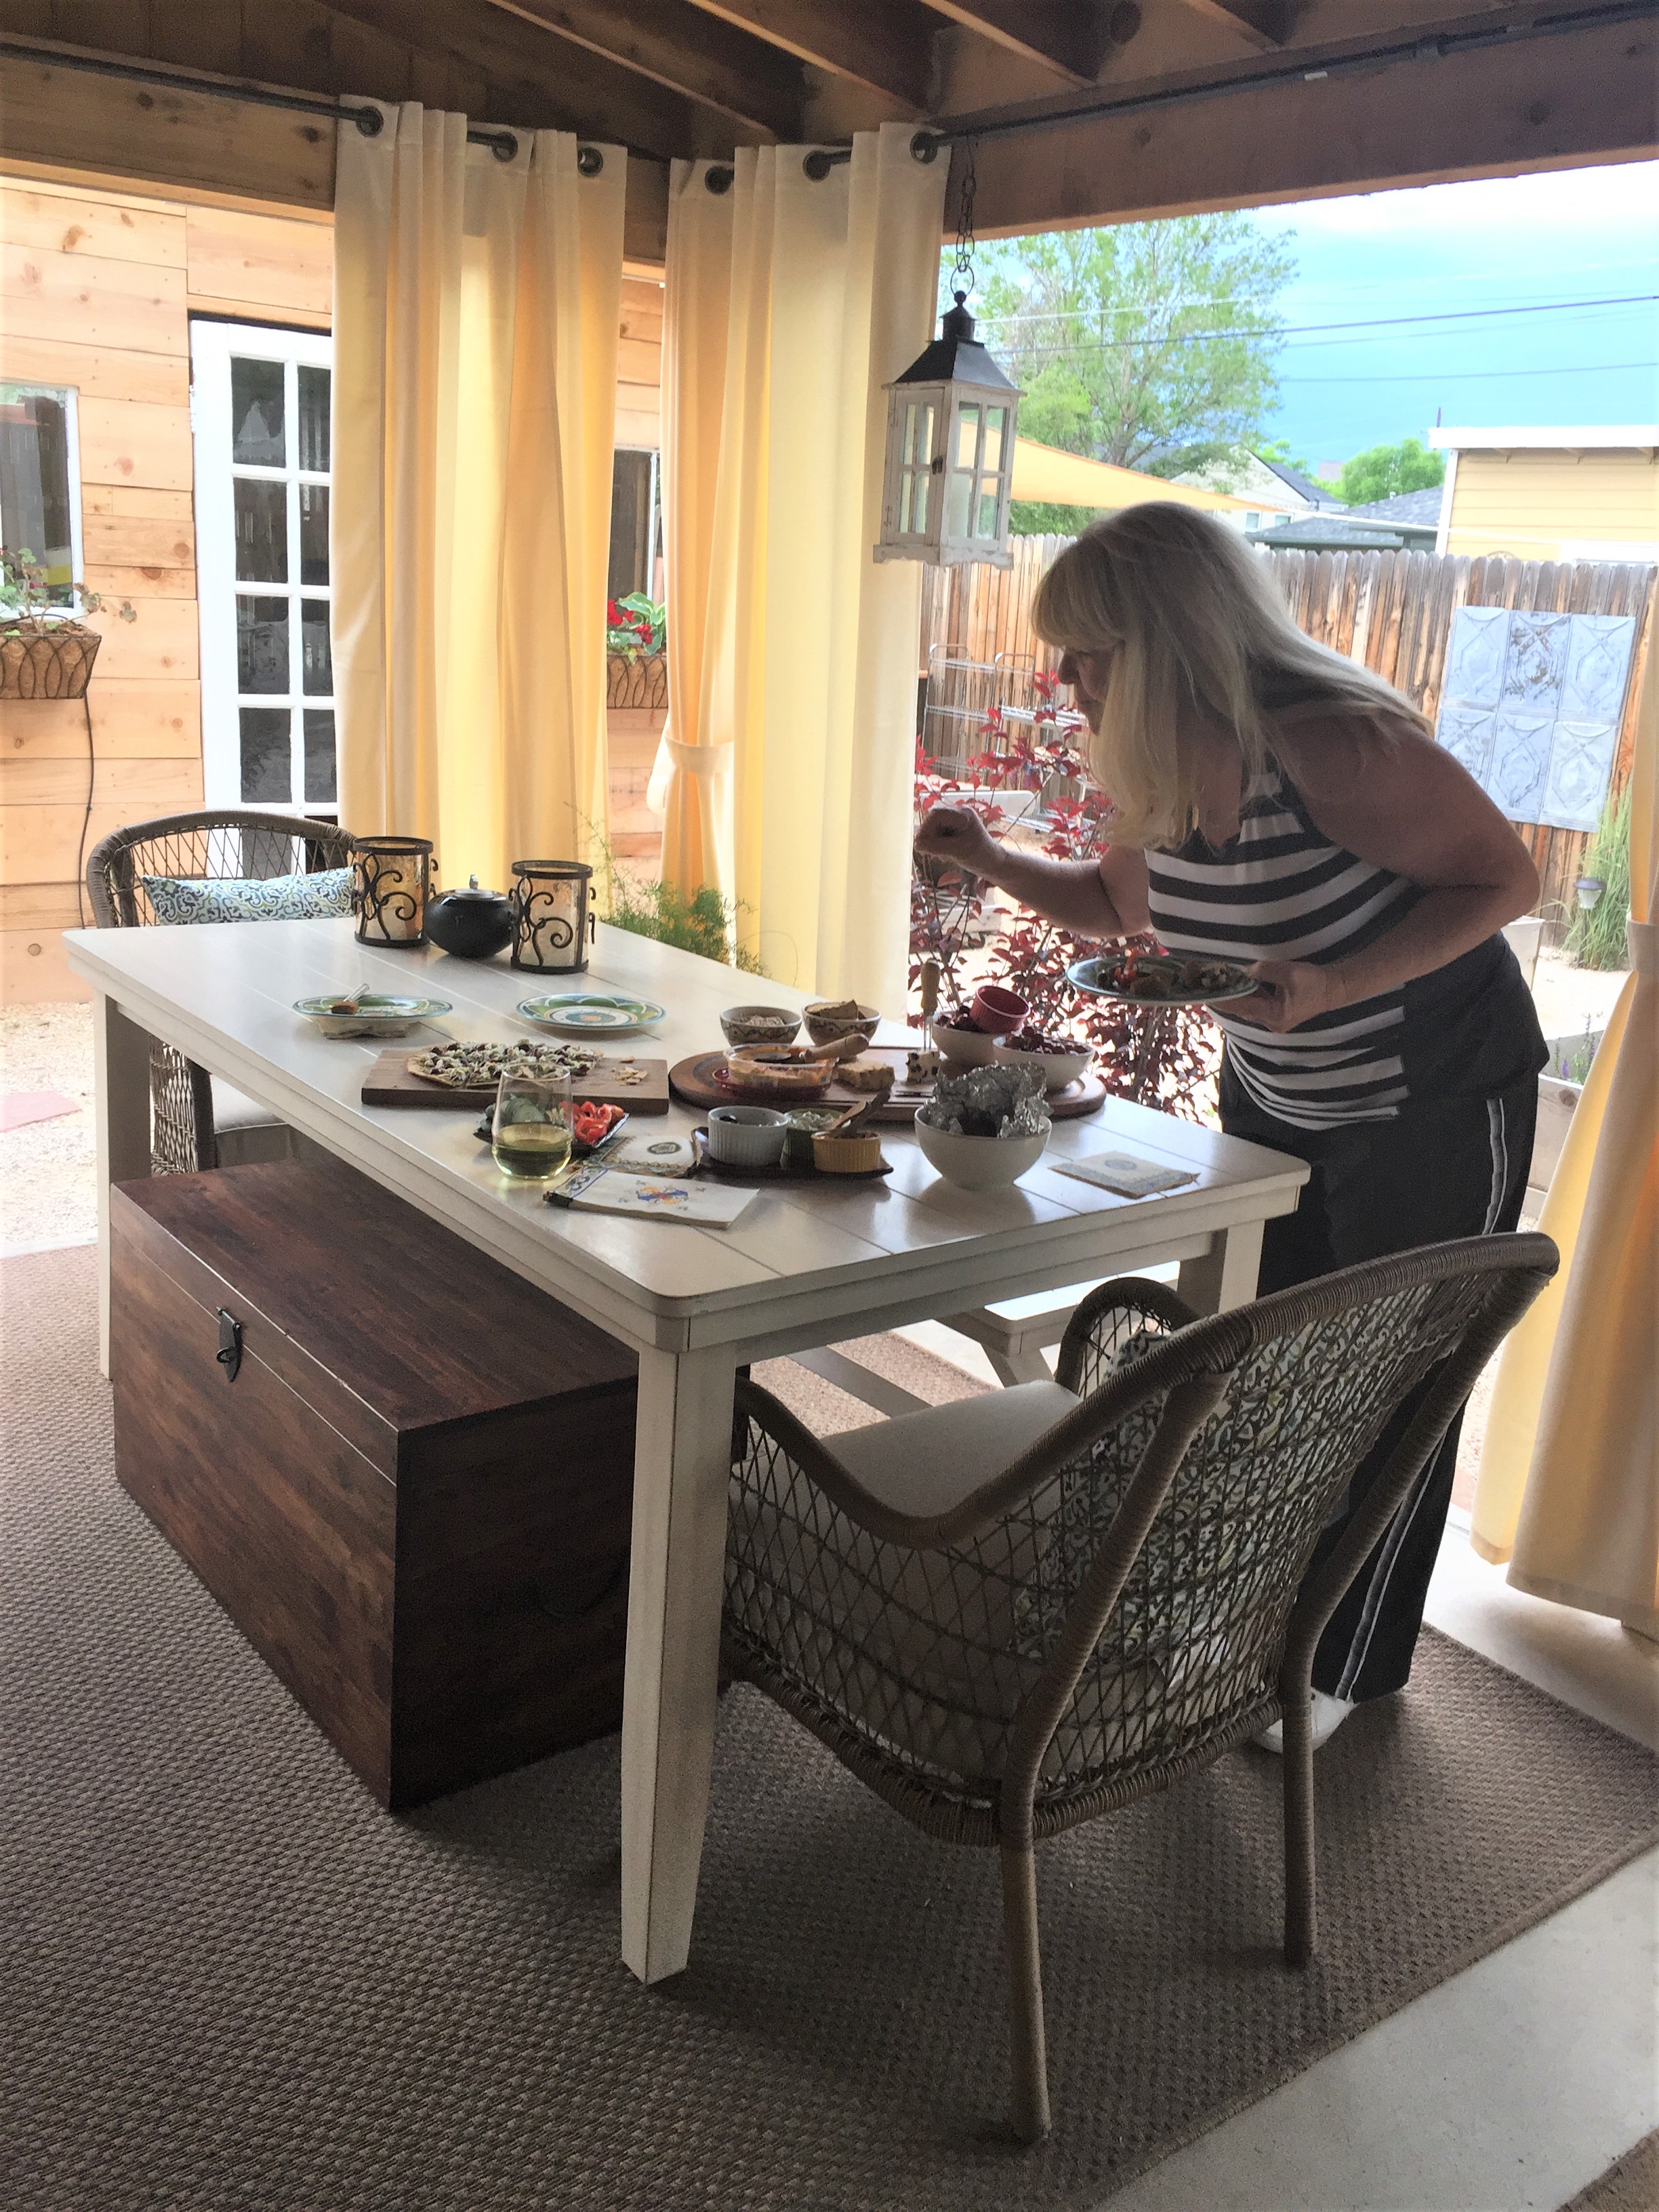
My friend, Wendy choosing her favorites.
Cheese and crackers ready to go out to the patio.
Kasey at her birthday lunch at Cheesecake Factory in Park Meadows.
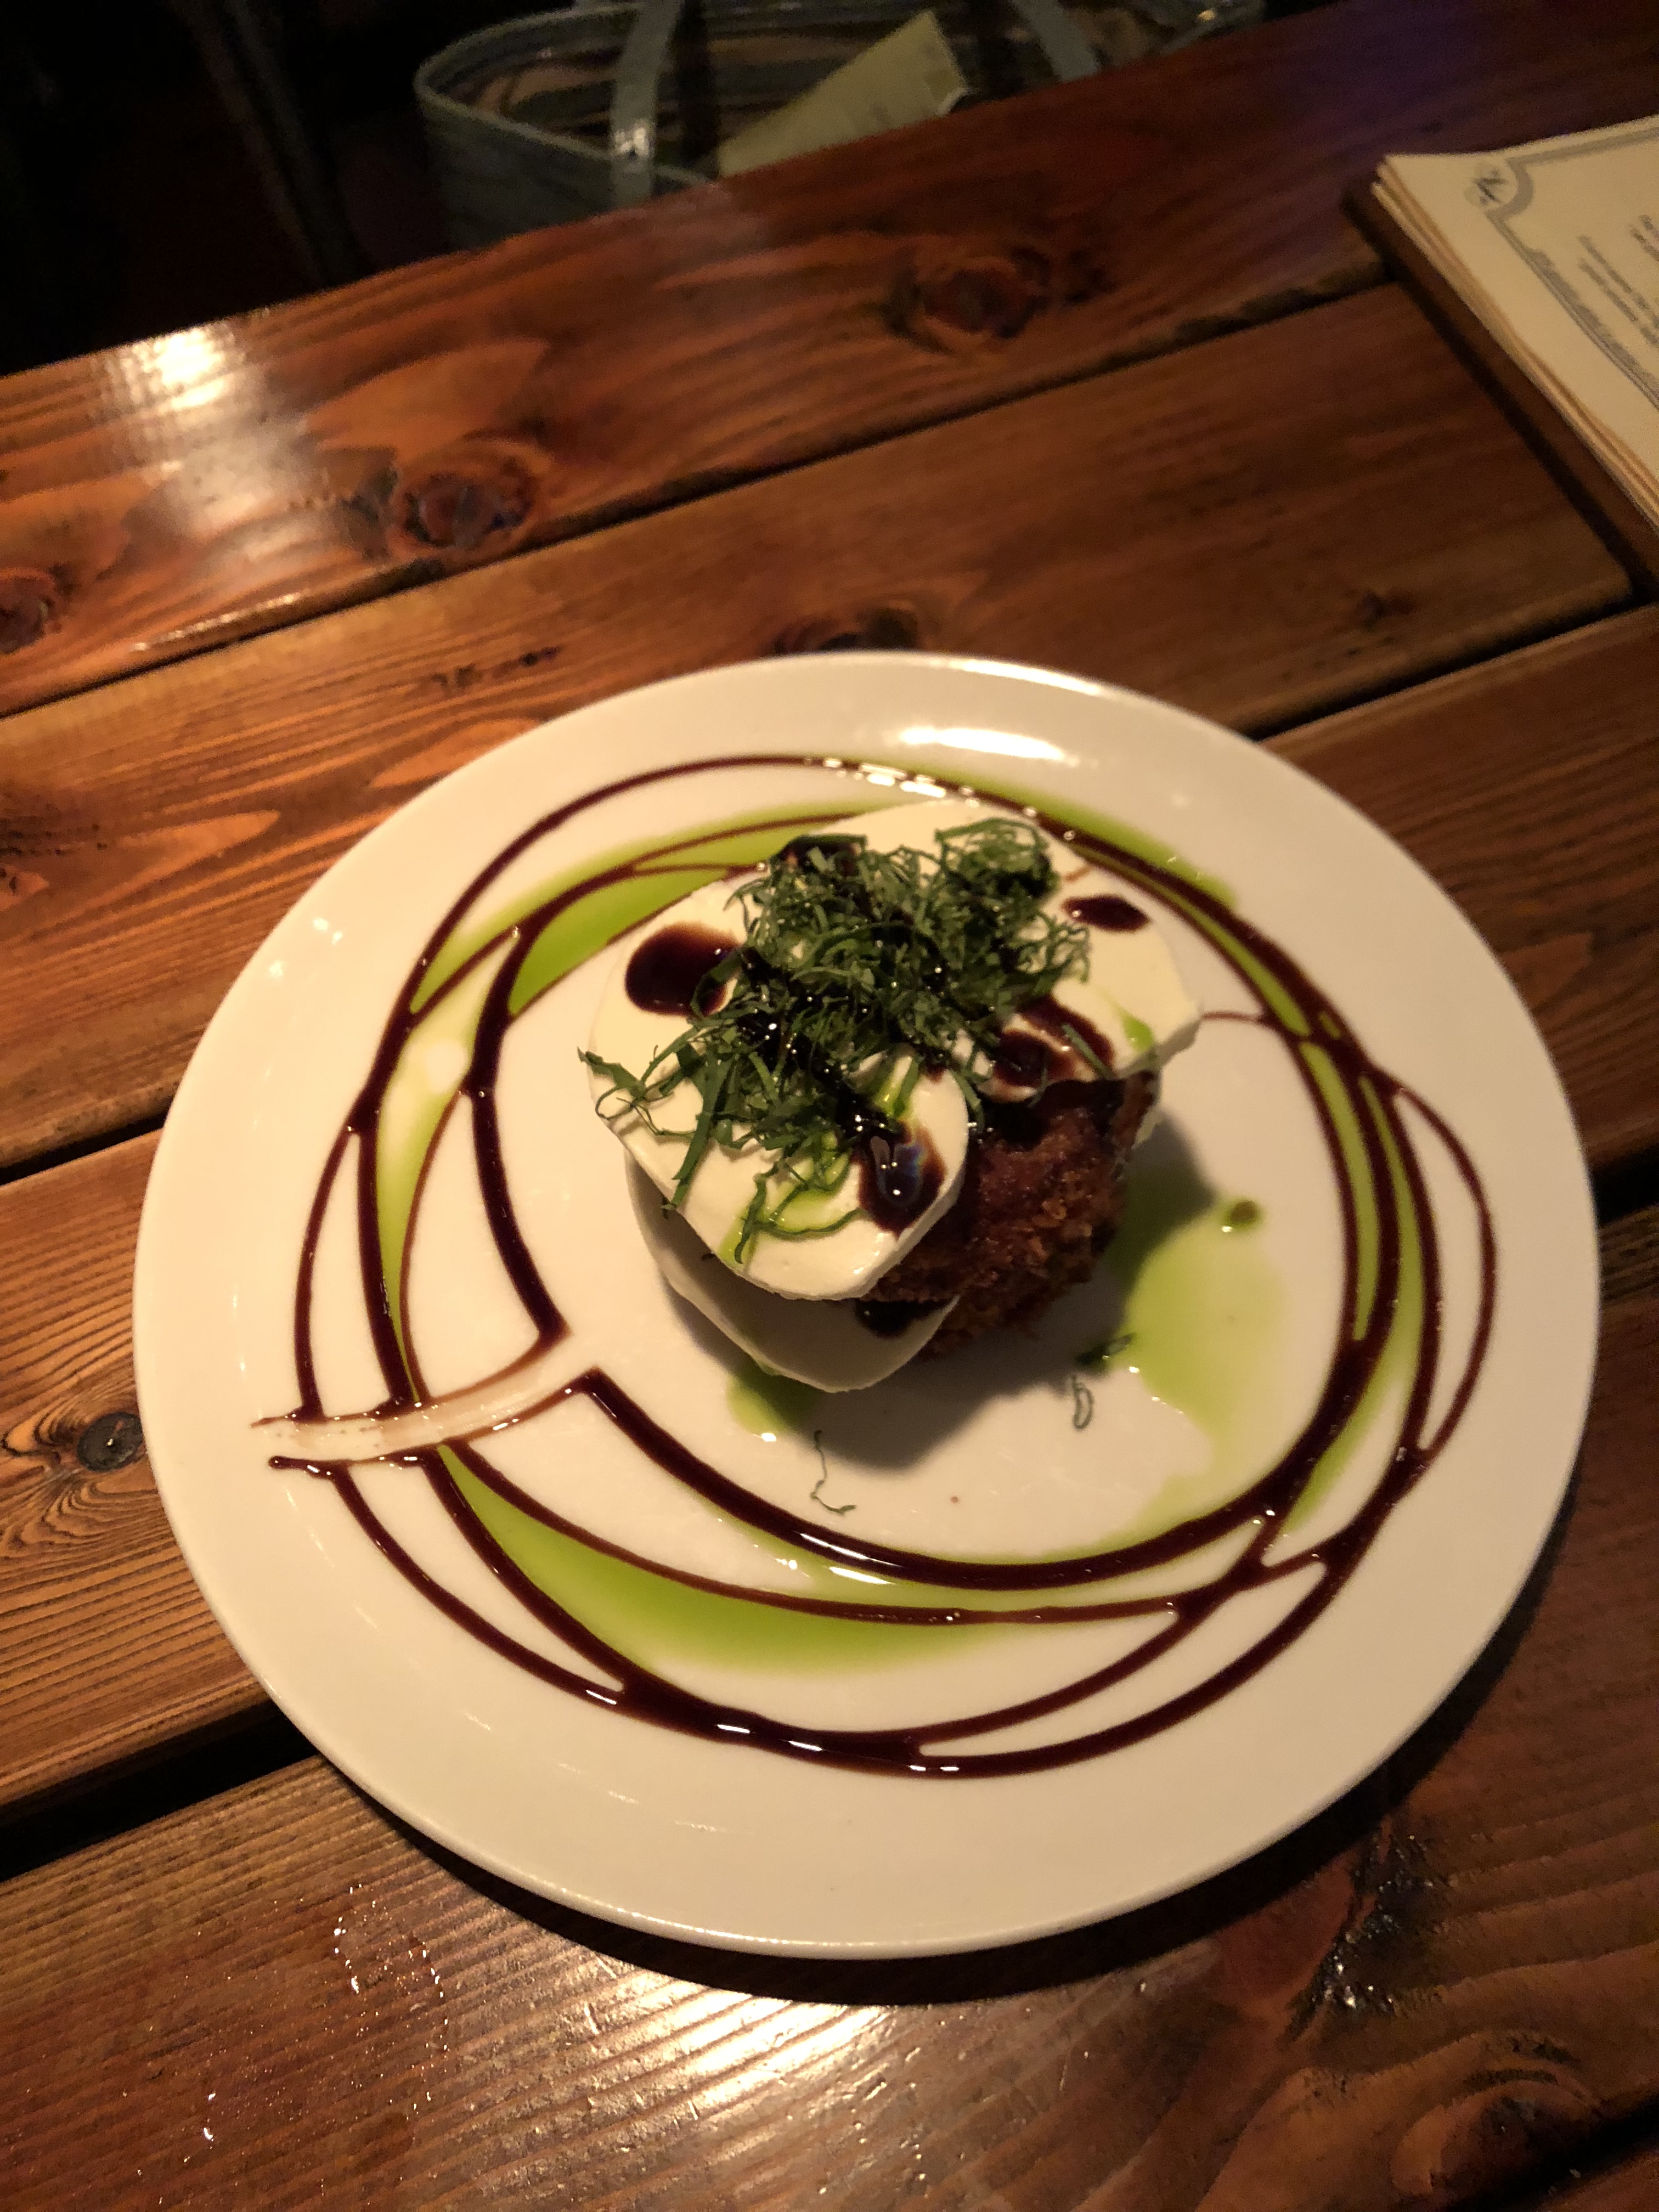
Fried Tomato Caprese appetizer at Acres Restaurant in Englewood. So good!
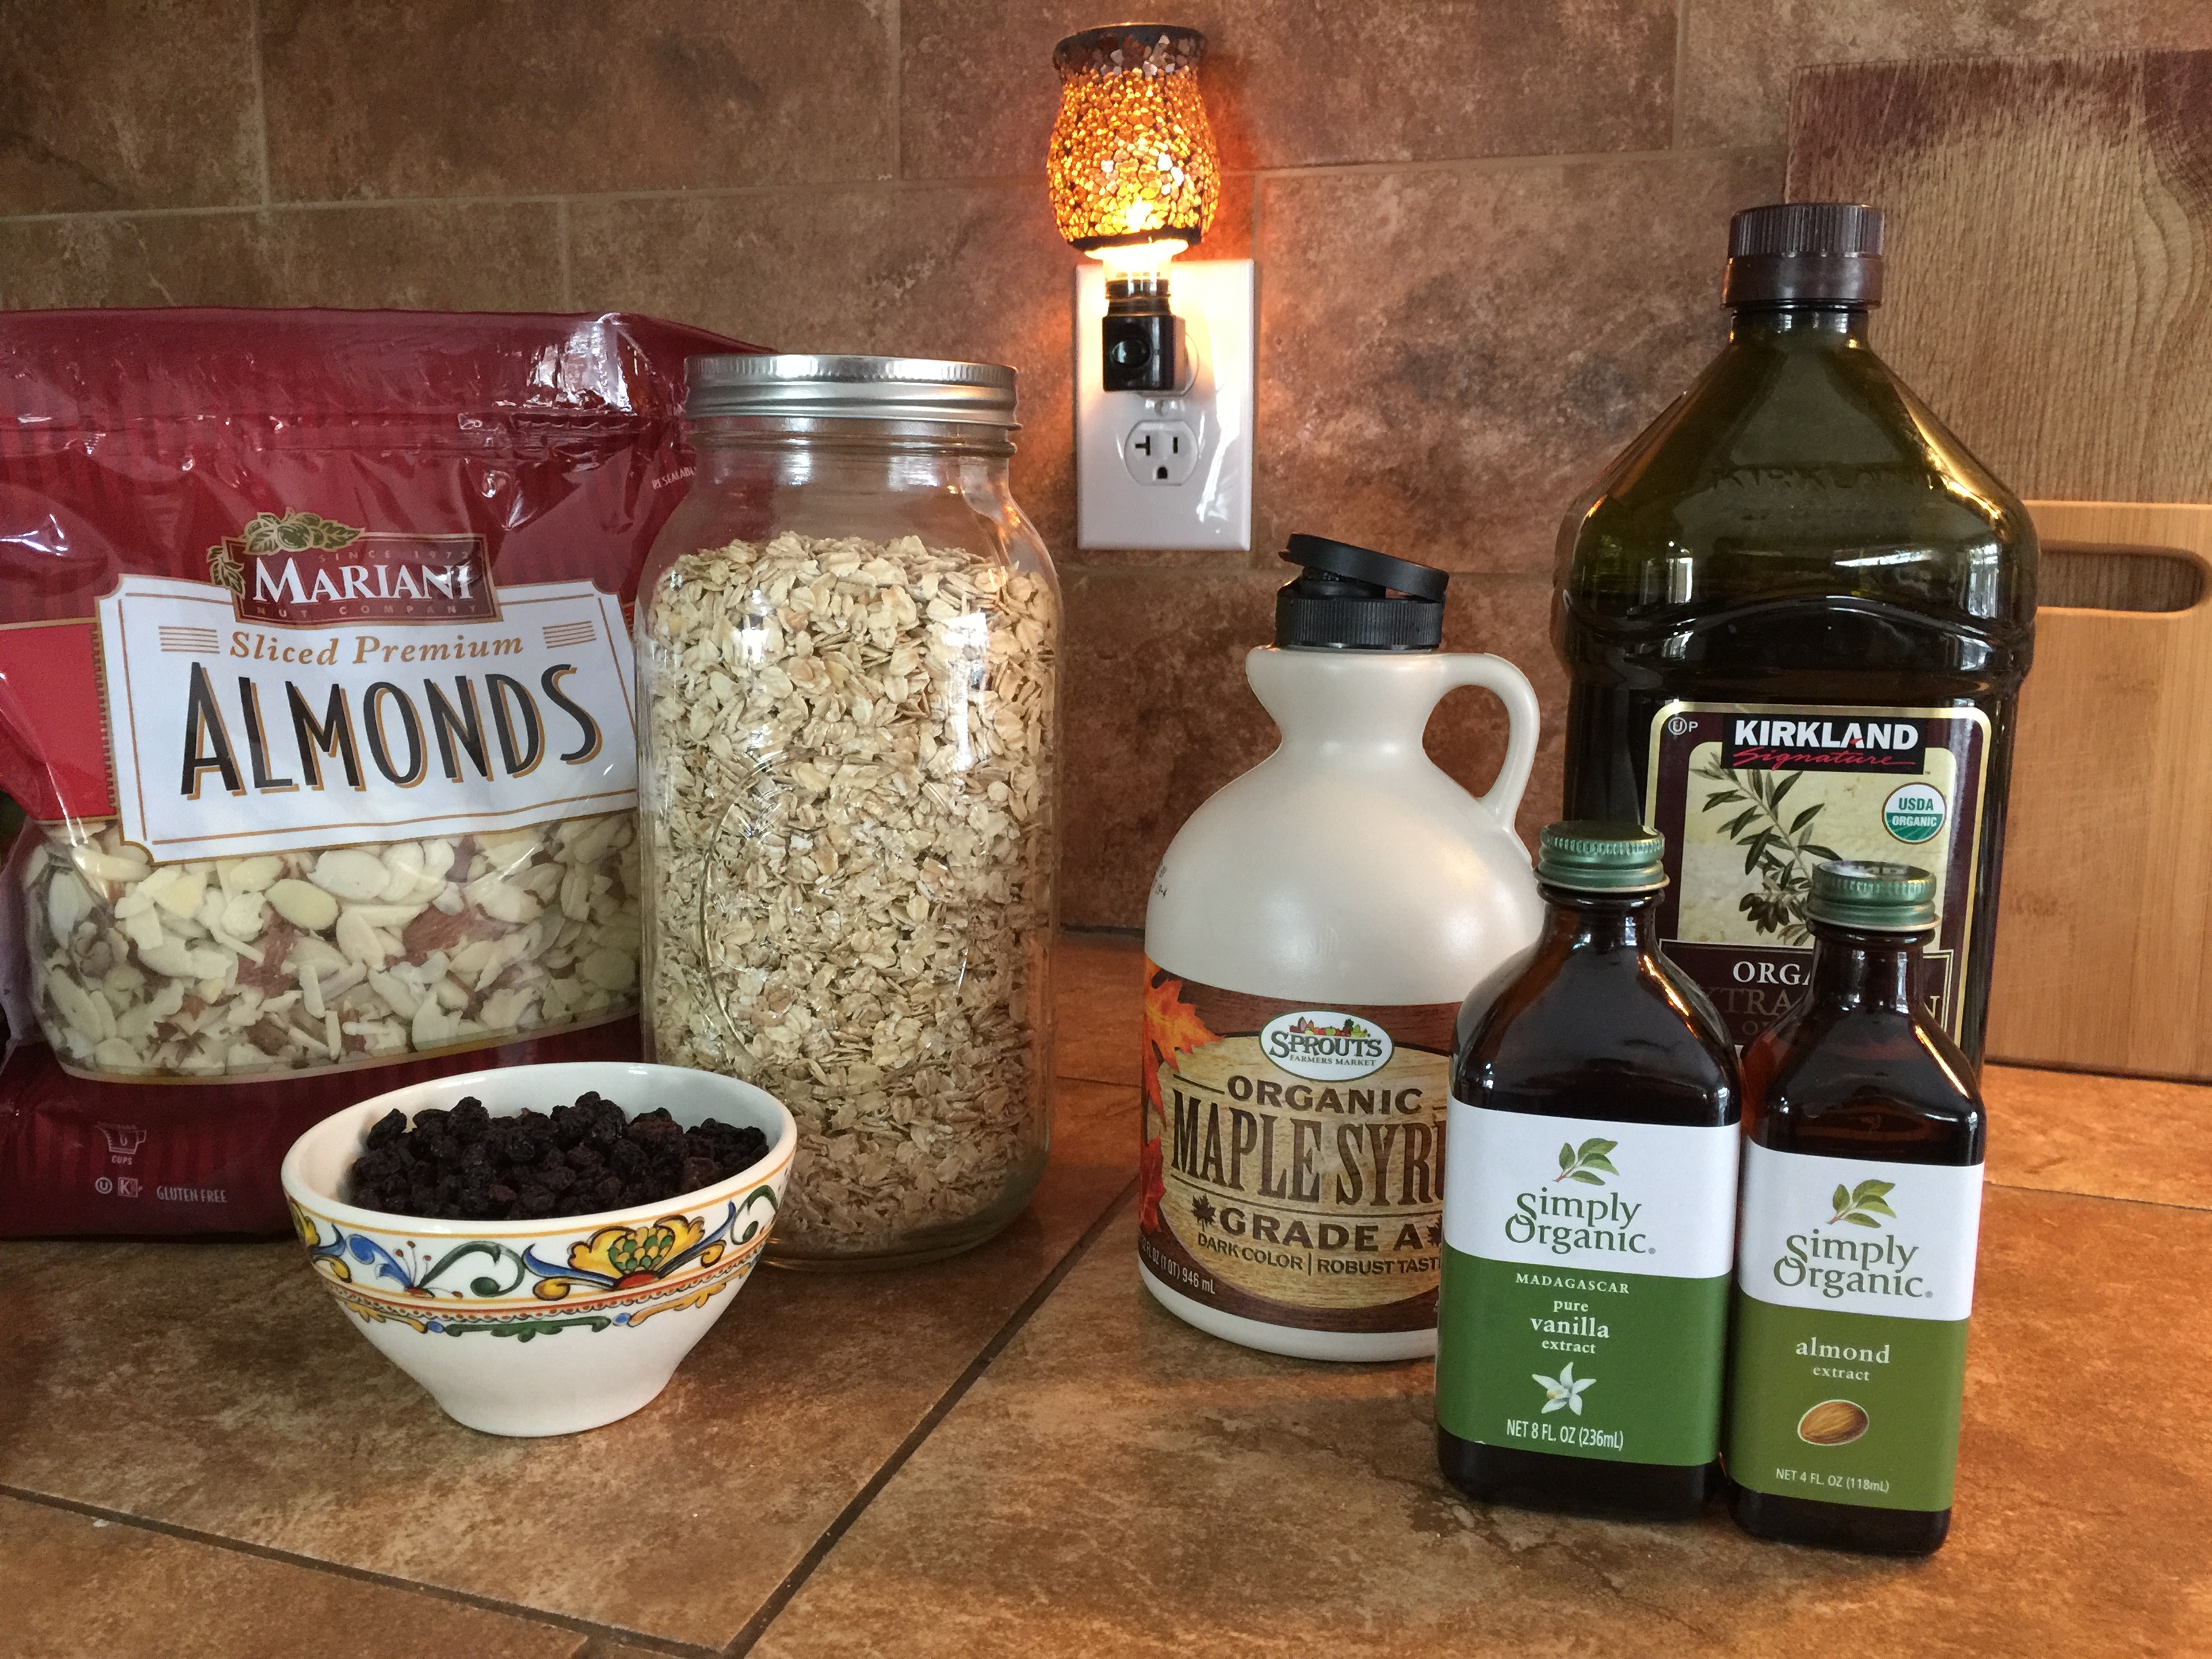
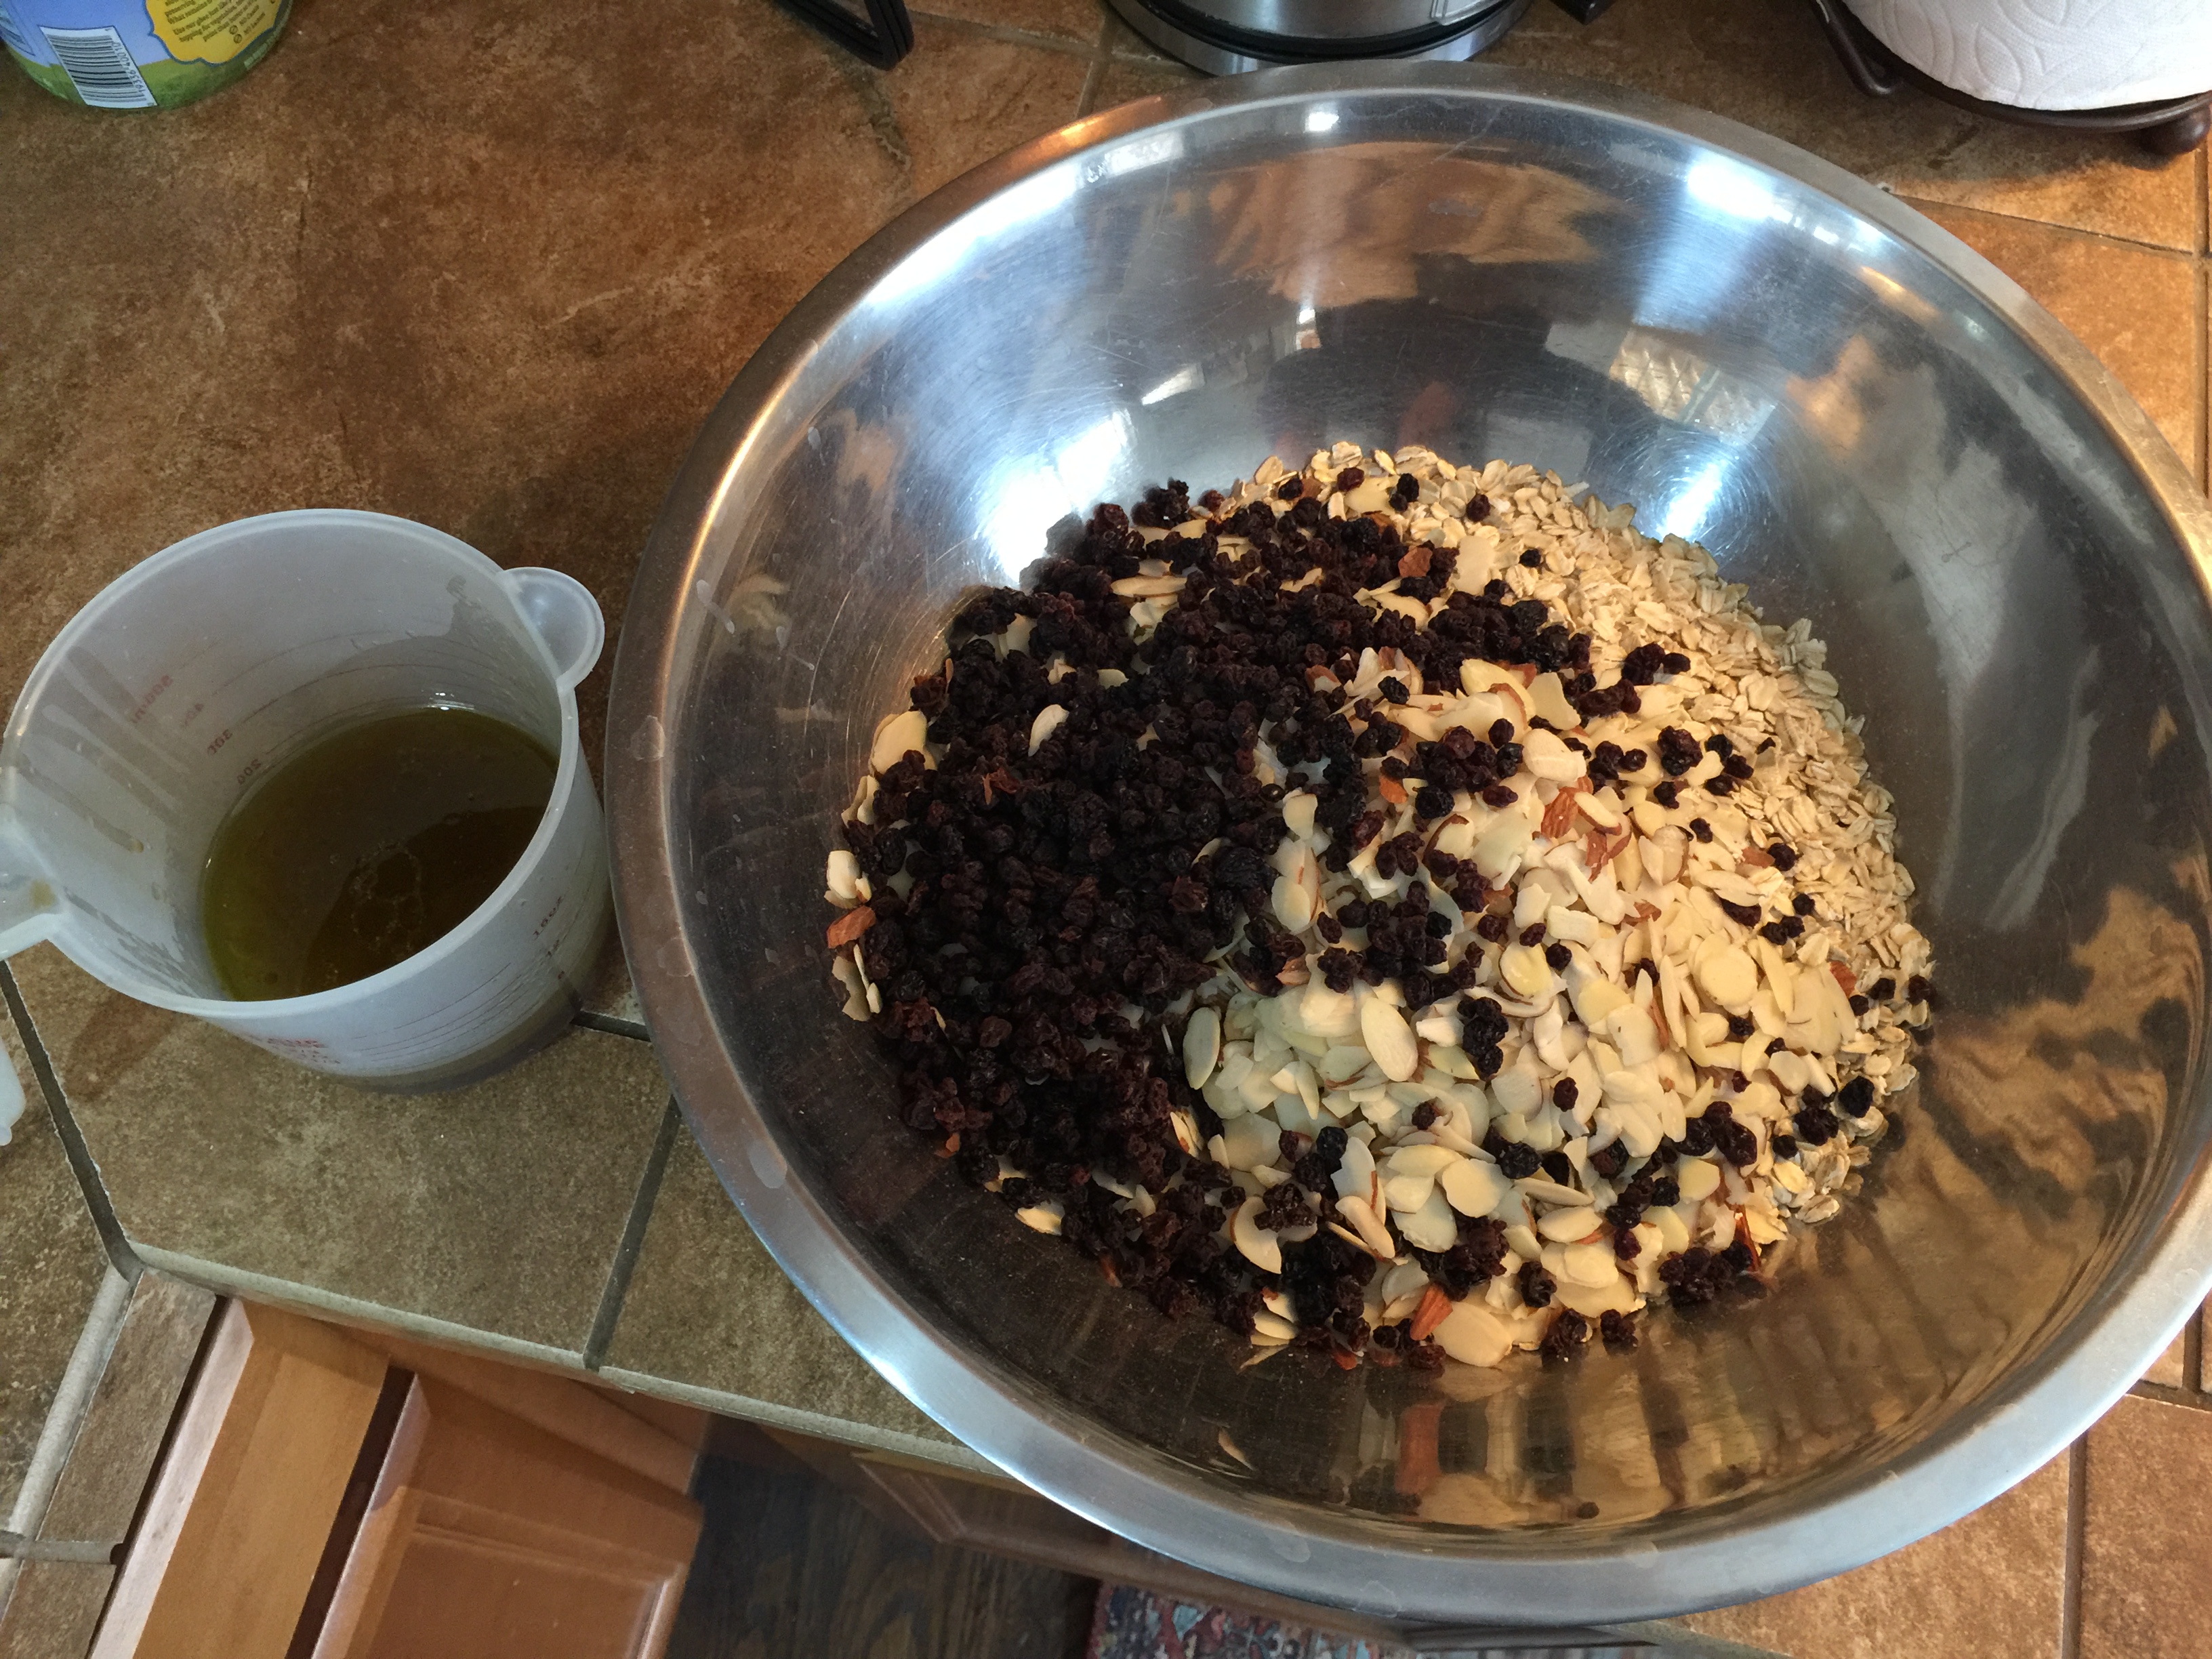
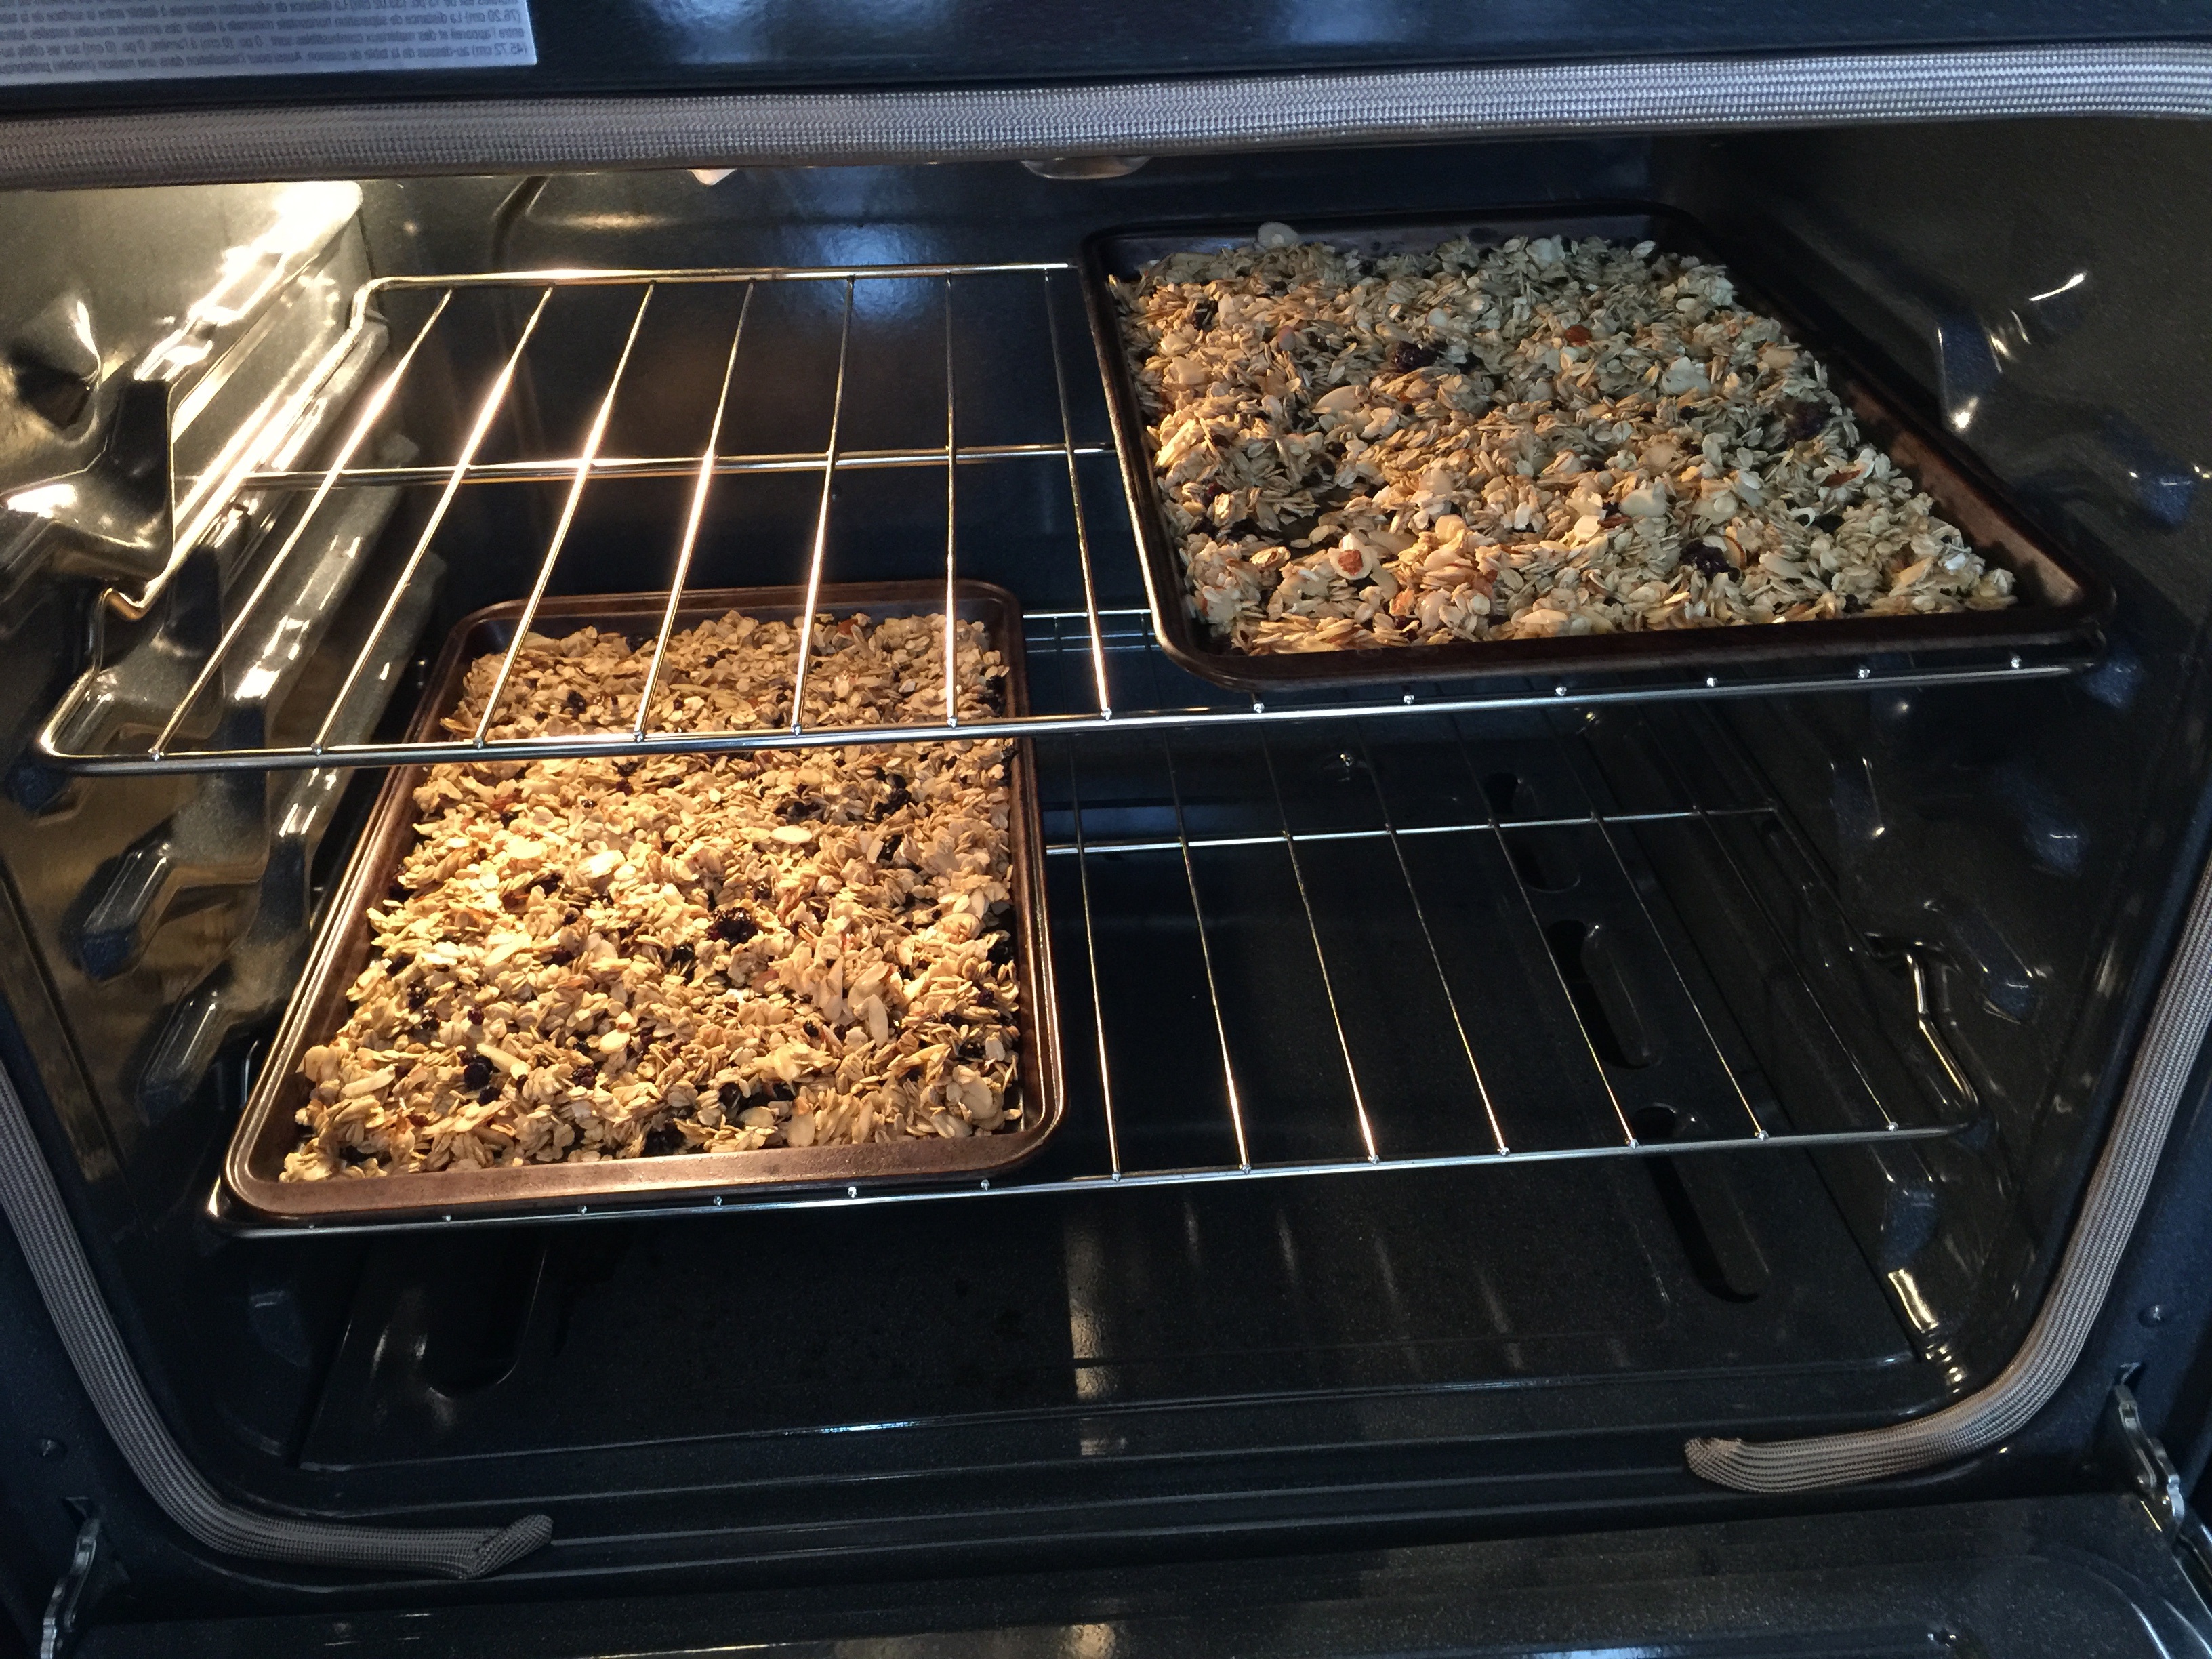
Homemade Granola.
Ready to mix in the dressing…
And bake. This is a good recipe! My breakfast, most mornings!
Happy Hour in Gunnison at Susie and Mark’s house overlooking the Gunnison Airport.
Laughter, snacks and stories…
Fun to be with family!
Brown Bread and chowder at Ashford Castle in Ireland.
Late dinner in NYC after traveling. I’m checking out the scene as I eat.
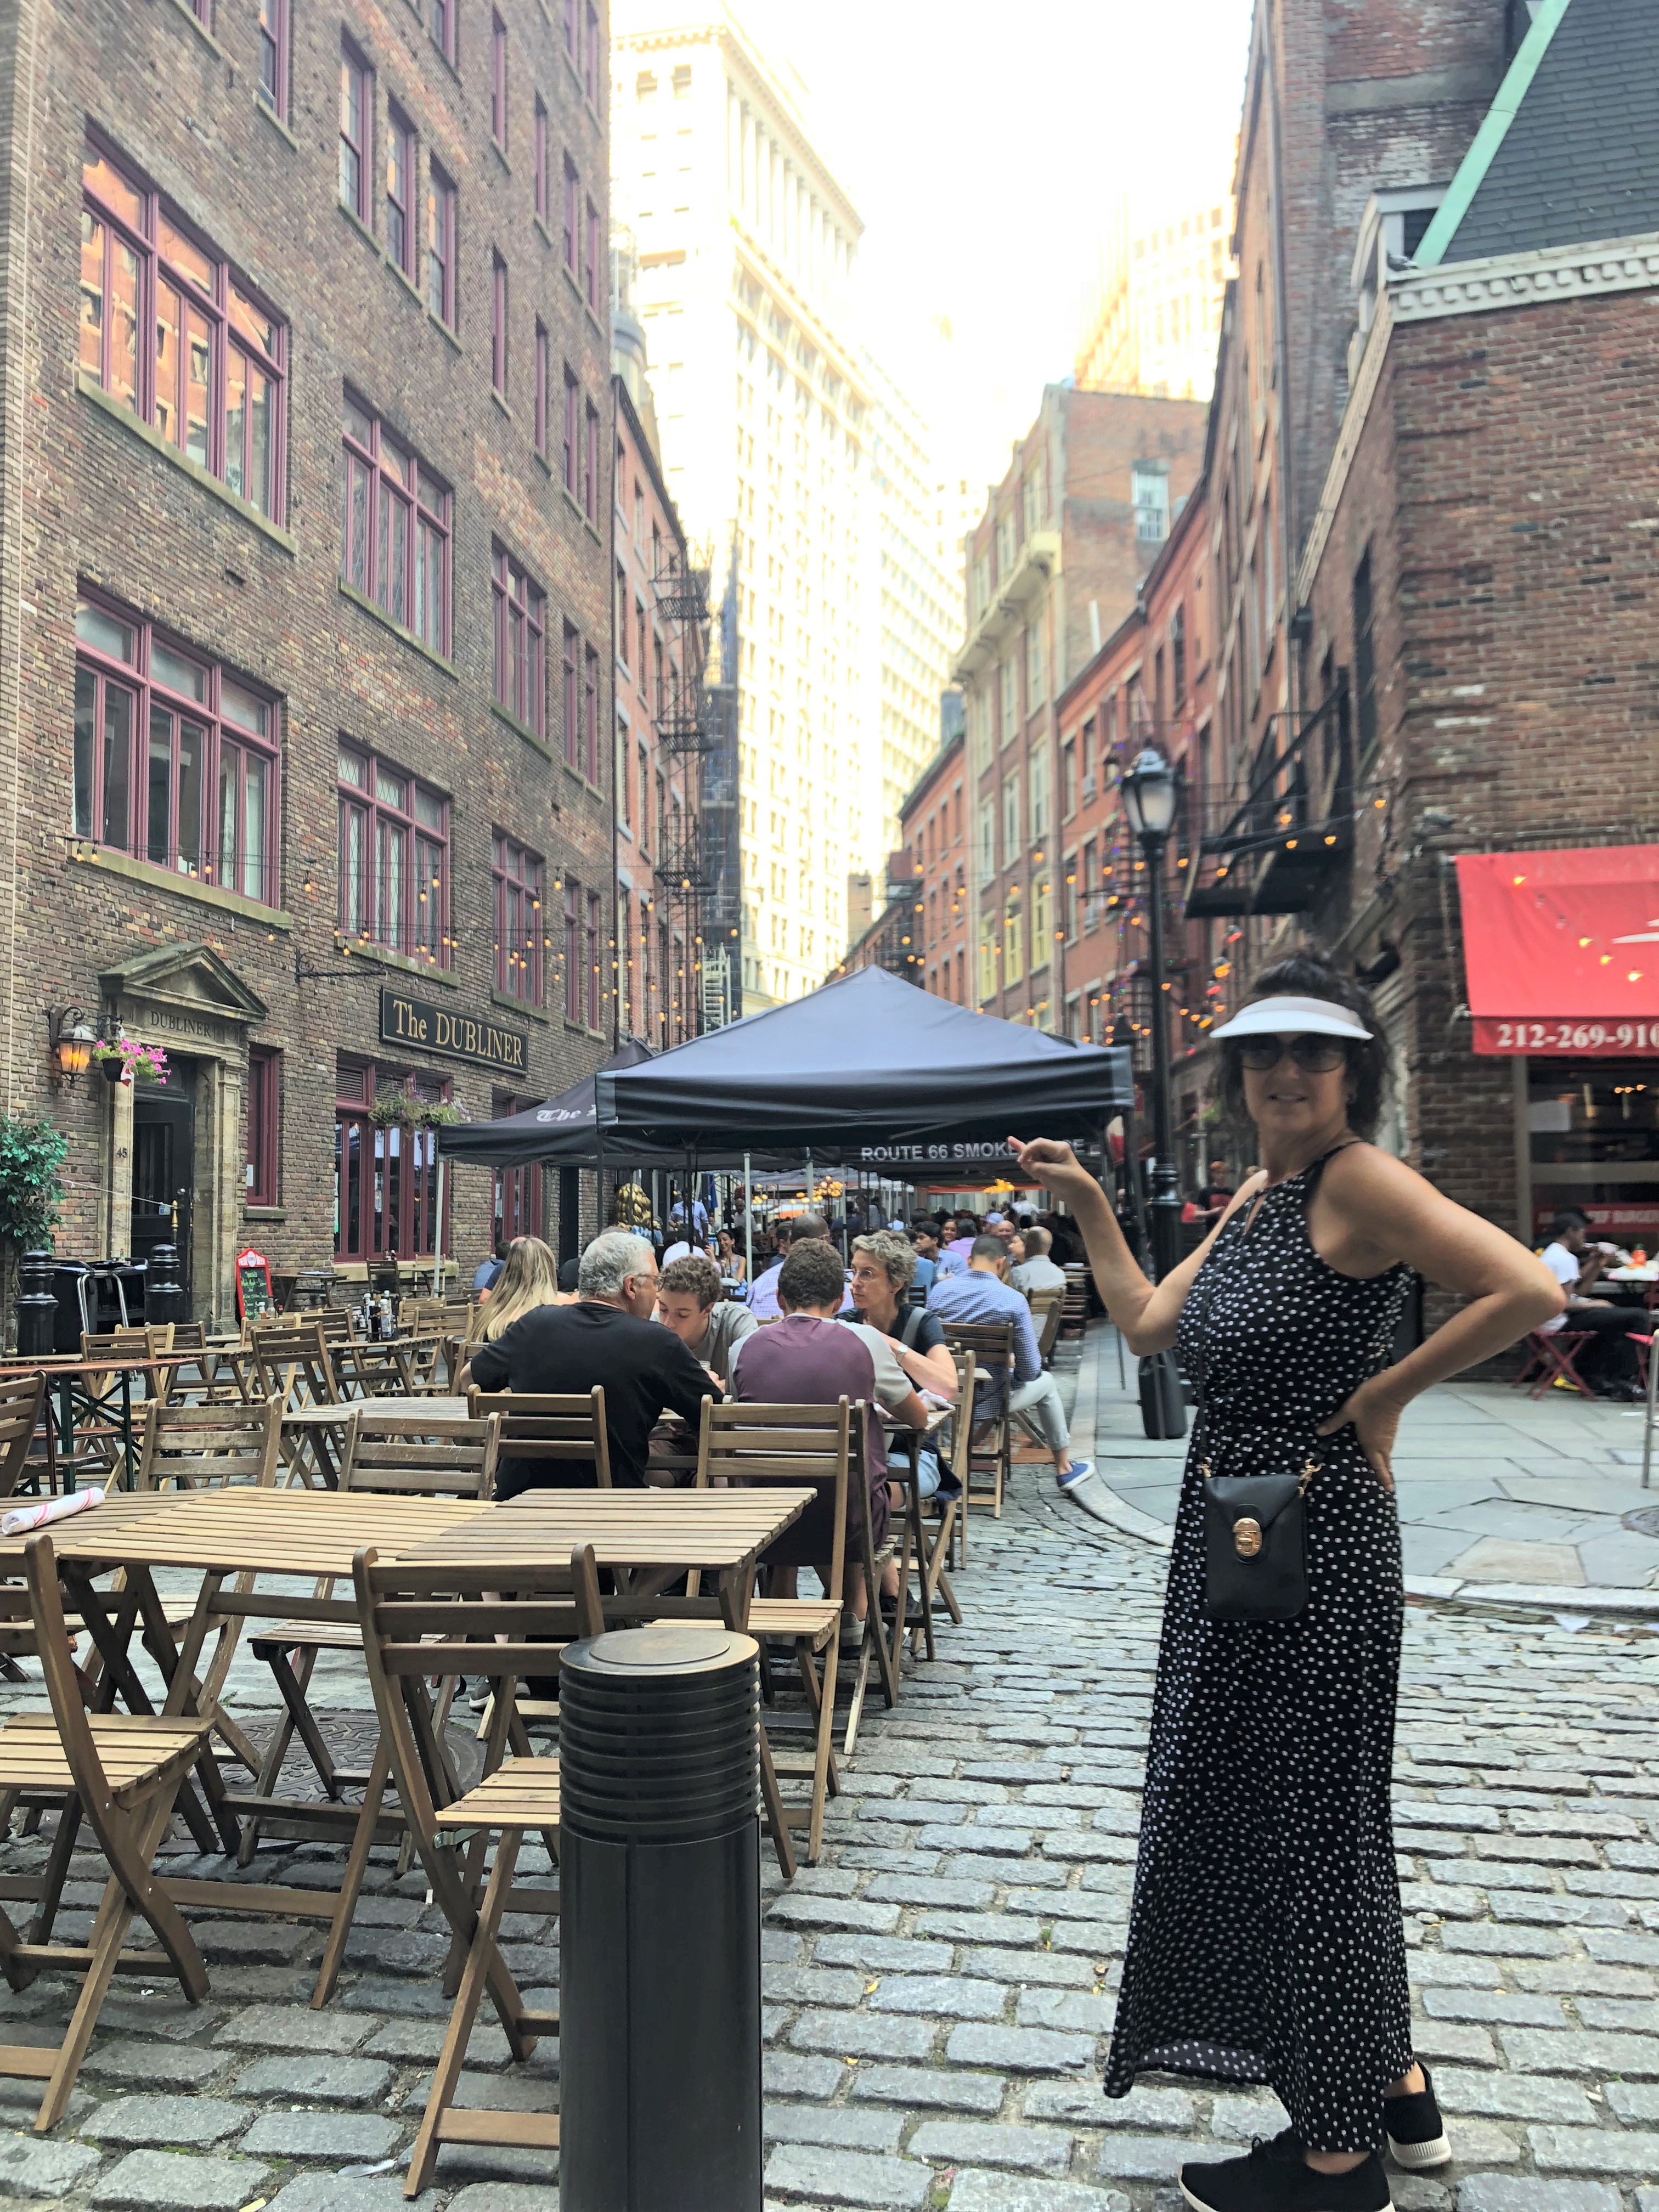
While walking around NYC, we found this cute outdoor block of restaurants with shared seating. It was 1 block from our hotel.
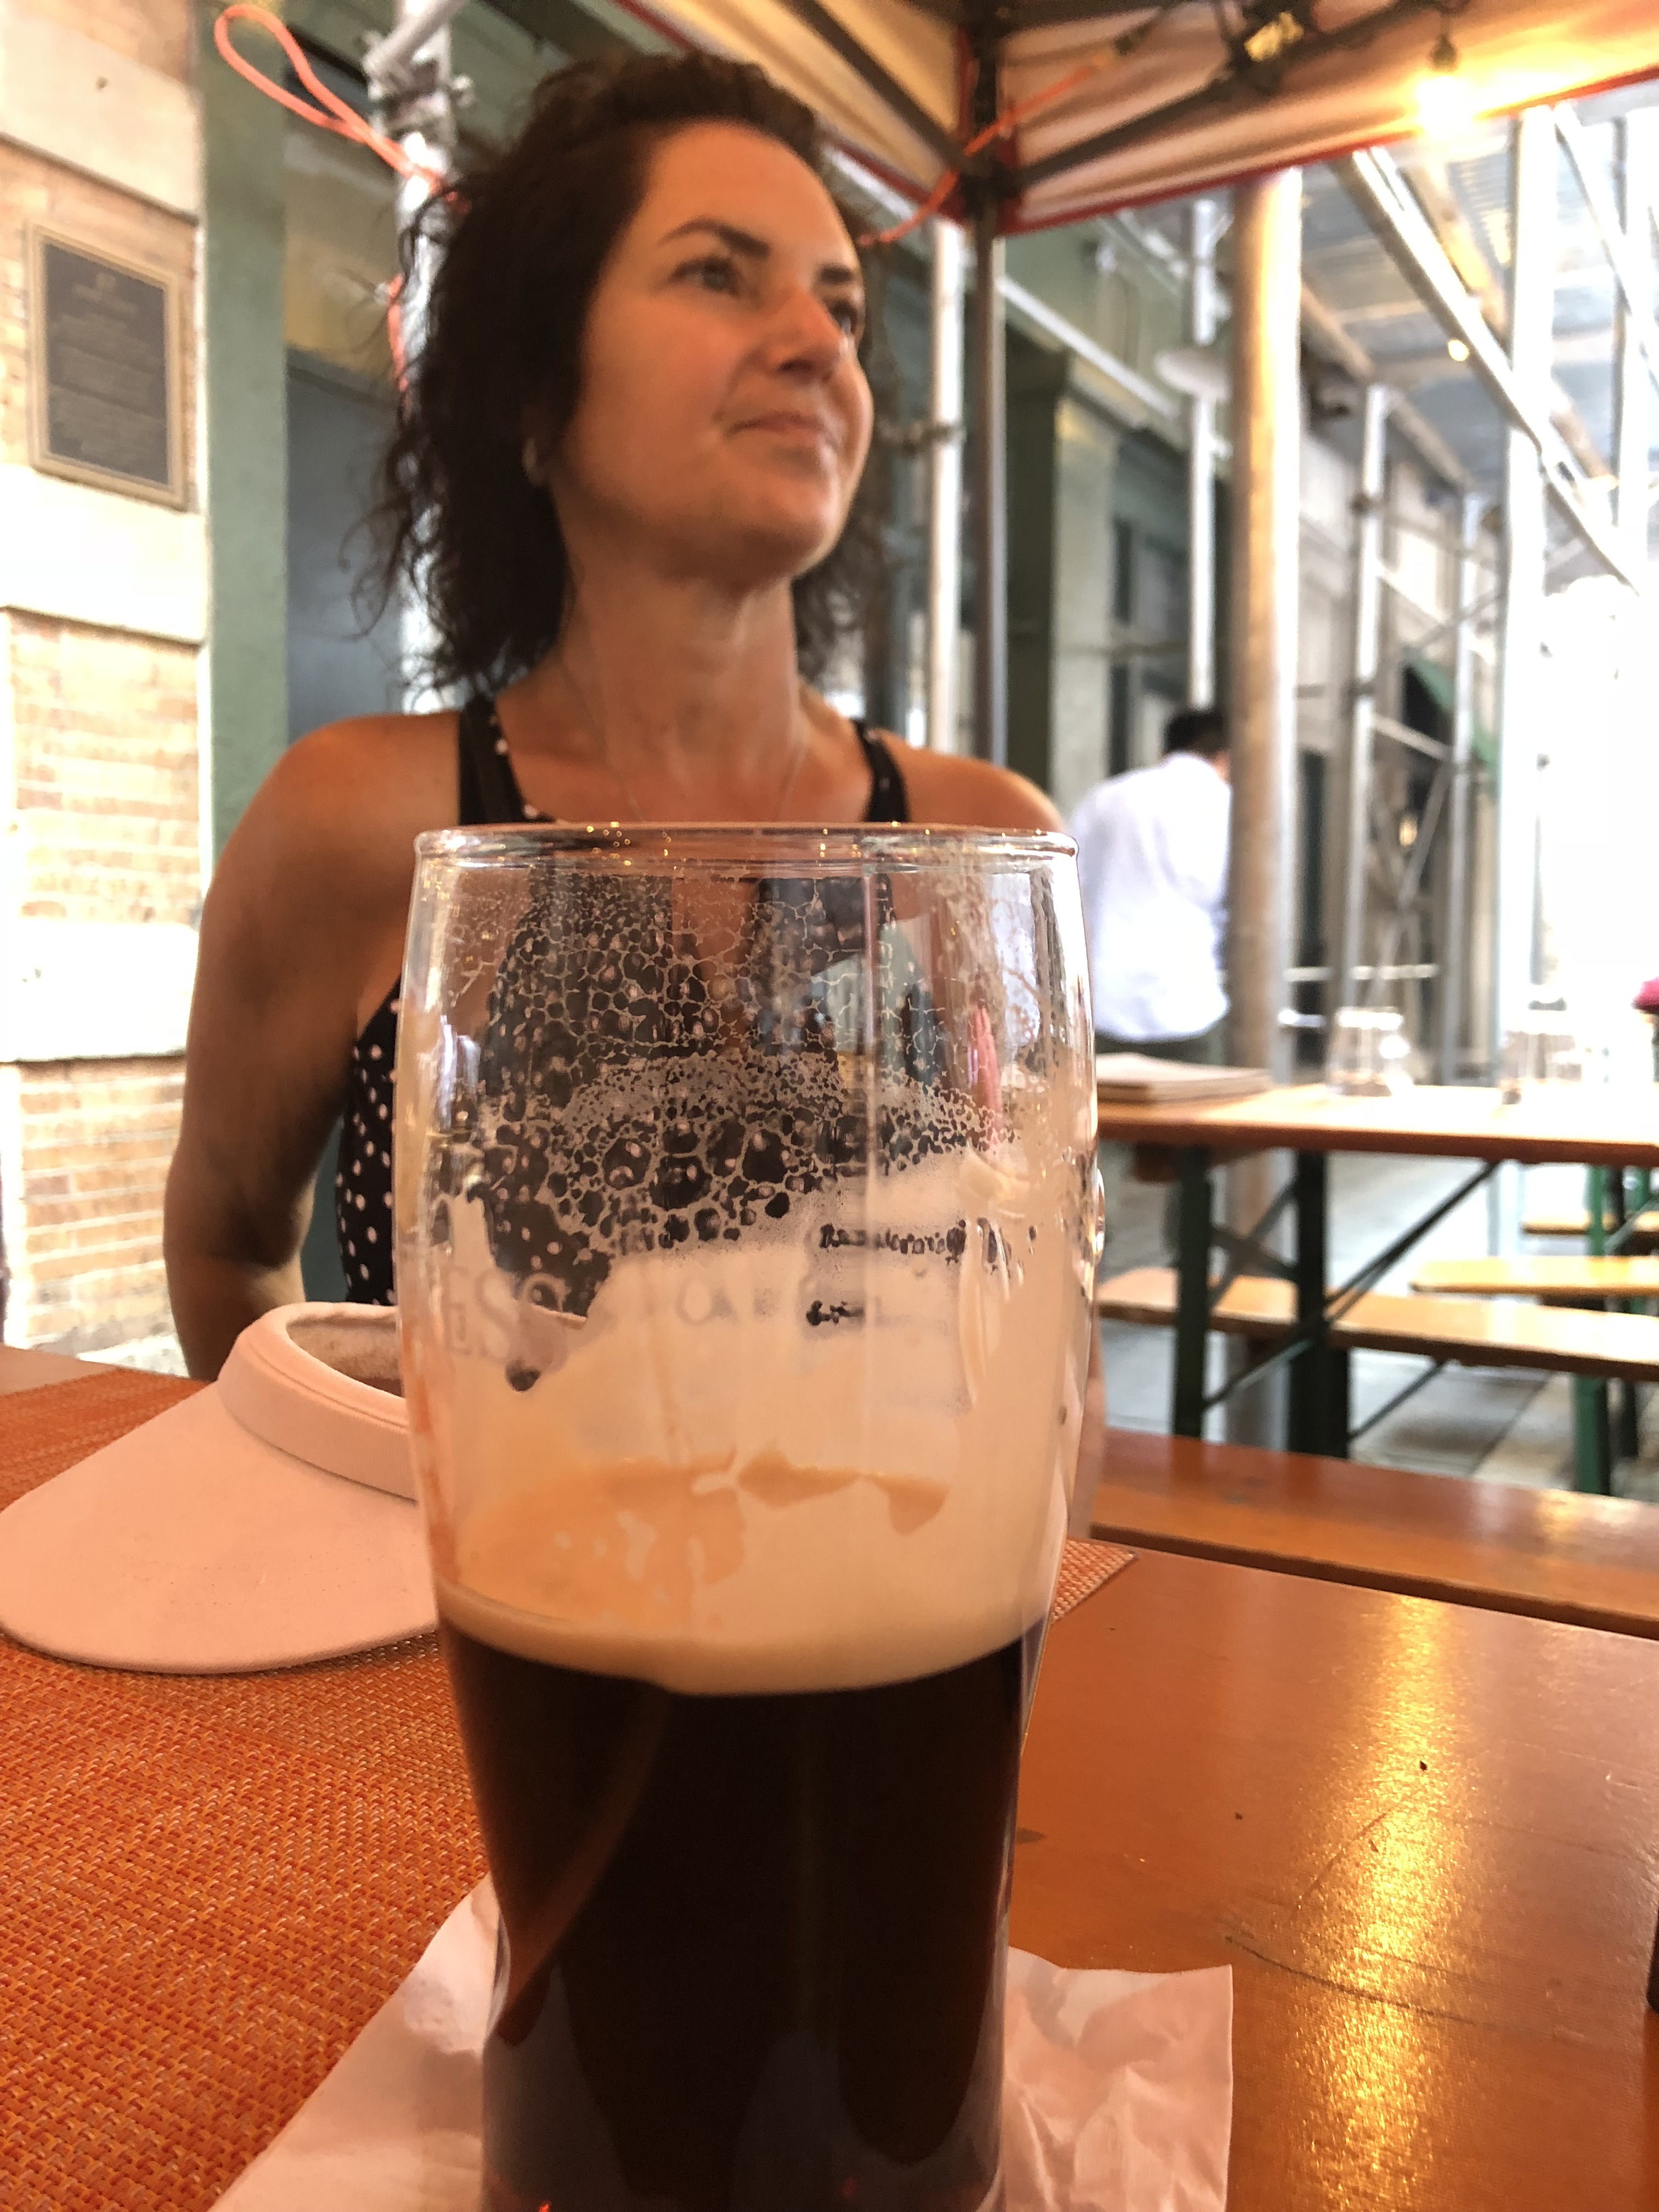
Finally, after a day of sightseeing, we take a break!
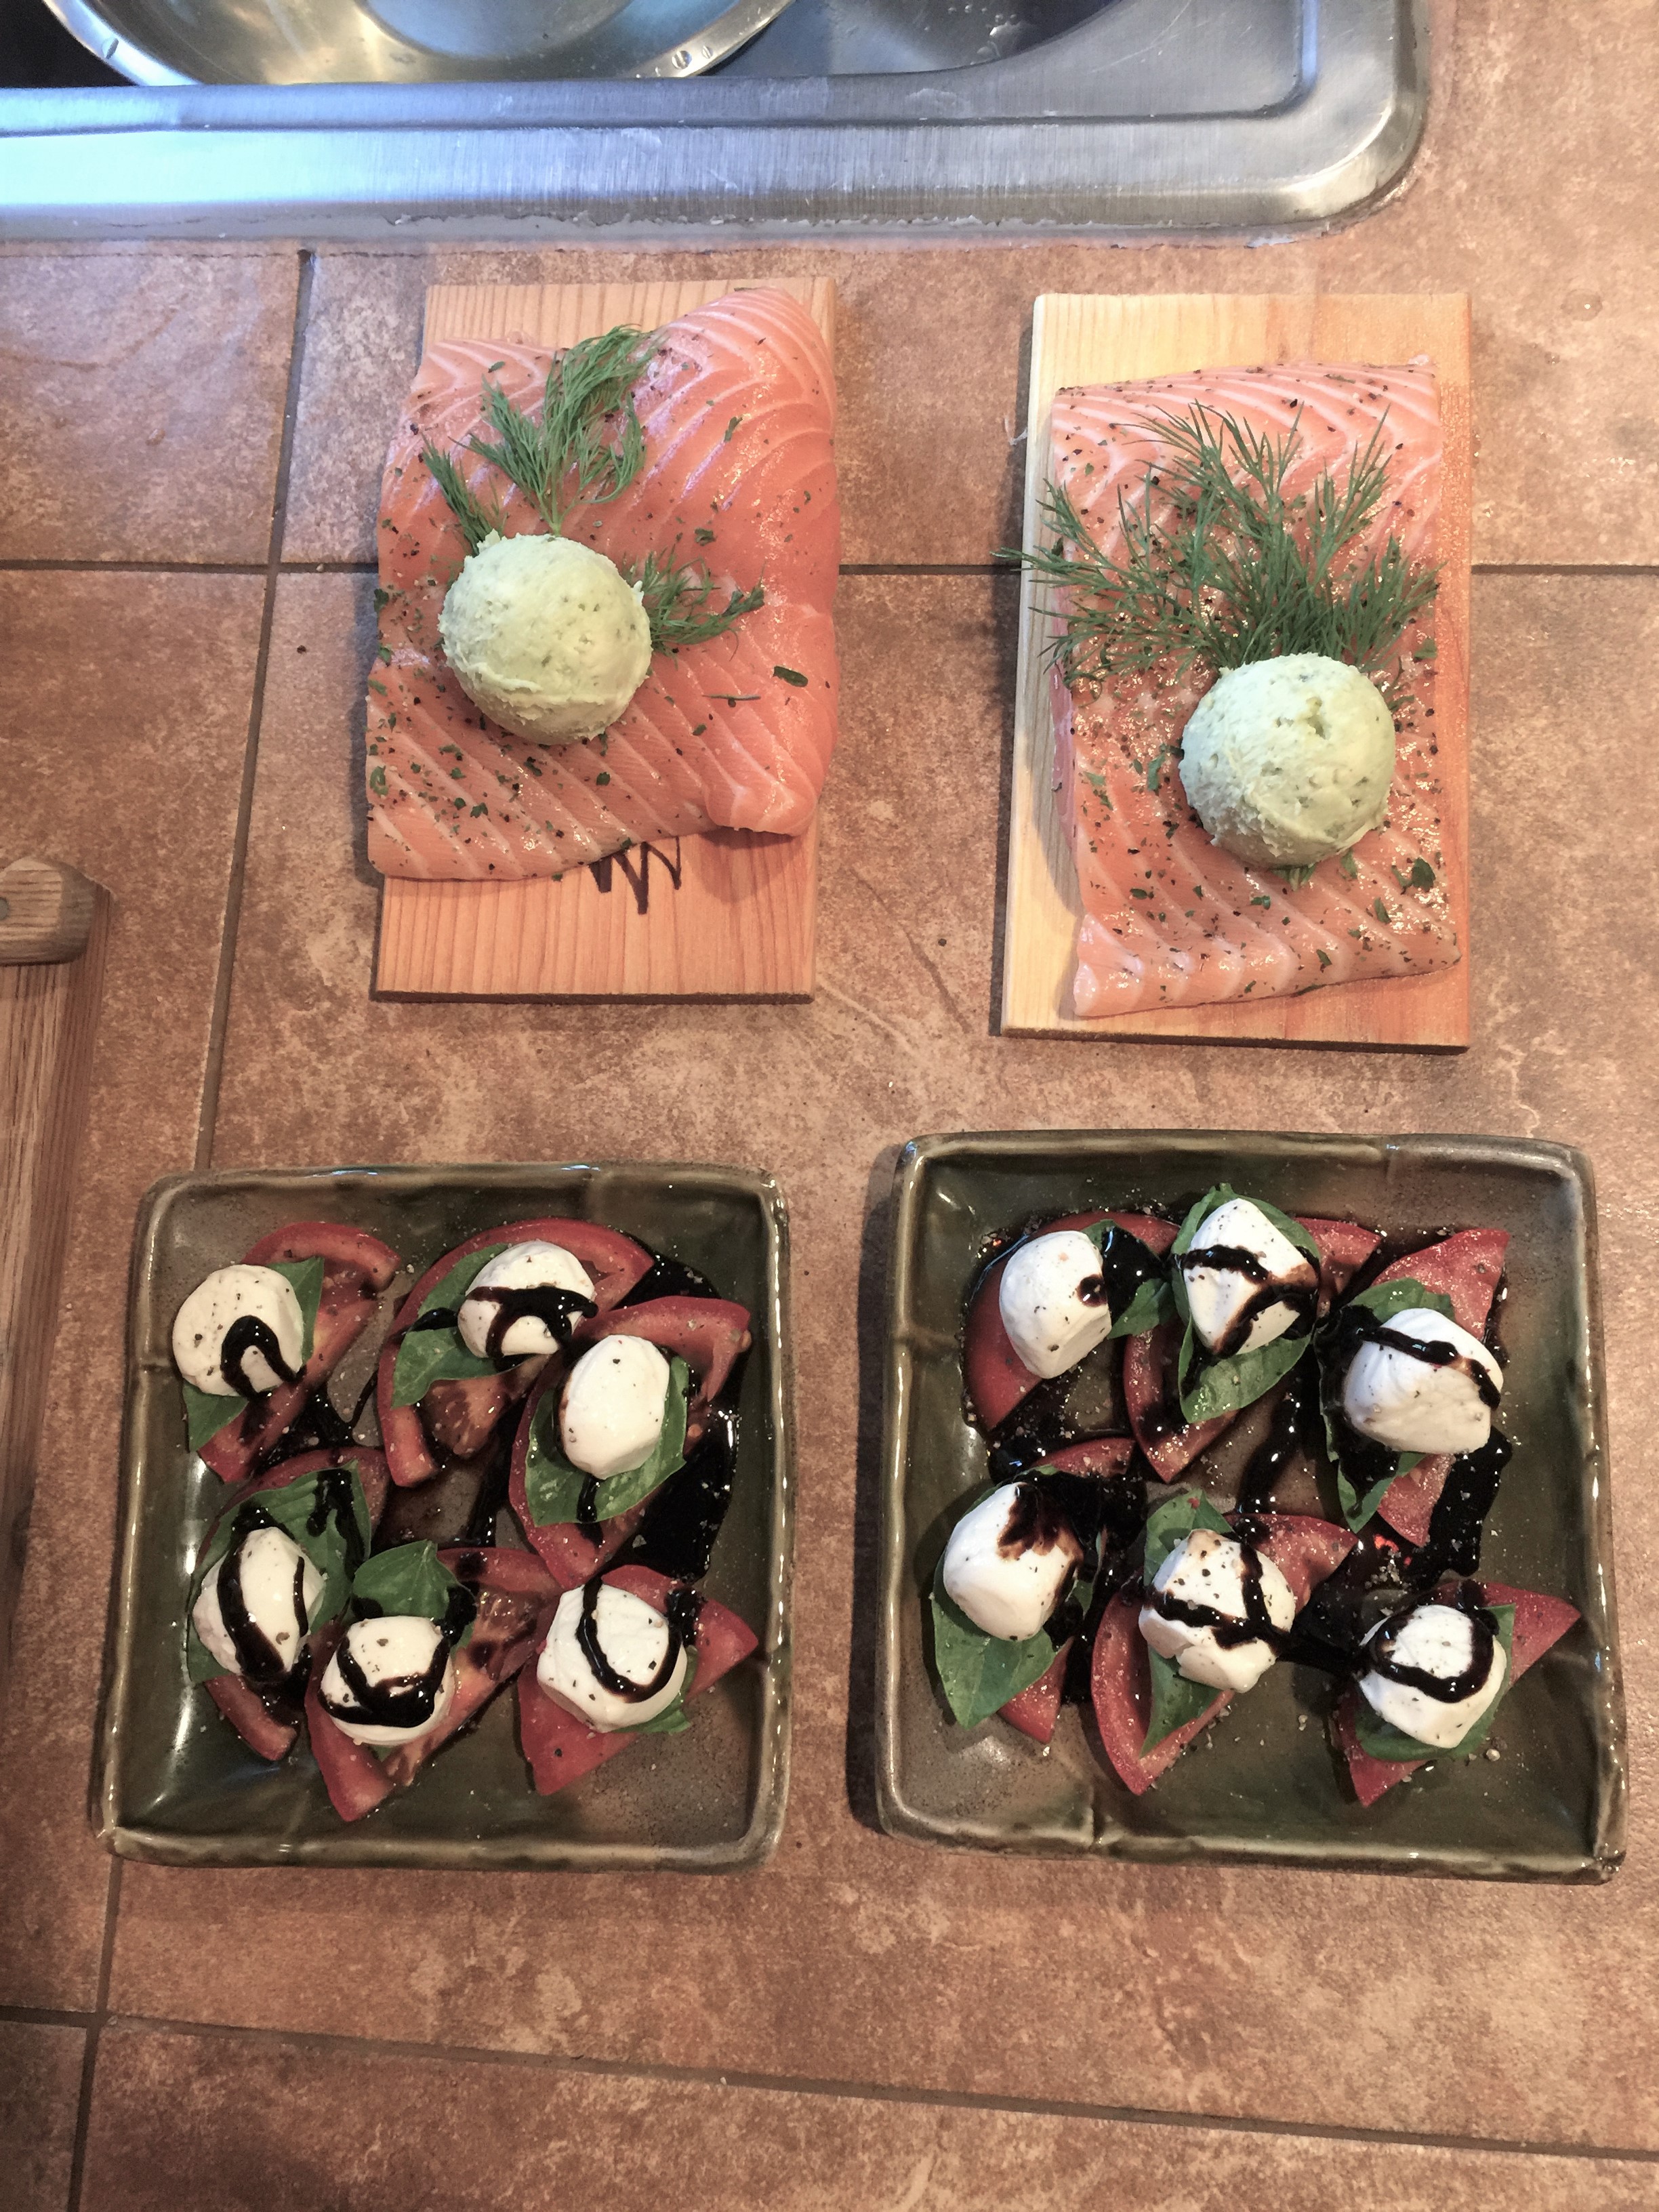
Ready to grill Salmon on cedar planks with Caprese appetizer.
Sitting by the Gunnison River at Garlic Mike’s before a fundraiser starts.
Like any good fundraiser, they give you plenty of time to drink wine and cocktails before the auction.
I found a chair near the river and stayed put until the auction started.
Angel hair Pomodoro at Garlic Mike’s.
We bid on and won a 2 night stay at a private cabin in Tincup. Here we are enjoying happy hour by the fire before dinner. Rocco is wrapped up in the Red blanket.
The offerings are different in Ireland. We ate lots of scones, Irish soda bread, coffee …
This is rashers, similar to bacon.
And this is a traditional Irish breakfast.
Susie, lounging on the boat in Blue Mesa. Rocco is keeping an eye on the food!
Susie and Ryan sampling a feast at a fabulous restaurant in Telluride.
Winnie is planning her approach to the lovely slice of cake before her.
Happy hour, overlooking Central Park. This was fantastic!
Another late dinner in NYC.
Gavin’s in Westport, Ireland. This place became my favorite spot in town for a light lunch or snack.
And who doesn’t love ice cream! This is a “99”; cone with a flake of chocolate in it.
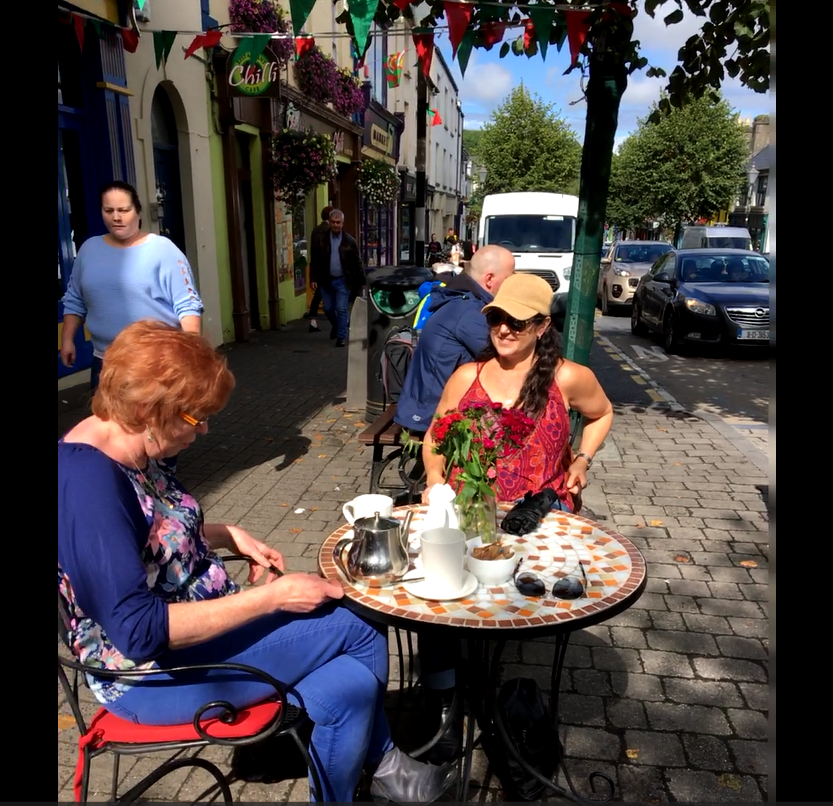
Outside Gavin’s with Maureen in the afternoon for tea.
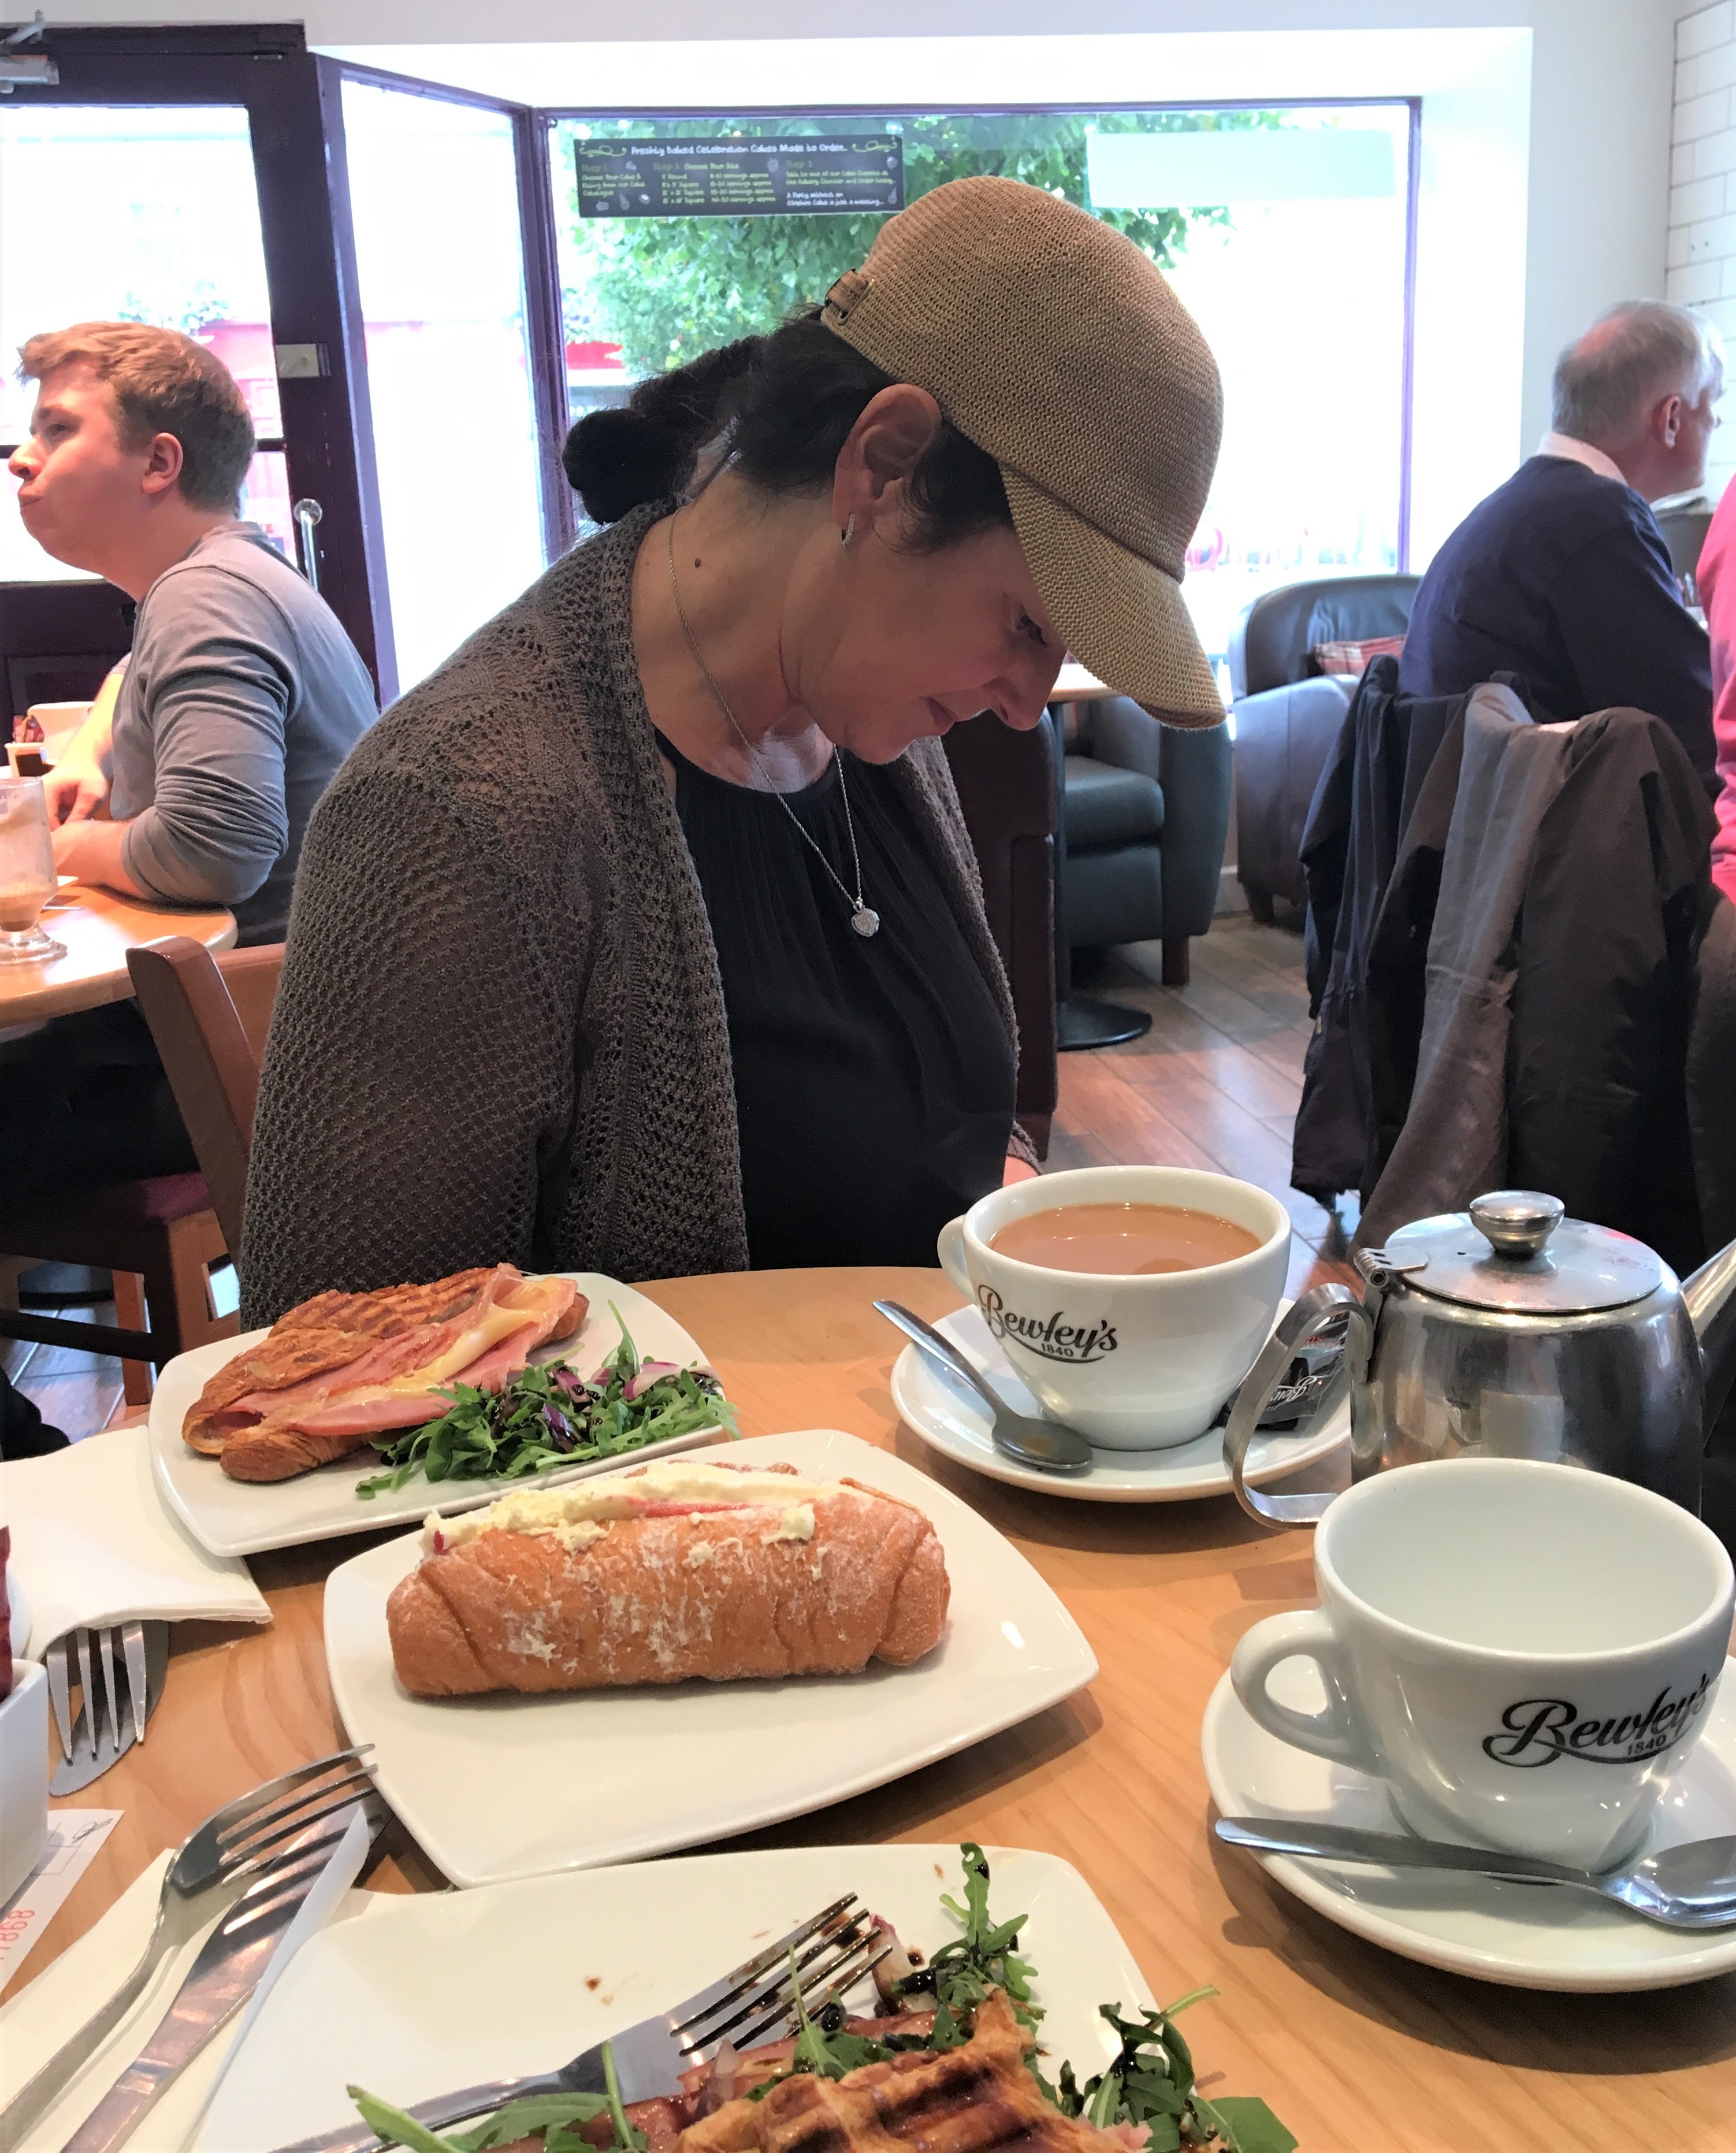
Checking my email before digging into my panini at the Beehive Restaurant in Achil Island, Keel Beach, Ireland.
They served sugar in these crystal lumps, which remind me of uncut jewels.
Ryan and Preston sharing anAl Fresco dinner on the patio at Two Rivers Winery in Grand Junction.
Greek style salad with Quinoa and pickled beets dinner.
Thanksgiving table set for many at Susie’s house in Gunnison! So pretty!
Ready for tea at Kylemore Abbey in Ireland. Quiche and soup and Brown Bread, of course.
Asian salad. Fresh and crispy!
Breakfast at Mom and Dad’s house for Michael’s family, several years ago!
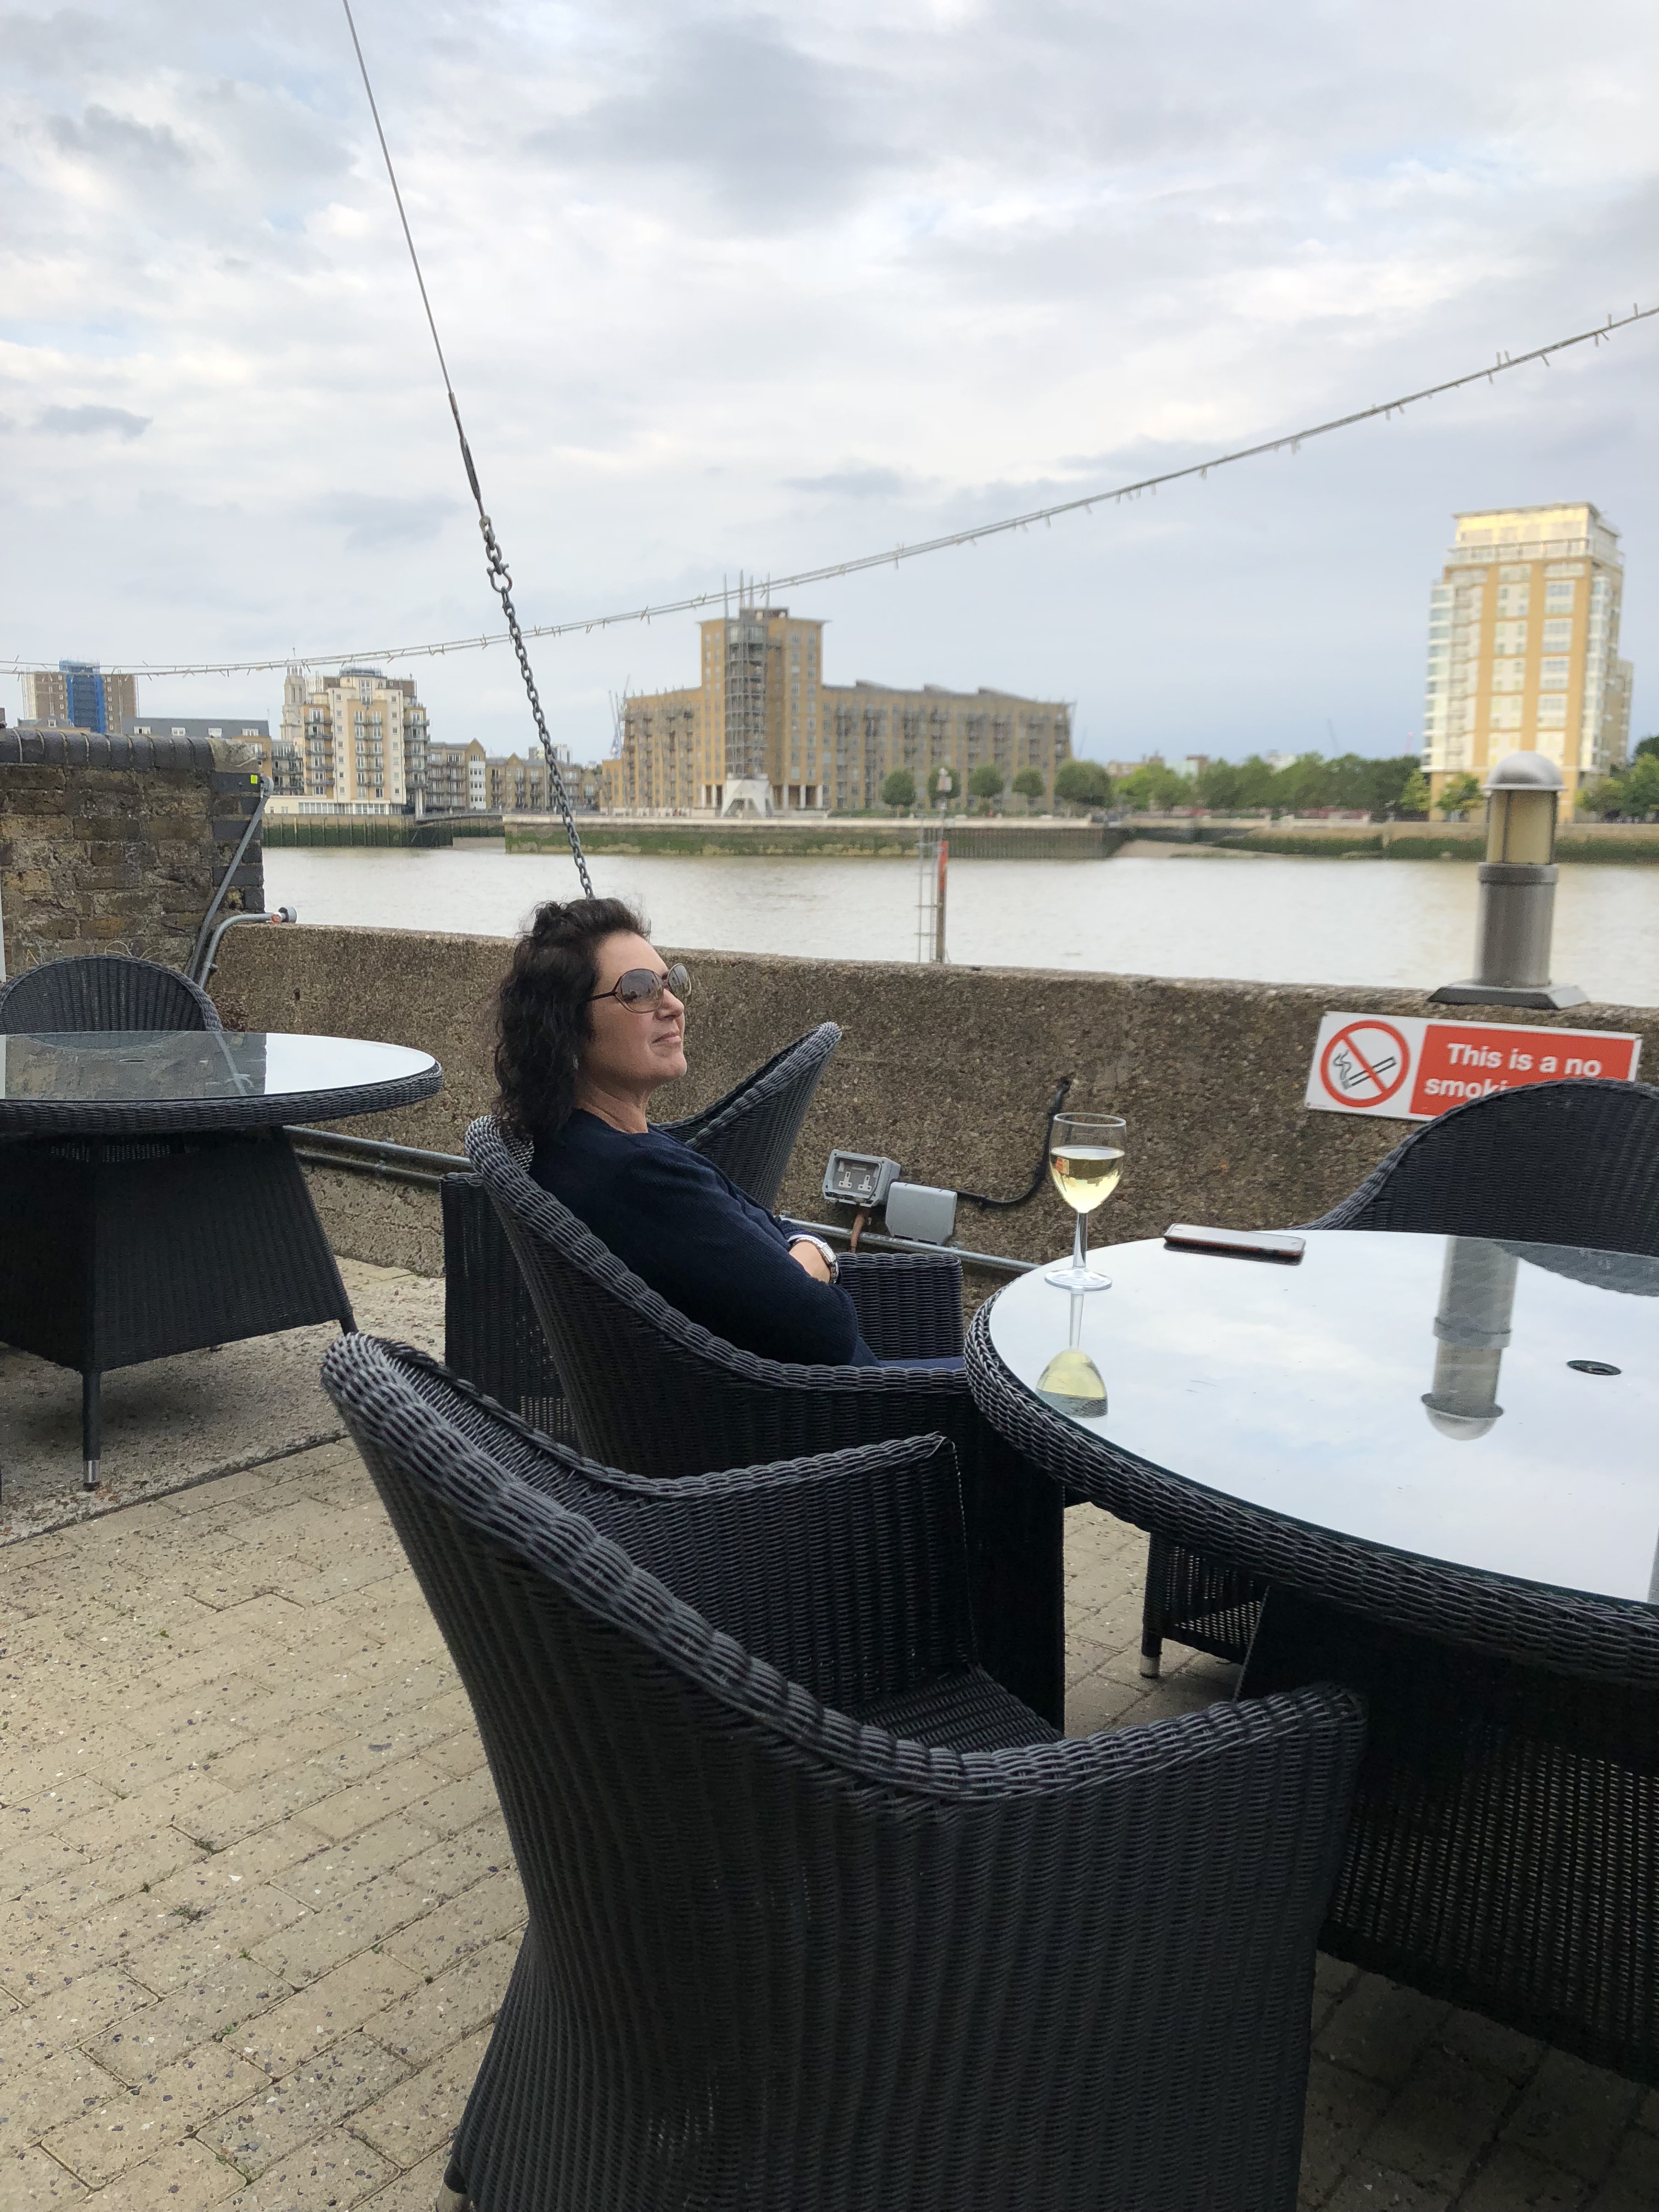
Sitting on the Thames in London, enjoying the evening with a glass of wine on the patio.
London skyline, Chardonnay and Irish Coffee.
Winnie getting serious about her Shepherds pie dinner.
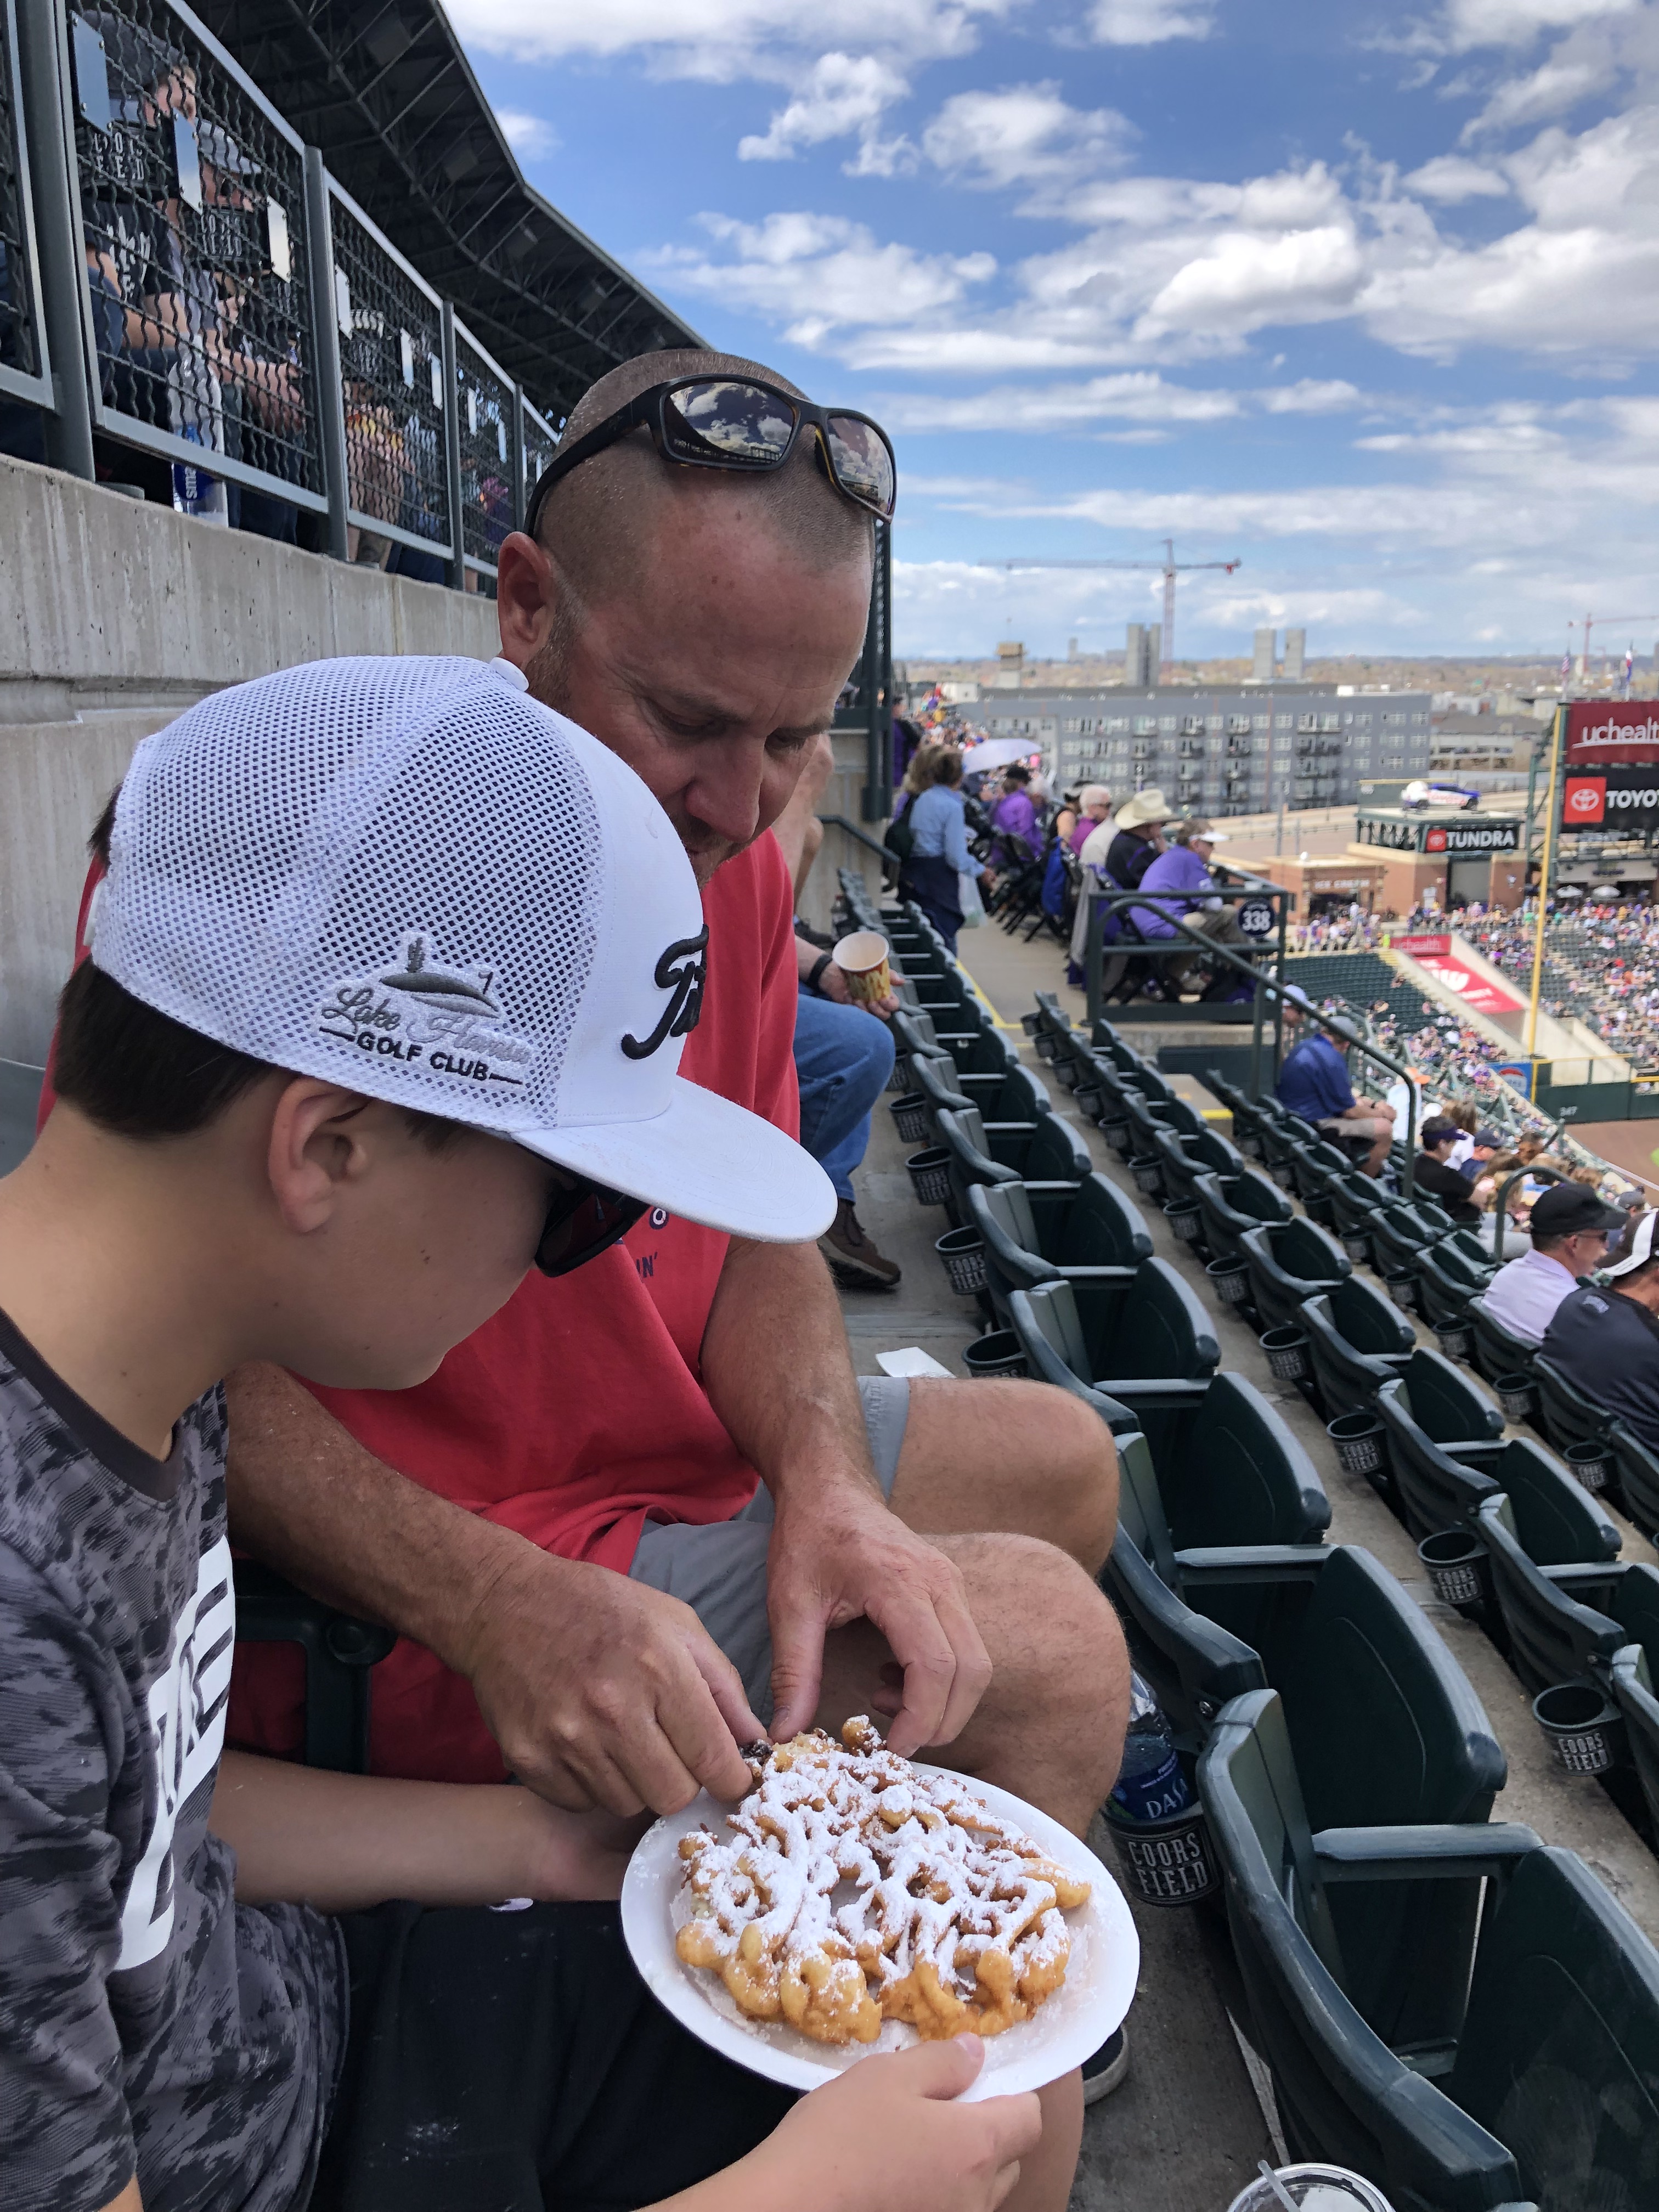
Mark and Preston assessing their funnel cake at a Rockies game.
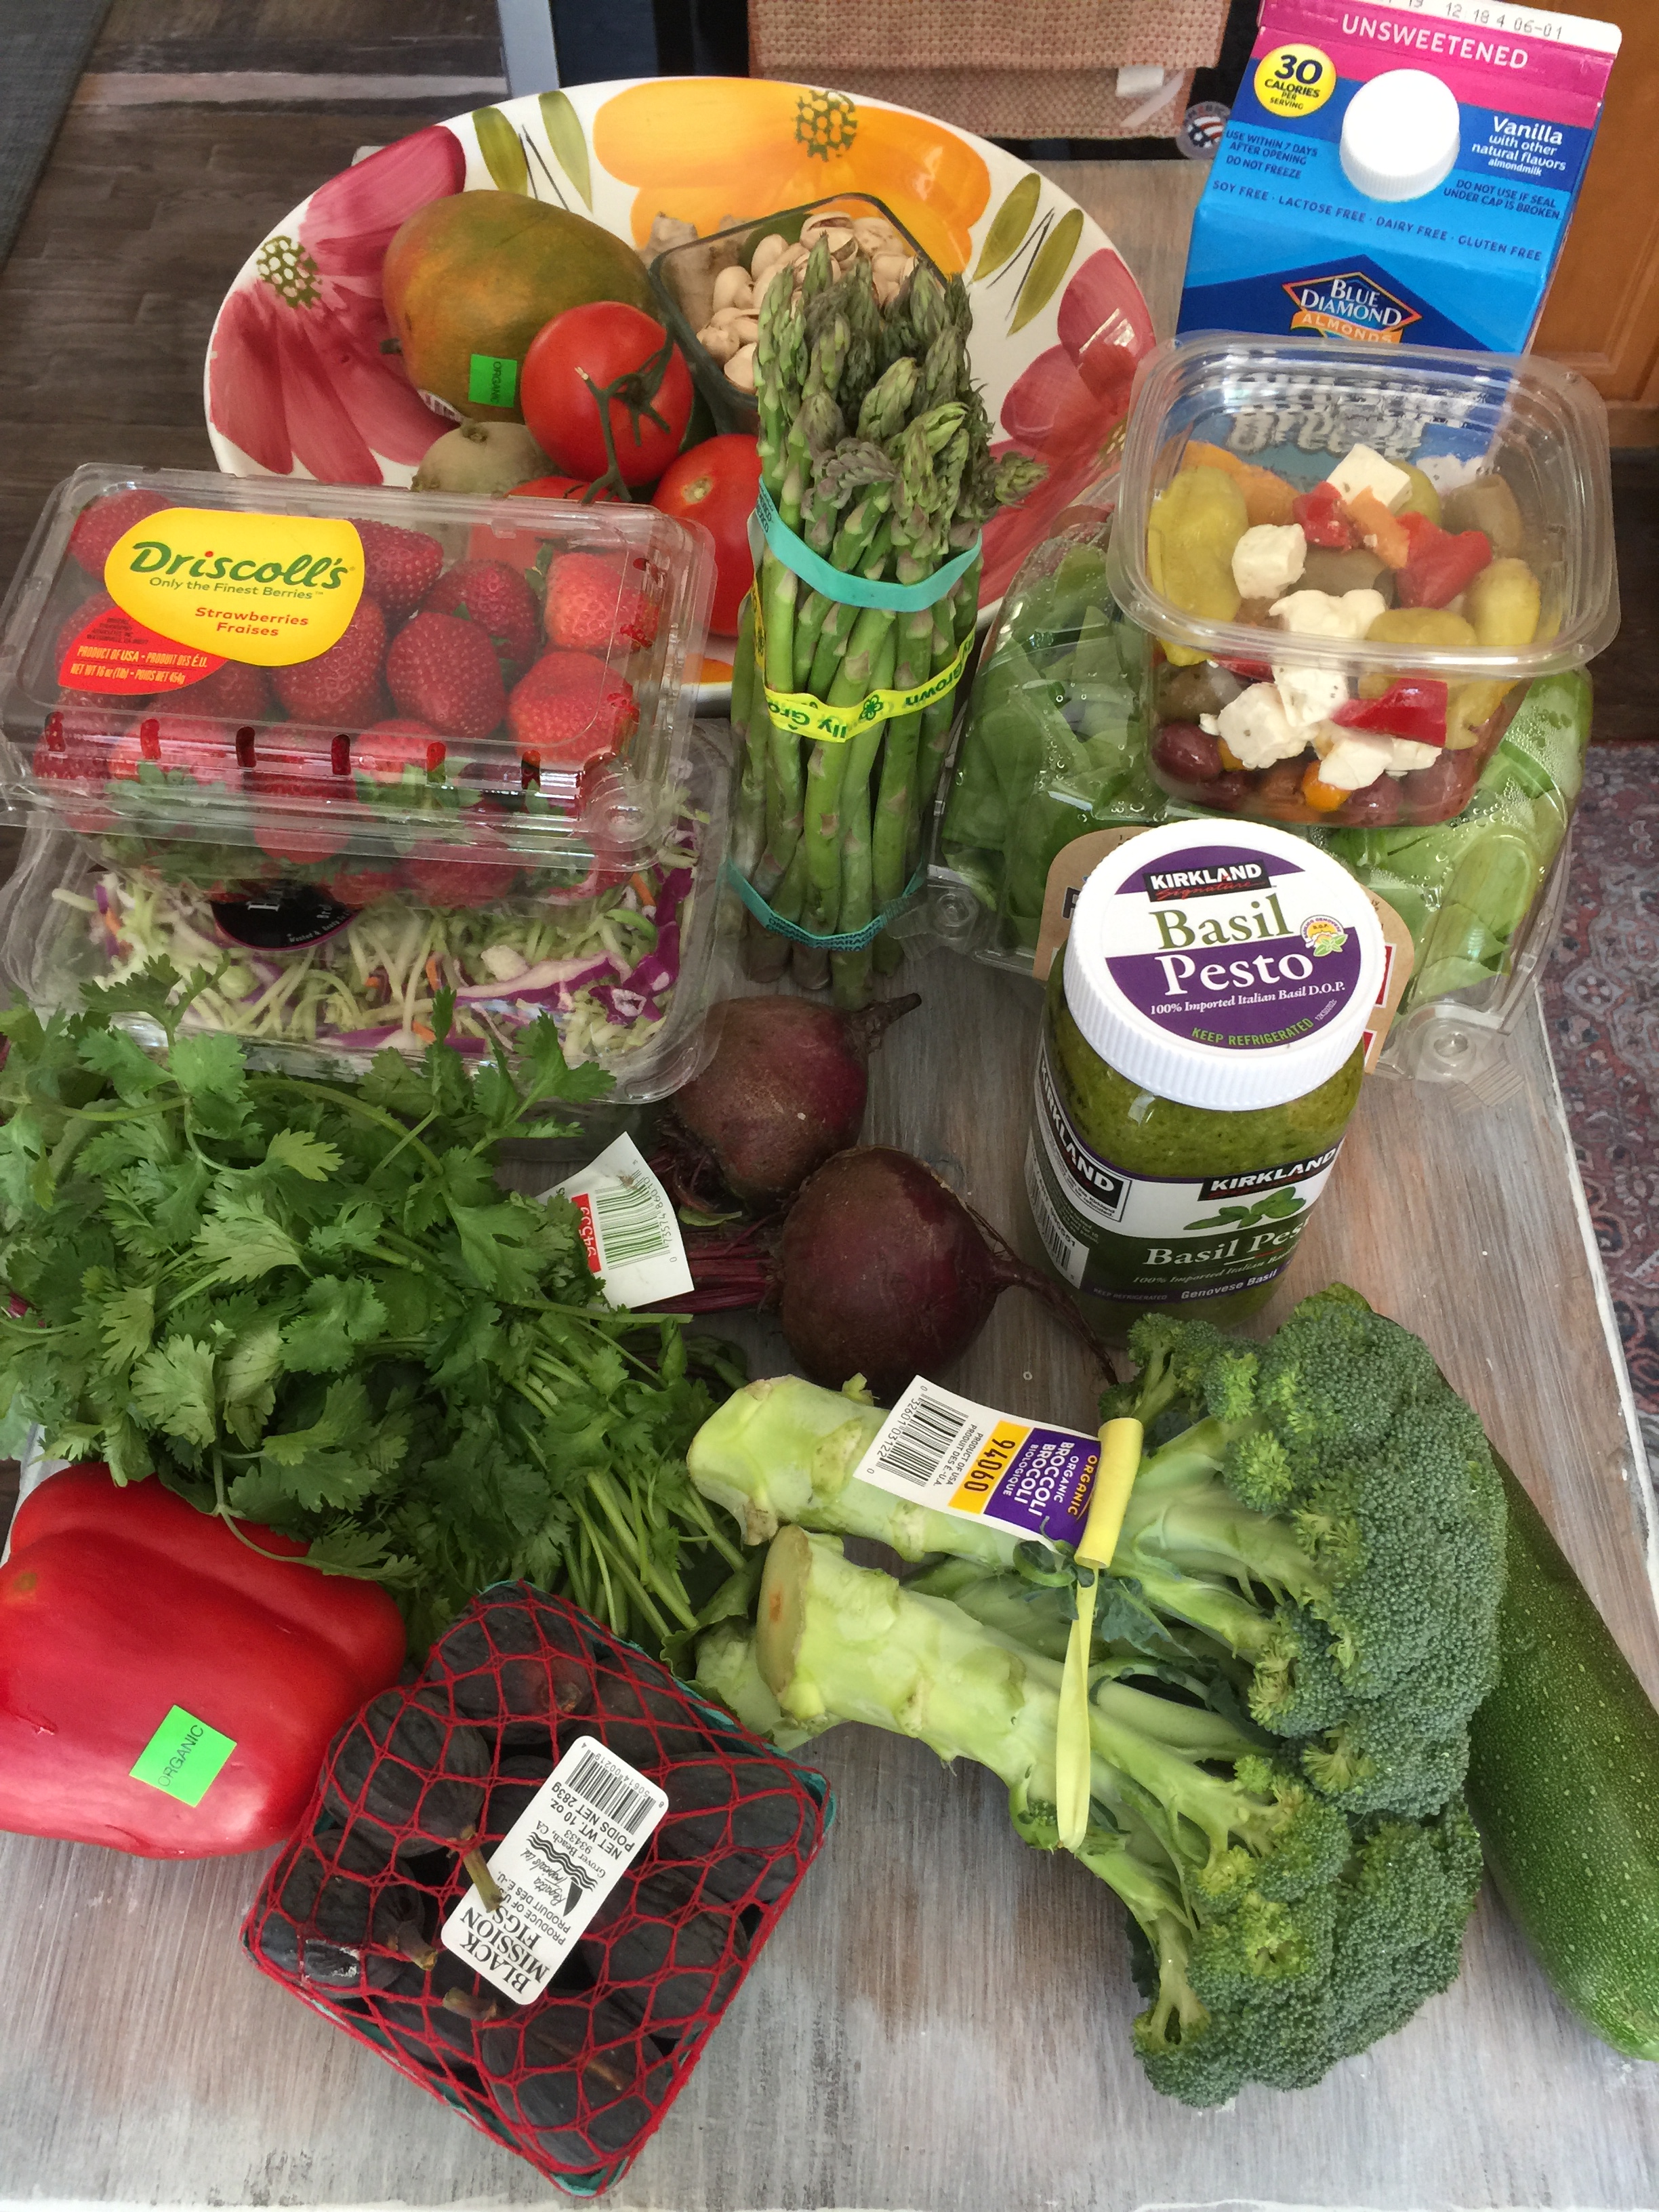
Fresh snack, quinoa, feta, olives, banana pepper, red pepper, asparagus.
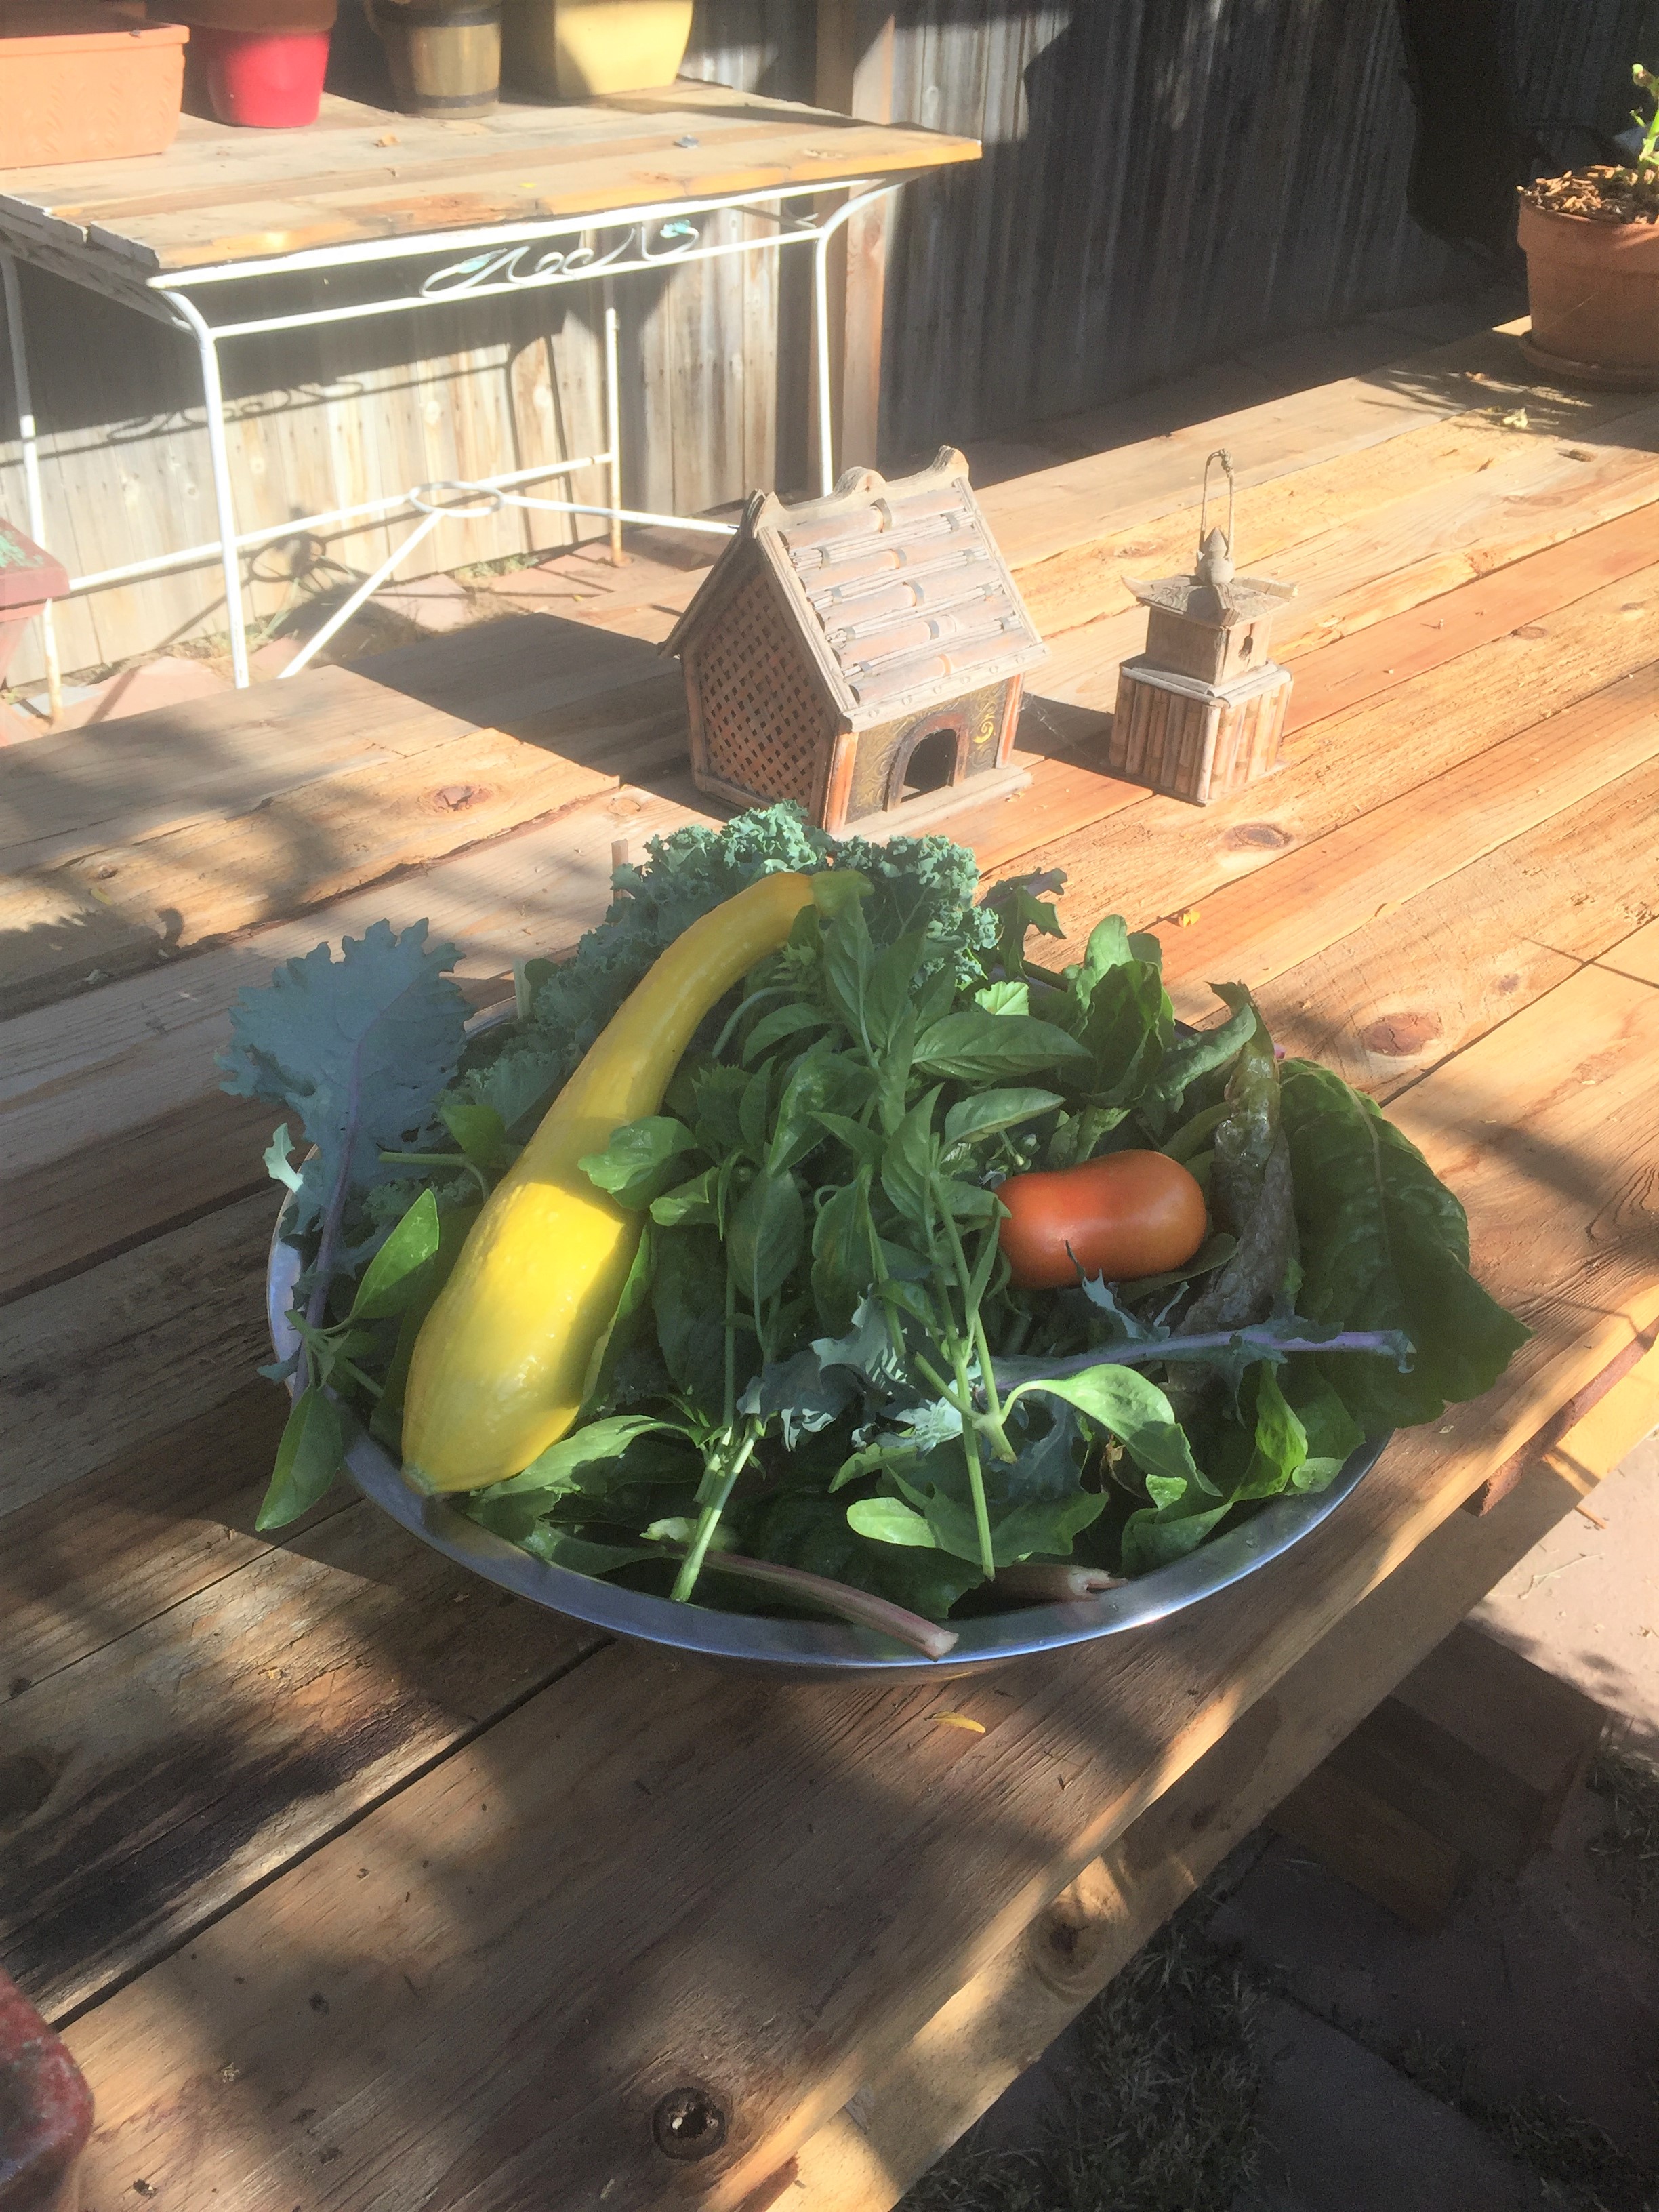
Fresh produce from my garden in 2016.
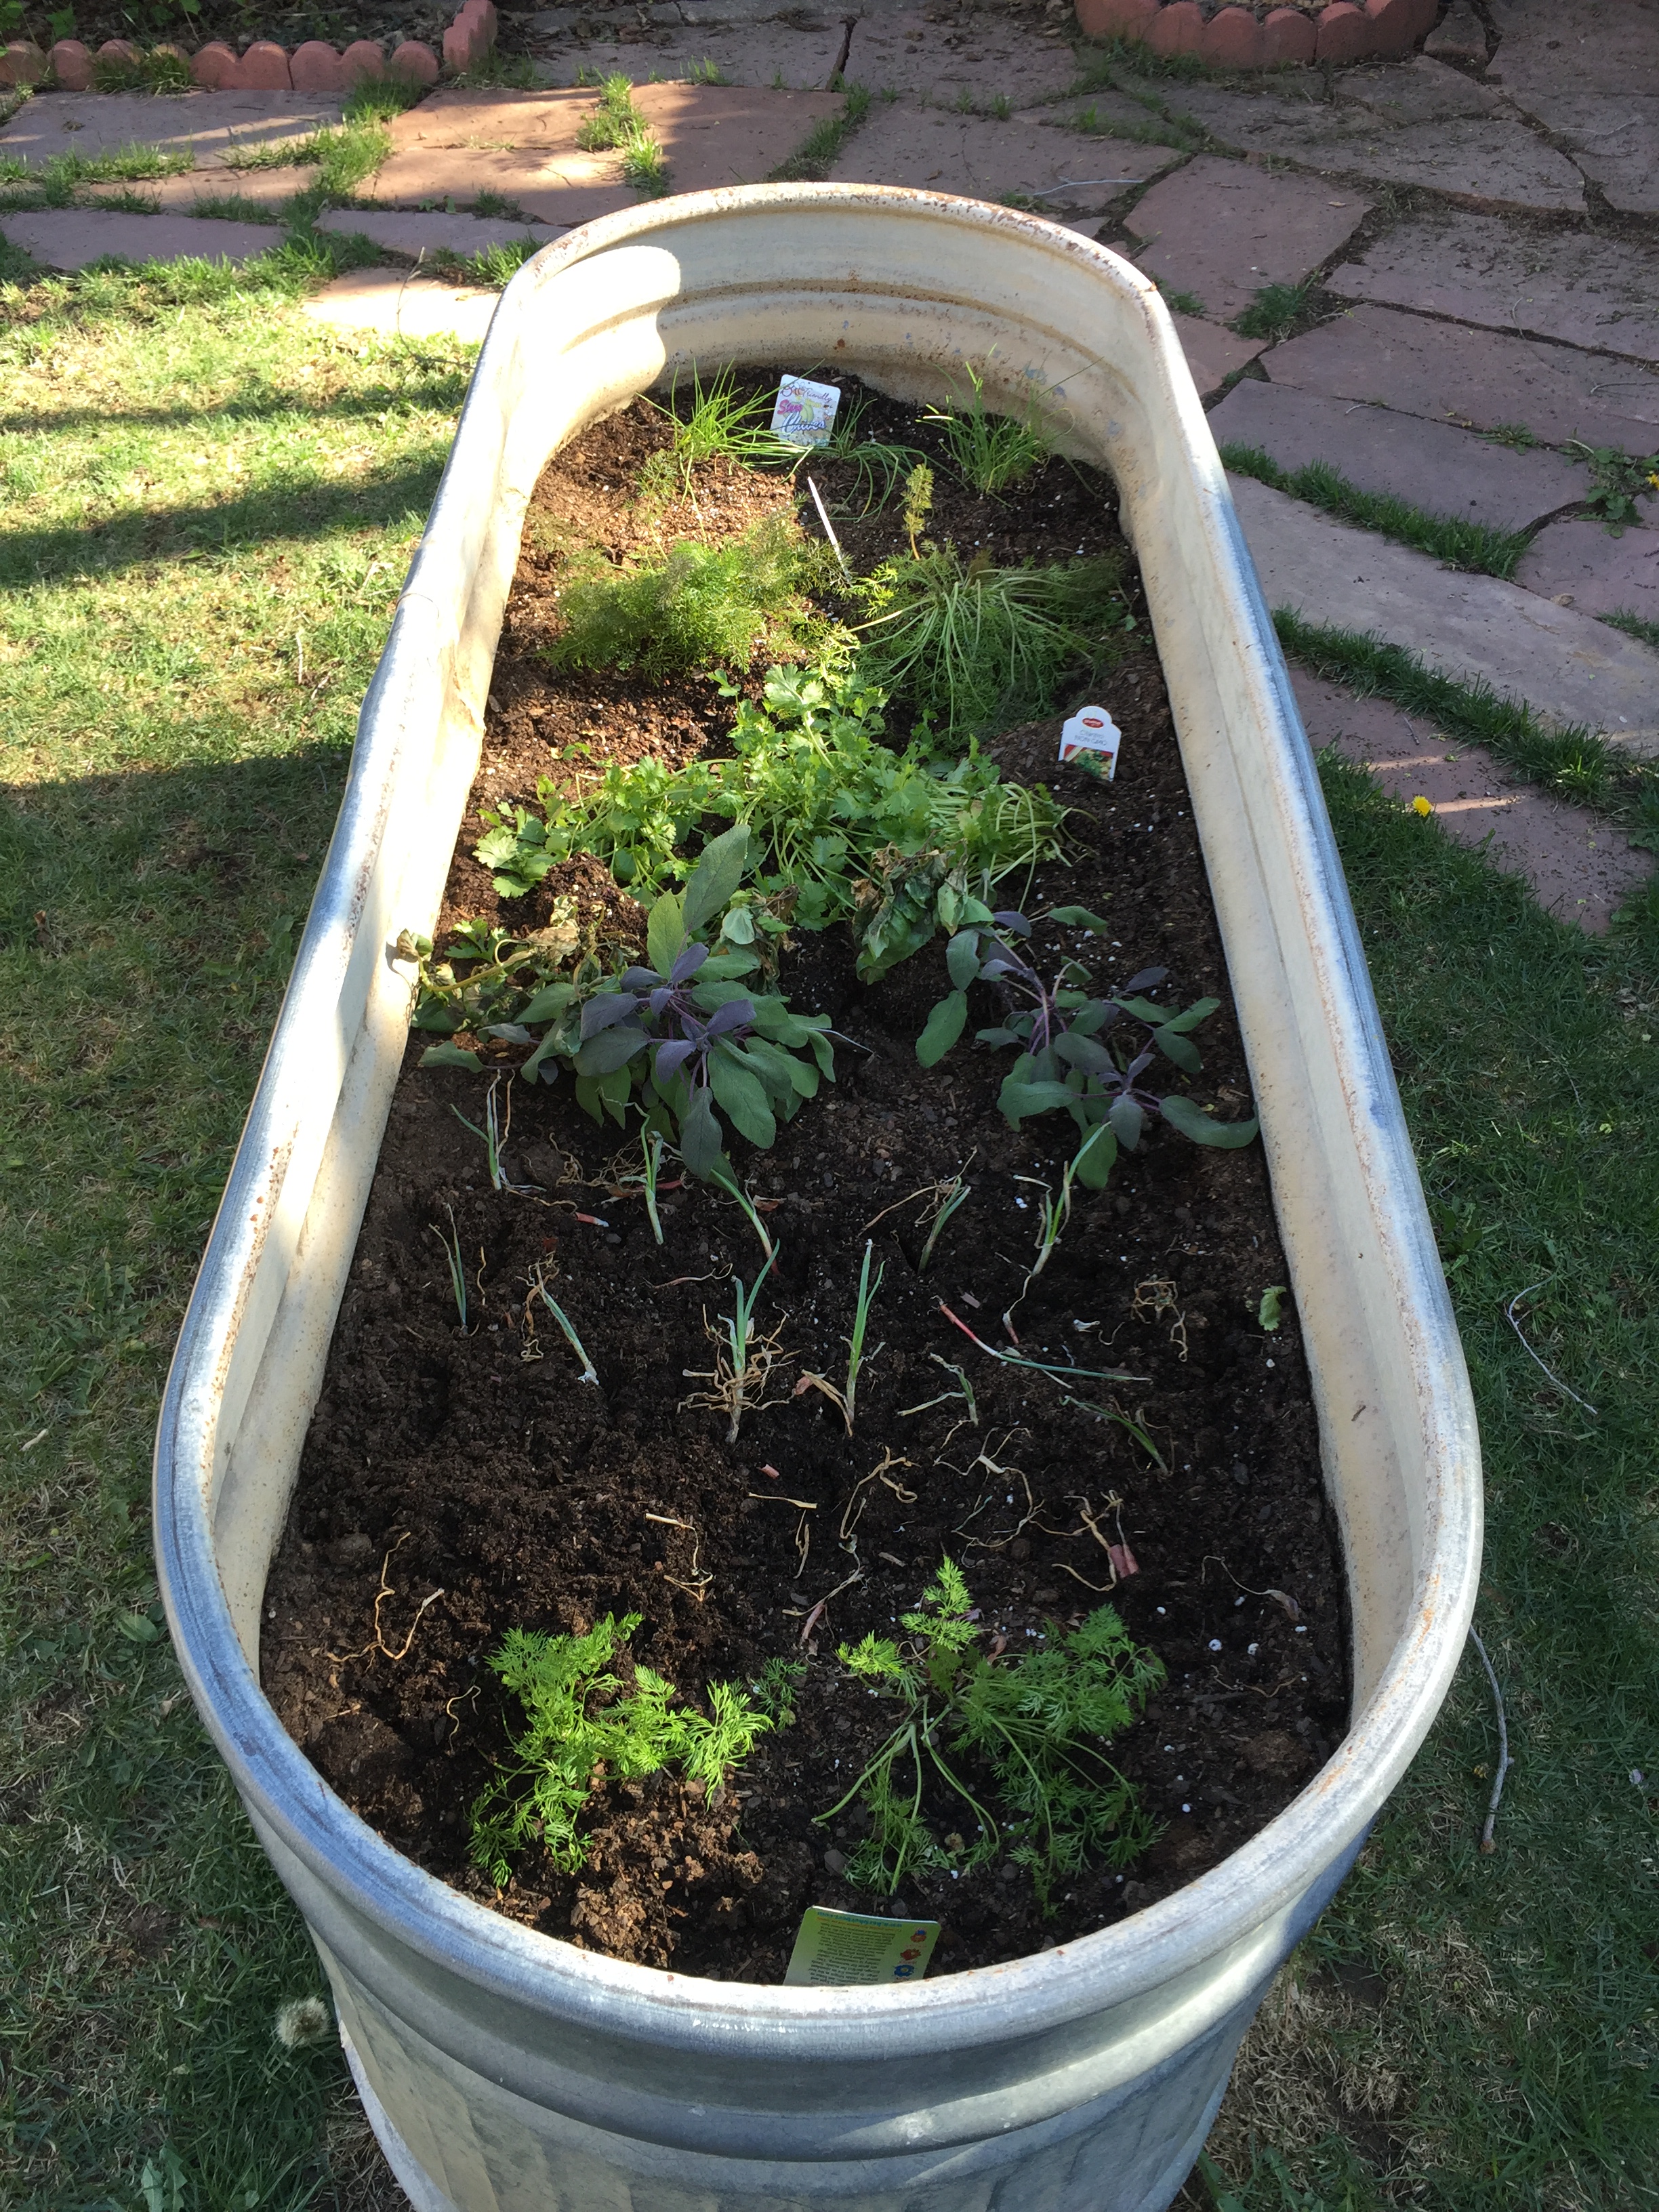
My herb garden; Chives, Rosemary, Cilantro, Sage, Garlic and Dill
How I should, and do eat after a fantastic week of drinking and dining out with family in town!
Susie and I attended a wine tasting event in Englewood at One Barrel Restaurant. So fun!
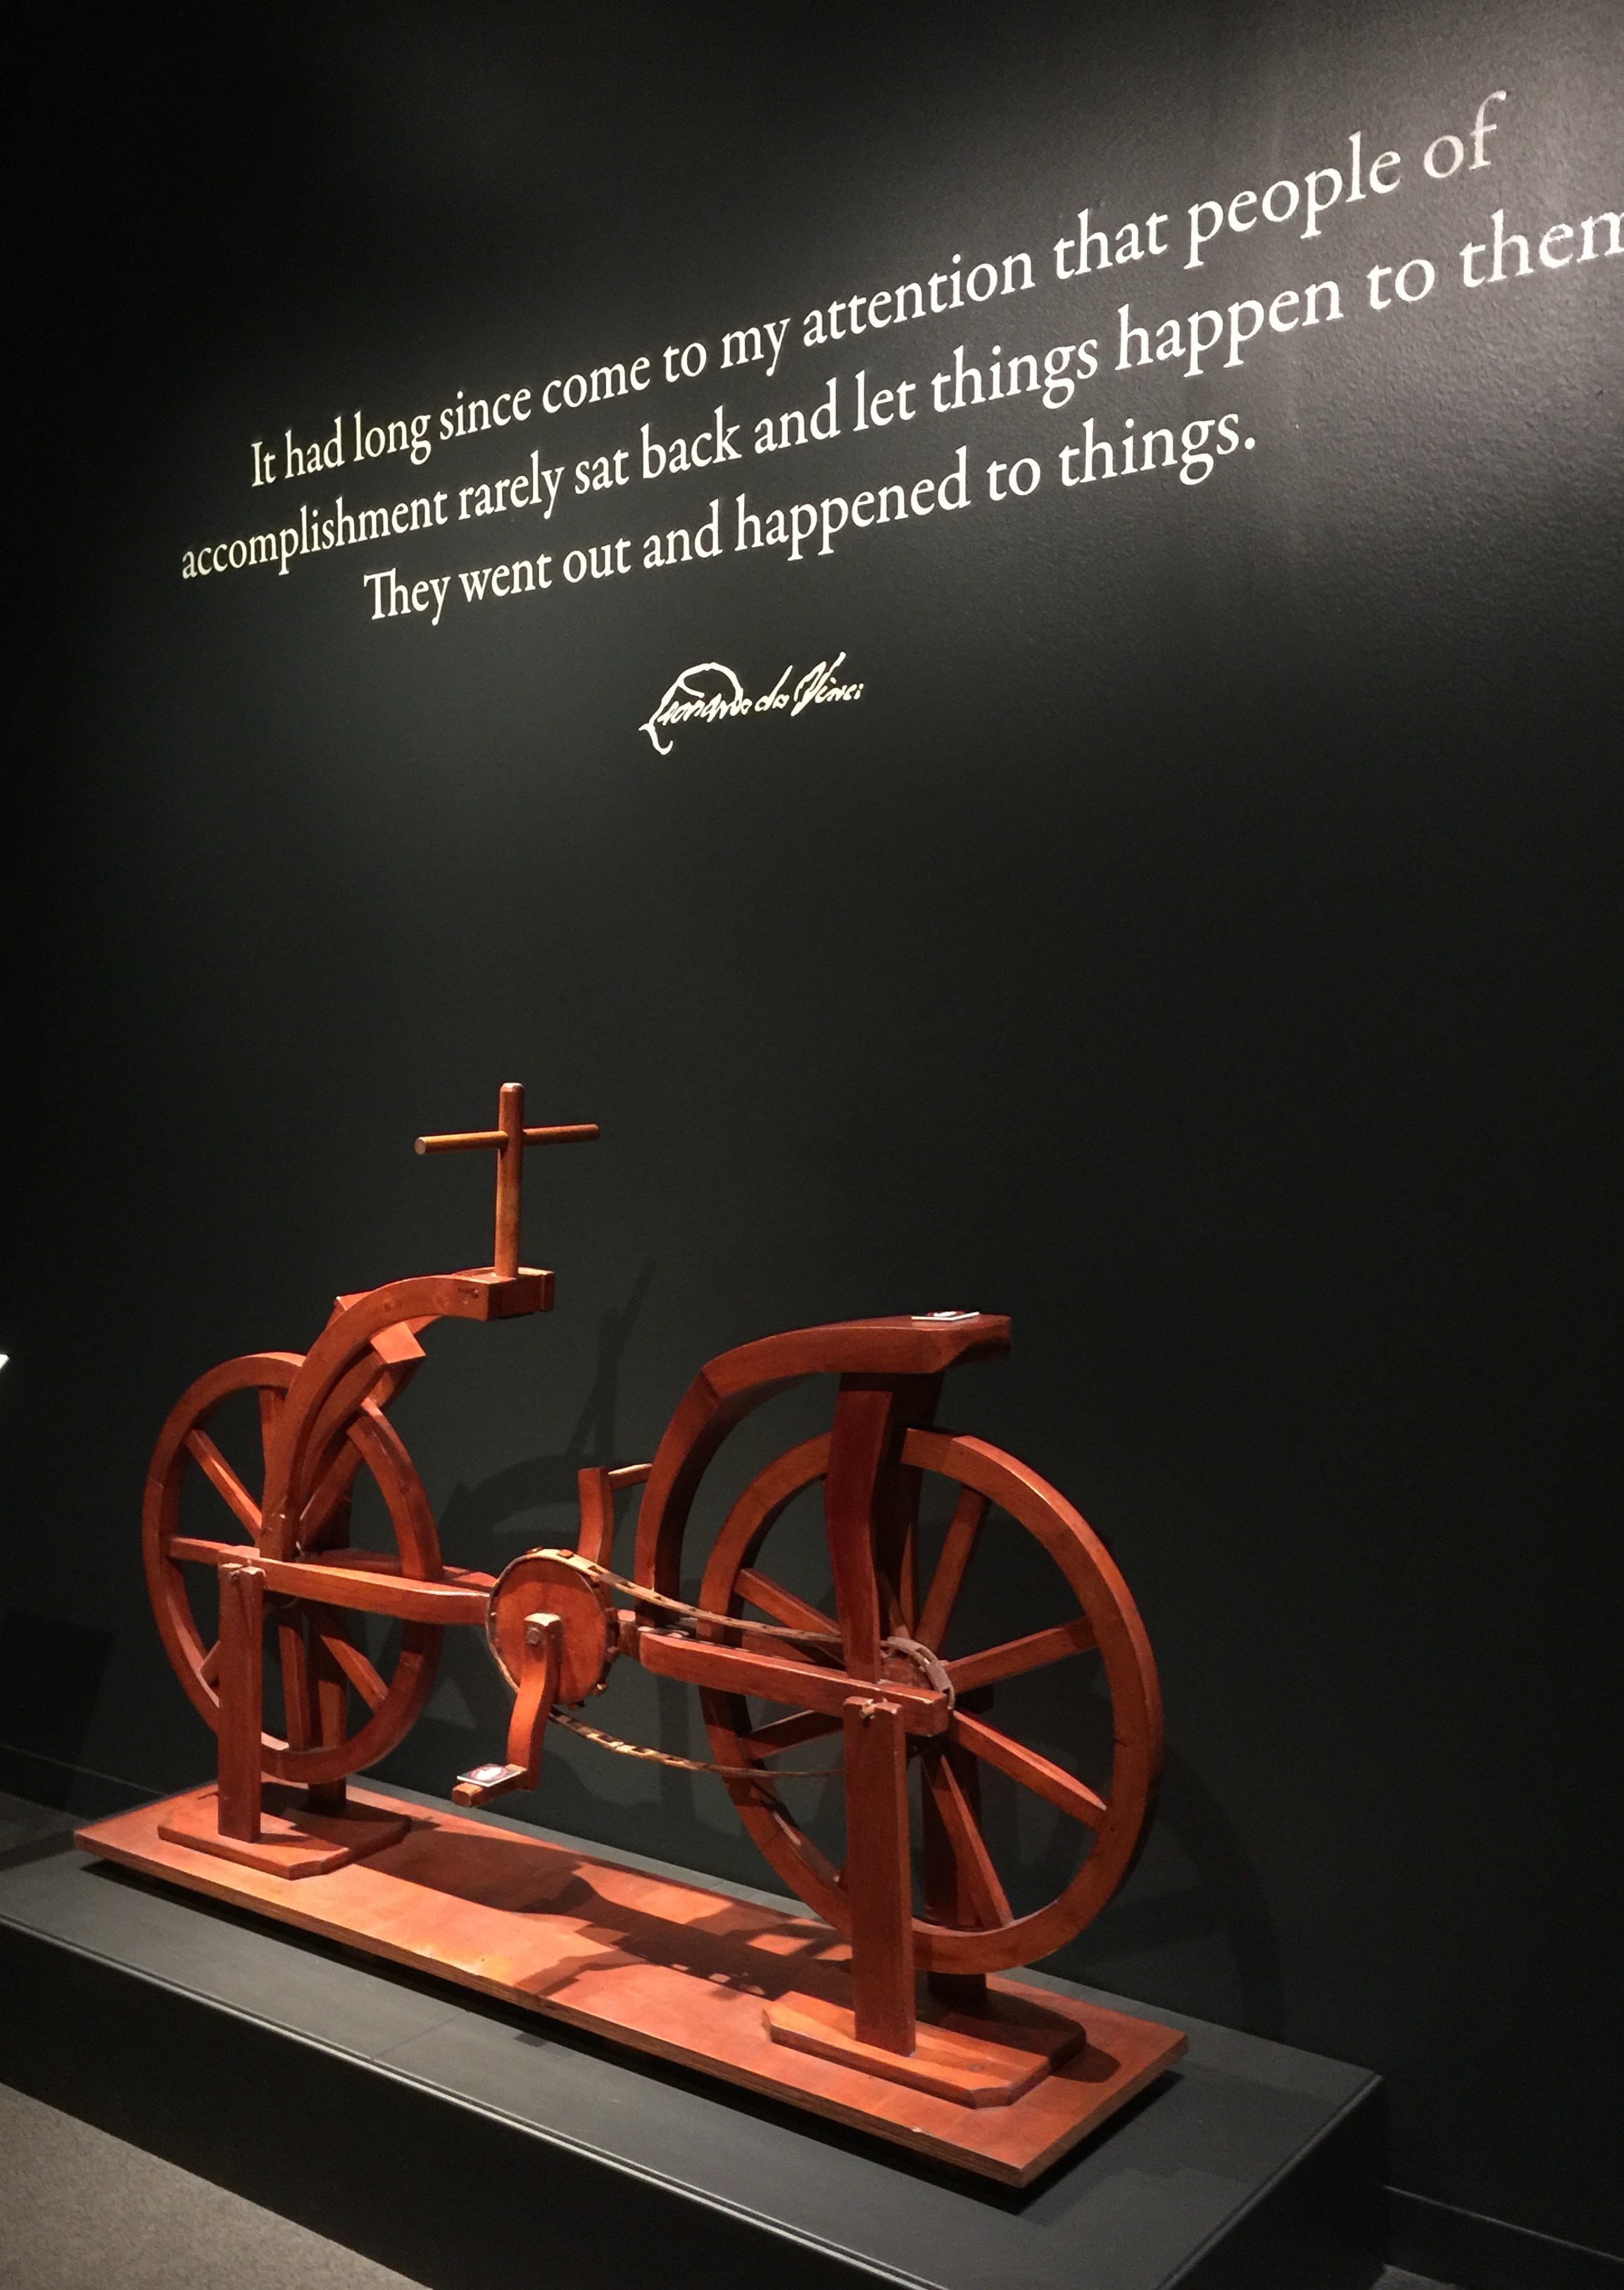
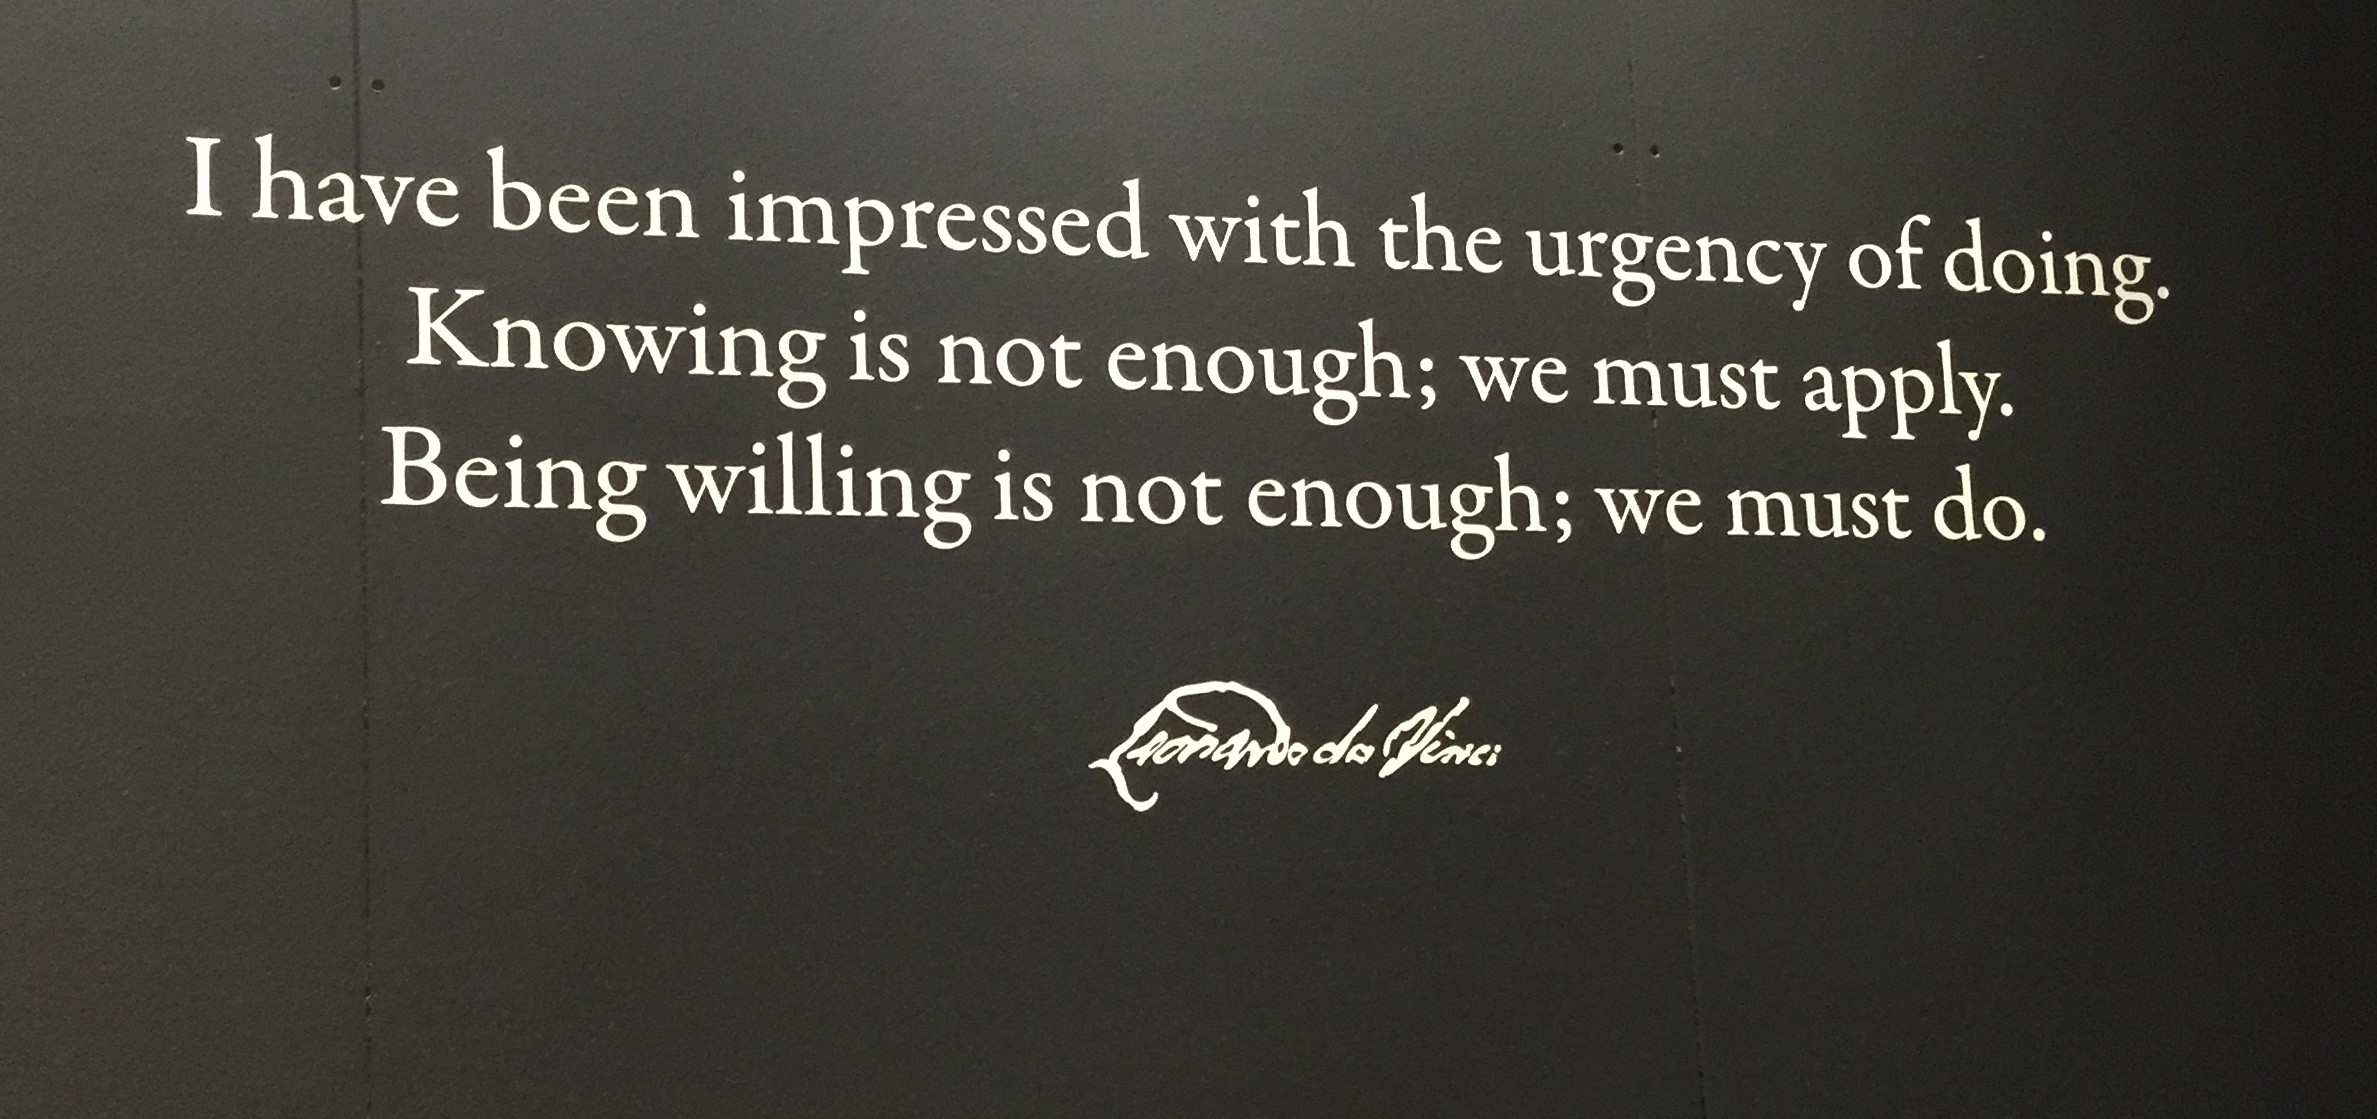
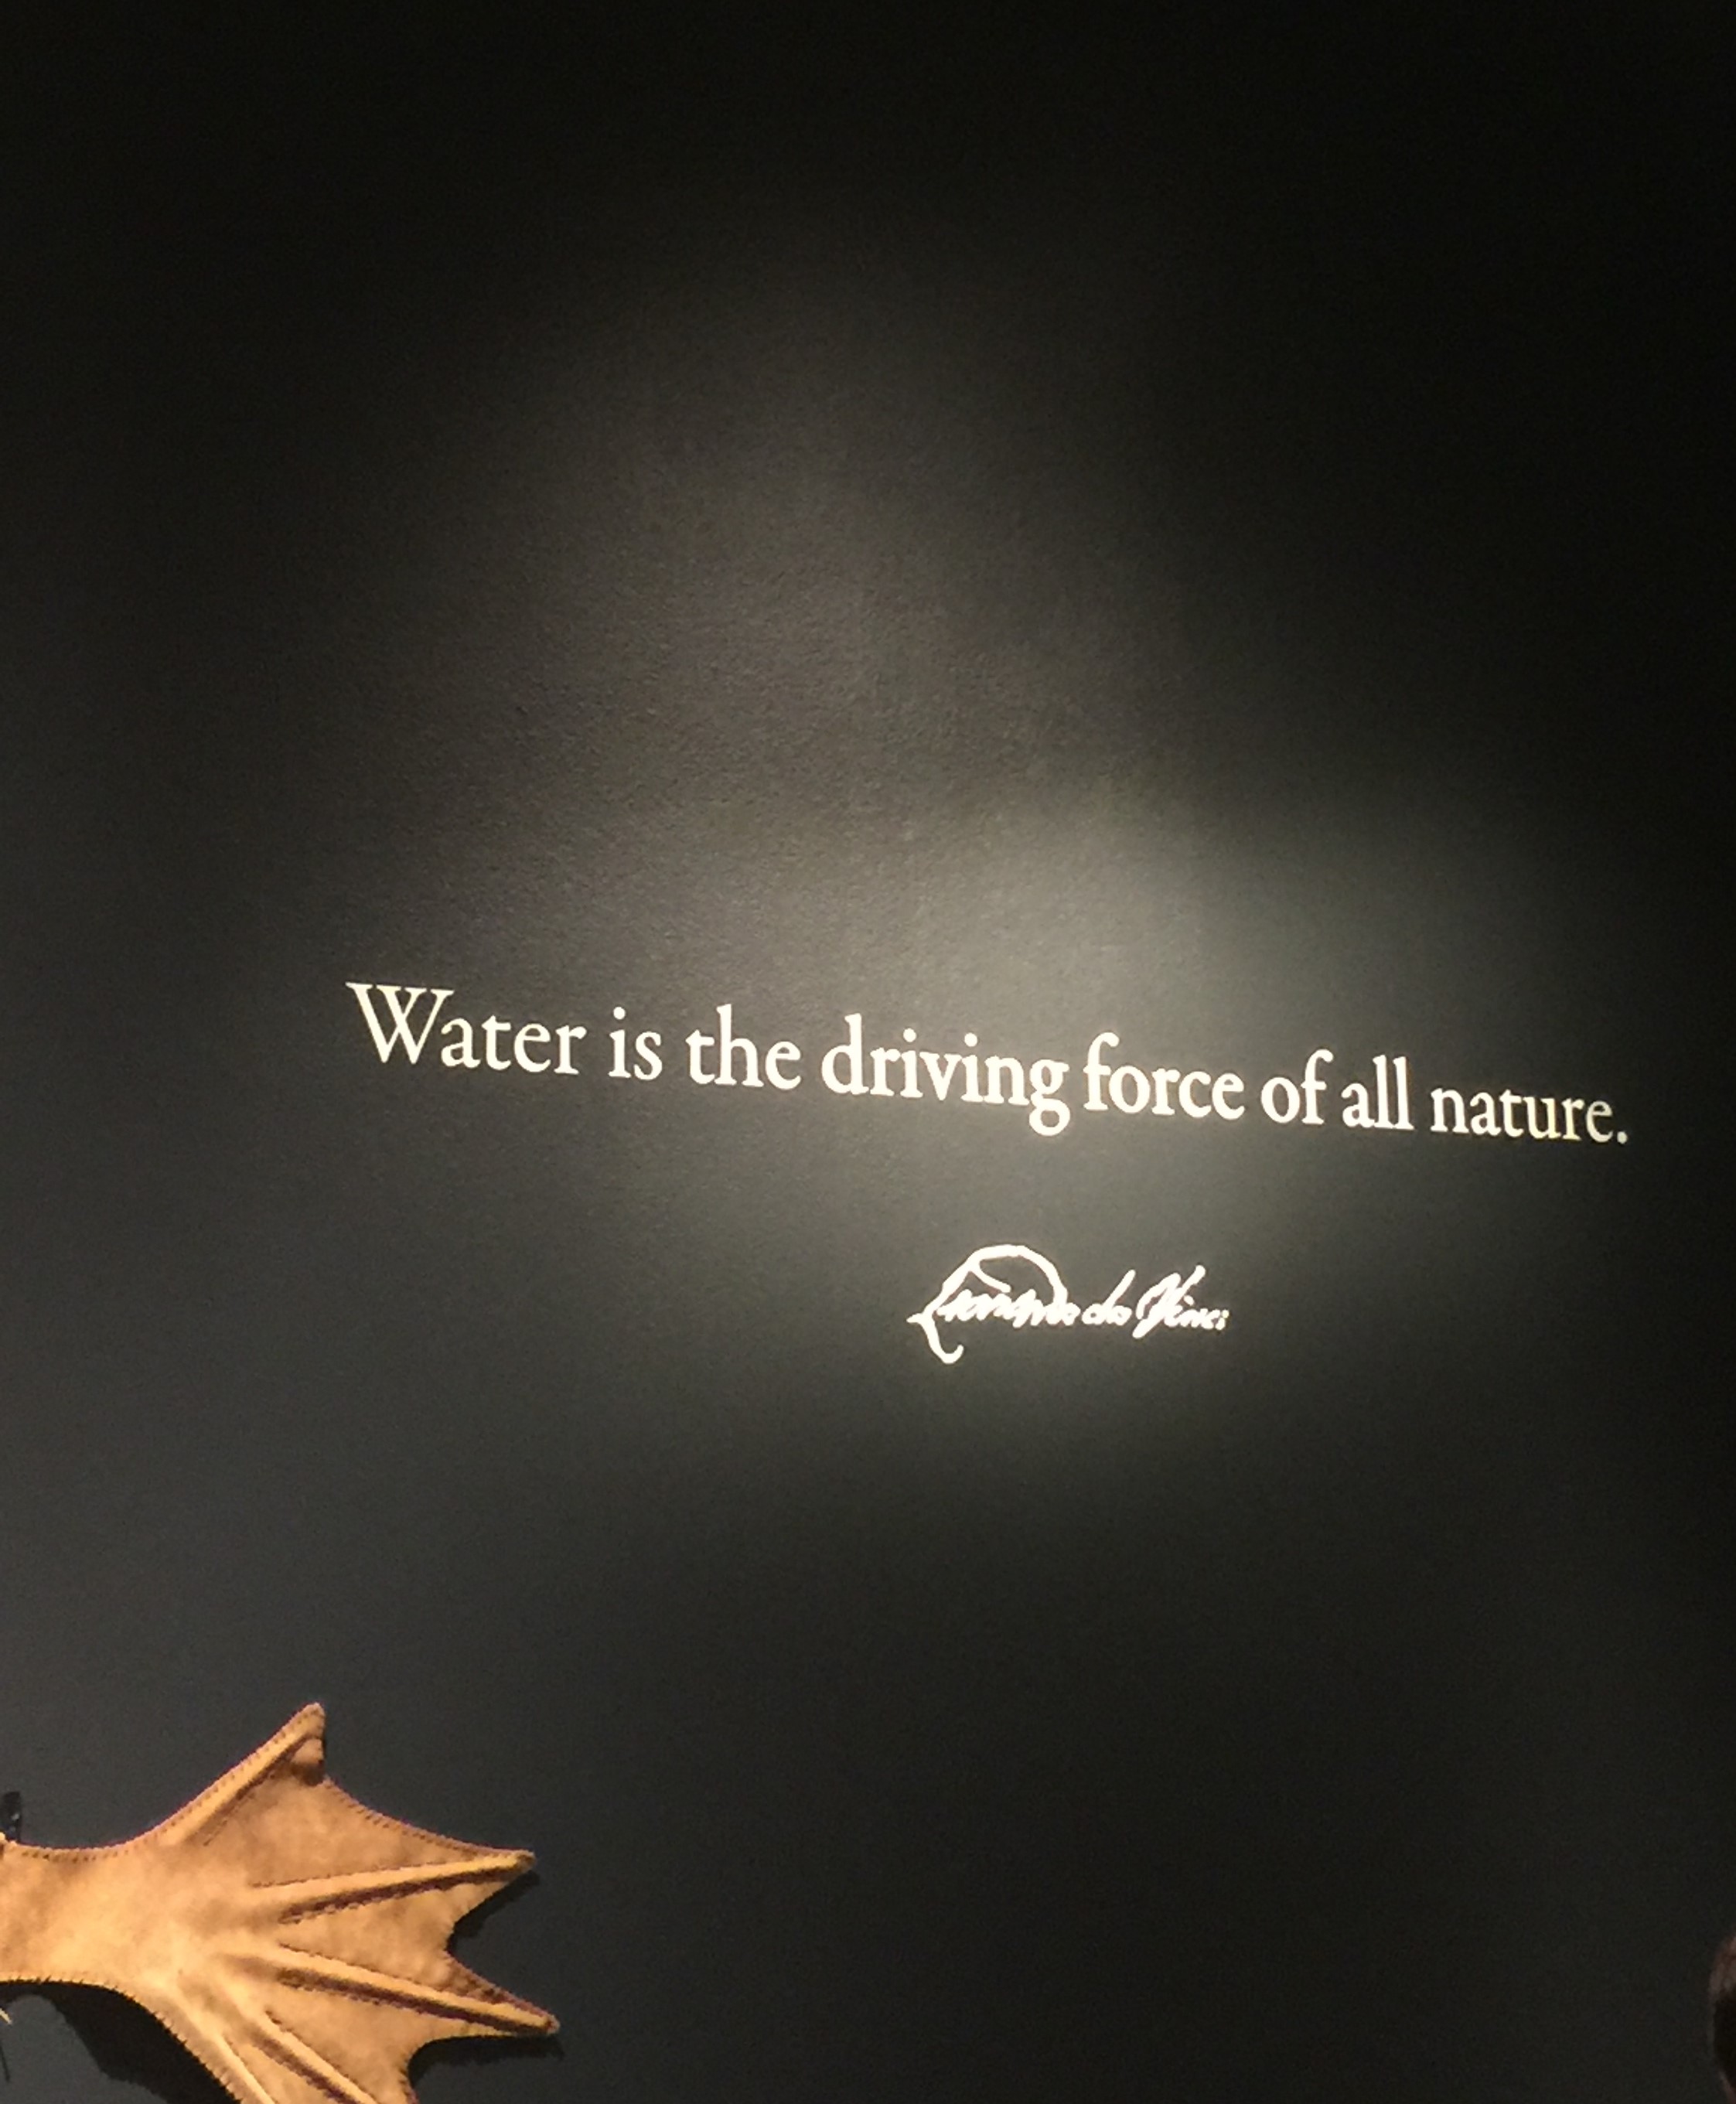
Leonardo da Vinci exhibit at the Museum of Science and Nature in Denver.
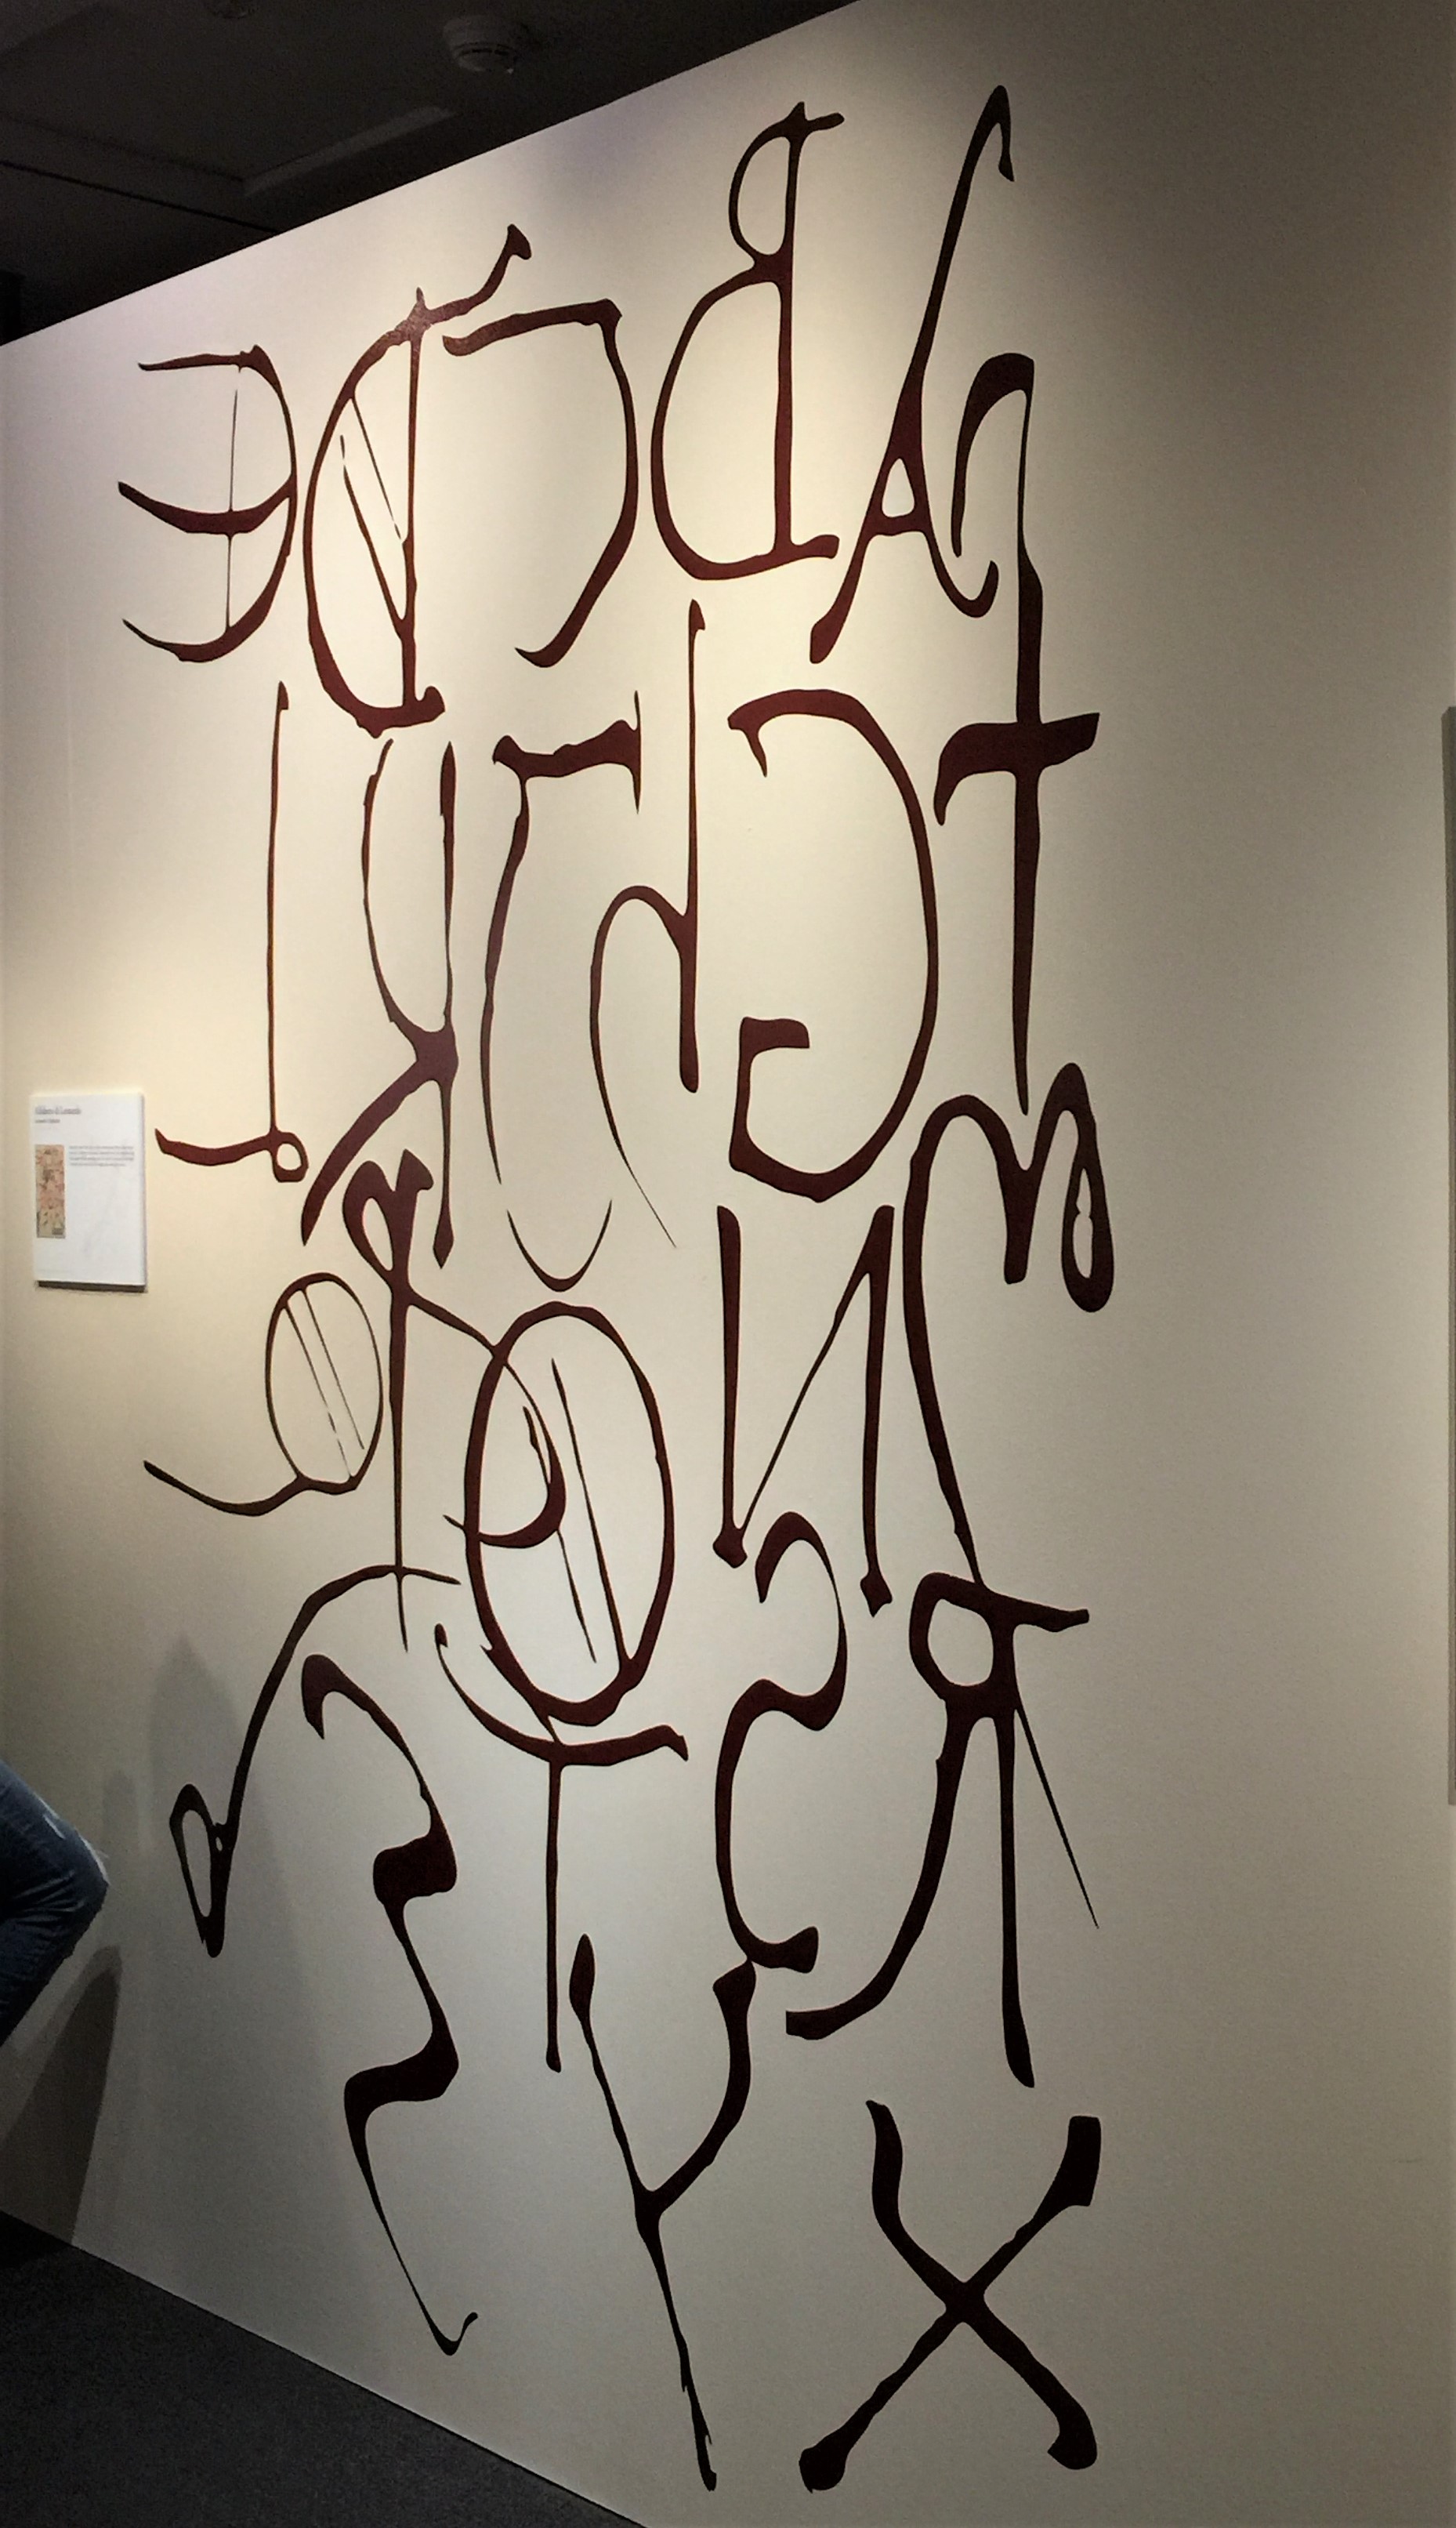
De Vinci wrote in reverse, a mirror image of the words. Here is his alphabet.
Inventor, thinker
I had no idea of his varied genius. I thought mostly of his paintings on the ceiling of the Sistine Chapel. (Which turned out to be Michaelangelo instead) But he was dynamic in so many areas!
Hmmm…
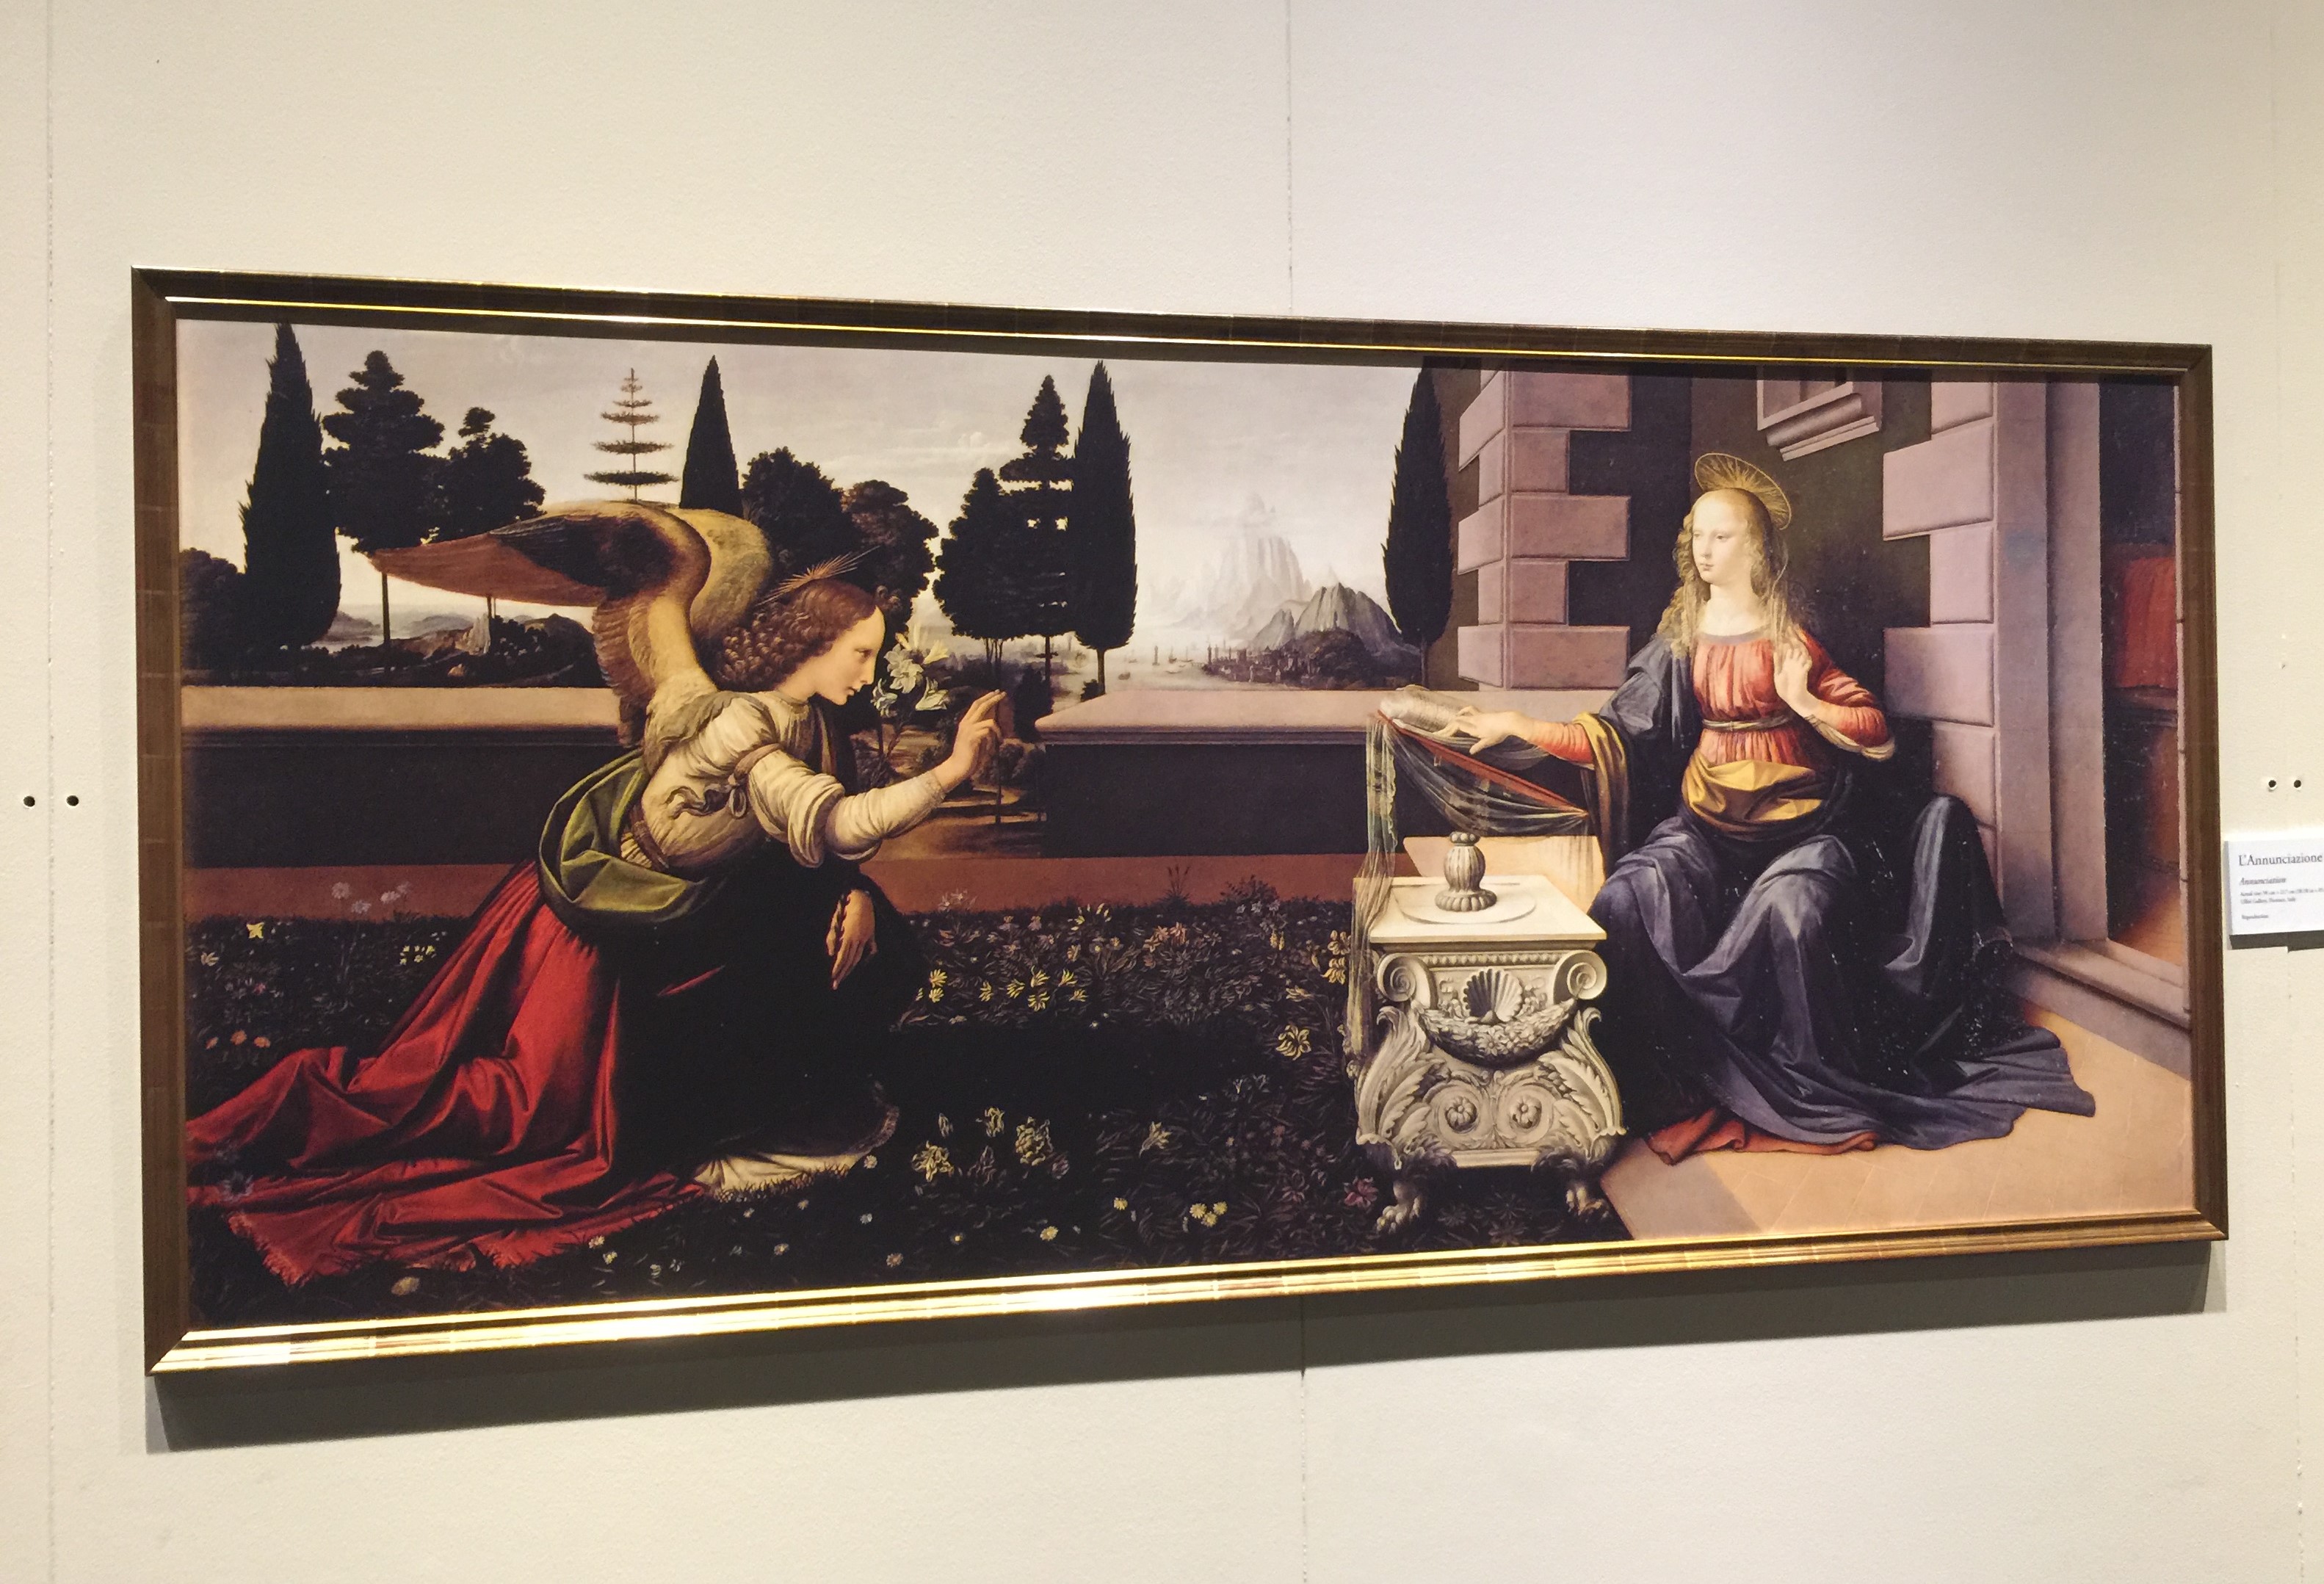
Painter, The Annunciation
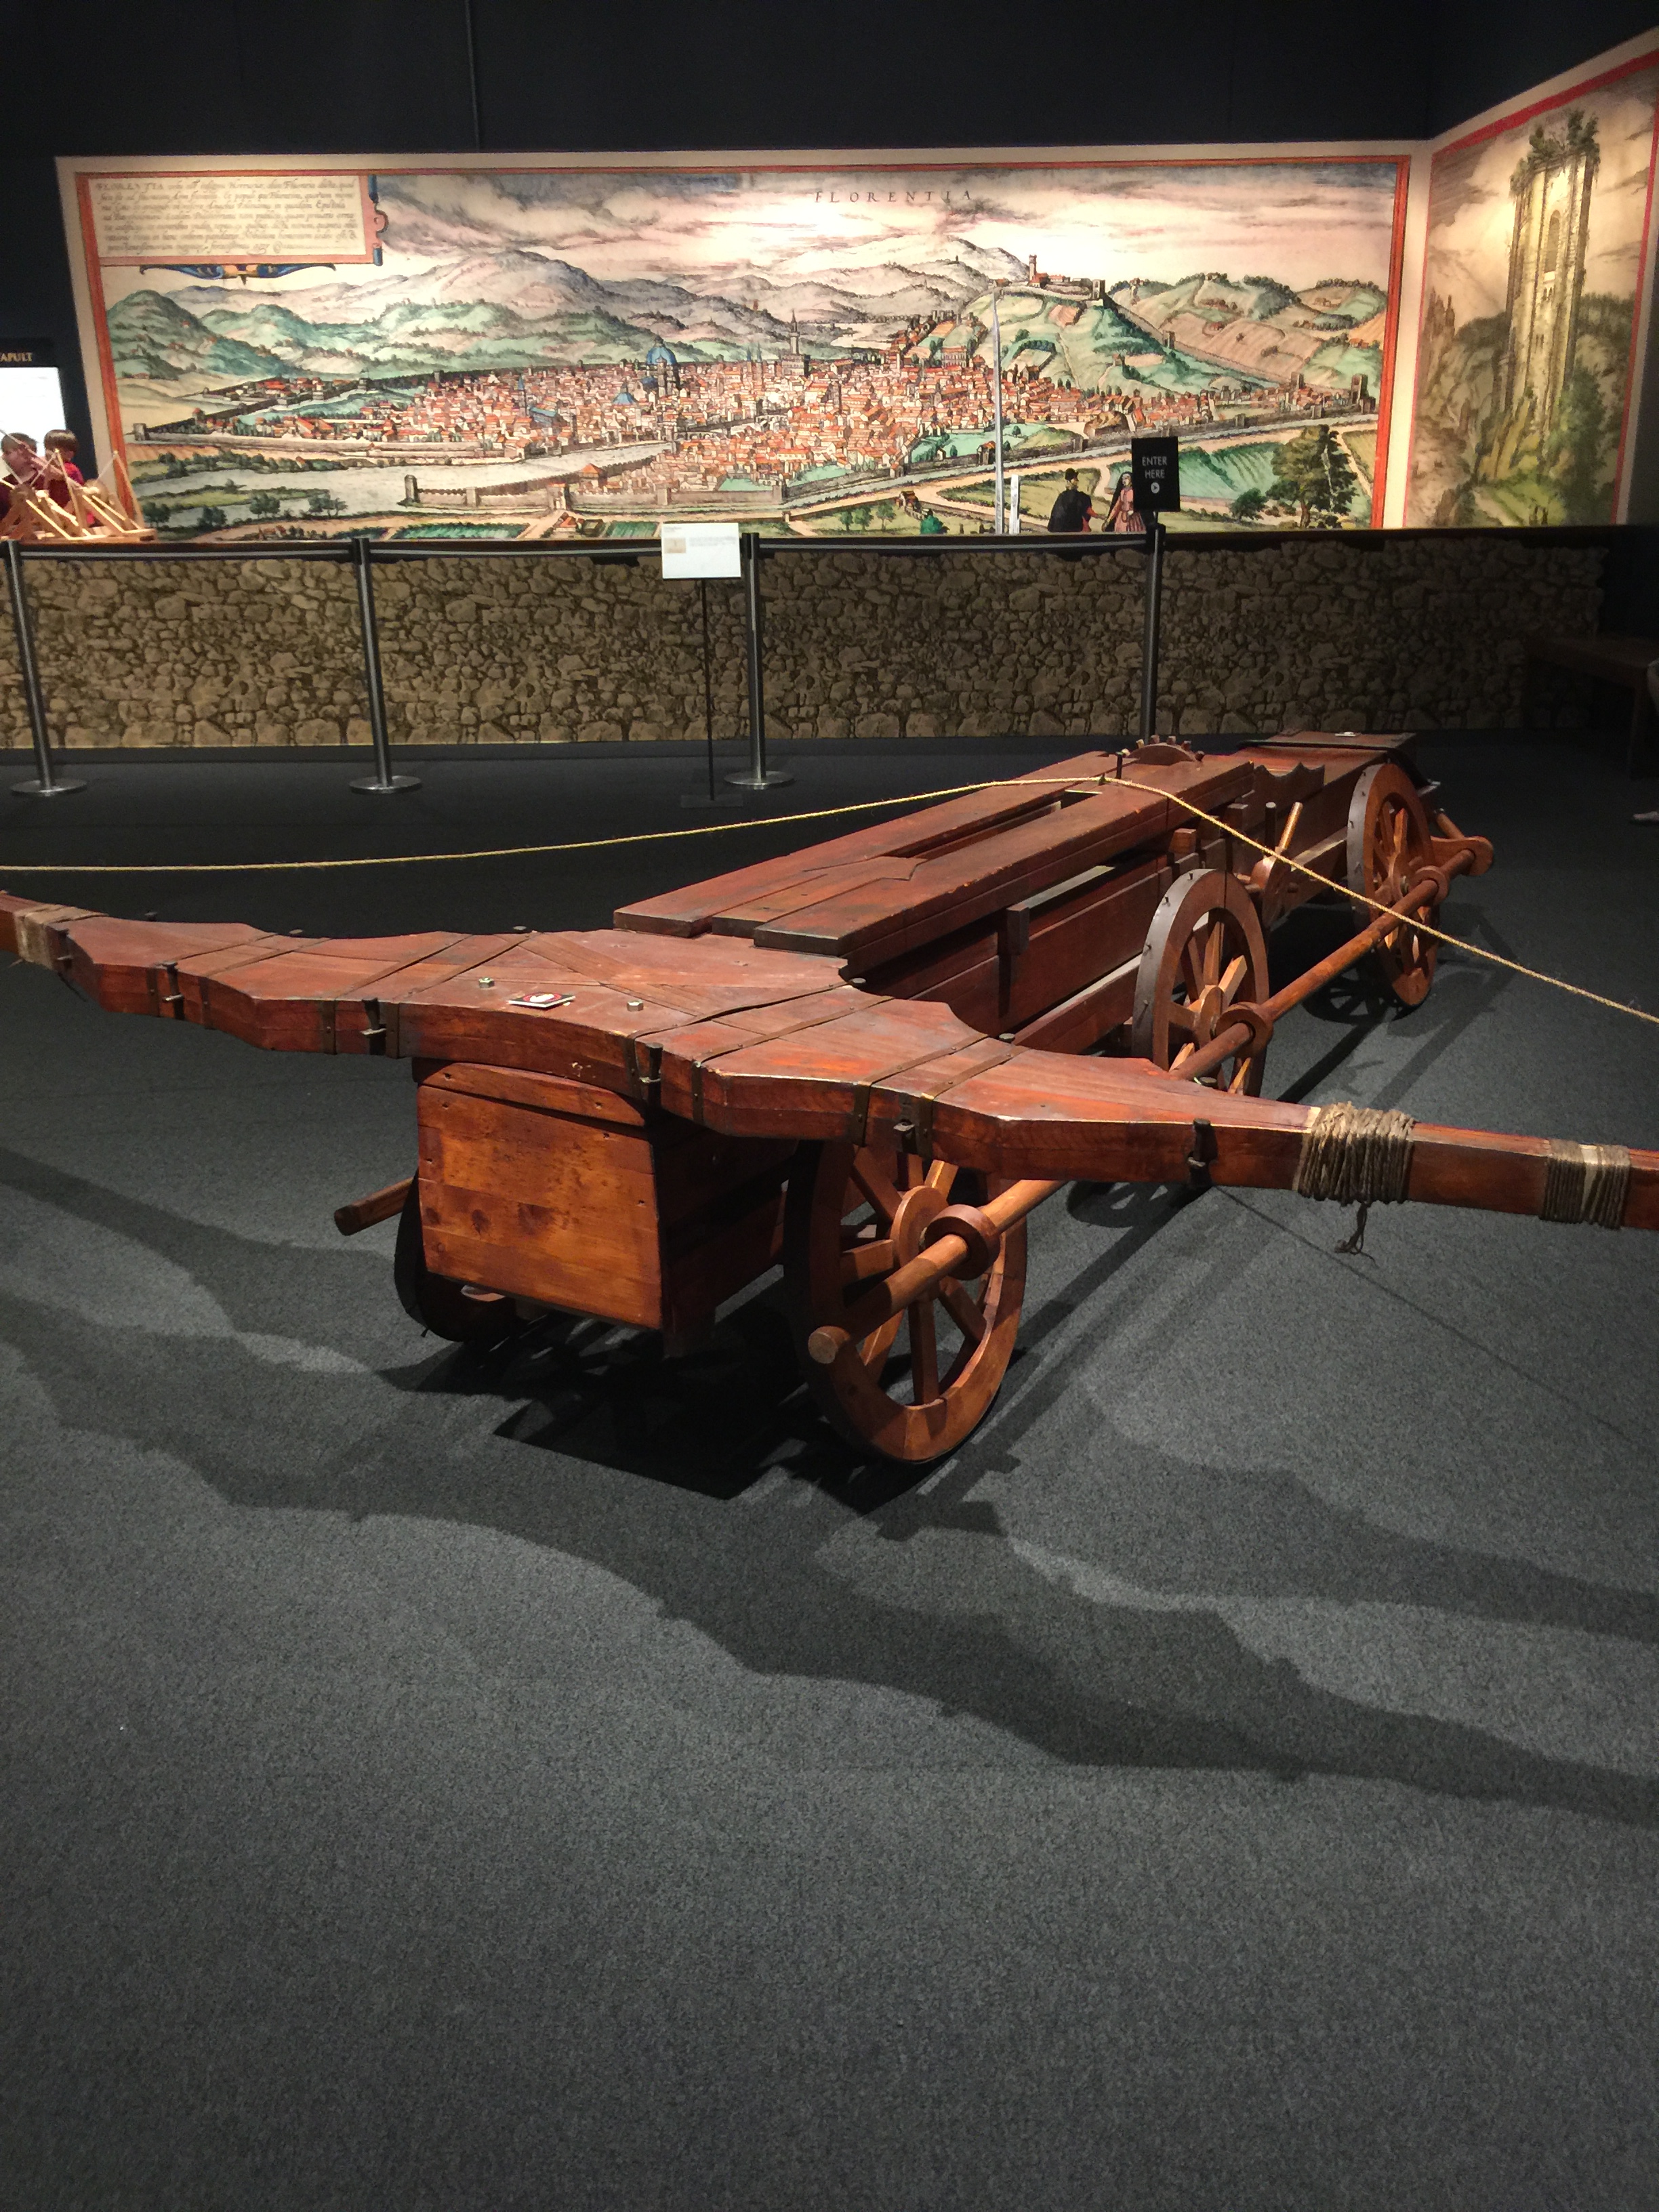
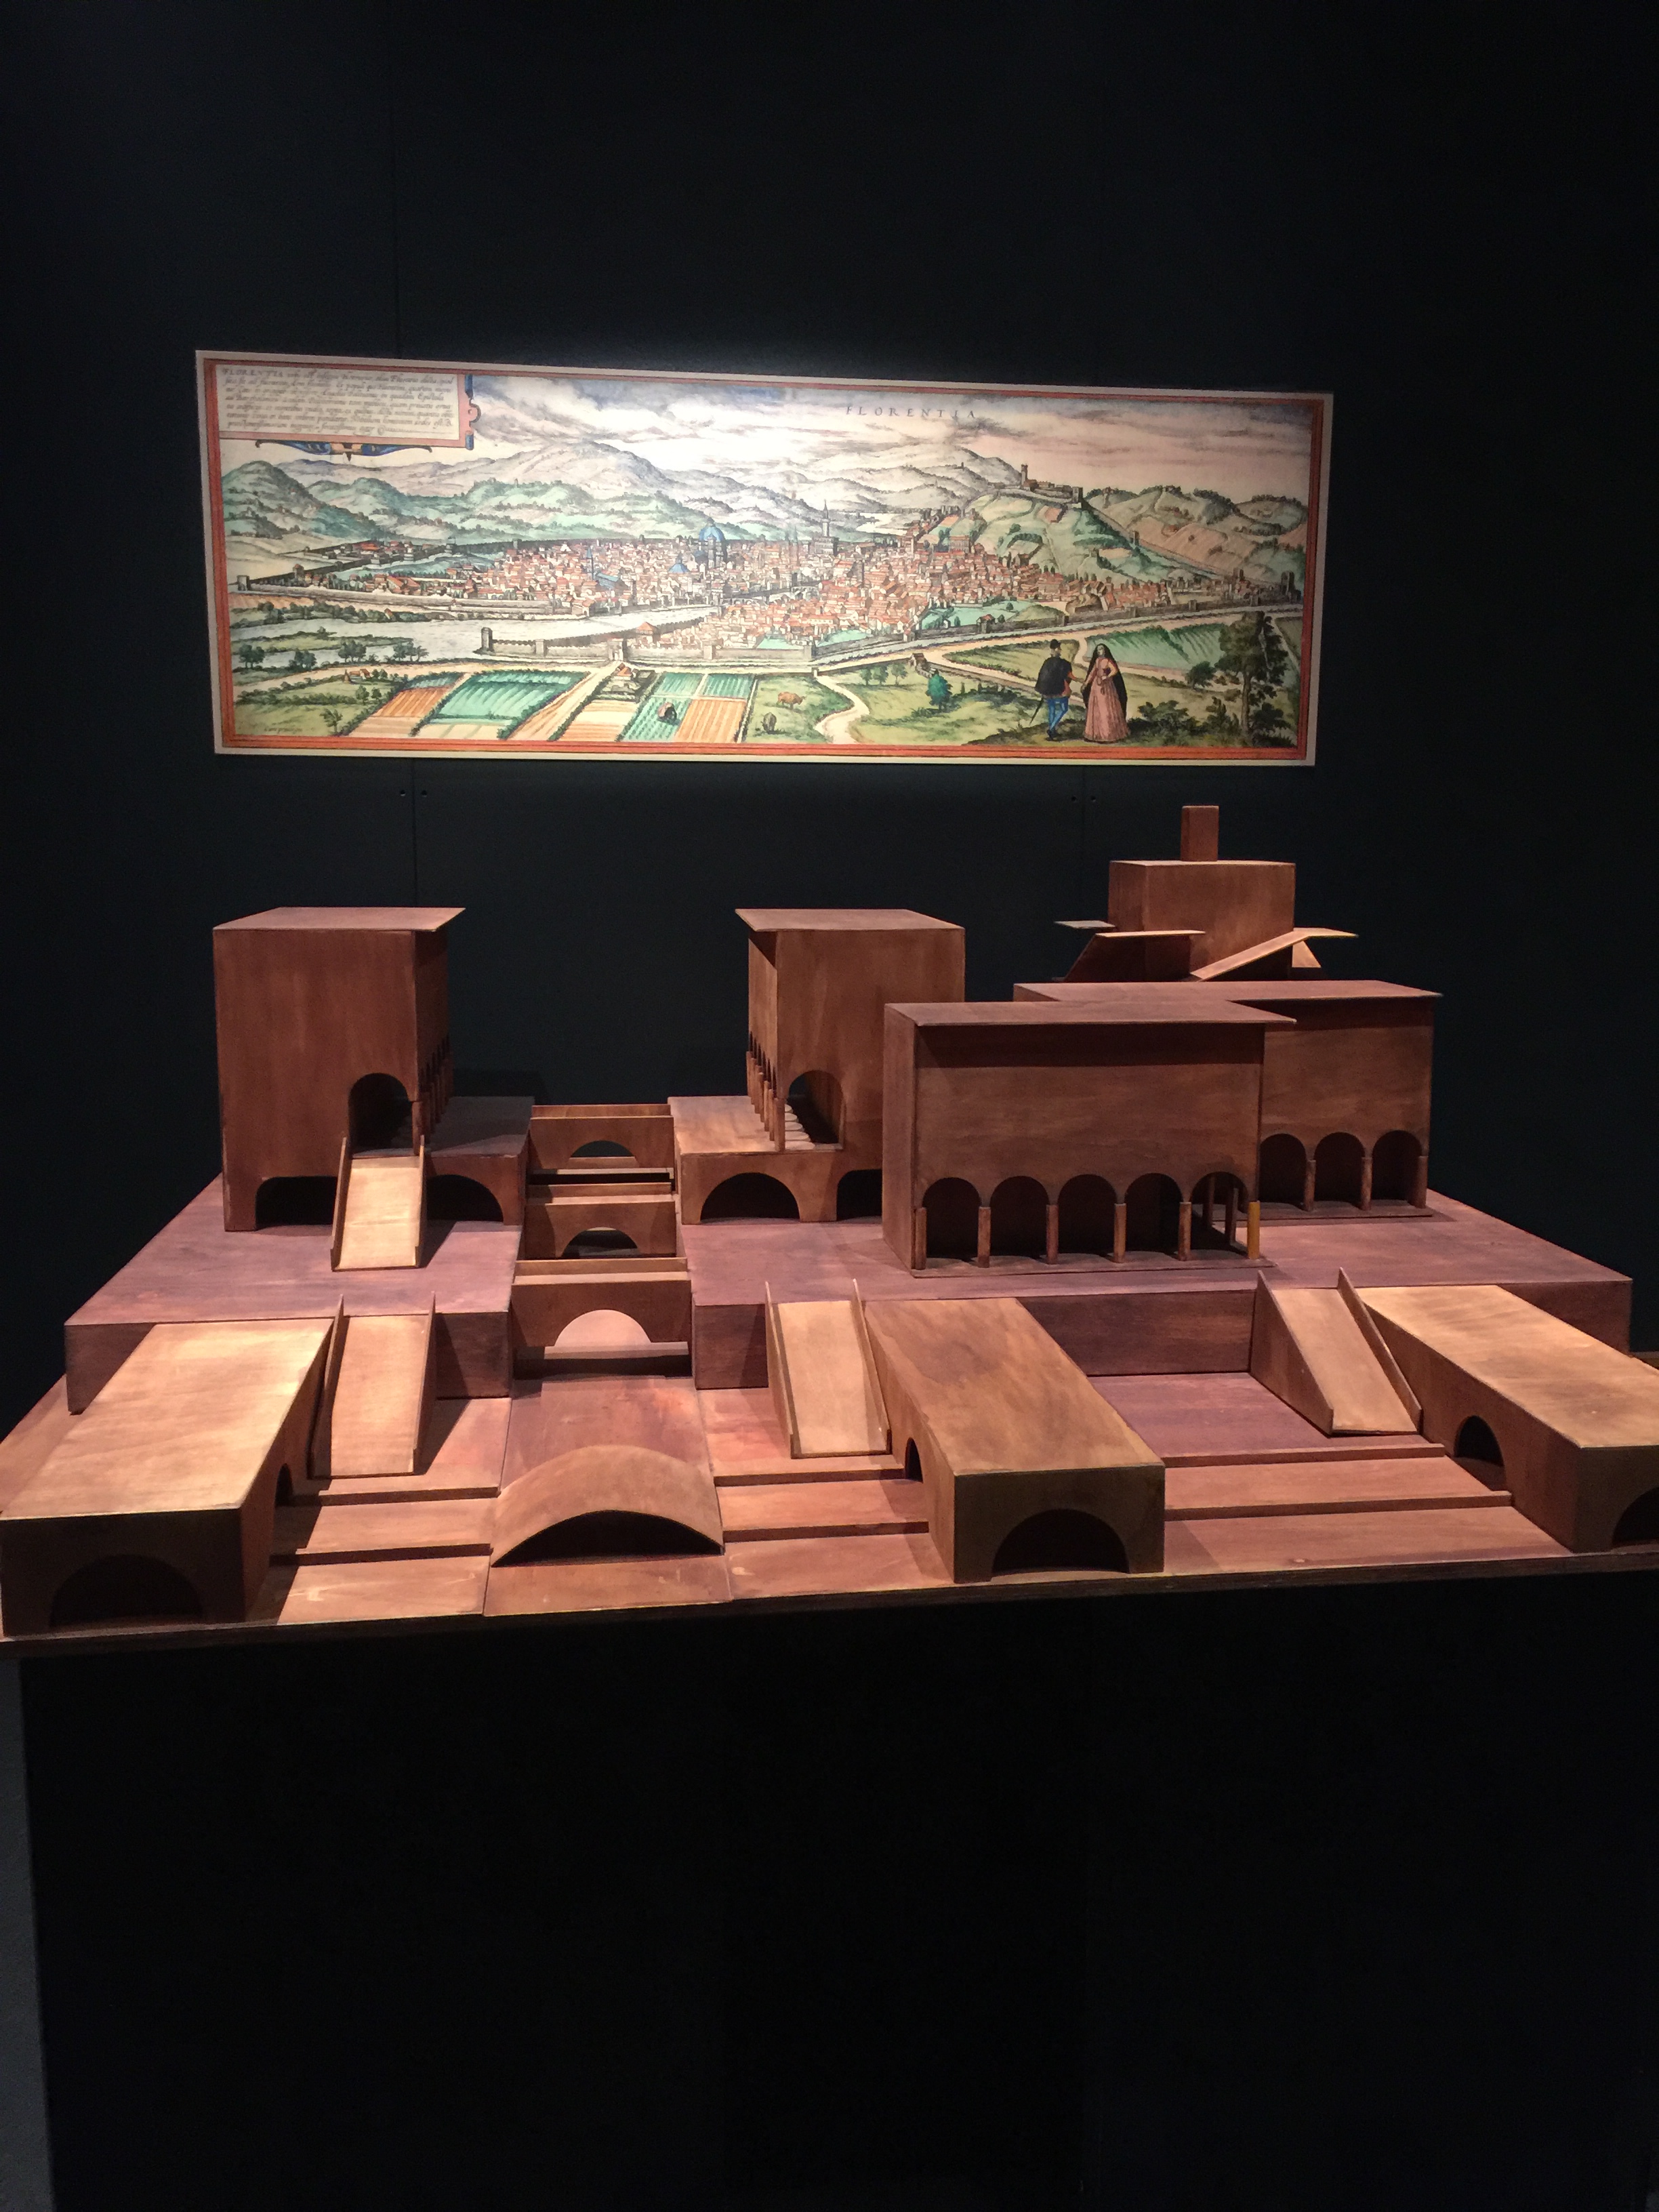
Gigantic Crossbow, with The Ideal City in the background.
The Ideal City model, built with tiers for different parts of life. Da Vinci’s ideal city idea came about after the plague had ravaged Milan, killing off nearly a third of the city’s population. Leonardo wanted to design a city that would be more united, with greater communications, services and sanitation to prevent the future spread of such diseases. His ideal city integrated a series of connected canals, which would be used for commercial purposes and as a sewage system. The city would feature lower and upper areas – the lower being canals for tradesmen and travelers and the upper being roads for “gentleman”.
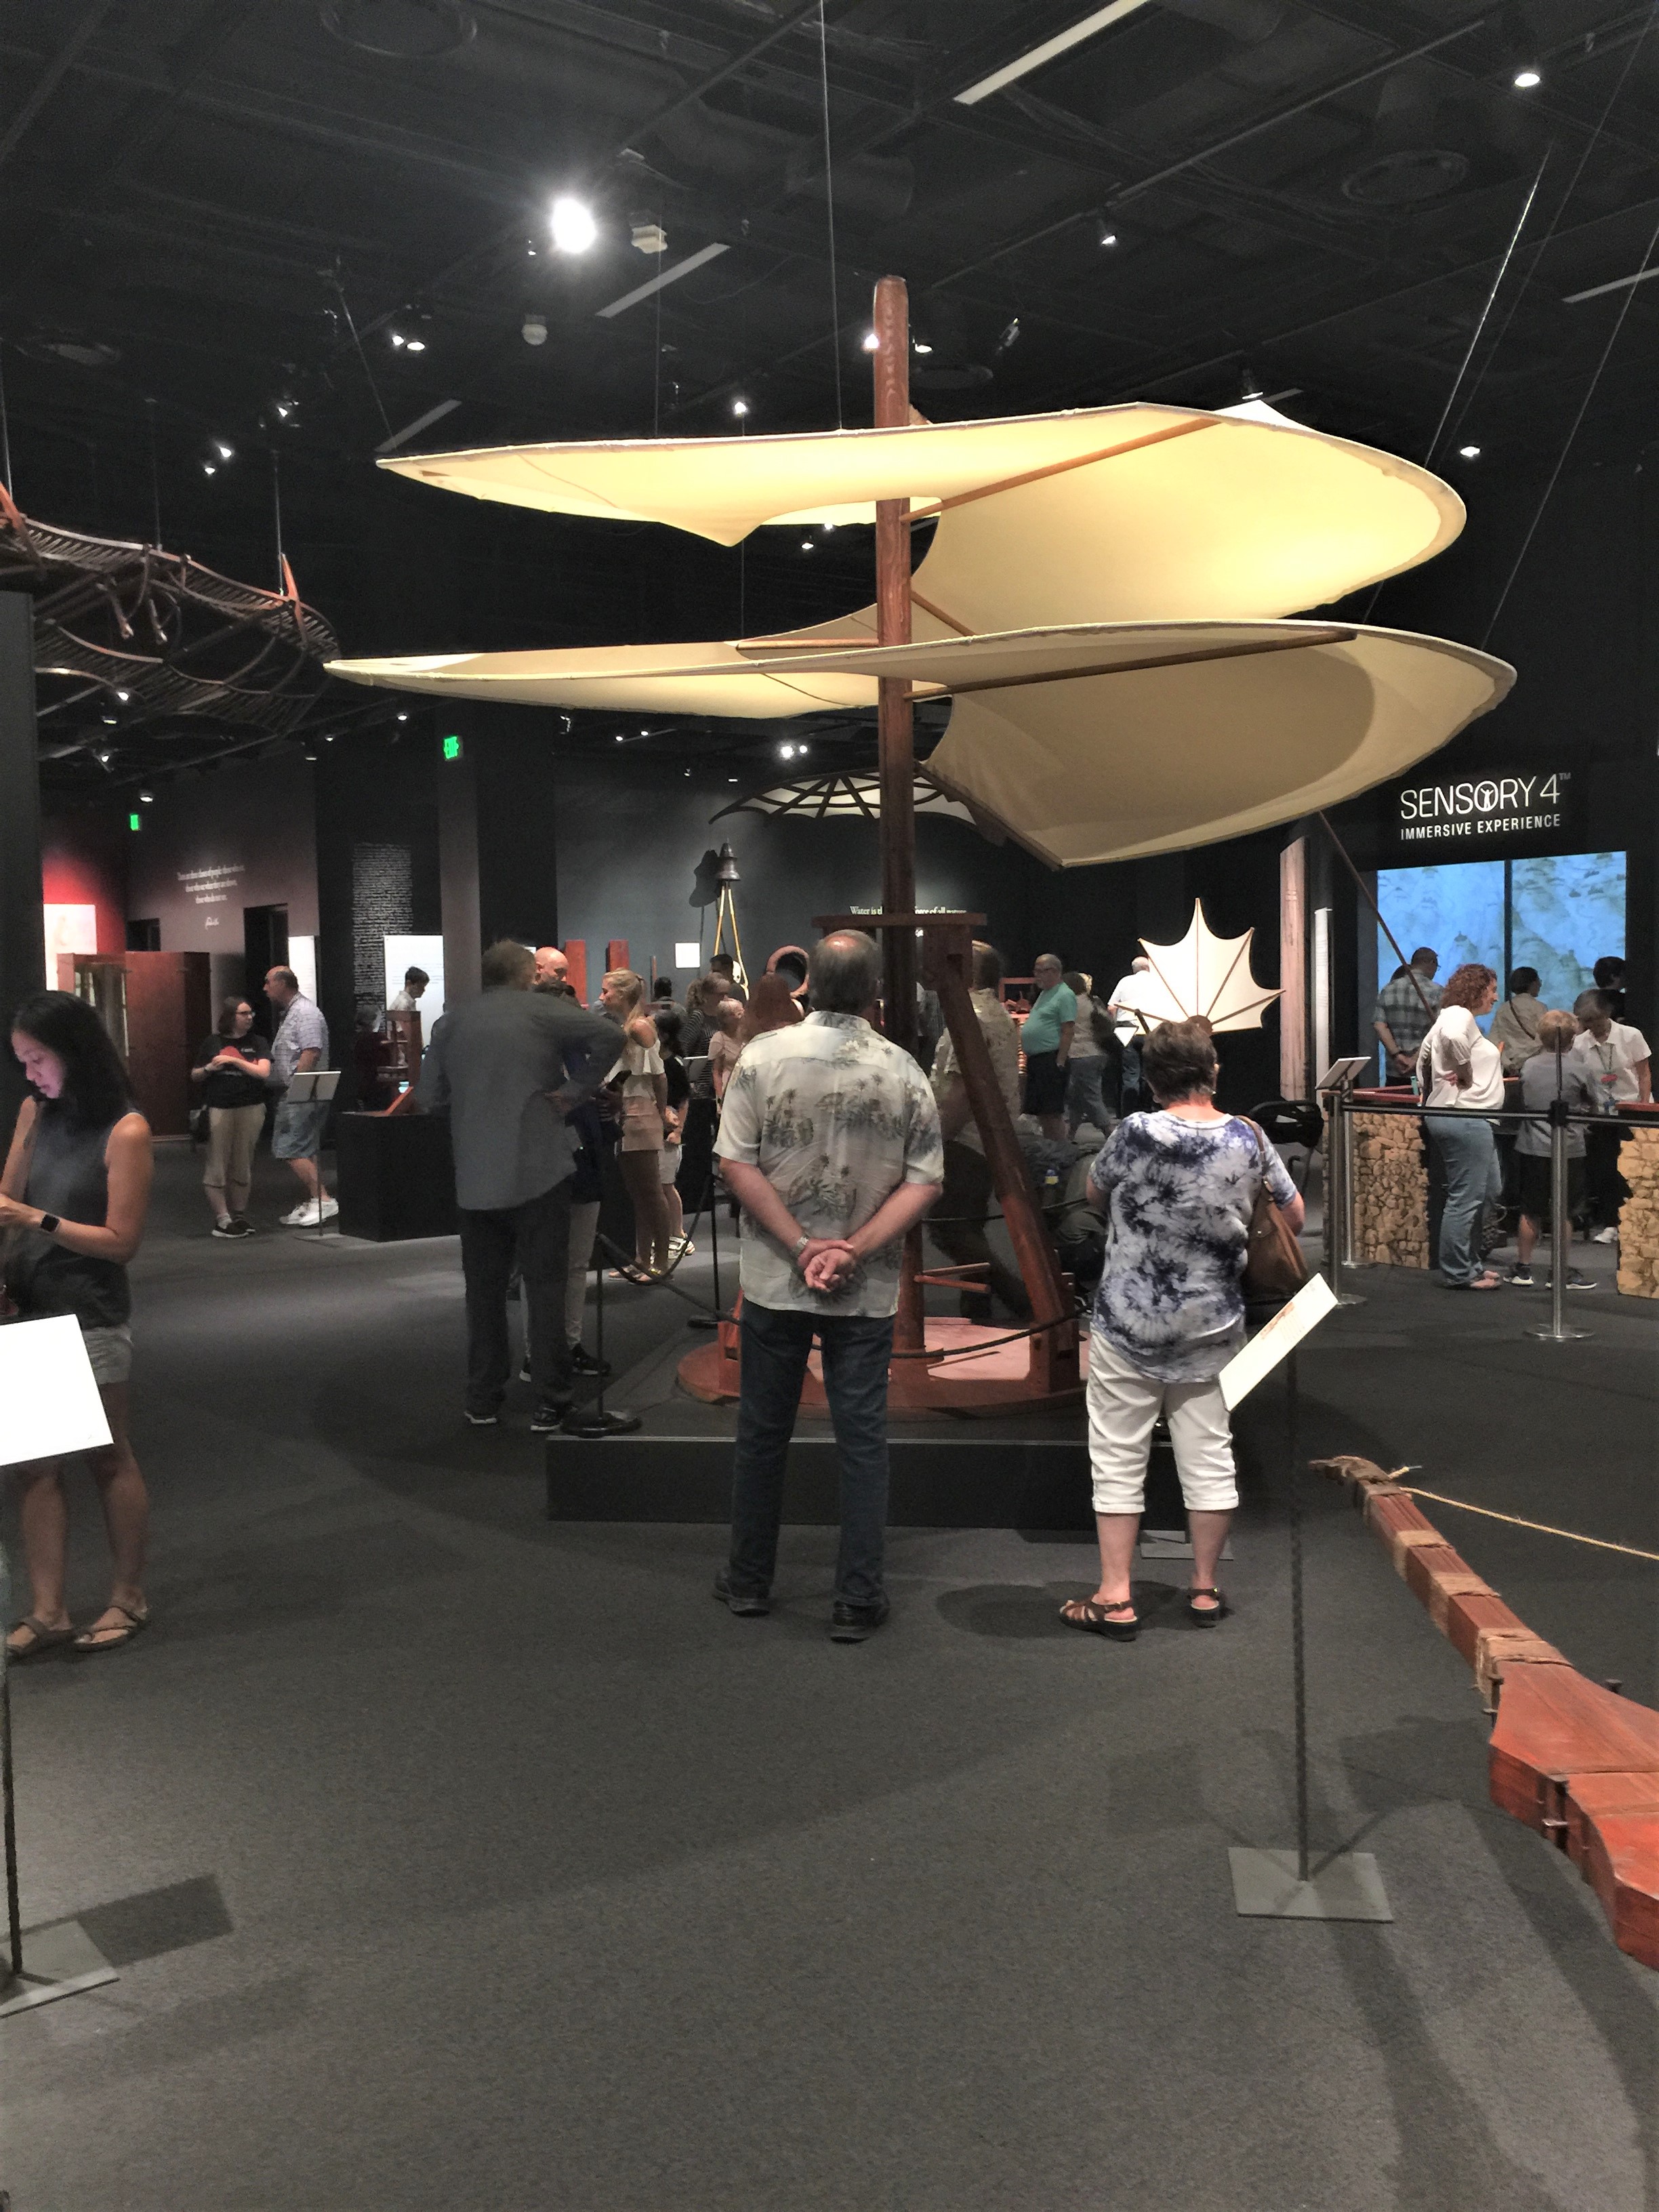
He invented many versions of flying apparatus.
The triangle cone shaped structure toward the right, is a parachute.
Another version of a flying machine
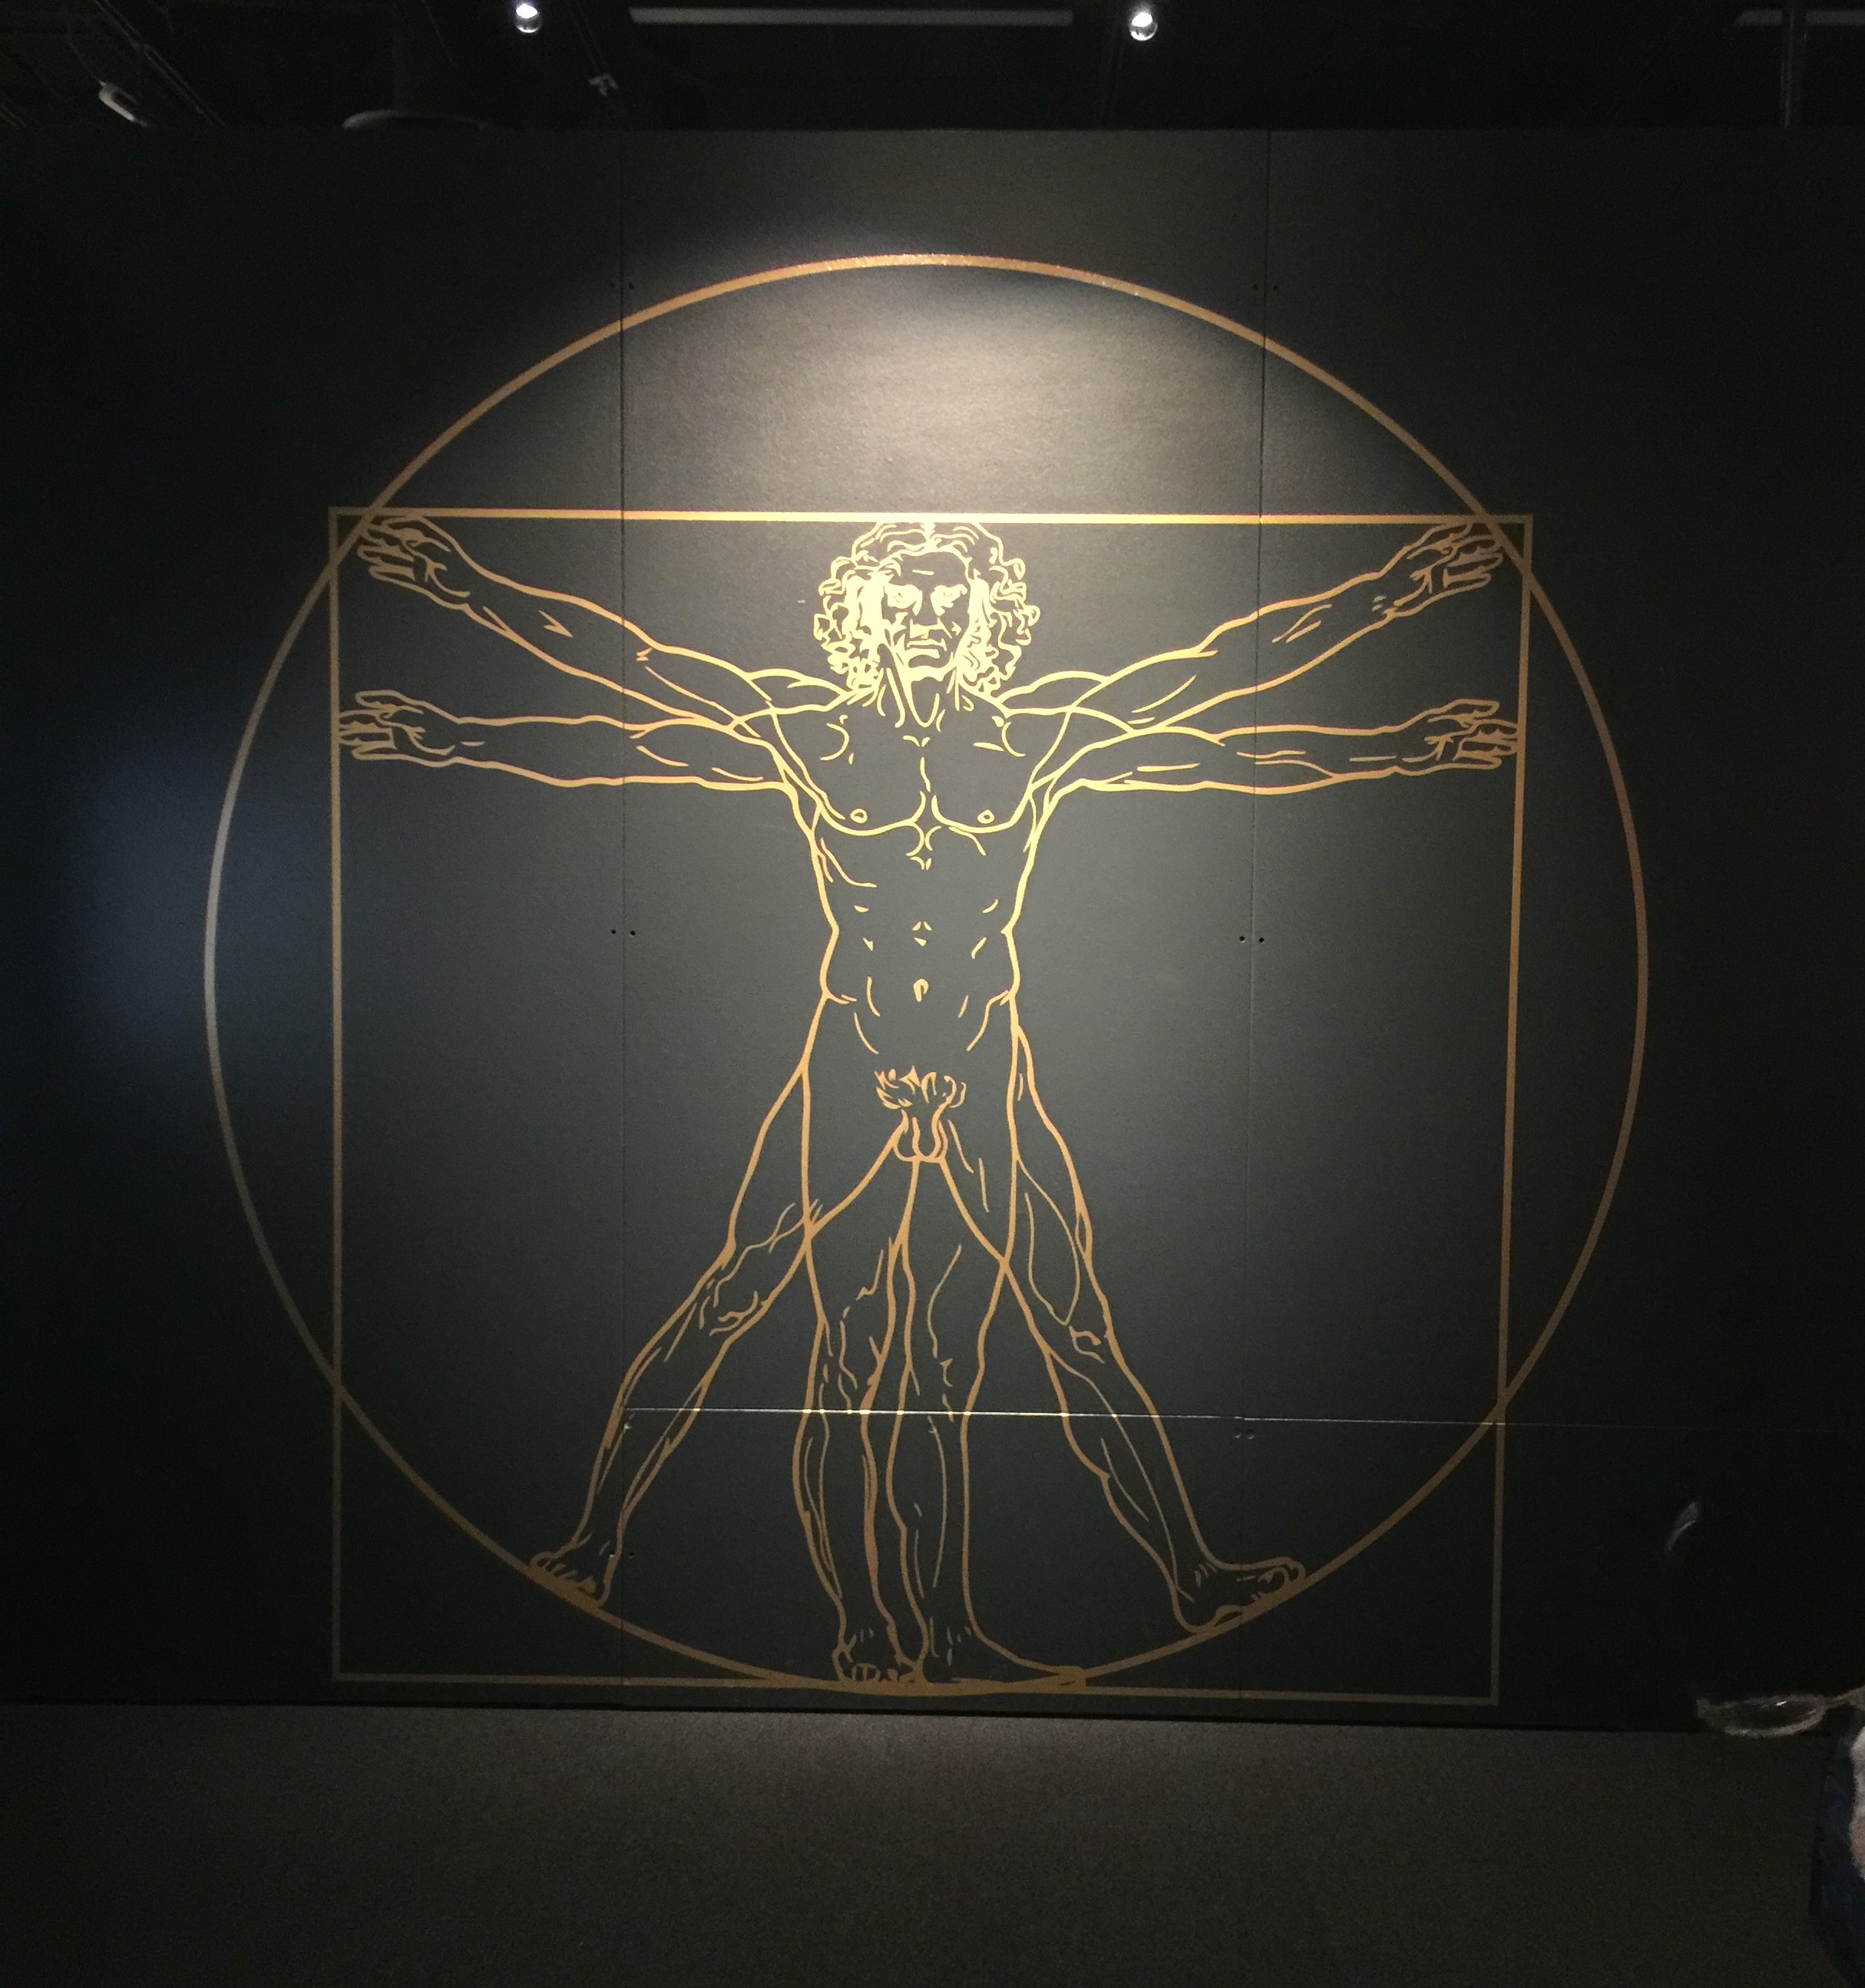
Vitruvian Man According to Leonardo’s preview in the accompanying text, written in mirror writing it was made as a study of the proportions of the (male) human body as described in Vitruvius’ De architectura 3.1.2–3, which reads: “For the human body is so designed by nature that the face, from the chin to the top of the forehead and the lowest roots of the hair, is a tenth part of the whole height; the open hand from the wrist to the tip of the middle finger is just the same; the head from the chin to the crown is an eighth, and with the neck and shoulder from the top of the breast to the lowest roots of the hair is a sixth; from the middle of the breast to the summit of the crown is a fourth”.
Insightful!
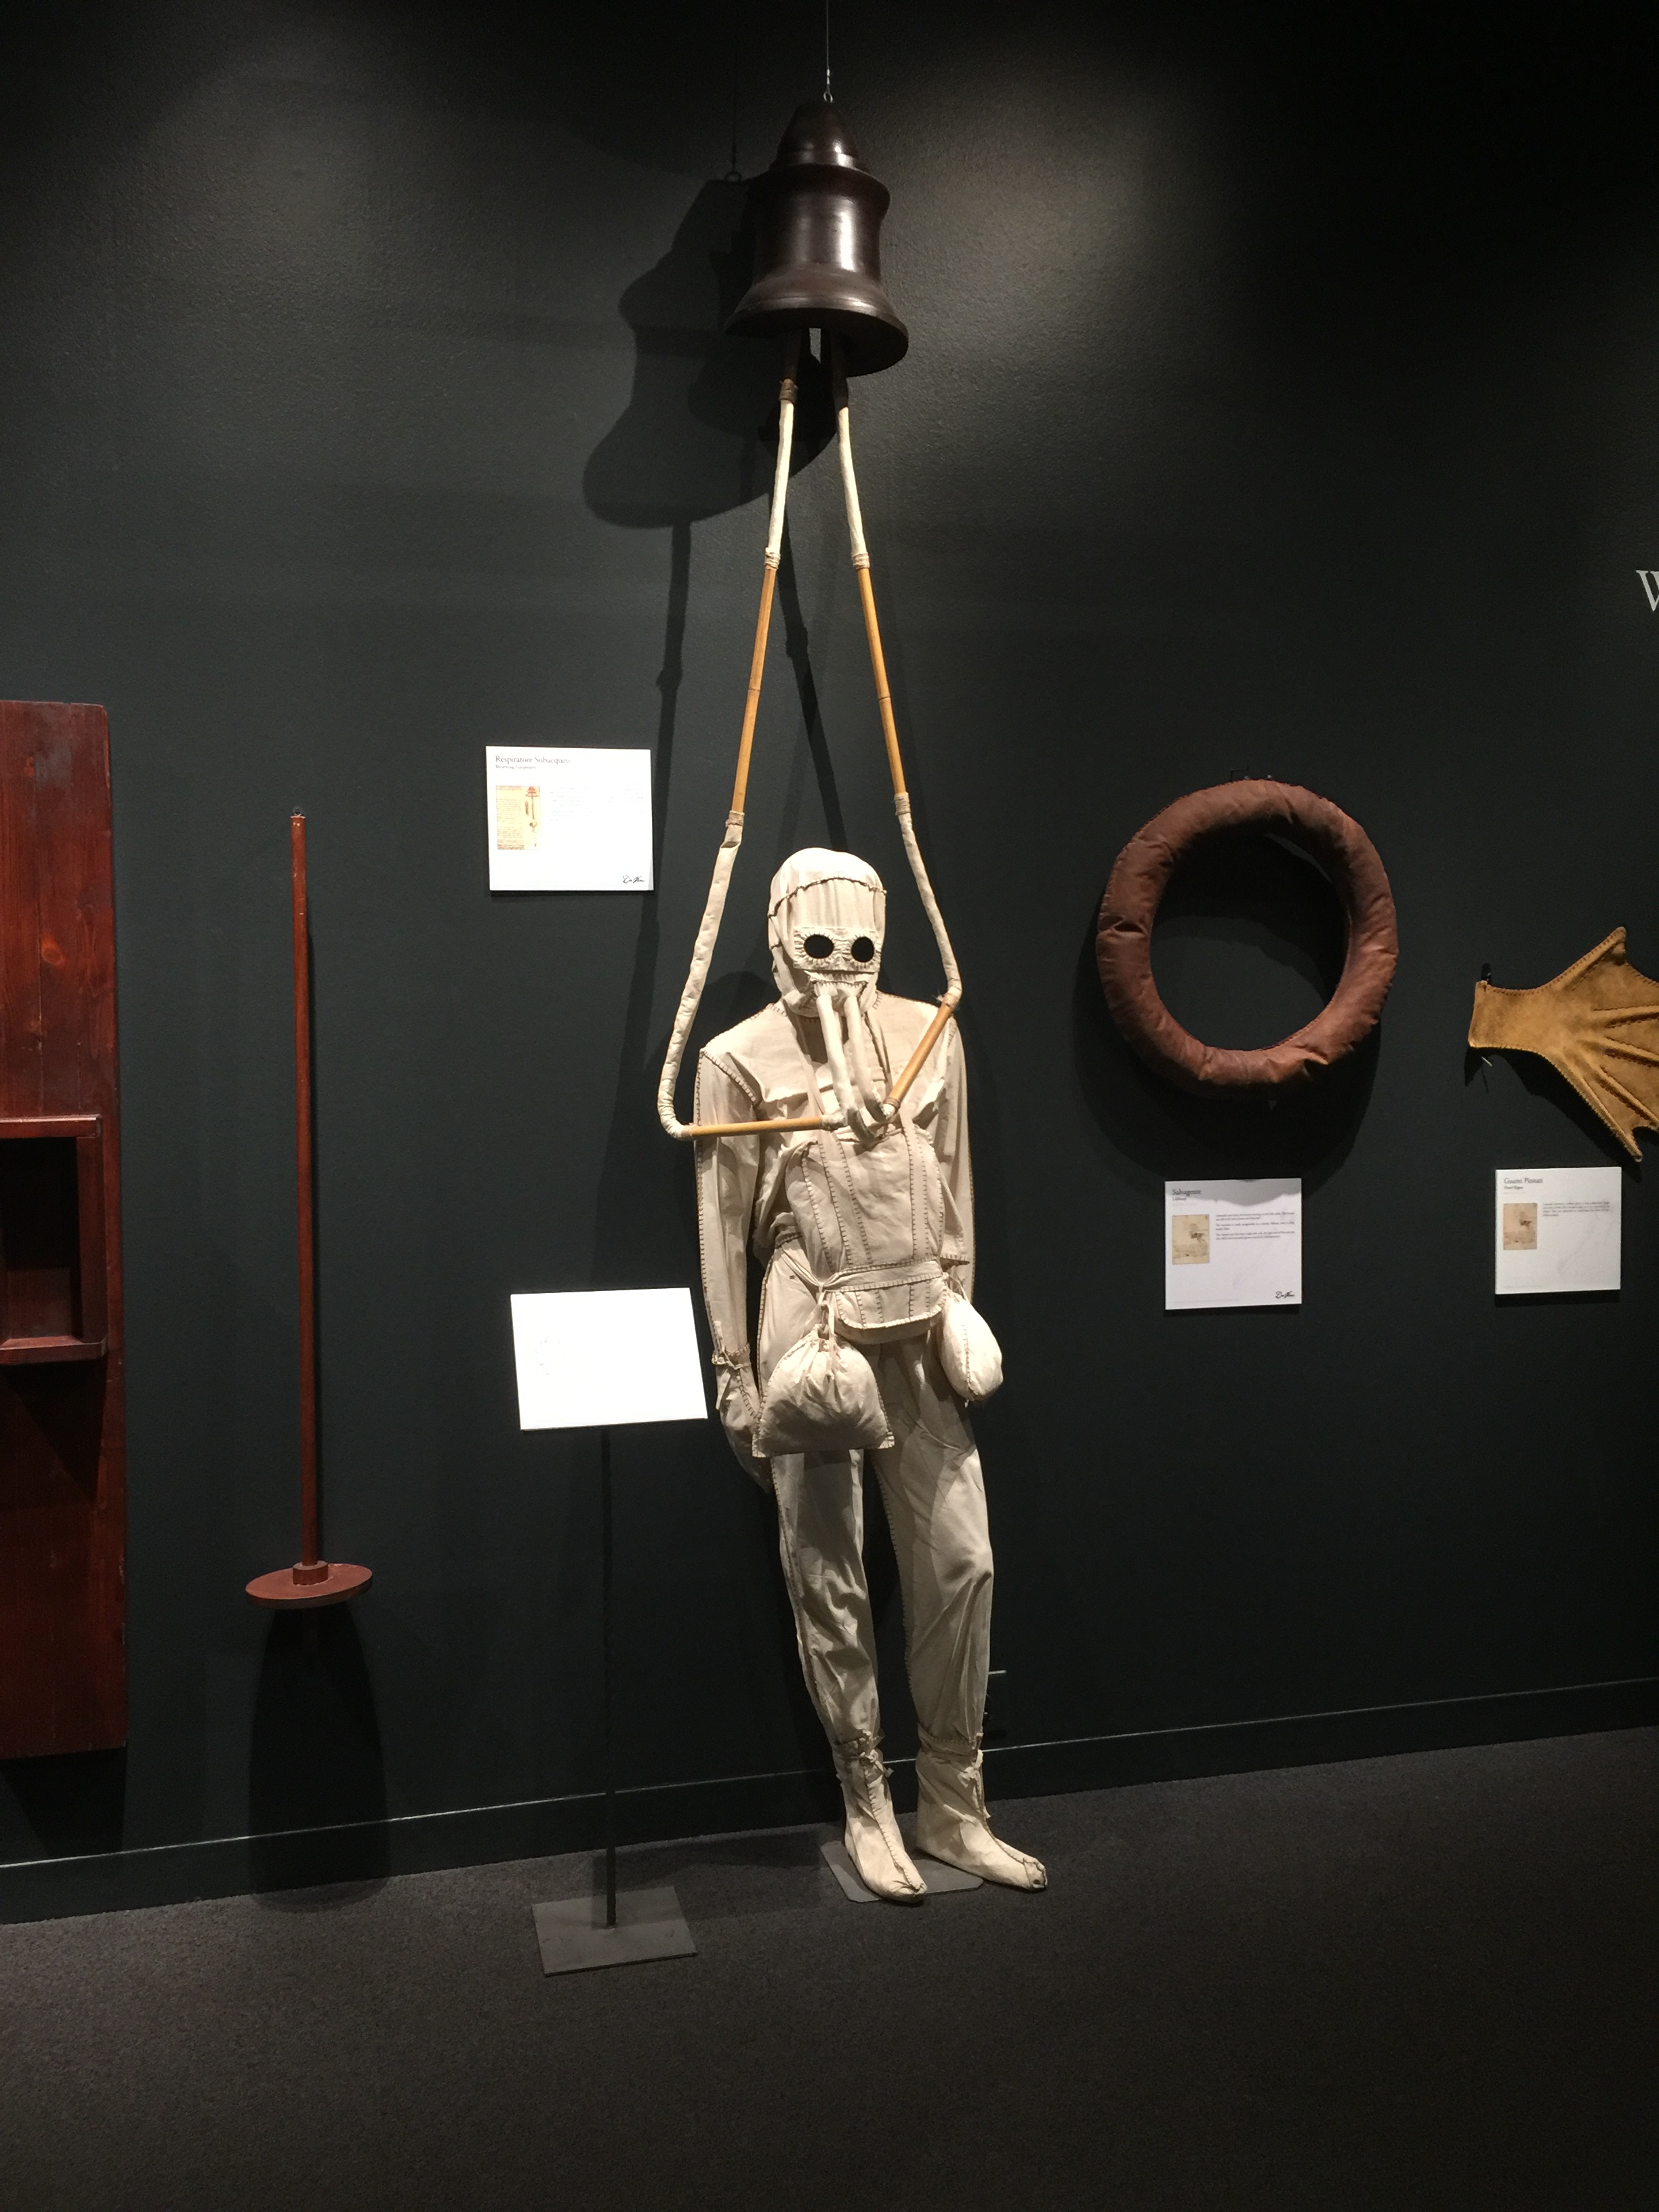
Early scuba diver outfit
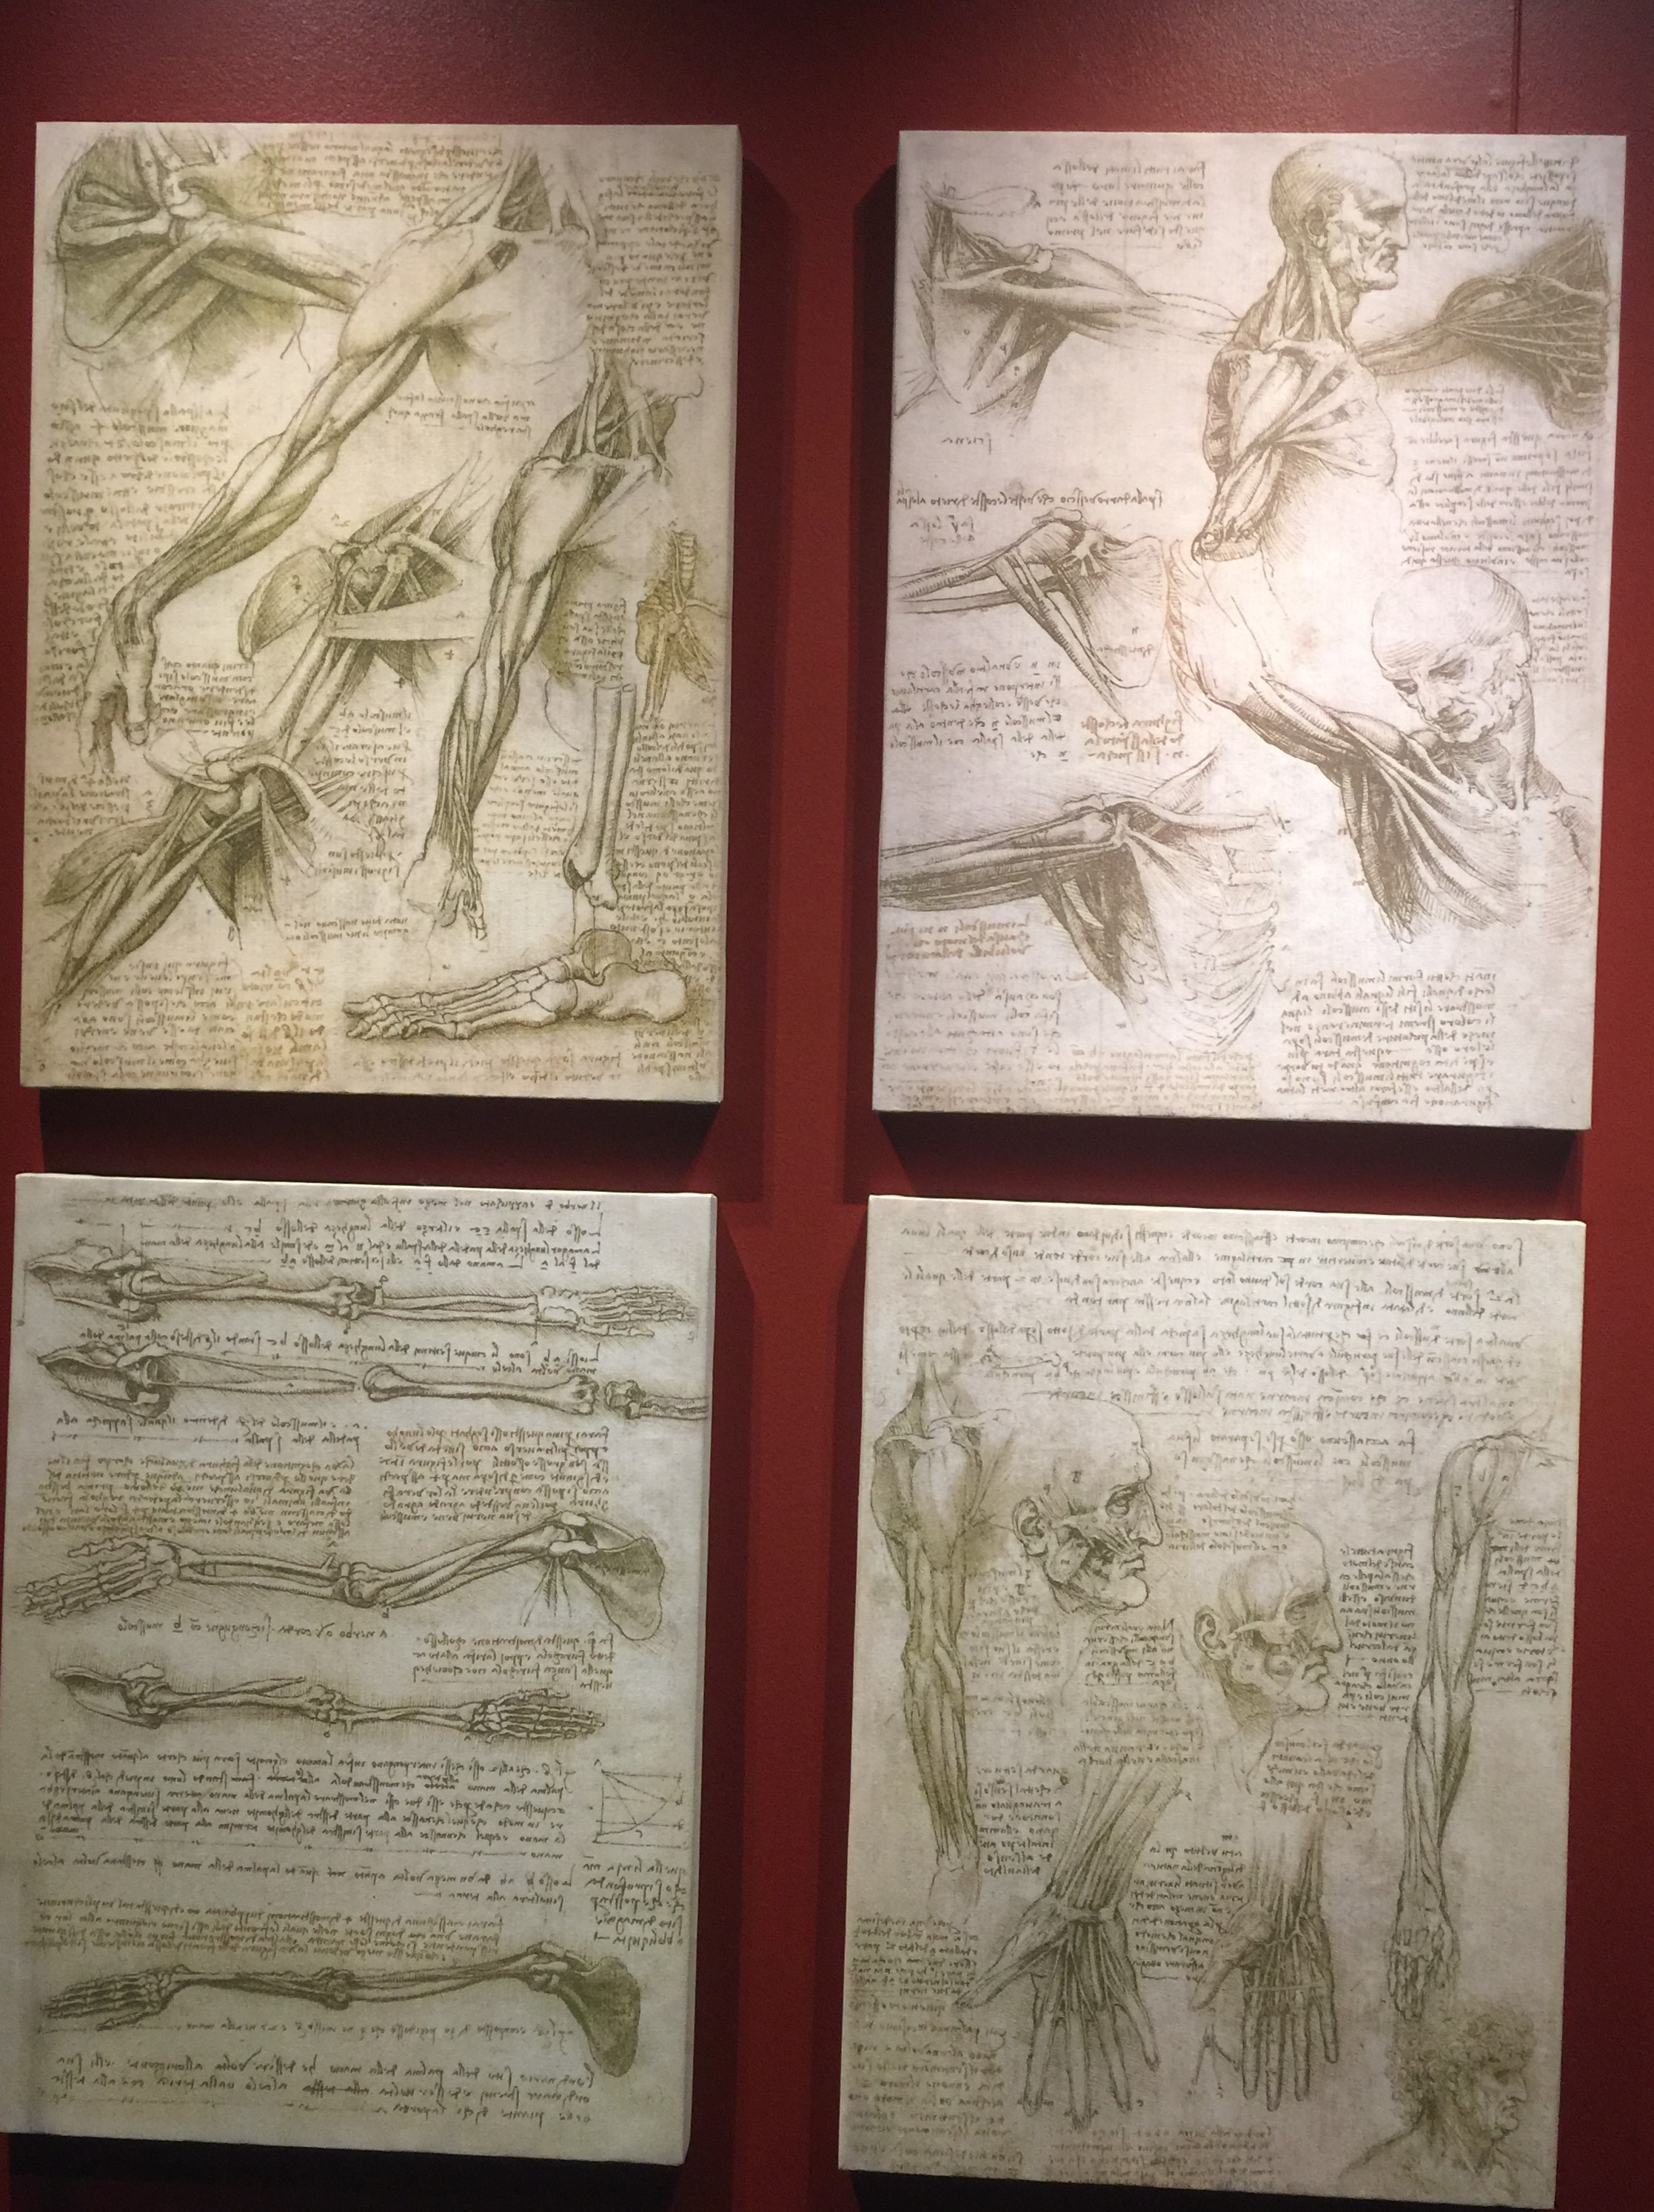
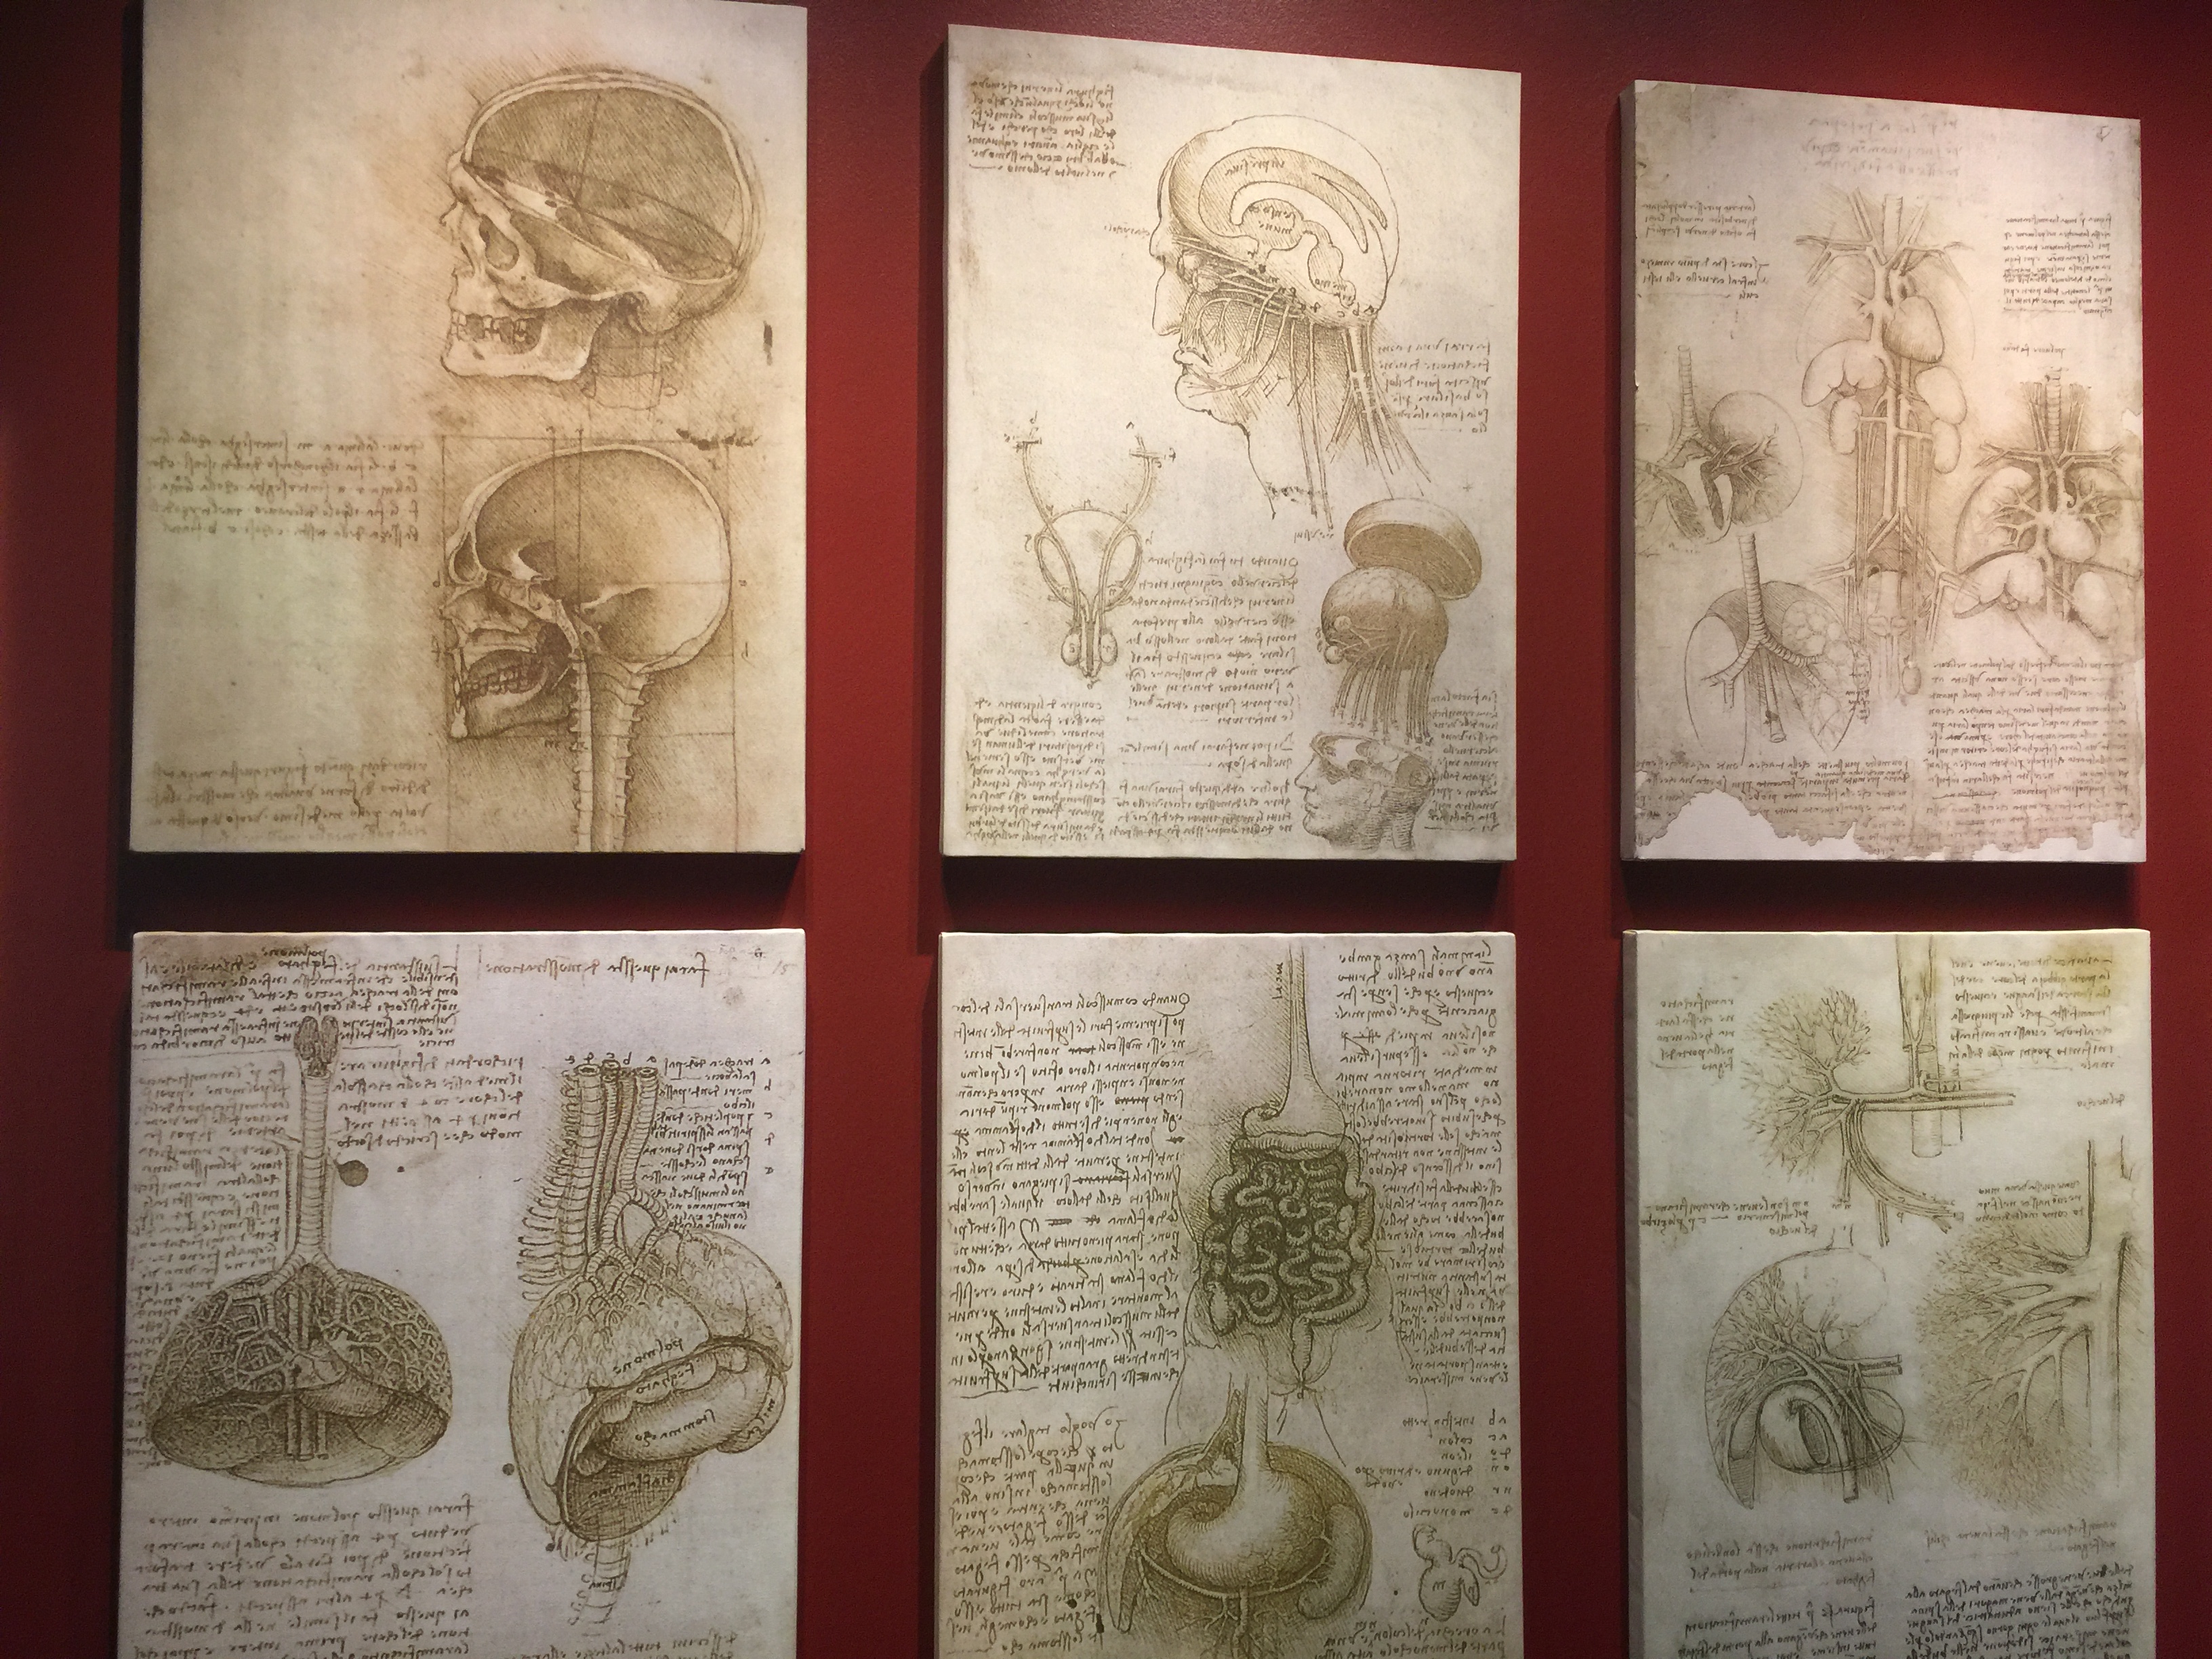
Sketches of the human body The Anatomical Manuscript B is kept at the Royal Library at Windsor Castle. In it he made a number of pen-and-ink drawings recording his observations while dissecting an old man who had died in a hospital in Florence in the winter of 1507-08
The notebooks, which date between 1452 and 1519, contain incredibly detailed images of the human body
He would dissect dead human remains and then draw what he saw. Dissection was completely illegal unless one was a physician, which da Vinci was not. It is believed that da Vinci would get grave robbers, and eventually a hospital director to get him cadavers to study. da Vinci hid all of this anatomical drawings and kept them secret because of the illegal nature of what he was doing. He was able to identify not only muscles and bones, but also their functions in the body, which was an incredible breakthrough. He dissected bodies illegally at first, but eventually got special permission from the catholic church to dissect and sketch what he learned for a medical book.
The Mona Lisa is his most famous and most parodied portrait.
We attended a beautiful wedding for a close family friend. Kristine Bachicha and Caleb Hintz were married in a lovely outdoor garden at The Chateaux at Fox Meadows.
Kristine Bachicha Hintz and her beautiful mom, Lisa!
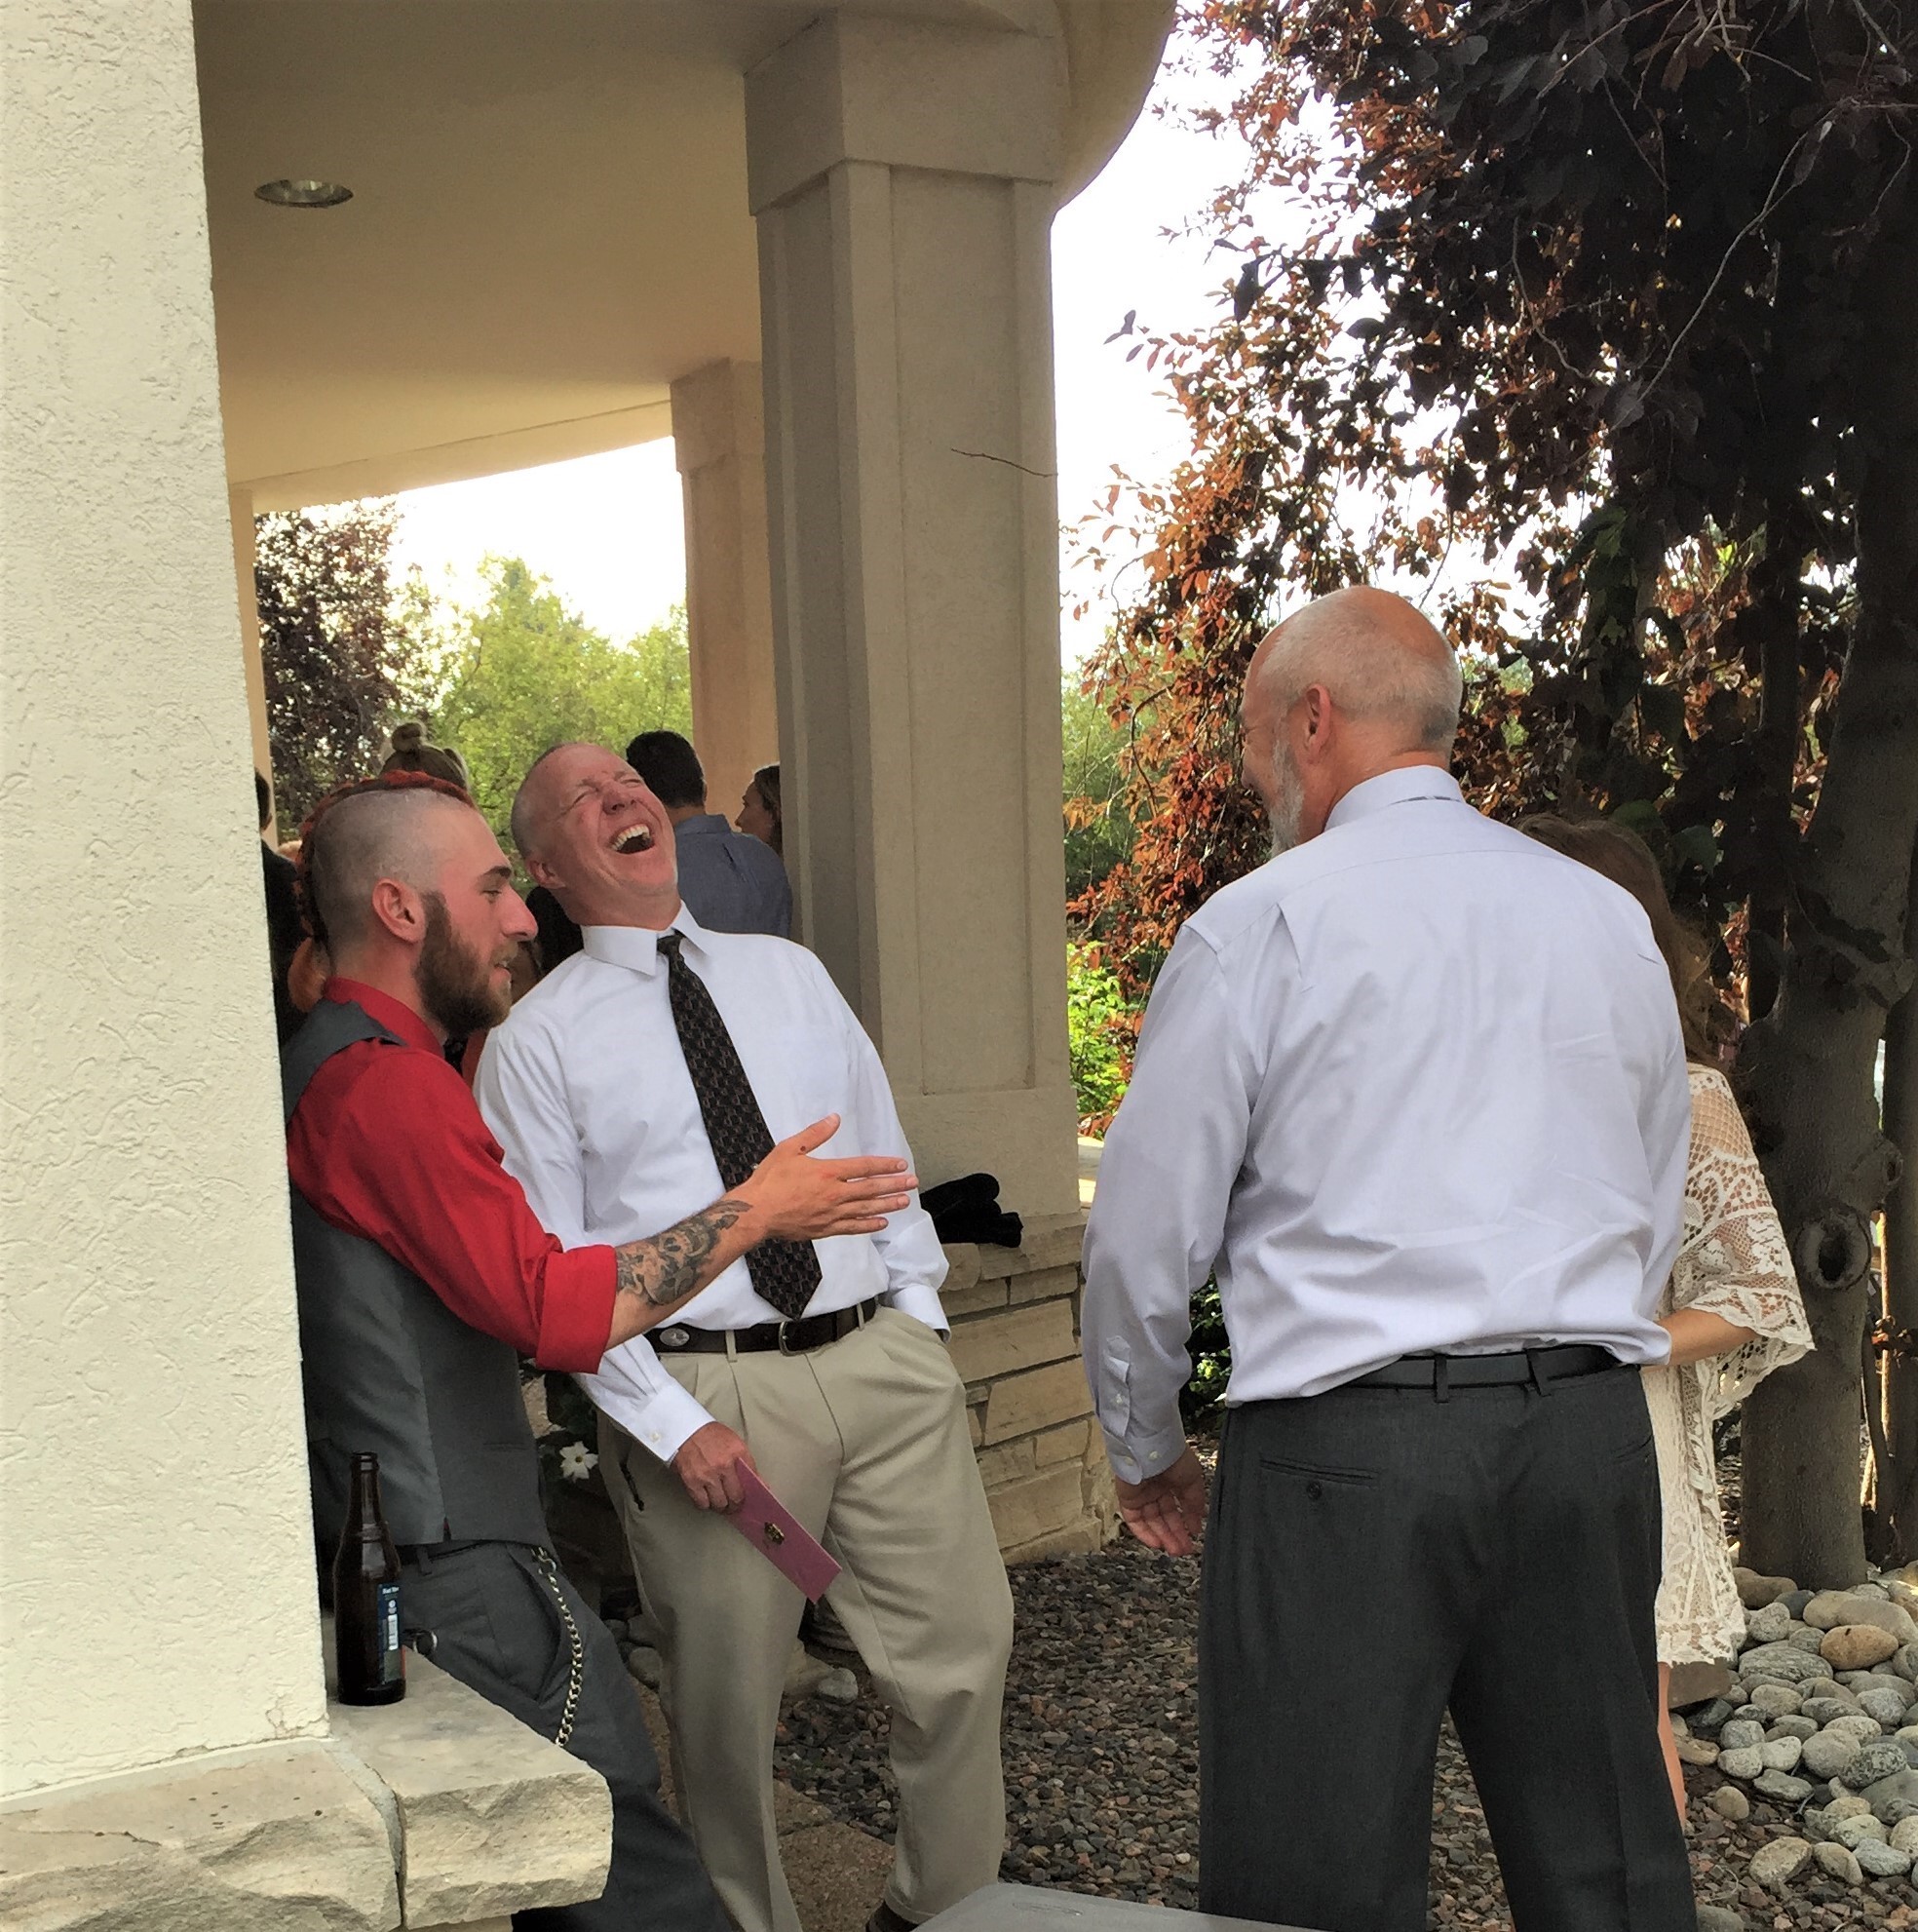
Michael, Bob Bachicha (father of the bride) and Shannon Wood. Buddies for many years.
Charlie’s angels coming off the dance floor, Lisa and Susie!
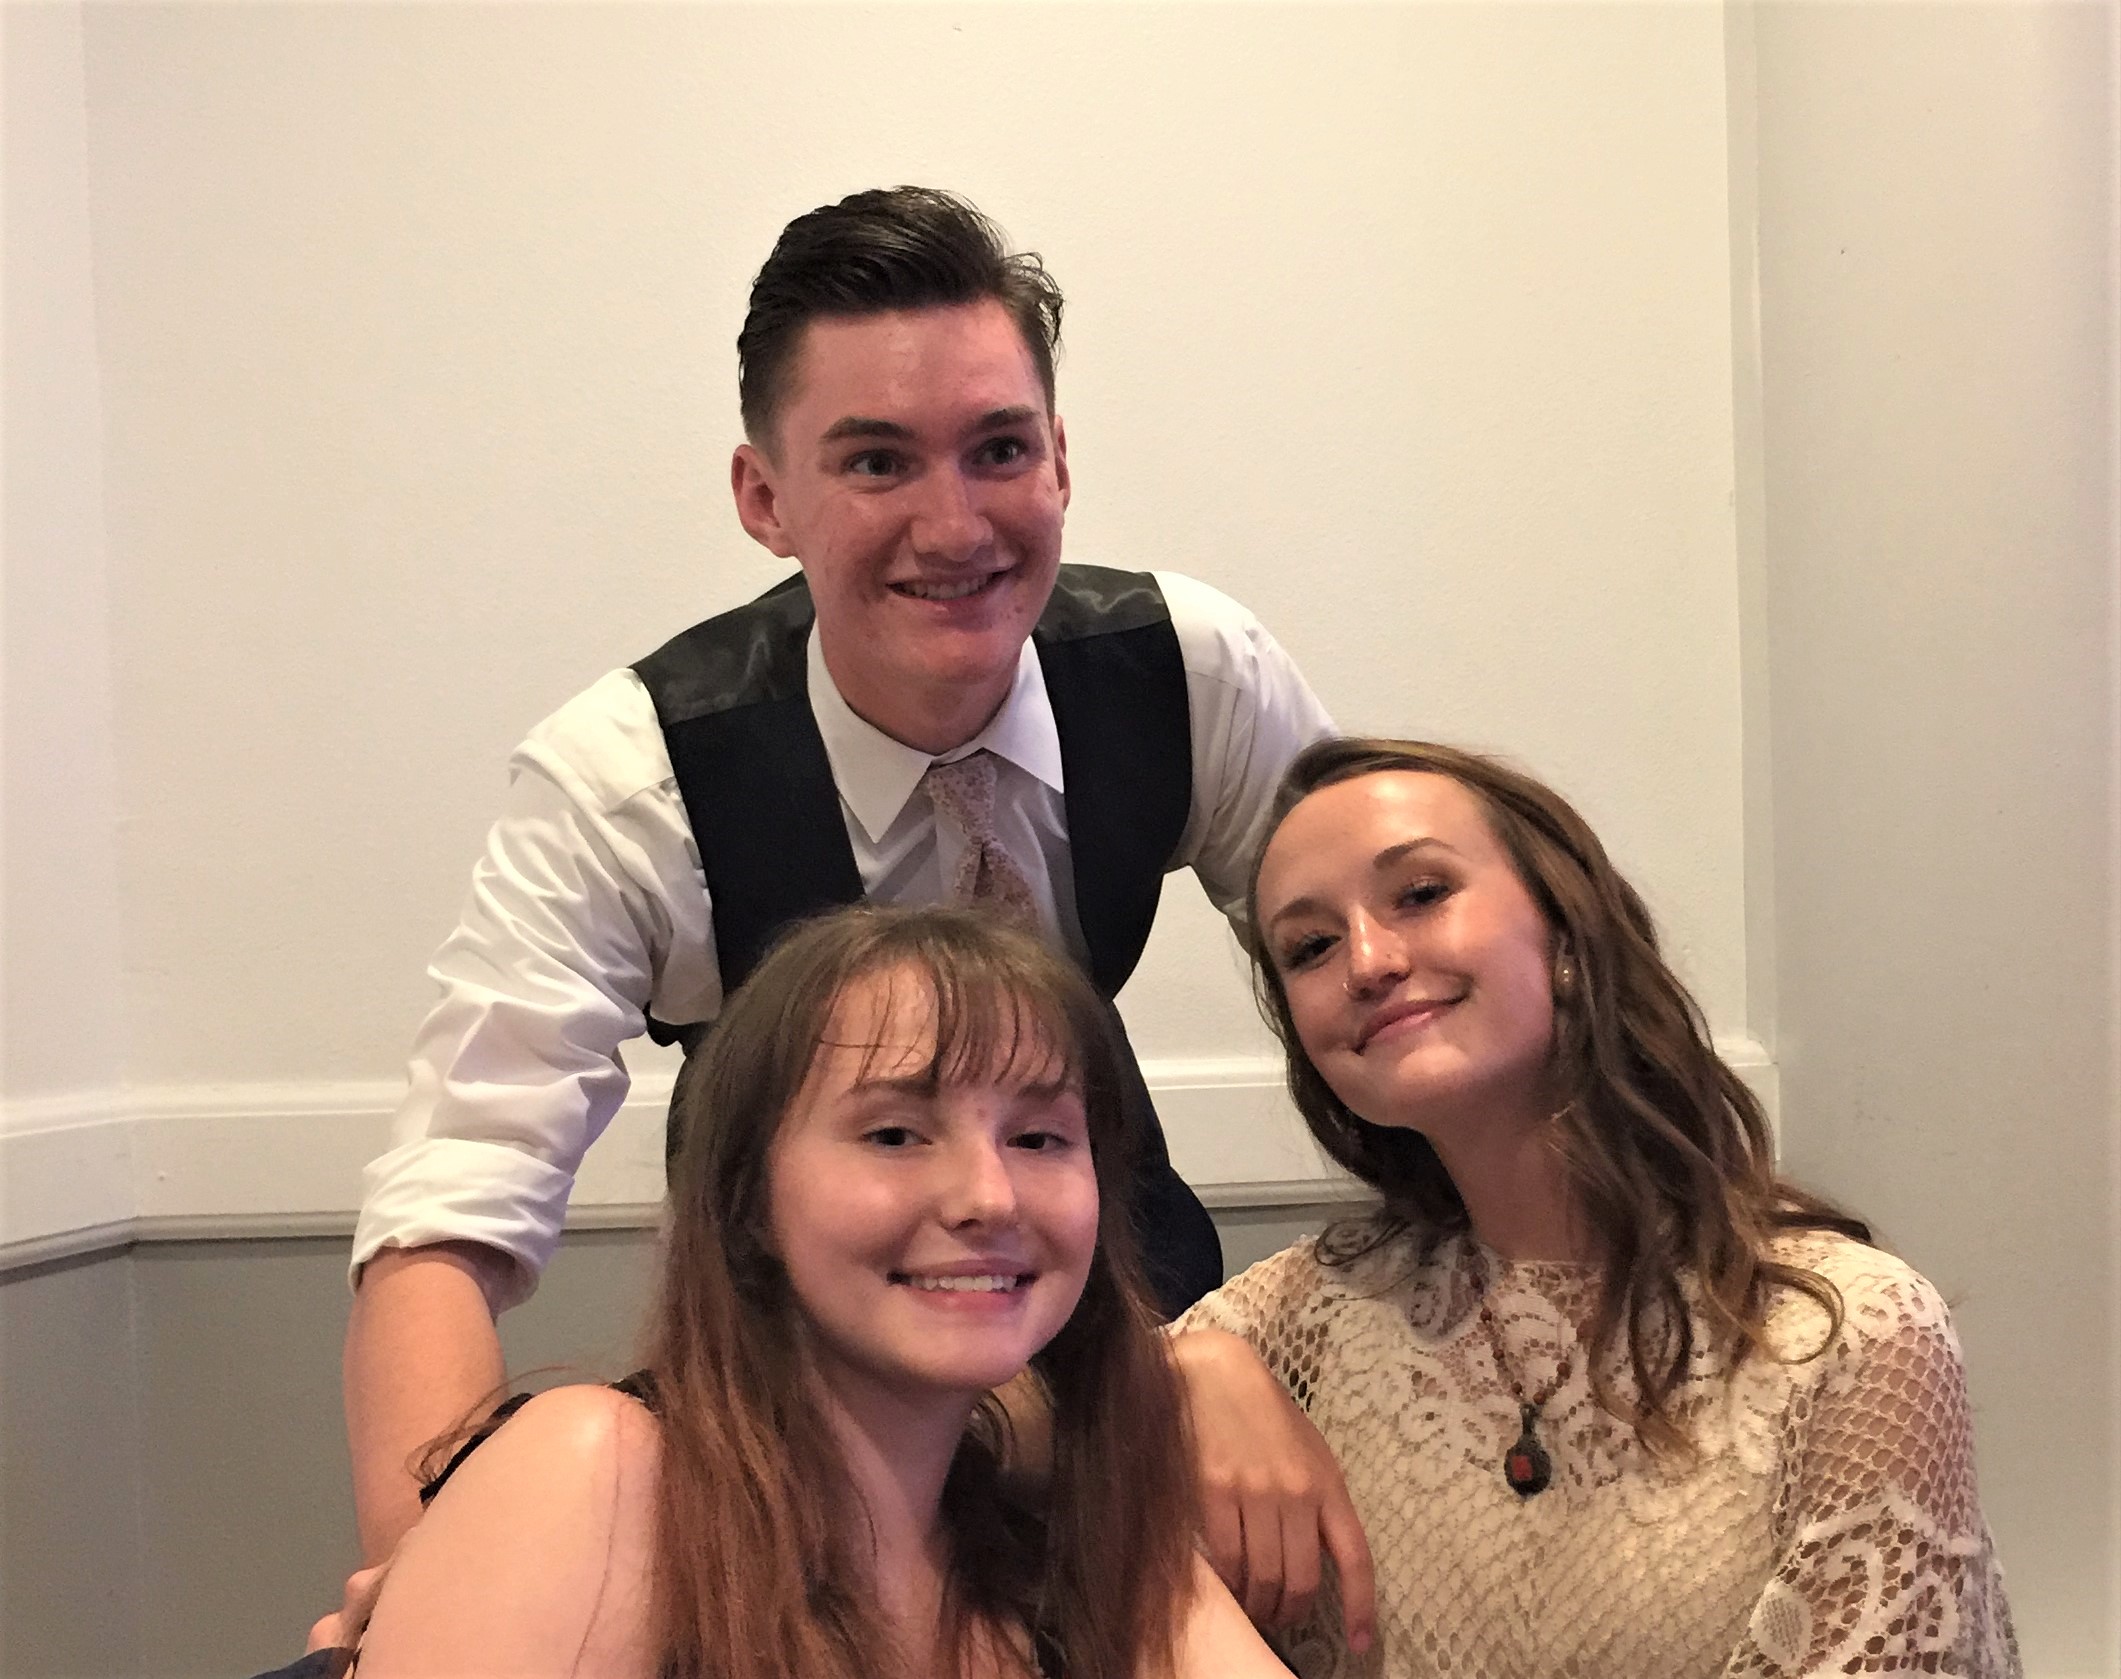
Josh Bachicha, Kasey and Lauren at the reception.
Lisa, Mason and Sadie Wood enjoying the evening!
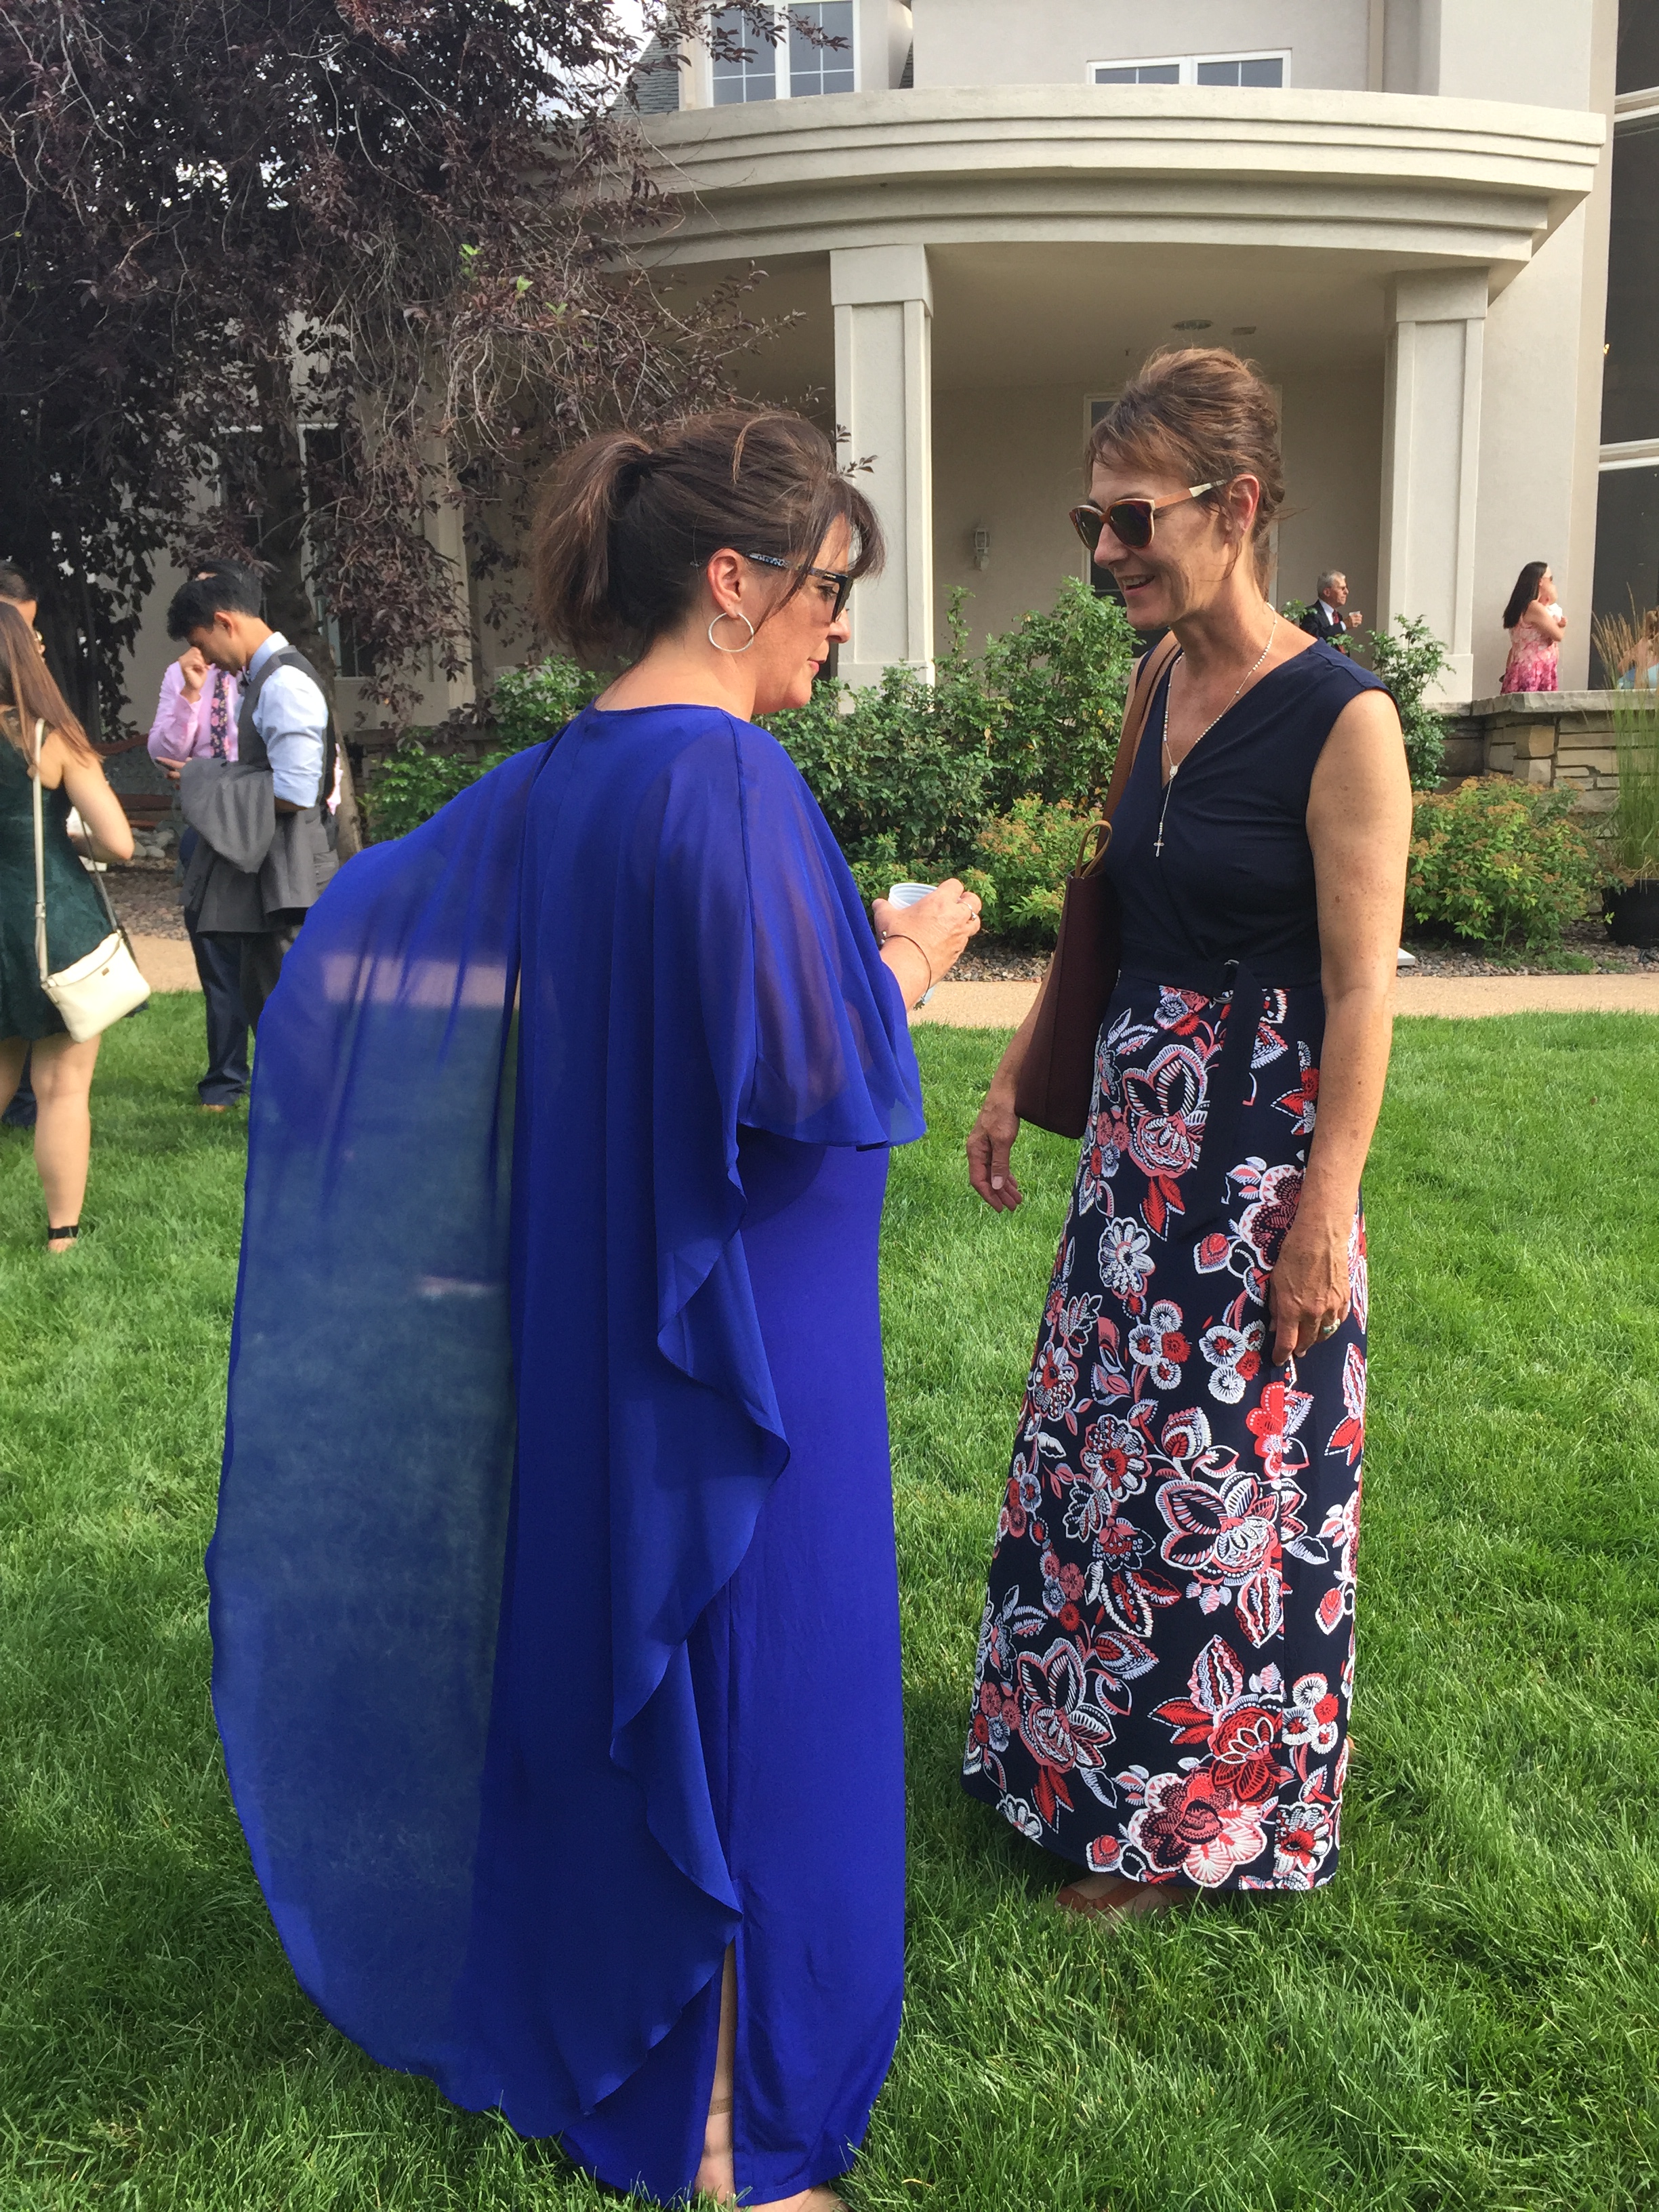
Nikki and Lisa Wood, looking as lovely as ever!
Kasey and Michael in the garden.
Nikki and Susie relishing the details of the ceremony.
Mason is entertaining Shannon and Michael before the reception.
Kasey looking gorgeous with her newly cut bangs!
Susie with her sunbrella, happy to be at the event!
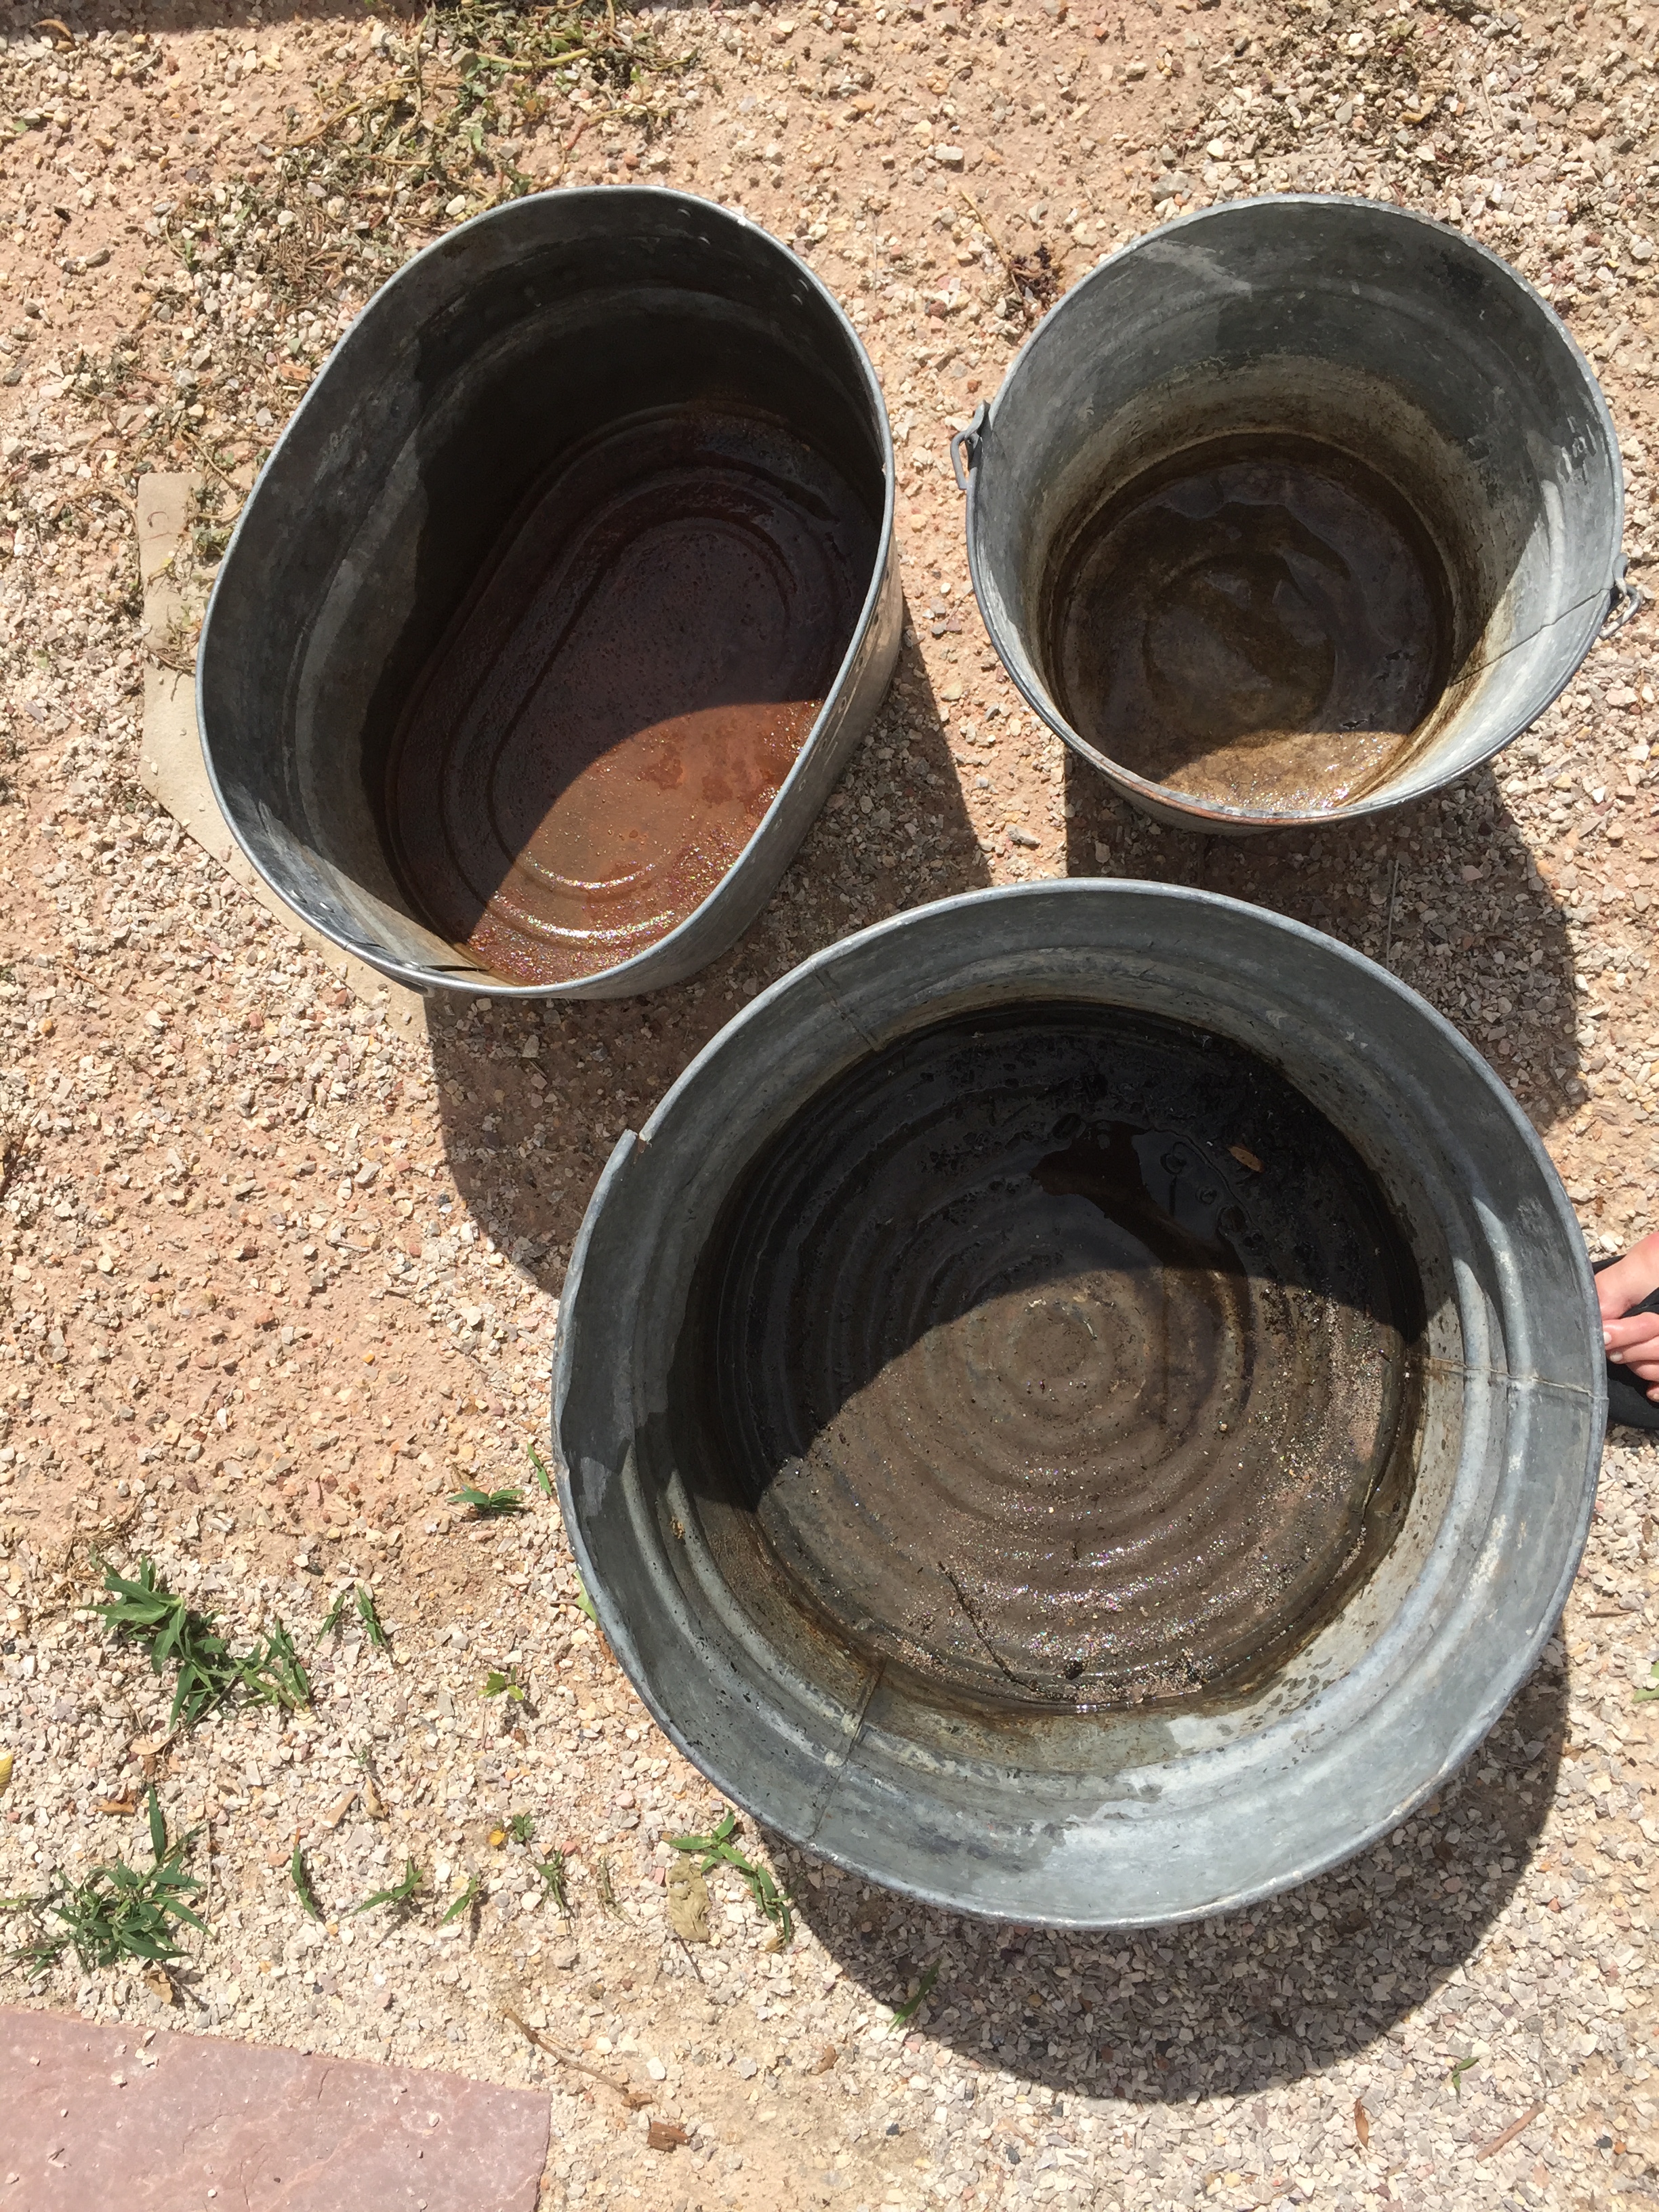
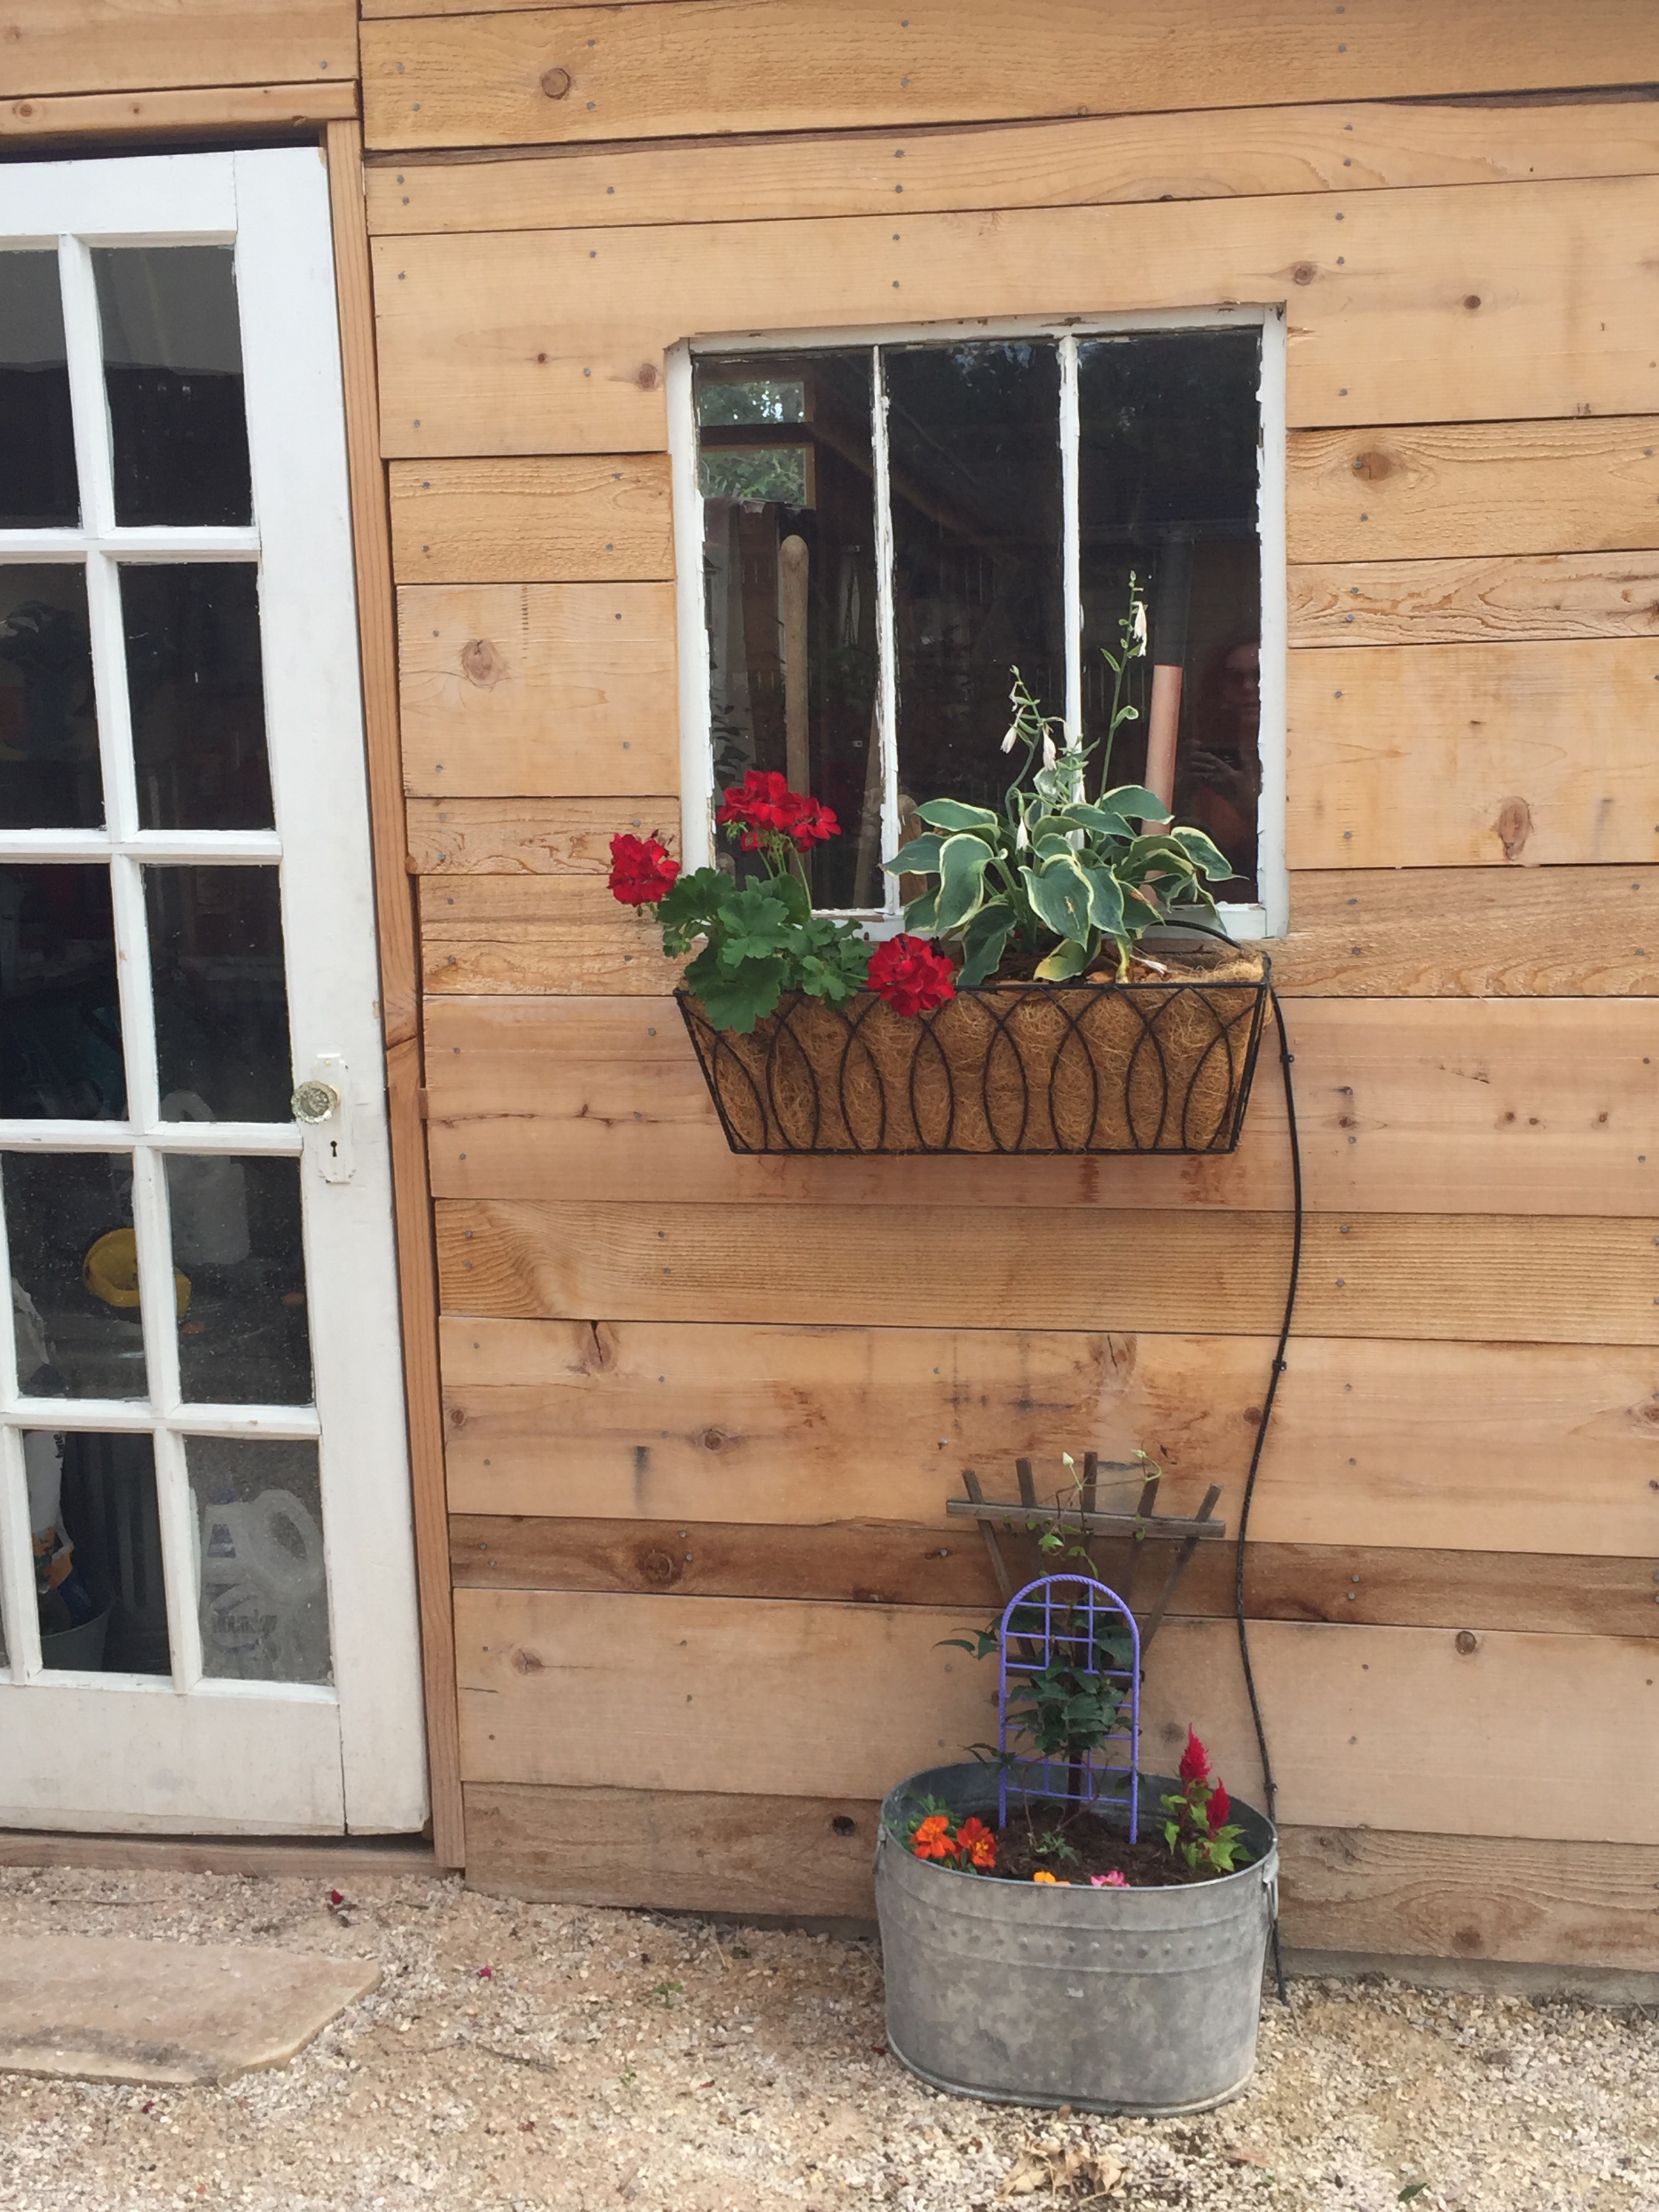
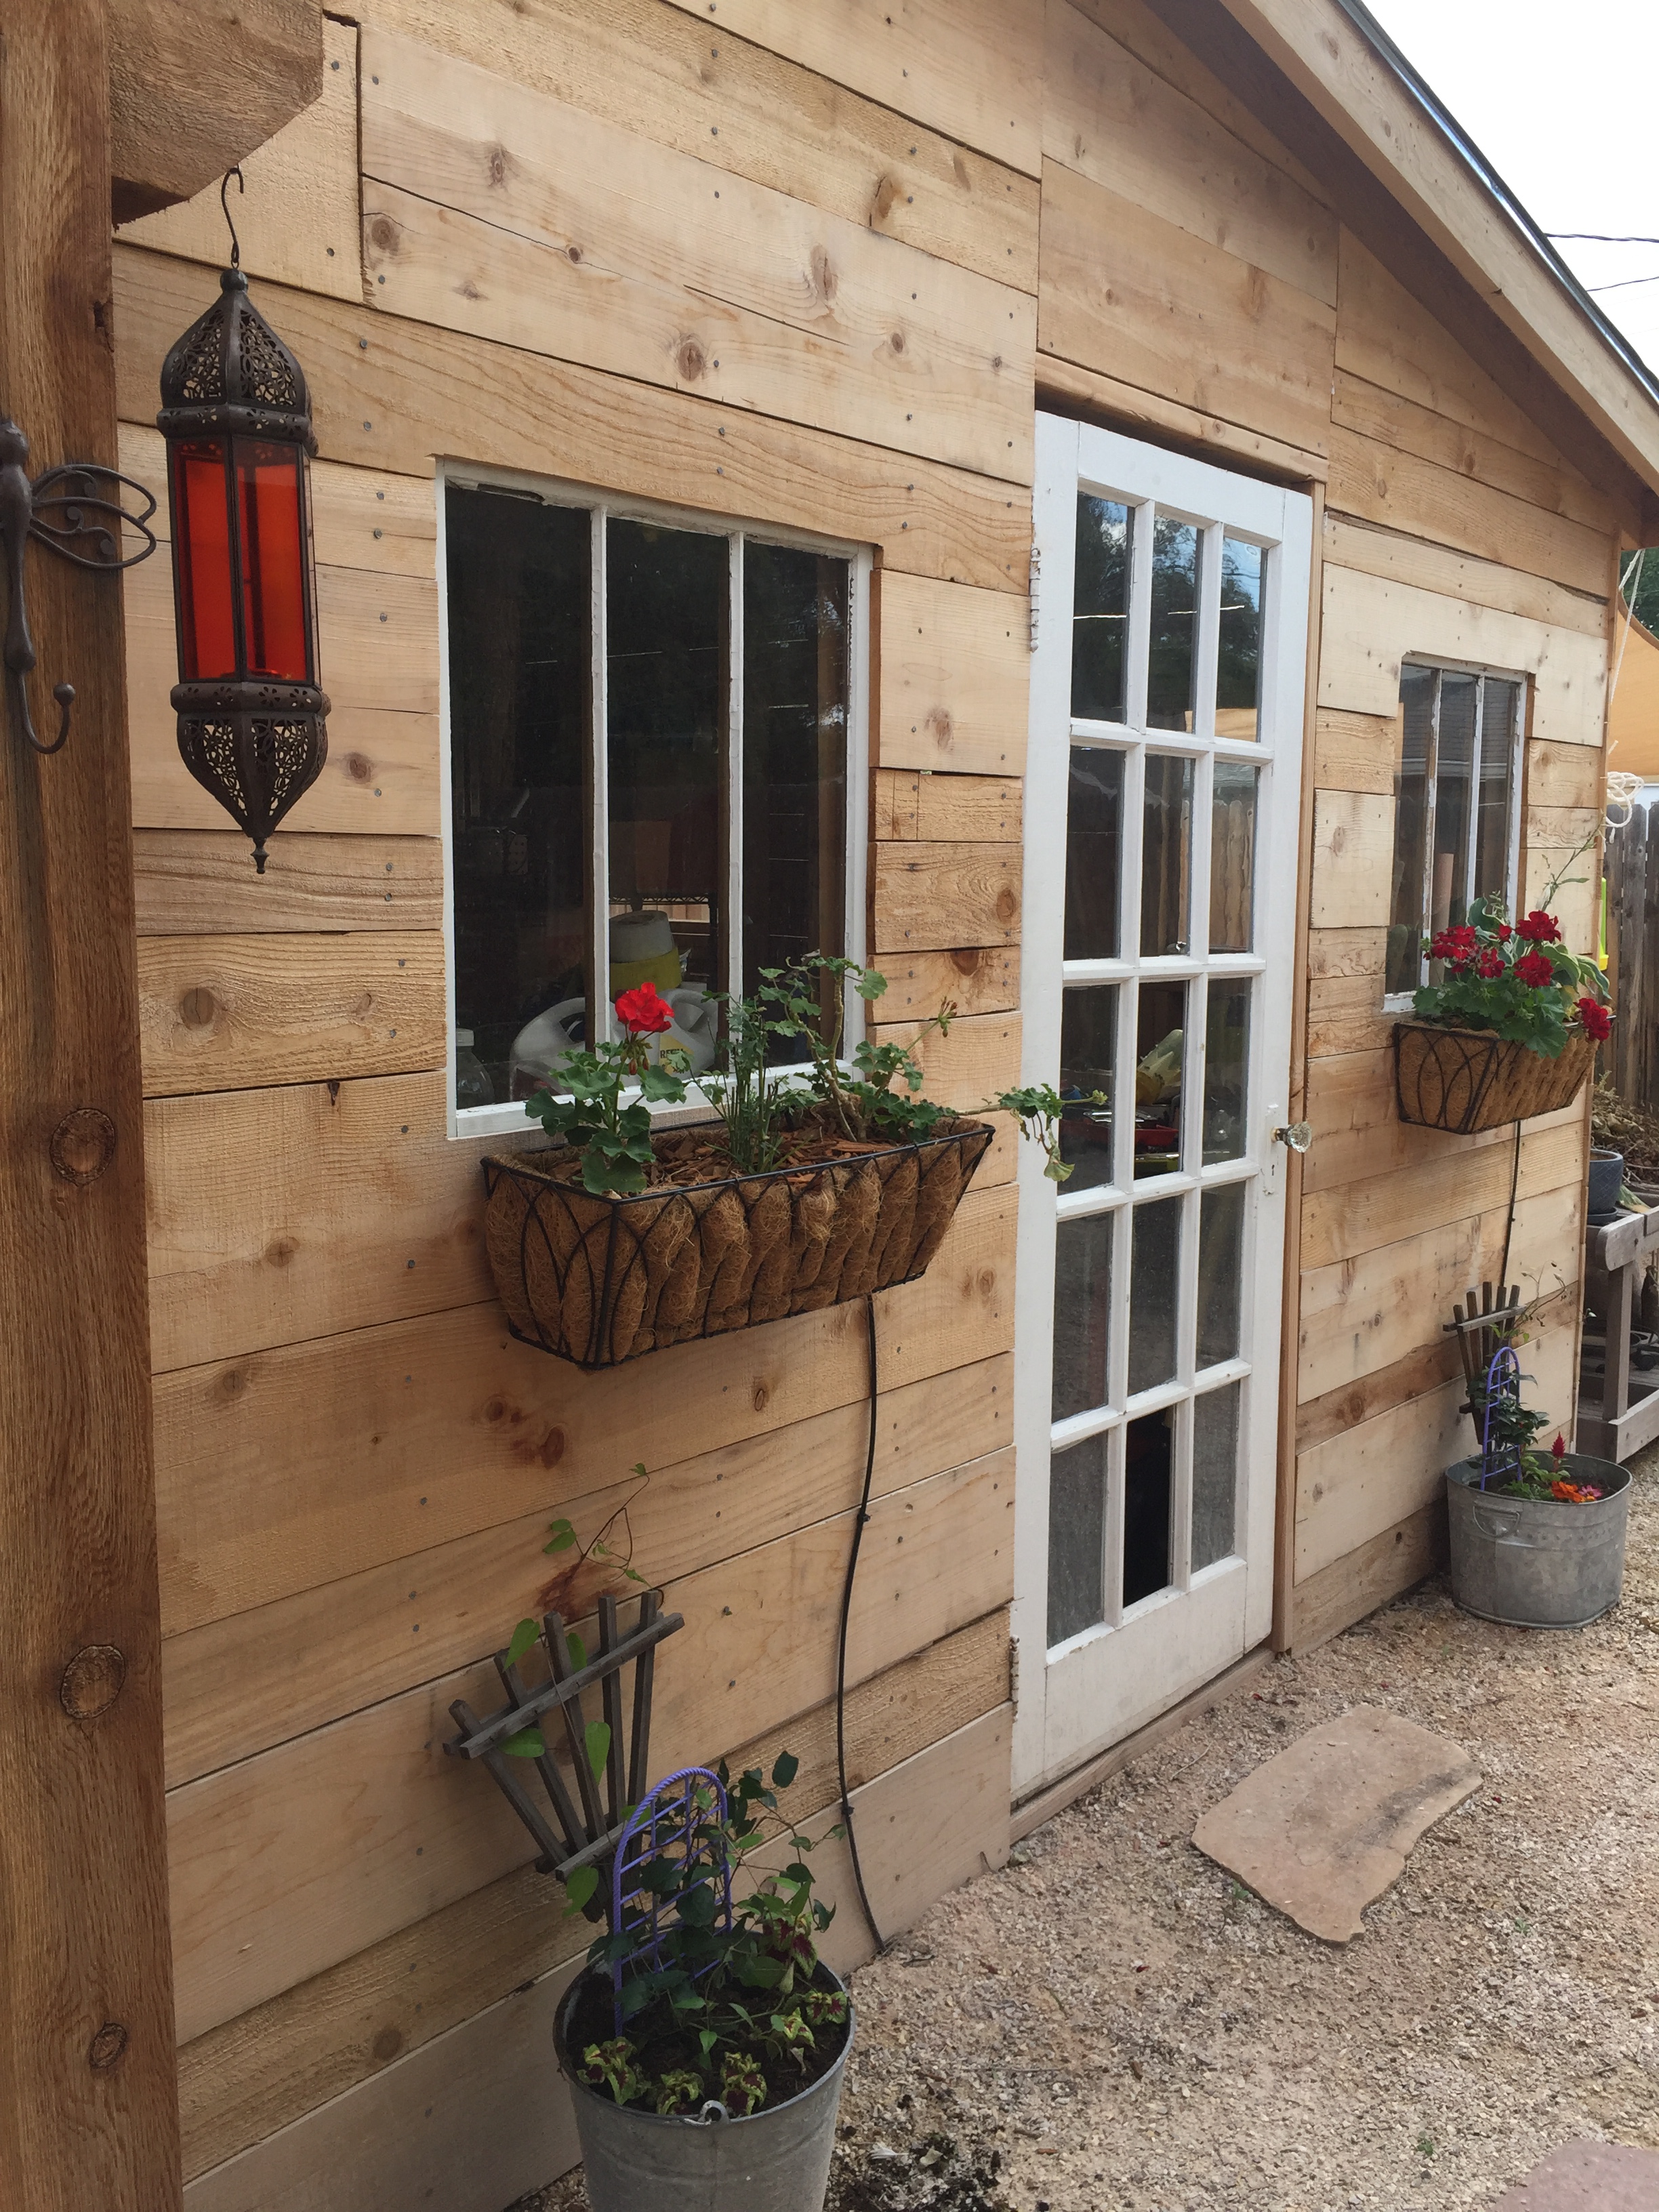
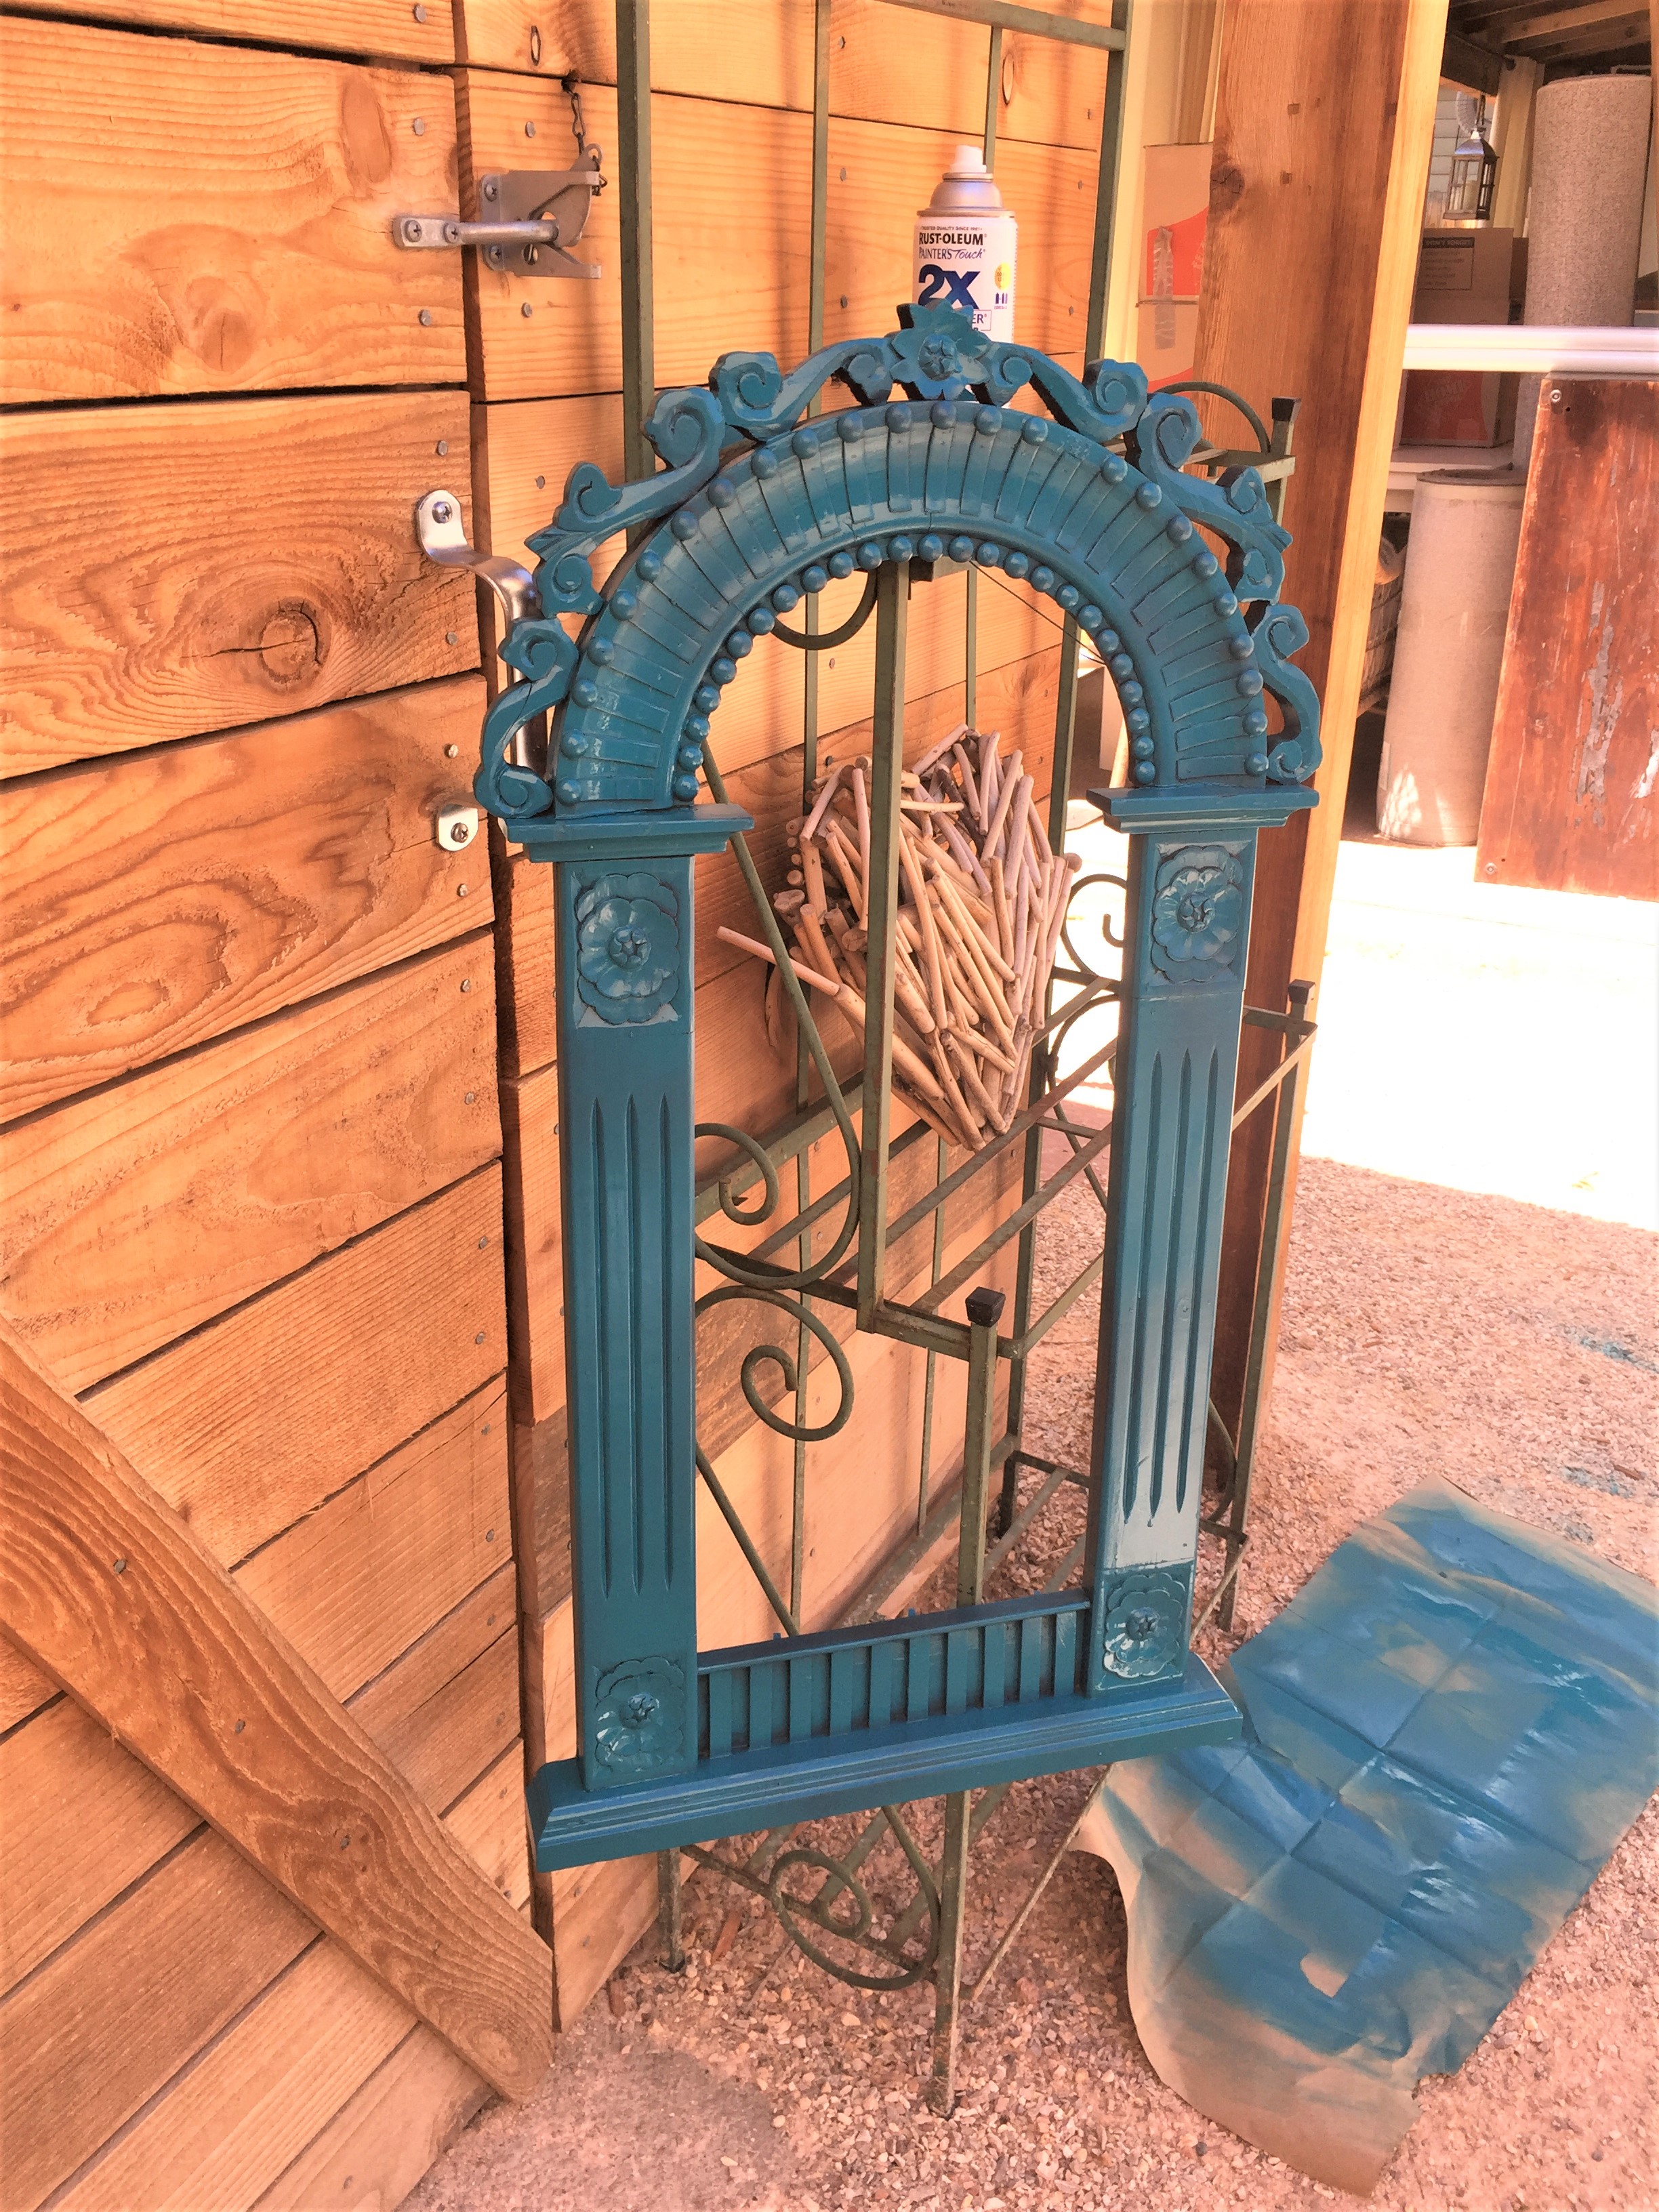
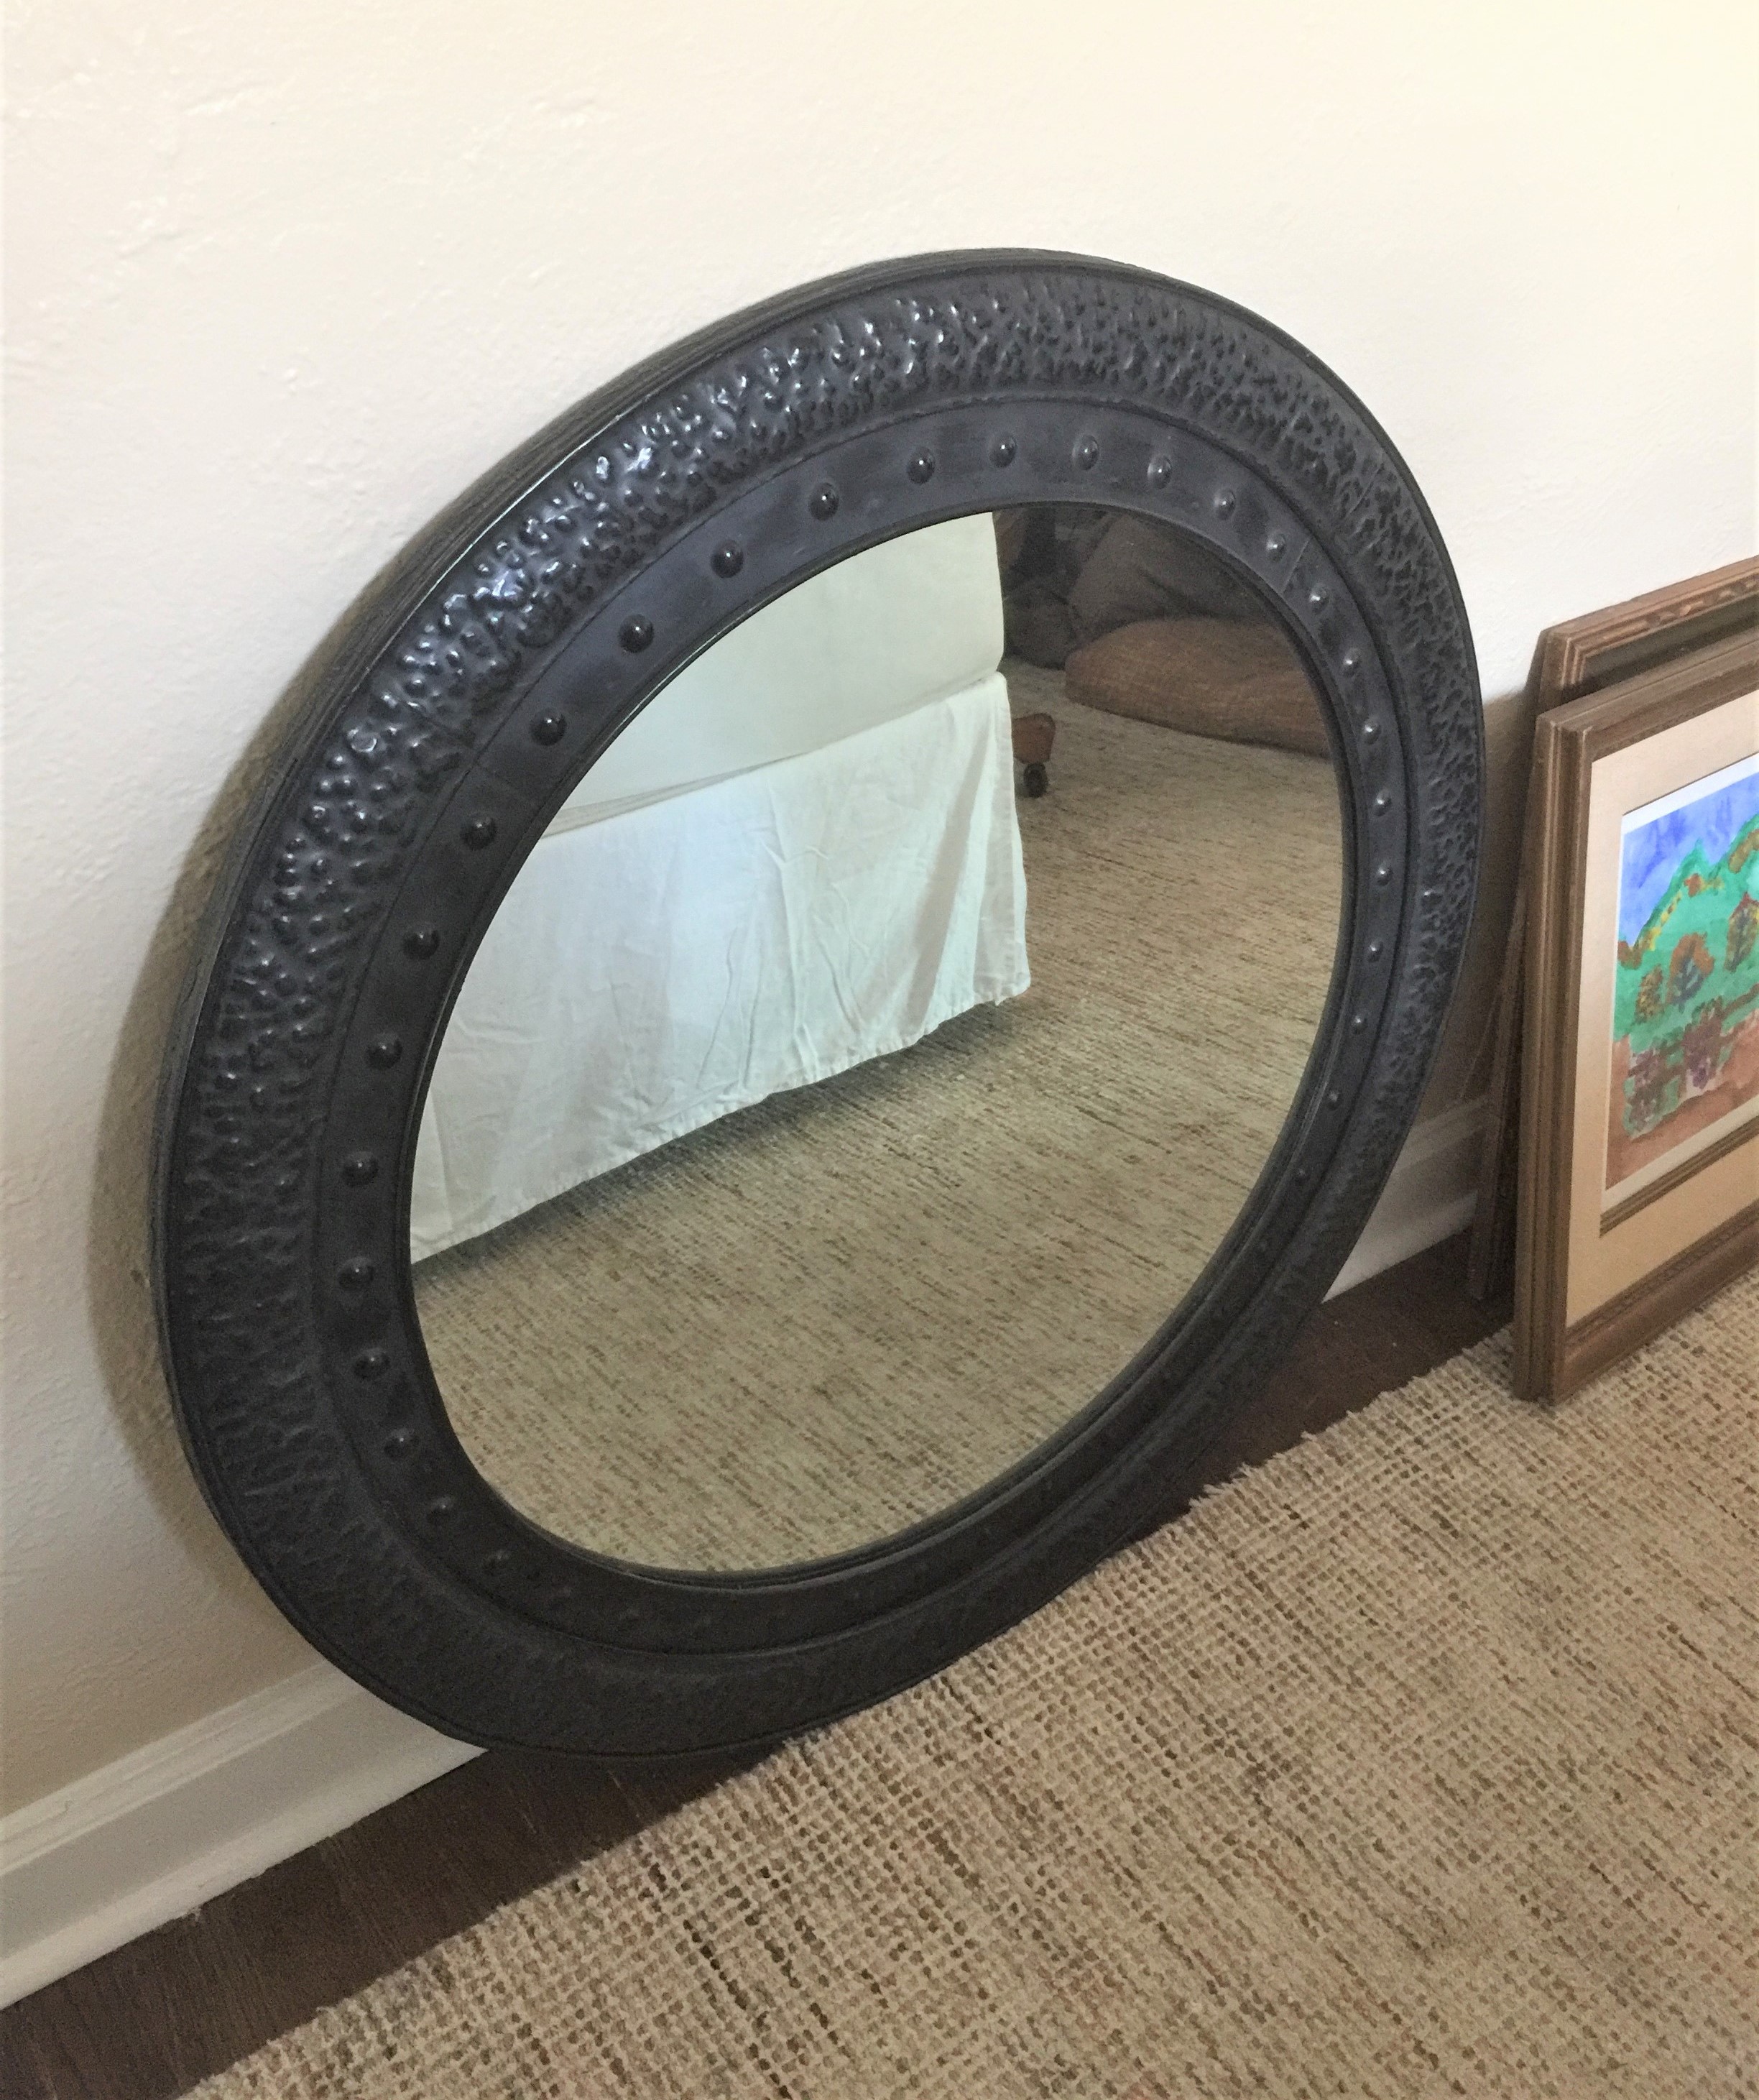
I saw this mirror on Restoration Hardware’s website and decided to upgrade my mirror to look similar.How it looked originally…A couple coats of spray paint and sandpaper distressing and this is how it turned out. I like it!And this cool ornate mirror always reminded me of Indonesian style…But after adding vibrant Turquoise paint and some distressing, it became this fun tribal artifact.My garden boxes look great and are flourishing in their new space on the shed. However, the water runs straight through the basket and ends up on the ground. I decided to use these old galvanized buckets as planters to catch the recycled water and brighten up the area below the garden baskets.
I drilled holes in the bottom for drainage…
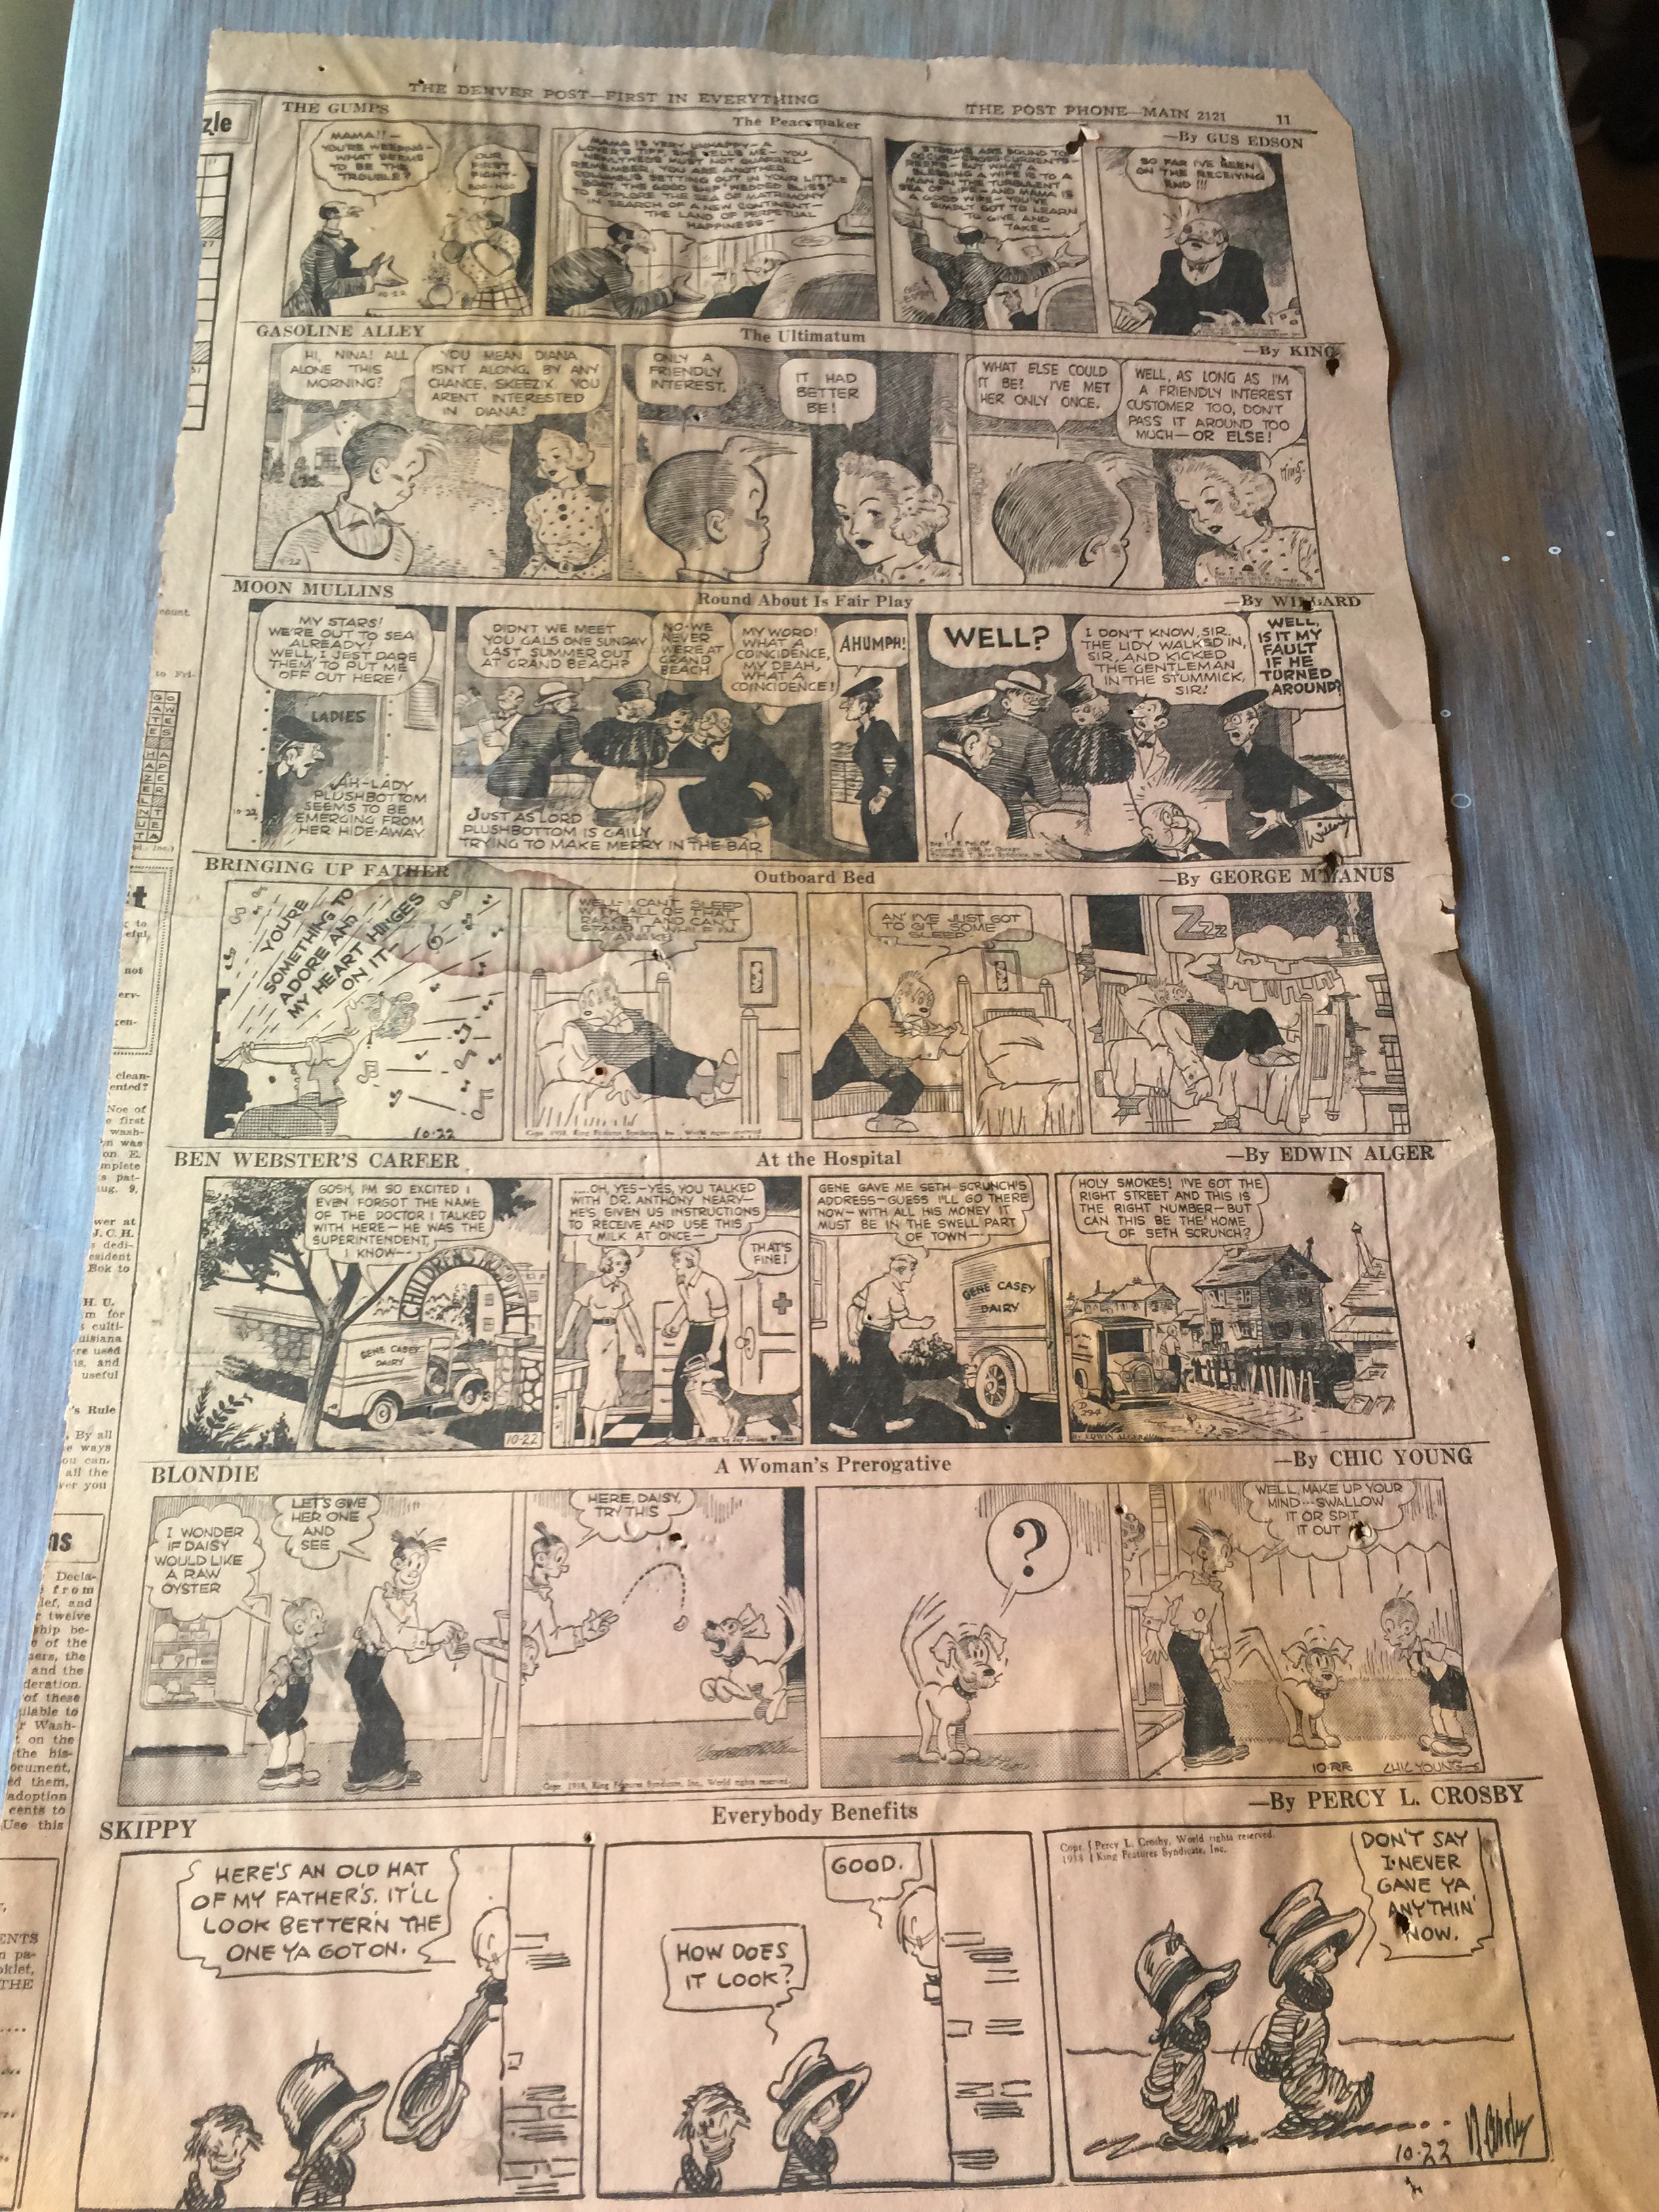
I planted a Clematis vine and some annuals in each bucket and they look fresh and colorful under the baskets.One on each side of the shed door…Looks great!And another bigger bucket under the hanging basket by the back porch.When I replaced the hardwood floors in the kitchen in 2012, I found these 1938 vintage newspaper pages being used as insulation. They are beat up, but the articles, ads and comics fun to read.Inspiration comes in unexpected places. I’m learning to listen to my heart and hear what it’s telling me. My work is ongoing, but I feel more balanced and clearer than ever before. We all struggle and fall and crumble sometimes. Let’s recognize the humanity in us all. Give freely, the support you so desperately need in your own life at times. Smile at people, say something positive, give them a hand. It’s so simple and so needed.
When I was little, I did what my parents told me to do. Then I went to school and did what the teachers told me told do. I got a job and did what my boss told me to do. Today, I do what I want to do and I love it!
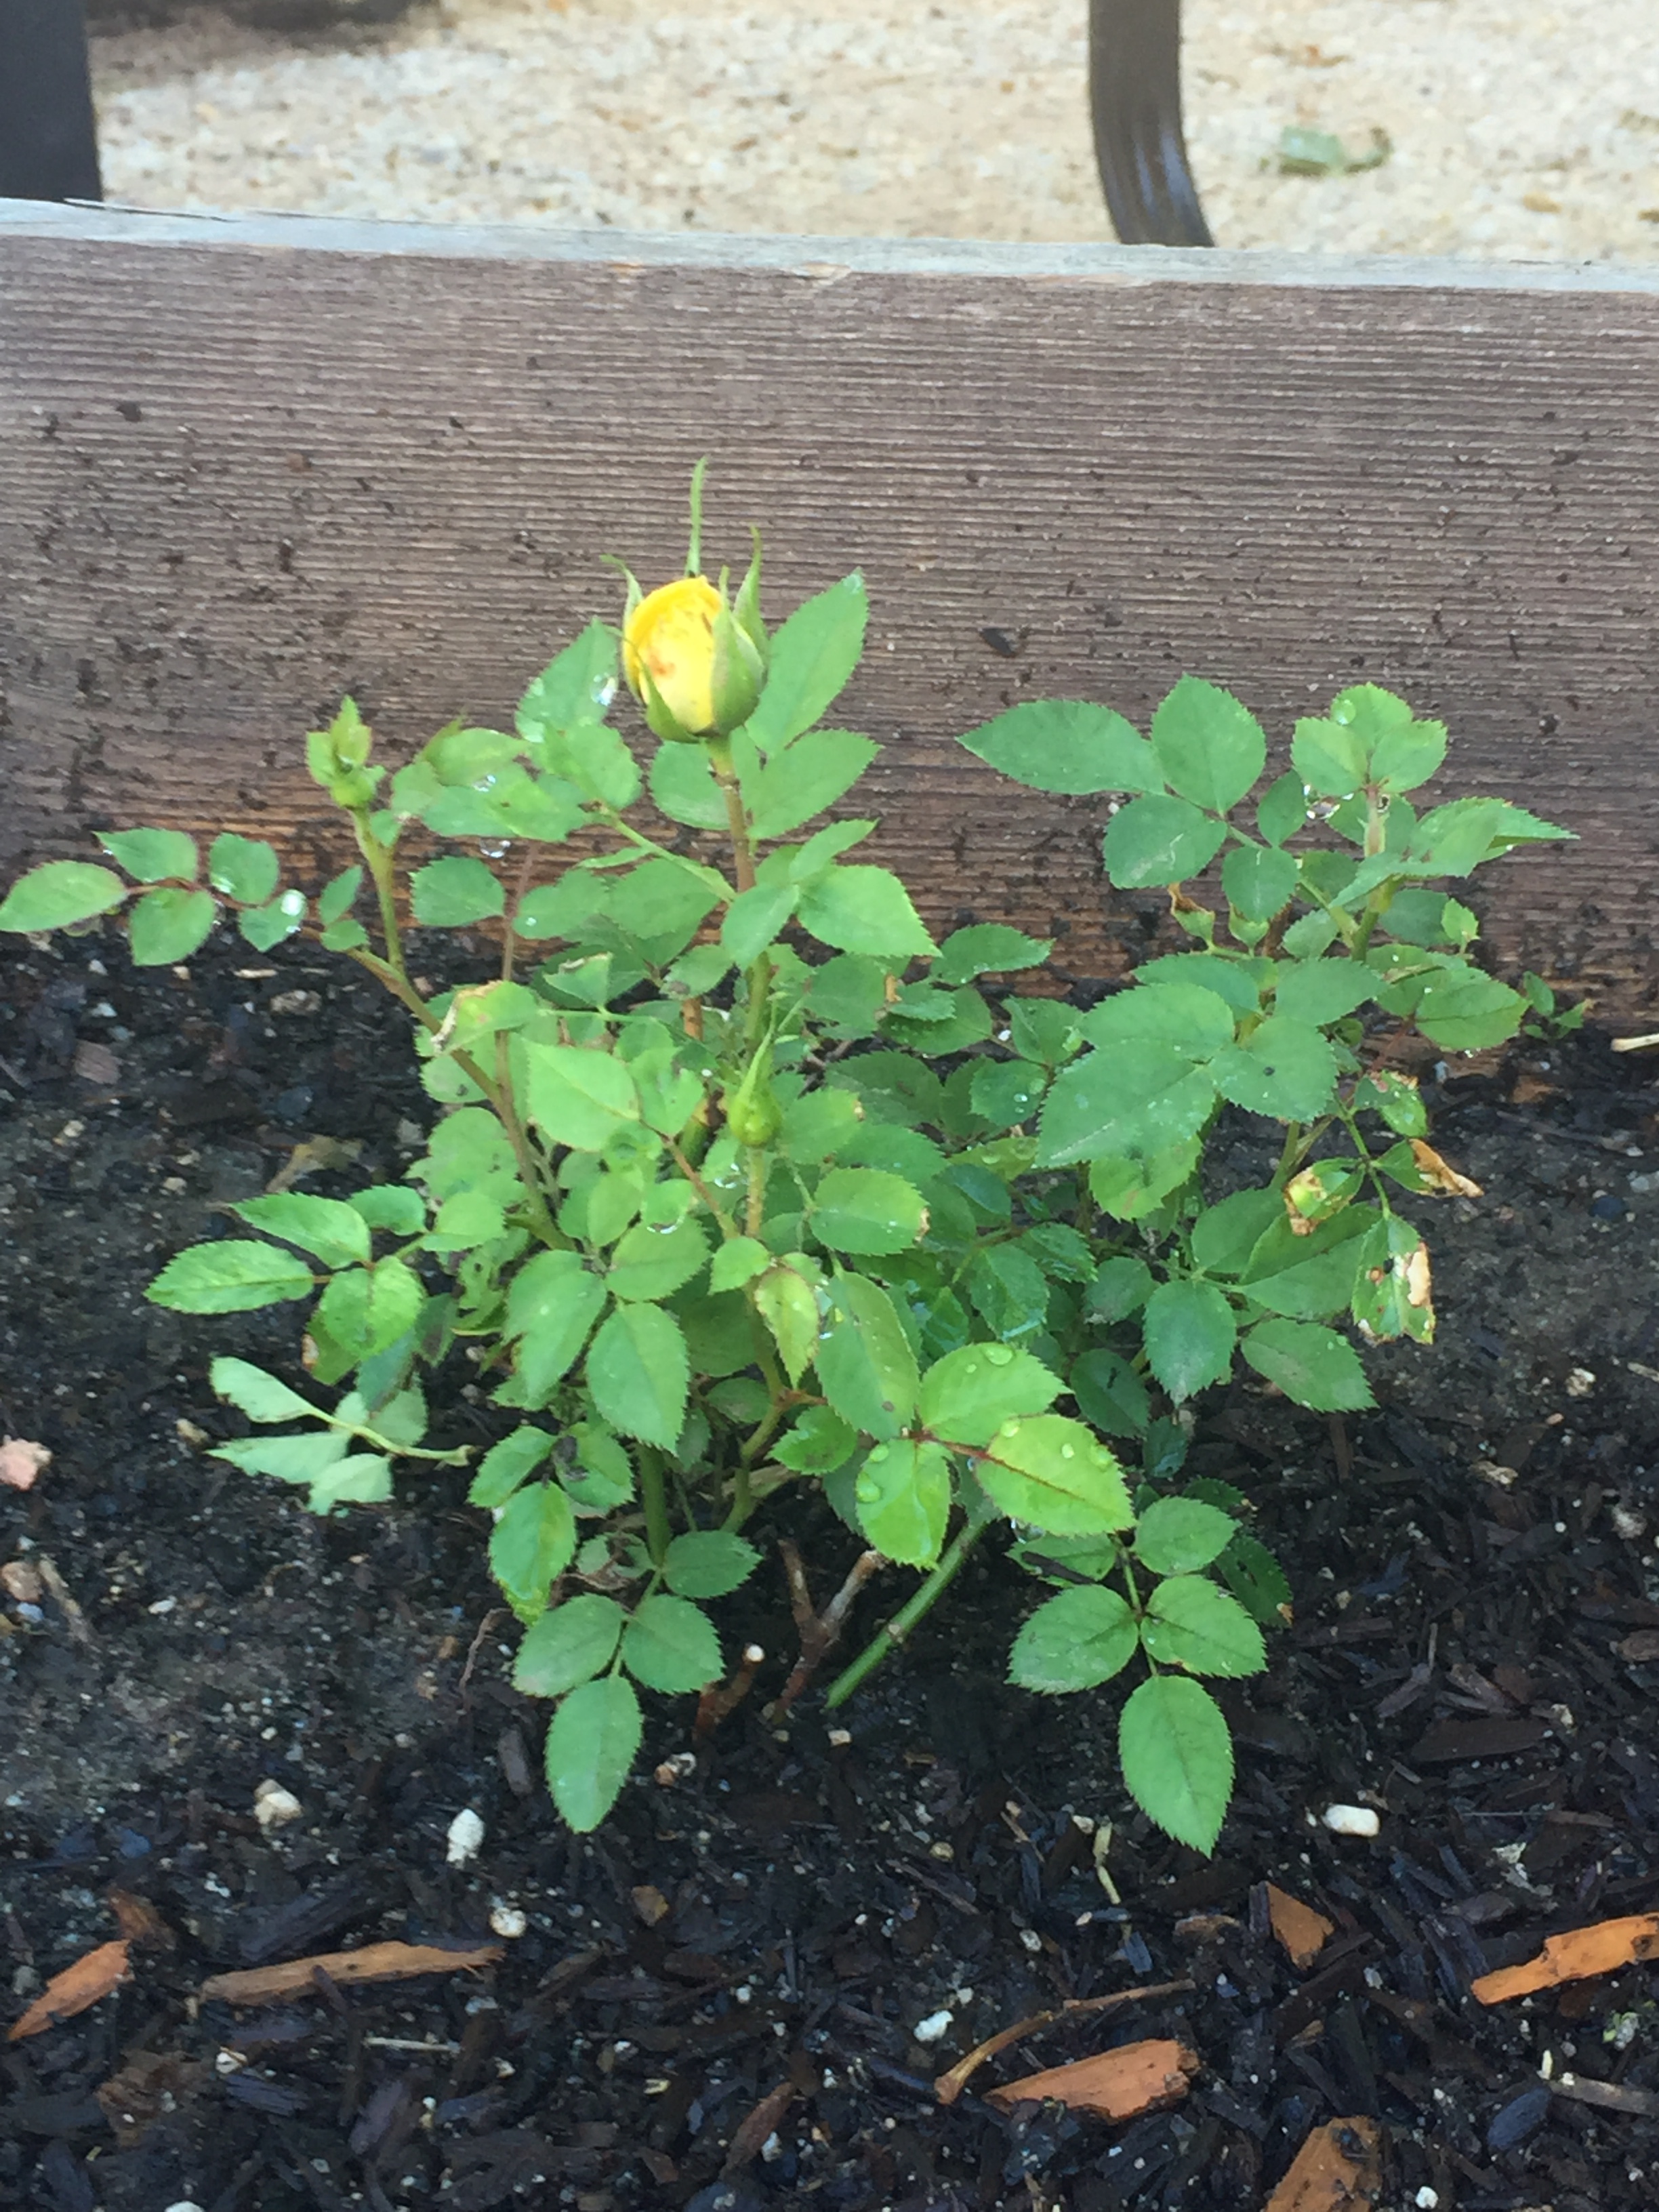
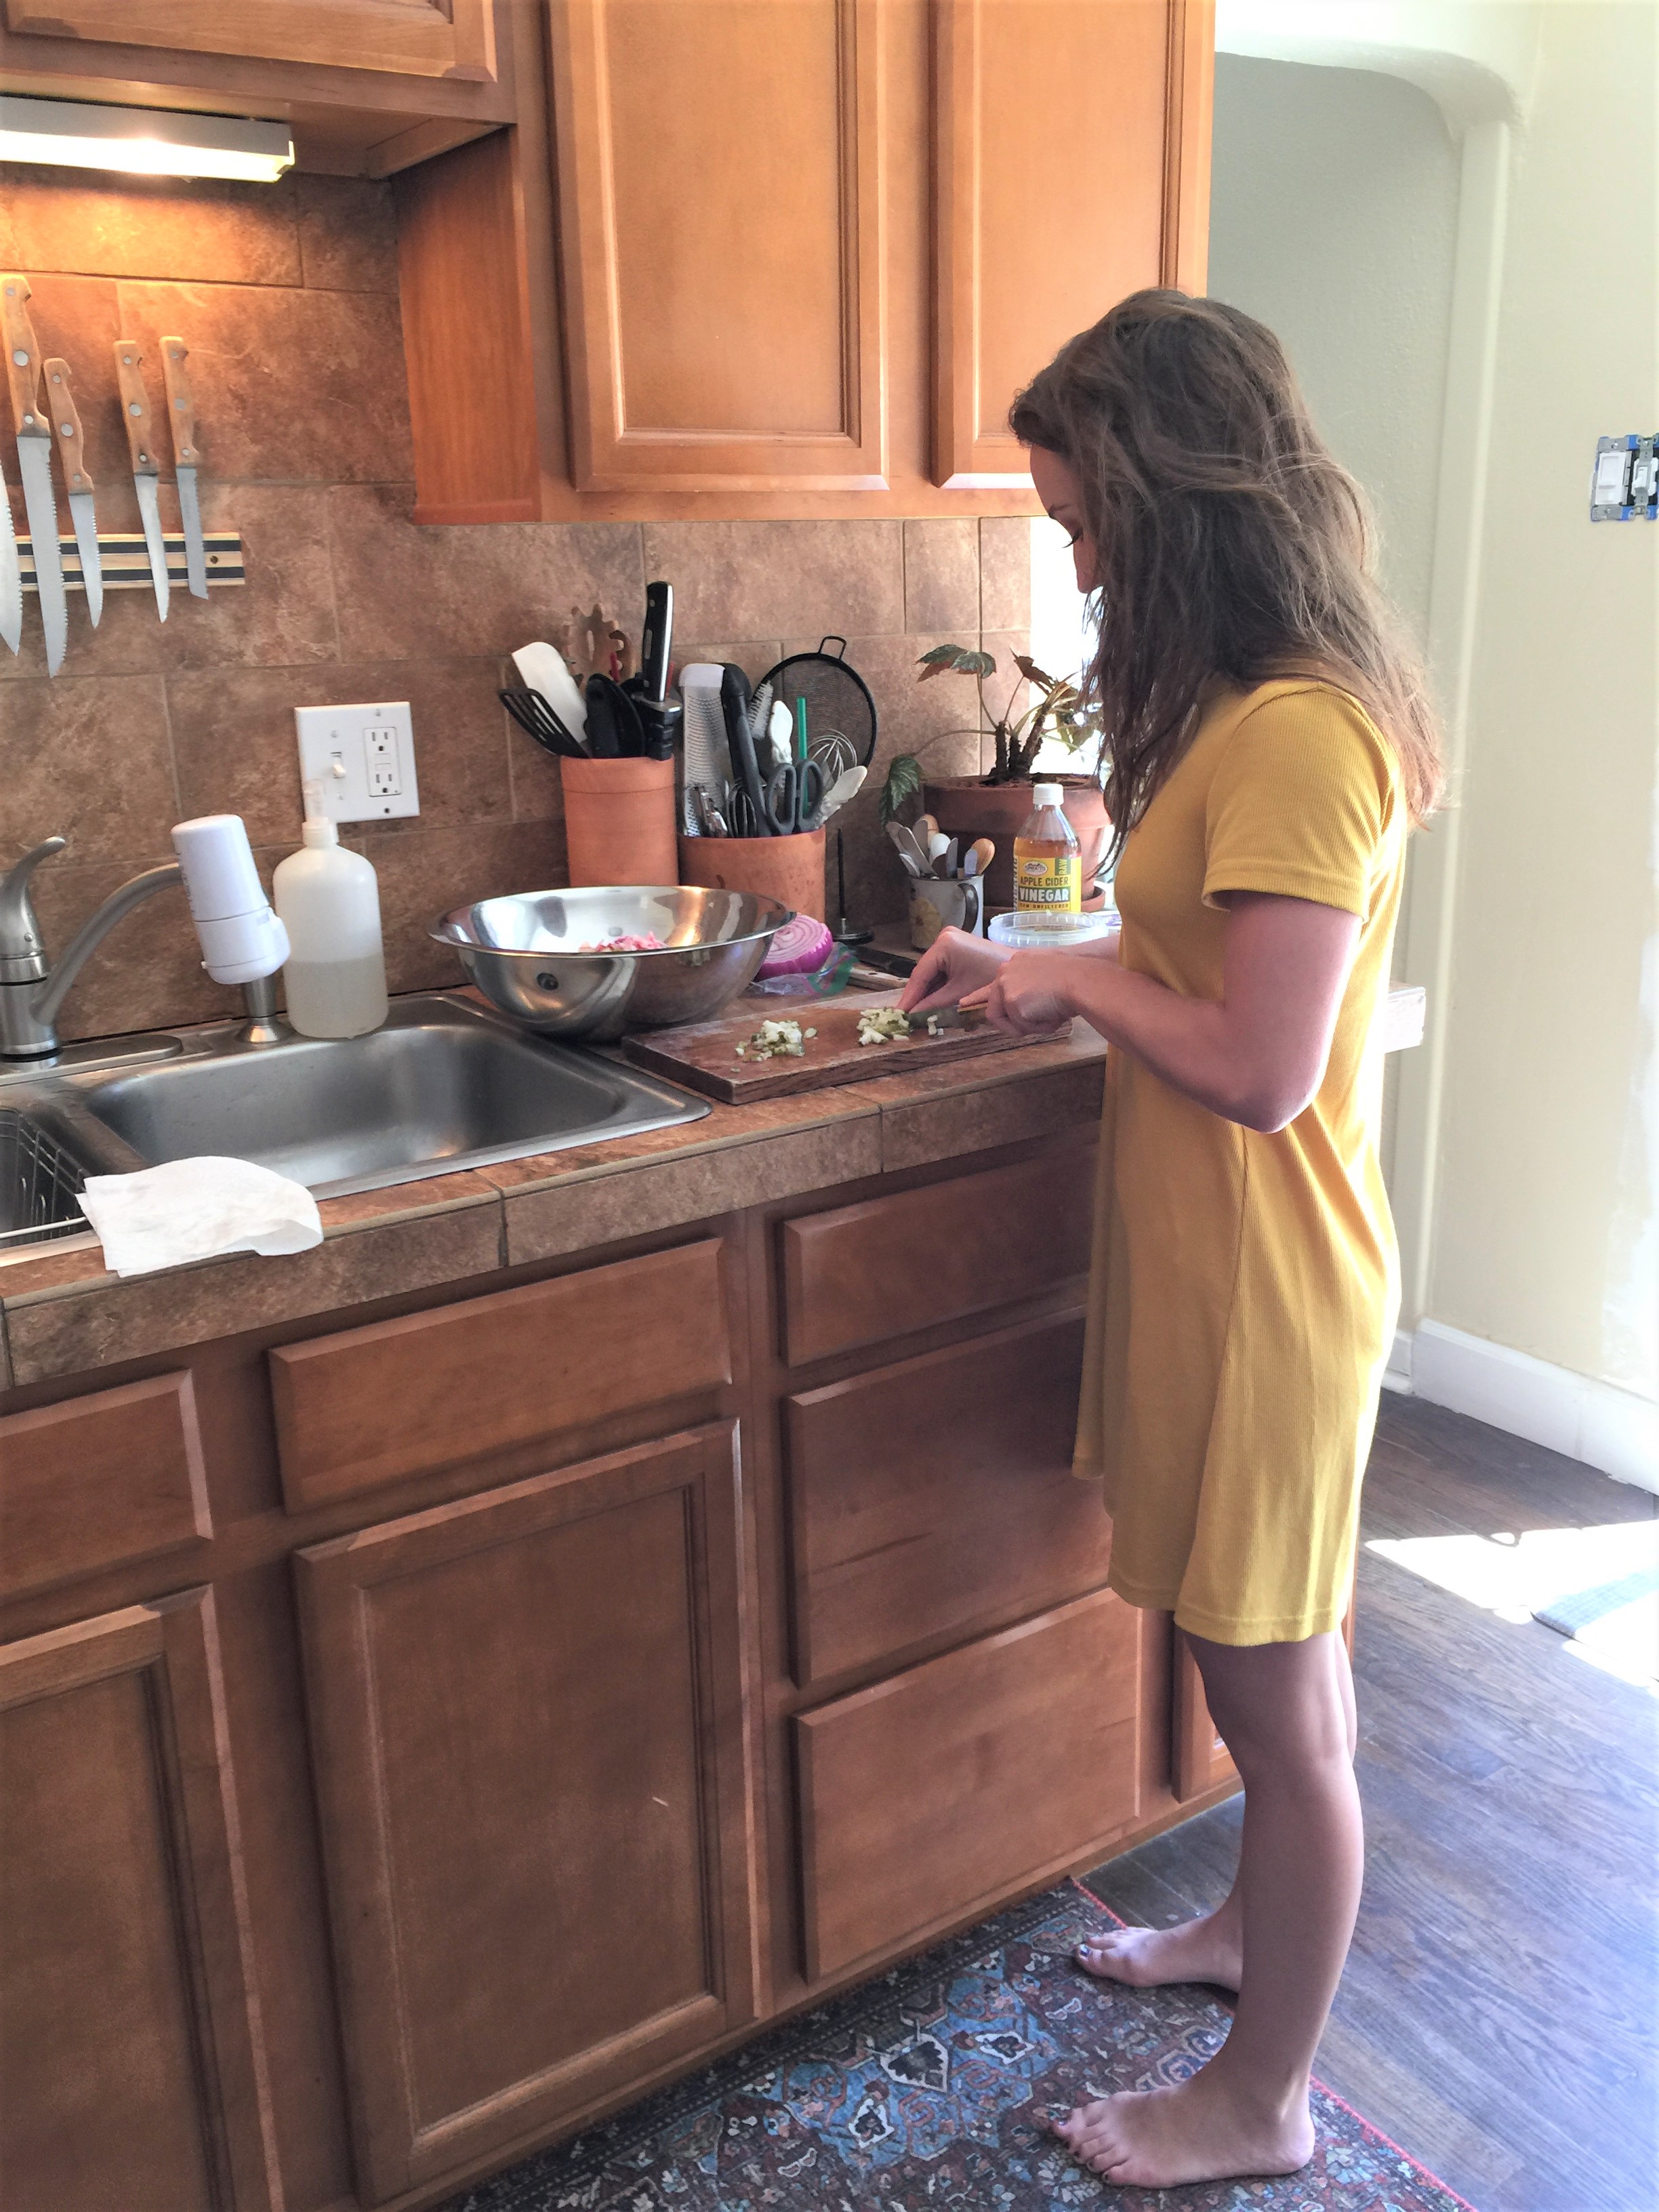
This miniature Rose was given to me by Susie, in April. It was beautiful but very quickly dropped all it’s leaves and looked dead. I put it in my bone yard with the rest of my pots.A week later, I start to see new growth! So, I planted it in one of my gardens to see if it would come back.Look at it today! Blooming in it’s new place!Do you know Dragonflies eat mosquitos? This one is feasting on Aphids!I found this mirror in storage. I like it, but it’s dark and heavy looking. I got inspiration from a pic I saw online and decided to paint and distress it.First coat of paint. I used an off White chalk spray paint.This ornamental mirror was also being stored and feels outdated with the Cherry colored stain.Deciding on what color to paint over the Cherry stain. I went with the darker one.First coat of Turquoise spray paint.Being single, I generally eat Al Fresco. And when I do entertain, I like to offer a selection of tapas or finger foods so guests can make a meal of flavors they like. I try to stick with healthy menu items and have been able to redirect me attention to cooking more since I’m home more. I definitely eat better!My niece Lauren, came over to do some cooking this week. We’re assembling some vegetarian salads for lunch and learning how to do some basics.Another light evening meal.Simple is better. I spent many years building my life. More money, more stuff, more stress. Once I achieved what I thought was “success”, I started to get rid of all the stuff I surrounded myself with. Now, I love knowing I don’t need stuff to be happy. In fact, the more stuff I get rid of, the lighter and freer I feel.
“I am convinced, both by faith and experience, that to maintain one’s self on this earth is not a hardship but a pass time, if we live simply and wisely” ― Henry David Thoreau, Walden
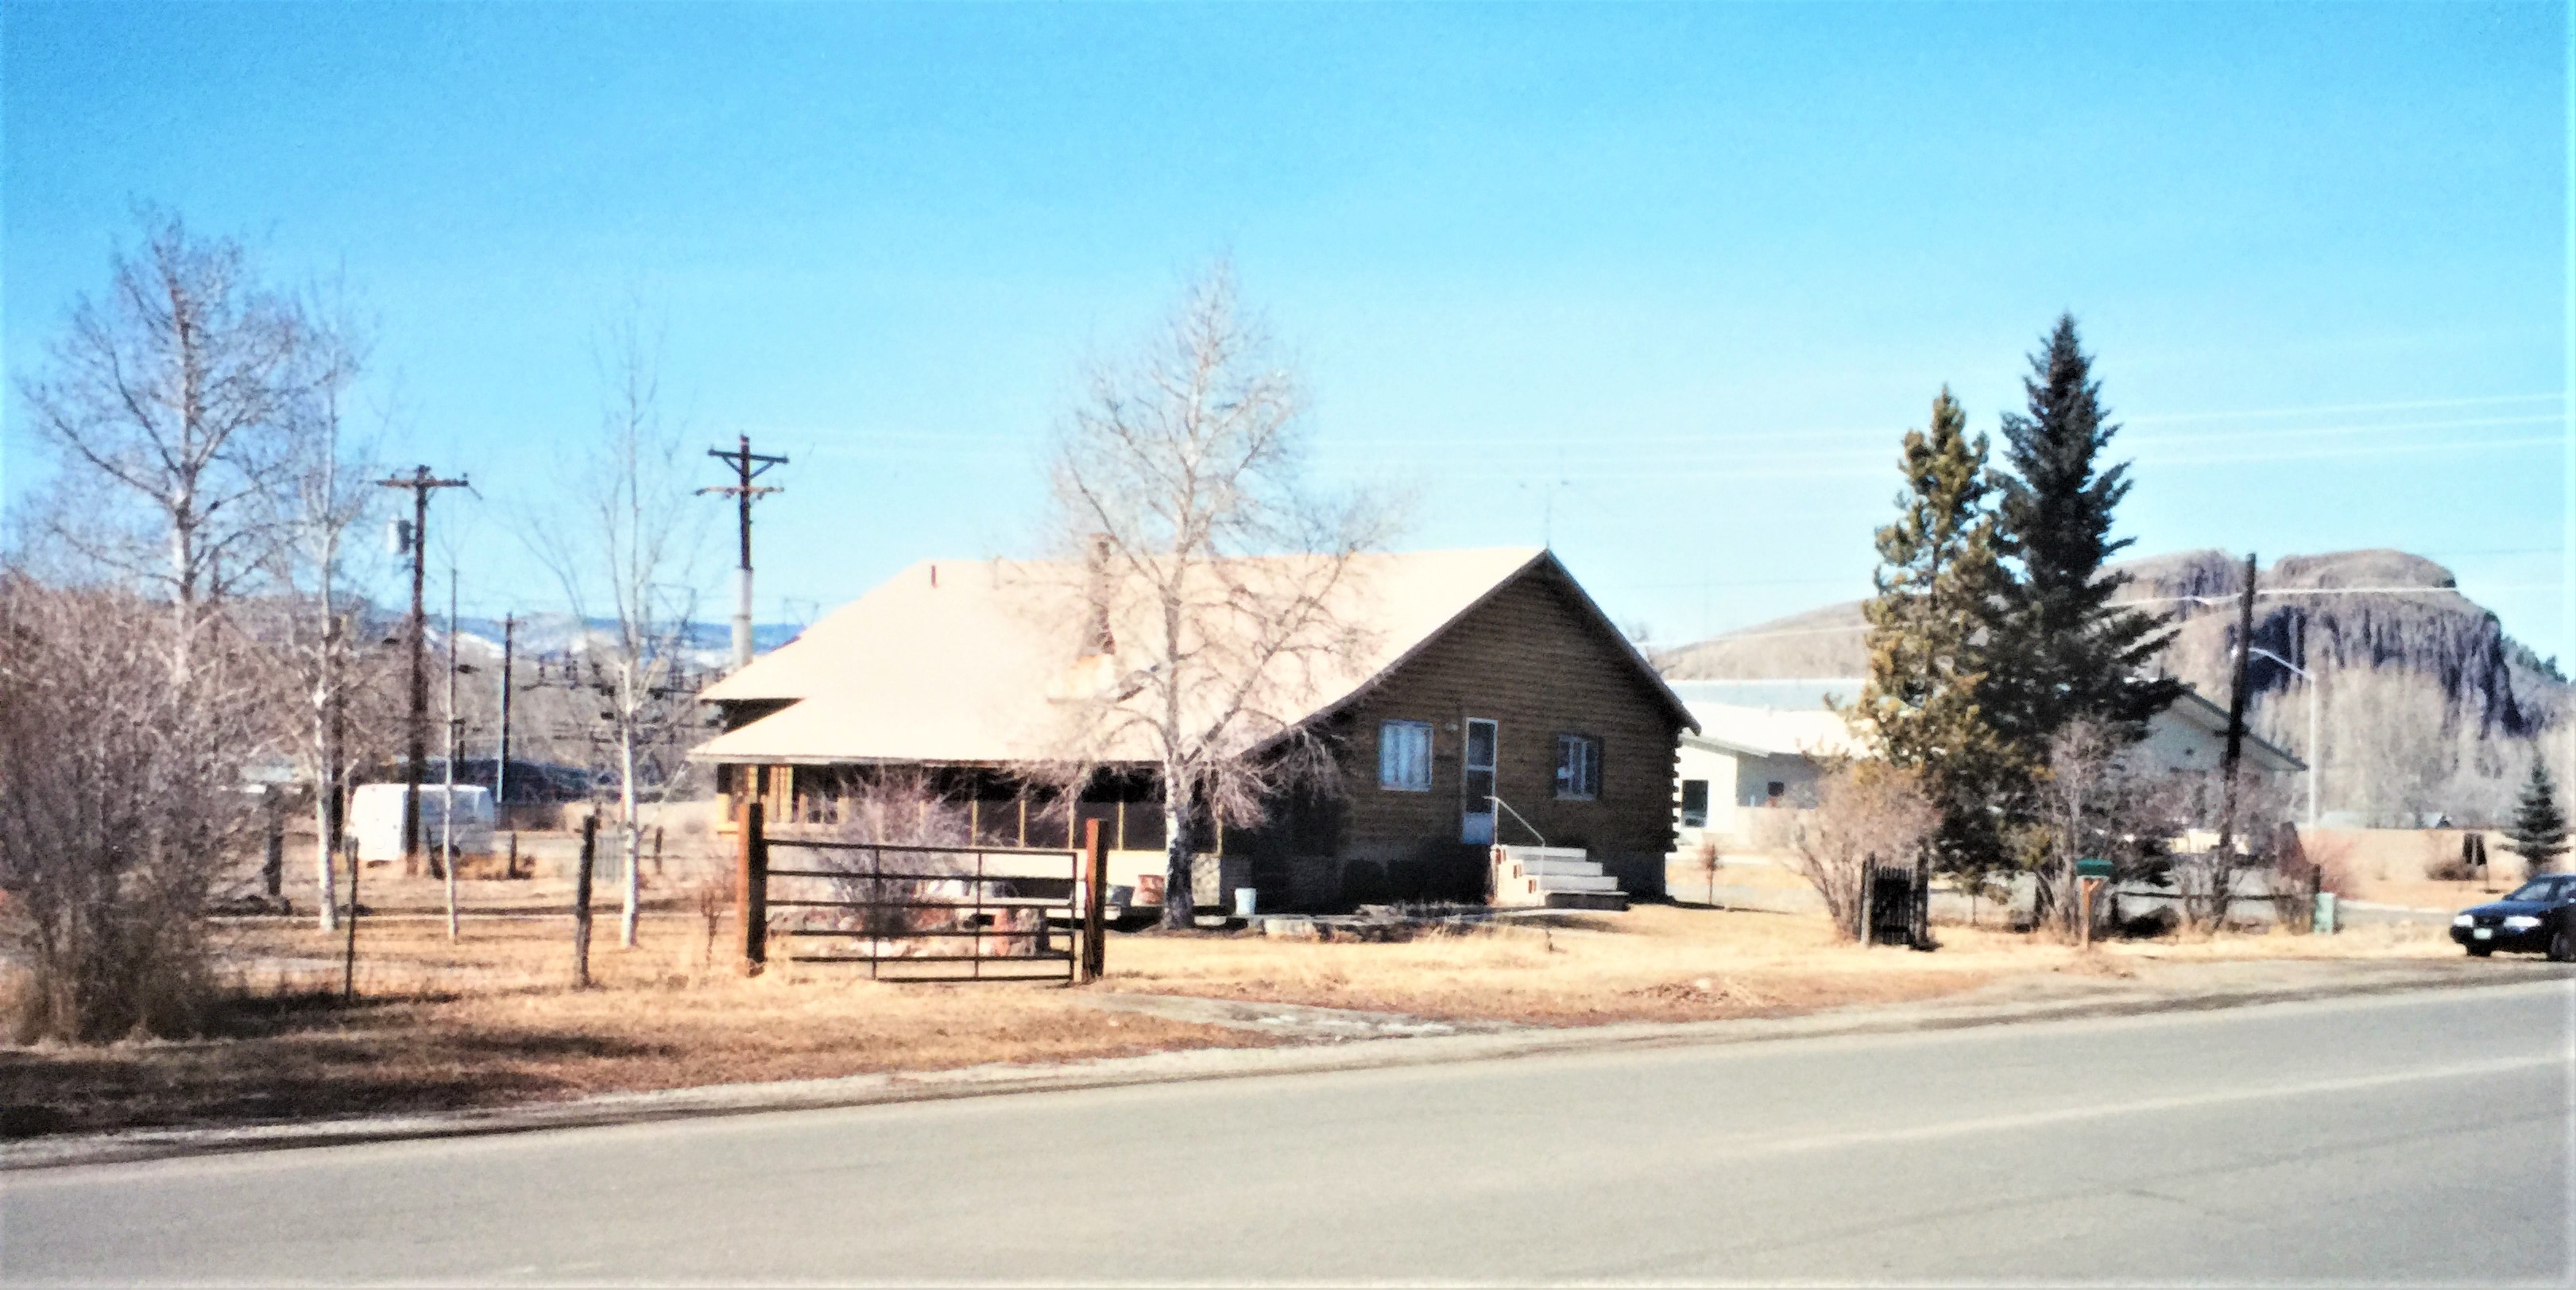
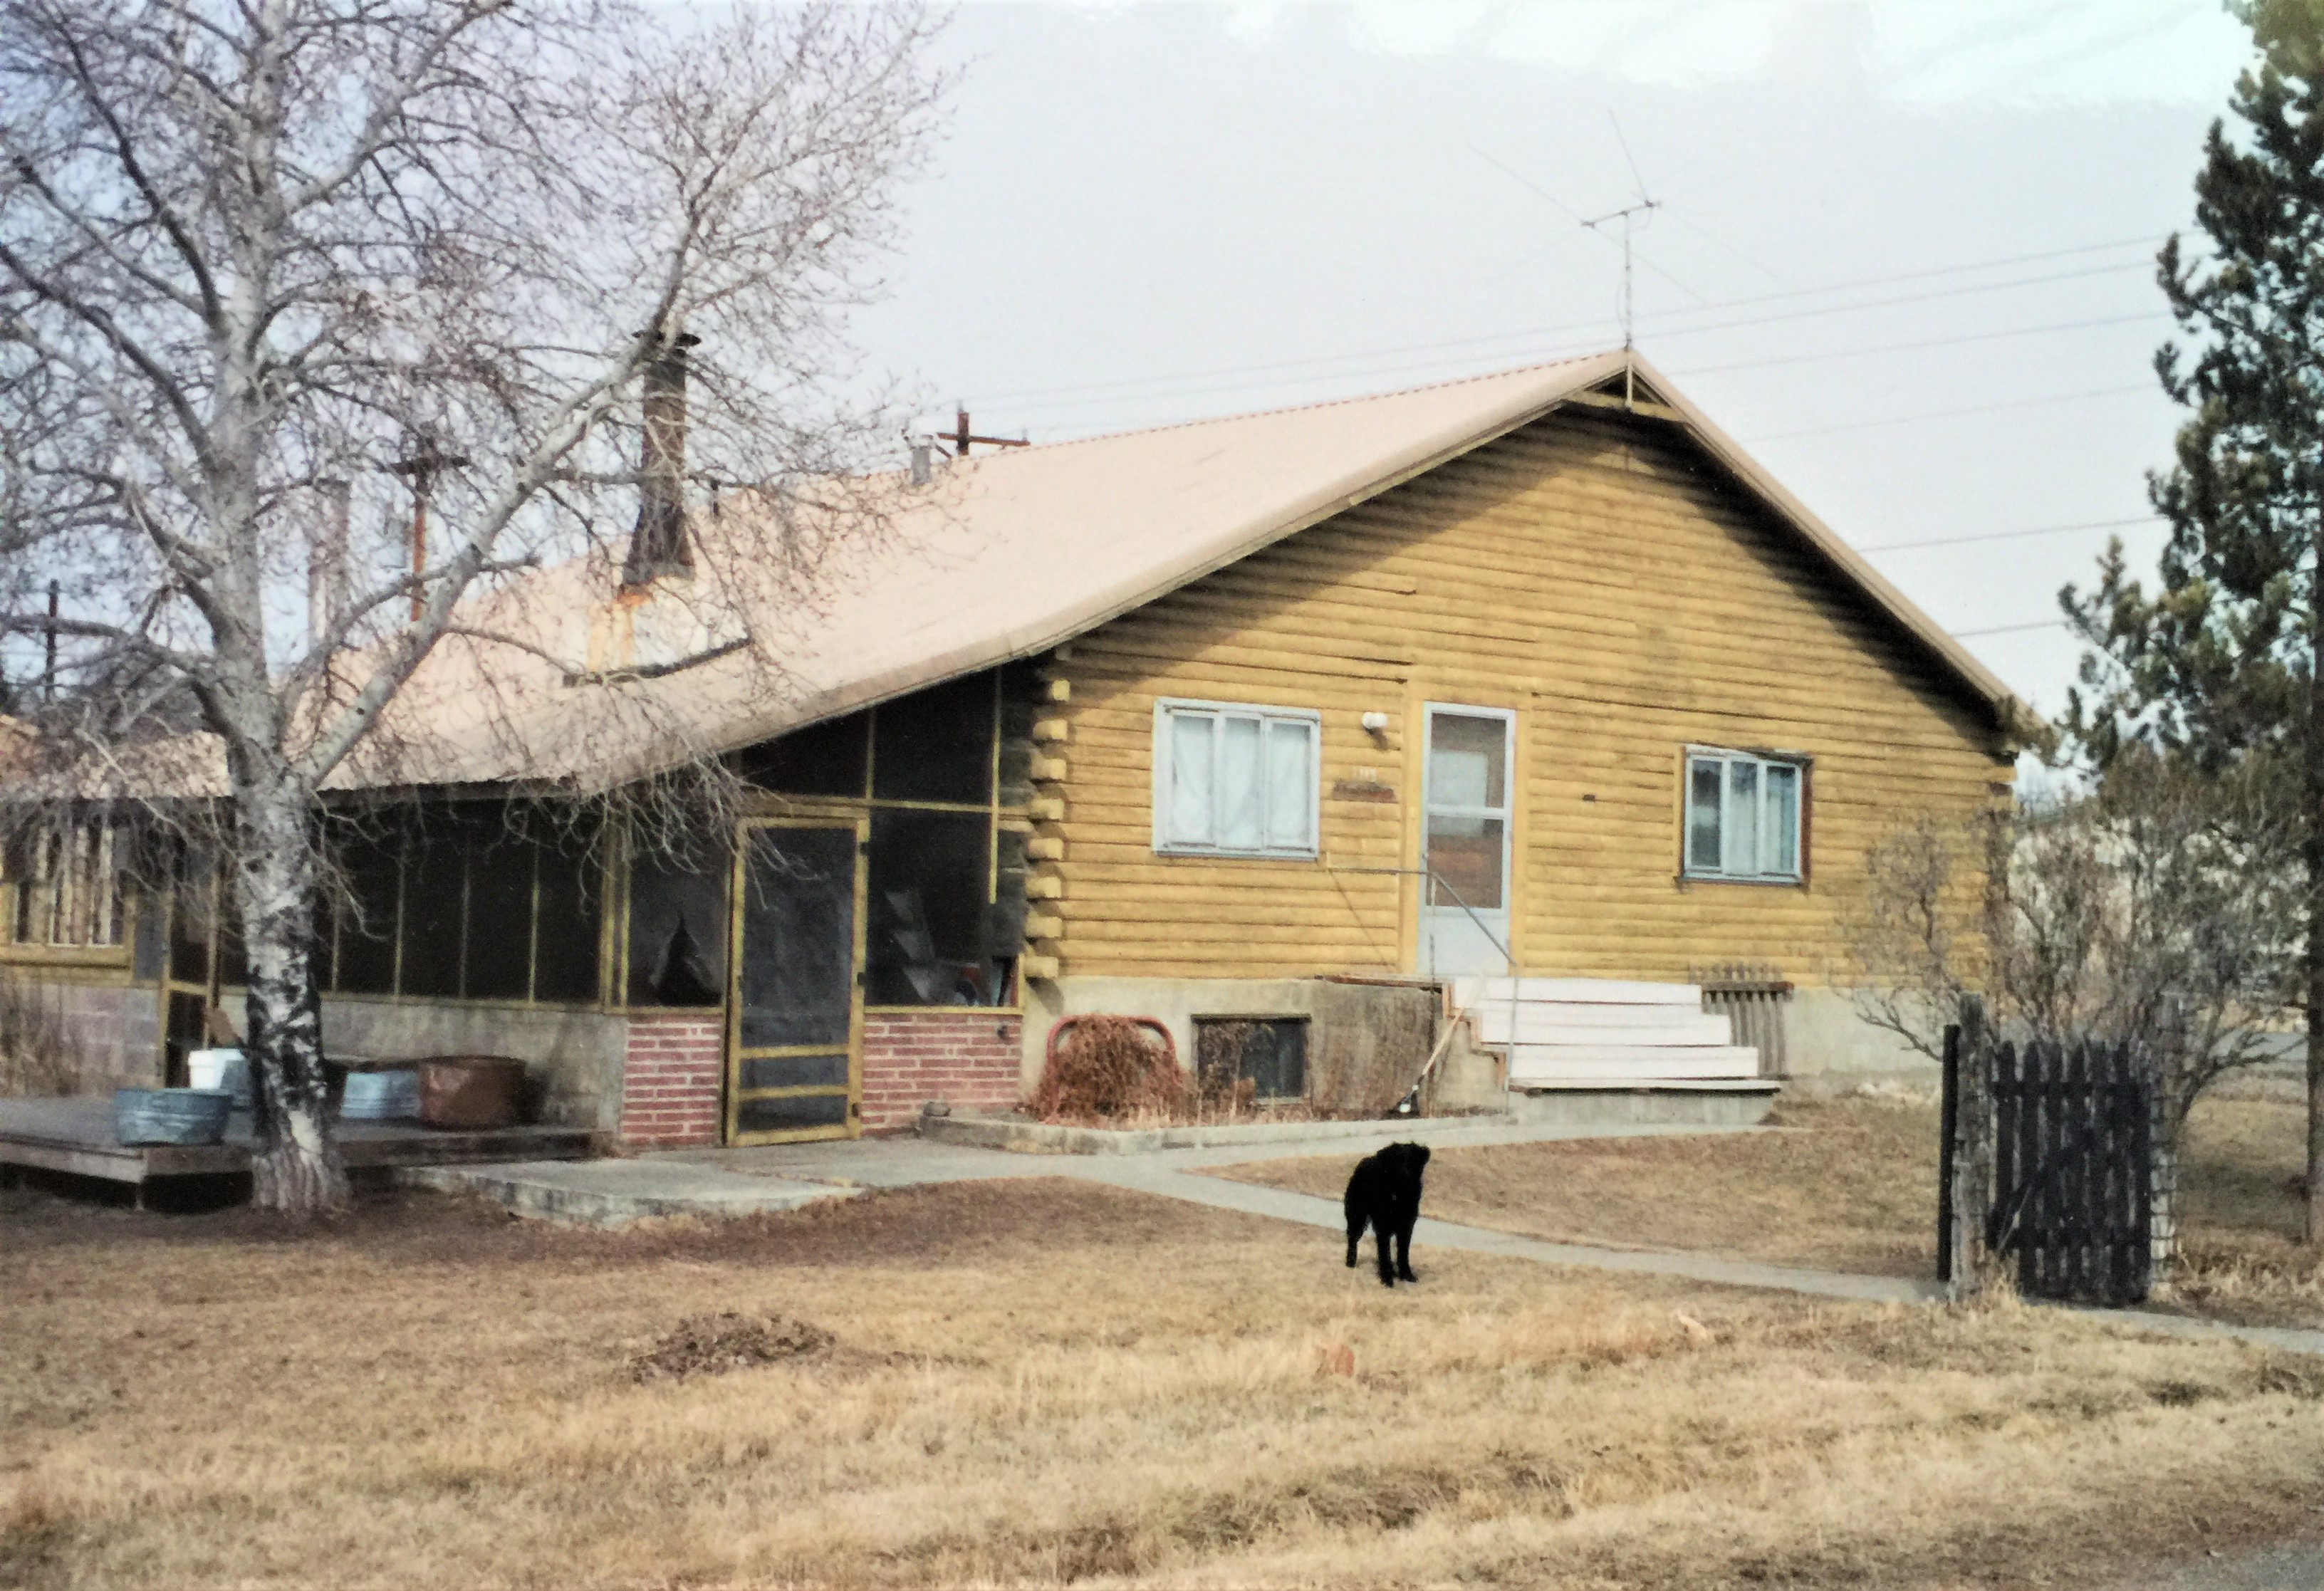
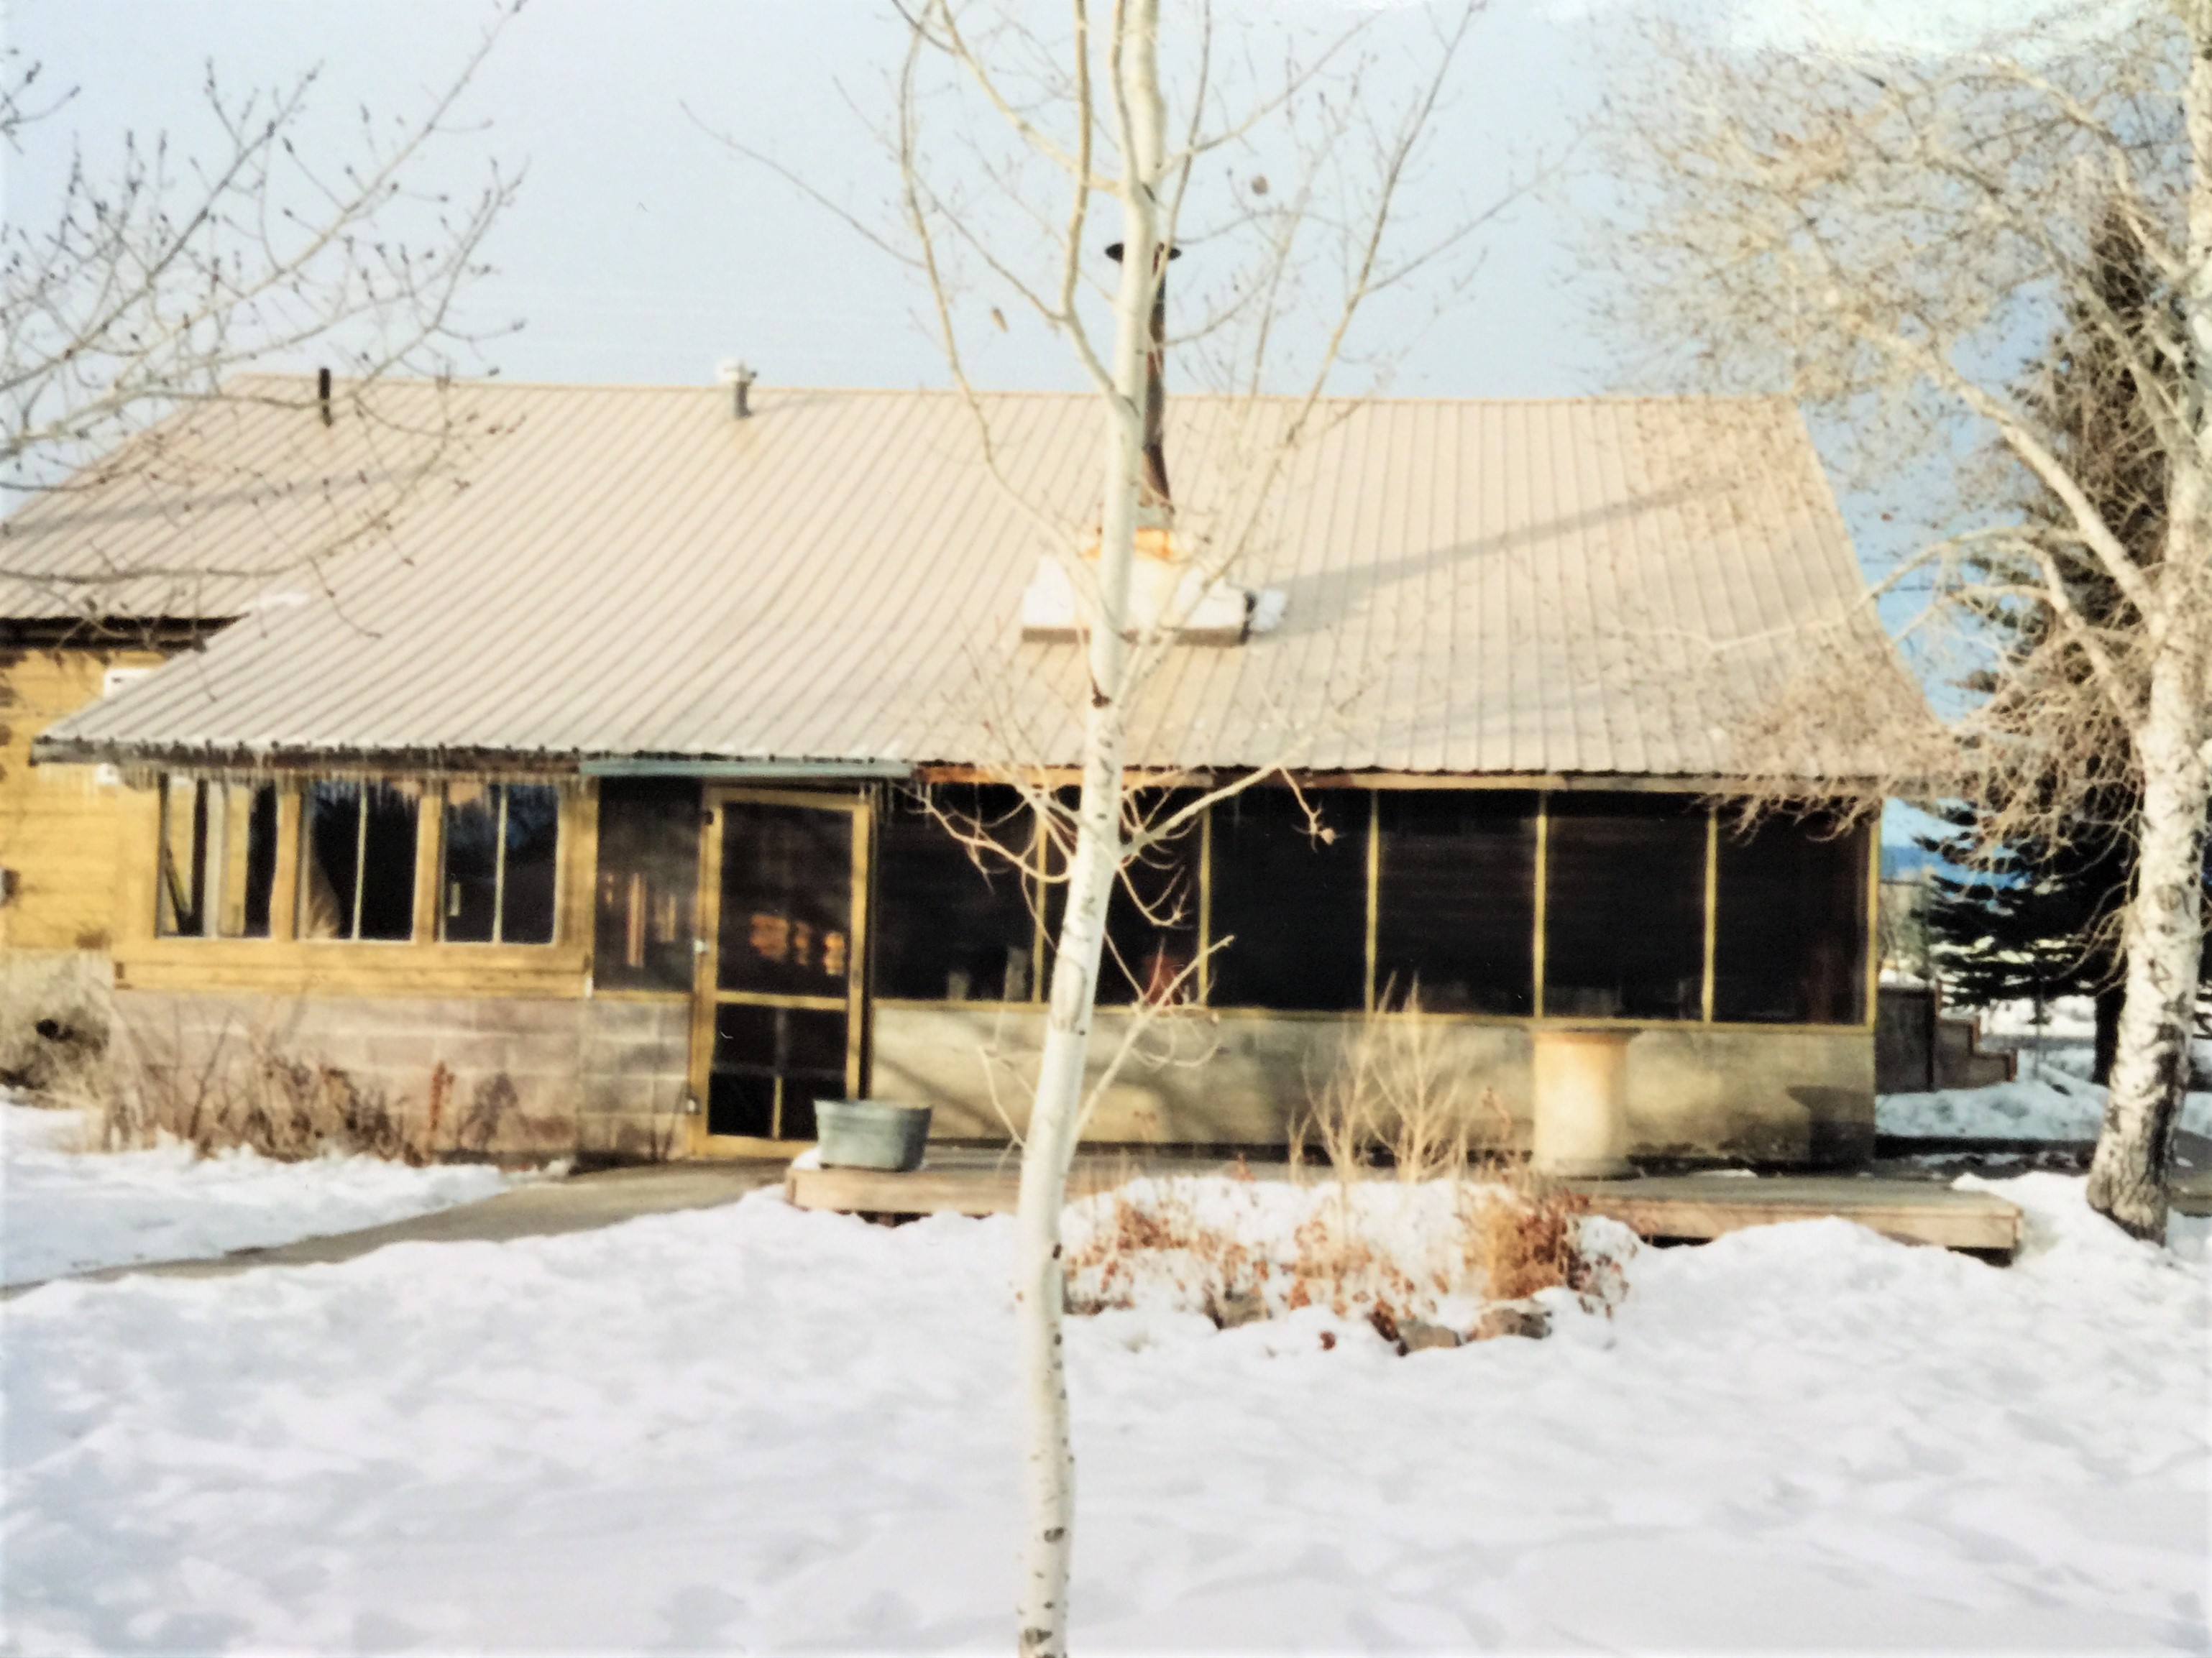
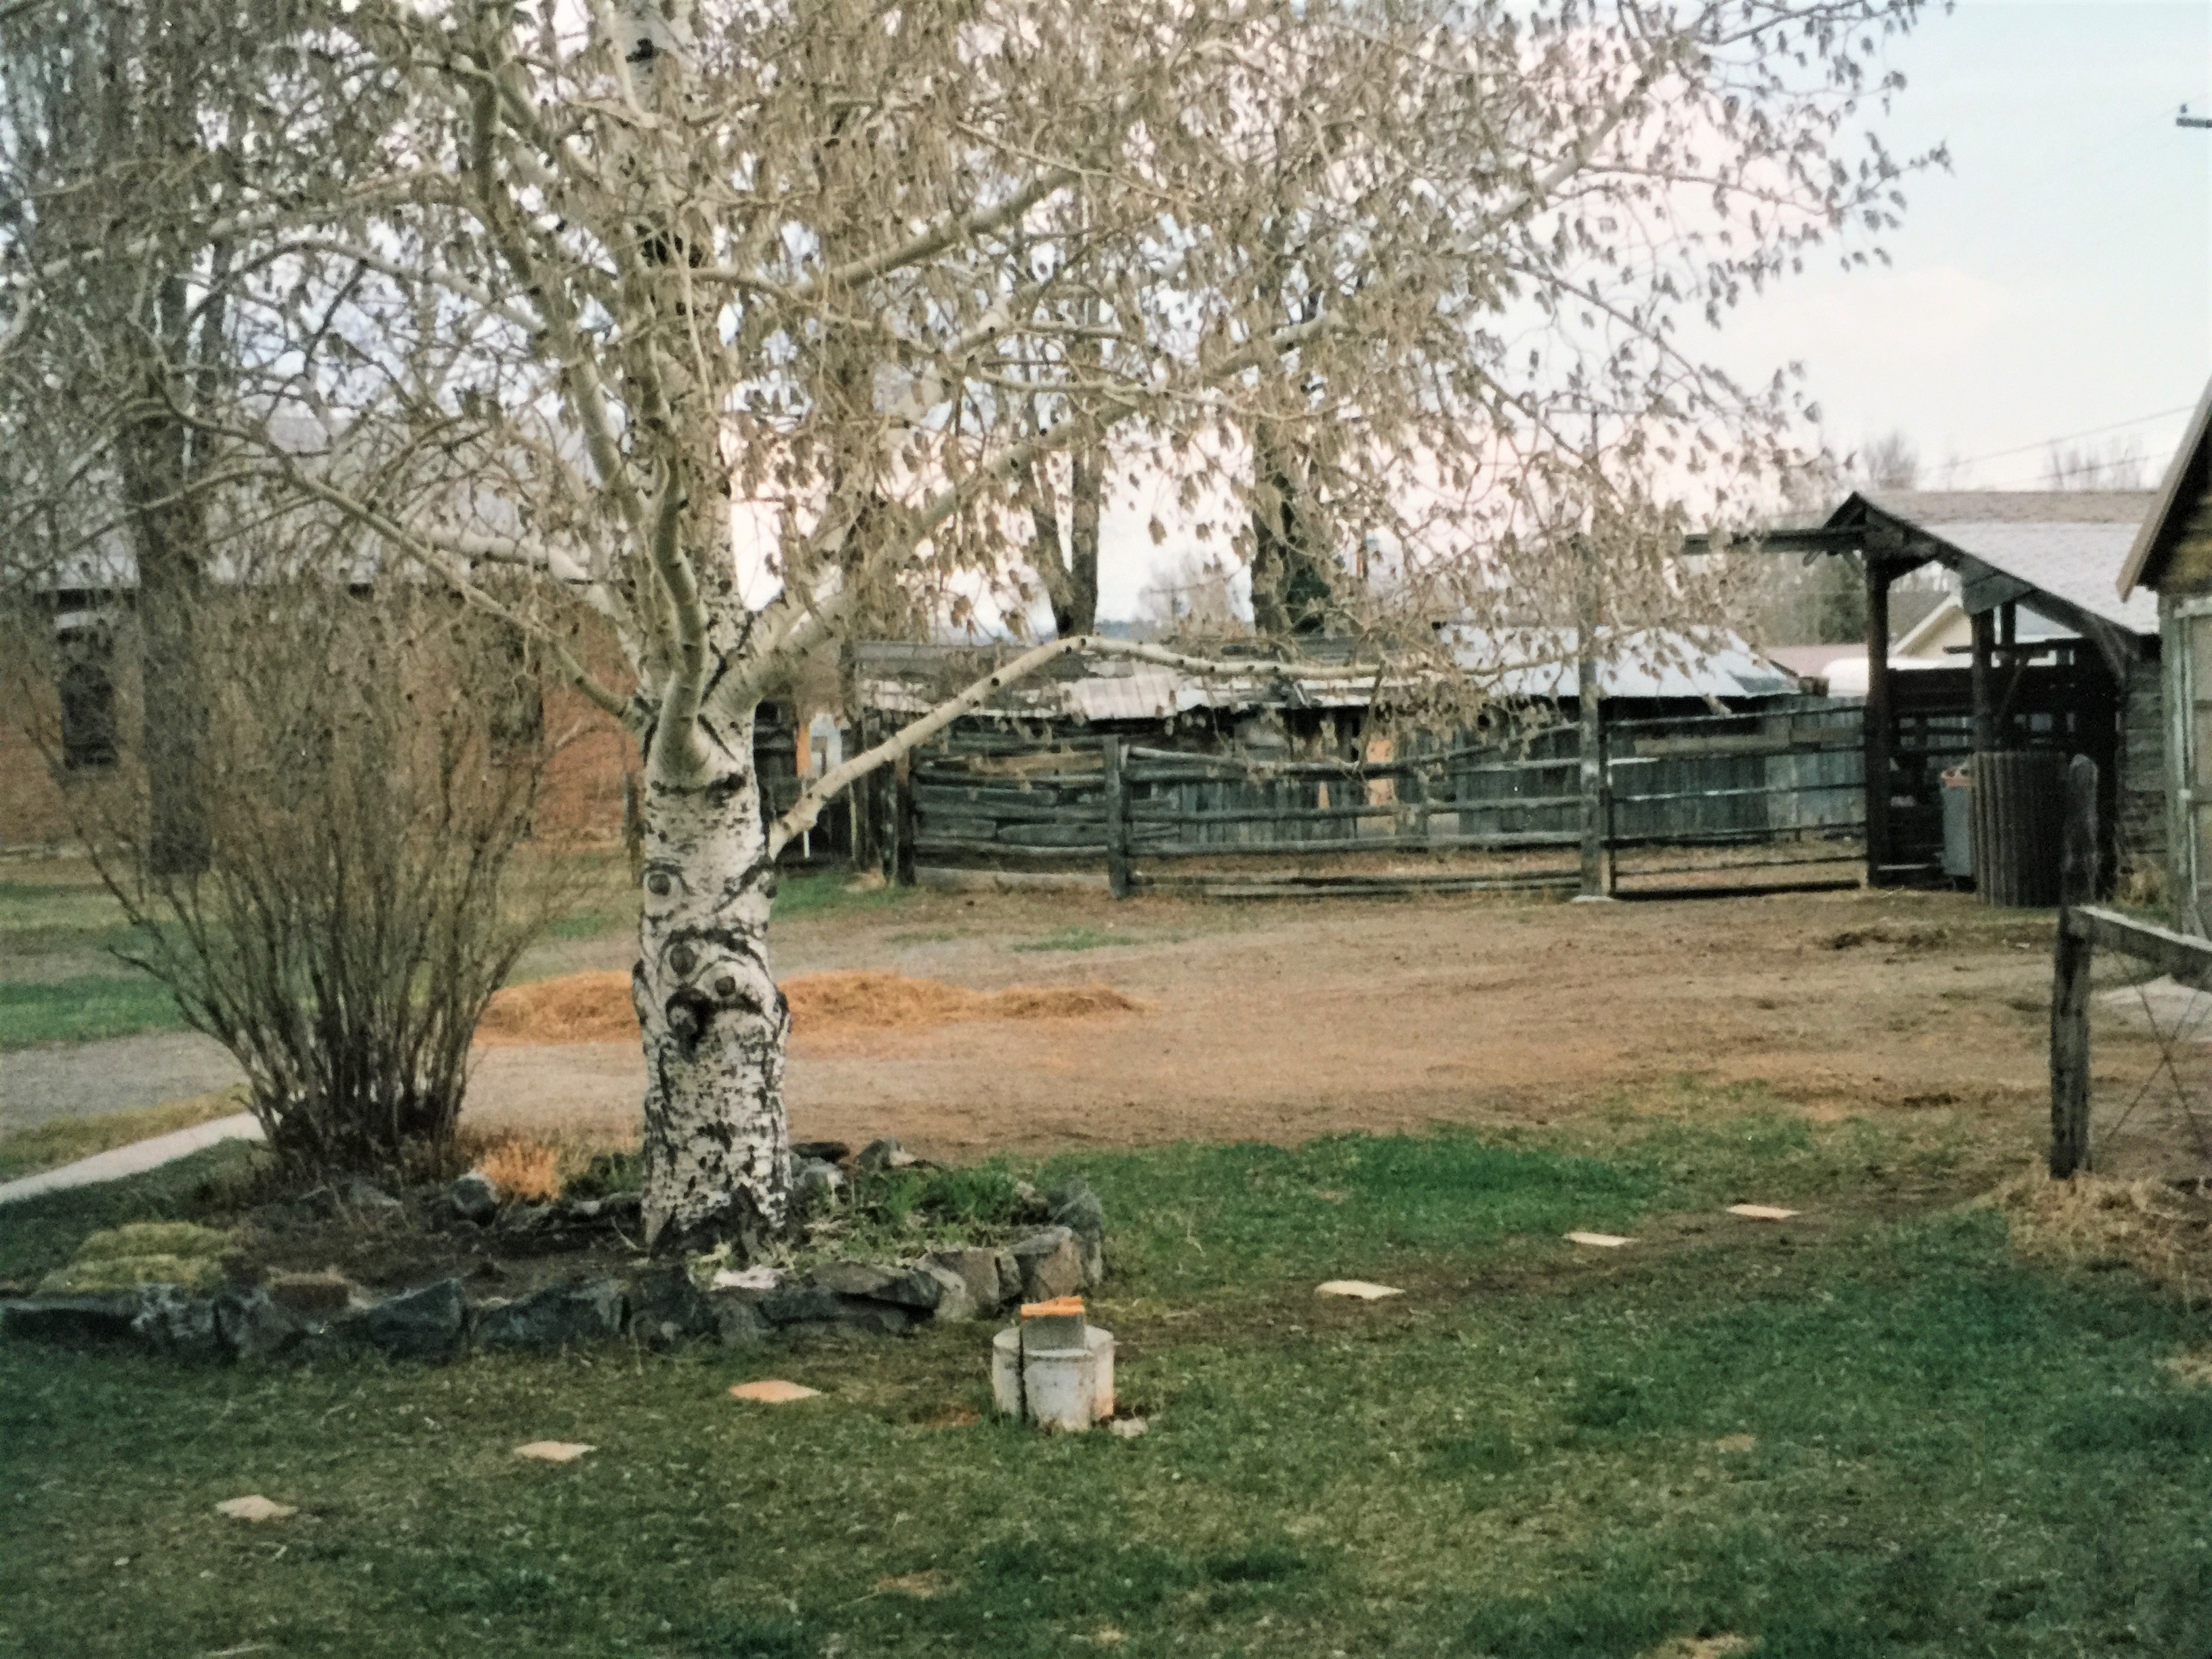
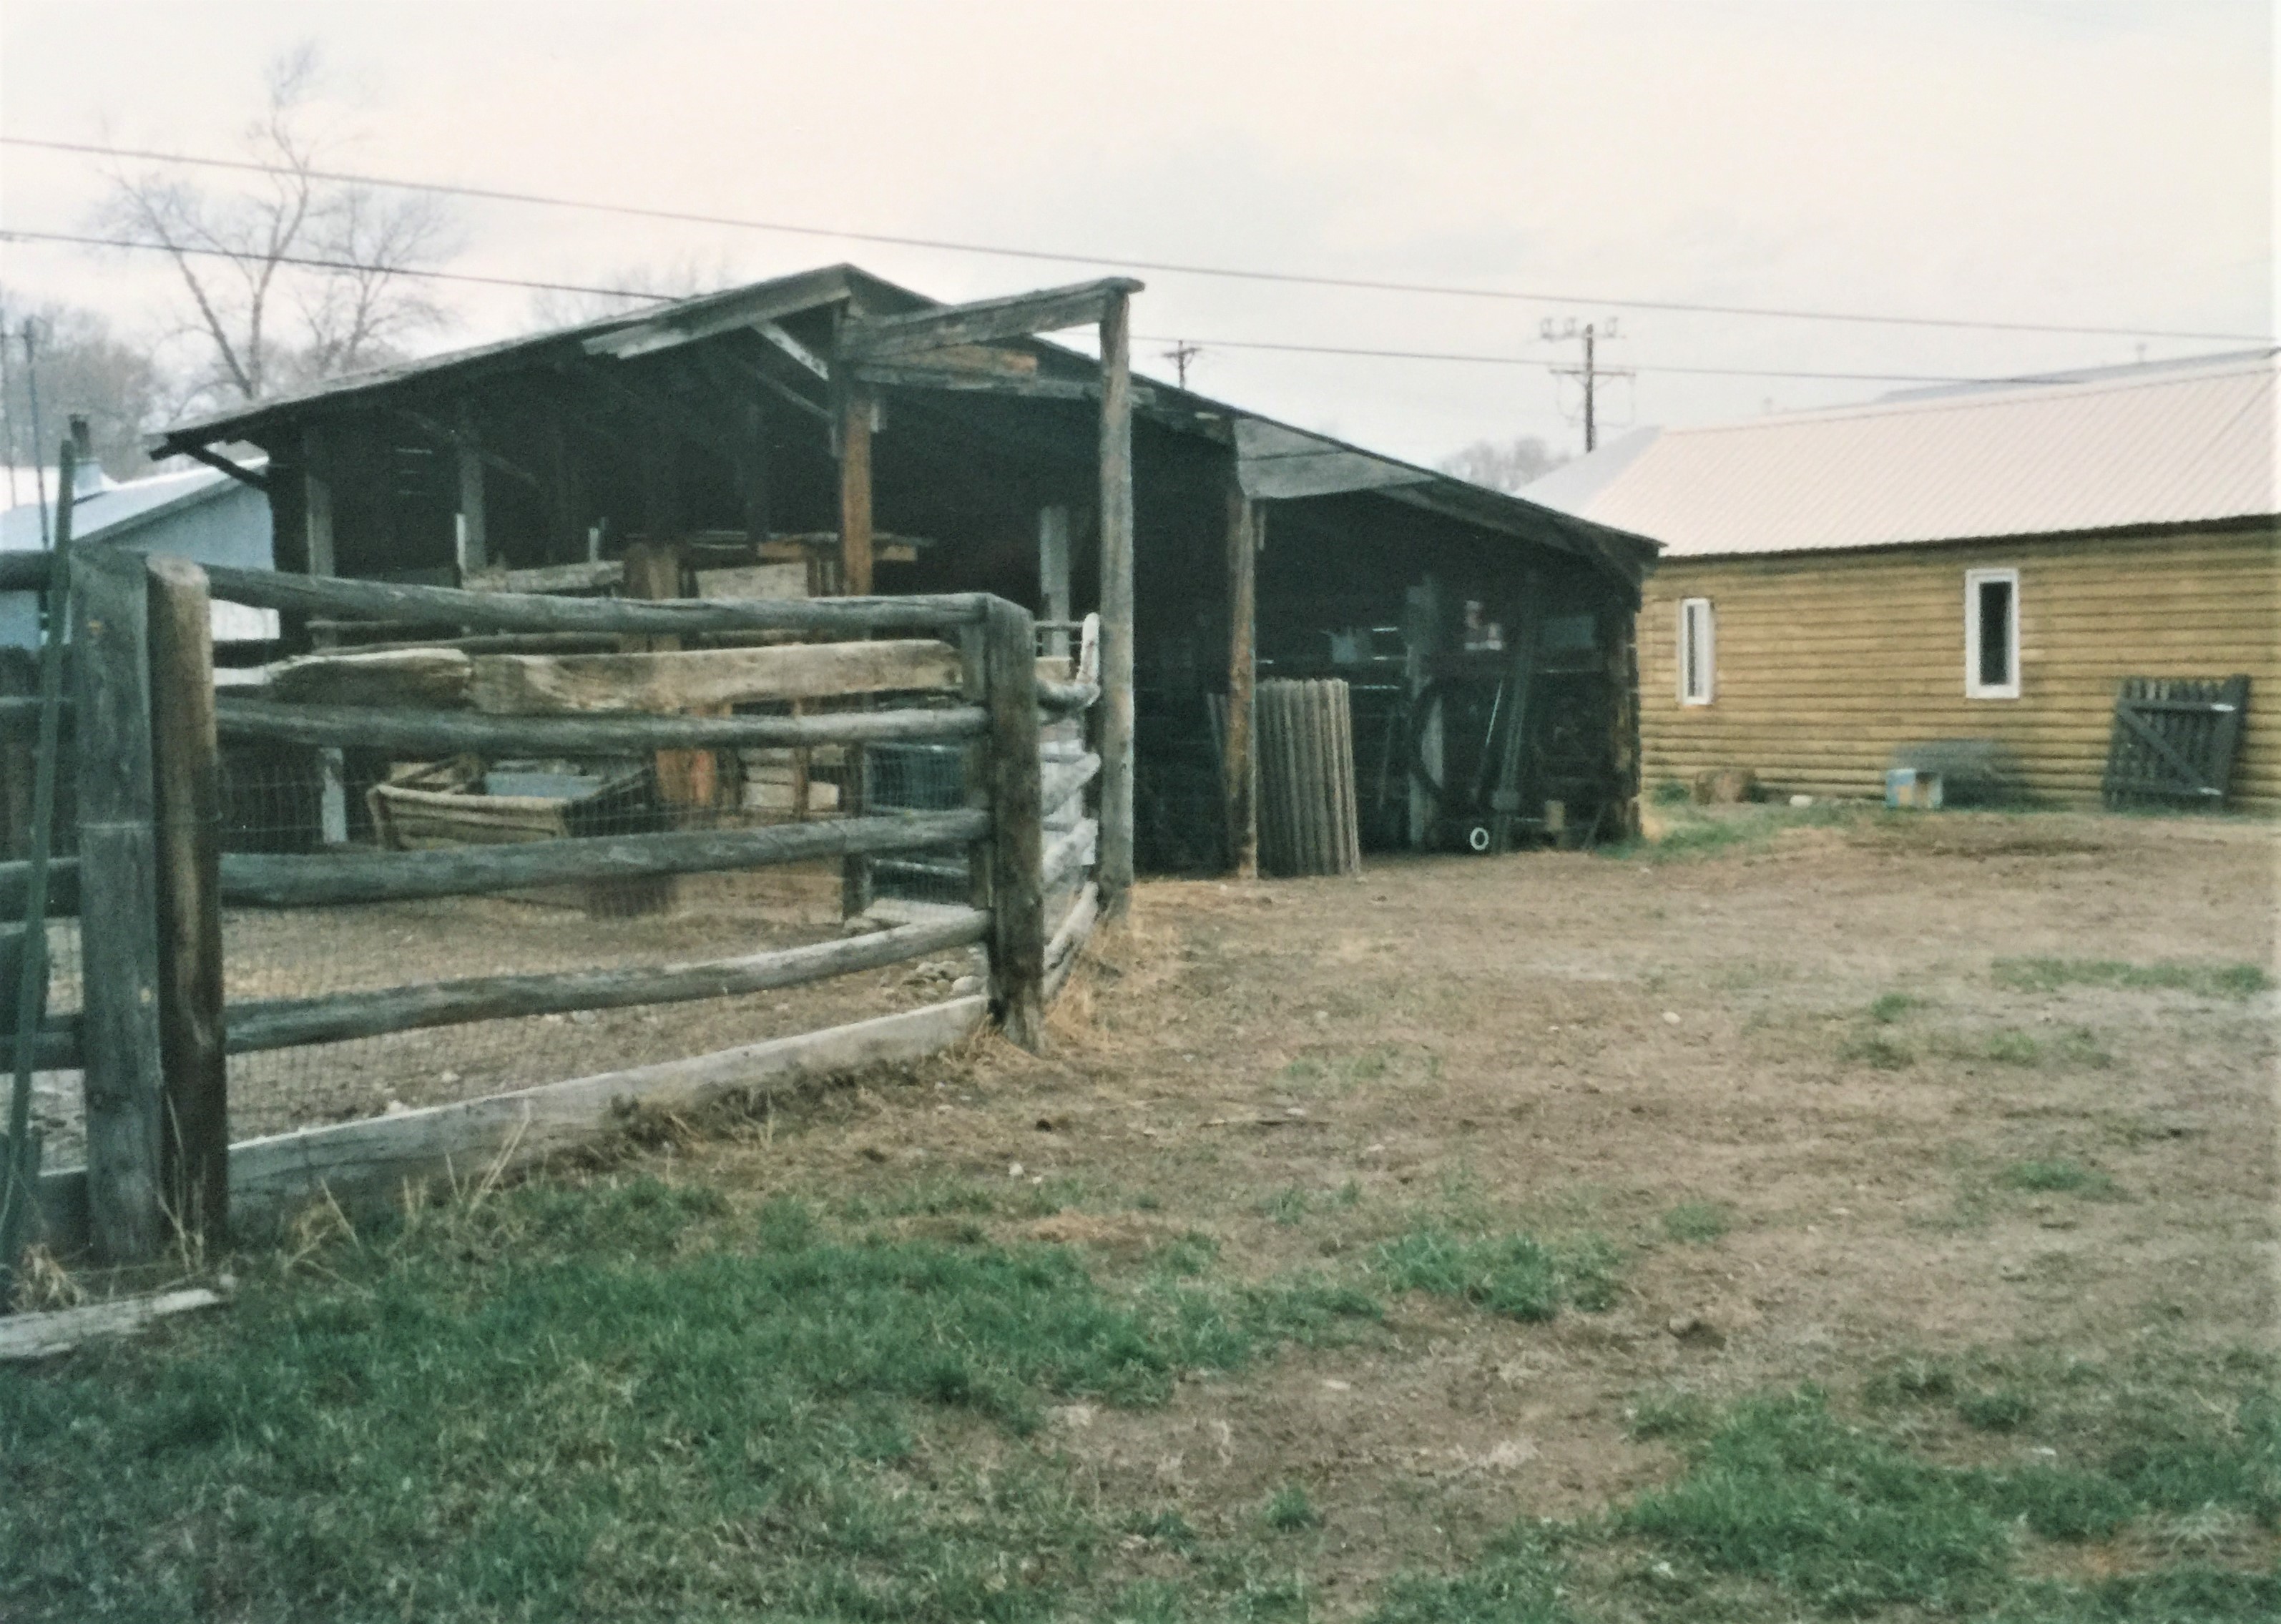
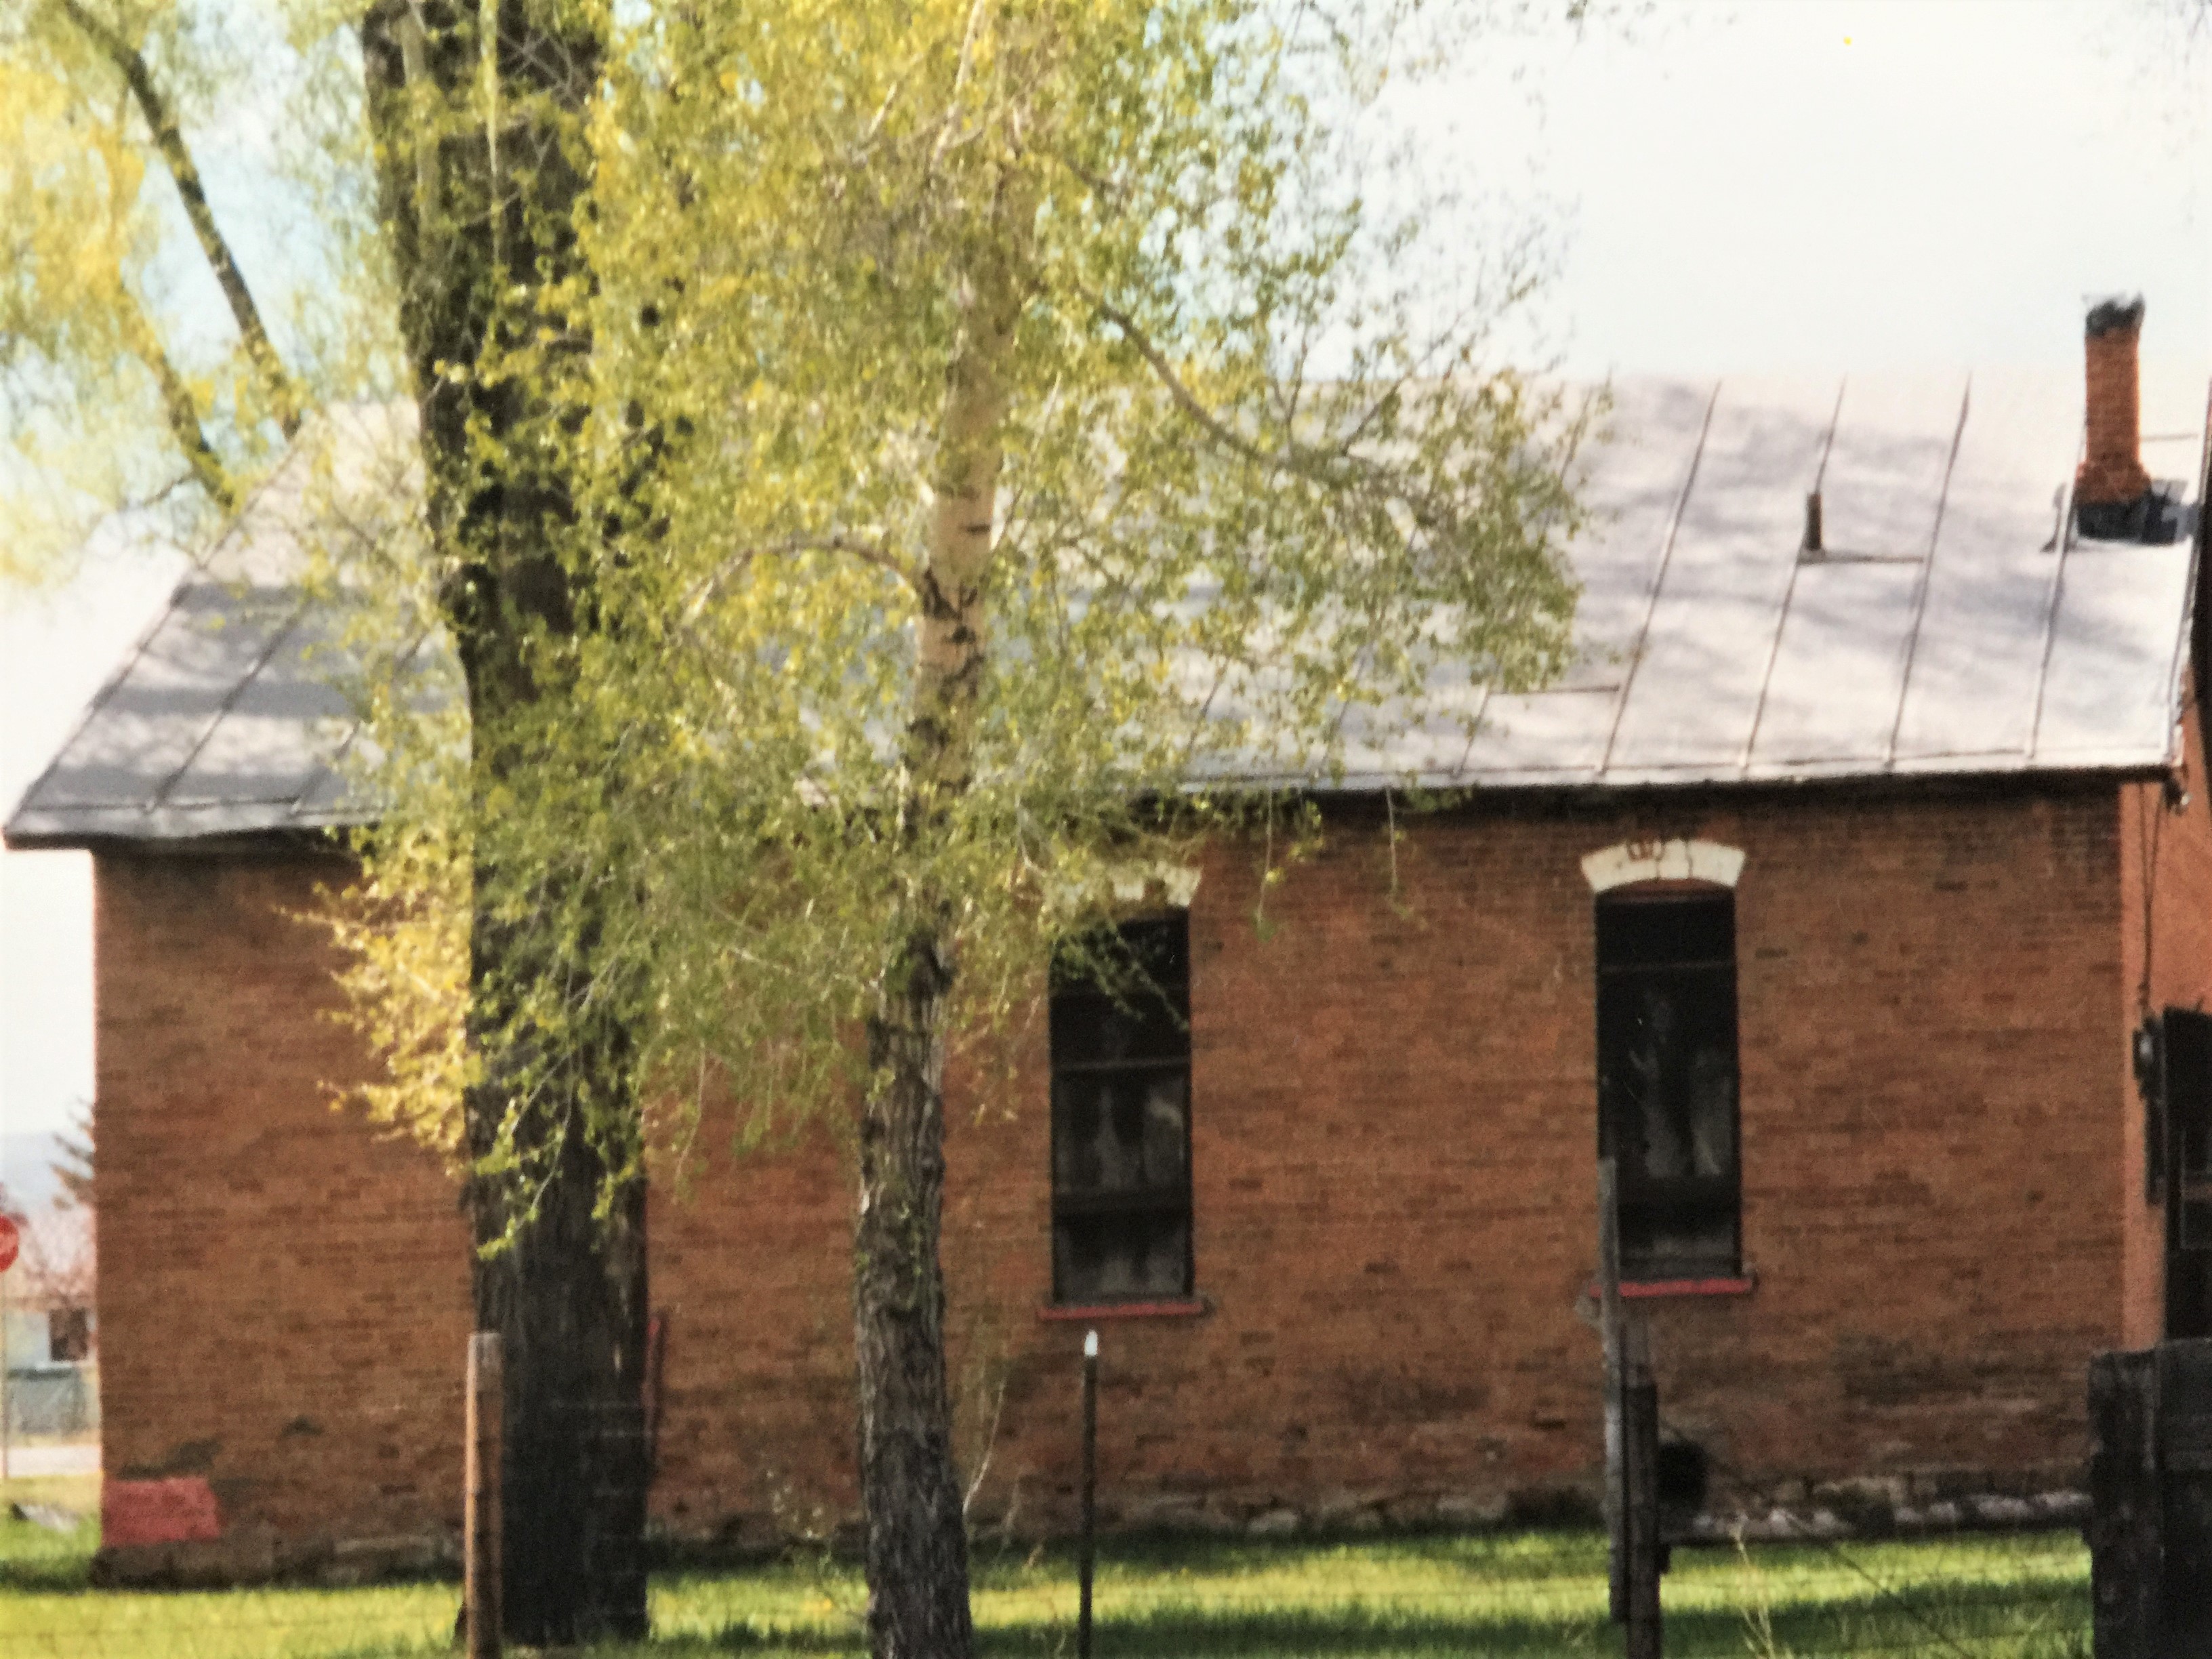
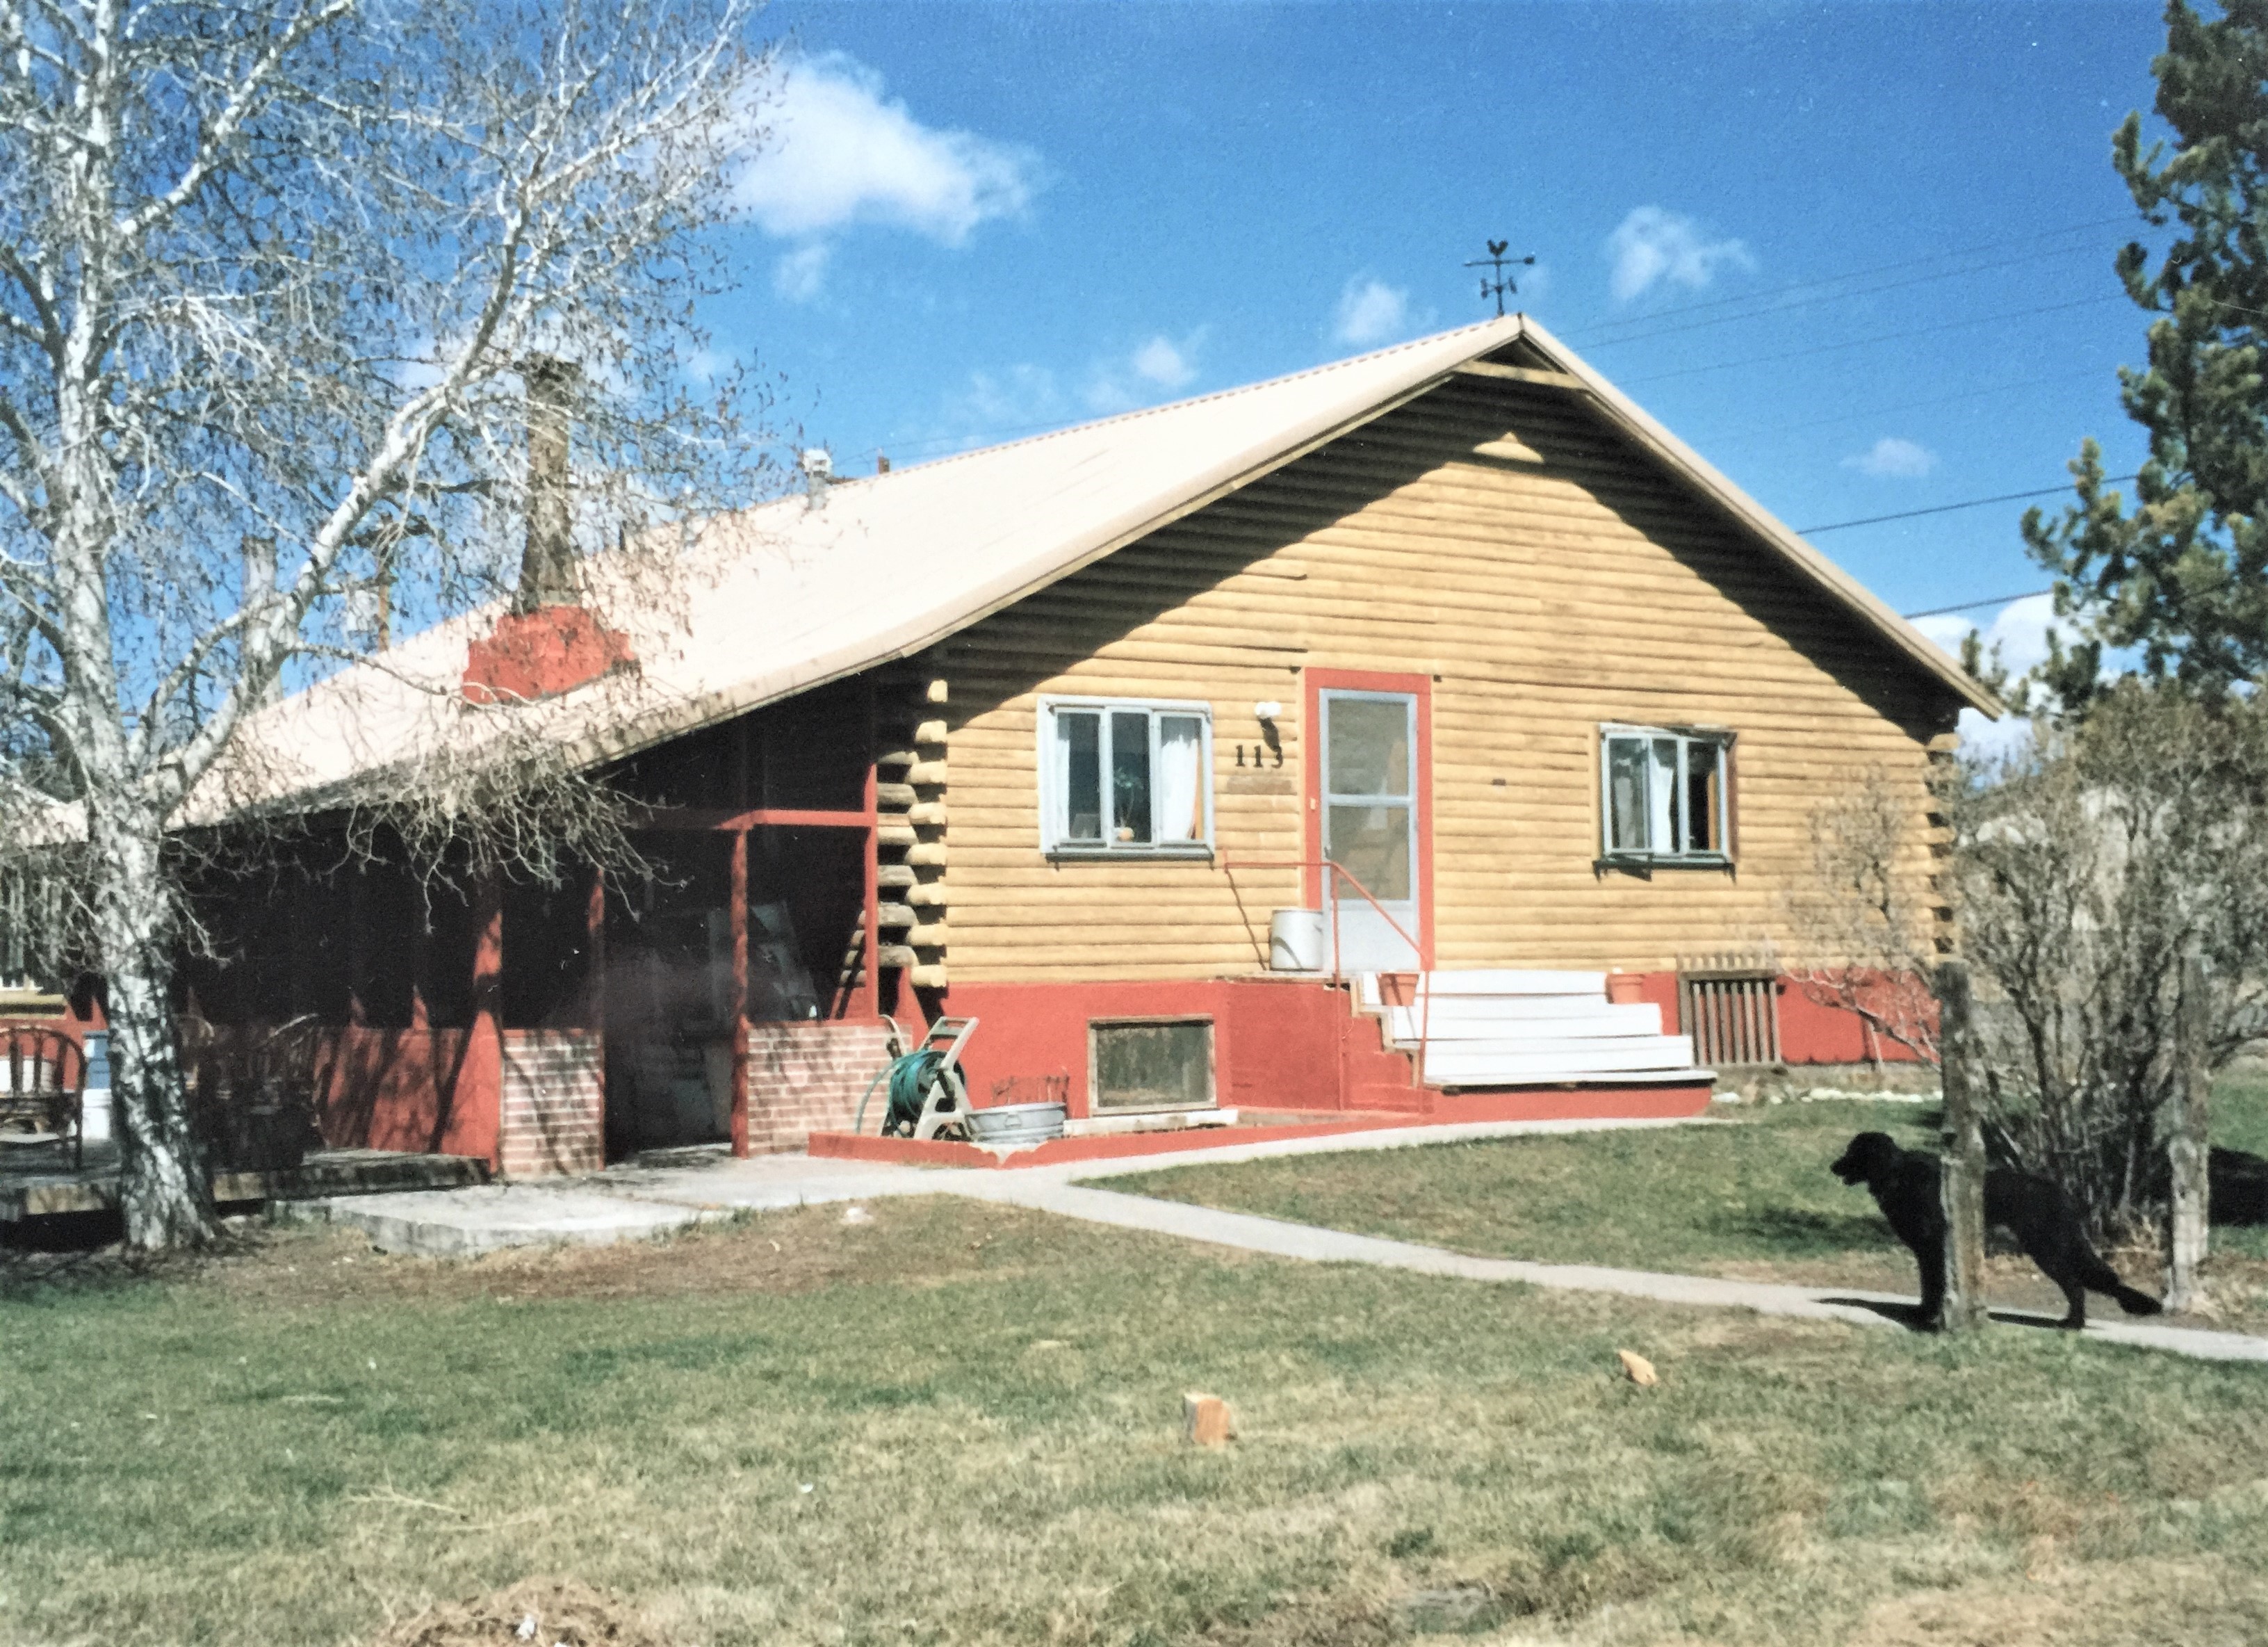
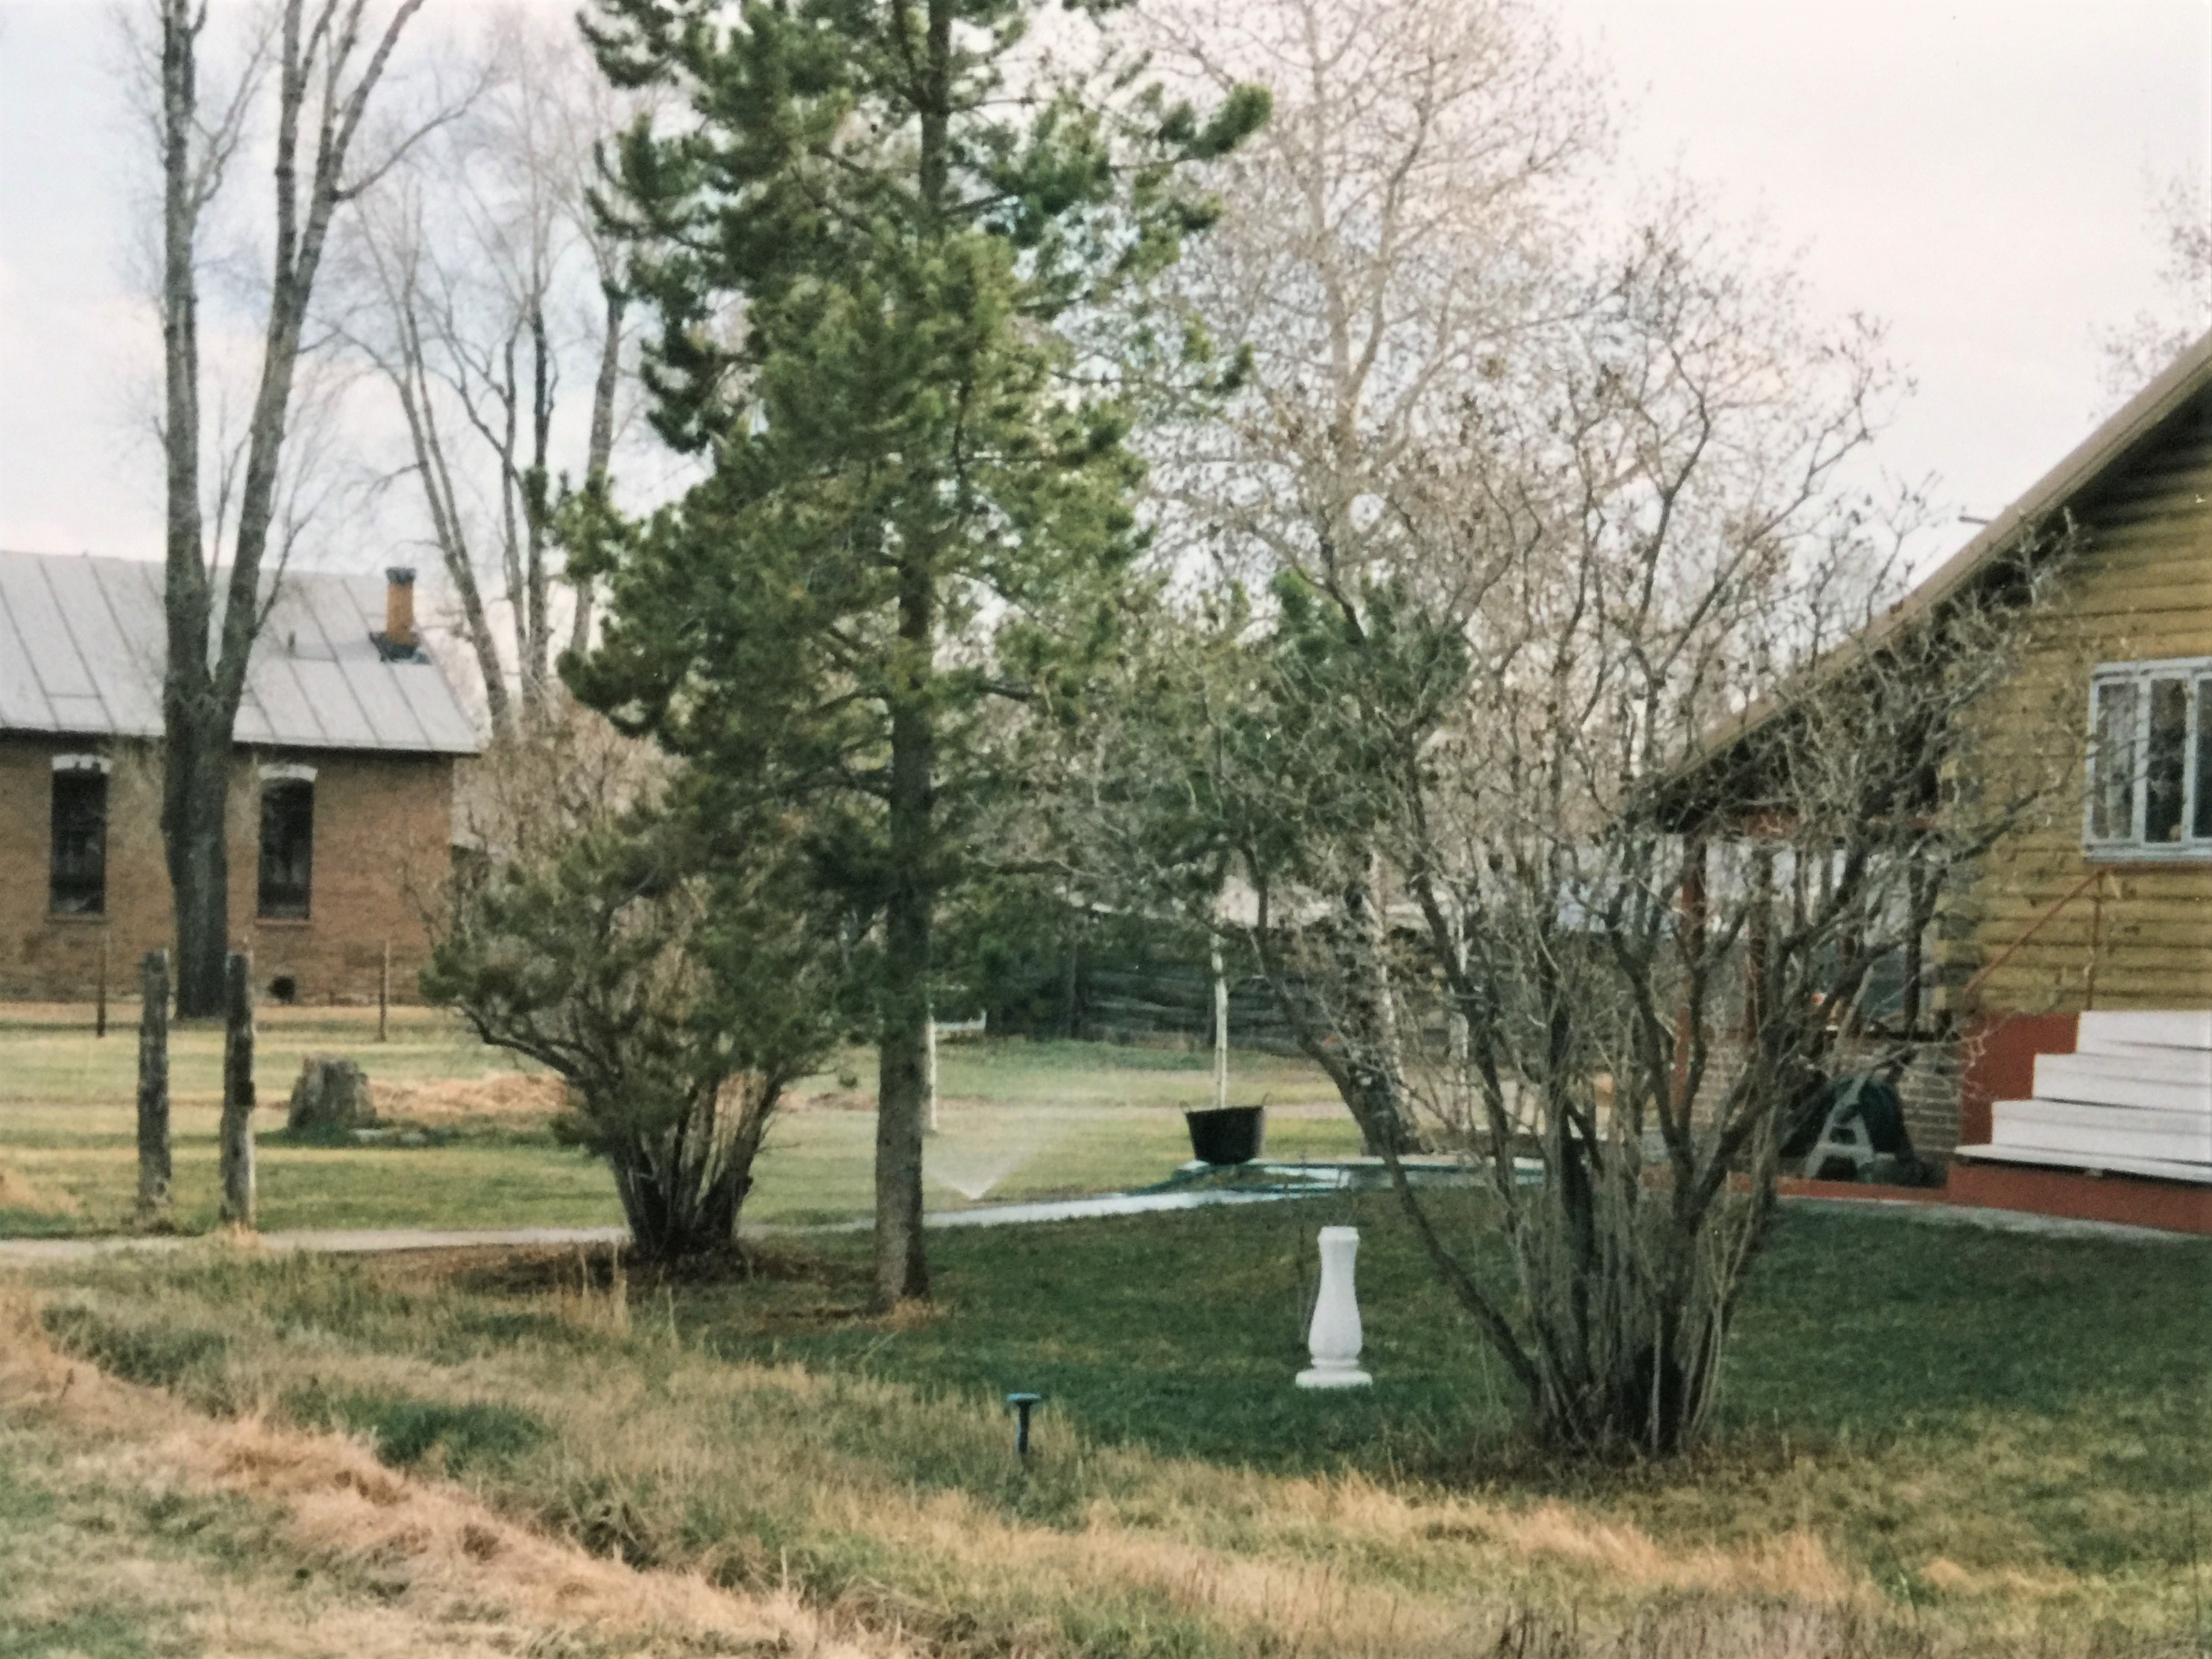
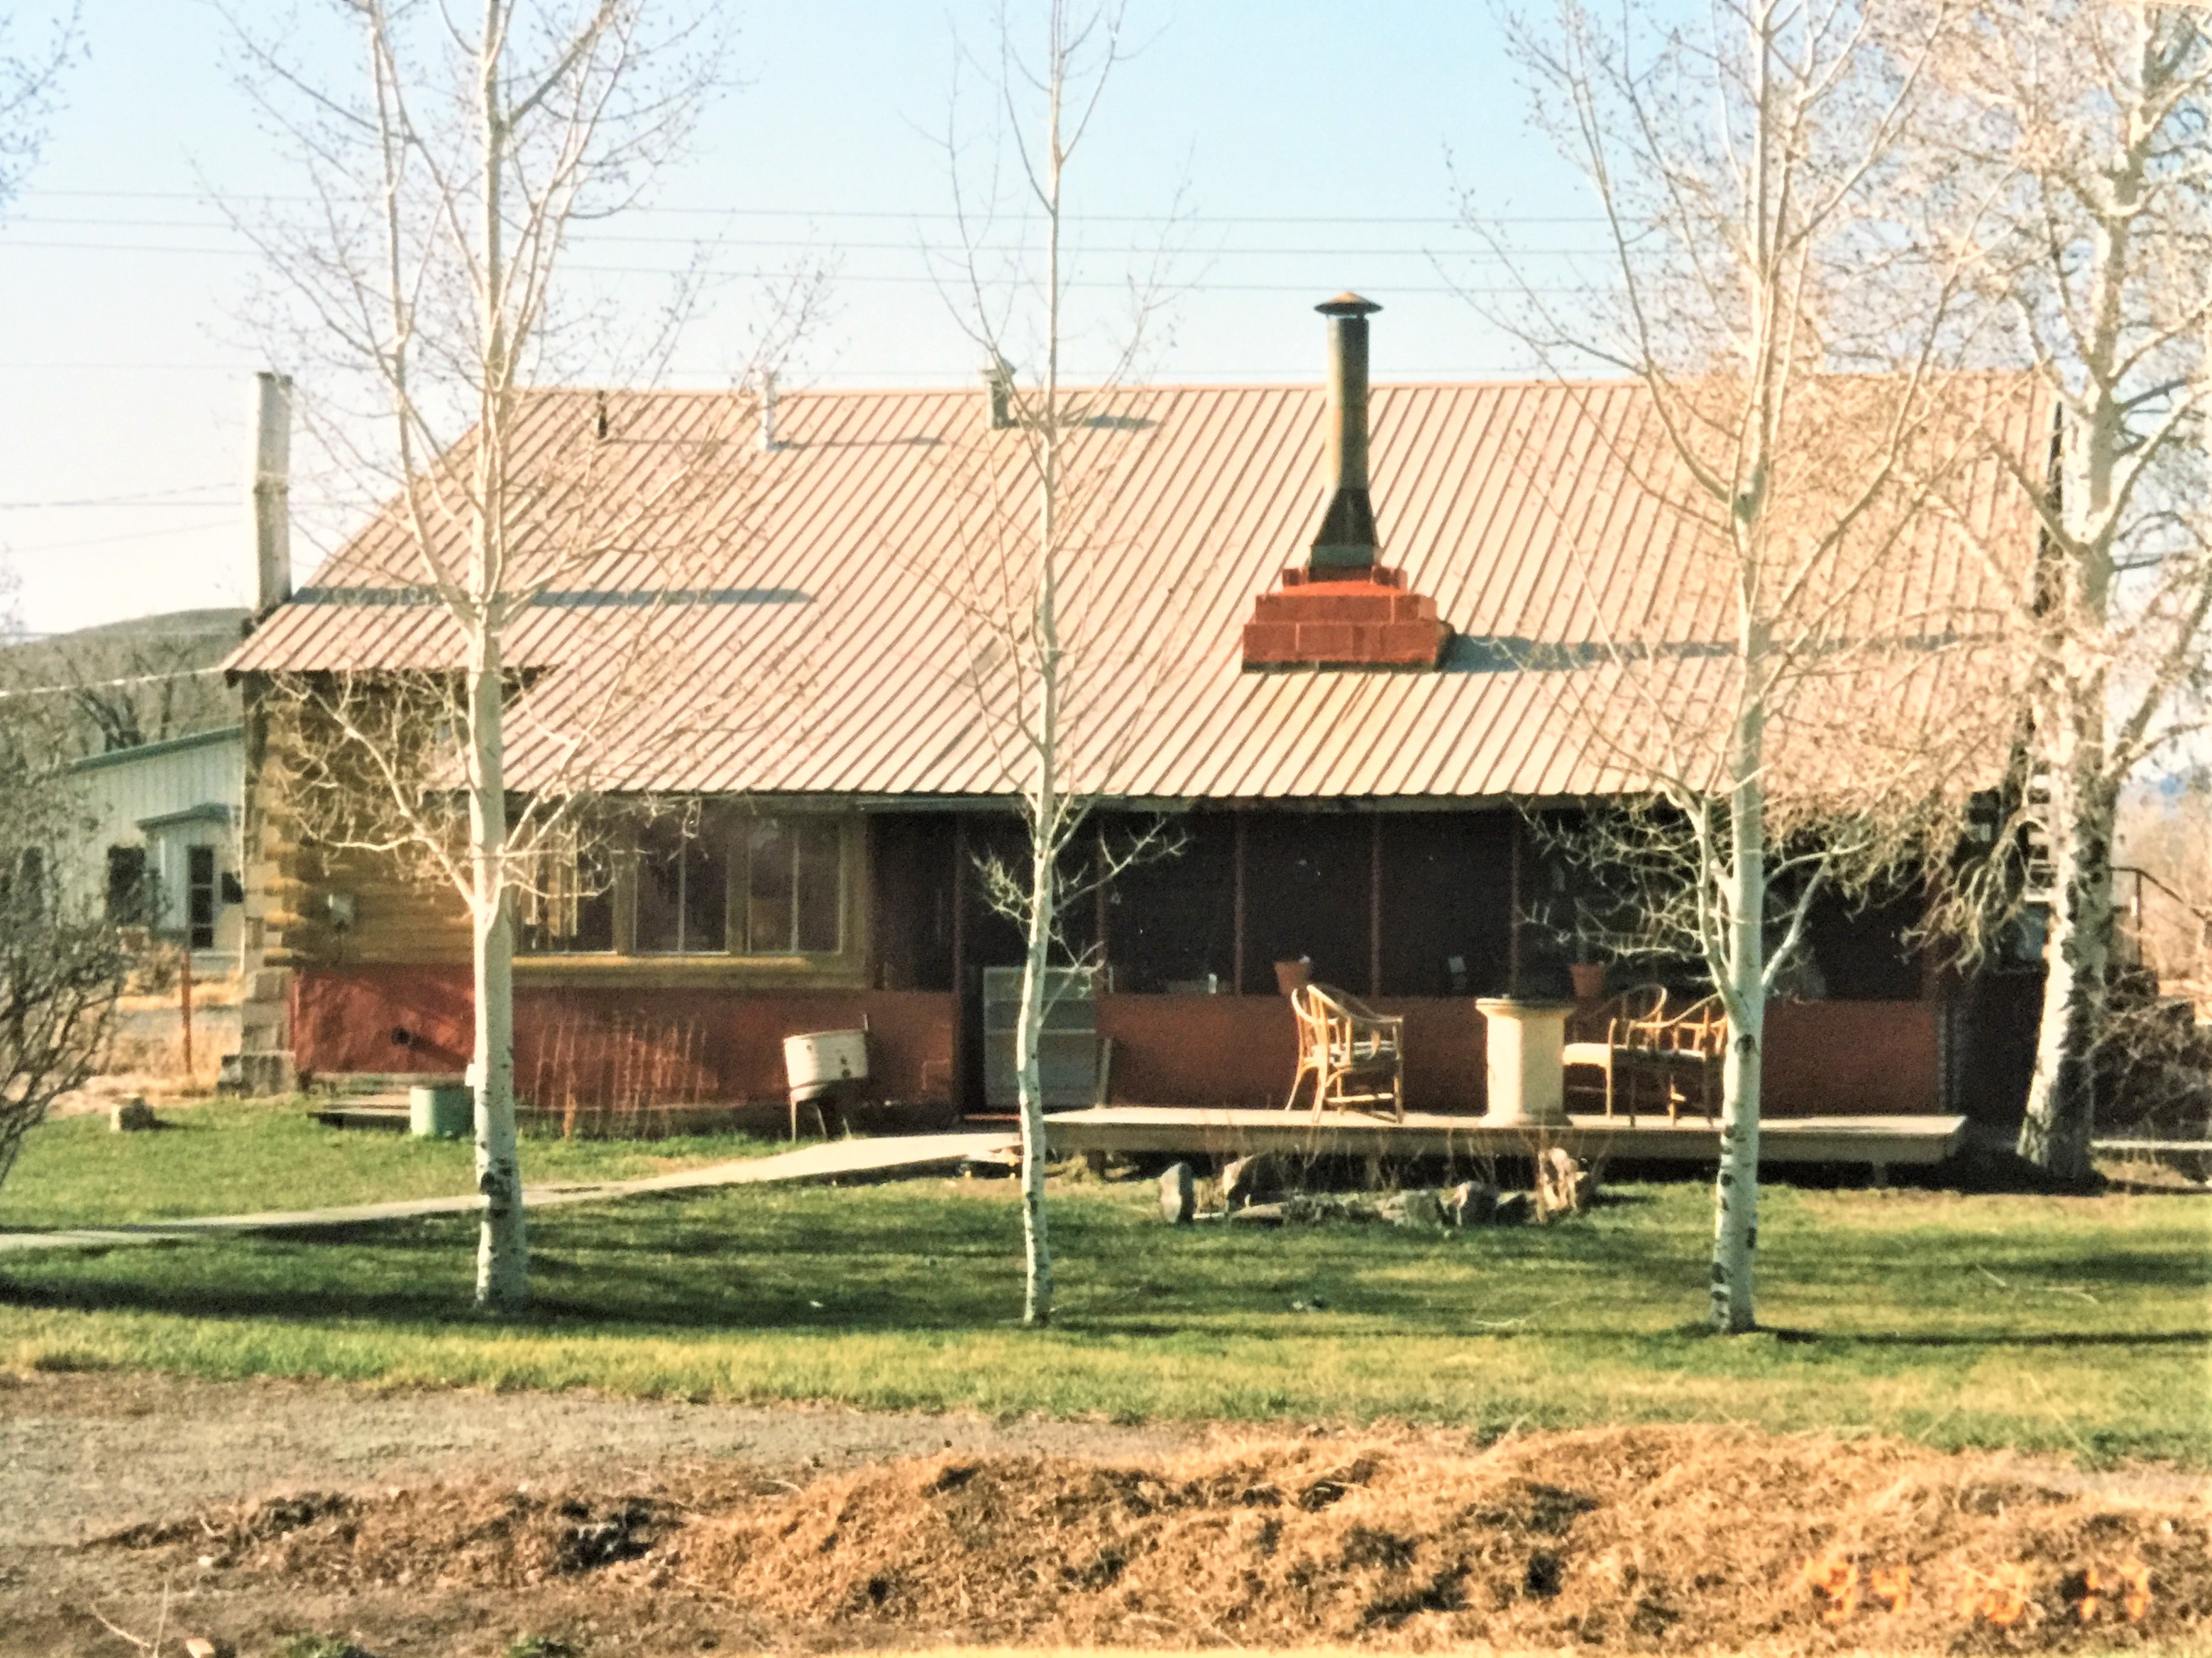
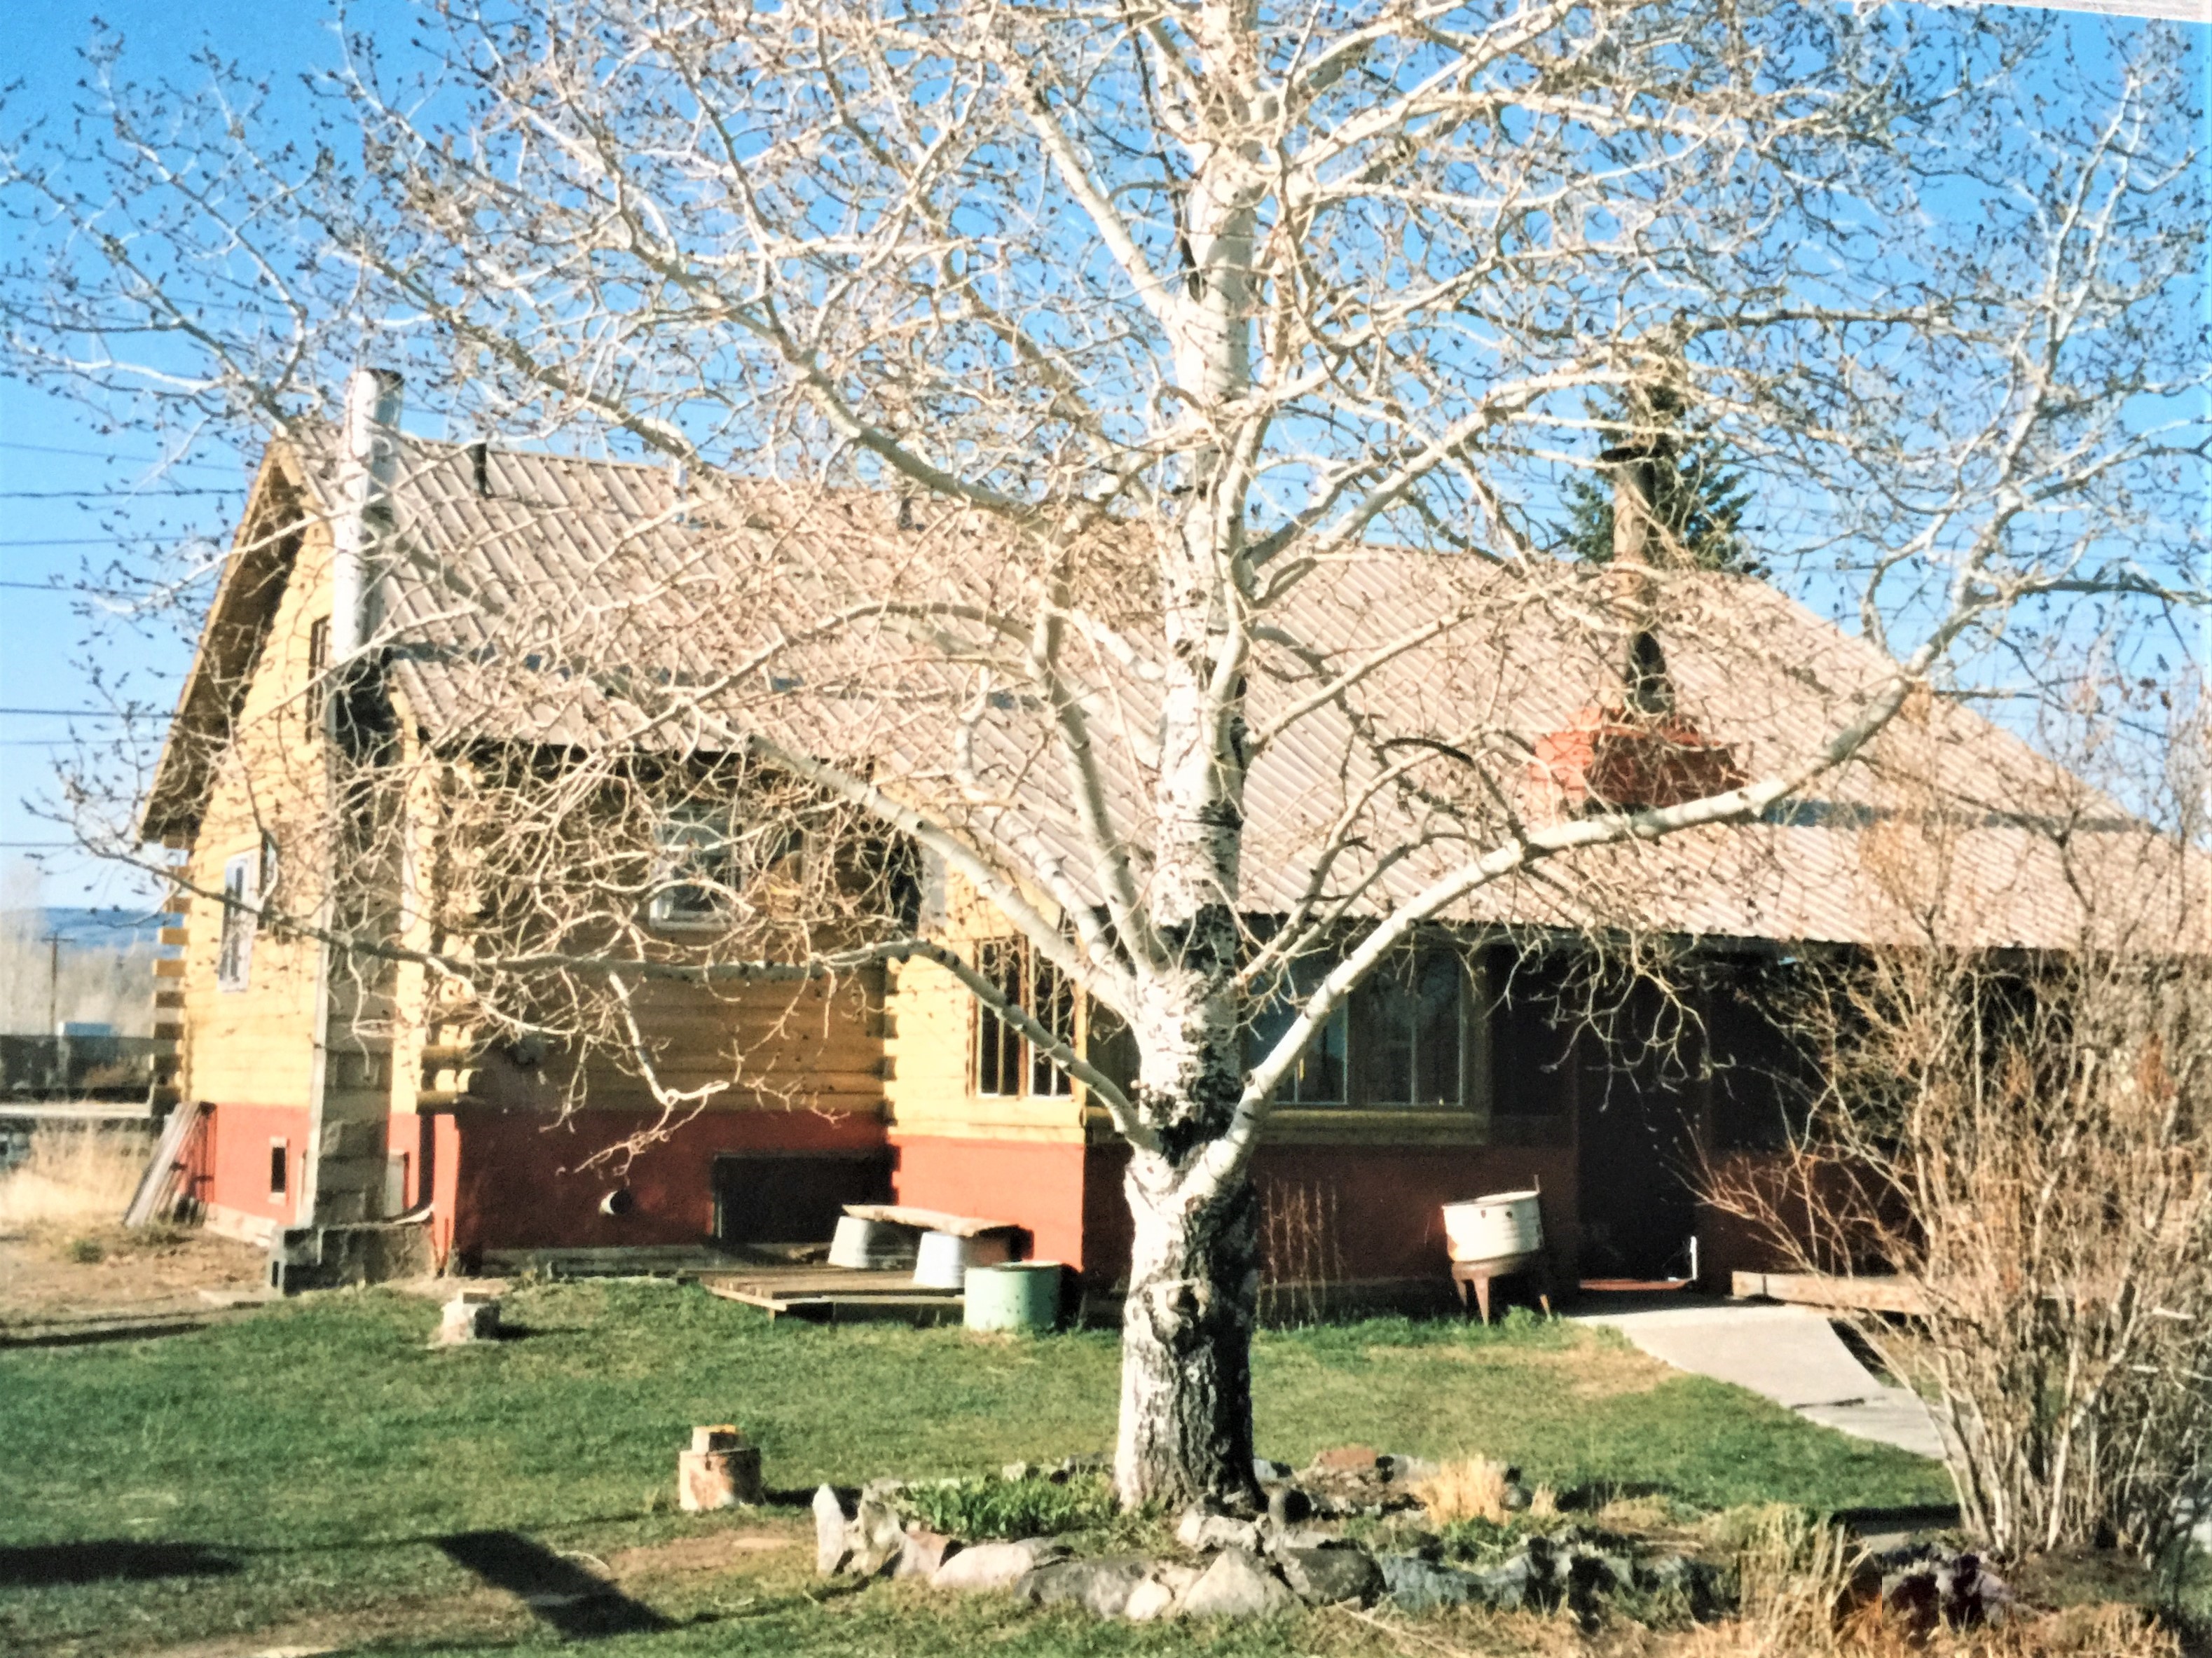
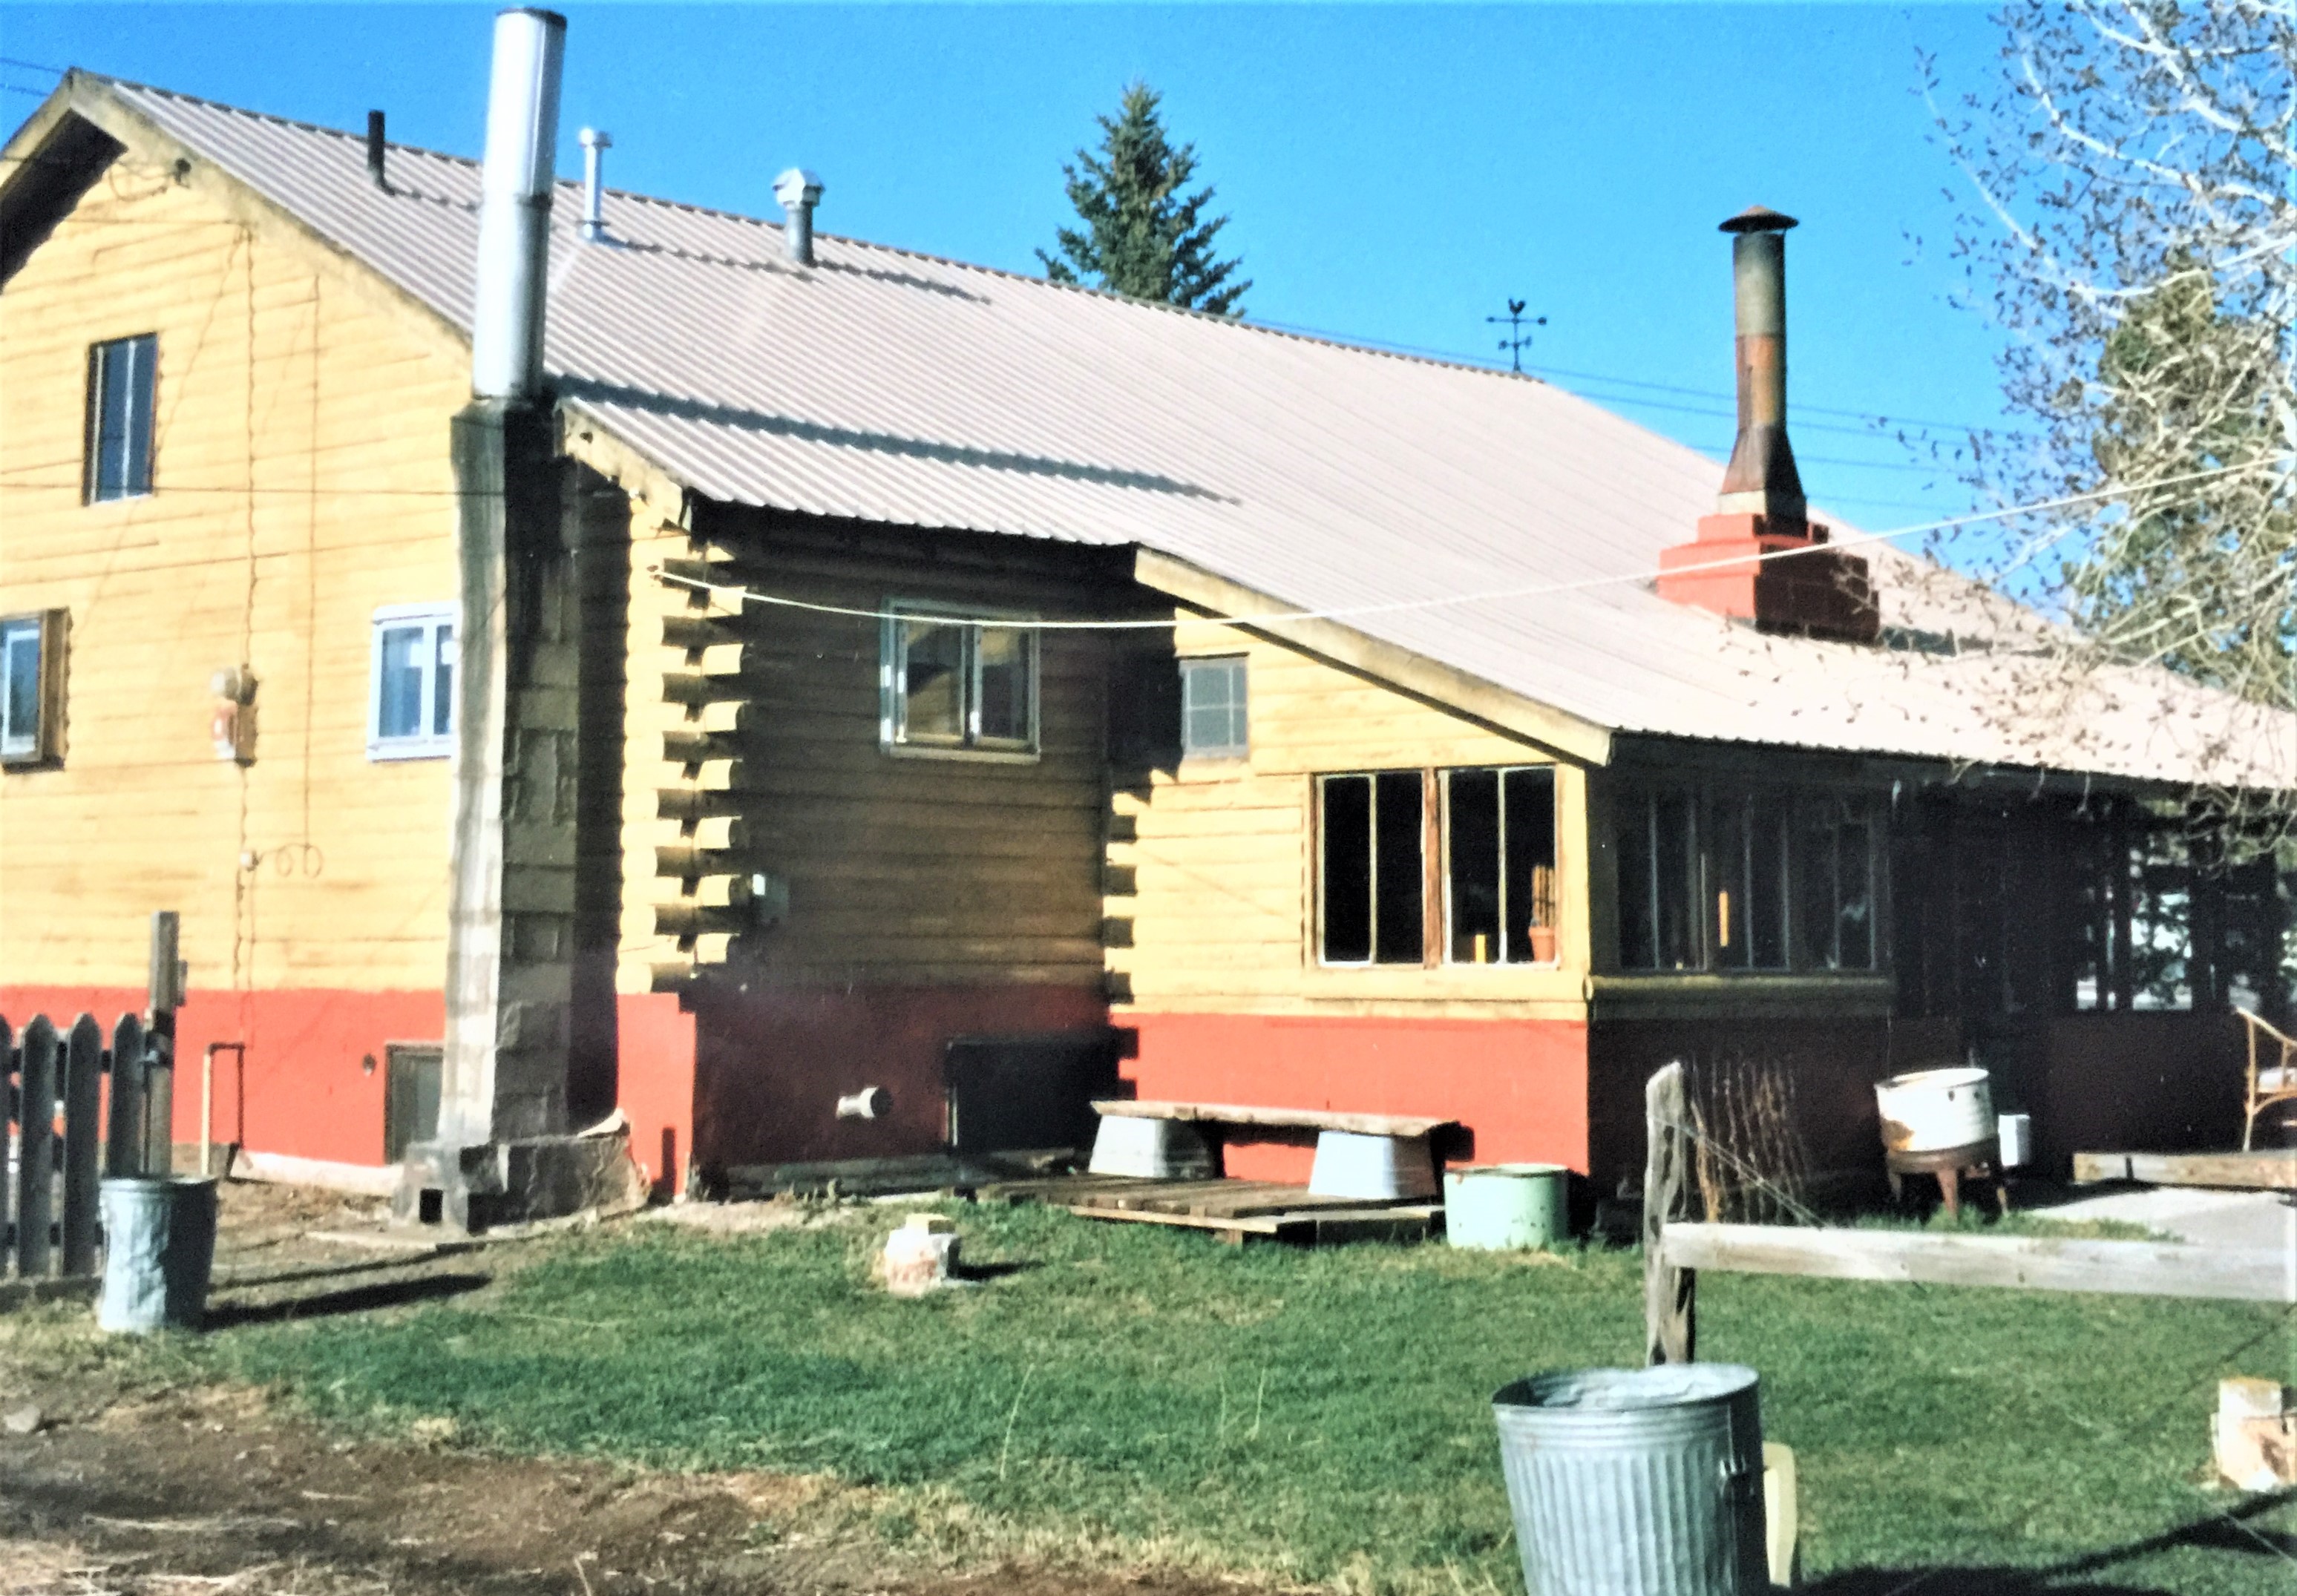
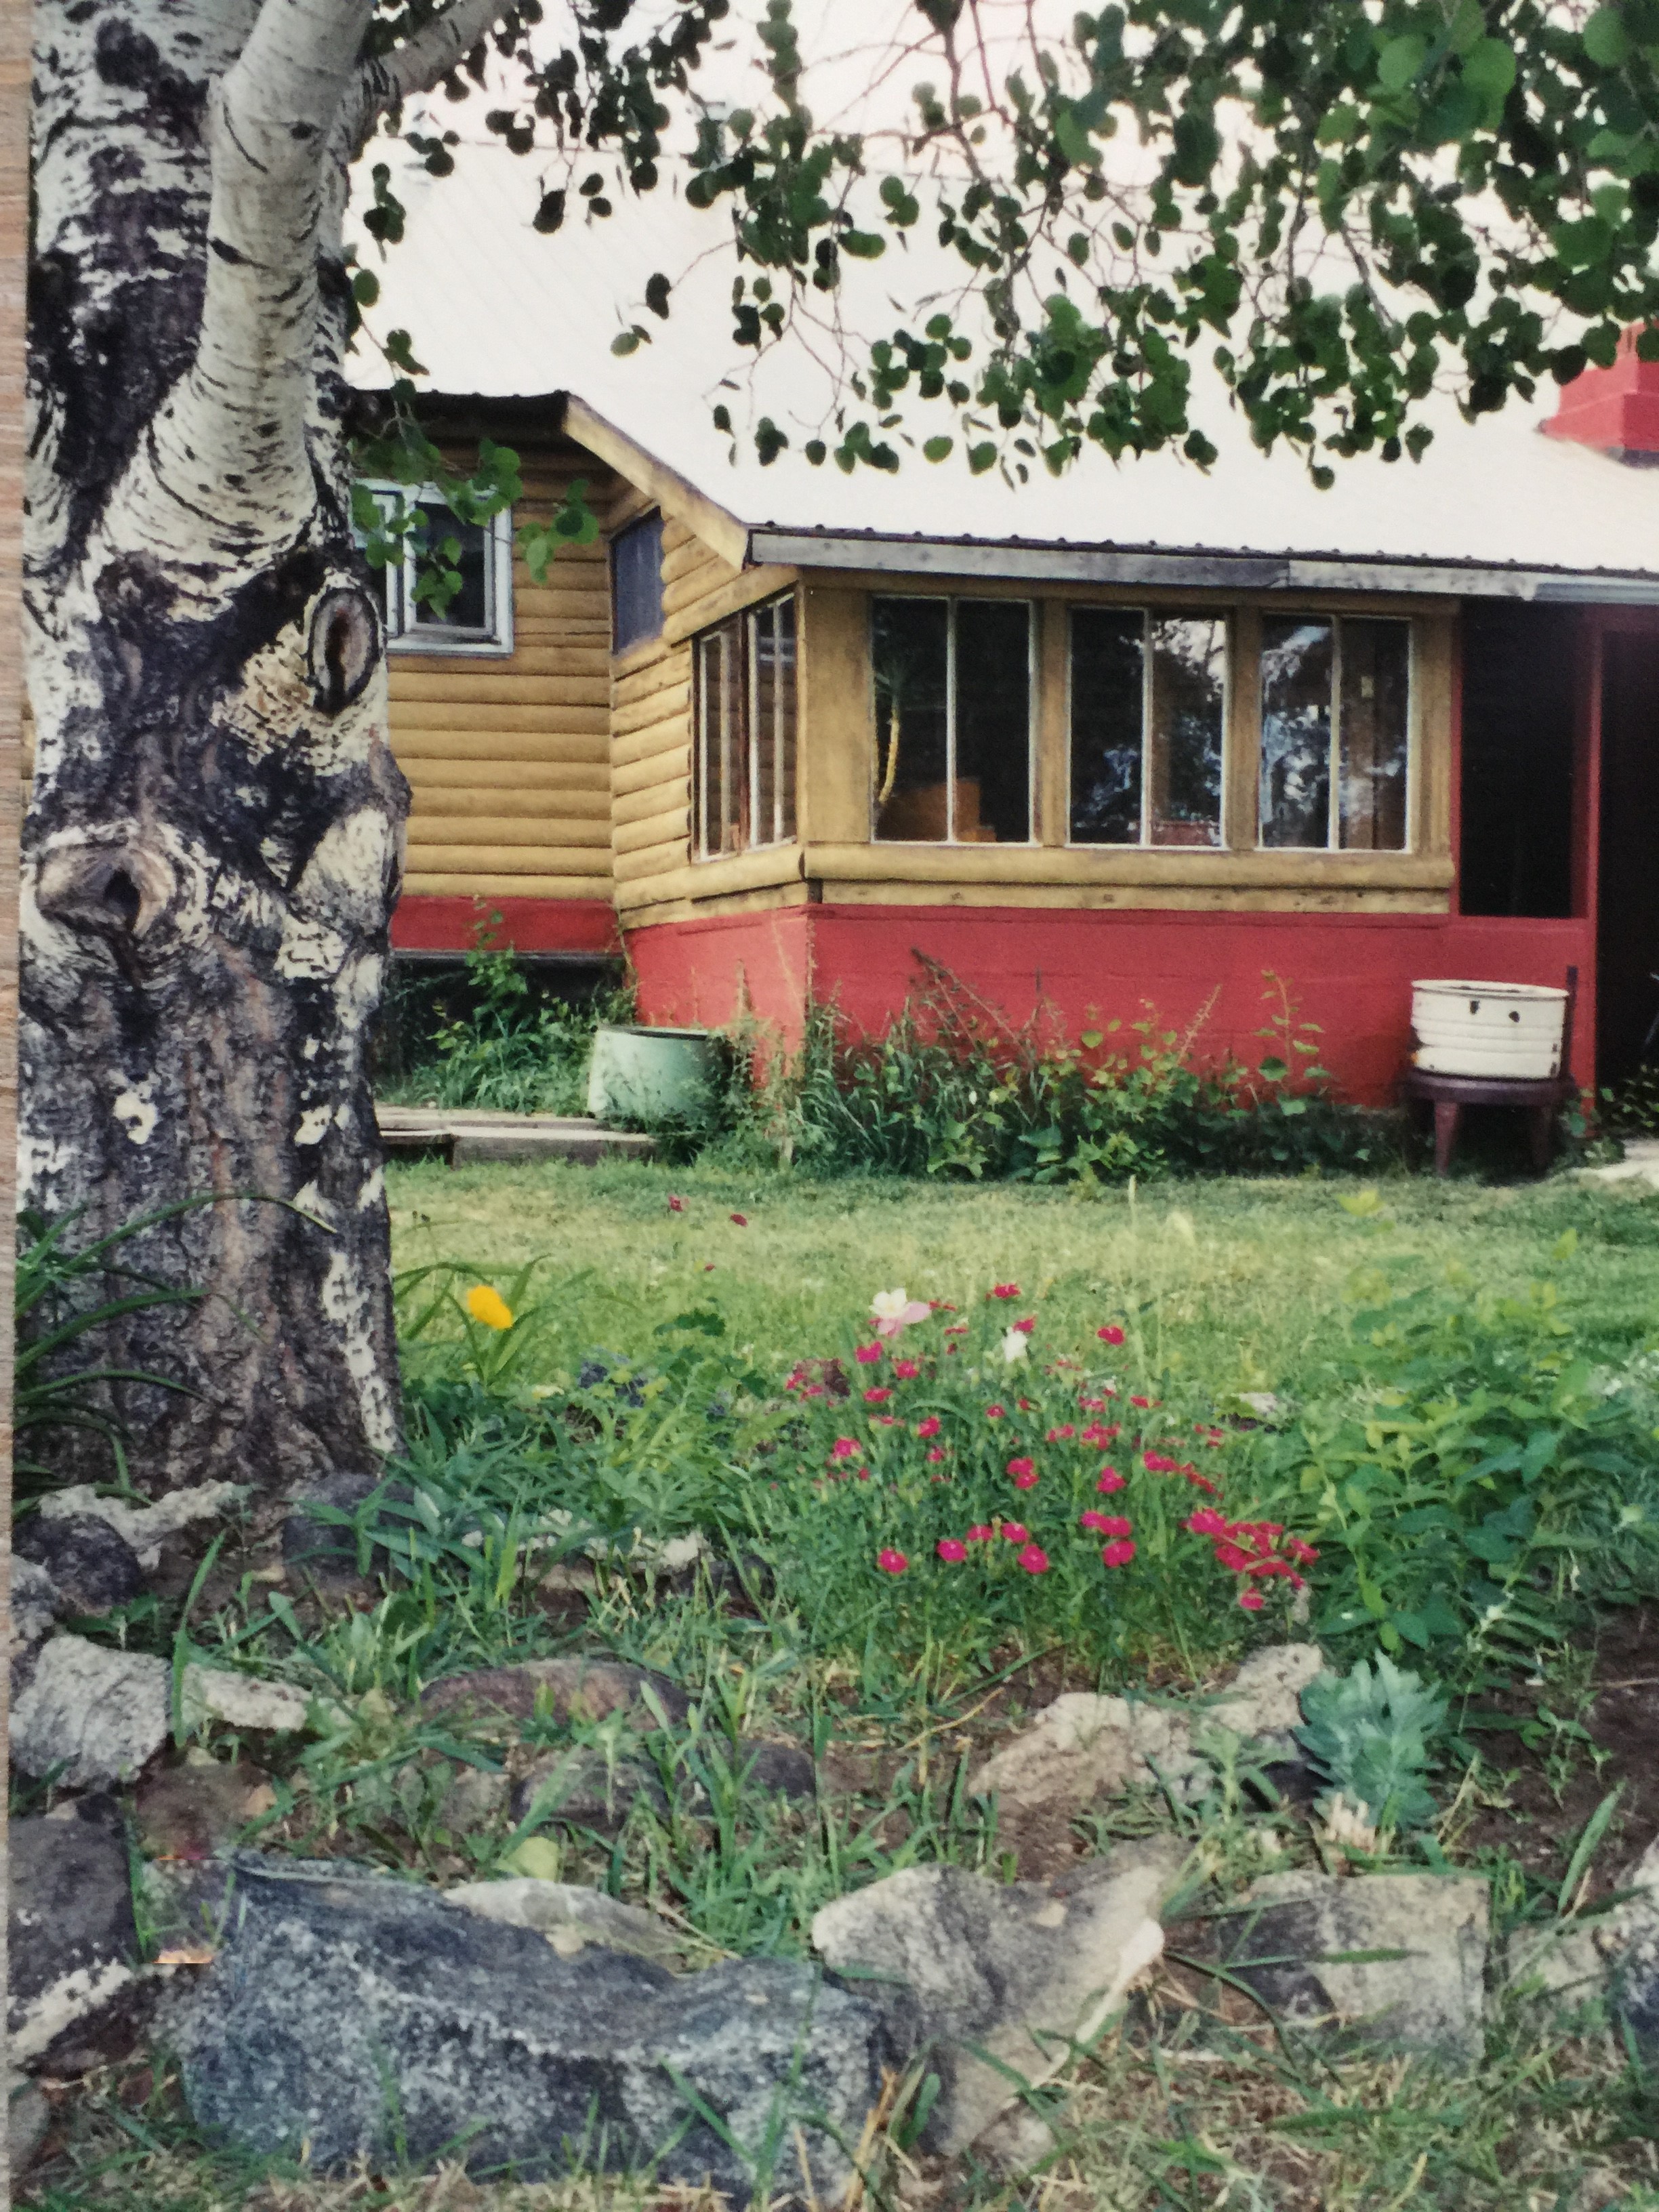
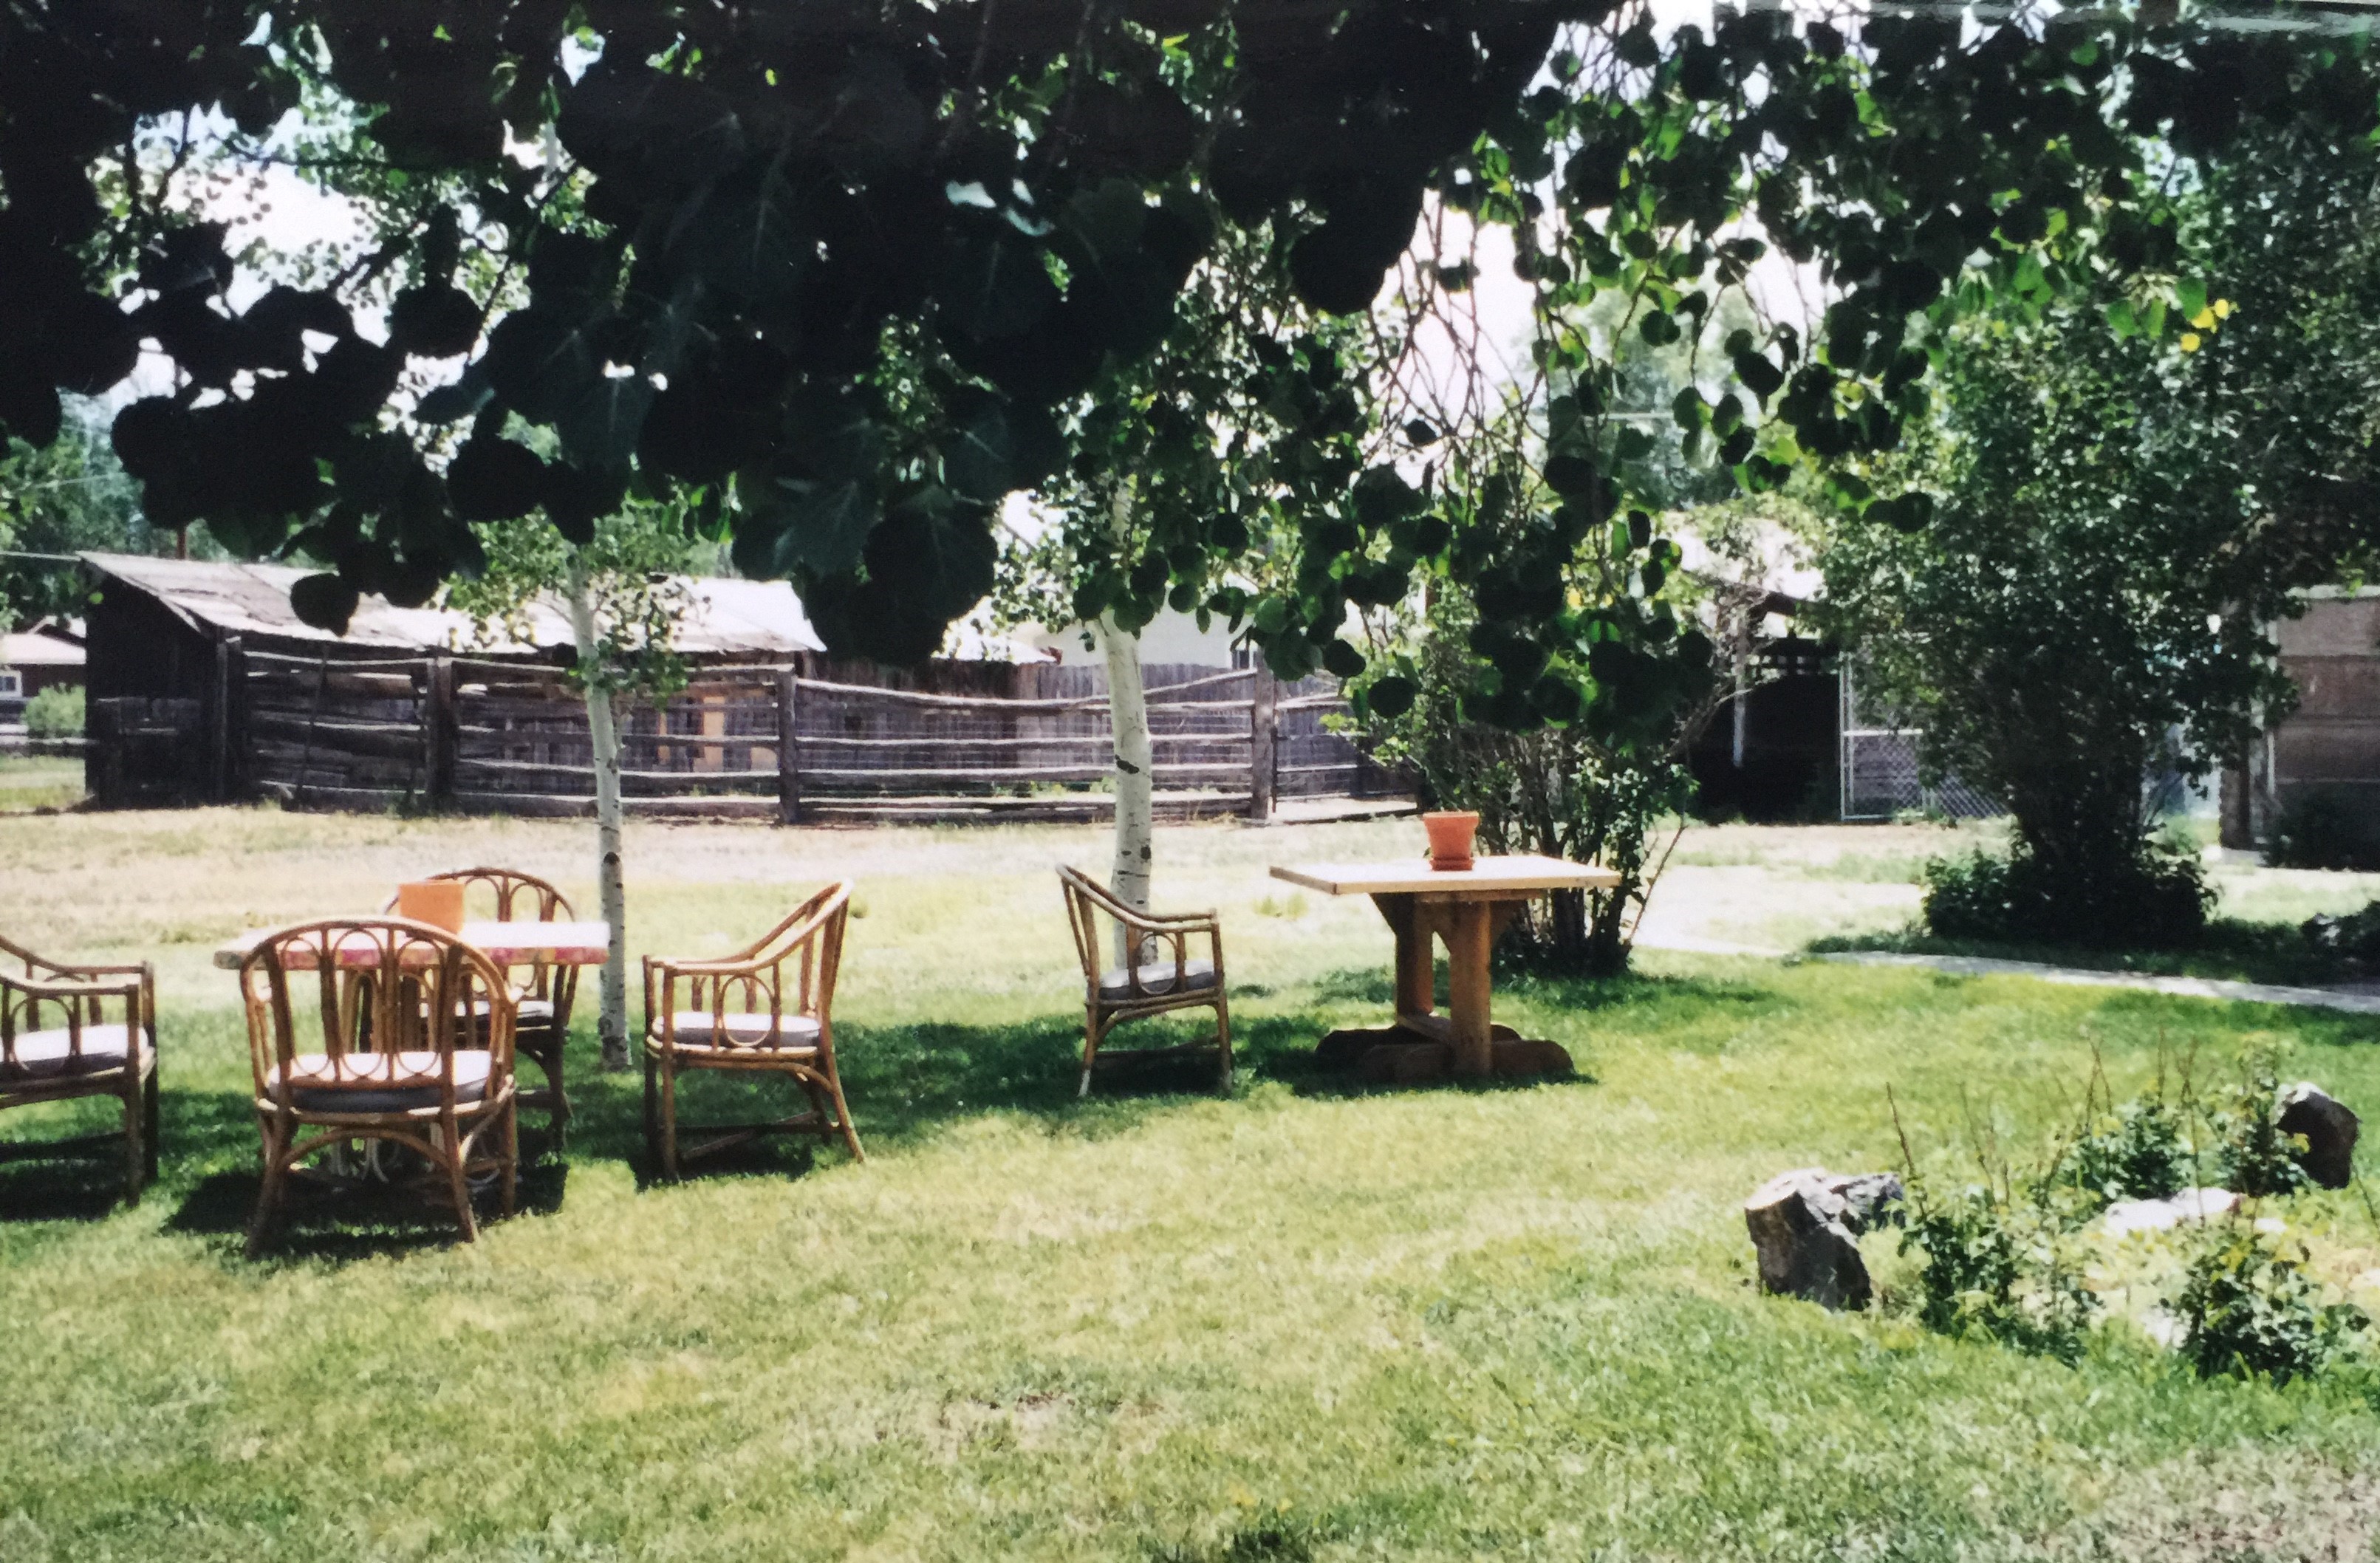
Late Fall of 2000, I bought my first house in Gunnison, CO. Palisades rock formation in the far right background.More of a farmhouse cabin, really. It had Yellow painted log siding, cinder block and brick exterior base walls, screened in porch, mud room, 3 bed 1 bath.Dreary looking when I first got my hands on it. But it had some good potential and I was aching to fix it up!The house sat on 2 lots, giving me some out buildings, stables and corral, a detached garage, a large garden area and tons of extra space. Corral and stables beyond the yard.The detached garage had a couple small windows, which I later enlarged and turned the garage into a studio. I rented out all the rooms in the house and moved myself into the studio. Next door is a historic old school house.The interior had Oak floors. My 2 cats Dutch (Tabby) and Camille (calico), were given to me by Susie as a house warming gift. Pine tongue and groove paneling throughout, a wood burning fireplace.Original built in cabinets. The ceiling was some kind of paneling without the standard aluminum grid. Living area near the front door. Largest bedroom The kitchen and bathroom were outdated, so my then-boyfriend, Kurt helped me do a very basic remodel on a very limited budget. Apparently, I had enough wine corks to do a back splash behind the original farmhouse sink.I tiled the counter top, painted over the residual adhesive on the bottom half of the back splash, added some shelves, painted the original cabinets and added Black hardware to make this old kitchen feel brighter and cleaner. Super rustic and super inexpensive to do! I painted the foundation rustic Red, added a rooster weather vane, took down old metal fencing around the house, cut down weeds and took the screen off the porch to open it up.1 year after moving in, I got a new puppy, Foxy Girl. My roommate got one of Foxy’s sister’s at the same time and named her Mariposa. This is THAT day and we are both so happy!Spring time in Gunnison is potentially more exciting than in other places. When you live in an area that gets as cold as 30 below zero and snows crazy amounts that sticks around until June, a reprieve is so very welcome! The city turns on a water ditch that flow through the town, but until it’s turned on late May or June, we hand water. Green begins to show up. This deck was already there and gets used through out the whole year.Mature trees and gardens appear. A simple sitting area against the house, protected from wind and out of view from the street. Colorado summers are the best! I set up some seating spots in the yard for entertaining friends when they stop by.Beautiful old Aspen tree with flowers in the garden below. With the city ditch turned on, Poppies bloom in a cluster. I also added some trees for privacy and shade. The rock to the right of the pic is a piece of petrified wood. Foxy Girl enjoying the beautiful summer day on the grassAfter taking the screen off the upper part of the porch, its seems breezy and welcoming. A perfect place to park your bicycle. A Progressive Bicycle Party, ending at my house. All my girlfriends gathered to celebrate another summer in Colorado!
It’s thrilling to see how much the foliage has filled in over the month of June.
The pots are beginning to explode with color and texture, making my walkway a garden path!
And of course, weeds are also coming in quickly! I think I have a couple volunteer sunflowers at the base of the windmill. I’ll keep you posted as they grow!
So cool to see my neighbors also taking the opportunity to upgrade their siding and landscape. The ripple effect is real! Both of these houses just had their siding upgraded!Doesn’t that look great! And this is what I see when I look out my window now. I love it!My buddy, Rocco.First steps out of the house in the morning, sniffing things to see what happened overnight.Then he settles into his favorite morning spot in the sun!We both look forward to the start of the day, sipping Chai and soaking up the beautiful morning! It feels good to have my space organized and cleaned up enough to have some friends over.Just out of storage, I’m using my dining table on my patio for the summer and love how it opens up the patio and gives me space to entertain.Some of my girlfriends enjoying an Al Fresco happy hour on the patio. Beth suggested my place looks like a Napa Valley back yard! YOU KNOW I love that!This month, I’ve been cleaning out my storage and looking for places to put all my stuff! As I bring more stuff over and try to find permanent homes for everything, I can’t help but wonder, If I haven’t used this stuff in almost a year, do I really need it?As luck would have it, Susie just bought a house in Lake Havasu and is setting up her new house at the same time! So as much as I feel attached to my stuff, I’m grateful to contribute to their lake house and know I’ll get to enjoy and appreciate all these things there, instead of in Colorado.What to keep, what to donate , what to share…
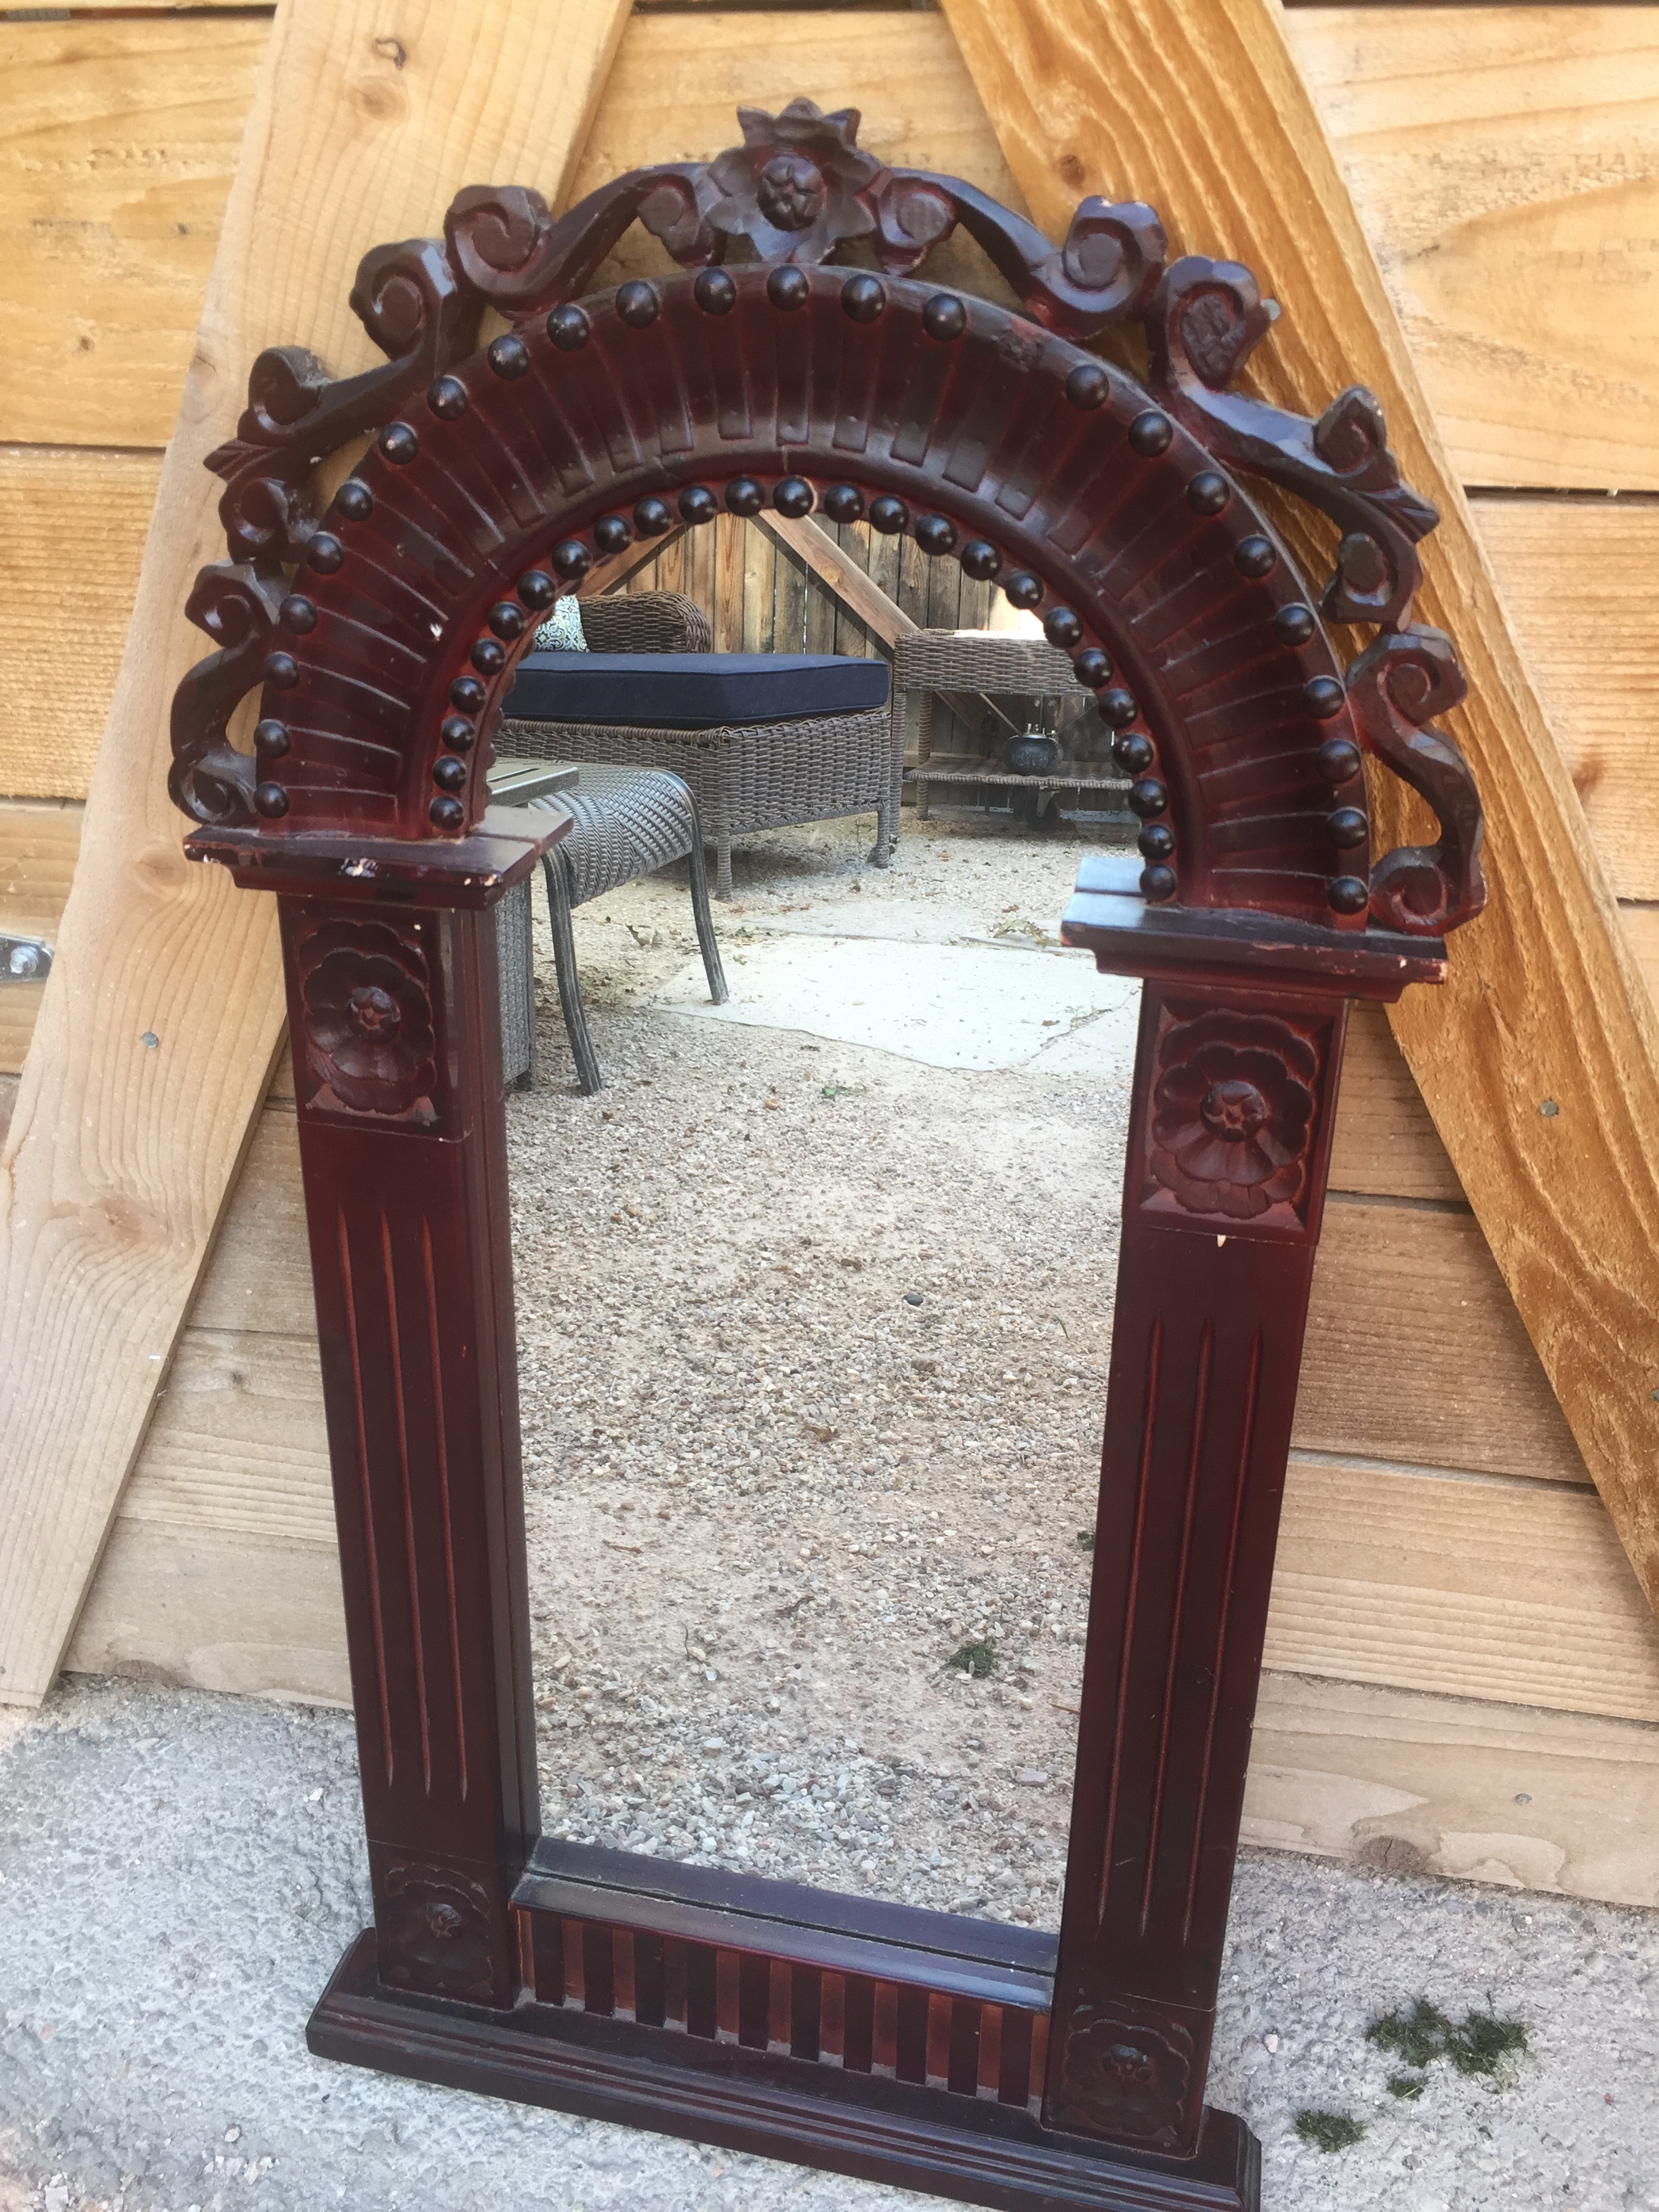
Walking into someone’s storage feels a little bit intrusive, but I’m happy to report this is the last of my storage and by the end of the month, I’ll have all my stuff in one place again. It’s been quite a project moving from 2300 sf to 893 sf. Overwhelming, but I feel great knocking this out and reducing my footprint even further.I’ve had this mirror for several years and rediscovered it in storage. Although it’s heavy and dark, I have an idea to update it…I like this lighter version better, so I’m going to paint and distress my heavy Black mirror and give it a fresher look.
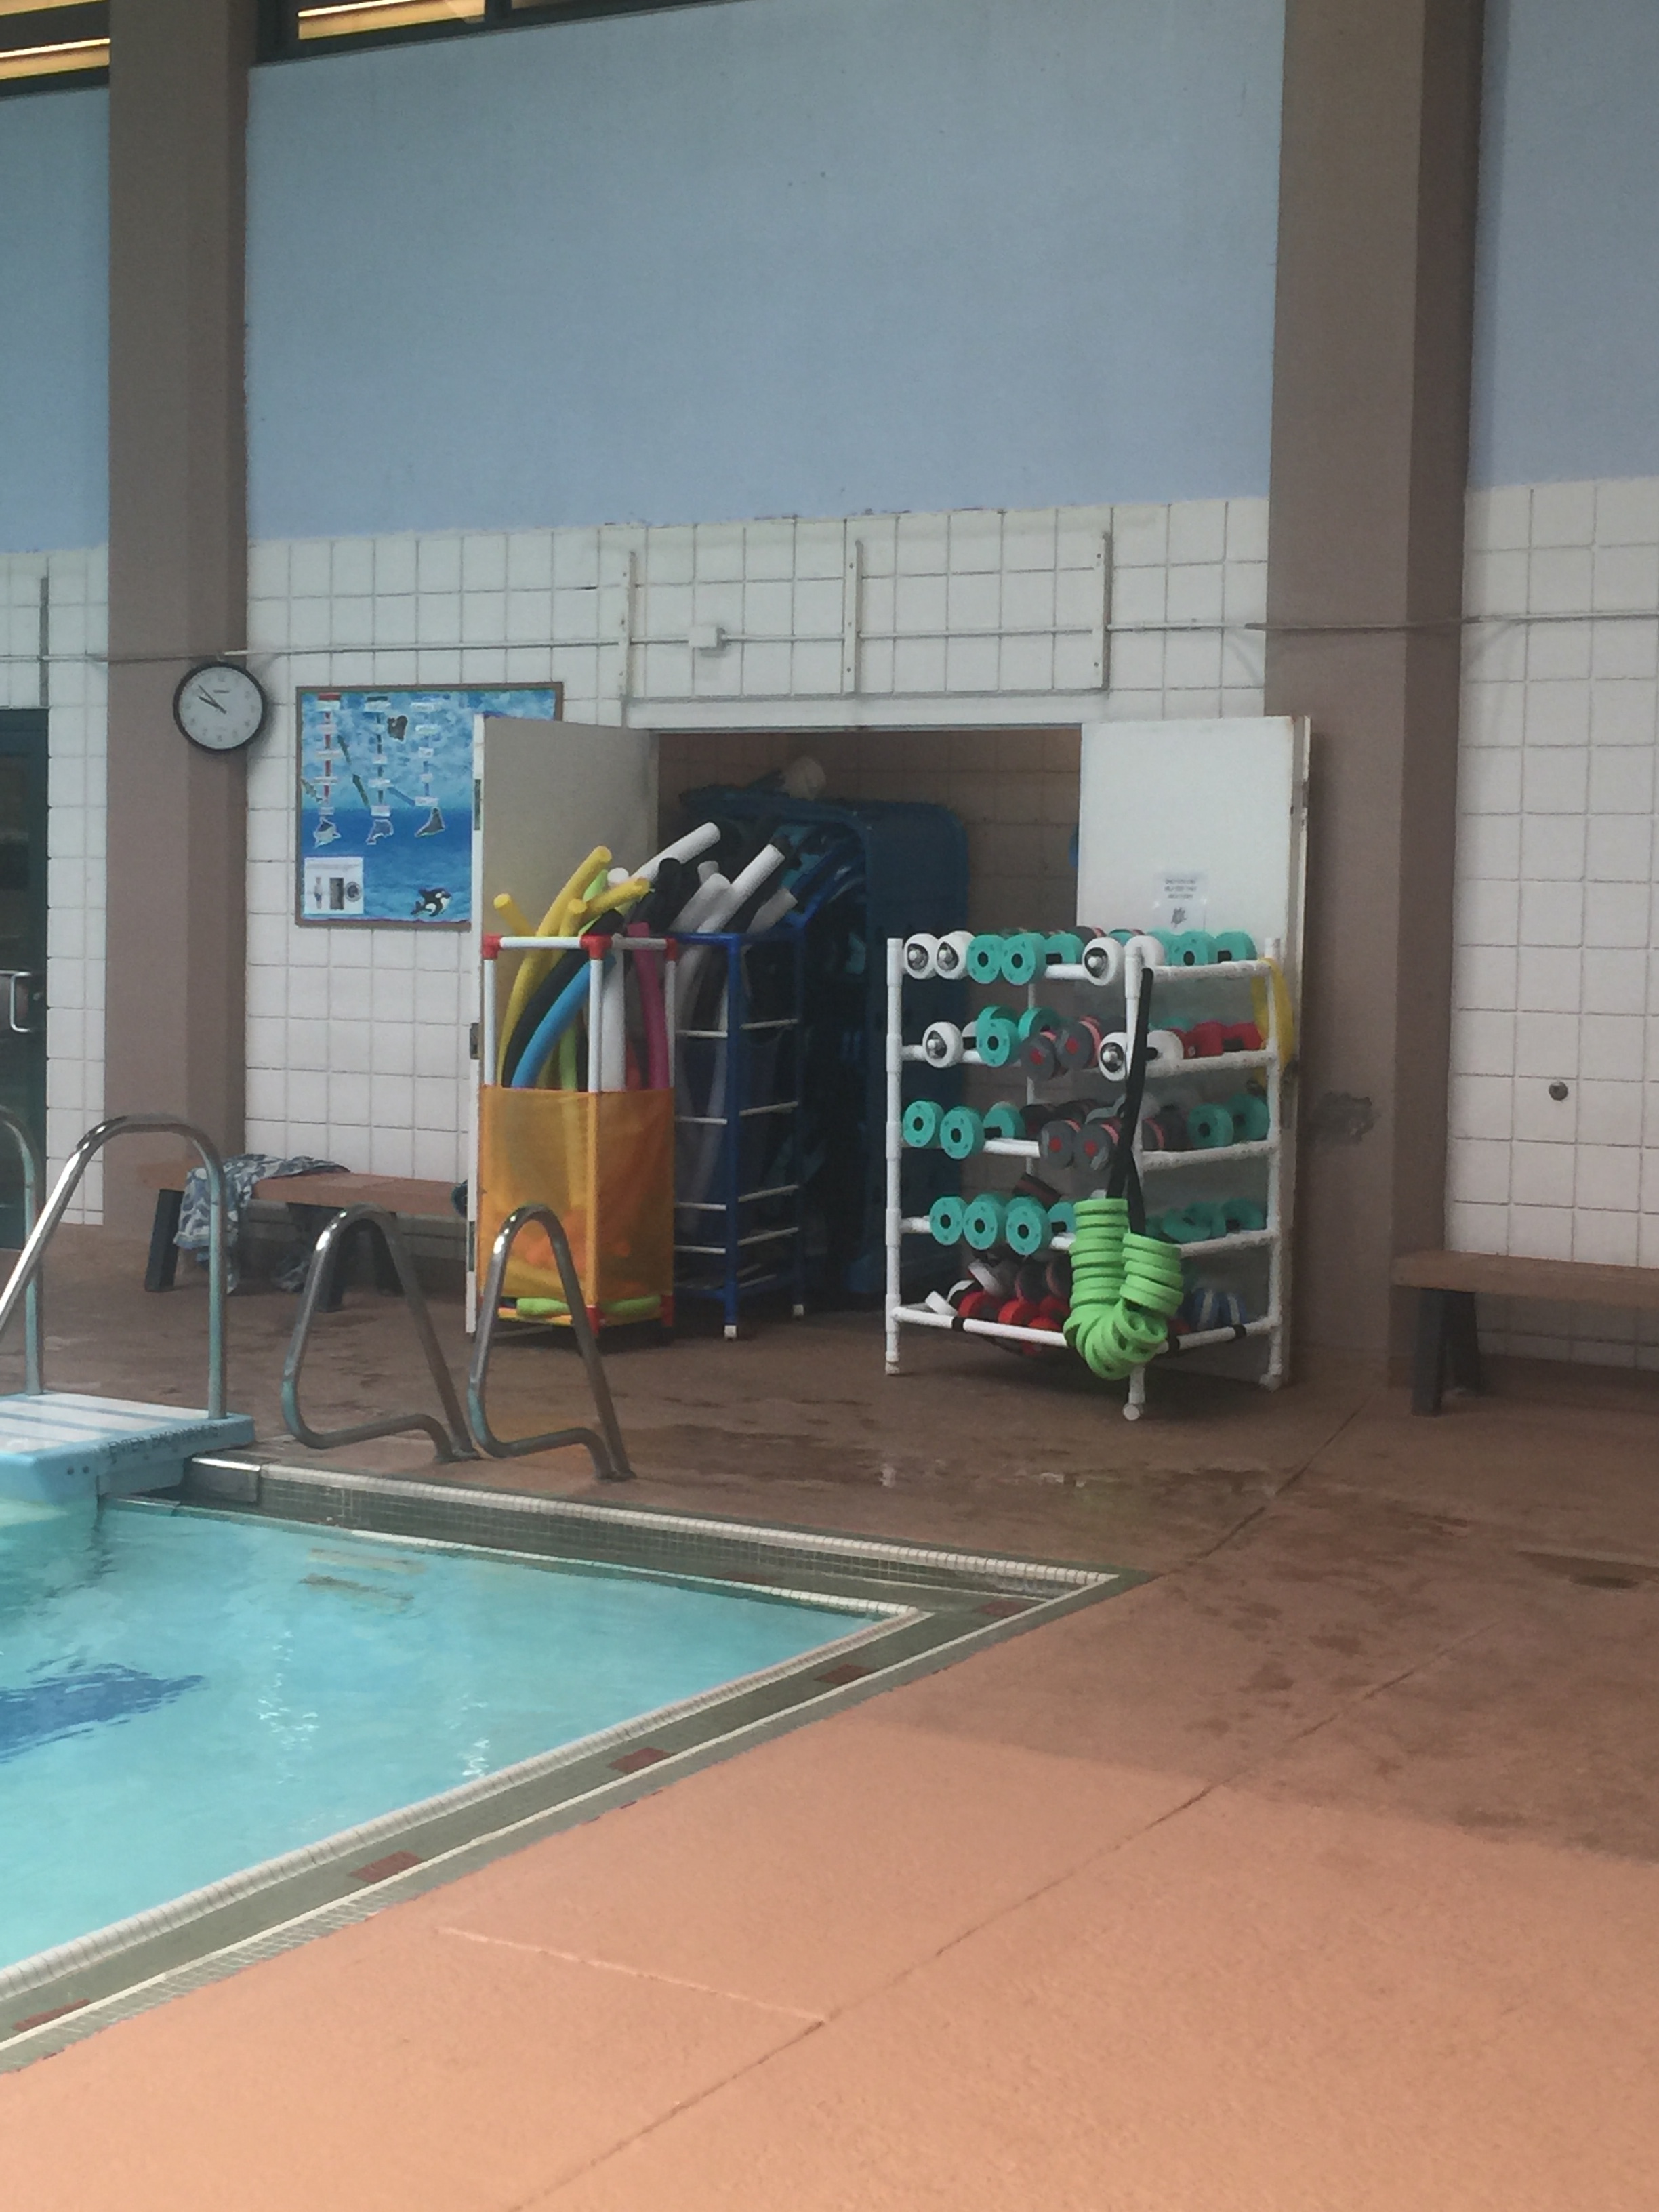
This is my Water Fitness class of ladies! At the end of our workout, we volley a beach ball for 10 minutes. It’s fun and challenging, but mostly funny! These ladies are awesome. They’re supportive, positive and all doing their best to stay in shape.
In 2008, young and energetic, toward the beginning of my career.
Some days, it’s tough feeling like I’ve gone past my prime and can see the changes to my face and body. I have a new appreciation for young people, being so fresh and beautiful and full of energy and anticipation of life to come. And I’m learning how to also appreciate the experiences in my own life, which have made me wise, patient and accepting of other people and myself. Today, I’m sharing some of my thoughts and decisions as I wander down the road of aging, excited to see what happens in the last half of my life.
As a working girl my hair was curled, I wore a full face of professional makeup, business clothes and kept my overall look polished. I stayed professional, not wanting to look too trendy or flirty.
Hair styles.
I got up 2 hours before I was expected in my office and my routine was basically, shower at night and wet my hair in the morning, blow it dry and curl it. Over time, I got comfortable being casual on some days, letting my hair dry naturally into a curly bob. This felt like I was stepping out of the box!
After I left my job, I still tried to keep up what I thought was the most flattering hairstyle, blown out and curled. But my outfits started to be more comfortable and flowing instead of tailored and fitted. Over time, I began to wear my hair naturally curly in a low maintenance bob.
Within 1 year of leaving my career, I blew that all out of the water and got hair extensions, finding a whole new look I could play with. I love having long hair, instantly! And I can change it up often. Now that I wasn’t in a professional career, I felt I could have more fun with my style. This pic looks like a romance novel cover, with me being the main character. Nice one!
Extensions are fun and somewhat versatile, changing my whole look. It’s fun and flirty, to be sure! Finally, I could just relax and play with my style instead of using it as a uniform.
Here, I am wearing my extensions in pig tail braids.
This curl is closer to my natural hair curl.
You may have heard that hair extensions are hard on your hair. It’s true! They are fun, but I caution anyone who wears them to do so judiciously. It’s a good idea to not use them constantly, but give your natural hair a break from them regularly. Then when you wear them you feel spectacular!
Skin tone and texture.
My skin @ 47 years old, started to show damage from sun and lifestyle. I did my research, asked some friends and decided on a CO2 laser treatment for my face with the promise to erase all those years of damage to my skin.
Just leaving the CO2 treatment, getting ready to drive home. This is nothing, wait until the next morning! For the first week, I have to sleep sitting up and propped against some pillows to reduce swelling. I don’t really sleep, mostly nap in between pillow adjustments all night long.
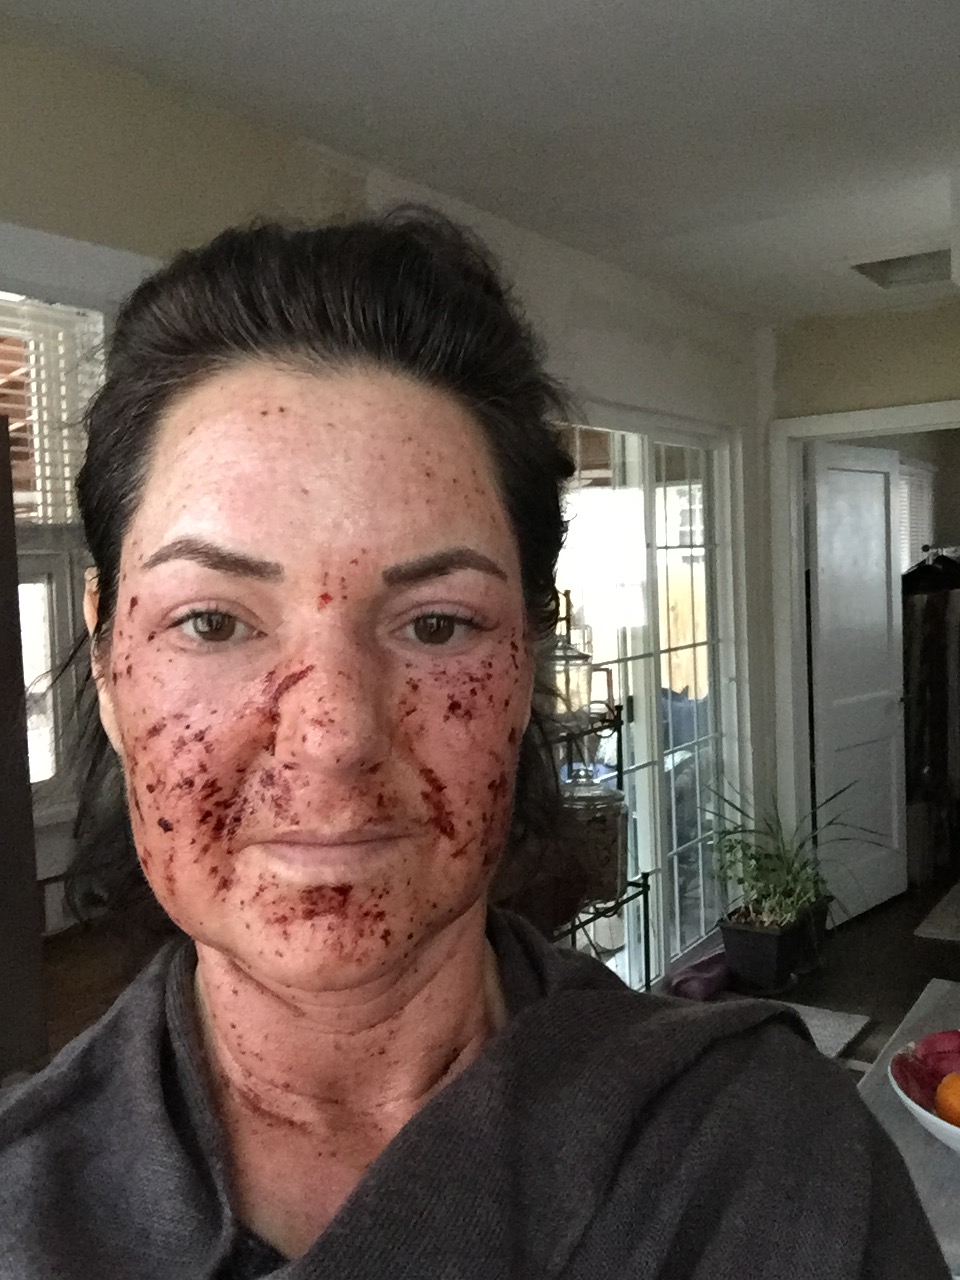
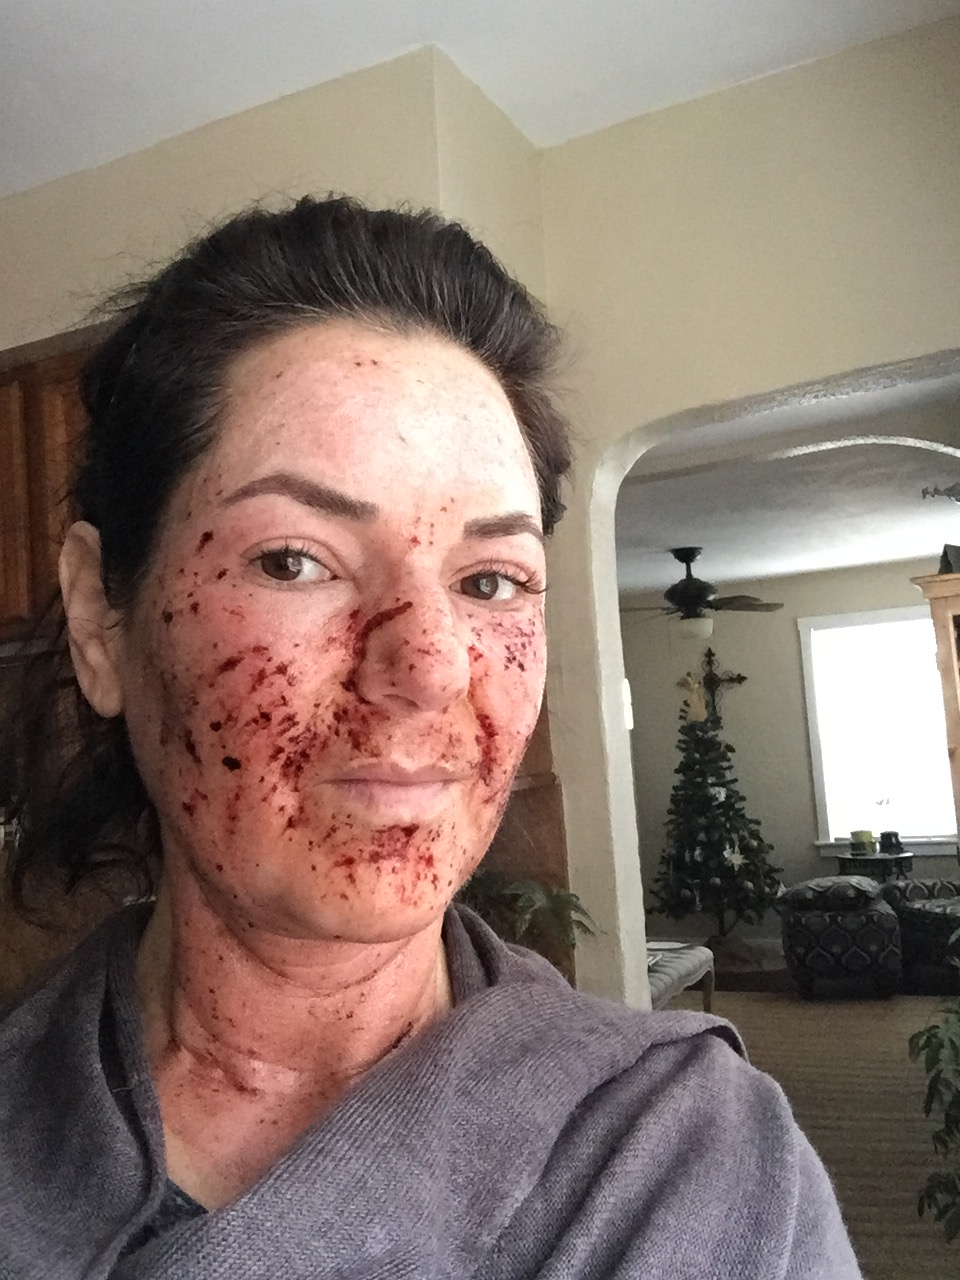
Holy Crap! Is my face falling off?Besides some oozing, (which is disgusting and looks like hamburger, on my face!) I also have some swelling, especially noticeable around my eyes and nose bridge.The dark damaged skin cells are starting to lift and it looks like a splotchy shadow across my face. Sun damage be gone!
I’ll be honest, the first time I had this done, I got queasy when I saw how I looked like the next morning. I’ll share with you that this procedure looks horrible, but is not really that uncomfortable. The worst part is during the laser process which simply feels hot. It takes about 45 minutes, but she does use a numbing cream for a hour before and you hold a hose shooting out cold air onto the spots she is treating. Within 5 minutes of being done, the heat dissipates and you can’t feel any pain. I feels like a sunburn. And the results!
3 days later, no makeup. This treatment addresses sun damage, firms and tightens the skin and create healthier skin by resetting your cells to produce more collagen. The cell renewal process takes about 3 weeks before you see the actual results when your new skin cells begin to surface. Once I got through the first treatment, I was convinced of the benefits!
Eyebrows are the frame of the face.
My mom always had beautiful natural dark, arched eyebrows. Mine needed assistance. I have a chicken pox scar in my left brow and sparse eyebrow hair growing naturally in either brow. So, I’ve penciled in my brows for years and decided to see if I could find a more permanent (natural) solution. Here in 2013, drawn in eyebrows.
I found Microblading, a semi permanent tattooing procedure for cosmetic purposes. The first time I had the procedure, I believe the brow specialist used a heavy hand, making the procedure almost unbearably painful. Even after using the numbing cream for a hour, I felt her “strokes” cutting into my skin. And the sound of it is sorta scratchy. Hard to describe until you’ve had it done.
However, I really like having my brows dark and filled in to create a fuller look. So, I found a new technician to do the same procedure in a following year. She used a lighter touch and it was a much more comfortable procedure. This pic is the same day of the procedure. It takes a week or two for the tiny scratches in my skin to heal, peel and fade to a more natural shade.I’ve slowly changed my style to reflect a more casual and natural look. Which is funny, because it’s not natural, but makes me feel like I look more natural by using less makeup everyday.And Grey Hair.
It’s been coming in for many years and I’ve stayed with my dark Brown hair color, which I’ve done myself with a grocery store hair color. Recently the hair color product I’ve used for 20+ years has been discontinued. So, I’m thinking this is a sign to take the plunge and let my Grey grow out! I like the Grey, but I’m struggling with the fading residual, now Gold-ish hair color on the bottom half of my hair with the Grey and natural dark Brown growing from the roots. This is 3 toned color blocked hair! Not ombre’, not natural or pretty, in my opinion.
Luckily, I’ve been working with my hairstylist (bless this woman!) to find a solution to the color blocked hair. She tried a few things and we ended up finding a subtle solution of using a permanent transparent ash color wash to take down the Gold and brighten the Grey. And it worked! This is after the appointment with clean hair. The transition of color is gone! Thank you Andrea!
BTW, I’ve been polling my friends about letting Grey hair grow in. It’s been an interesting discussion with a common response of “I’m waiting until I retire to let my Grey hair grow in”. And I understand their anxiety. It’s interesting that women consistently feel that we need to keep coloring our hair while we’re professional, but can let it grow out naturally after we leave the work force. Do men have the same concerns? I’m not sure, but maybe I’ll poll some men to get their take on going Grey.
With wet hair, you can see the Grey is more striking, giving my hair a focal point.As the Grey grows in more, I’m crossing my fingers to have a cool Grey streak in the front, giving my hairstyle a fun and edgy vibe for a middle aged woman who has always thought of herself as somewhat stylish! We’ll see how this goes!And my body!
I discovered at 14 years old, that I have Rheumatoid Arthritis. I’ve tried to stay physical and active for most of my life. At 52, I feel more aches and pains, have less flexibility, don’t feel as strong, feel more jiggly, blah, blah, blah. I think many of you know how I feel.
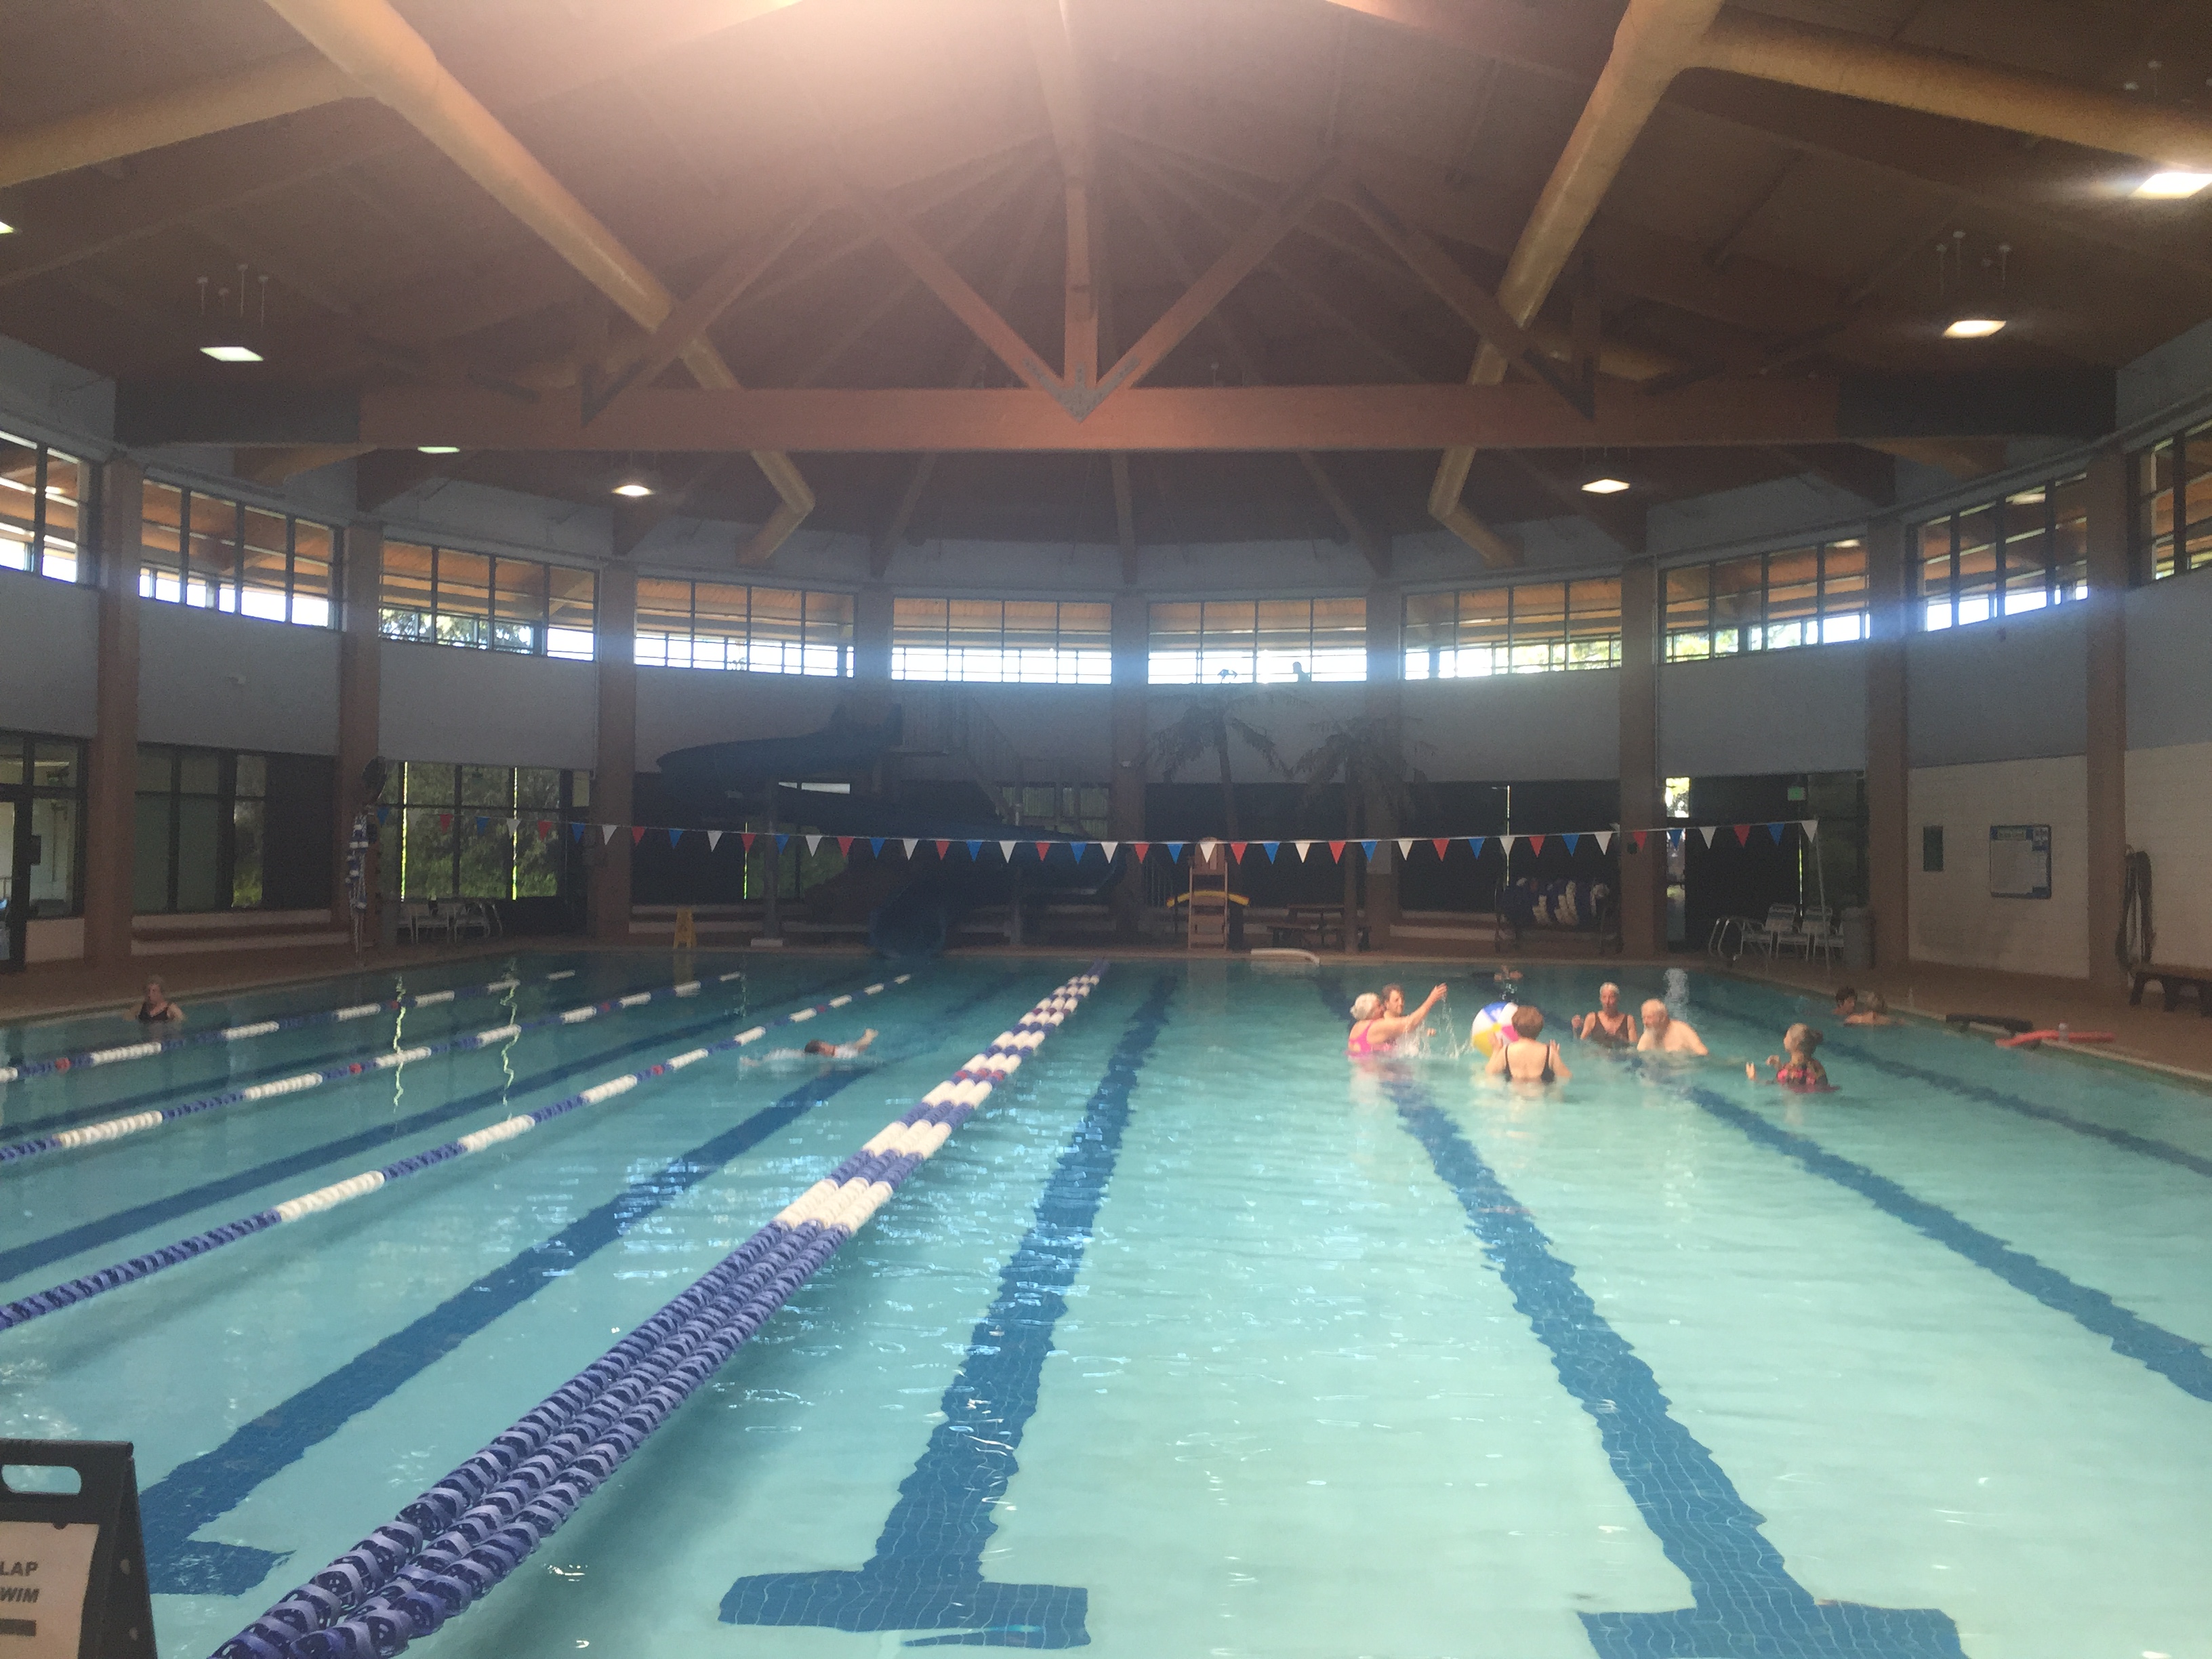
I got a flash of inspiration in March and started to attend Water Fitness at my local Rec Center. I did not expect to love it as much as I do. I had silly notions that I wasn’t comfortable in a swimming suit in public, I didn’t want to get my hair wet, I’m not an old lady, etc…
But I went, and after 4 months, I love going to class 3 times per week and seeing my new friends in the pool.
We use a variety of pool equipment, but just being in the pool feels so amazing! I feel like a kid when I slide down into the cool water and the buoyancy picks up my tired and sore body so I can actually get a good workout against the resistance of the water.
If we’re lucky, we get the opportunity to have these thoughts and concerns as we age. It’s a vulnerable feeling sharing these inside views of my personal beauty choices with you all! Some people will see this post and decide all this stuff is not necessary or expensive or just vain. Others will see it as no big deal and may have done even more extreme things to themselves as they age or just because it makes them feel good. But I support people doing anything that does no harm and makes them feel confident and beautiful. The most important thing I try to remember is to make decisions that are healthy for me and to stay focused on balancing my physical, mental and emotional health. I hope these insights are entertaining at least, or helpful- even better, as you find yourself thinking about how to age gracefully! We are all beautiful just as we are, but a little lipstick never hurt anyone!