Reclaiming a simple life!

Like many people, I find myself bouncing between feeling grateful and safe to anxious and unsettled, sometimes back and forth all day long. I try to stay occupied and positive throughout the day and look for ways to stay productive and feel like I’m still moving forward. Although this moment in our history will pass, right now it’s important to nurture ourselves with healthy and positive thoughts and activities while we wait for the relief we know is coming. It’s been helpful for me to make a list of activities I can choose from at any given moment, when I need a distraction, feeling bored or looking for ways to focus on all the beautiful things we have in our lives. Today, I’m sharing some of my distractions with you!

Things to do when I need a distraction!

  • Vacuum 1 room or all rooms
  • Dust
  • Wash the interior and/or exterior windows
  • Re-Organize /Re-Style Bookshelves
  • Balance Checking Account
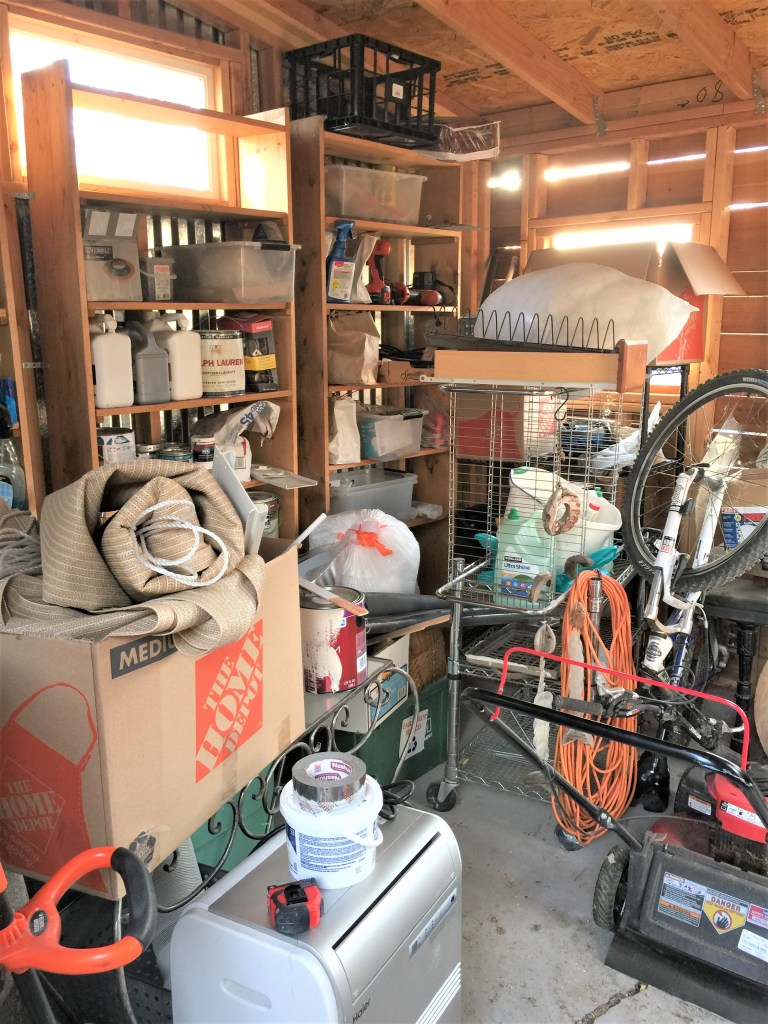
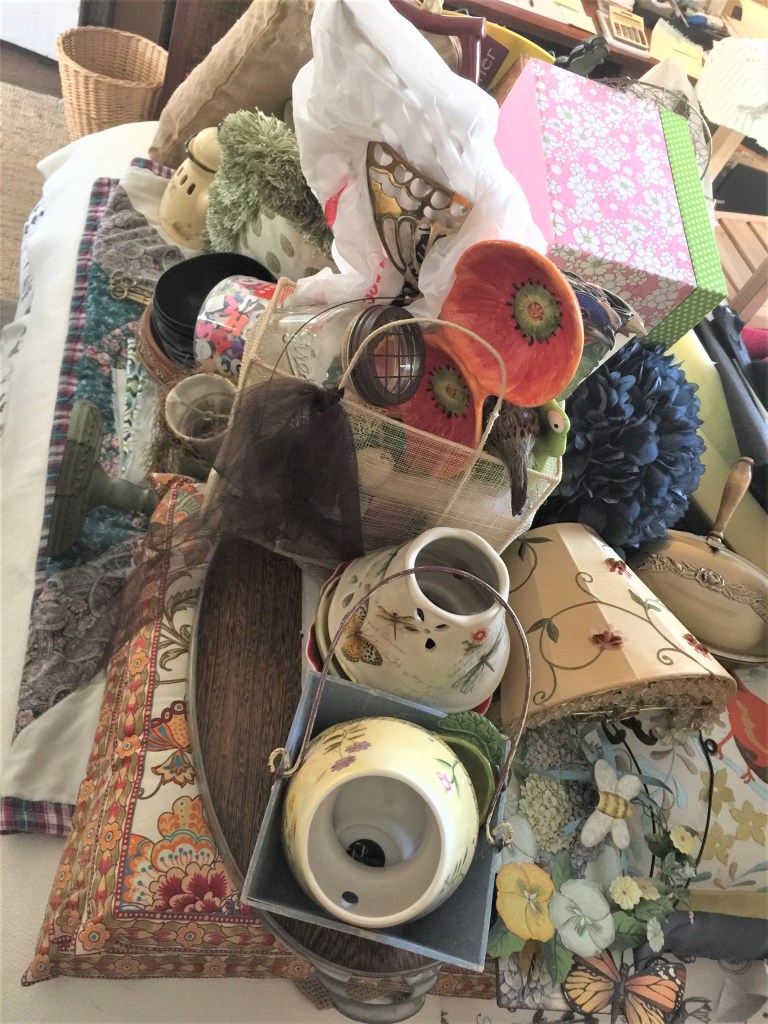
  • Organize any and all closets
  • Pair food storage containers with lids
  • Clean out refrigerator/toss expired food and condiments
  • Clean Baseboards
  • Swiffer cobwebs
  • Clean mini-blinds
  • Update Bathroom with new curtain, towels and bath mat
  • Cook, try new ingredients and recipes
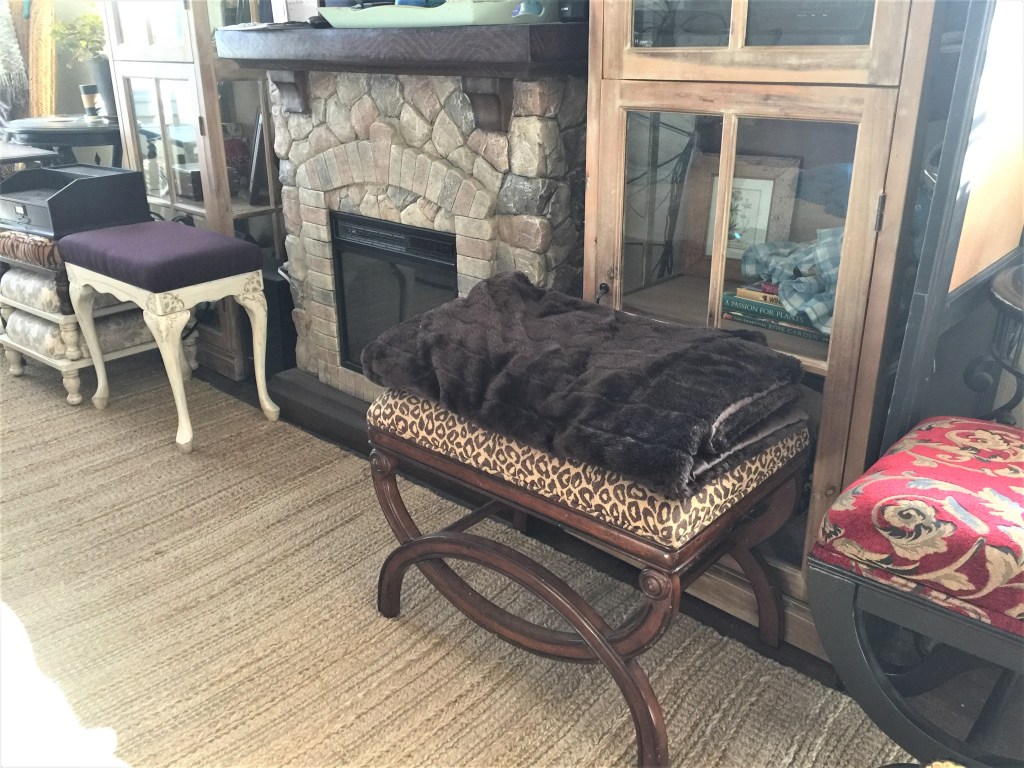
  • Update Living Room pillows, throws and rugs
  • Prepare frozen cookie dough for future use and for gifts
  • Bake for neighbors
  • Propagate plant cuttings for spring planting
  • Write and send cards to friends or neighbors
  • Do sit/stand exercises, use a resistance cord while watching TV
  • Do a set of crunches and sit ups
  • Shave your Sweaters
  • Mend/repair Clothing
  • Switch out your sheets/bedding for the season
  • Rearrange framed photos or update the frames and matting
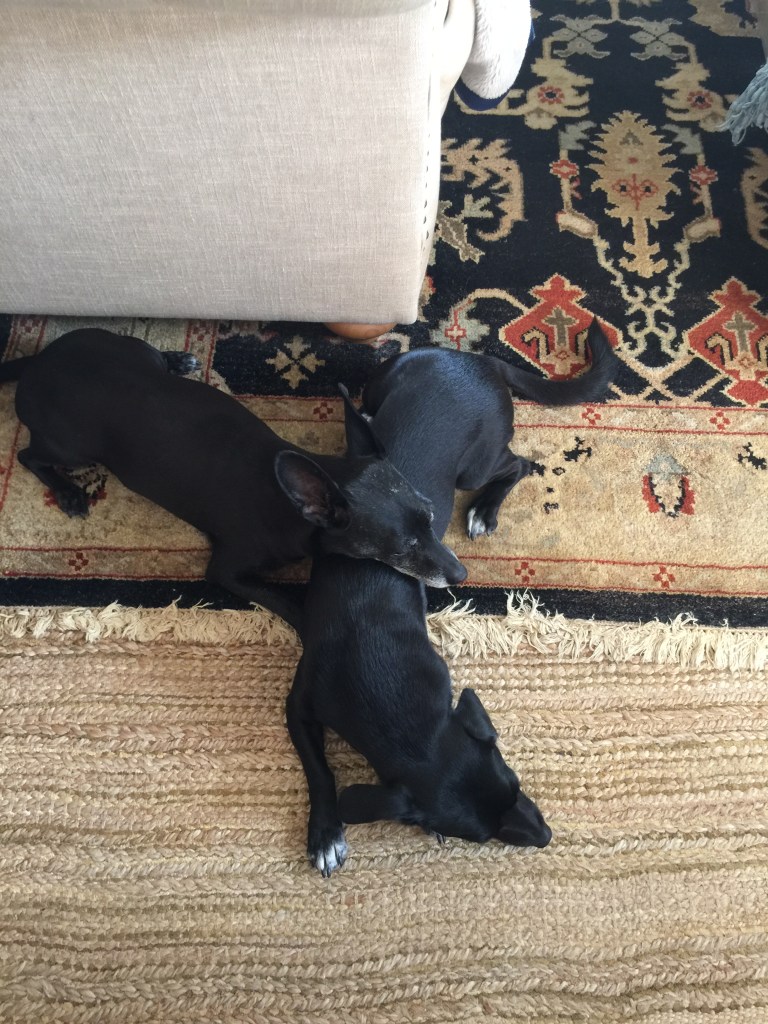
  • Kiss your pet
  • Clean your ceiling fans
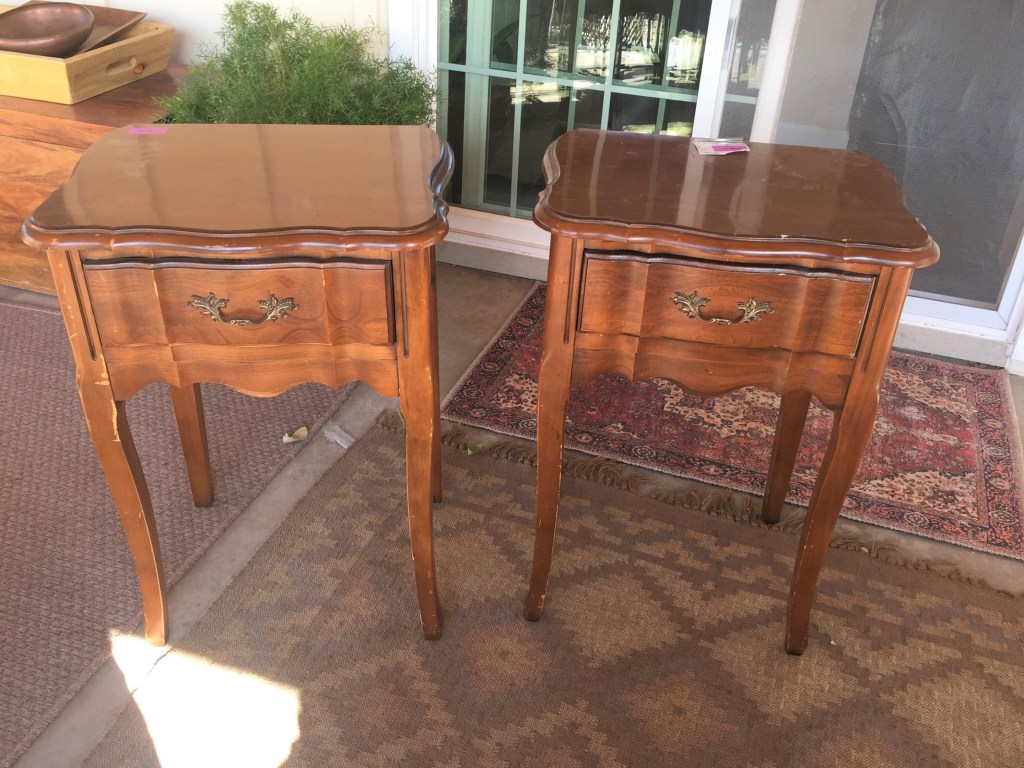
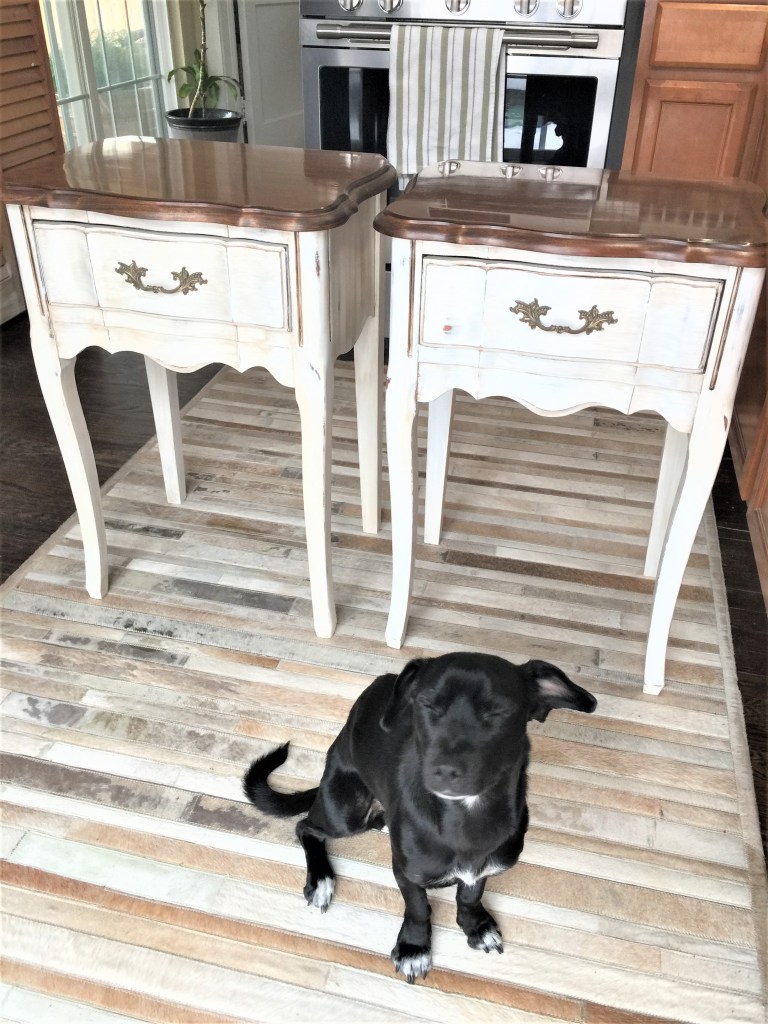
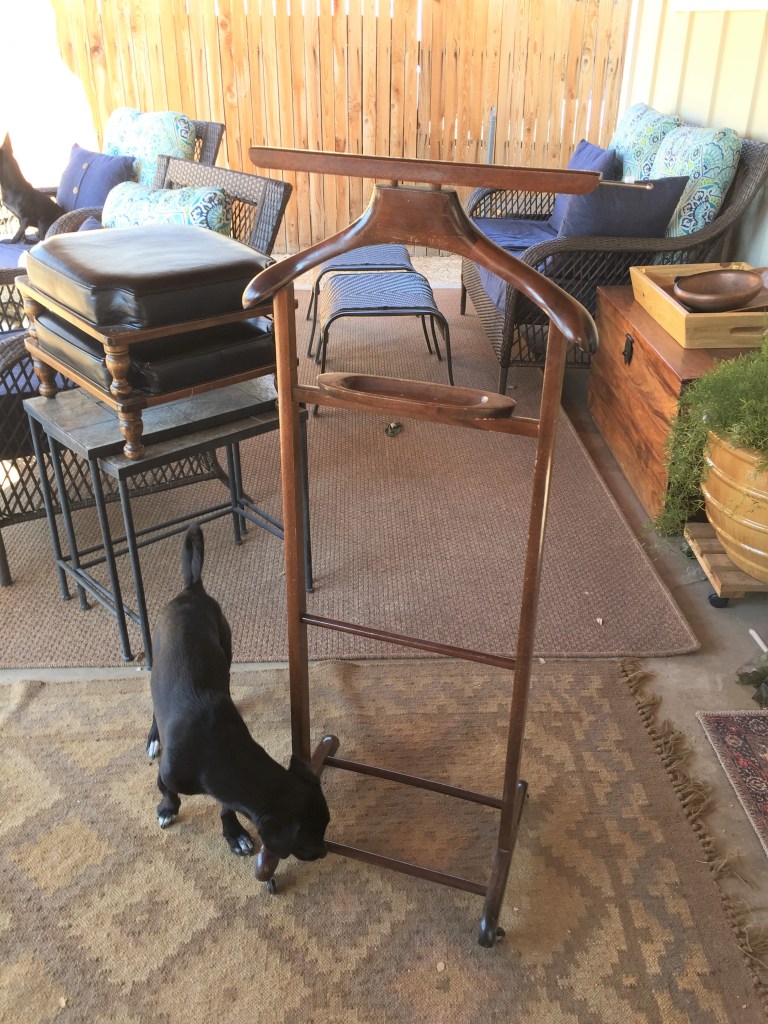
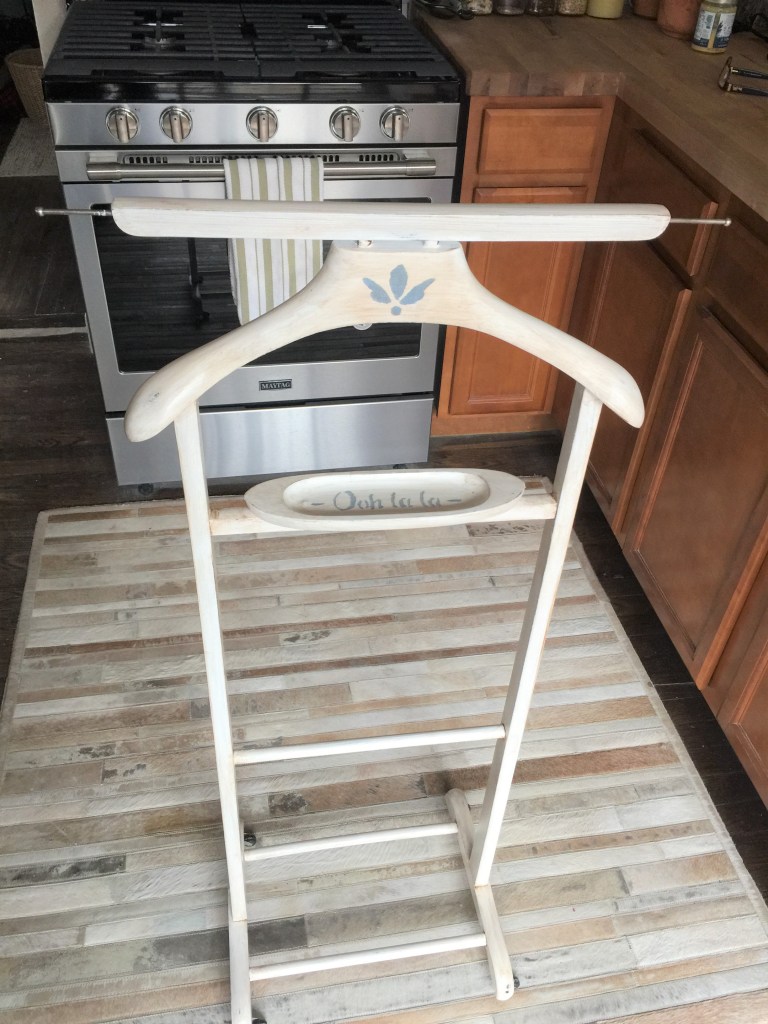
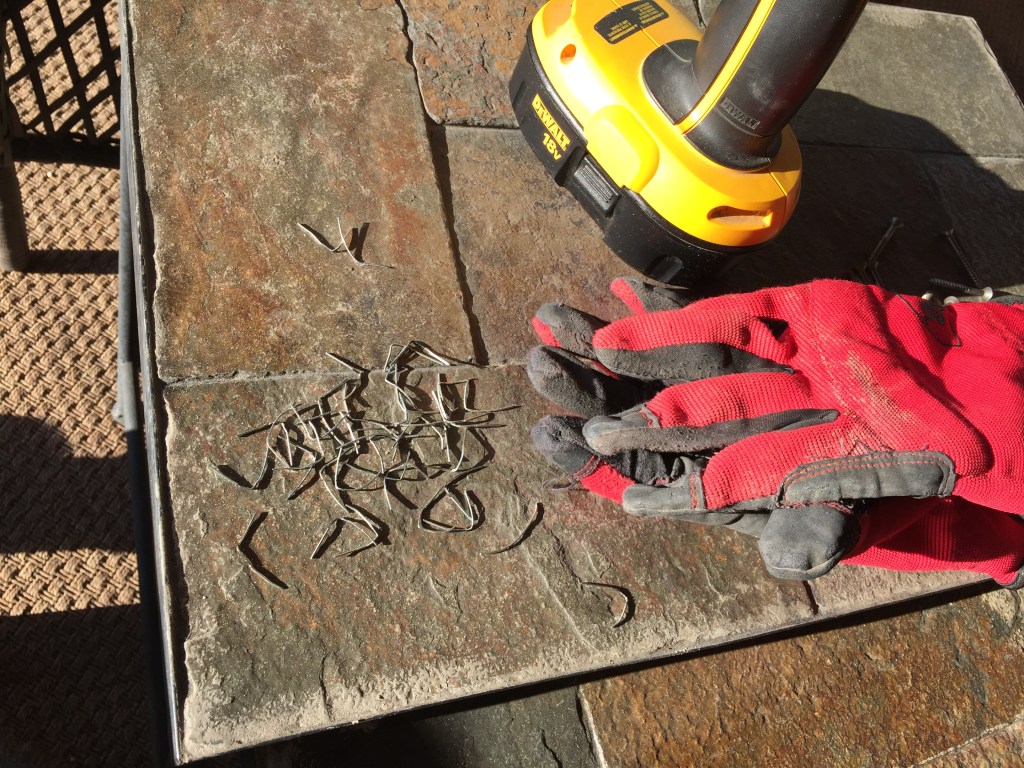
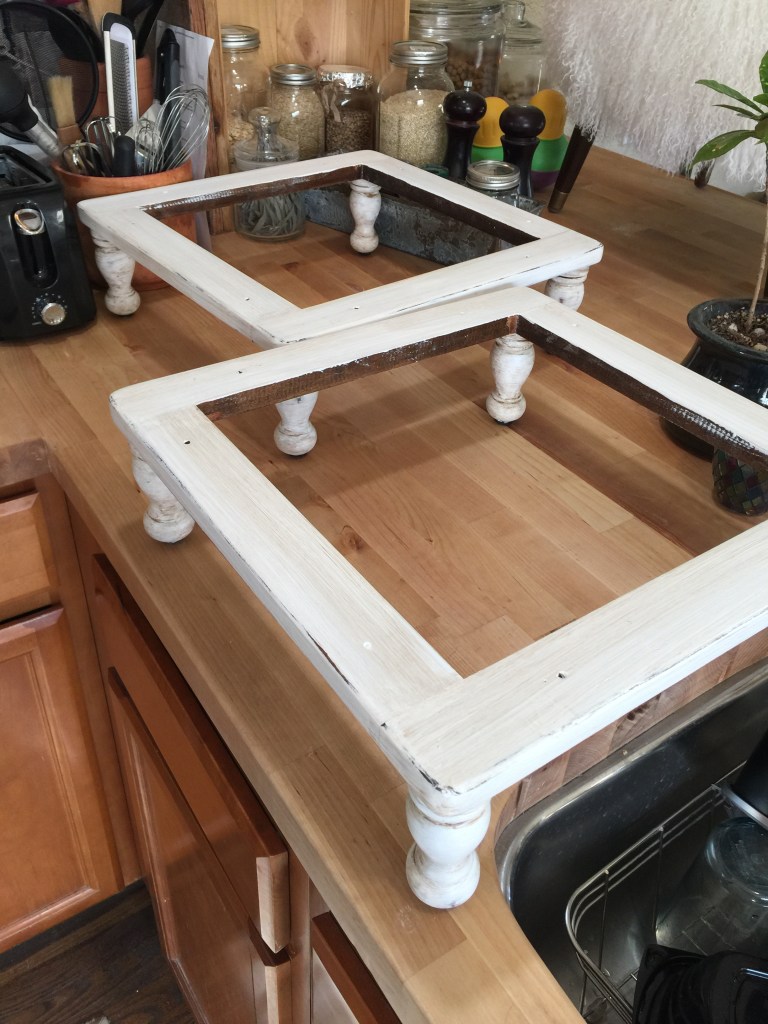
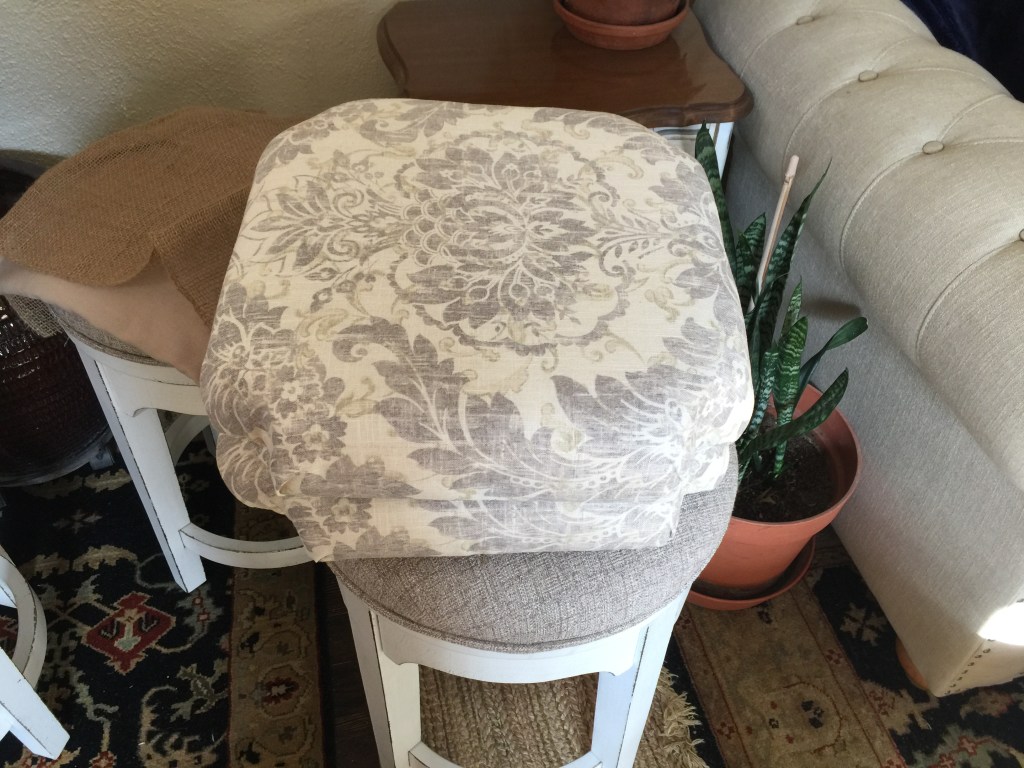
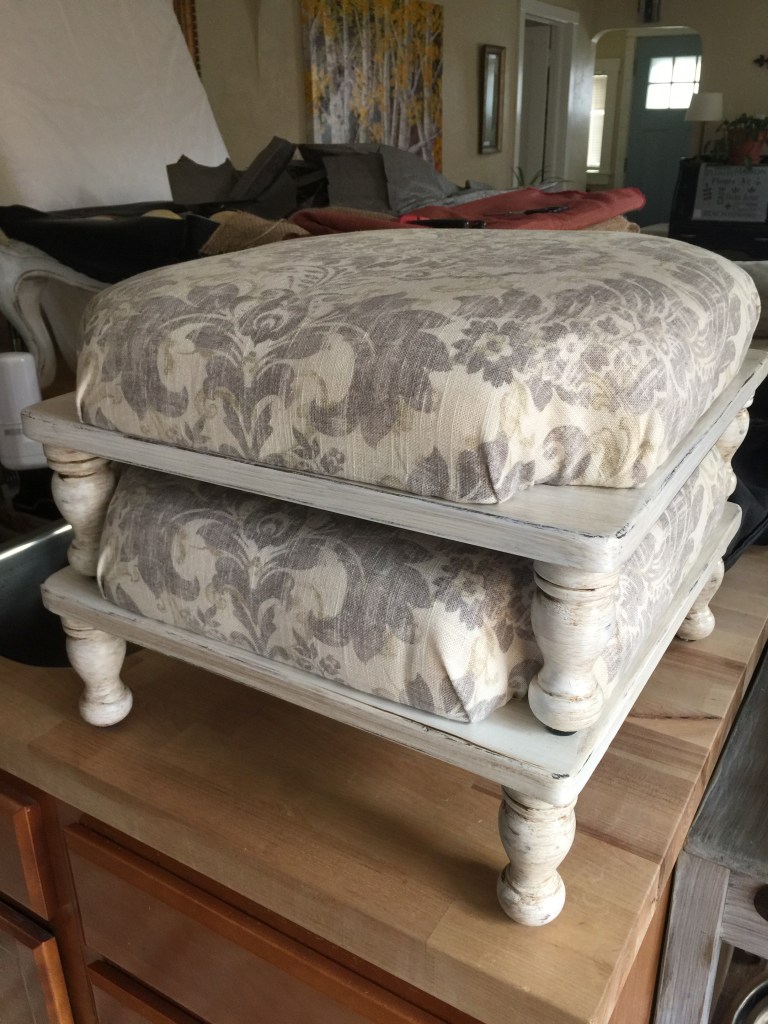
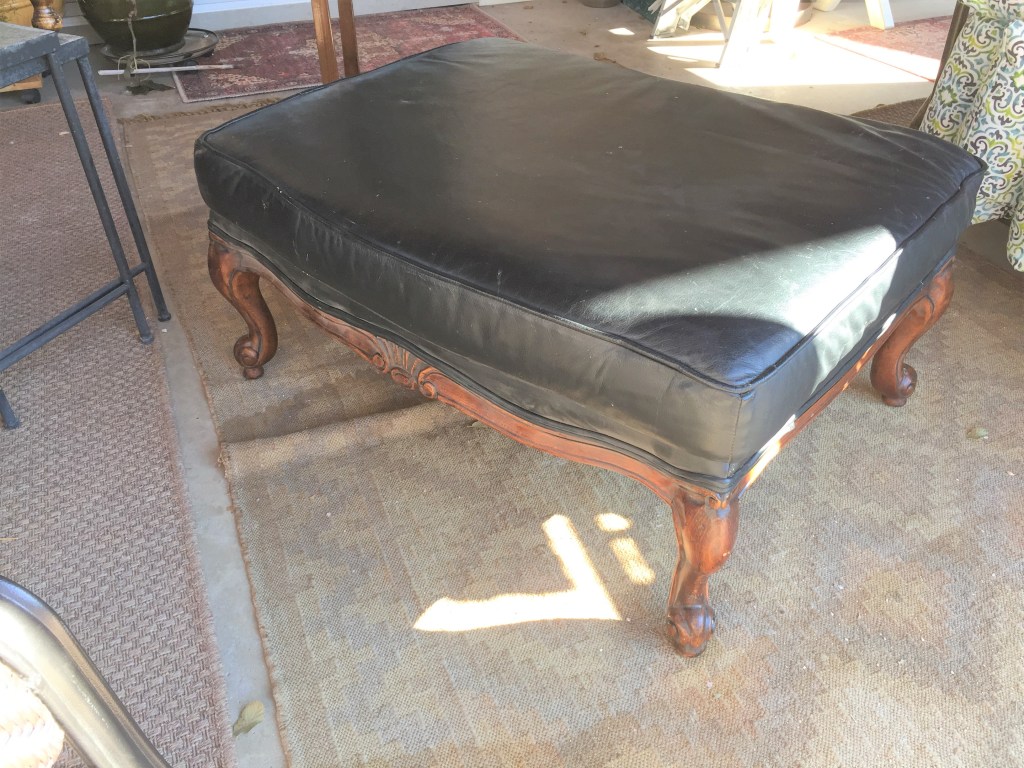
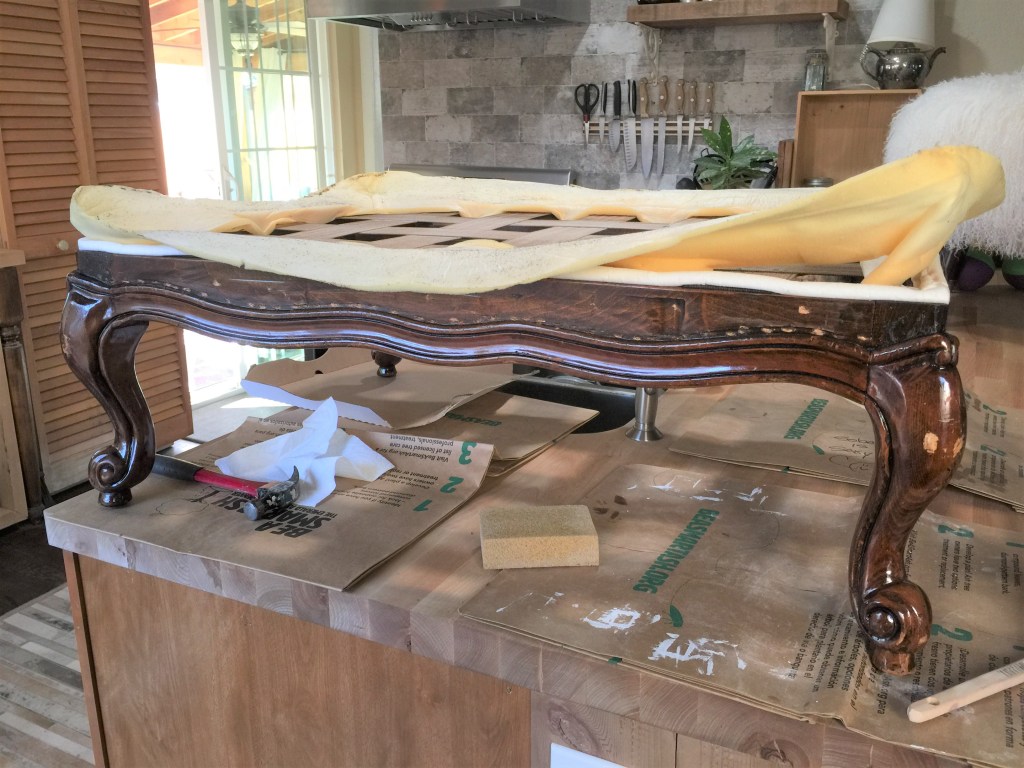
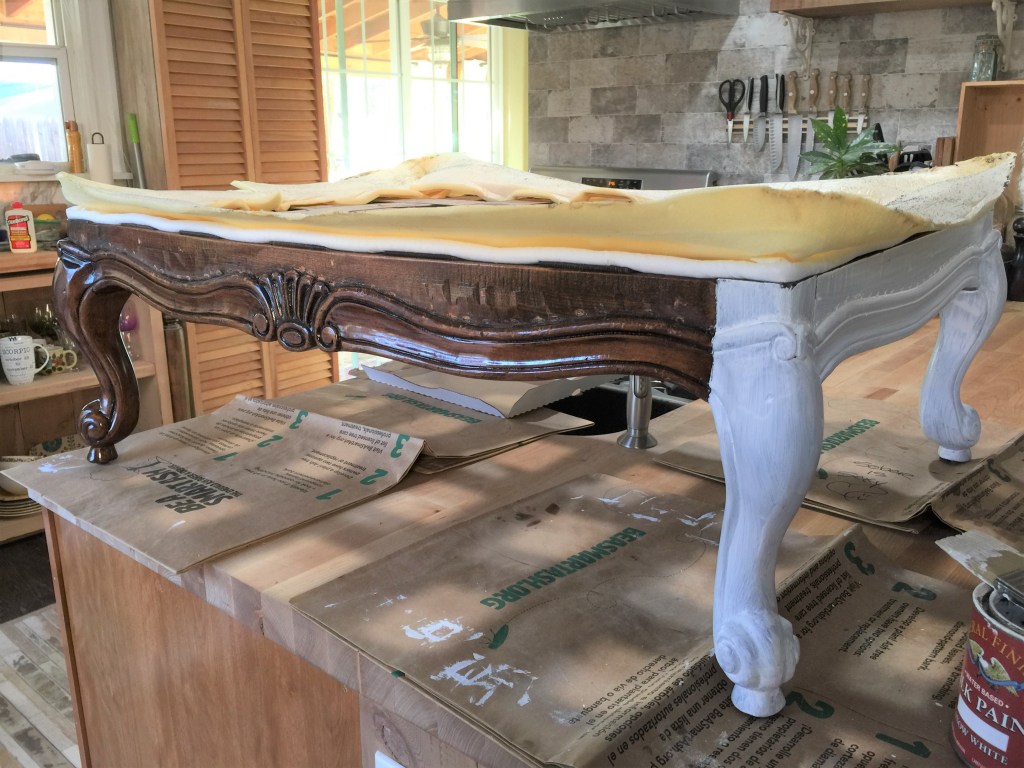
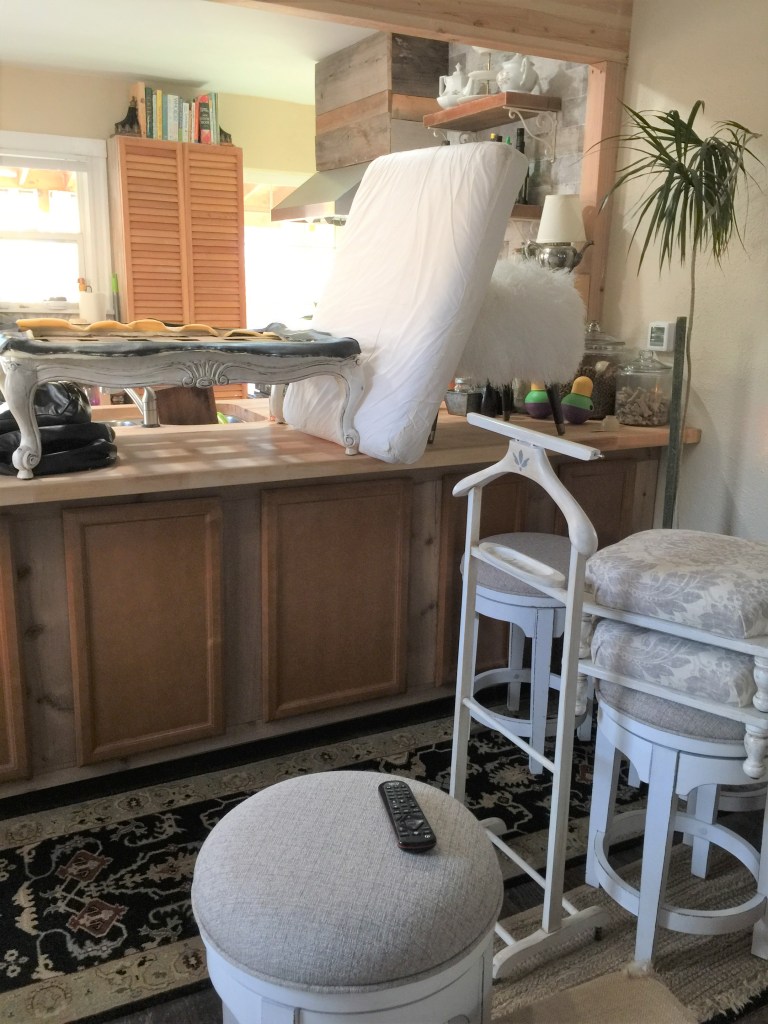
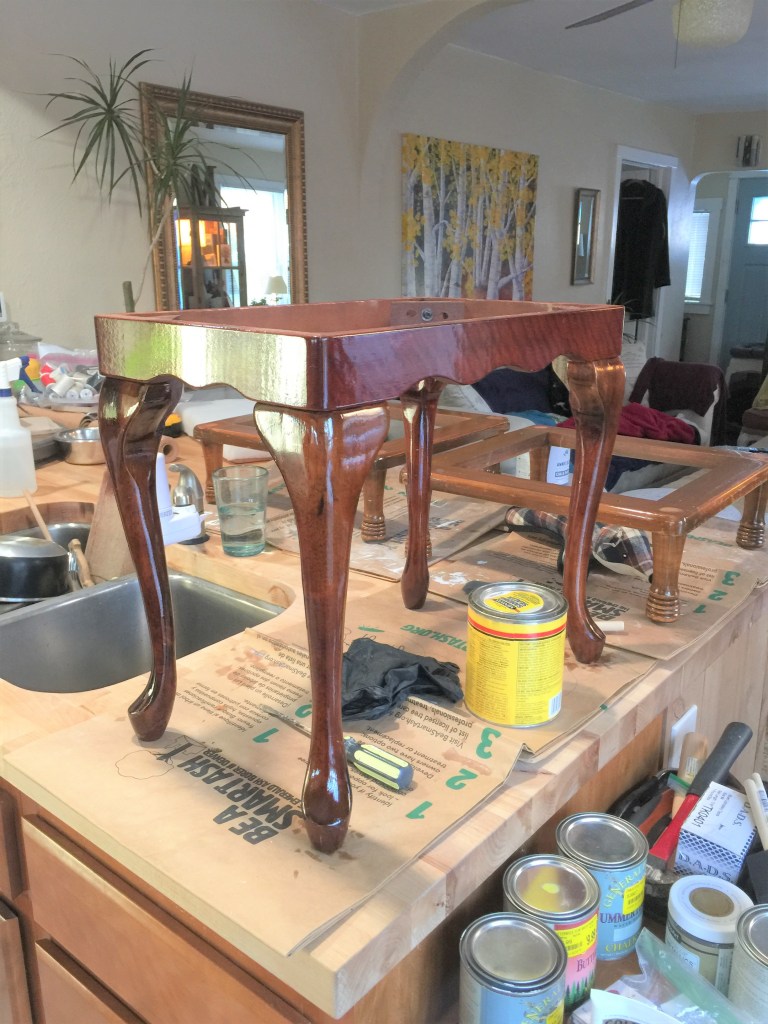
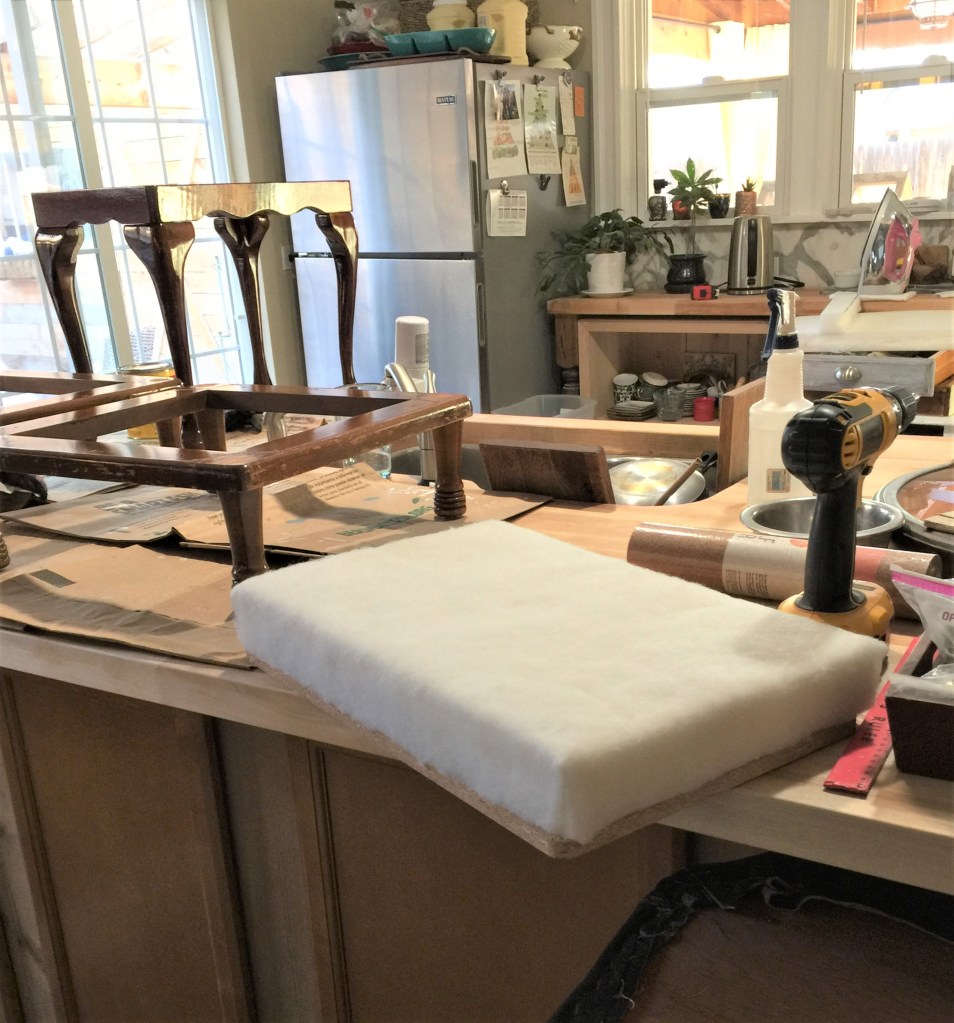
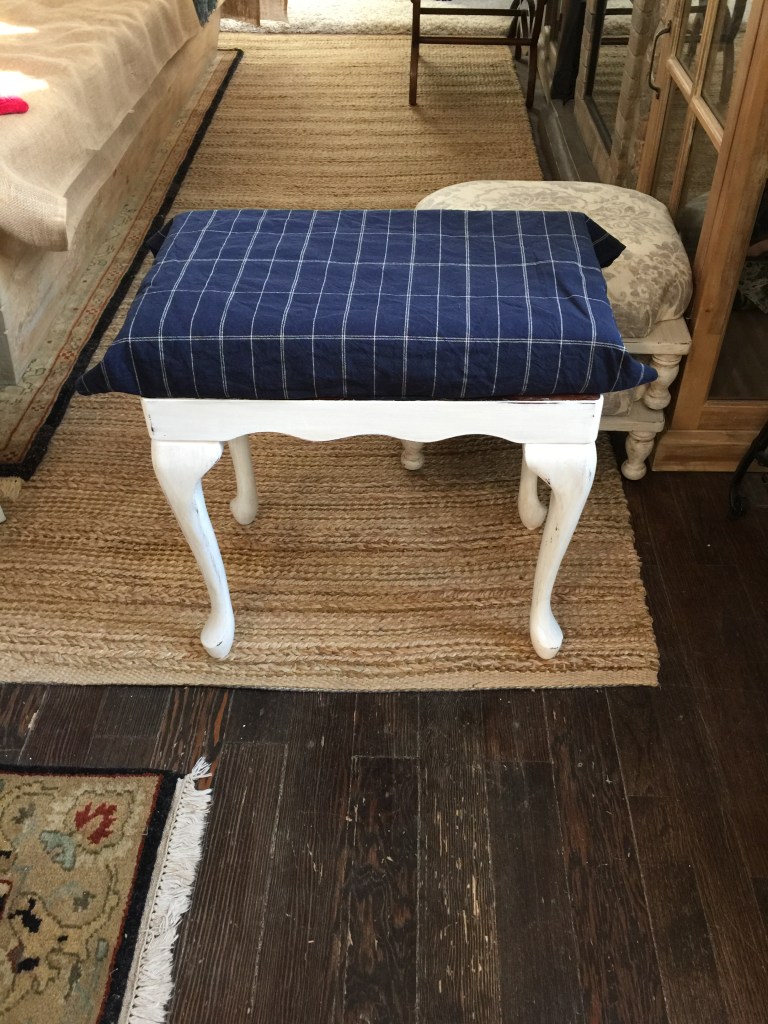
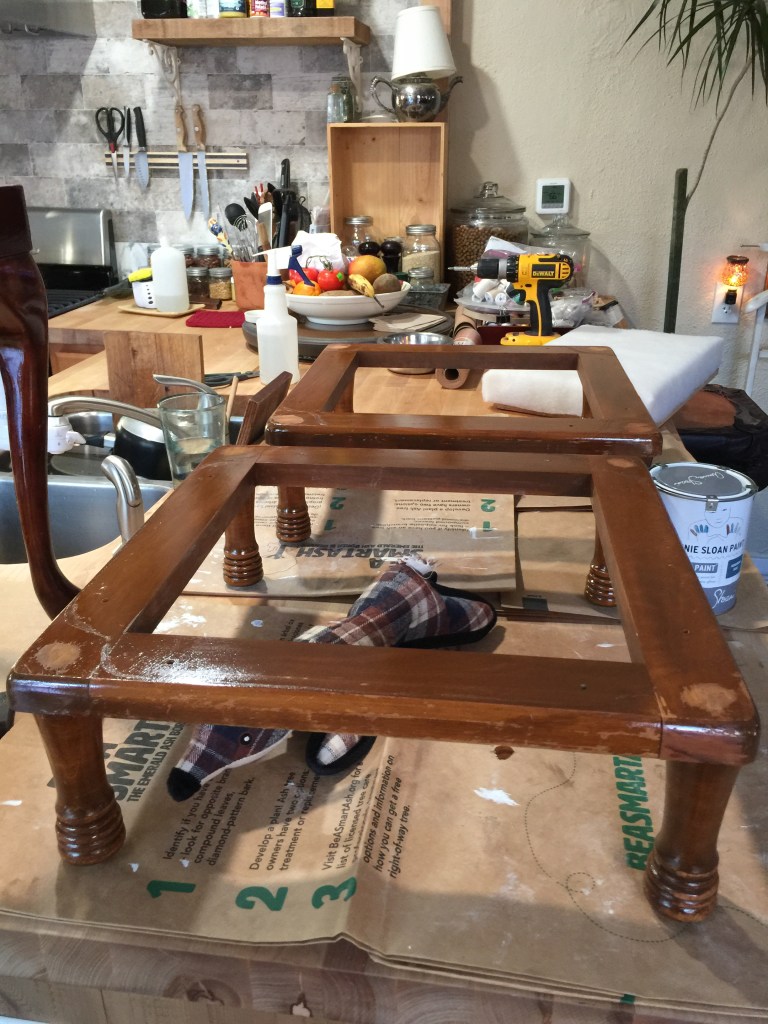
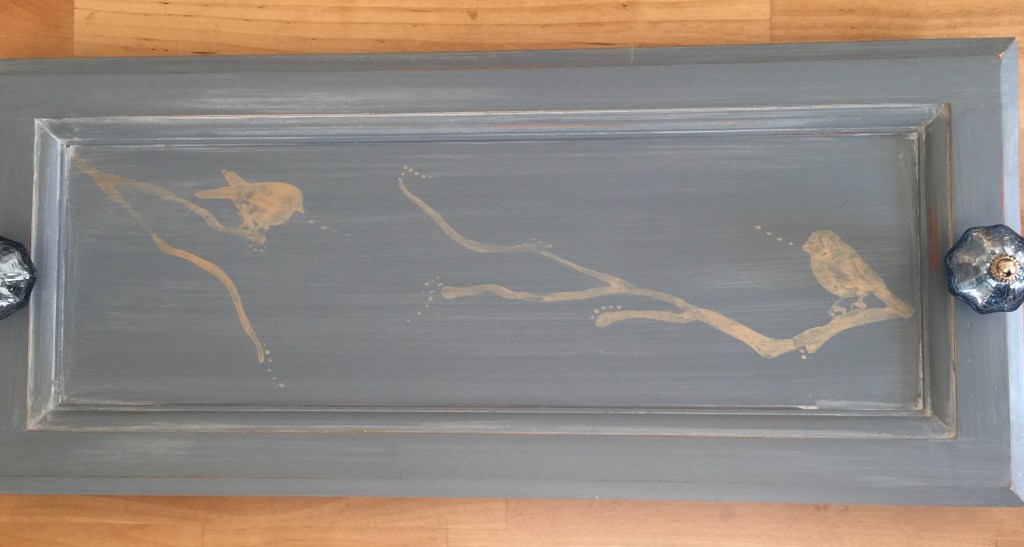
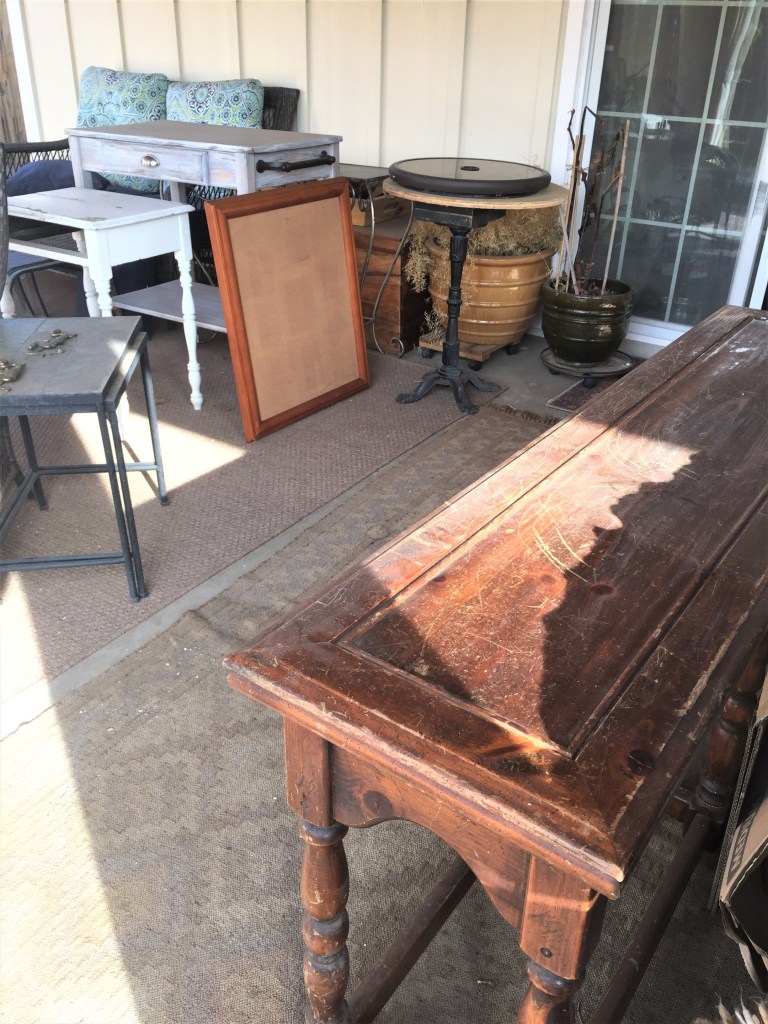
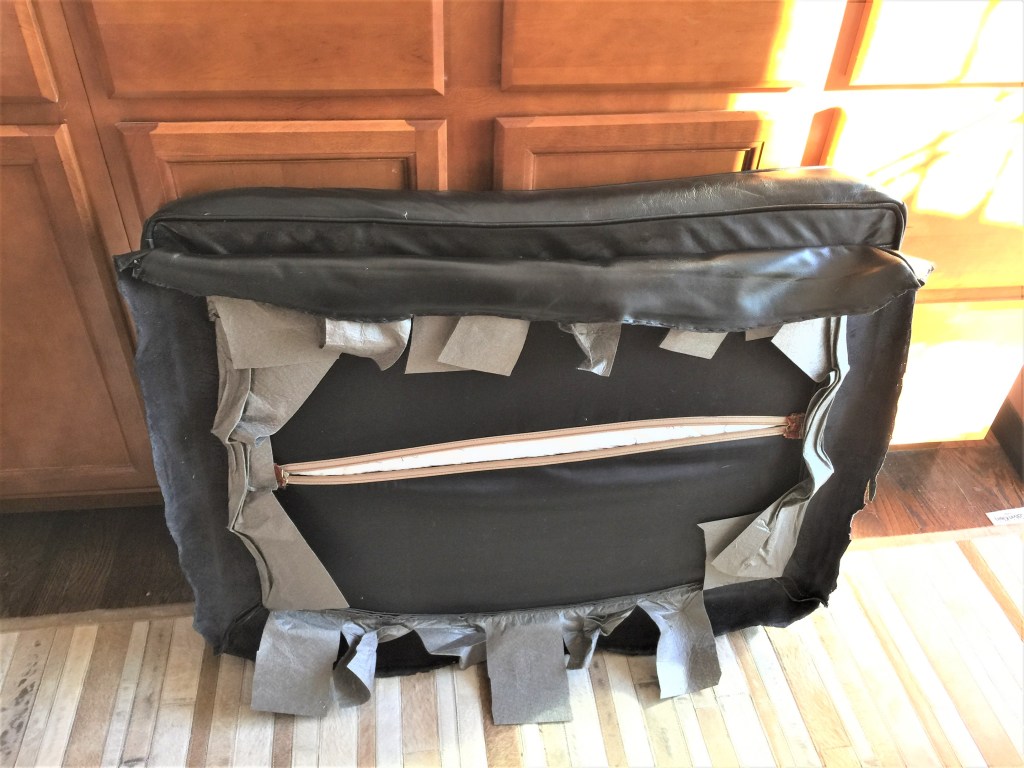
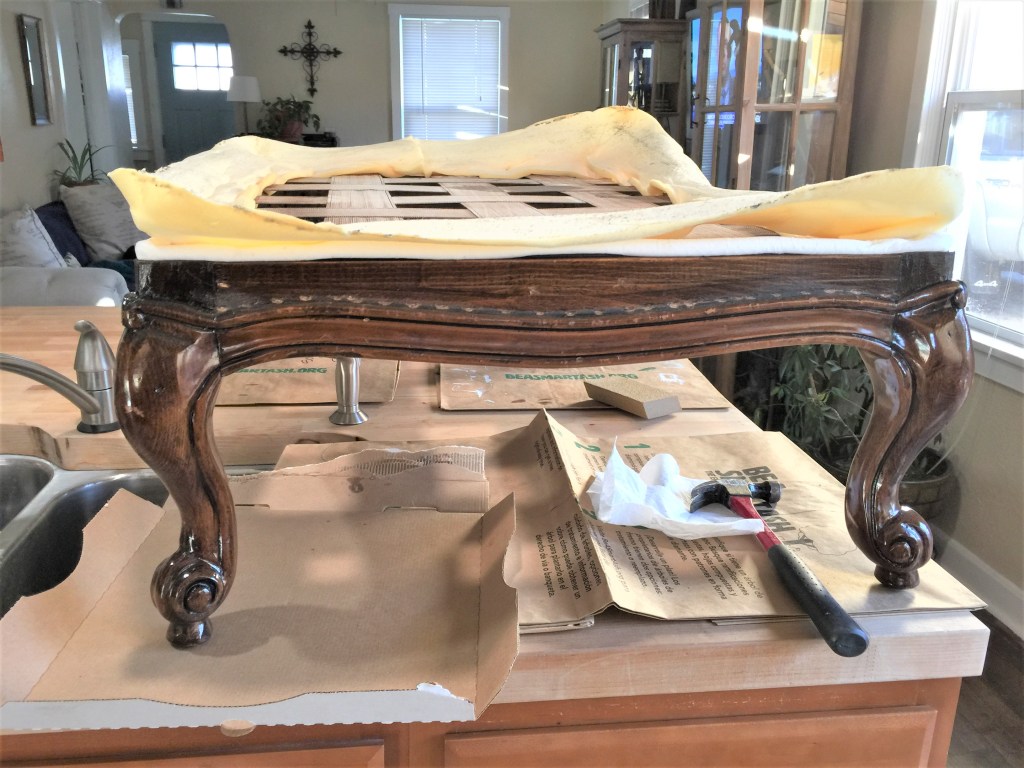
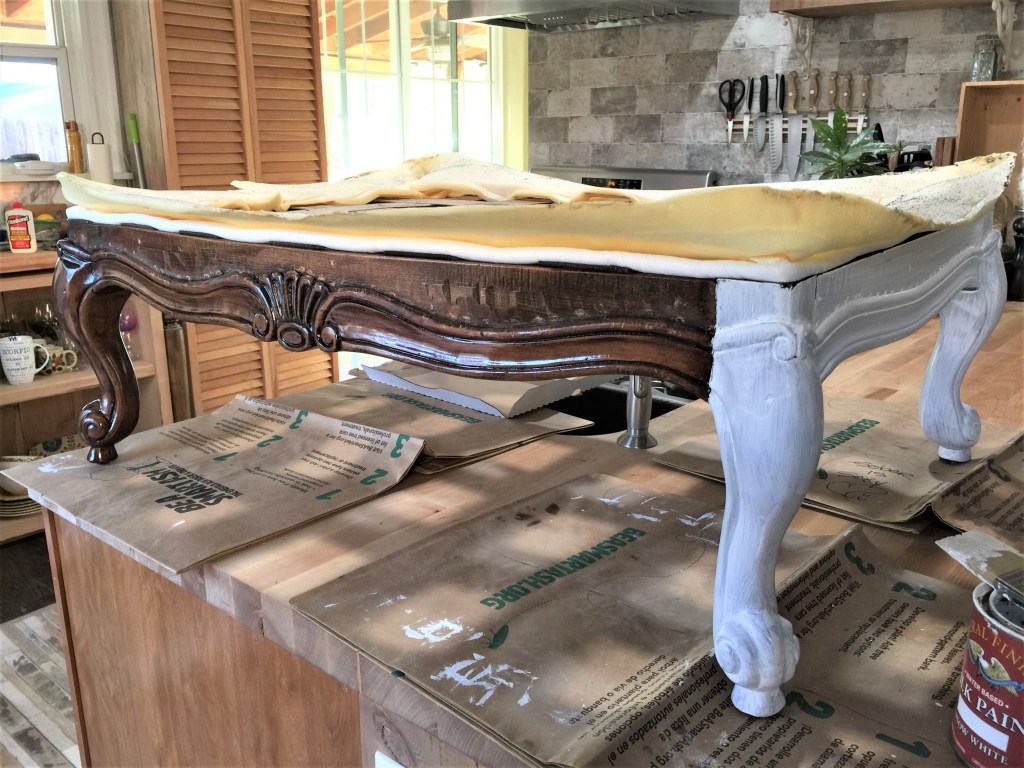
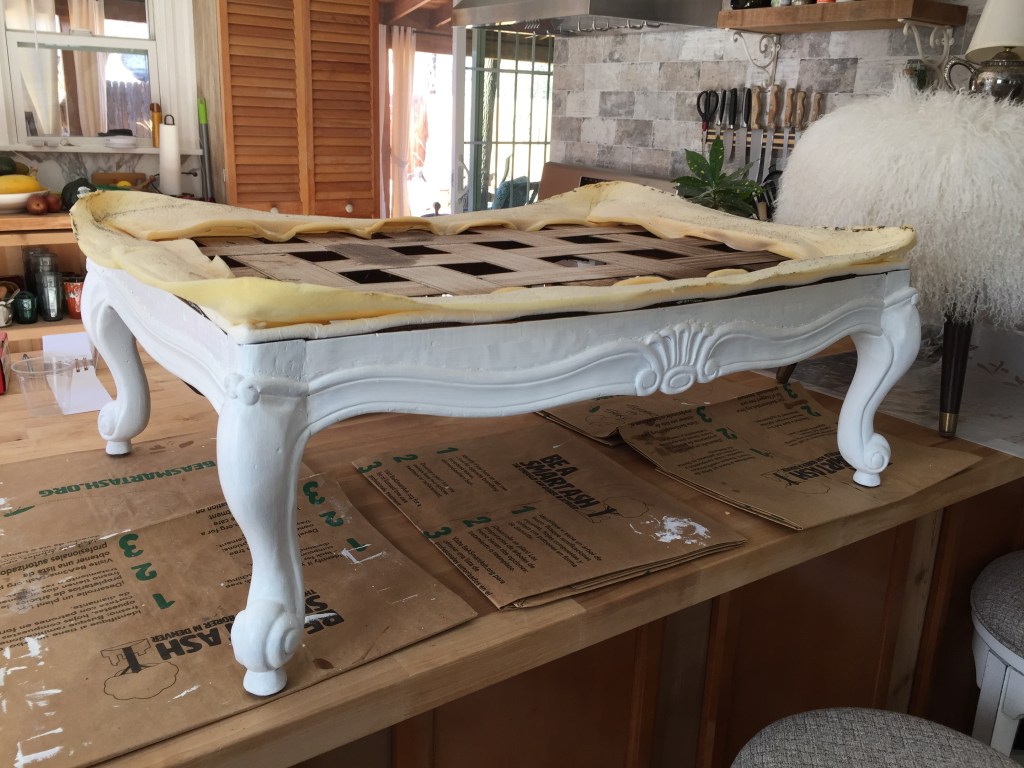
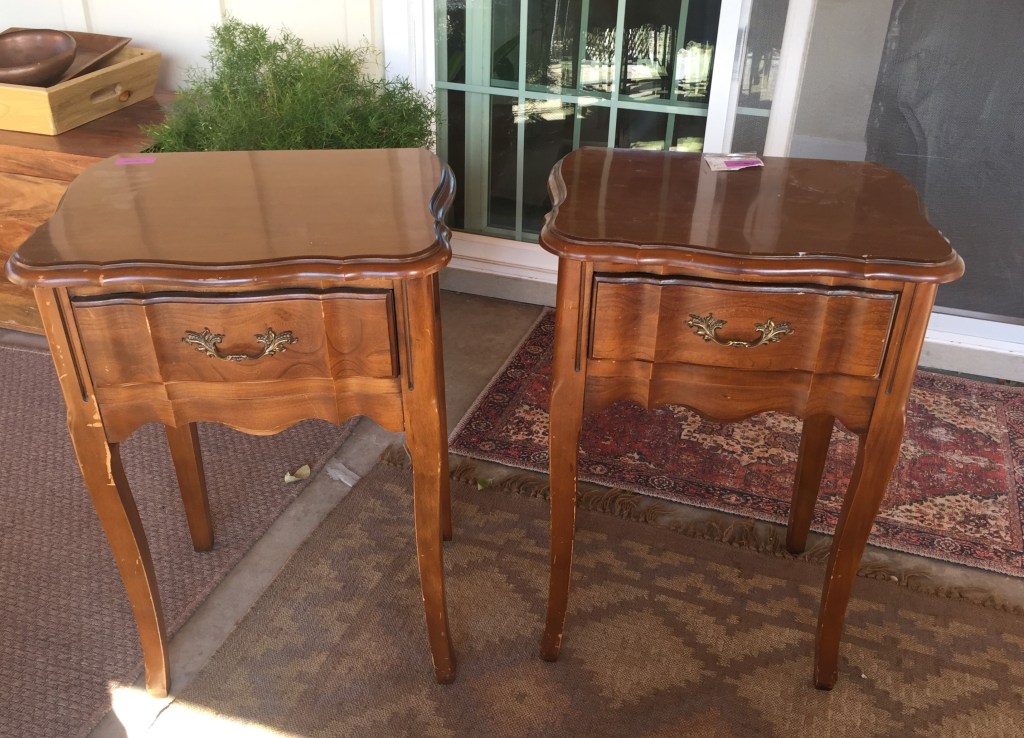
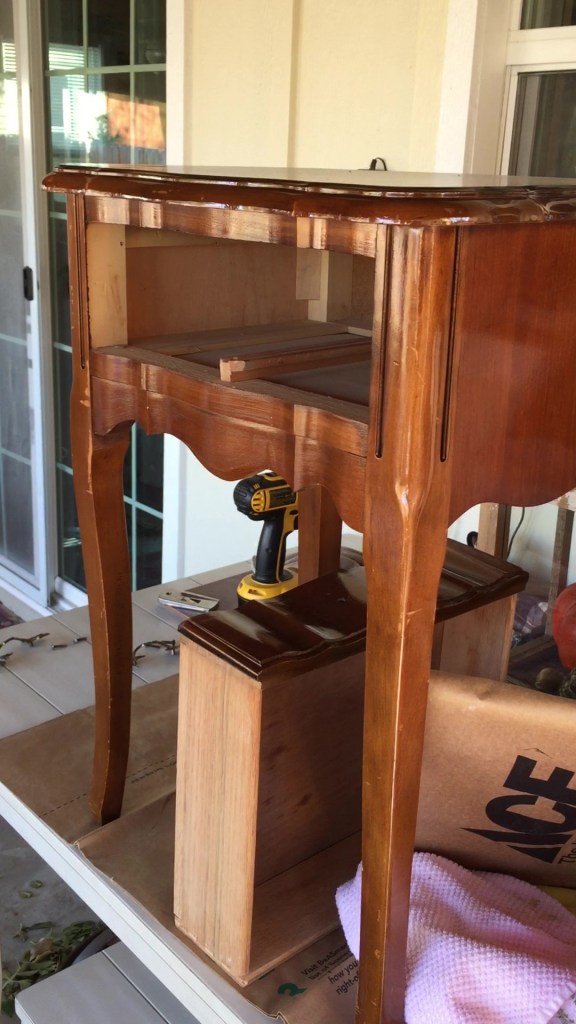
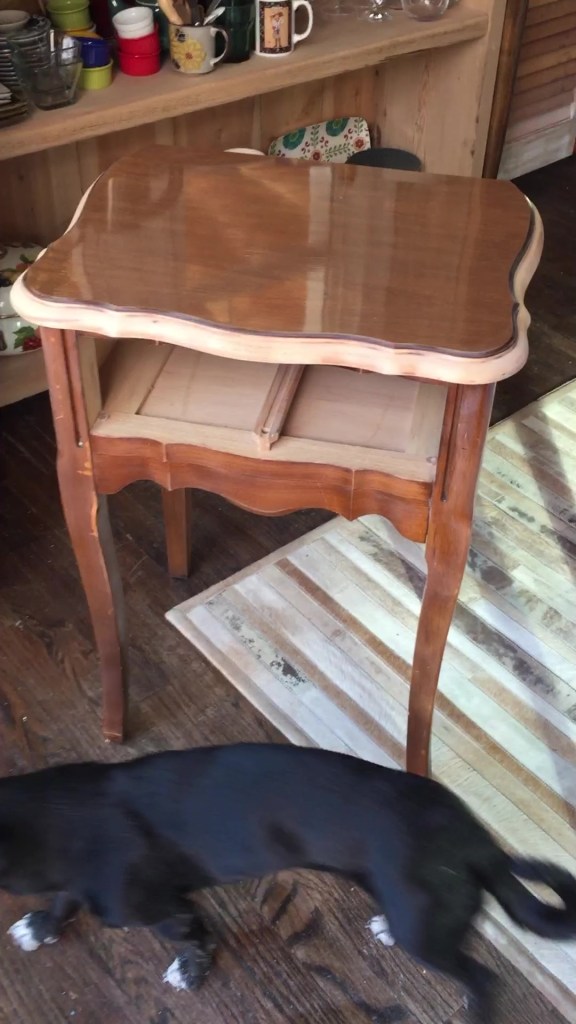
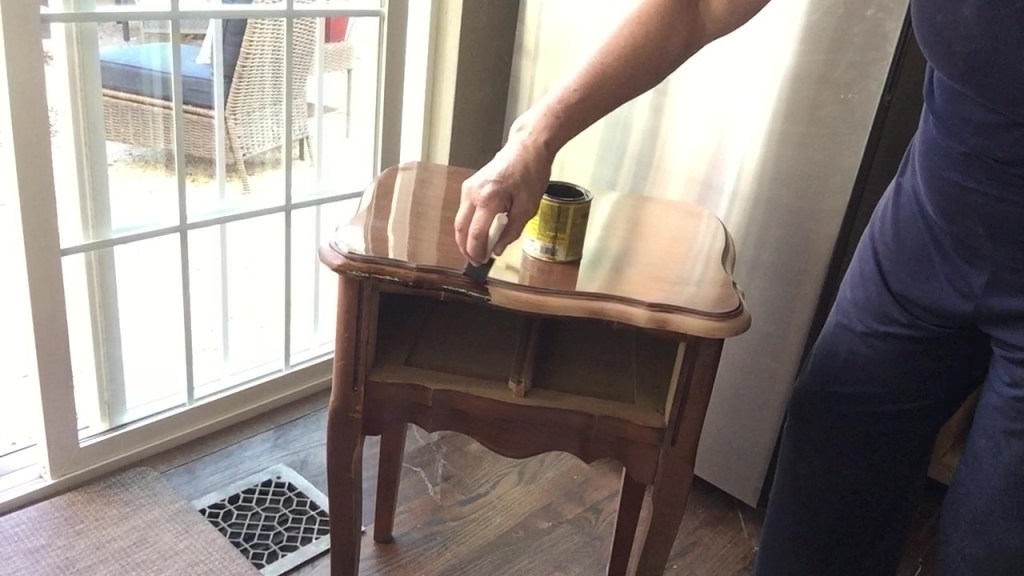
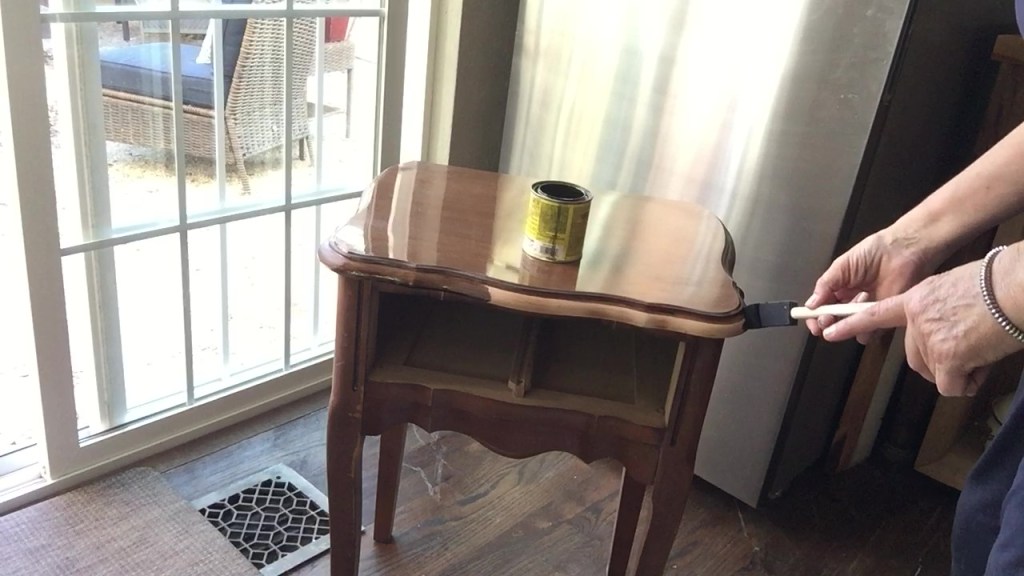
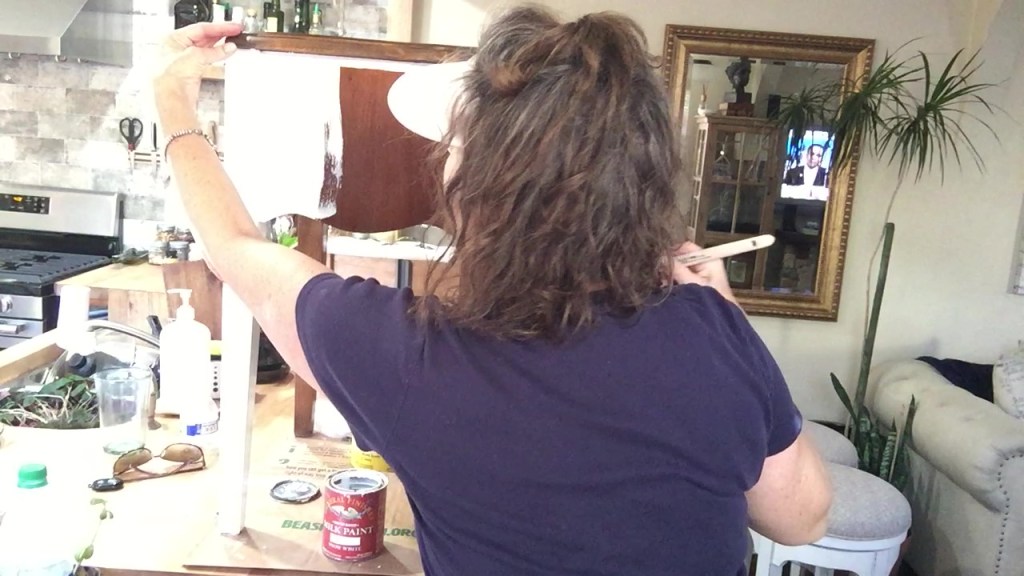
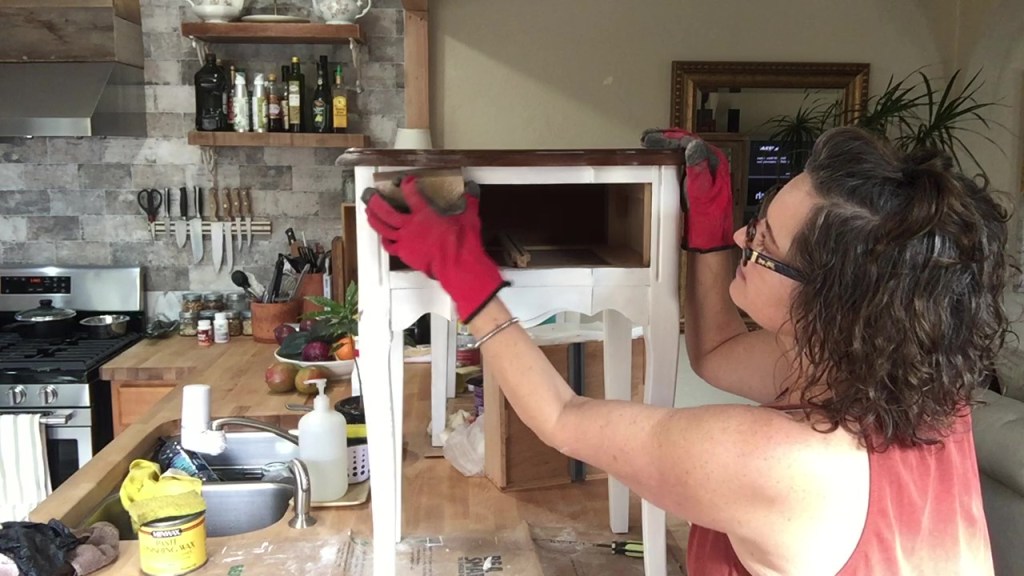
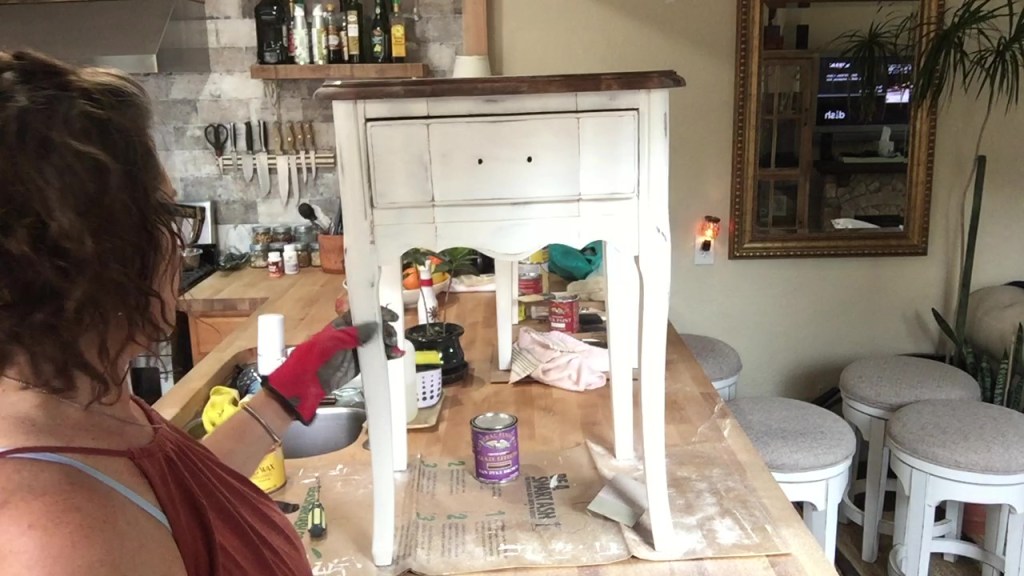
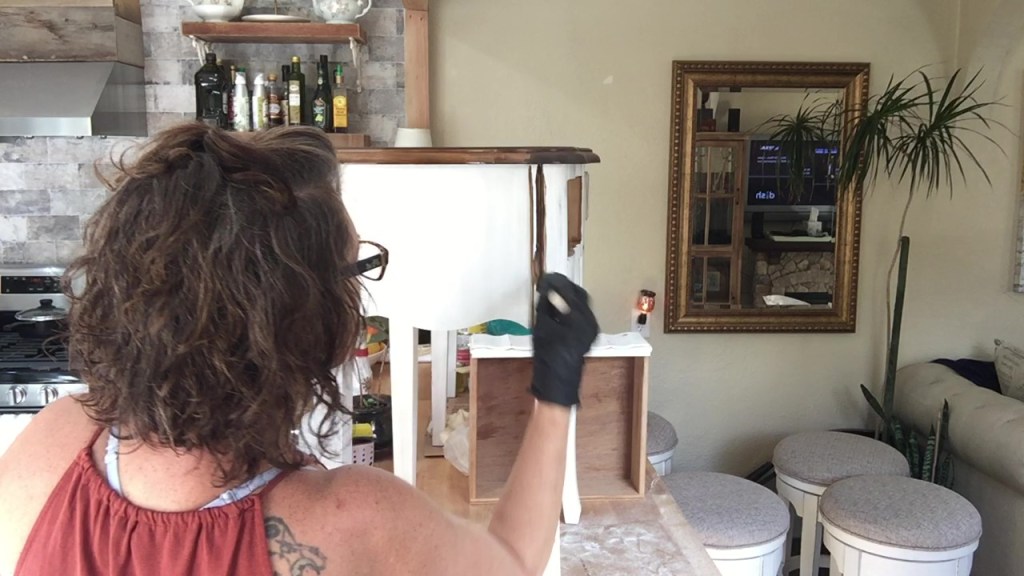
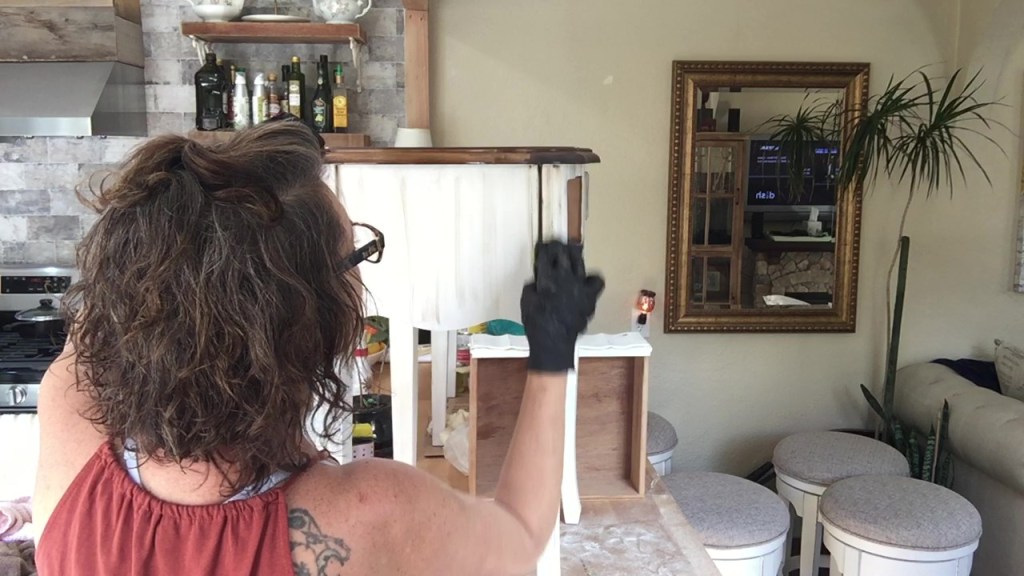
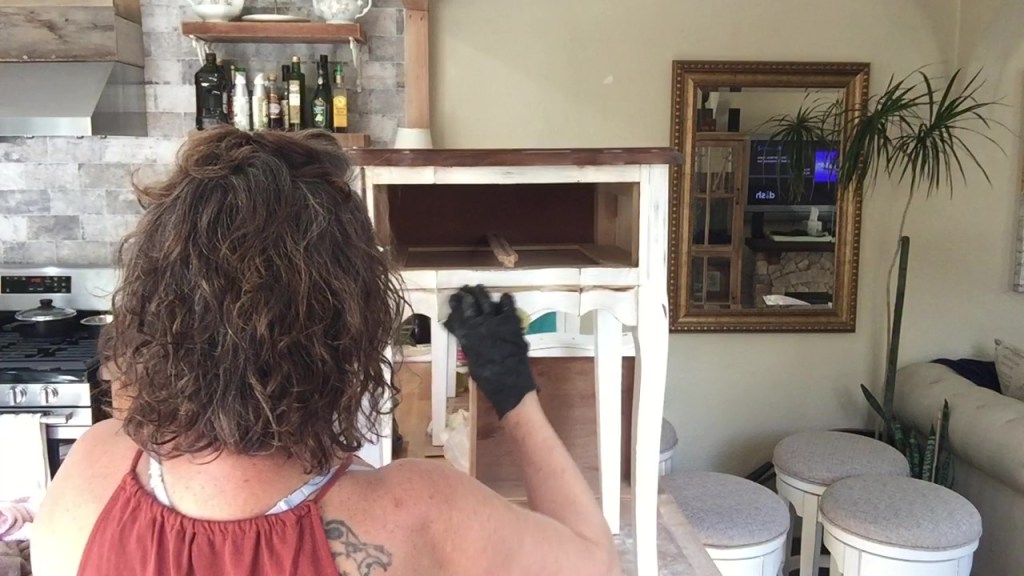
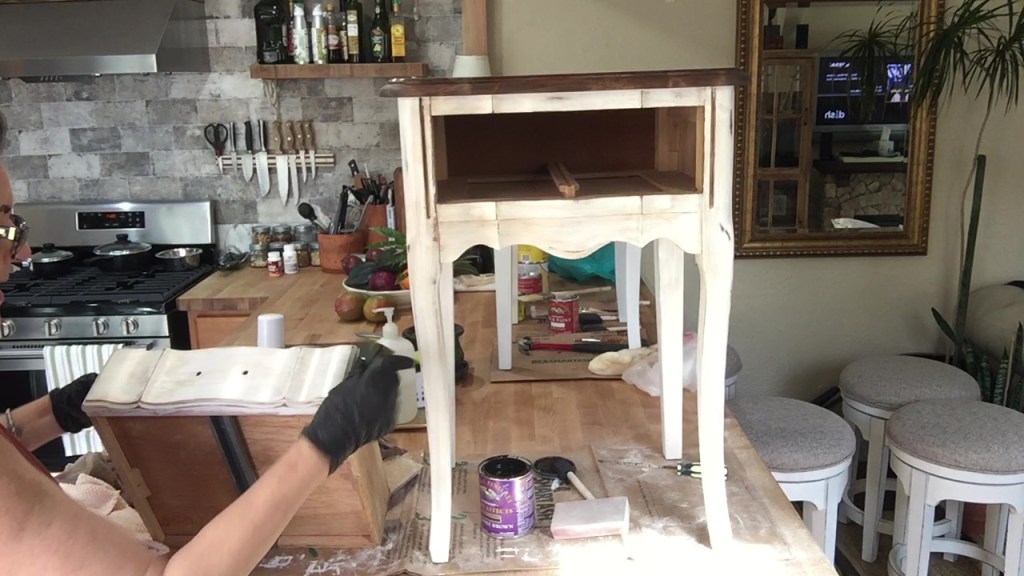
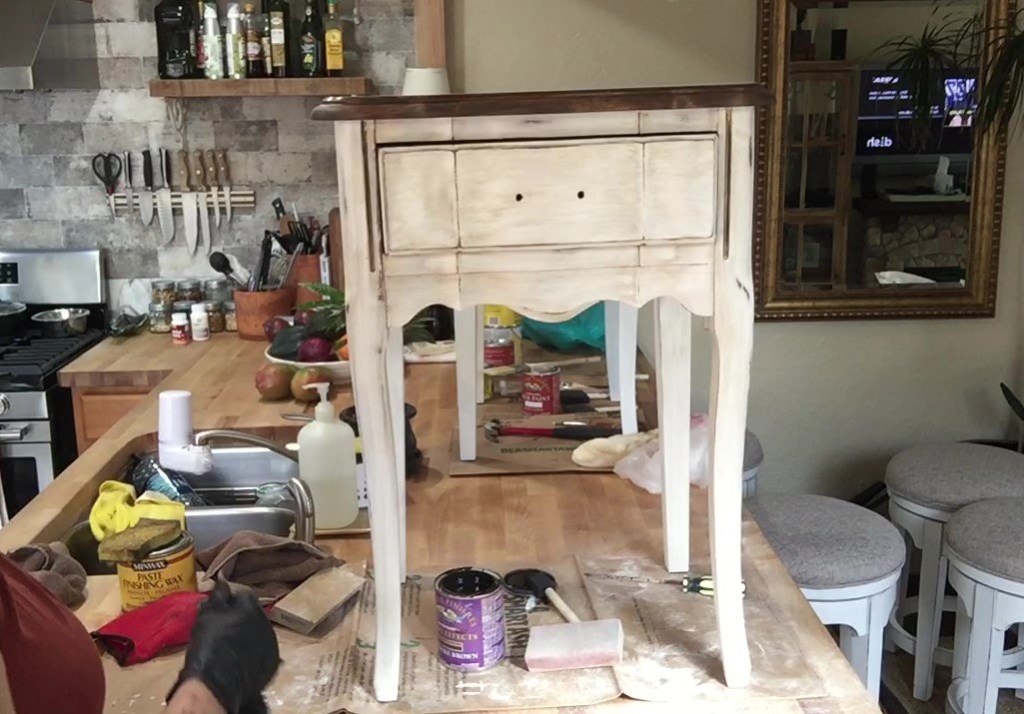
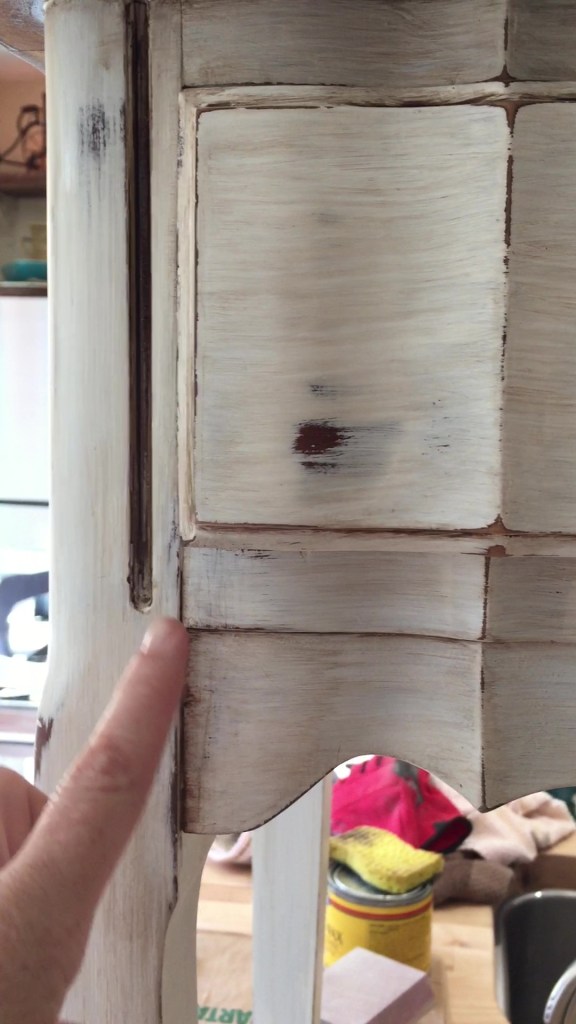
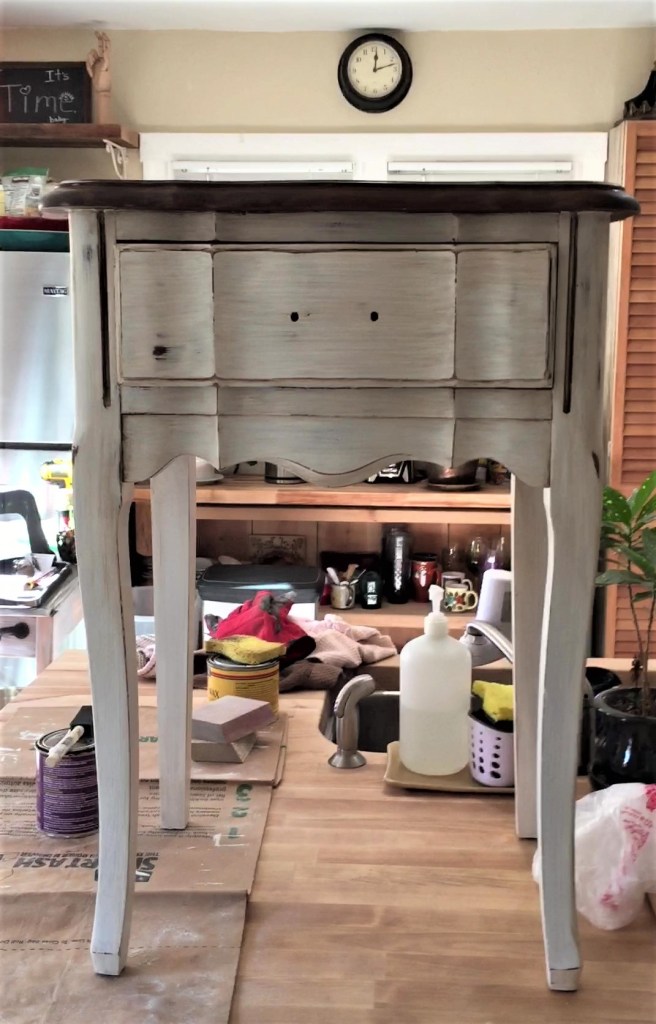
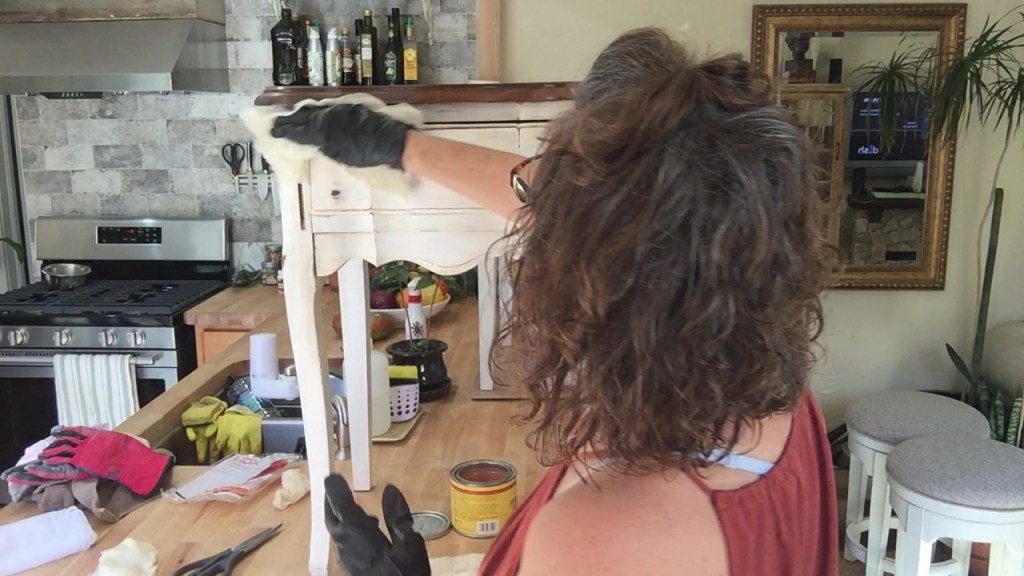
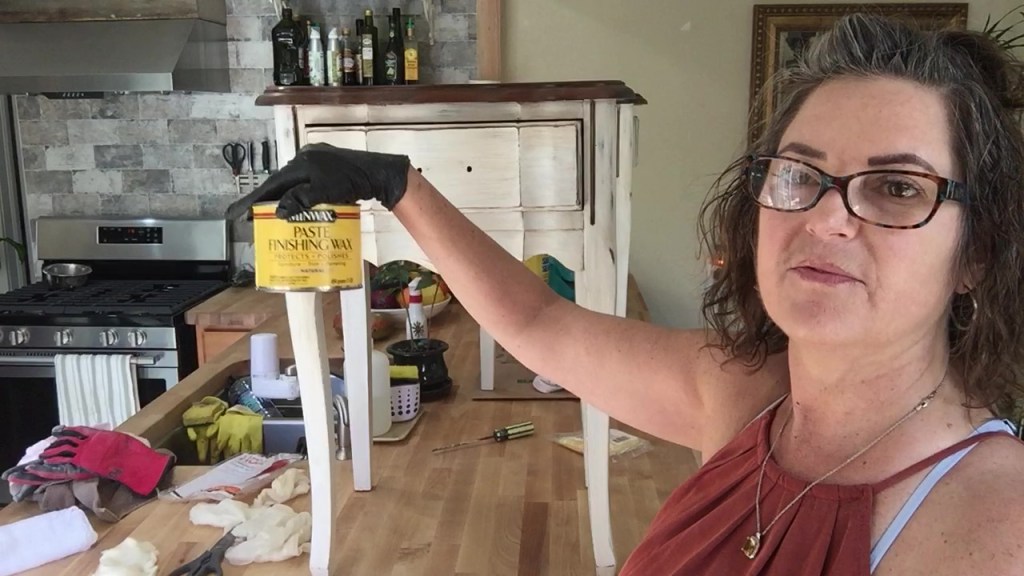
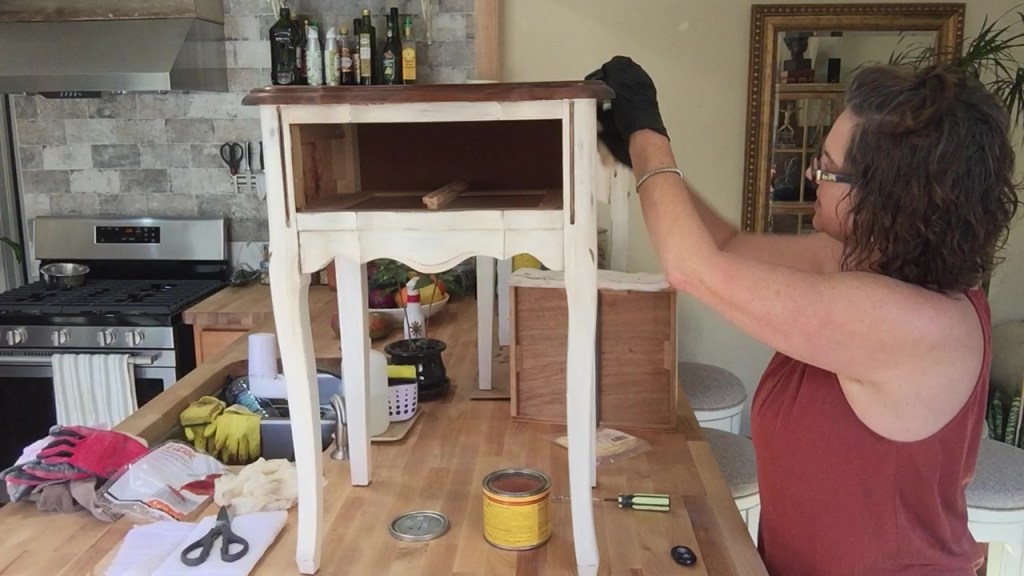
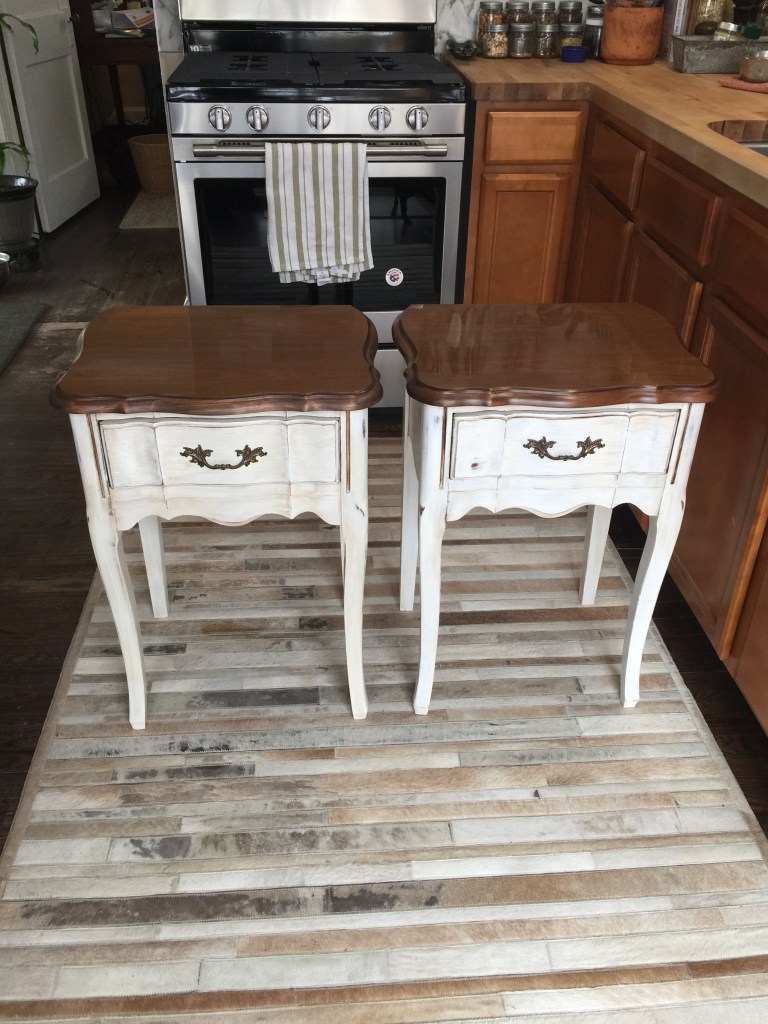
  • Paint old furniture
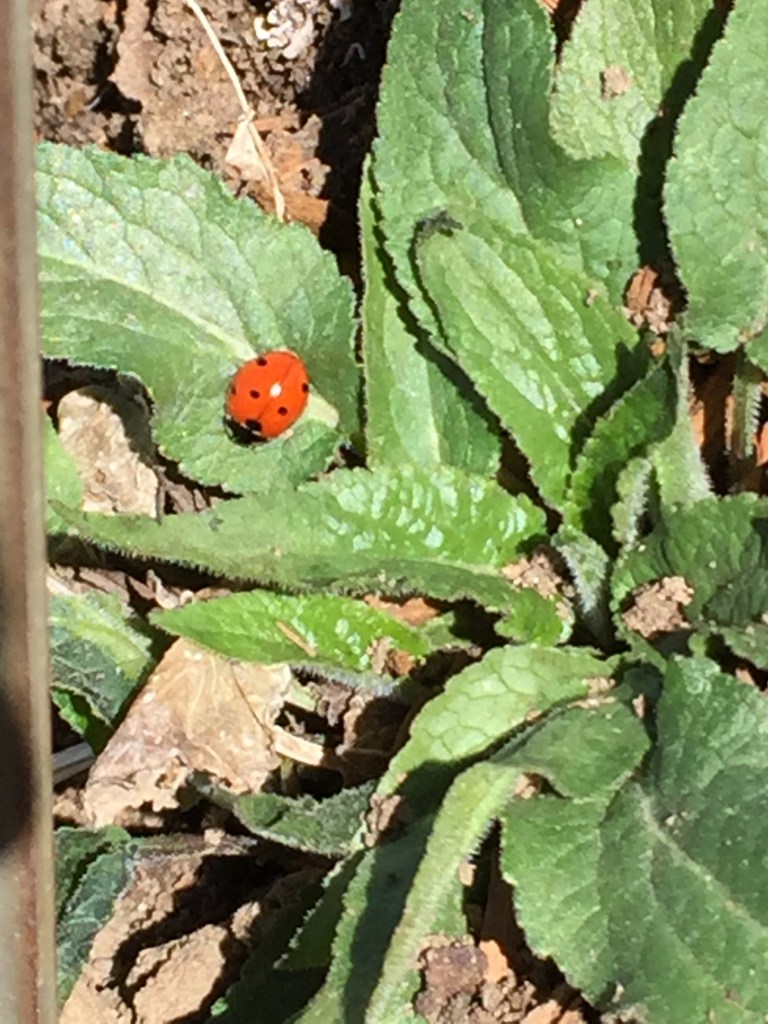
  • Sit in the sun for 15 minutes each day
  • Write in a journal
  • List all the things your grateful for
  • laugh as hard as you can, until your crying, if possible
  • Give yourself a manicure/pedicure, beard trim, bang trim
  • Do yoga
  • Try a DIY new haircolor, if your brave
  • Re-organize your laundry area/kitchen cabinets/spices/ under the sink
  • Be outside for at least 15 minutes a day
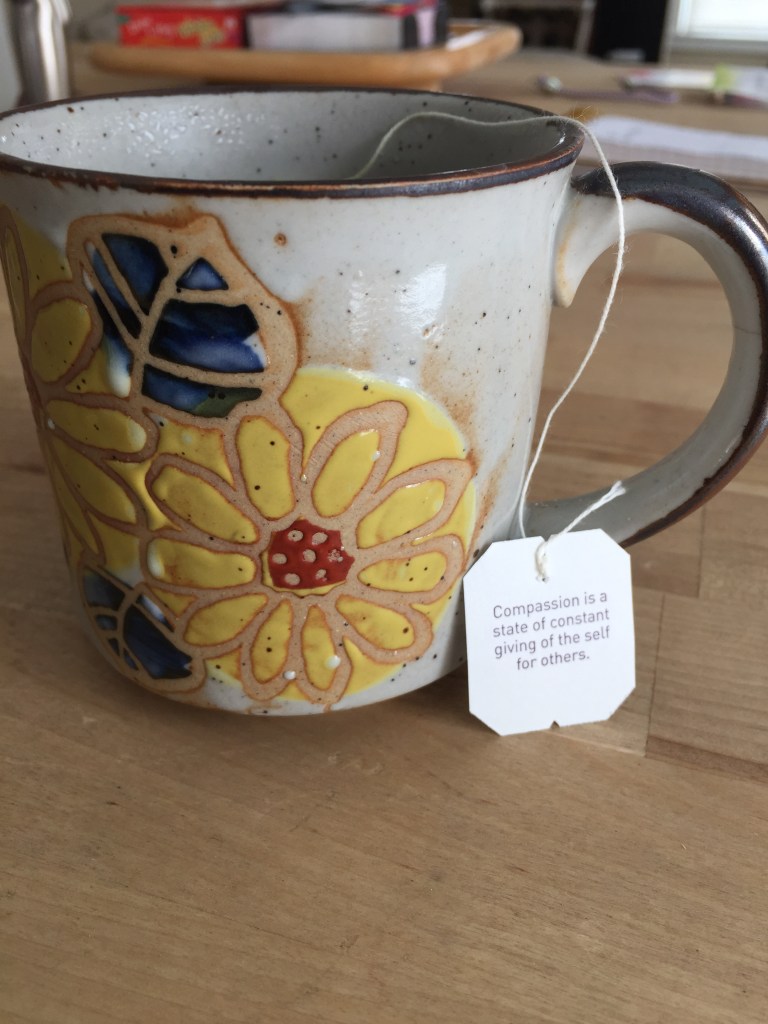
  • Create a daily “tea time” to look forward to, sit and relax for a few minutes
  • Text your Mom or better, call her
  • Find a topic to research and learn about it
  • Learn or brush up on a language, other than your 1st language
  • Do a puzzle
  • Paint or draw a picture, write a poem
  • Bathe your pet
  • Take a walk
  • Dry fresh herbs
  • Use your least favorite piece of clothing and work it into a great outfit. Or get rid of it!
  • Donate to a recycling center
  • Drink more water
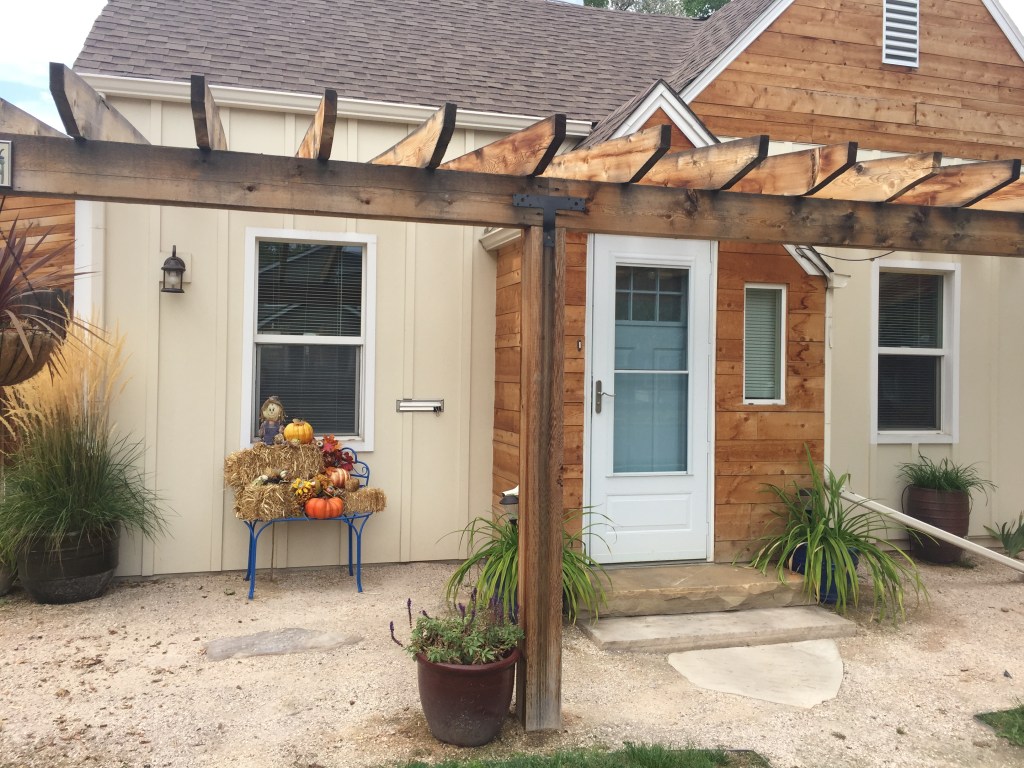
  • Decorate your home entrance
  • Buy fresh flowers
  • Pick an ingredient and research a new recipe to include it
  • Rent a steam cleaner and clean your rugs and upholstery
  • Rotate your mattress
  • Change your furnace filter
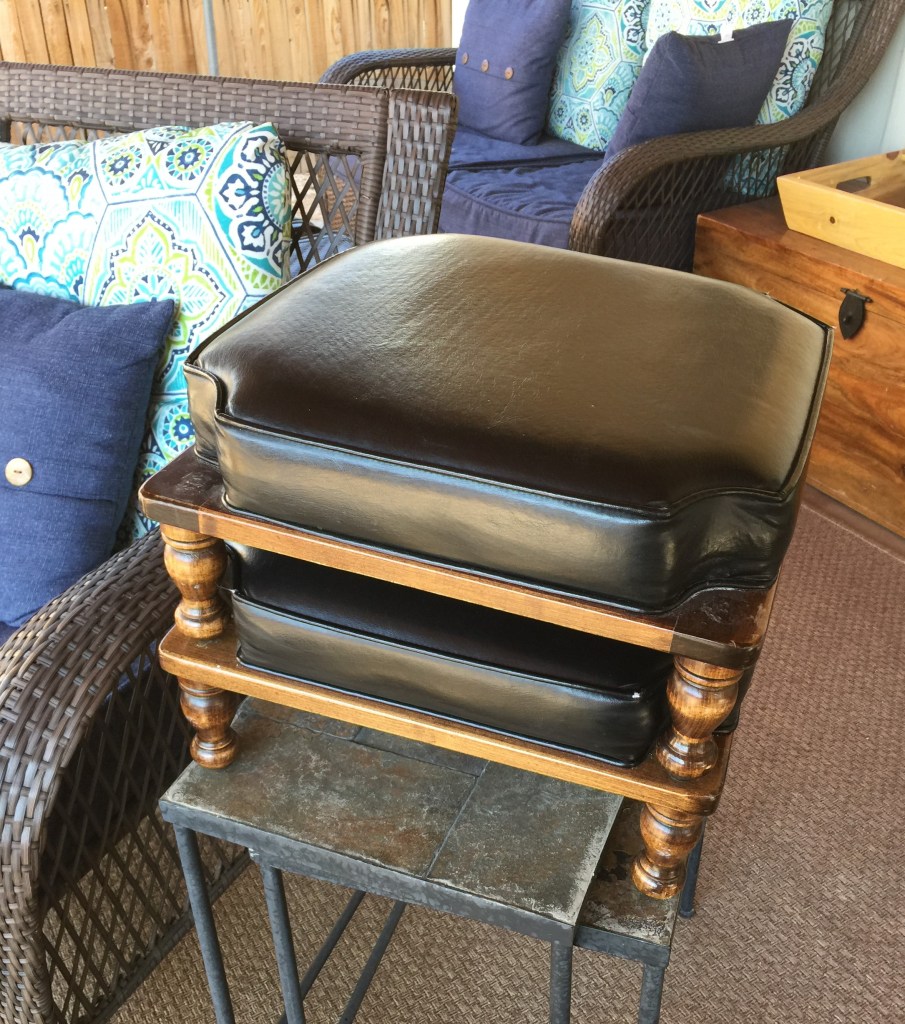
  • Move your furniture around or repurpose it
  • Lose 5 pounds
  • Make a Dentist or Dr. appt, if you’ve been putting it off
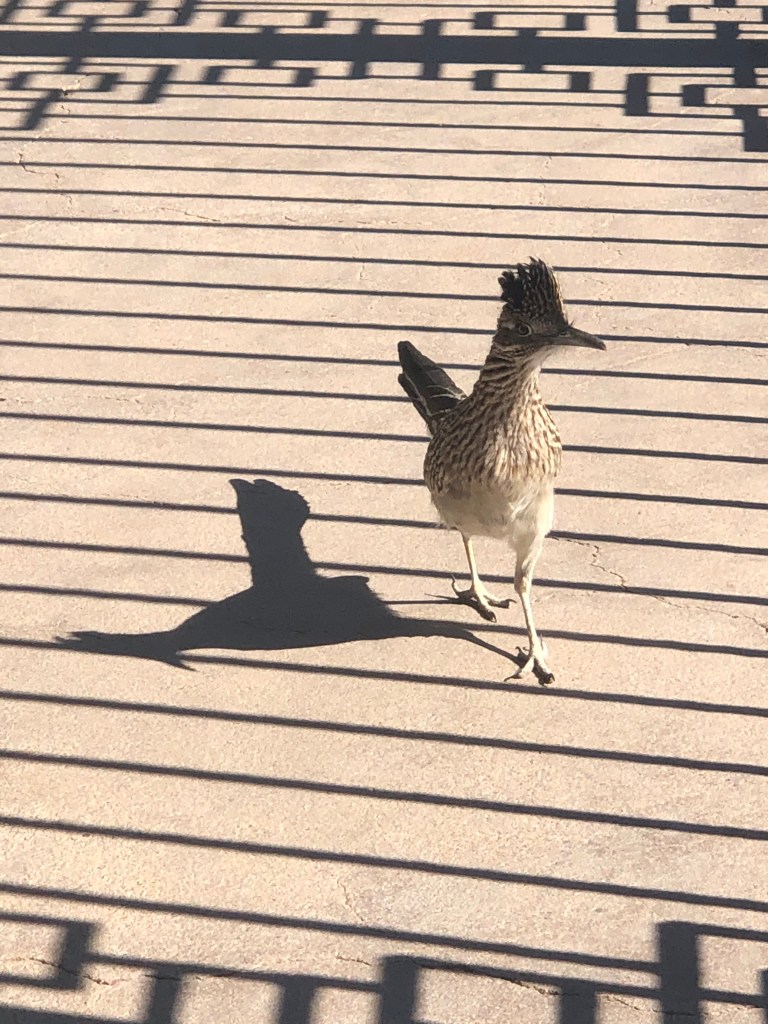
  • Name any wildlife you see from your home or yard
  • Look online for homes for sale in your area to see what your house is worth
  • Throw a ball for your dog
  • Go to bed early
  • Do something that intimidates you and gain confidence
  • Apologize for something that you keep thinking about
  • Pick up a new hobby or return to an old hobby
  • Give yourself a break- You’re doing the best you can

2020: A New year with a New vision

Since I can remember, going to the thrift store was an exciting adventure. I eventually stopped thrifting, due mostly to time constraints. Recently, I rediscovered this fun hobby. Over the winter, I’ve been acquiring old antique accent pieces, refinishing them and will turn them into a side hustle. I’m so excited for my new adventure and now, I want to share it with you!
Lucy, modeling these refinished nightstands, wind blowing in her ears! These were $10 each.
Mid century Modern stool. Purchased for $10.
I bought a piece of Mongolian sheepskin and used it to Glam up this basic stool! Fur was $100.
Voila! These sell for $500 in high end shops.
Valet stand, with shelf for earrings and accessories. Purchased for $10.
Oh La’ La’, Indeed! What a unique and fun piece to add to your dressing area.
You’ve likely seen a version of these mid century modern stacking foot rests. I bought these for $10 each.
I stripped them down, sanded and painted the bases and recovered the cushions.
Removing staples.
Mmmm Hmmm…..
After sanding sealer, I lightly sanded the bases before painting.
Painted and distressed, the antique White freshens them up.
I found this beautiful Damask fabric at Hobby Lobby.
Covered the cushions after wrapping the original foam in poly-fill cushion wrap.
These updated pretty’s look fresh, while providing mobile foot rests for any part of the home.
A large leather ottoman with great details on the carved base was dark and heavy looking. I bought it for $14.99.
Because I’m learning as I go, I study each piece as I disassemble it. This ottoman turned out to be much more difficult than I expected.
This is the cushion component. I say component, because it’s actually many pieces sewn together to make an attached cushion. I’m intimidated at this point. I mean, look at this and tell me what you would think? Holy sewing skills, Batman!
The base was fairly easy and fun! All the carving makes it so cool. I get anxiety every time I start to paint a new piece of wood furniture. I remember Mom telling me as a kid, that antique wood should not be painted. However once the process is complete, I’m glad I did paint it!
The base is done and now, I turn my attention to the cushion with teeth chattering…..
I spared you the long process of recovering the cushion. It took a lot longer than I wanted and a couple trips to Western Upholstery, where they walked me through the steps, and lots of online research, but….I absolutely love how it turned out. Like many of my projects, I consider keeping it for myself!
Another simple glossy stool.
I stripped the old fabric off and added a thick layer of poly fill wrap to the foam.
I considered a couple different fabrics, but it still seemed uninspired…
So, I stenciled an ornate design at the top of the legs to highlight the shape and ended up covering the seat with a Burgundy fine gauge quality wool. It’s classy, but a bit special too!
I’ve had these stackable foot stools for 10+ years, using them in my living area. They are dark and had been covered in dark Brown leather. Inspired by the other pair I redid, I decided to refinish these also.
Staple stripping…
When thrifting, I came upon a fabulous fabric that inspired me to go with a decidedly more modern and bright design style for this pair. This is risky!
WoW! How can one be prepared for this much color and verve? These were requested by my sister before I even got to show them off. Maybe I’m onto something!
I kept these cabinet doors from when I remodeled my kitchen last fall. I filled in the hinge and screw holes, painted them, added stencils and handles and look what they are now!
A beautiful serving tray. One of a kind and up-cycled! Love this.
As much as I love my new open kitchen, I have been using it for a work space and need to have a designated area to keep my tools and store furniture.
Currently, my living area is full of newly refurnished accent pieces and new acquisitions waiting to be made over.
Same for my back porch. I need some work/storage space!
And this will be the space. As you can see, my shed is full and needs to be cleaned out and organized first. I’m sure some of you know how this happens!
I love the natural light in here. I had my electrician wire my shed for power and light and it will be a prefect place for my new work space!
I found Old Crows Antique mall. It’s new and opening in March 2020. I rented this wall and floor space from the black electrical box on the white wall to the doorway on the right side. My space is 13 ft wide x 3.5 feet deep. I’ve always thought about doing this, but finally in 2020, will see it to fruition!
I ordered this beautiful mural from Magic Murals for my wall.
The pony wall is up between me and my neighboring space and everything is now painted. I’m here to put up my mural today!
Luckily, they give you good instructions with the mural! I recommended this company for your mural needs. This one cost $60. 4 ft tall x 3.5 feet wide.
I tried to match the wall to the background color in the mural and blend the edges together with a painting sponge.
Although I can still see the edge of the mural, once I have antiques in the space, you won’t notice the edges as much. The doorway goes to a root beer bar in the store. I love the brick stack visible through the wall opening. My space is high visibility and I’m super excited to fill it!
From another angle. The store used this photo for some of their marketing! Yay!
Spring will be here before we know it. I’m collecting butterflies, bumble bees and flowers to prepare for the opening of Old Crows Antique’s kick off in March 2020!
Me, happy to be moving forward with my plan! Check out the Old Crows website:
https://www.oldcrowsantiques.com/

I really love the results of a road trip and an unexpected surprise!

Michael, Dad, Mark and I devised a surprise for Mom and Susie to celebrate their 75th and 50th birthday’s in Lake Havasu this year. Dad, Michael and I flew into Las Vegas, rented a car and drove to Havasu, arriving at 10:00 PM. They were surprised!
The next morning, we all got our first look at their new house, desert landscape and enjoyed waking up in the lovely climate.
The back yard offers a pool and an attached casita. I stayed in the room you can see behind the red chairs.
Mom and Dad stayed in the Casita, behind the waterfall.
Susie enjoying her Chai tea by the pool! Hello family!
Mom and Dad hold on to each other while surveying the neighborhood from the driveway.
Michael and Mark catching up after breakfast.
The ladies went into town for lunch and shopping. We found this fun shop with novelty spices. Check out this brand!
I was motivated to get in the pool and do some water aerobics. I was proud of myself for making that happen on vacation!
We all found our perfect spot around the pool in the afternoon!
The boys coming back from the lookout behind the house.
Susie taking a break from hostessing while the boys are climbing around in the desert terrain.
We found this cool teak wood mirror when in town and Susie decided to hang it above the outdoor dining table. It looks perfect!
The next day, we all ventured out on Lake Havasu on Mark’s boat.
So fun to be together and floating on the water. The weather was beautiful!
Mom enjoying the sun!
The Captain!
Michael taking the role of co-captain!
Looking back toward Lake Havasu City. It’s built on the hill overlooking the lake. Lake Havasu City is a cool town of about 50K people. Snowbirds and locals hang out at sidewalk restaurants and enjoy the warm weather during the winter months. It definitely feels “beachy” in this town.
Beautiful distant mountains surround the lake.
We enjoyed an al fresco lunch of sliders and snacks.
Zooming around the lake, Preston is a great host!
Dad found a seat in the back of the boat.
Thompson men, here!
Mark and Preston happy to be on the water!
Look at this young man! He’s no longer a boy.
My happy place, on the water!
The London Bridge is a tourist attraction at Havasu. The bridge came from England and was reassembled here, connecting the mainland to “the Island”. Everybody cruises the canal between the mainland and the Island. We’re checking out some of the massive muscle boats we see.
Once again, we find ourselves congregating back at the pool before dinner.
Mom and Susie enjoying a glass of wine!
Mark sitting under the patio while talking with Susie and Mom.
The sunset bring everyone outside every evening.
The day Mom, Dad, Michael and I leave for our homes in the mountains.
Look at these love birds!
So happy together!
Everyone was a good sport and posed for family photos!
The Thompson’s.
Not too bad for a 75 and 77 year old! Vibrant people!
Good looking!
I made it home after 3 nights in Arizona and found some new projects to work on. A vintage valet stand.
A pair of stackable Mid Century Modern ottomans.
Which I tore apart and will paint the base and recover the cushion.
Looks easy enough!
This is the fabric I found for the ottomans.
And this leather and carved wood base ottoman.
Disassembling the ottoman, one layer at a time so I can understand how to put it all back together.
One by one, I pull out the staples.
This is what the cover looks like after I get it off the ottoman. I’m intimidated by the complexity of it. I might have to make some changes to the new cushion cover.
Once the leather cover and cushion is pulled off, this is what it looks like.
I always feel a little anxiety when painting wood. It seems like the wrong thing to do. However, once I get the steps completed, the new look is rewarding and fresher. I’ll give these pieces new life.
Painted and ready for distressing and glaze. I’ll keep you informed as I finish these pieces.
One of the wonderful things about traveling is viewing the unique landscape and the wildlife in each place. Every morning we watched the quail migrate from the left of the house to the right and they return again in the evening. I think this is a feeding pattern. We also saw a coyote jog by just above their house and this roadrunner was available for a photo at the lake. So grateful for my family and the time we spend together!

Thrift Store Treasures, from Scary to Sexy!

Found these beauties at Goodwill for $10 each. Looks like something that would have been in my grandma’s house very long ago. I have an idea to make them cool again!
Step 1: Cleaning
A thorough cleaning with TSP heavy duty cleaner (use gloves), and a light coat of sanding sealer to give it a fresh and smooth base.
Step 2: Sanding
Sanding the top edge to remove the old stain and lacquer before staining it to match the top.
With the edge sanded and clean, ready for stain. I’m using Dark Walnut on this nightstand.
I discovered a thin layer of vinyl on the top of the table, with a photo veneer grain. It looks great and I’ve decided to leave it on and stain the edge to match. The veneer protects the top from water rings and scratches and it’s in great shape. I didn’t notice it until I looked closely!
Step 3: Staining
Using a small foam applicator, I stain the edge with 2 coats, allowing 20 minutes between layers to absorb.
I wipe the excess off after a few minutes.
Step 4: Cleaning
I clean the dust off before painting.
Step 5: Painting
Leaving the top stained, I add the first layer of Milk paint to the night stand. I use a milk paint from Rockler woodworking, color Snow White.
It’ll take 2 coats of paint, drying in between layers. I’m looking for an opaque finish before distressing with sand paper.
Step 6: Distressing
After 2 coats of paint, I am distressing the cabinet with a 60 grit sanding block. I’ll try to give the cabinet a worn look, sanding areas that might show natural wear and tear from years of use.
I look for spots on the cabinet that will highlight the natural shape of the cabinet and feature some details in the design.
Most of the interest of the cabinet is on the front, but I want the sides to feel organic with some slight distressing.
Once I feel like the distressing is done, I’m now ready for the glaze.
Step 7: Cleaning
A good cleaning before glaze.
Step 8: Glaze
Using another foam applicator and a wet sponge, I apply the glaze to areas of the cabinet that I want to highlight and use the sponge to work the glaze, wiping it until I achieve the look I’m hoping for.
I use glaze on the whole cabinet, focusing mostly on the front and the drawer.
The applicator allows me to get into small thin spaces and not deposit too much glaze. I’m using Van Dyke Brown glaze for this project.
I spread a small amount of glaze onto the piece, and use the sponge to dilute and distribute the glaze over the surface. This step highlights the irregularities of the cabinet and gives it dimension.
I repeat until I achieve the look I’m wanting.
This is after the glaze has been applied. See how much more dimension the cabinet has with the glaze?
This step is the key to making the cabinet look authentic and full of history. I do this process all the way around the cabinet.
Once I’ve glazed all the panels on the cabinet, I come back to add more and make adjustments before the final step of finishing wax.
The drawer is very visible on the cabinet, so I want to highlight and feature the shape and design.
Before I’ve glazed the drawer. See how much darker the glaze shows on the cabinet compared to the White drawer?
Finishing up the glazing on the drawer.
Wow! It looks so much different than when first saw them at Goodwill!
Here’s a close up of the finish after glazing. It looks great!
These steps give this cabinet a whole new look! It takes some vision to recognize these thrift store gems, but I look for pieces with classic style and update the finish, hardware or use to make them feel current and hip!
Step 9: Cleaning
The final wipe down with tack cloth to remove any particles before the finishing wax.
This step makes a big difference in the final finish!
Lowe’s bought Minwax, so it’s now available at Lowe’s only. Varathane is the brand Home Depot offers now. I’m sure they’re comparable, but I recommend sticking with one brand of wax for a entire project.
Then I use cheesecloth to apply and buff the wax after it has dried.
Step 10: Finishing wax
Using the cheesecloth and wax, I rub the finishing wax over the entire cabinet.
This step will protect the cabinet and give it a beautiful sheen and dimension.
I do 2 coats, letting each coat dry before buffing.
Finally done! I’ll mount the hardware and show you the final result.

This project took about 9 hours to complete. I’ve tried to detail the steps for you, so you can attempt it on your own. The bottom line is you’ll have to get your hands dirty to really learn the technique and develop your own style. However, I encourage you to try it if your inspired by this tutorial. I find furniture refinishing to be rewarding , not just financially, but also for the feeling of satisfaction when taking an outdated functional piece of furniture and turning it into a thing of beauty and value!

Wow! I love the results. These small night stands are beautiful and will compliment someone’s home perfectly!