This post gives insight into a couple days spent learning how to use a stencil and paint to update an old wooden box I bought at a thrift store for $20. It’s been in storage for almost a year and I’m now rethinking this fun piece for my new place. Let’s see how this goes!
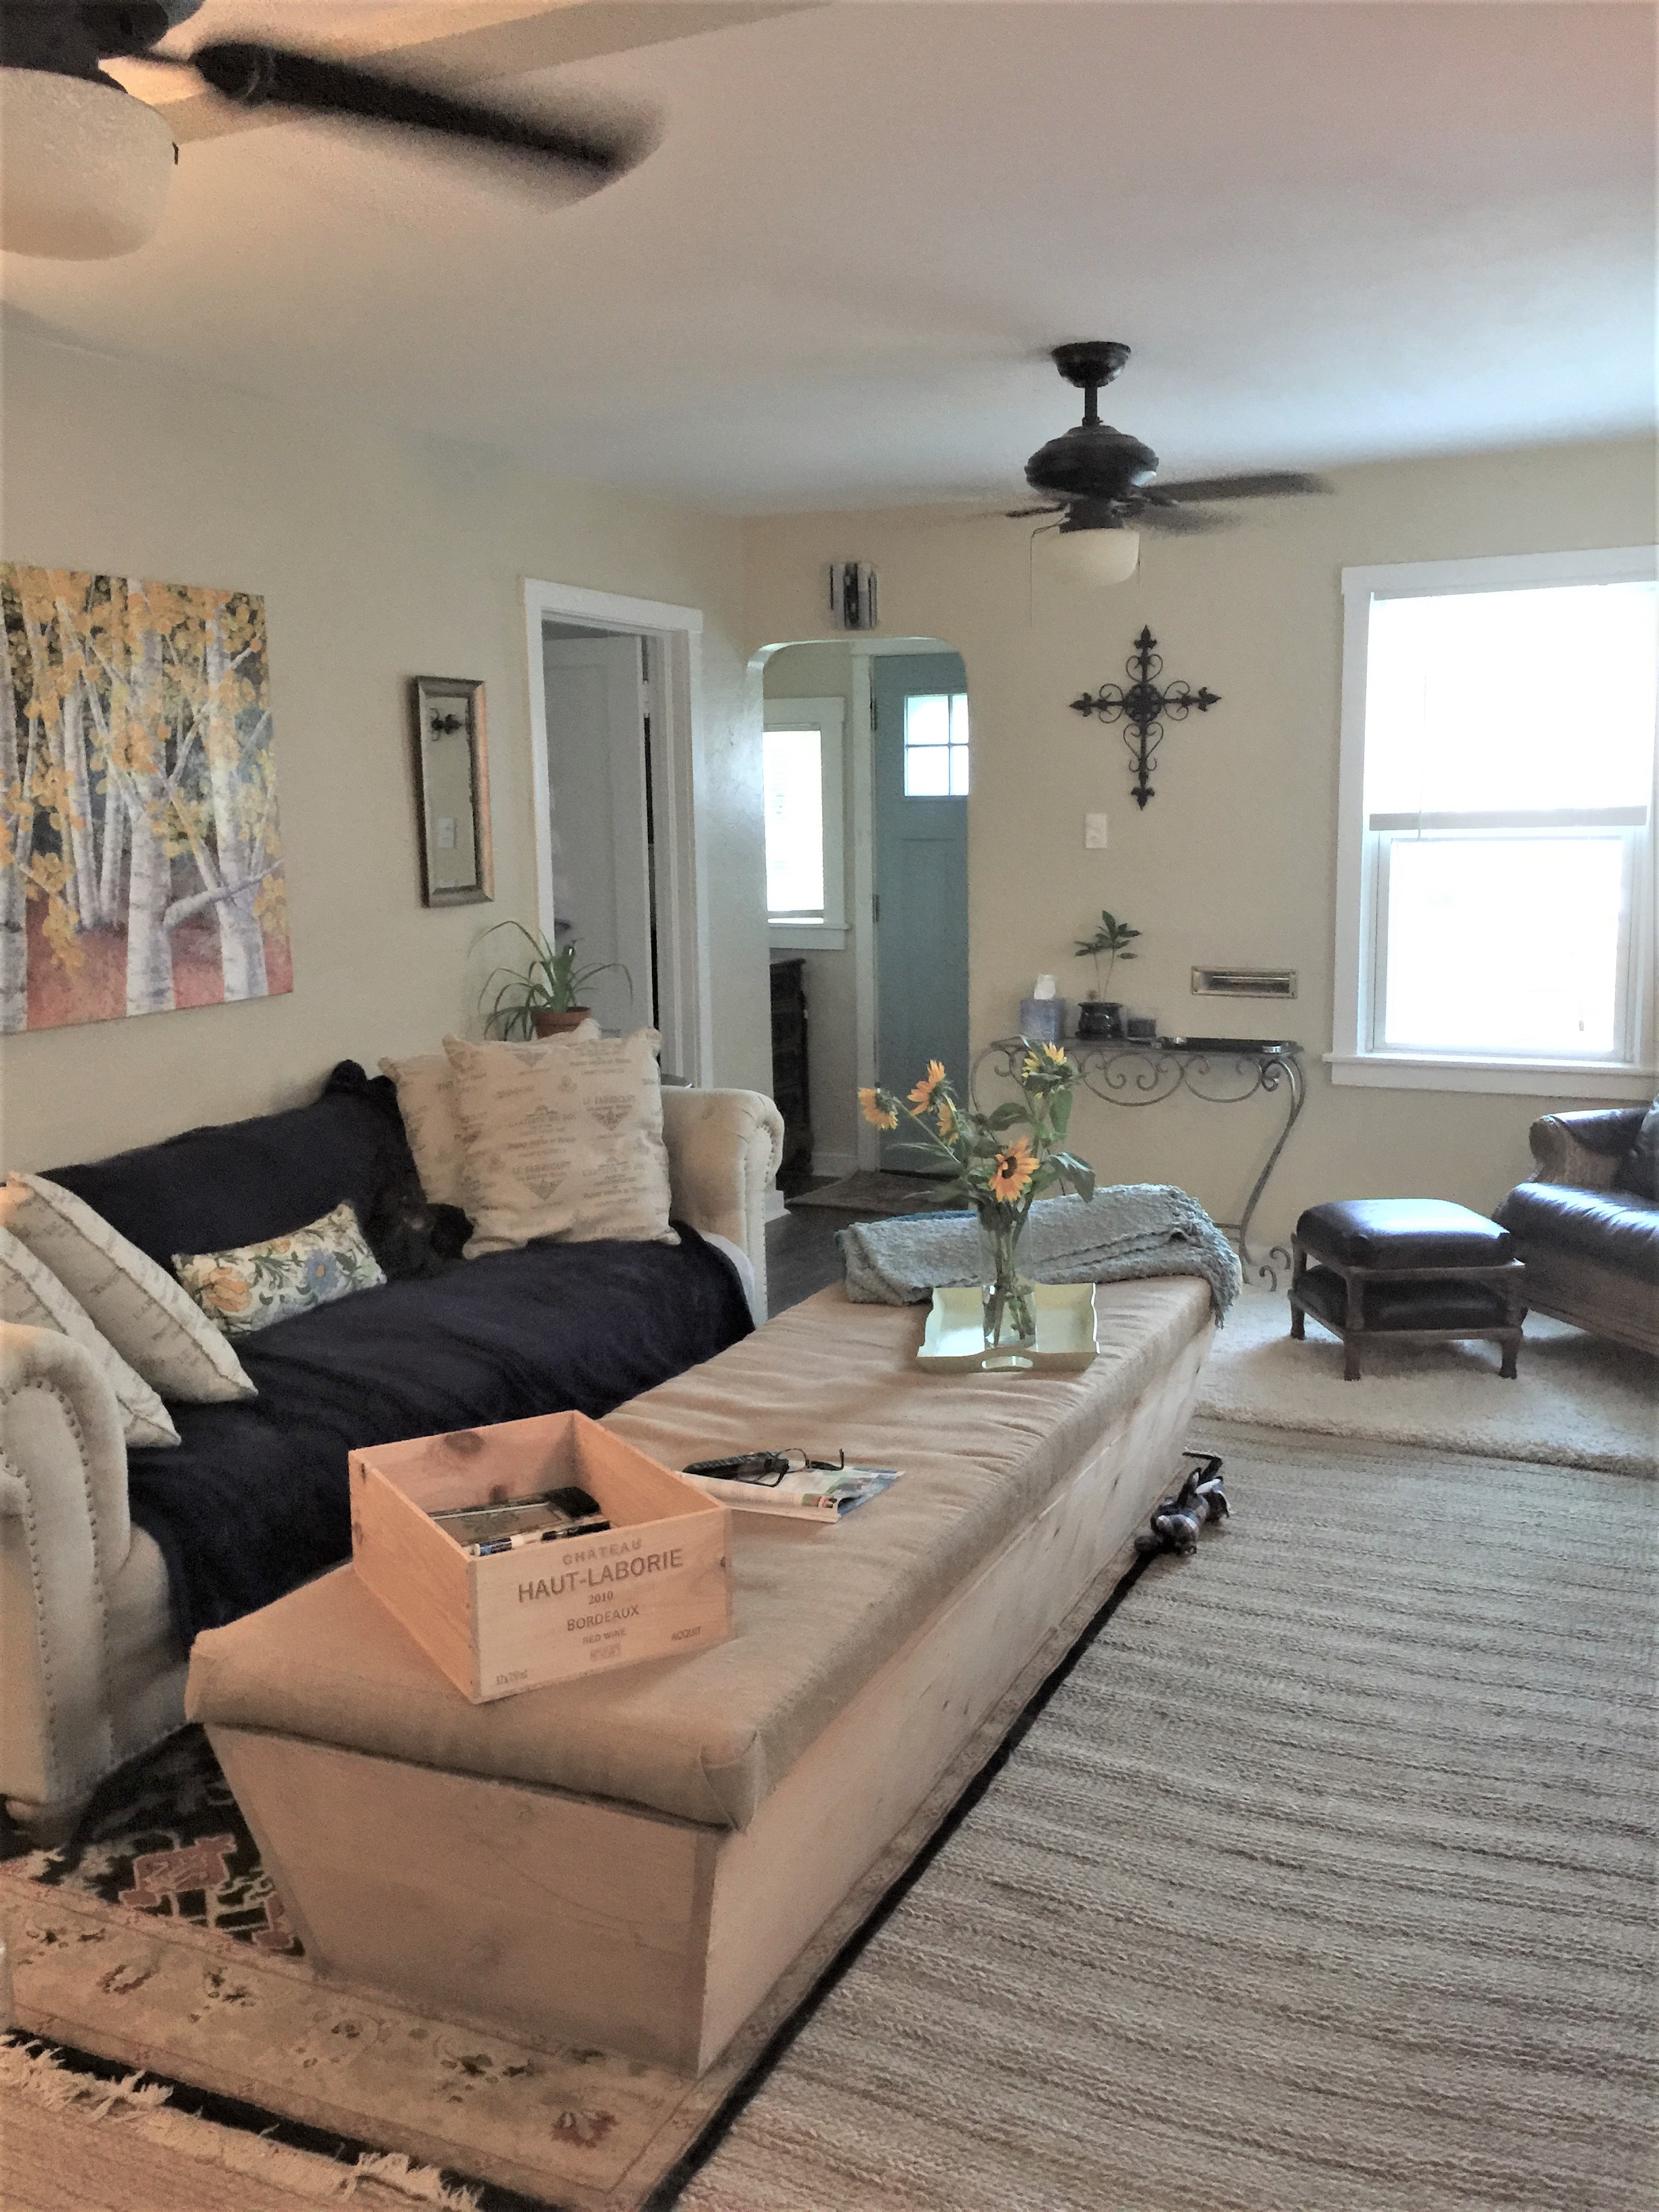
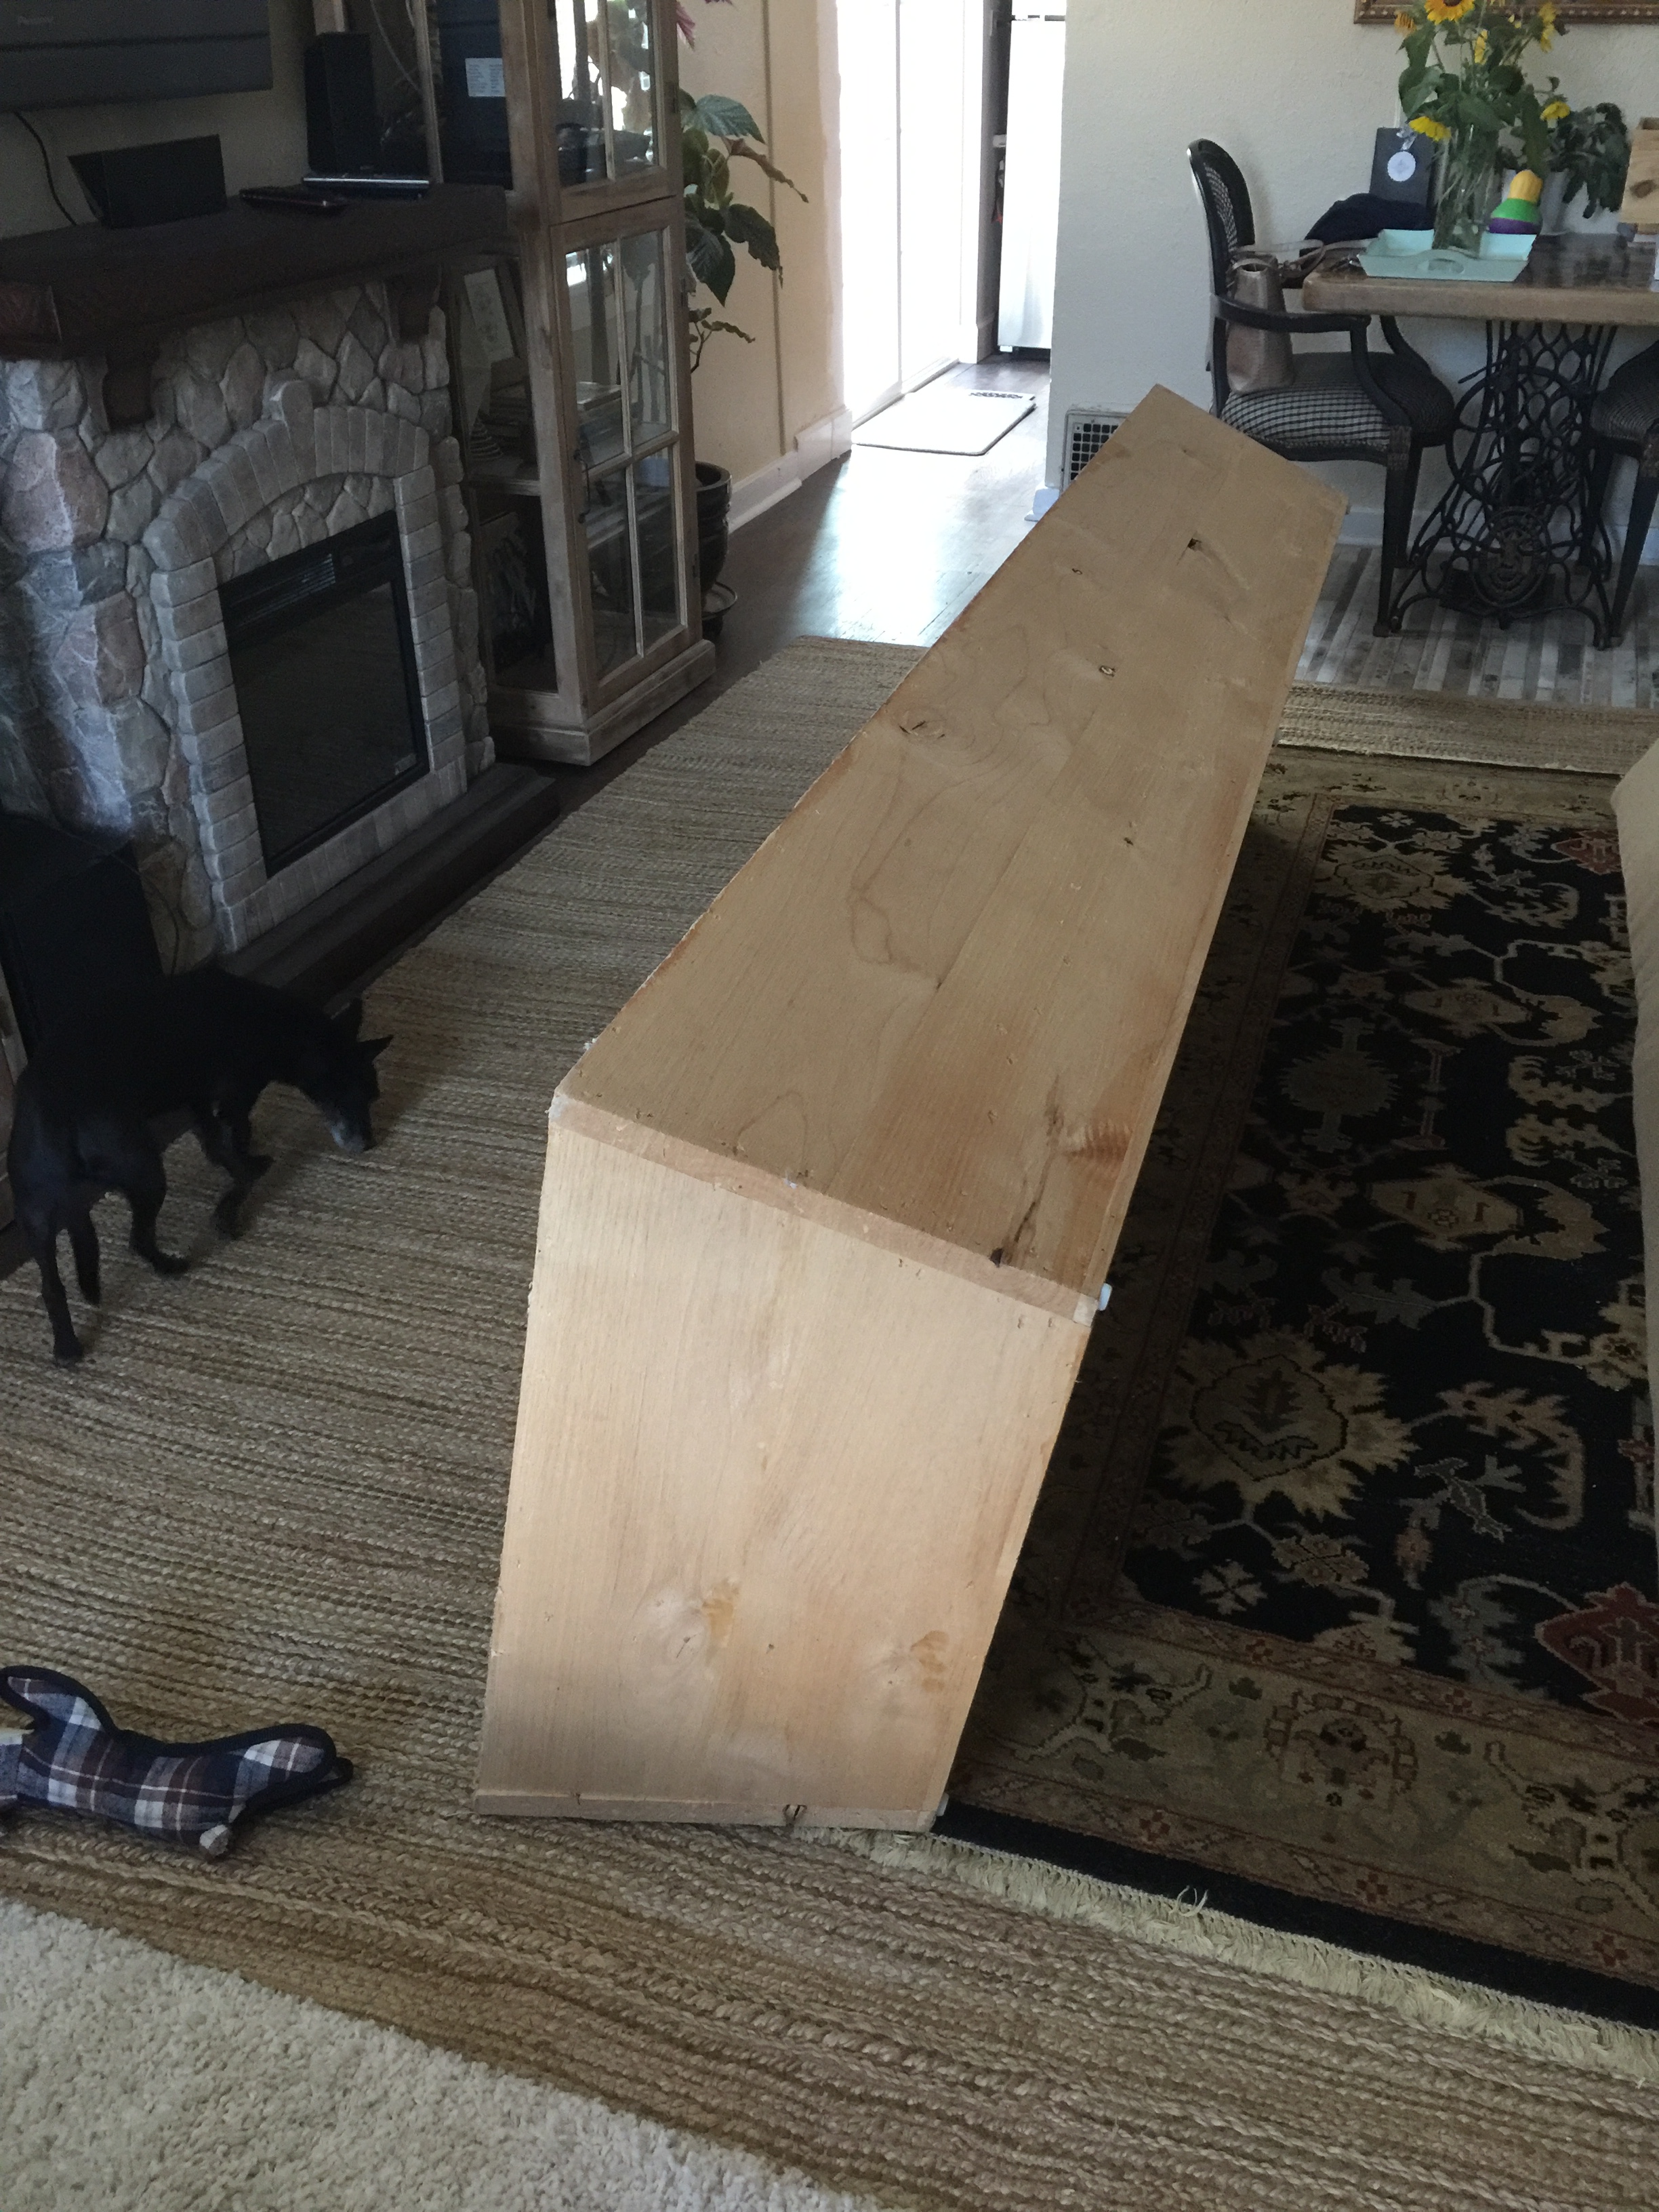
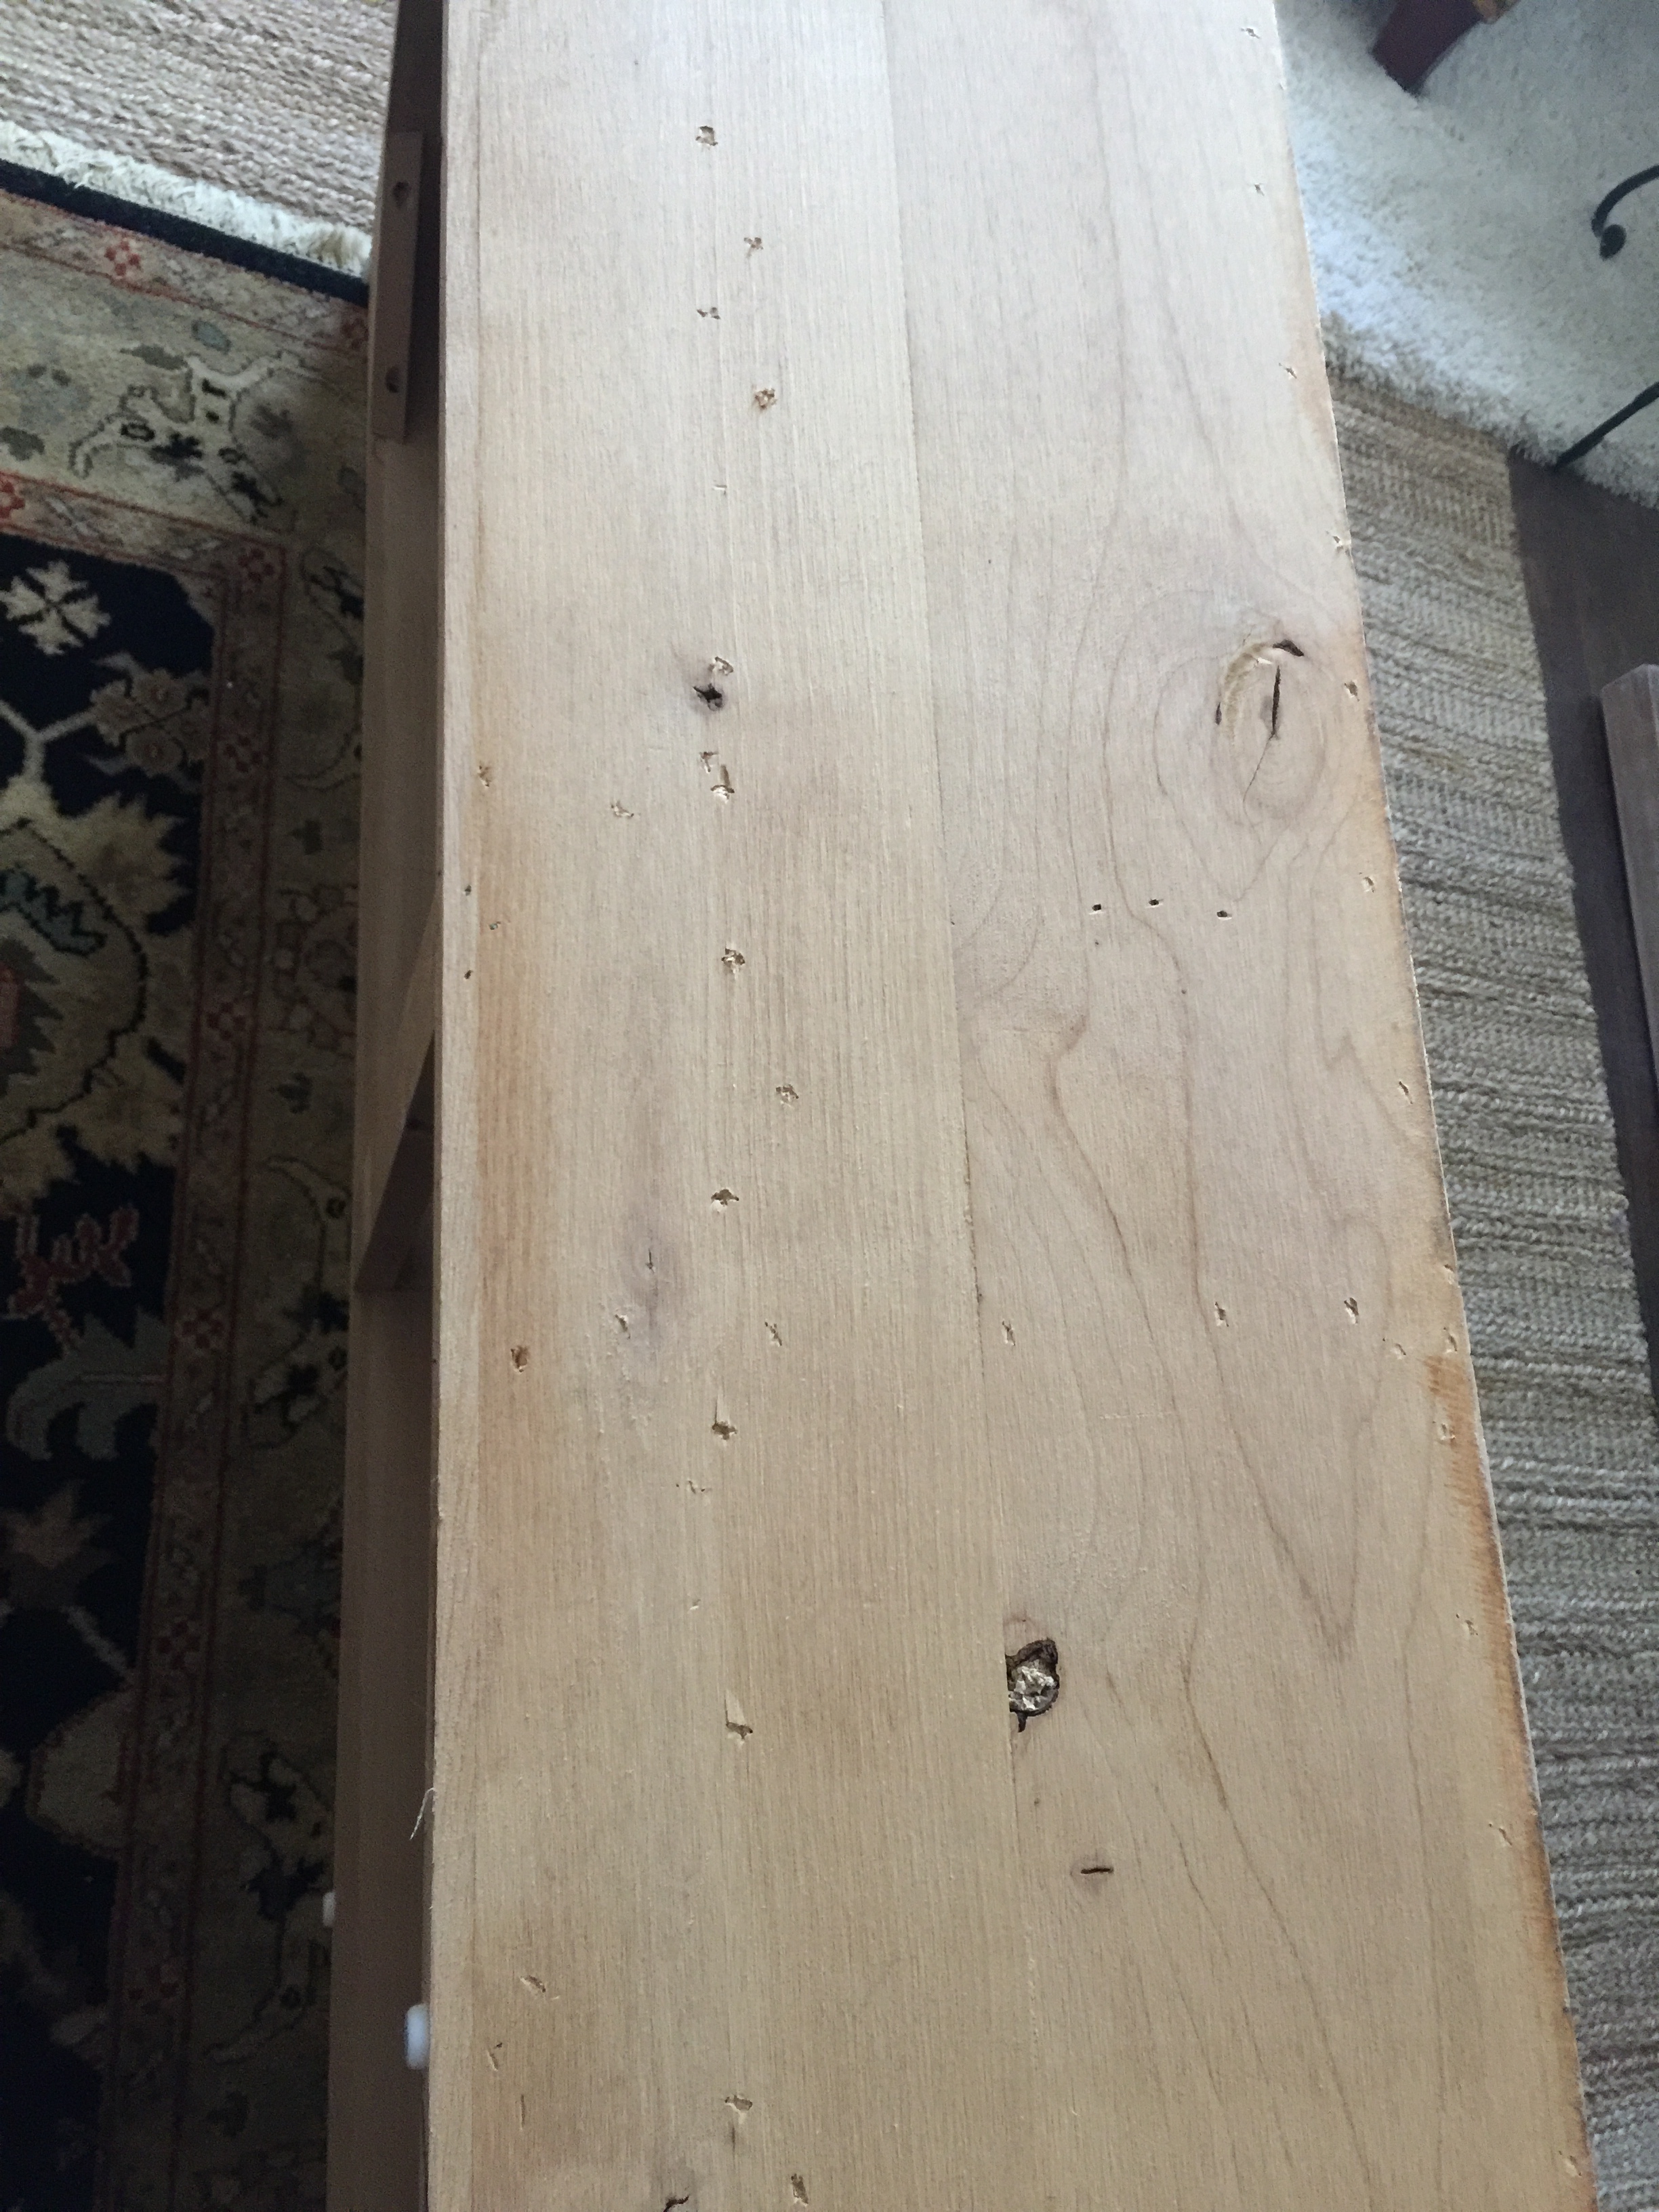
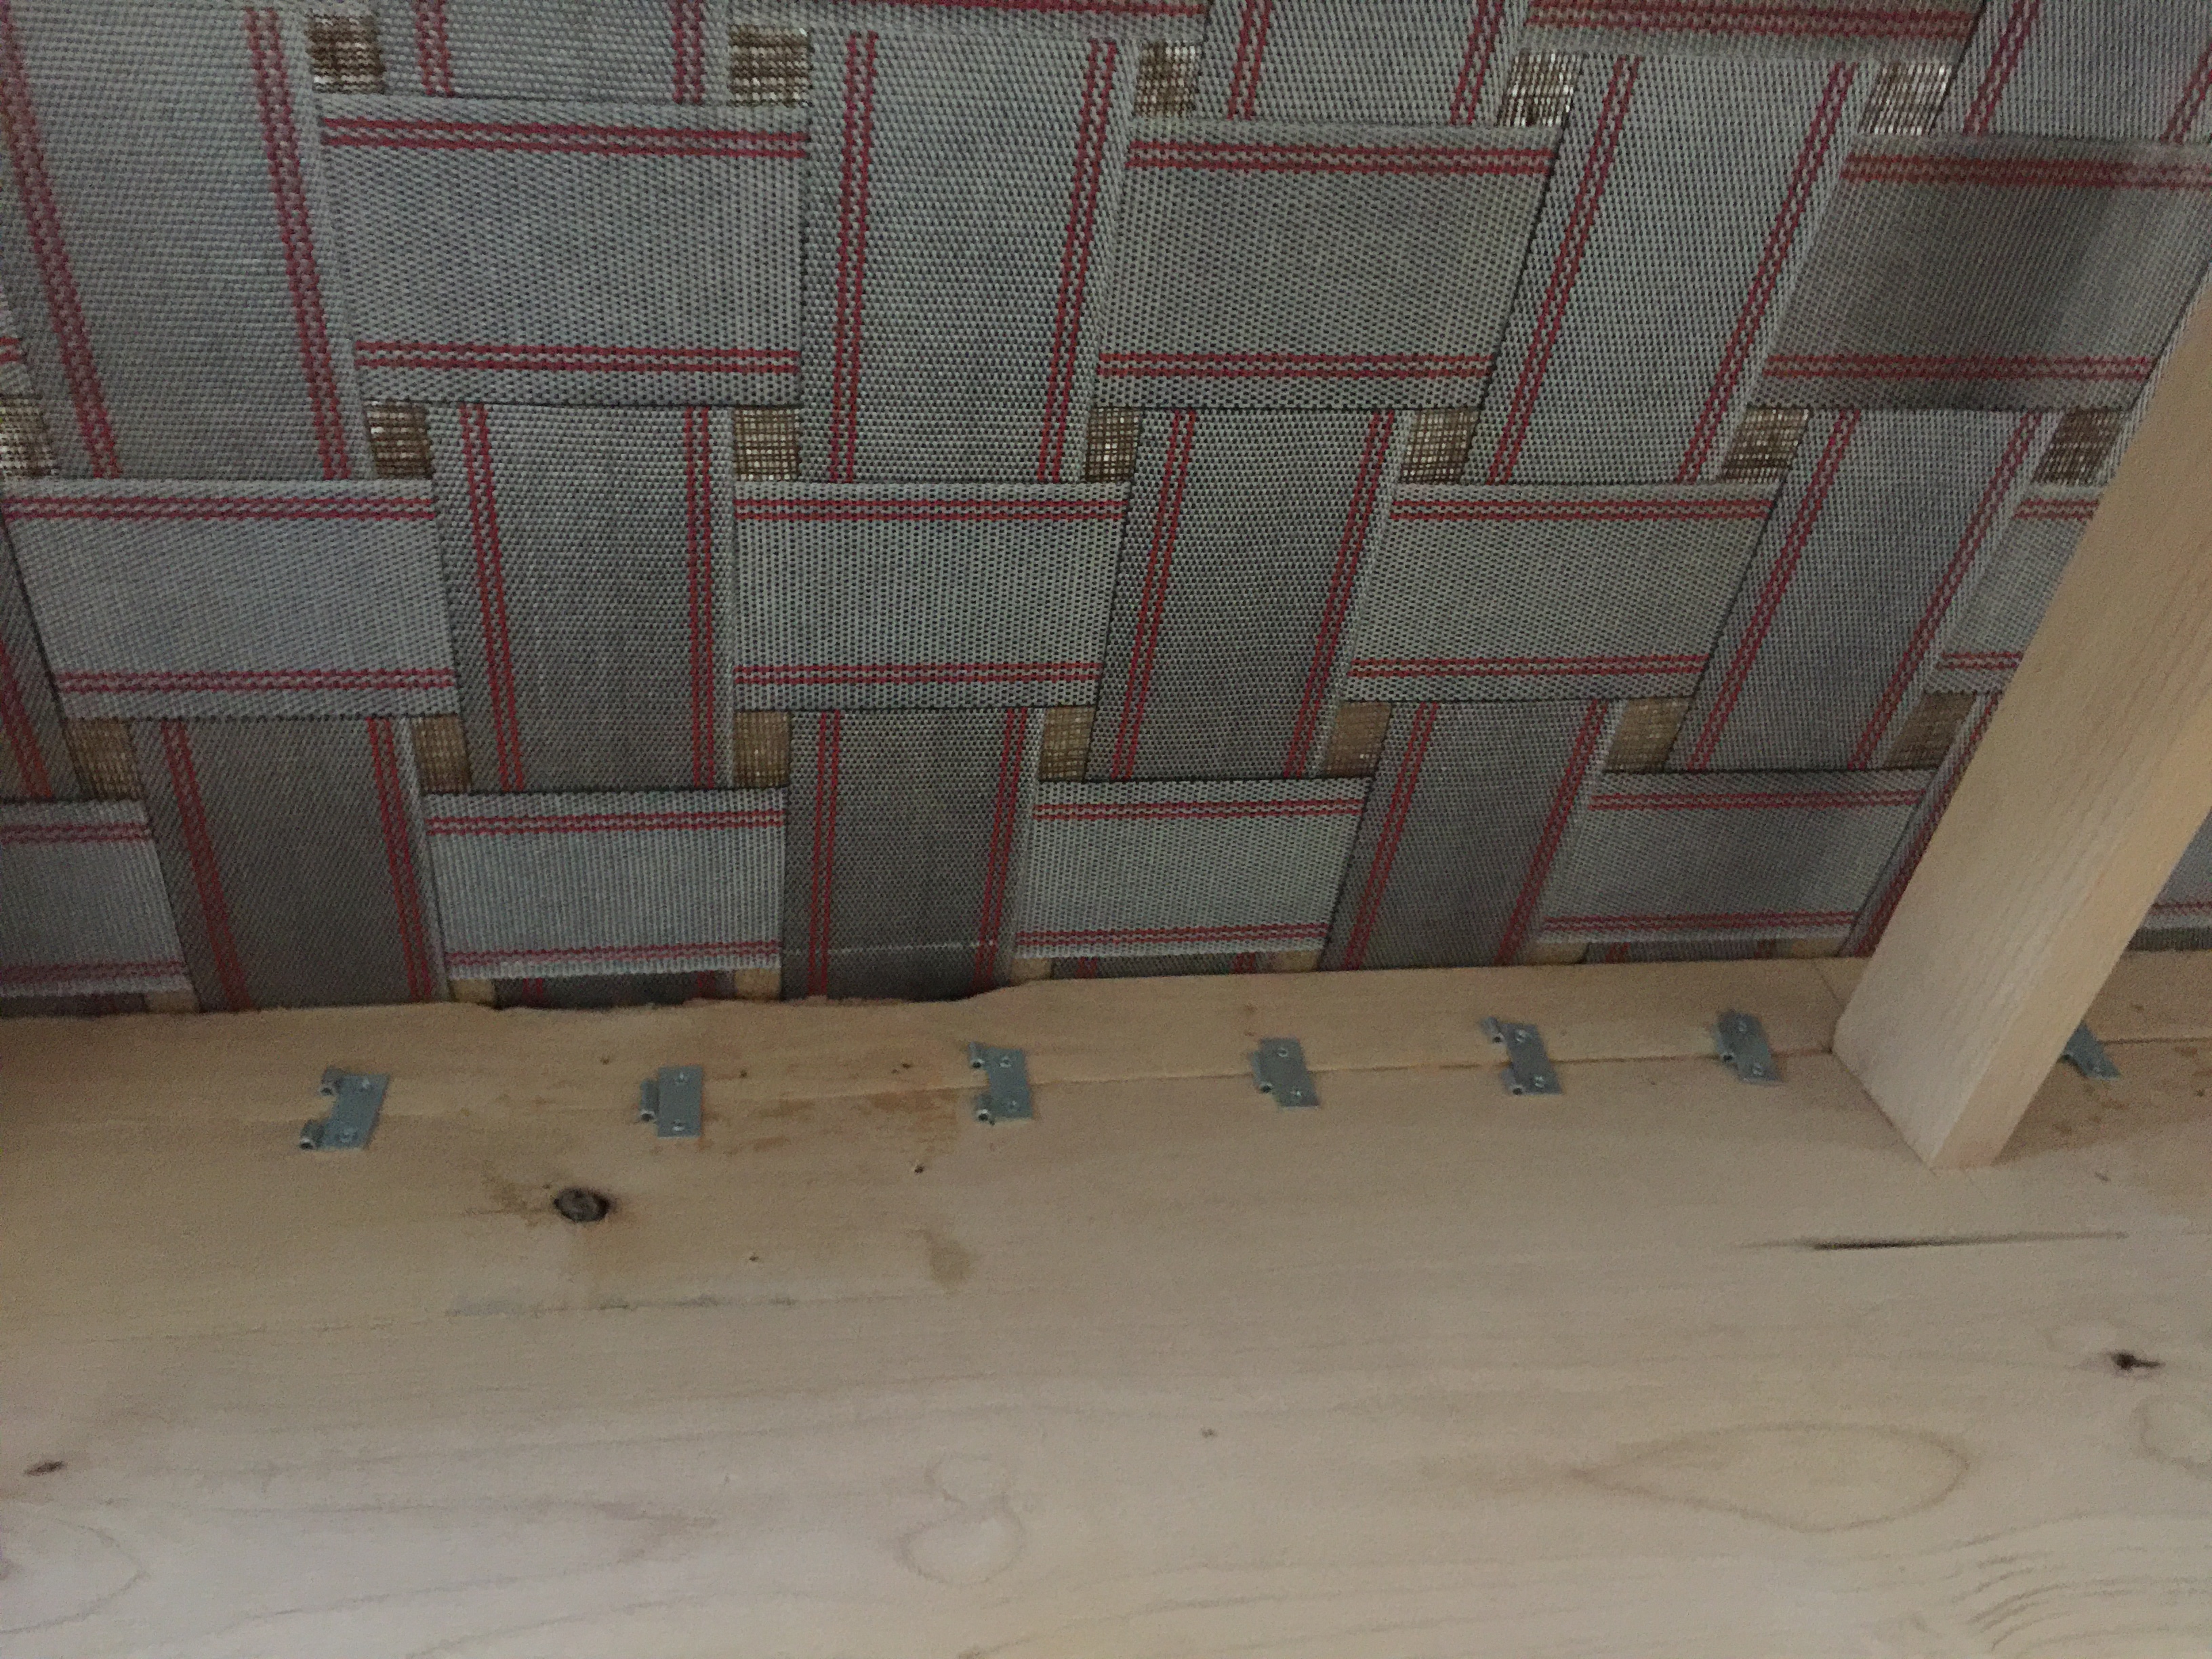
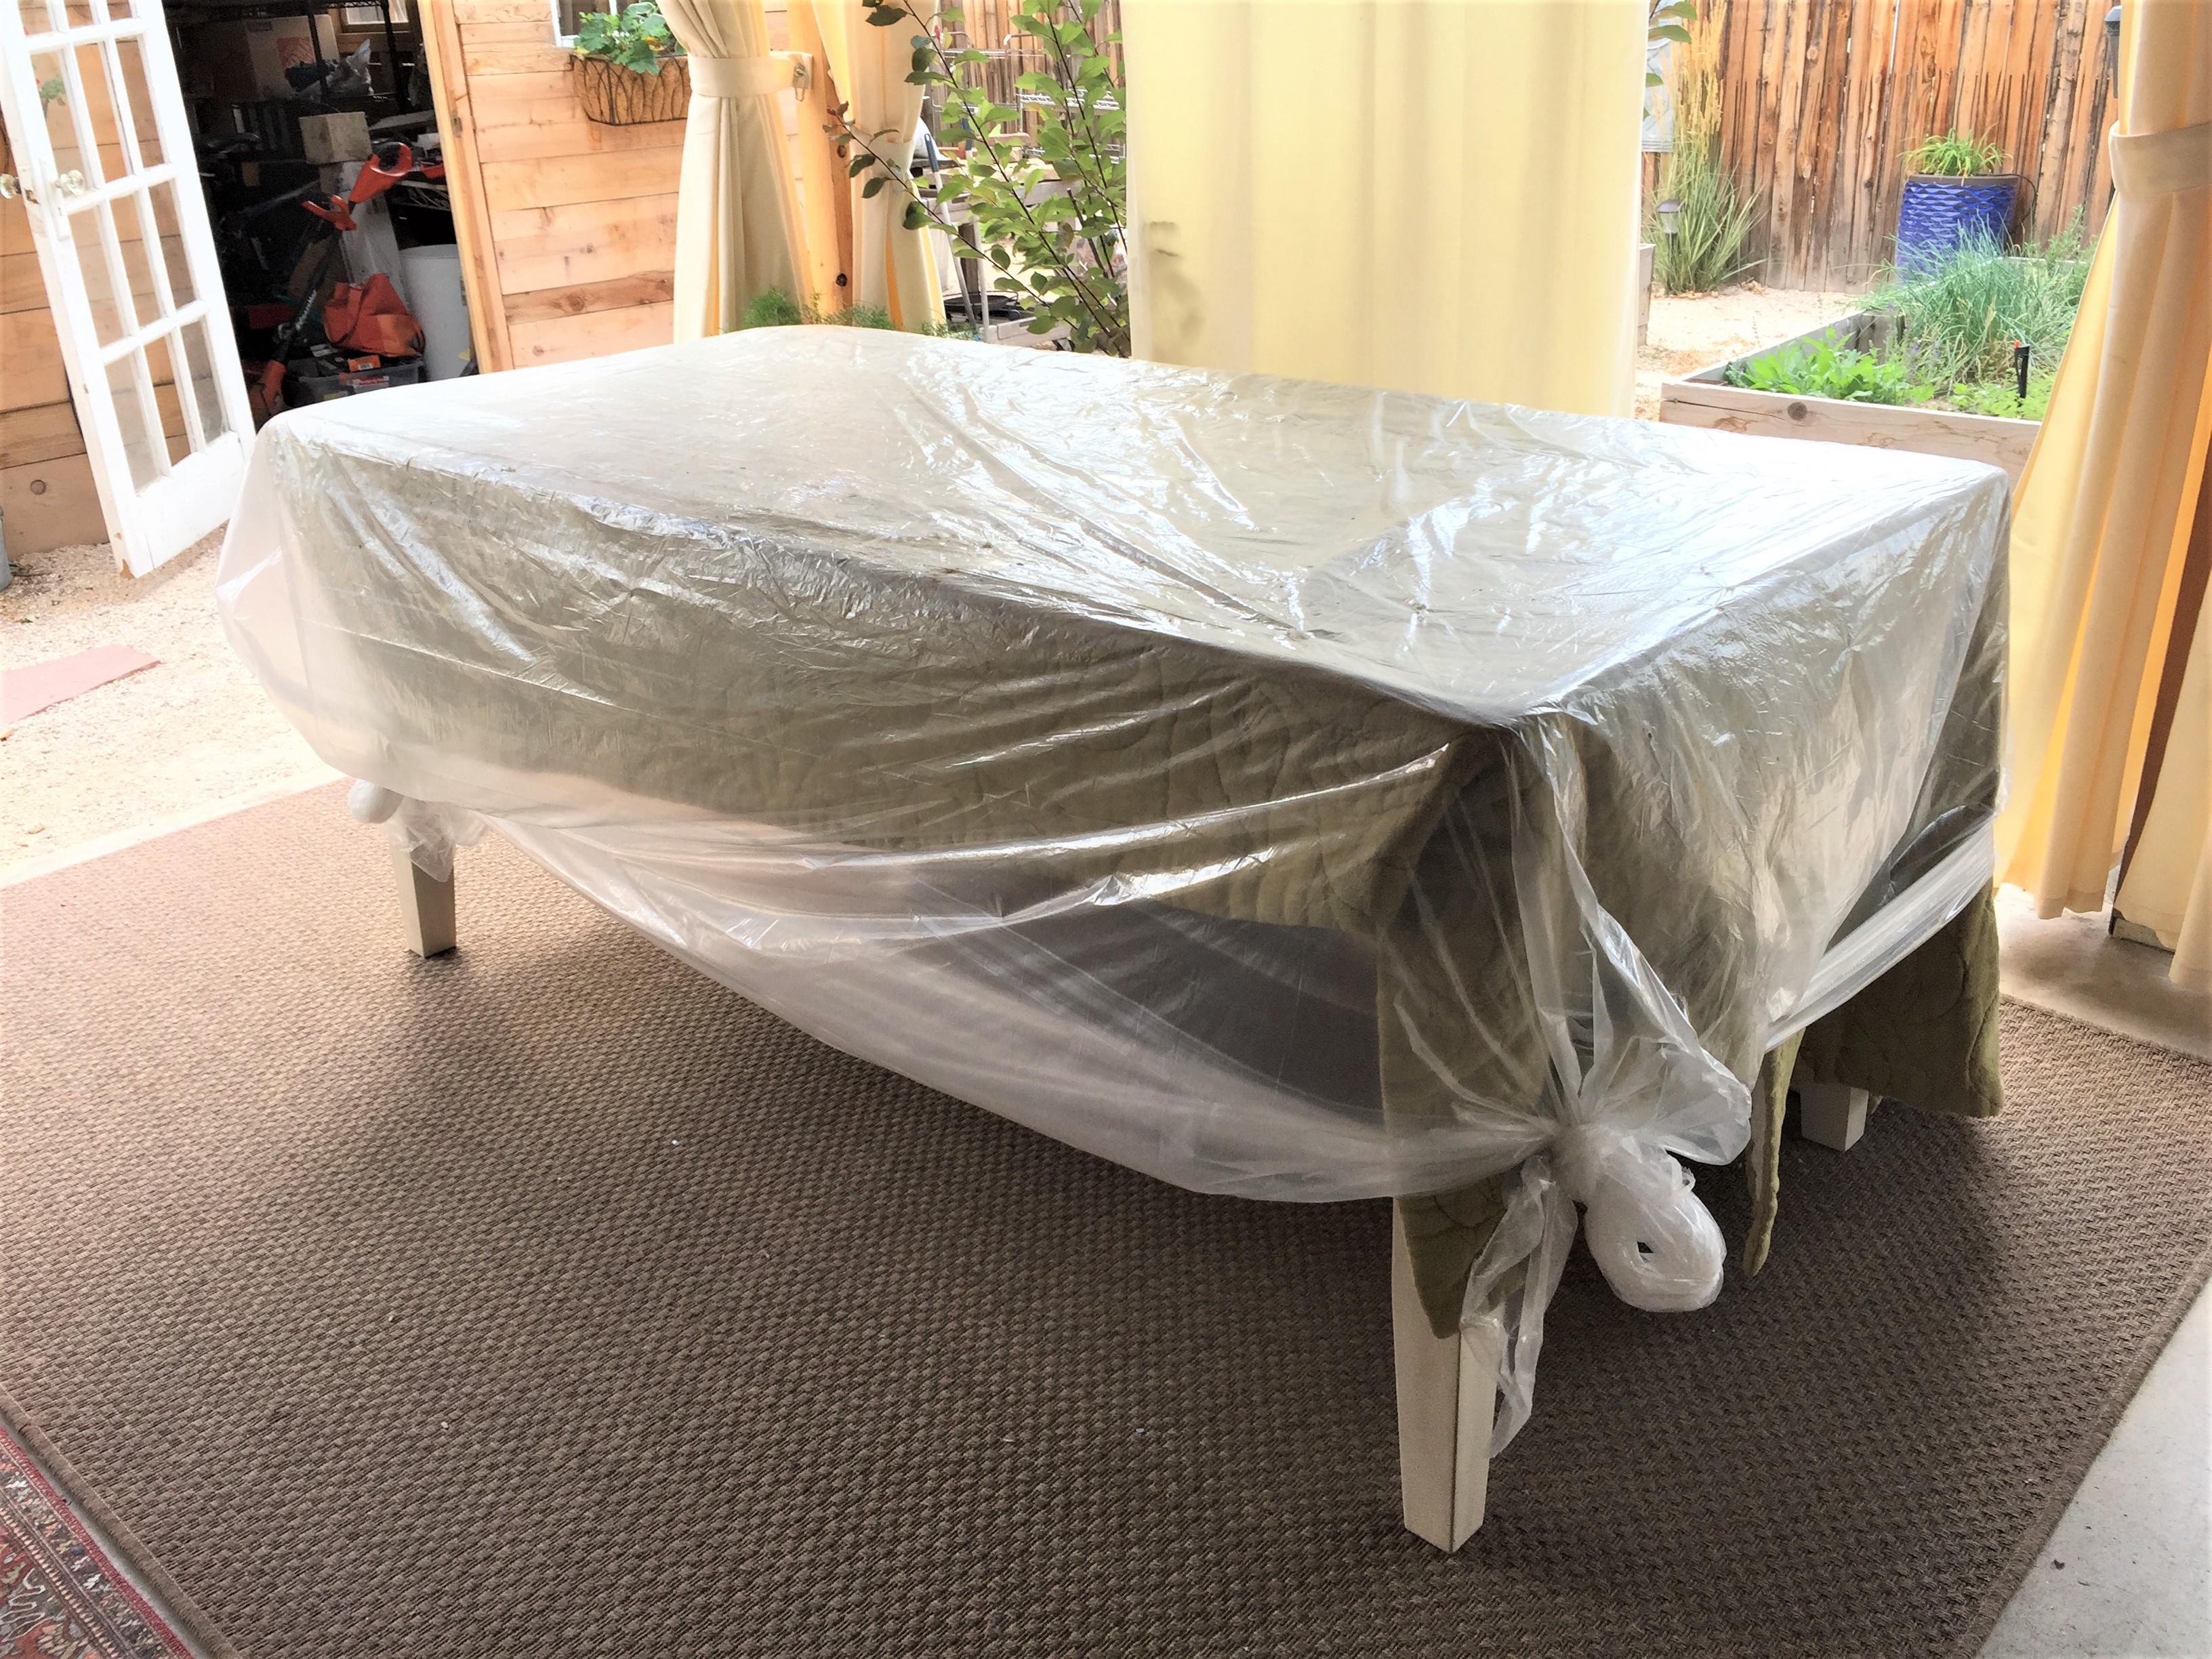
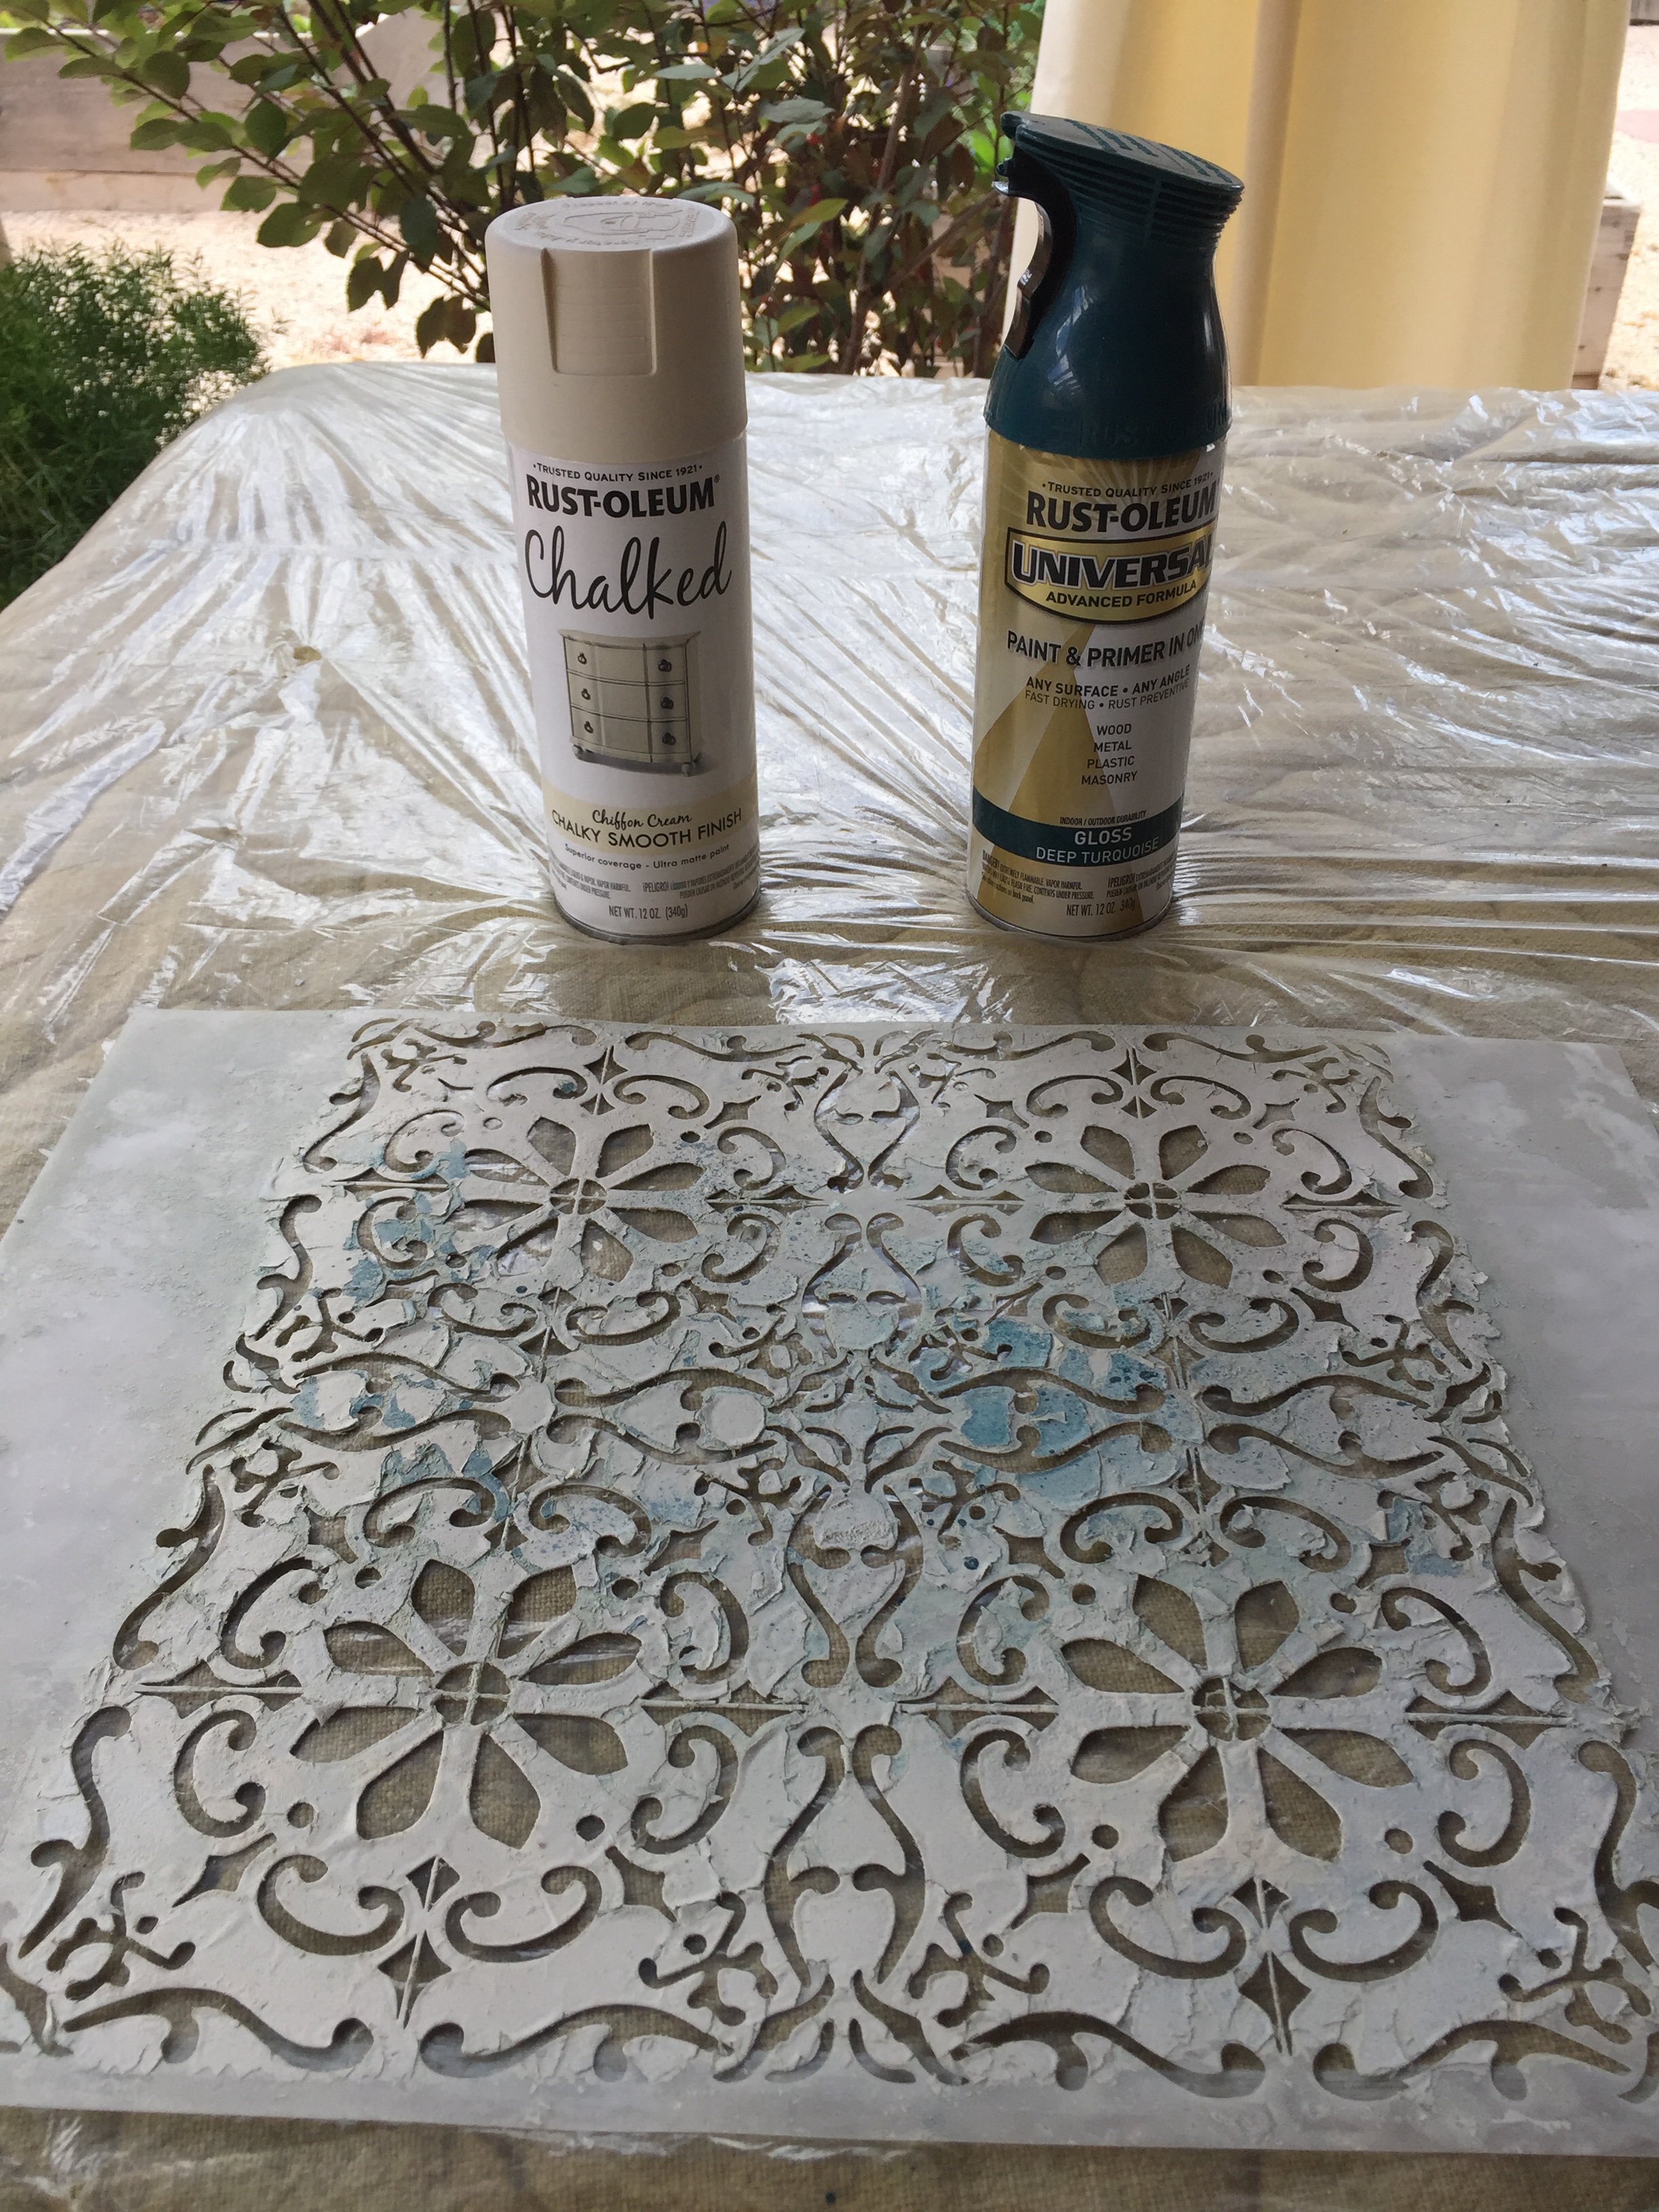
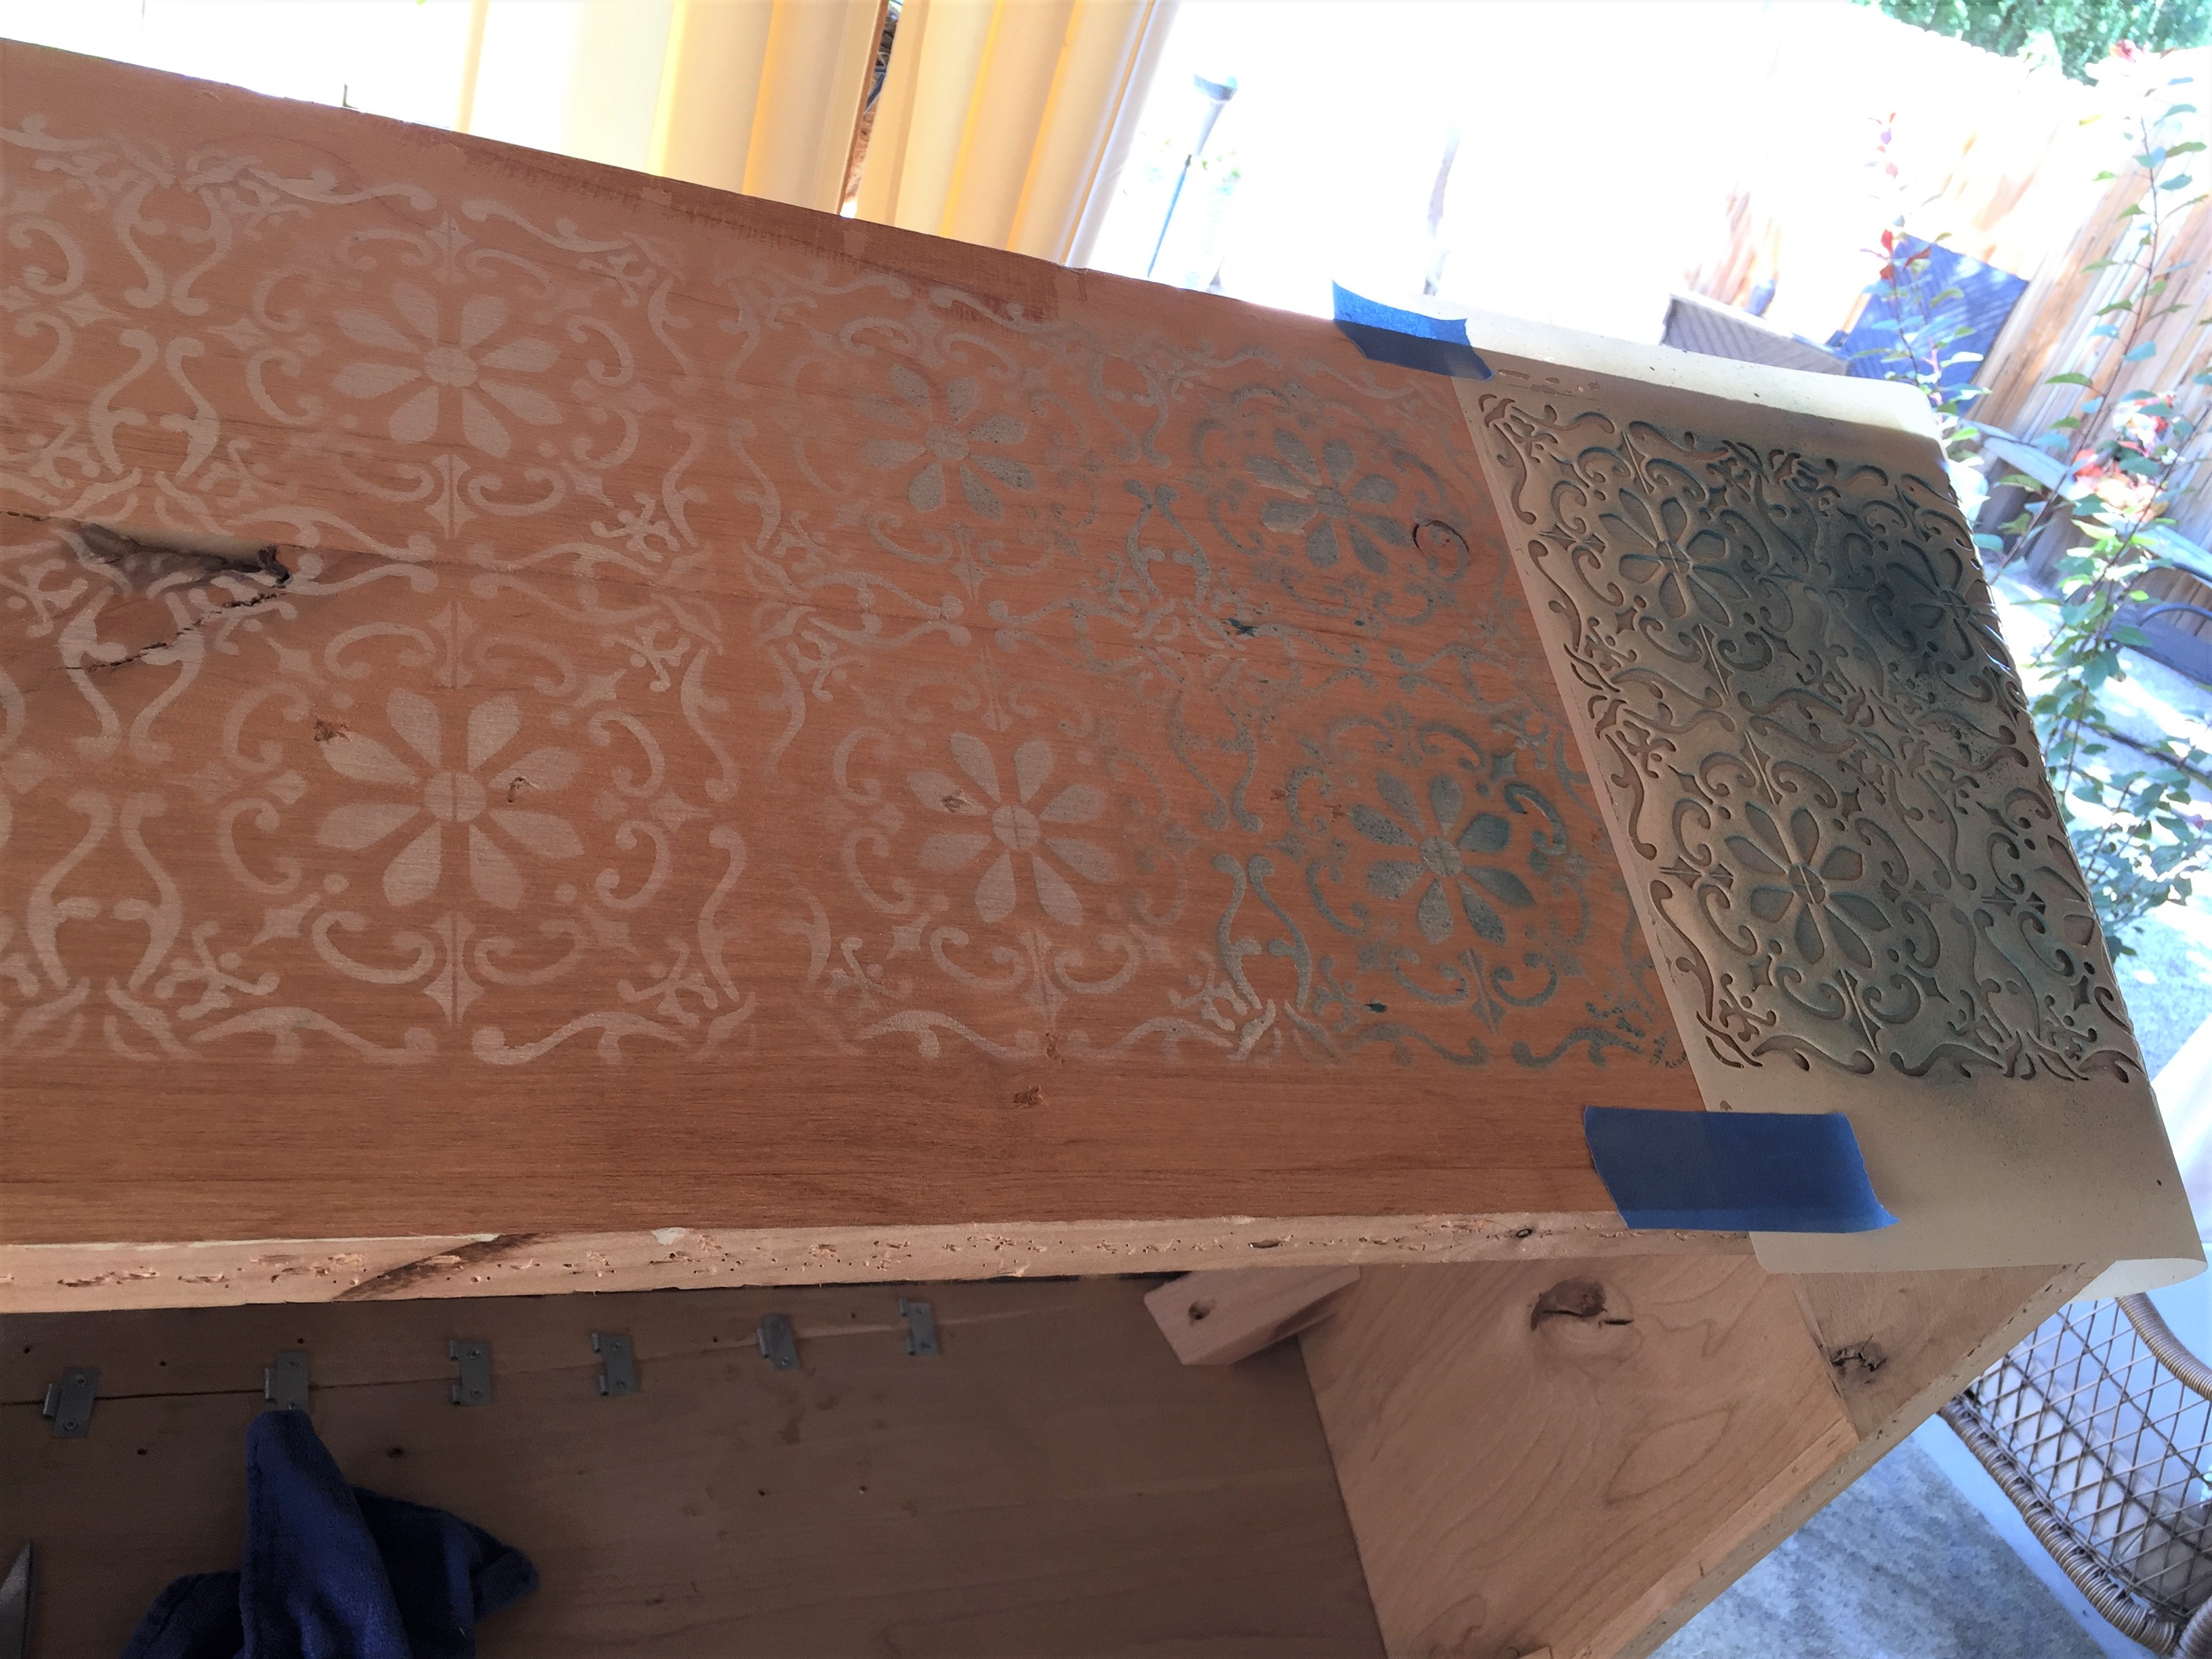
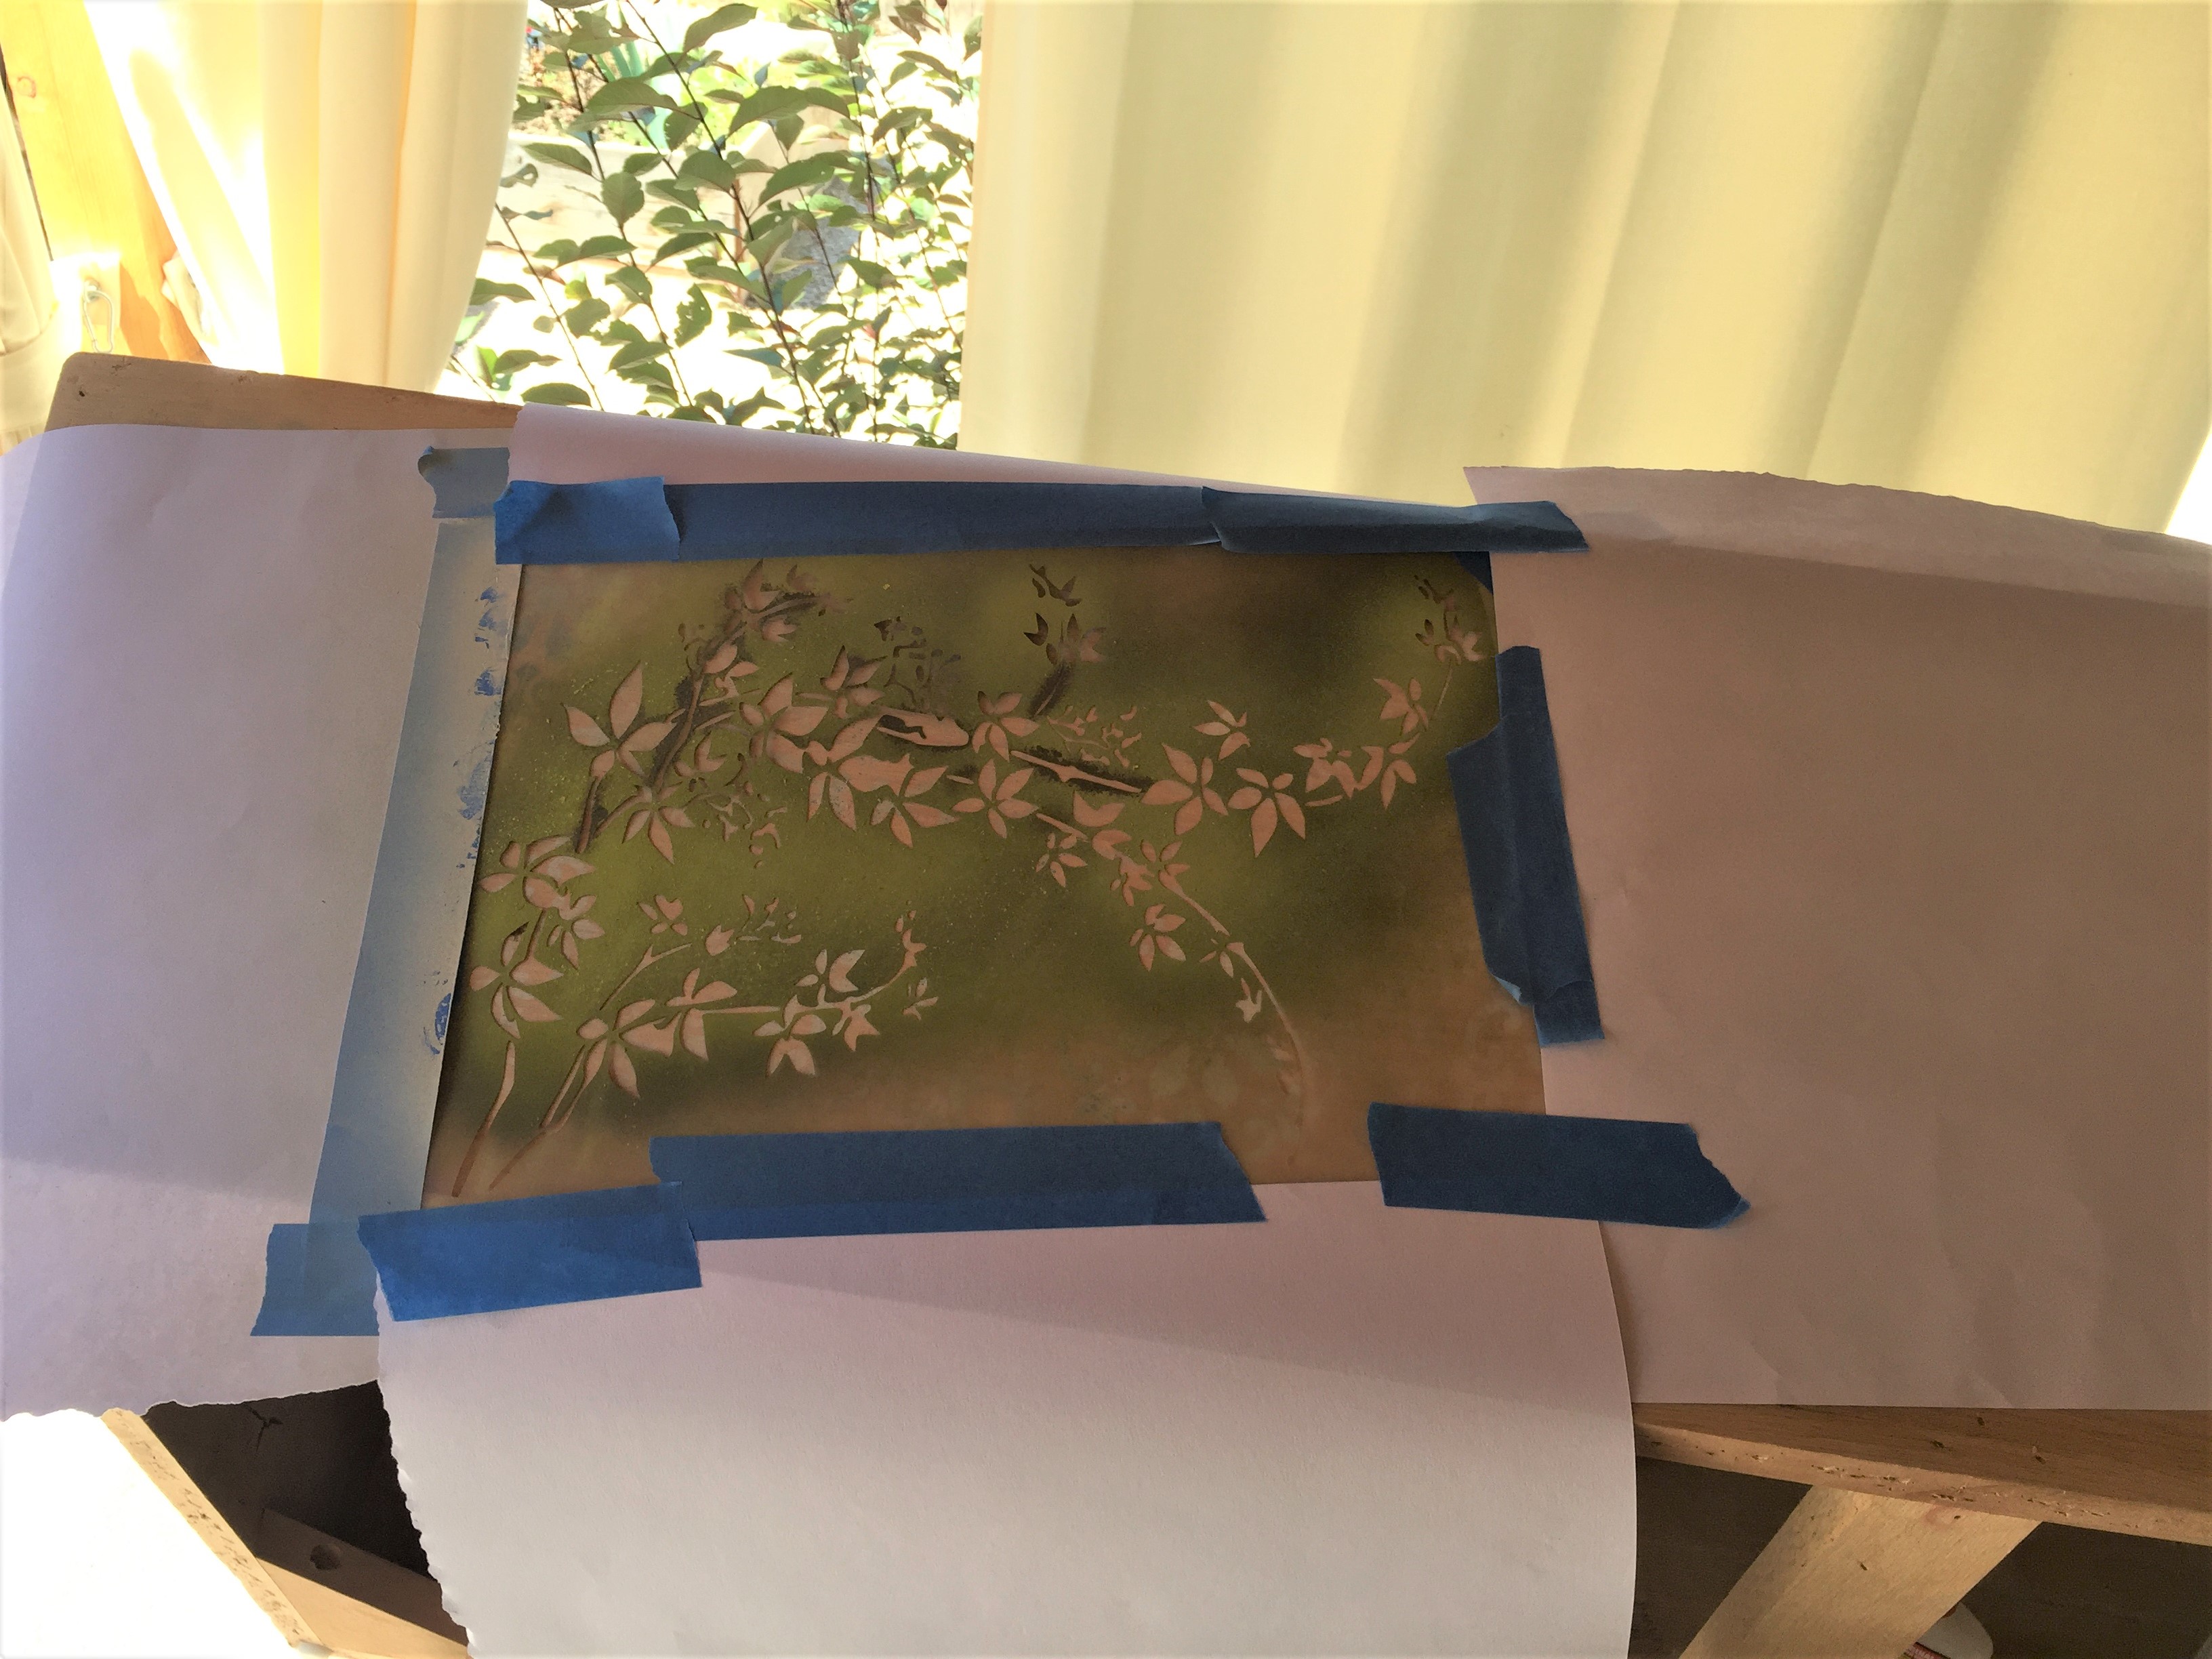
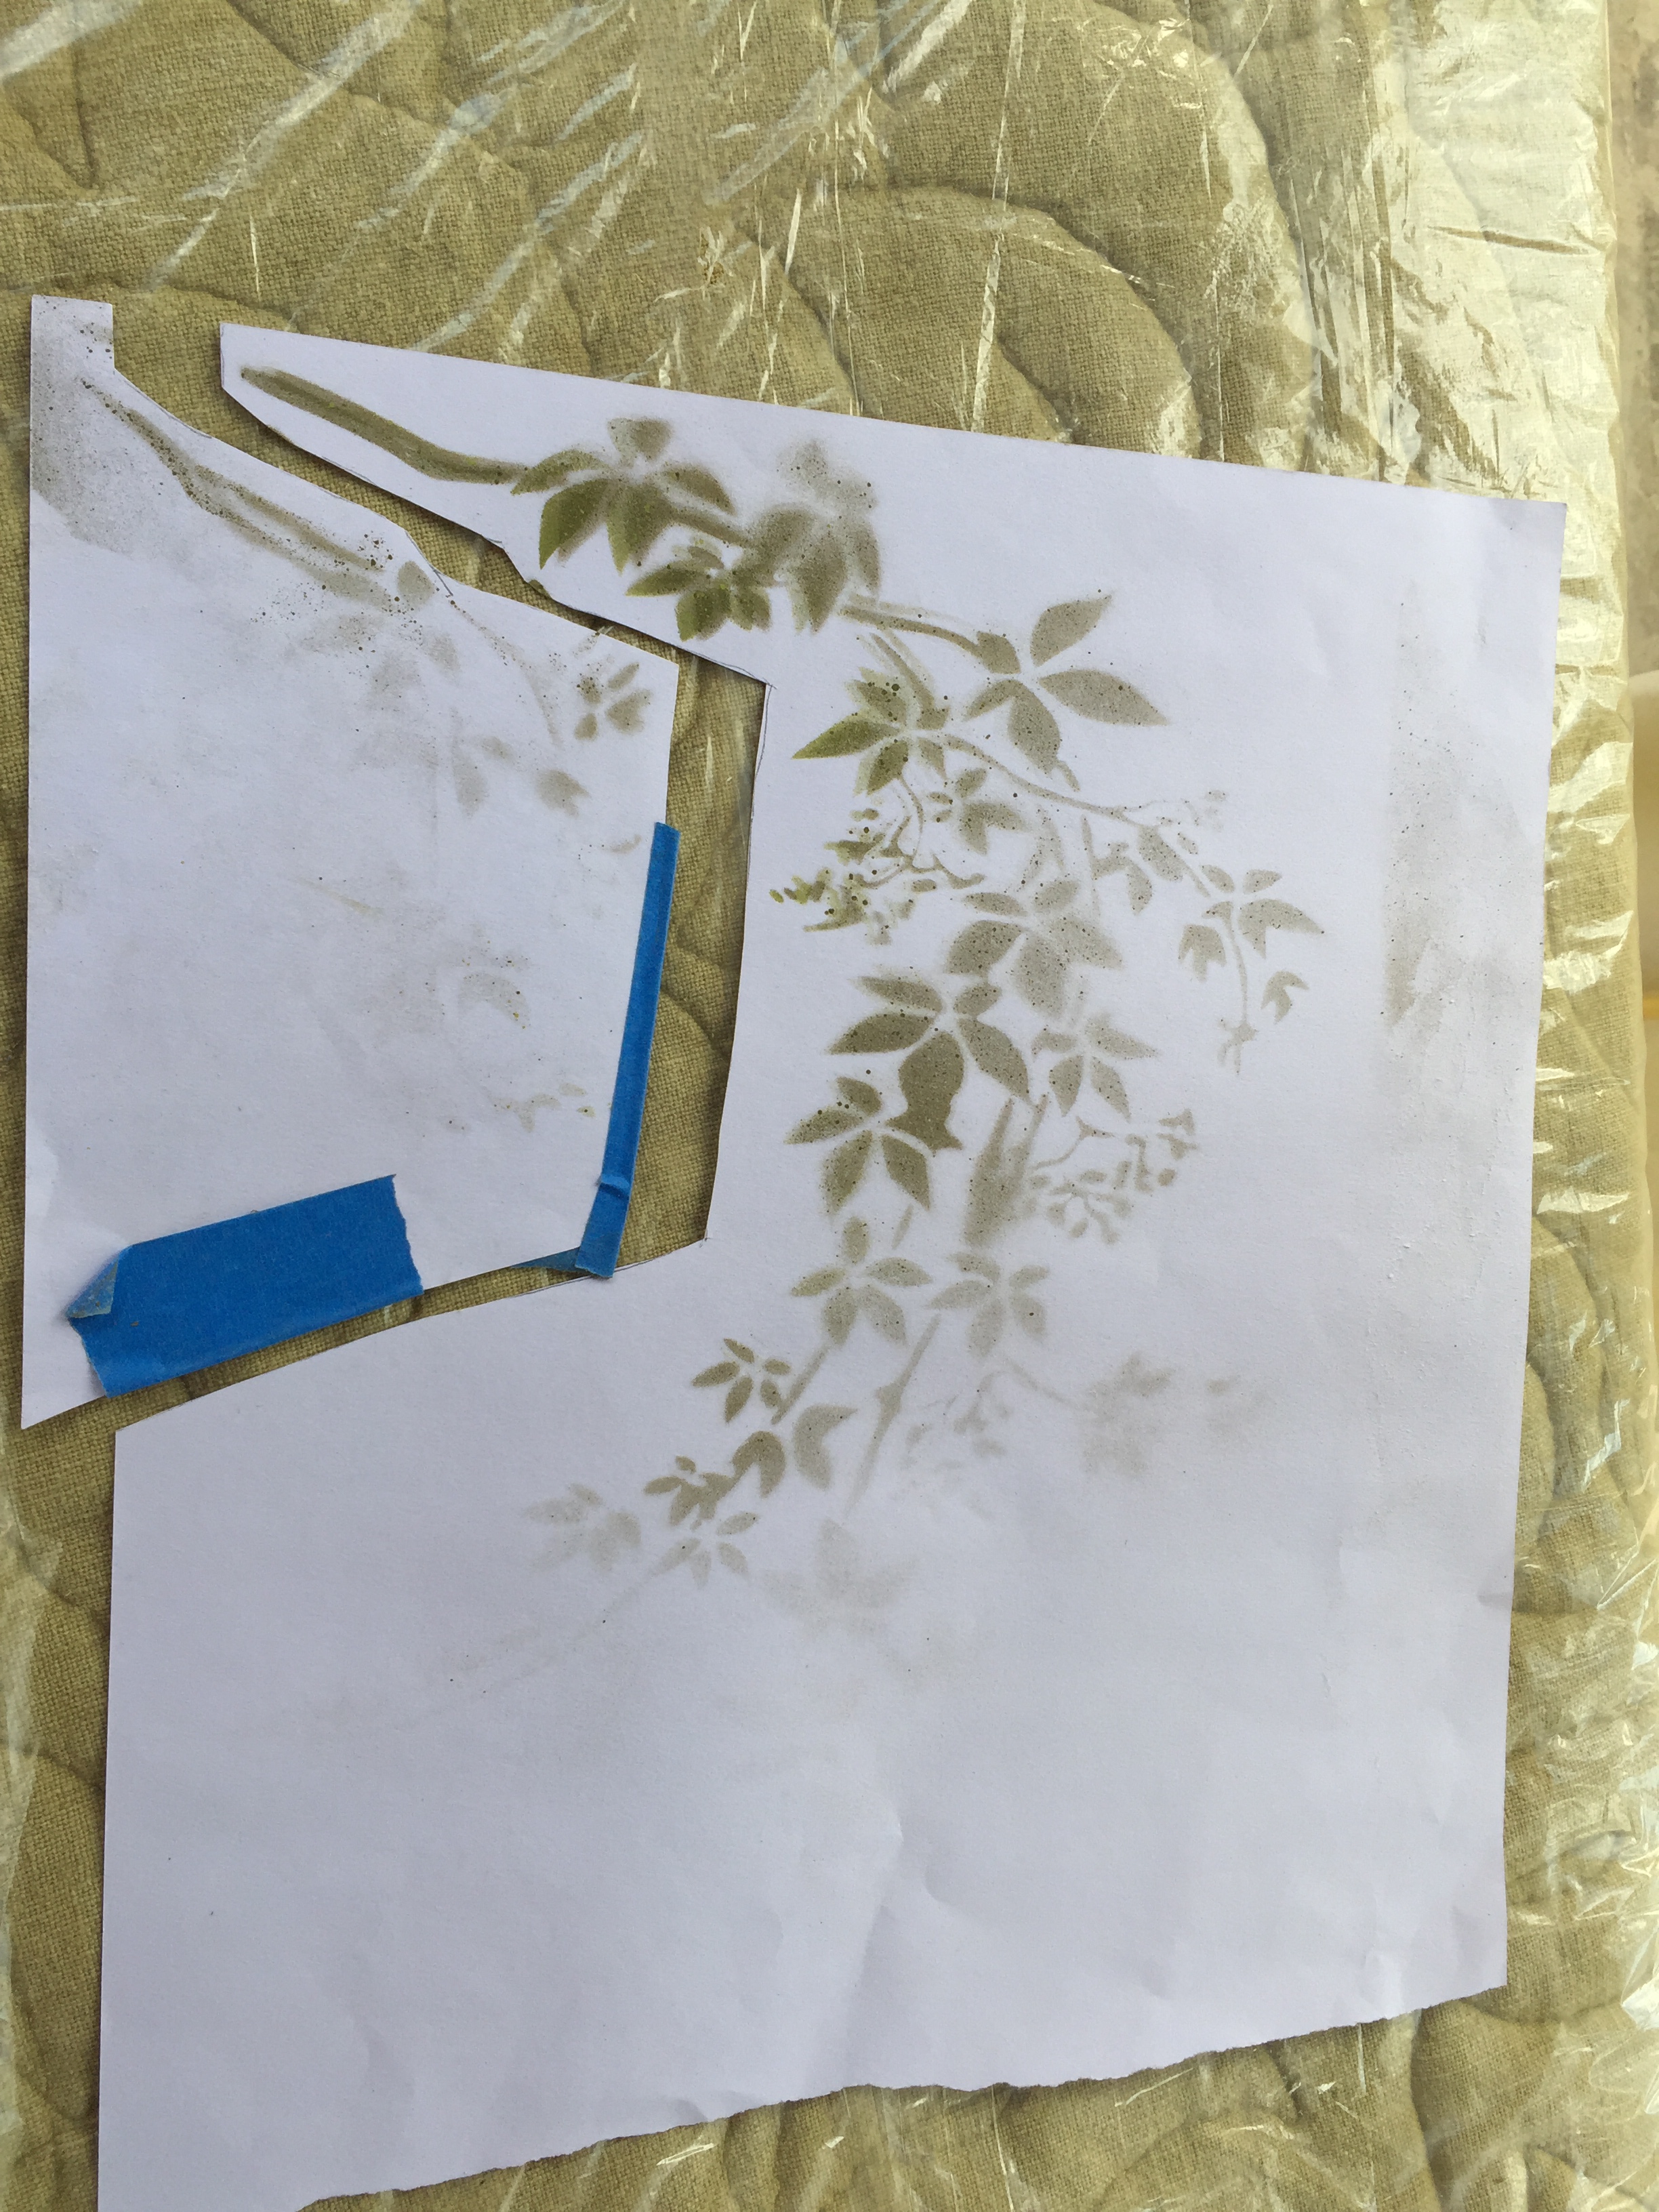
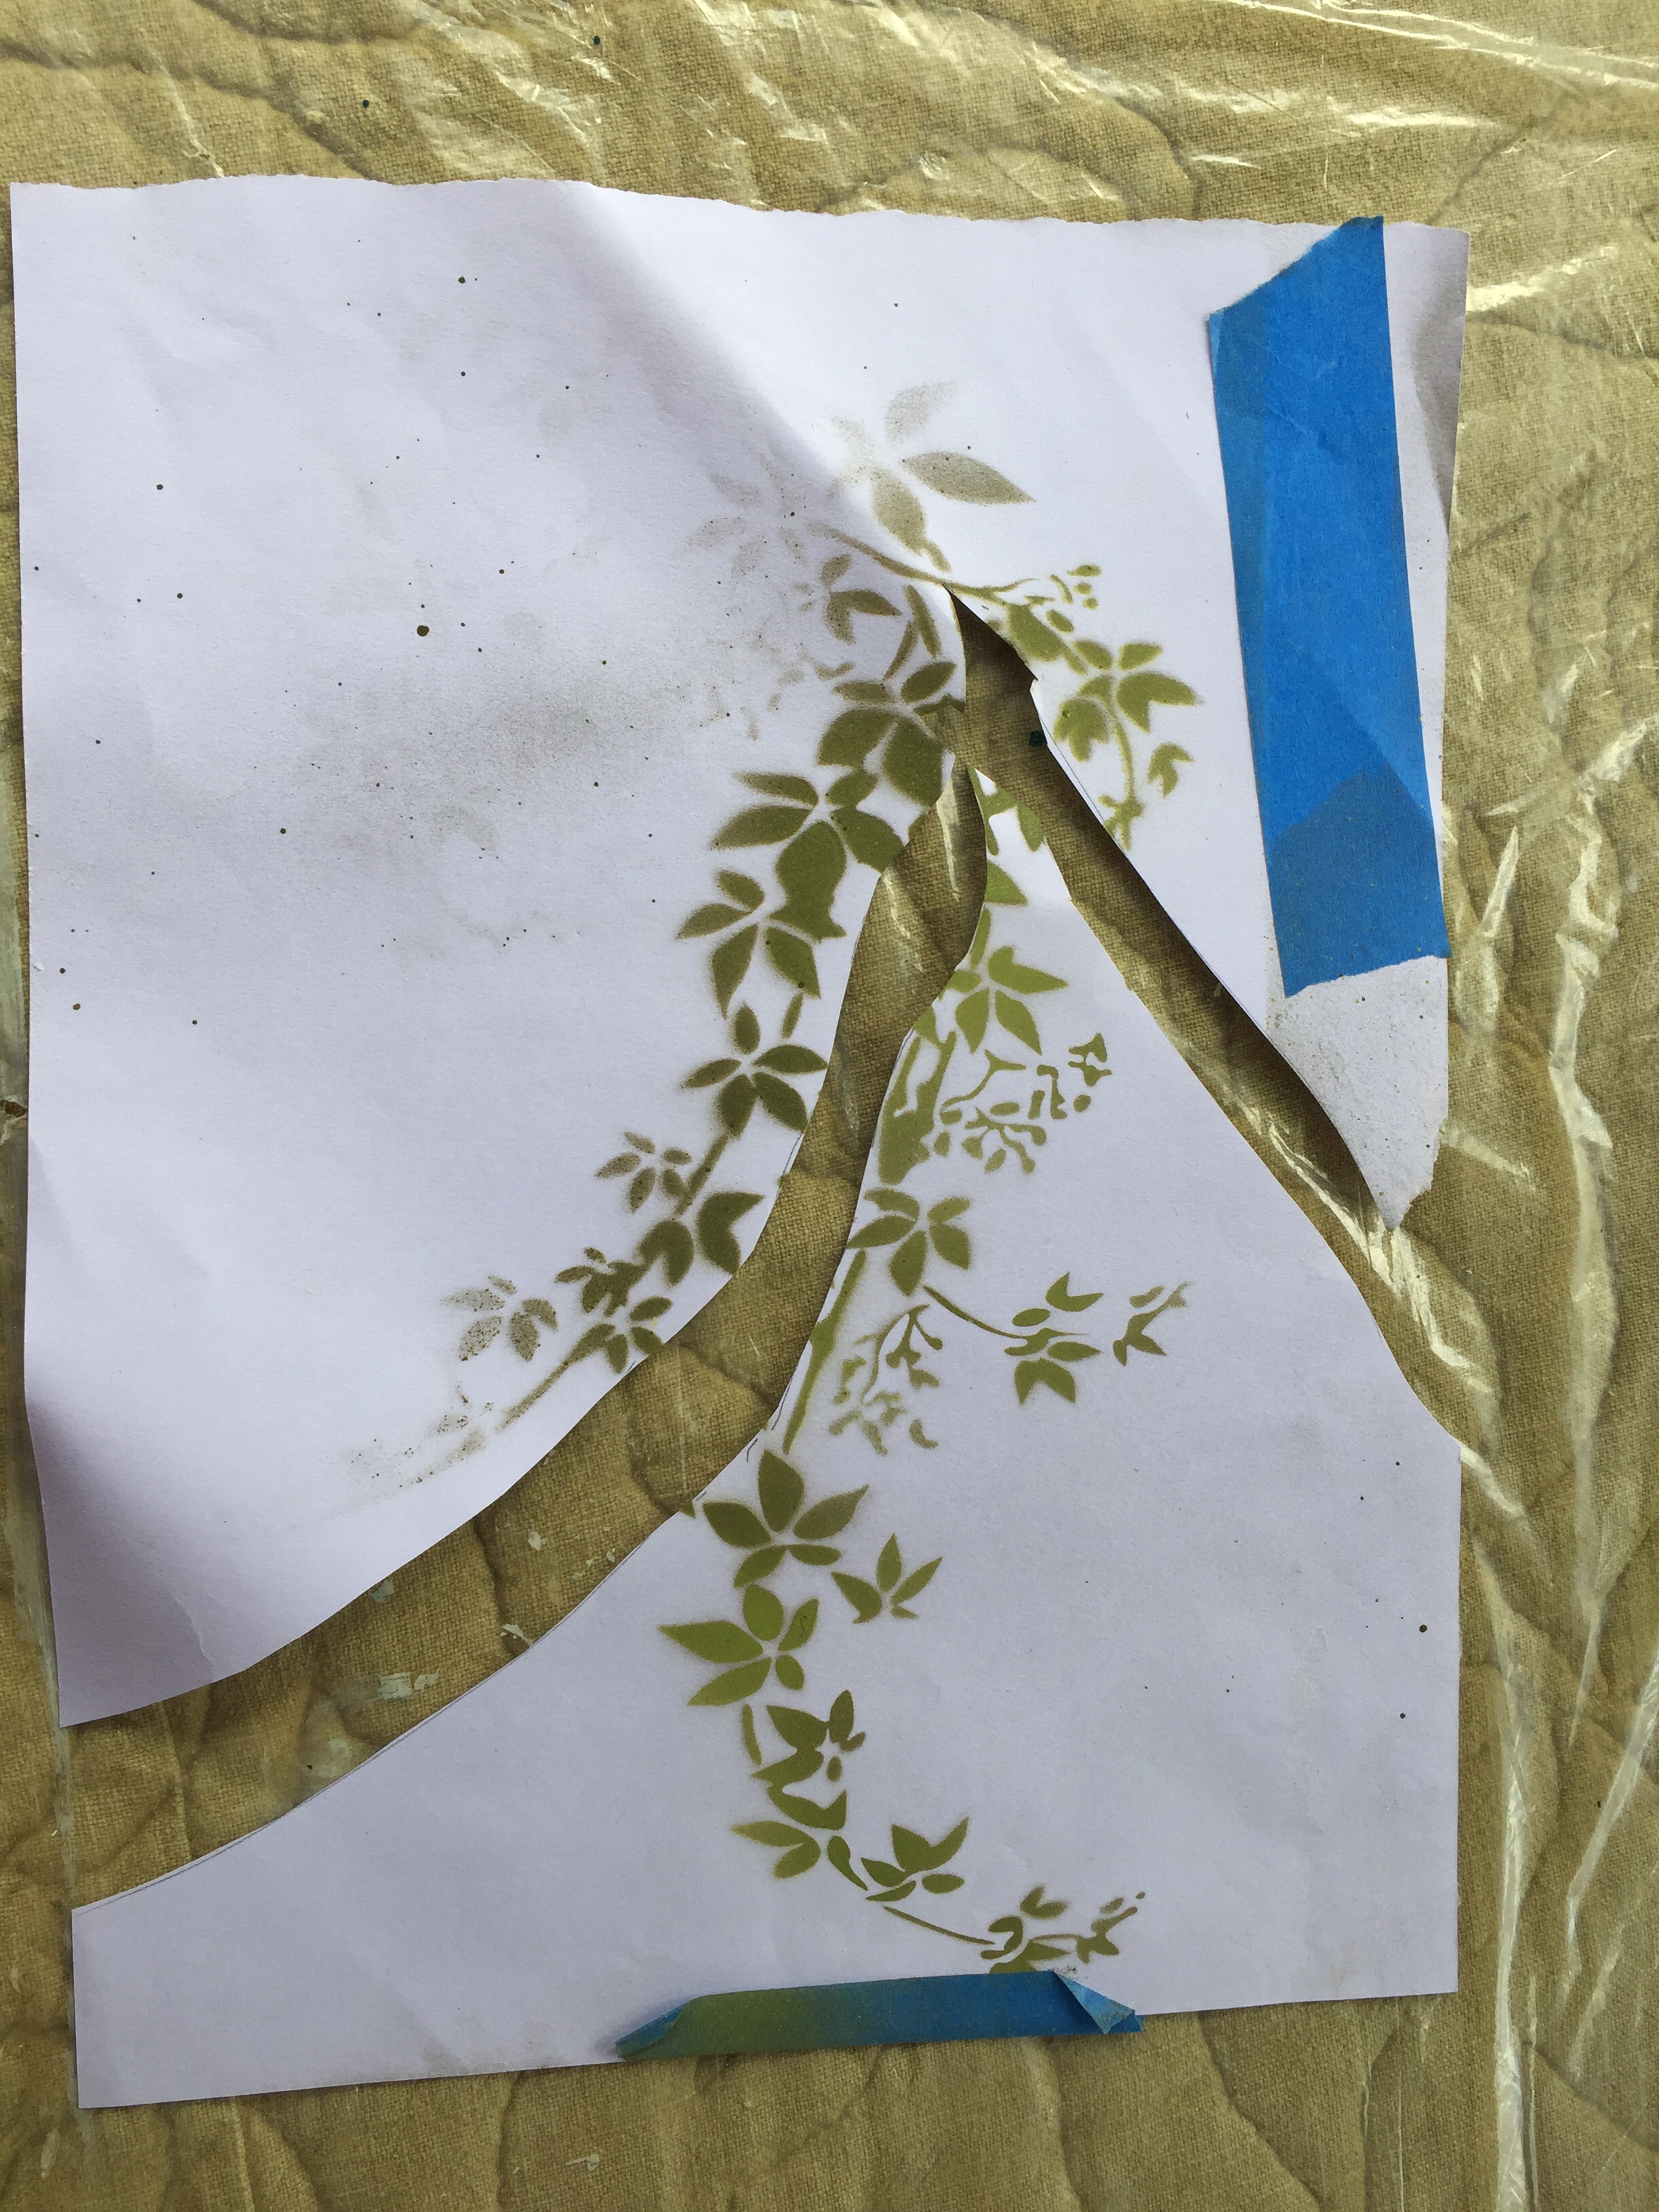
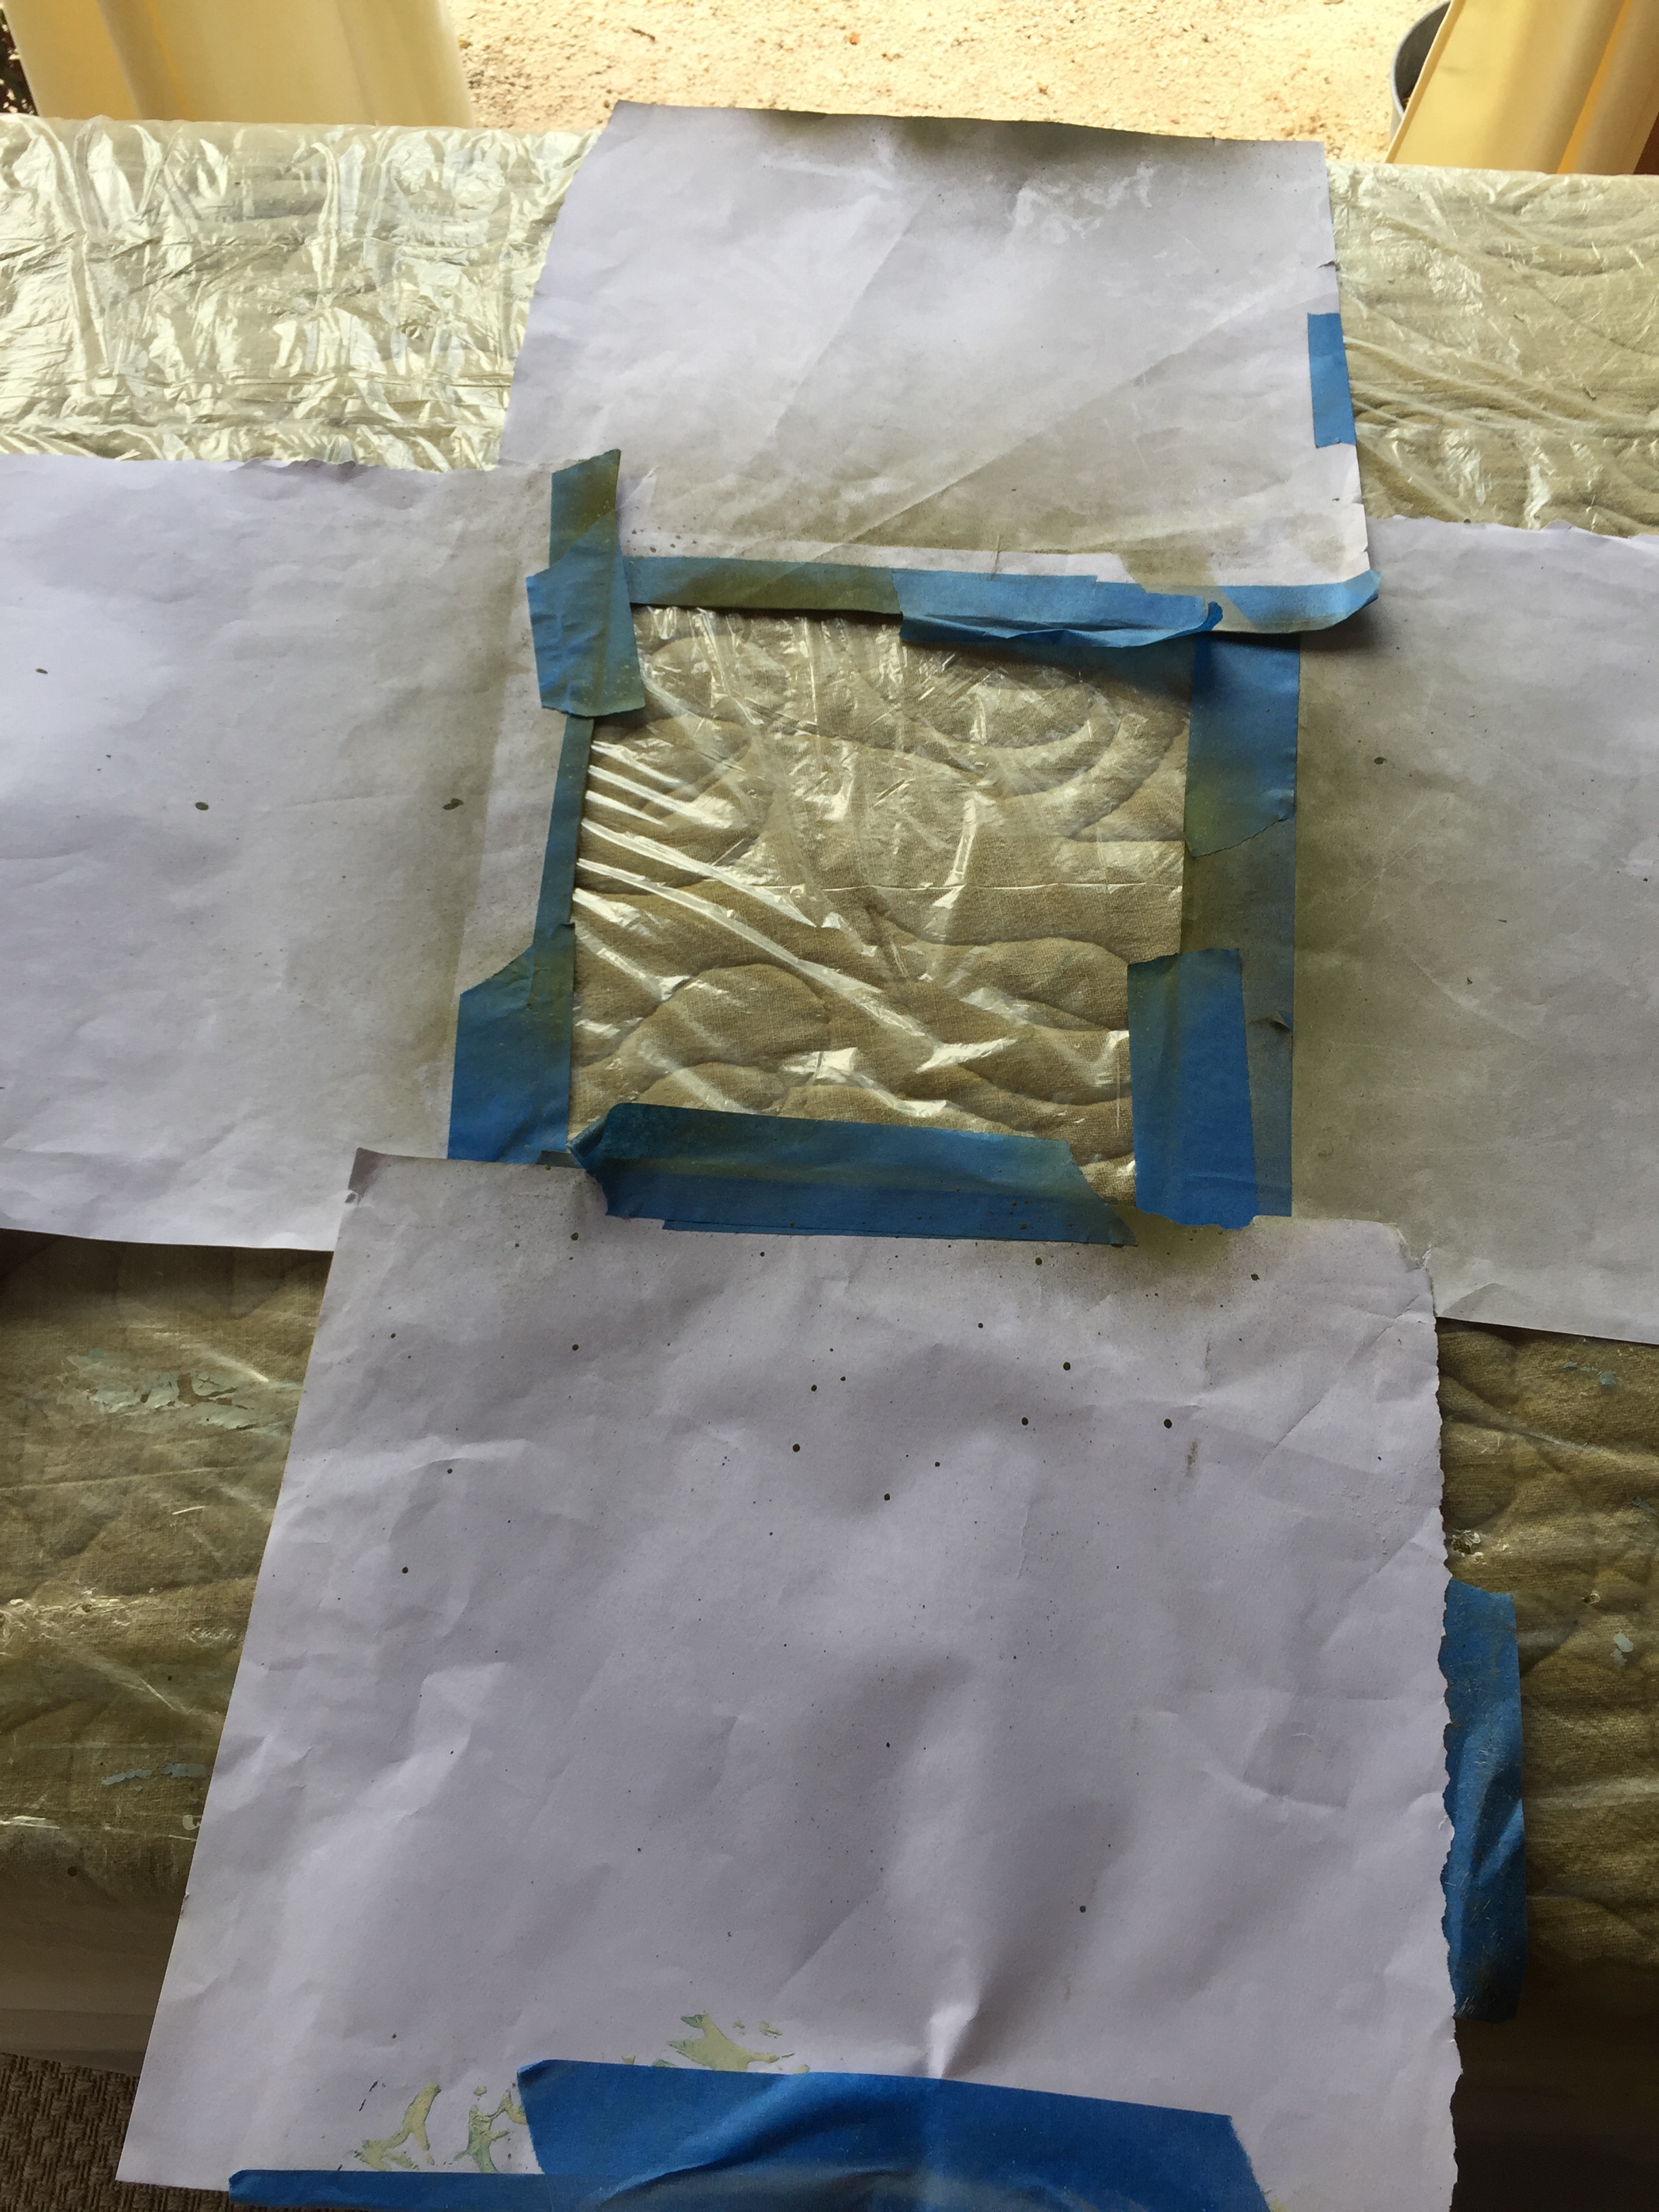
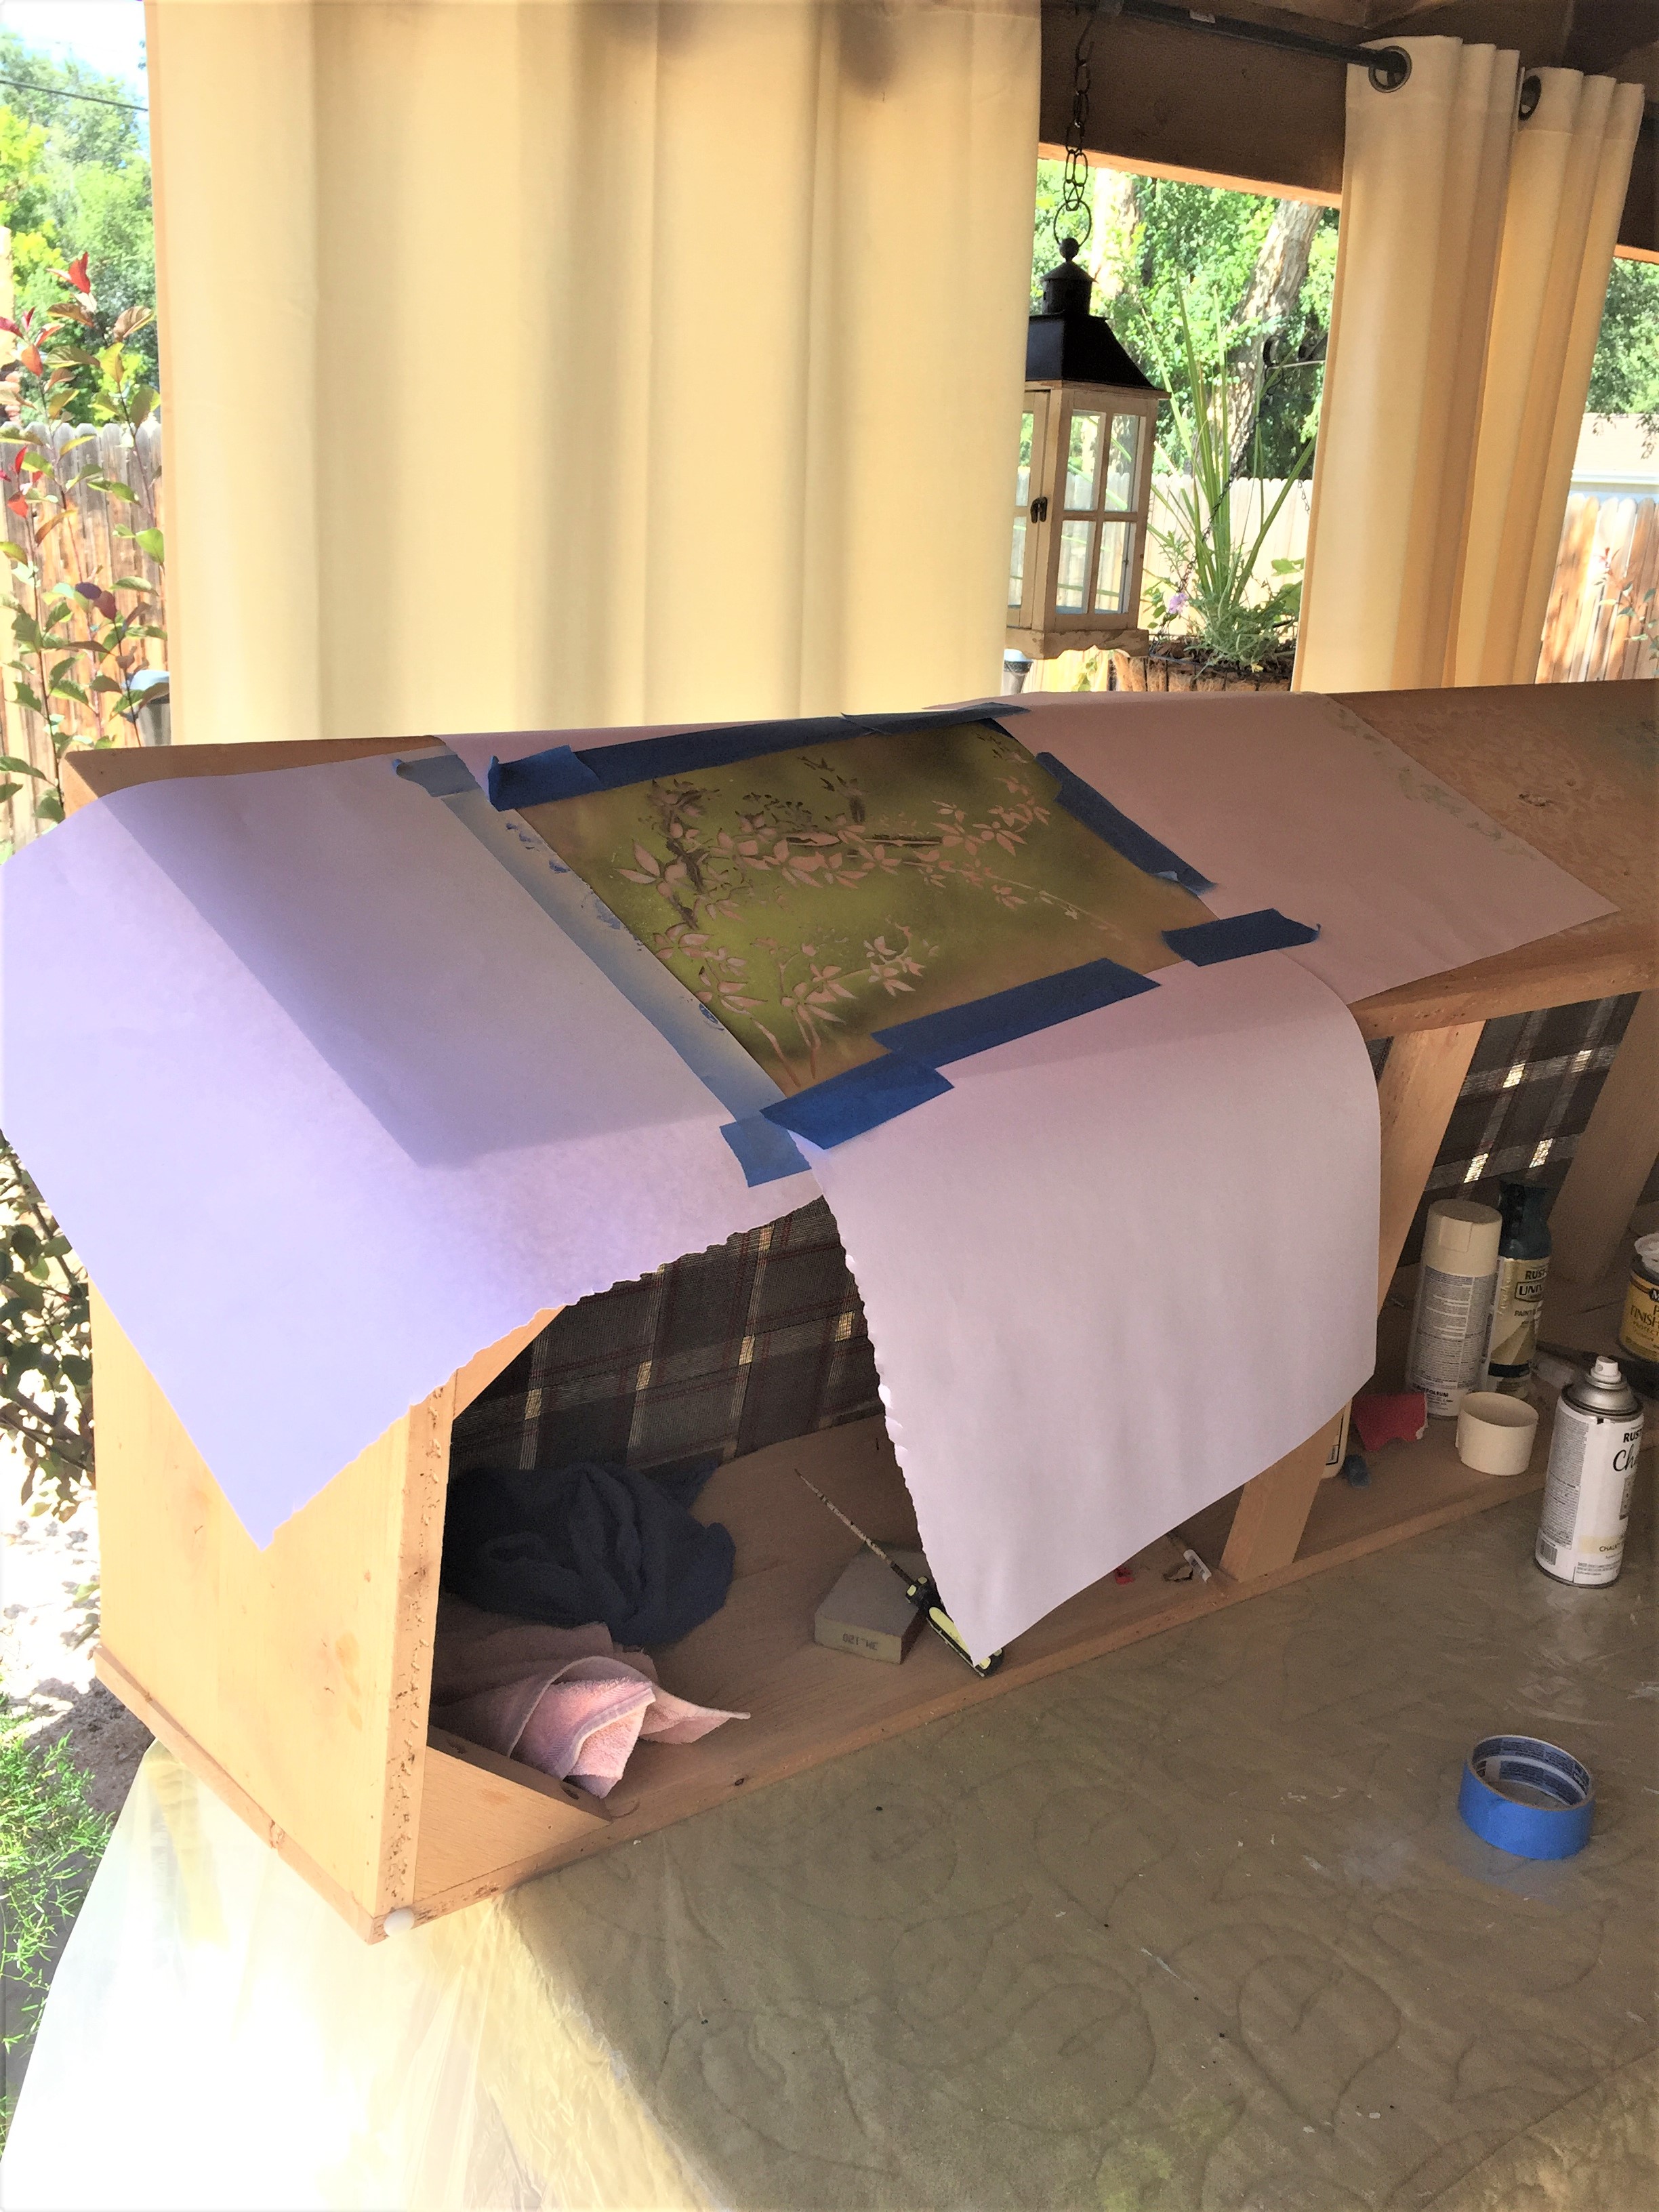
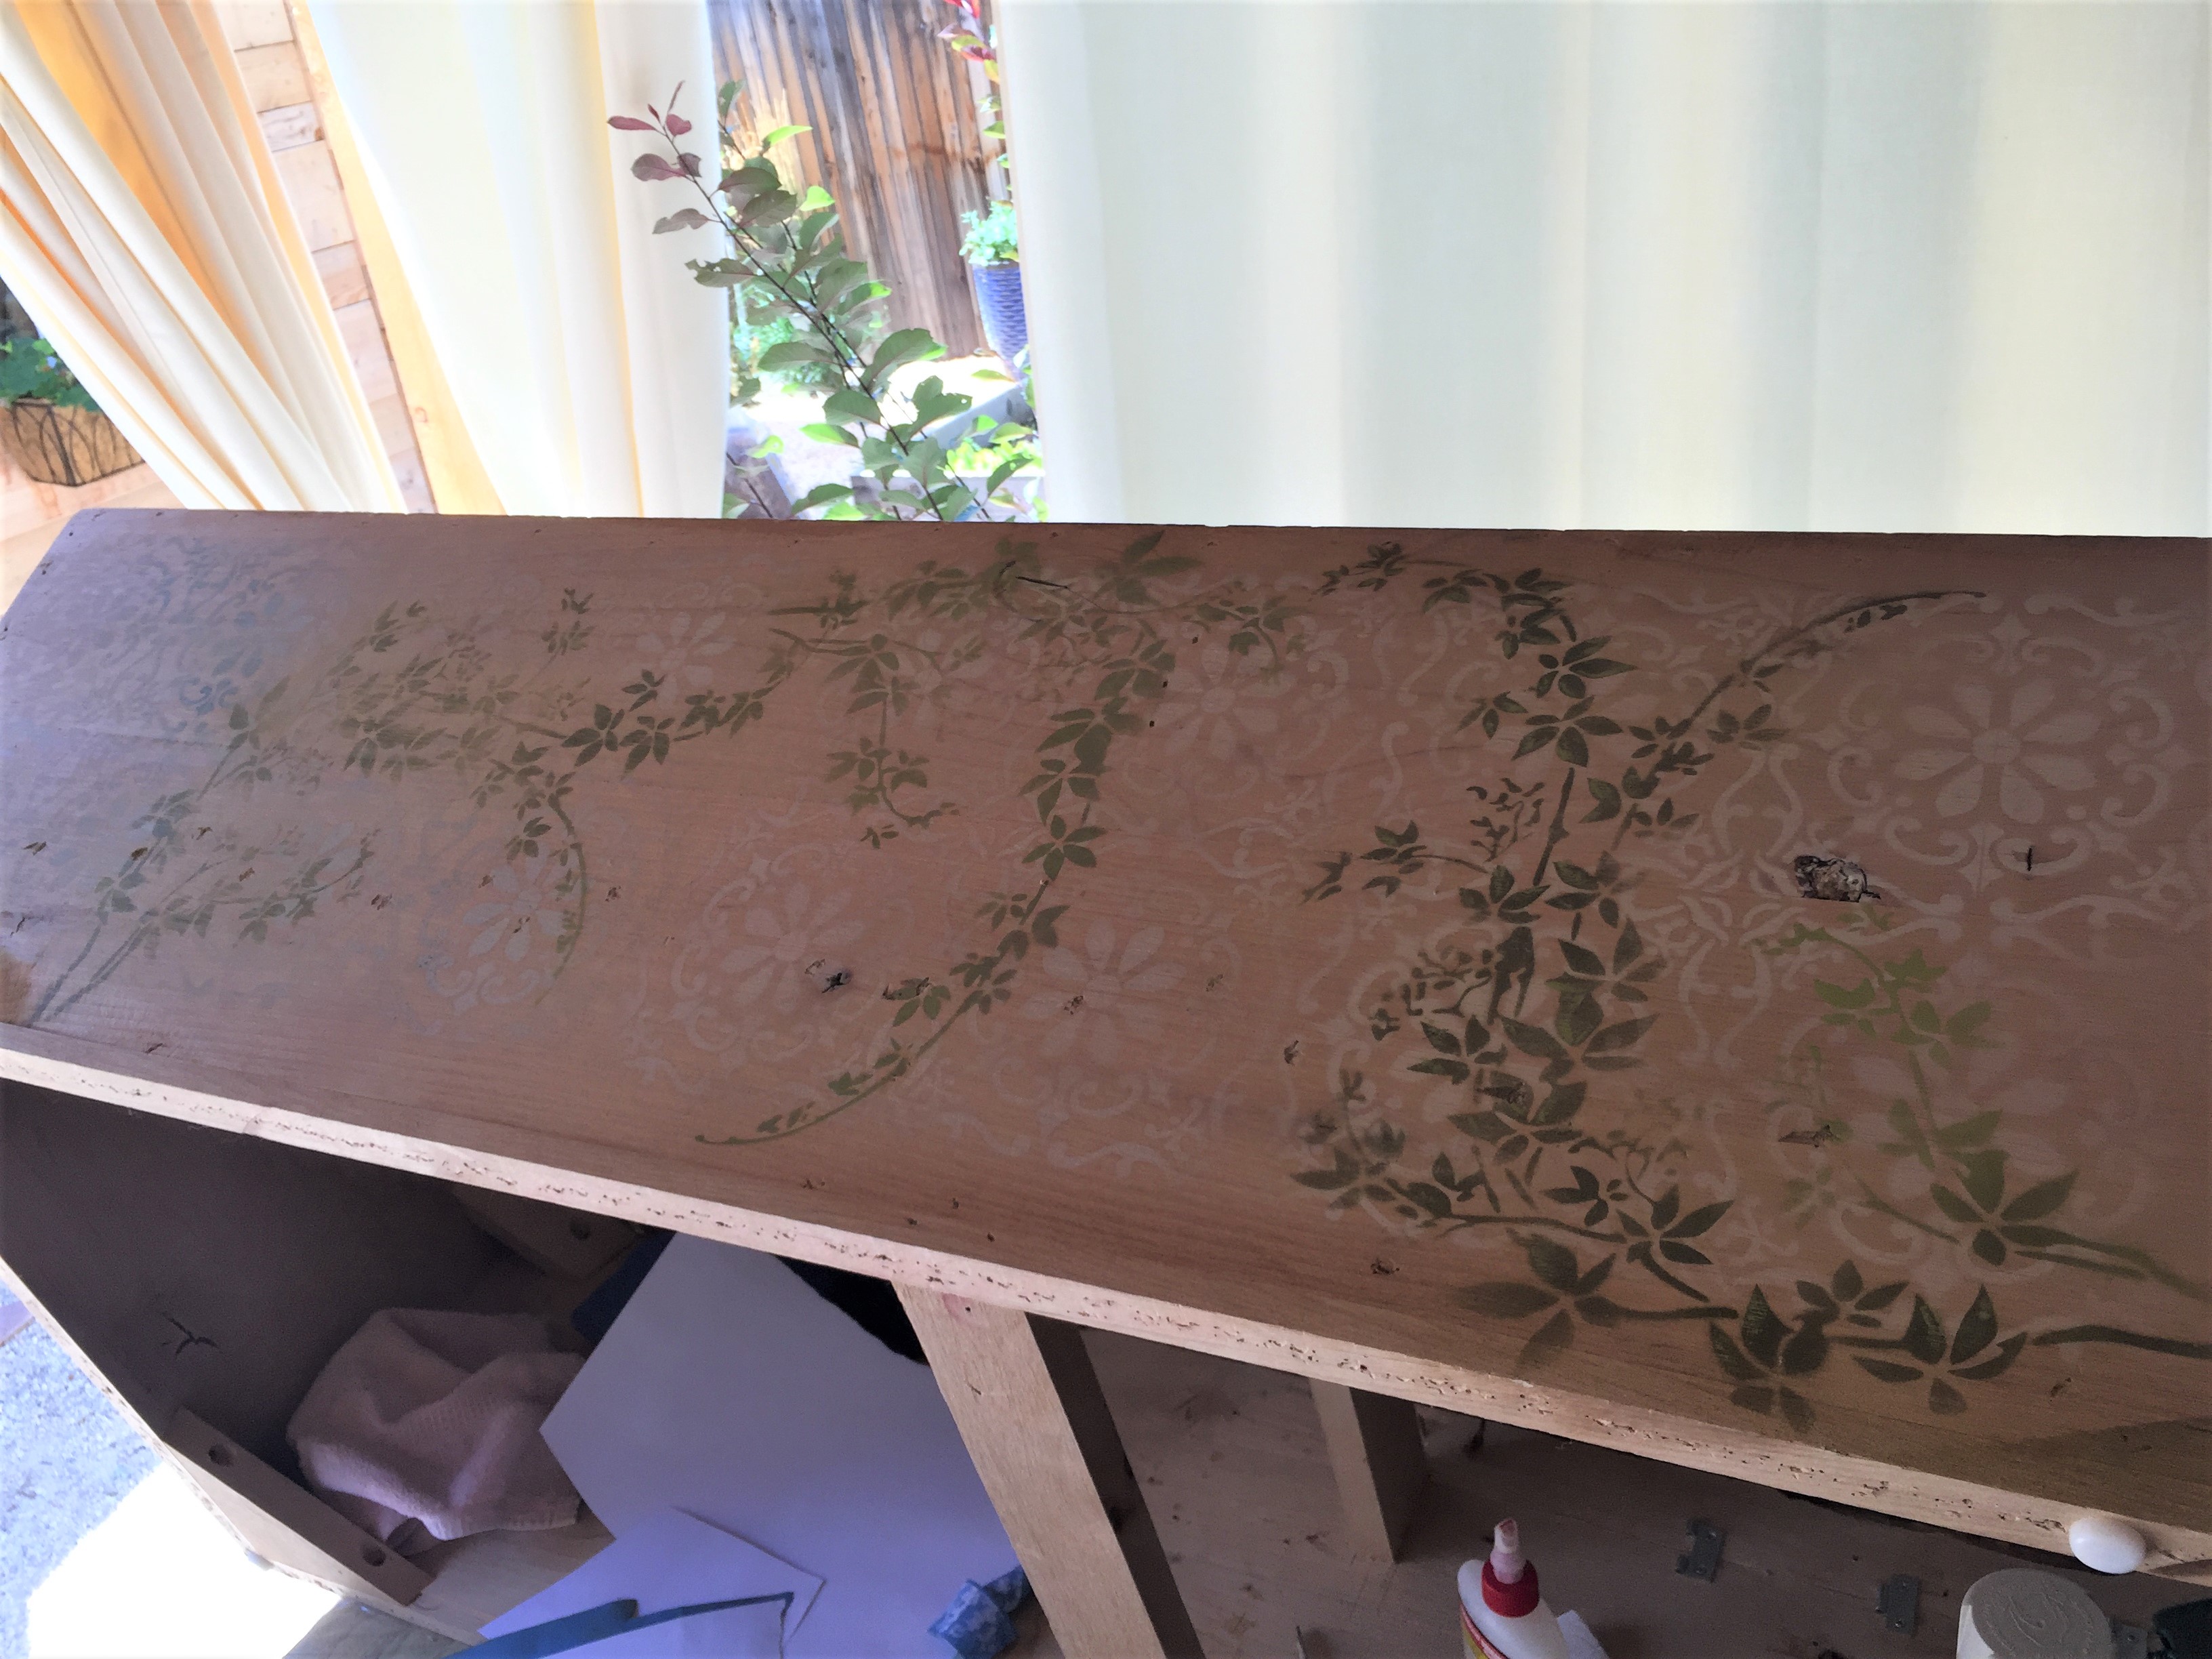
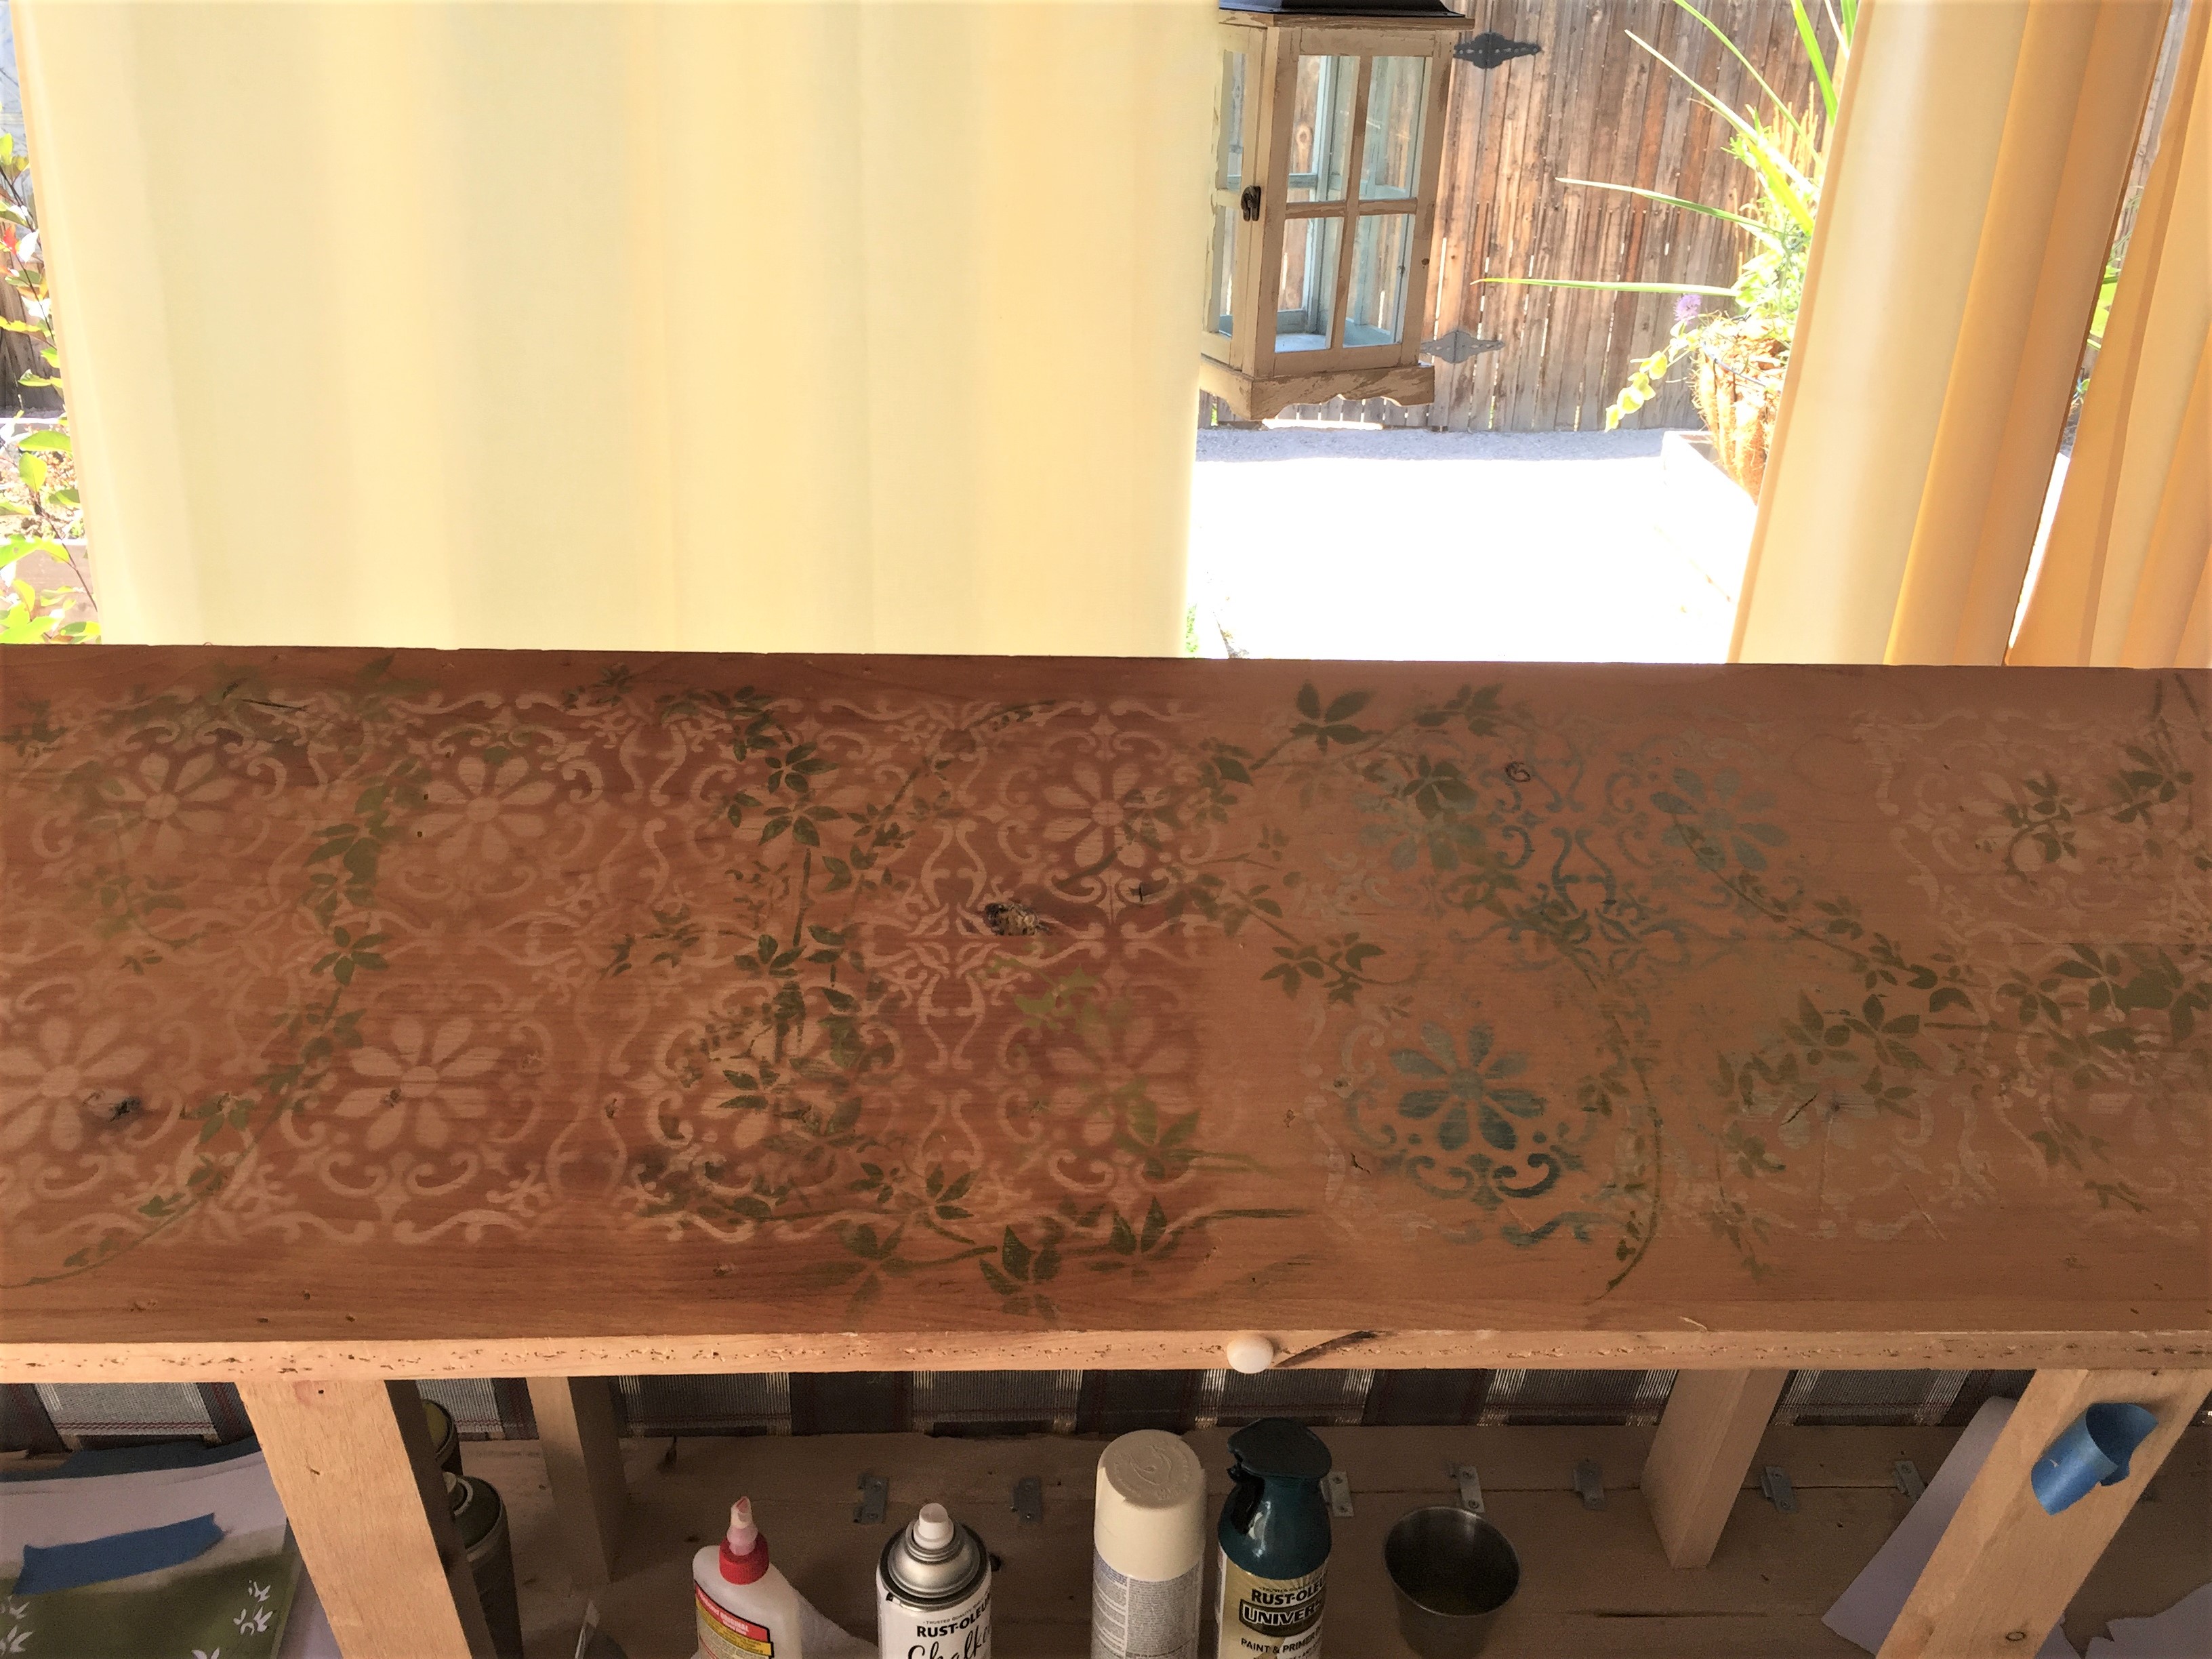
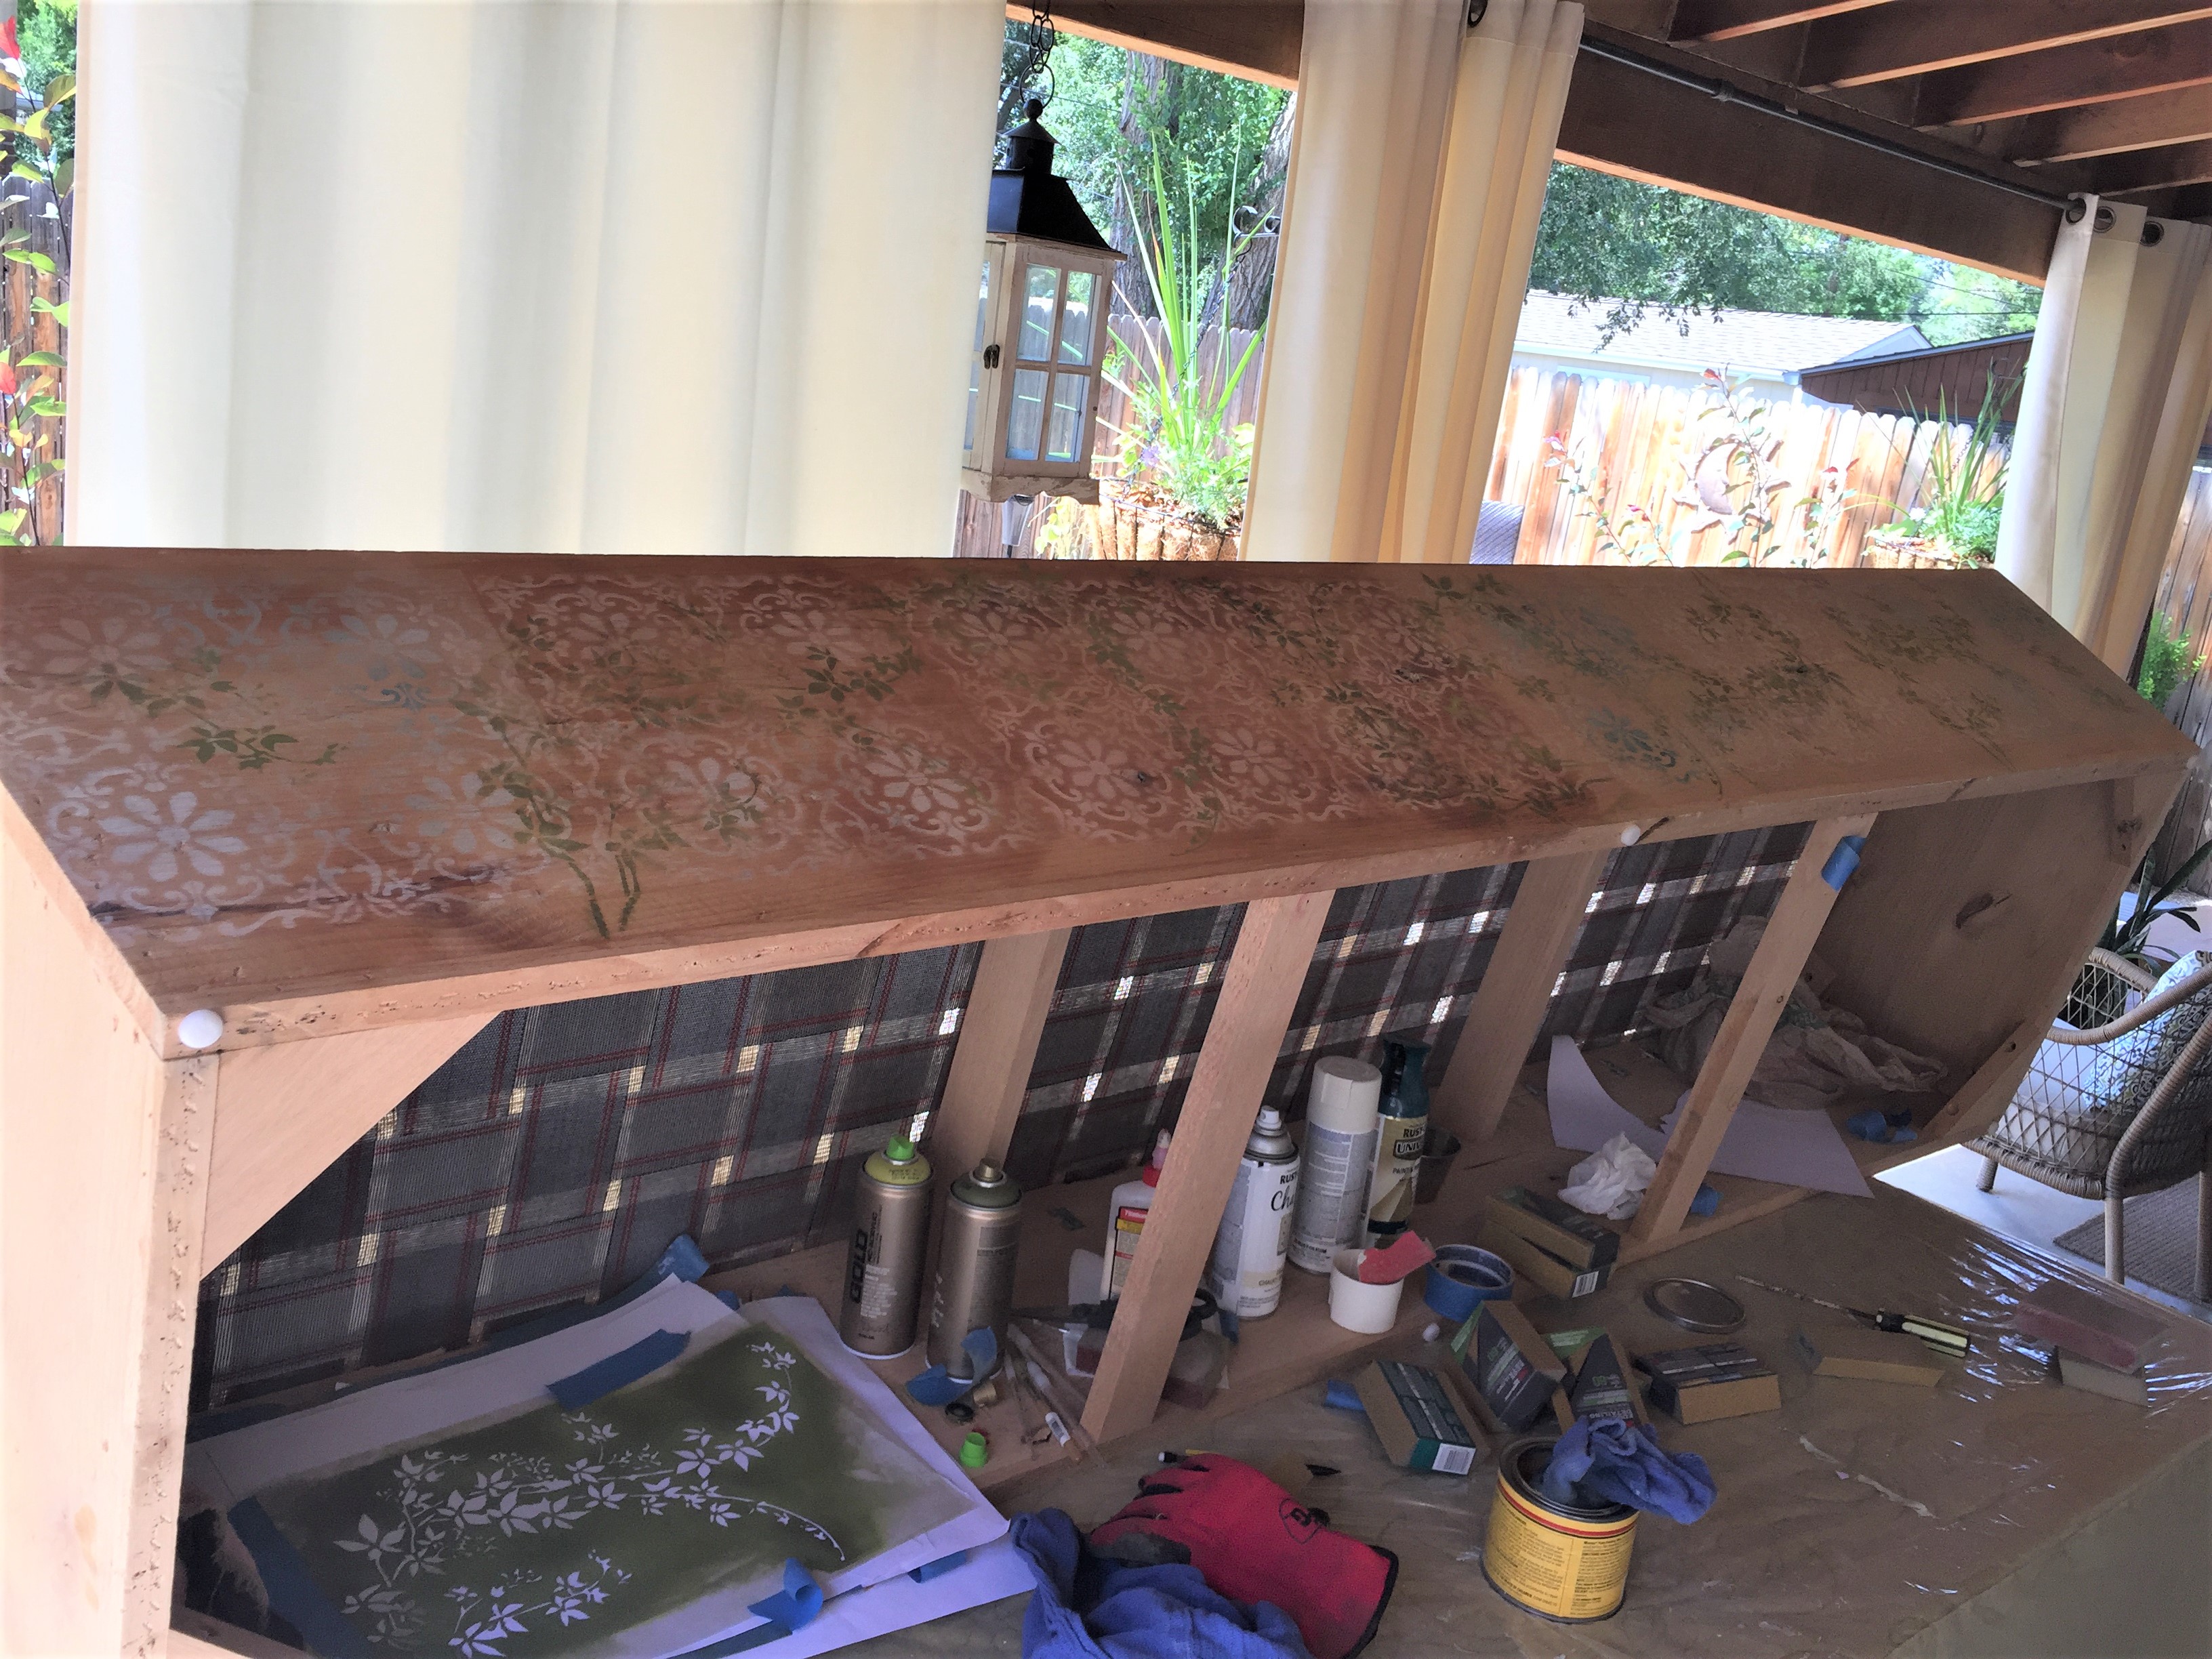
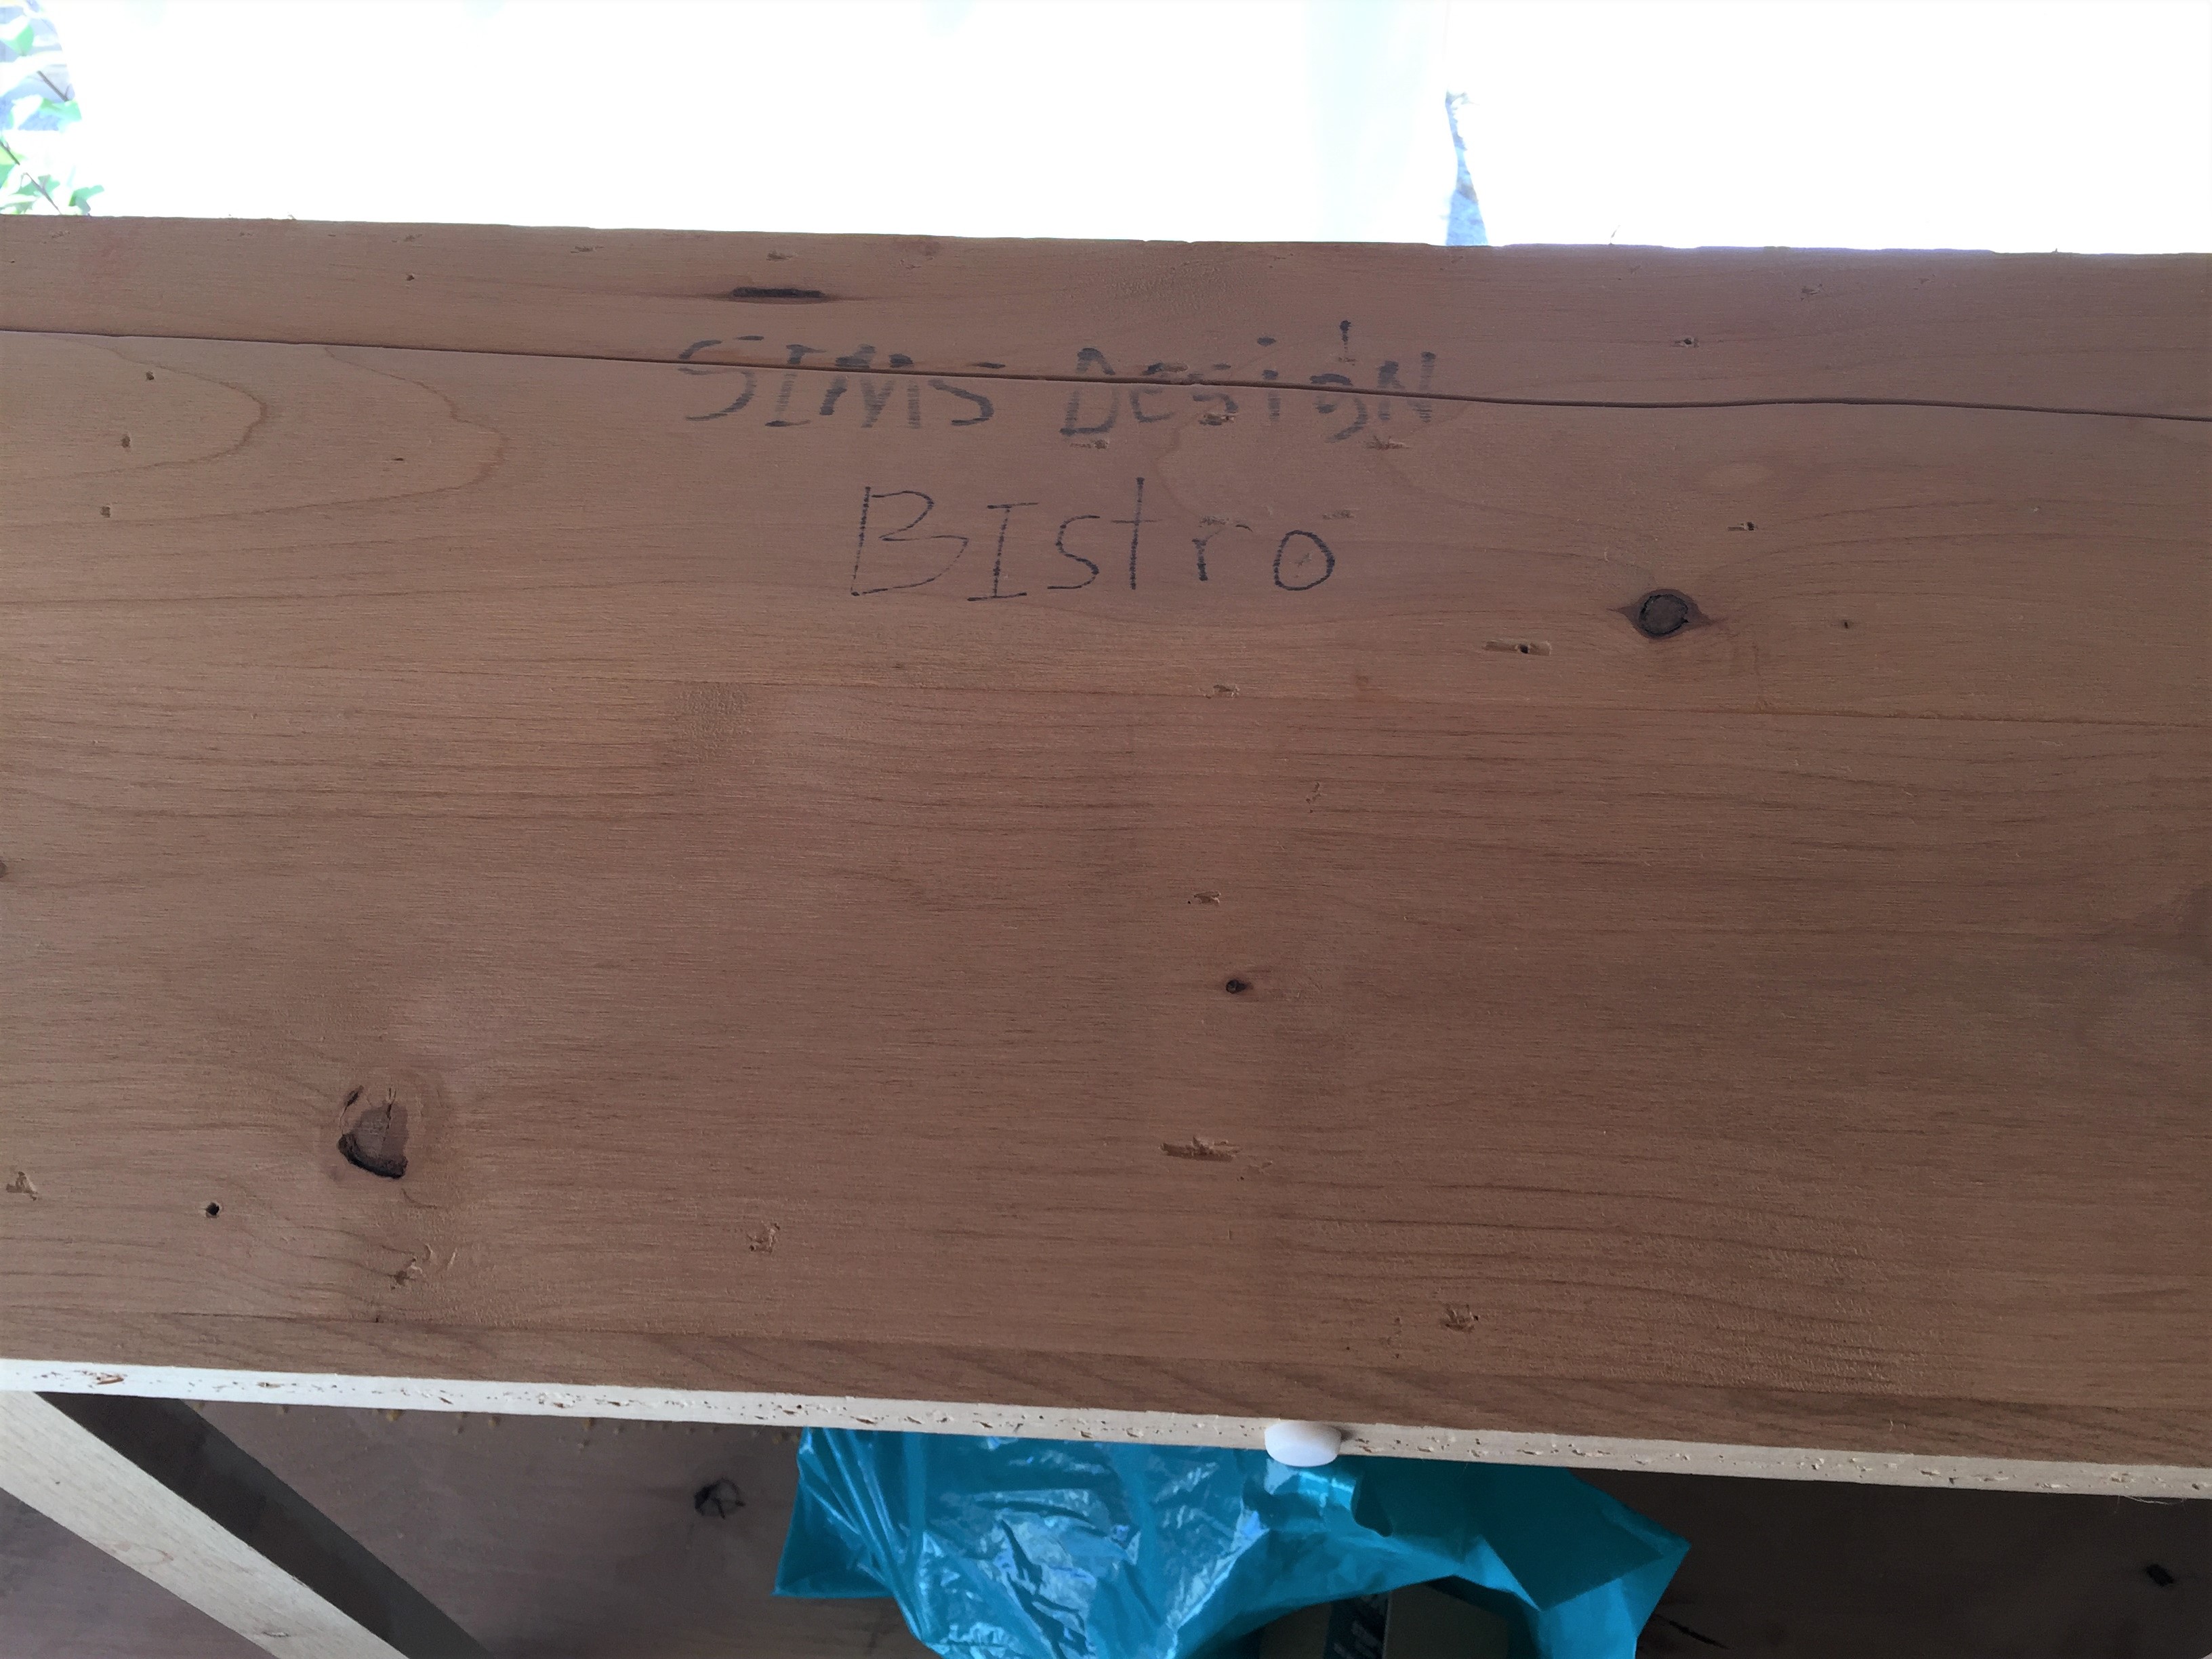
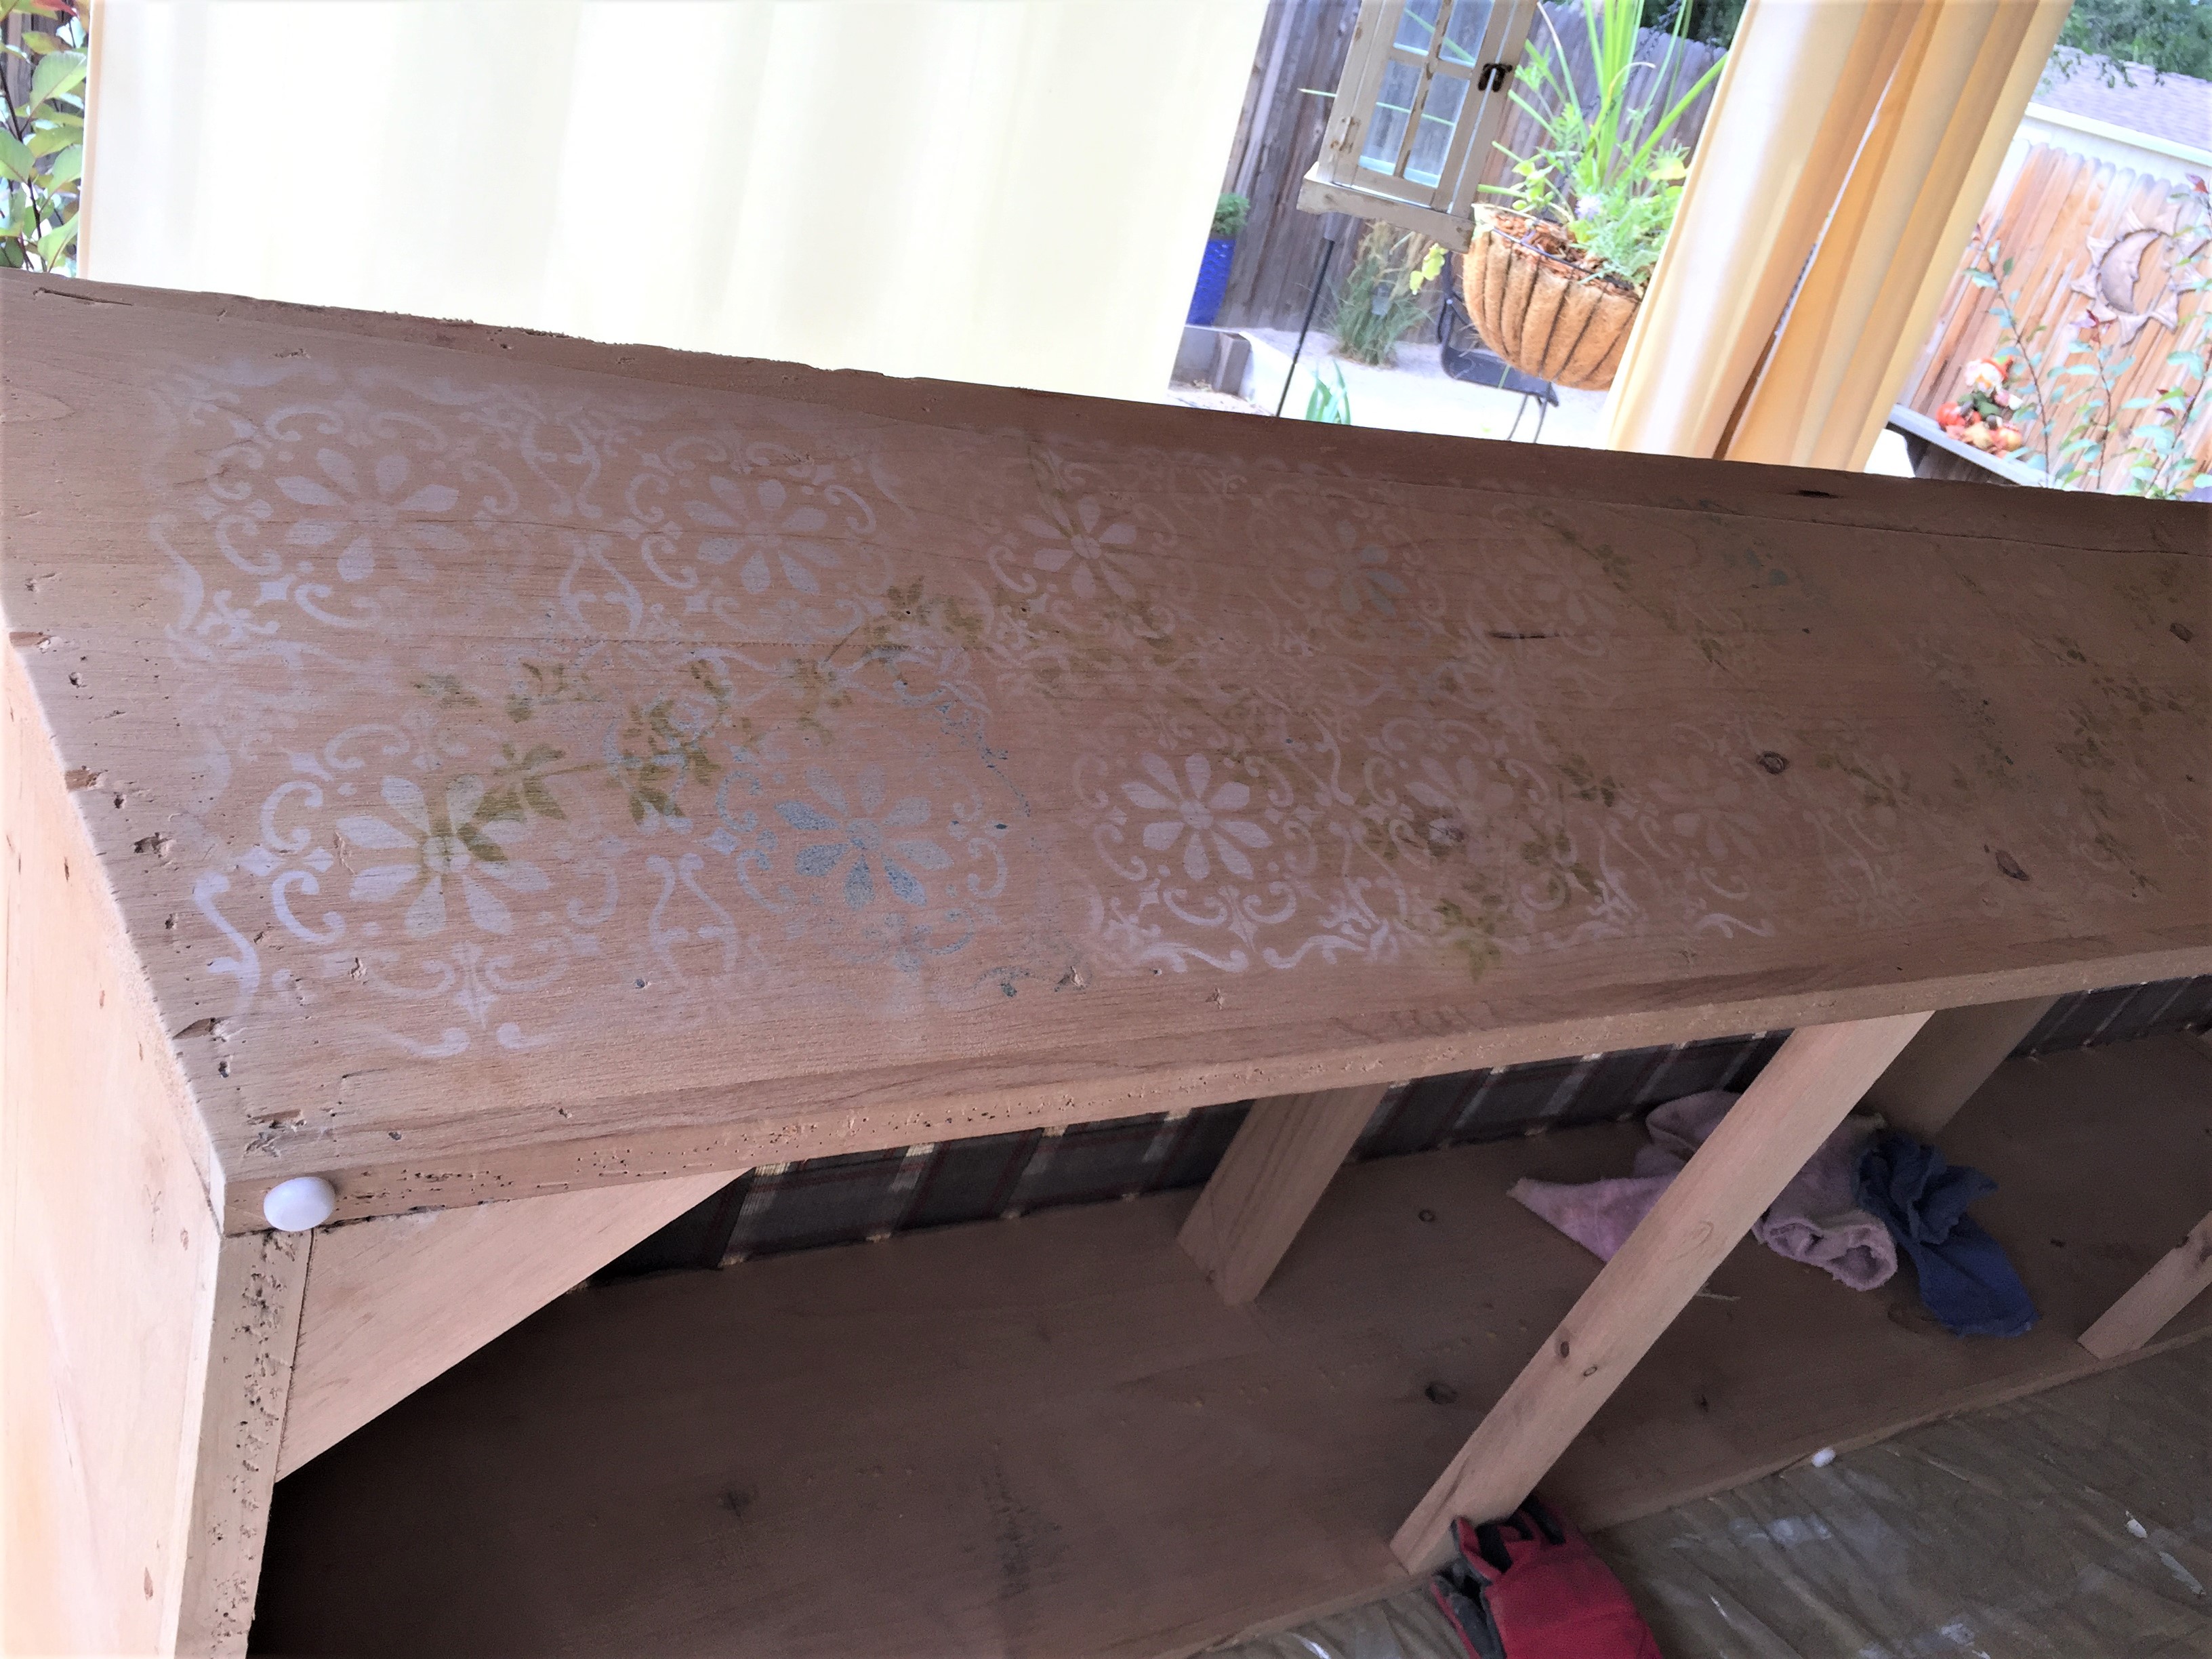
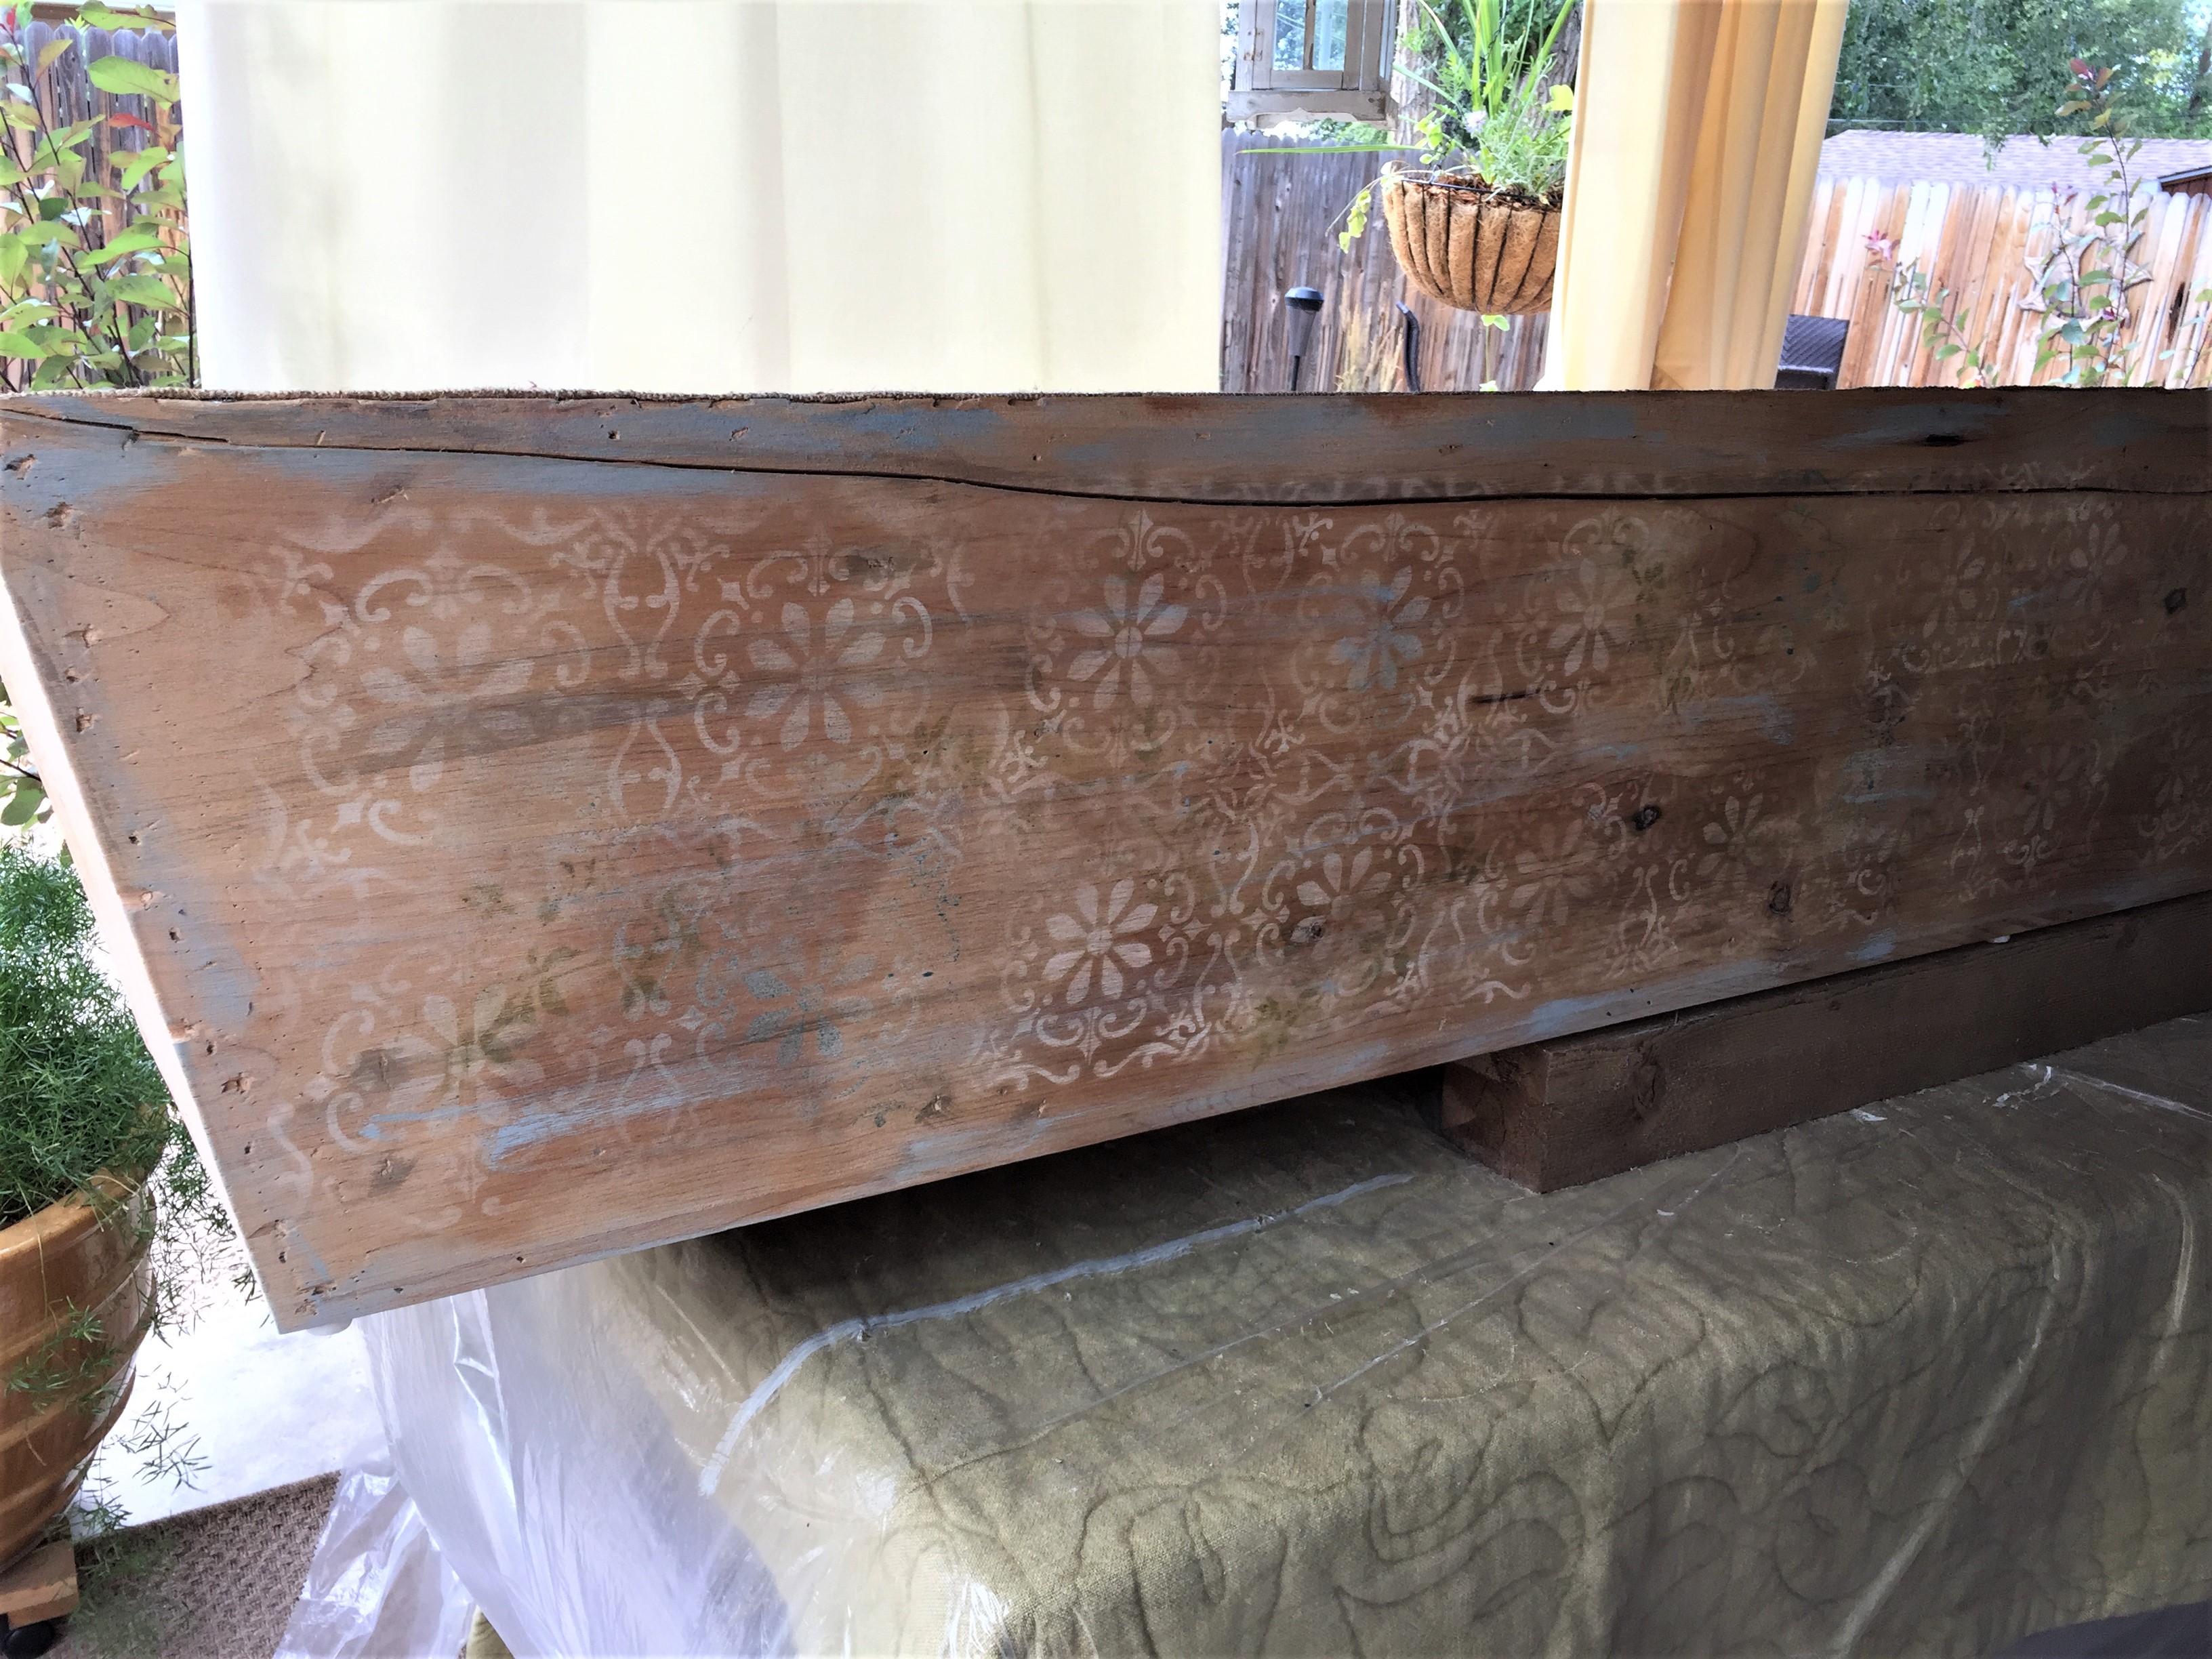
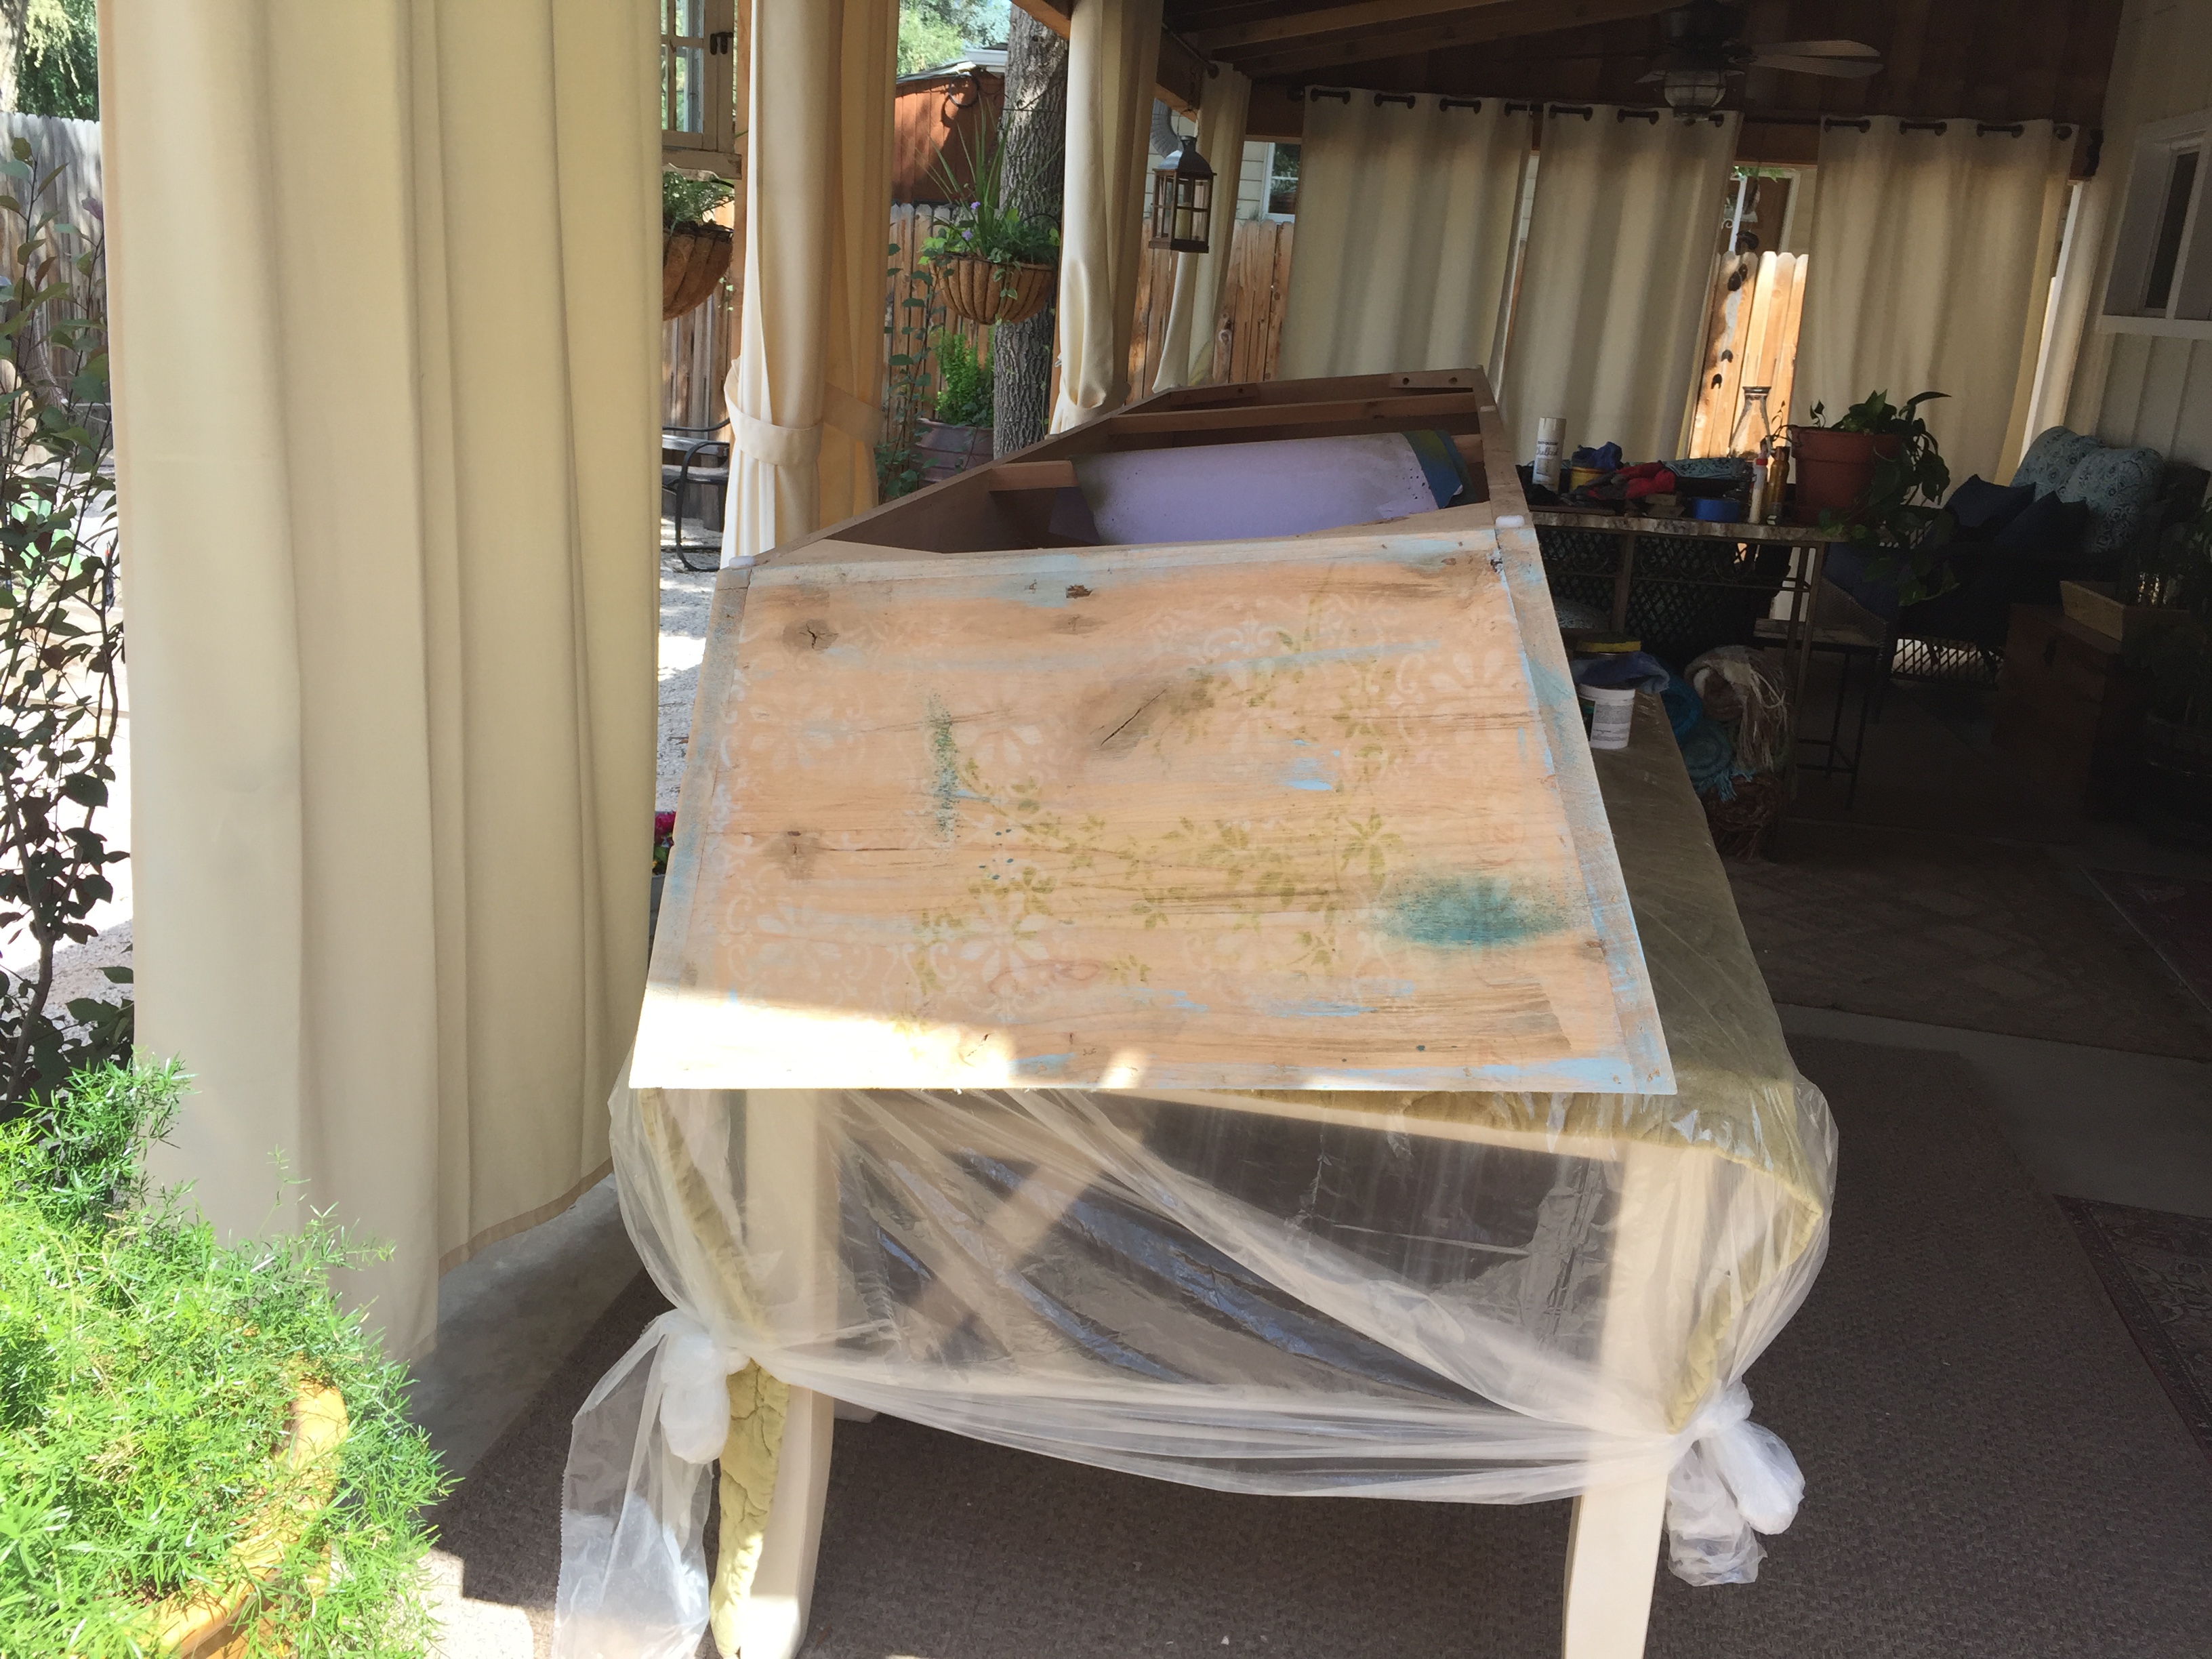
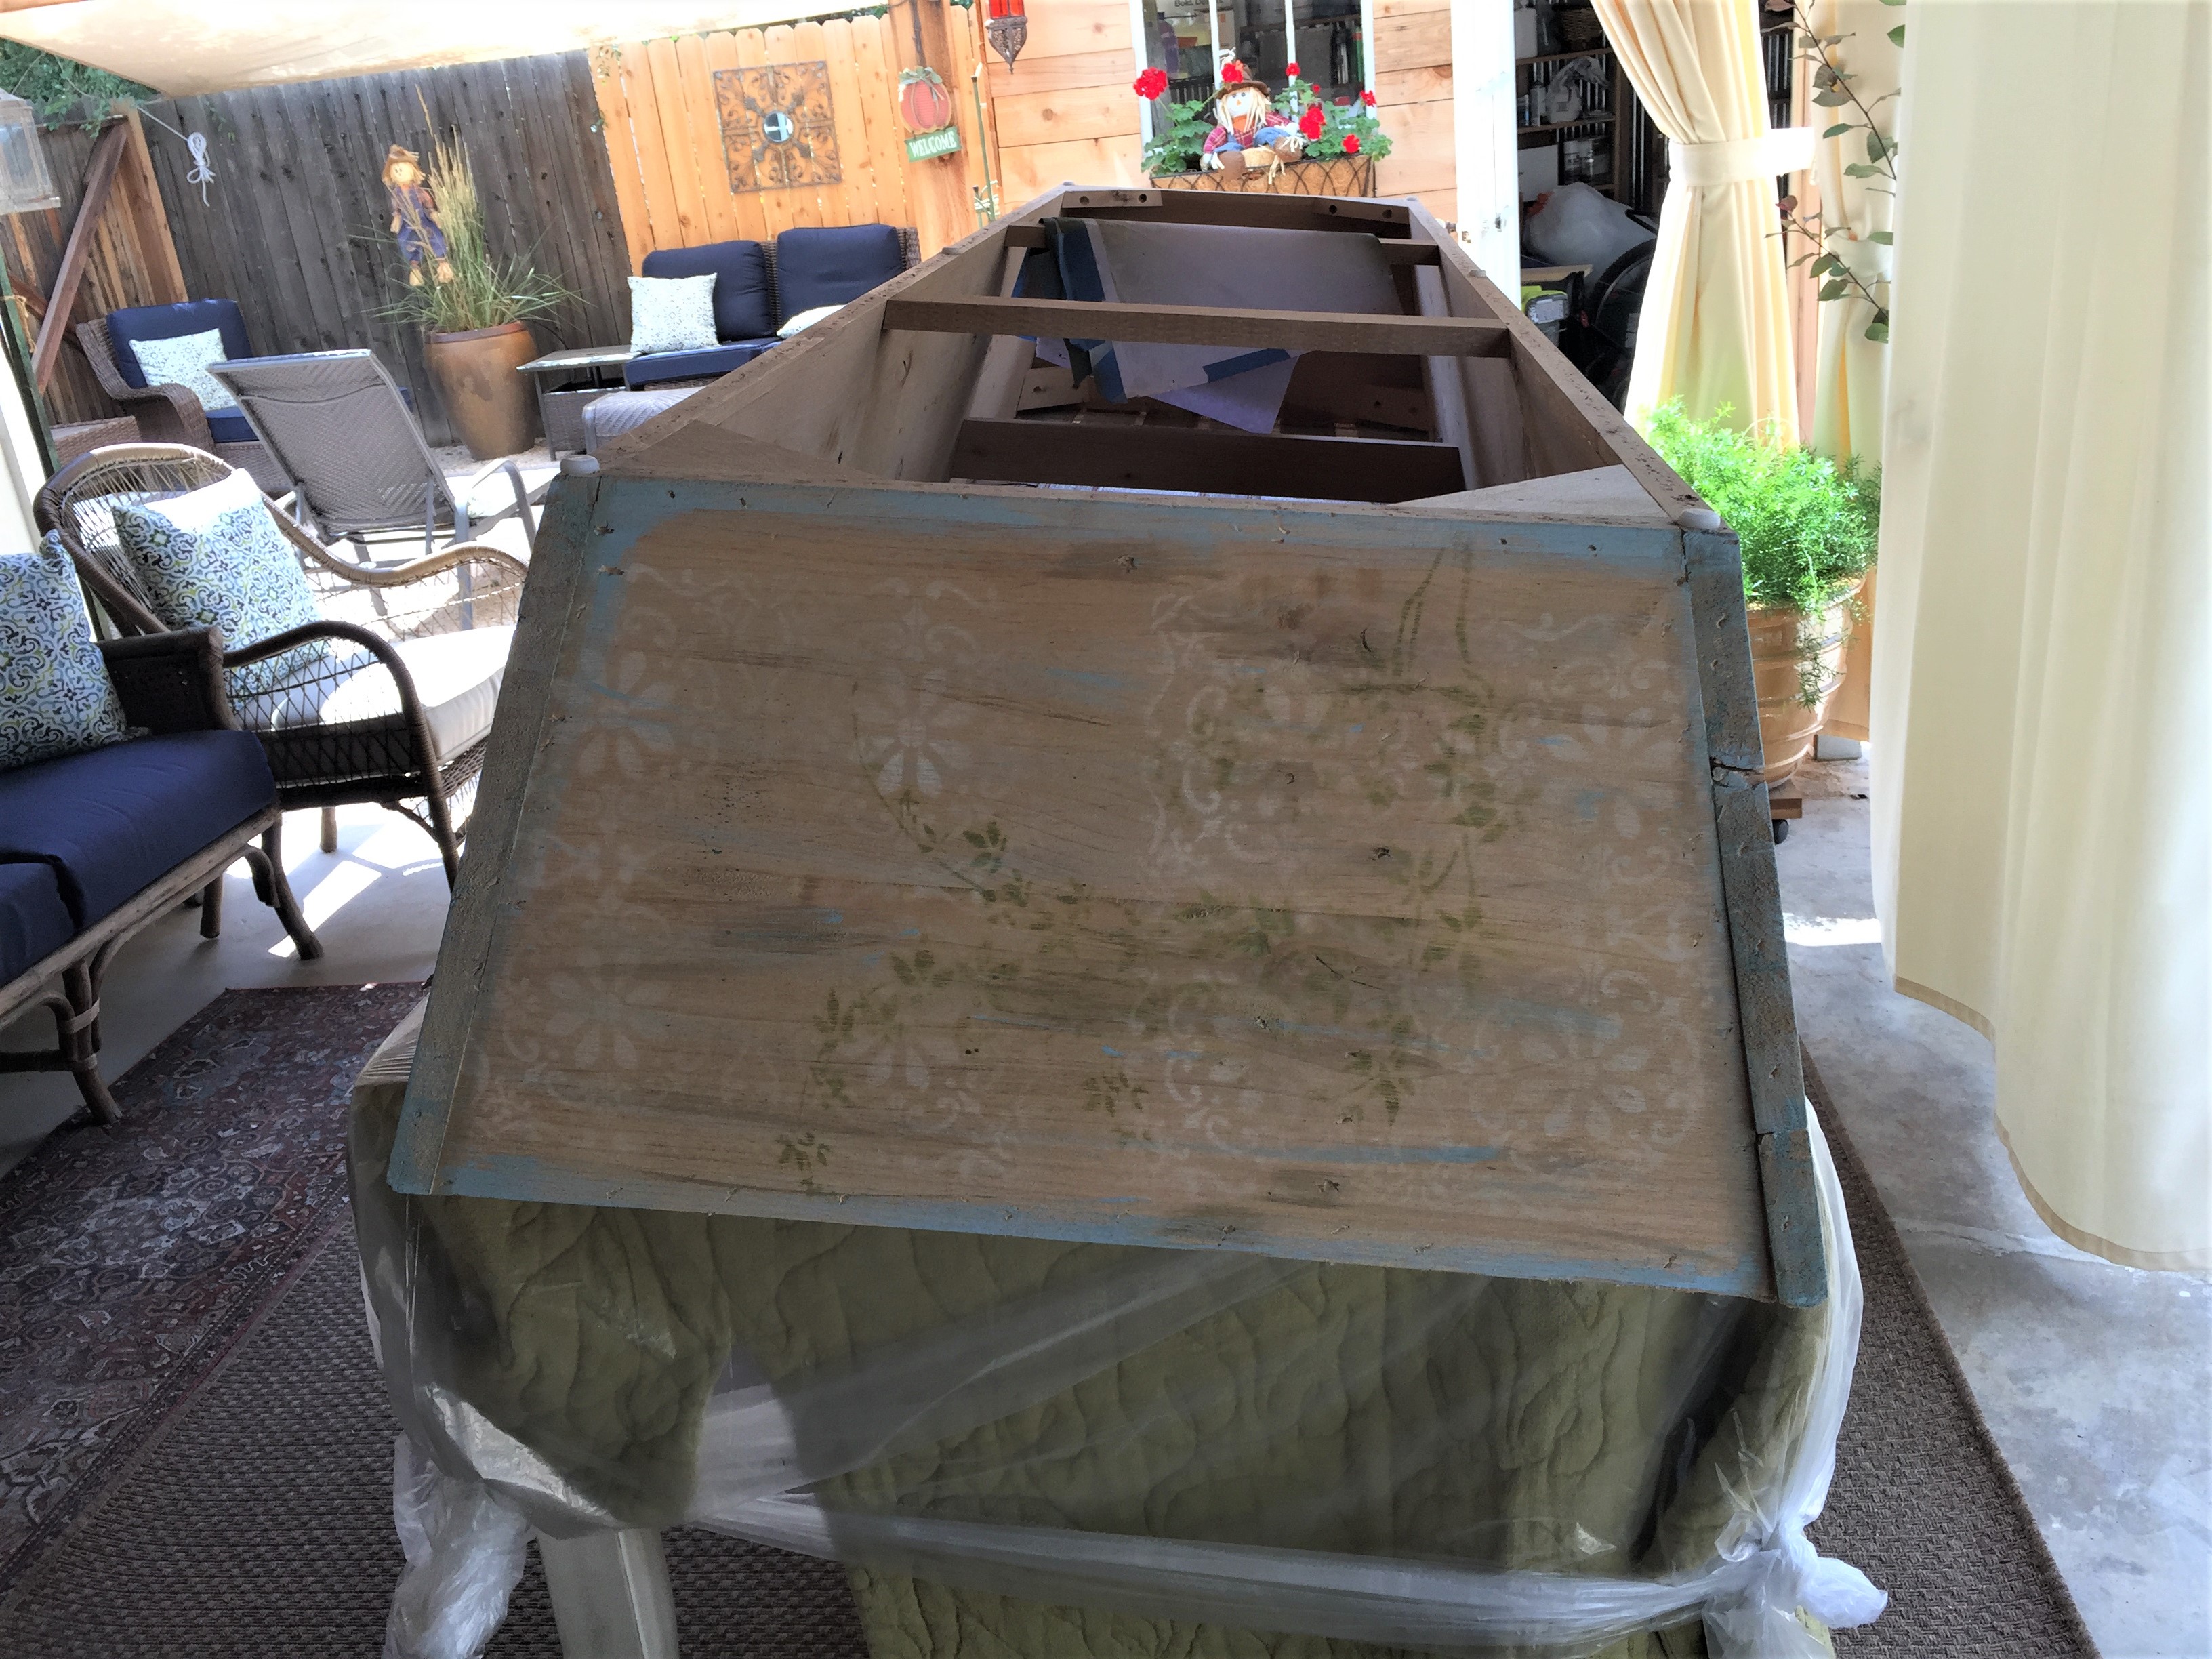
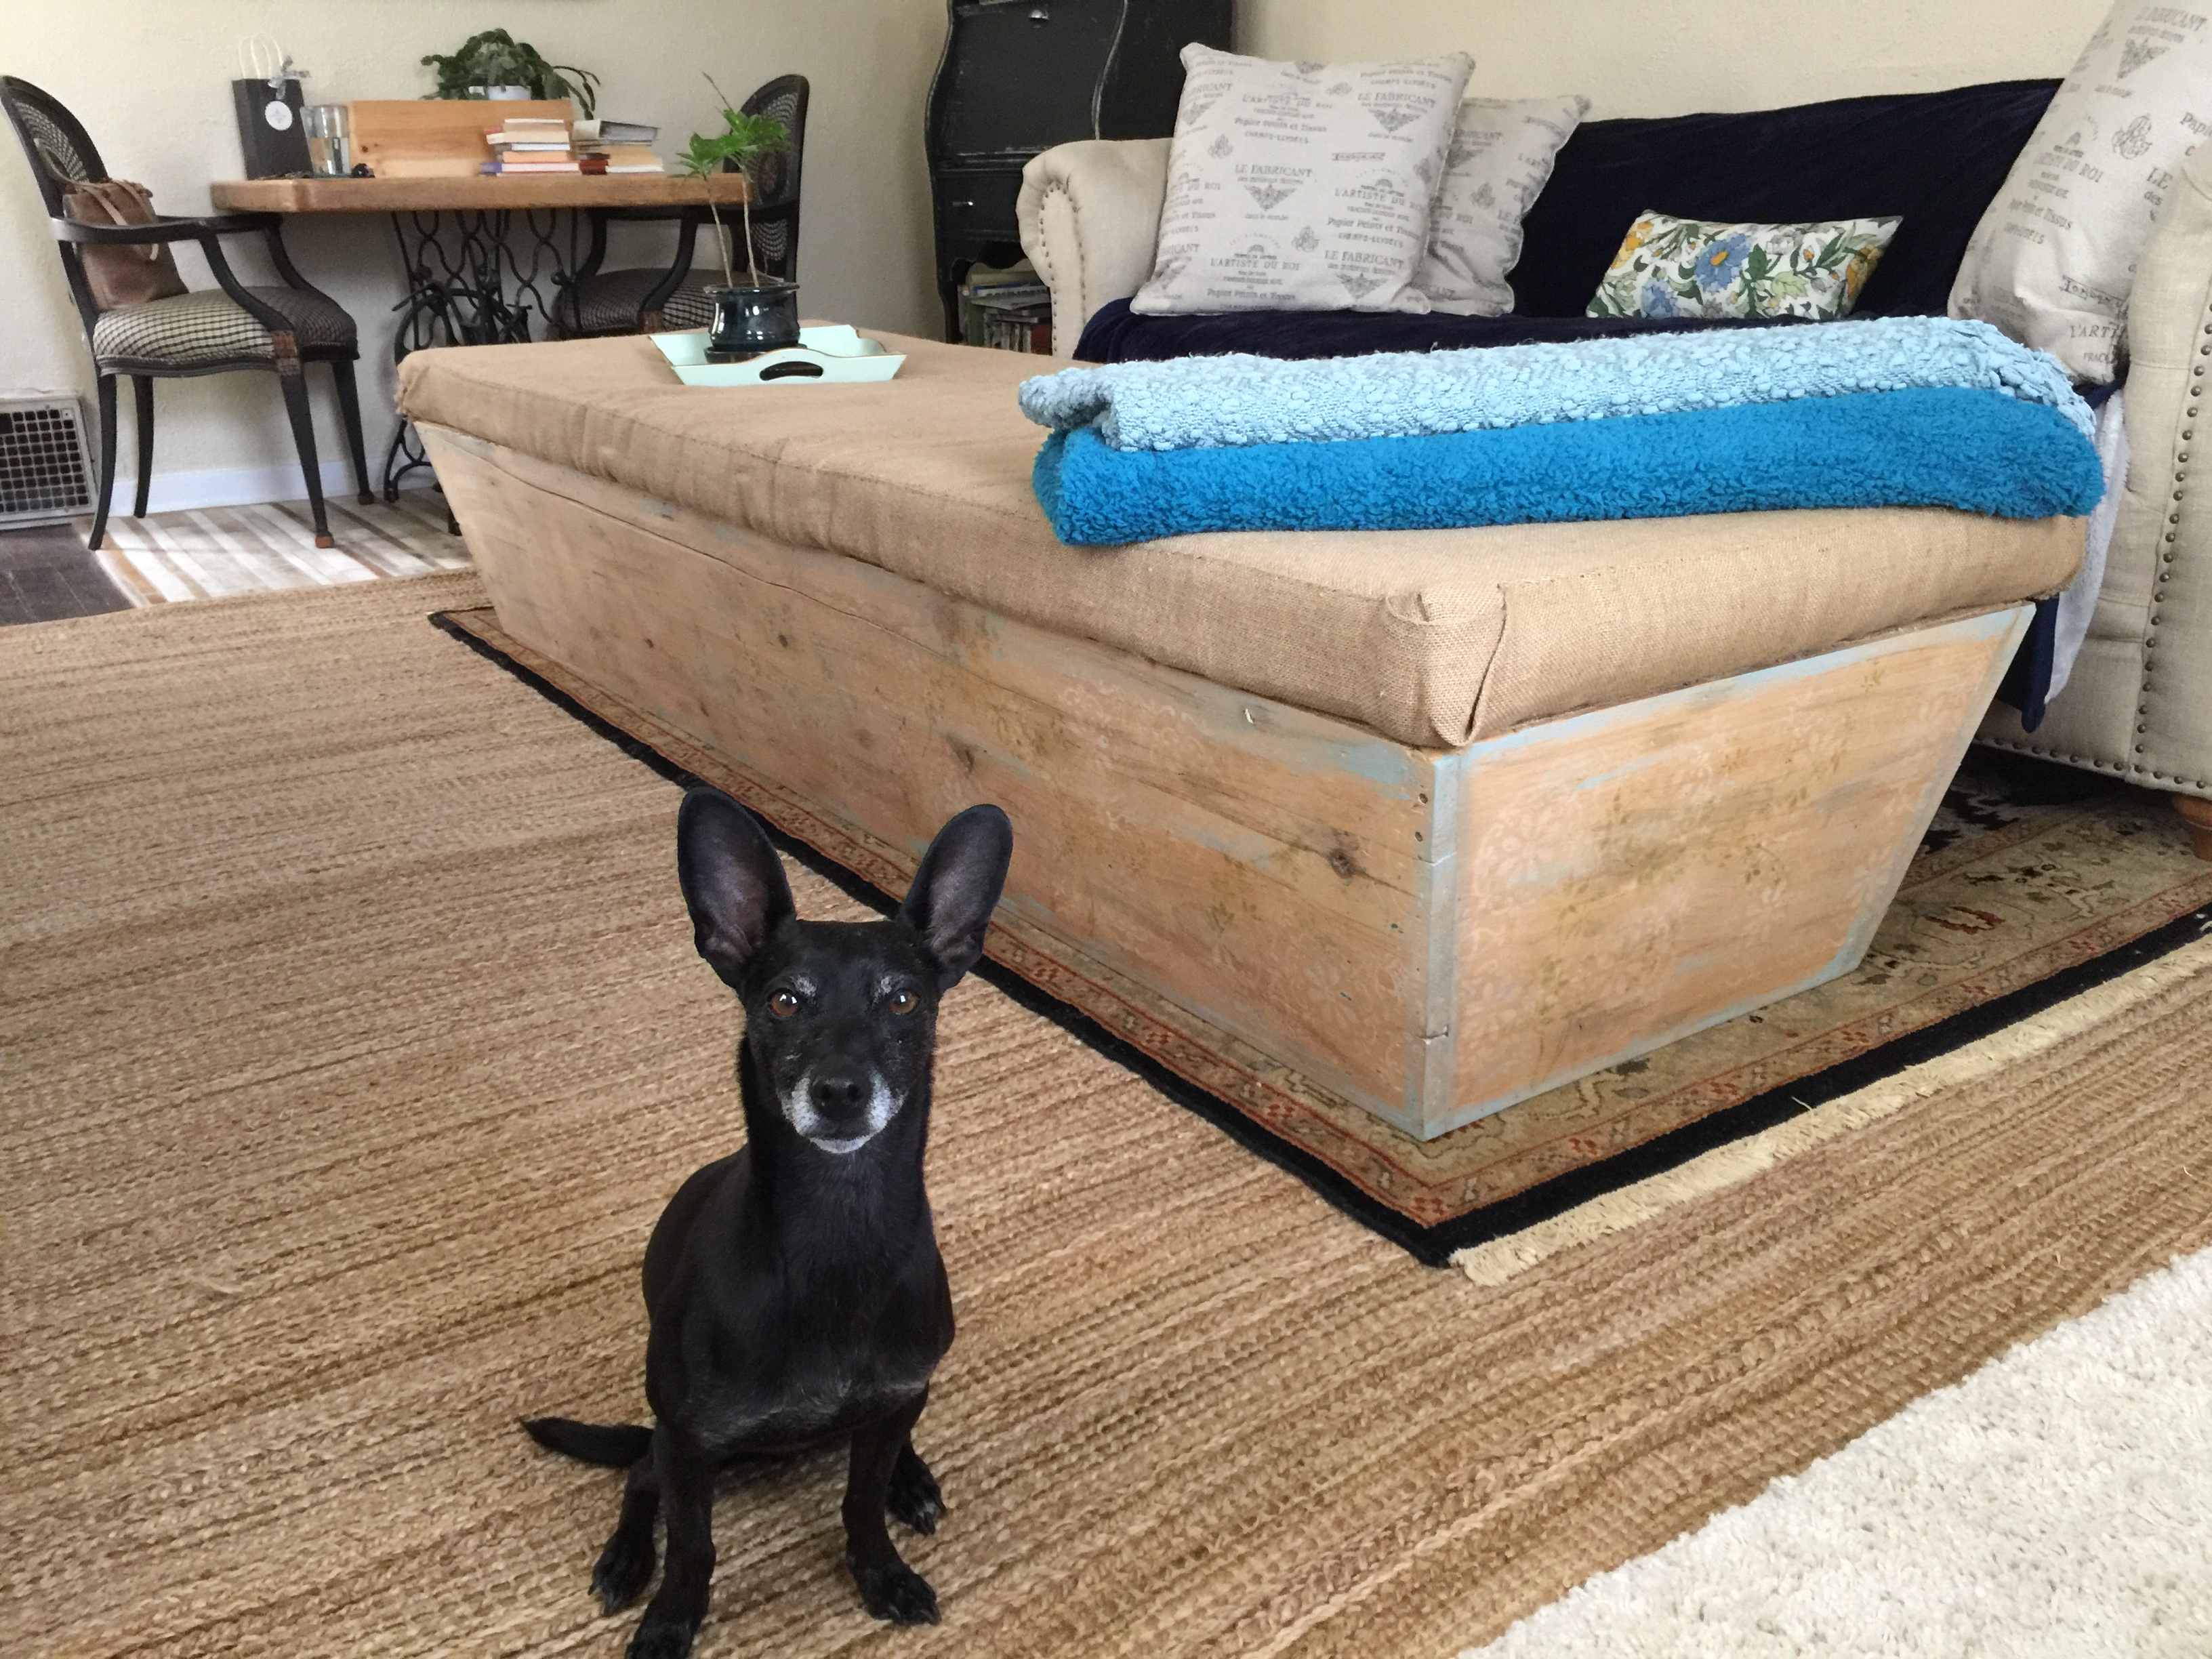
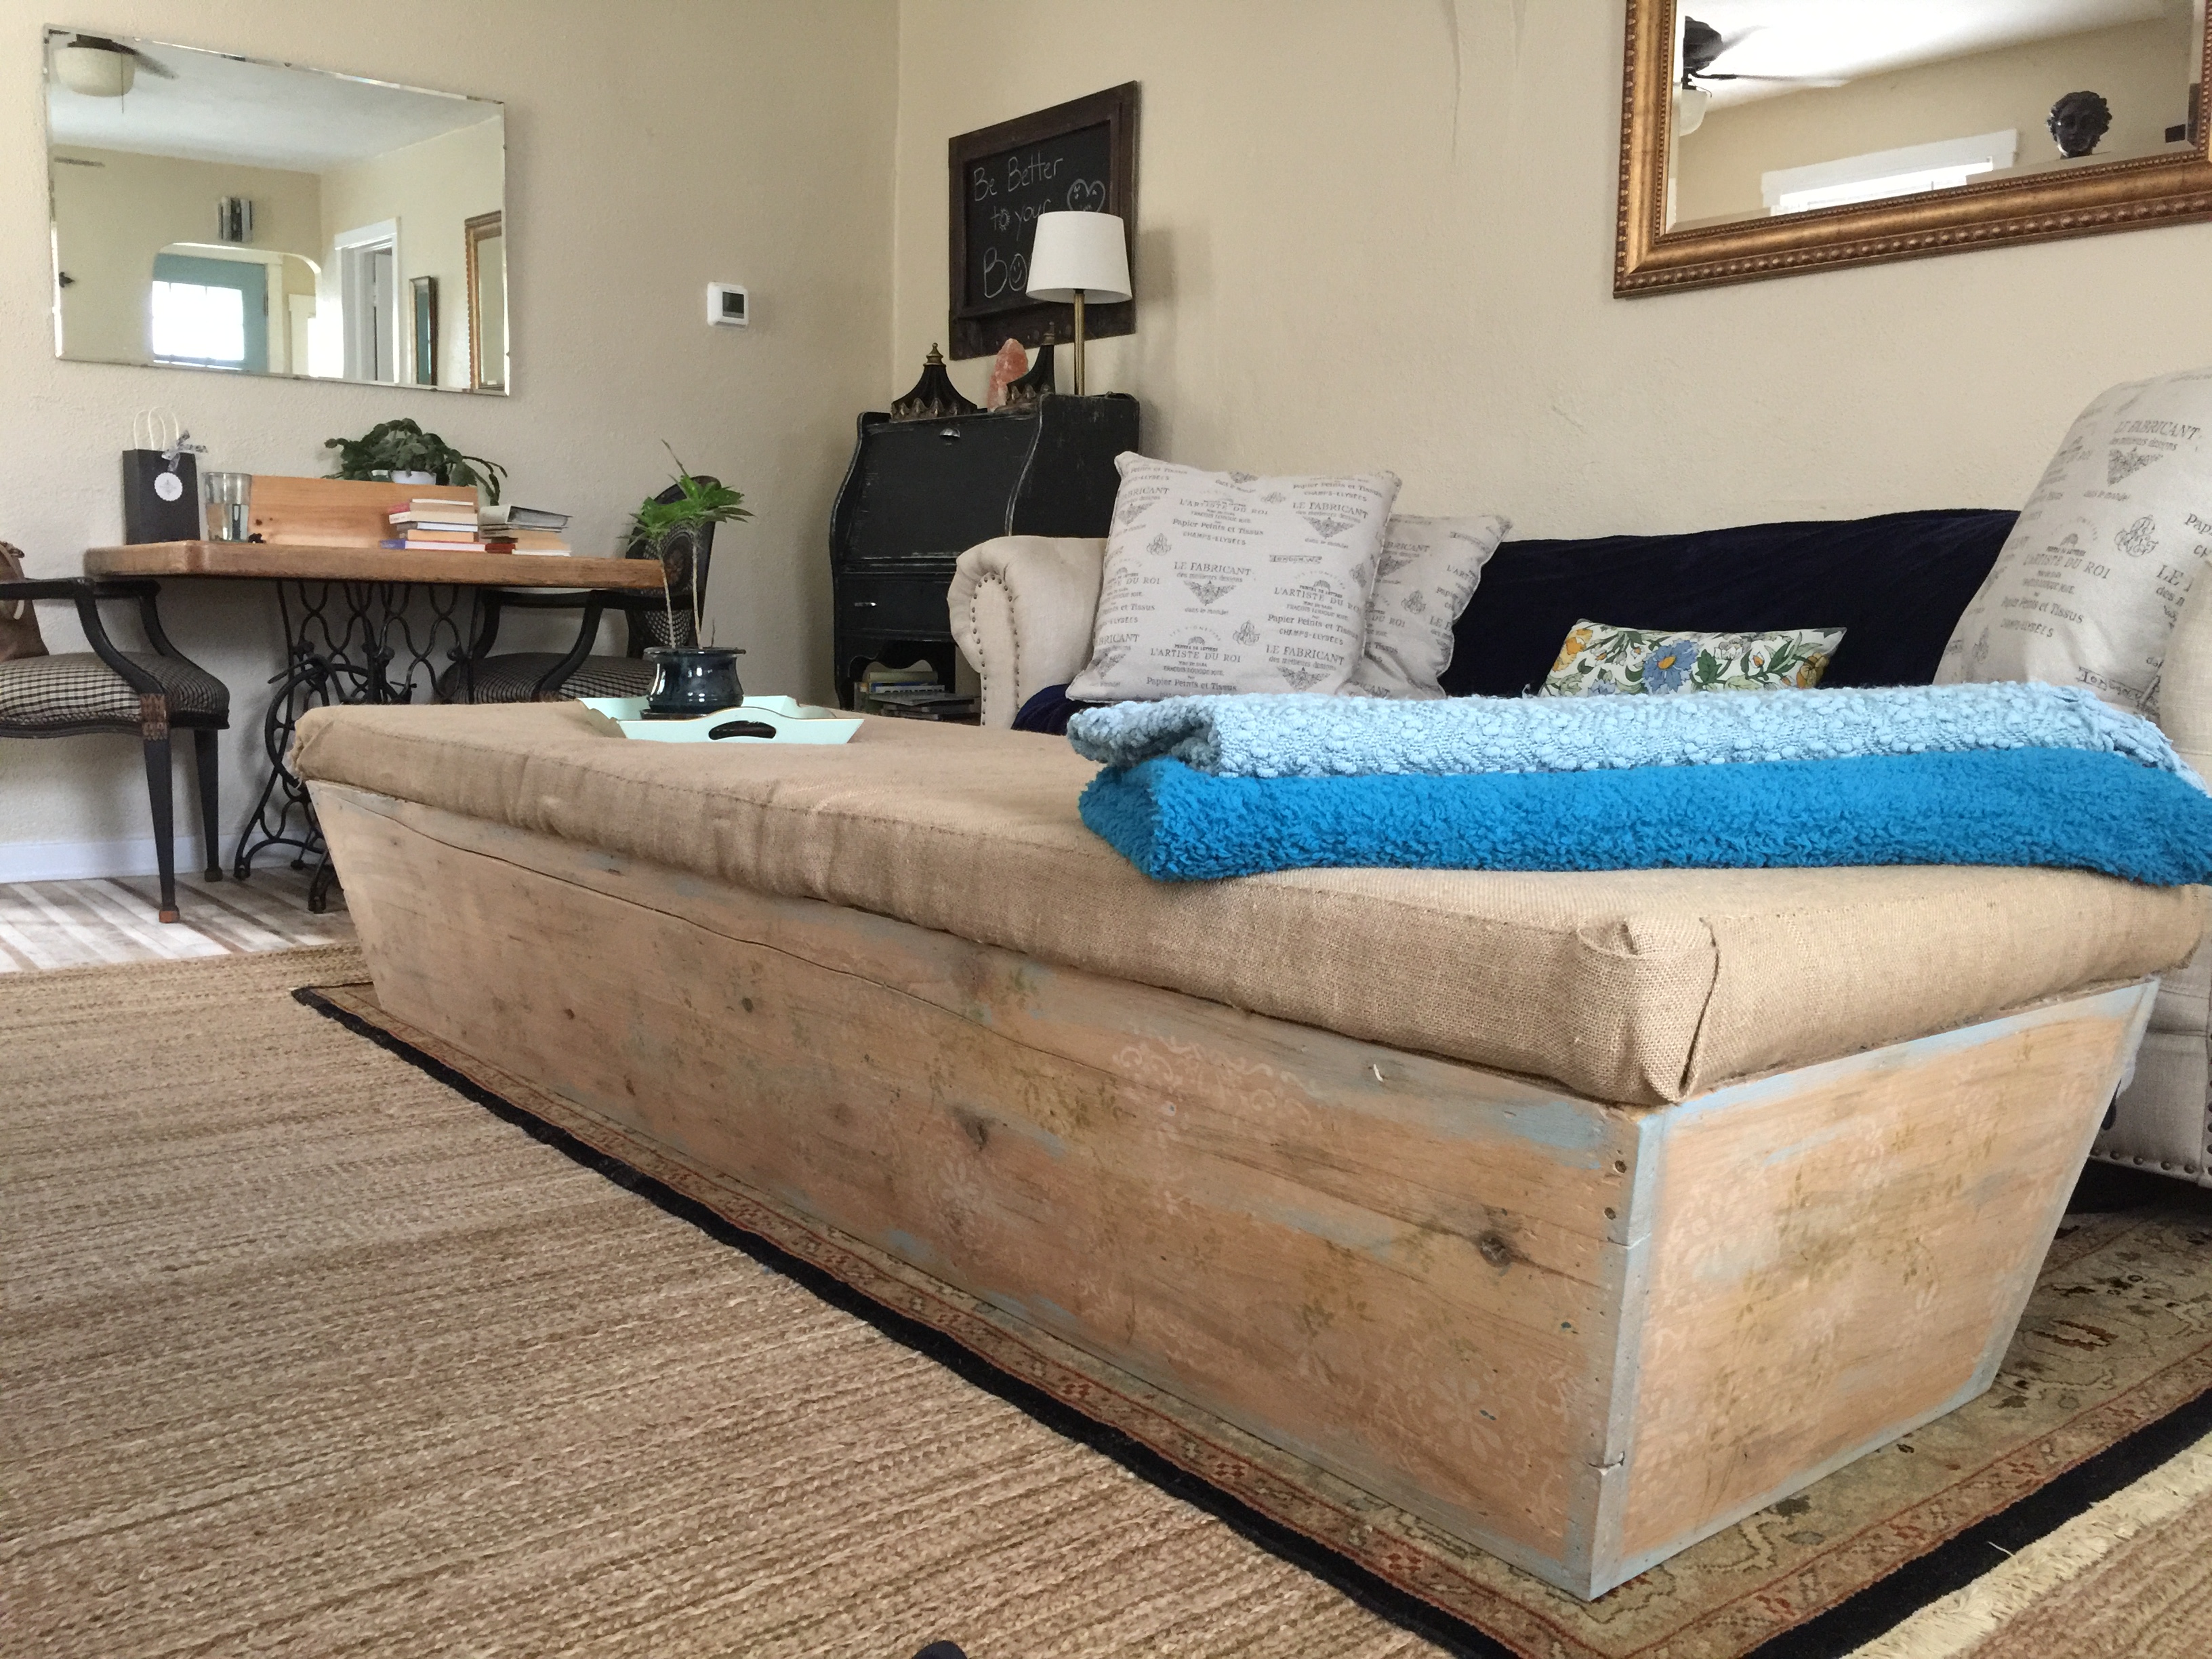
I bought this ottoman a few years back for $20. It was upholstered in a Red and Gold Morroccan tribal fabric and was already cool, but it was dirty and showing wear. I stripped the box down to the wood and made a new foam cushion, covered in burlap.I used it as a banquette bench with my dining table at the Logan house, while I was living there.Cushions made it welcoming and comfortable to sit on, as demonstrated by Rocco!I now use it as a huge ottoman in front of my sofa. It’s 8′ long and 3′ wide. It serves as a bench, an ottoman, a cocktail table, a foot rest and a yoga mat all in one!The wood is unfinished and has some distressing.The box is hollow and has webbing on the top. It also has a long split in the wood that creaked when I sat on the bench. I used some metal brackets to reinforce the 2 sides of the split, from the inside of the box.It no longer creaks!This is my original pattern, on a piece of scrap wood in my yard.I converted my outdoor dining table to a work bench by covering it with an old quilted blanket and painting plastic, tied at the corners. This space is protected from rain and weather, offers good ventilitation and easy access to my project from all sides. One tip: make sure you have plenty of room and light for your project!In the end, these are the supplies I used, left to right: Disposable gloves, screwdriver, Minwax finishing wax and clean cloth, 36 grit sandpaper block, wet clean sponge and Tobacco Green paint, mixed with White paint, water added to make it more watery, Blue painters tape, Blue paint mixed with White paint and watered down and applied with a clean cloth and a clean buffing cloth. I used 2 stencils. This one, with Off White chaulk spray paint and Teal spray paint.I took the patten all the way down the box, blending some Teal into the Off White pattern.My first run.Then, I went over the White pattern with a vine pattern, using 2 colors of Green. Each time, you have to tape the stencil into place and cover all the edges so you dont get overspray! This takes time, people!I wanted to use the vine pattern in different applications, so I made a couple templates to cover the parts I didn’t want and only expose the sections I wanted. This makes my vine pattern seem more randon and less cookie cutter, giving a more authentic look.3 different vine patterns in 1 stencil!And covering the edges also takes time! I reused these same pieces of art paper, as edges, for the whole project.Getting ready to spray some vine.Ok, White pattern and vine pattern done on this side. It’s kind bold though, and I didn’t realized how much sanding I’d have to do to get the look I wanted. I used too much paint at first!On the left side of this pic, I’ve applied the Minwax Paste finishing wax and you can see how rich and dimentional the wood looks! The wood really sucked up the wax and gave it a rich patina! I ended up doing 2 coats of the wax. But the pattern is still too busy, too dark!Assessing my options at the end of a slow going day. I’m exhausted, not quite happy with my results and I need a shower to take this sawdust off my body and out of my nostrils!Ugh!The next day, I’m feeling motivated to sand like crazy and get more distressing in my pattern, antiqued and less bold! I go to Home Depot to buy more 36 grit sandpaper.This is how my workspace looks, temporarily set up on my wine console.This was written on the side of this box, I added the word “Bistro” with a sharpie marker, thinking it would make the box look more French. It didn’t work. I sanded it down again.This is the 2nd side. I learned yesterday, that you need alot less paint than you think, making the sanding process much less work. Now that I’ve done it, I learned how to make it easier and get the result I want. See how much more faded it looks before sanding?And after sanding, paint distressing and the wax is applied.The ends of the box were a breeze! By this time in the project, I’m literally holding the edges in one hand and spraying with the other. I’m a master at this point!The other end. I used the Blue paint wash to frame out the box, making it seem more finished and hopefully, vintage. I also painted Blue streaks into the body of the box panels to give it more dimension.After 3 days, my thrift store find has a new look and feels more French country to me. It’s hard to see the pattern in these pics. It’s more noticable in person and I did want an antique, distressed look for this box.This project was fun and relatively short. I learned alot on the first day, as I tried different things to get the result I was looking for. Refinishing furniture is challenging, generally inexpensive and rewarding when done. This is a great way to rejuvenate an old piece you’ve had for a while or a piece you just found and needs some TLC. I look forward to refurbishing another piece soon!
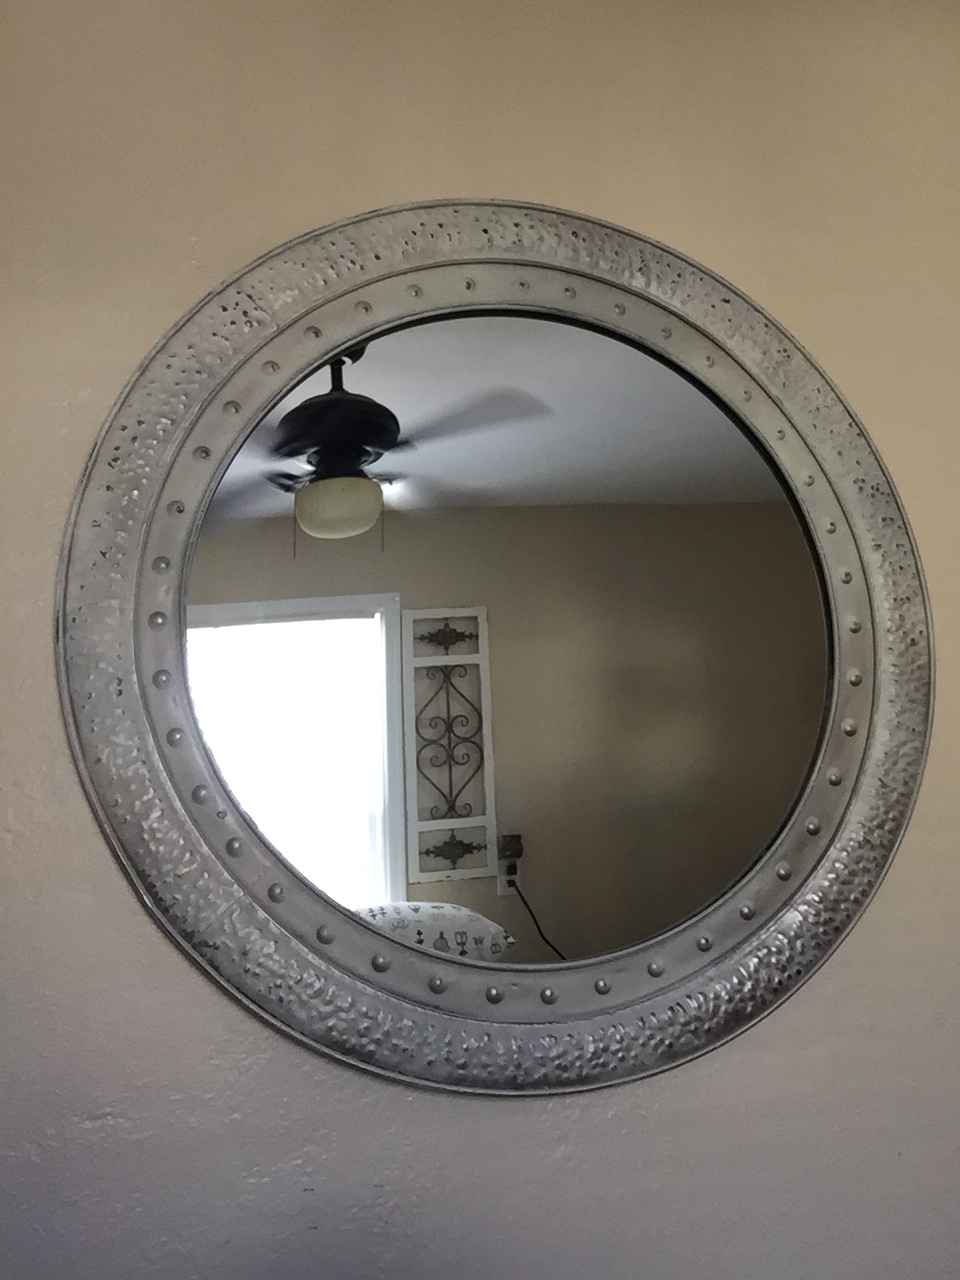
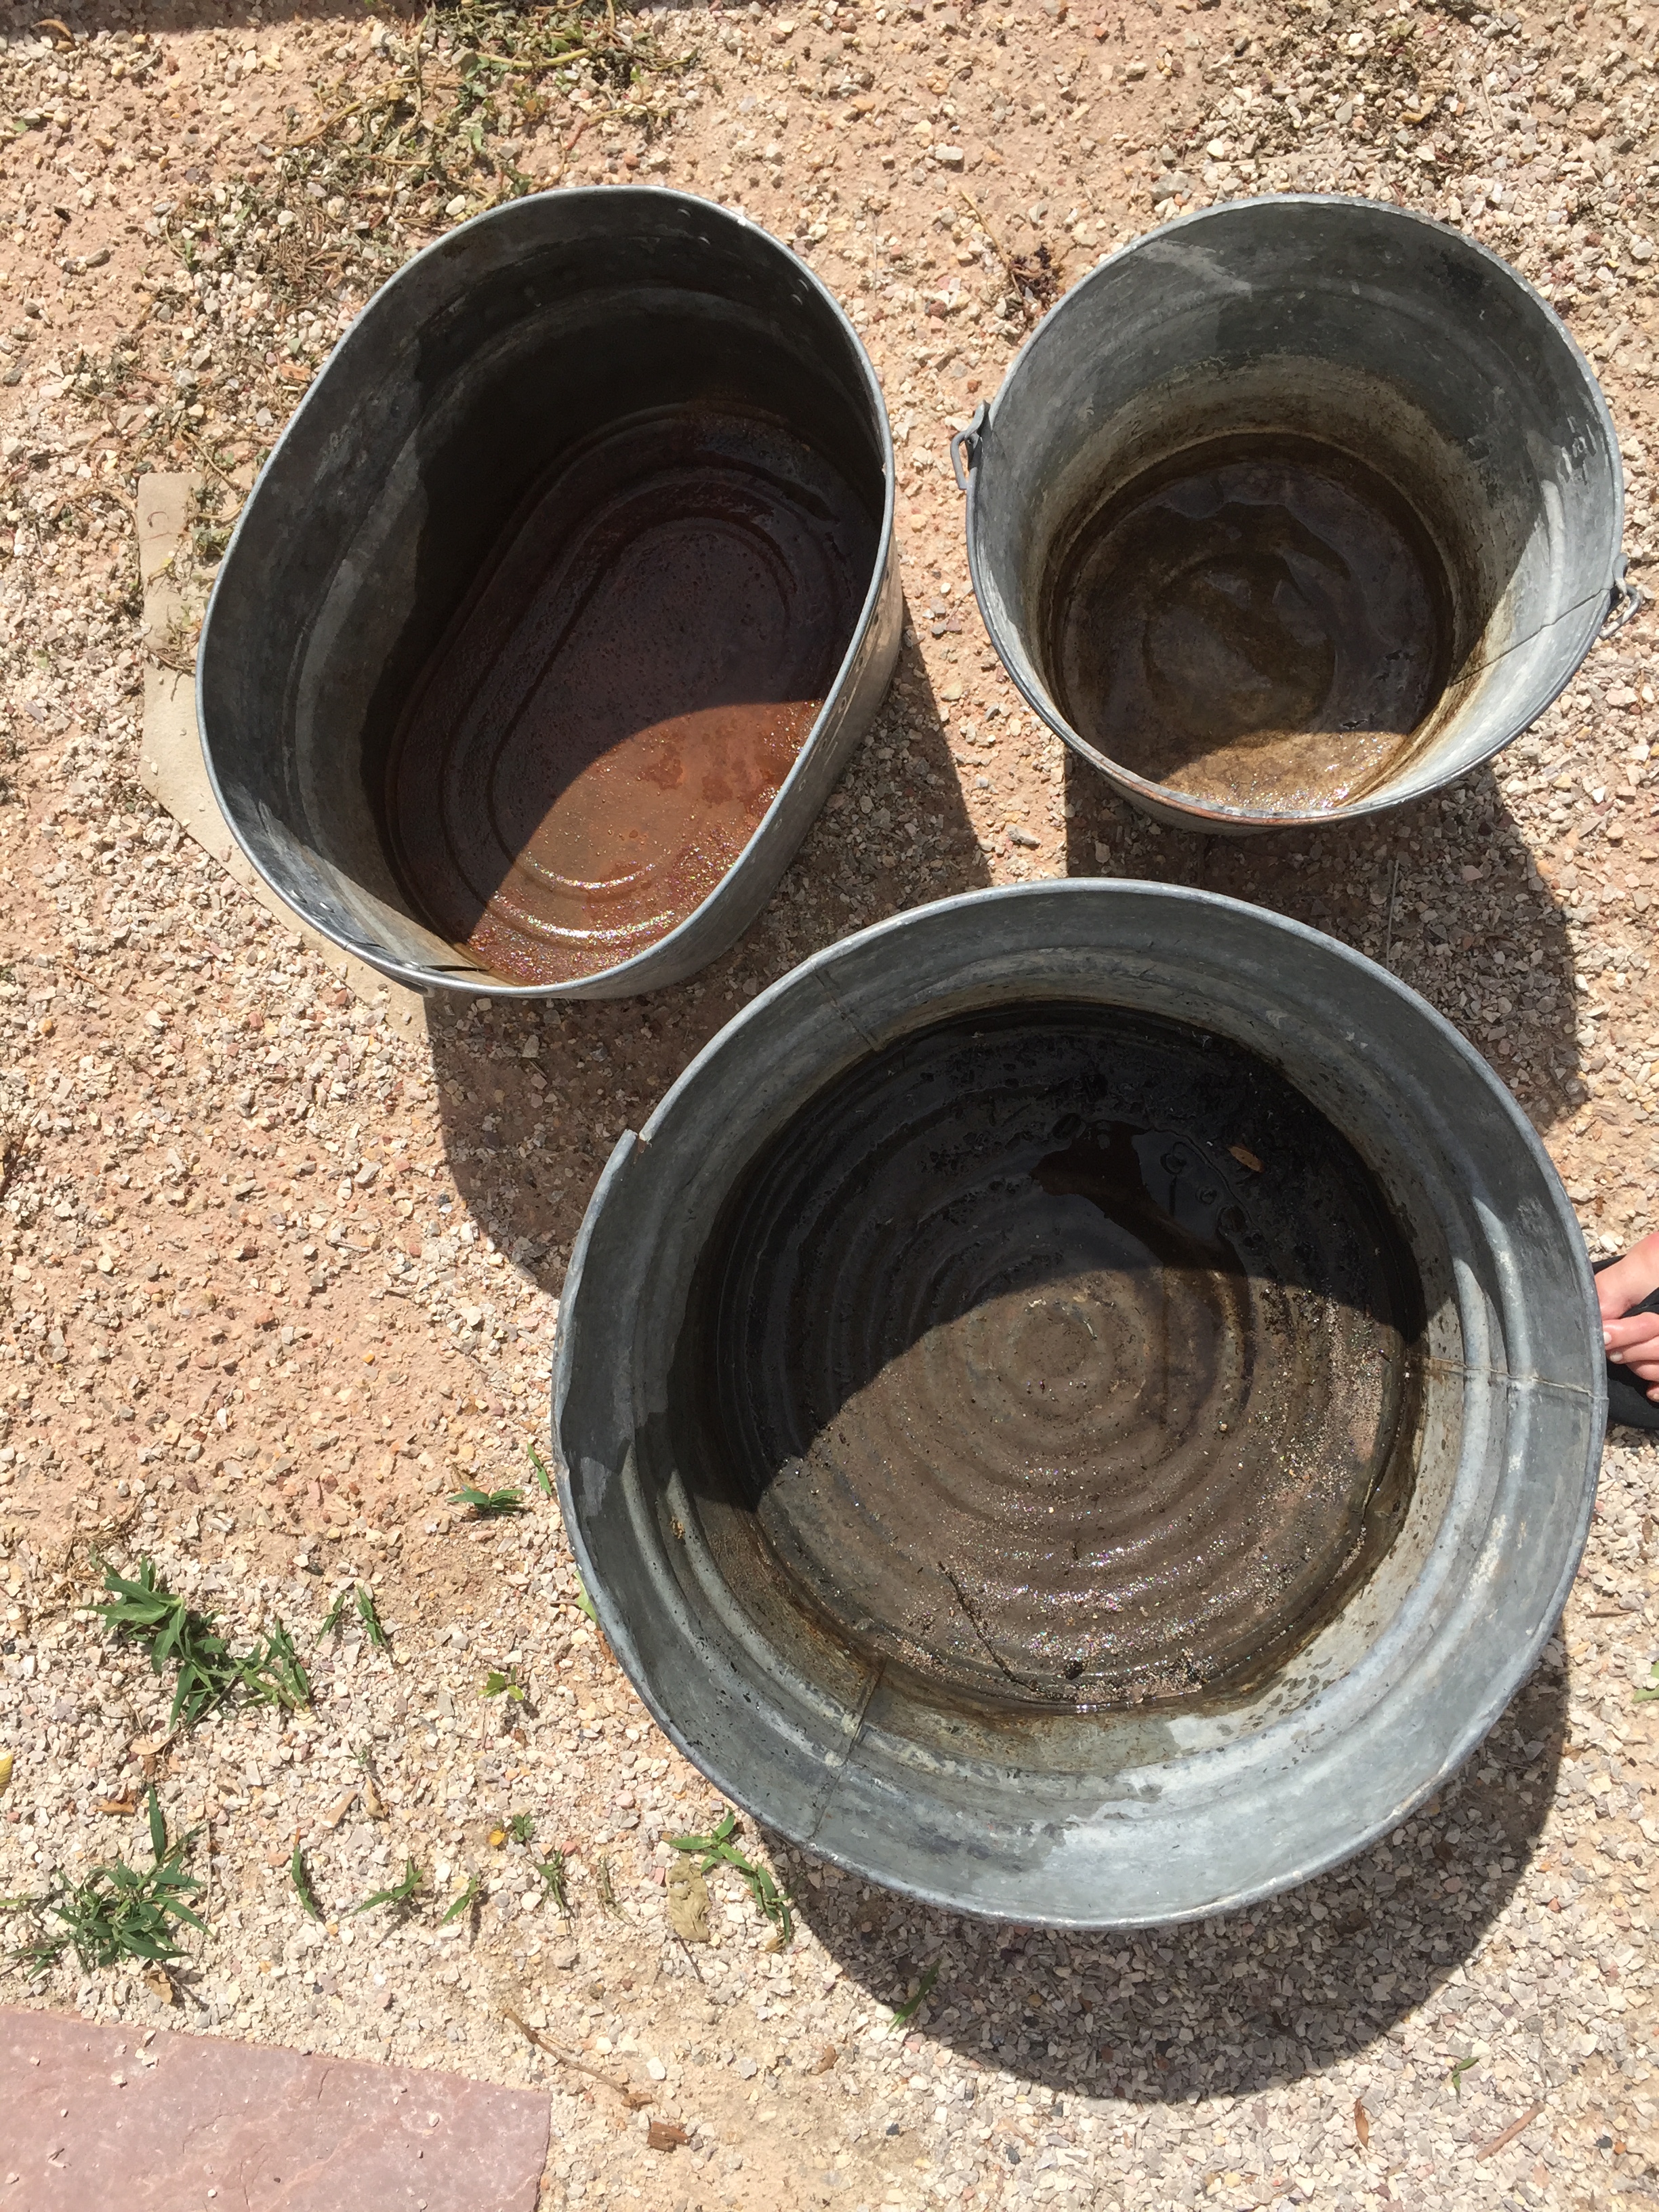
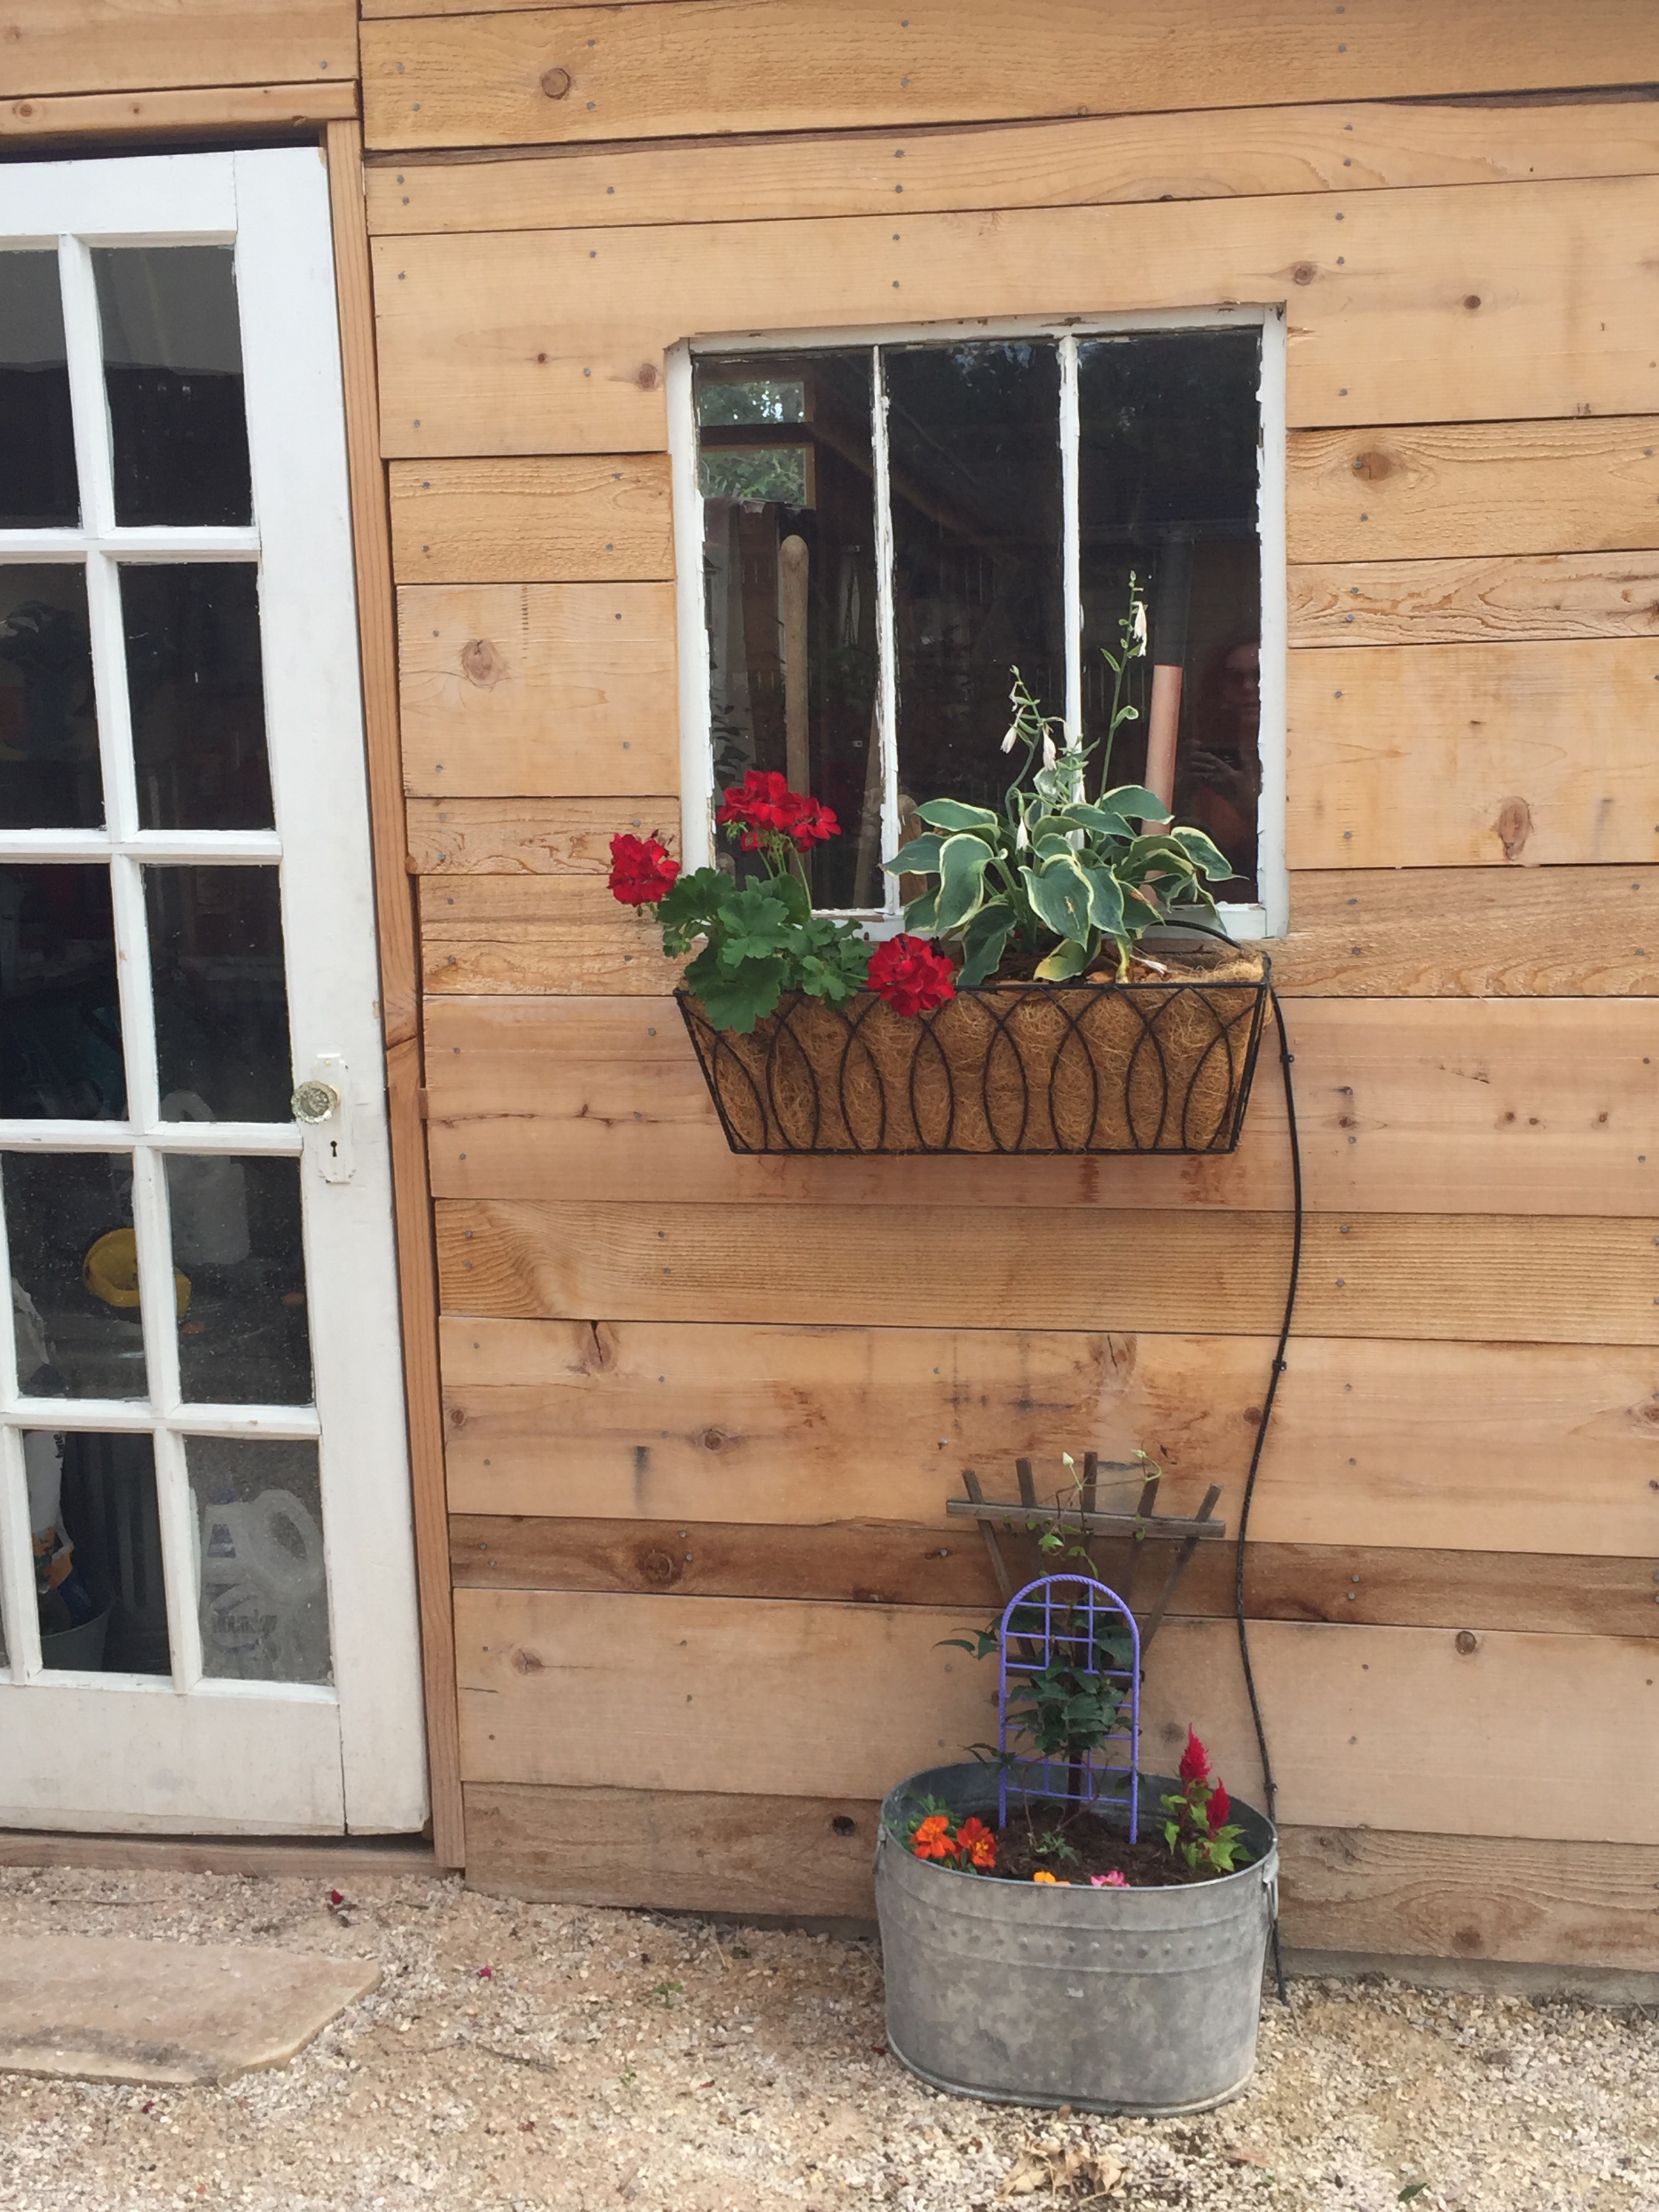
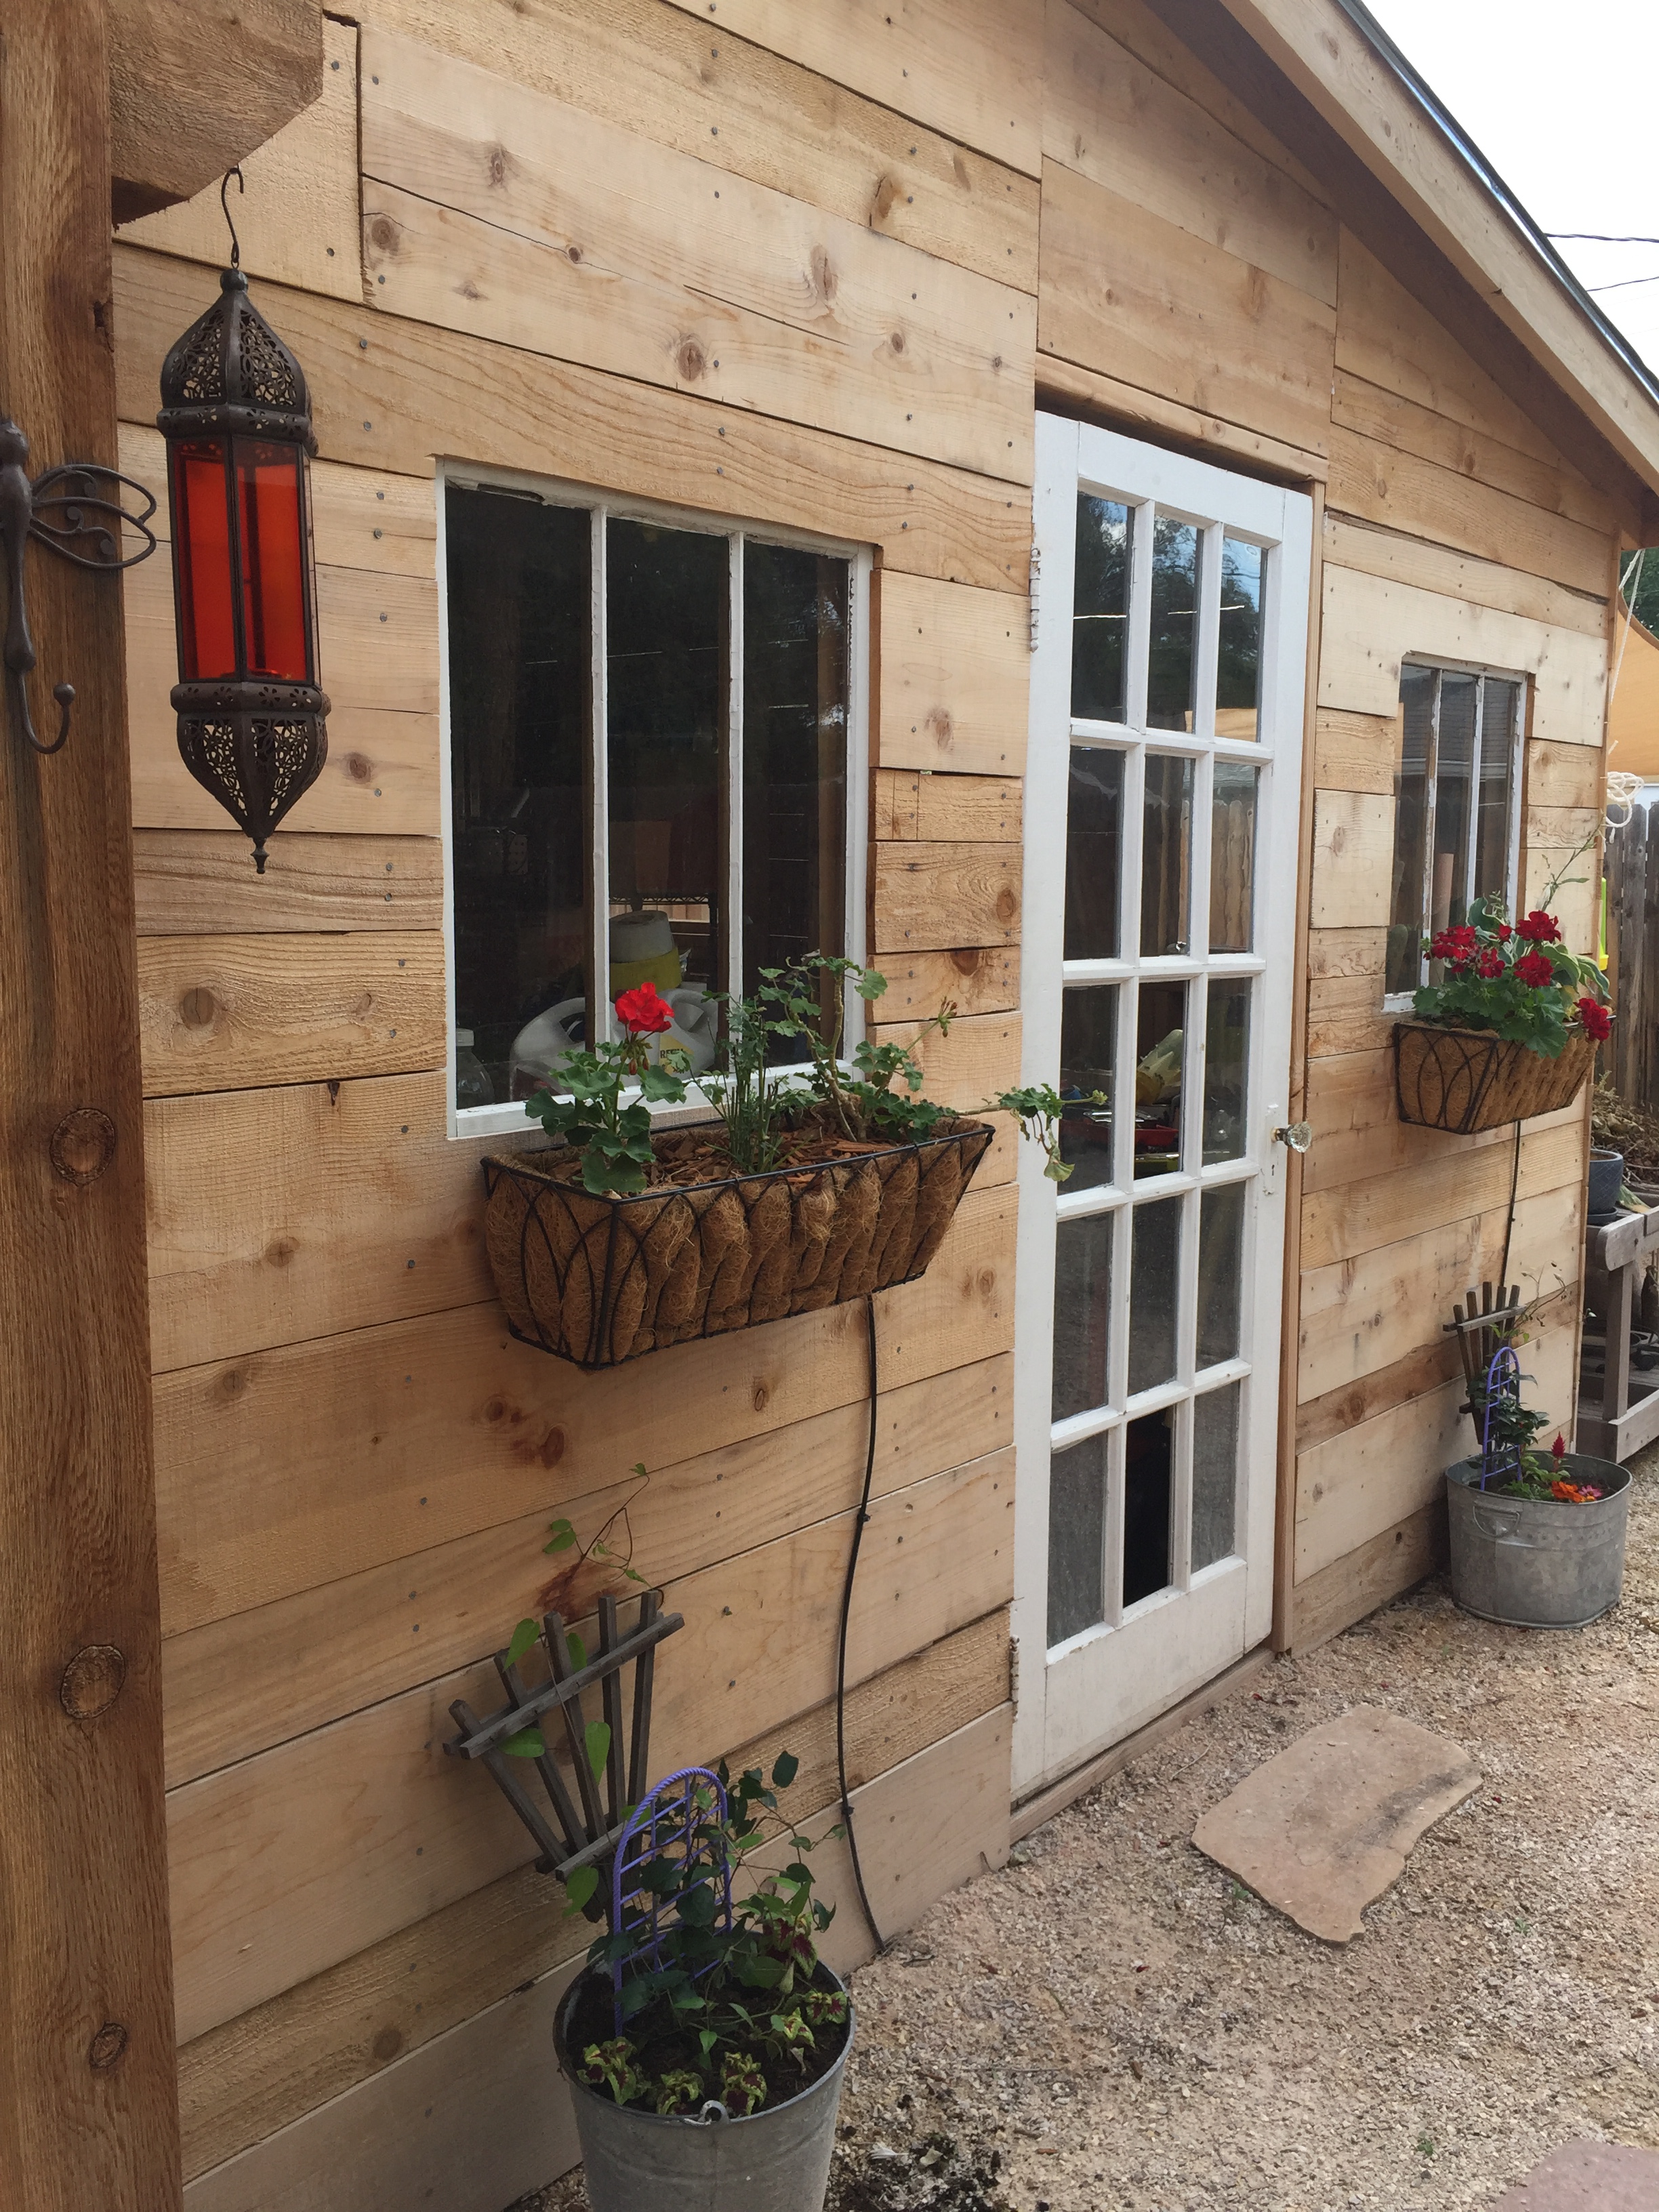
I saw this mirror on Restoration Hardware’s website and decided to upgrade my mirror to look similar.How it looked originally…A couple coats of spray paint and sandpaper distressing and this is how it turned out. I like it!And this cool ornate mirror always reminded me of Indonesian style…But after adding vibrant Turquoise paint and some distressing, it became this fun tribal artifact.My garden boxes look great and are flourishing in their new space on the shed. However, the water runs straight through the basket and ends up on the ground. I decided to use these old galvanized buckets as planters to catch the recycled water and brighten up the area below the garden baskets.
I drilled holes in the bottom for drainage…
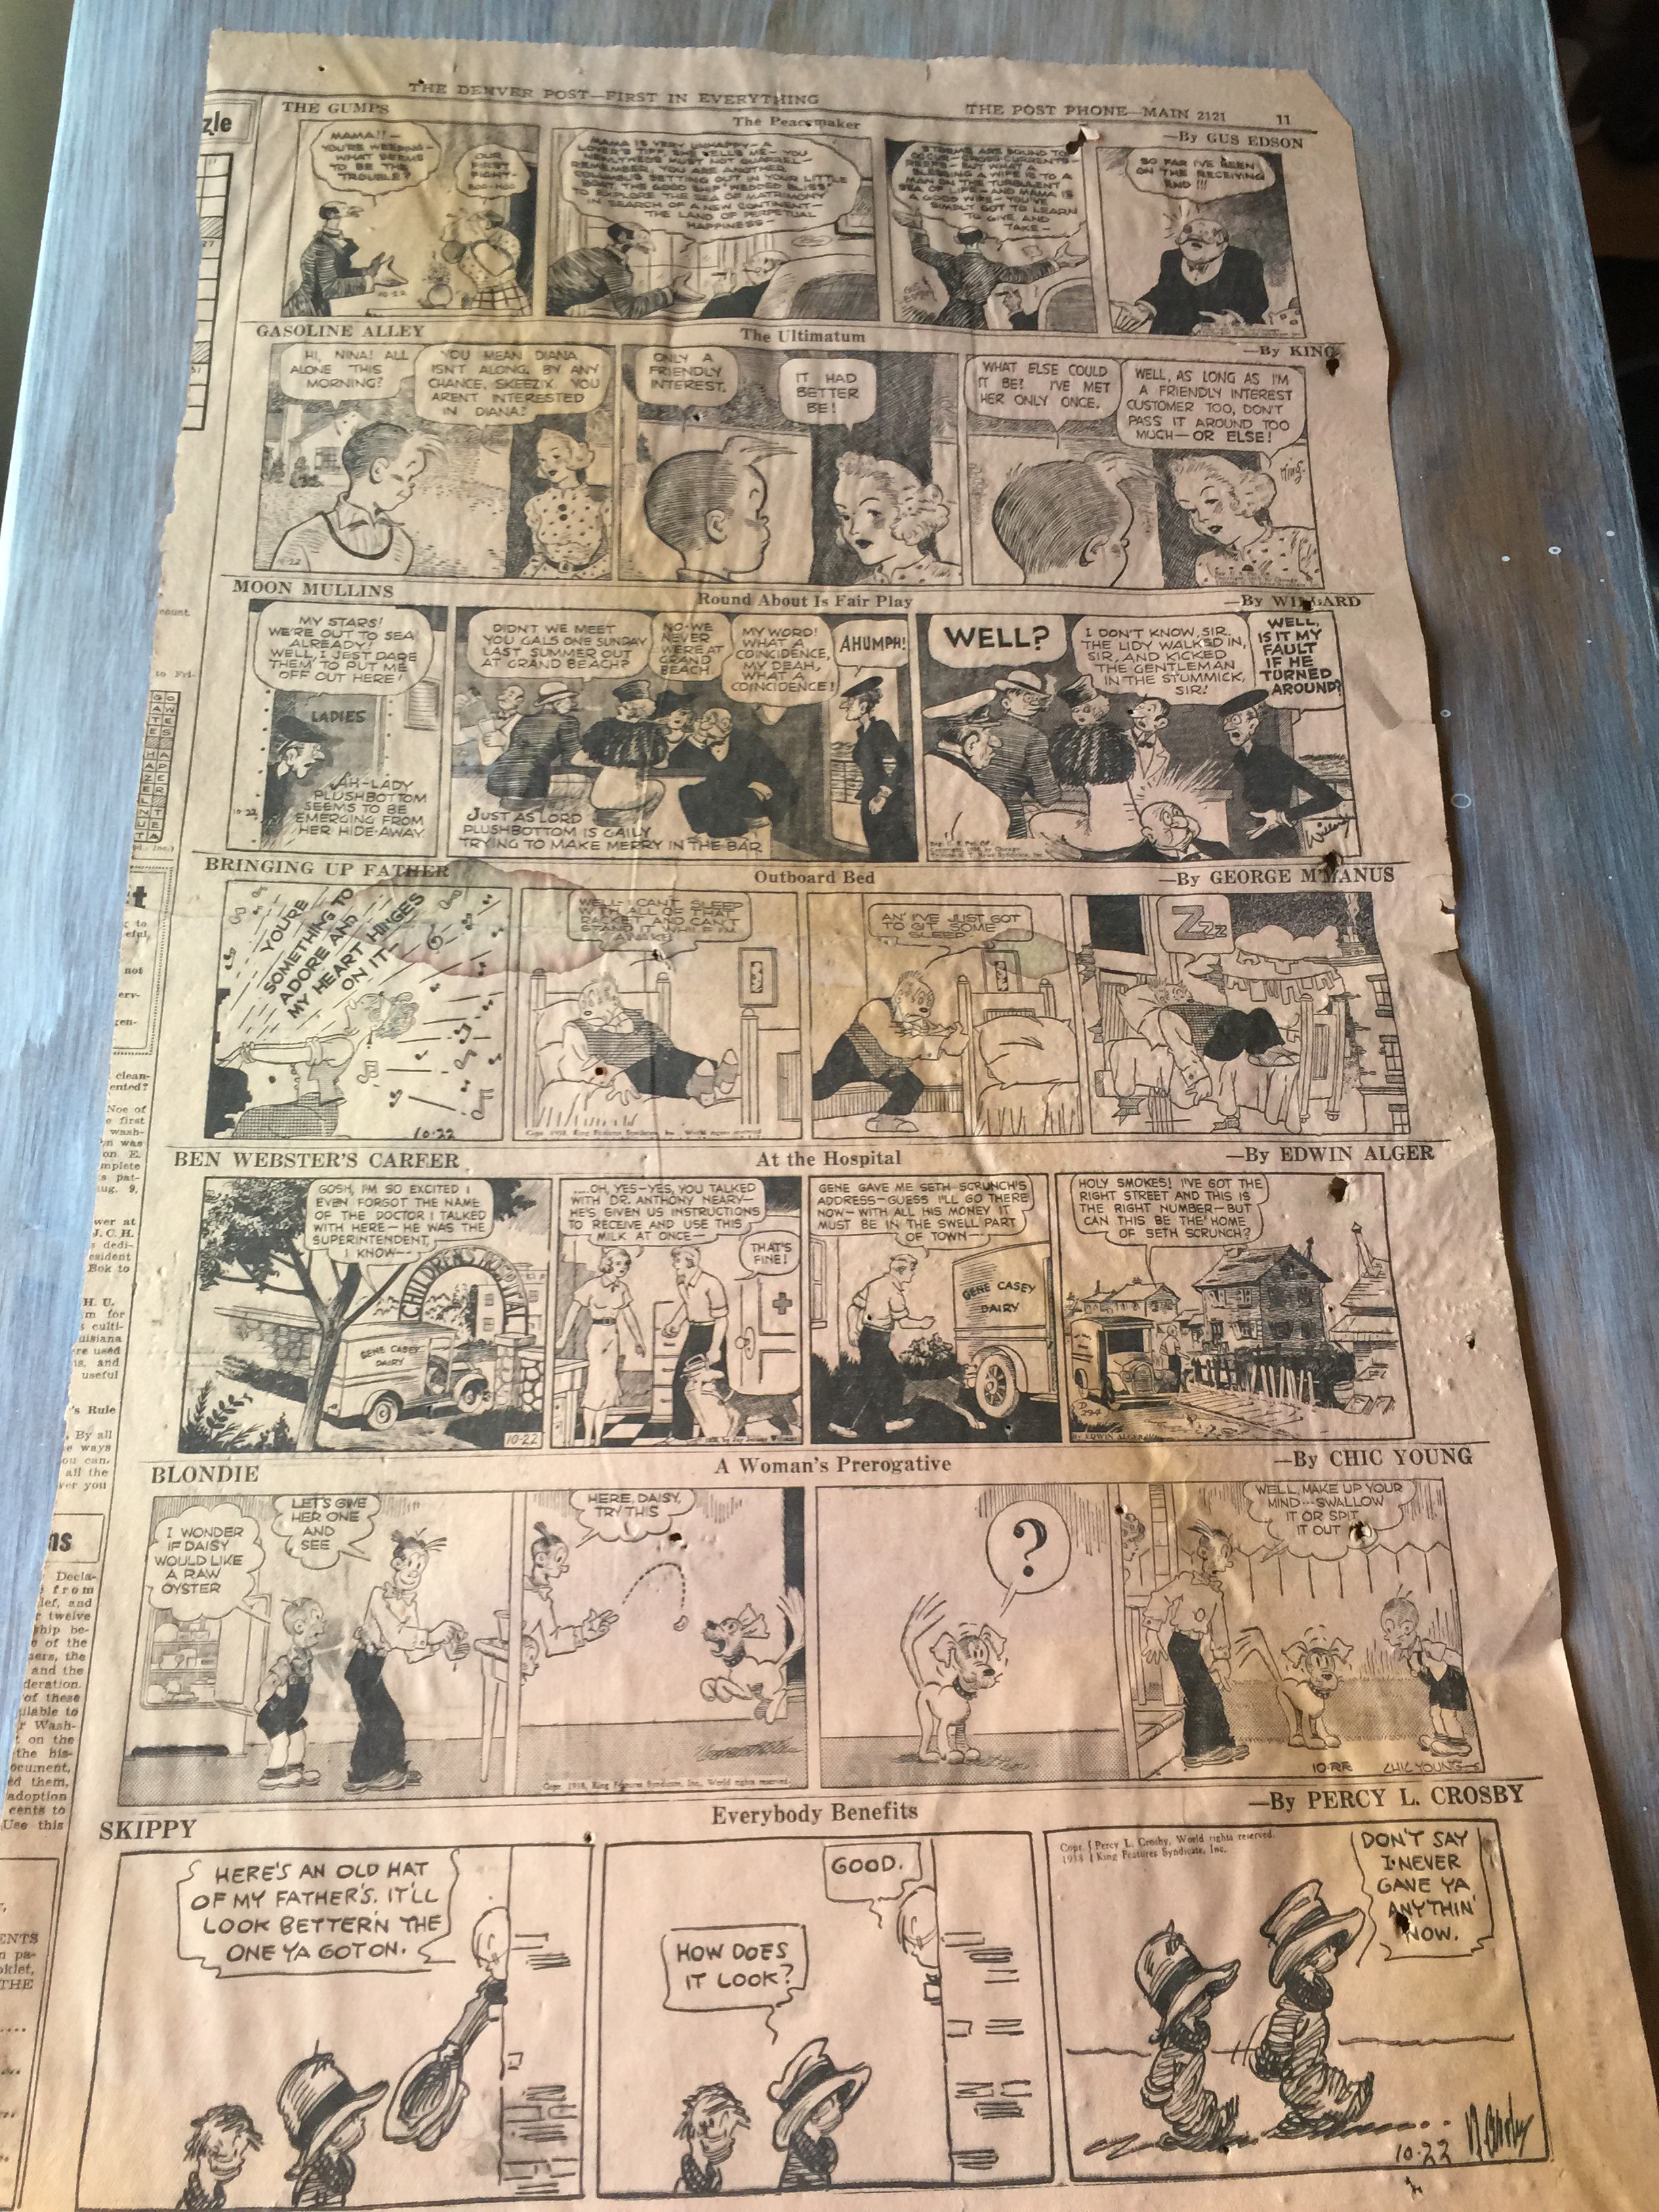
I planted a Clematis vine and some annuals in each bucket and they look fresh and colorful under the baskets.One on each side of the shed door…Looks great!And another bigger bucket under the hanging basket by the back porch.When I replaced the hardwood floors in the kitchen in 2012, I found these 1938 vintage newspaper pages being used as insulation. They are beat up, but the articles, ads and comics fun to read.Inspiration comes in unexpected places. I’m learning to listen to my heart and hear what it’s telling me. My work is ongoing, but I feel more balanced and clearer than ever before. We all struggle and fall and crumble sometimes. Let’s recognize the humanity in us all. Give freely, the support you so desperately need in your own life at times. Smile at people, say something positive, give them a hand. It’s so simple and so needed.
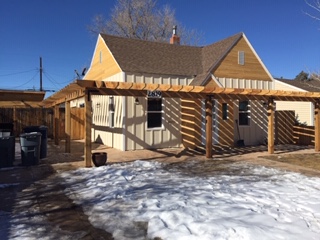
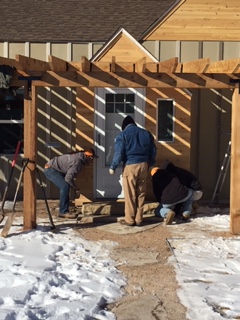
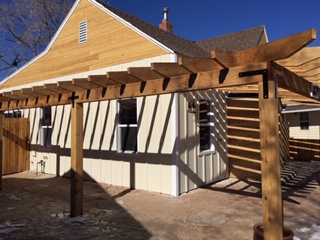
The paint is finally on the siding and it looks fresh and bright!
Now that most of the big stuff is done, I can start working on the decorating, my favorite part! I’ll place the planters, hang flower baskets and move some benches into the front around the house. I also ordered a cool tiled house number set that should be here soon.
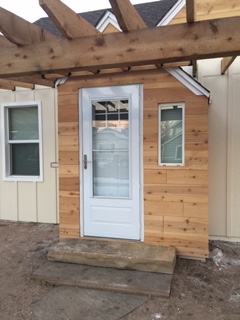
The top flagstone step arrived and the landscapers are placing it.
So Much Better!
Now that the paint is up, the gutters are next.
The Patio Slider looks great!
I think this new slider patio door is the most dramatic change to the interior, so far. The light coming into the kitchen is wonderful and I love look looking out into the yard. Next, I’ll be placing all the planter pots that are being stored in this area and reworking it to be open, functional and pretty.
The back porch is so much cleaner looking.
Today I’m going to Home Depot to buy materials for outdoor curtain rods. And then start setting it up to use! I know it’s only February, but spring will be here before we know it!
My buddy, Rocco! He doesn’t really care so much about the project. He just wants to be with me, wherever that is. Mr. 100% loyal! Otherwise, he loves to eat and sit in the warm sunshine.
Me in my yard a month after I retired in 2016. Working in my yard is a very happy place!
Most of the major stuff is done and I’m now looking forward to working on the small details. I love this part and have been thinking about how to create special spaces in the new clean, updated yard. It’s so easy to lose myself moving things around and trying different ideas until I get it just right. Spring is not far away and, I’m sure I speak for most people, it’s a time to come back outside, breathe fresh air and notice all the tiny little bits Green as nature unfolds again. Once it warms up, I’ll be focusing on the yard, gardens and greenery surrounding the house.