This amazing photo was taken by my mom from her house in Idaho. It’s a view of Henry’s Lake from their driveway. Gorgeous!
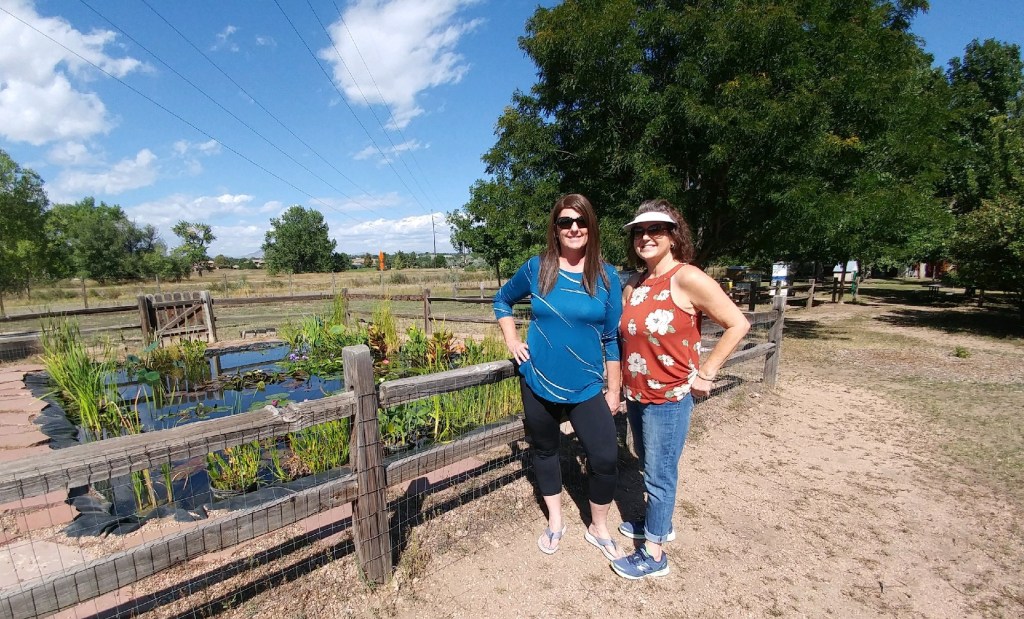
My wonderful Aunt Katie came to visit with my mom for 3 days. It’s so fun and special to see her and have a chance to spend time together without all the kids and grand kids. She’s a positive and vibrant spirit and I’m grateful to have the time with her!
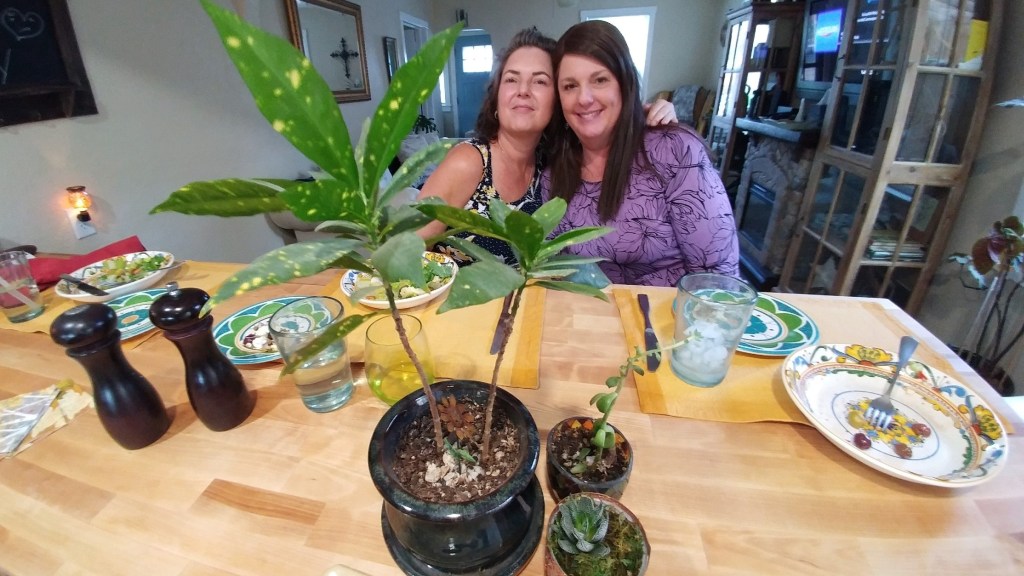
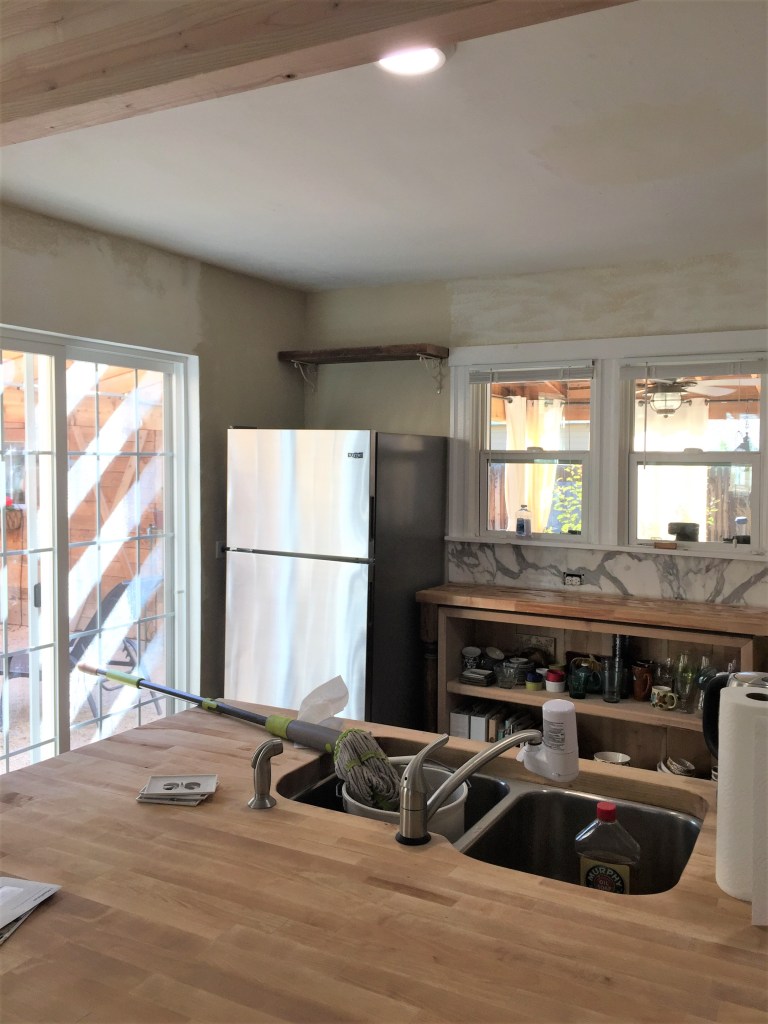
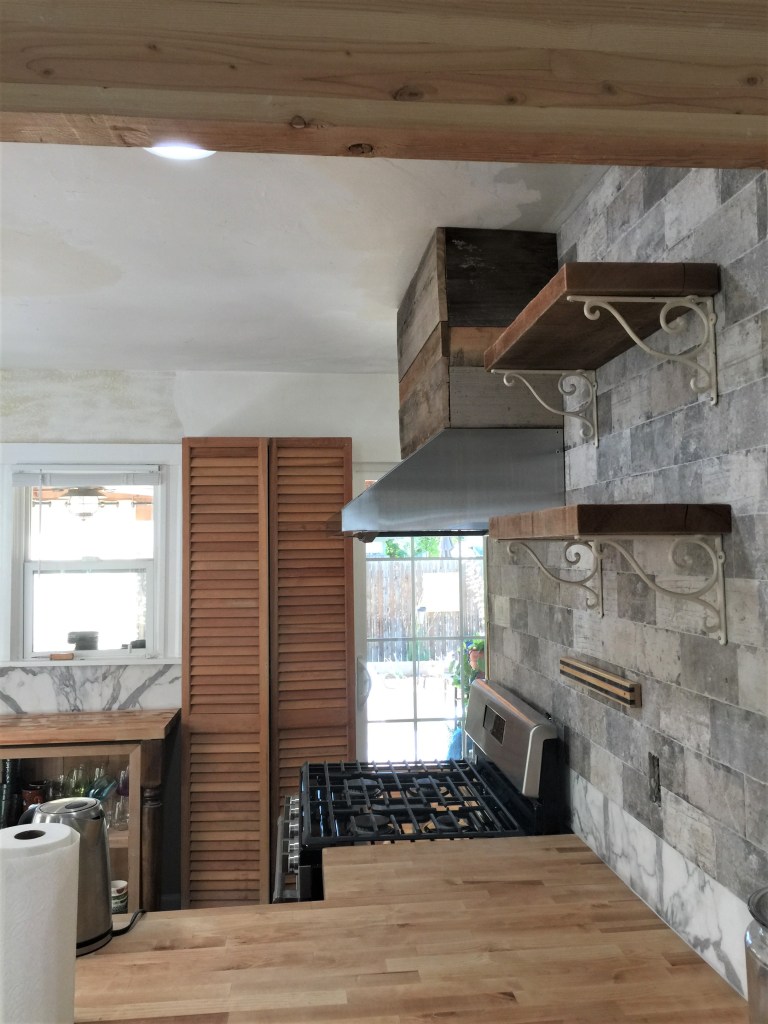
The first time entertaining in my new kitchen.
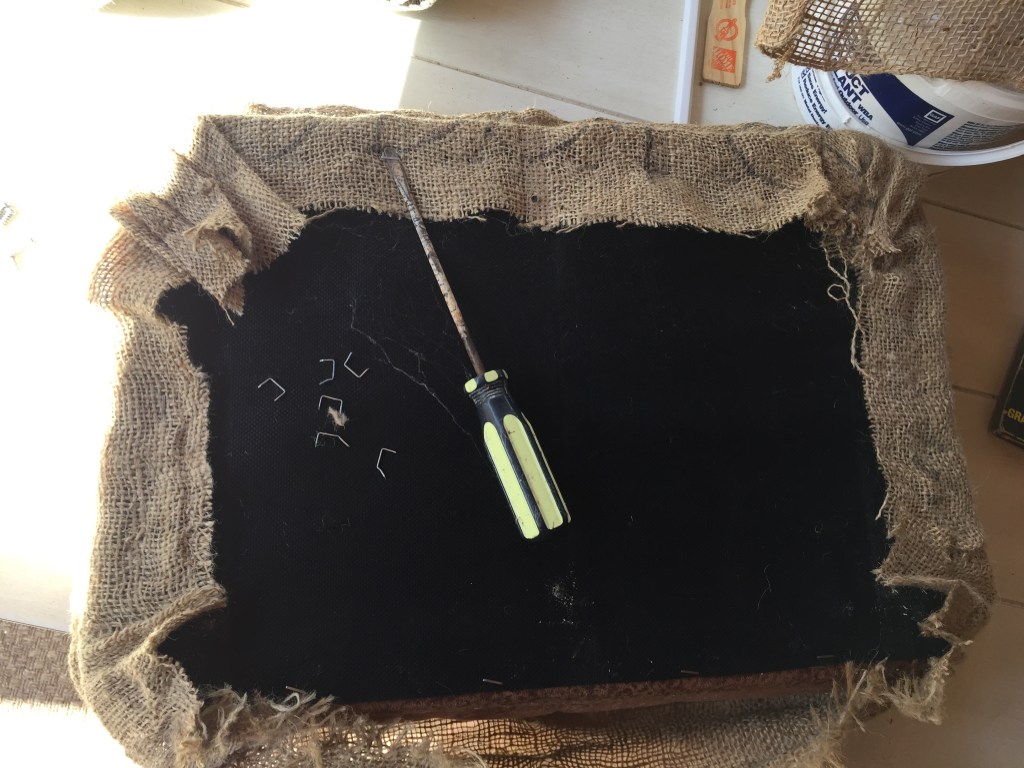
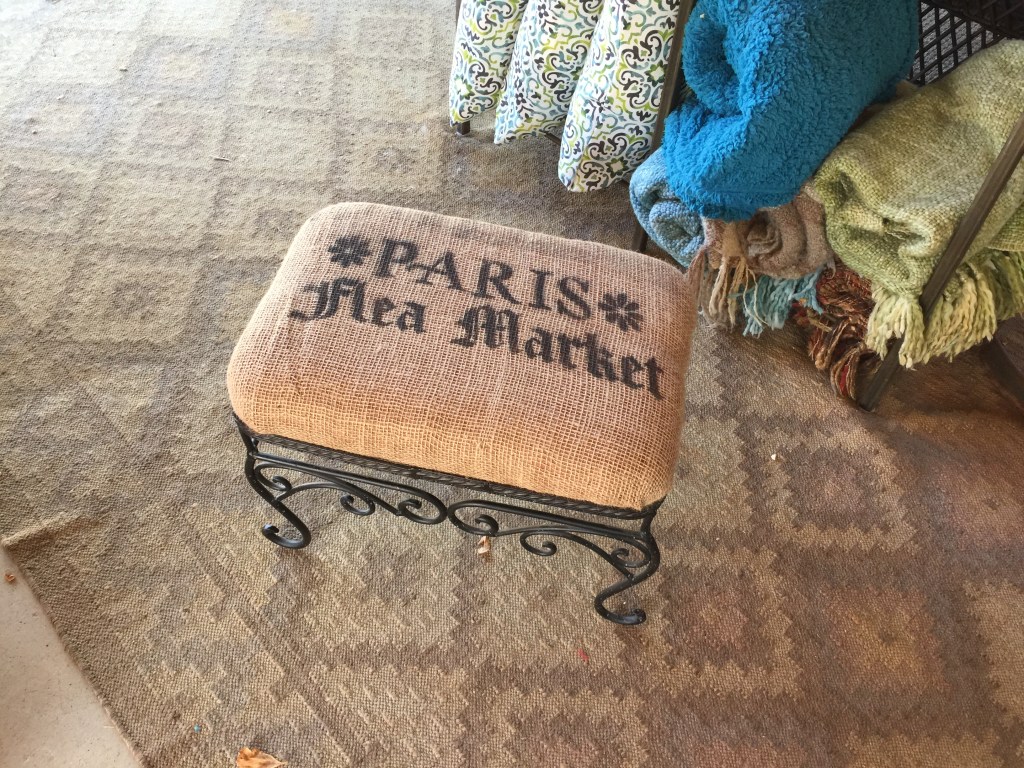
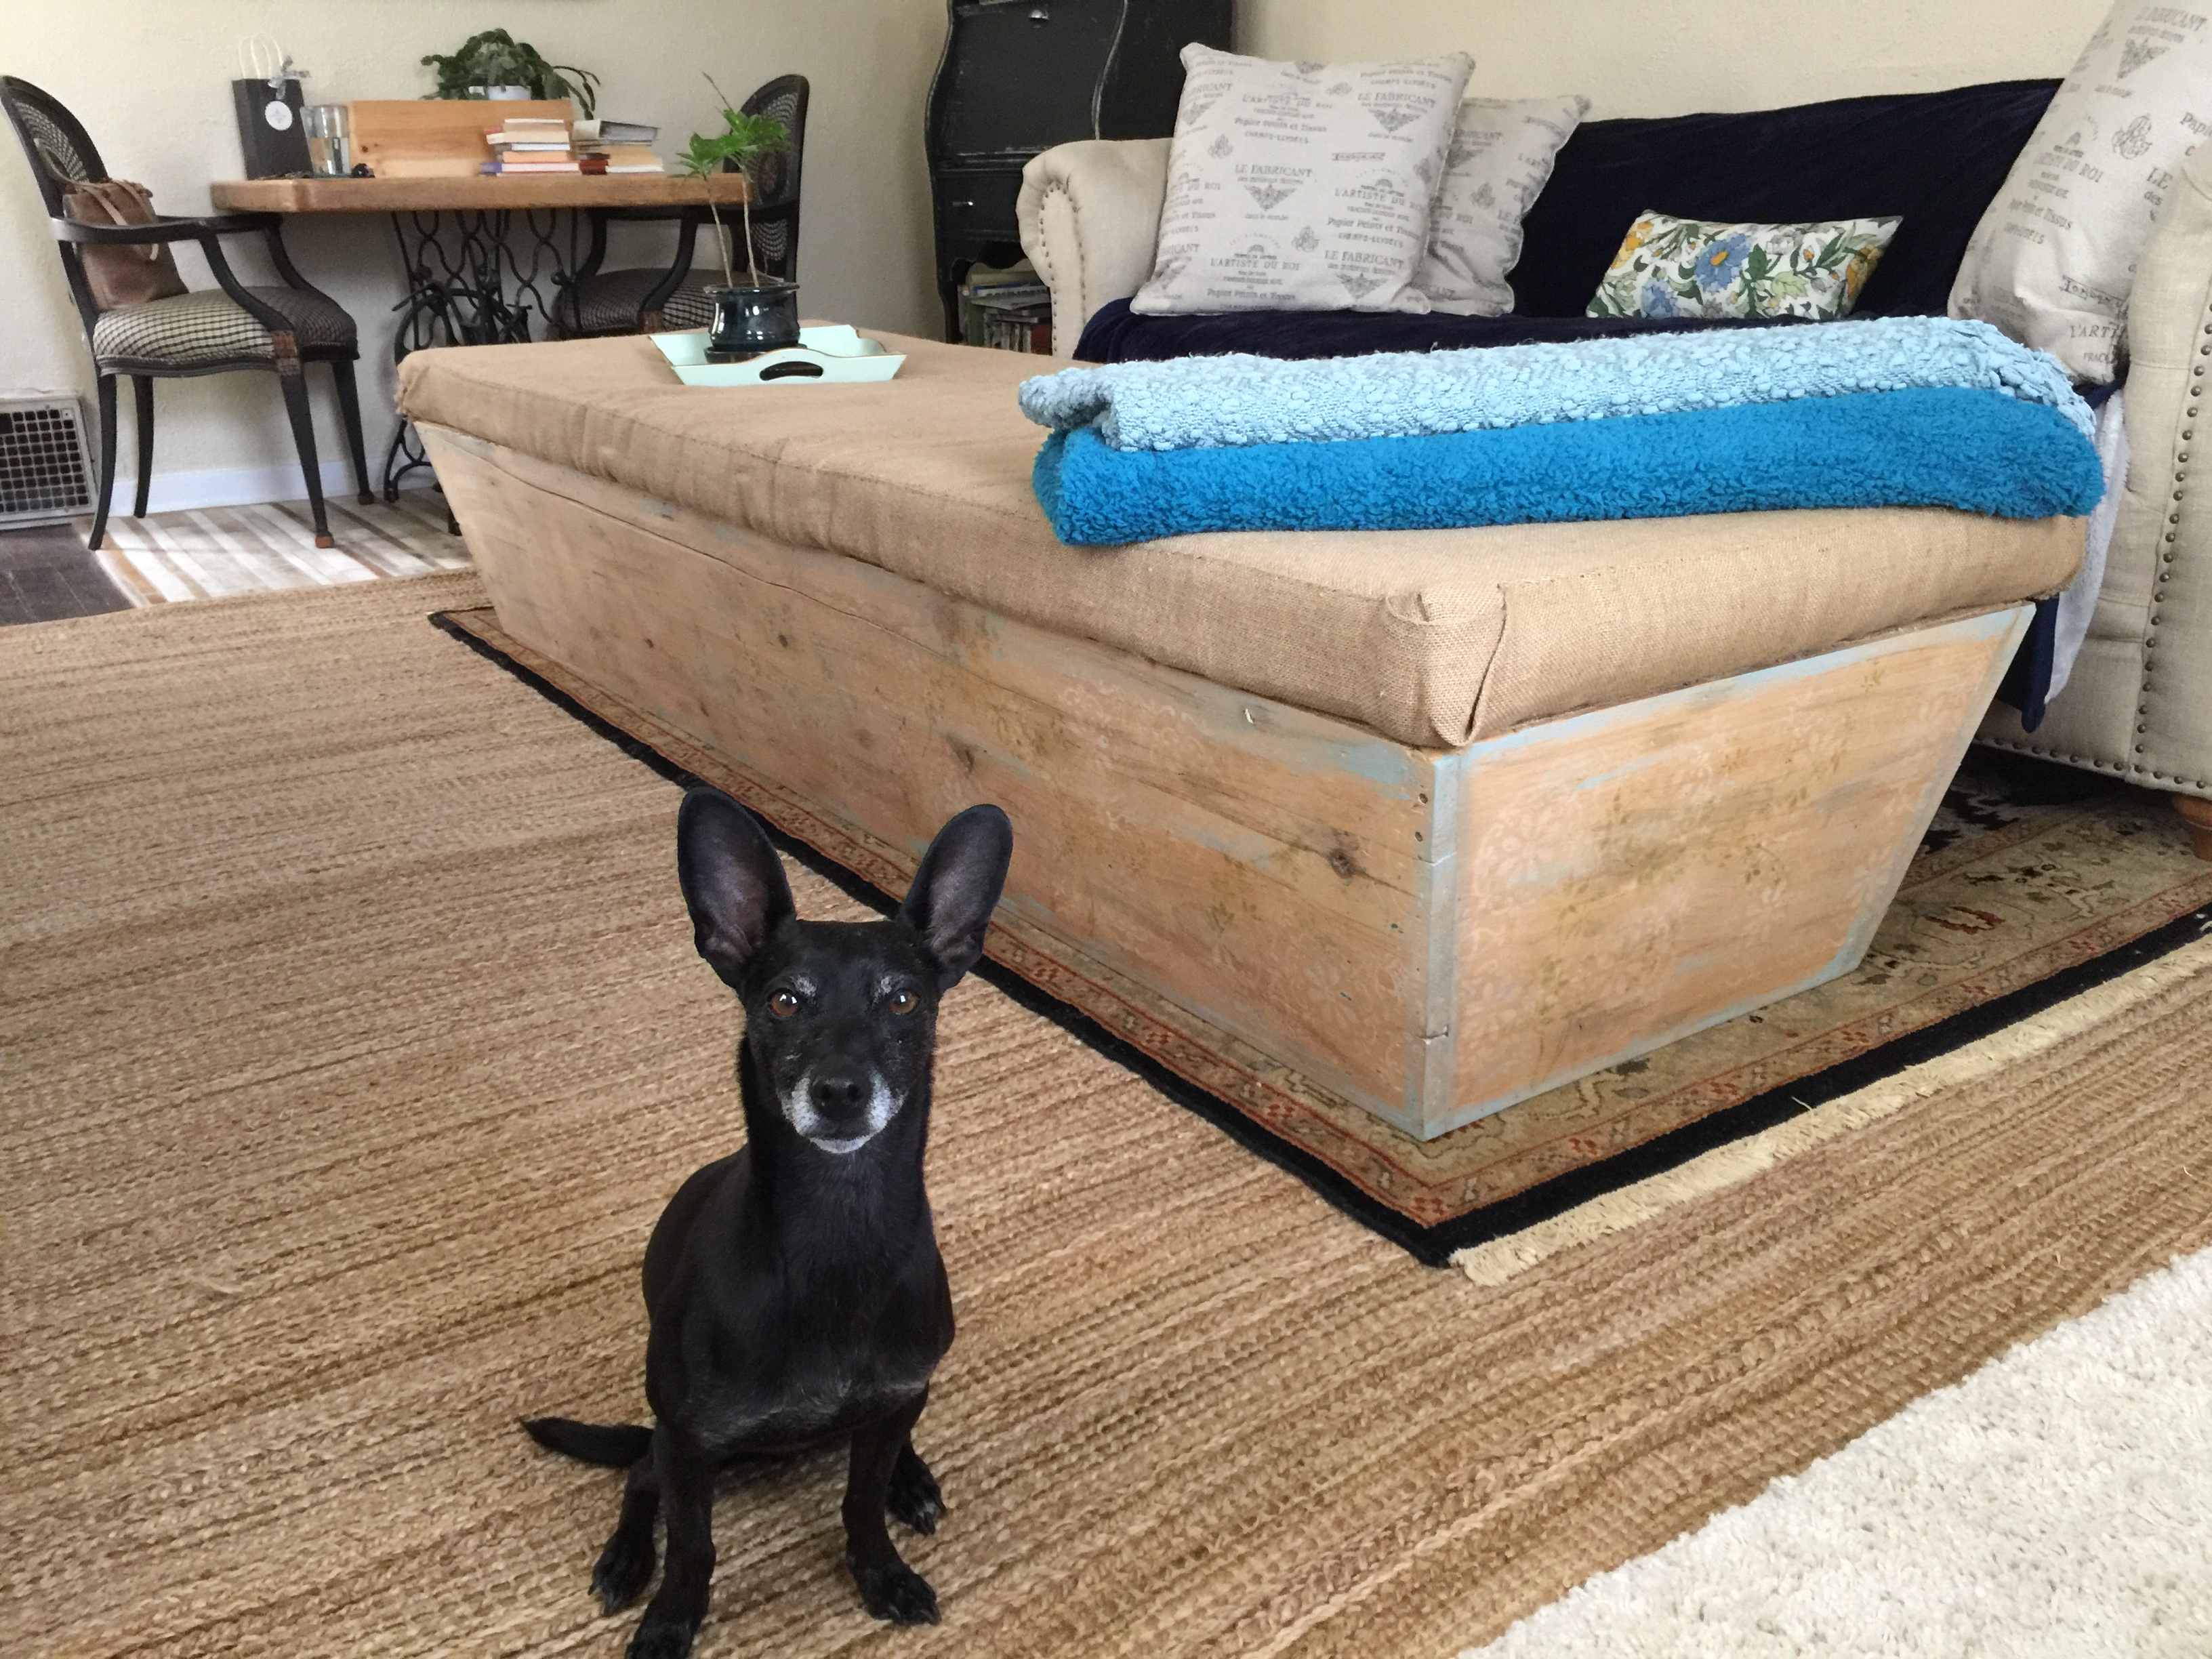
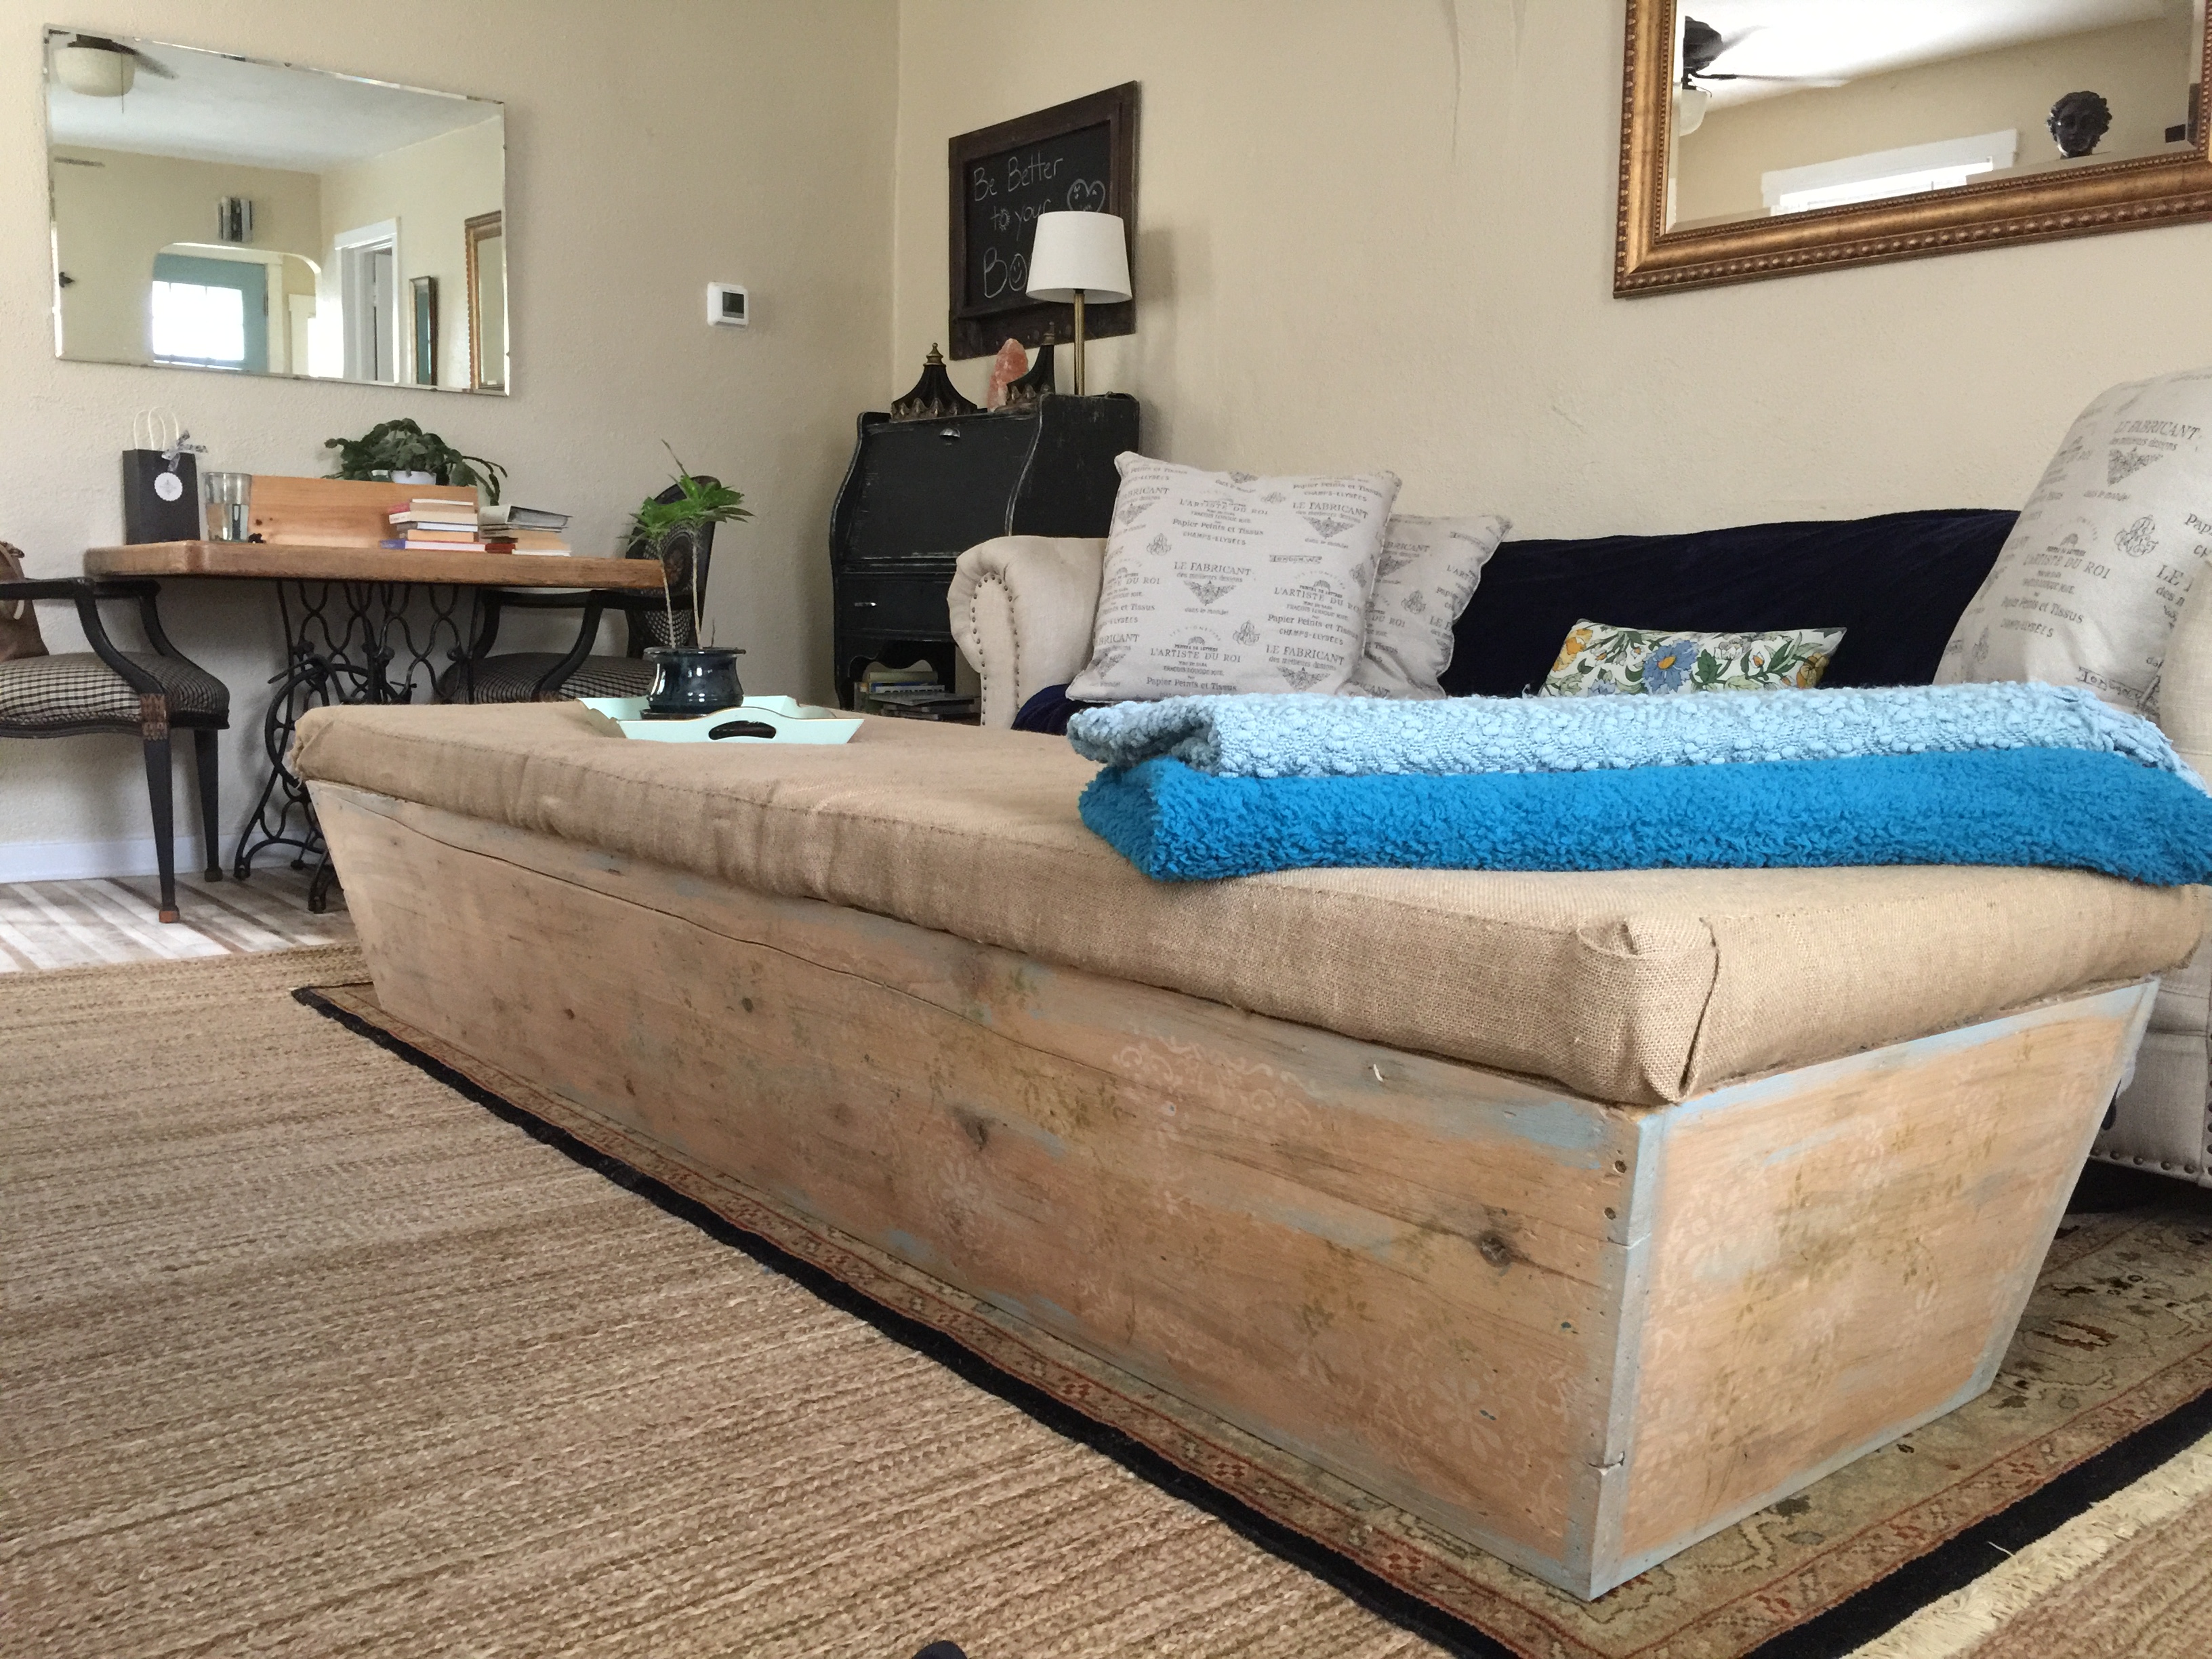
This little foot stool has been in one of the rentals for several years and the burlap, recycled from when I was in the rug industry, is showing signs of wear.
It’s simple to recover it, but I want to make it feel European to match the style of the rental.
I had some extra burlap and this fun French style stencil, which I used to create interest and give it a French flair.
Cute enough! And the fabric is less distressed. Voila’!
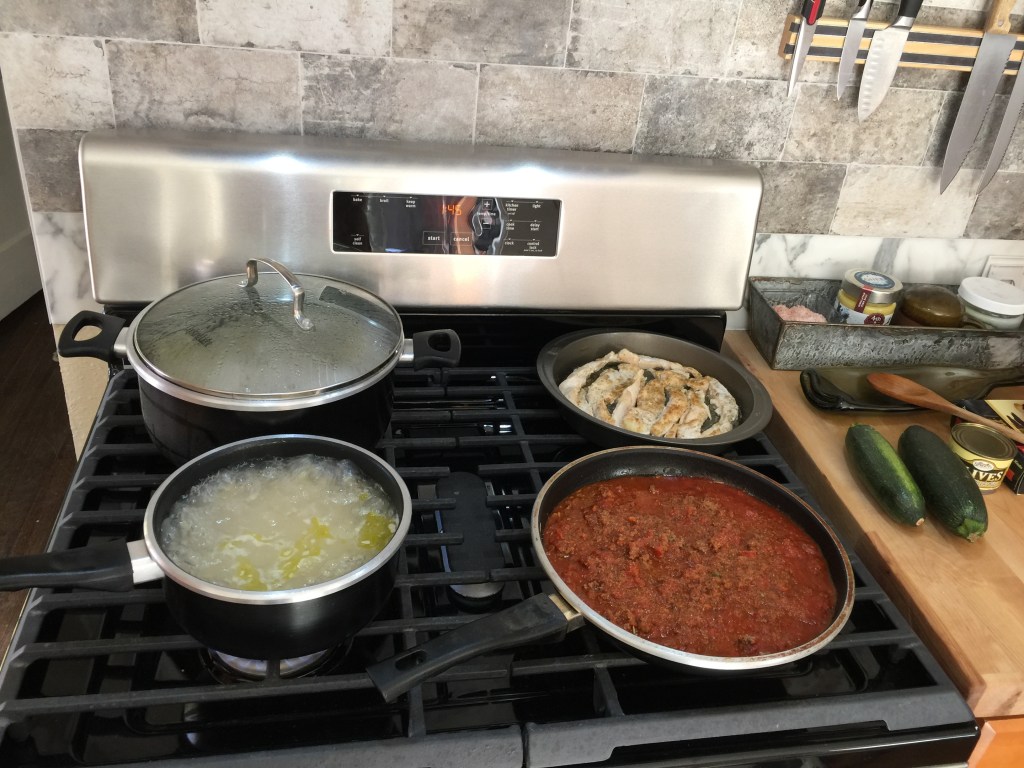
A good friend of mine is in the long process of Chemotherapy and I am helping her out with some cooking.
We settled on Lasagna, Baked Penne and Enchilada’s!
While I’m cooking, I might as well make some for my house too!
After the 1 week remodel that turned into a month long remodel, I needed a break from it all and found my way up to Gunnison to see some fall colors and the family. Preston relaxing on the patio, overlooking Blue Mesa!
My beautiful sister, taking in the gorgeous view of the Reservoir.
This is how to find peace and relax! The weather was perfect and the colors in full spectacle!
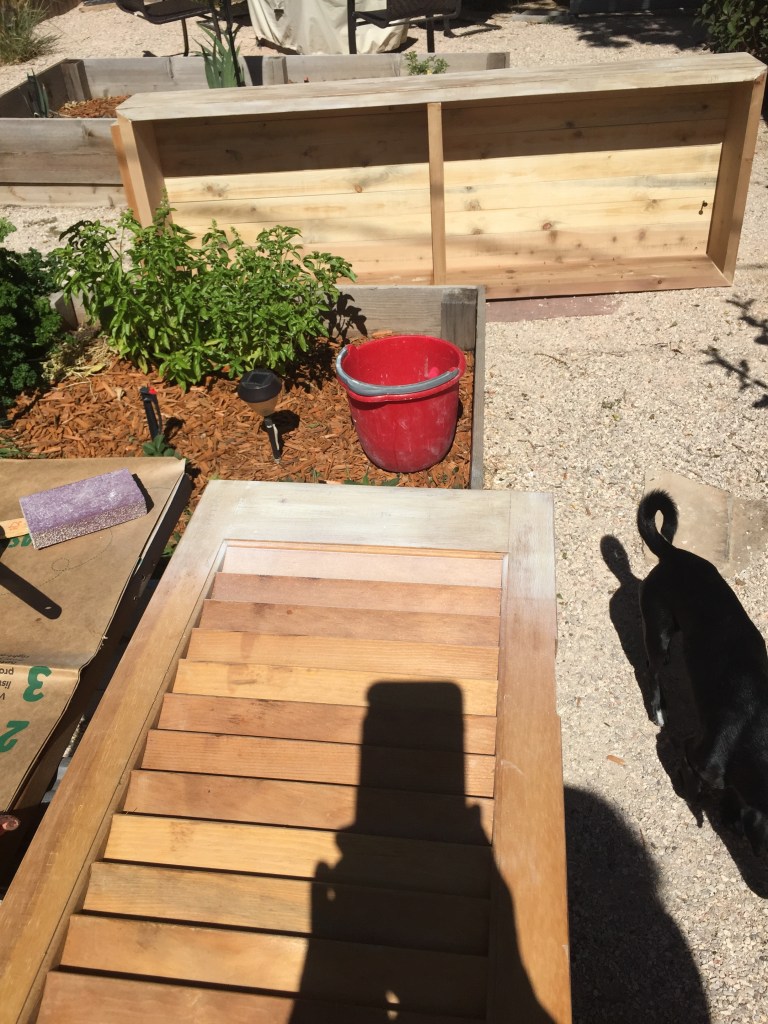
I drove the dogs past Gothic toward Schofield Pass and found a good place to stop and walk around. They were most interested in the cow pies, so I put them in the back of the truck for a scenic pic of the colors.
There were many people in the area taking pics and walking around. I was fortunate to find this place away from the crowds to enjoy the day.
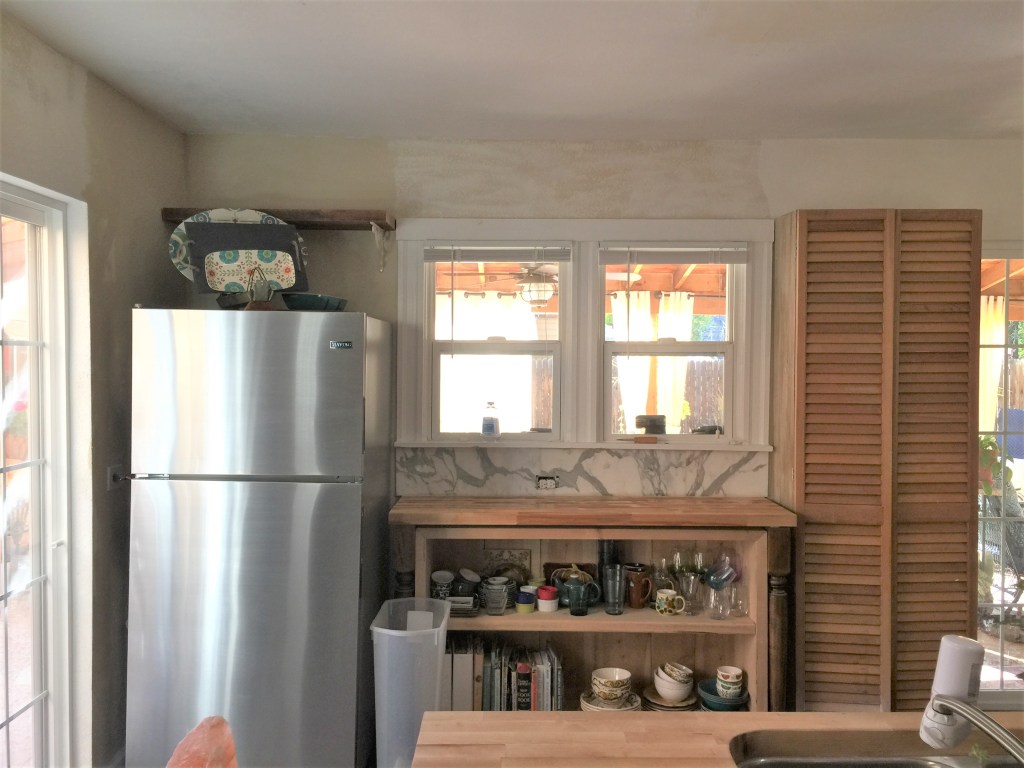
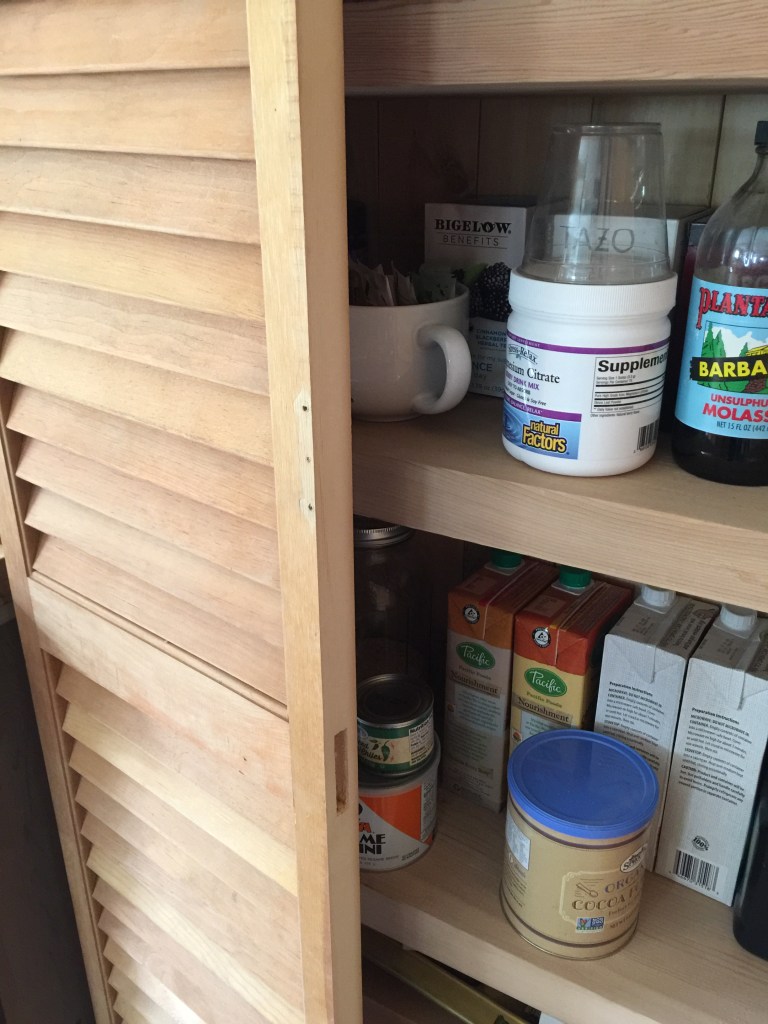
Once I returned home, I started cleaning and working on the details from the remodel. I had David put up some shelving above the fridge for more storage.
He cut down the pantry doors to fit the cabinet. I Love the texture they add to the space!
Some of the details include shelves and cool brackets, barn wood and ceramic Brick tile.
Before the doors…
These were found at Habitat for Humanity for $10! Super great find! However, they were dirty and needed cleaning. I use TSP cleaning solution with a brush to remove the dust and spills on the wood.
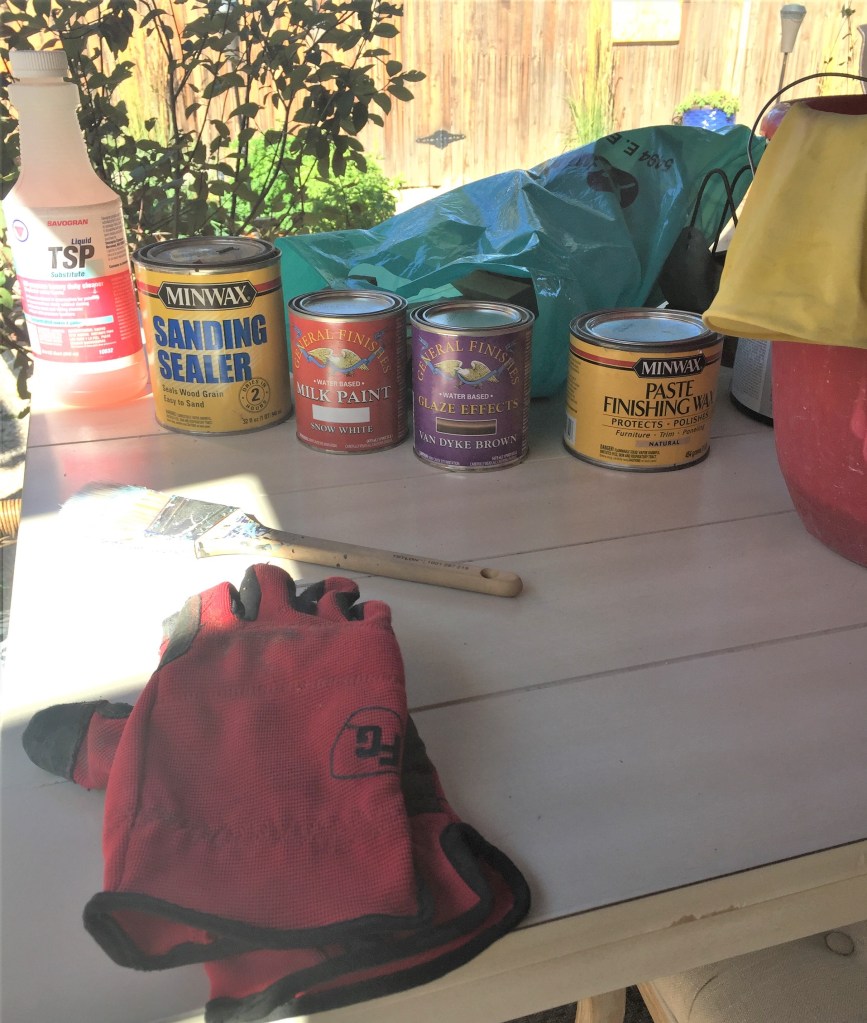
This is my set up to refinish cabinets. Cleaning and prep is the biggest part of the project! Clean with TSP, then a coat of sanding sealer, light sanding, paint (maybe 2 coats), more sanding to distress, glaze to highlight any imperfections and give it patina, then 2 coats of finishing wax. This process must be re imagined with each project. I’ve learned that it takes a few try’s to get the look I want, then I go forward with that process to finish all the cabinets to match.
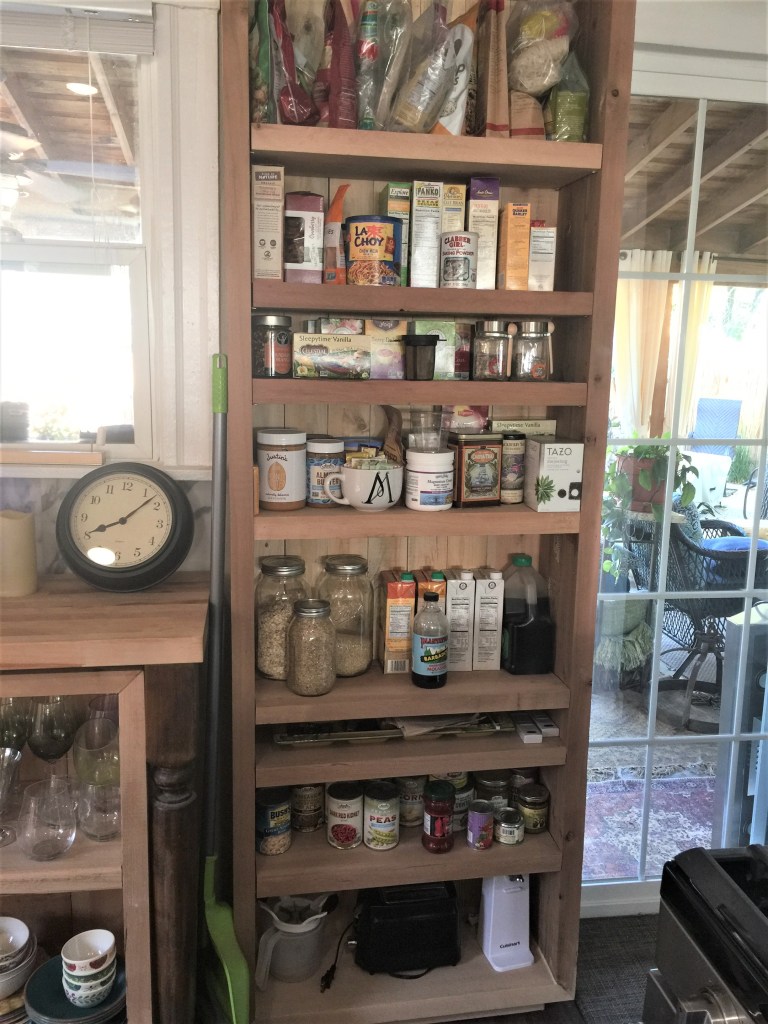
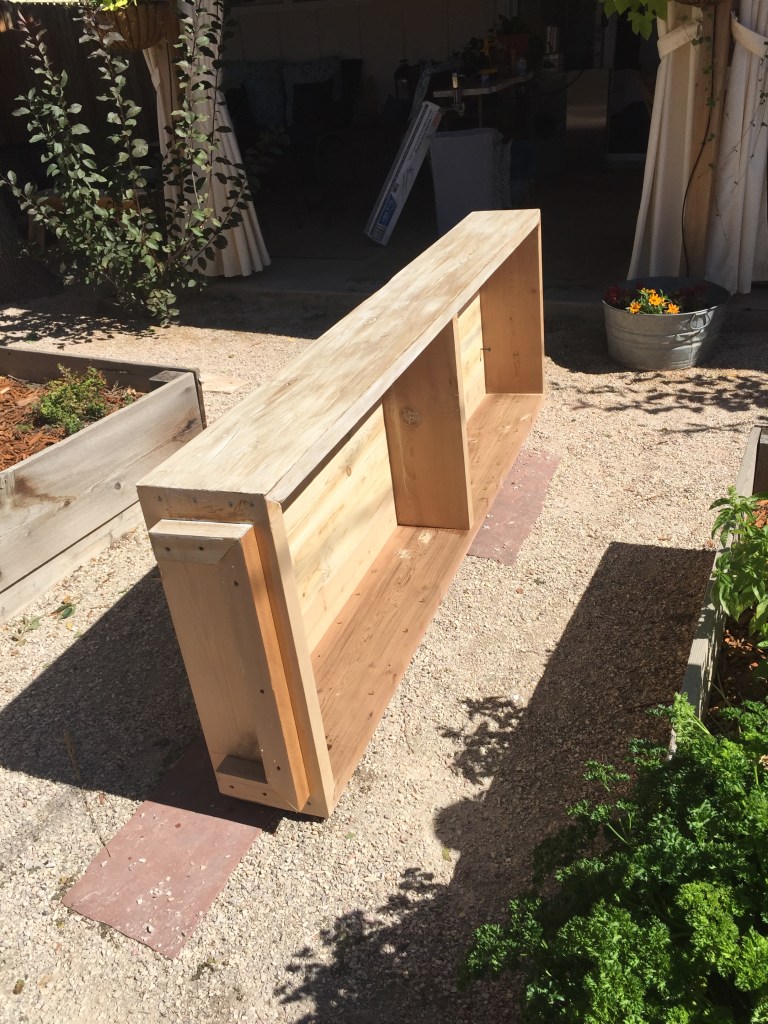
This is the pantry cabinet David built for me. I took it outside to begin the treatment, looking for the right technique. The outside panel is done and ready to mount the pantry doors again.
I also wanted to try the technique on a small part of the door. I’ll finish it later, but needed to see how it looks with paint and some glaze.
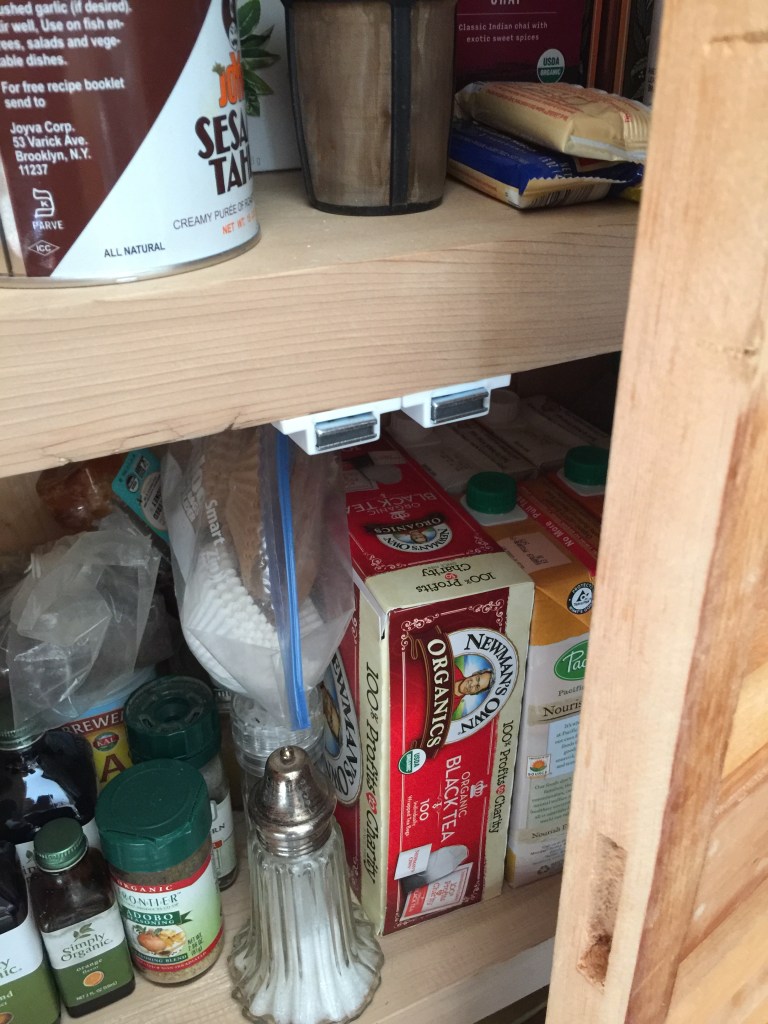
When we cut the door down to size, we exposed some joints in the wood. No worries! Luckily, my style is rustic farmhouse, so I feel comfortable having imperfections in my cabinets and doors. I do need door latches.
My door latch solution is magnetized brackets. Simple!
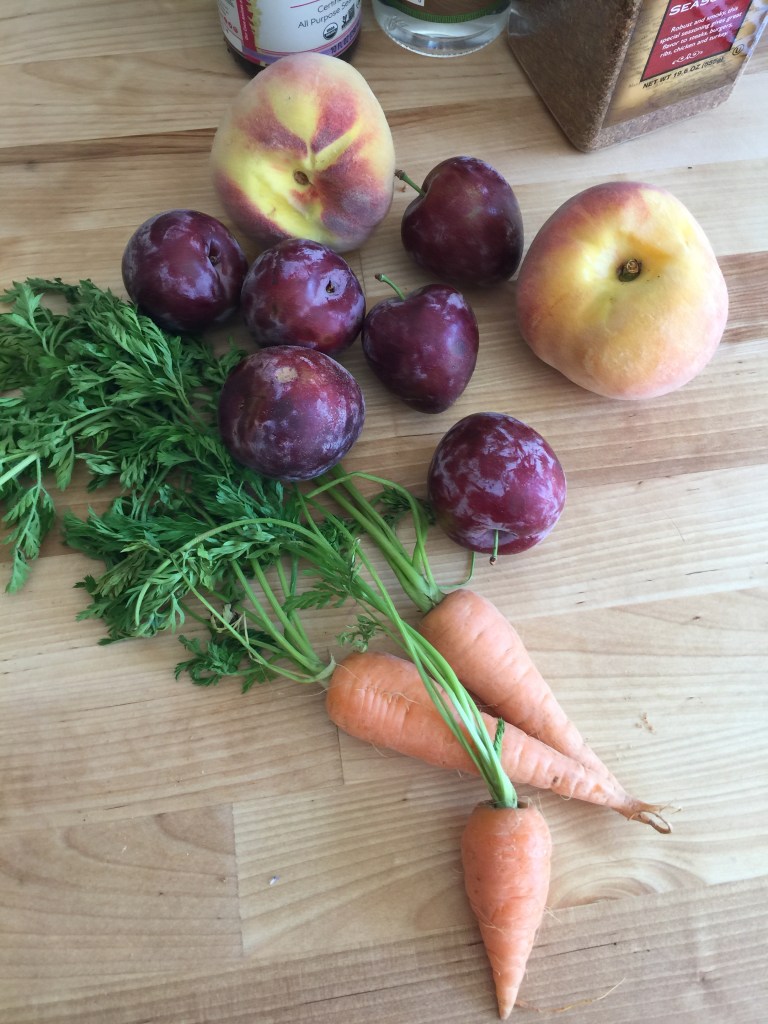
Before I left Gunnison, Susie gave me fresh produce from the farmer’s market on Saturday morning in town. How cute are these baby carrots?
I feel better having taken a break from my remodel project! It’s always great to get up the the mountains and especially when the fall colors are in full display!
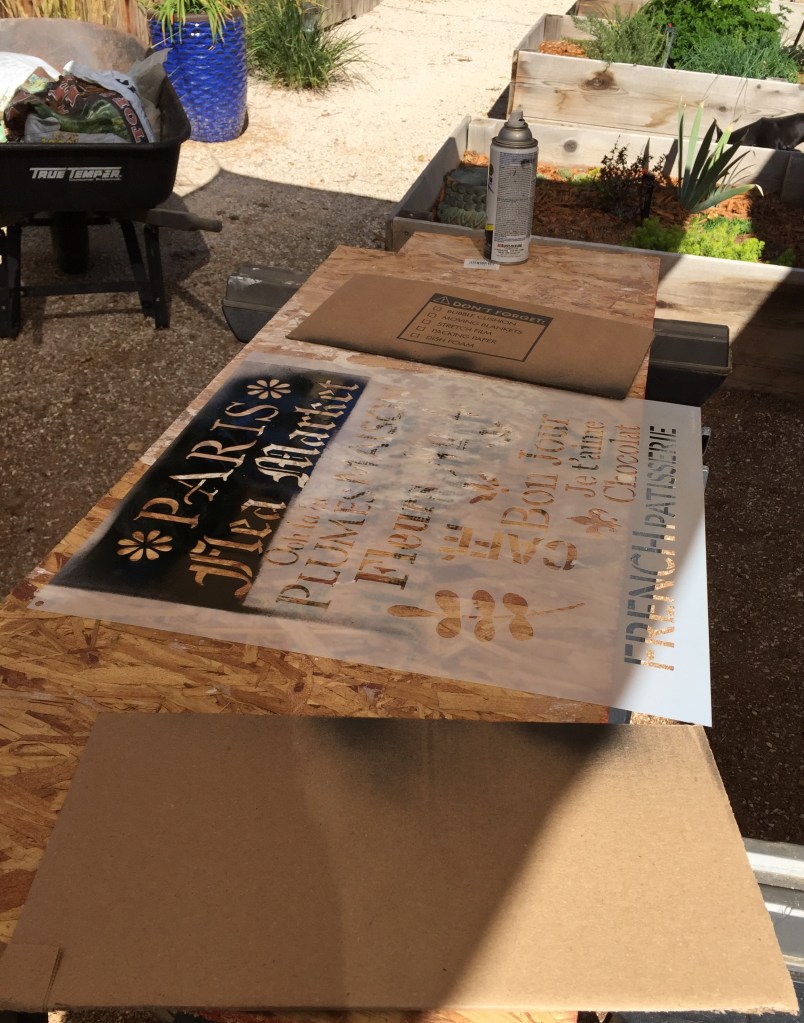
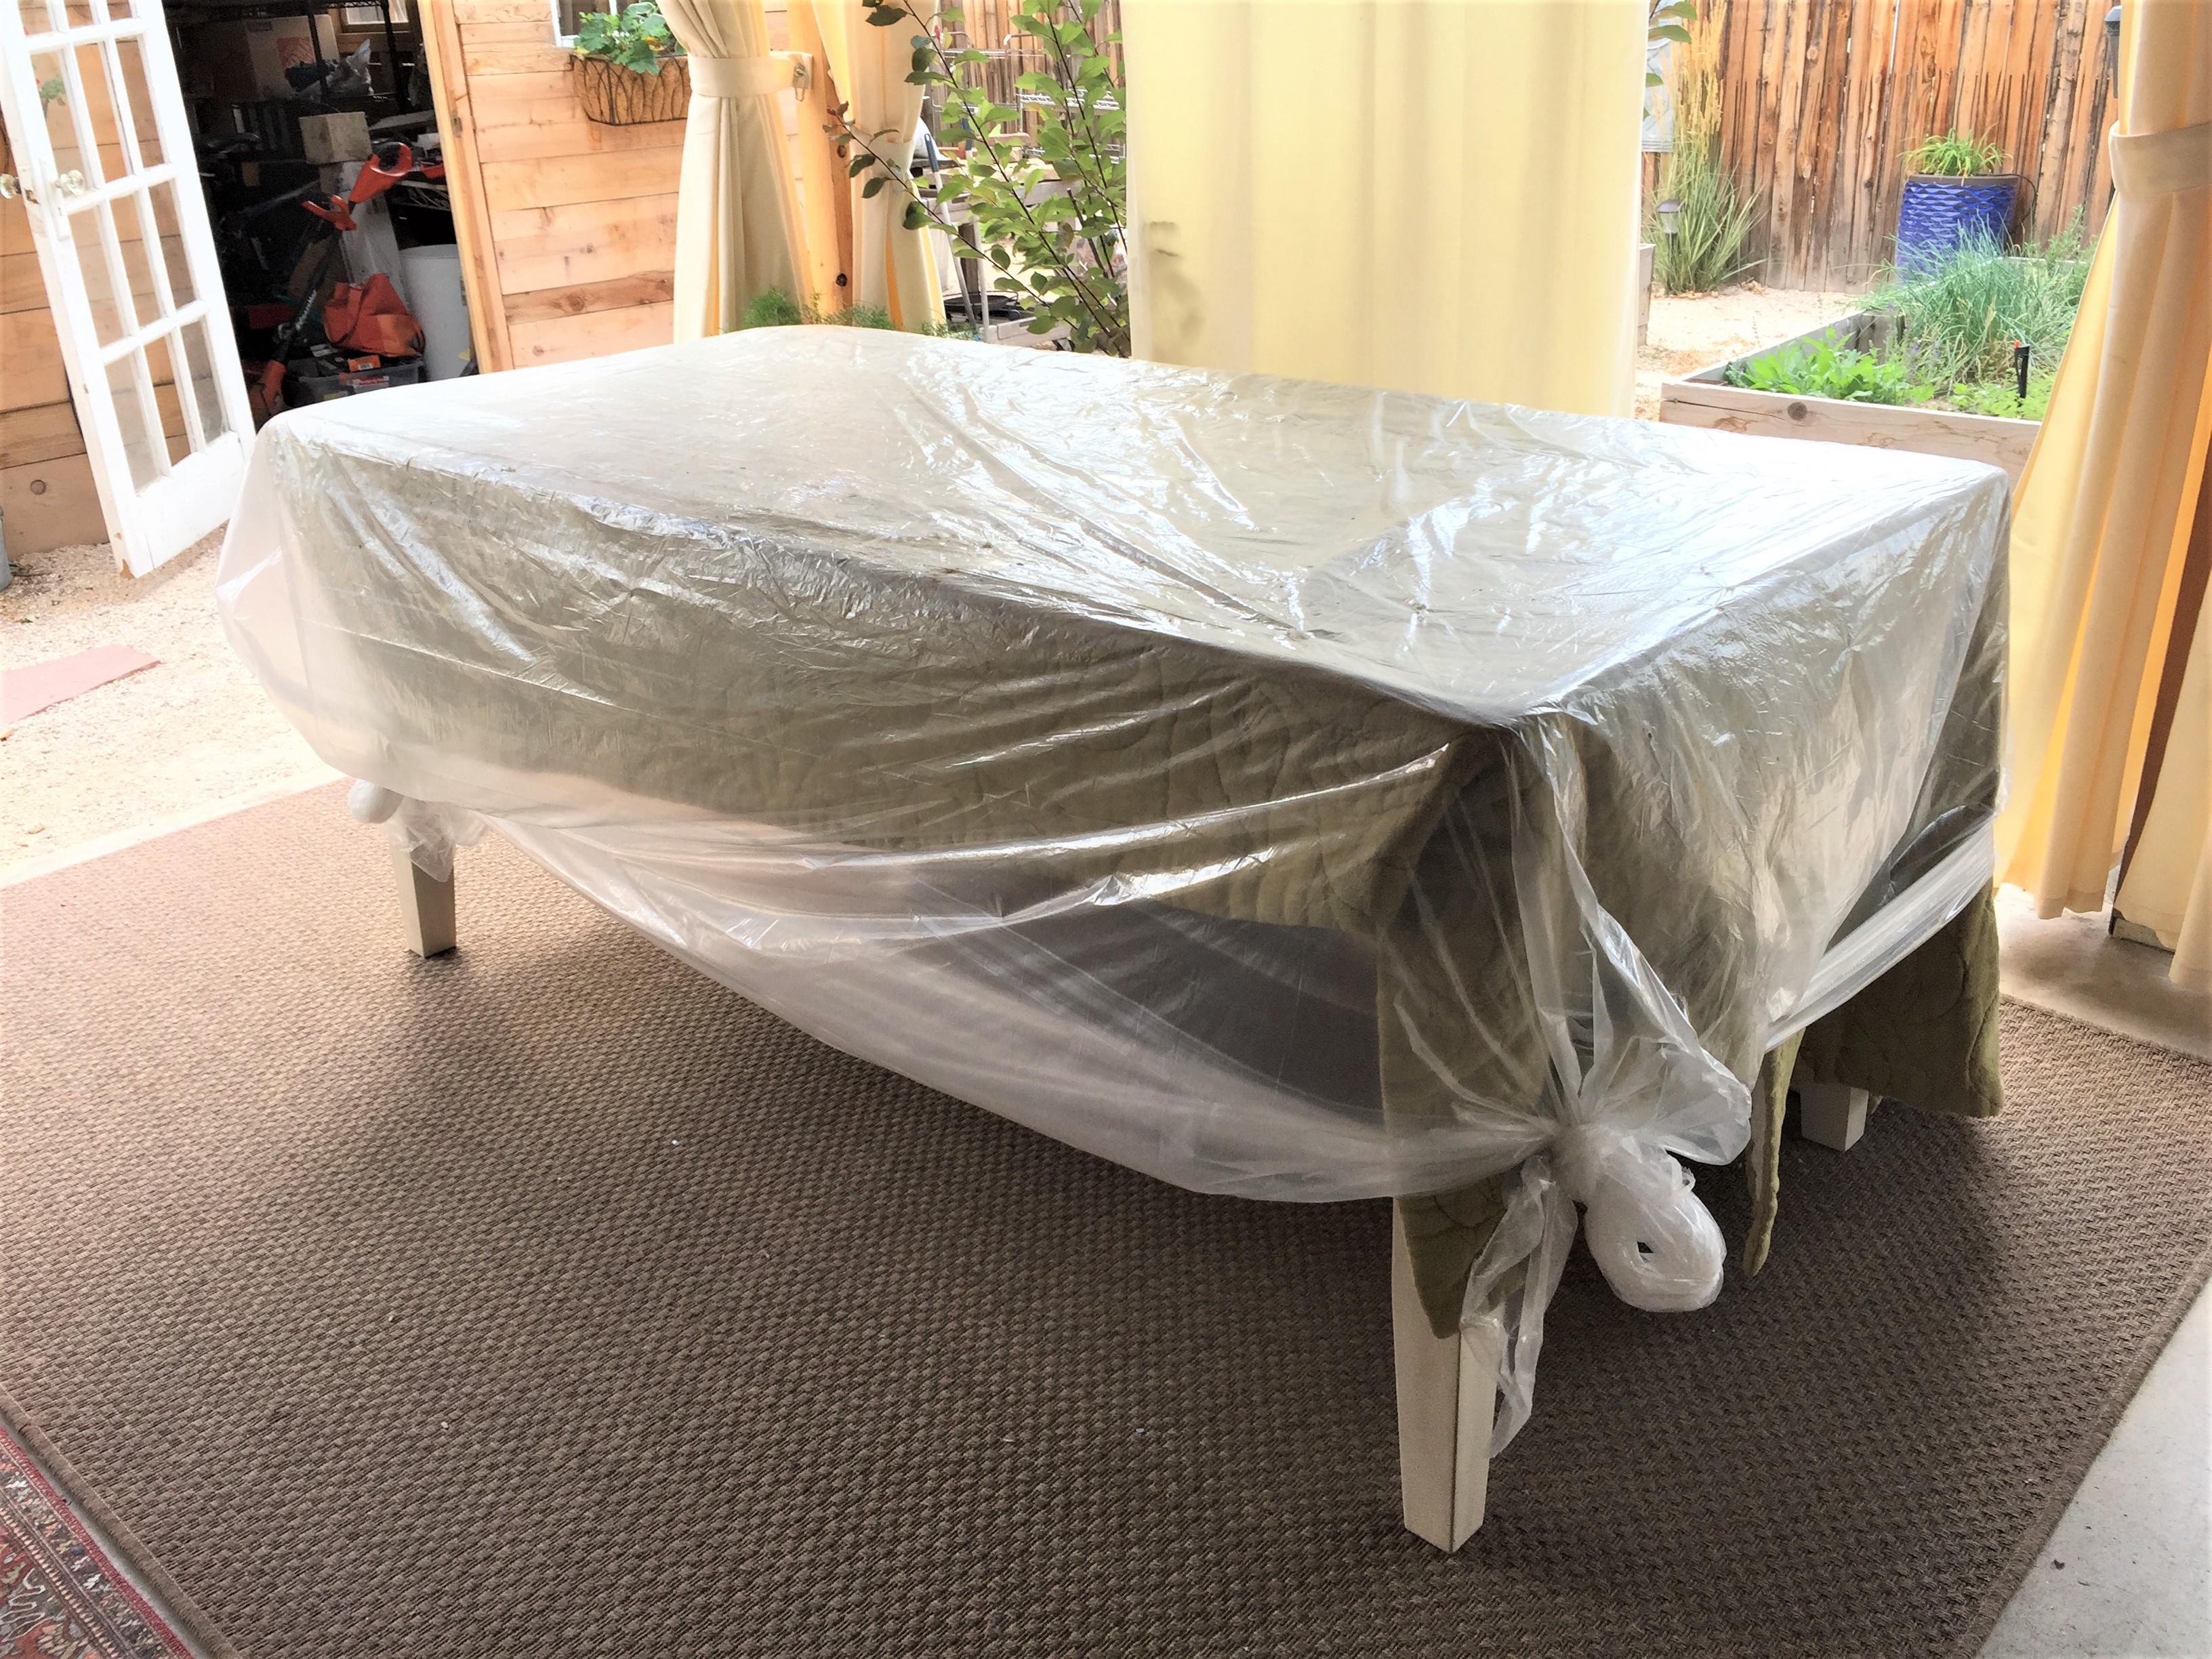
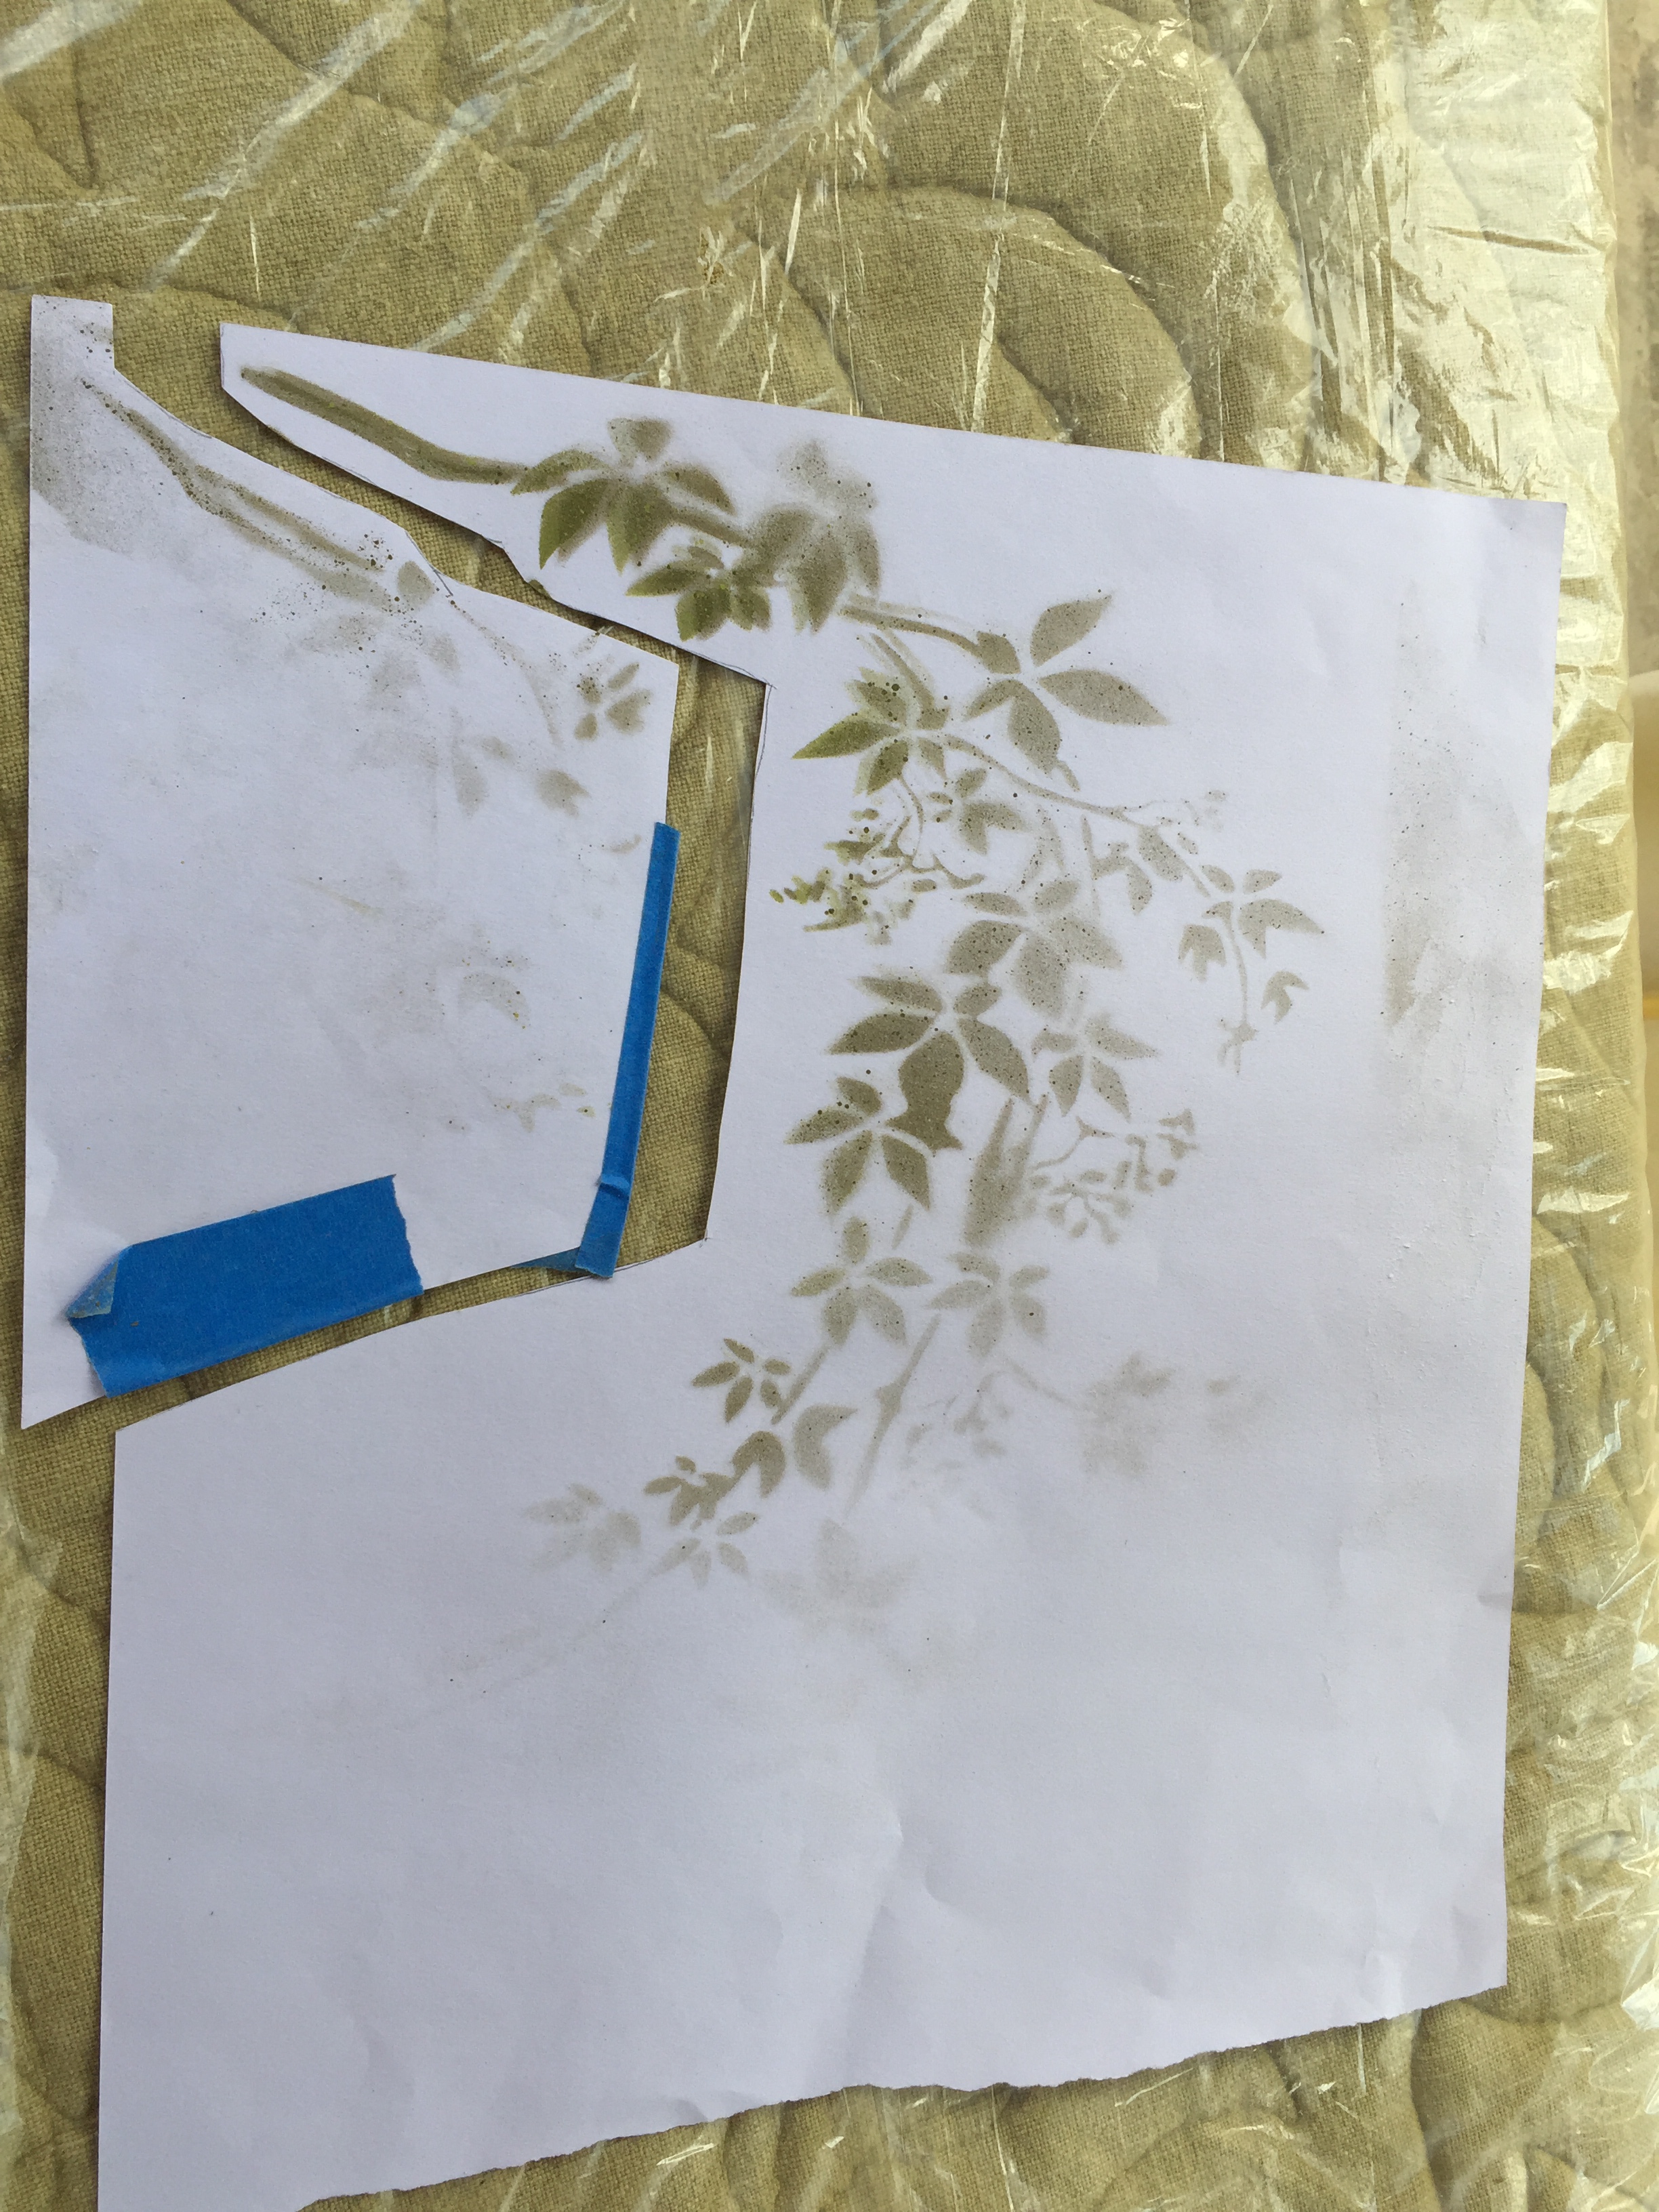
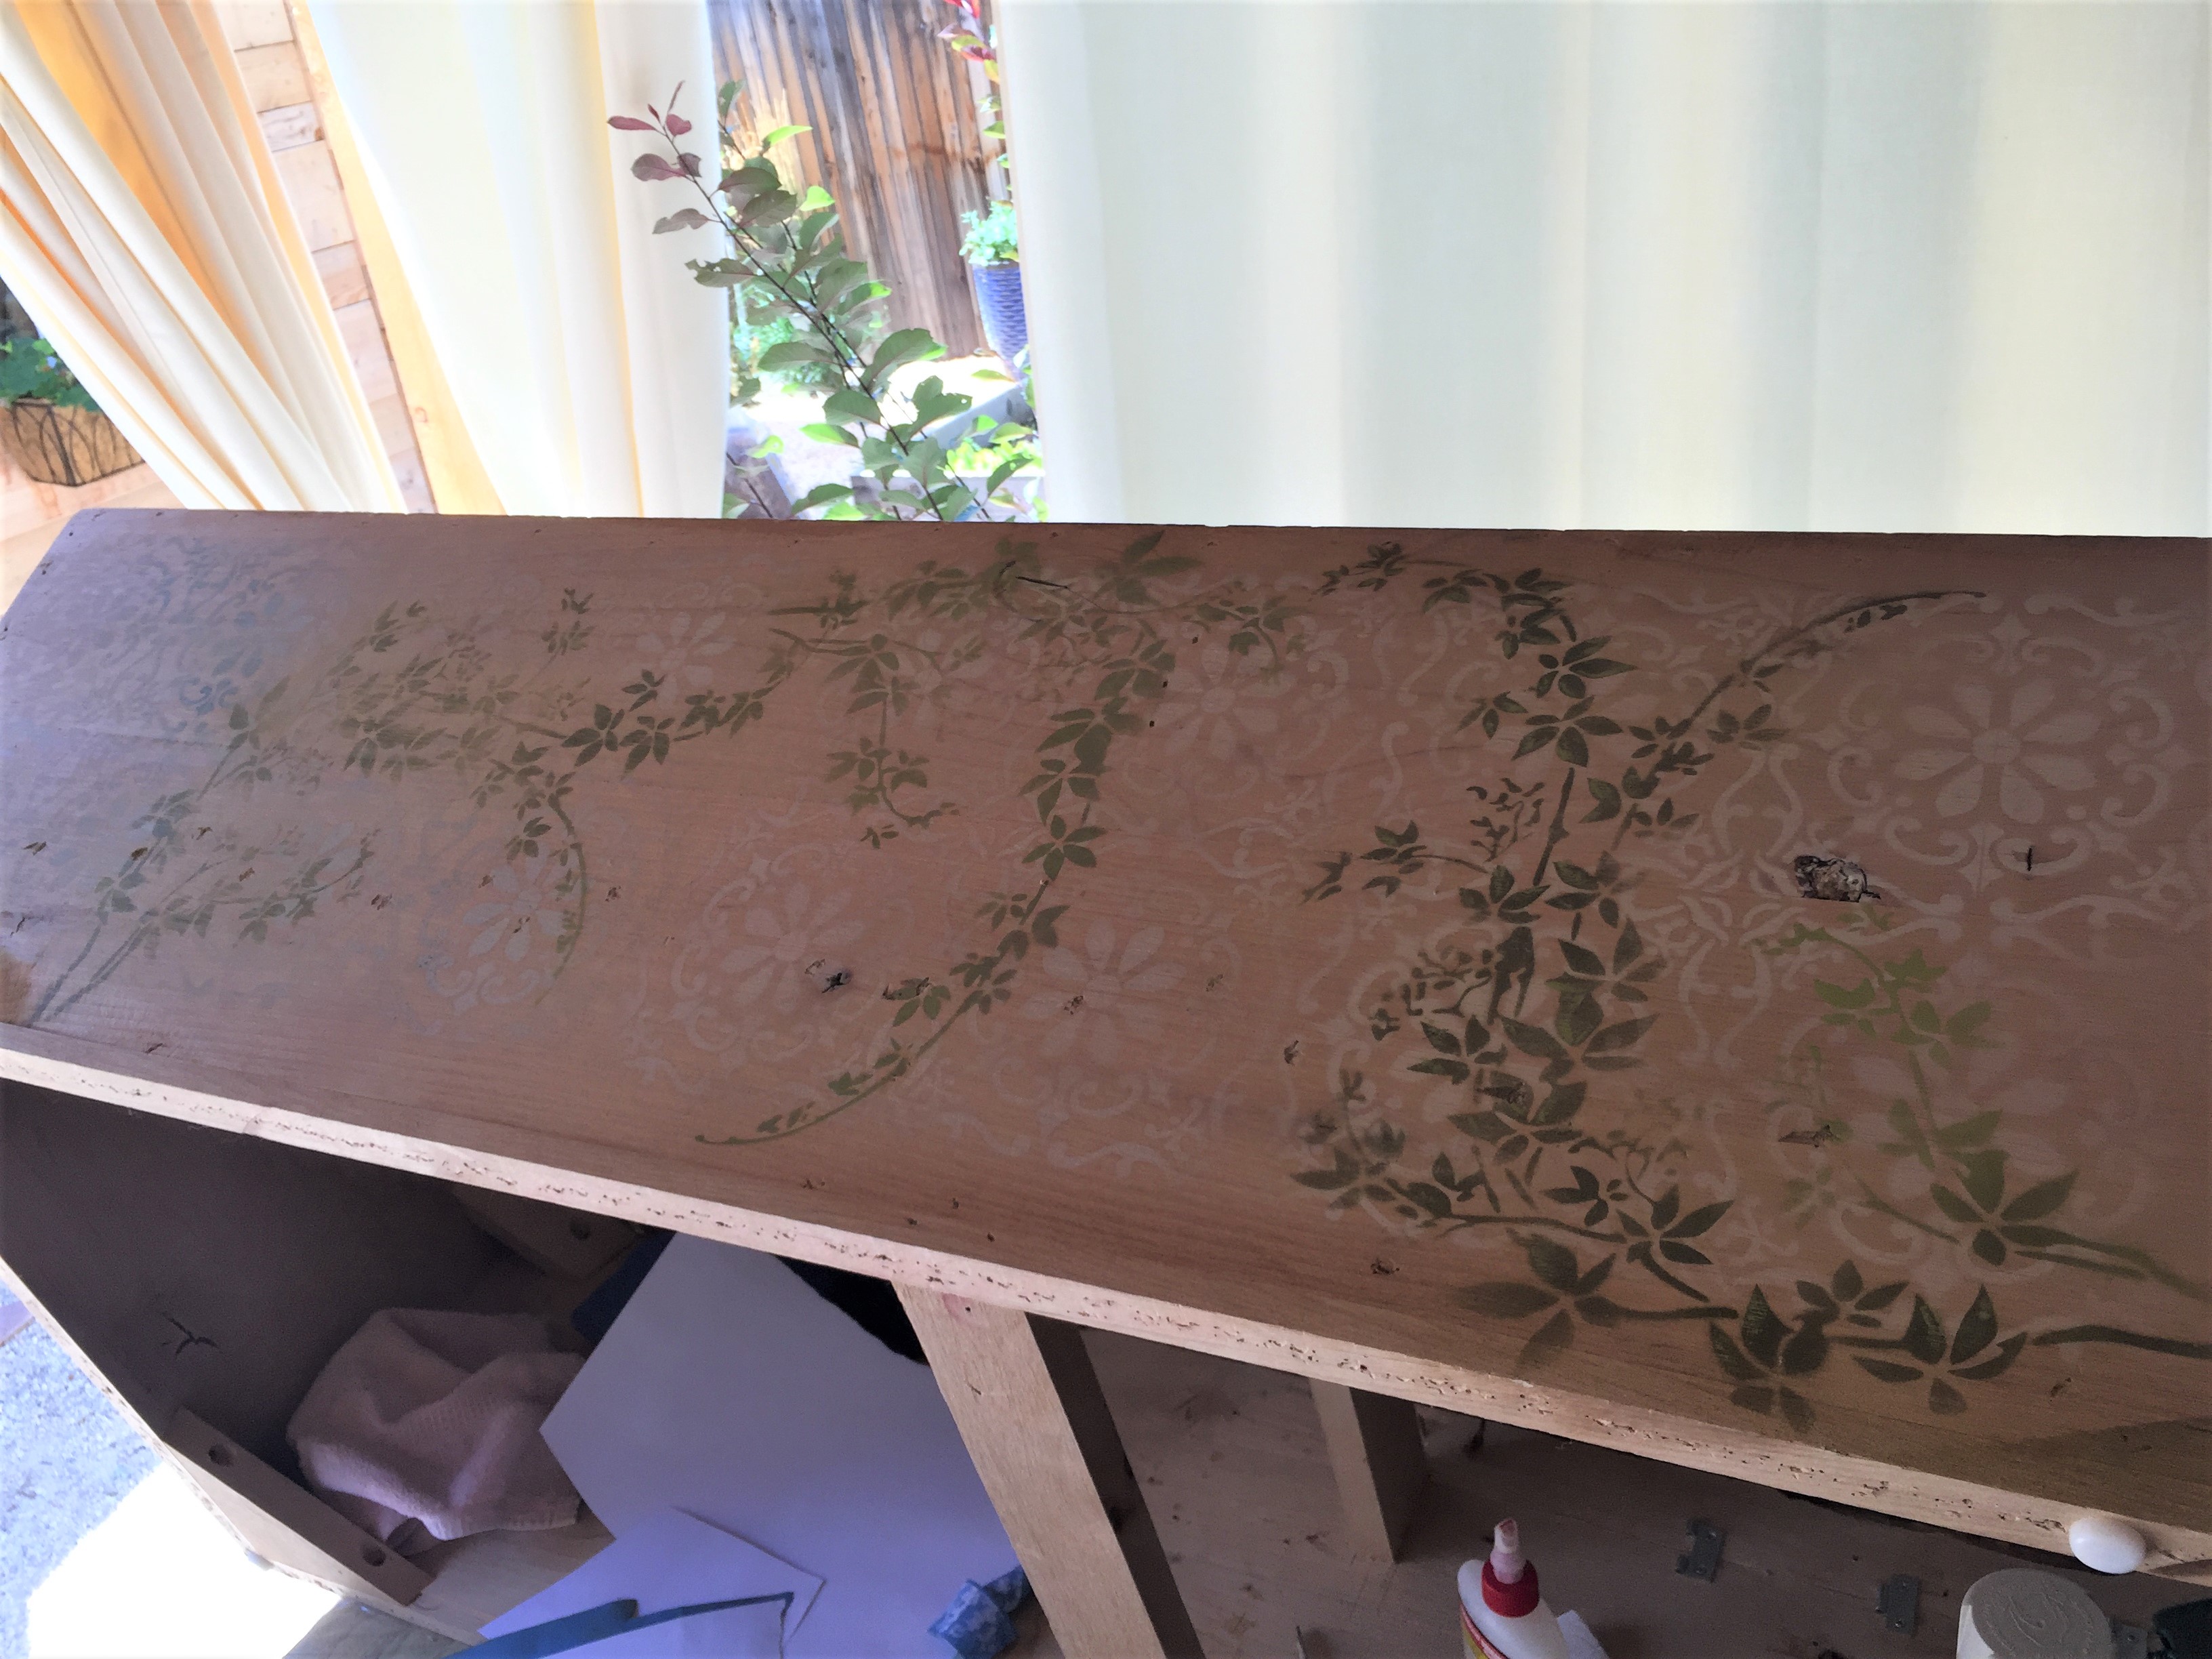
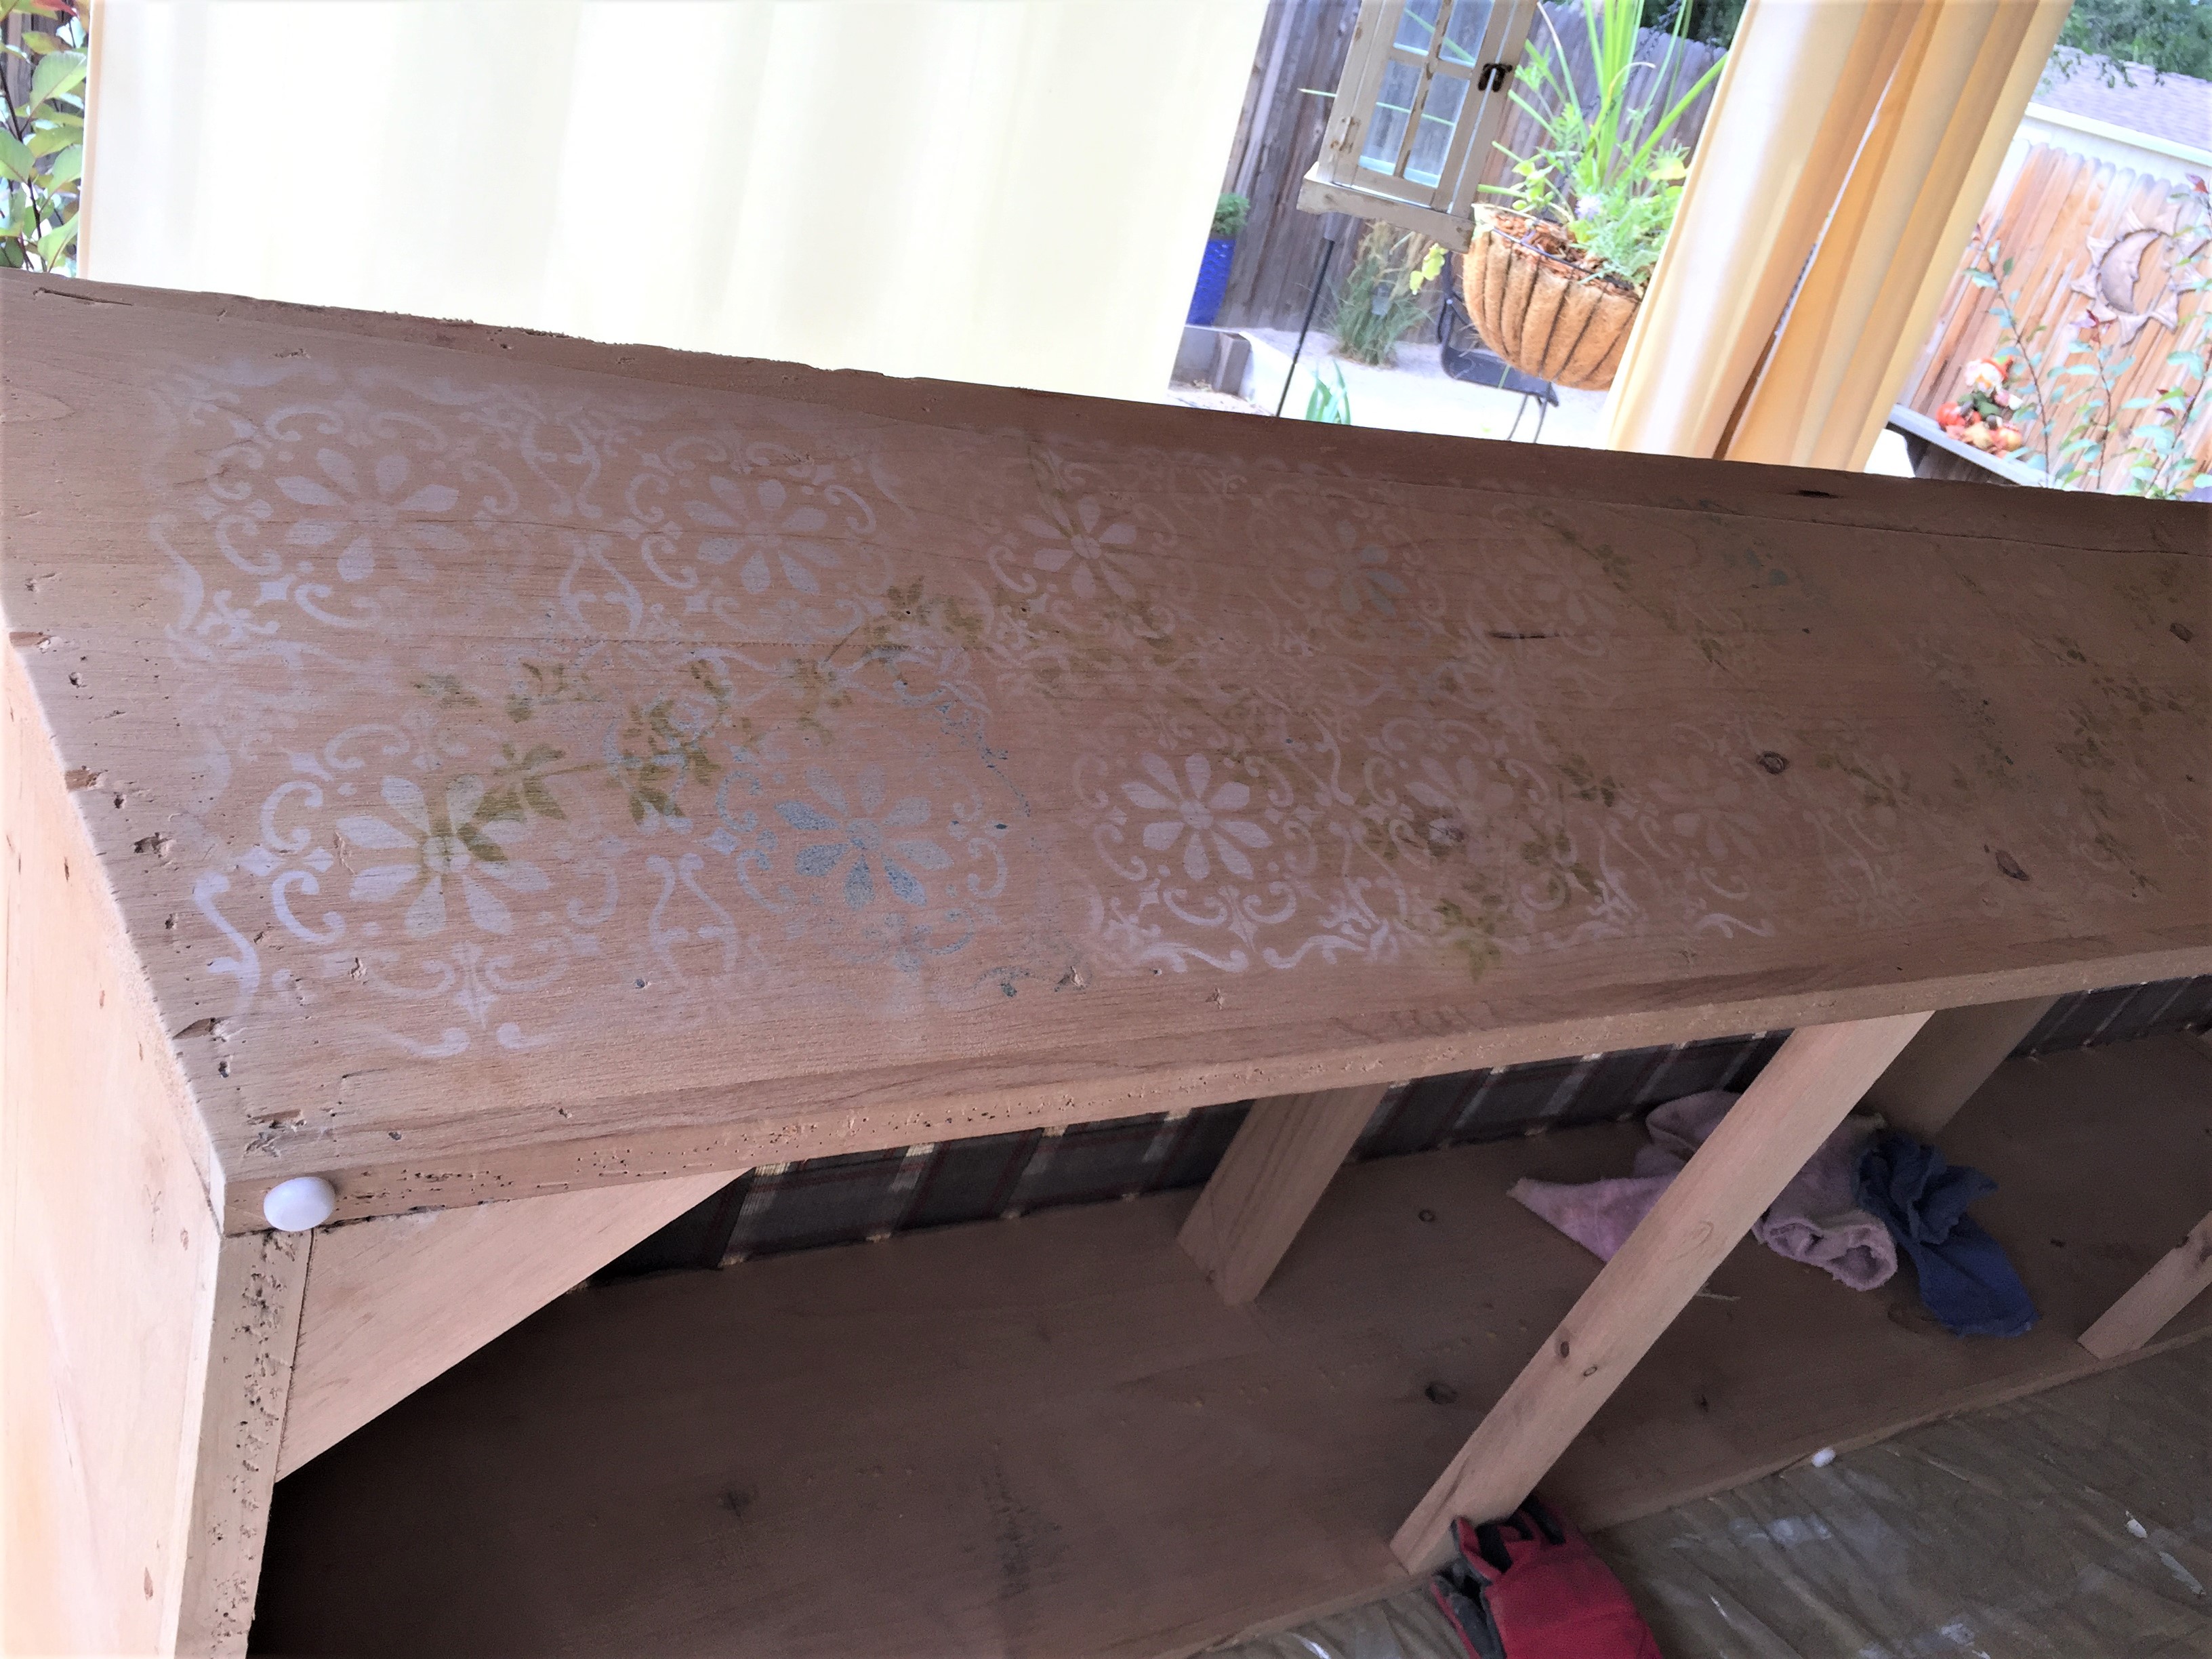
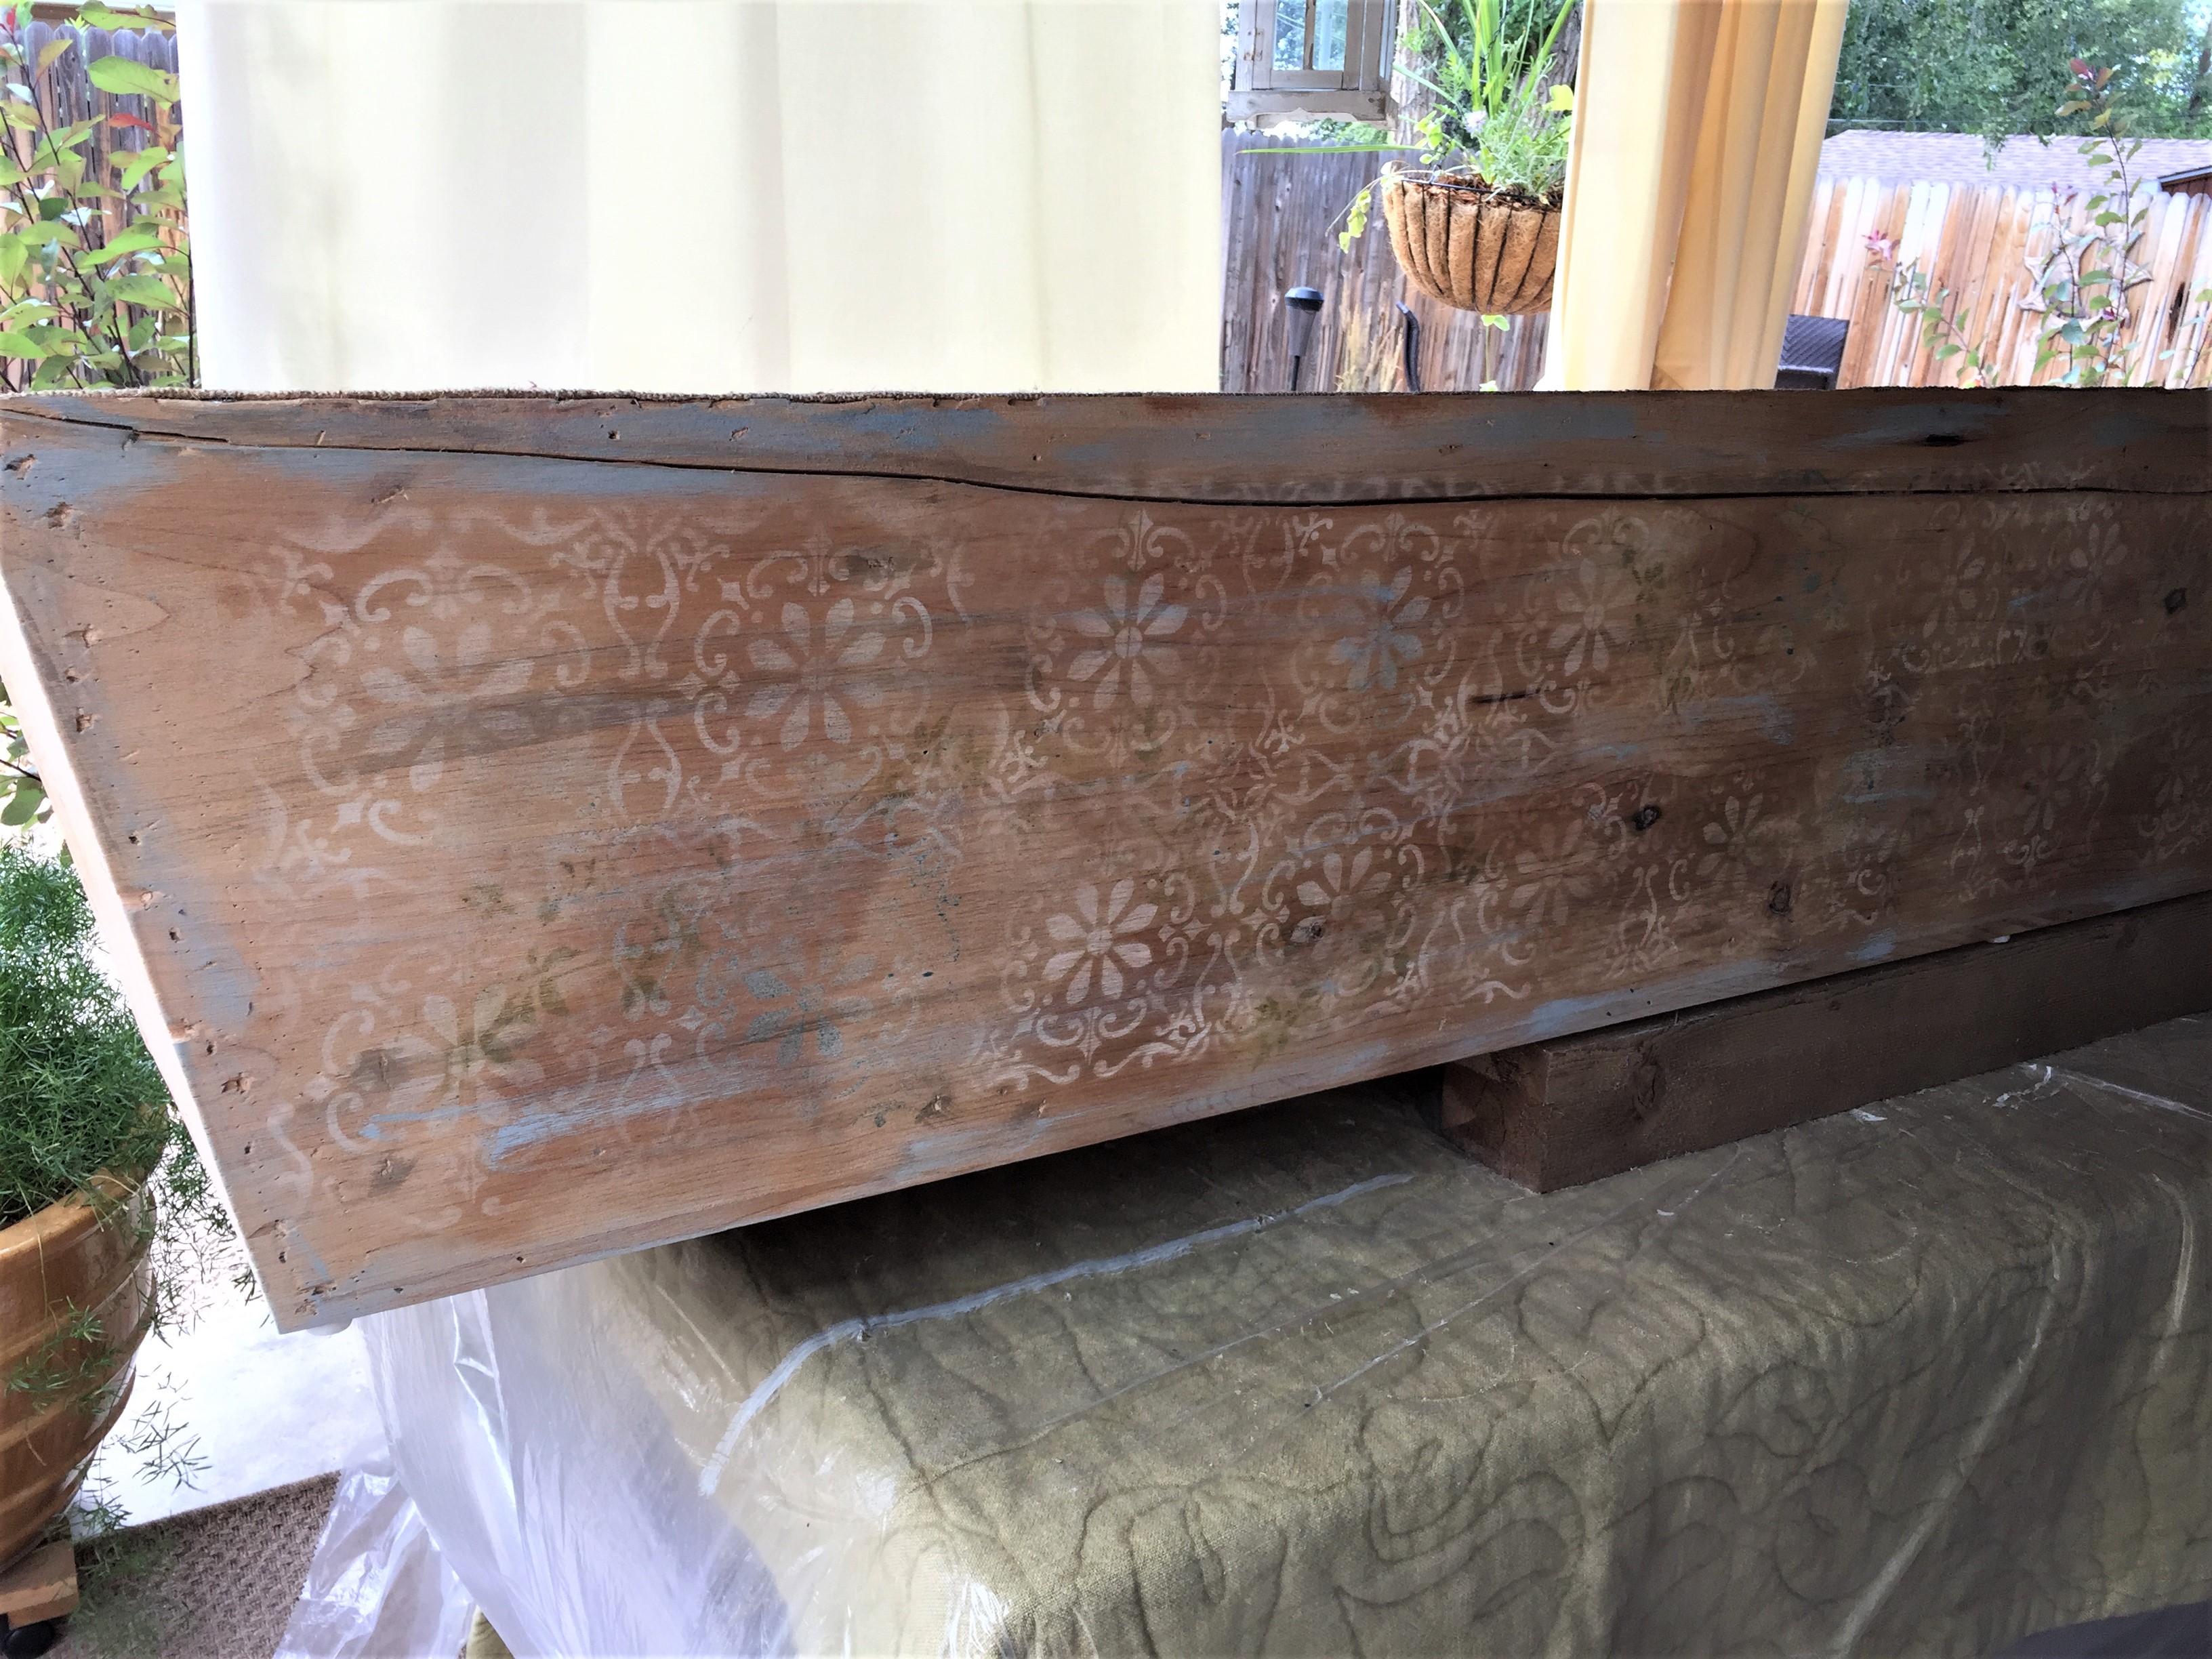
This post gives insight into a couple days spent learning how to use a stencil and paint to update an old wooden box I bought at a thrift store for $20. It’s been in storage for almost a year and I’m now rethinking this fun piece for my new place. Let’s see how this goes!
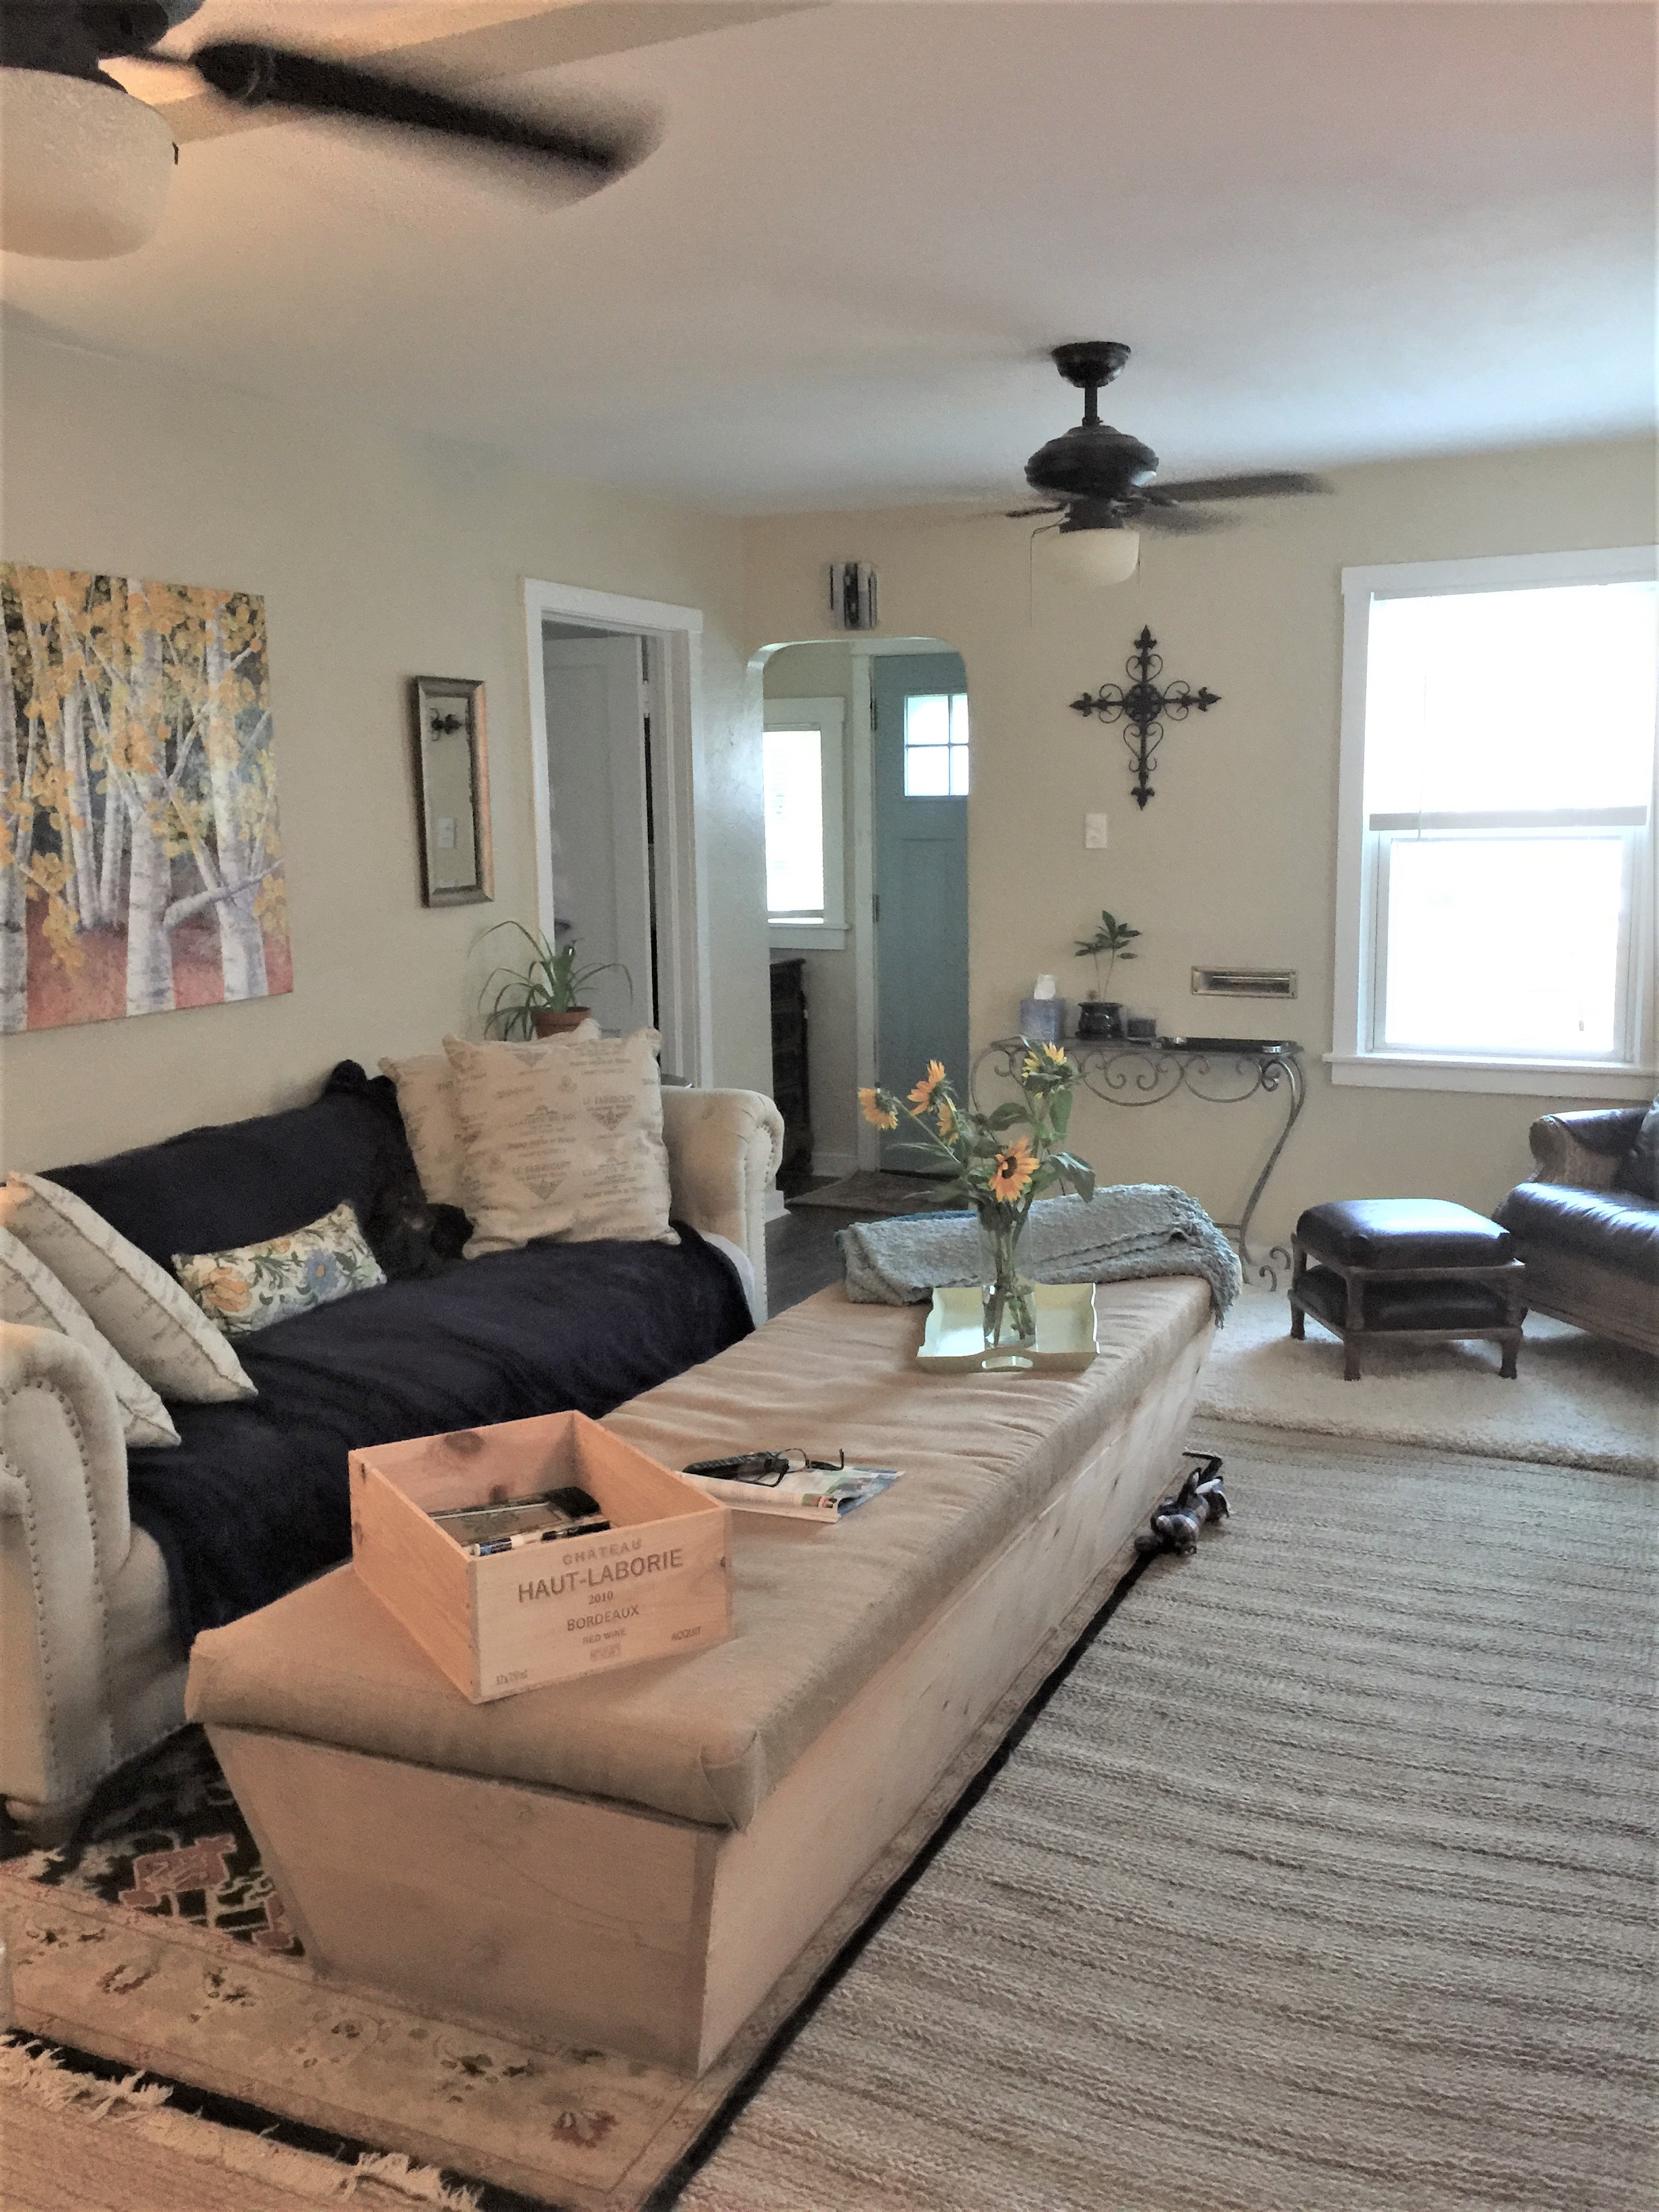
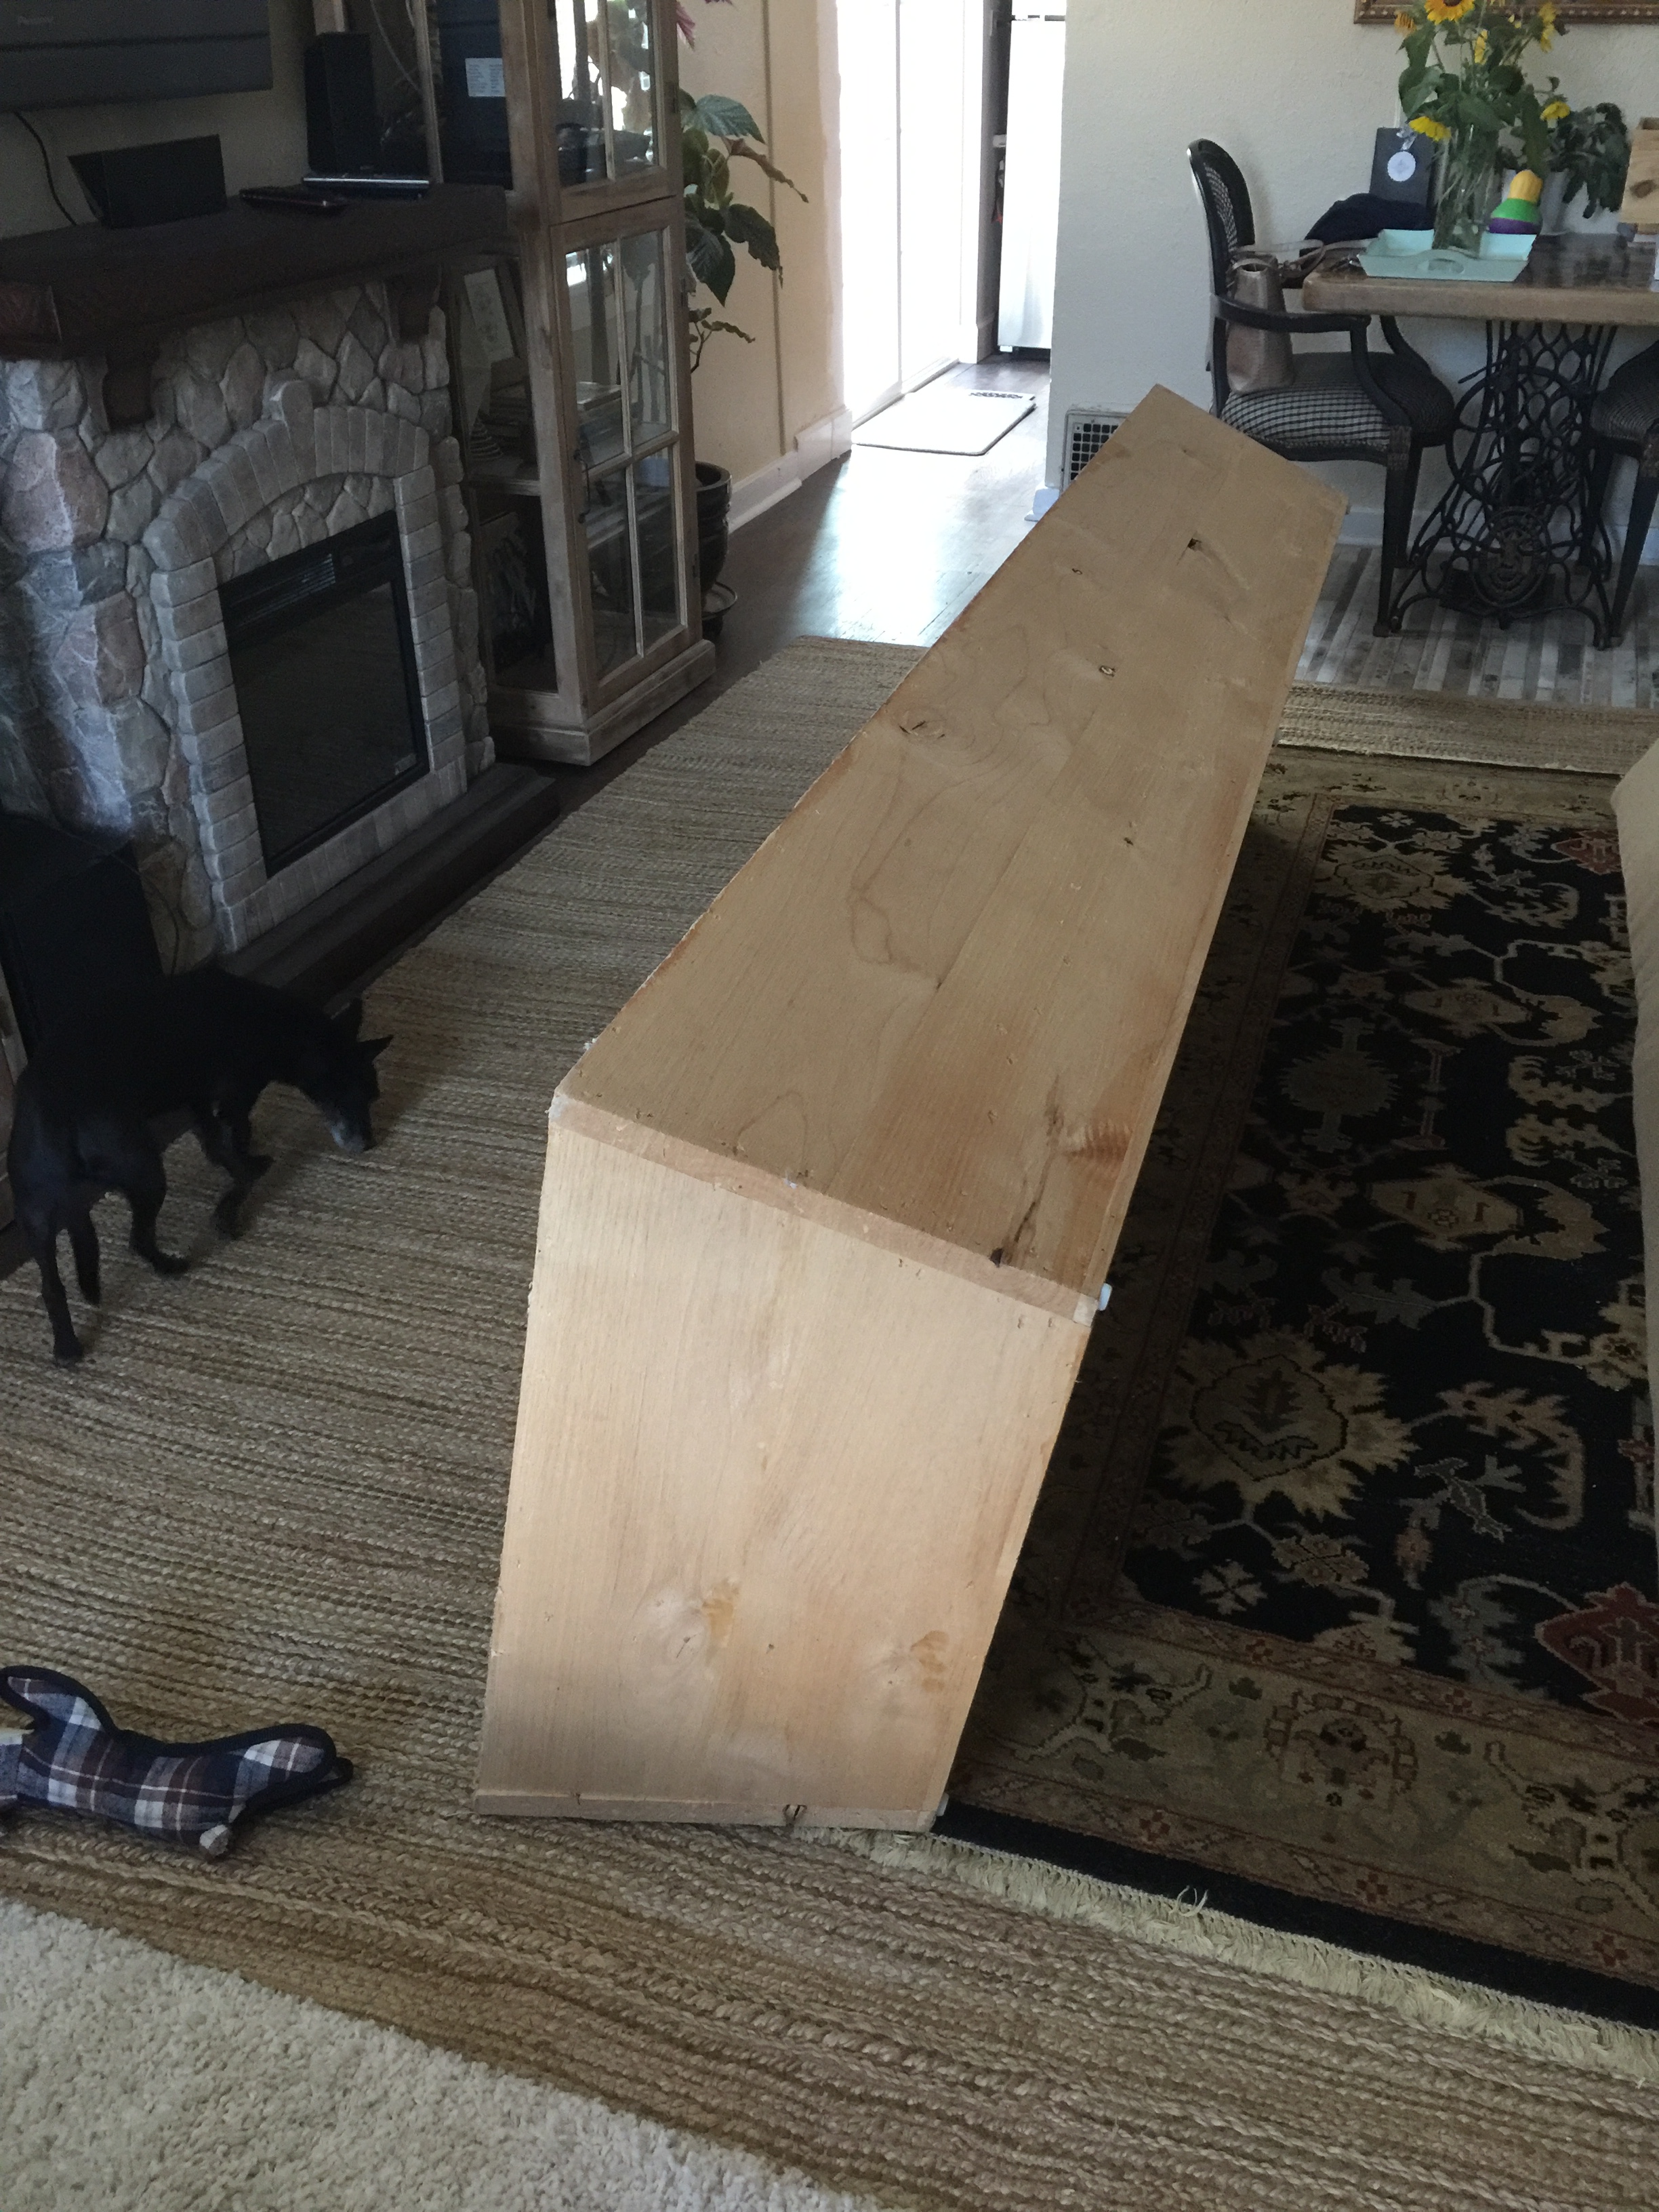
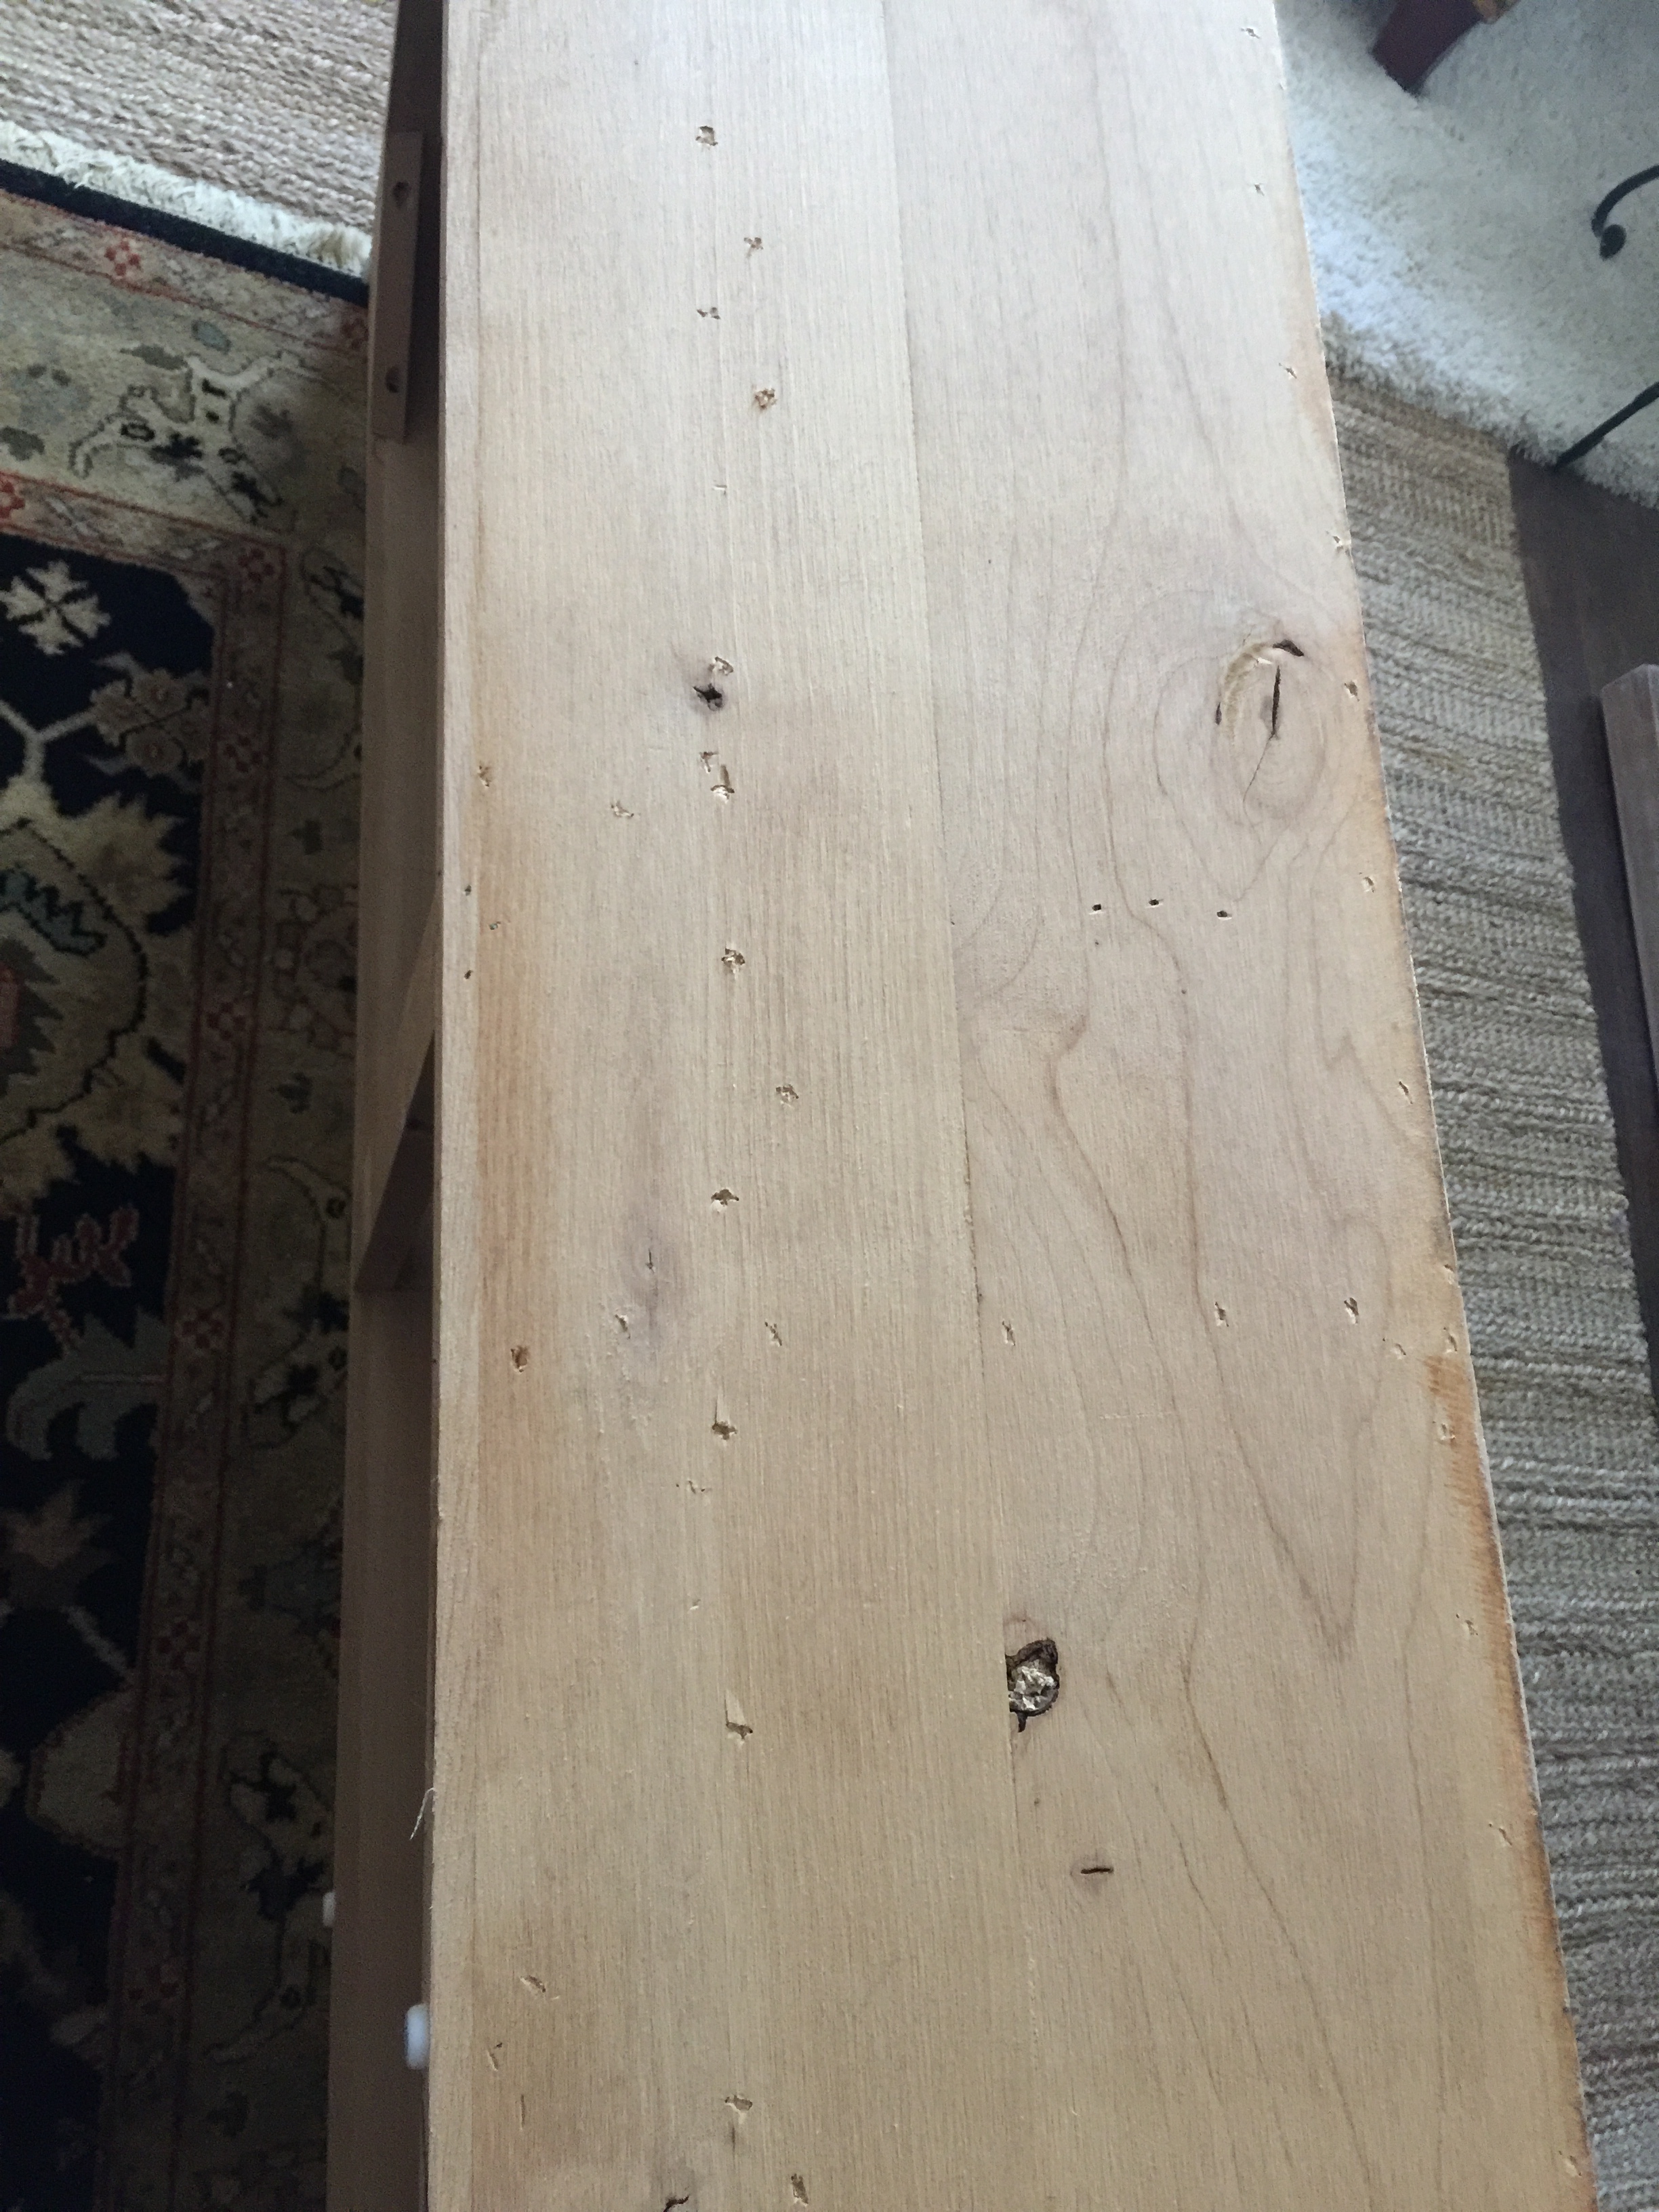
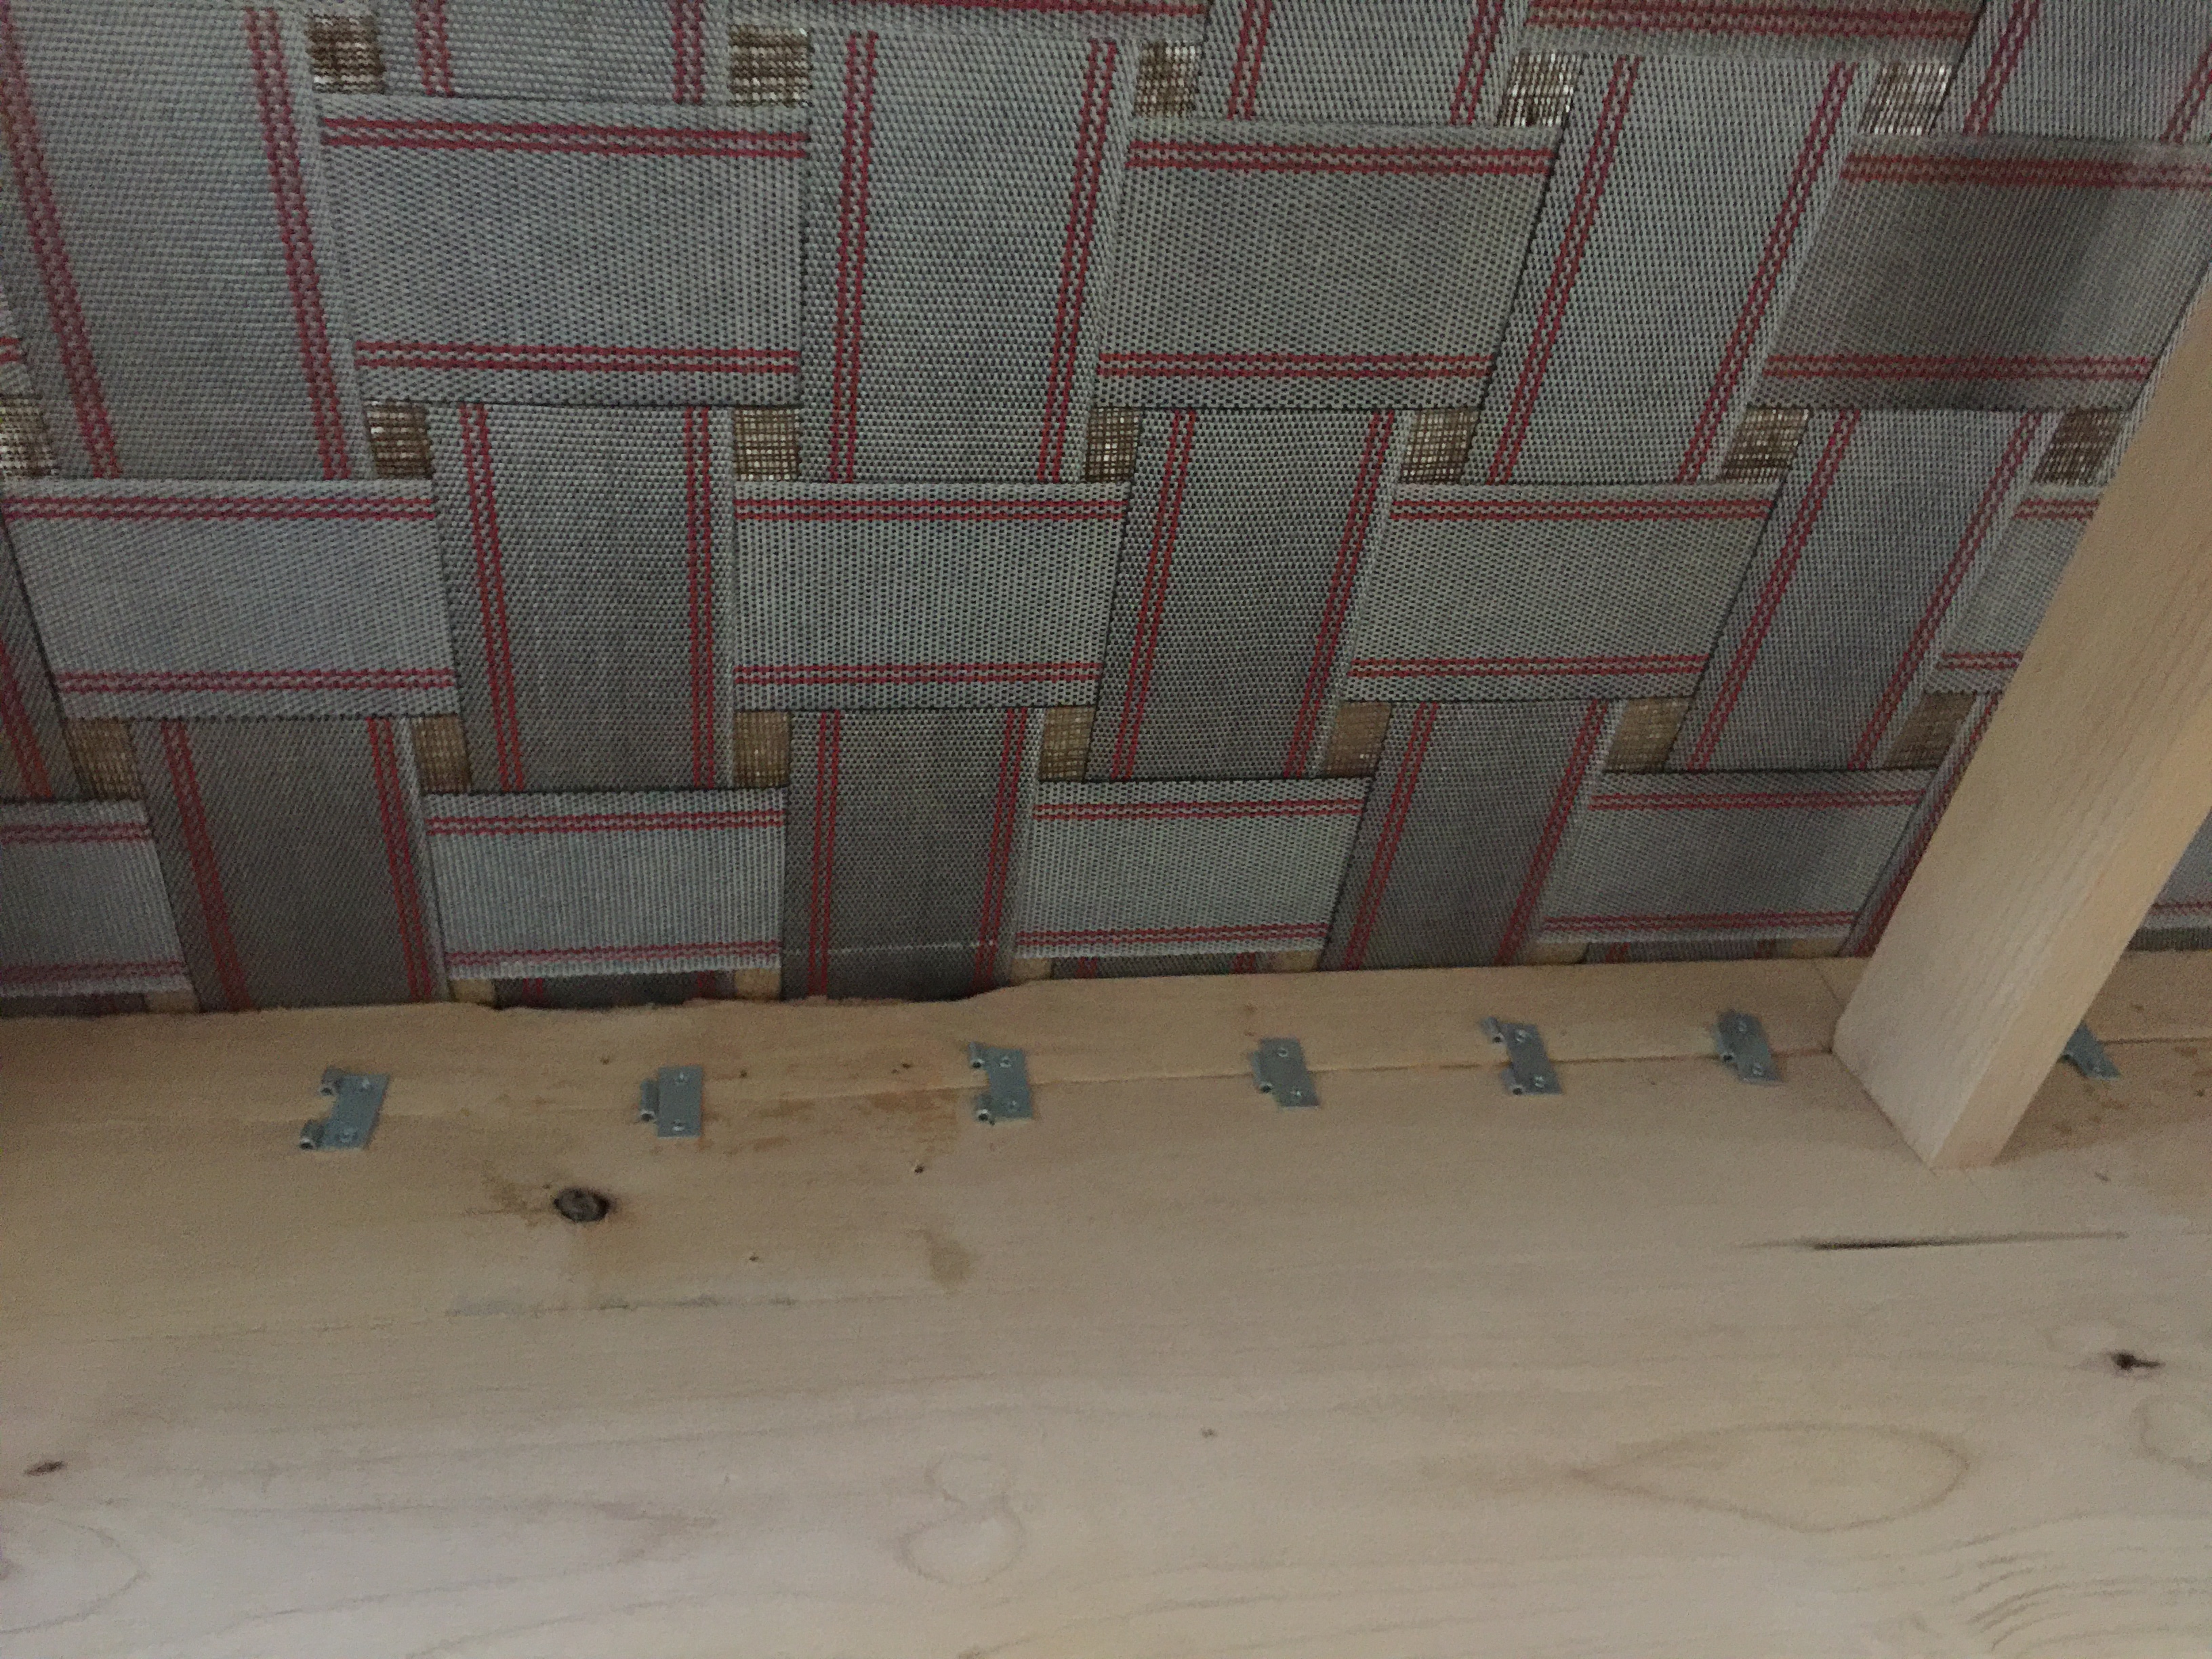
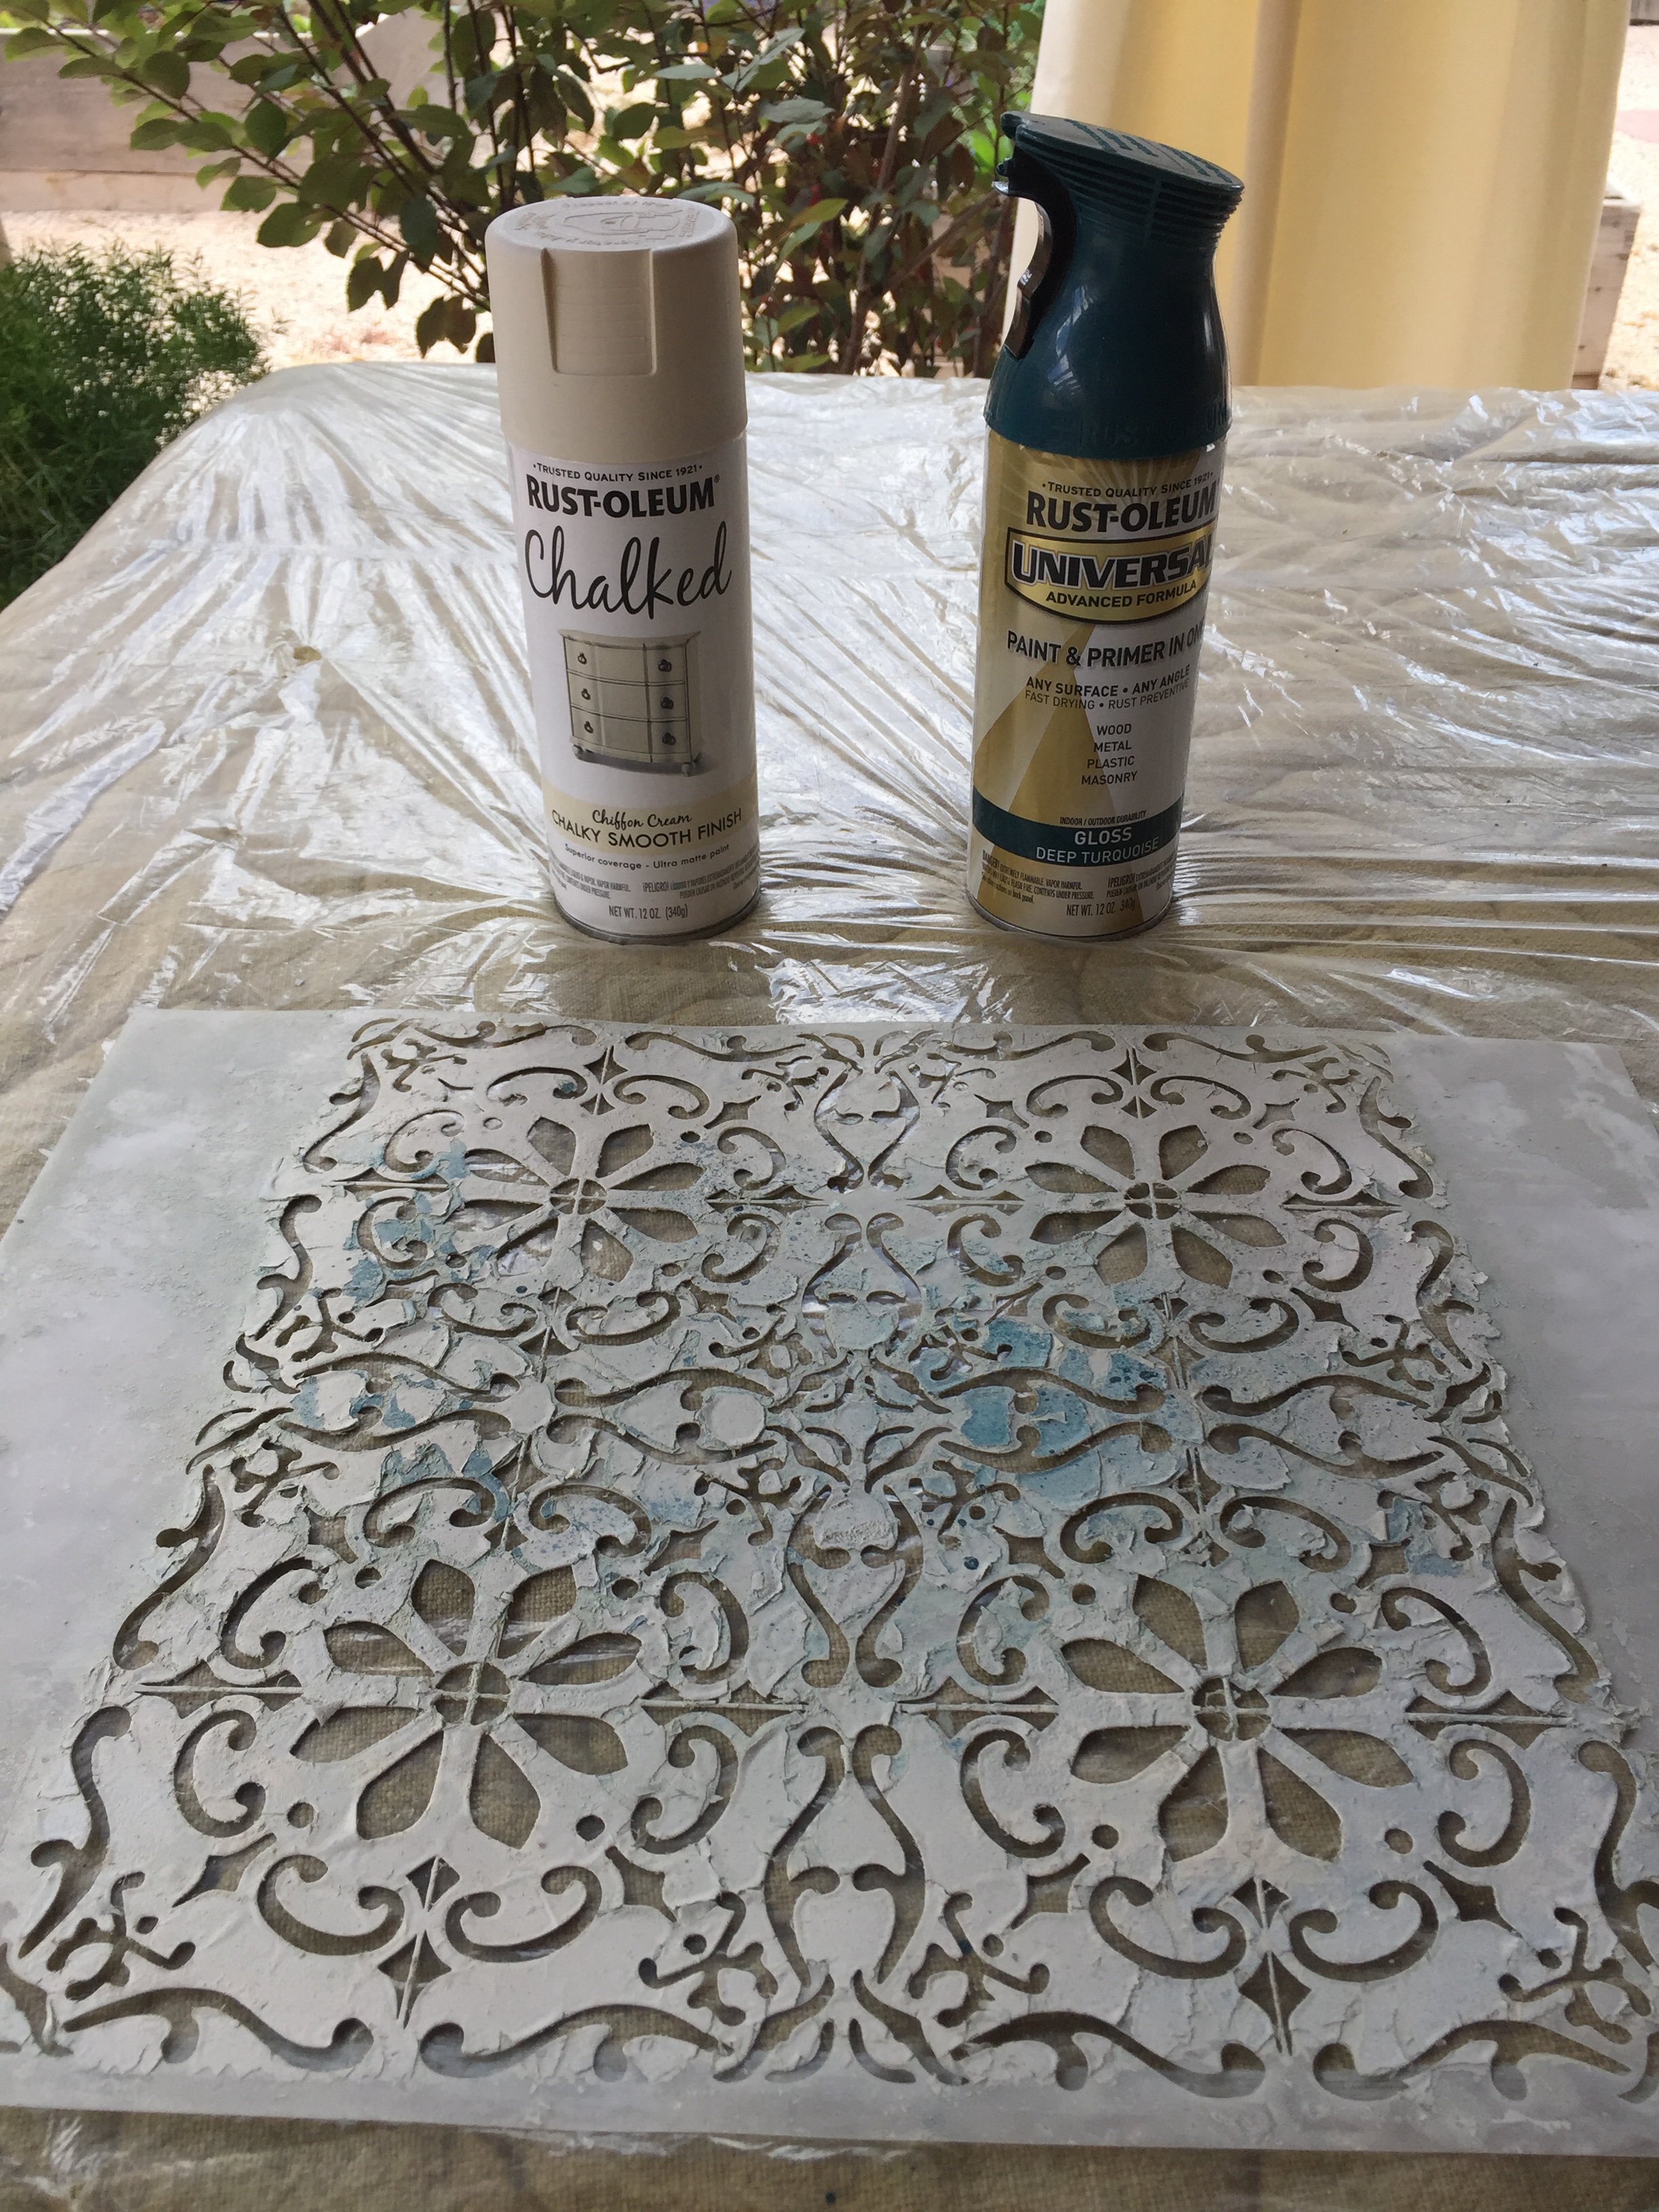
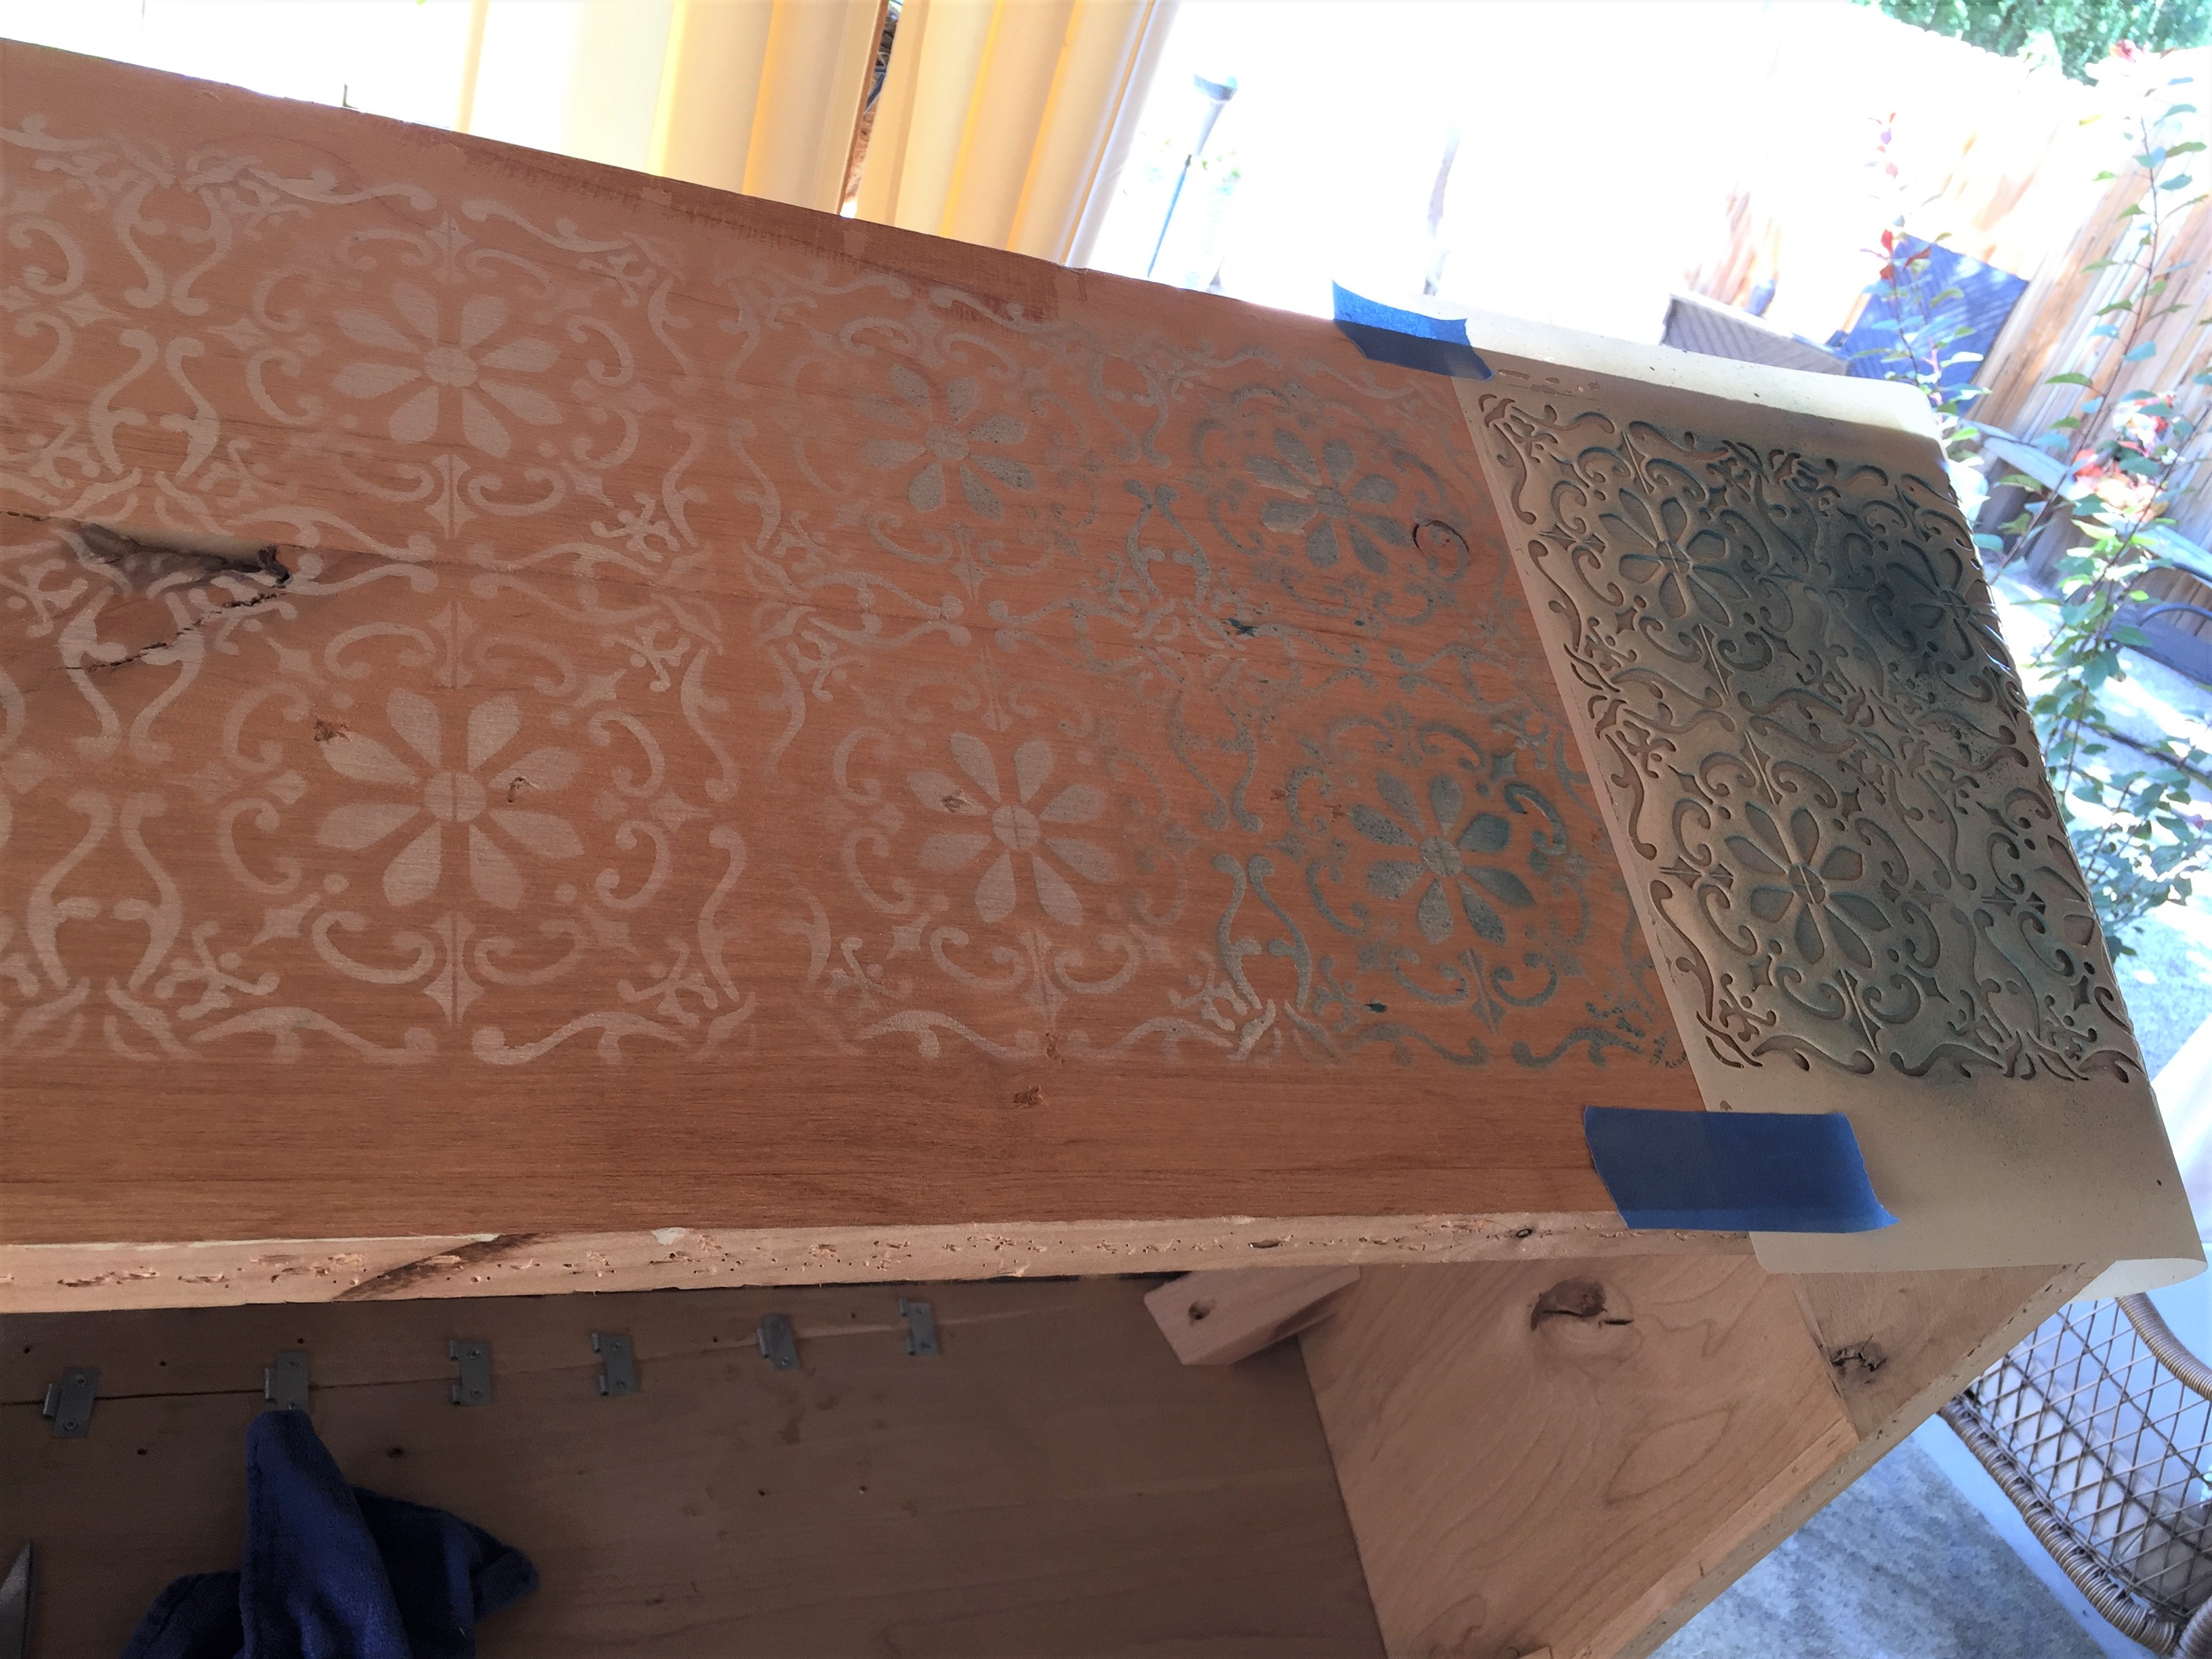
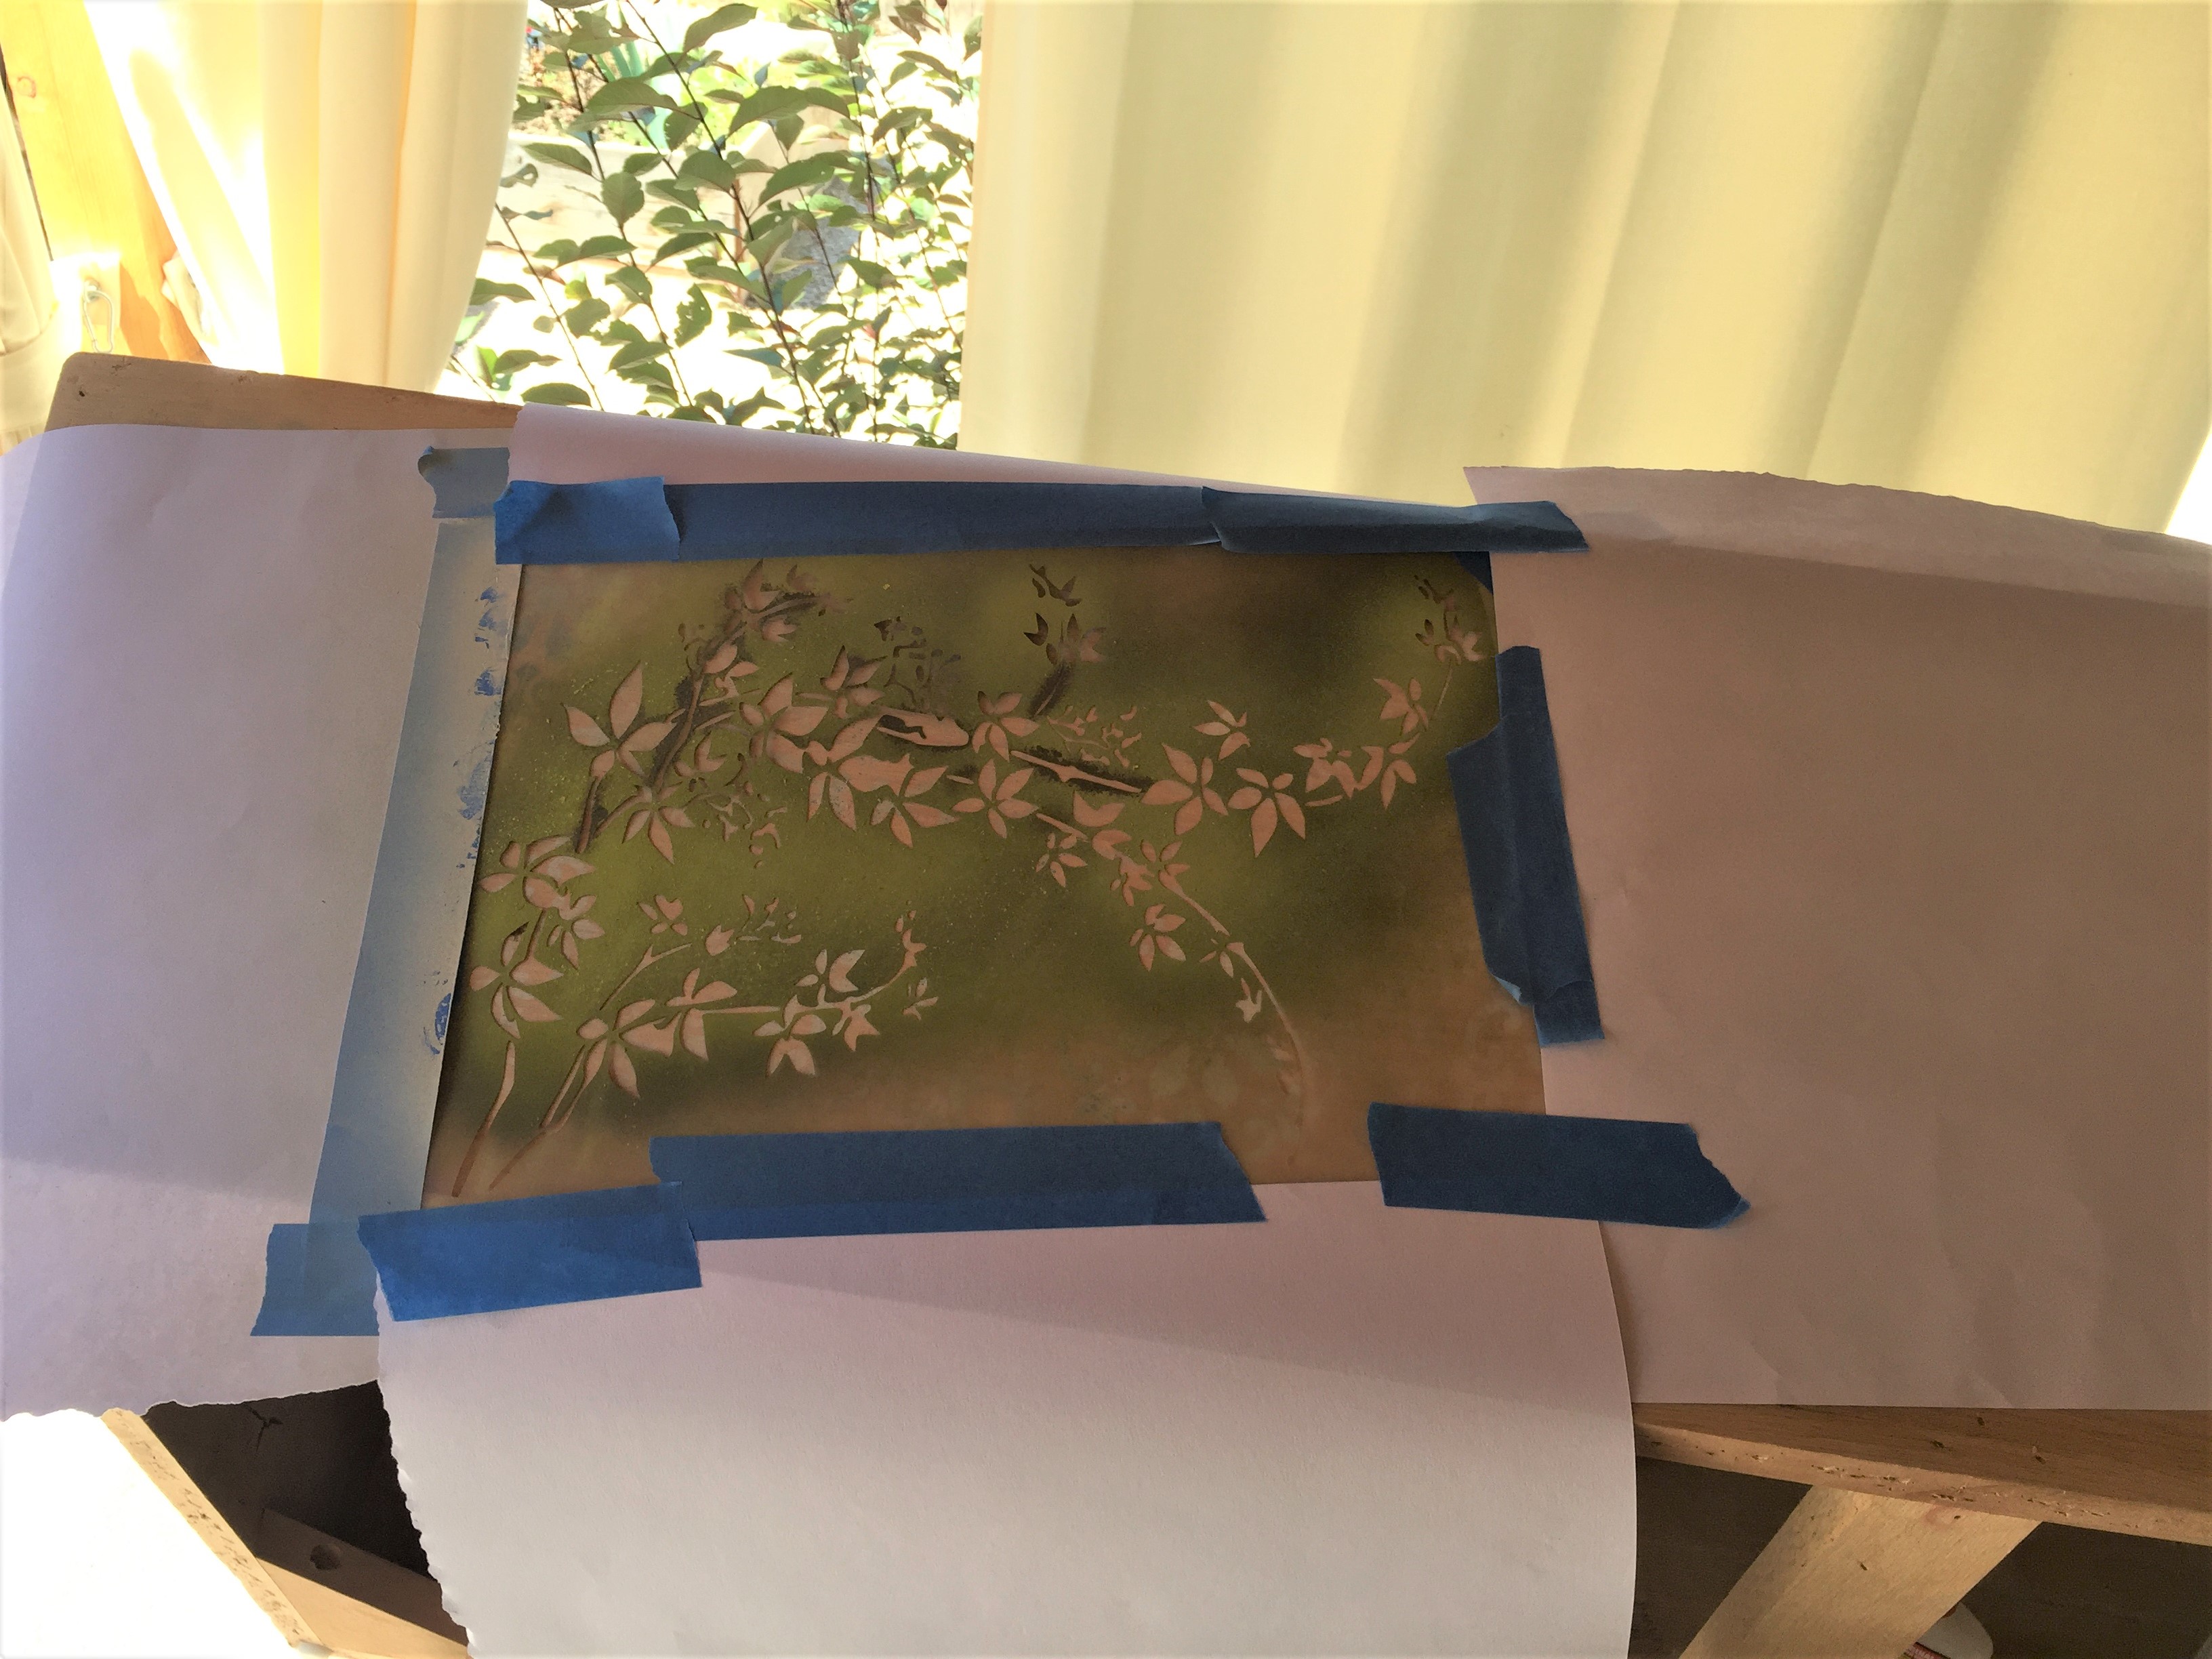
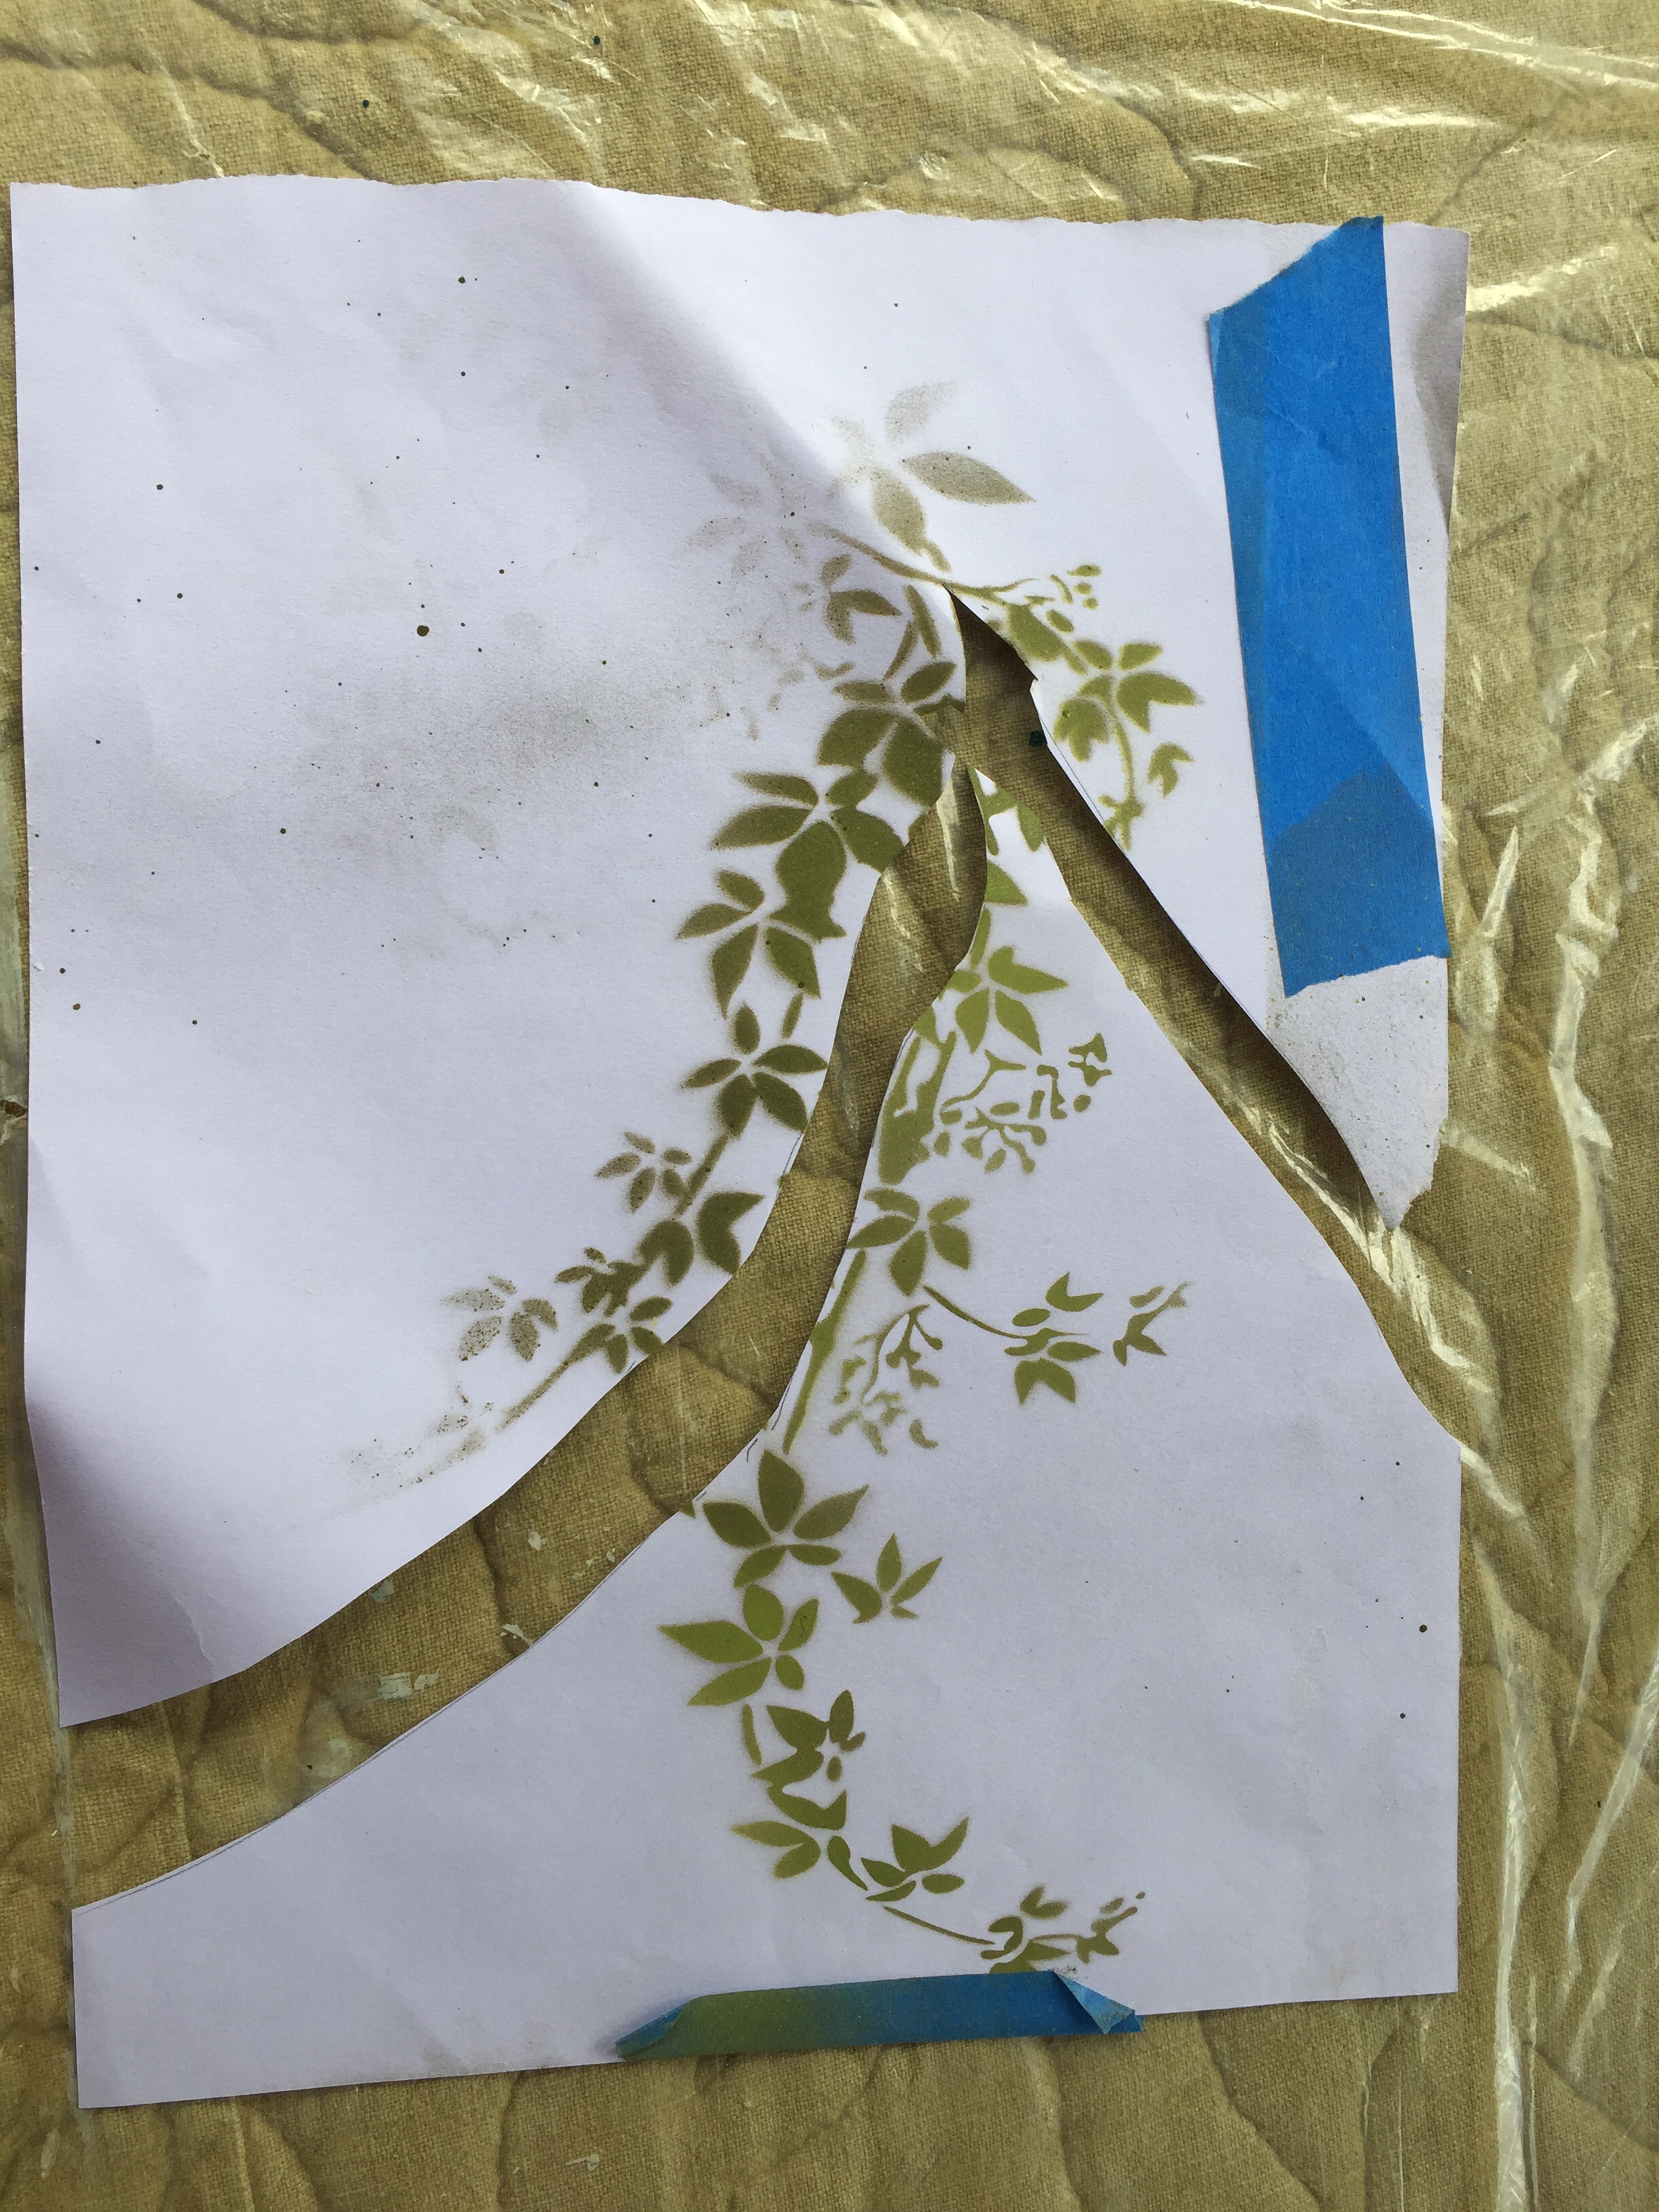
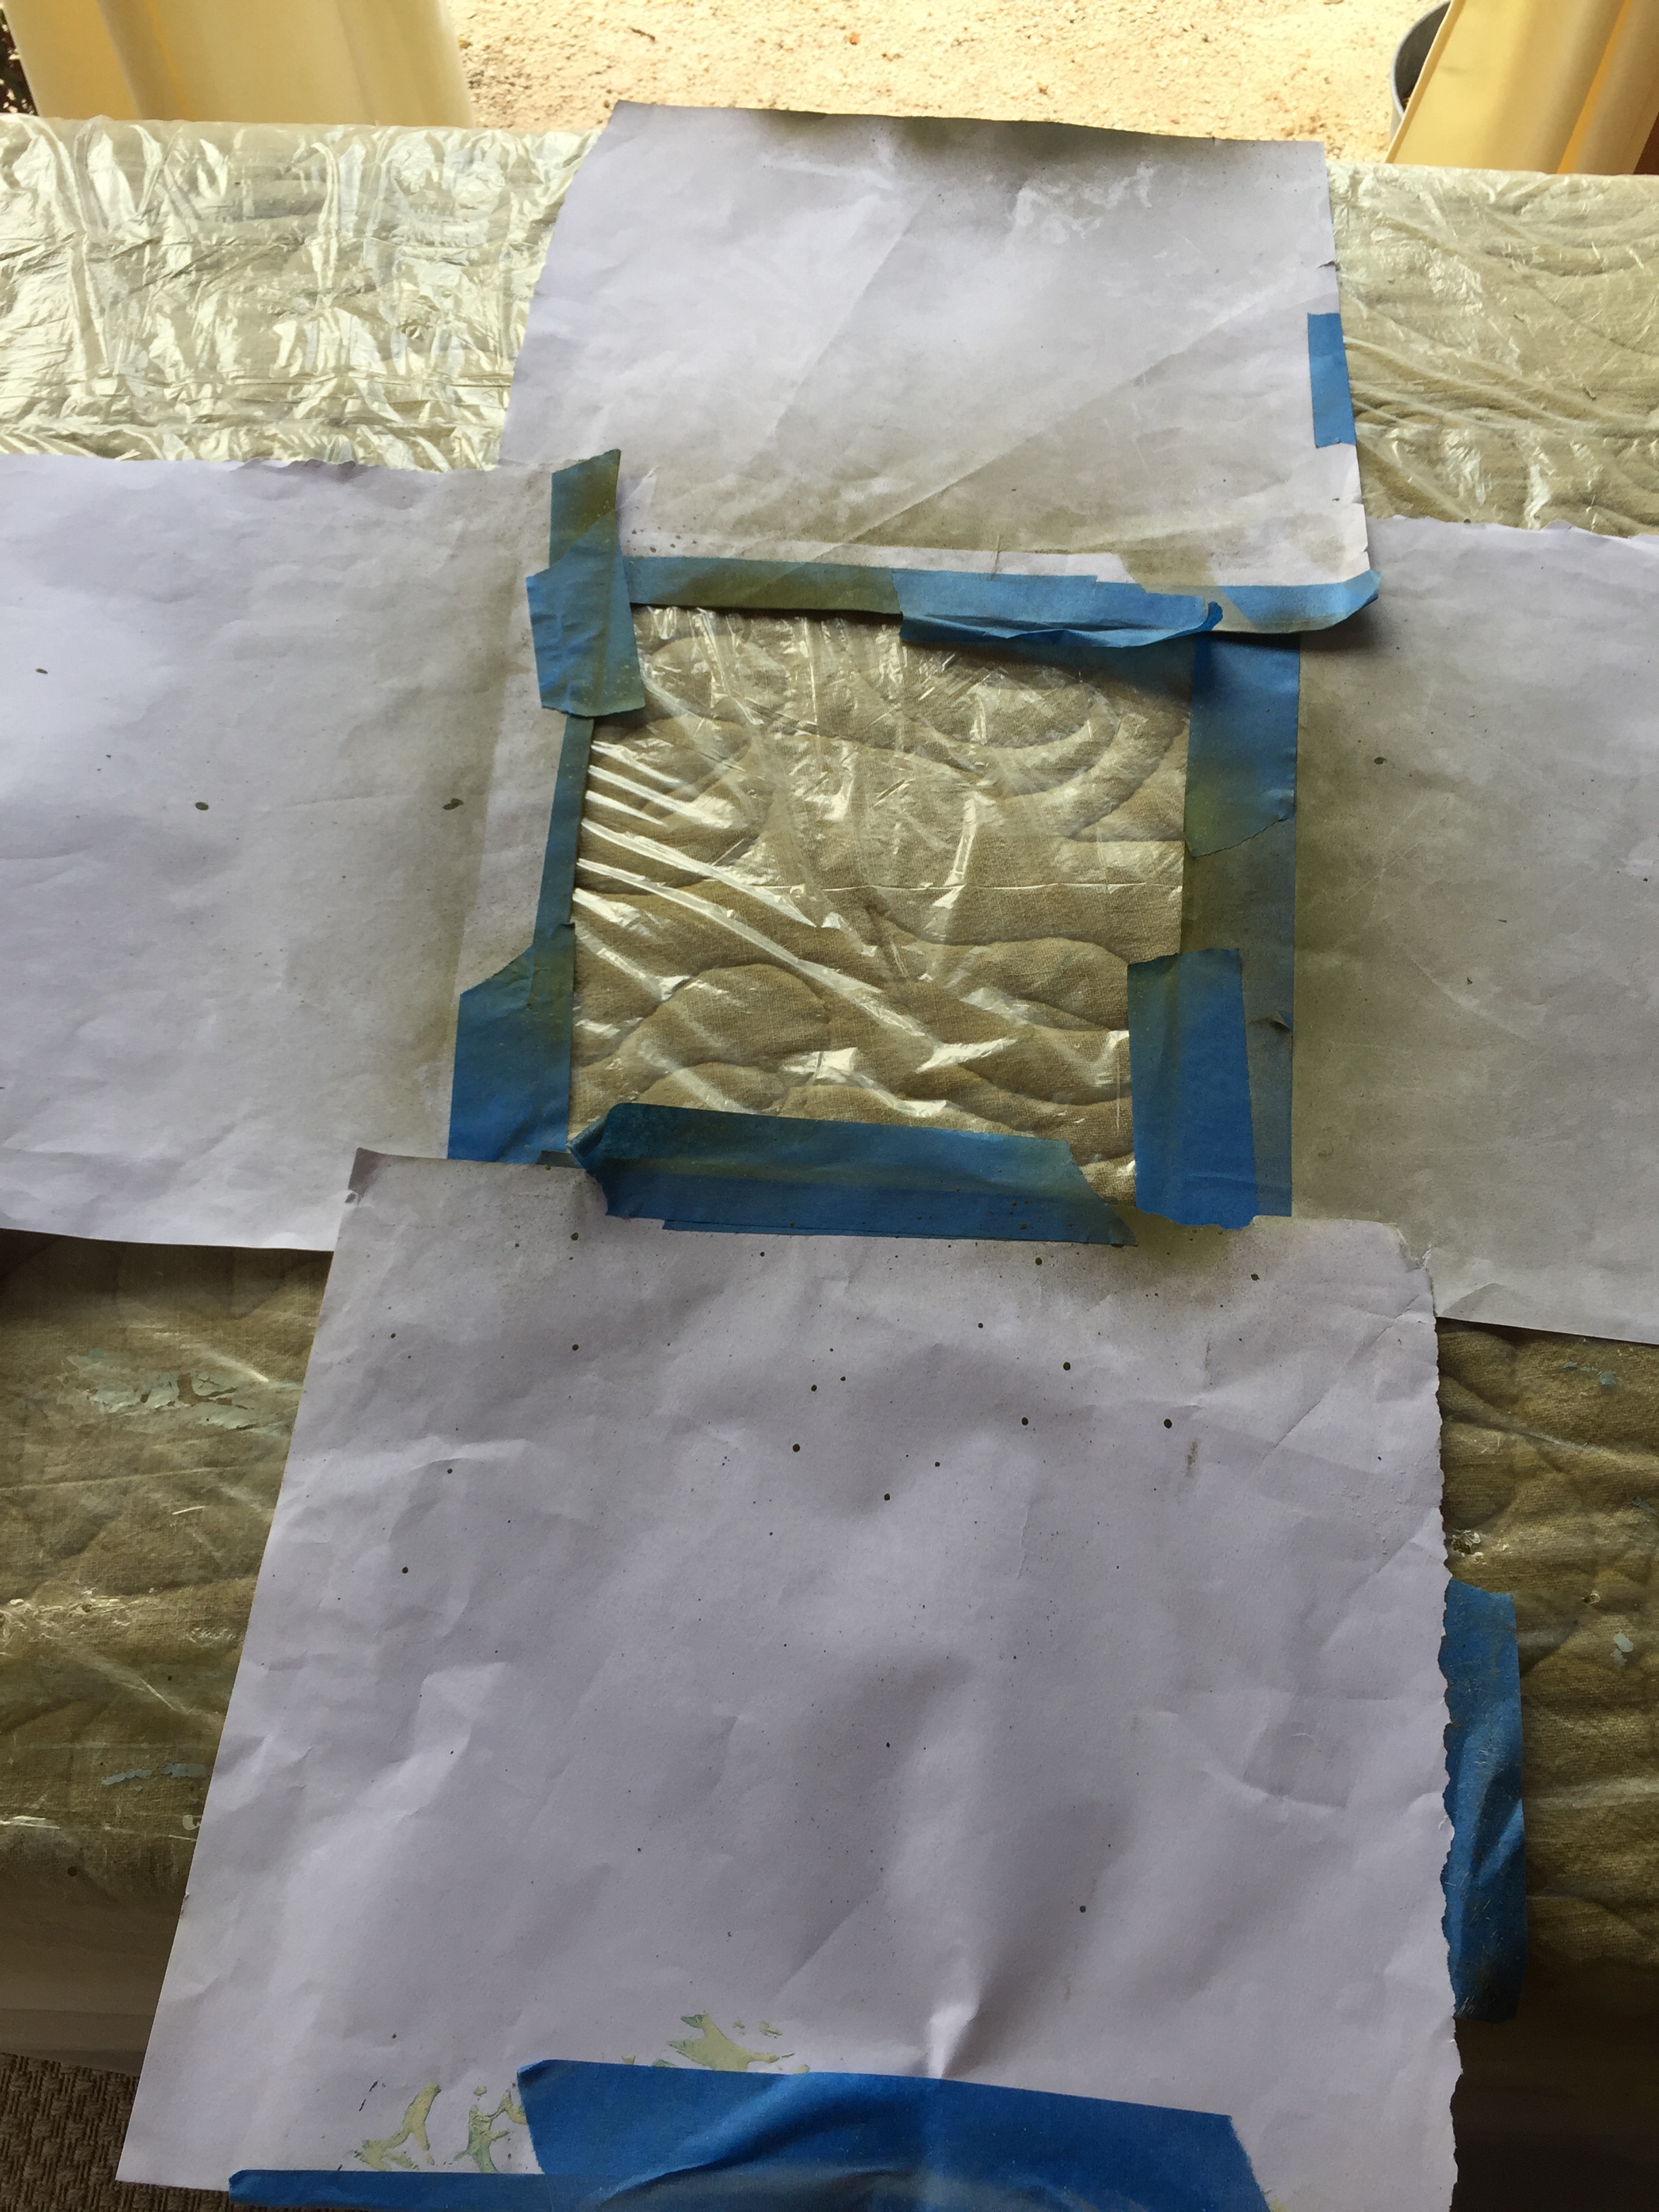
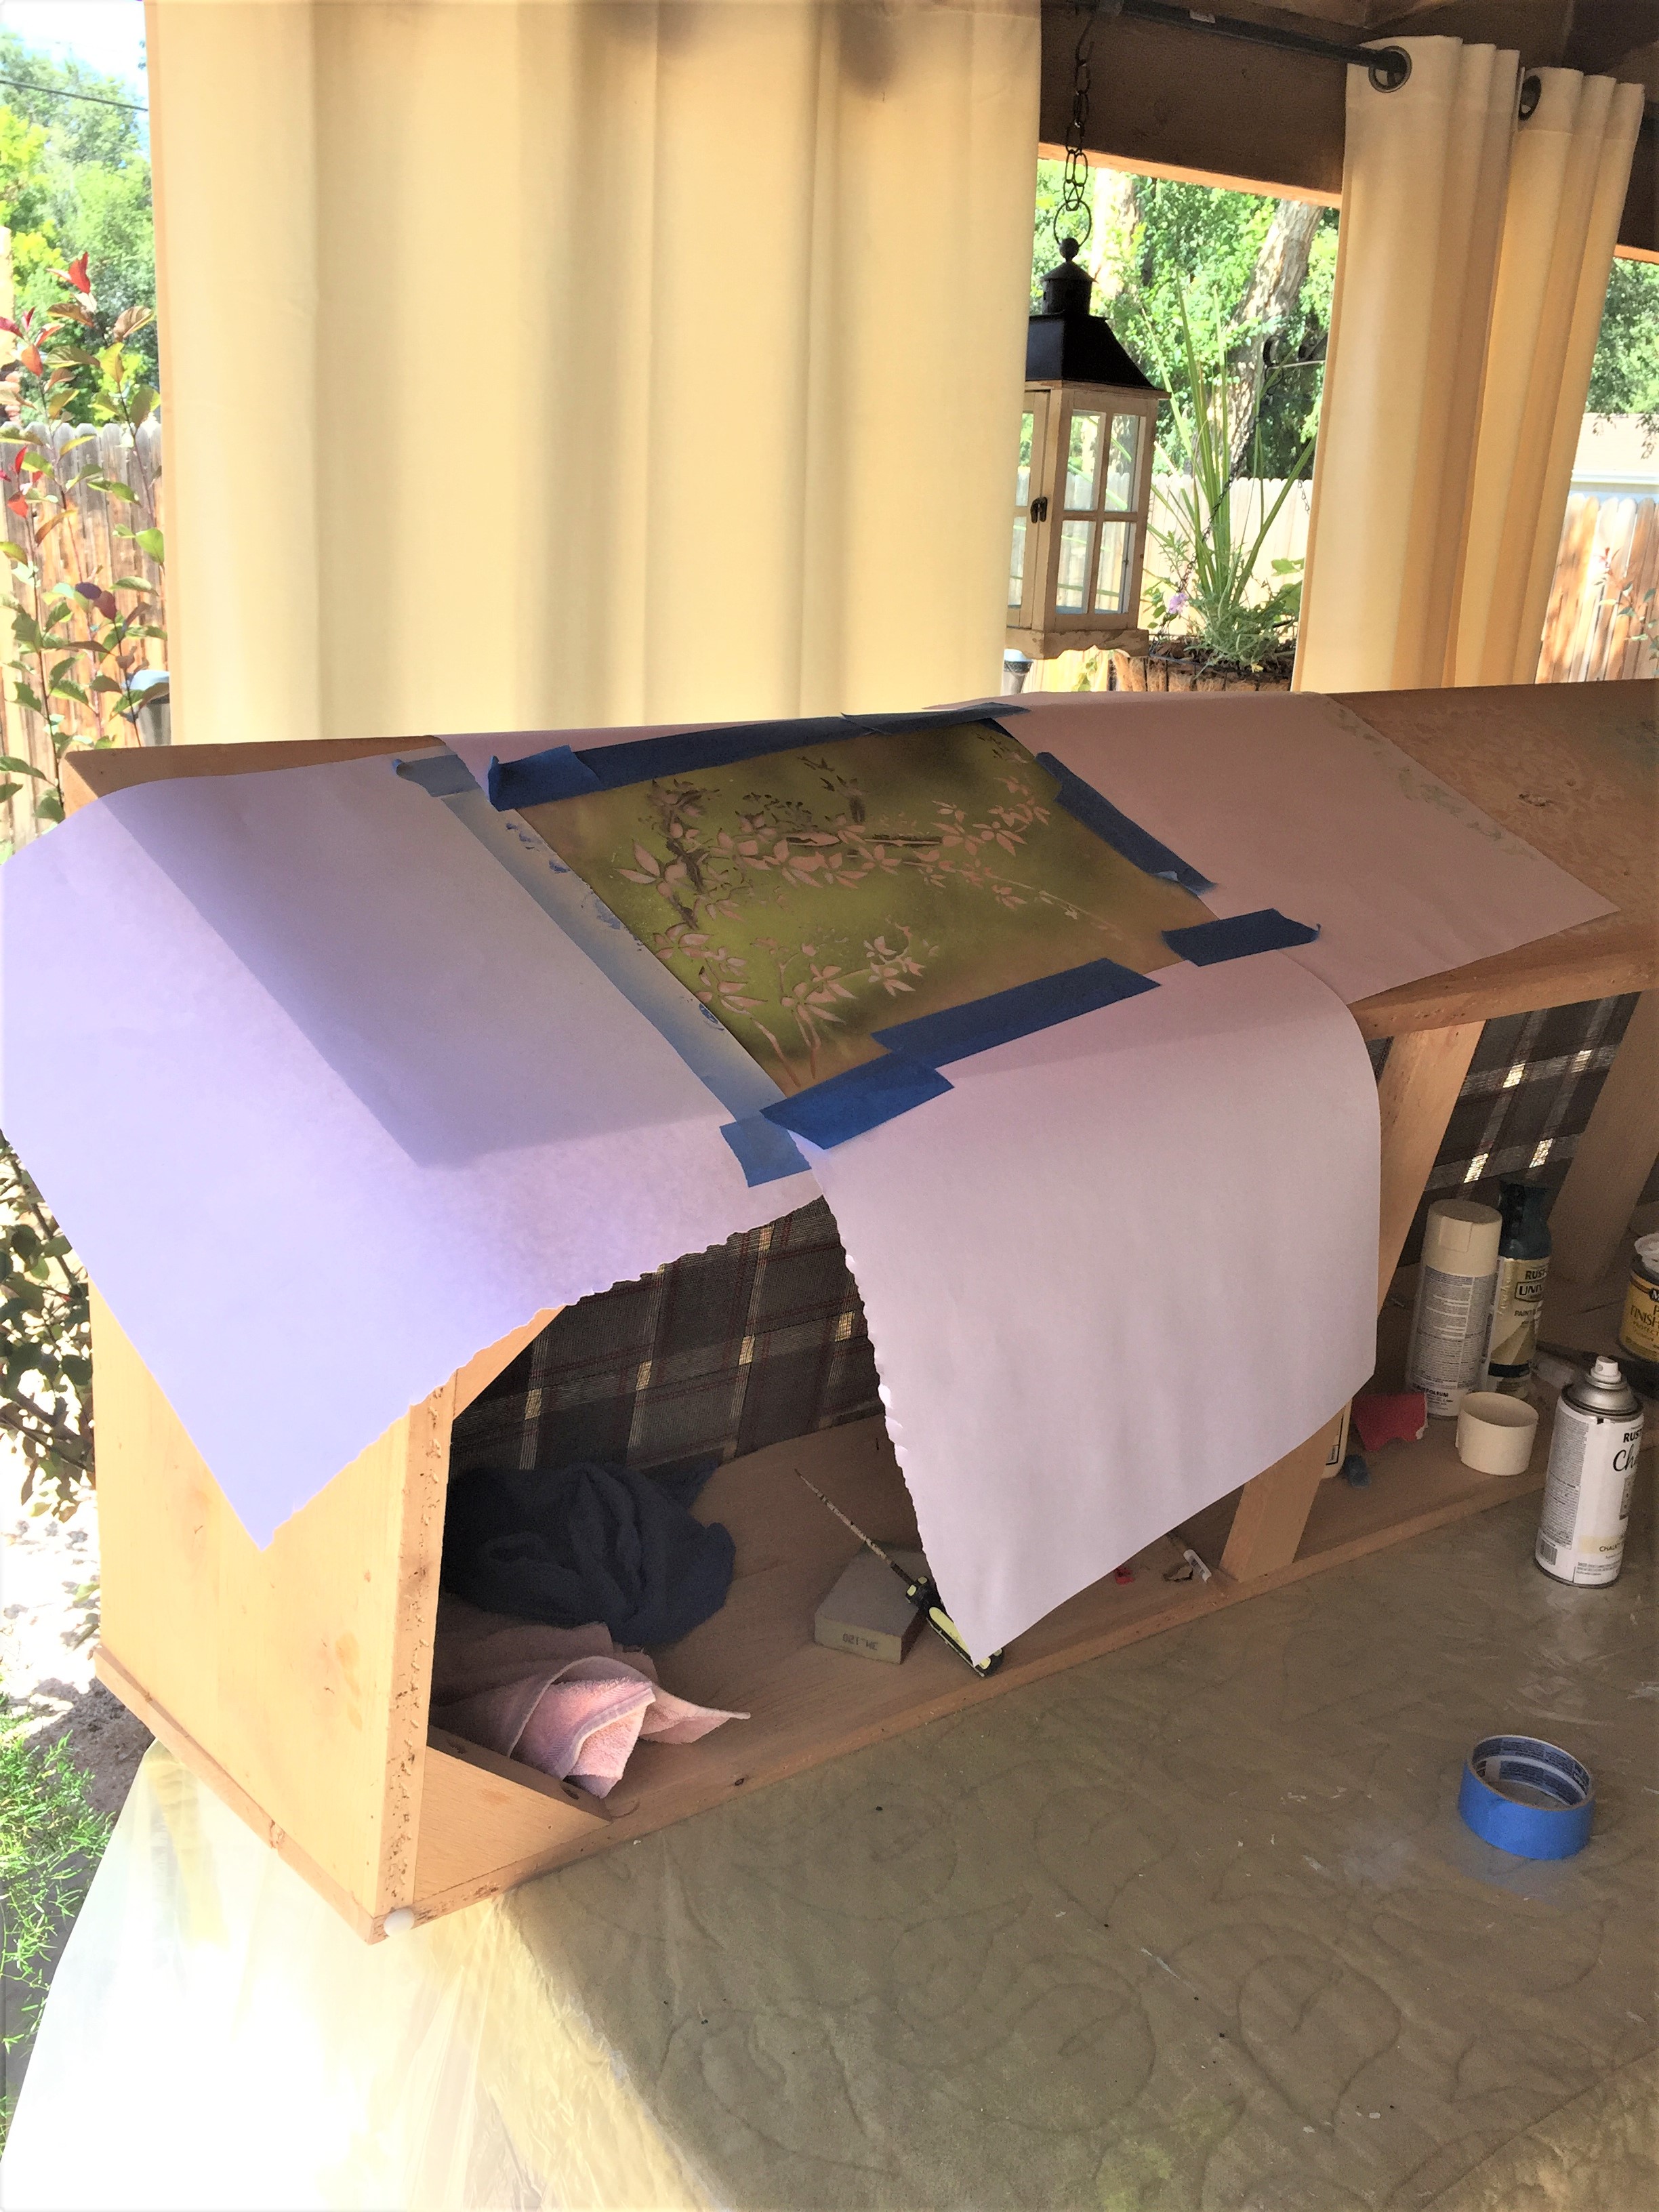
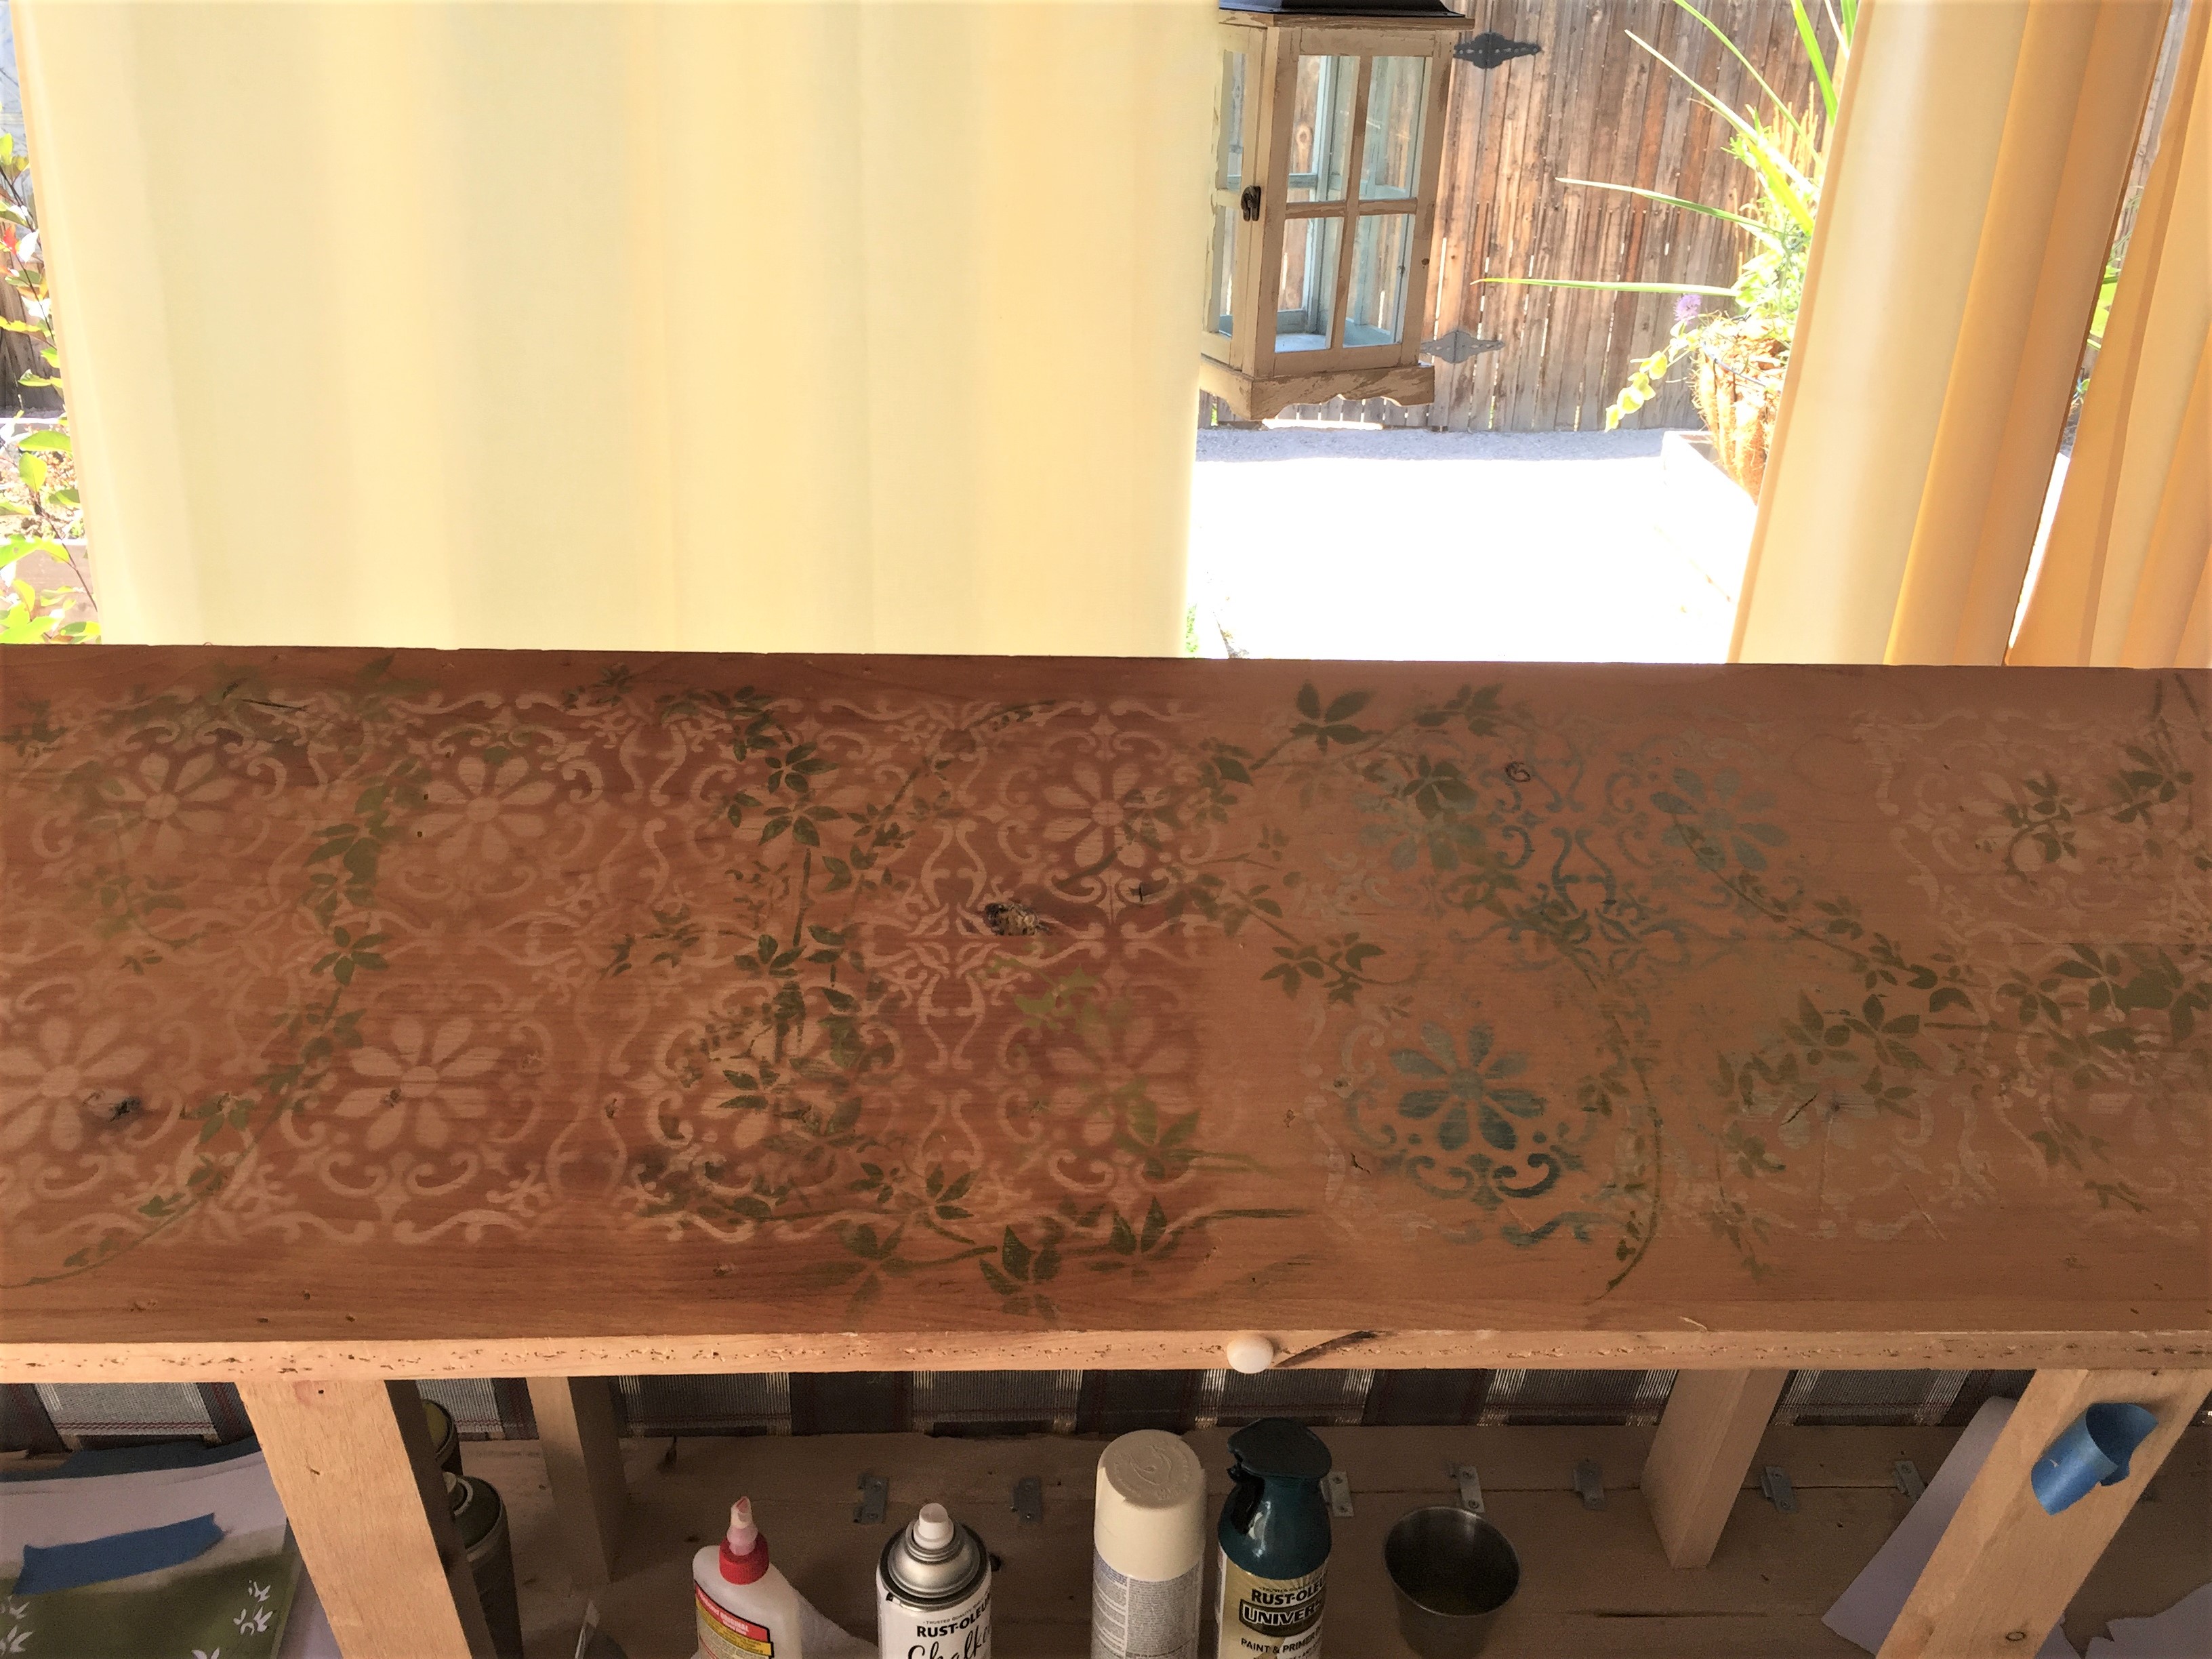
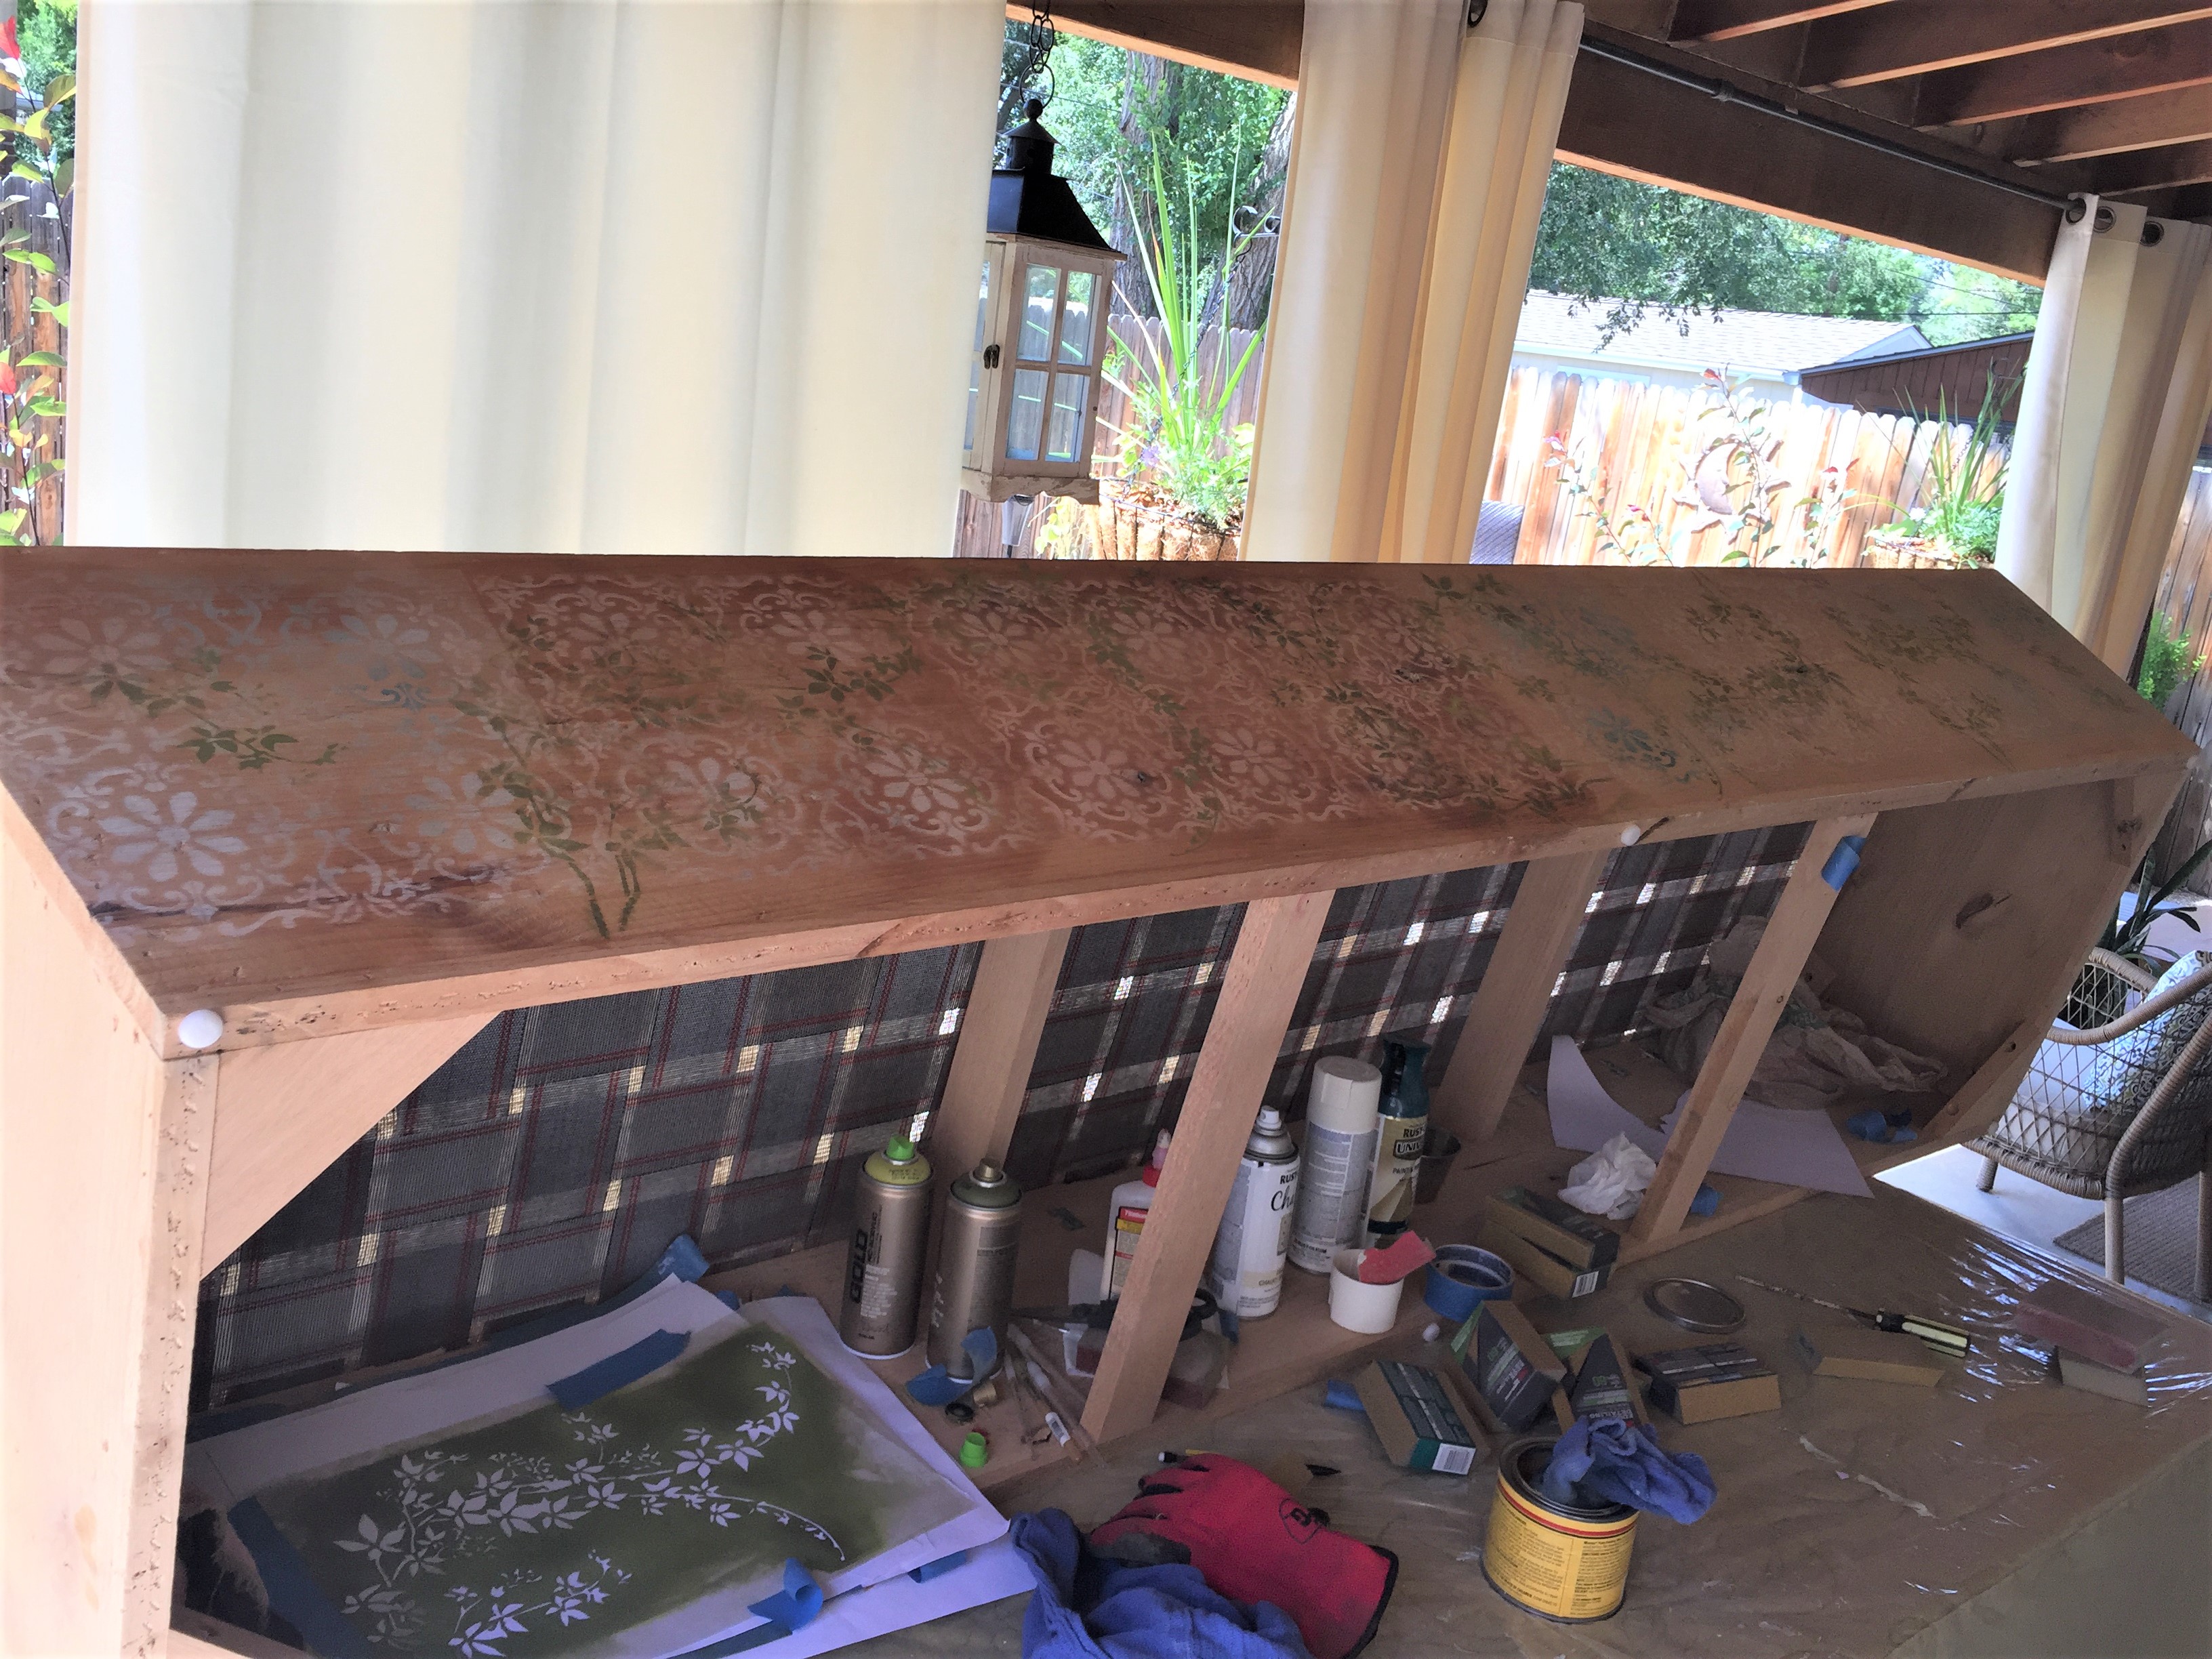
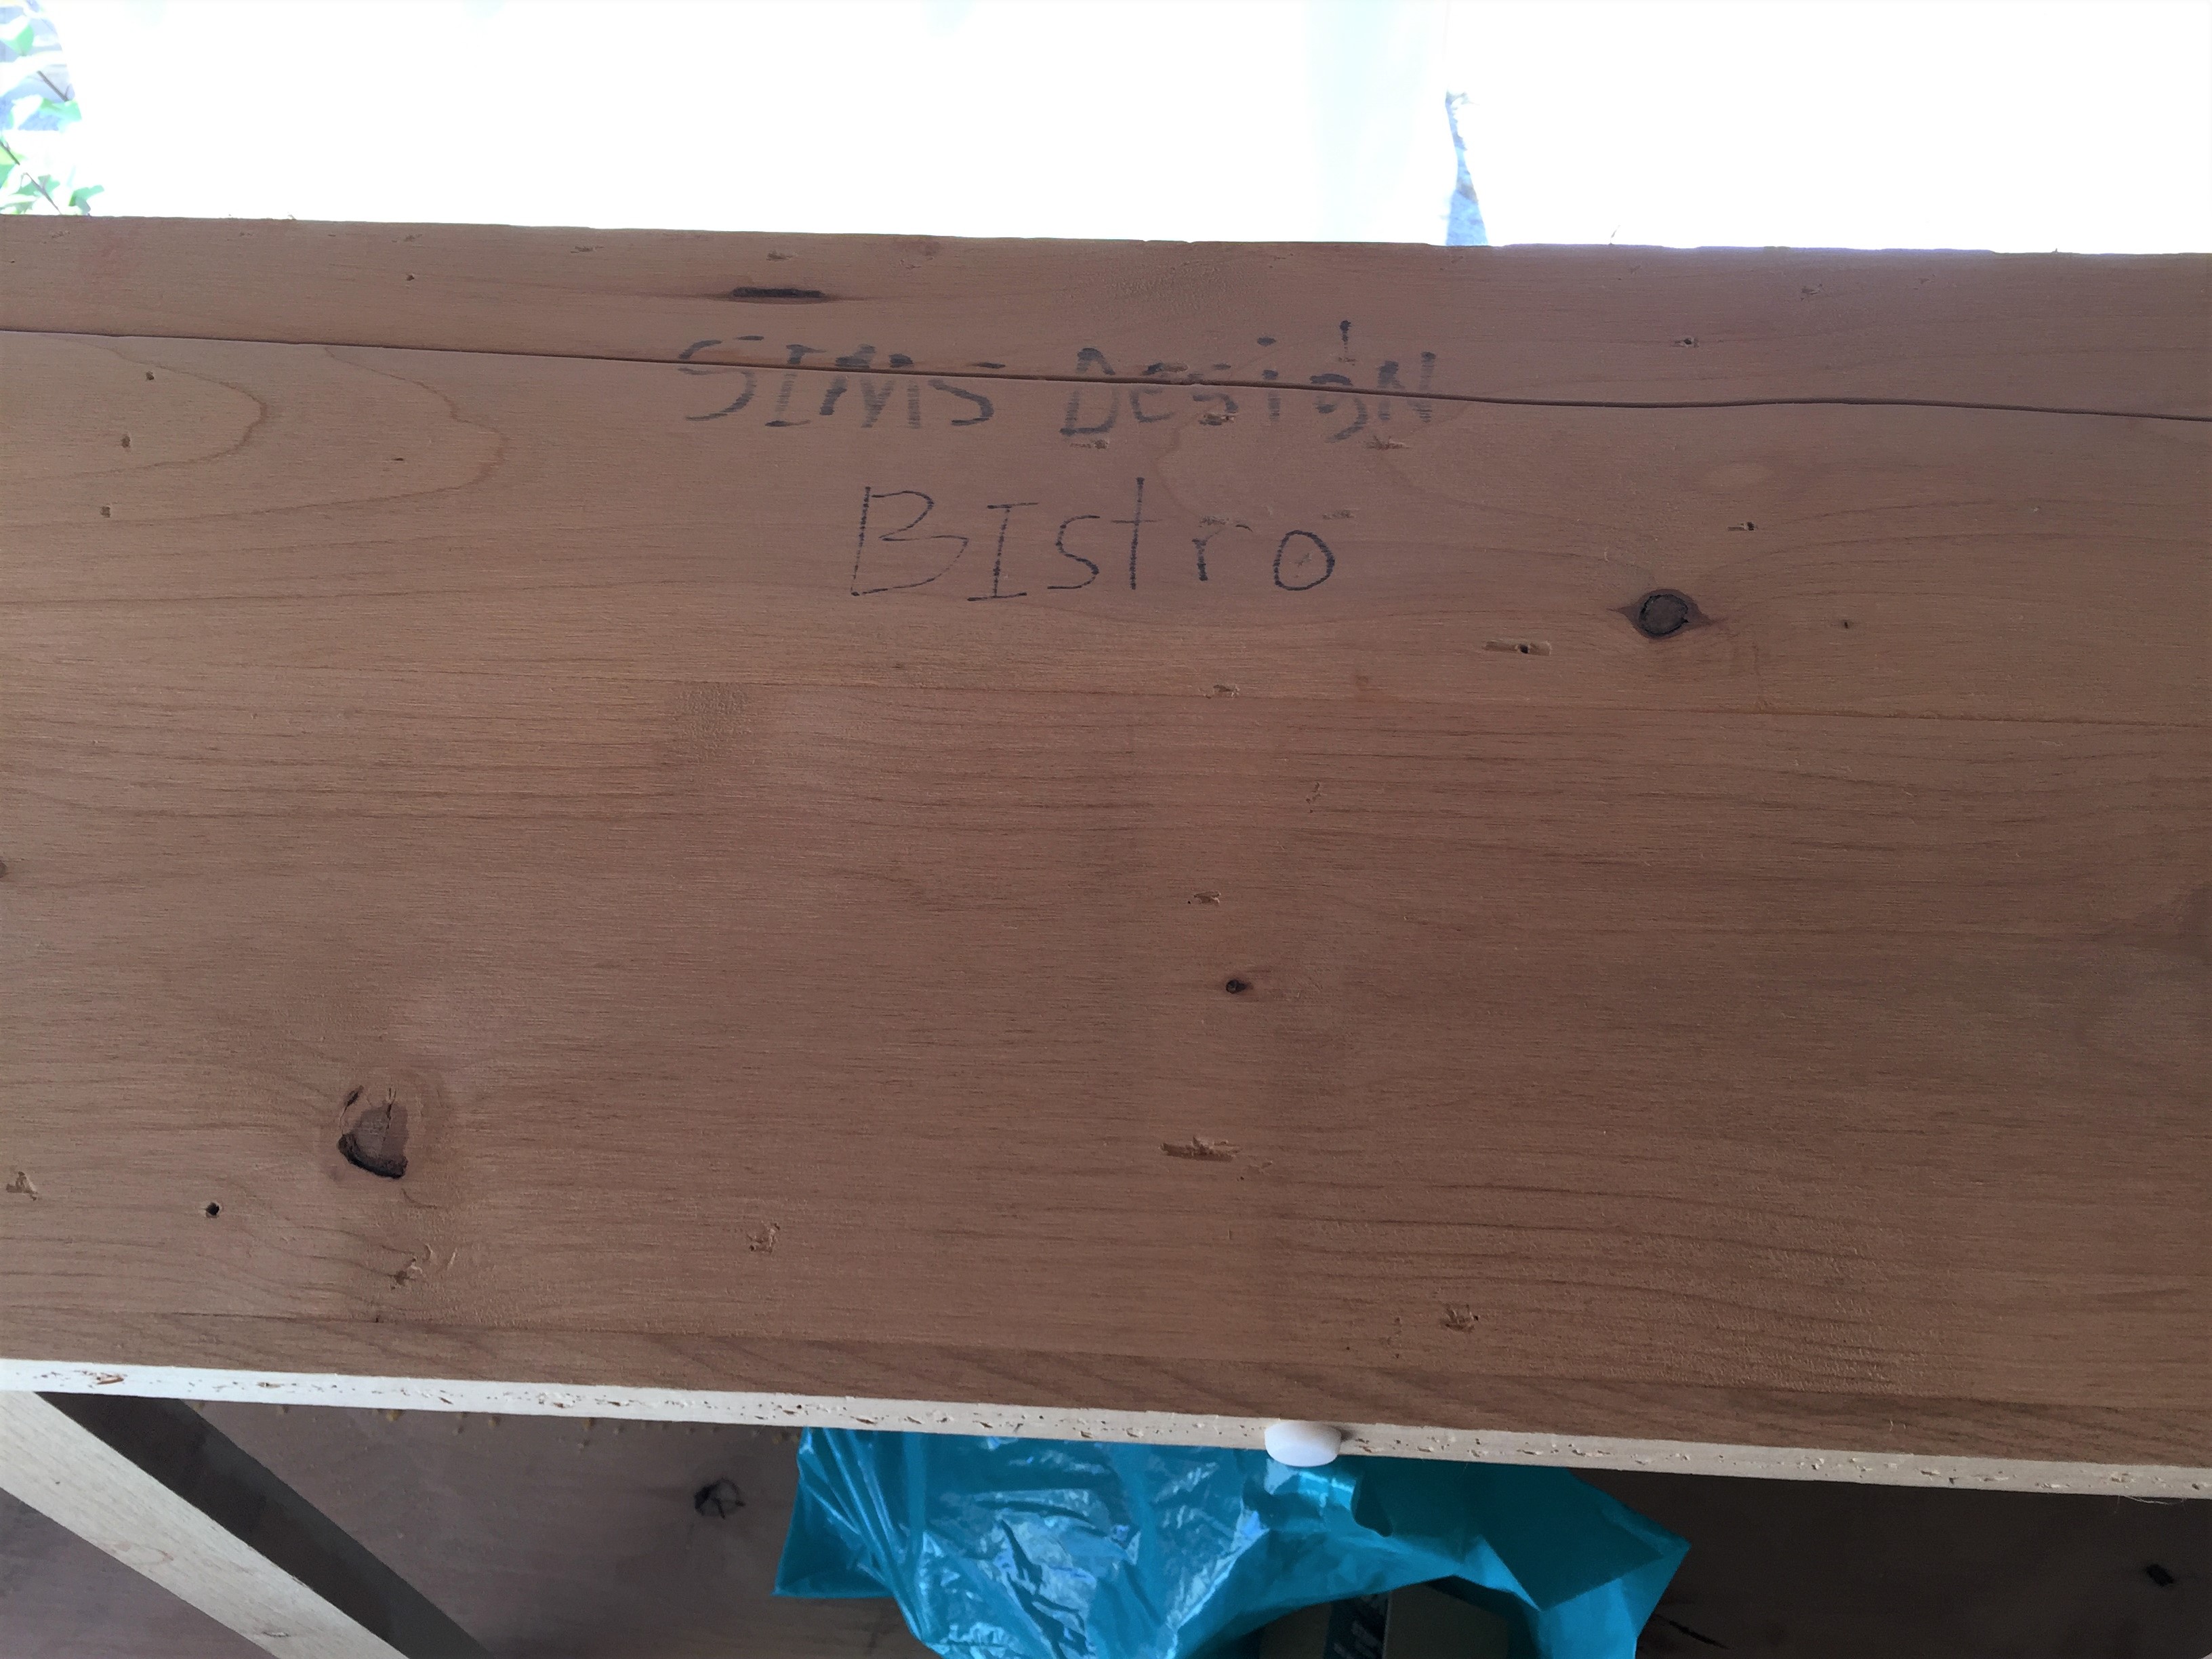
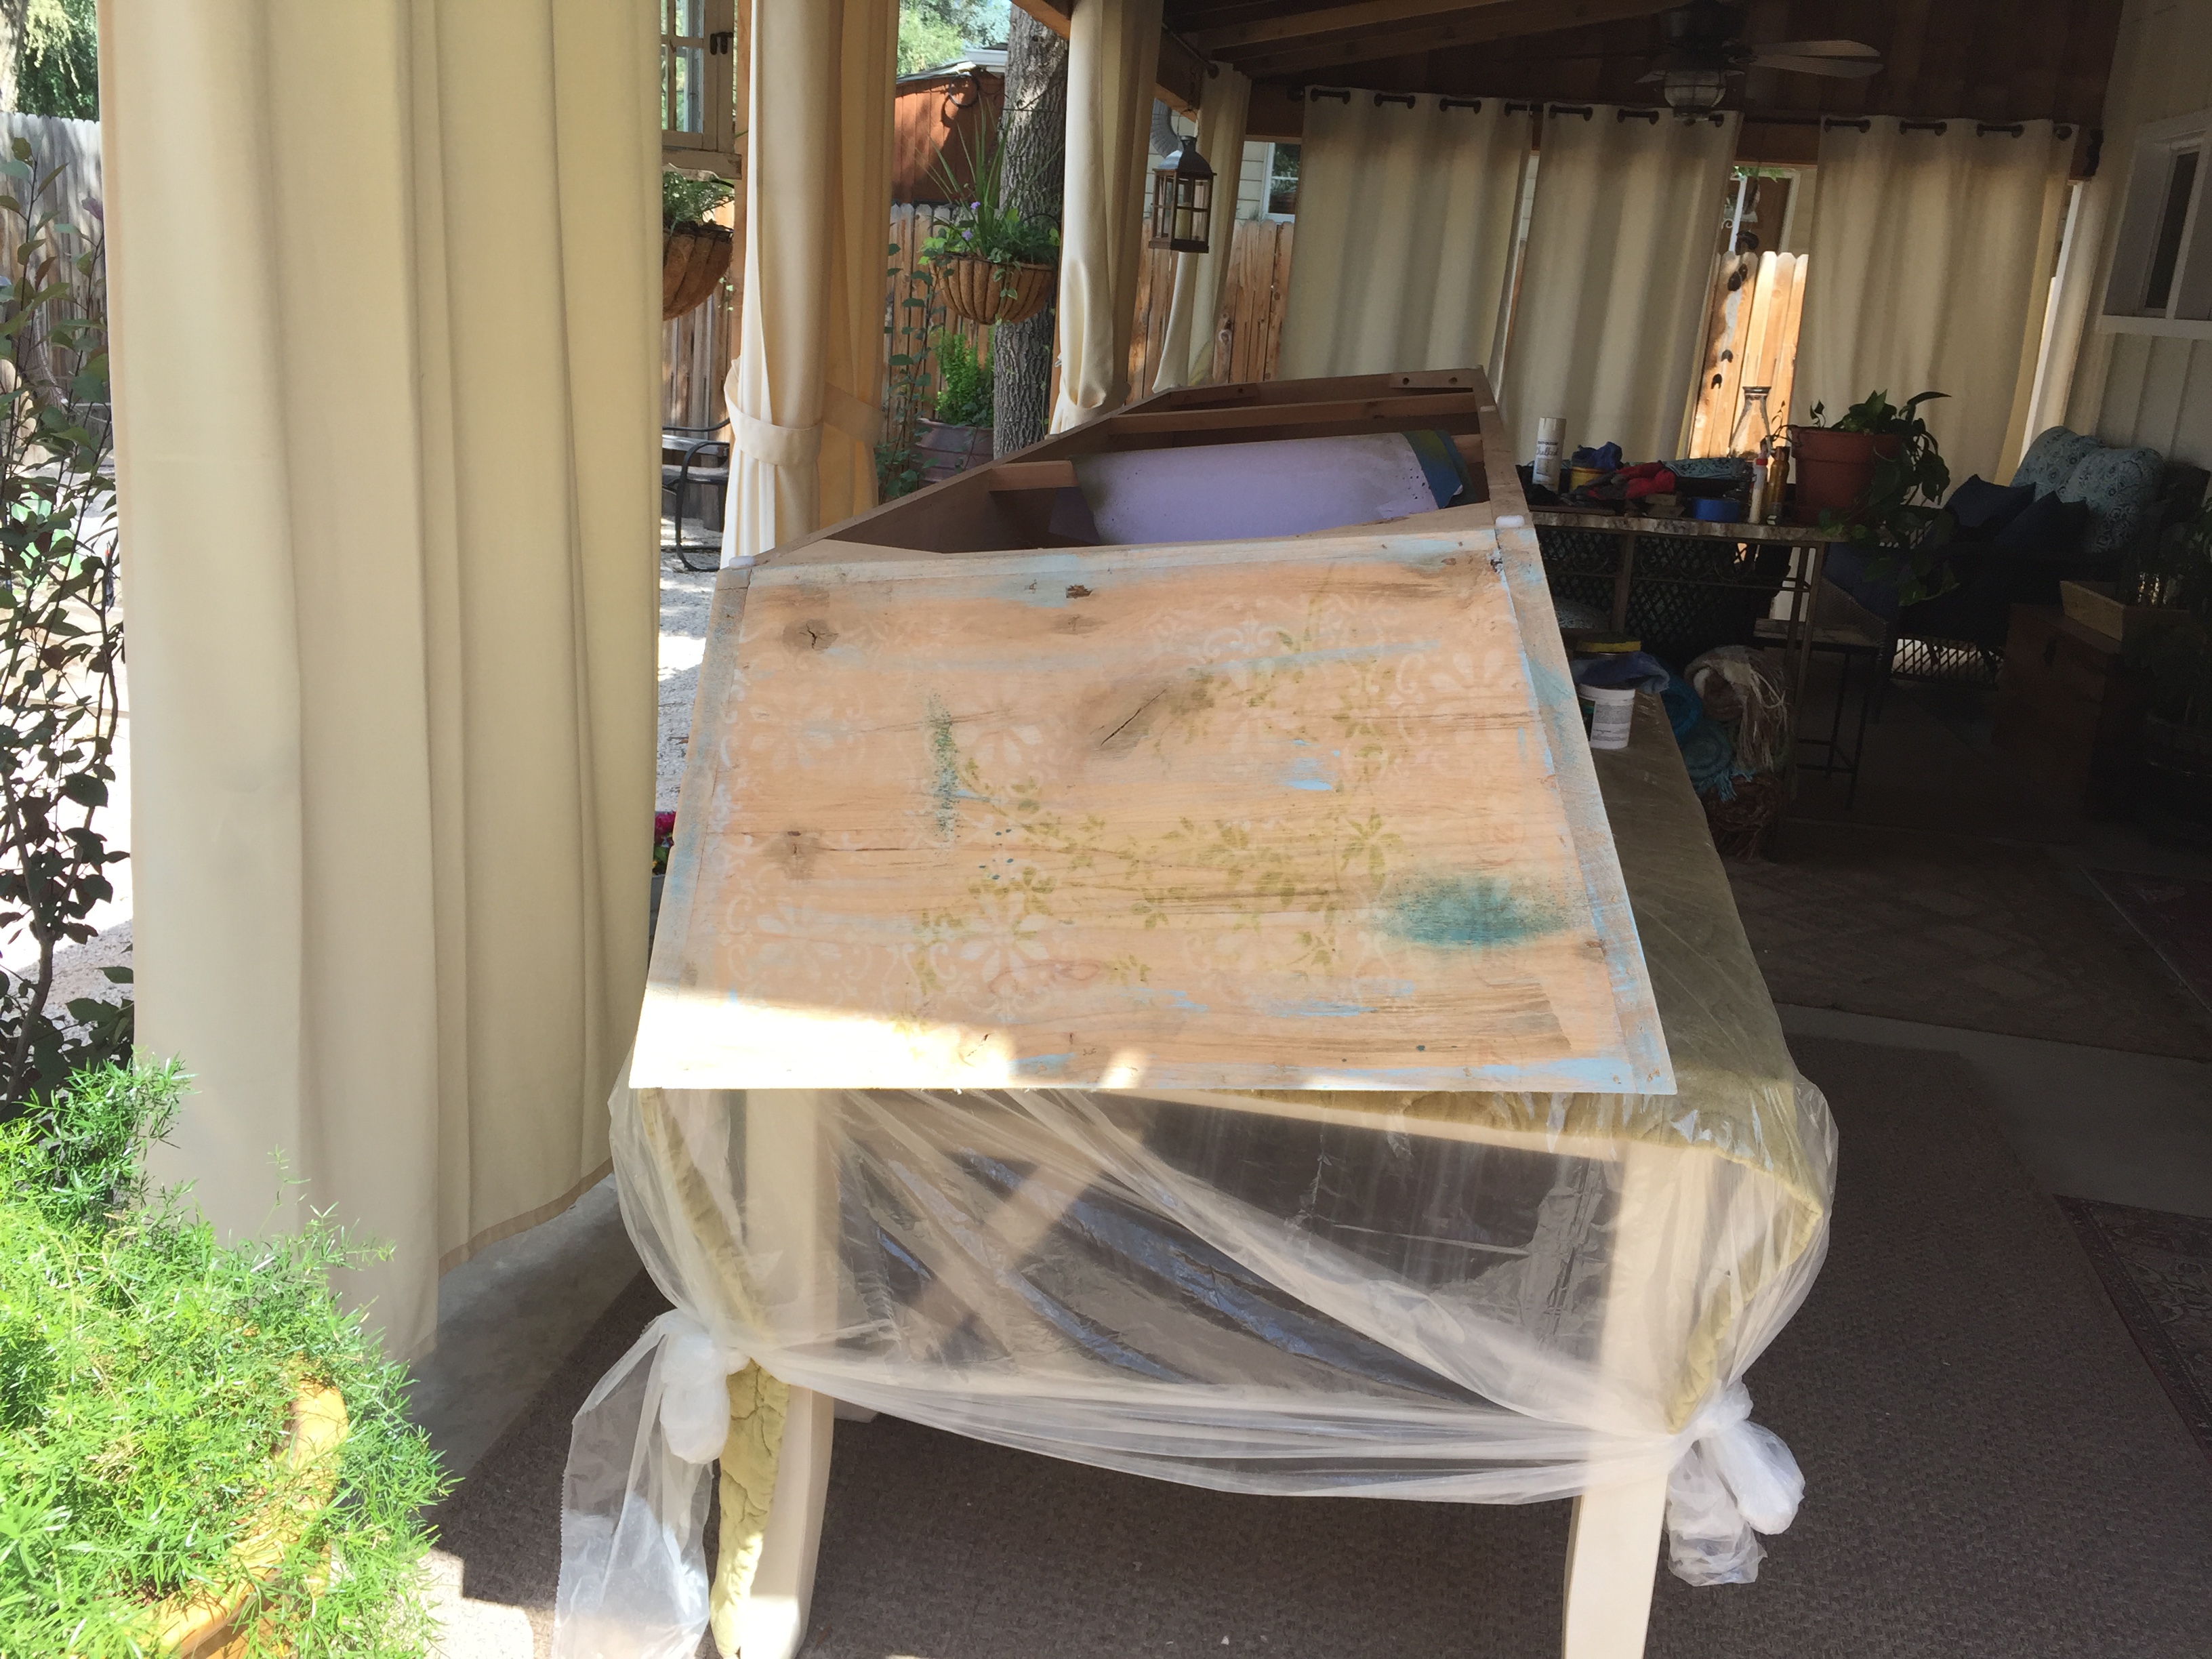
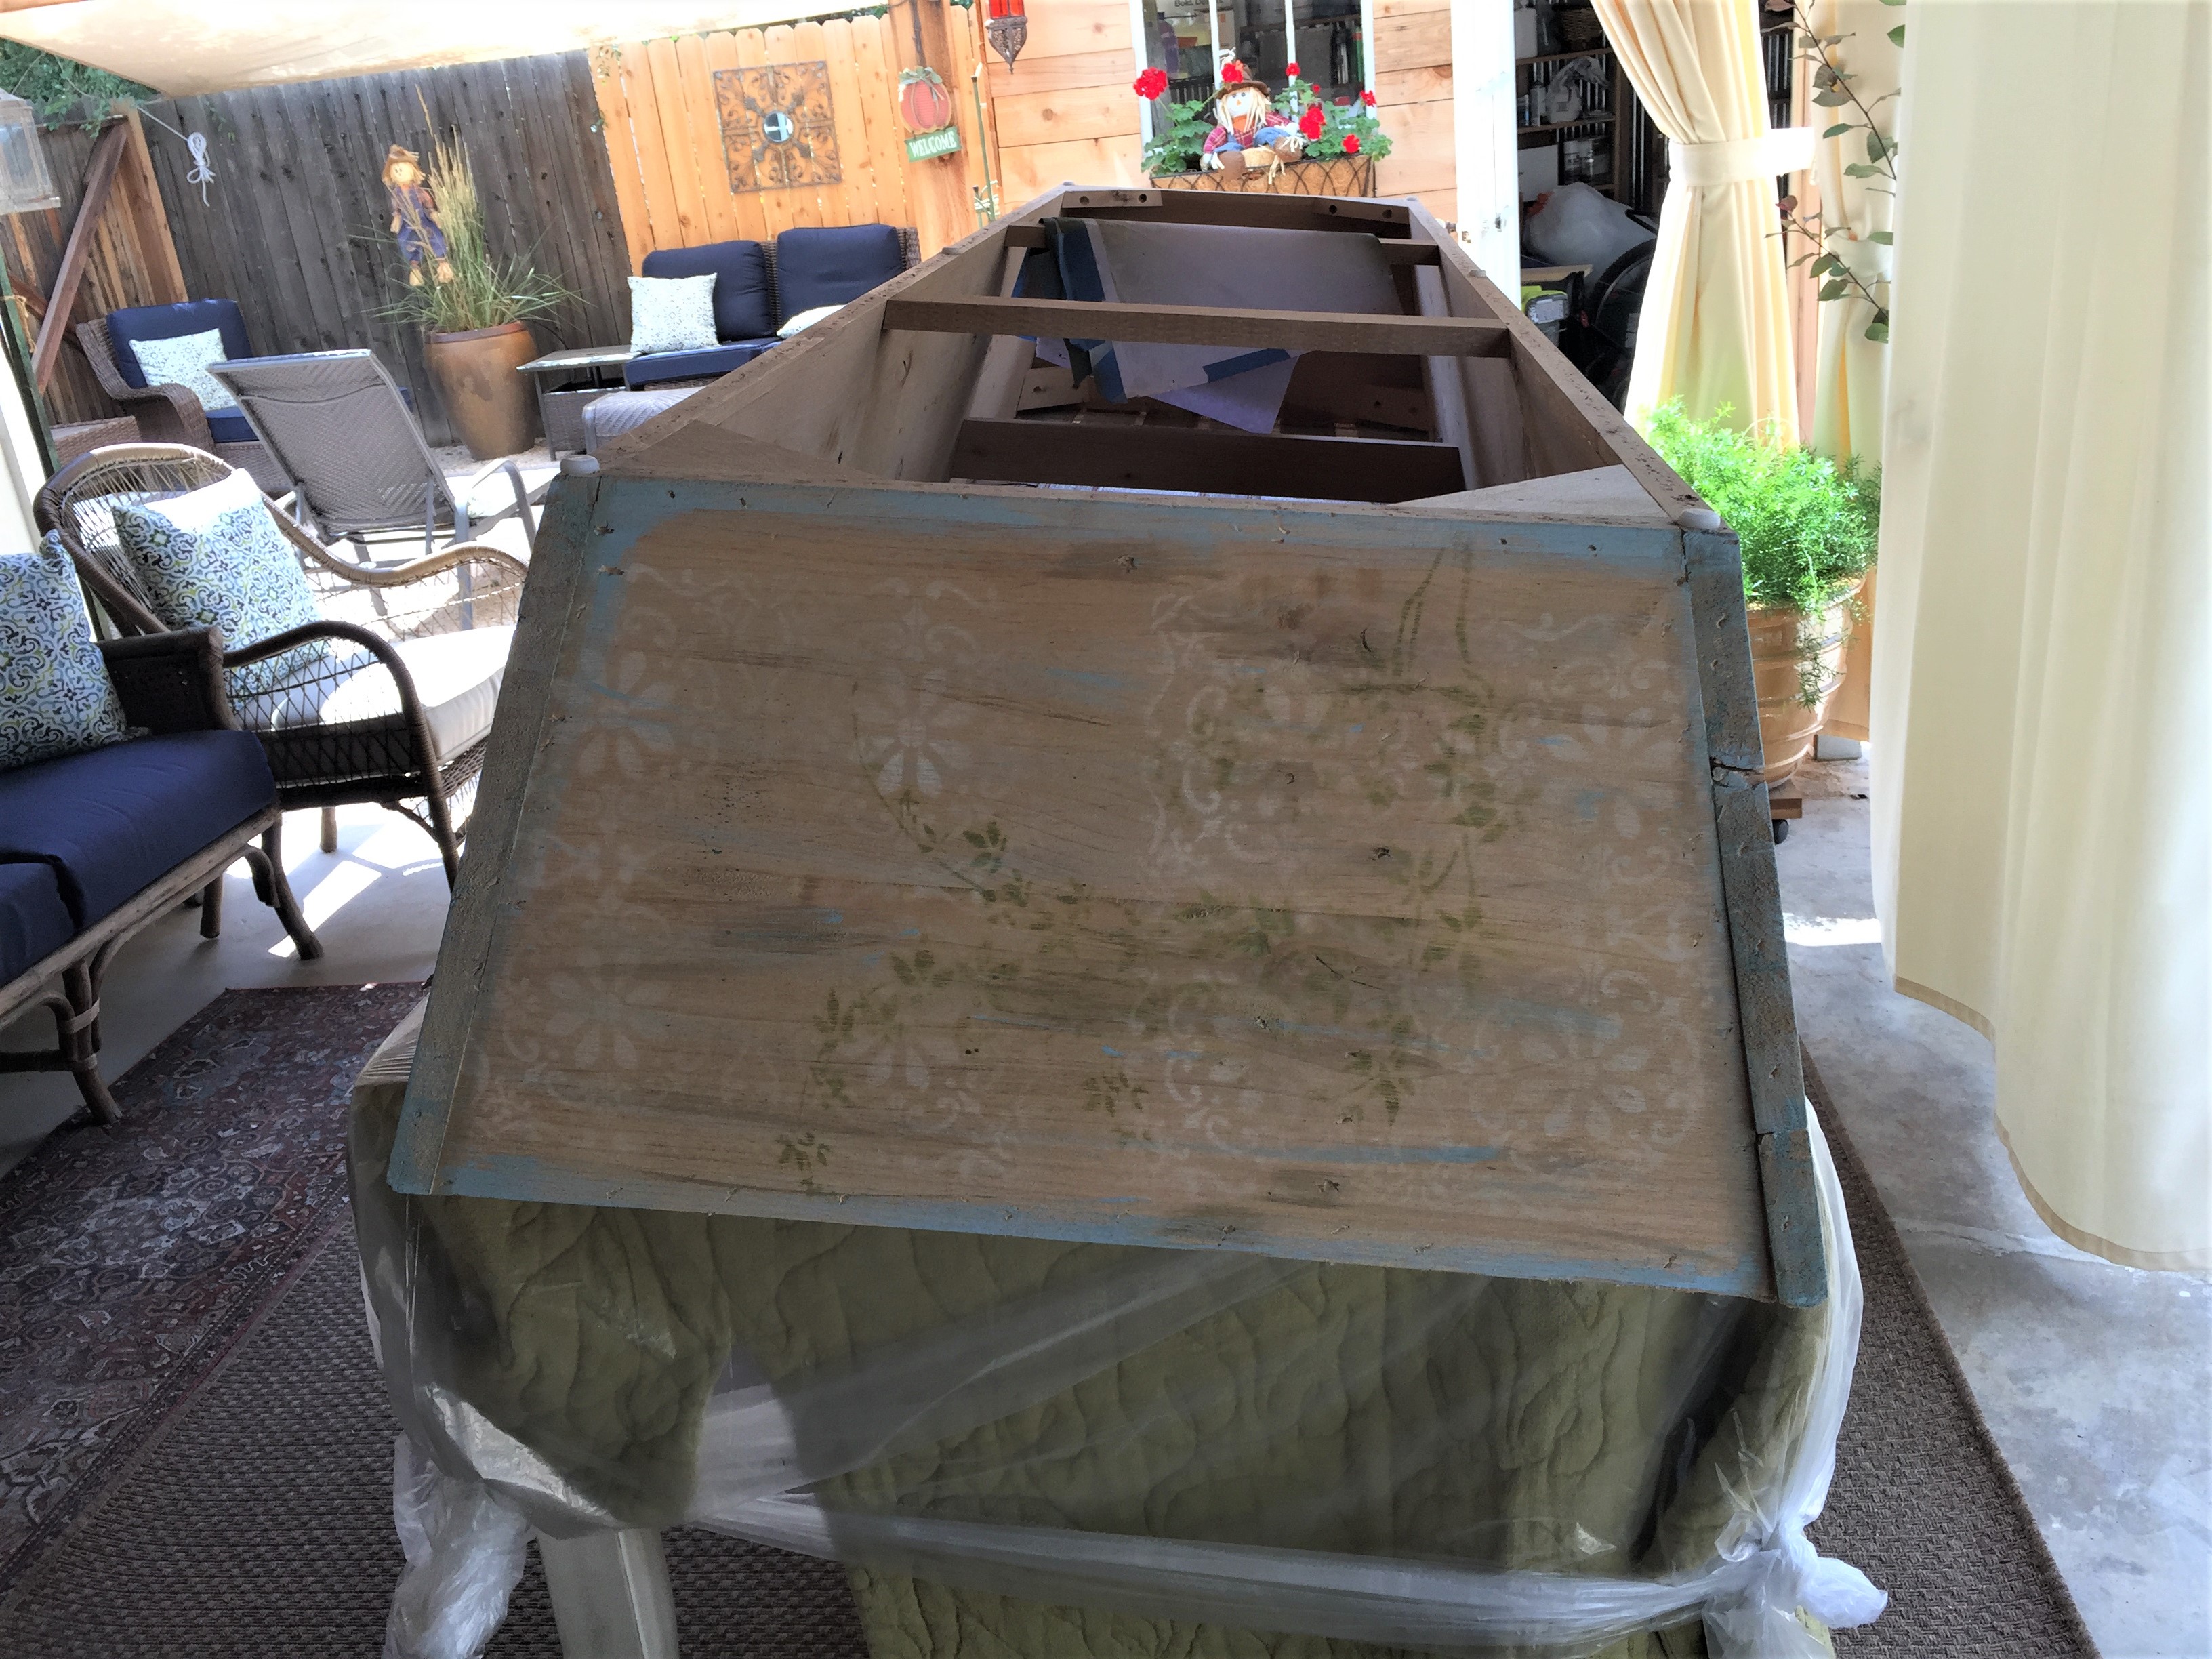
I bought this ottoman a few years back for $20. It was upholstered in a Red and Gold Morroccan tribal fabric and was already cool, but it was dirty and showing wear. I stripped the box down to the wood and made a new foam cushion, covered in burlap.I used it as a banquette bench with my dining table at the Logan house, while I was living there.Cushions made it welcoming and comfortable to sit on, as demonstrated by Rocco!I now use it as a huge ottoman in front of my sofa. It’s 8′ long and 3′ wide. It serves as a bench, an ottoman, a cocktail table, a foot rest and a yoga mat all in one!The wood is unfinished and has some distressing.The box is hollow and has webbing on the top. It also has a long split in the wood that creaked when I sat on the bench. I used some metal brackets to reinforce the 2 sides of the split, from the inside of the box.It no longer creaks!This is my original pattern, on a piece of scrap wood in my yard.I converted my outdoor dining table to a work bench by covering it with an old quilted blanket and painting plastic, tied at the corners. This space is protected from rain and weather, offers good ventilitation and easy access to my project from all sides. One tip: make sure you have plenty of room and light for your project!In the end, these are the supplies I used, left to right: Disposable gloves, screwdriver, Minwax finishing wax and clean cloth, 36 grit sandpaper block, wet clean sponge and Tobacco Green paint, mixed with White paint, water added to make it more watery, Blue painters tape, Blue paint mixed with White paint and watered down and applied with a clean cloth and a clean buffing cloth. I used 2 stencils. This one, with Off White chaulk spray paint and Teal spray paint.I took the patten all the way down the box, blending some Teal into the Off White pattern.My first run.Then, I went over the White pattern with a vine pattern, using 2 colors of Green. Each time, you have to tape the stencil into place and cover all the edges so you dont get overspray! This takes time, people!I wanted to use the vine pattern in different applications, so I made a couple templates to cover the parts I didn’t want and only expose the sections I wanted. This makes my vine pattern seem more randon and less cookie cutter, giving a more authentic look.3 different vine patterns in 1 stencil!And covering the edges also takes time! I reused these same pieces of art paper, as edges, for the whole project.Getting ready to spray some vine.Ok, White pattern and vine pattern done on this side. It’s kind bold though, and I didn’t realized how much sanding I’d have to do to get the look I wanted. I used too much paint at first!On the left side of this pic, I’ve applied the Minwax Paste finishing wax and you can see how rich and dimentional the wood looks! The wood really sucked up the wax and gave it a rich patina! I ended up doing 2 coats of the wax. But the pattern is still too busy, too dark!Assessing my options at the end of a slow going day. I’m exhausted, not quite happy with my results and I need a shower to take this sawdust off my body and out of my nostrils!Ugh!The next day, I’m feeling motivated to sand like crazy and get more distressing in my pattern, antiqued and less bold! I go to Home Depot to buy more 36 grit sandpaper.This is how my workspace looks, temporarily set up on my wine console.This was written on the side of this box, I added the word “Bistro” with a sharpie marker, thinking it would make the box look more French. It didn’t work. I sanded it down again.This is the 2nd side. I learned yesterday, that you need alot less paint than you think, making the sanding process much less work. Now that I’ve done it, I learned how to make it easier and get the result I want. See how much more faded it looks before sanding?And after sanding, paint distressing and the wax is applied.The ends of the box were a breeze! By this time in the project, I’m literally holding the edges in one hand and spraying with the other. I’m a master at this point!The other end. I used the Blue paint wash to frame out the box, making it seem more finished and hopefully, vintage. I also painted Blue streaks into the body of the box panels to give it more dimension.After 3 days, my thrift store find has a new look and feels more French country to me. It’s hard to see the pattern in these pics. It’s more noticable in person and I did want an antique, distressed look for this box.This project was fun and relatively short. I learned alot on the first day, as I tried different things to get the result I was looking for. Refinishing furniture is challenging, generally inexpensive and rewarding when done. This is a great way to rejuvenate an old piece you’ve had for a while or a piece you just found and needs some TLC. I look forward to refurbishing another piece soon!