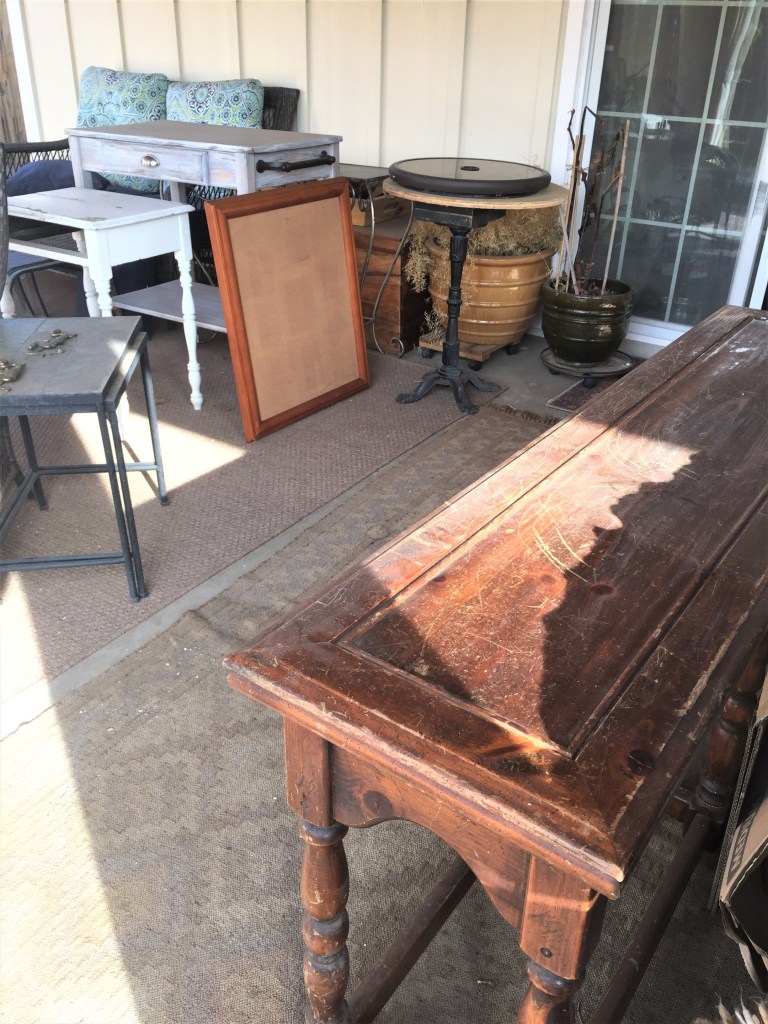
Since I can remember, going to the thrift store was an exciting adventure. I eventually stopped thrifting, due mostly to time constraints. Recently, I rediscovered this fun hobby. Over the winter, I’ve been acquiring old antique accent pieces, refinishing them and will turn them into a side hustle. I’m so excited for my new adventure and now, I want to share it with you!
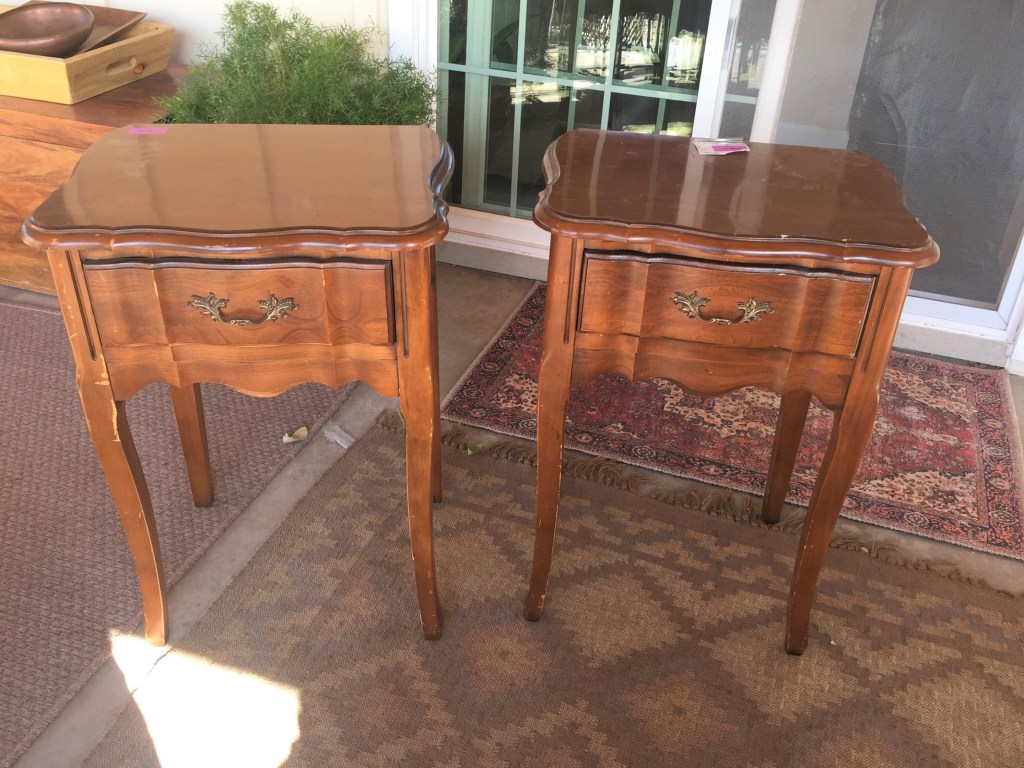
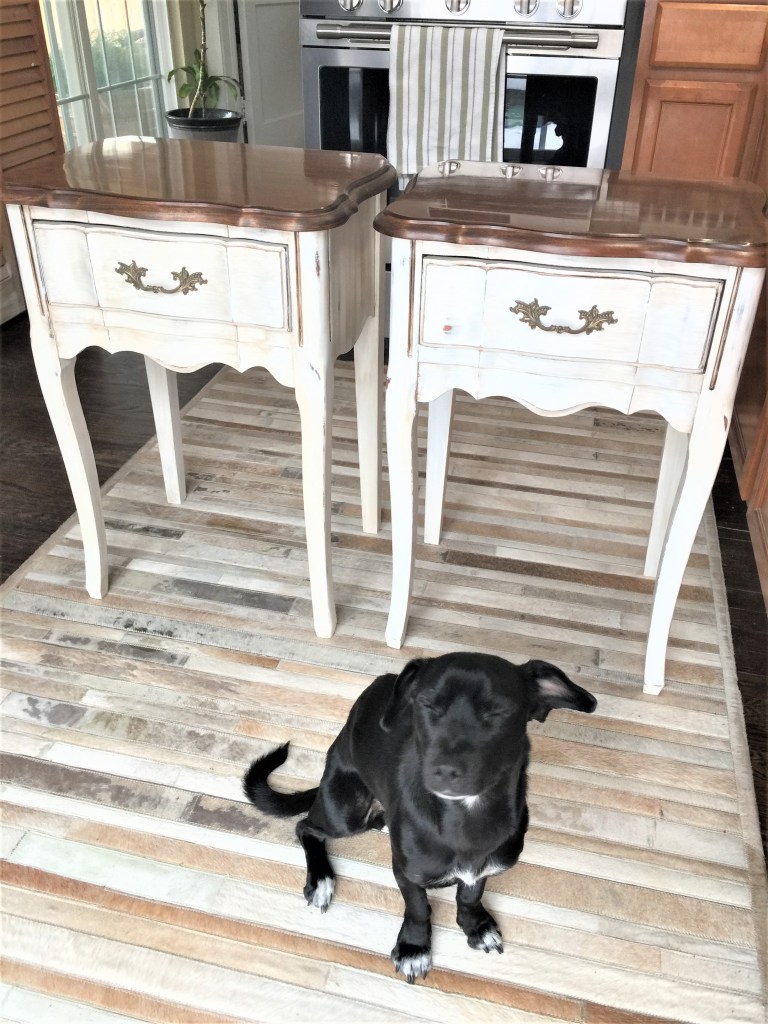
Lucy, modeling these refinished nightstands, wind blowing in her ears!These were $10 each.
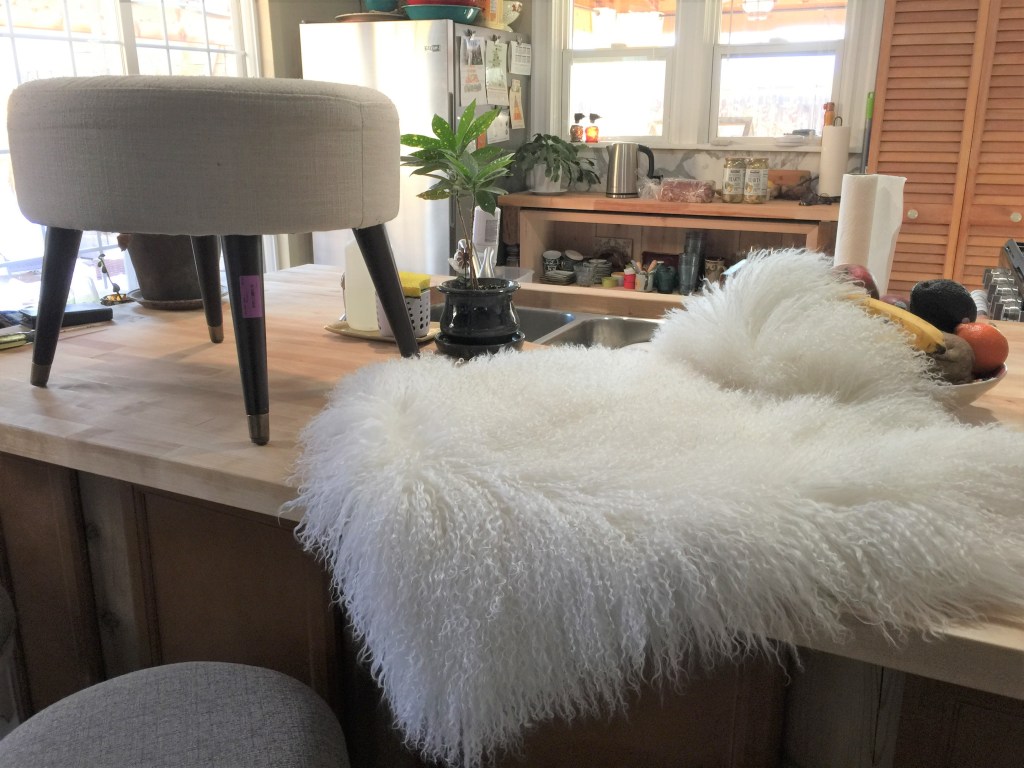
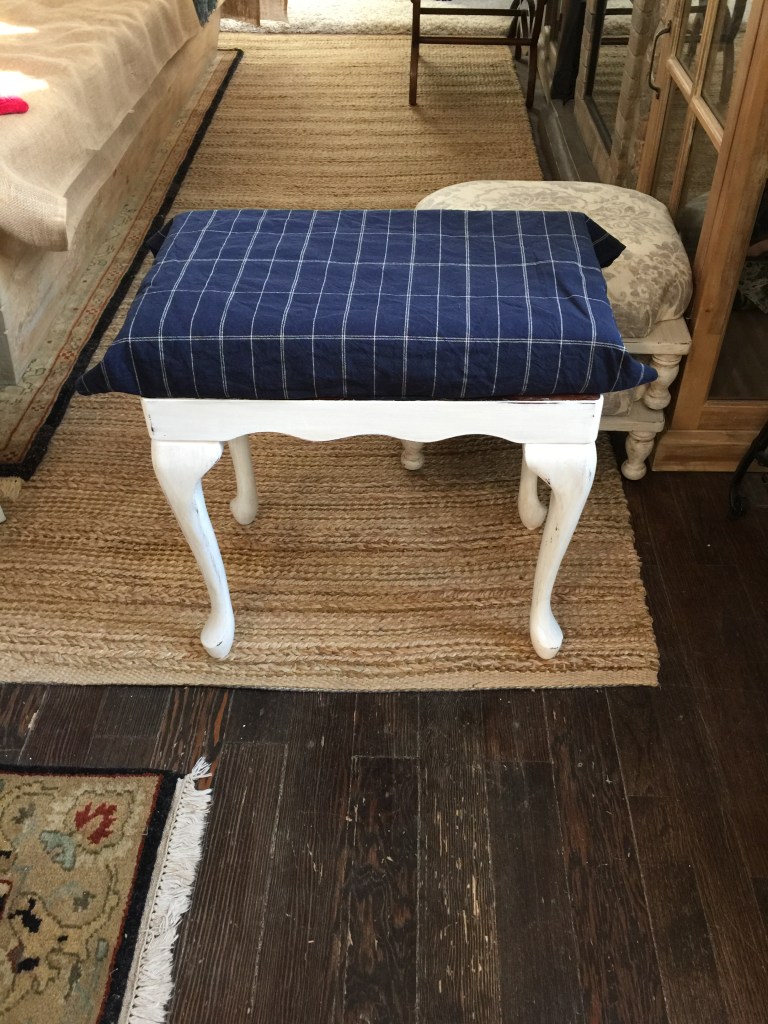
Mid century Modern stool. Purchased for $10.
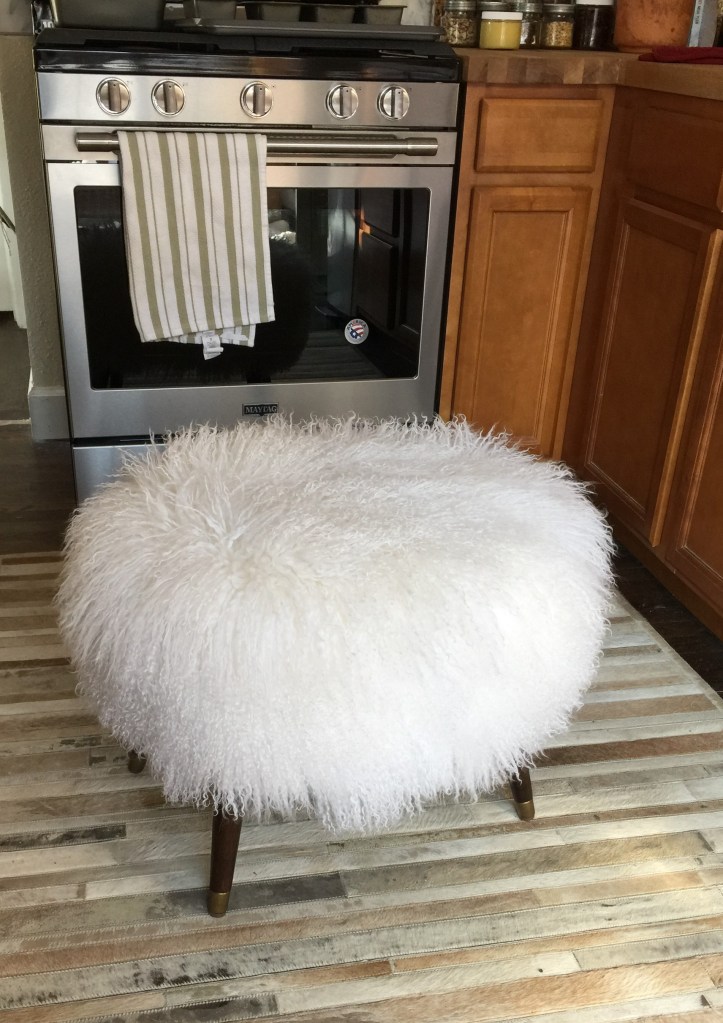
I bought a piece of Mongolian sheepskin and used it to Glam up this basic stool! Fur was $100.
Voila! These sell for $500 in high end shops.
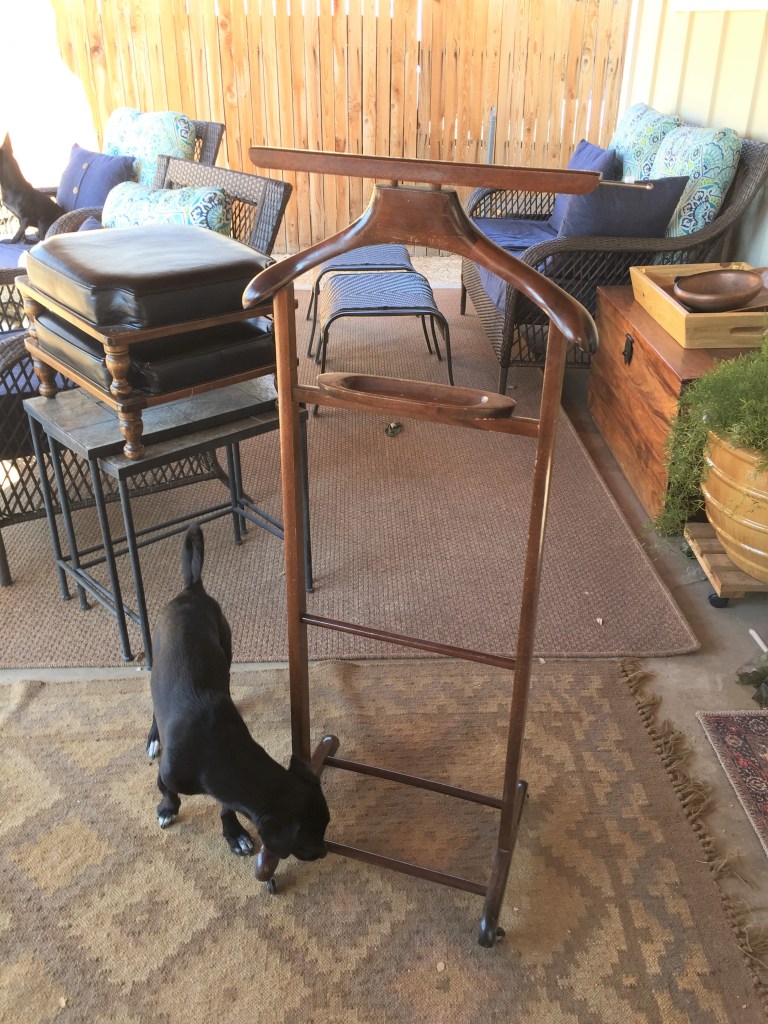
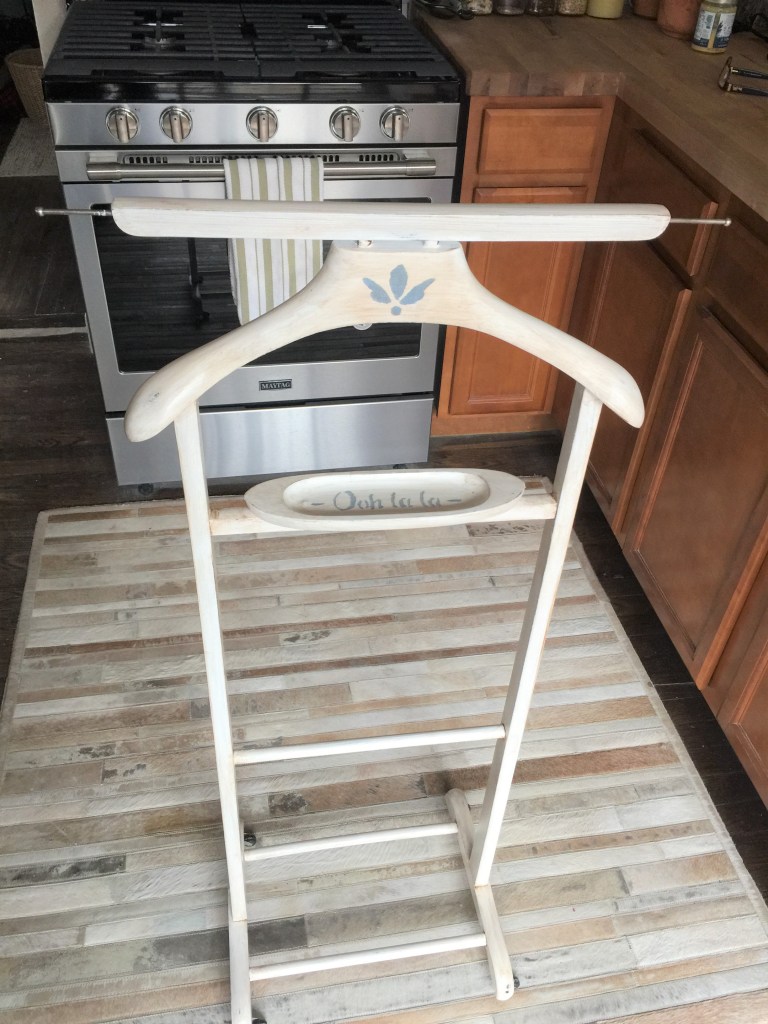
Valet stand, with shelf for earrings and accessories. Purchased for $10.
Oh La’ La’, Indeed! What a unique and fun piece to add to your dressing area.
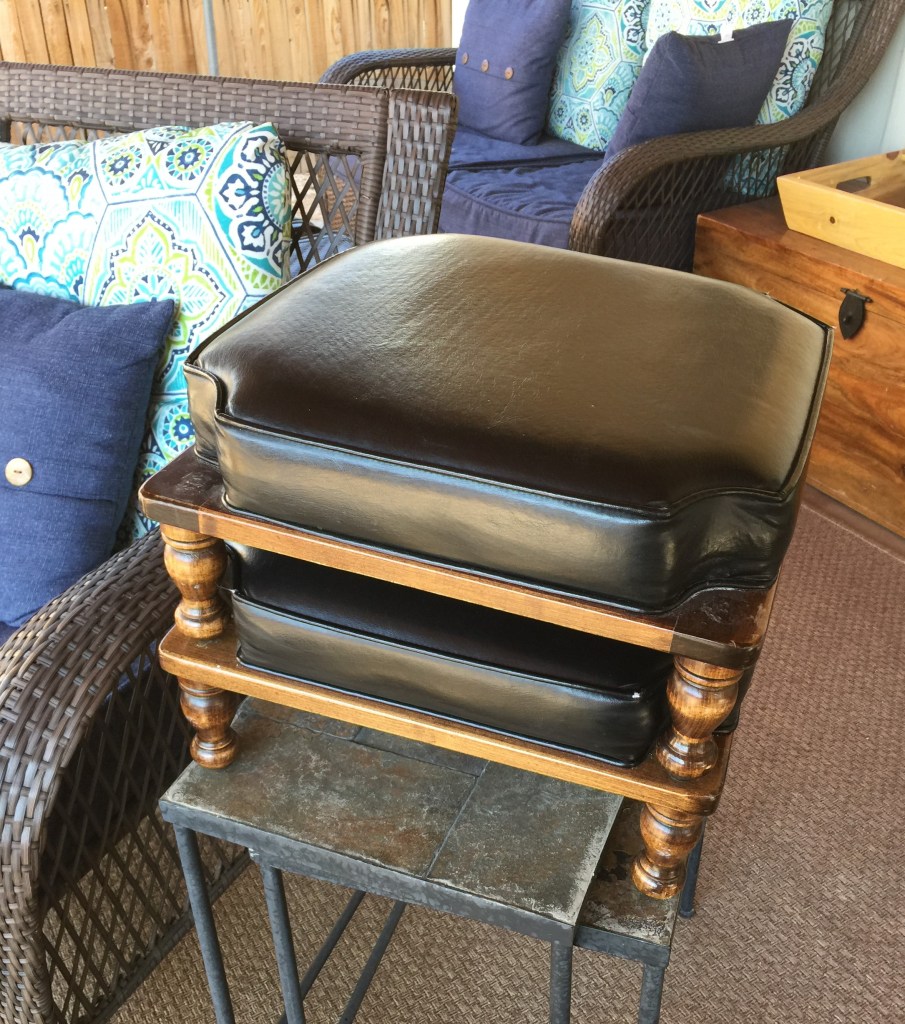
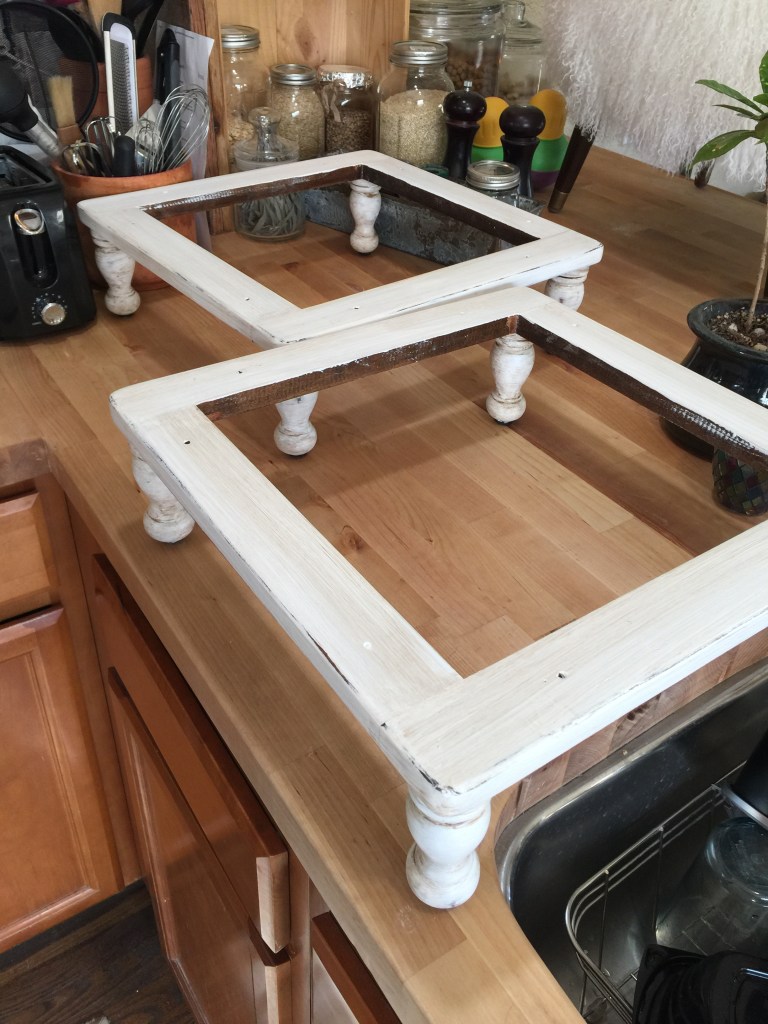
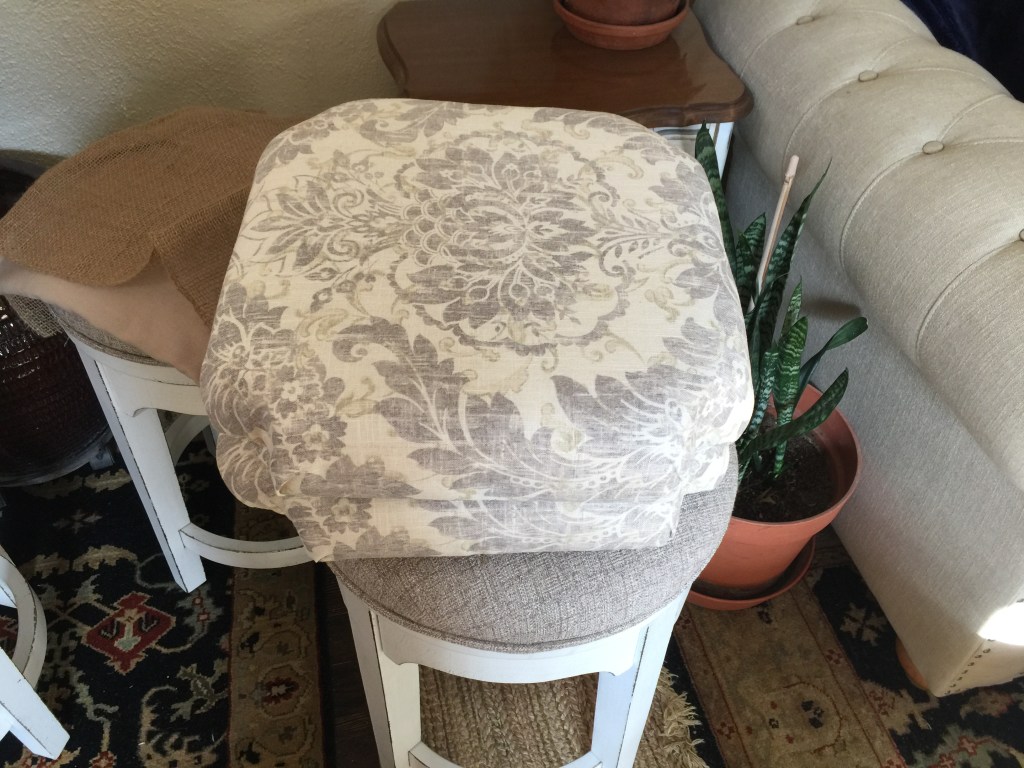
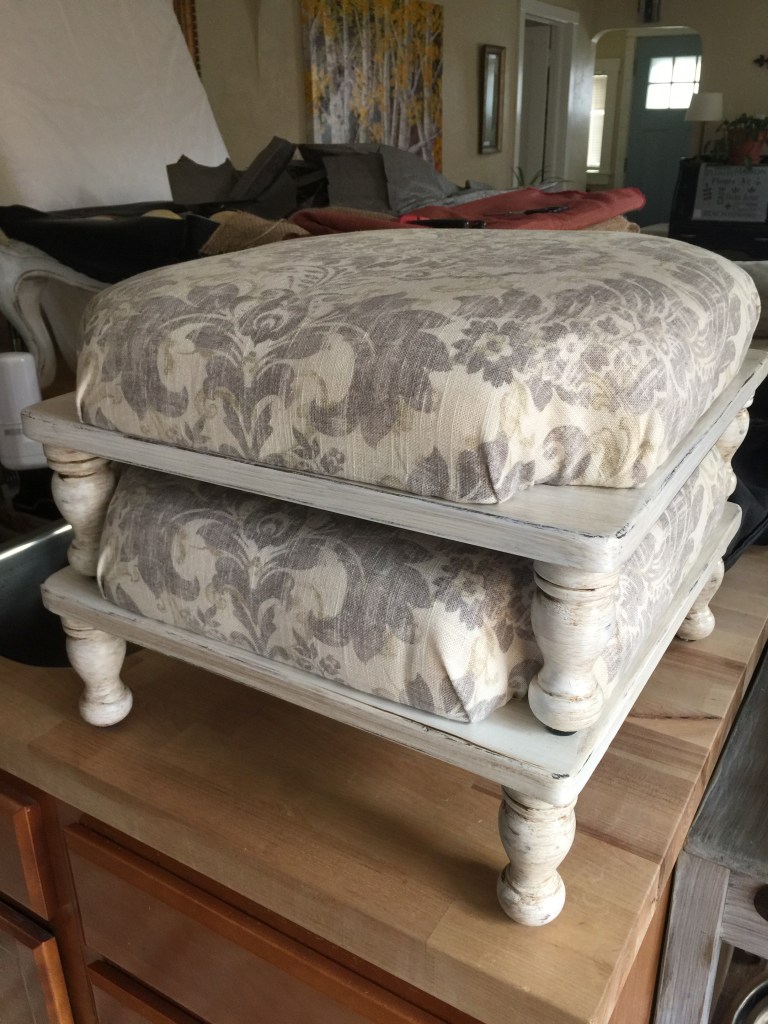
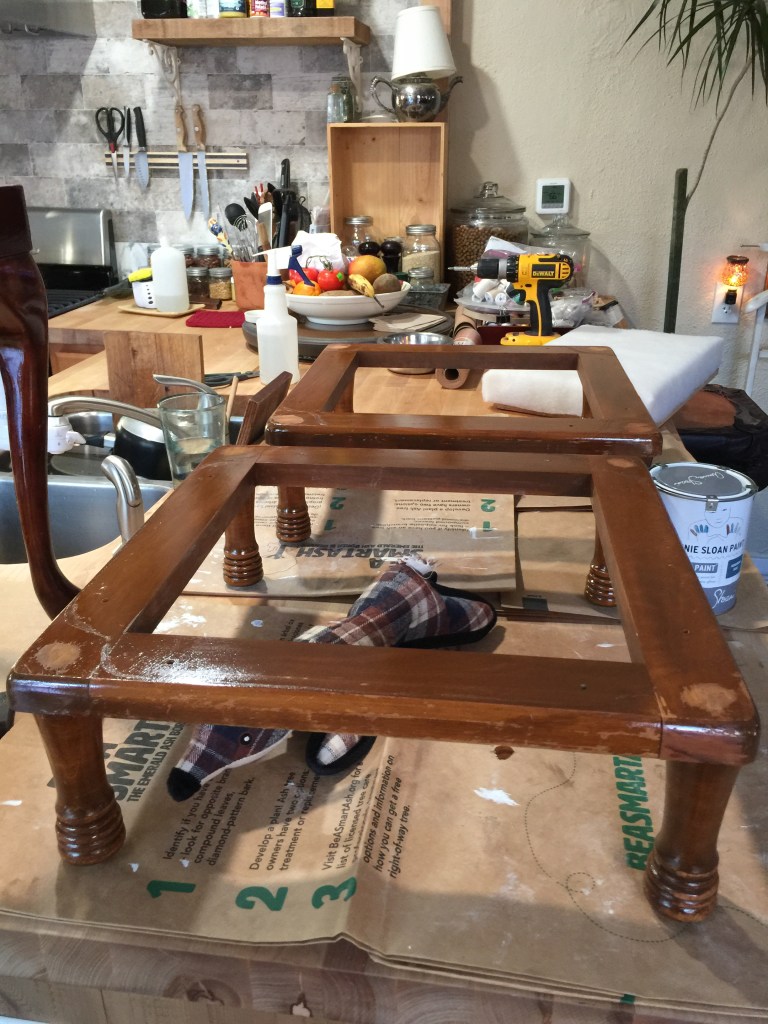
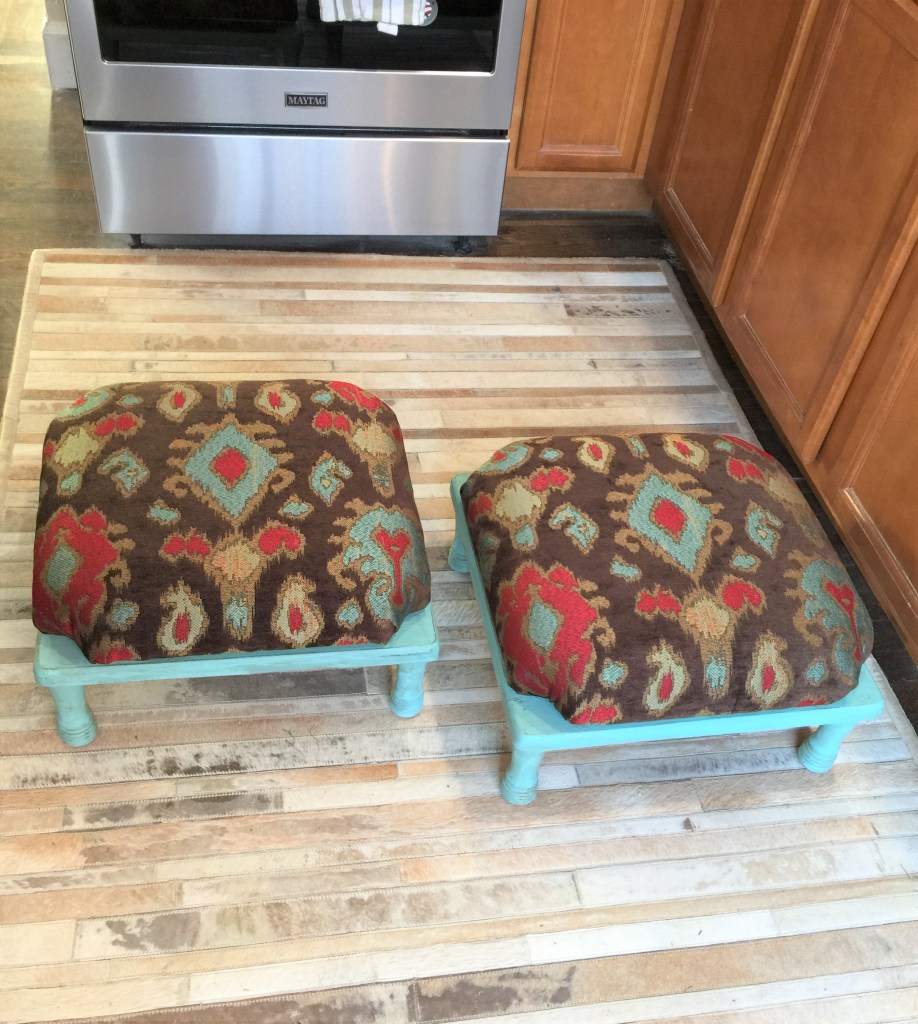
You’ve likely seen a version of these mid century modern stacking foot rests. I bought these for $10 each.
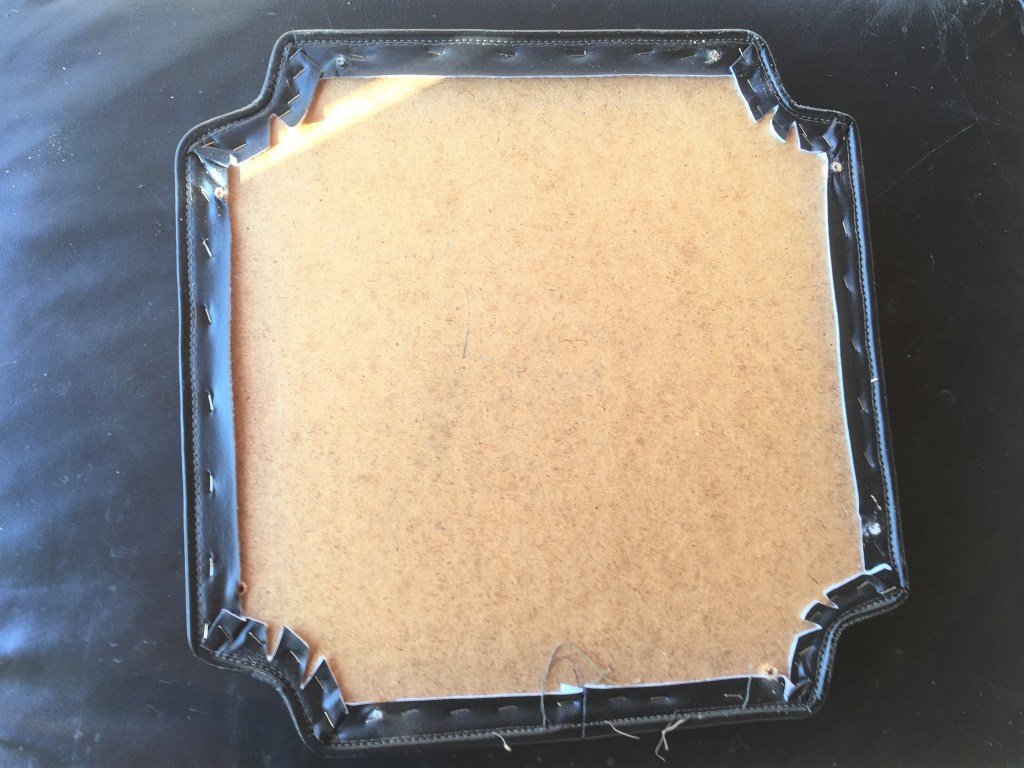
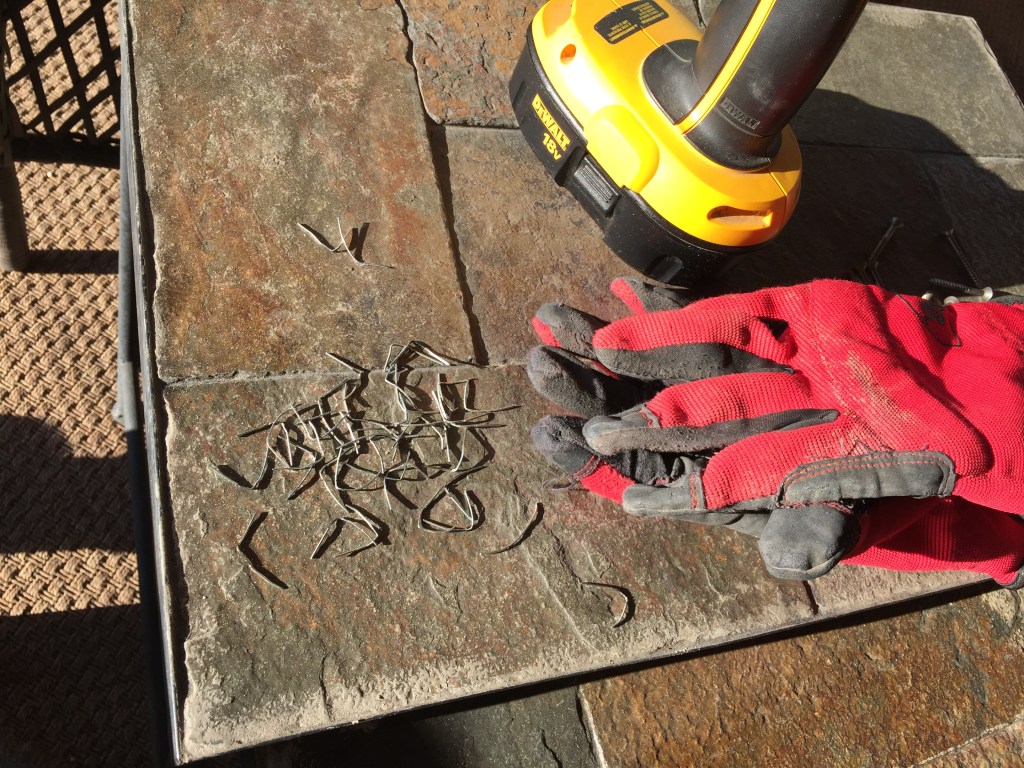
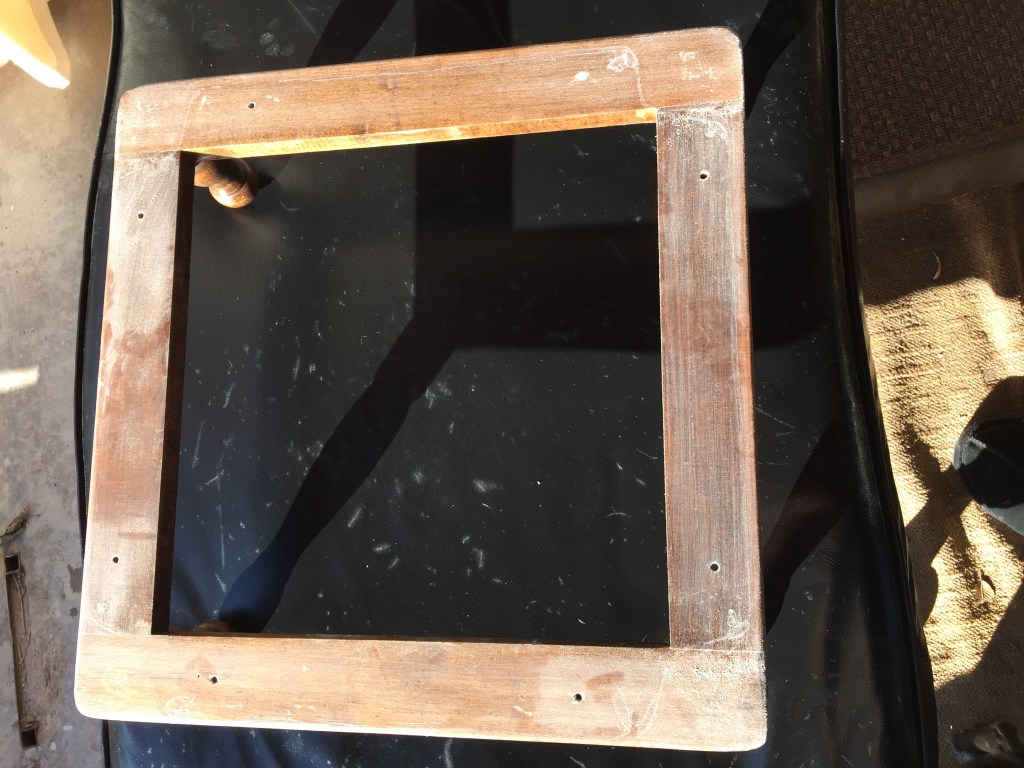
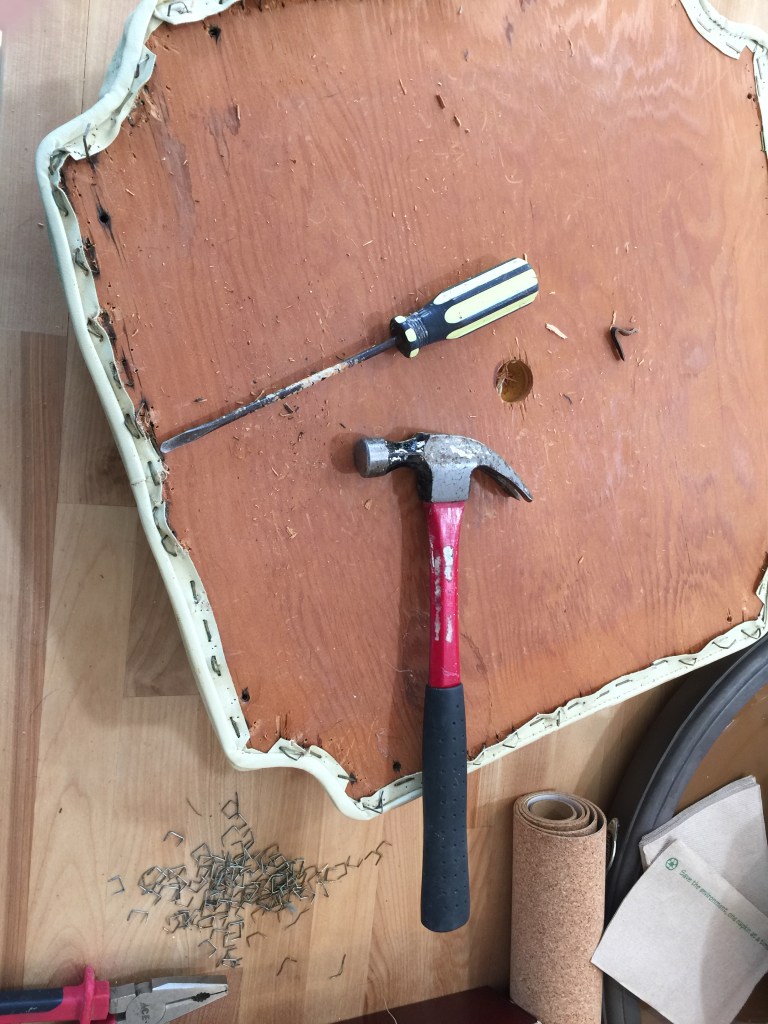
I stripped them down, sanded and painted the bases and recovered the cushions.Removing staples.Mmmm Hmmm…..After sanding sealer, I lightly sanded the bases before painting.
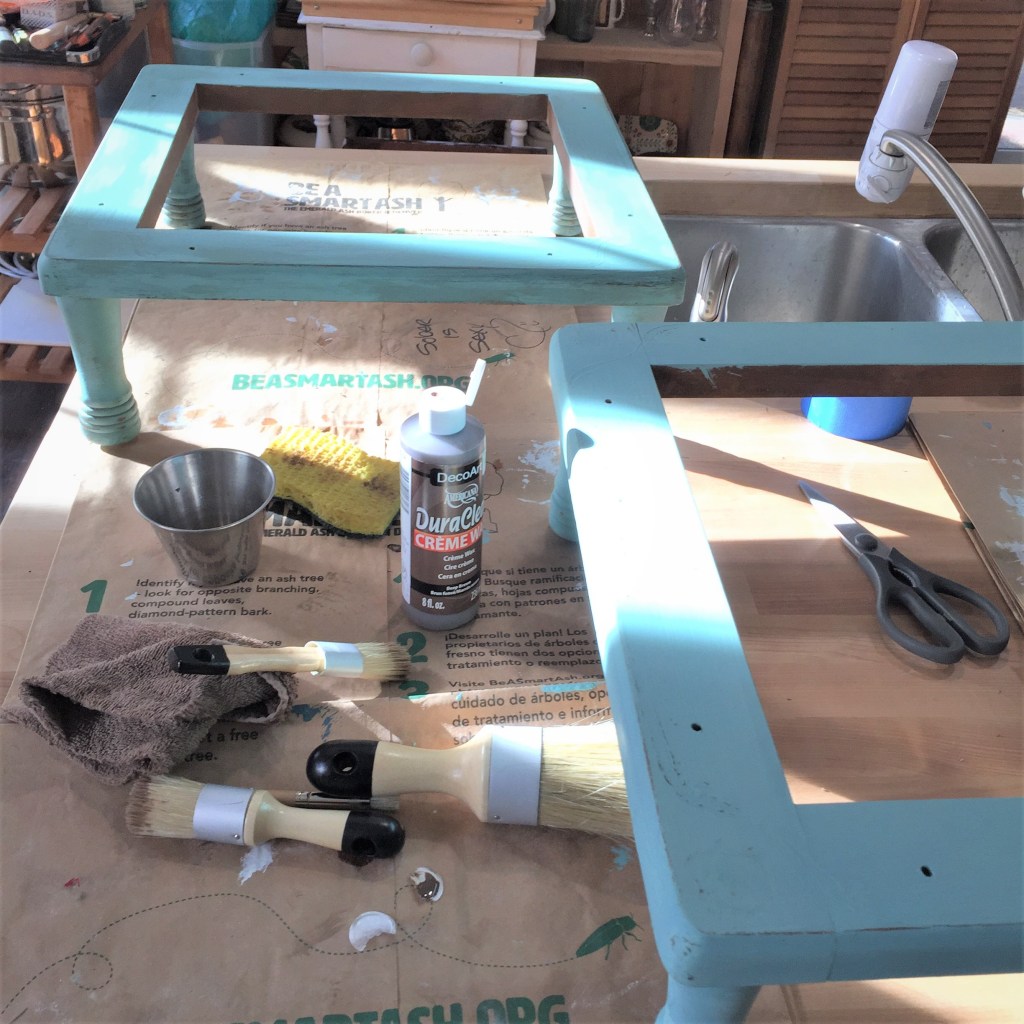
Painted and distressed, the antique White freshens them up.
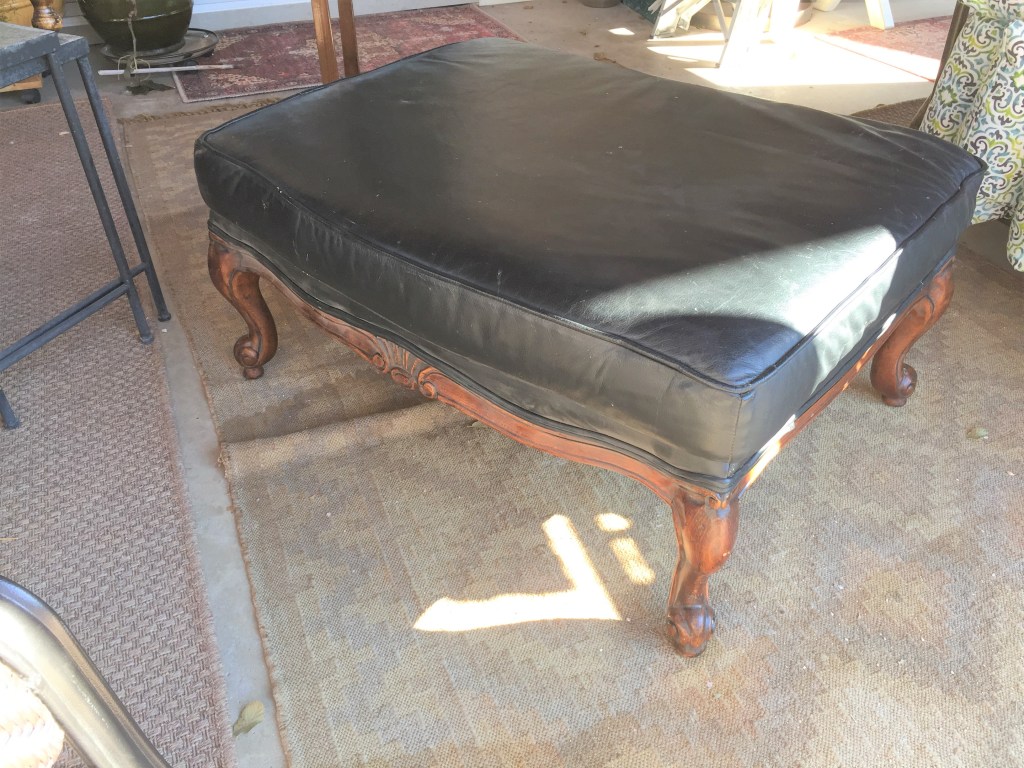
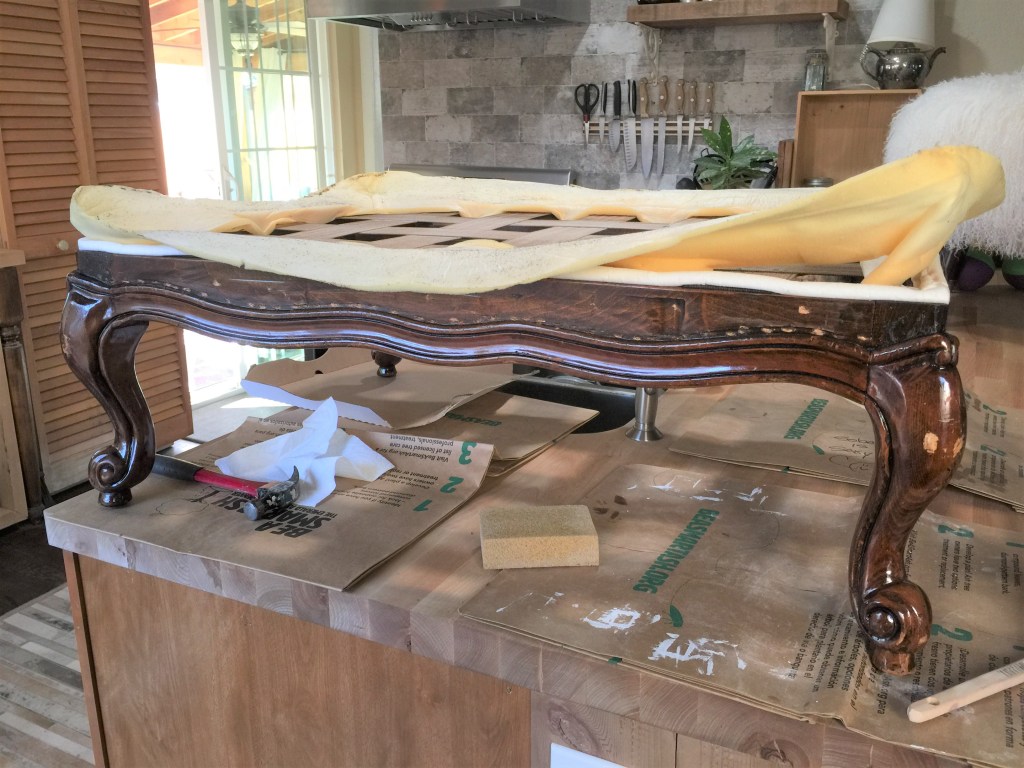
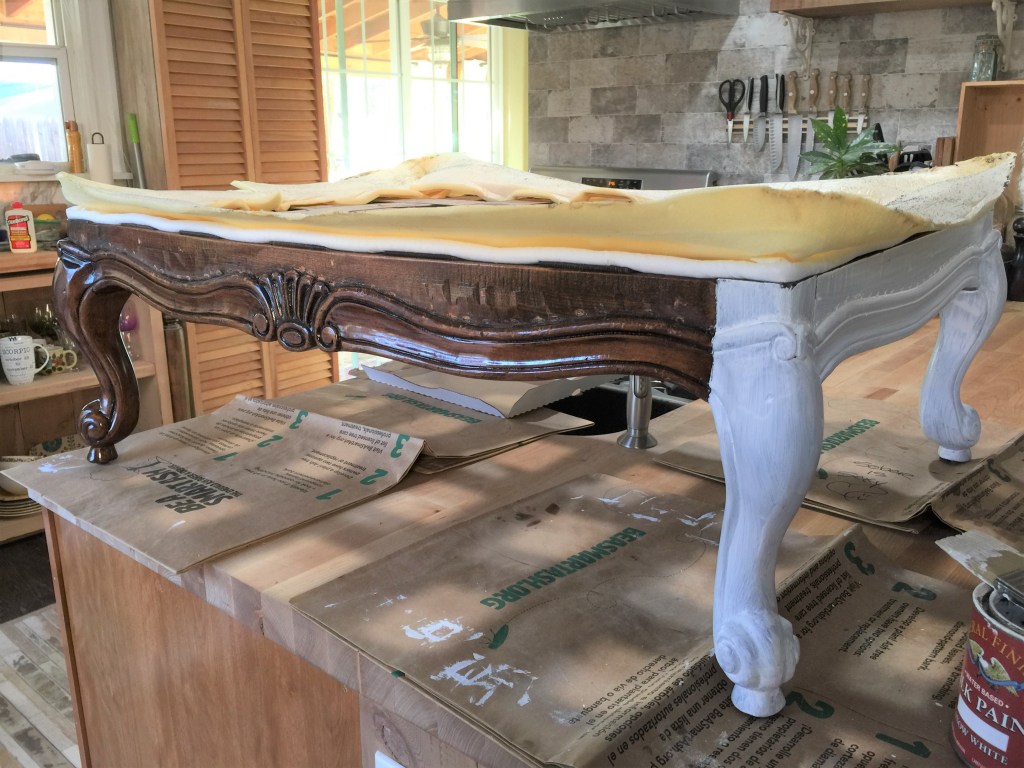
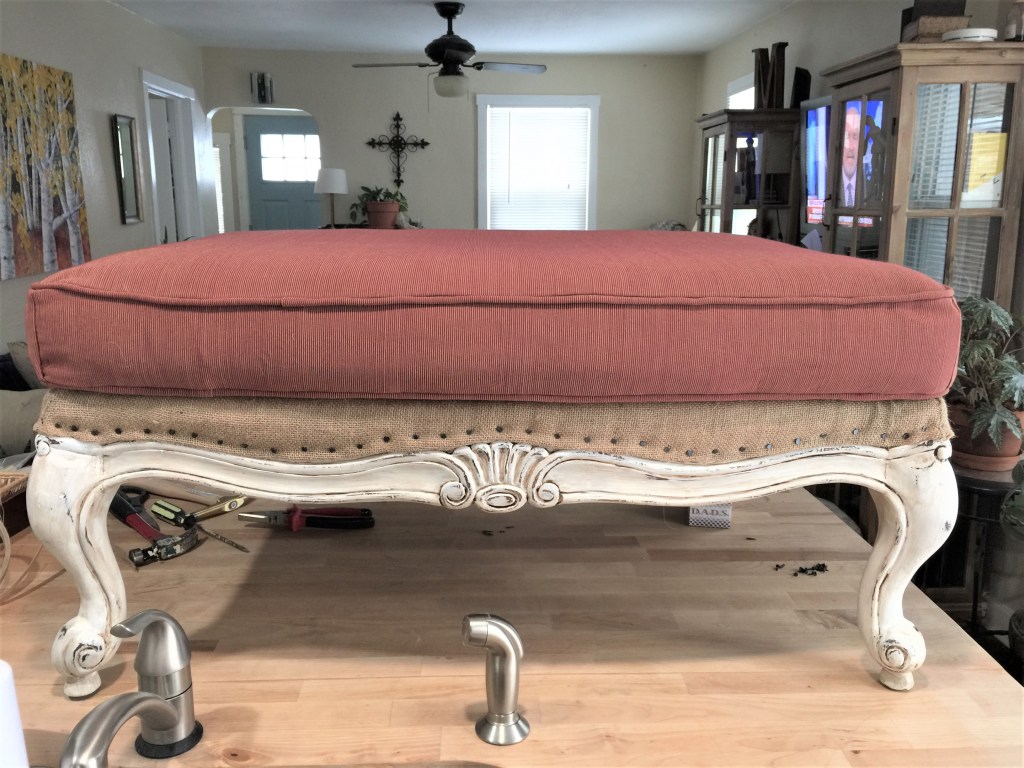
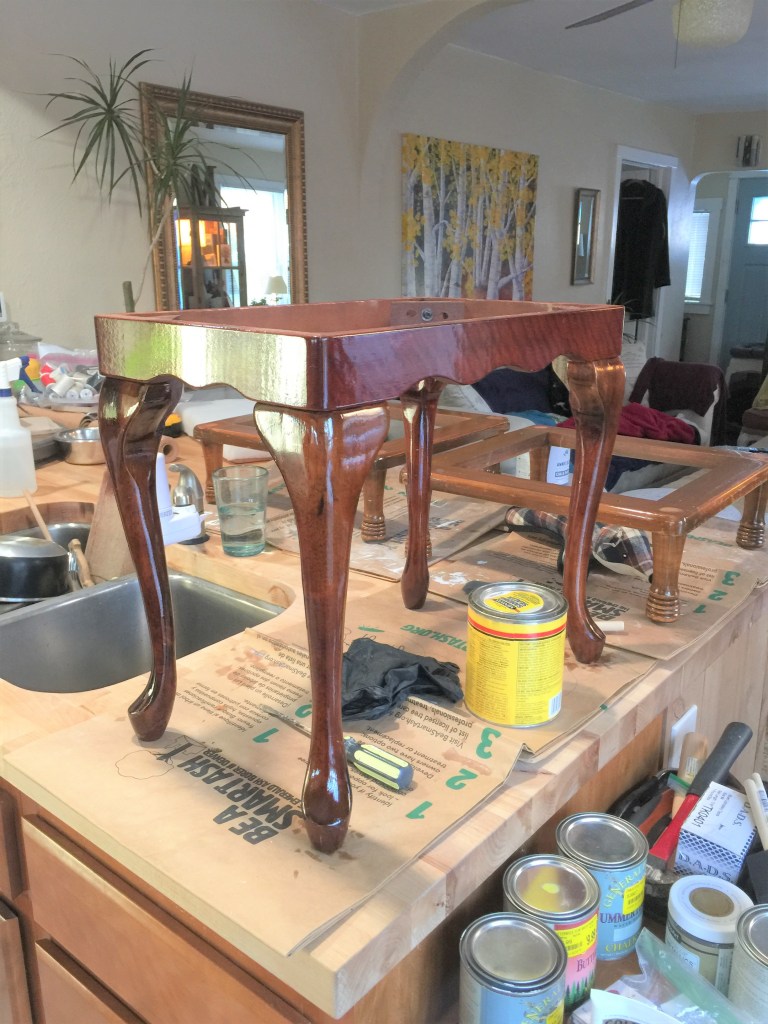
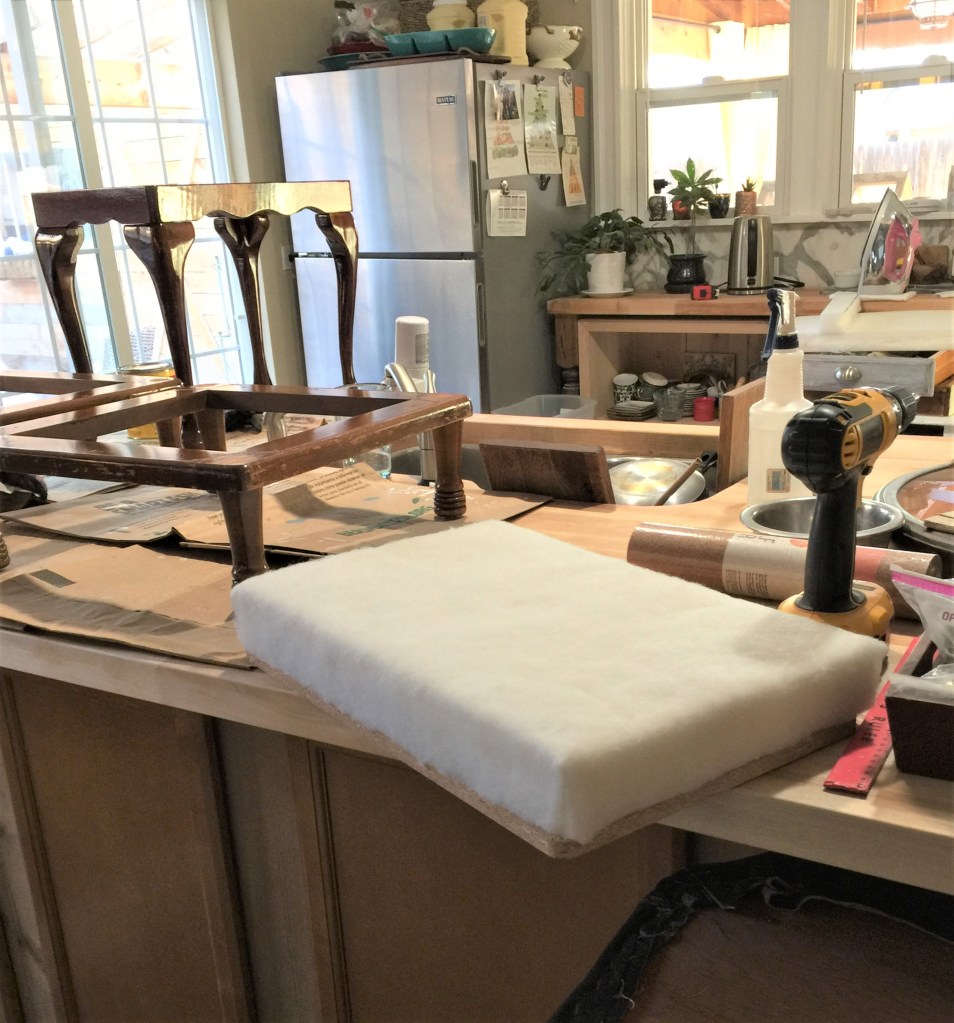
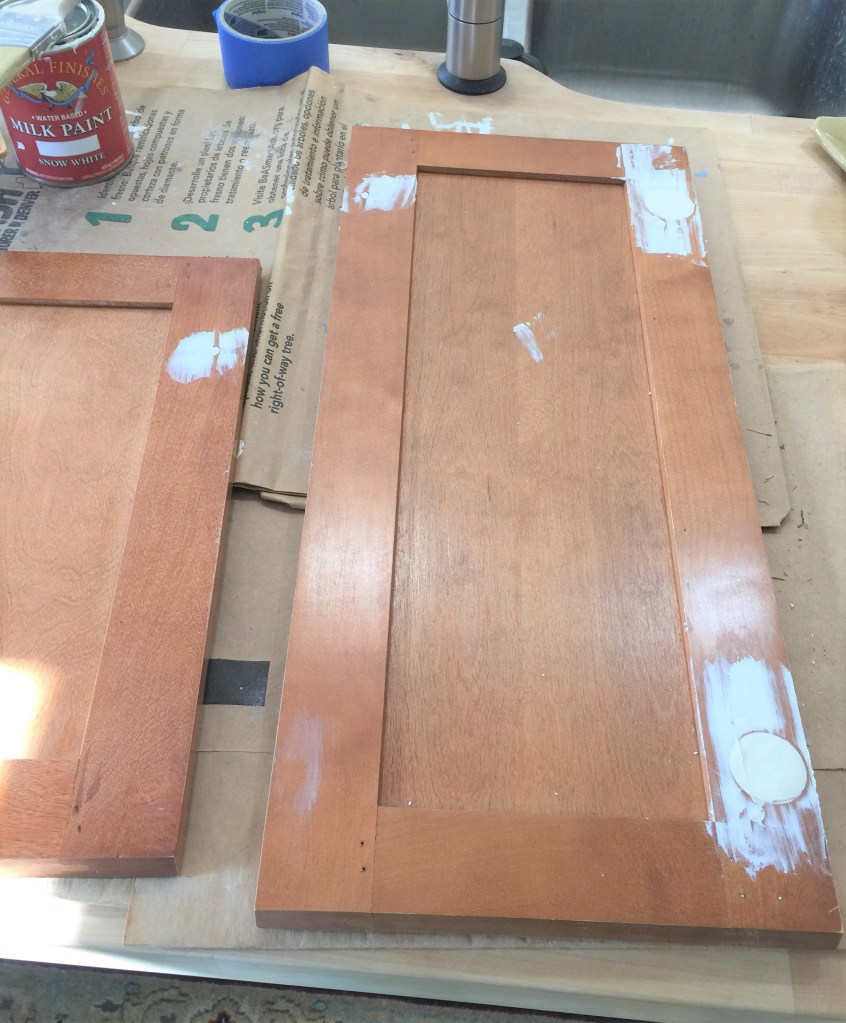
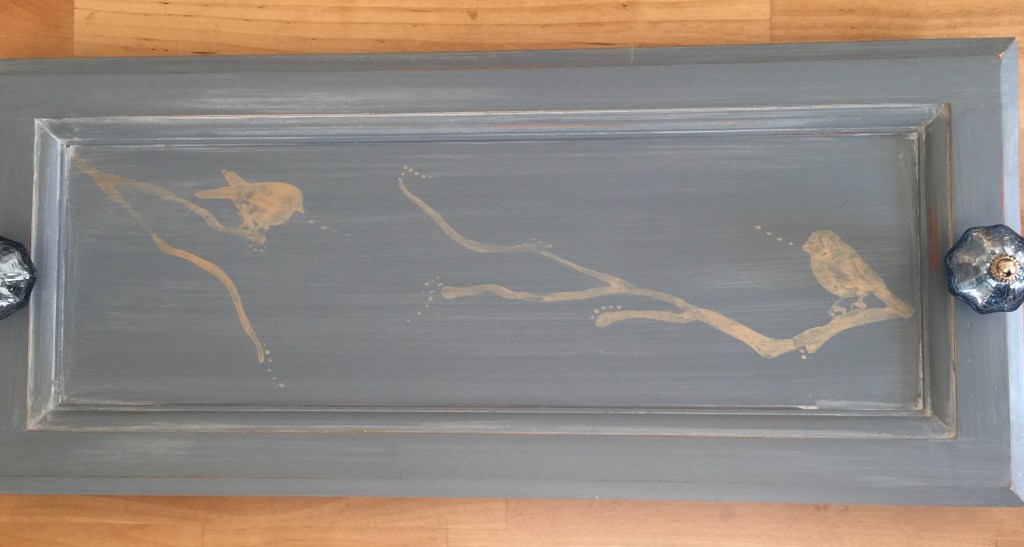
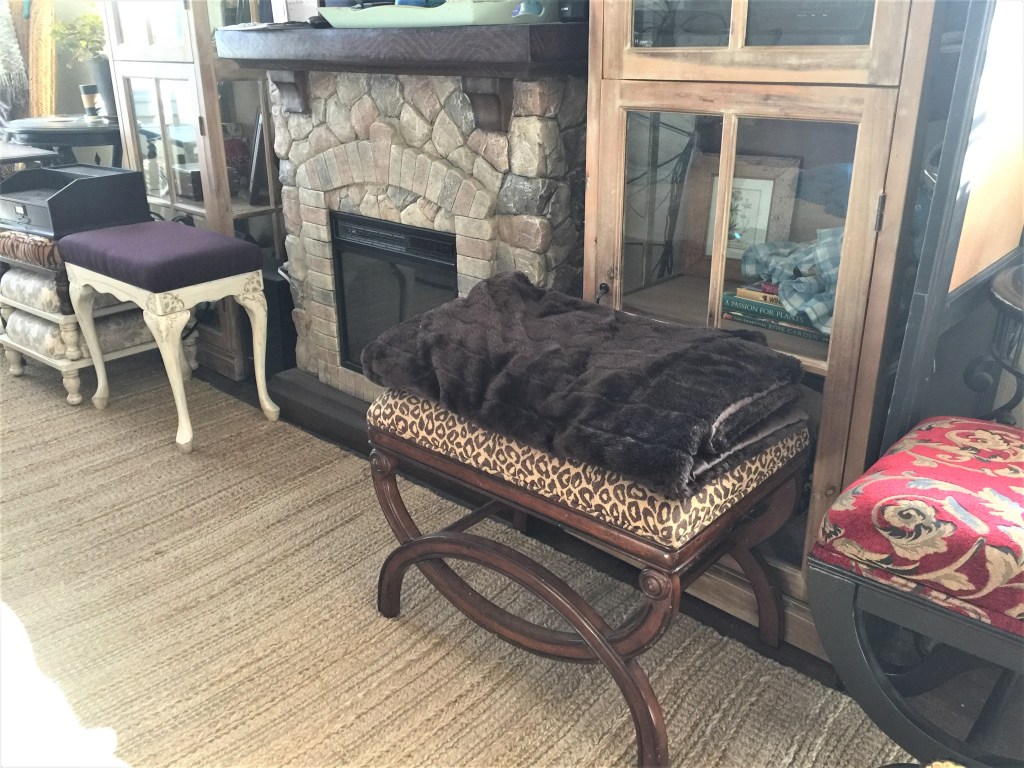
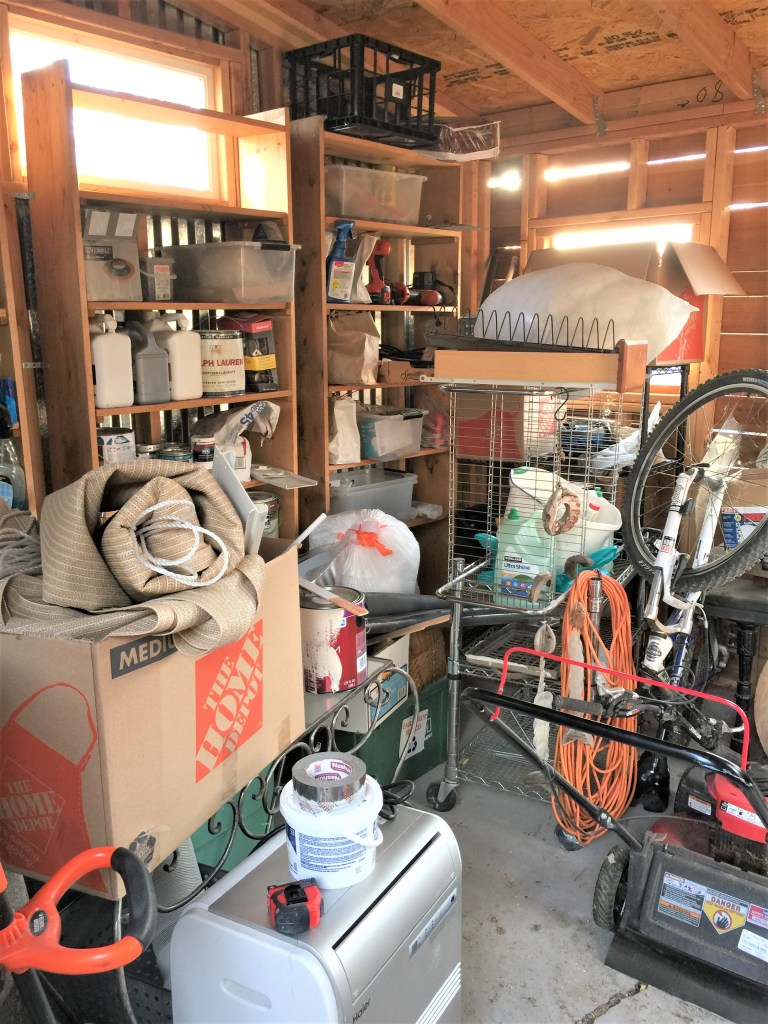
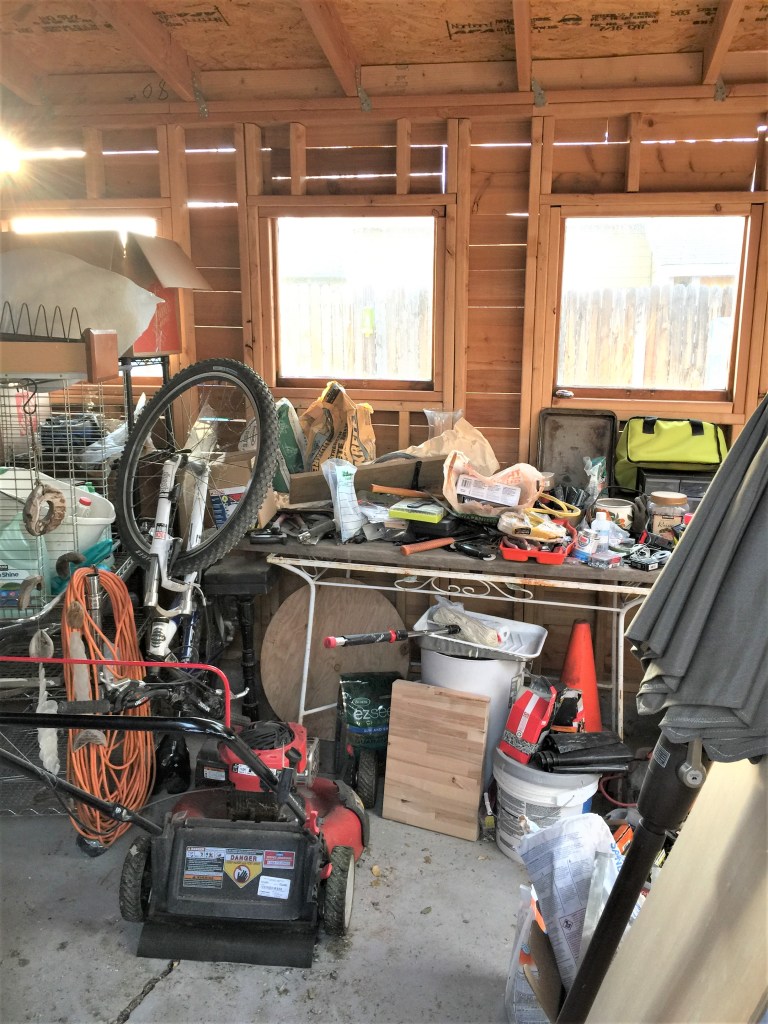
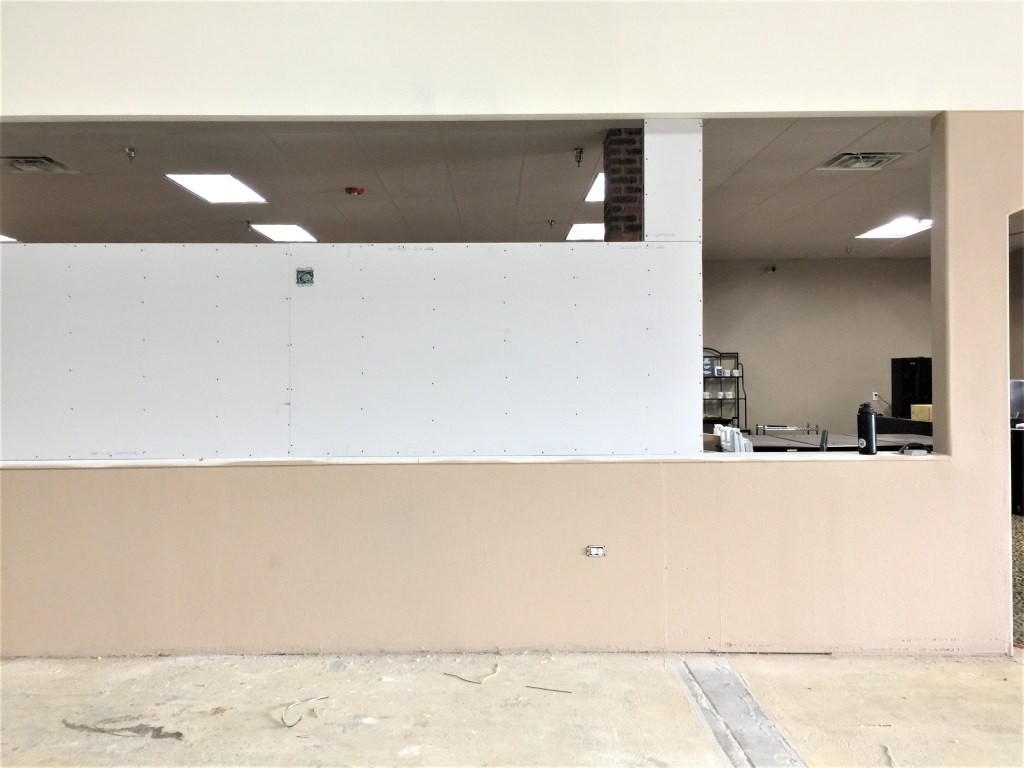
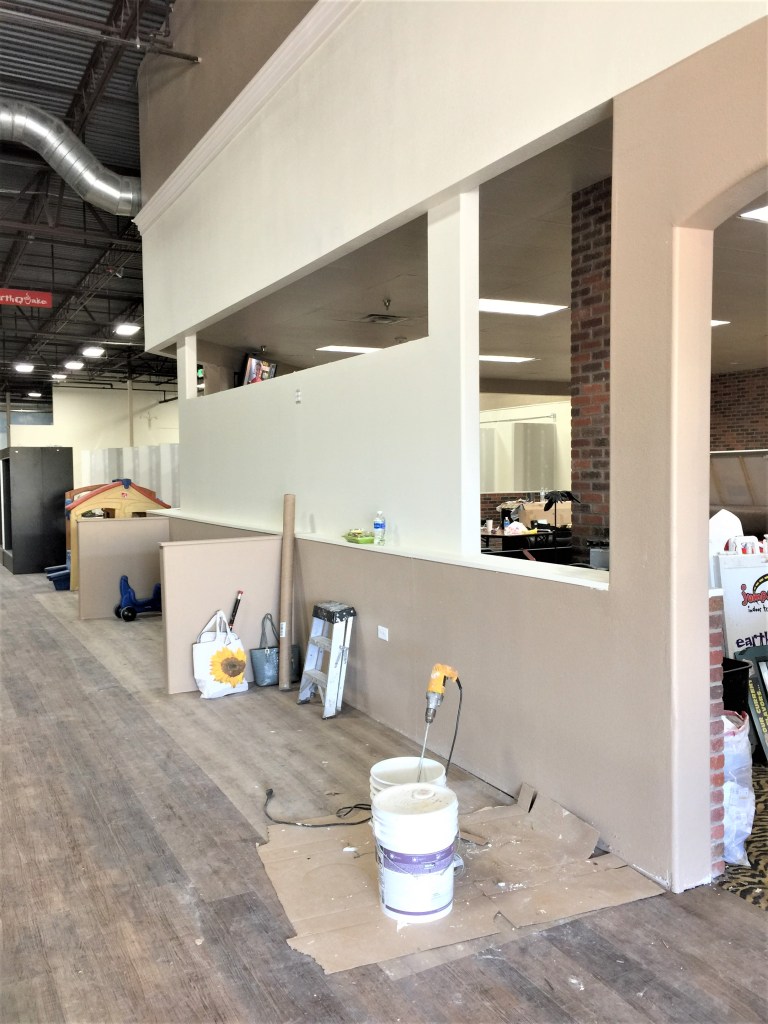
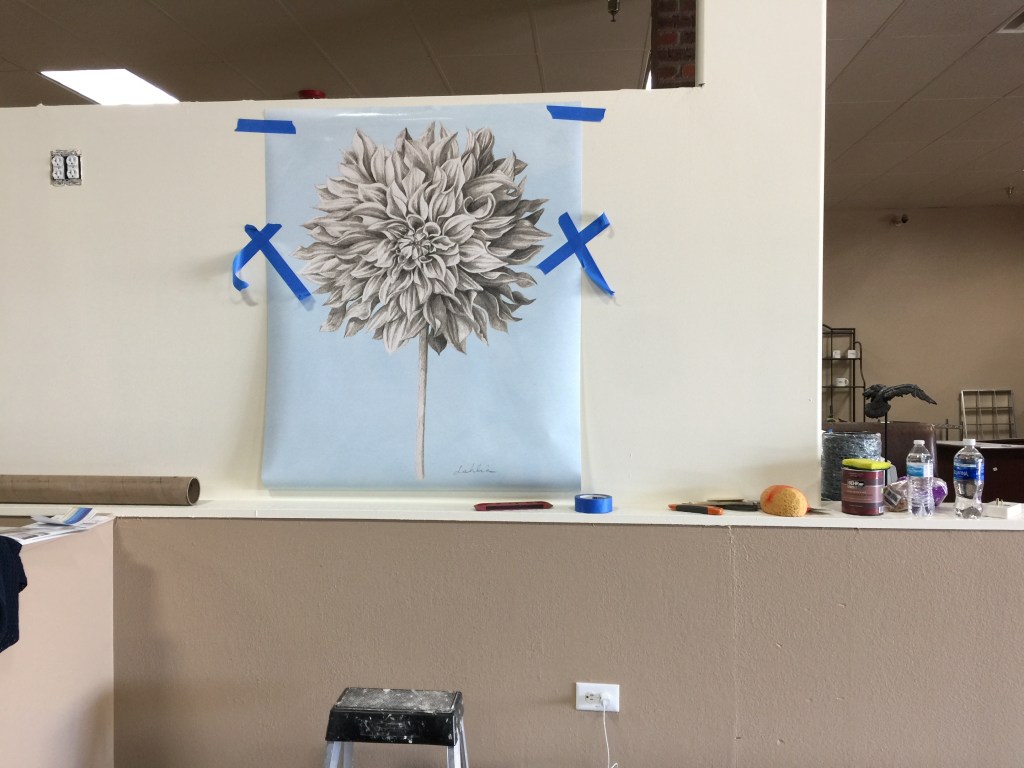
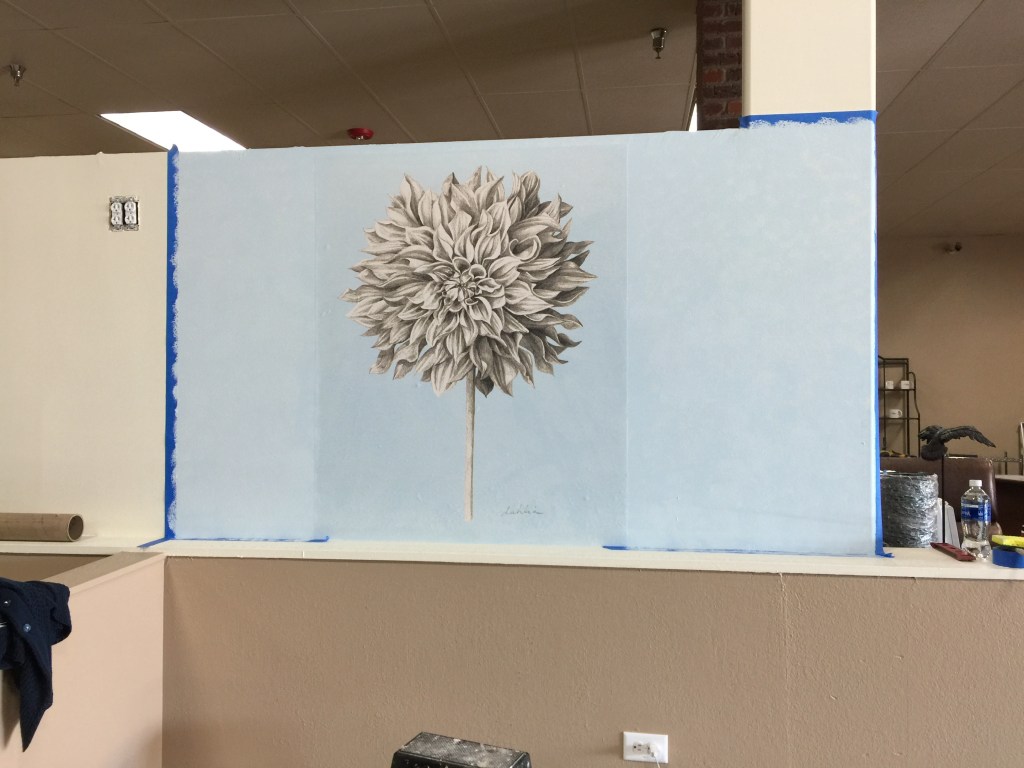
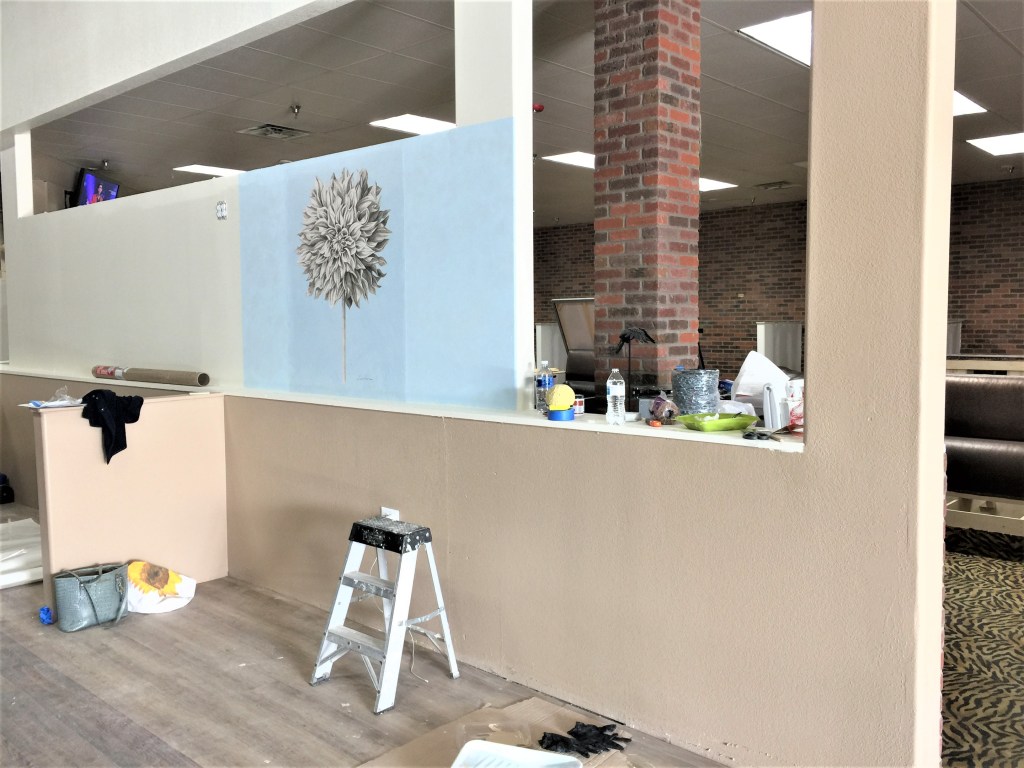
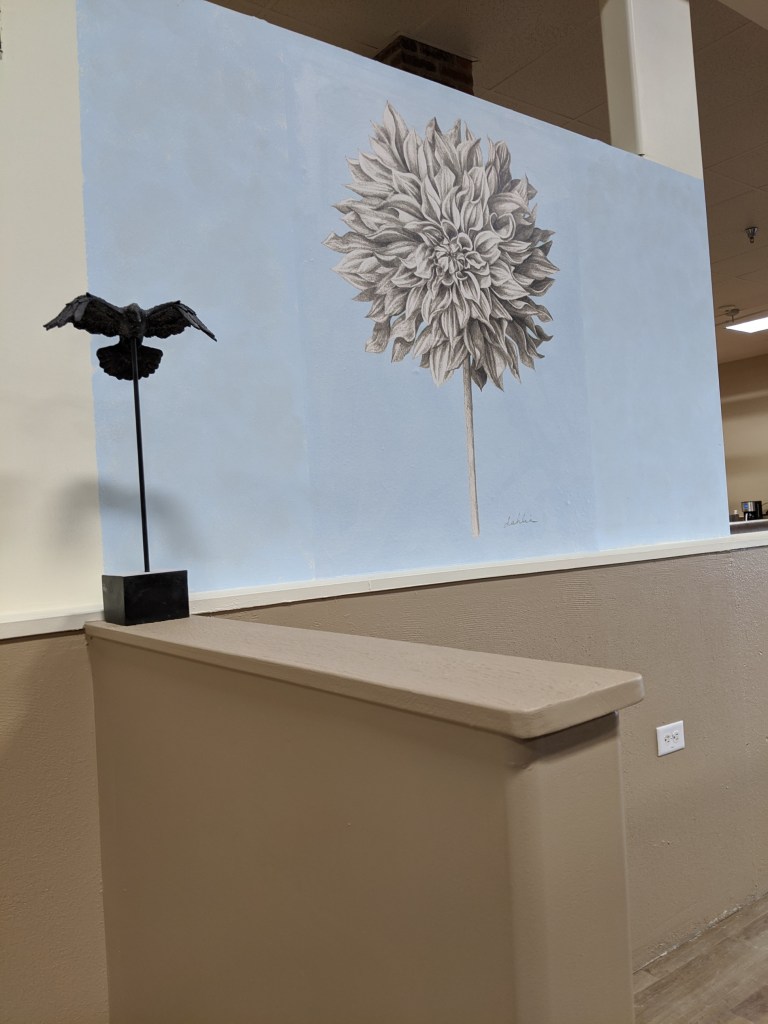
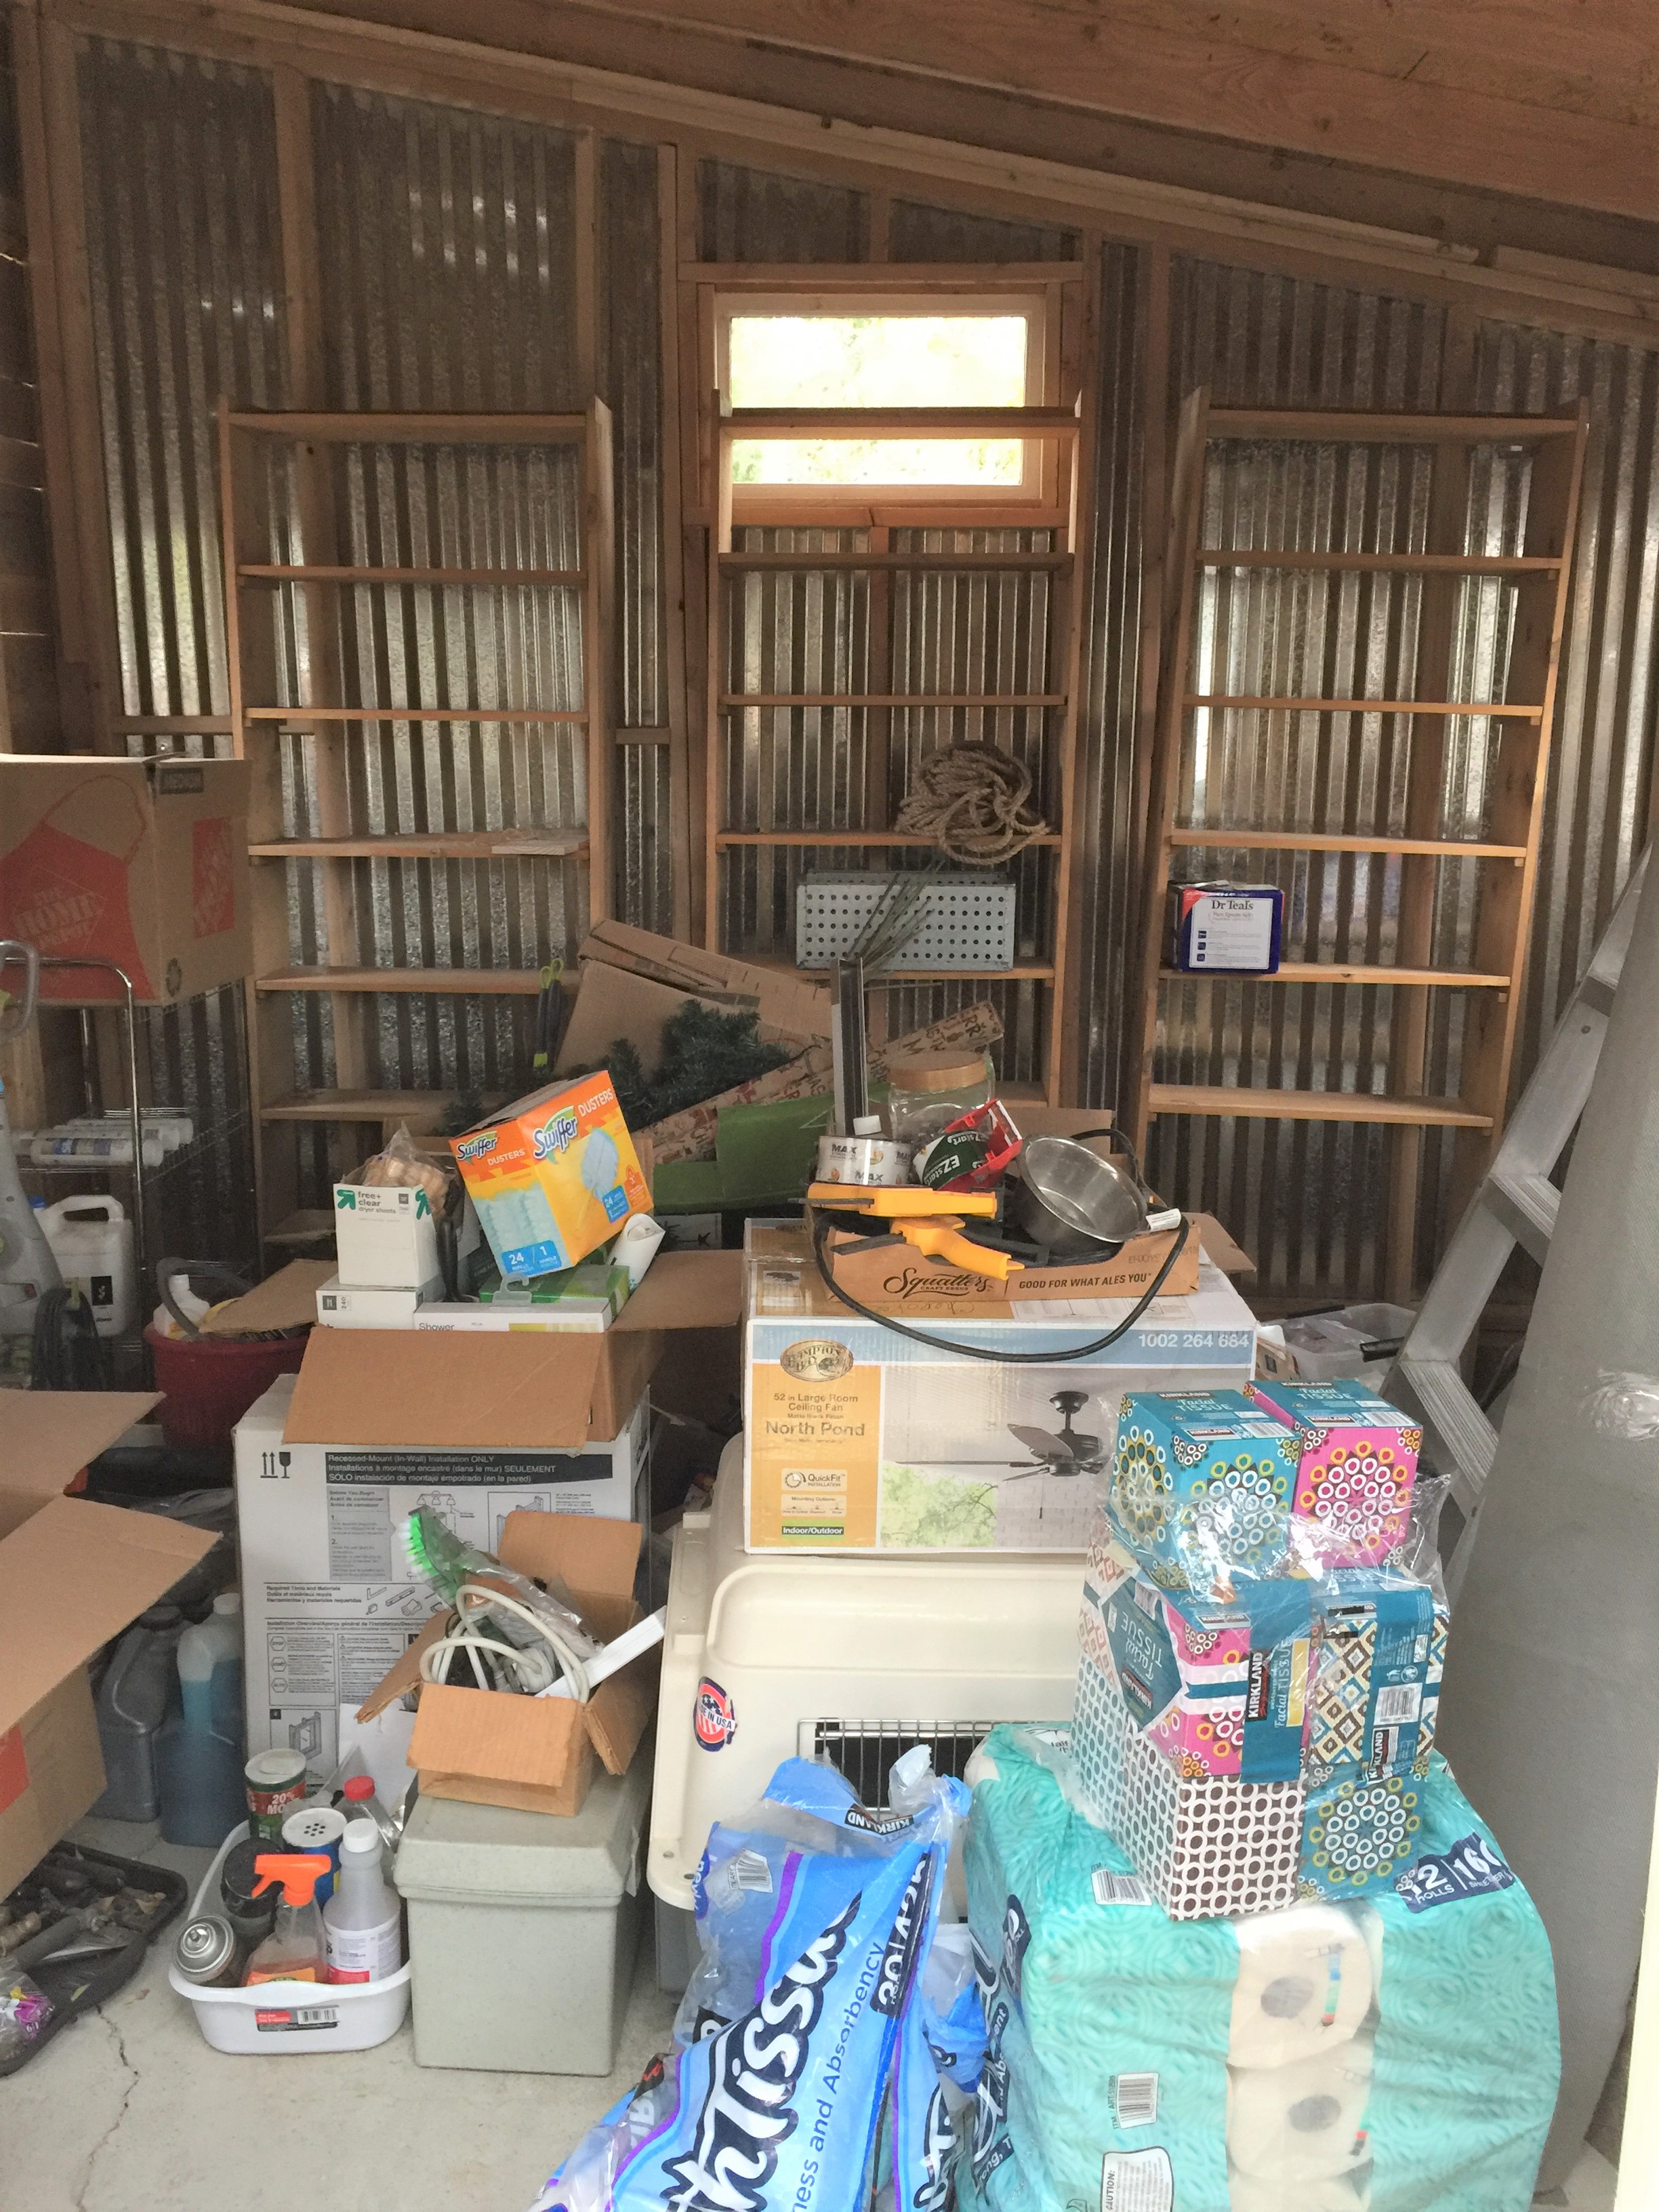
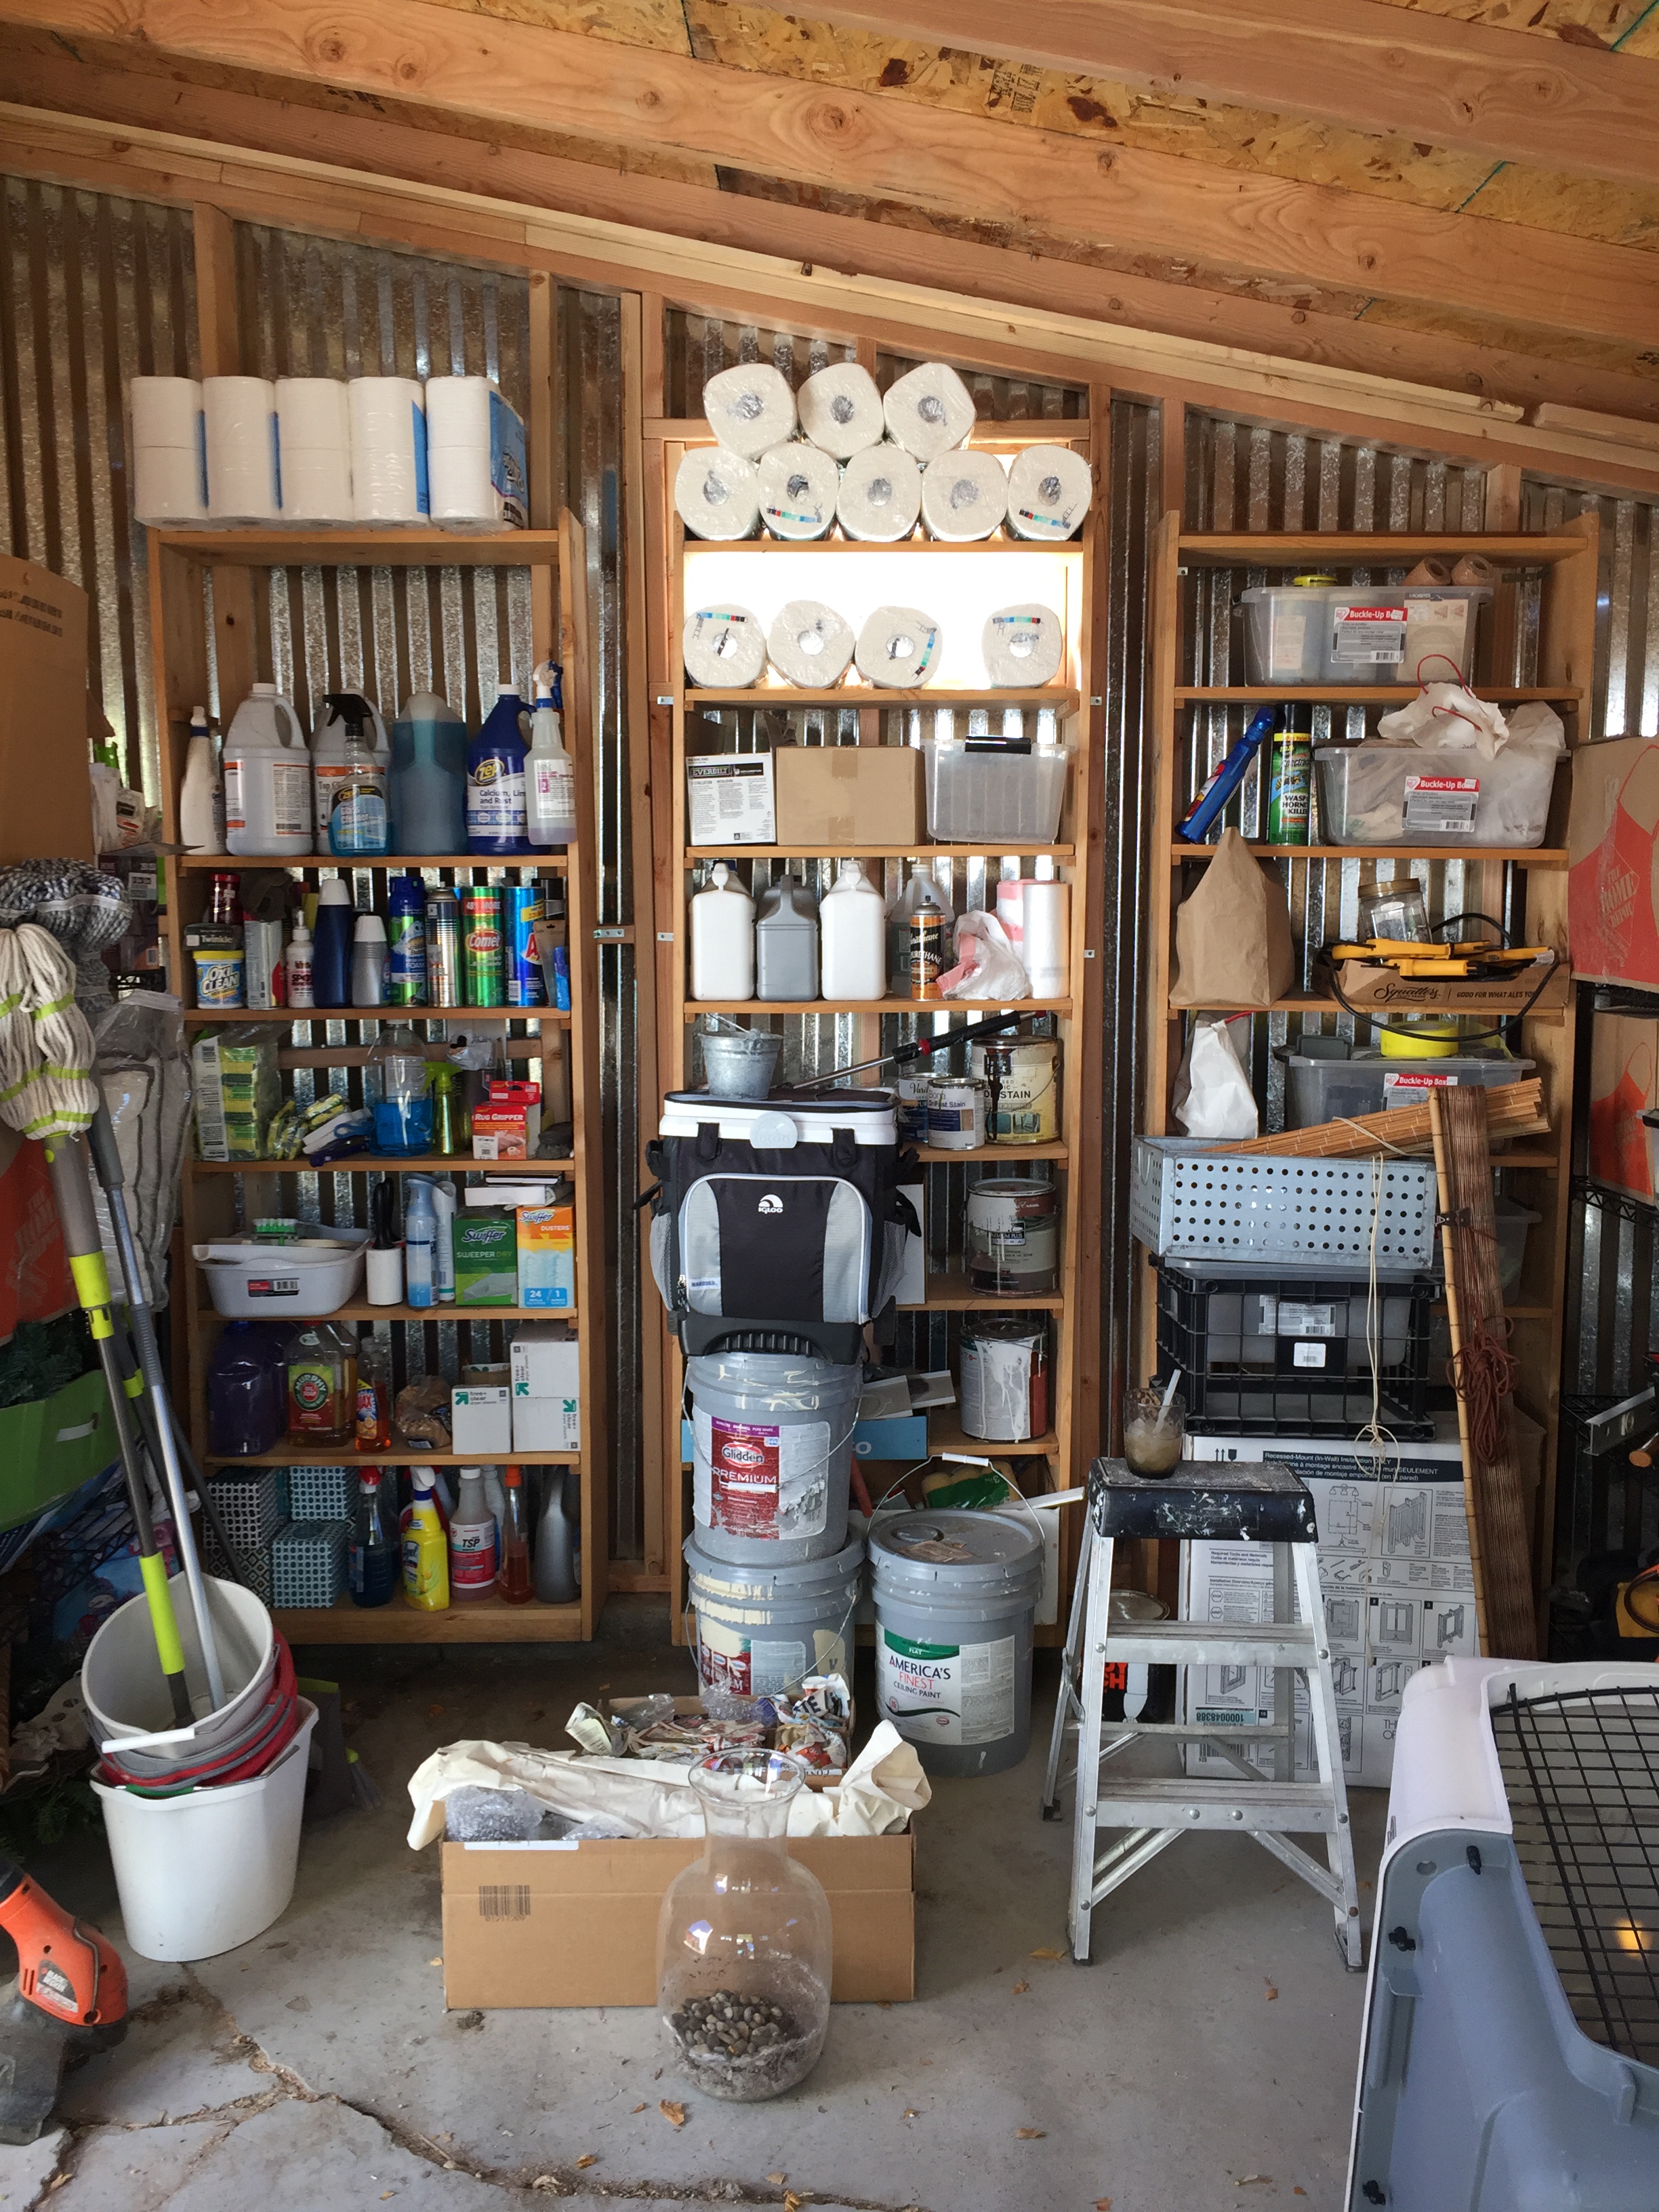
I found this beautiful Damask fabric at Hobby Lobby.Covered the cushions after wrapping the original foam in poly-fill cushion wrap.These updated pretty’s look fresh, while providing mobile foot rests for any part of the home.A large leather ottoman with great details on the carved base was dark and heavy looking. I bought it for $14.99.Because I’m learning as I go, I study each piece as I disassemble it. This ottoman turned out to be much more difficult than I expected.This is the cushion component. I say component, because it’s actually many pieces sewn together to make an attached cushion. I’m intimidated at this point. I mean, look at this and tell me what you would think? Holy sewing skills, Batman!The base was fairly easy and fun! All the carving makes it so cool. I get anxiety every time I start to paint a new piece of wood furniture. I remember Mom telling me as a kid, that antique wood should not be painted. However once the process is complete, I’m glad I did paint it!The base is done and now, I turn my attention to the cushion with teeth chattering…..I spared you the long process of recovering the cushion. It took a lot longer than I wanted and a couple trips to Western Upholstery, where they walked me through the steps, and lots of online research, but….I absolutely love how it turned out. Like many of my projects, I consider keeping it for myself!Another simple glossy stool.I stripped the old fabric off and added a thick layer of poly fill wrap to the foam.I considered a couple different fabrics, but it still seemed uninspired…So, I stenciled an ornate design at the top of the legs to highlight the shape and ended up covering the seat with a Burgundy fine gauge quality wool. It’s classy, but a bit special too!I’ve had these stackable foot stools for 10+ years, using them in my living area. They are dark and had been covered in dark Brown leather. Inspired by the other pair I redid, I decided to refinish these also.Staple stripping…When thrifting, I came upon a fabulous fabric that inspired me to go with a decidedly more modern and bright design style for this pair. This is risky!WoW! How can one be prepared for this much color and verve? These were requested by my sister before I even got to show them off. Maybe I’m onto something!I kept these cabinet doors from when I remodeled my kitchen last fall. I filled in the hinge and screw holes, painted them, added stencils and handles and look what they are now!A beautiful serving tray. One of a kind and up-cycled! Love this. As much as I love my new open kitchen, I have been using it for a work space and need to have a designated area to keep my tools and store furniture.Currently, my living area is full of newly refurnished accent pieces and new acquisitions waiting to be made over.Same for my back porch. I need some work/storage space!And this will be the space. As you can see, my shed is full and needs to be cleaned out and organized first. I’m sure some of you know how this happens!I love the natural light in here. I had my electrician wire my shed for power and light and it will be a prefect place for my new work space!I found Old Crows Antique mall. It’s new and opening in March 2020. I rented this wall and floor space from the black electrical box on the white wall to the doorway on the right side. My space is 13 ft wide x 3.5 feet deep.I’ve always thought about doing this, but finally in 2020, will see it to fruition!I ordered this beautiful mural from Magic Murals for my wall.The pony wall is up between me and my neighboring space and everything is now painted. I’m here to put up my mural today!Luckily, they give you good instructions with the mural! I recommended this company for your mural needs. This one cost $60.4 ft tall x 3.5 feet wide.I tried to match the wall to the background color in the mural and blend the edges together with a painting sponge.Although I can still see the edge of the mural, once I have antiques in the space, you won’t notice the edges as much. The doorway goes to a root beer bar in the store. I love the brick stack visible through the wall opening. My space is high visibility and I’m super excited to fill it!
From another angle. The store used this photo for some of their marketing! Yay!
Spring will be here before we know it. I’m collecting butterflies, bumble bees and flowers to prepare for the opening of Old Crows Antique’s kick off in March 2020!Me, happy to be moving forward with my plan! Check out the Old Crows website: https://www.oldcrowsantiques.com/
It’s been a crazy fun year and I’m grateful for and proud of the project I’ve been working on!
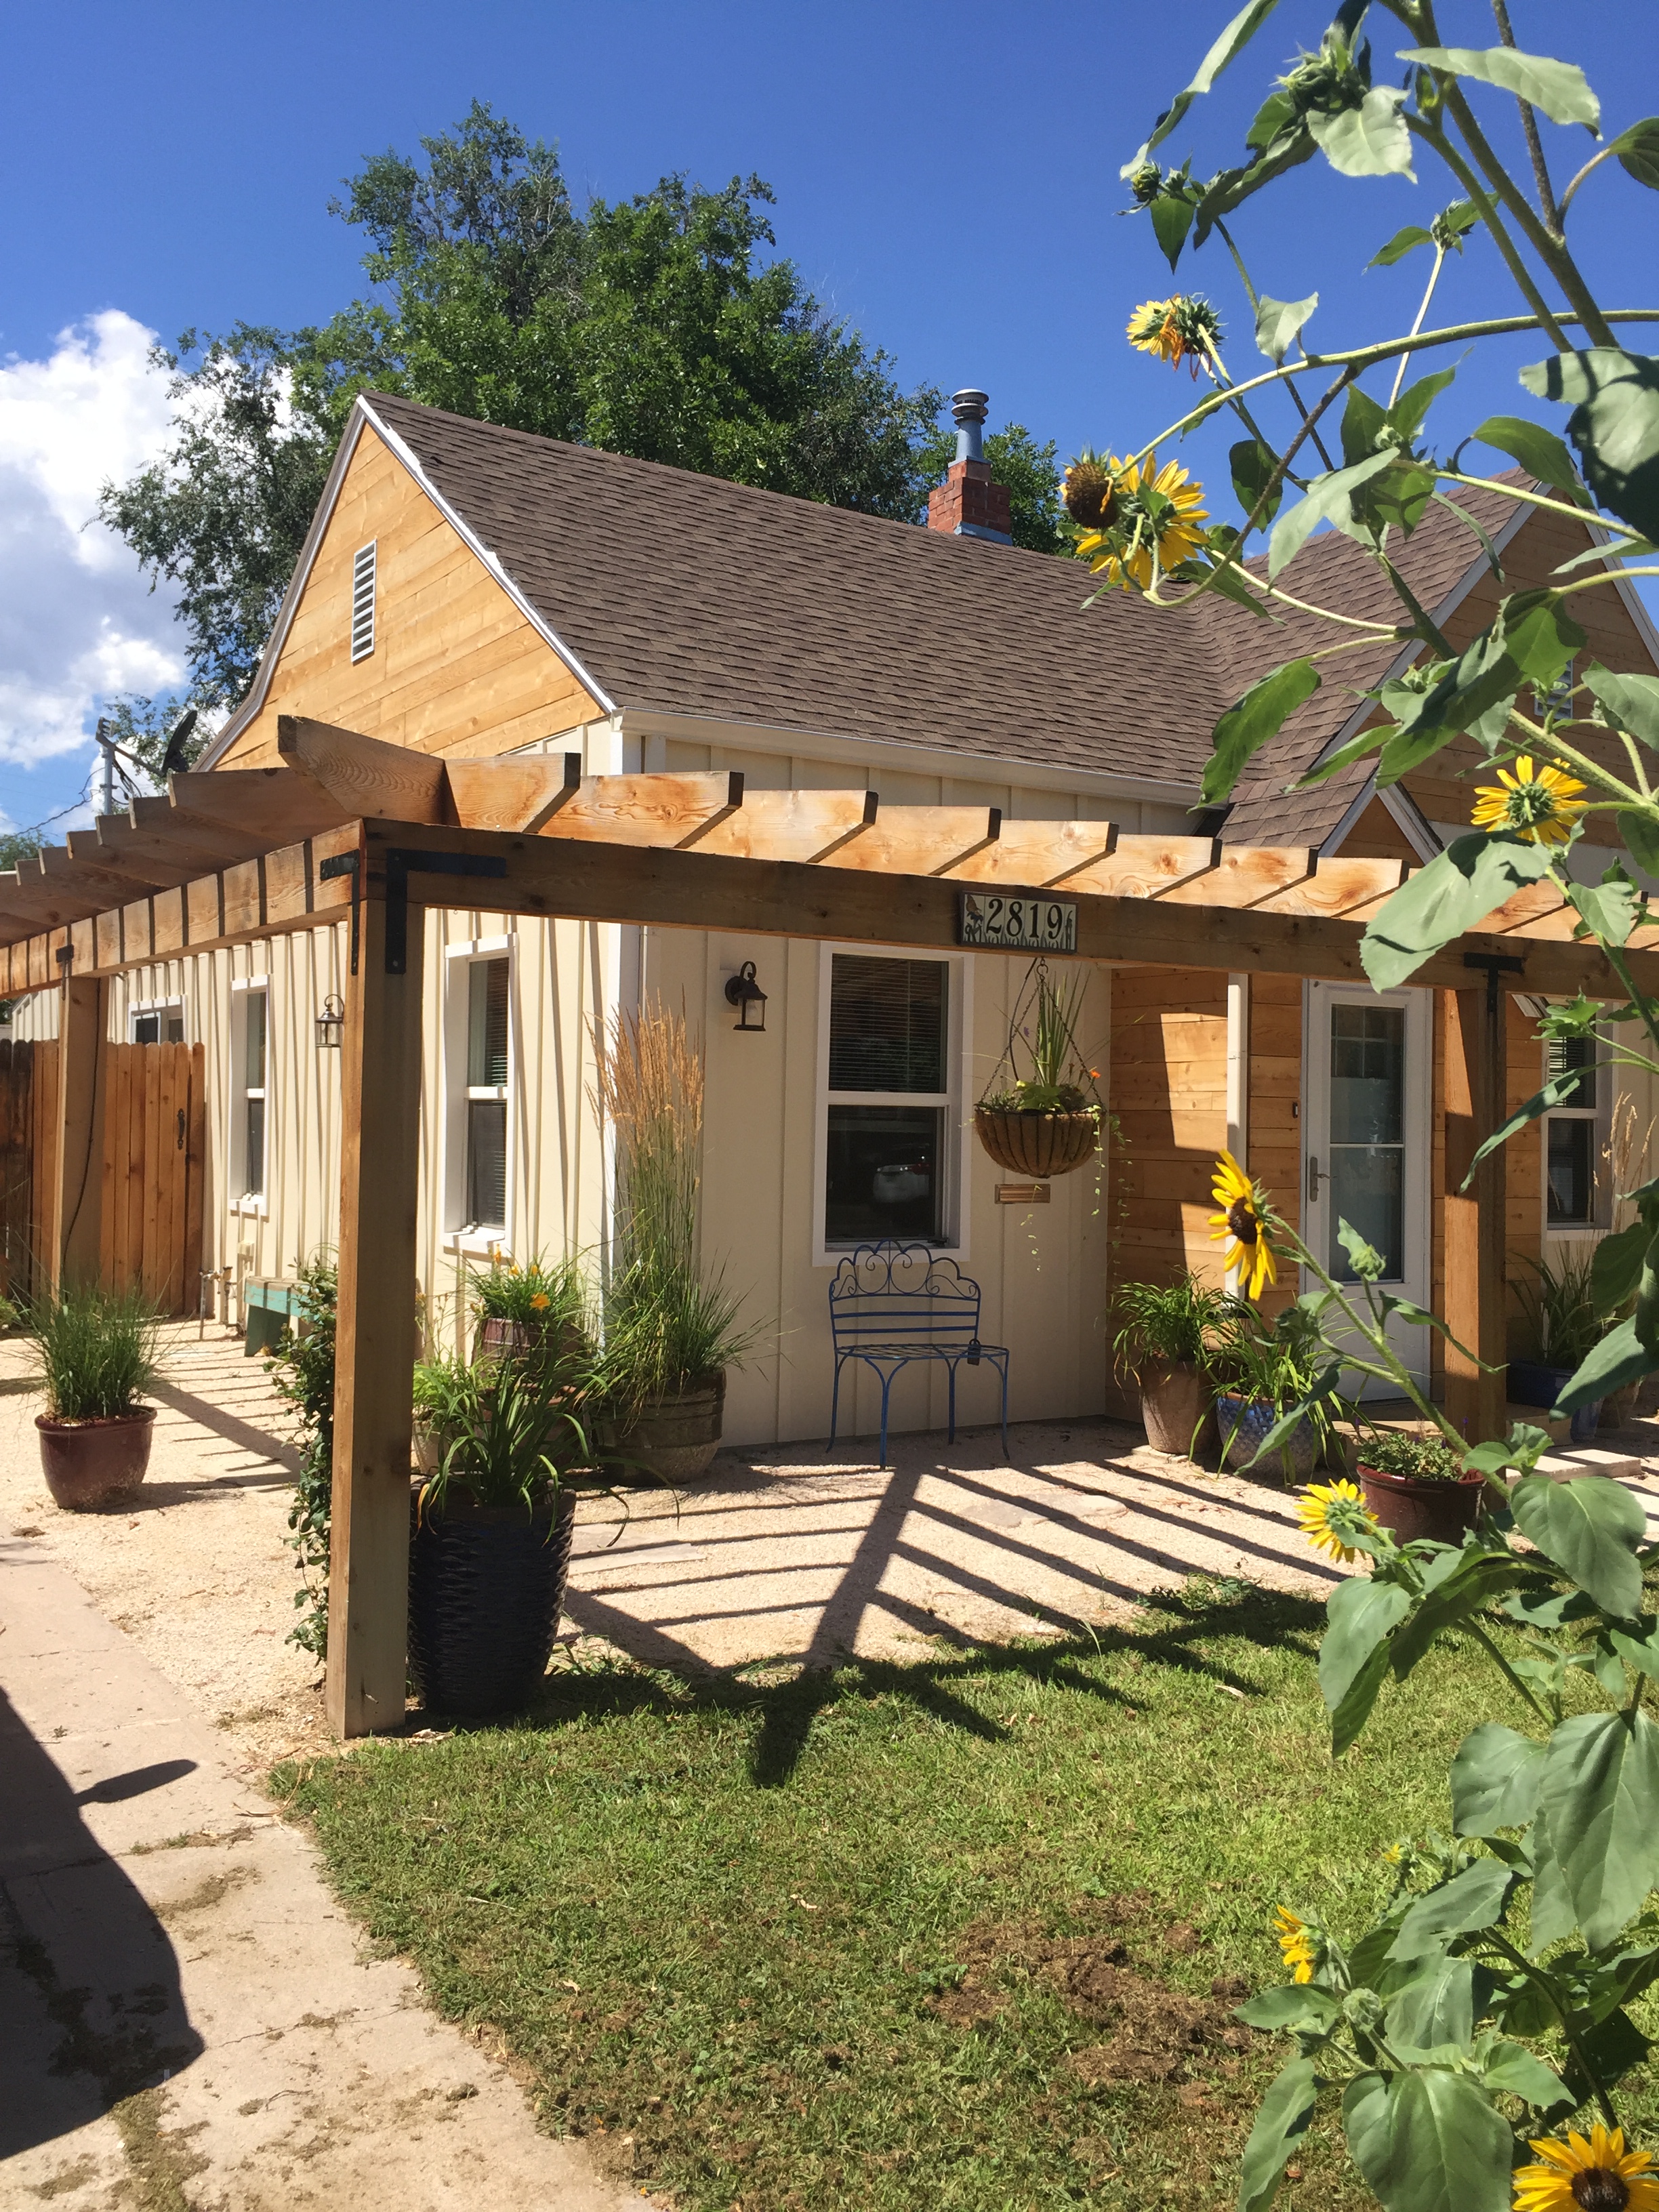
One Year later, after a great summer season, my house looks fresh, bright and welcoming!
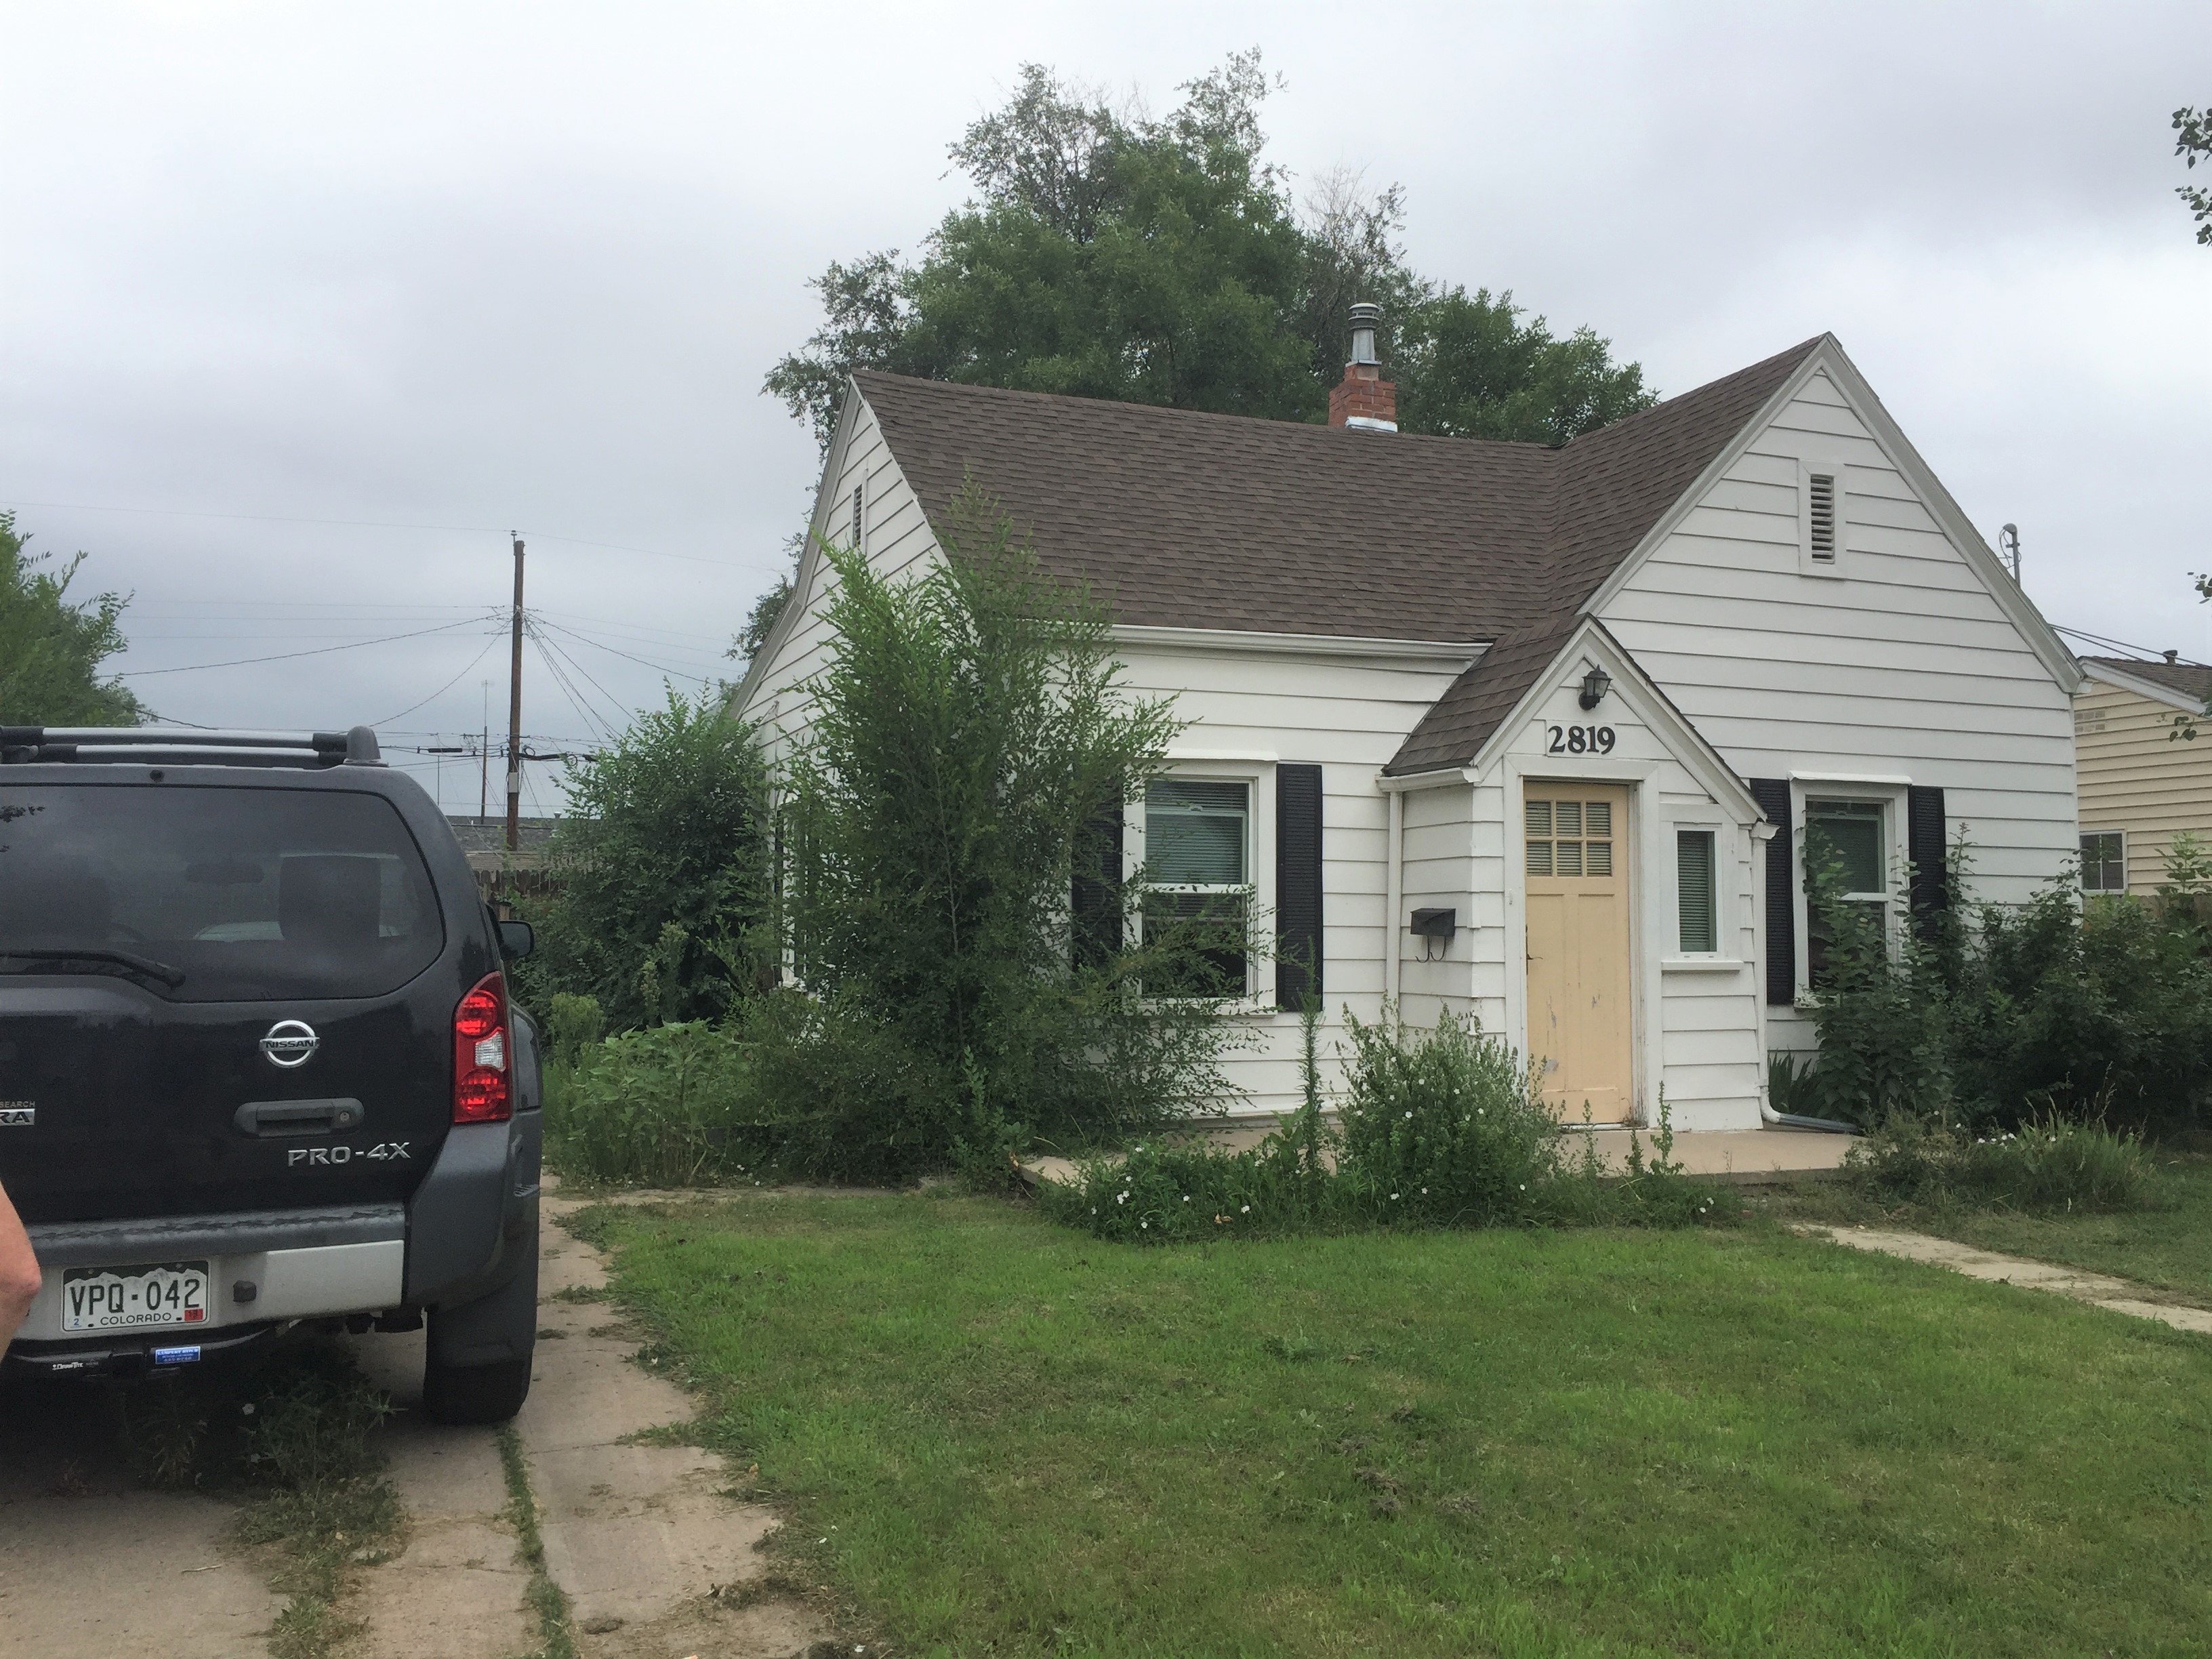
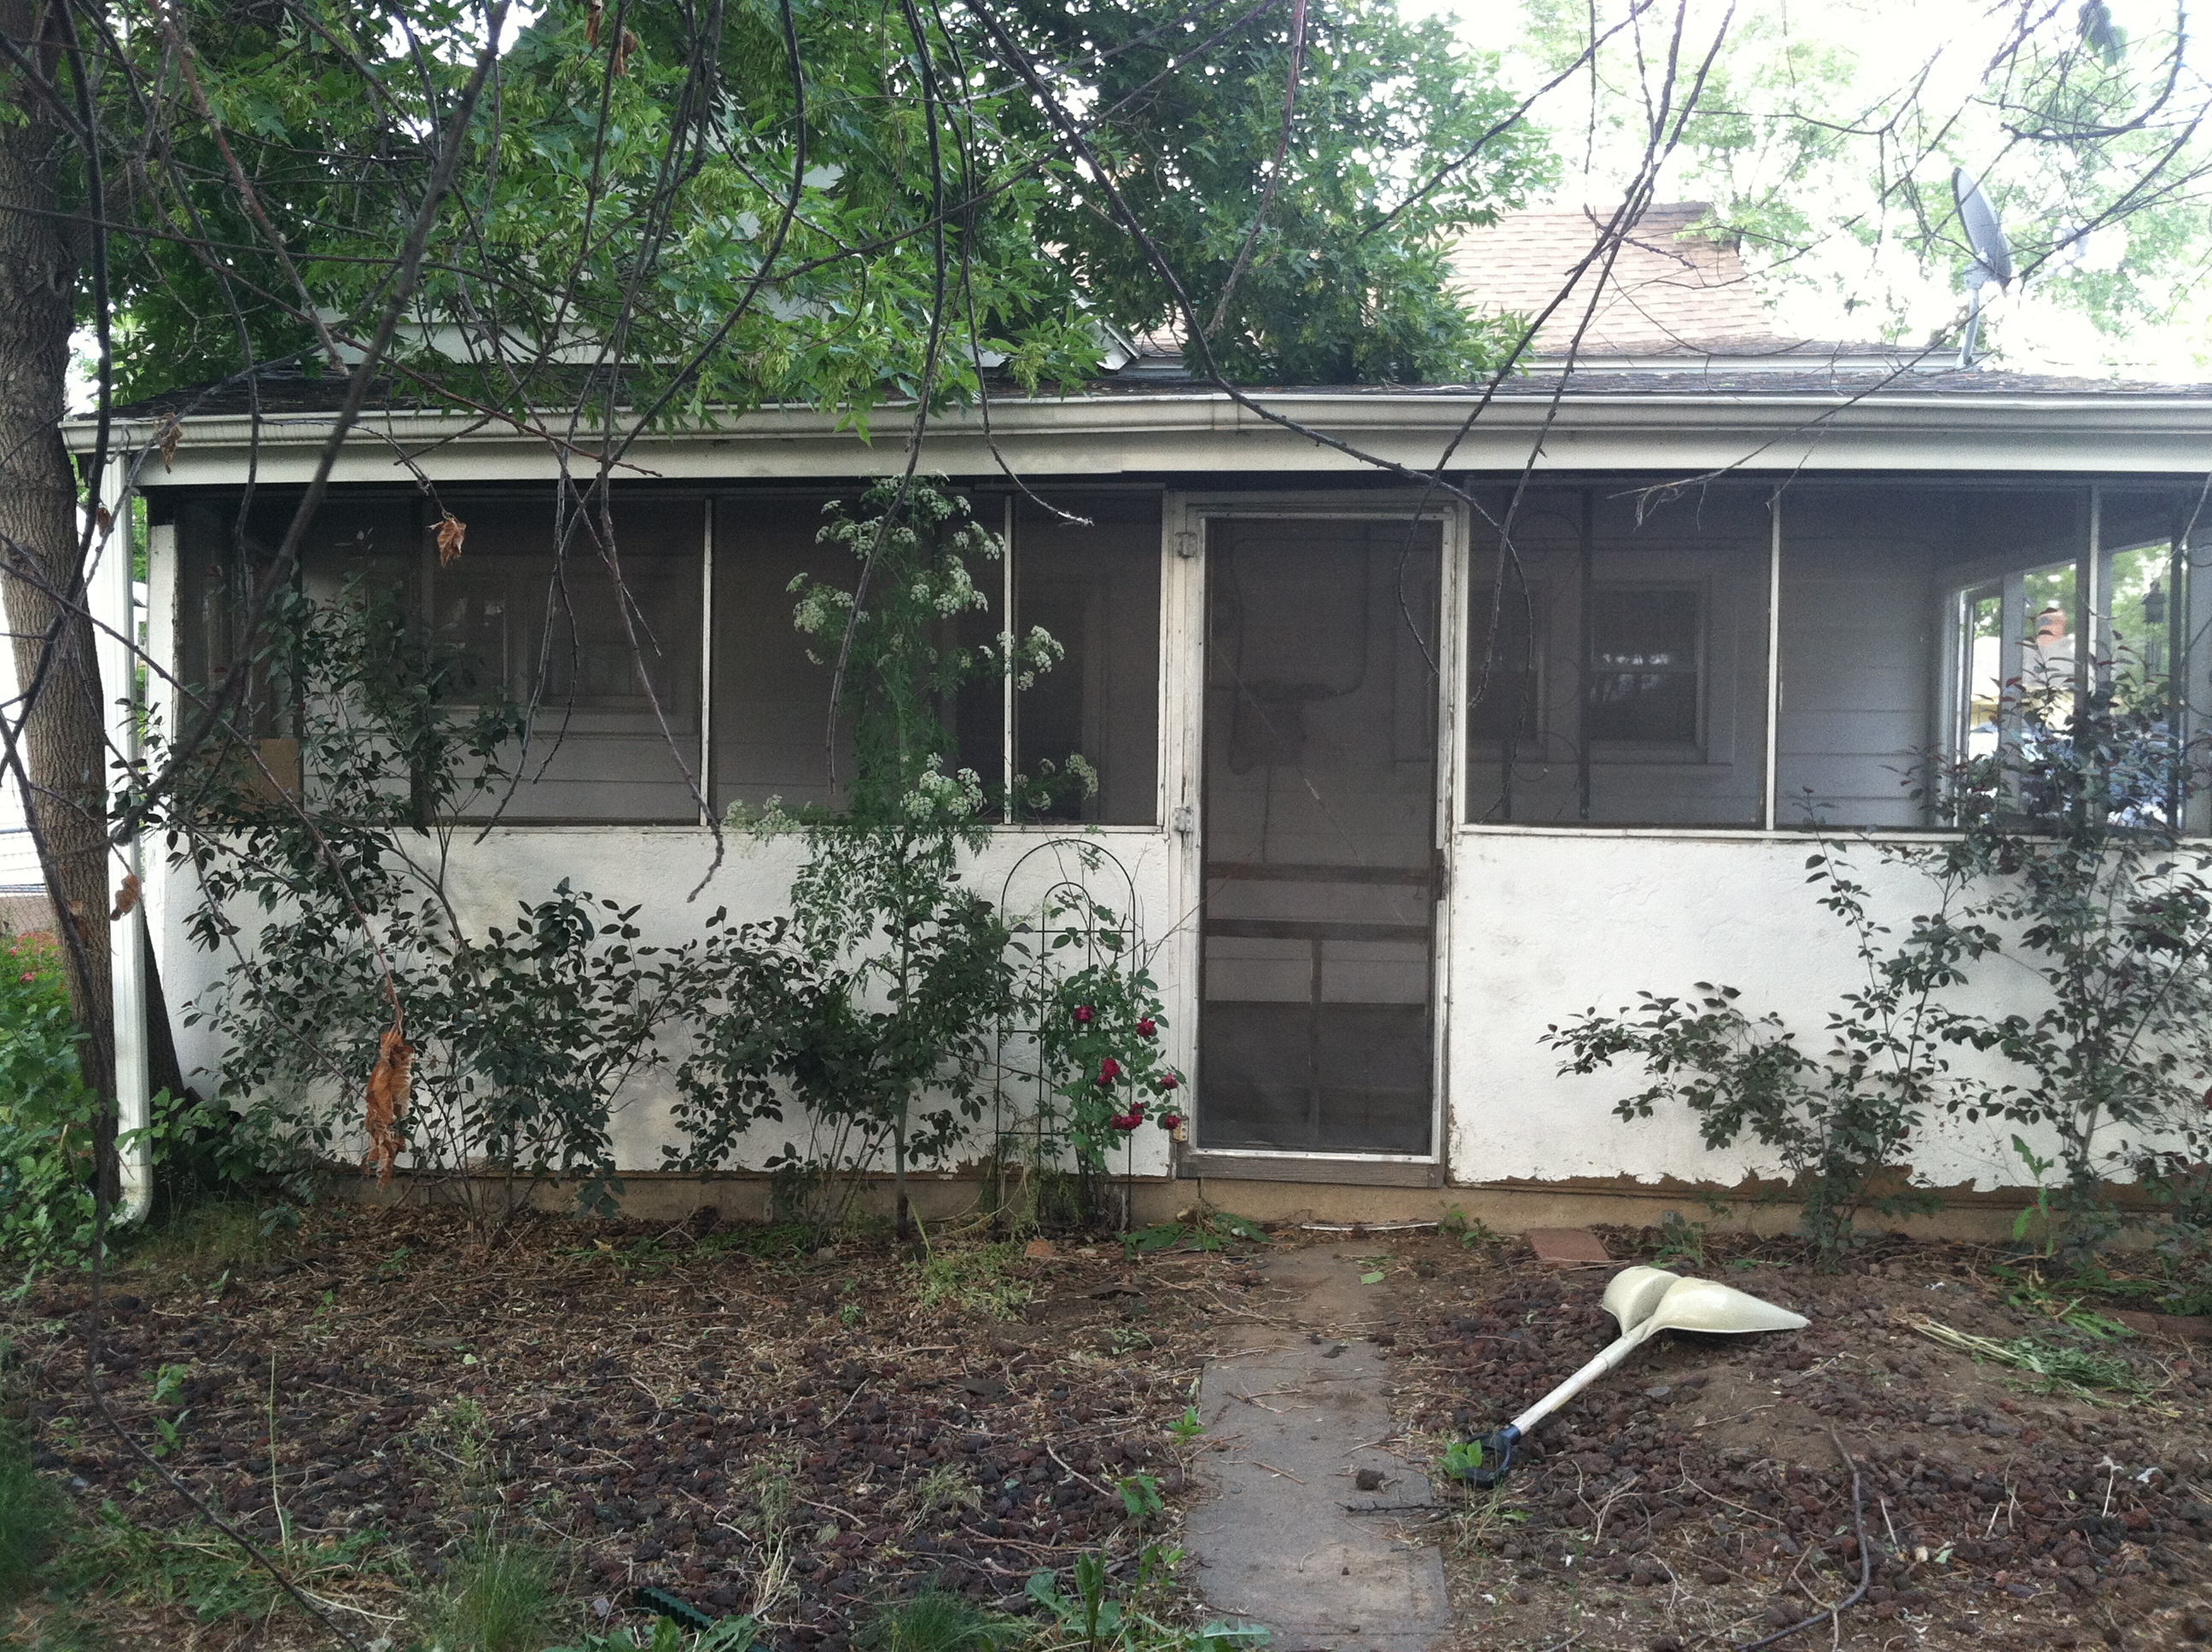
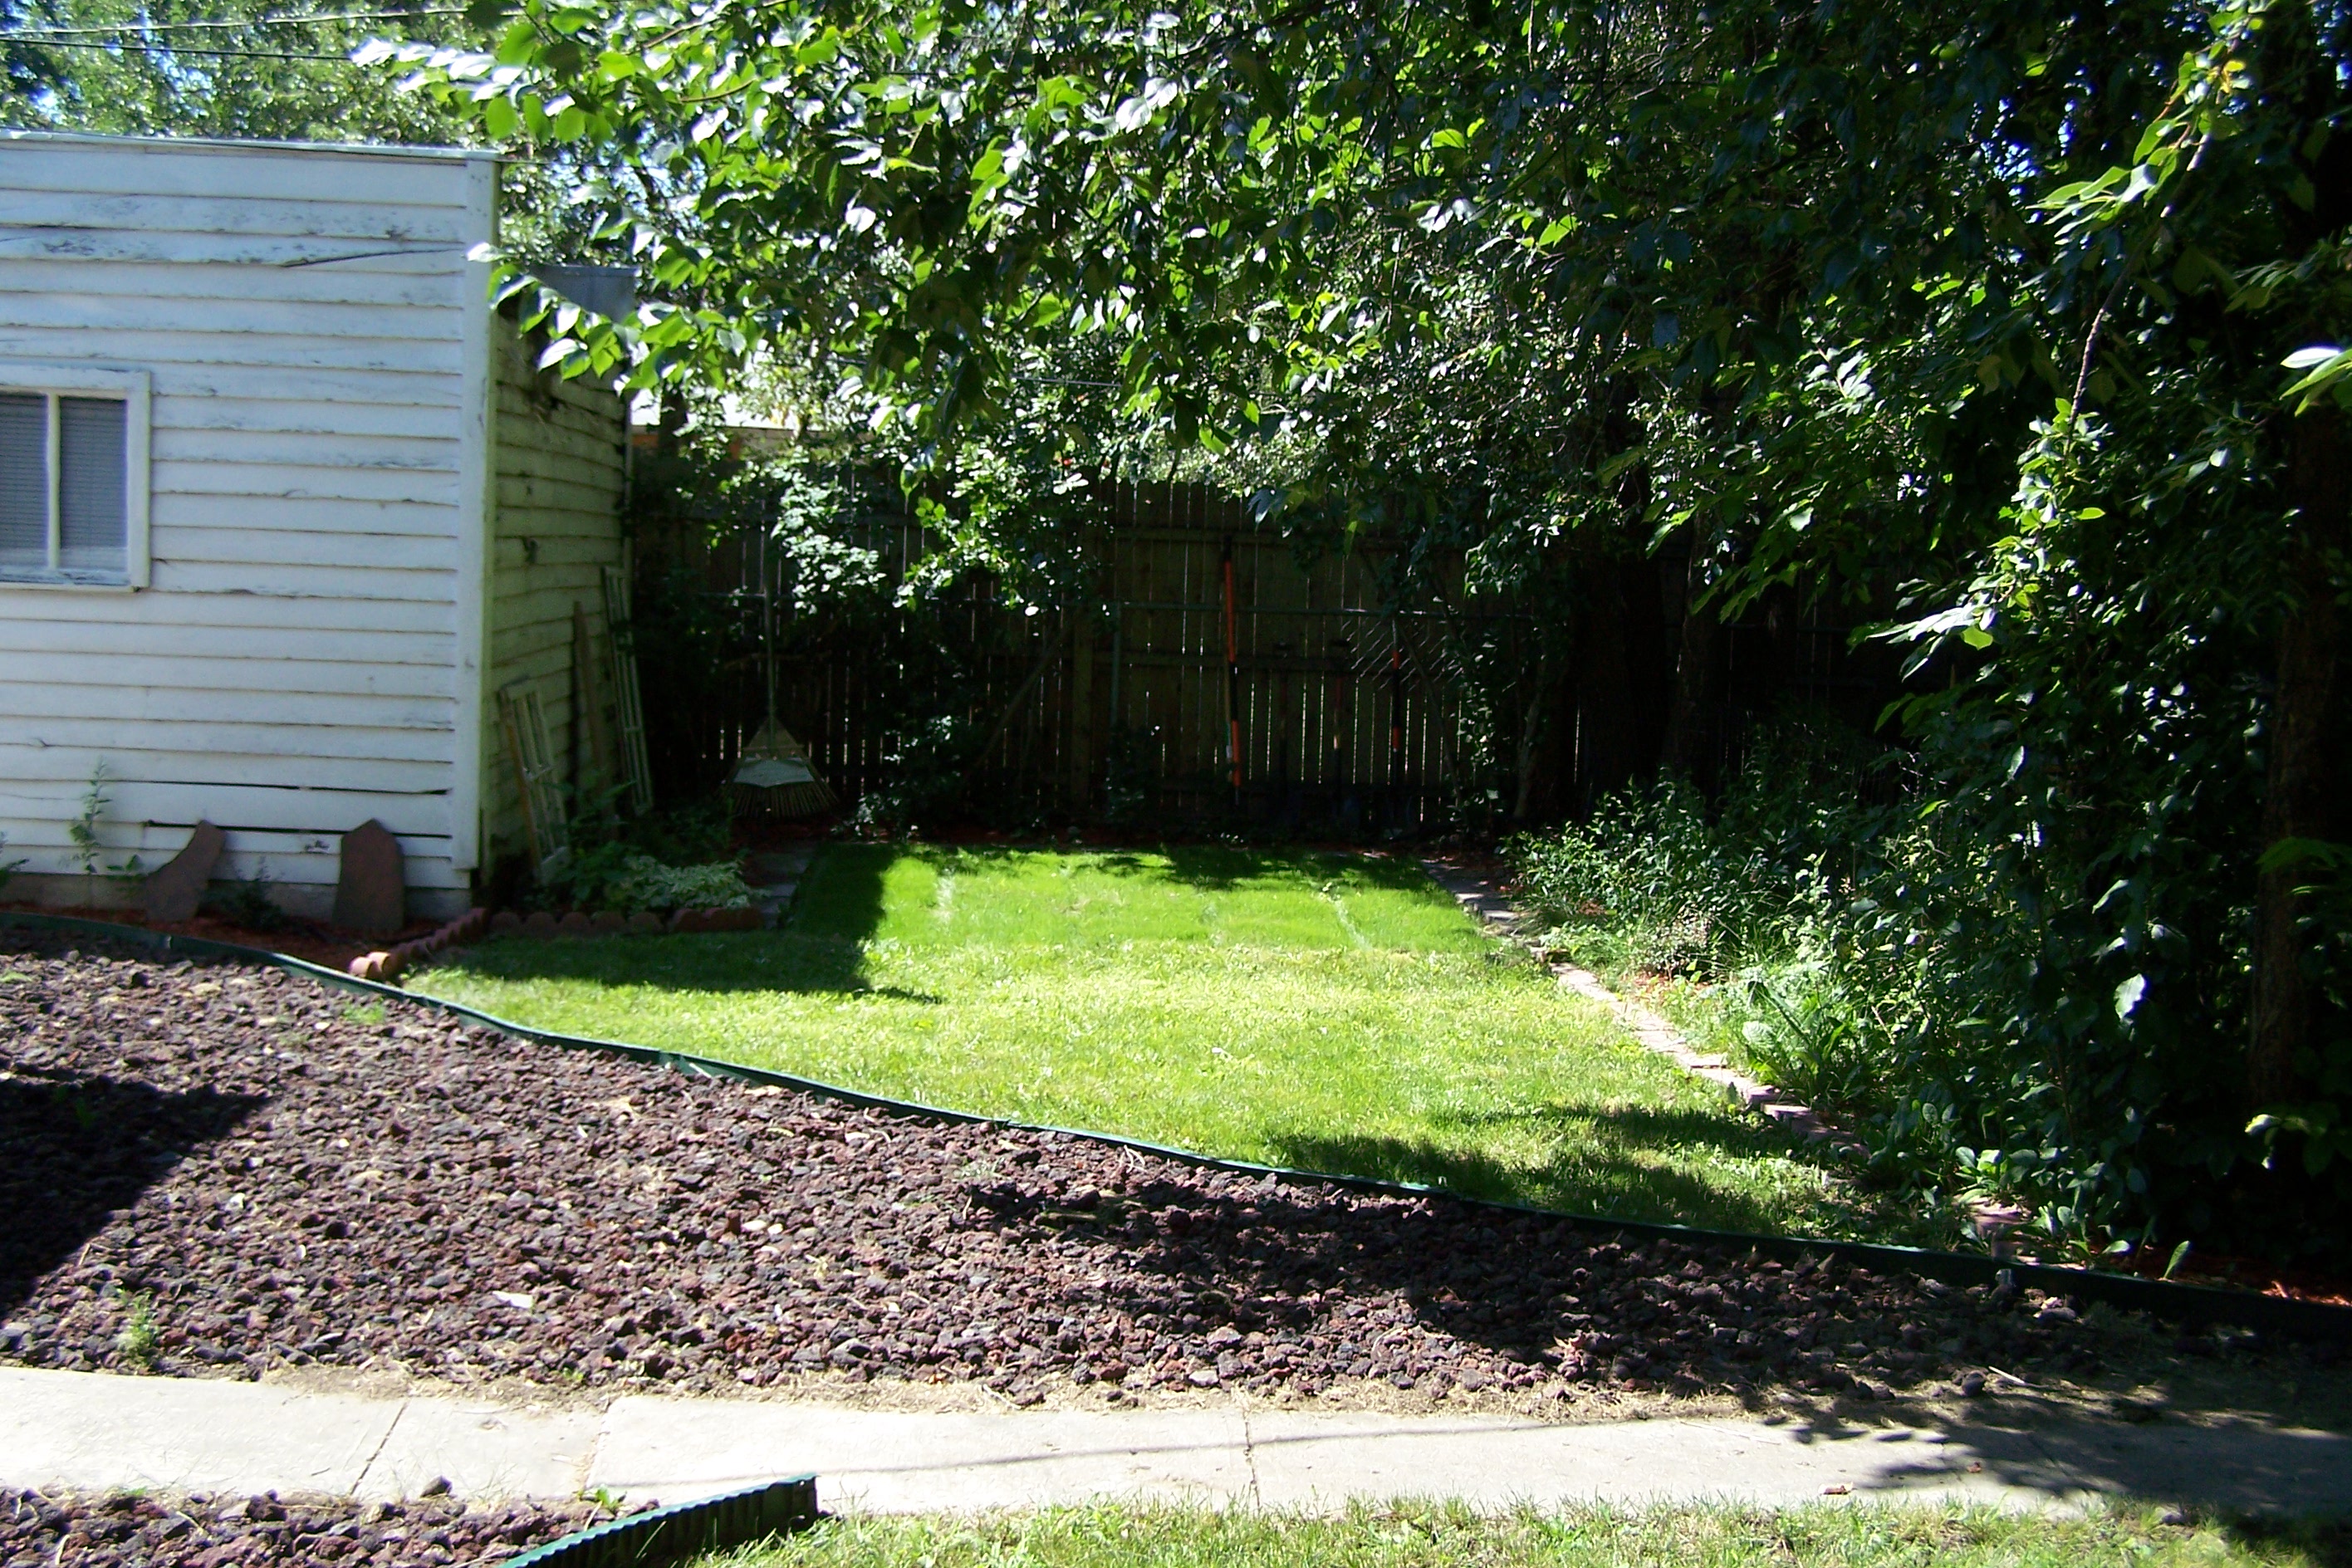
This poor house was so overgrown!
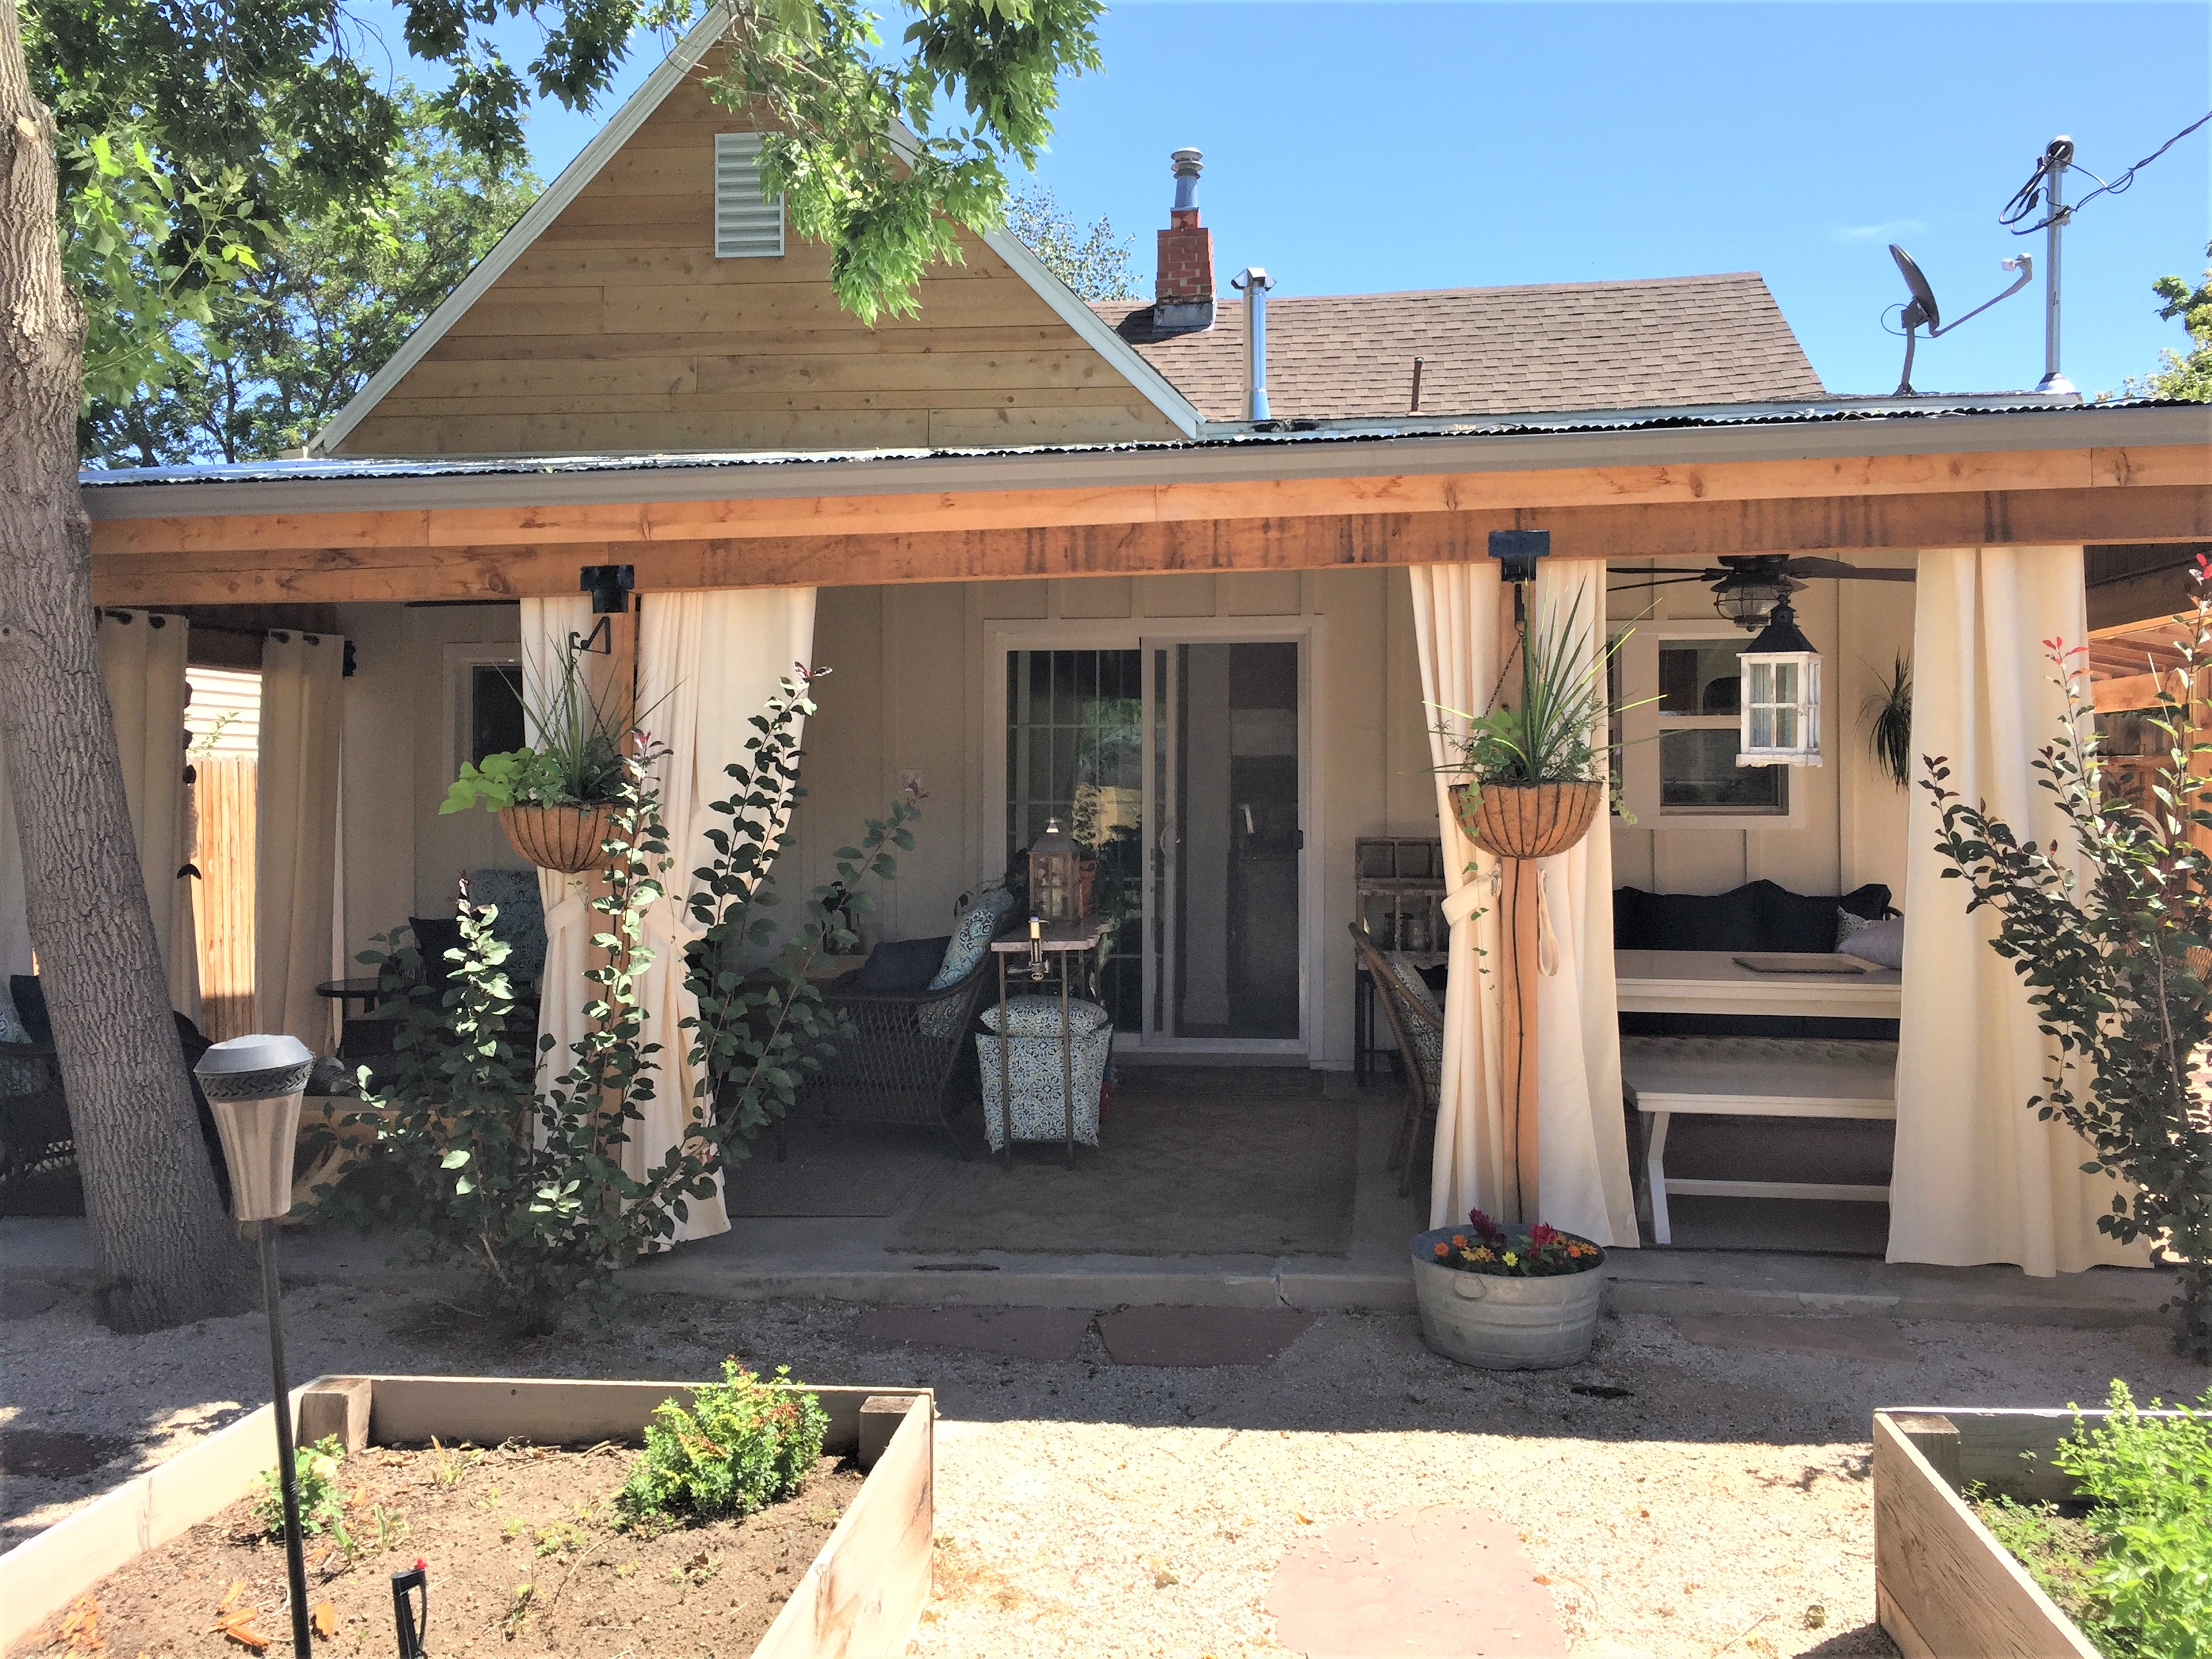
The new landscape is much cleaner and easier to maintain!
The Aspen Tree is still here but,
the front looks otherwise pretty different.
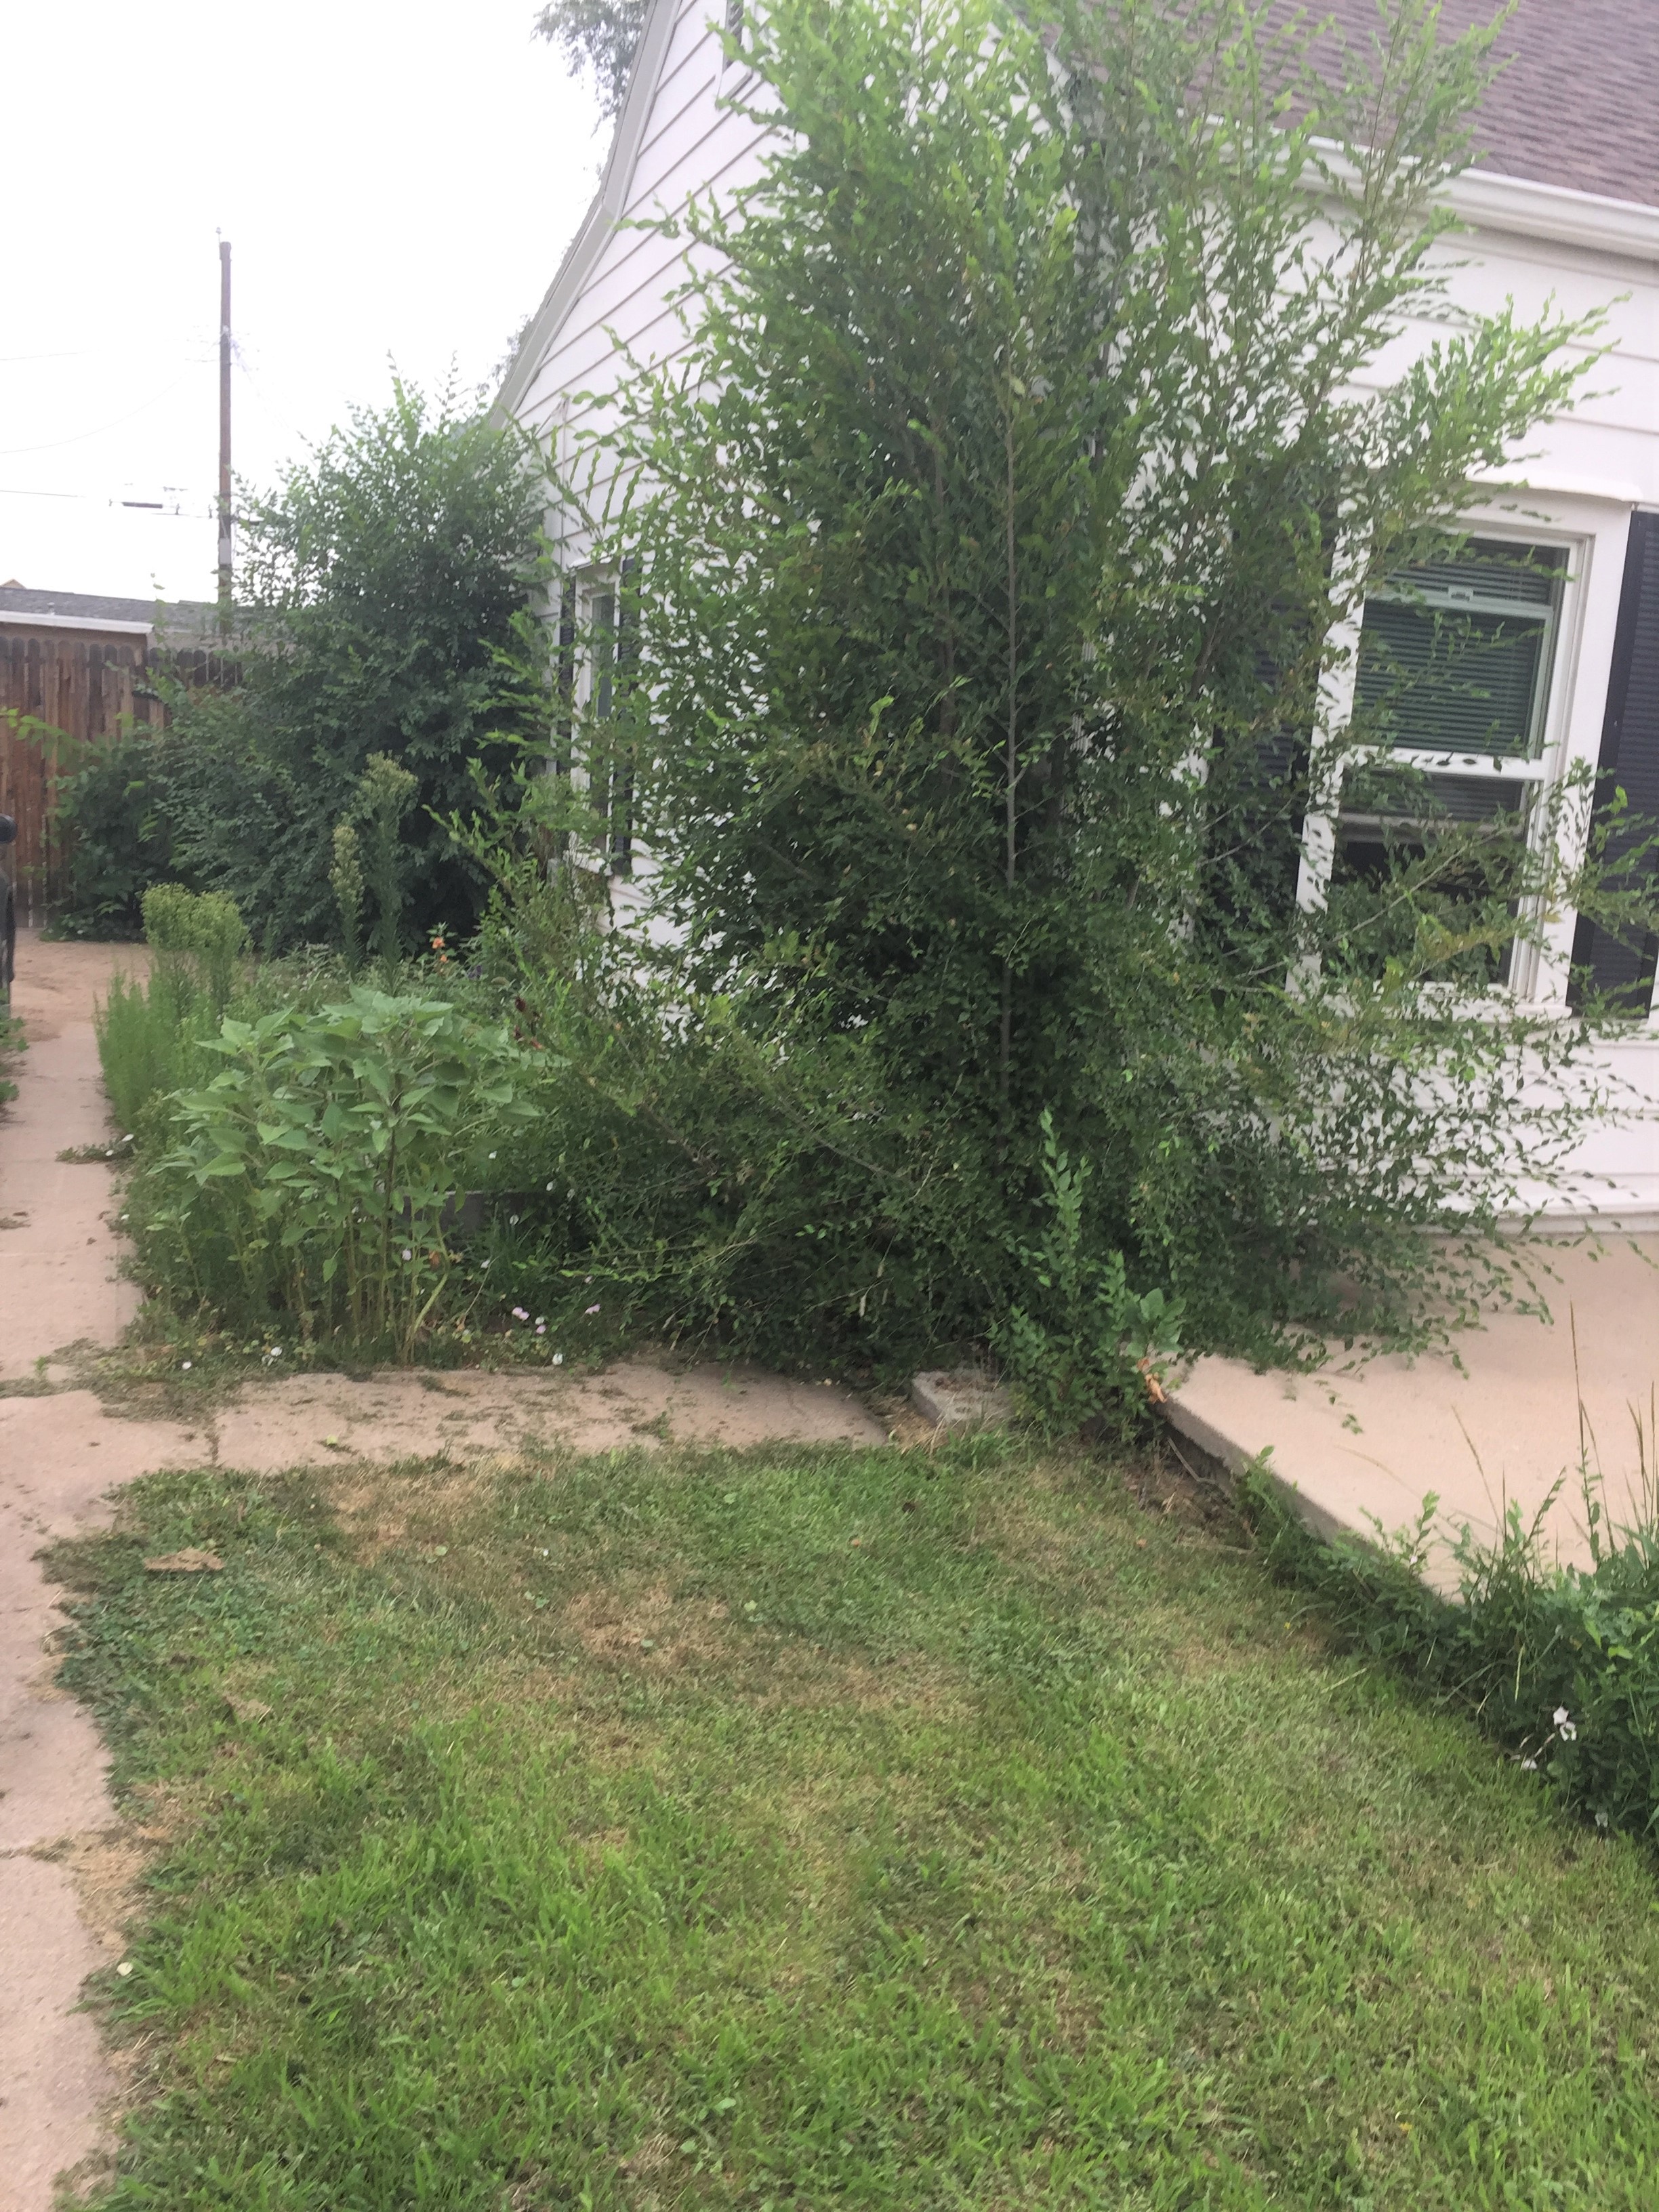
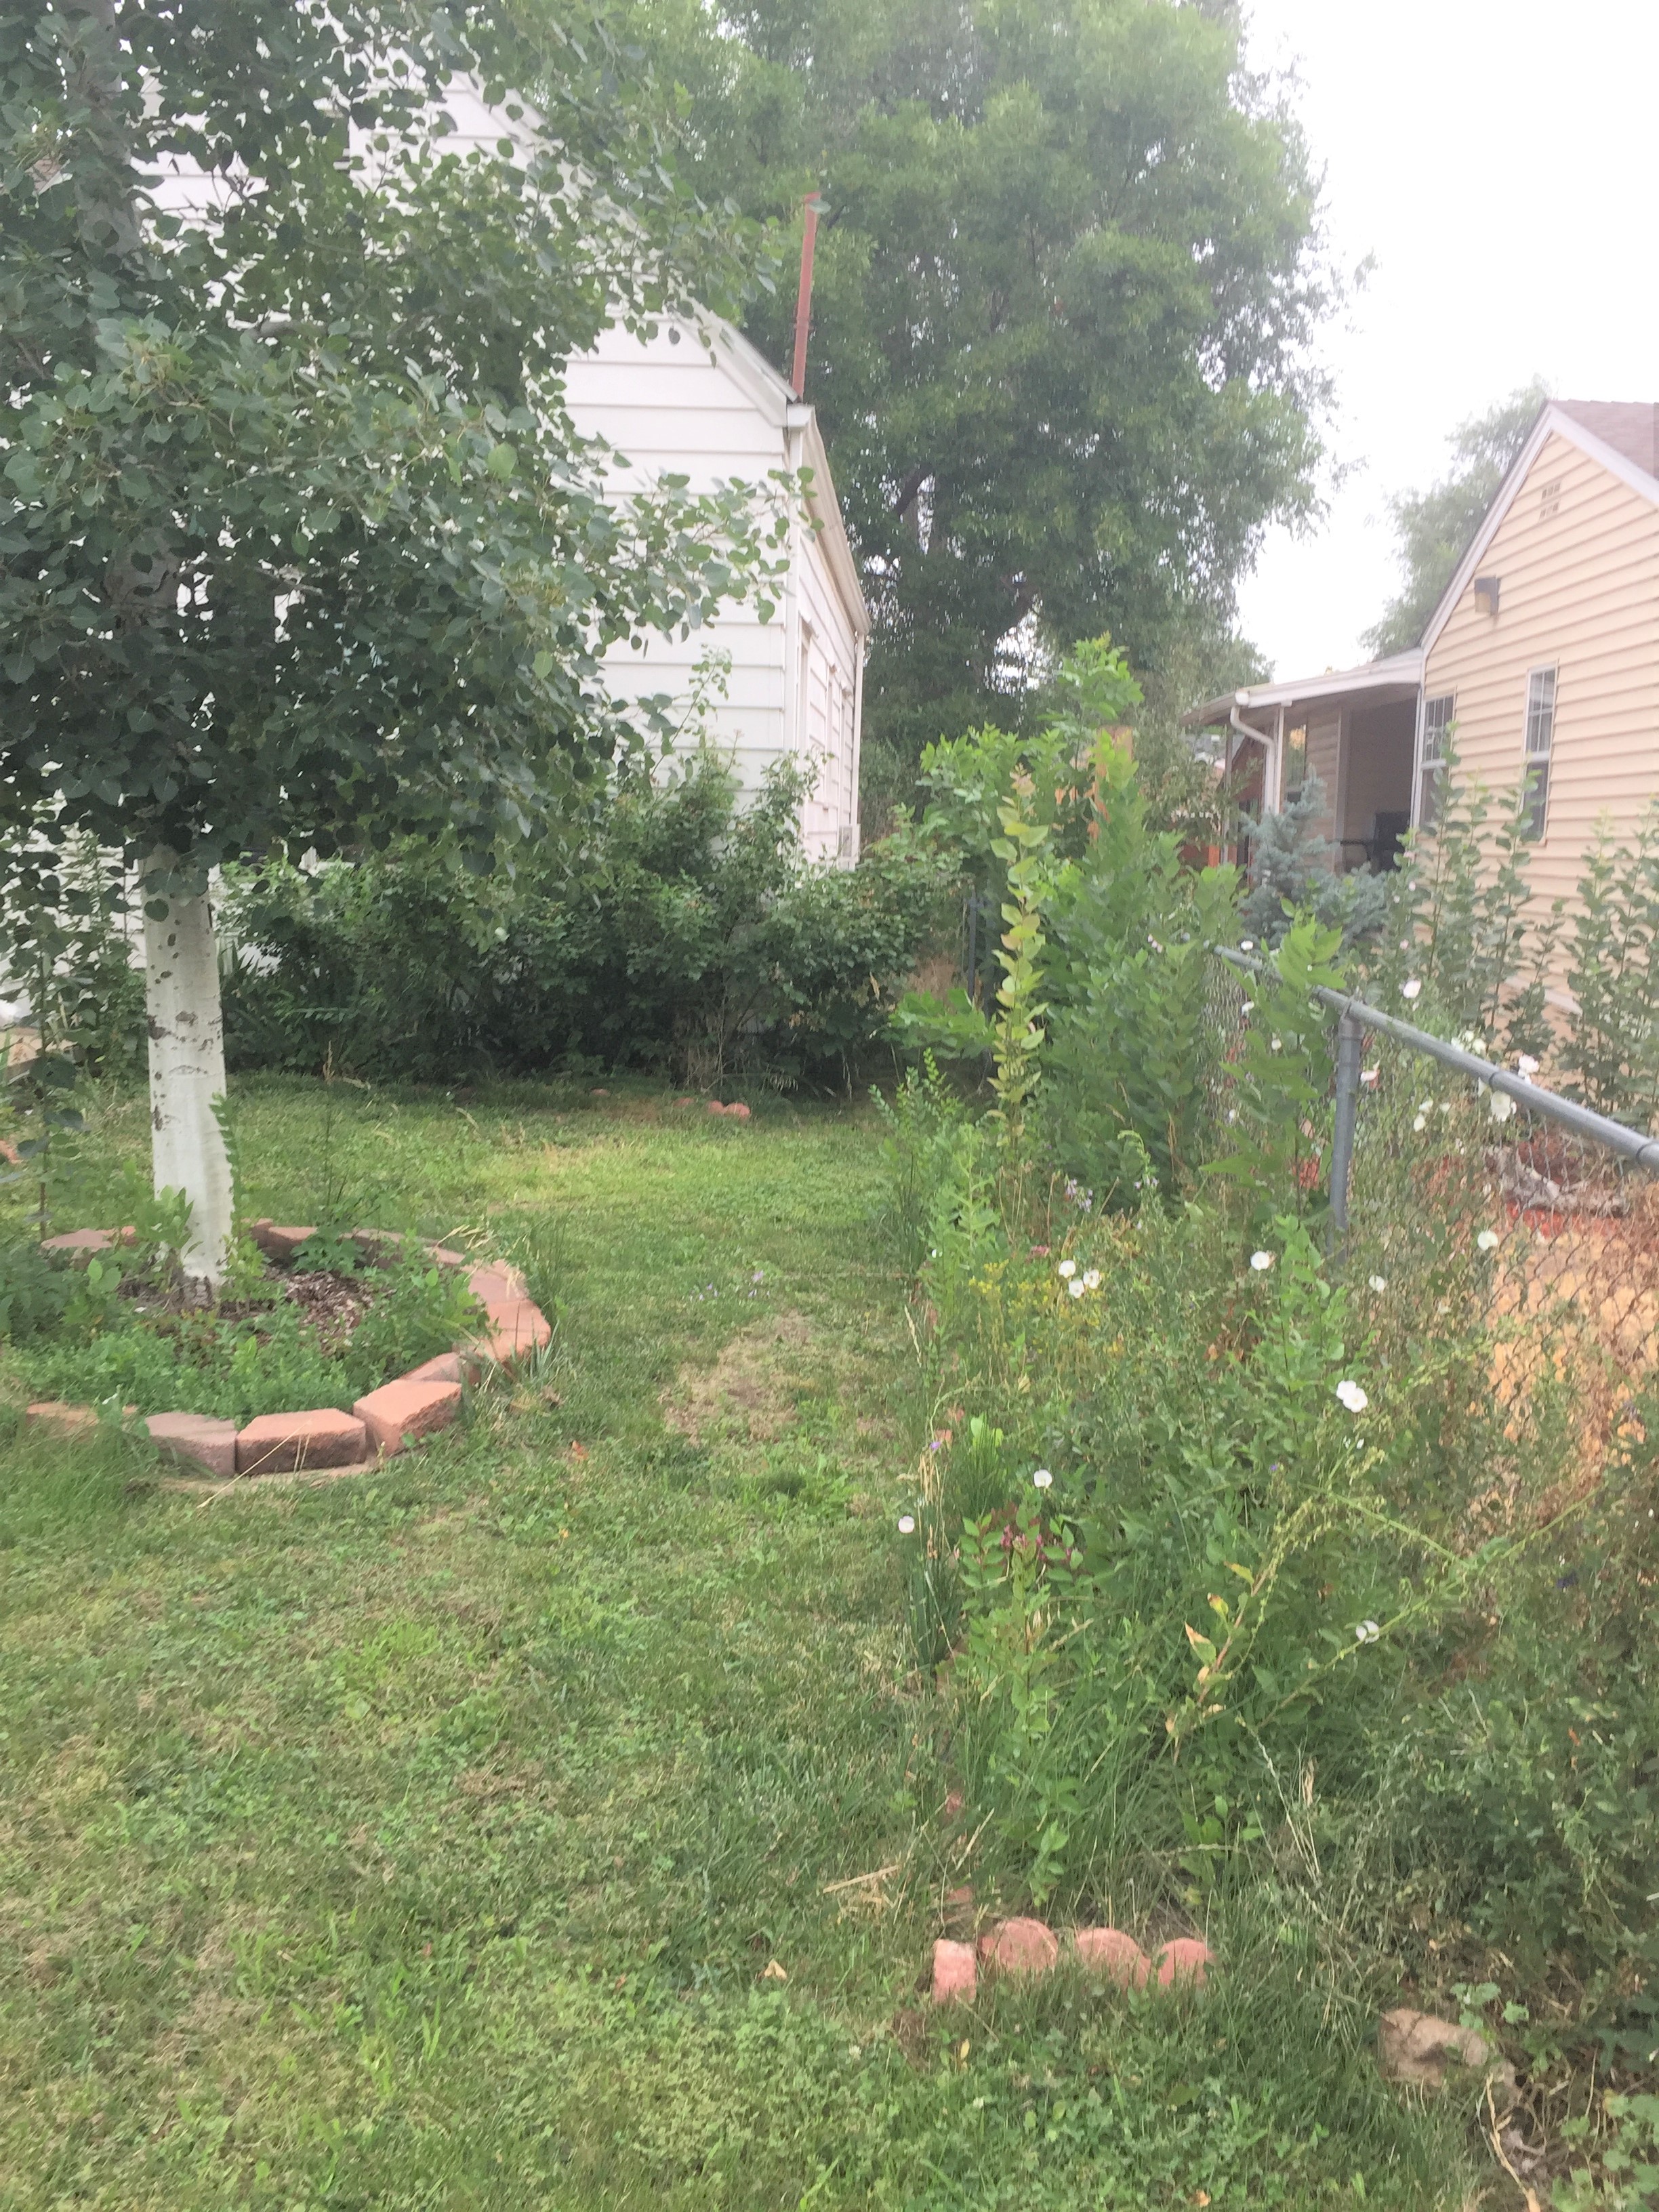
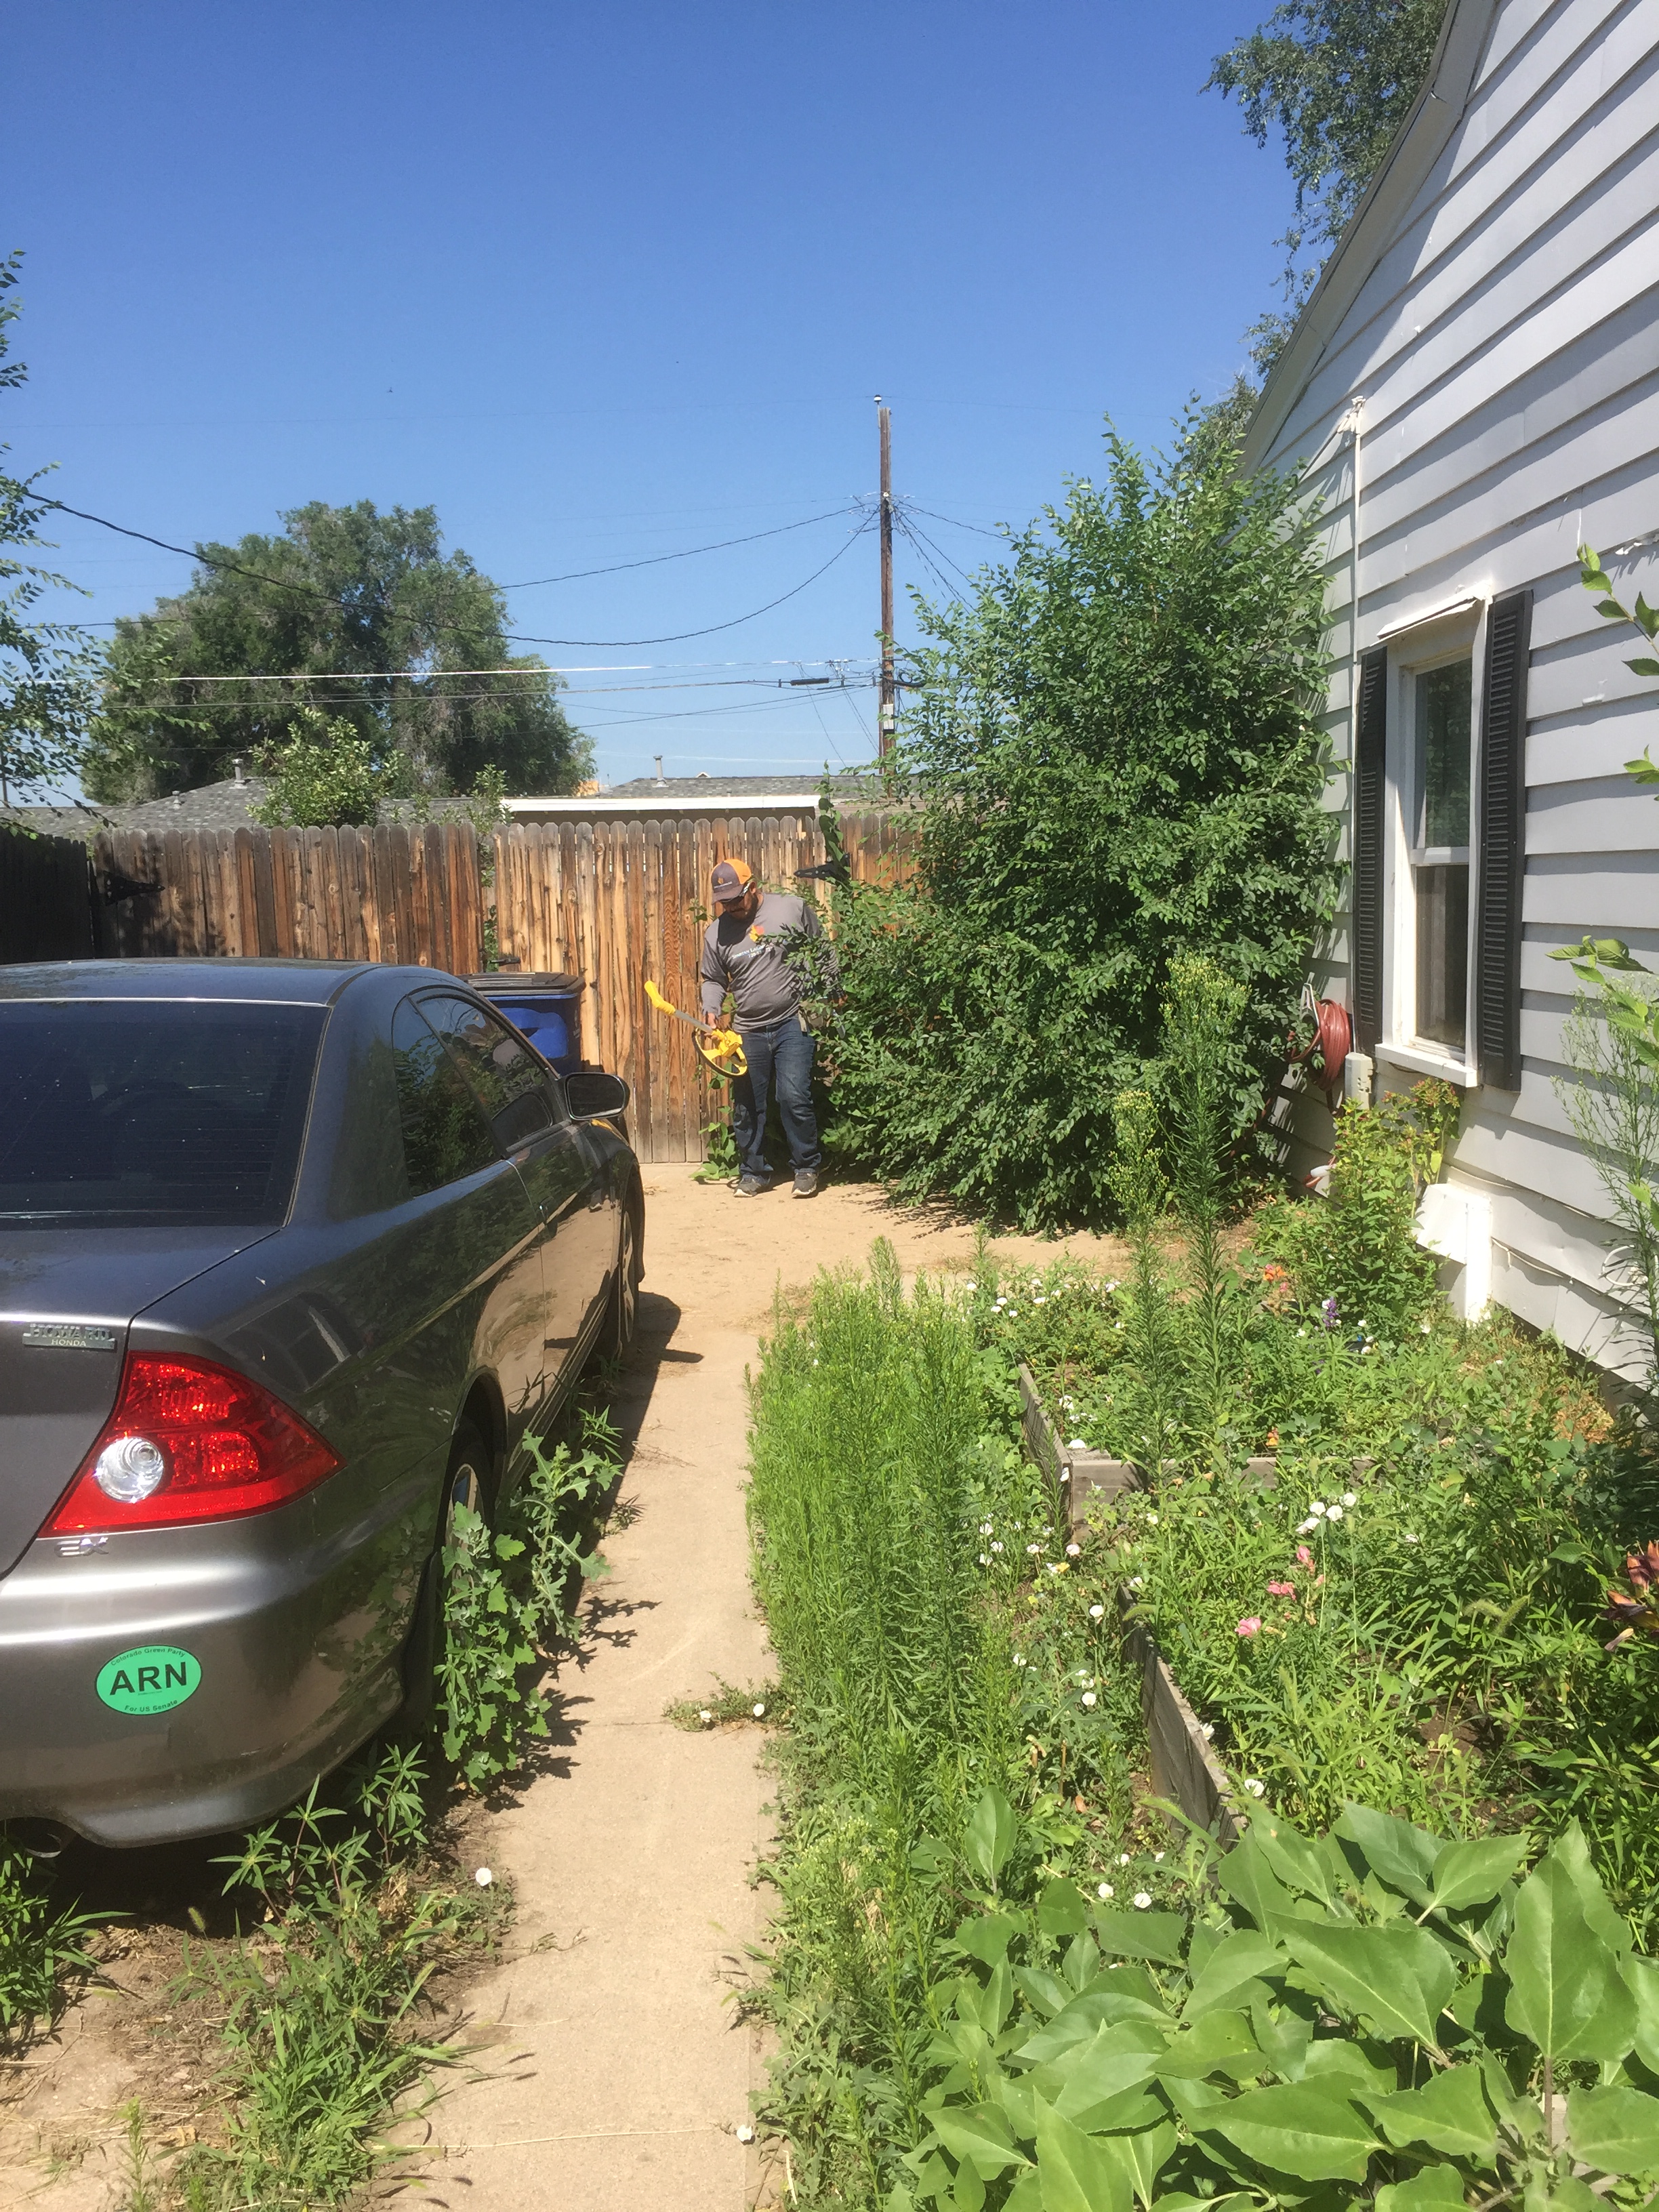
The side yard between my neighbor and I…
looks better with a cedar fence and gate, Breeze material and filled in grass.
It’s hard to see the cedar garden boxes on the right. And impossible to see the gate behind the volunteer tree the contractor is walking through.
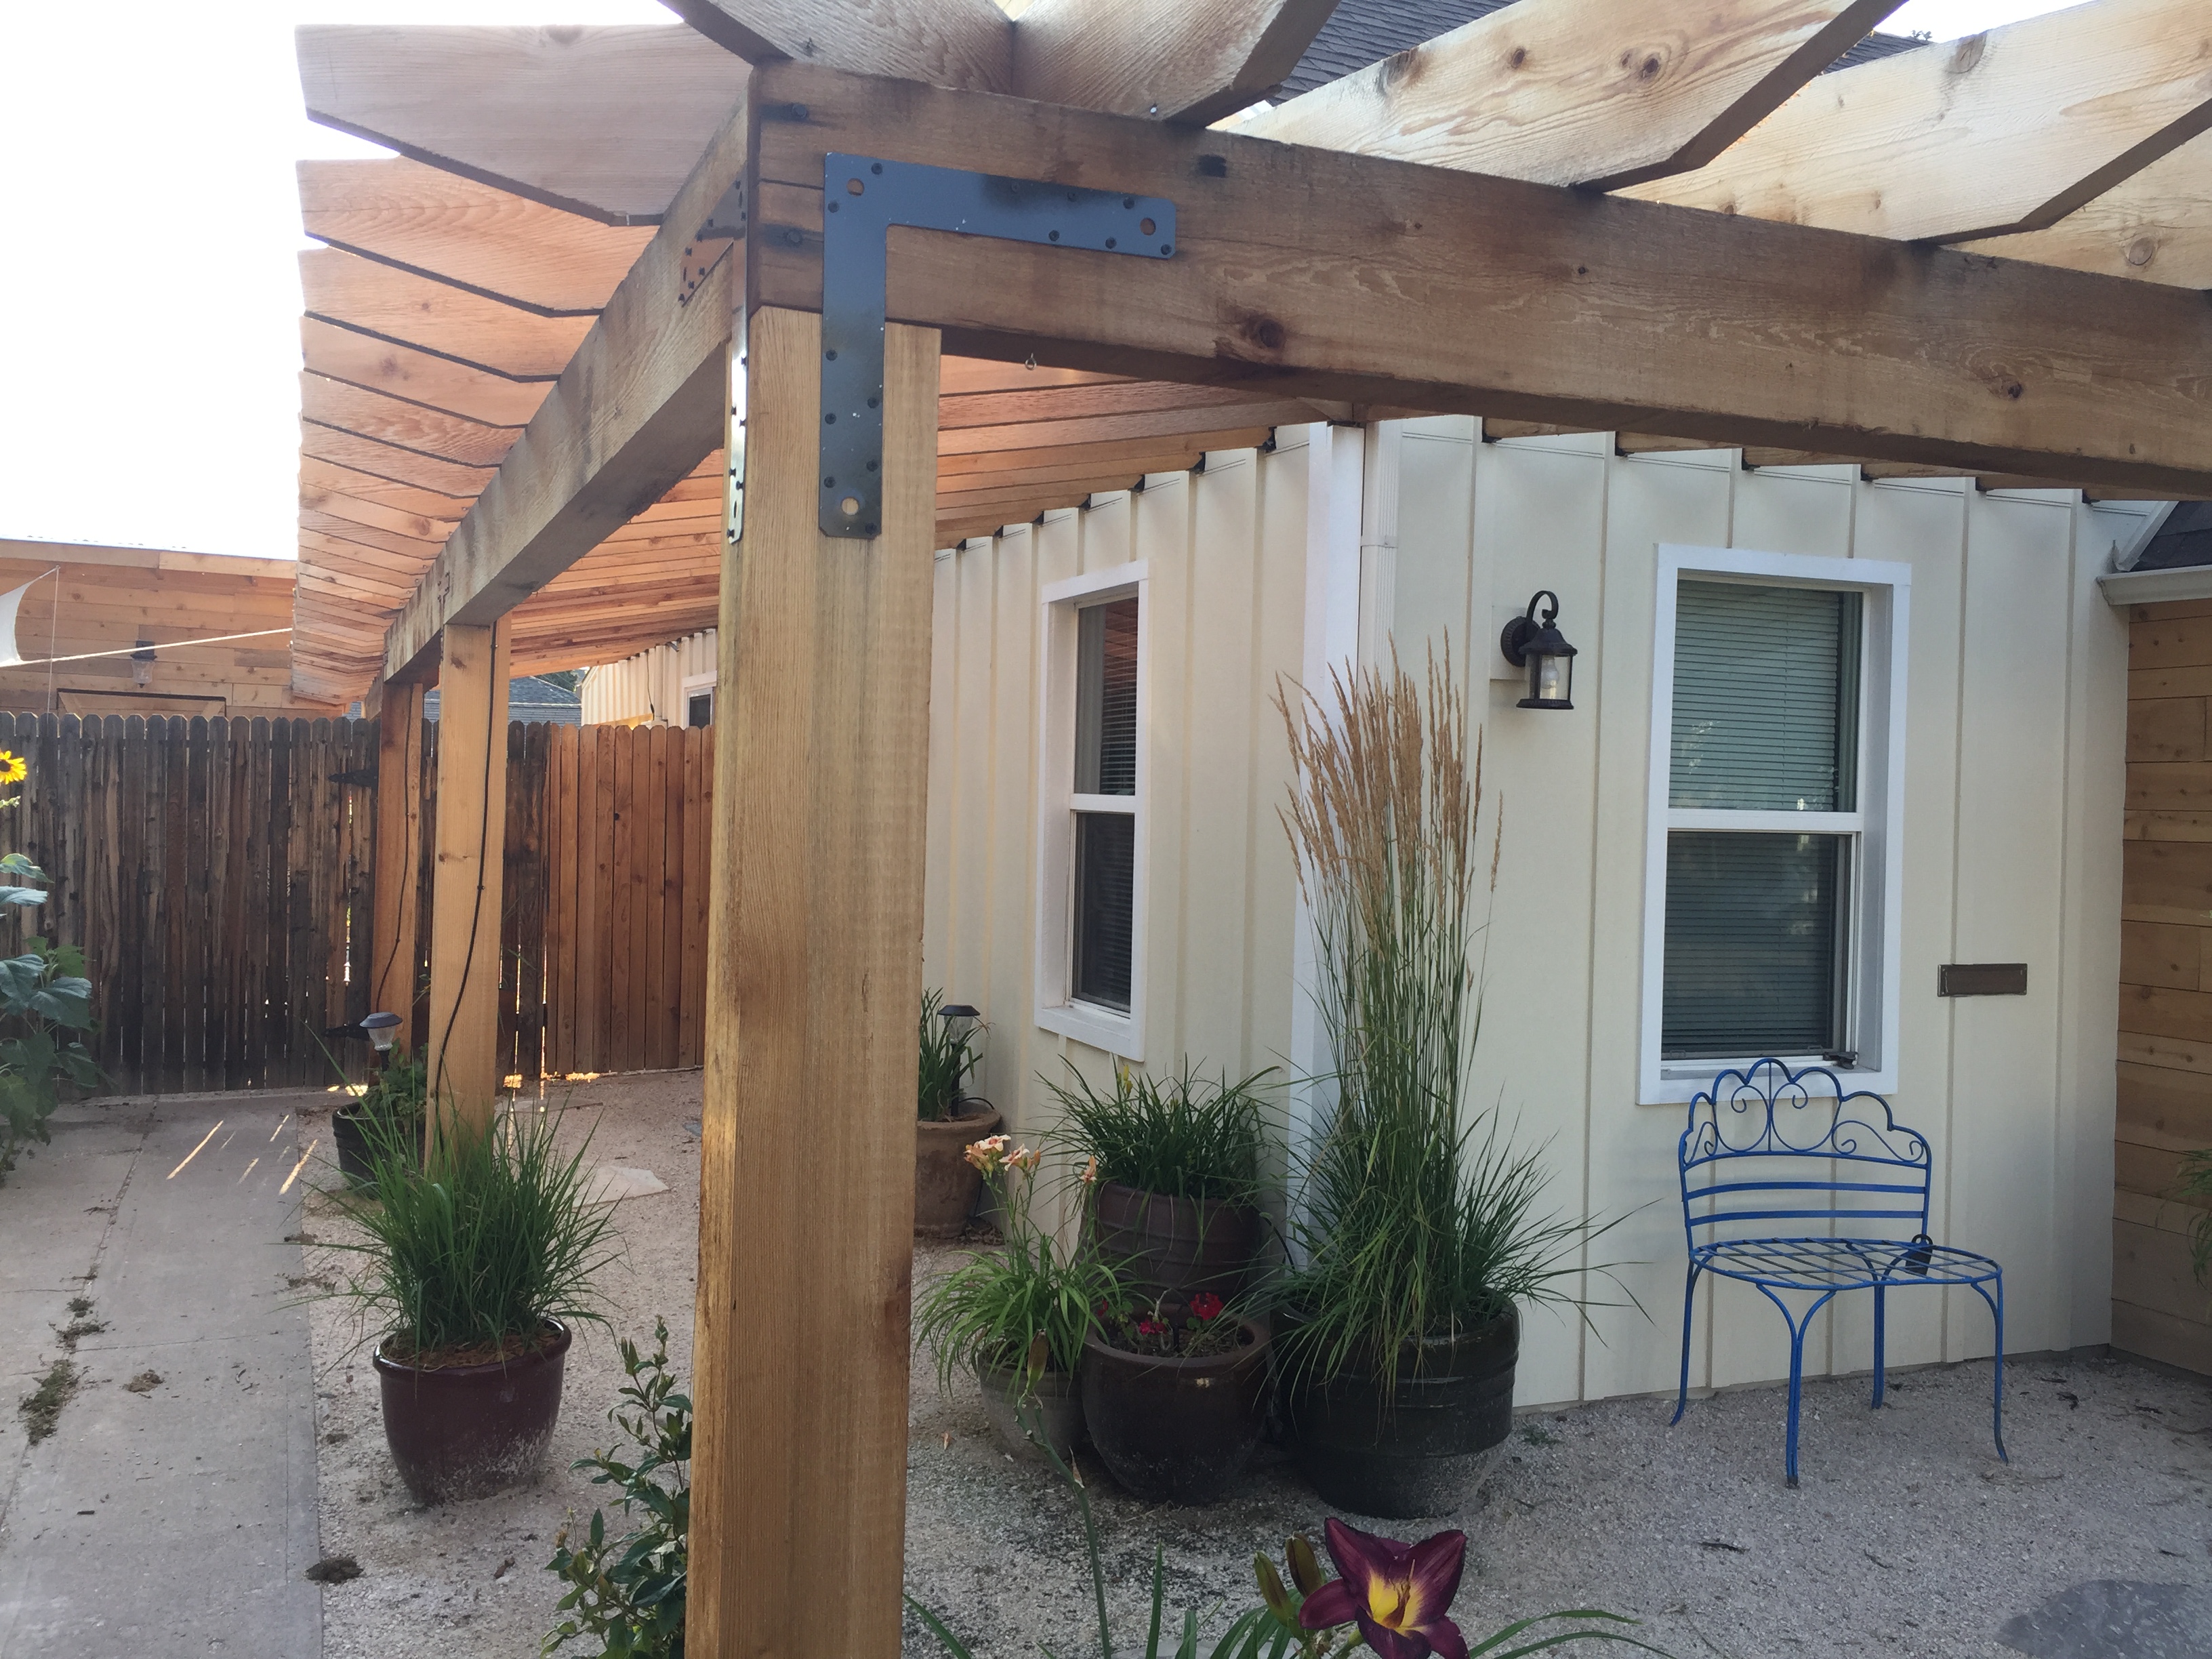
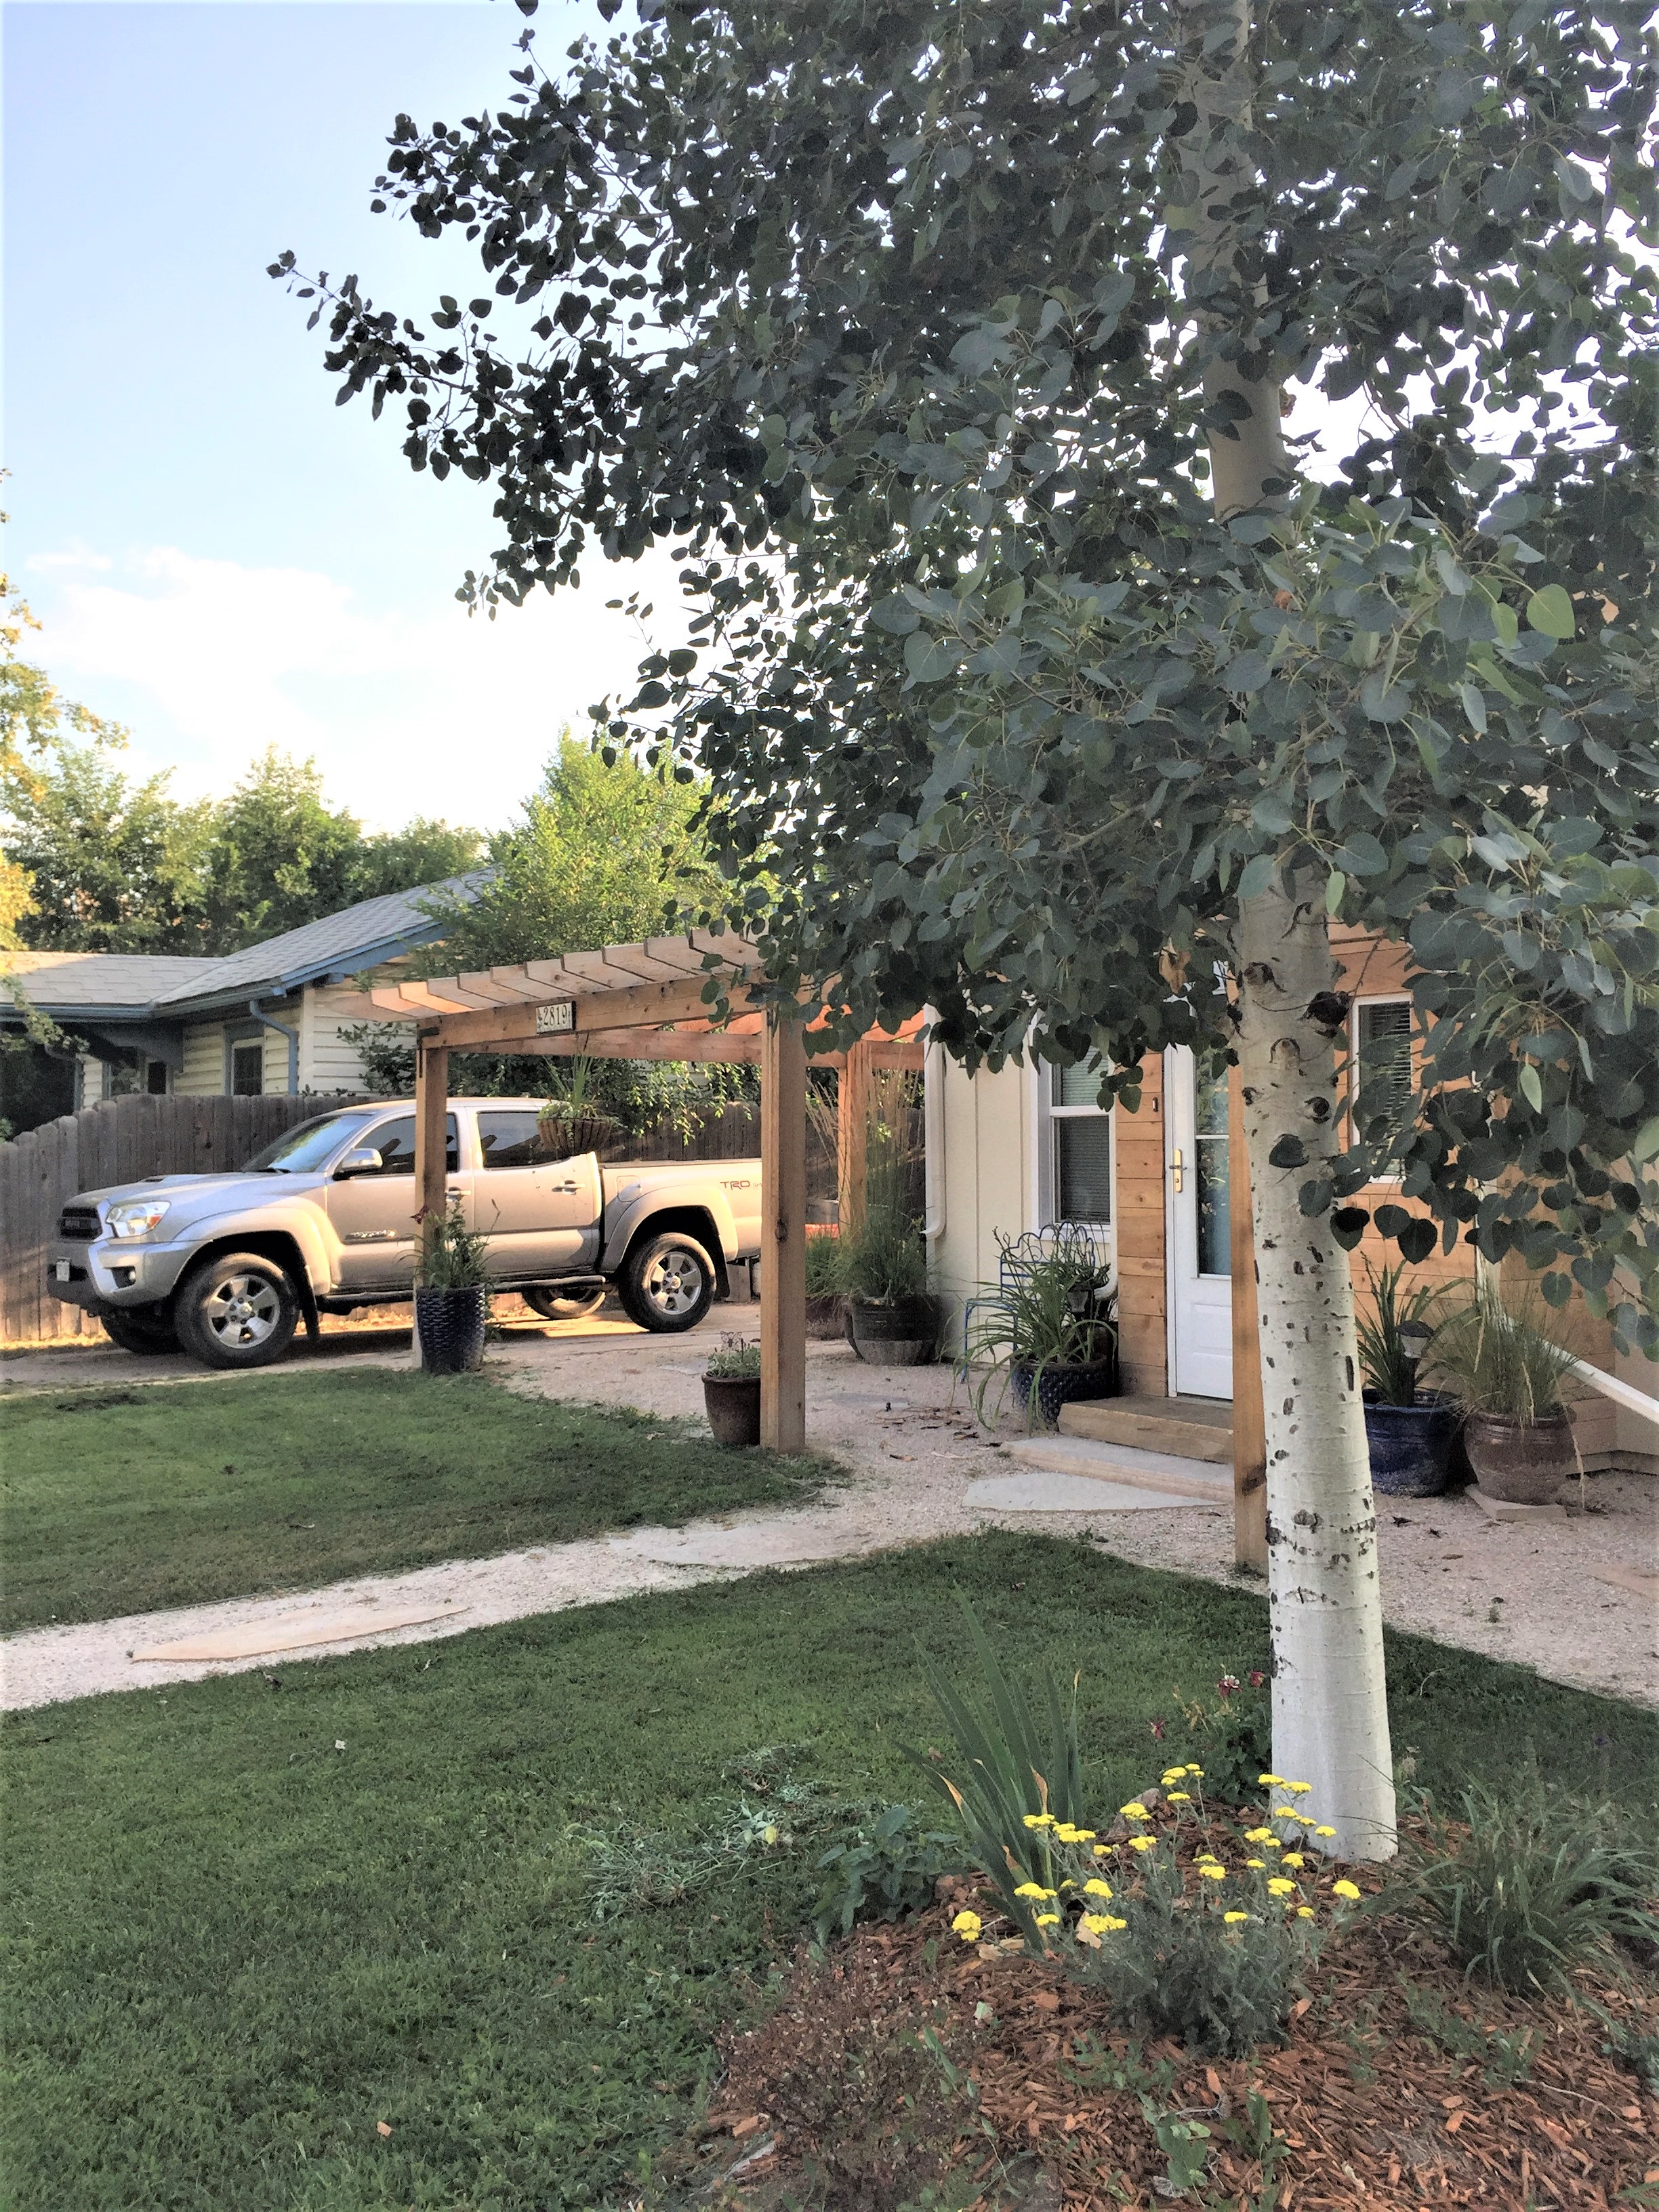
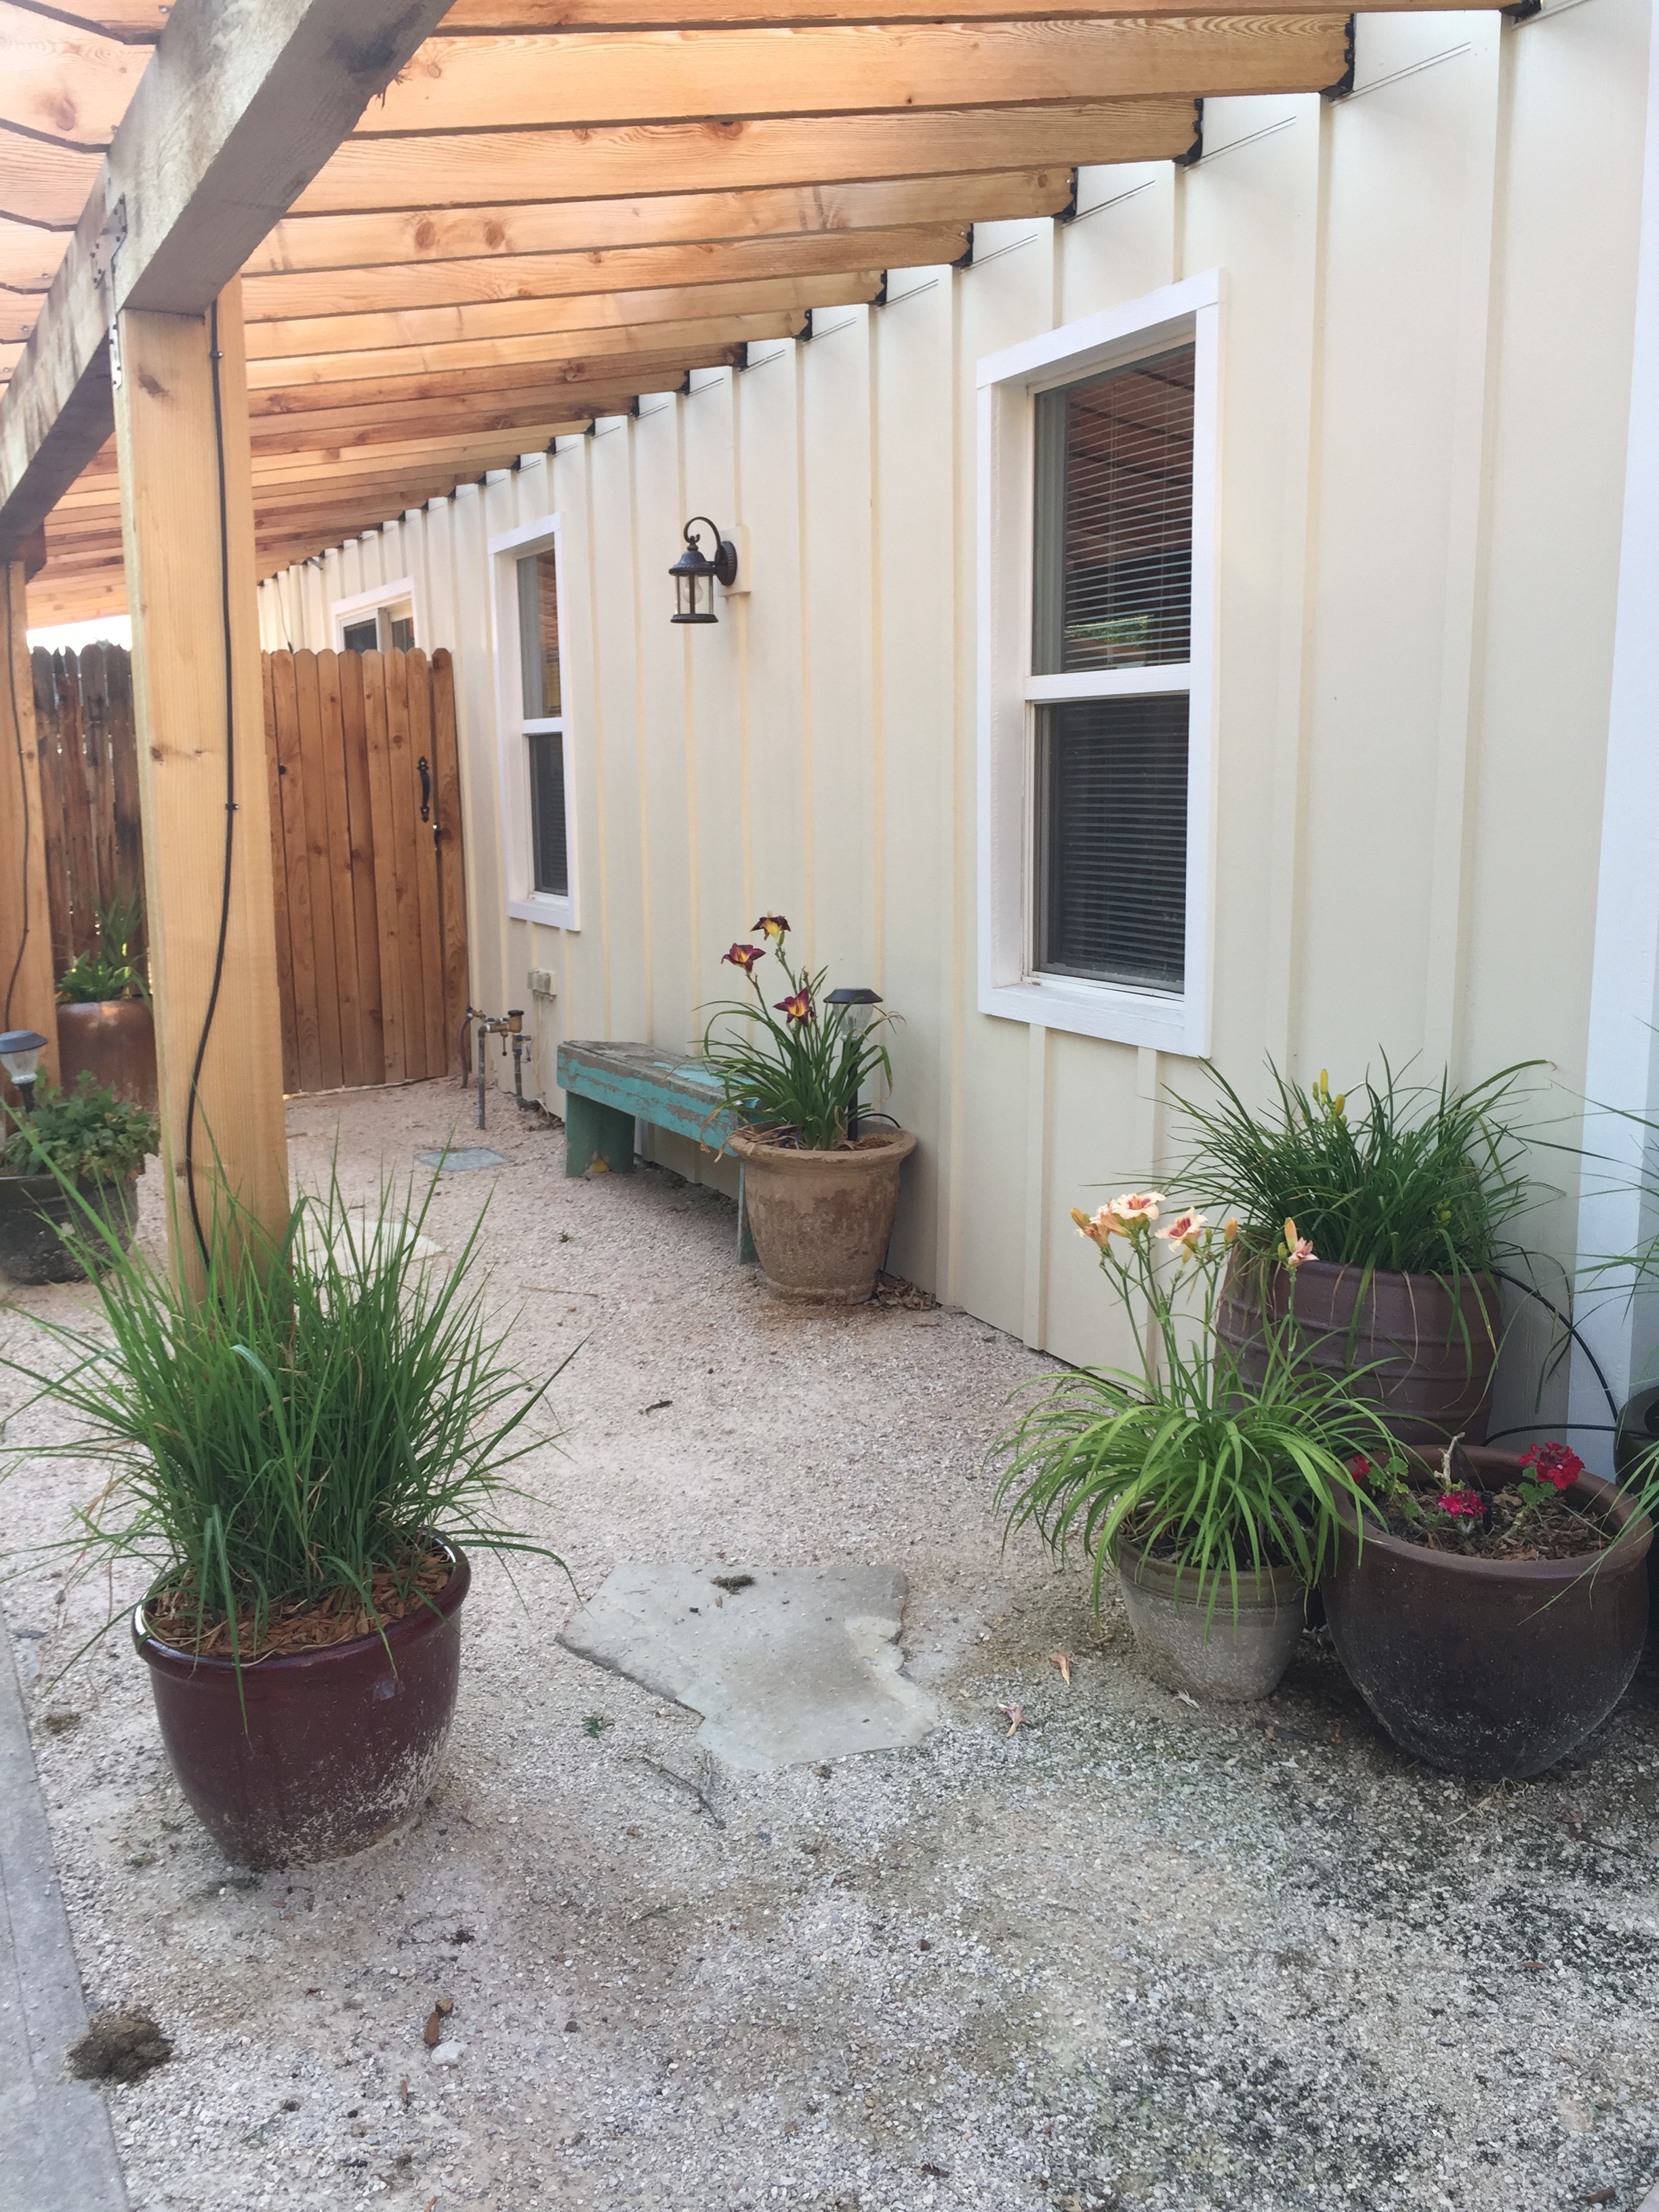
Ah, there’s the gate! And a nice clean walkway under the cedar arbor.
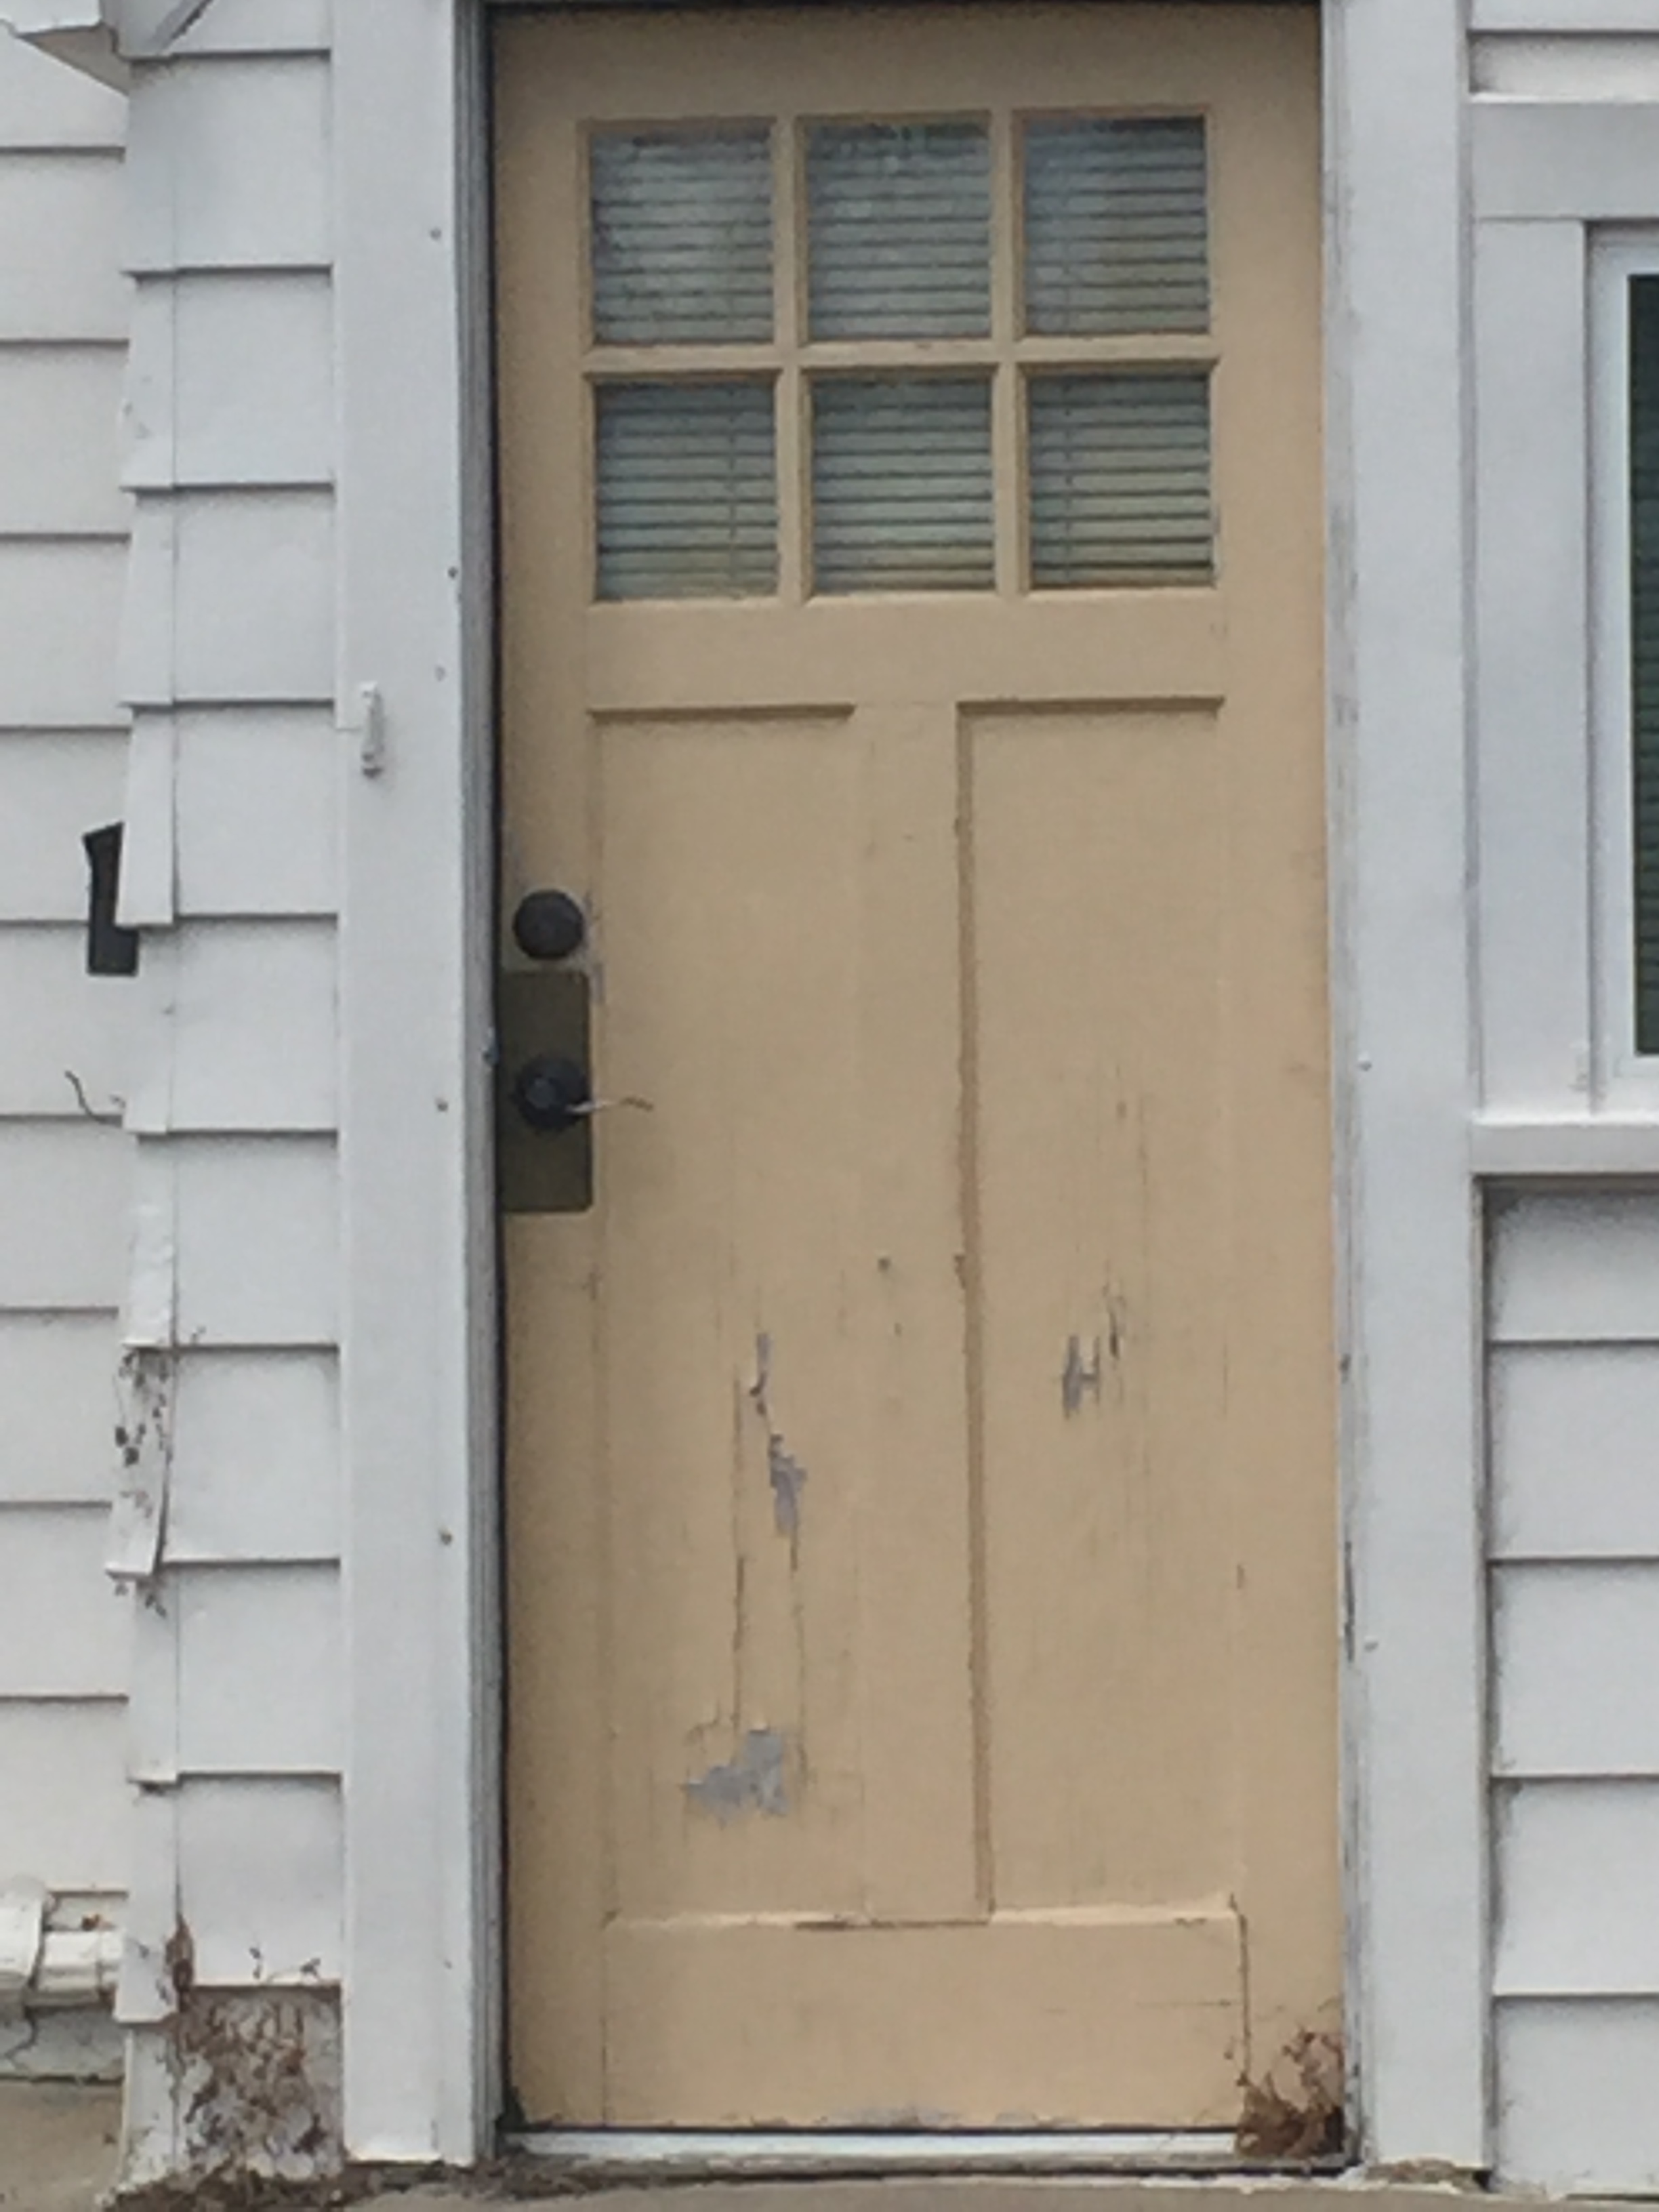
And the front door must have been original! Weeds were growing through the concrete step under the door and into the house.
More welcoming! And interesting to look at, from the street.
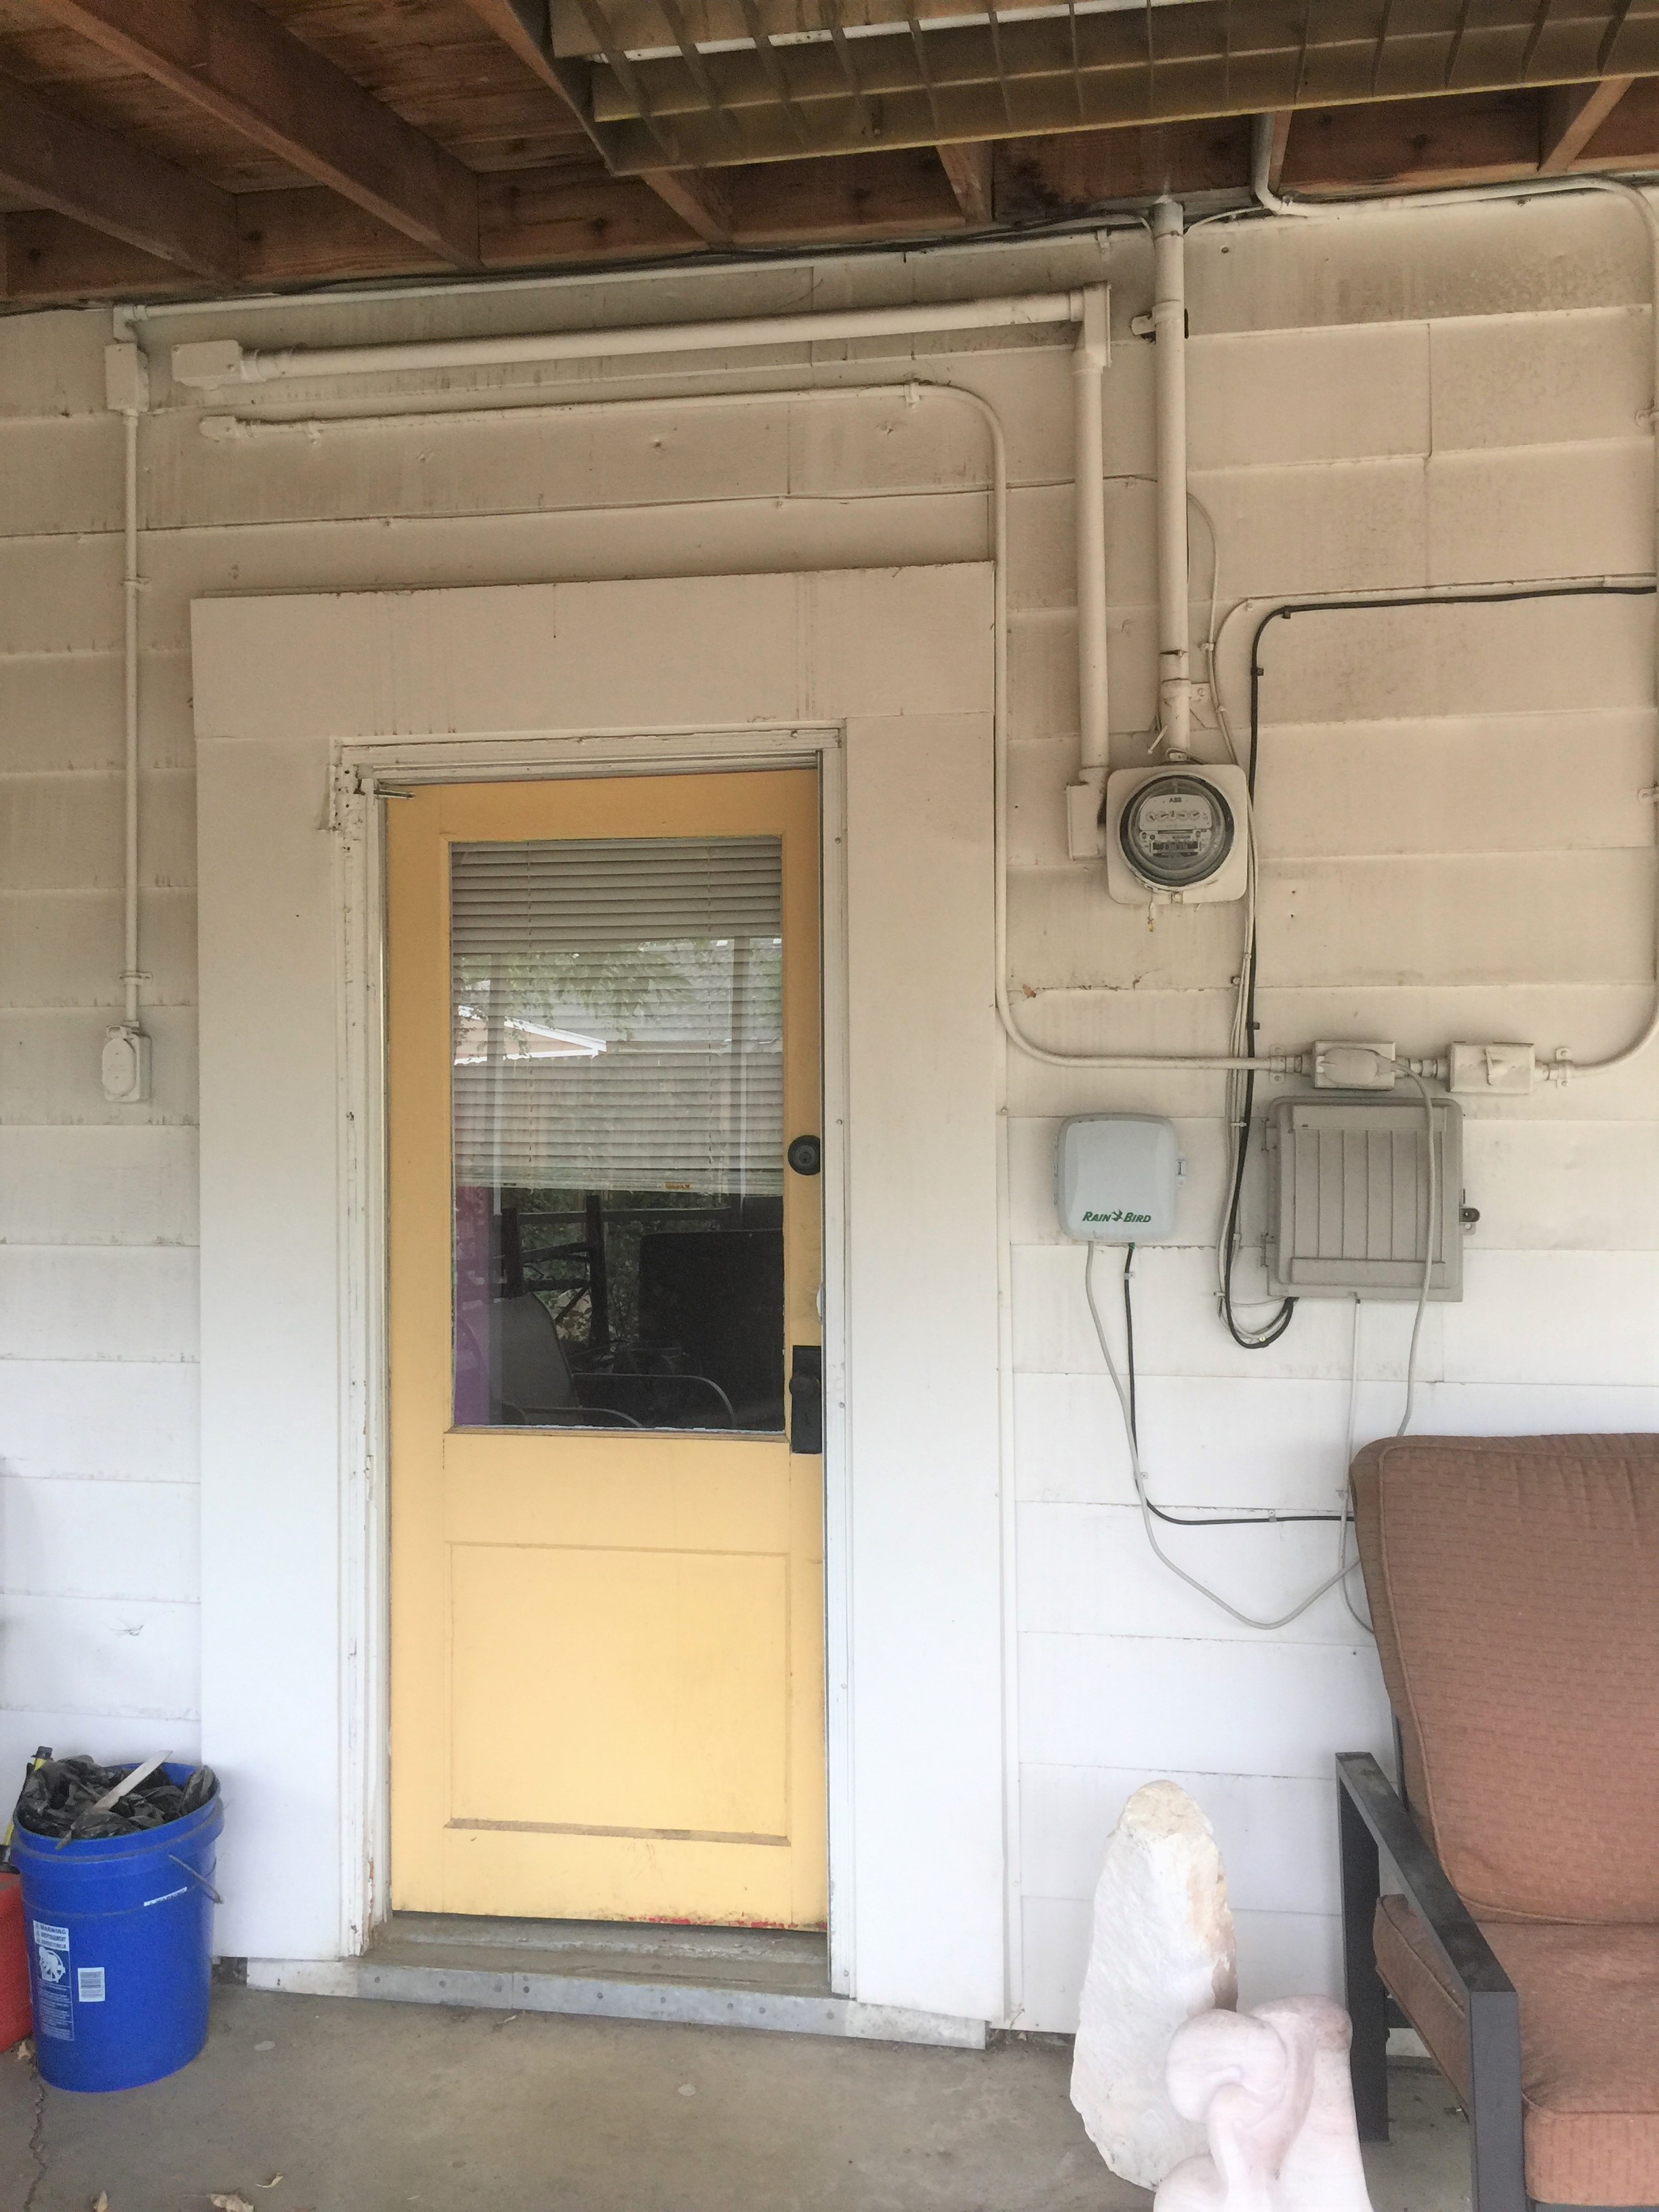
The back door was also in poor shape.
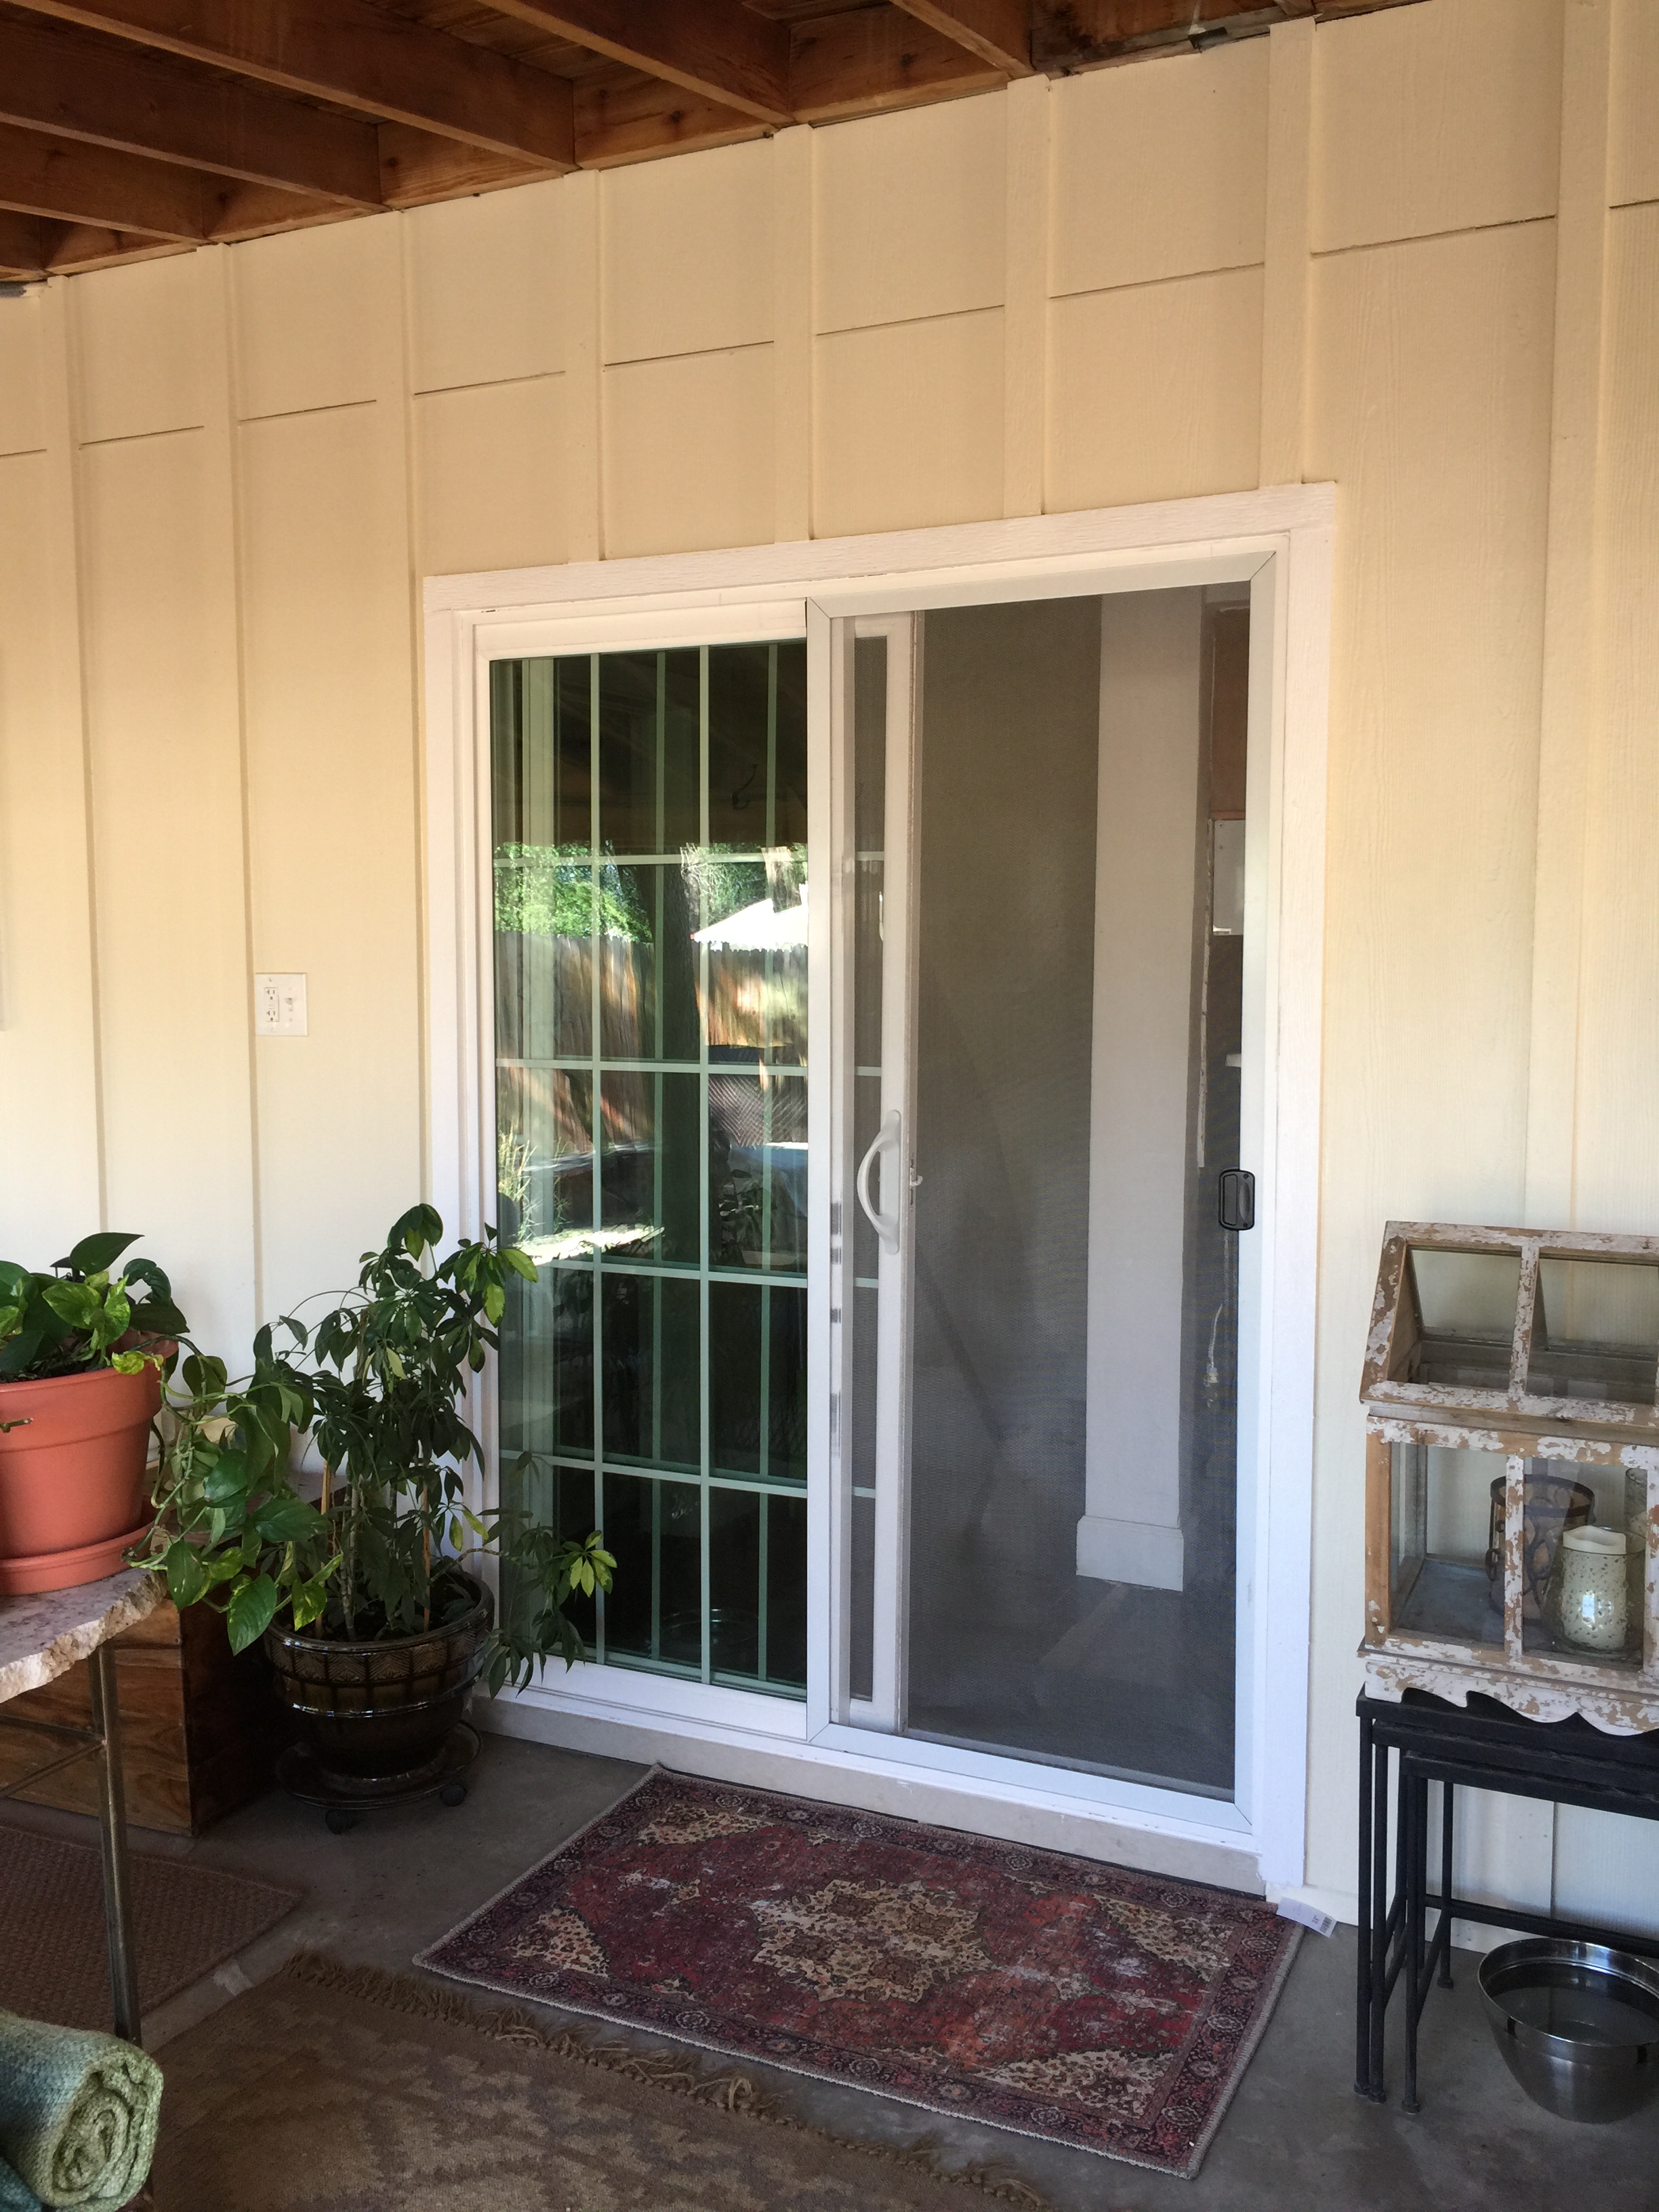
The new slider is more open, let’s light into the house and is so much prettier.
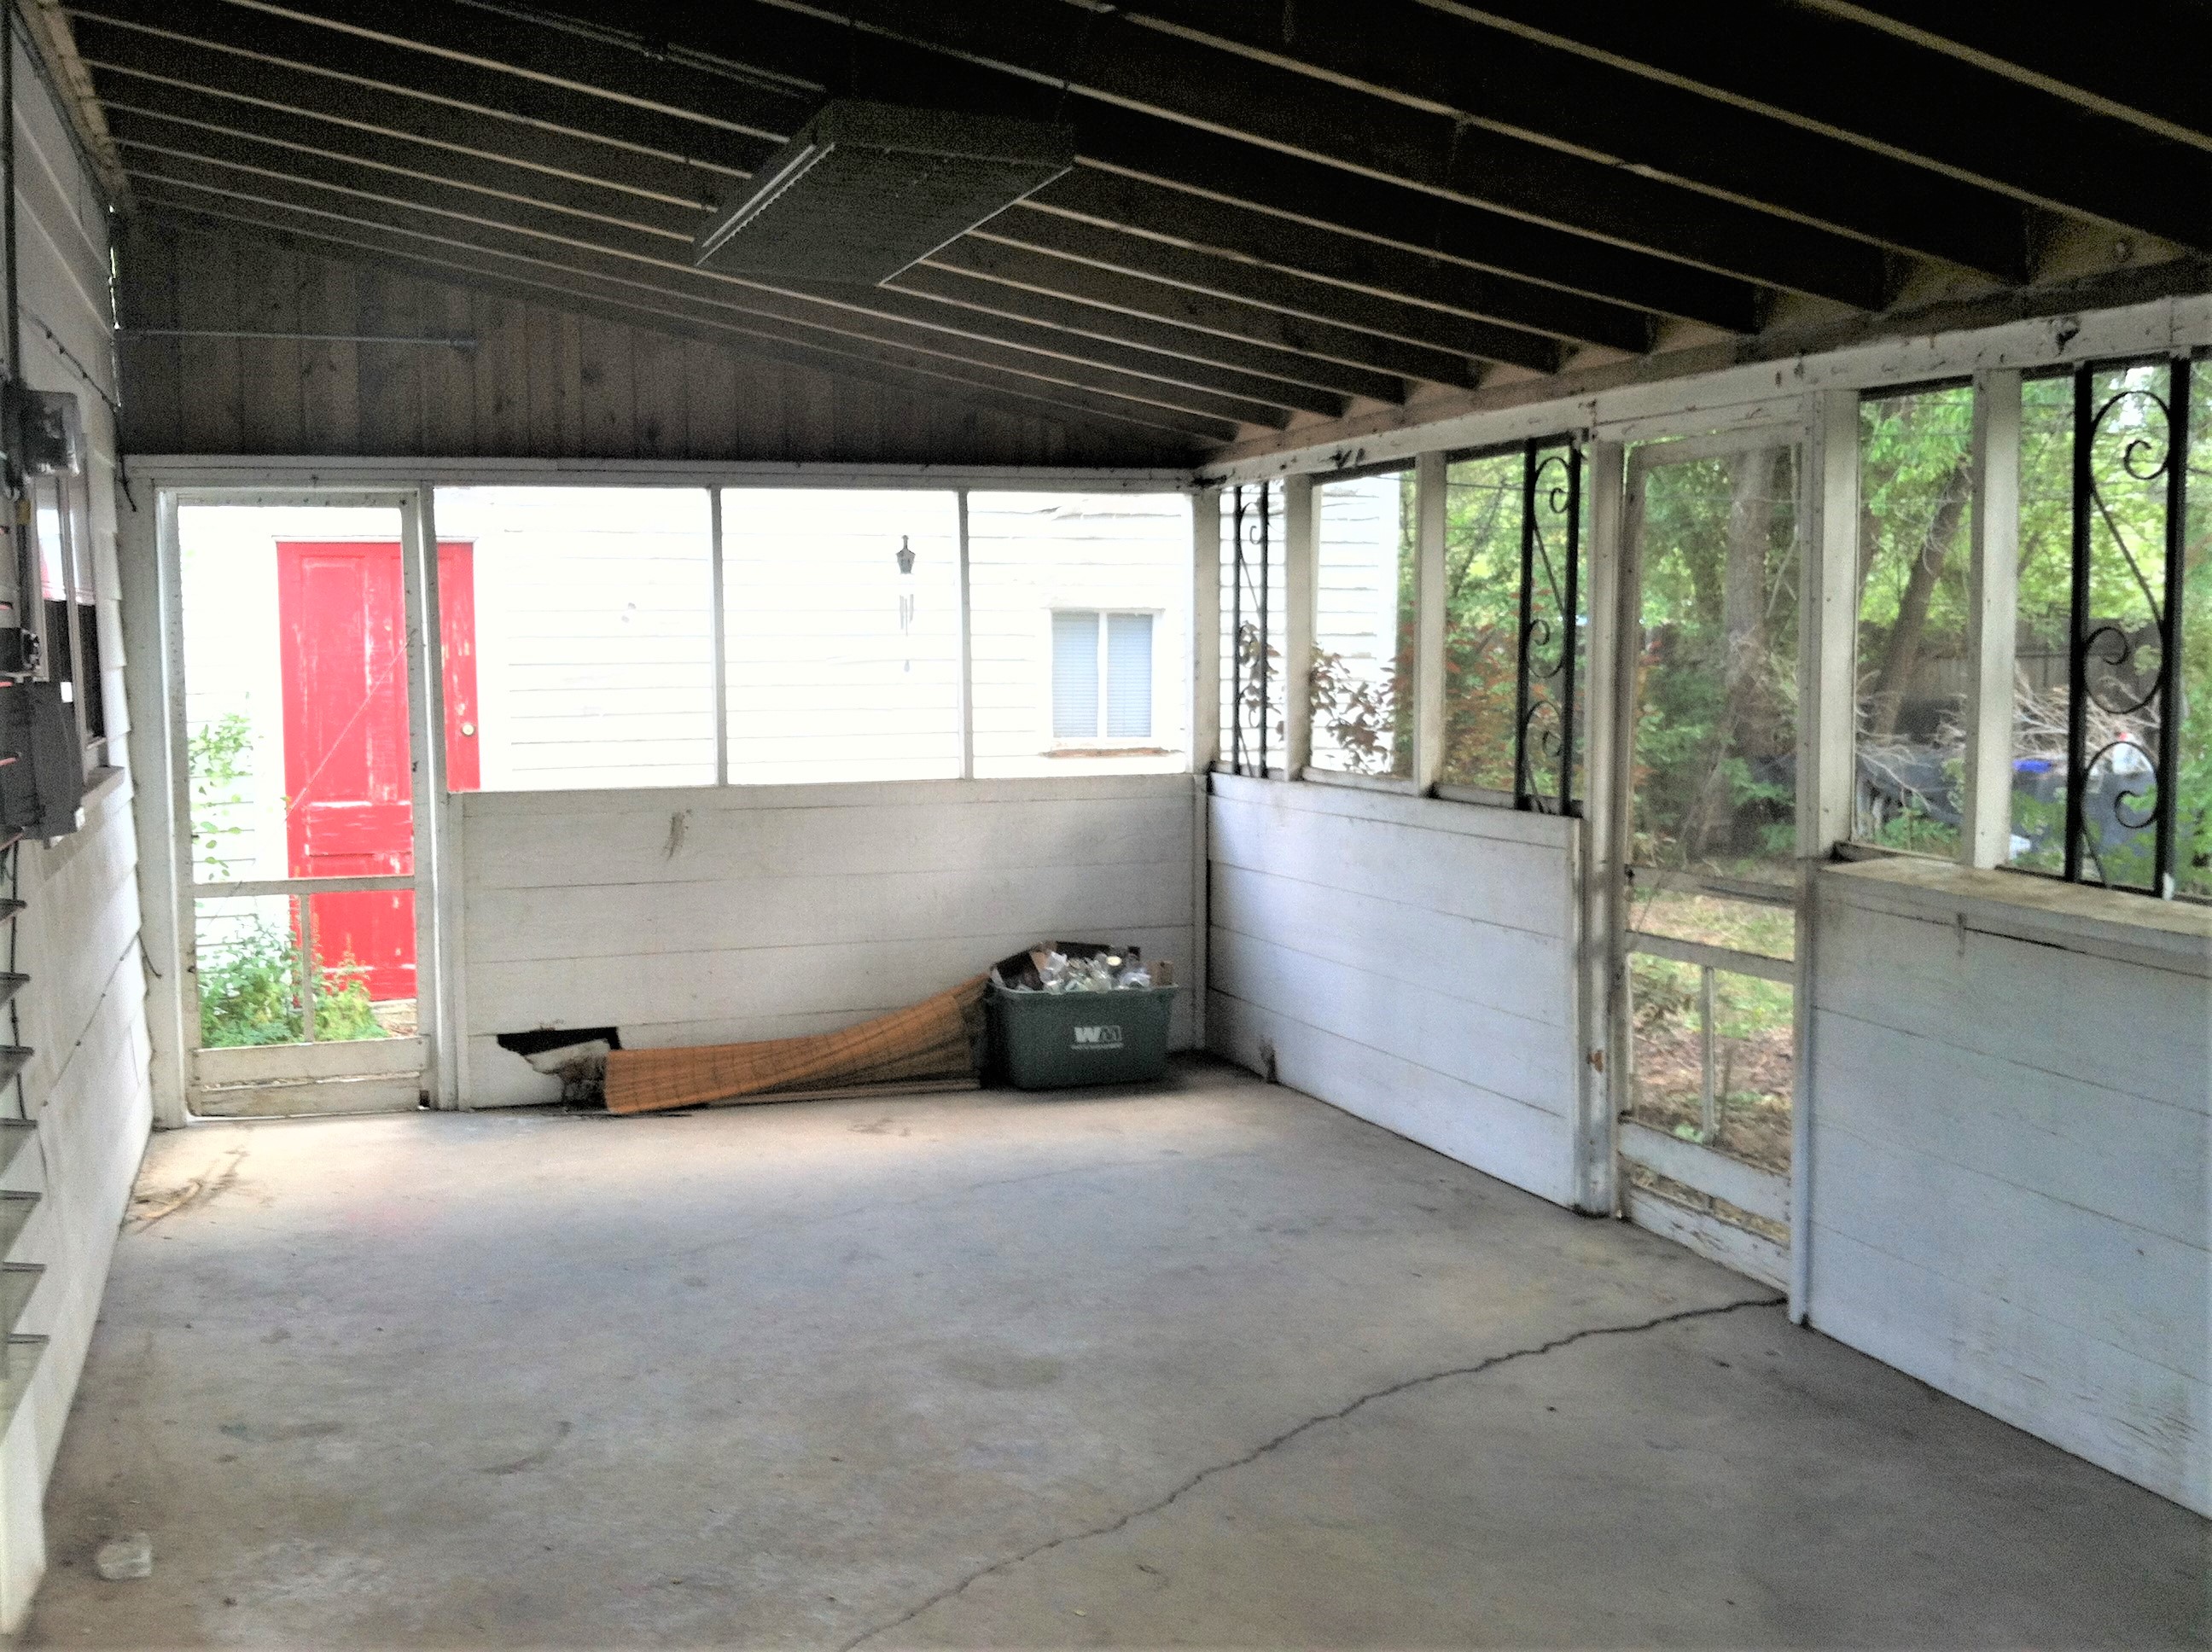
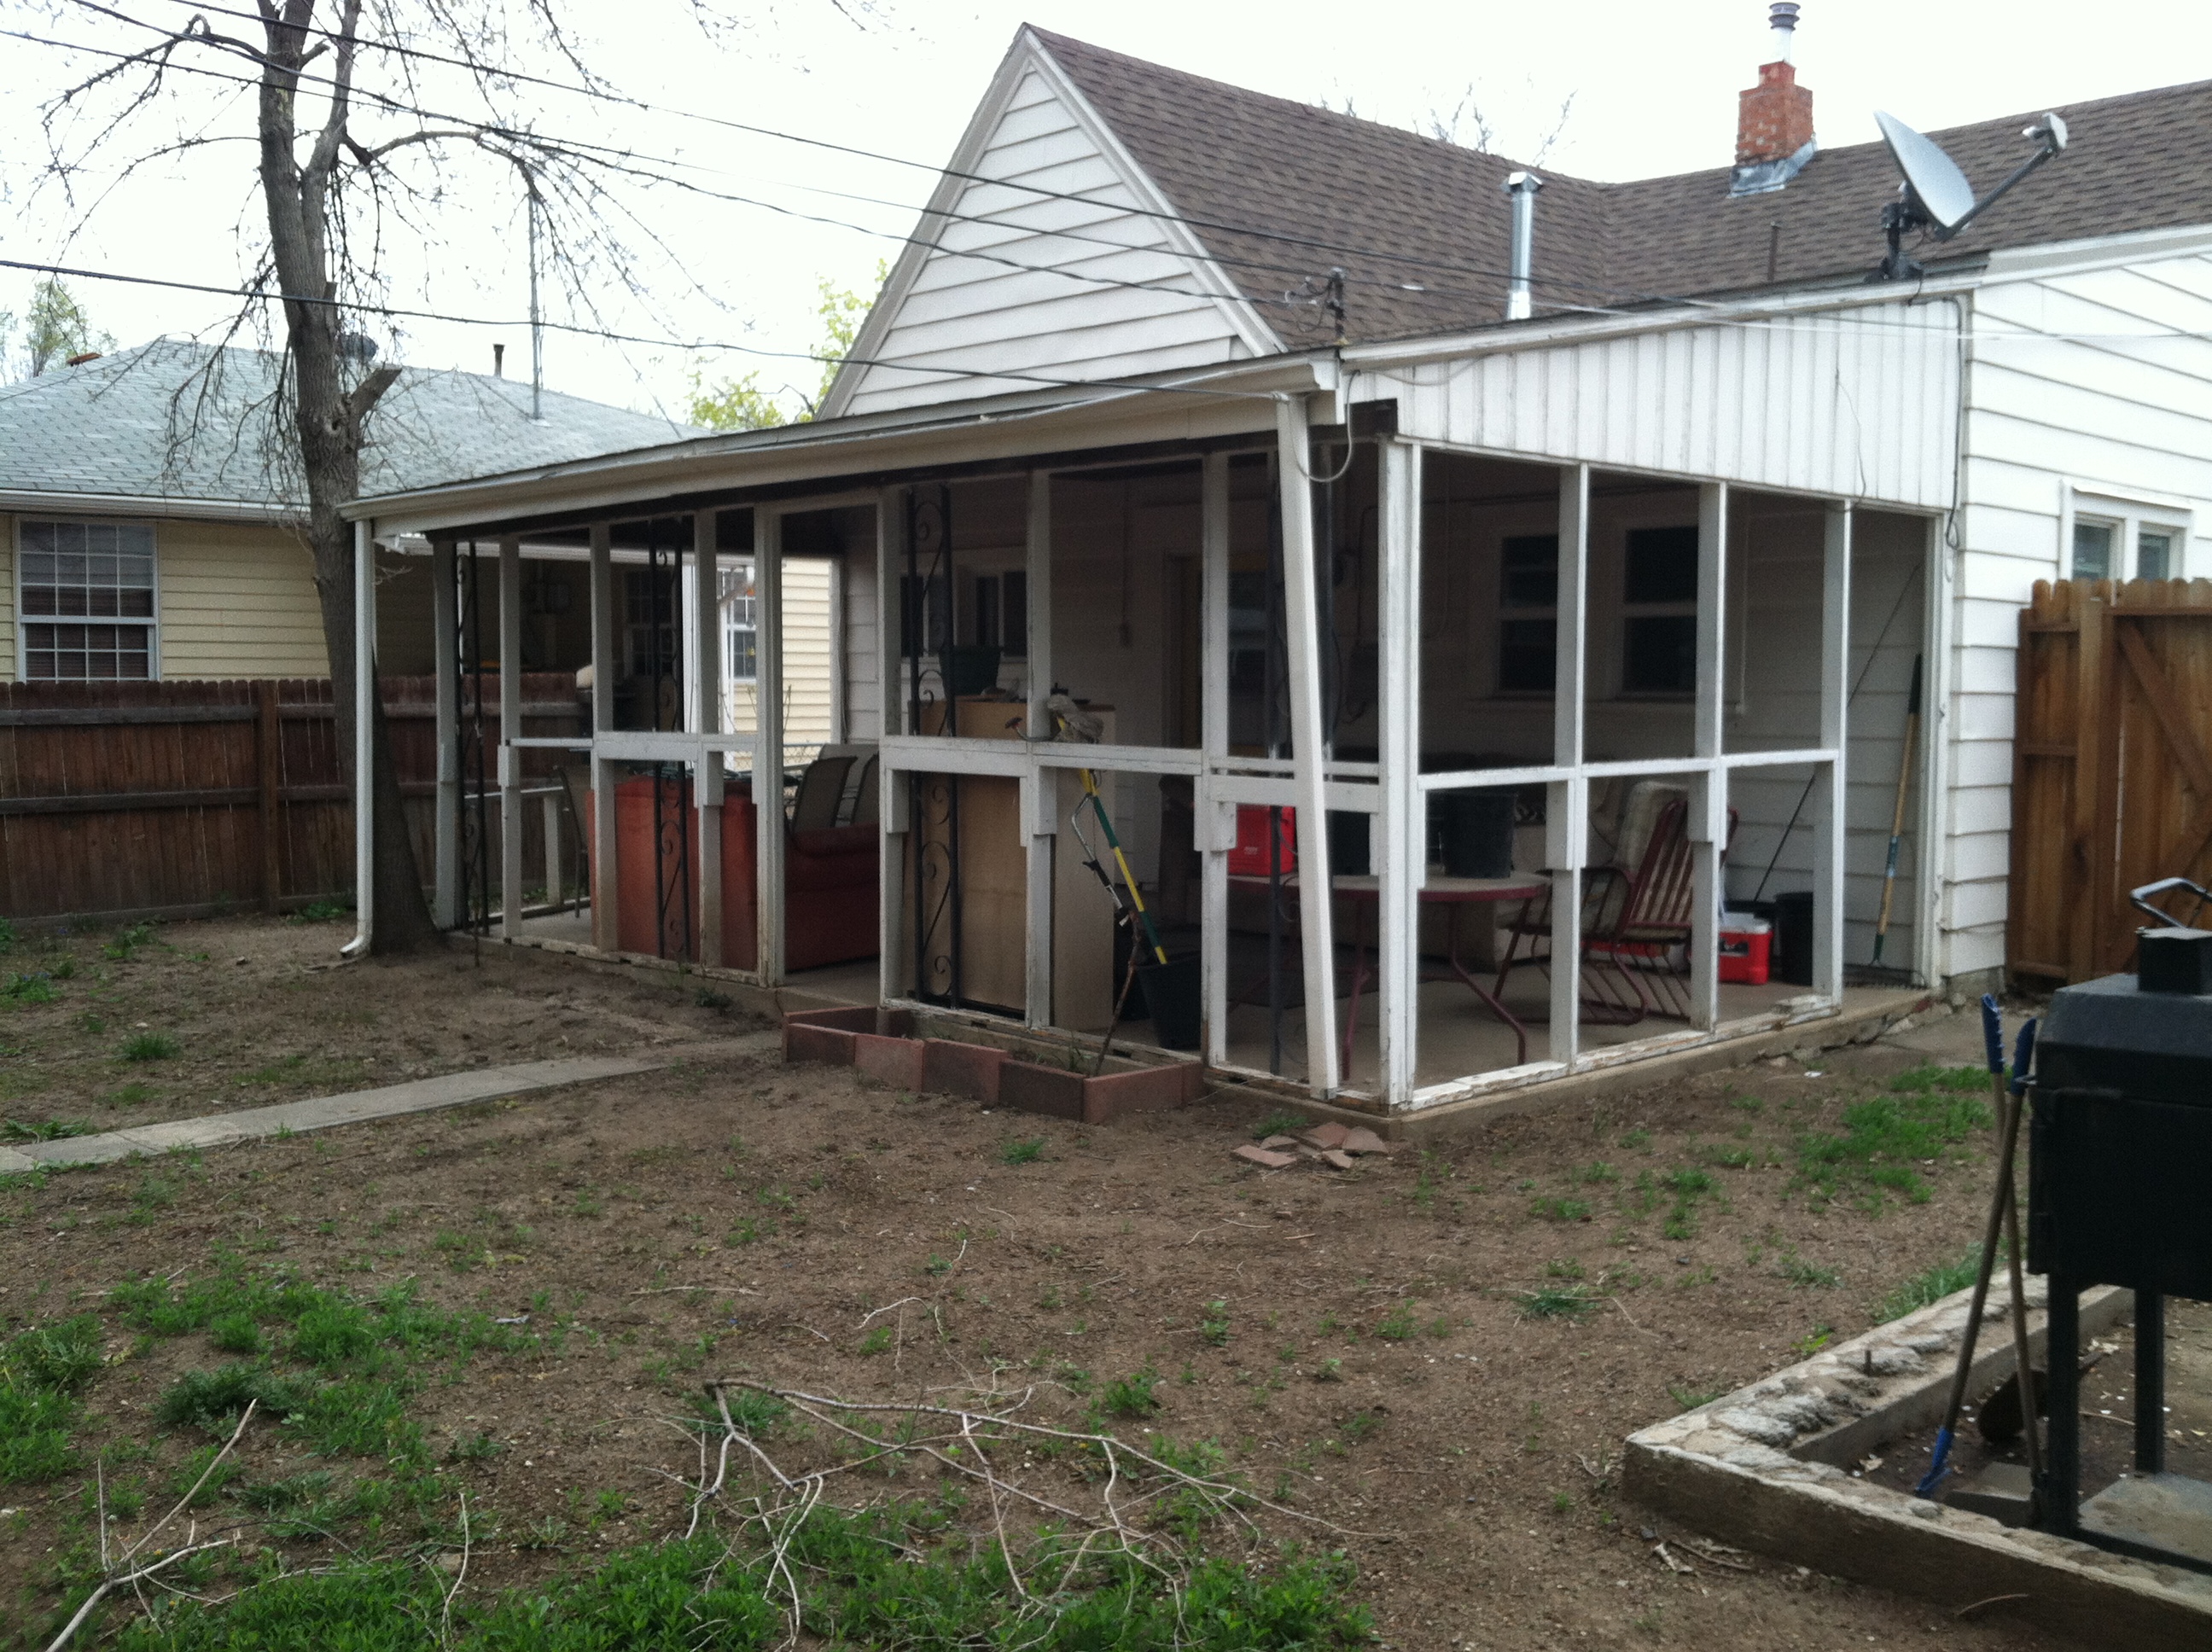
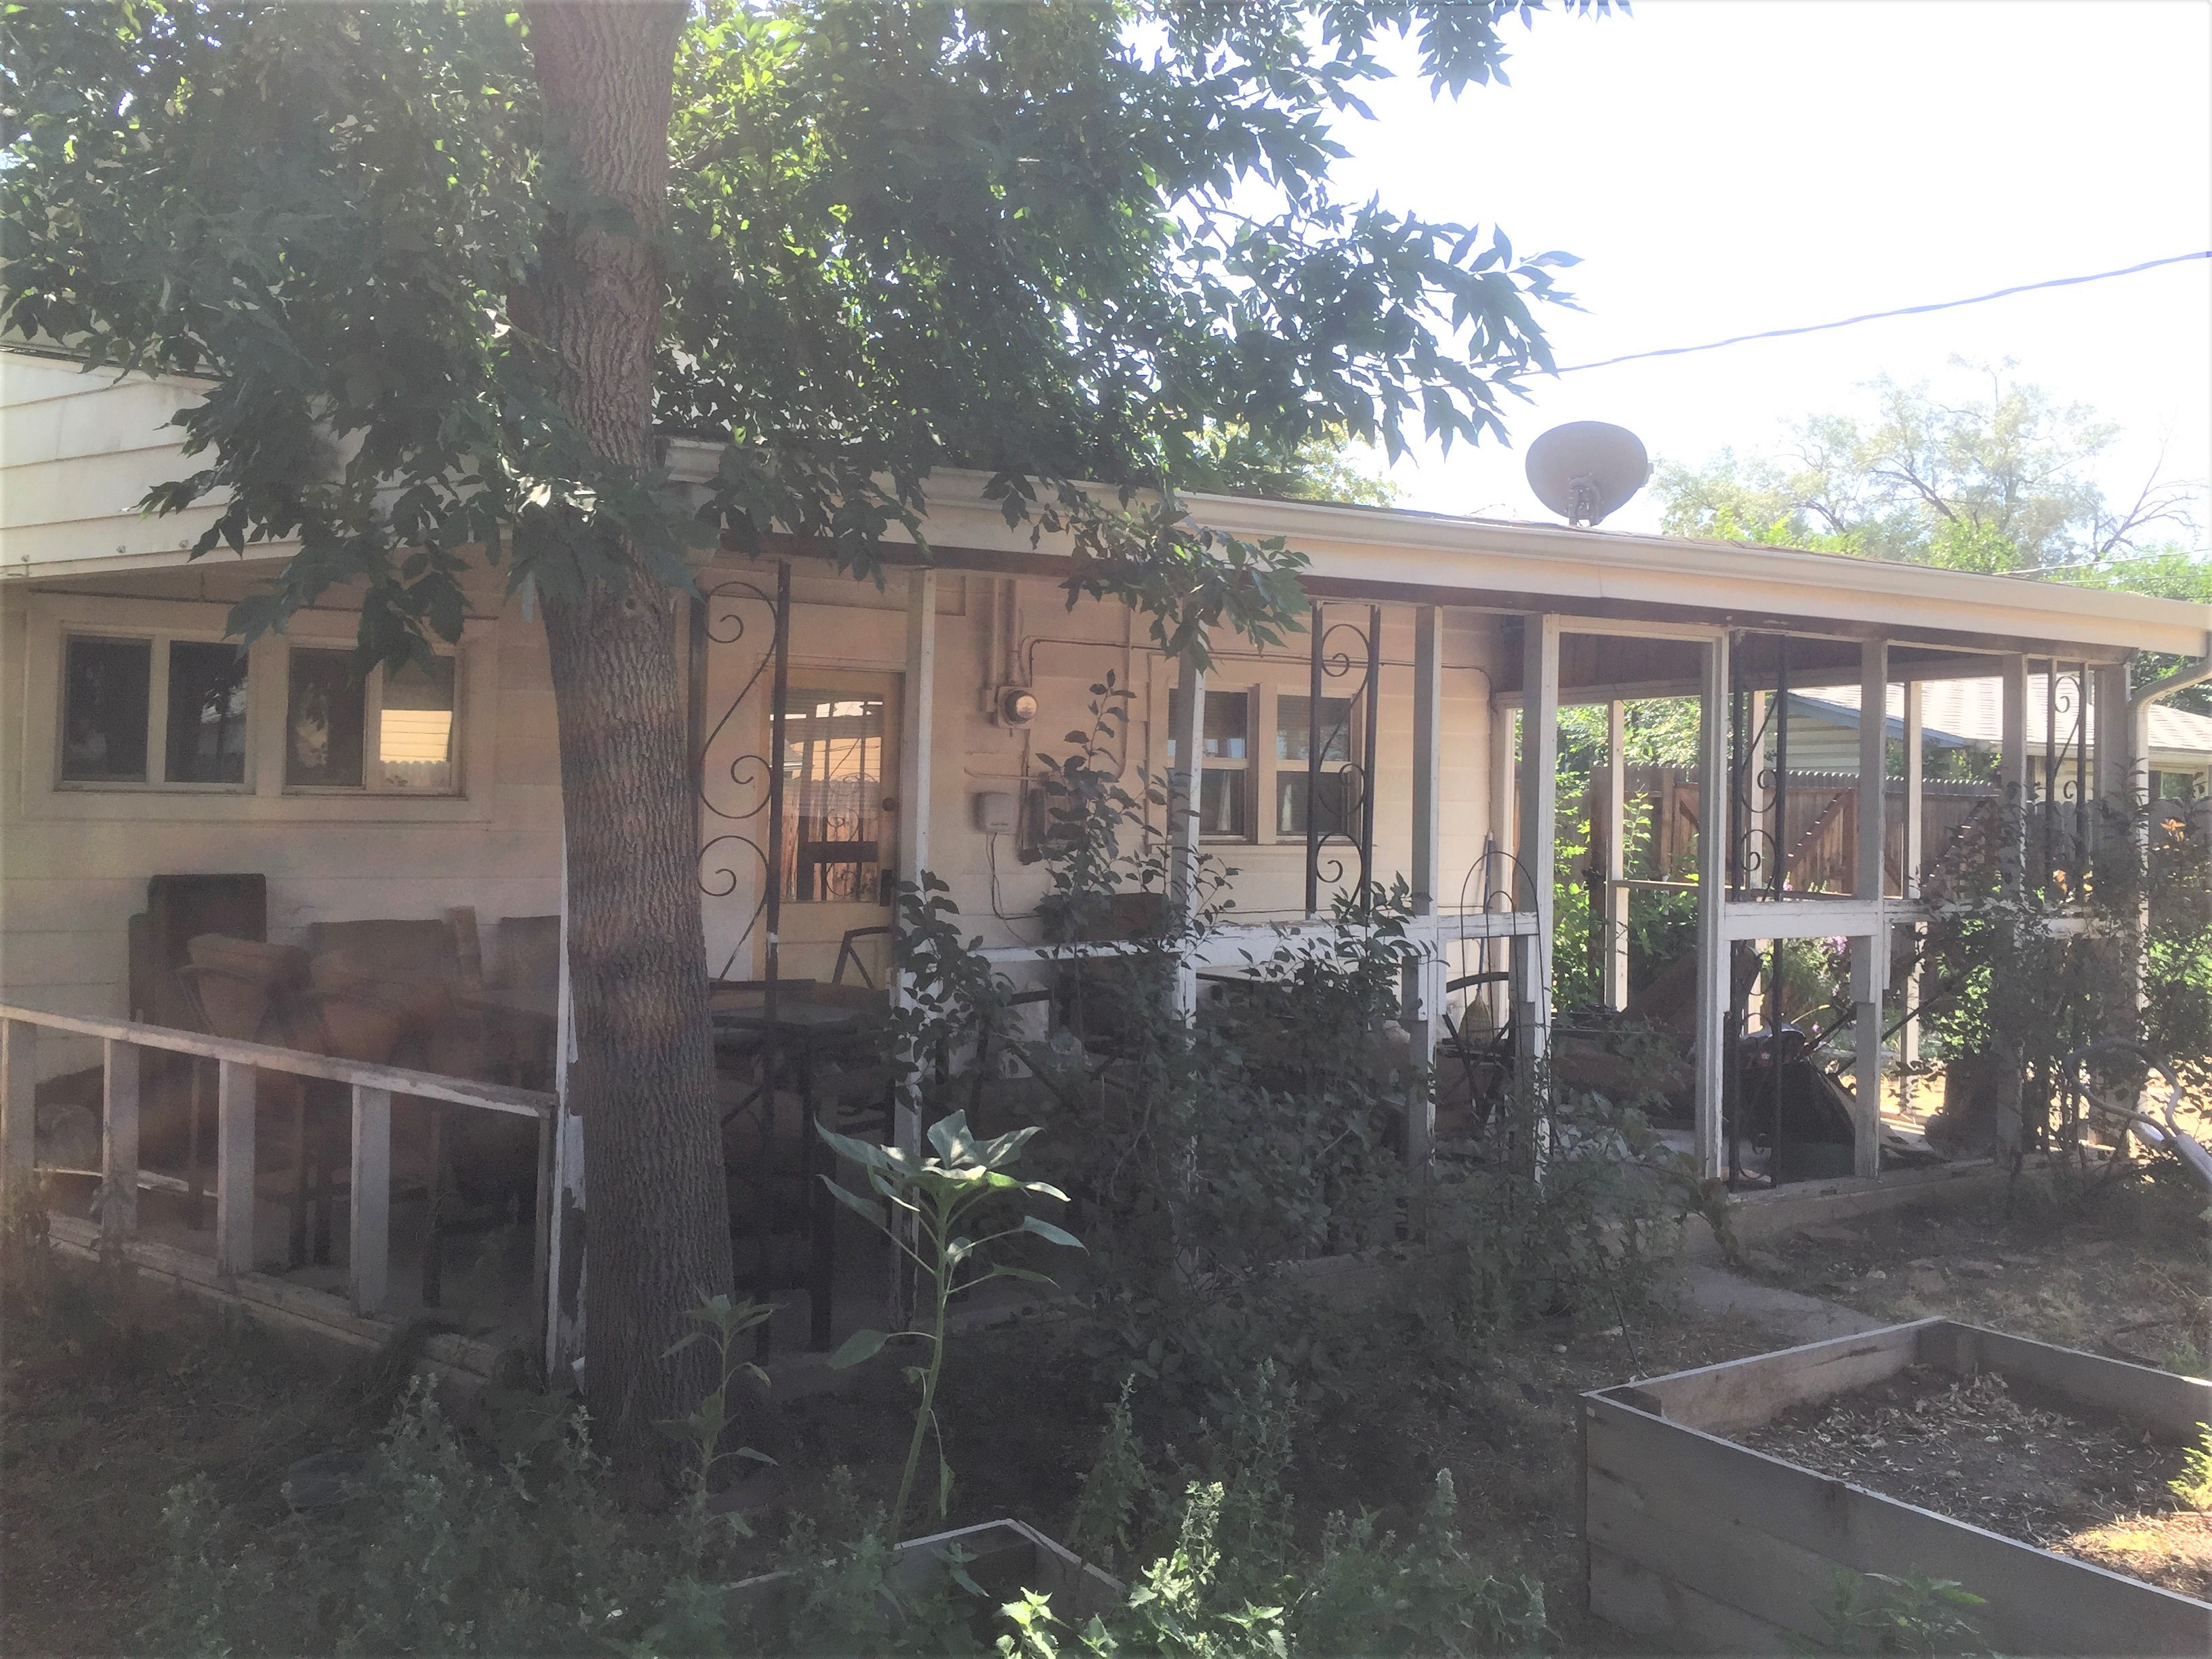
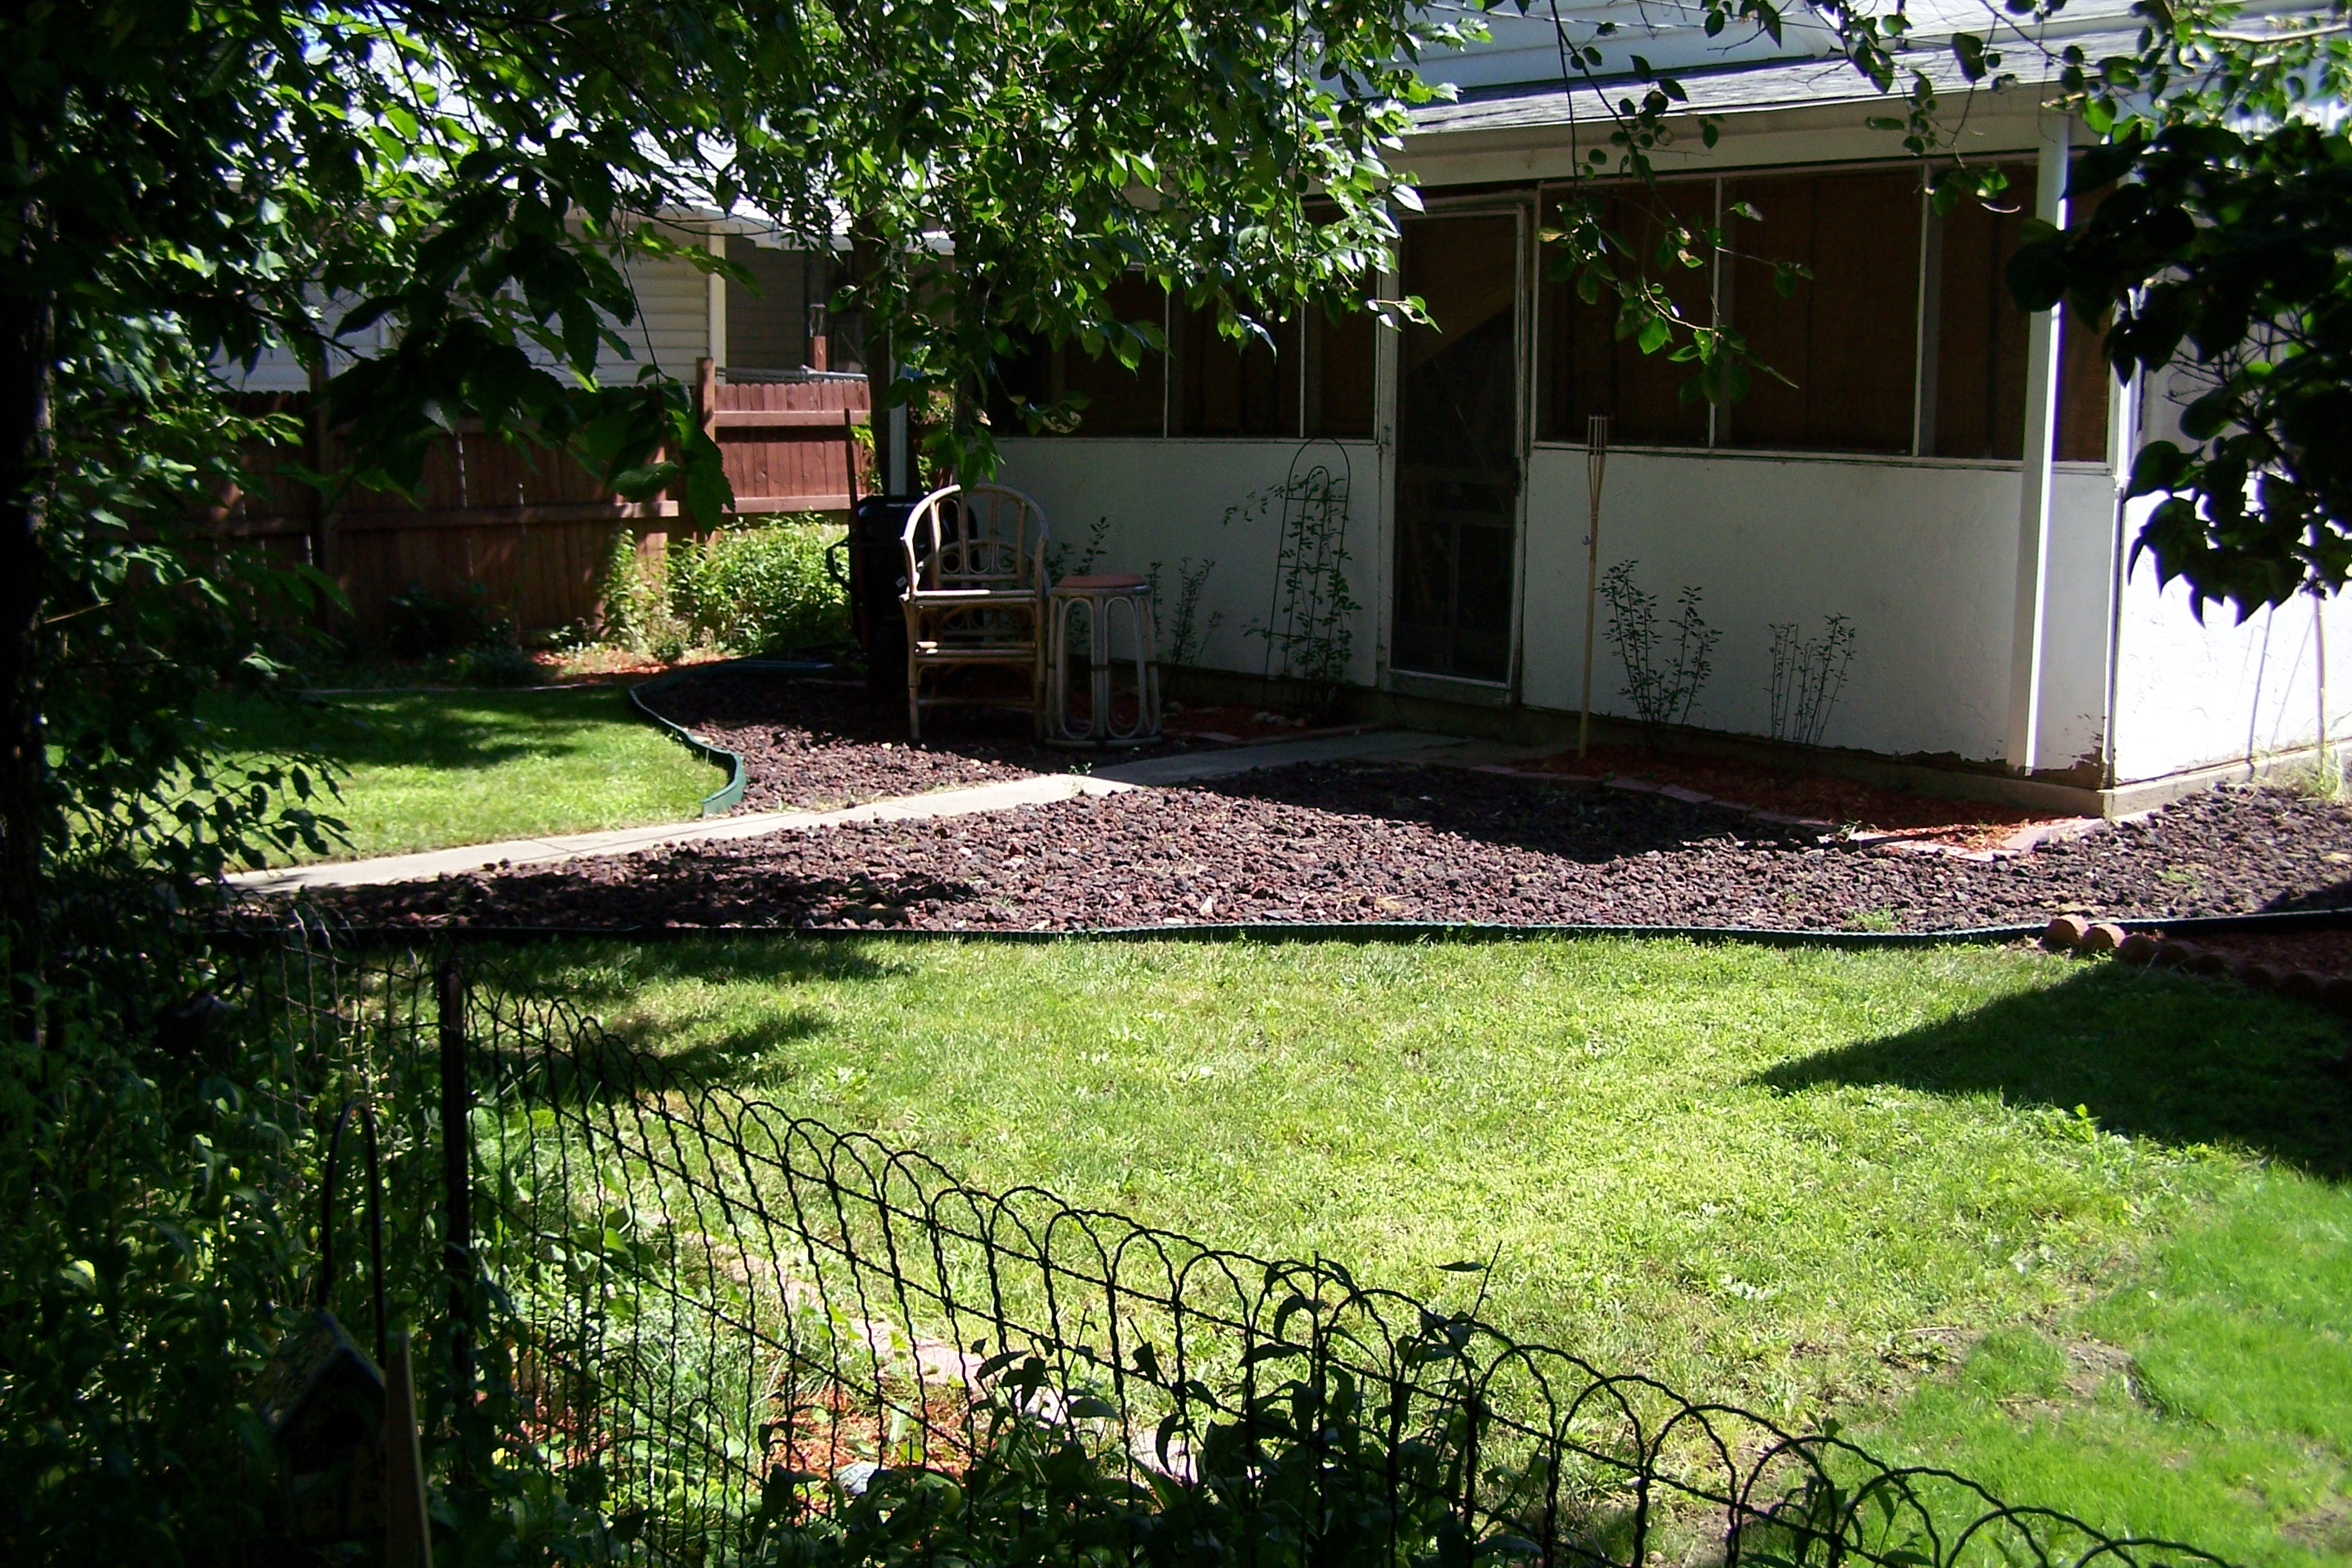
This is the back porch, but this pic was taken around 2011, before the garage came down. It had plywood paneling on the bottom and screen on the top.
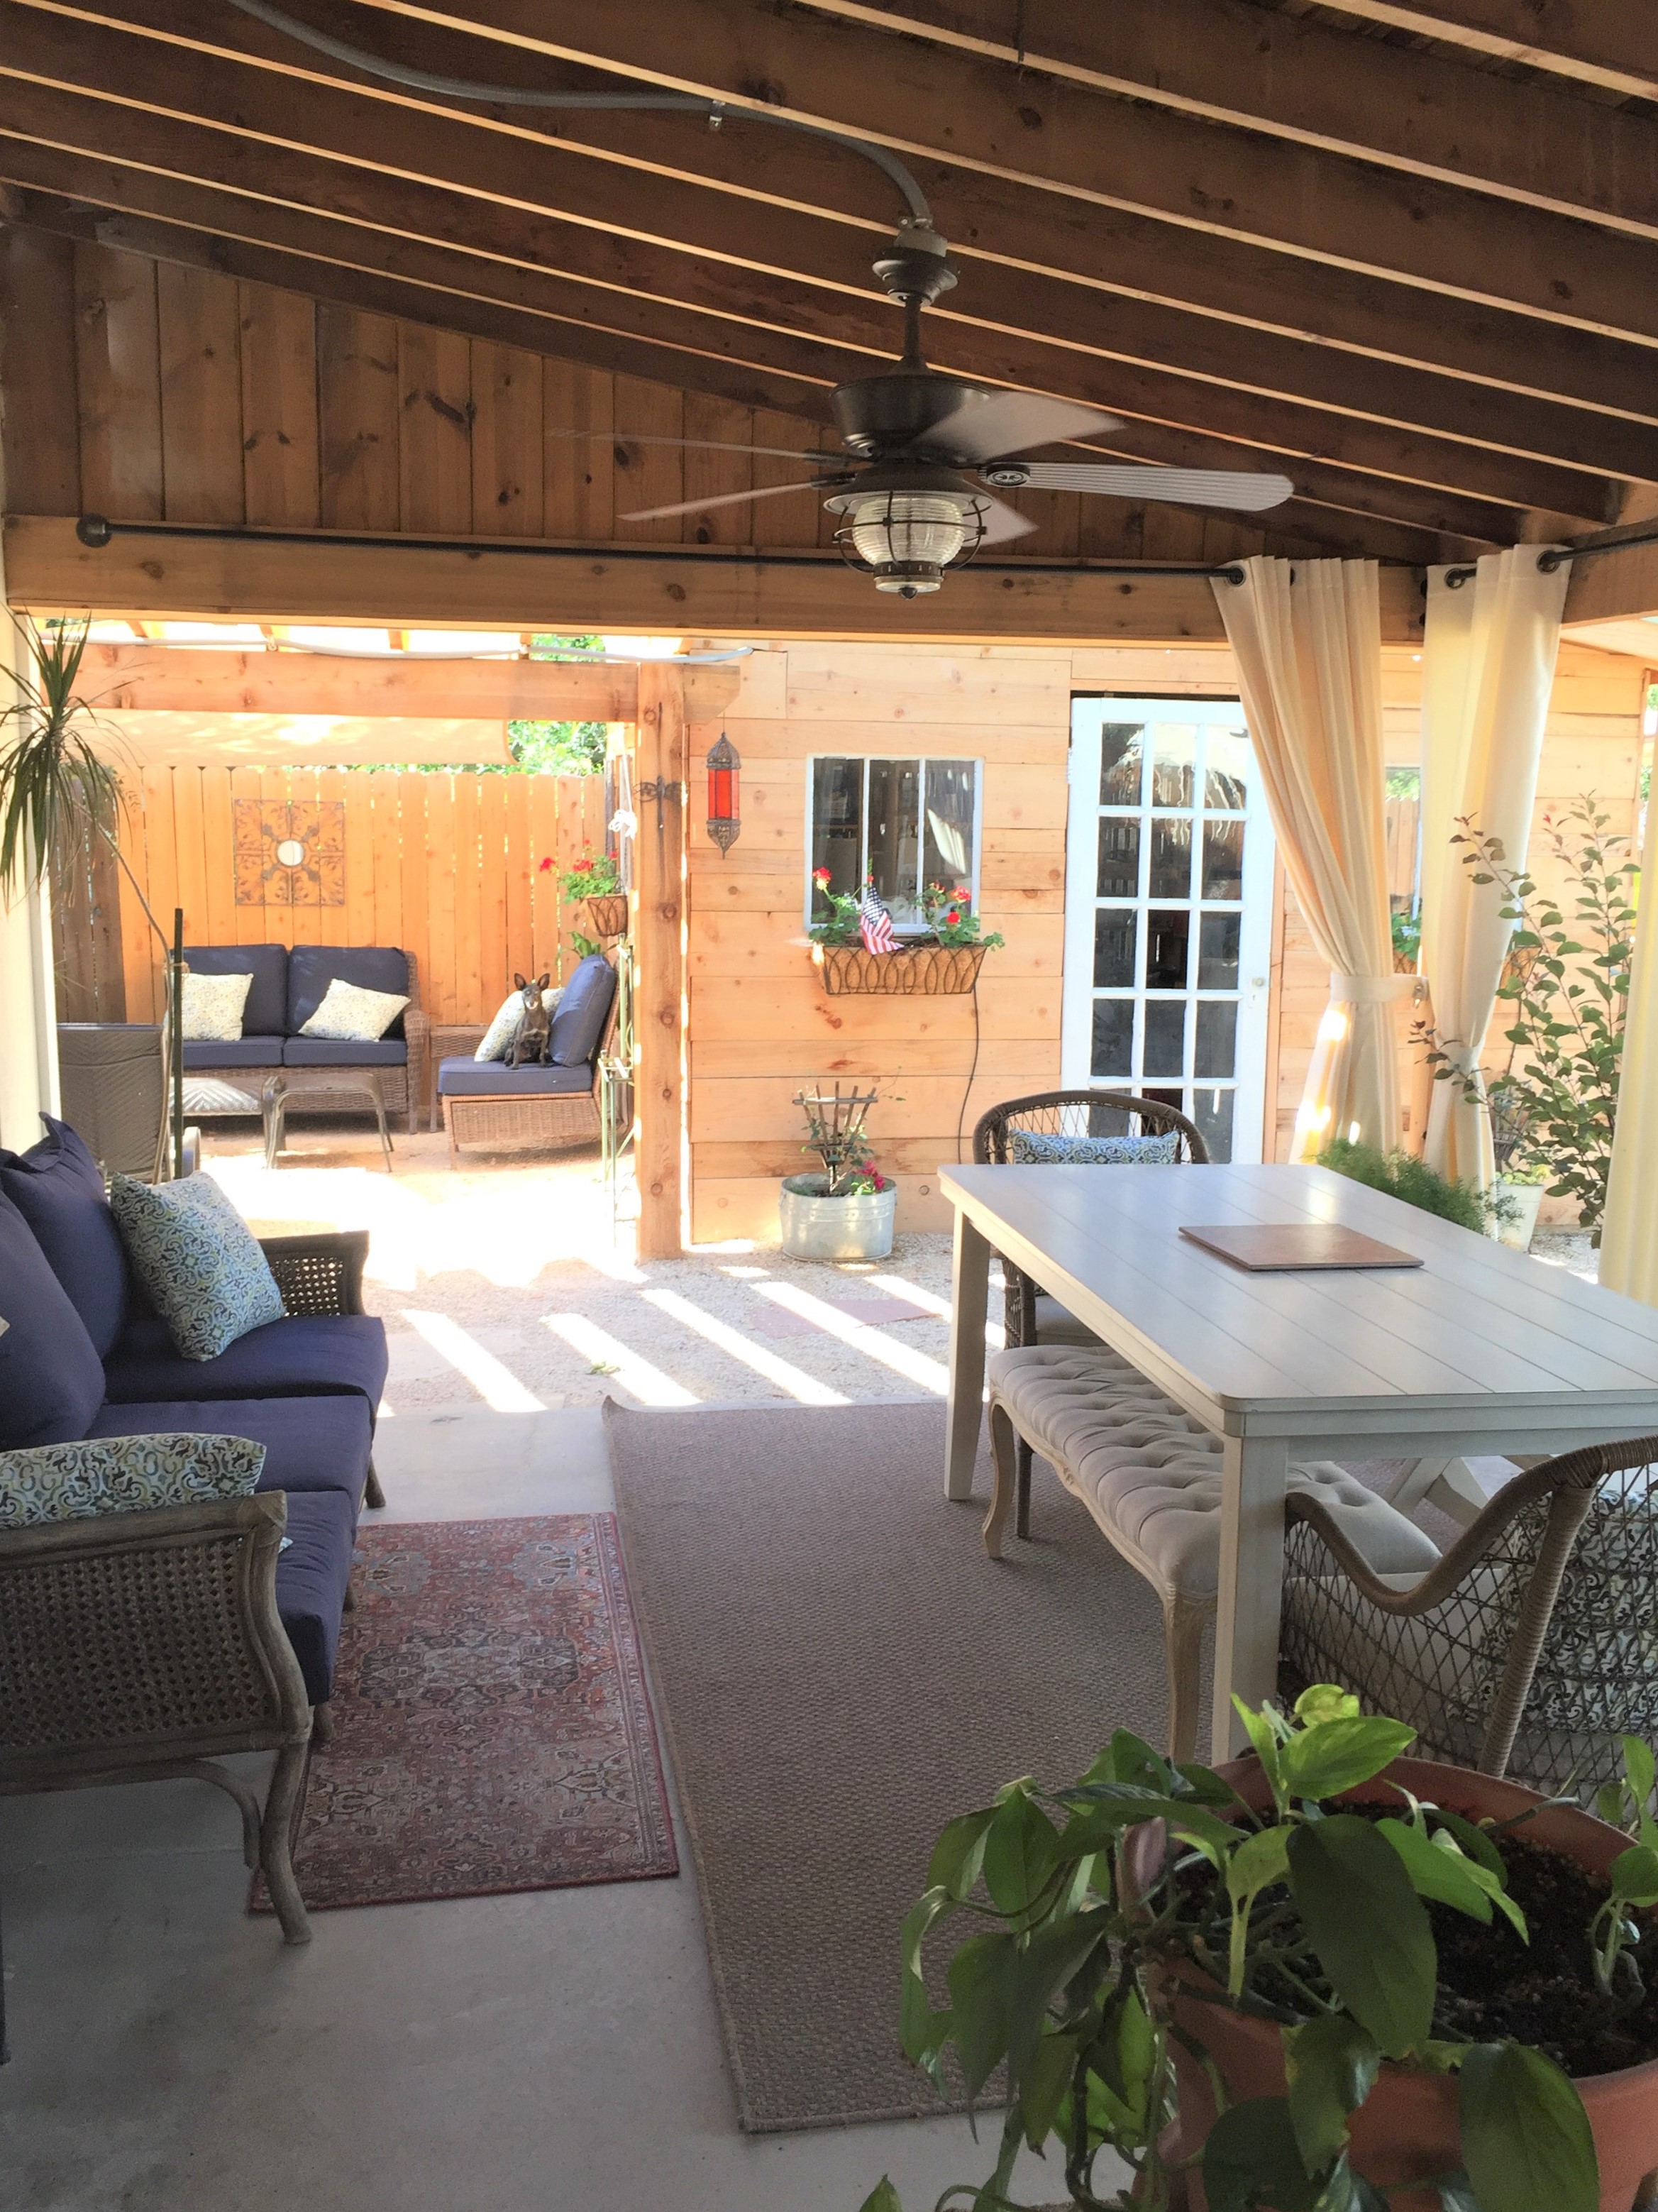
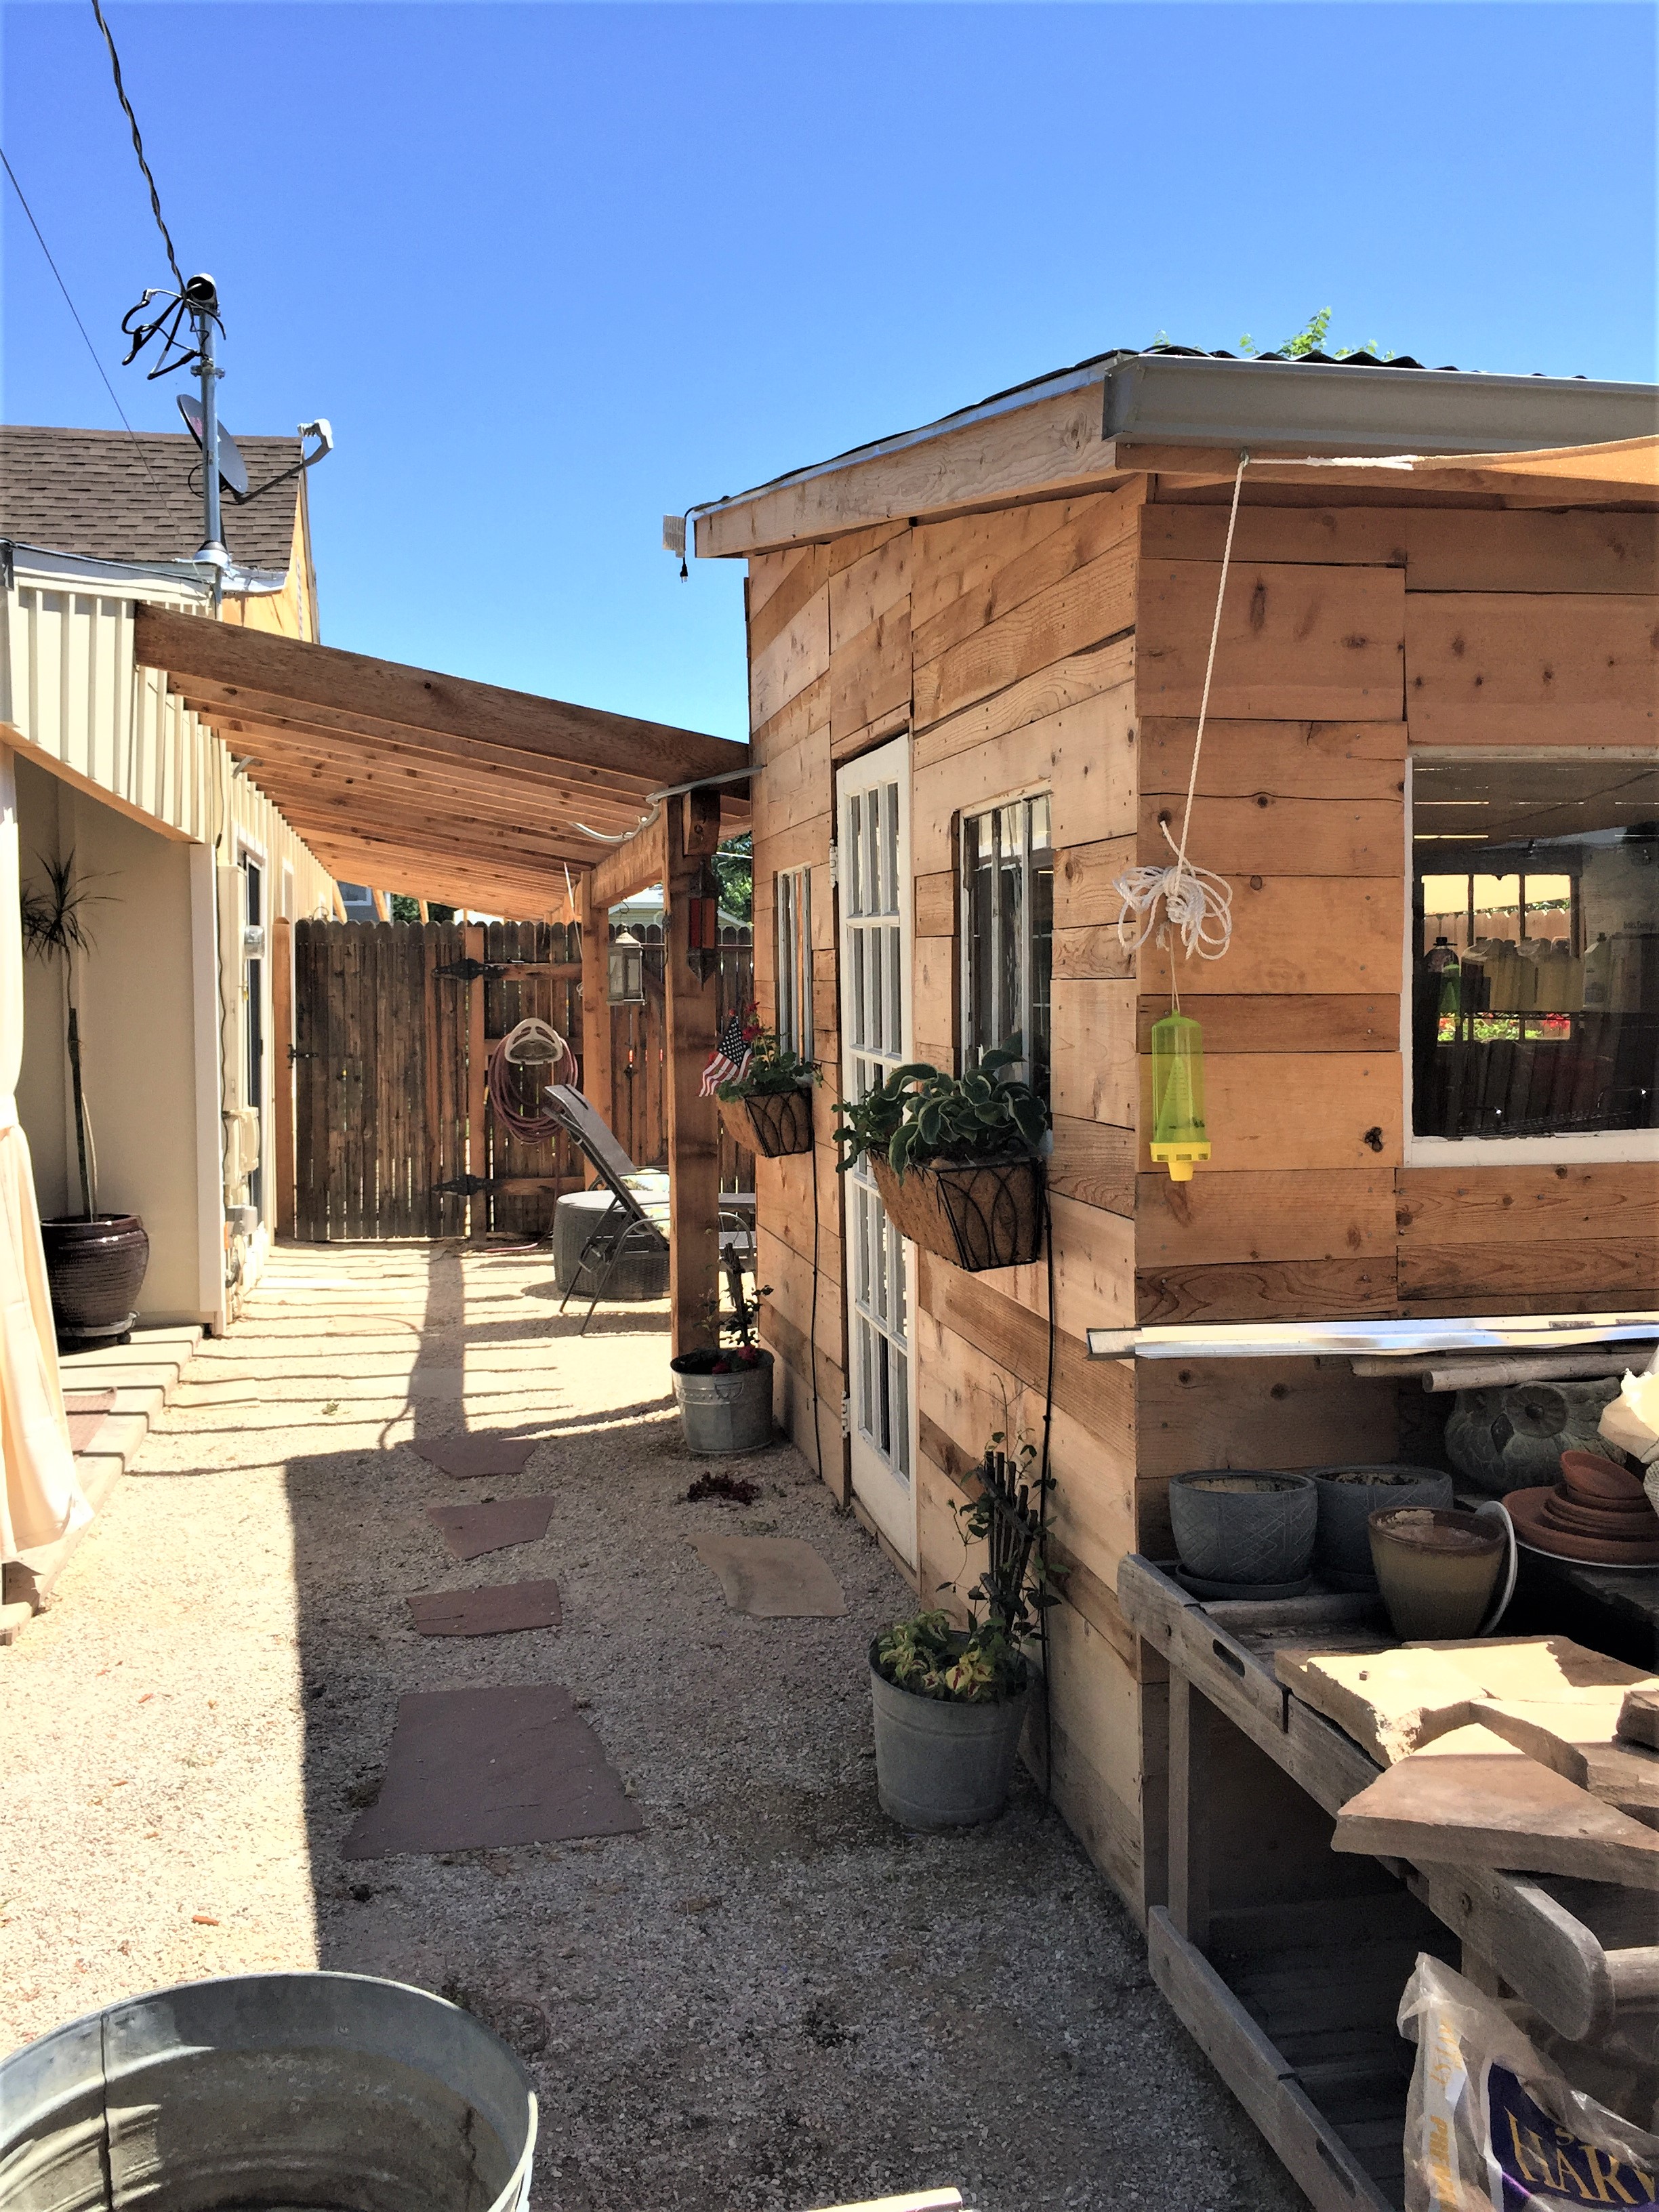
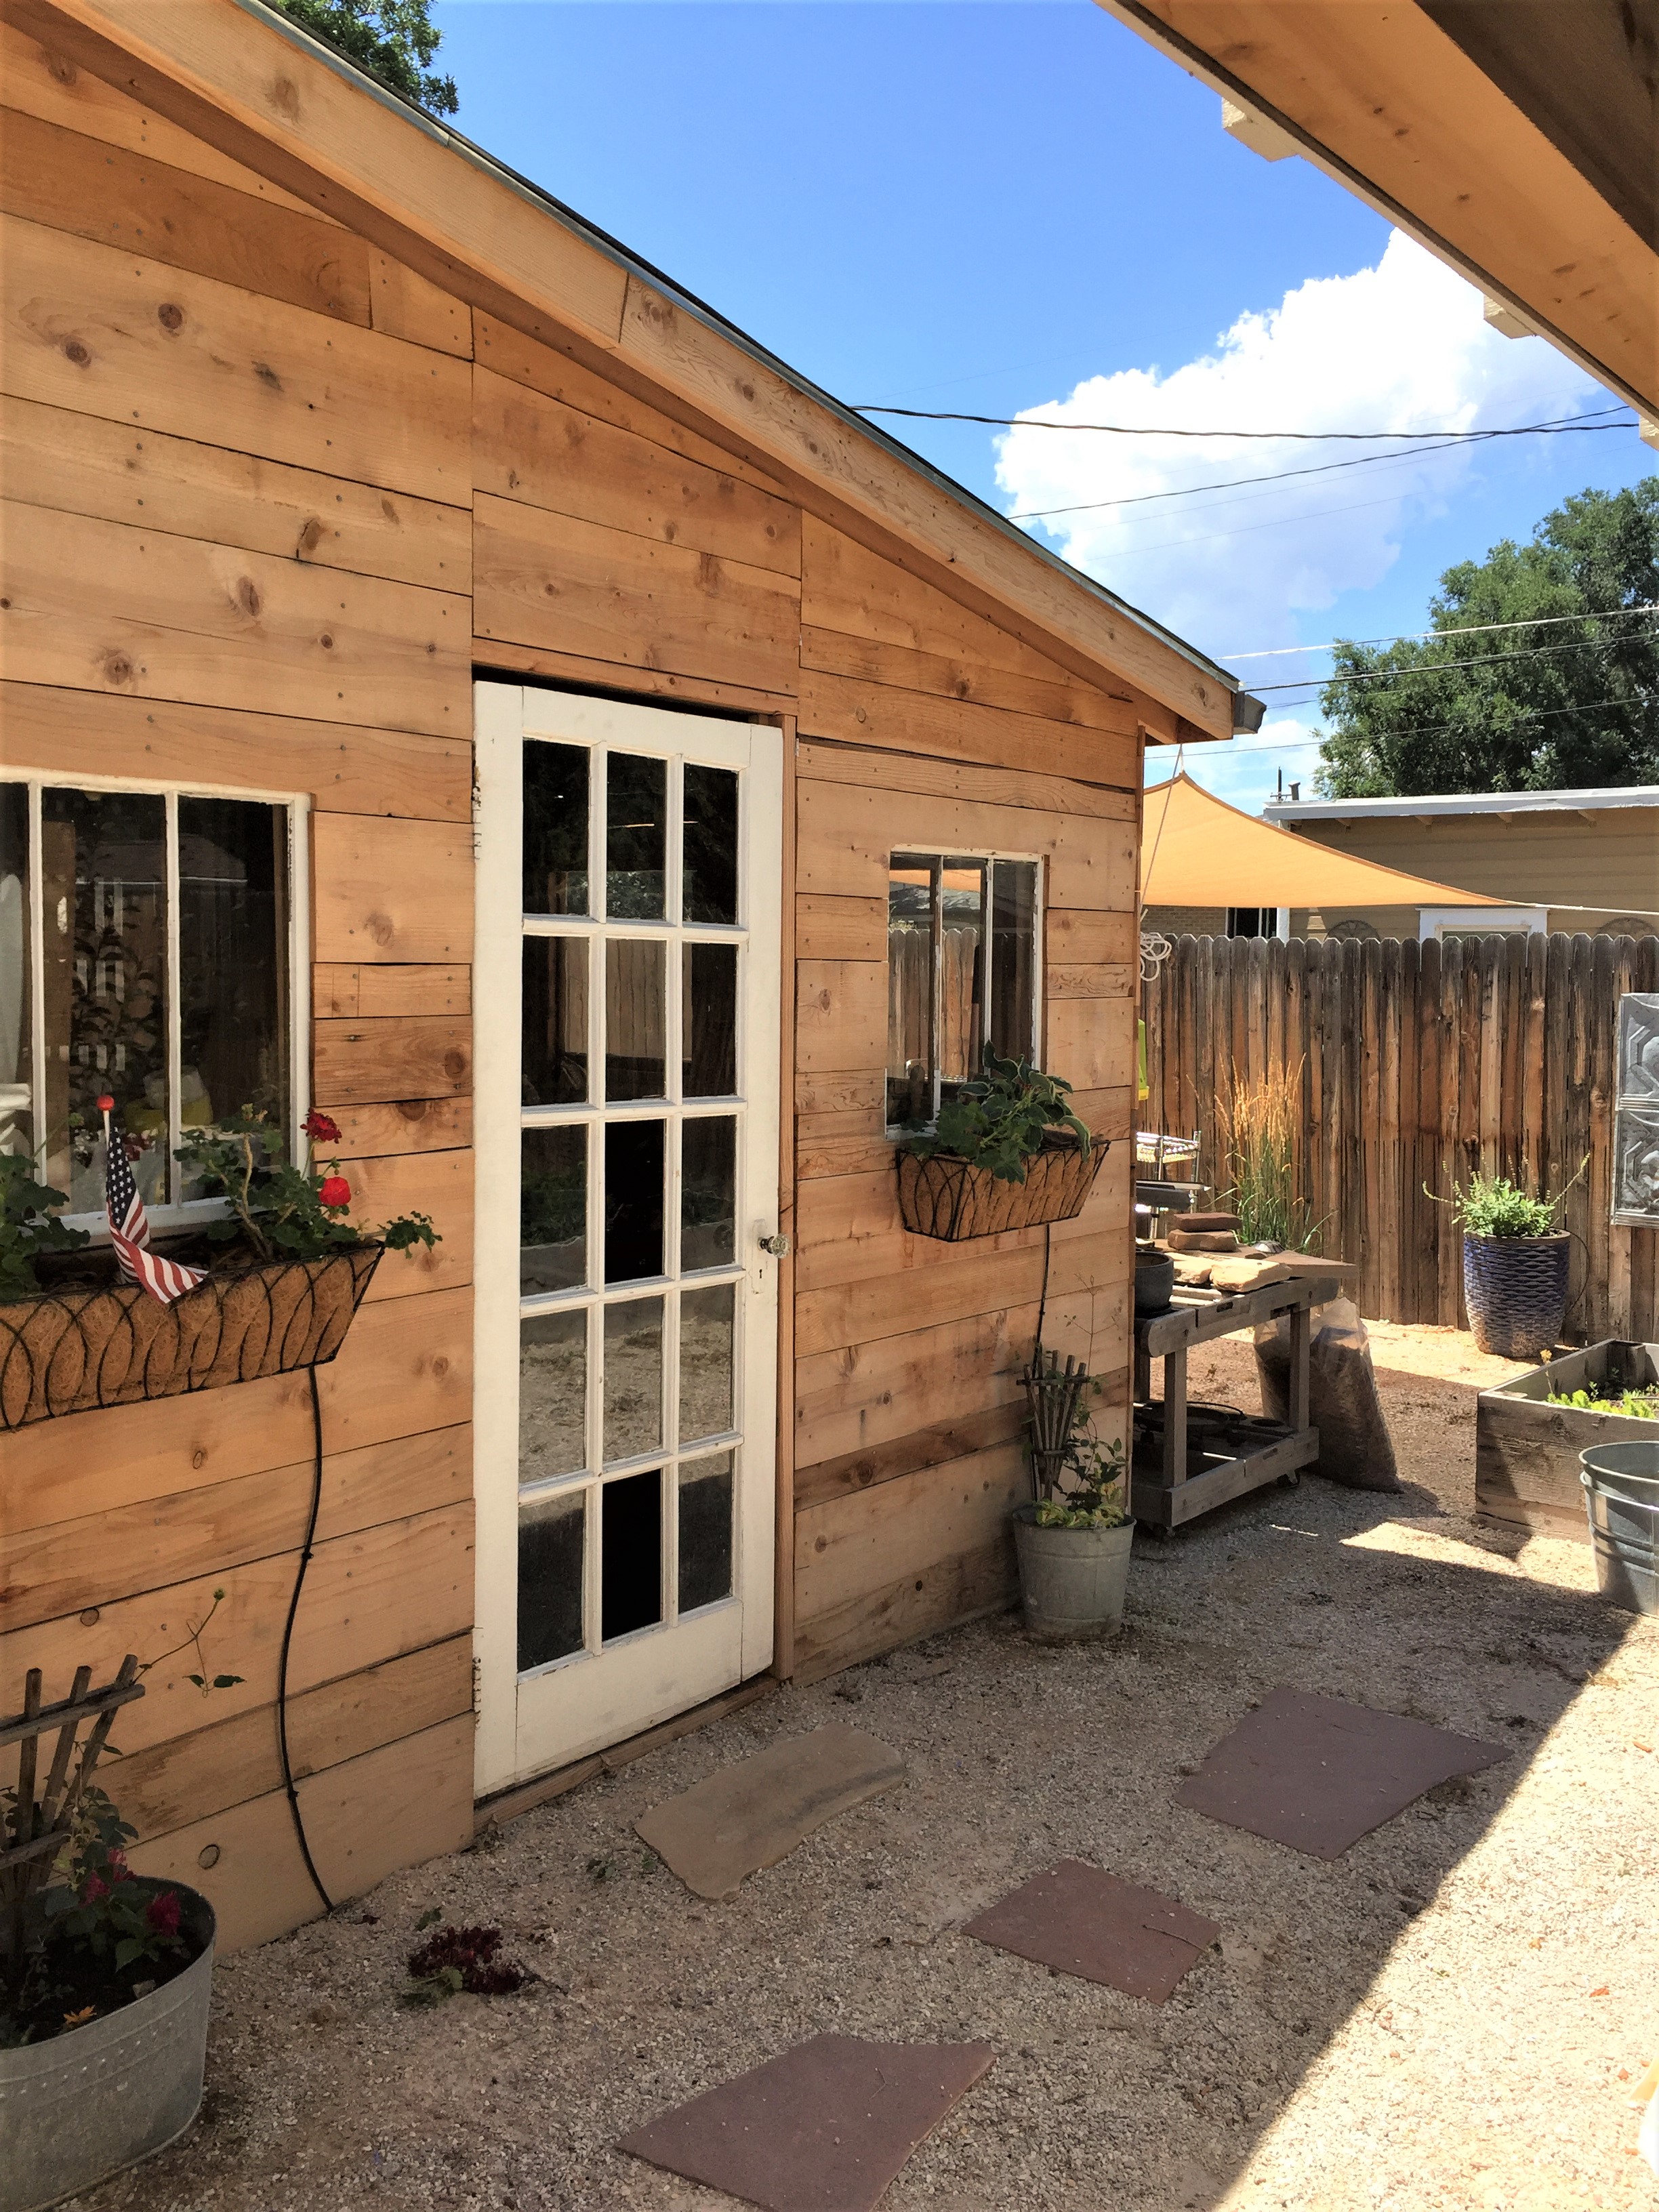
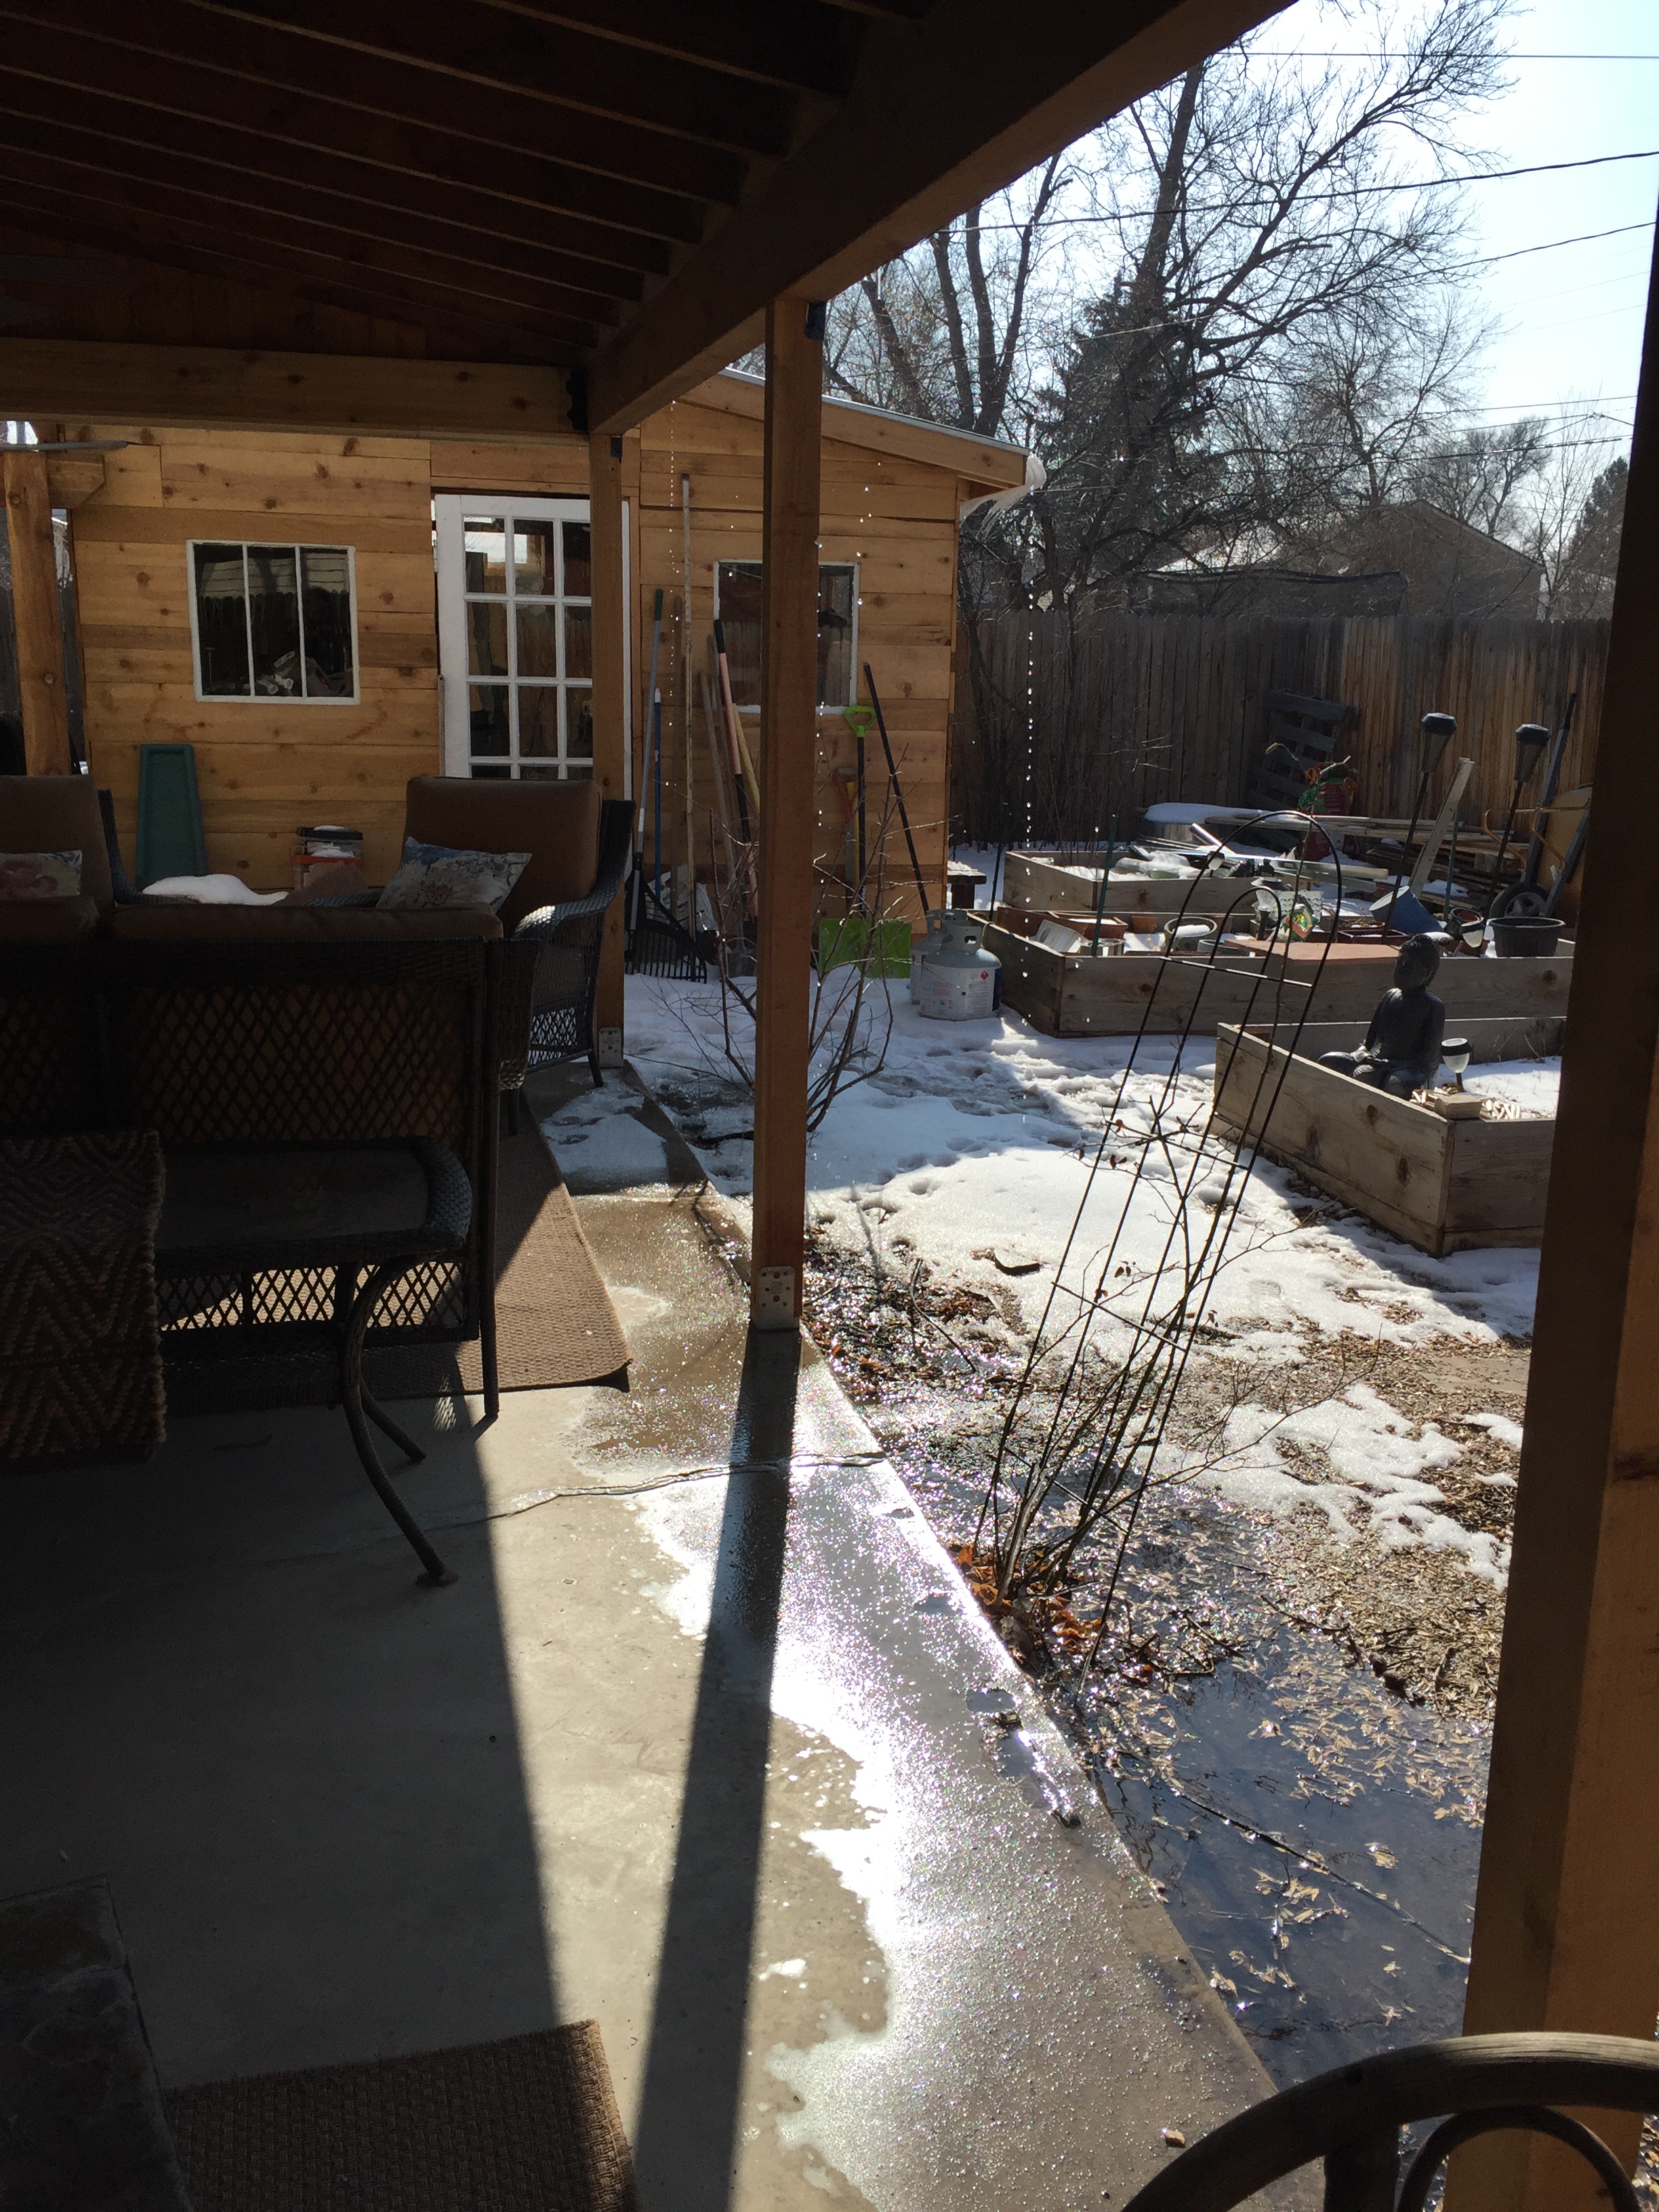
No more plywood! I replaced only the necessary supports with Cedar posts and opened it all up.And a new shed shares the original garage space with a courtyard seating area.
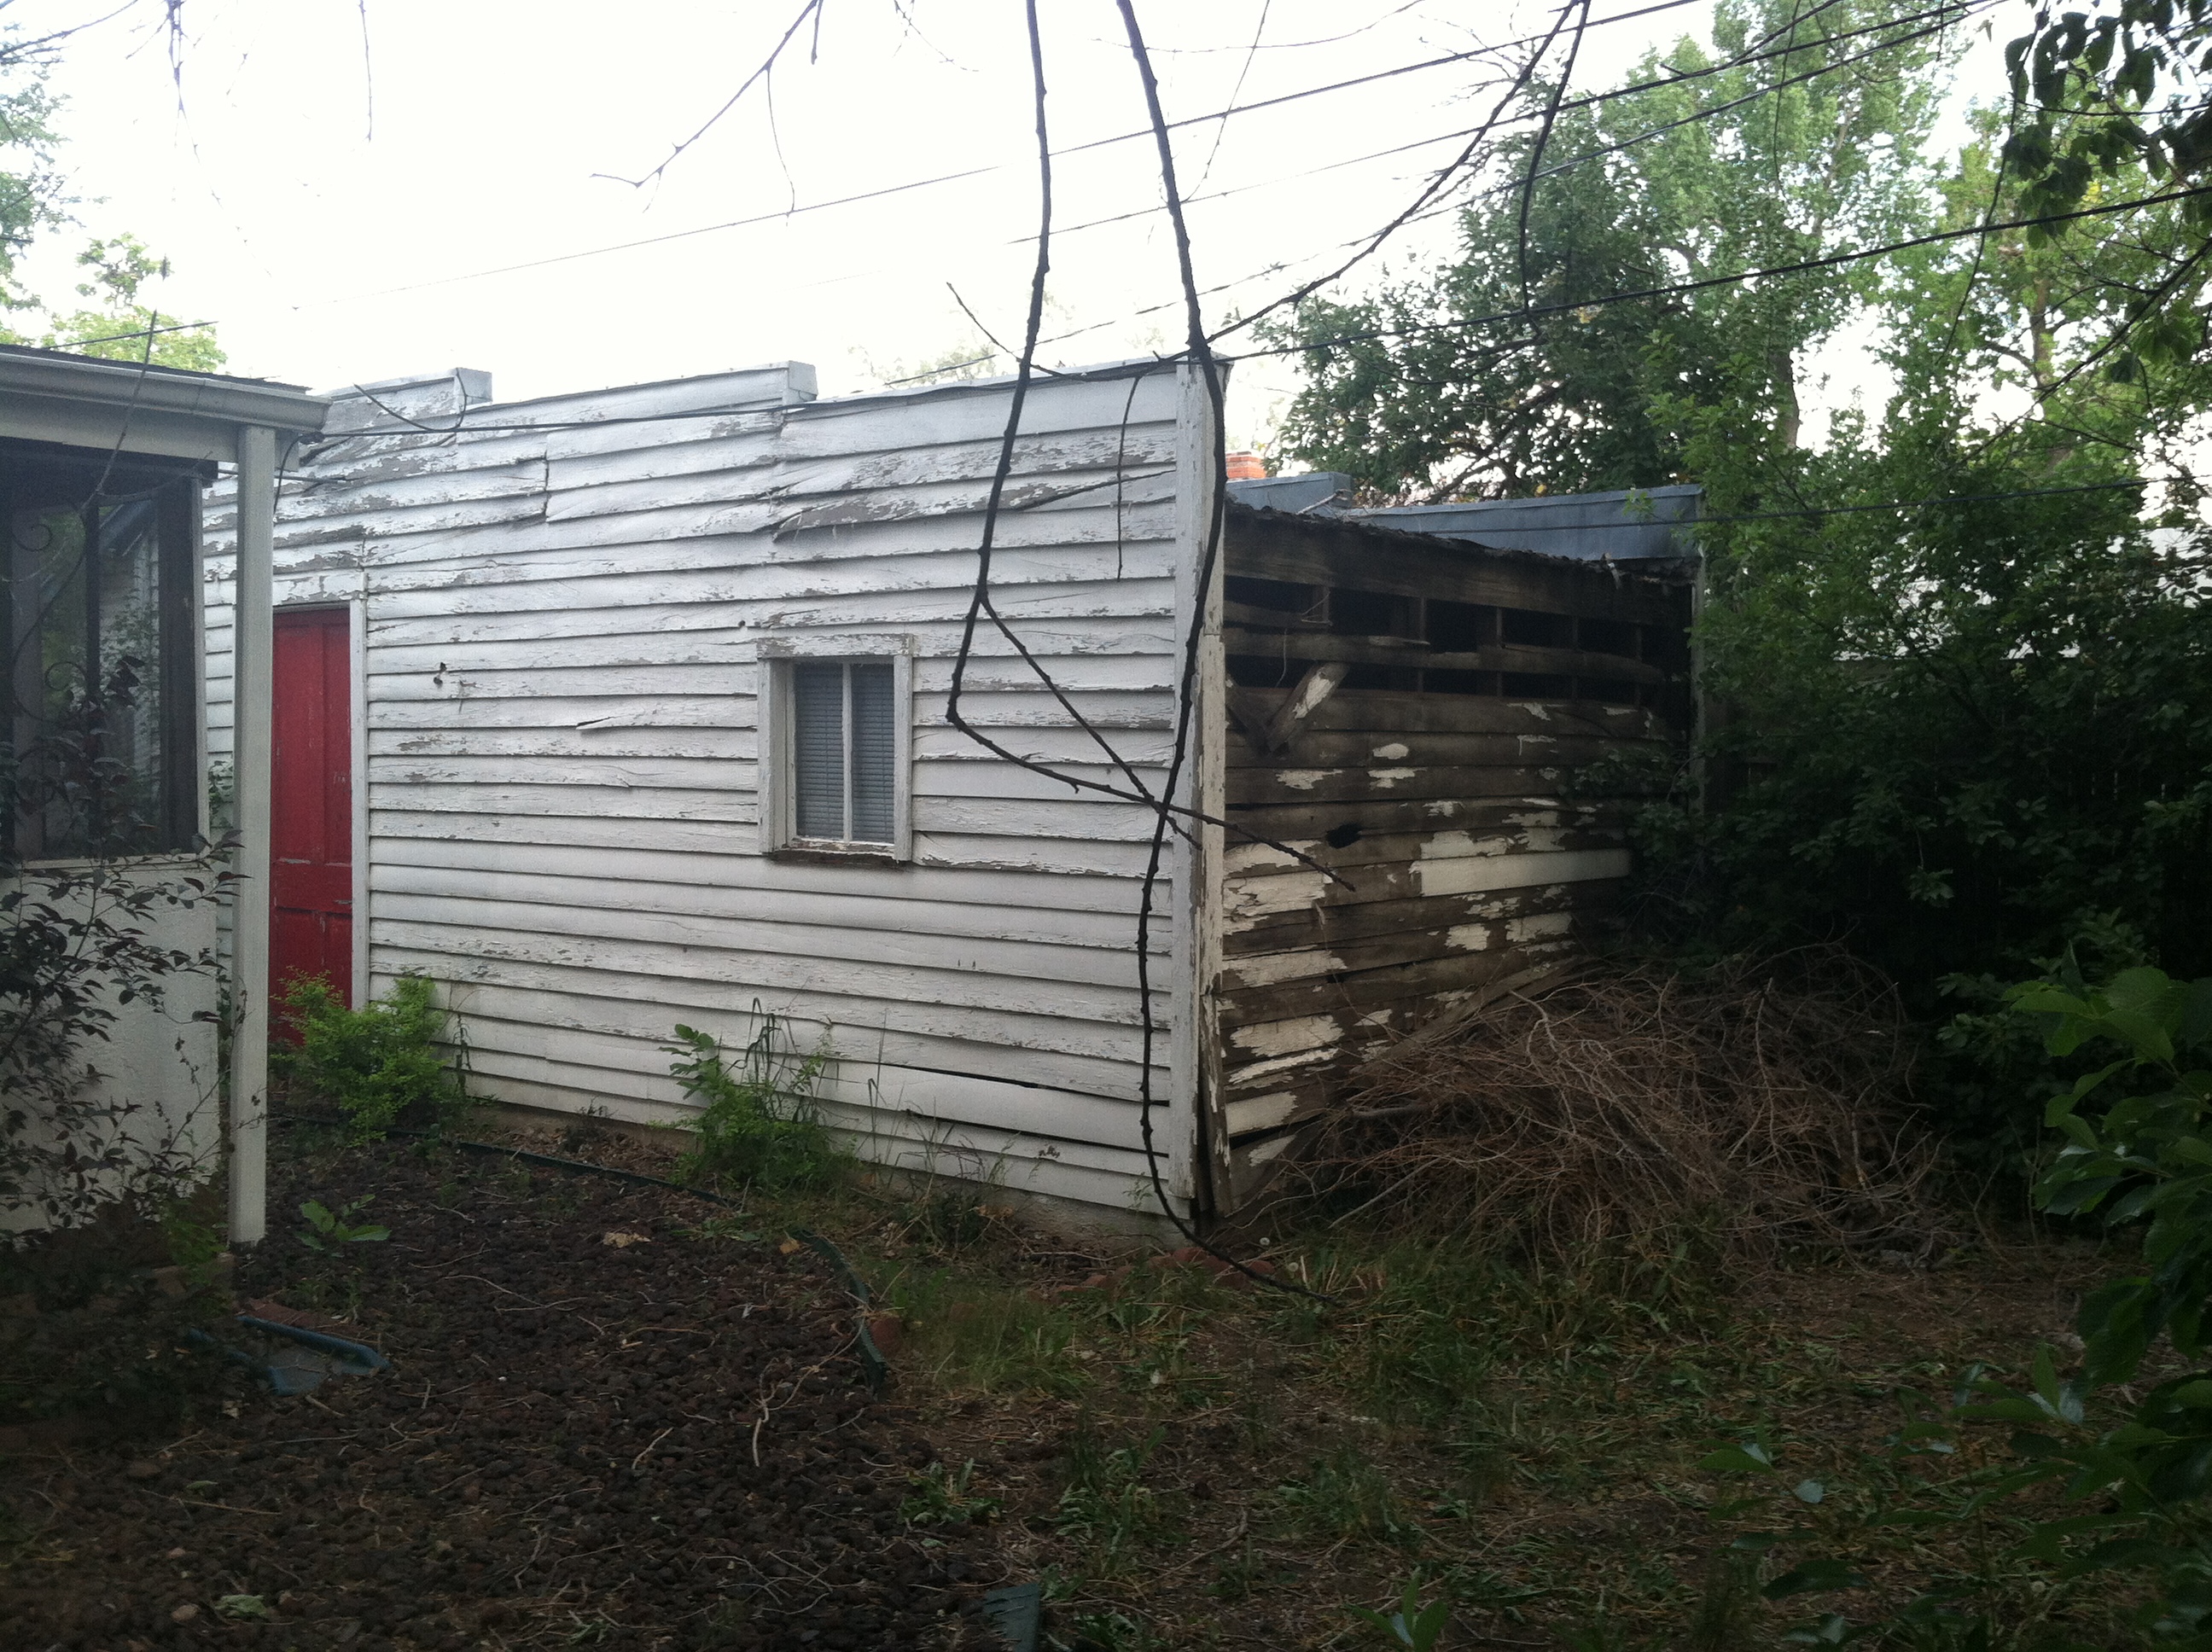
I liked the garage, which had cool original wood siding, but it was so old! The back yard was neglected and overgrown. (pic taken around 2008)
Ahhhh…. Cleaner and low maintenance! Perfect for me!
Straight view of the original back patio.
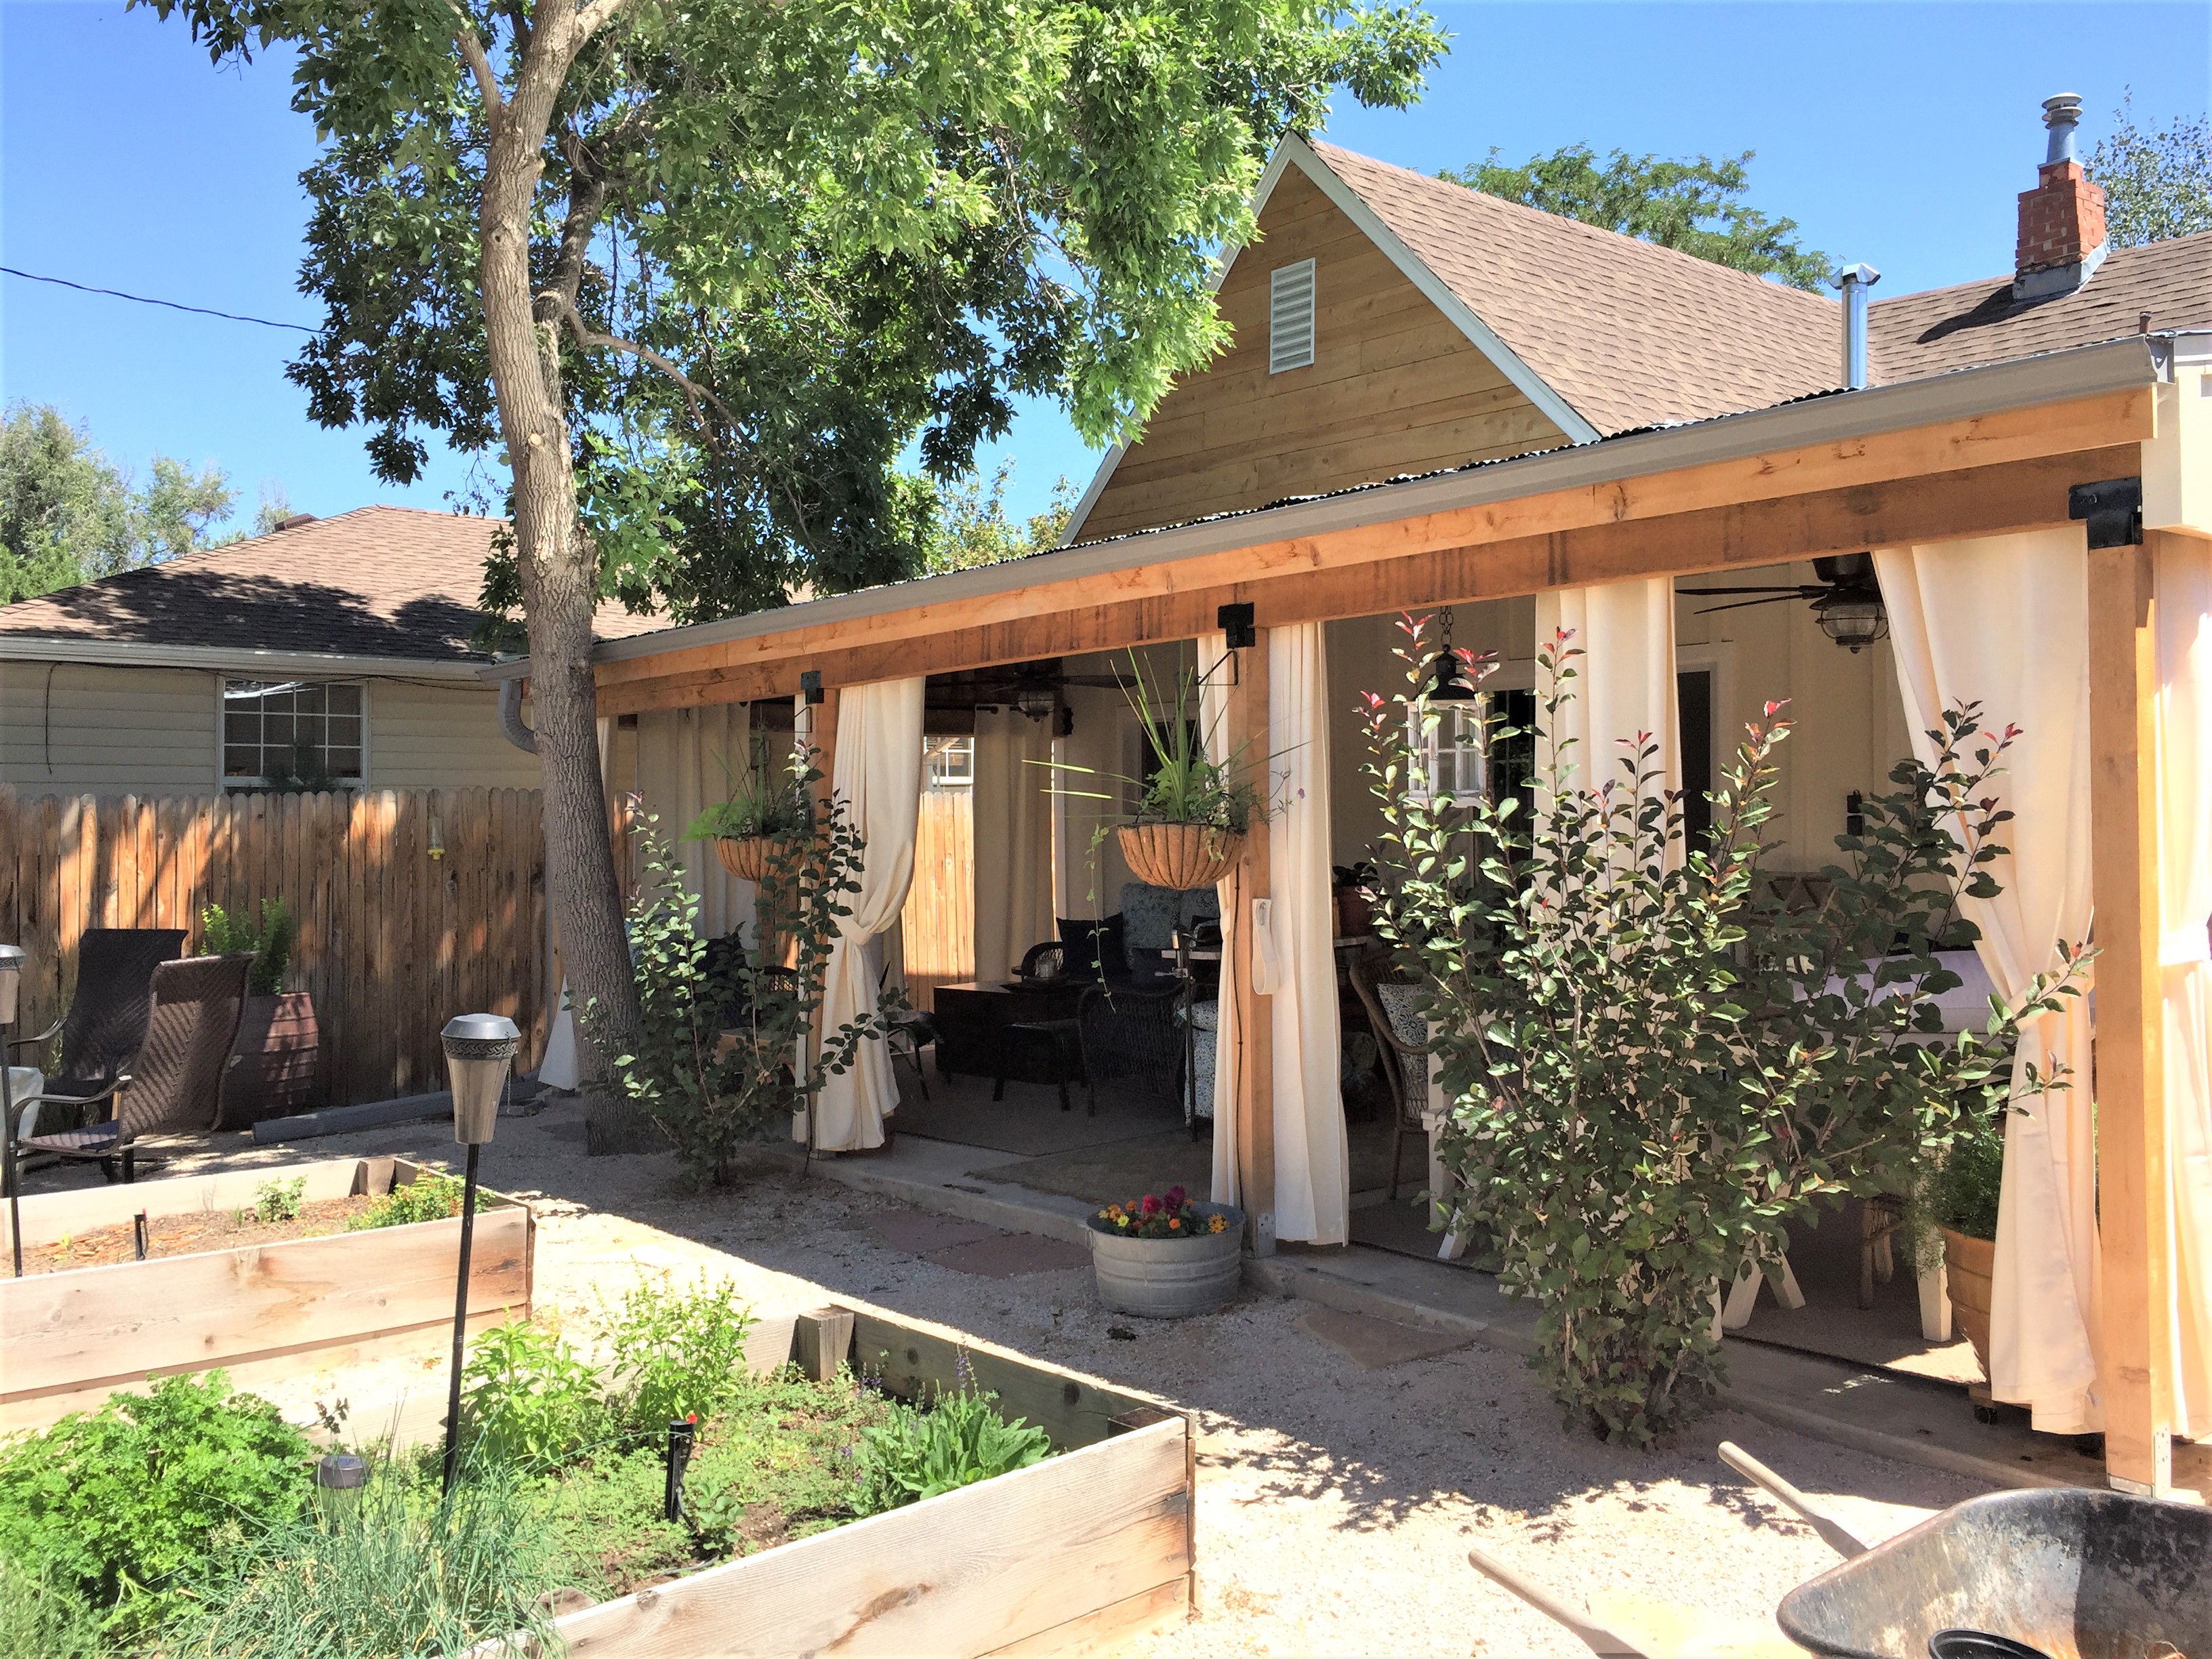
Today, an Oasis in the City!
Amazing how different it looks now!
I want to hang out here!
The far side of the back patio had 2 different types of fencing between the neighbor and I. Redwood, which turned into chainlink. My neighbor also looked right into my patio from their back door. Awkward for everyone!
I added taller Cedar fencing from the alley to the front sidewalk and everyone is happier! Plus, I hung some outdoor curtains all the way around the patio, giving both of us privacy that can be adjusted.
The back patio concrete was poured with an angle on the left side, starting at the house and ending at the tree.
I extended the concrete to square up the patio which added extra square footage.
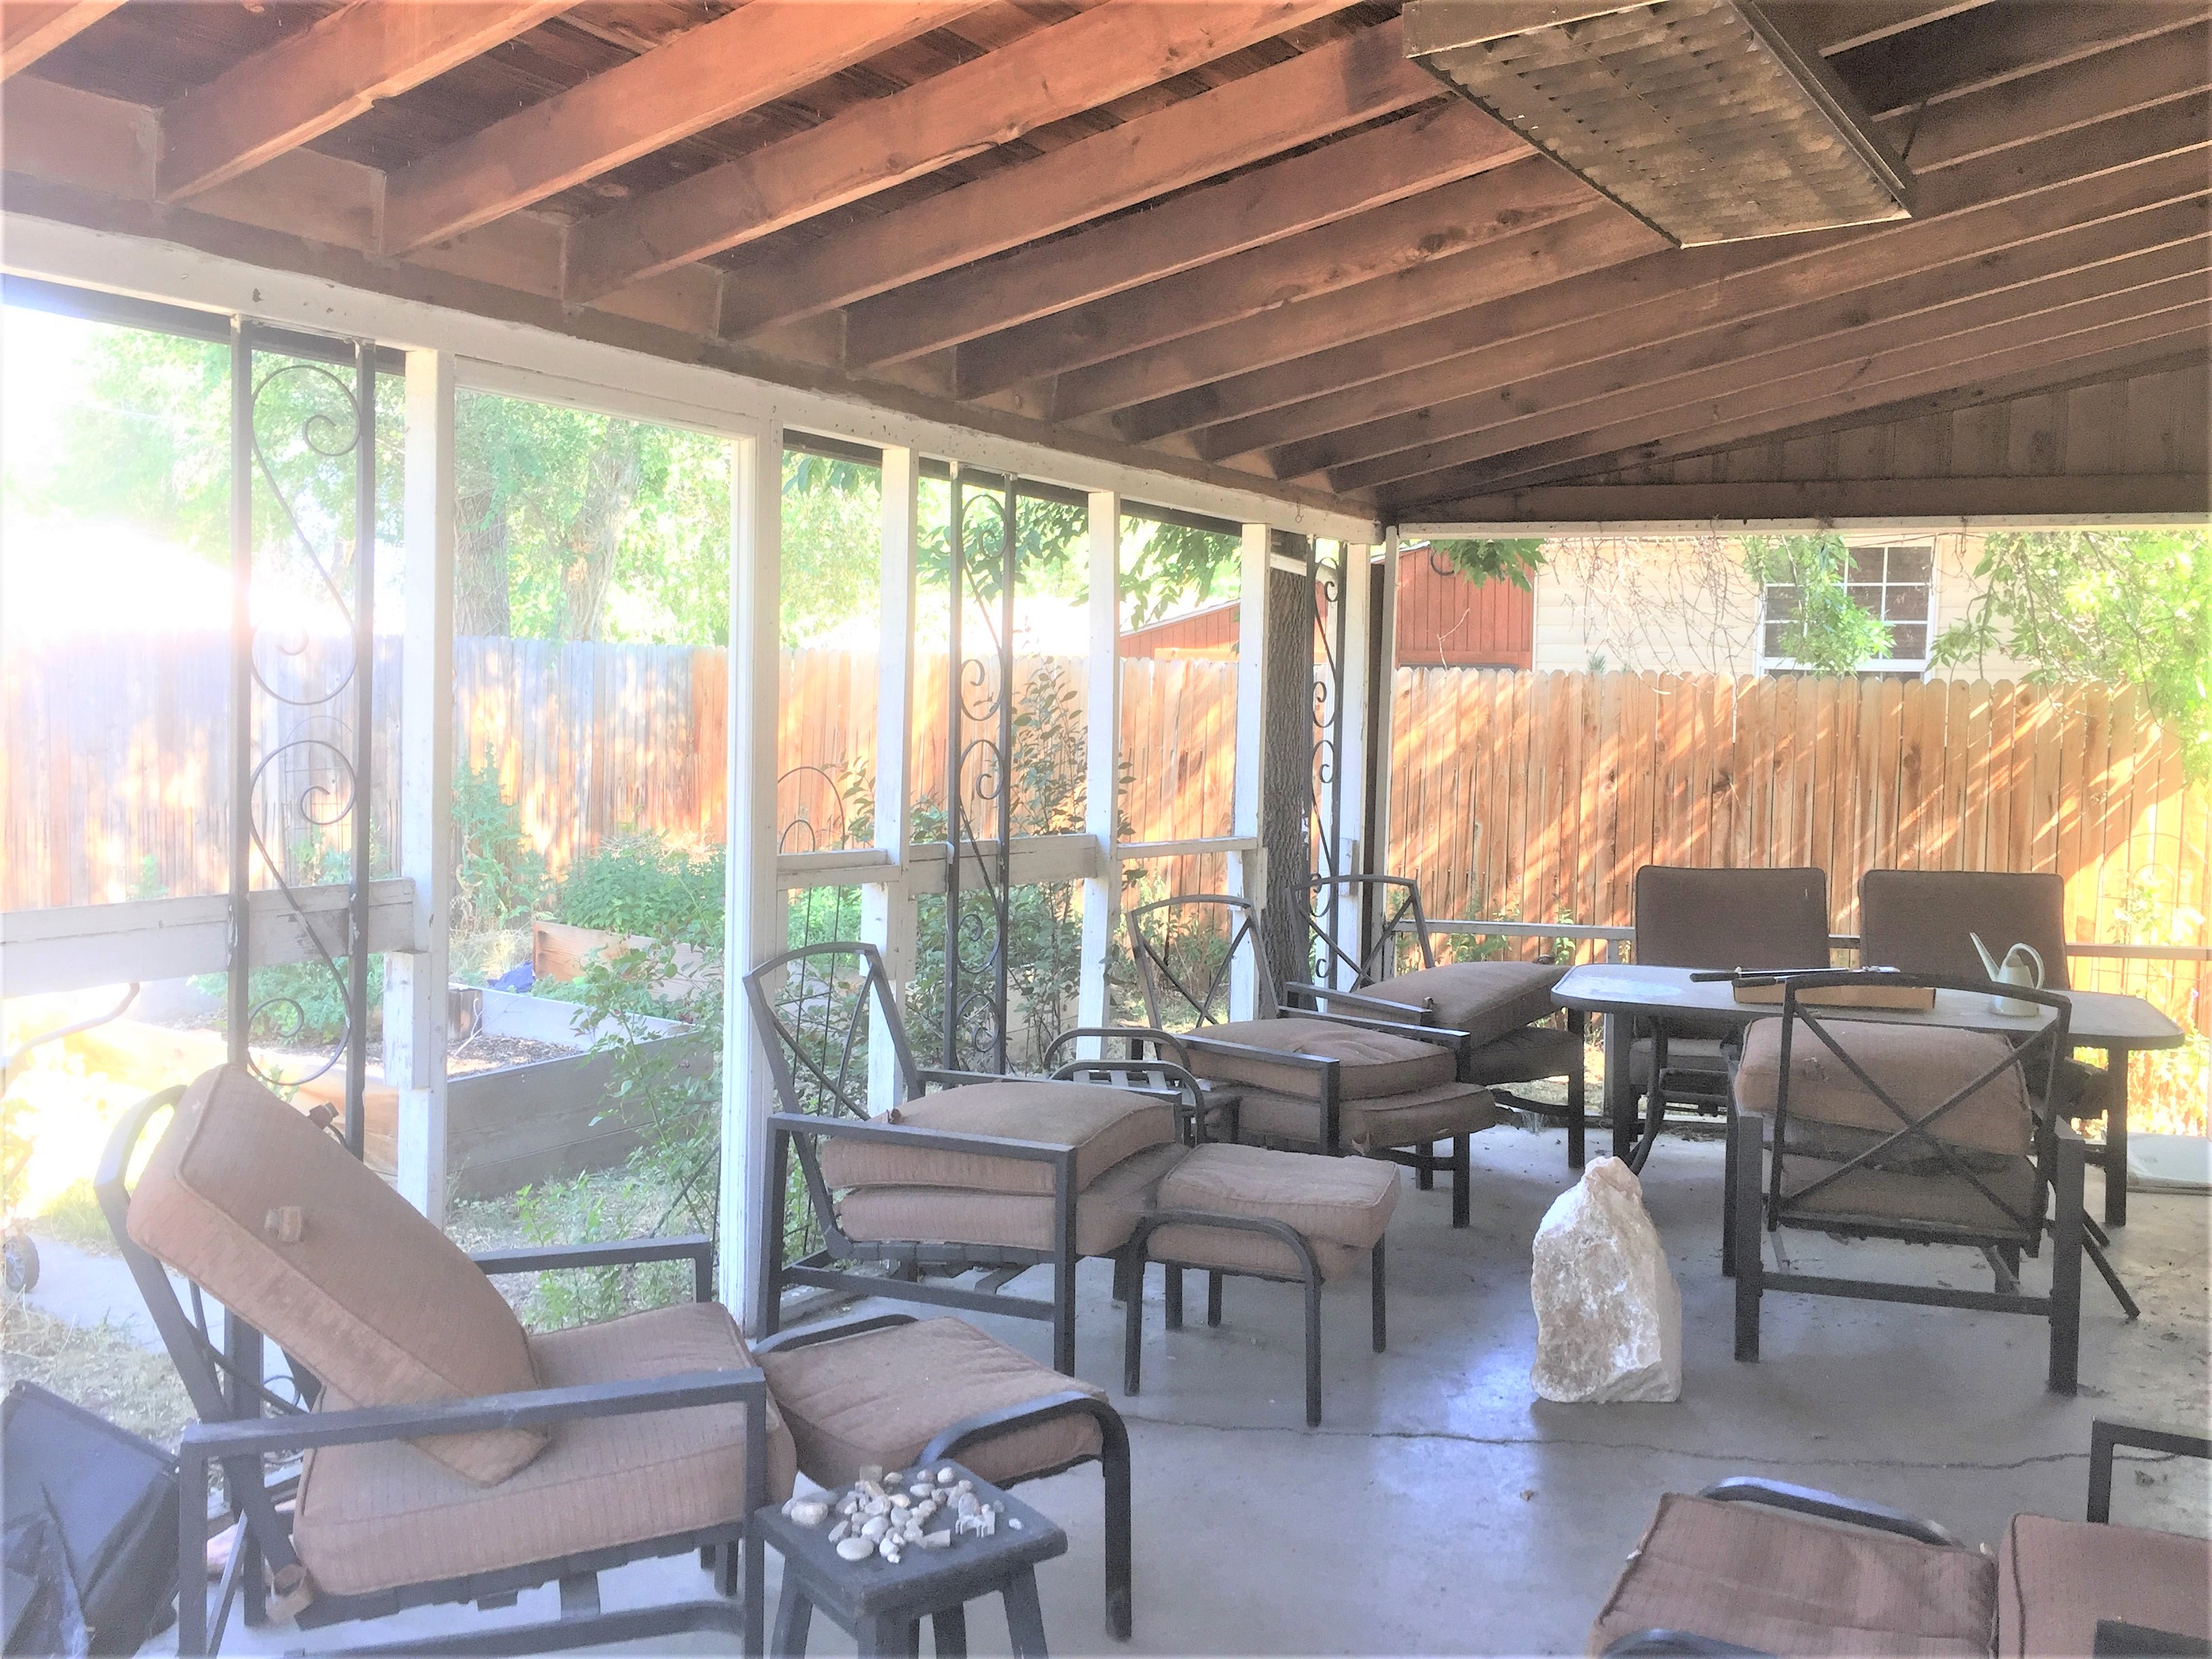
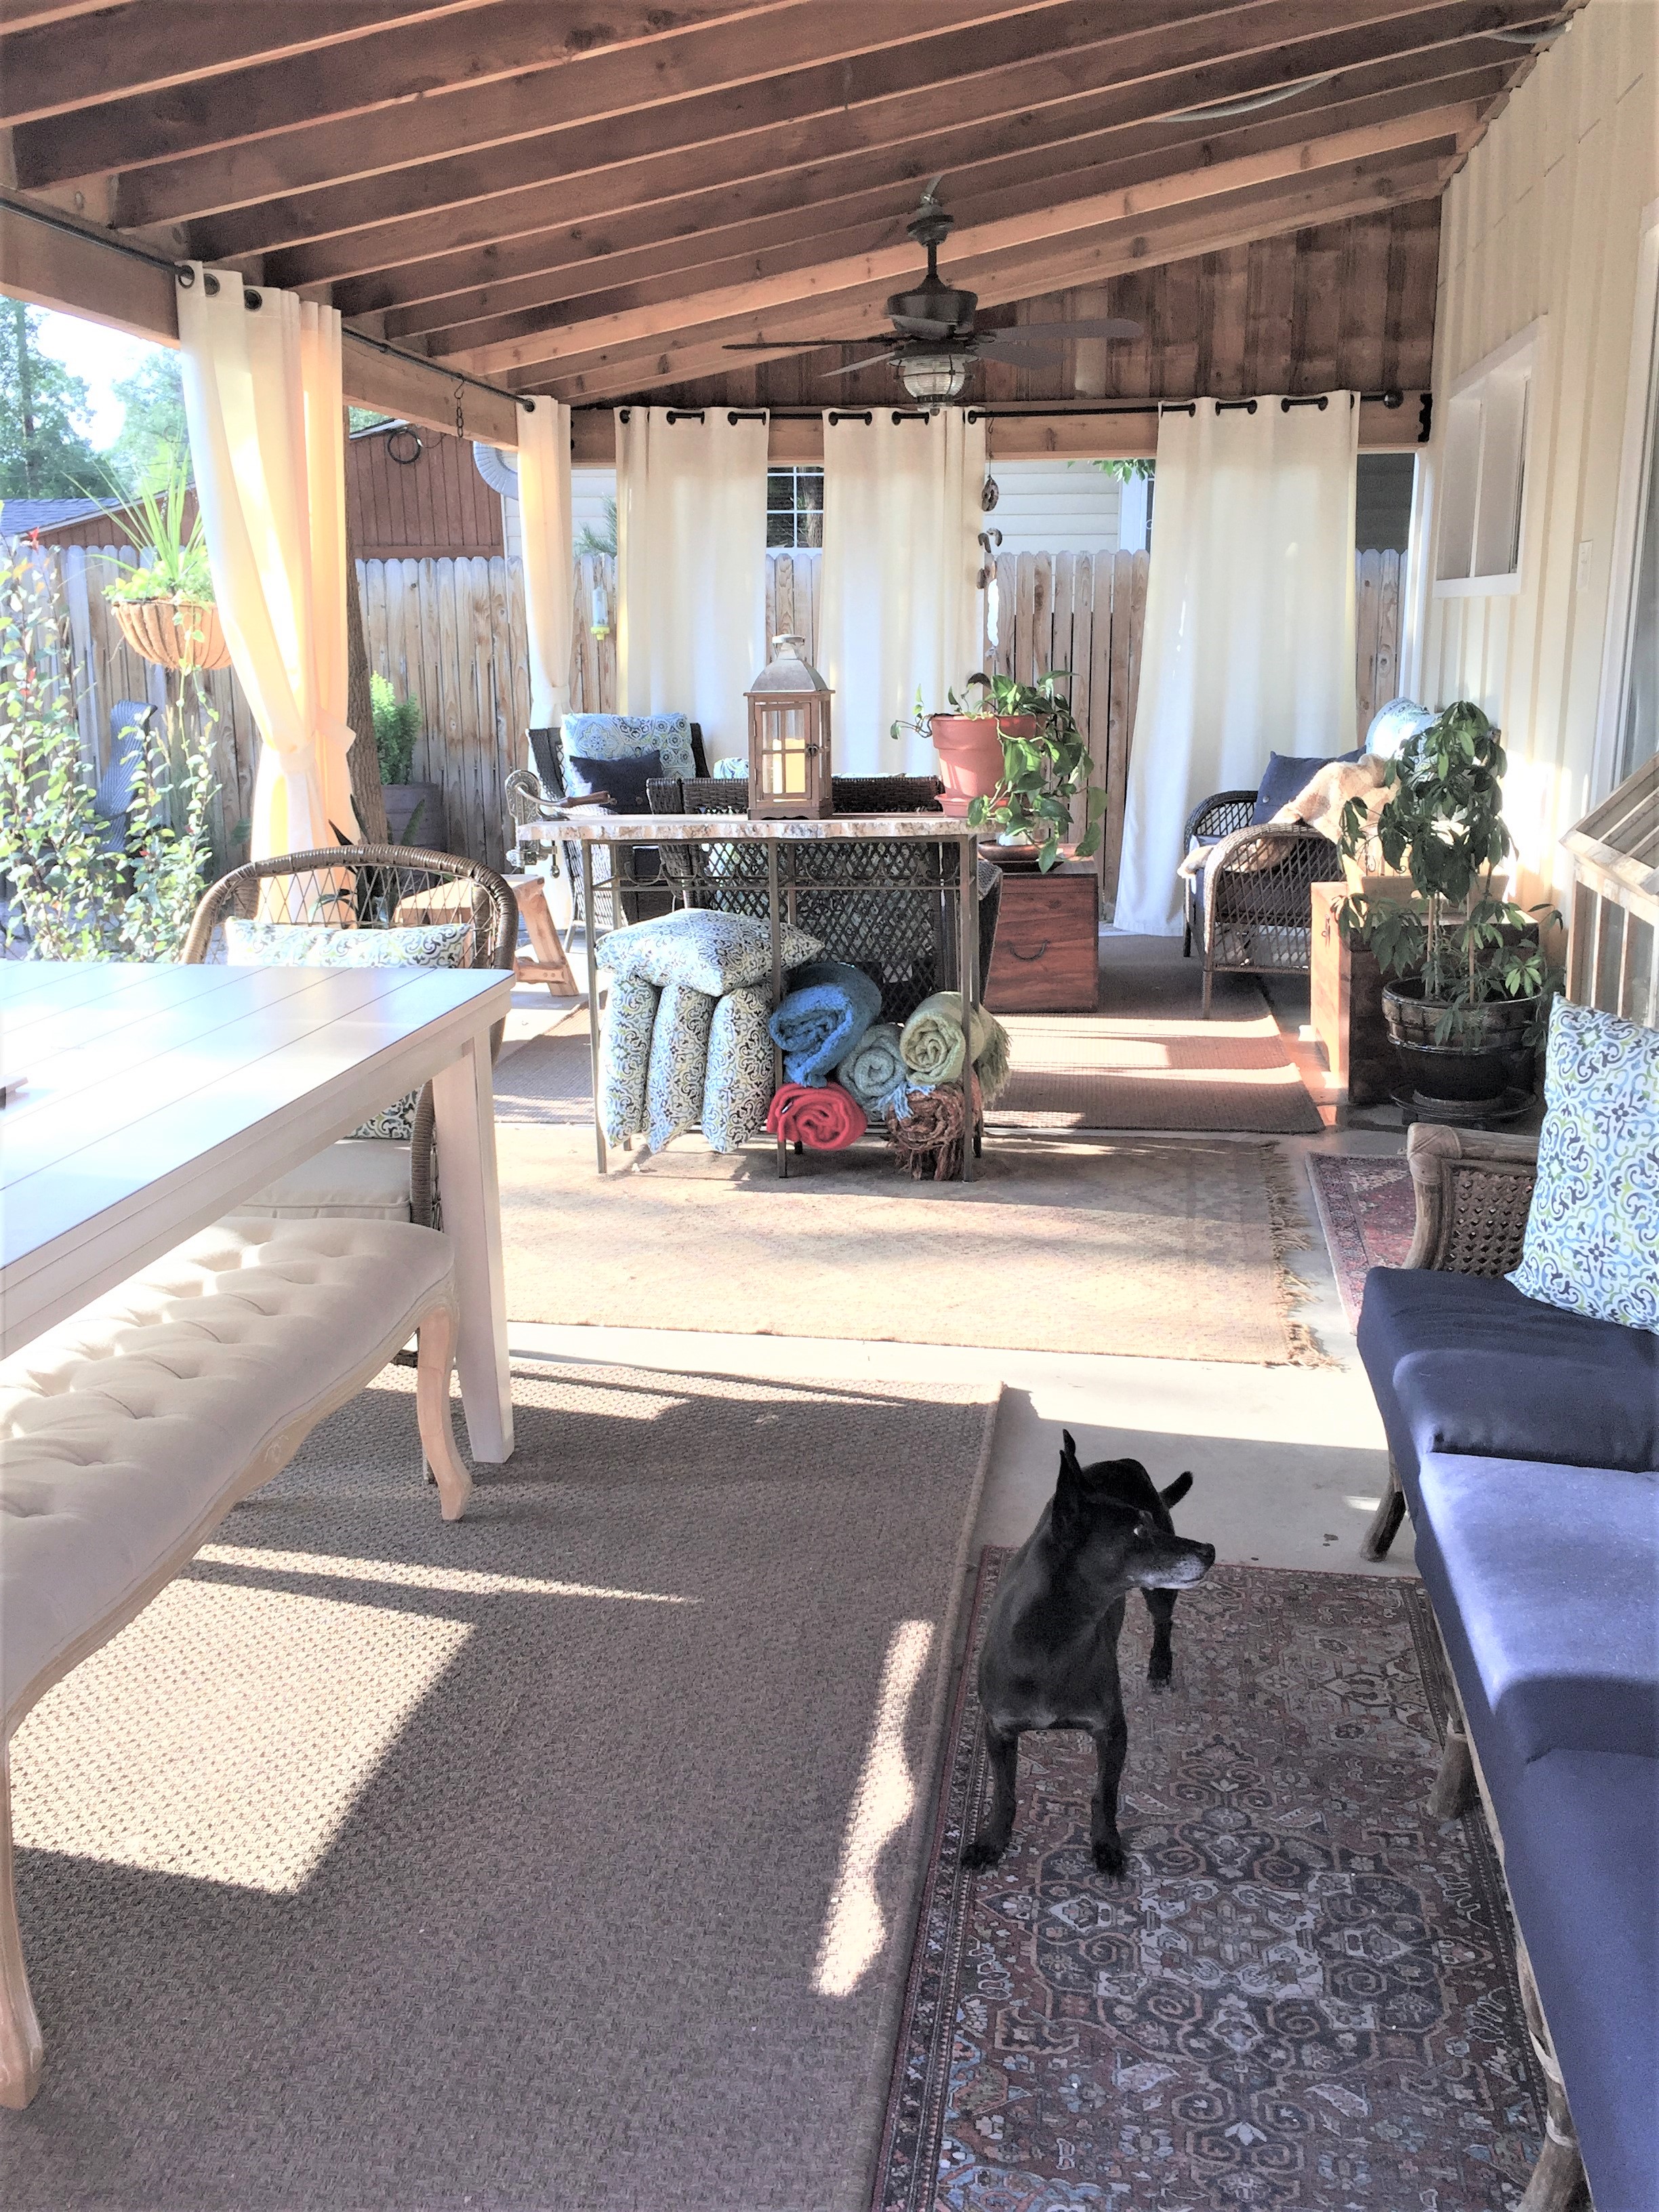
One of the best parts of this 893 square foot house is the patio and outdoor living space. I knew this space should be the heart of the house when I first saw it in 2005. I didn’t however, think I would live here 14 years later and make it into what I imagined it could be!
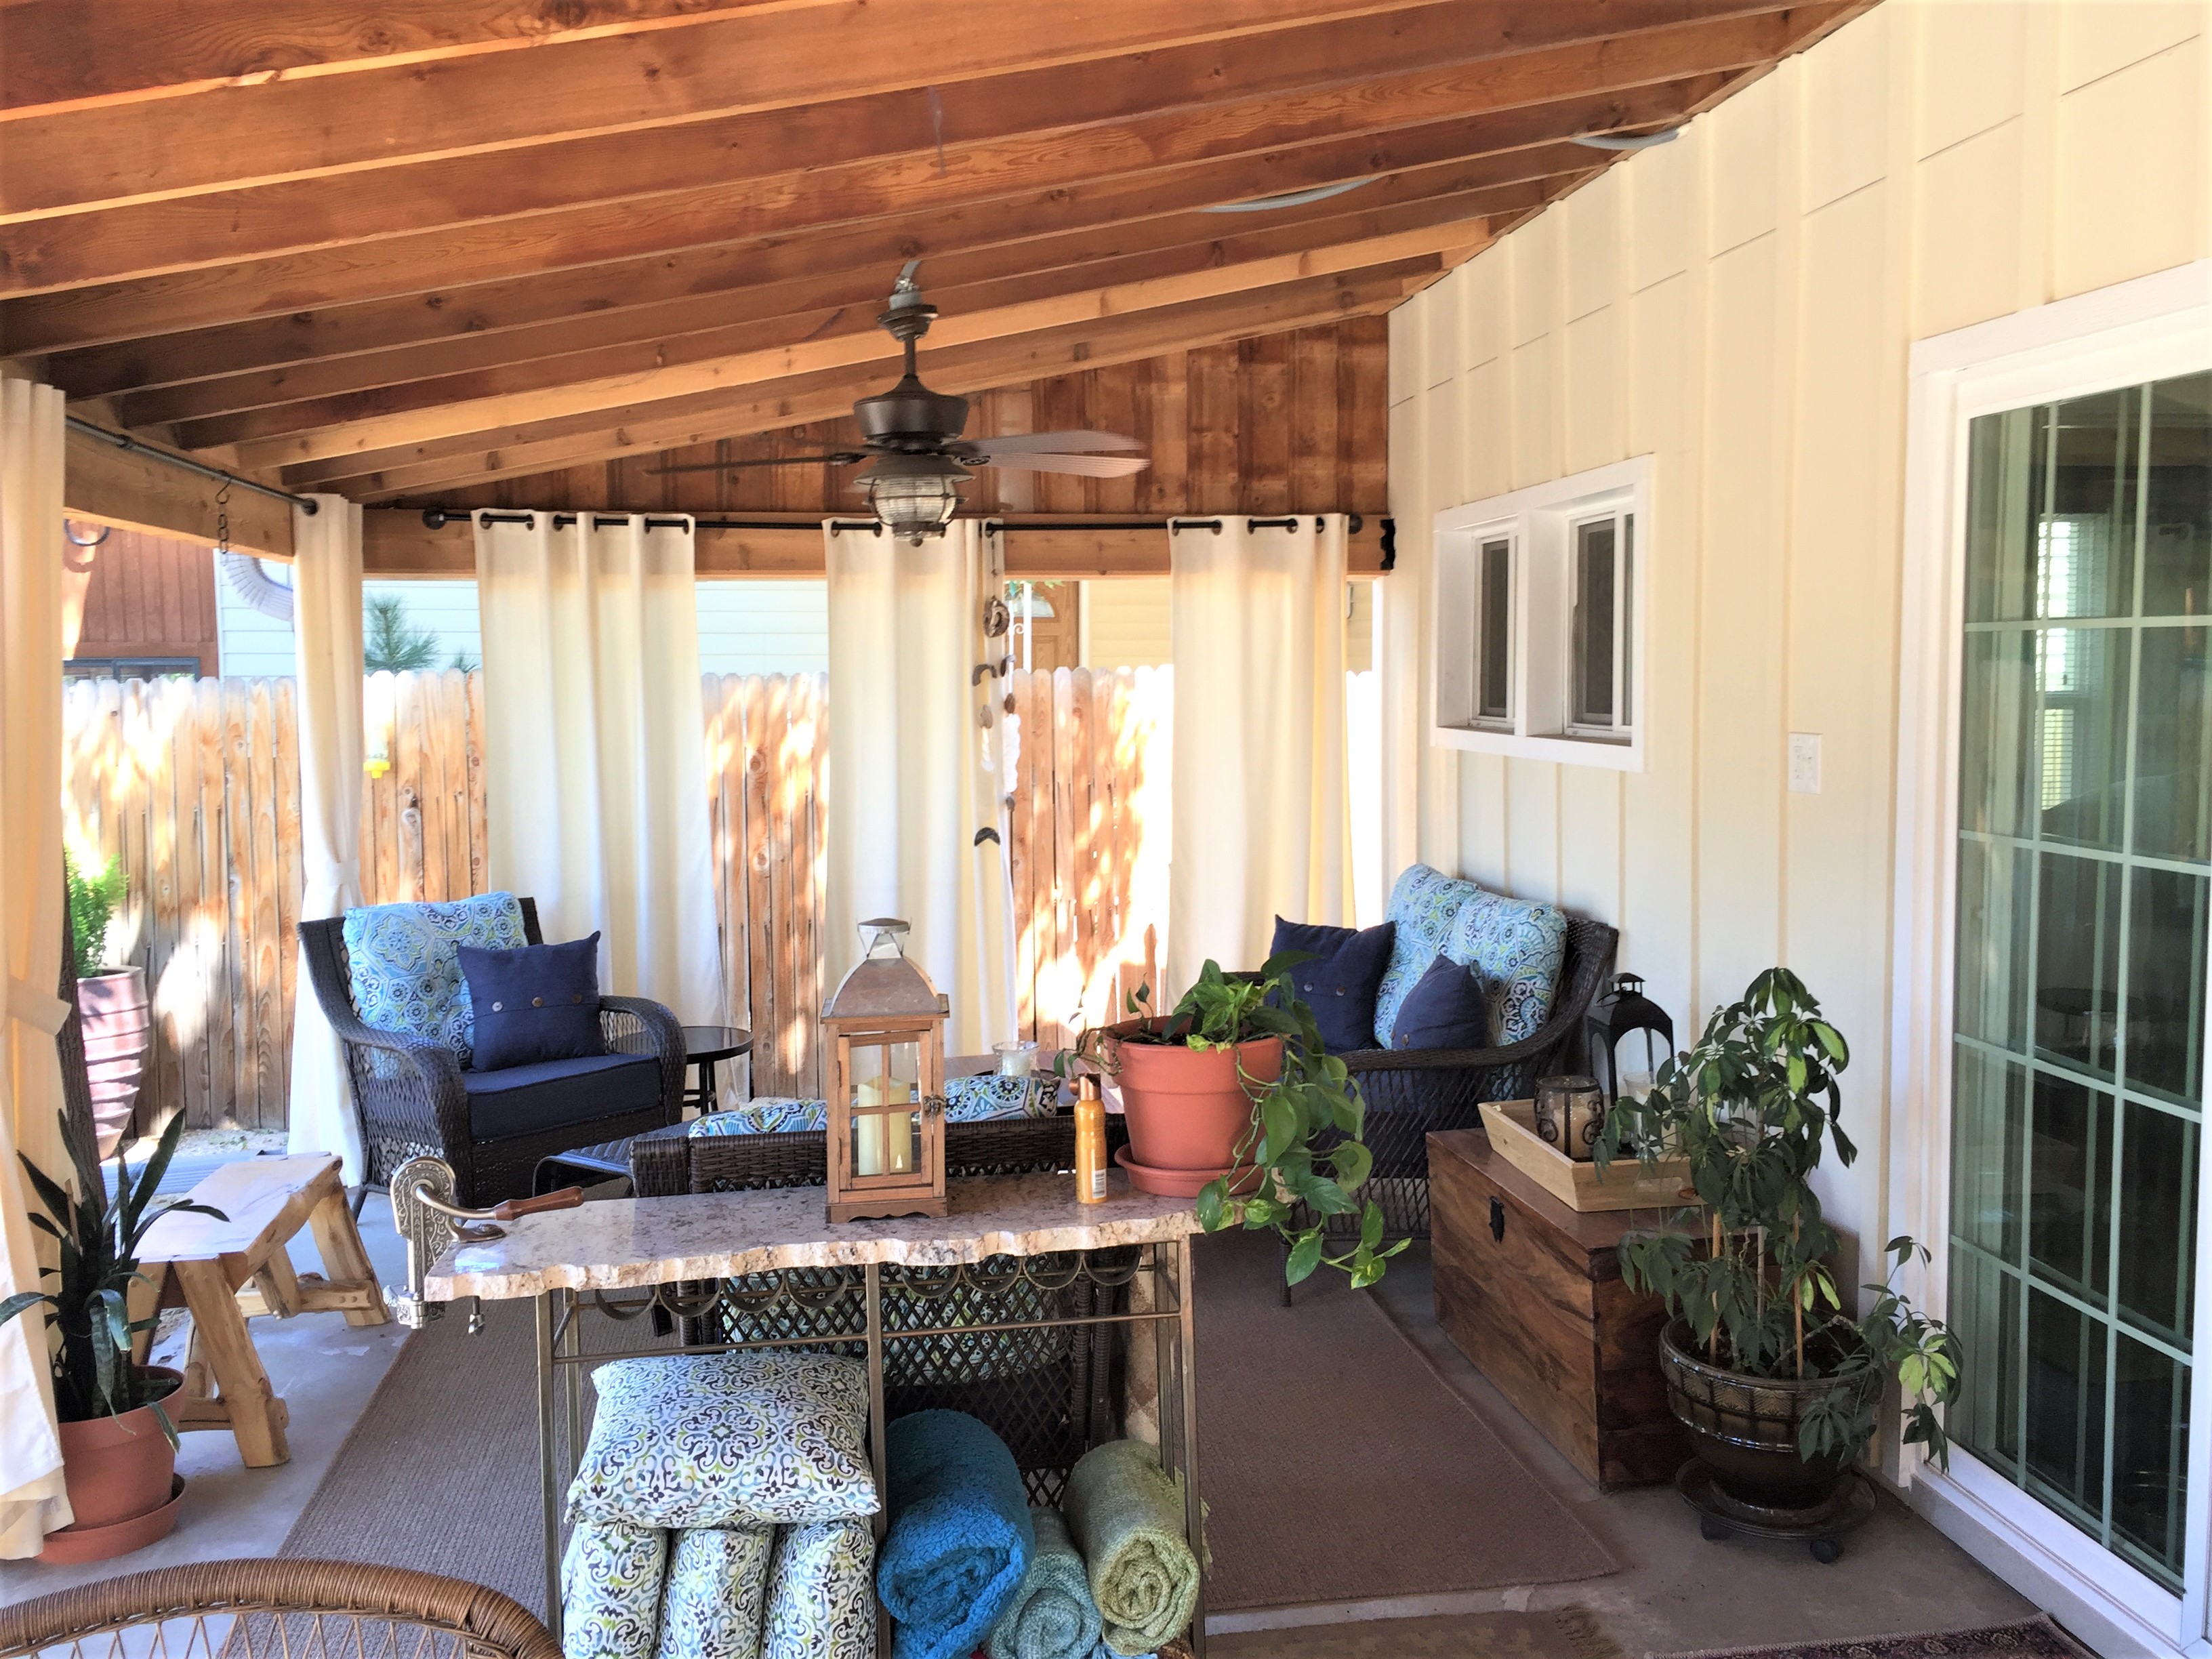
This space is so comfortable and serene. The breeze flows through the patio, keeping it cool. Ceiling fans move the air and the curtains float. Mmmm.
This is what my life looked like in August 2018, 1 year ago.
This is what it looks like today! Rocco is comfortable here too!
The old garage concrete pad with weeds growing out of the cracks.
Same spot, but now it supports my shed! Clean gravel walkway, courtyard and cedar arbor overhead.
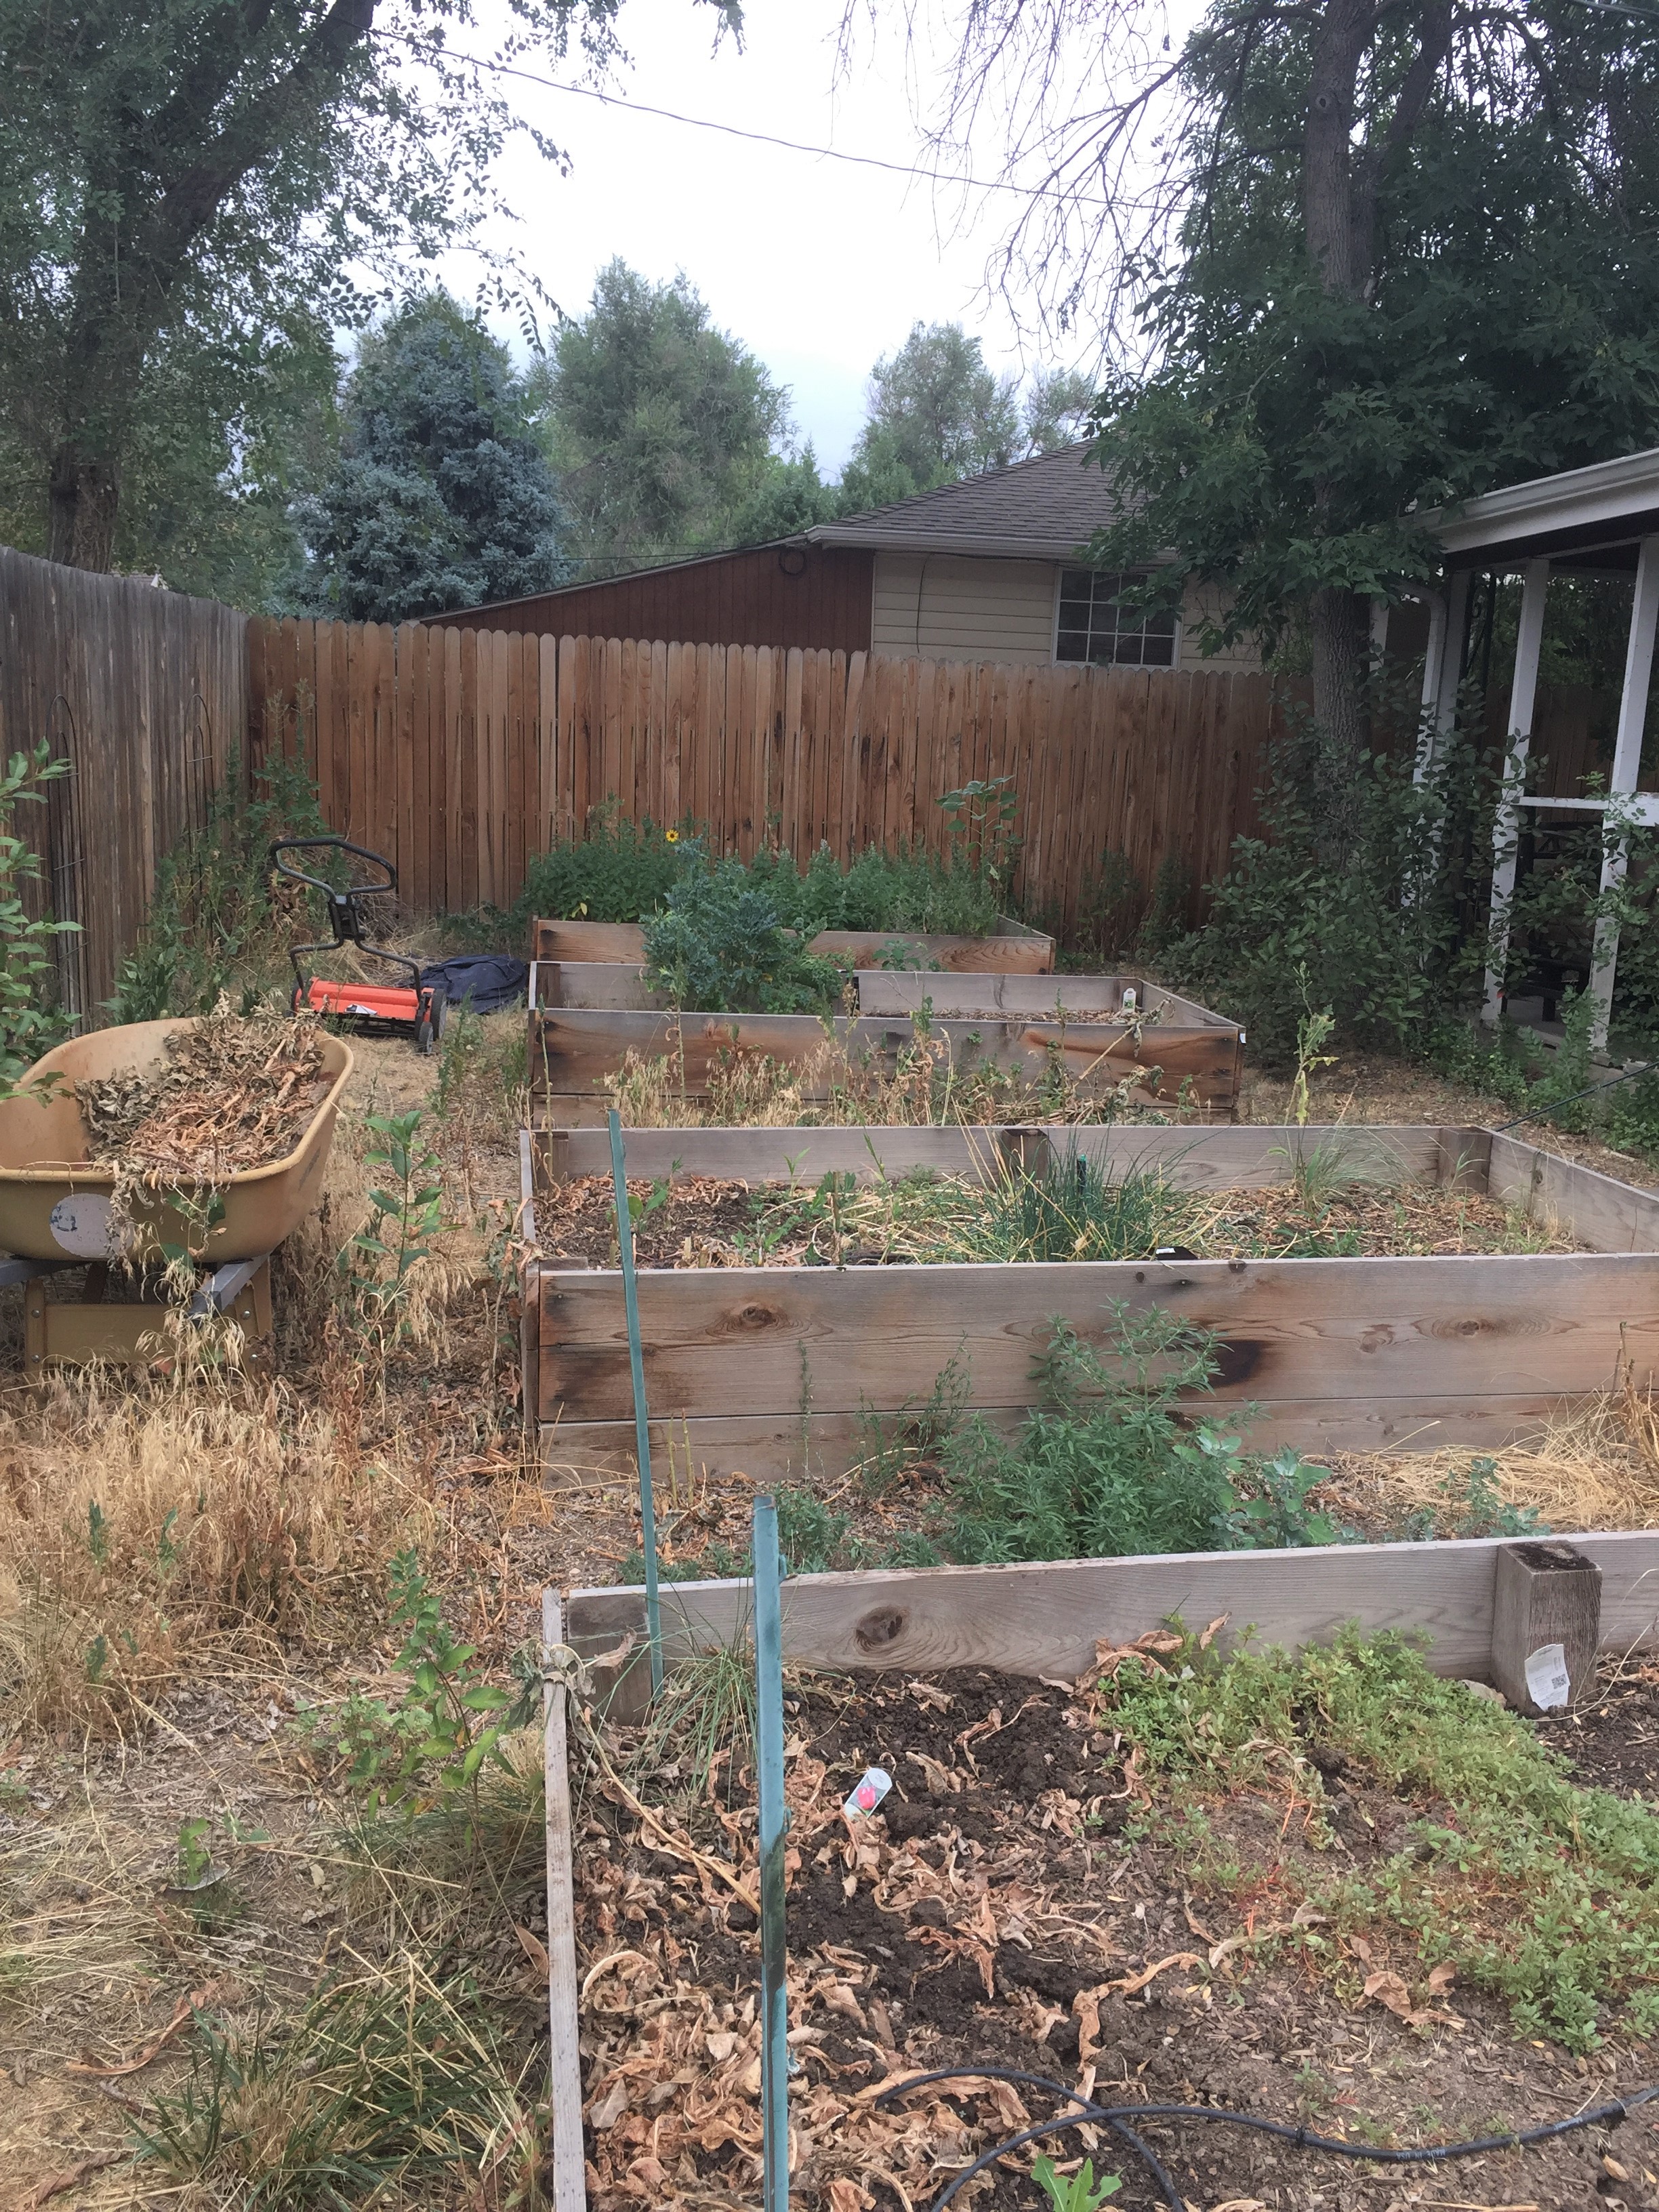
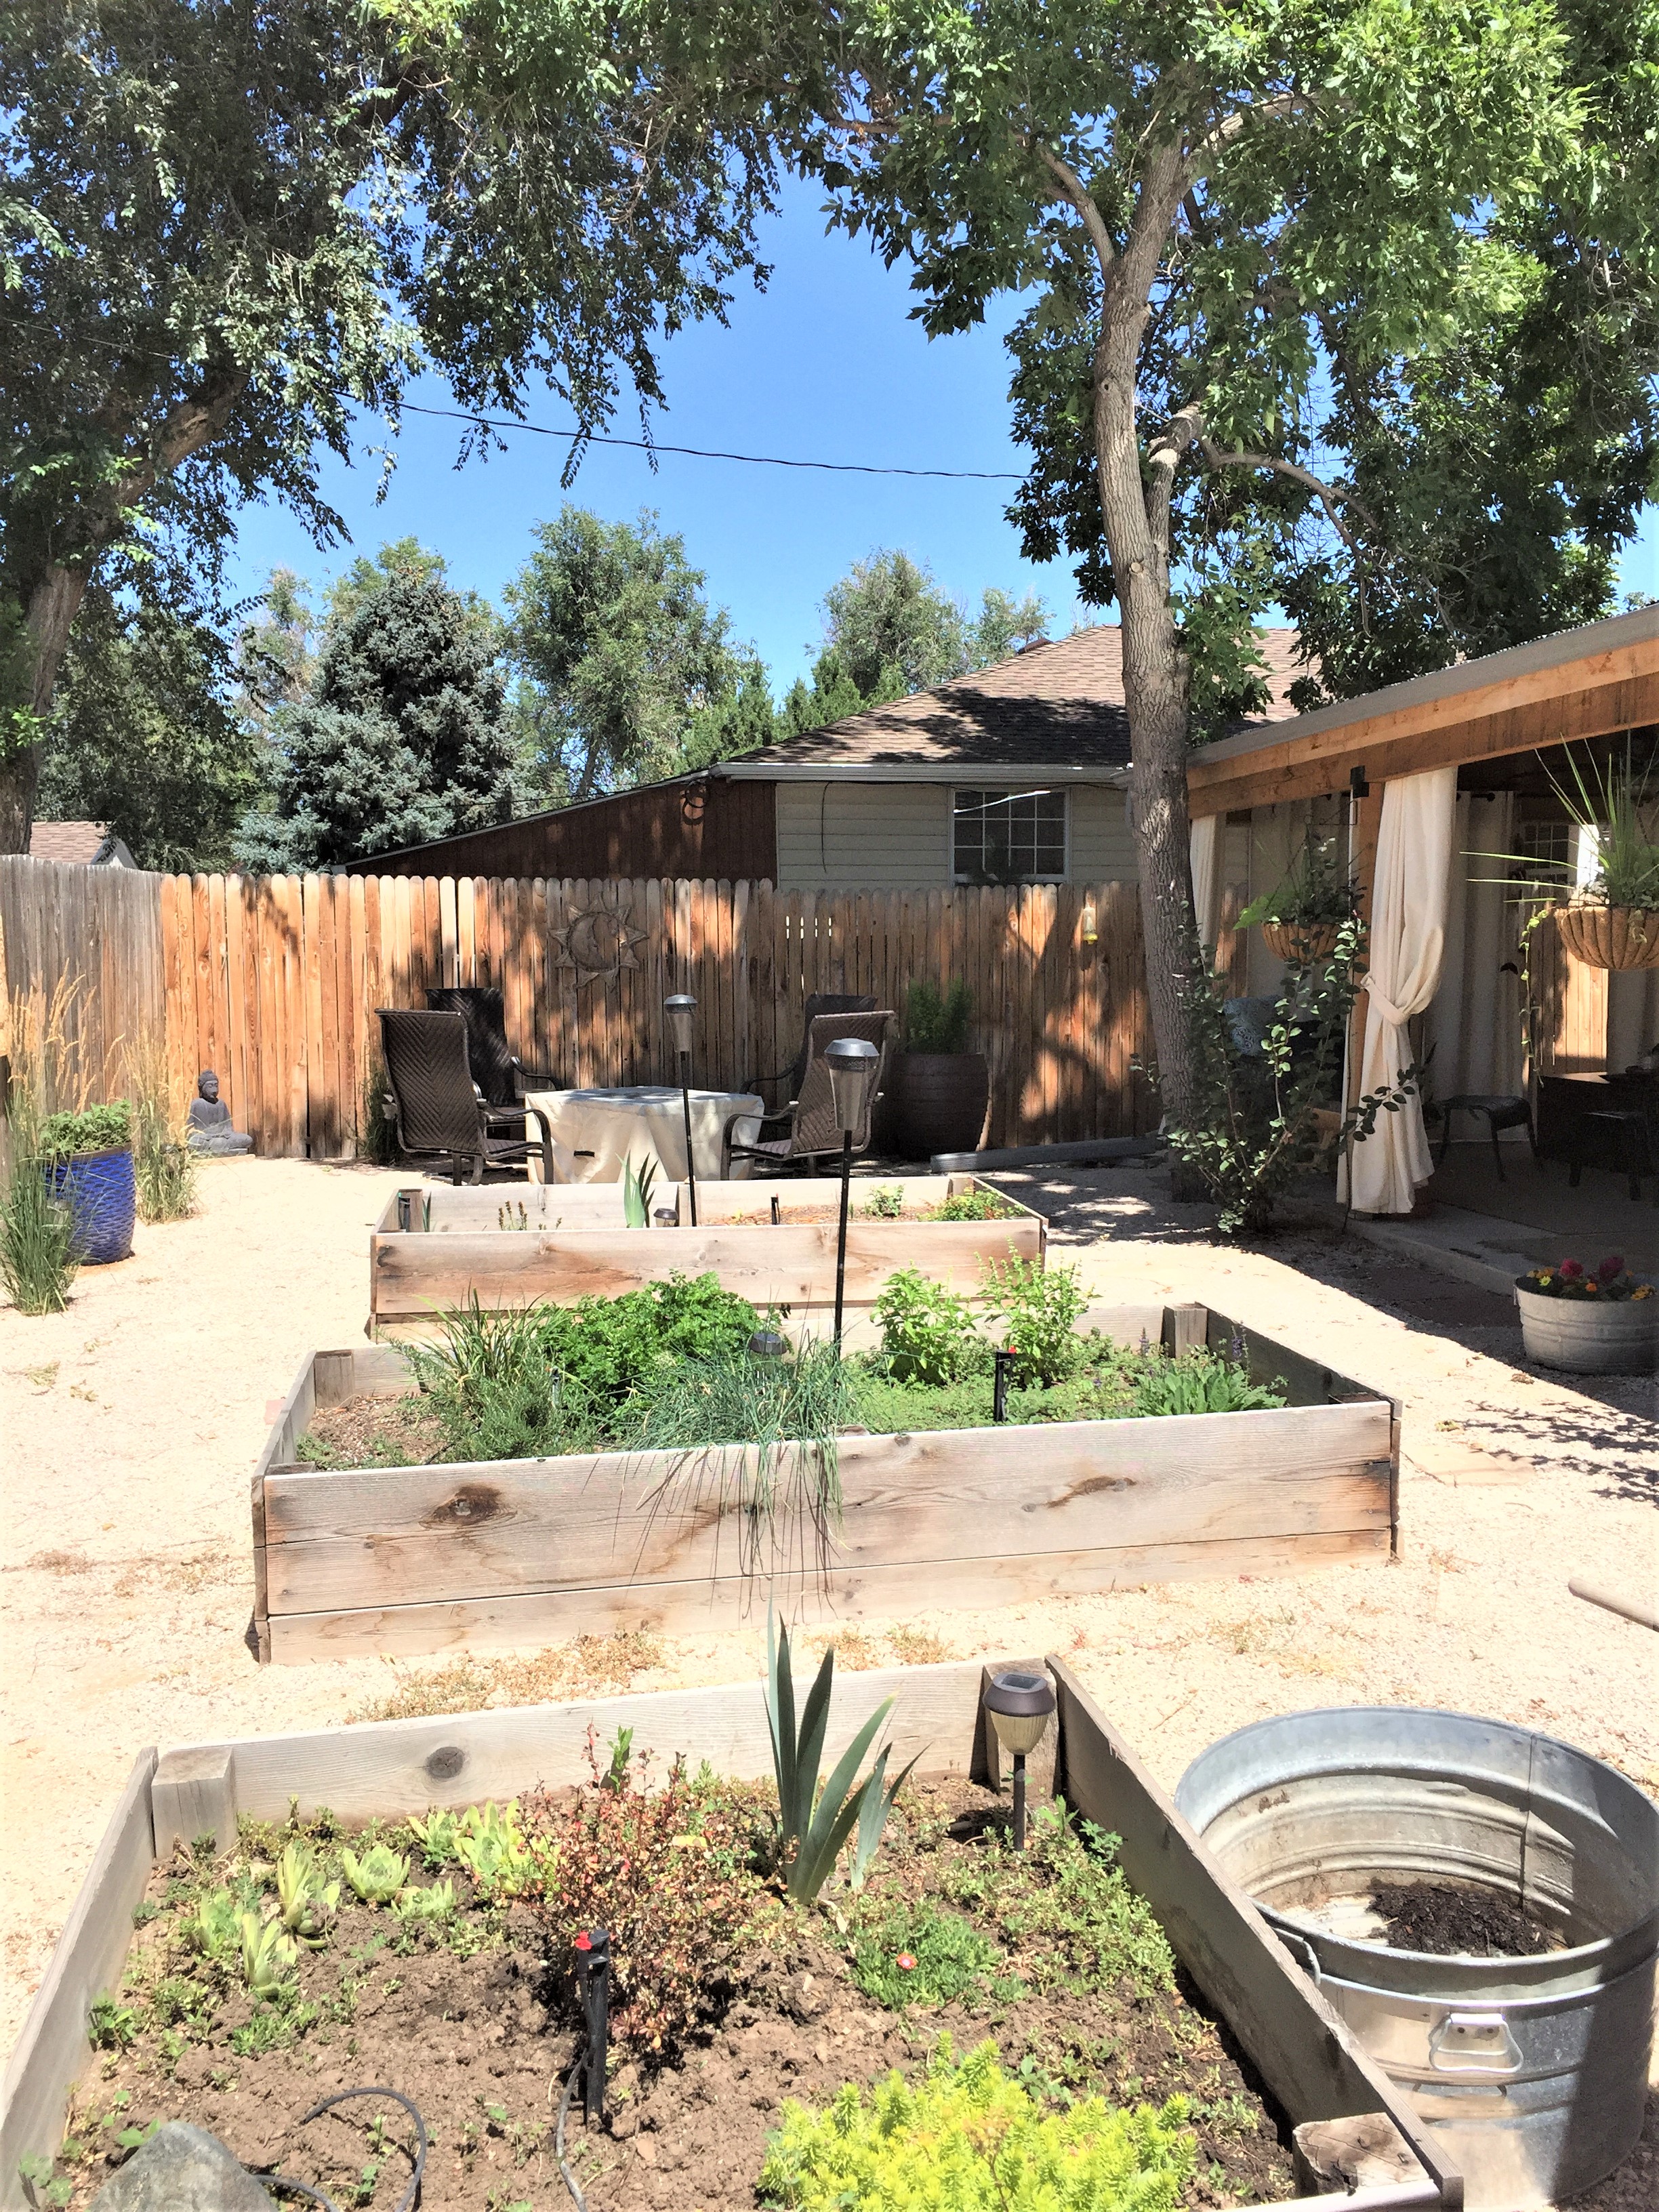
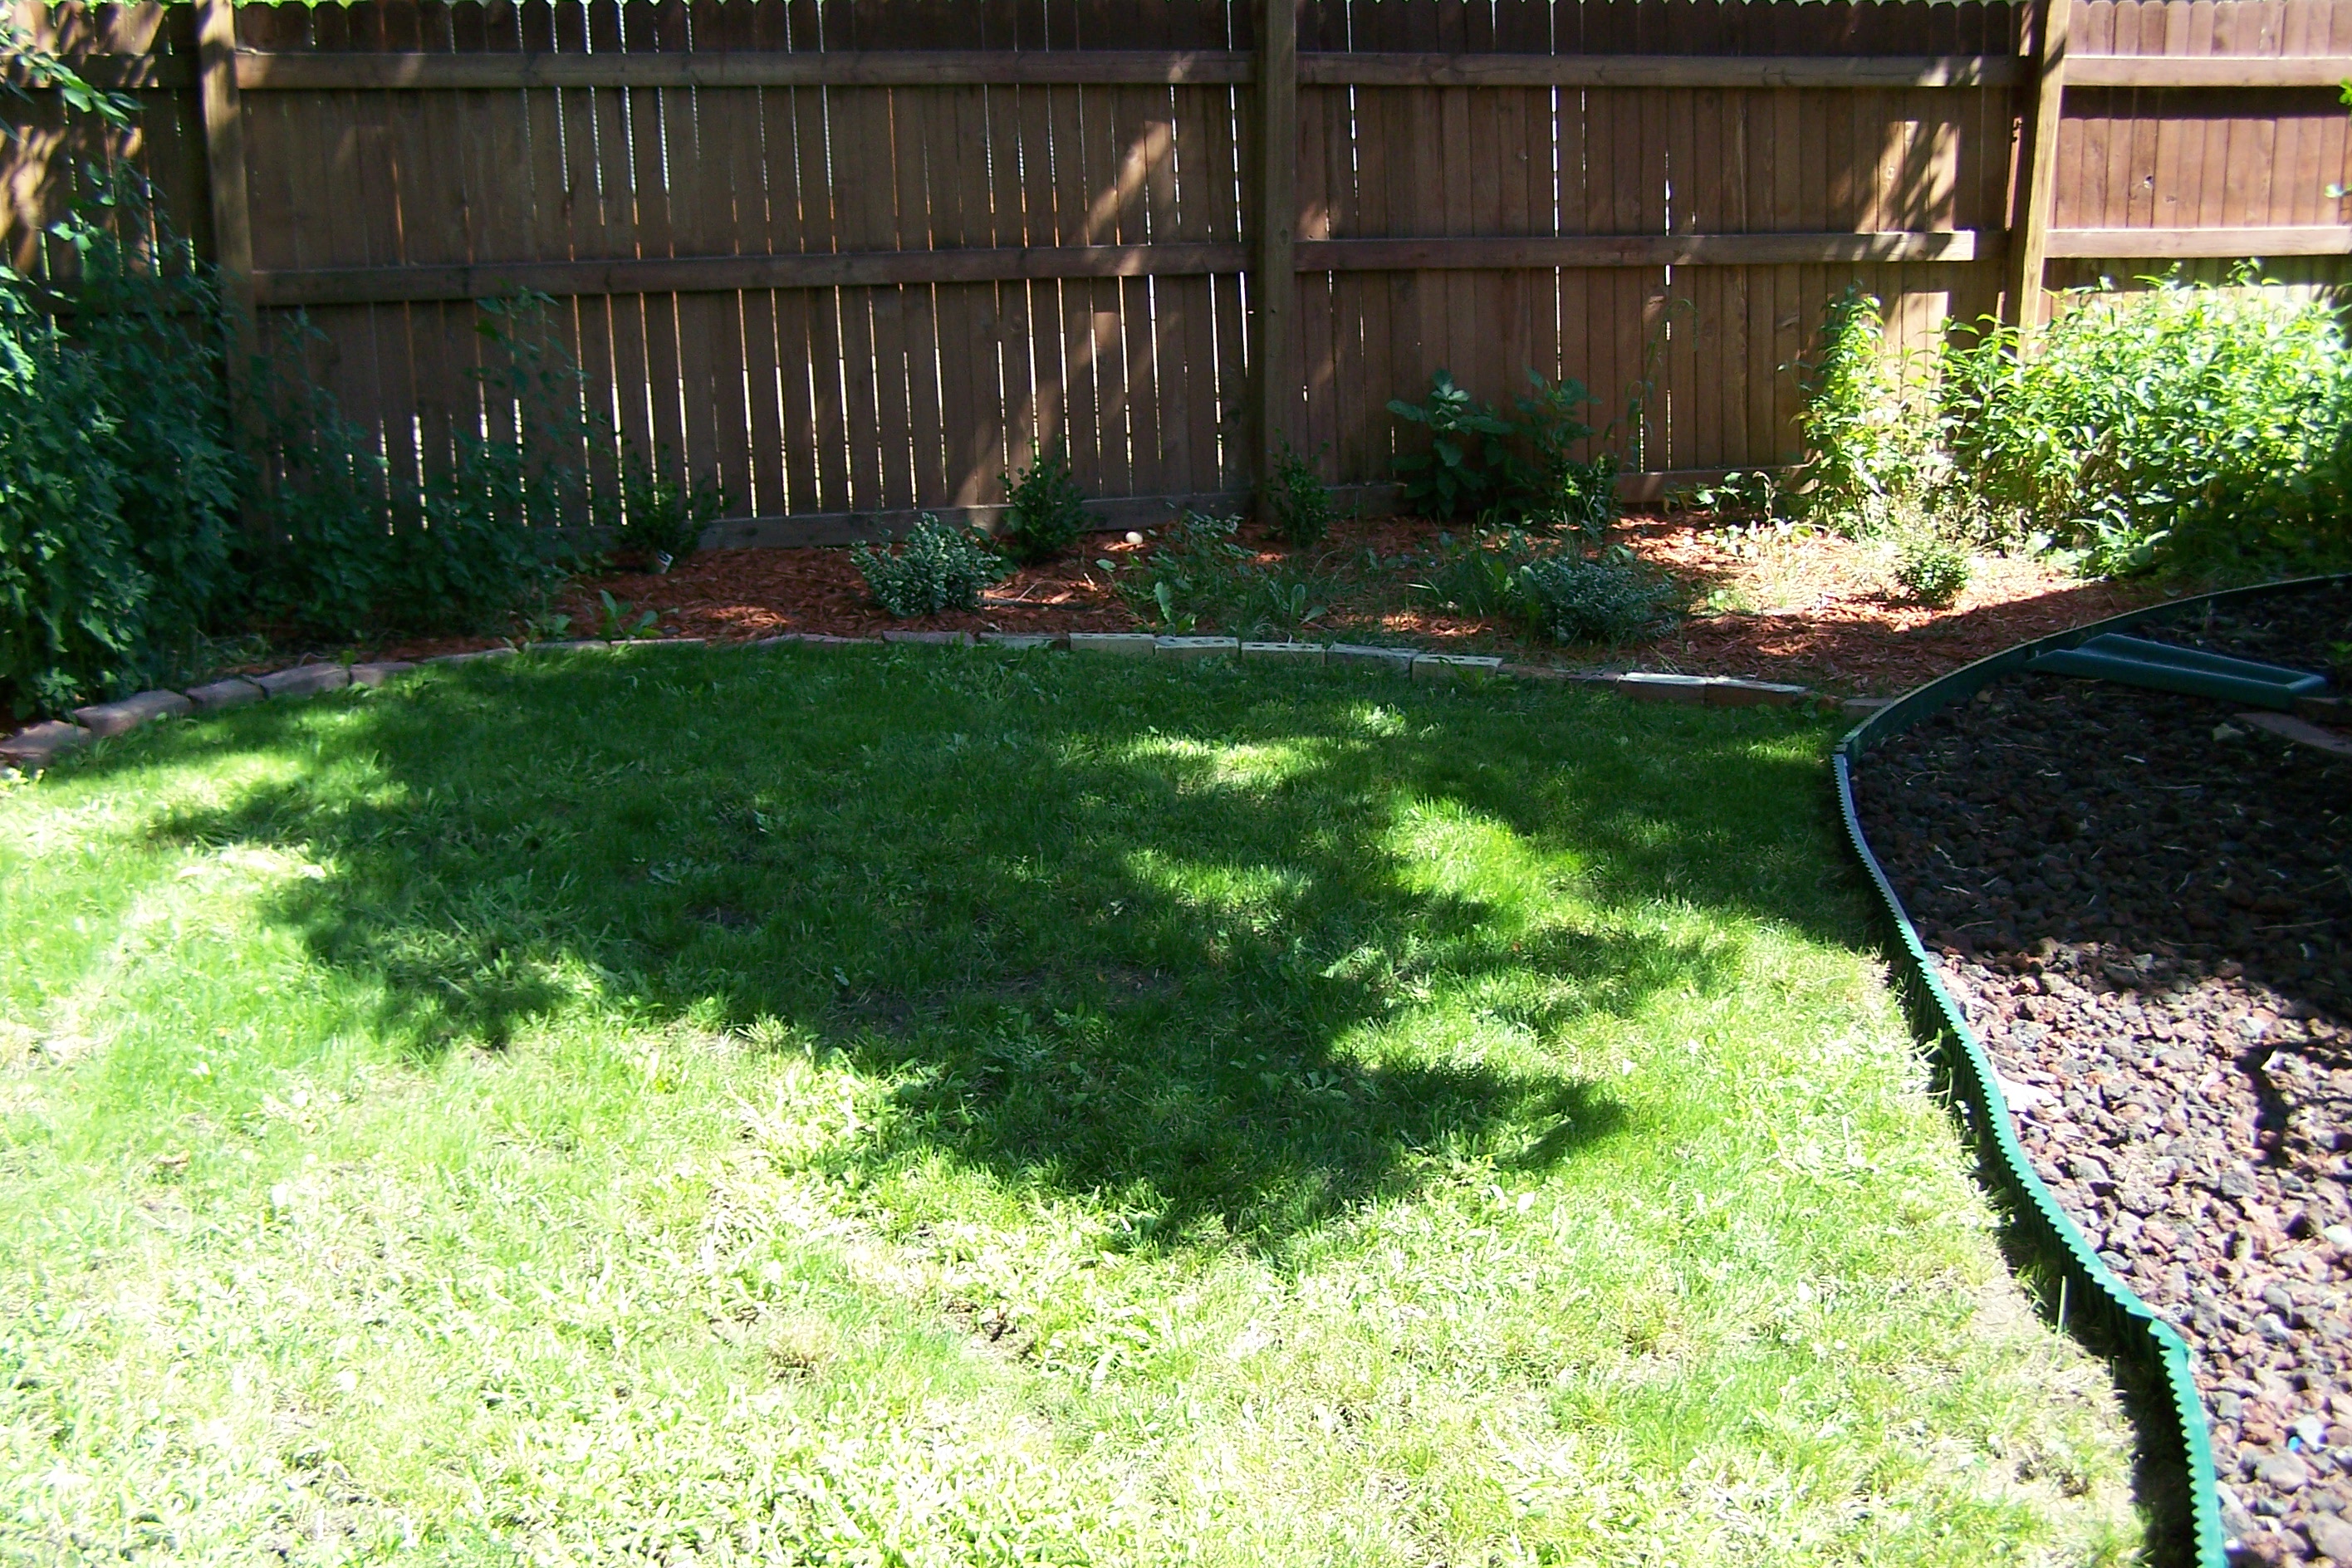
I love how organized garden boxes can make your yard. After some clean up and a new irrigation system…
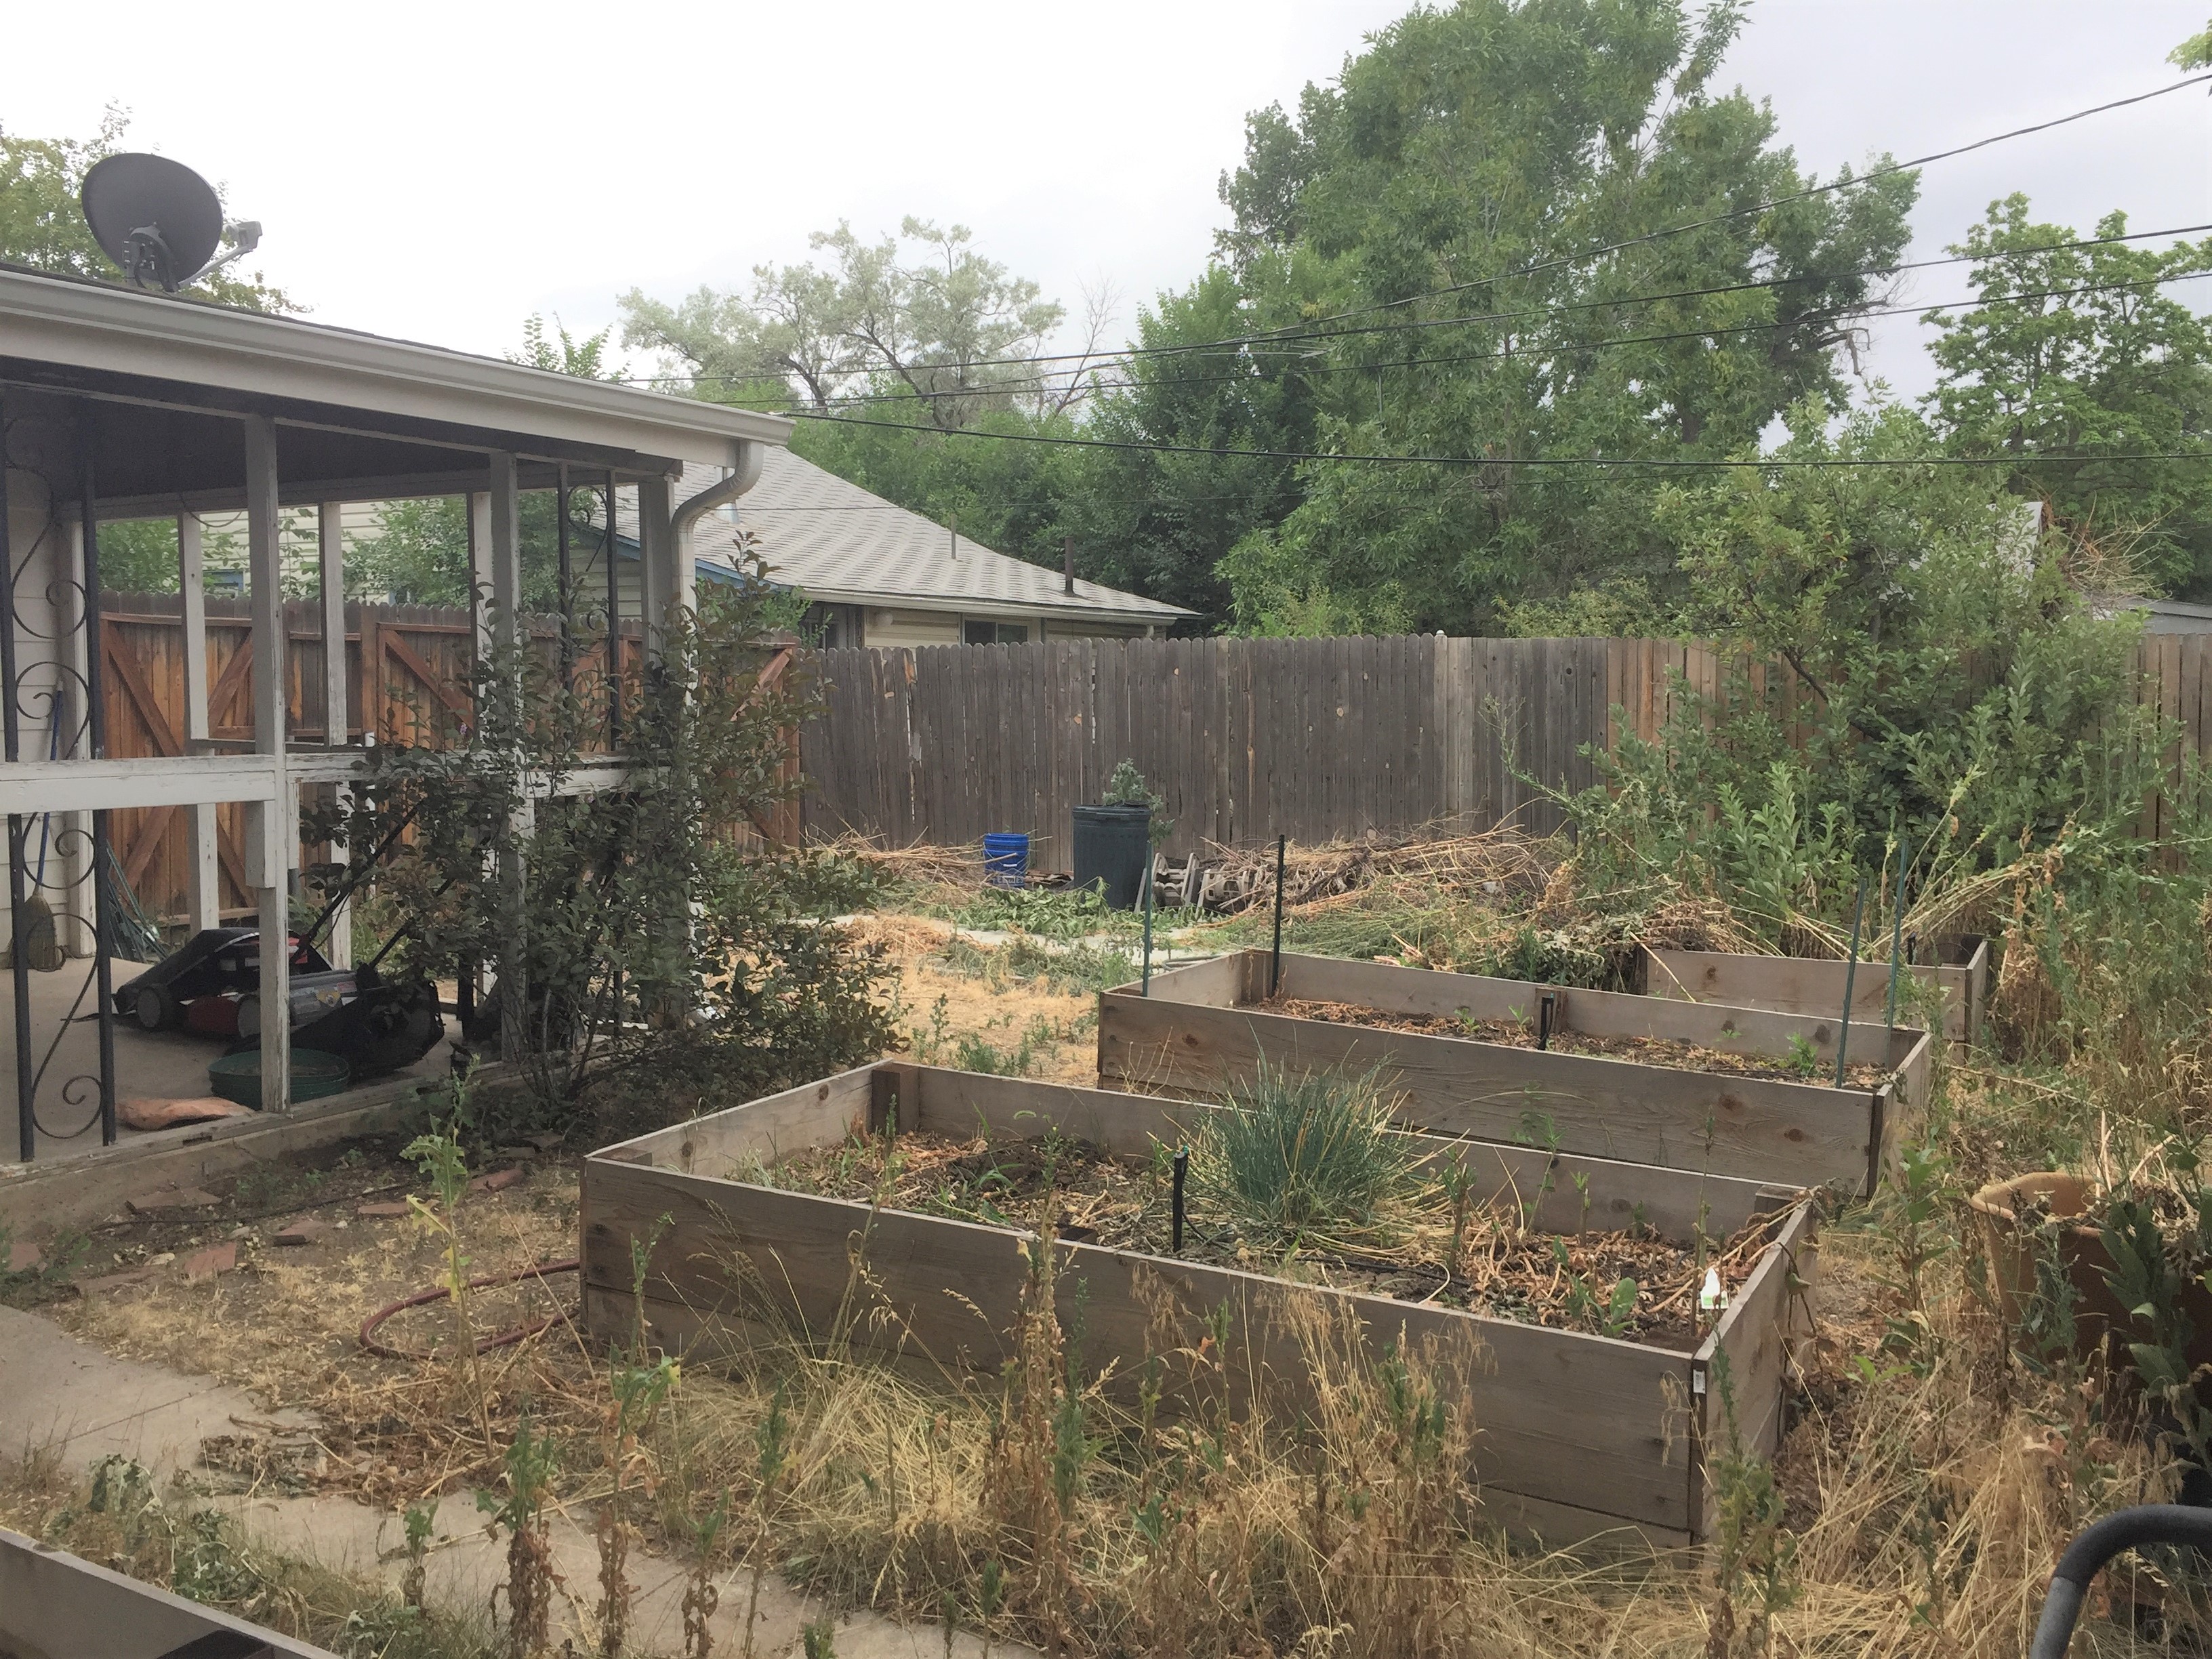
First year gardens. It’s hard the 1st year trying things out and making adjustments as needed. I’ve read that gardening teaches patience and my the case, it’s true! Every year after, becomes a game of what will come back again and eventually you have a mature garden.
Walking through the side gate, this is what you’d see ahead. This is my main entrance. Lovely!
Now this looks like a place I need to explore more!
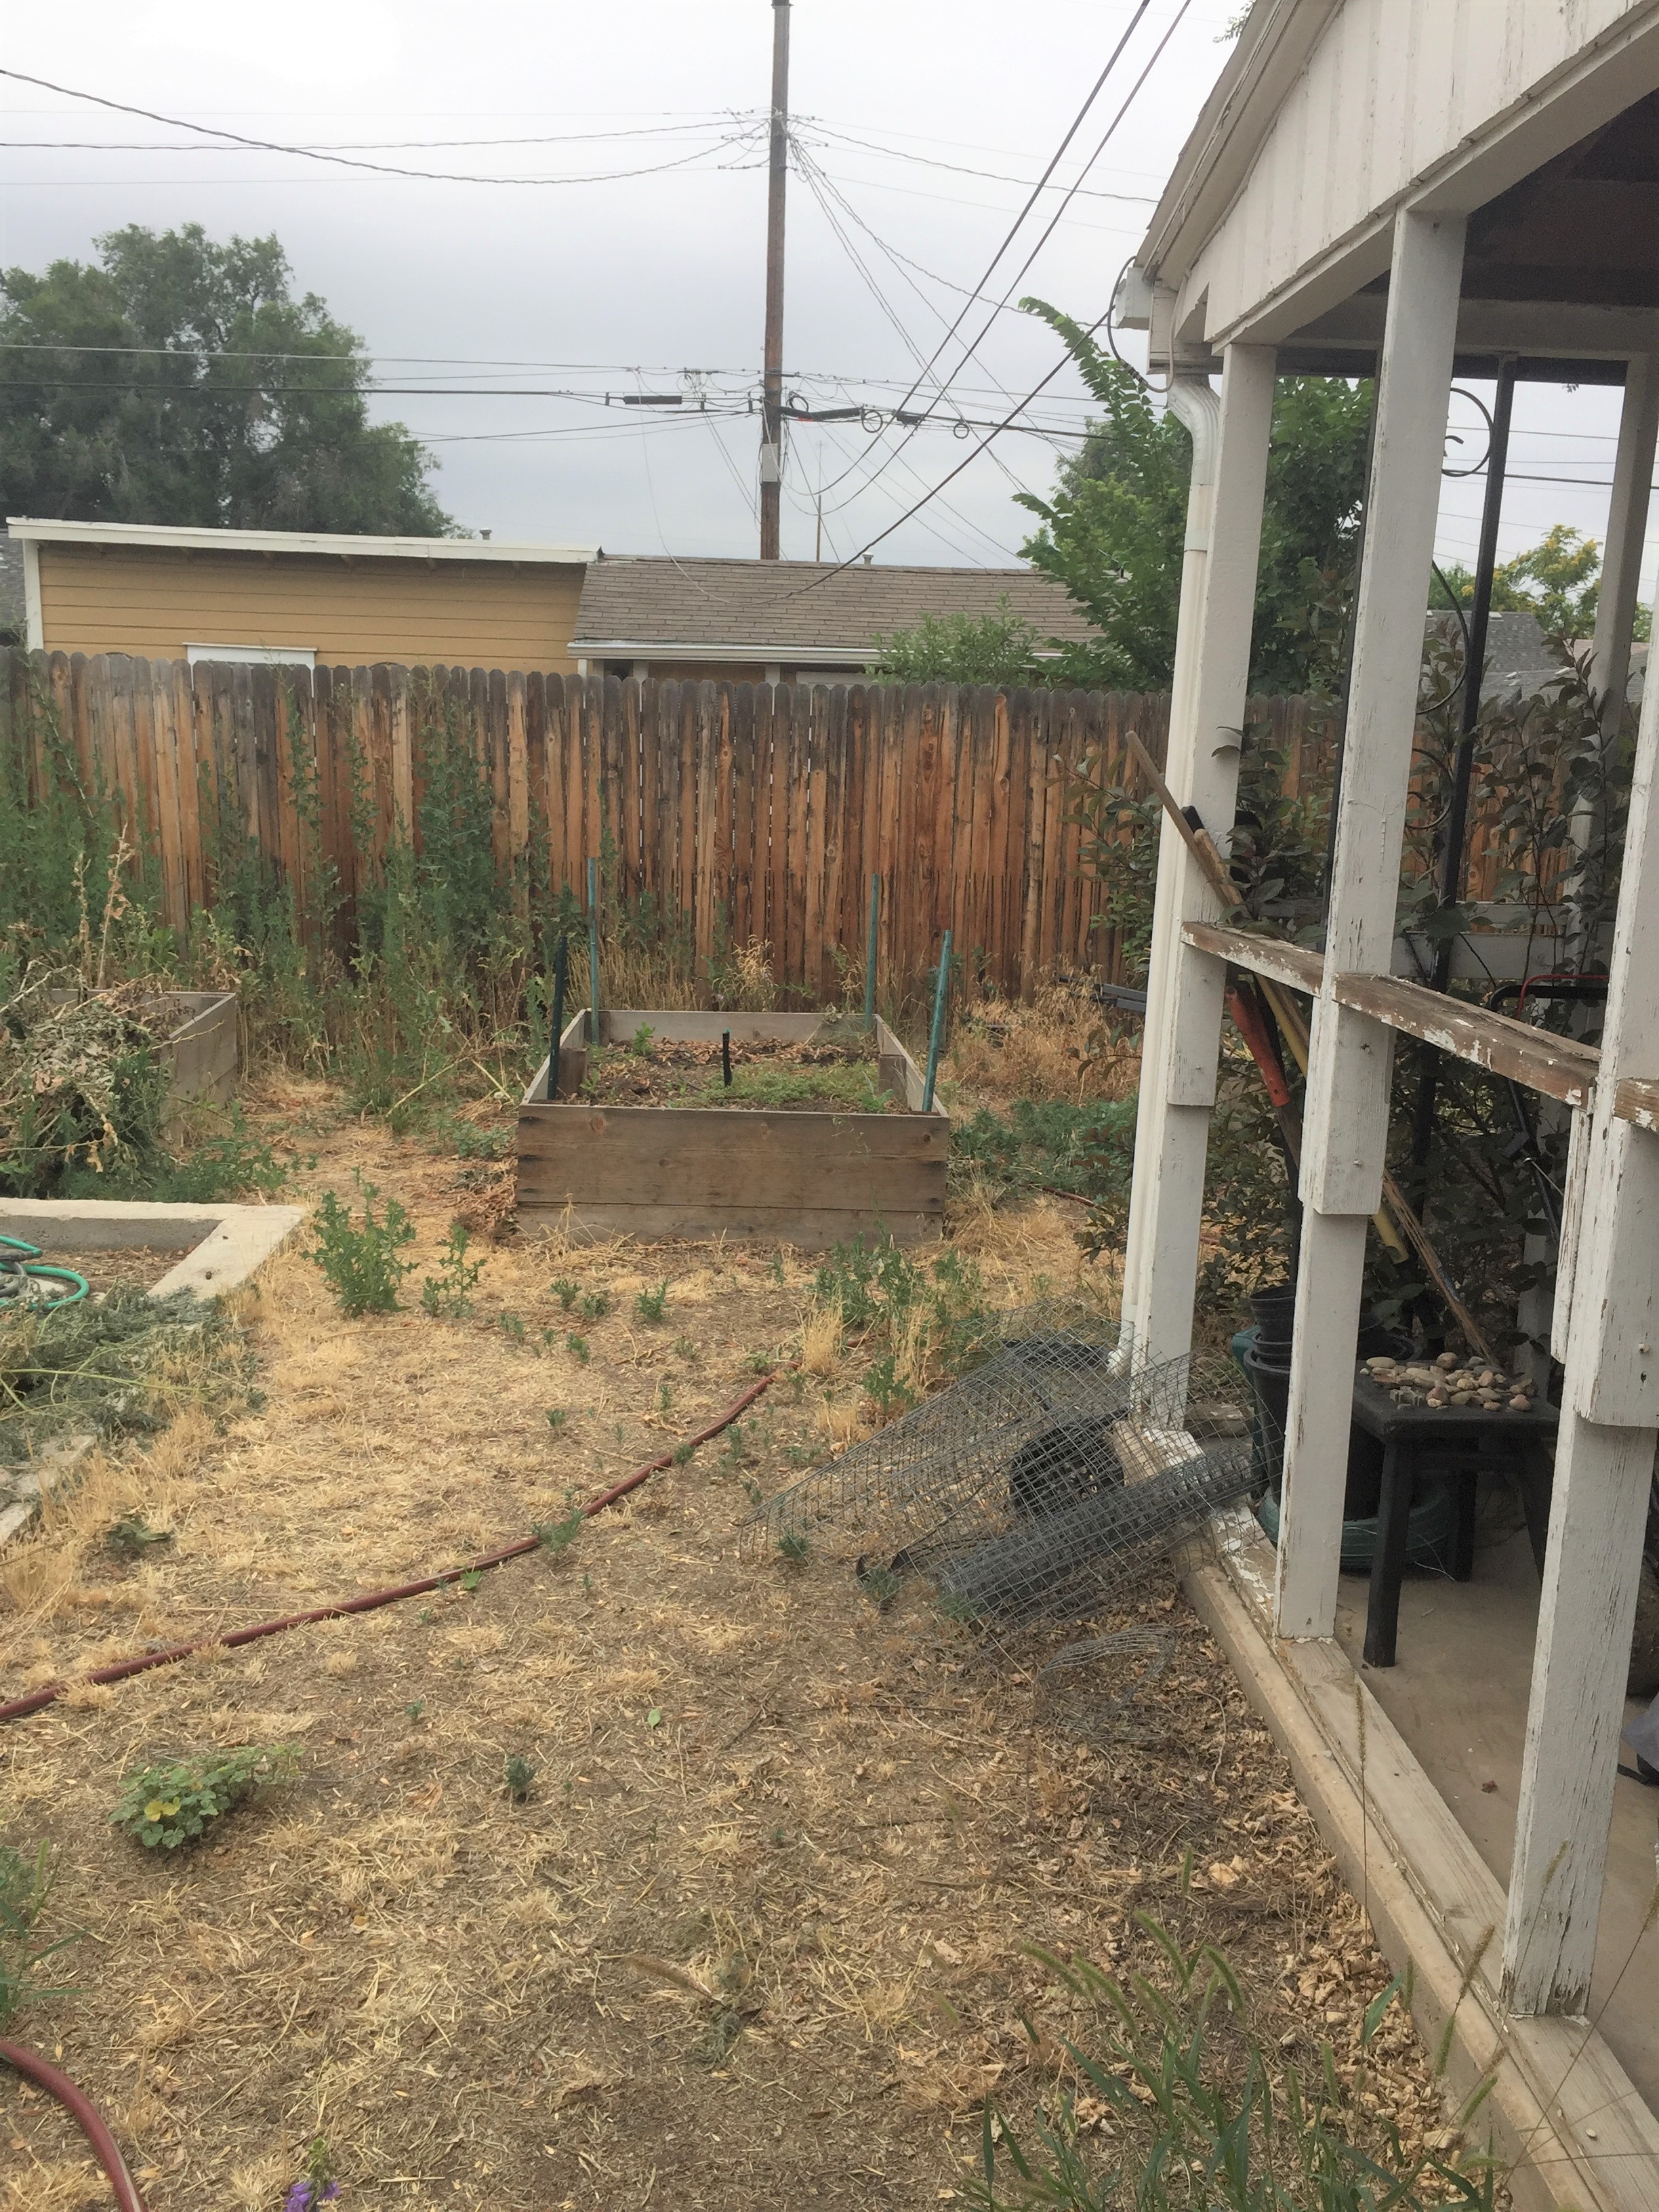
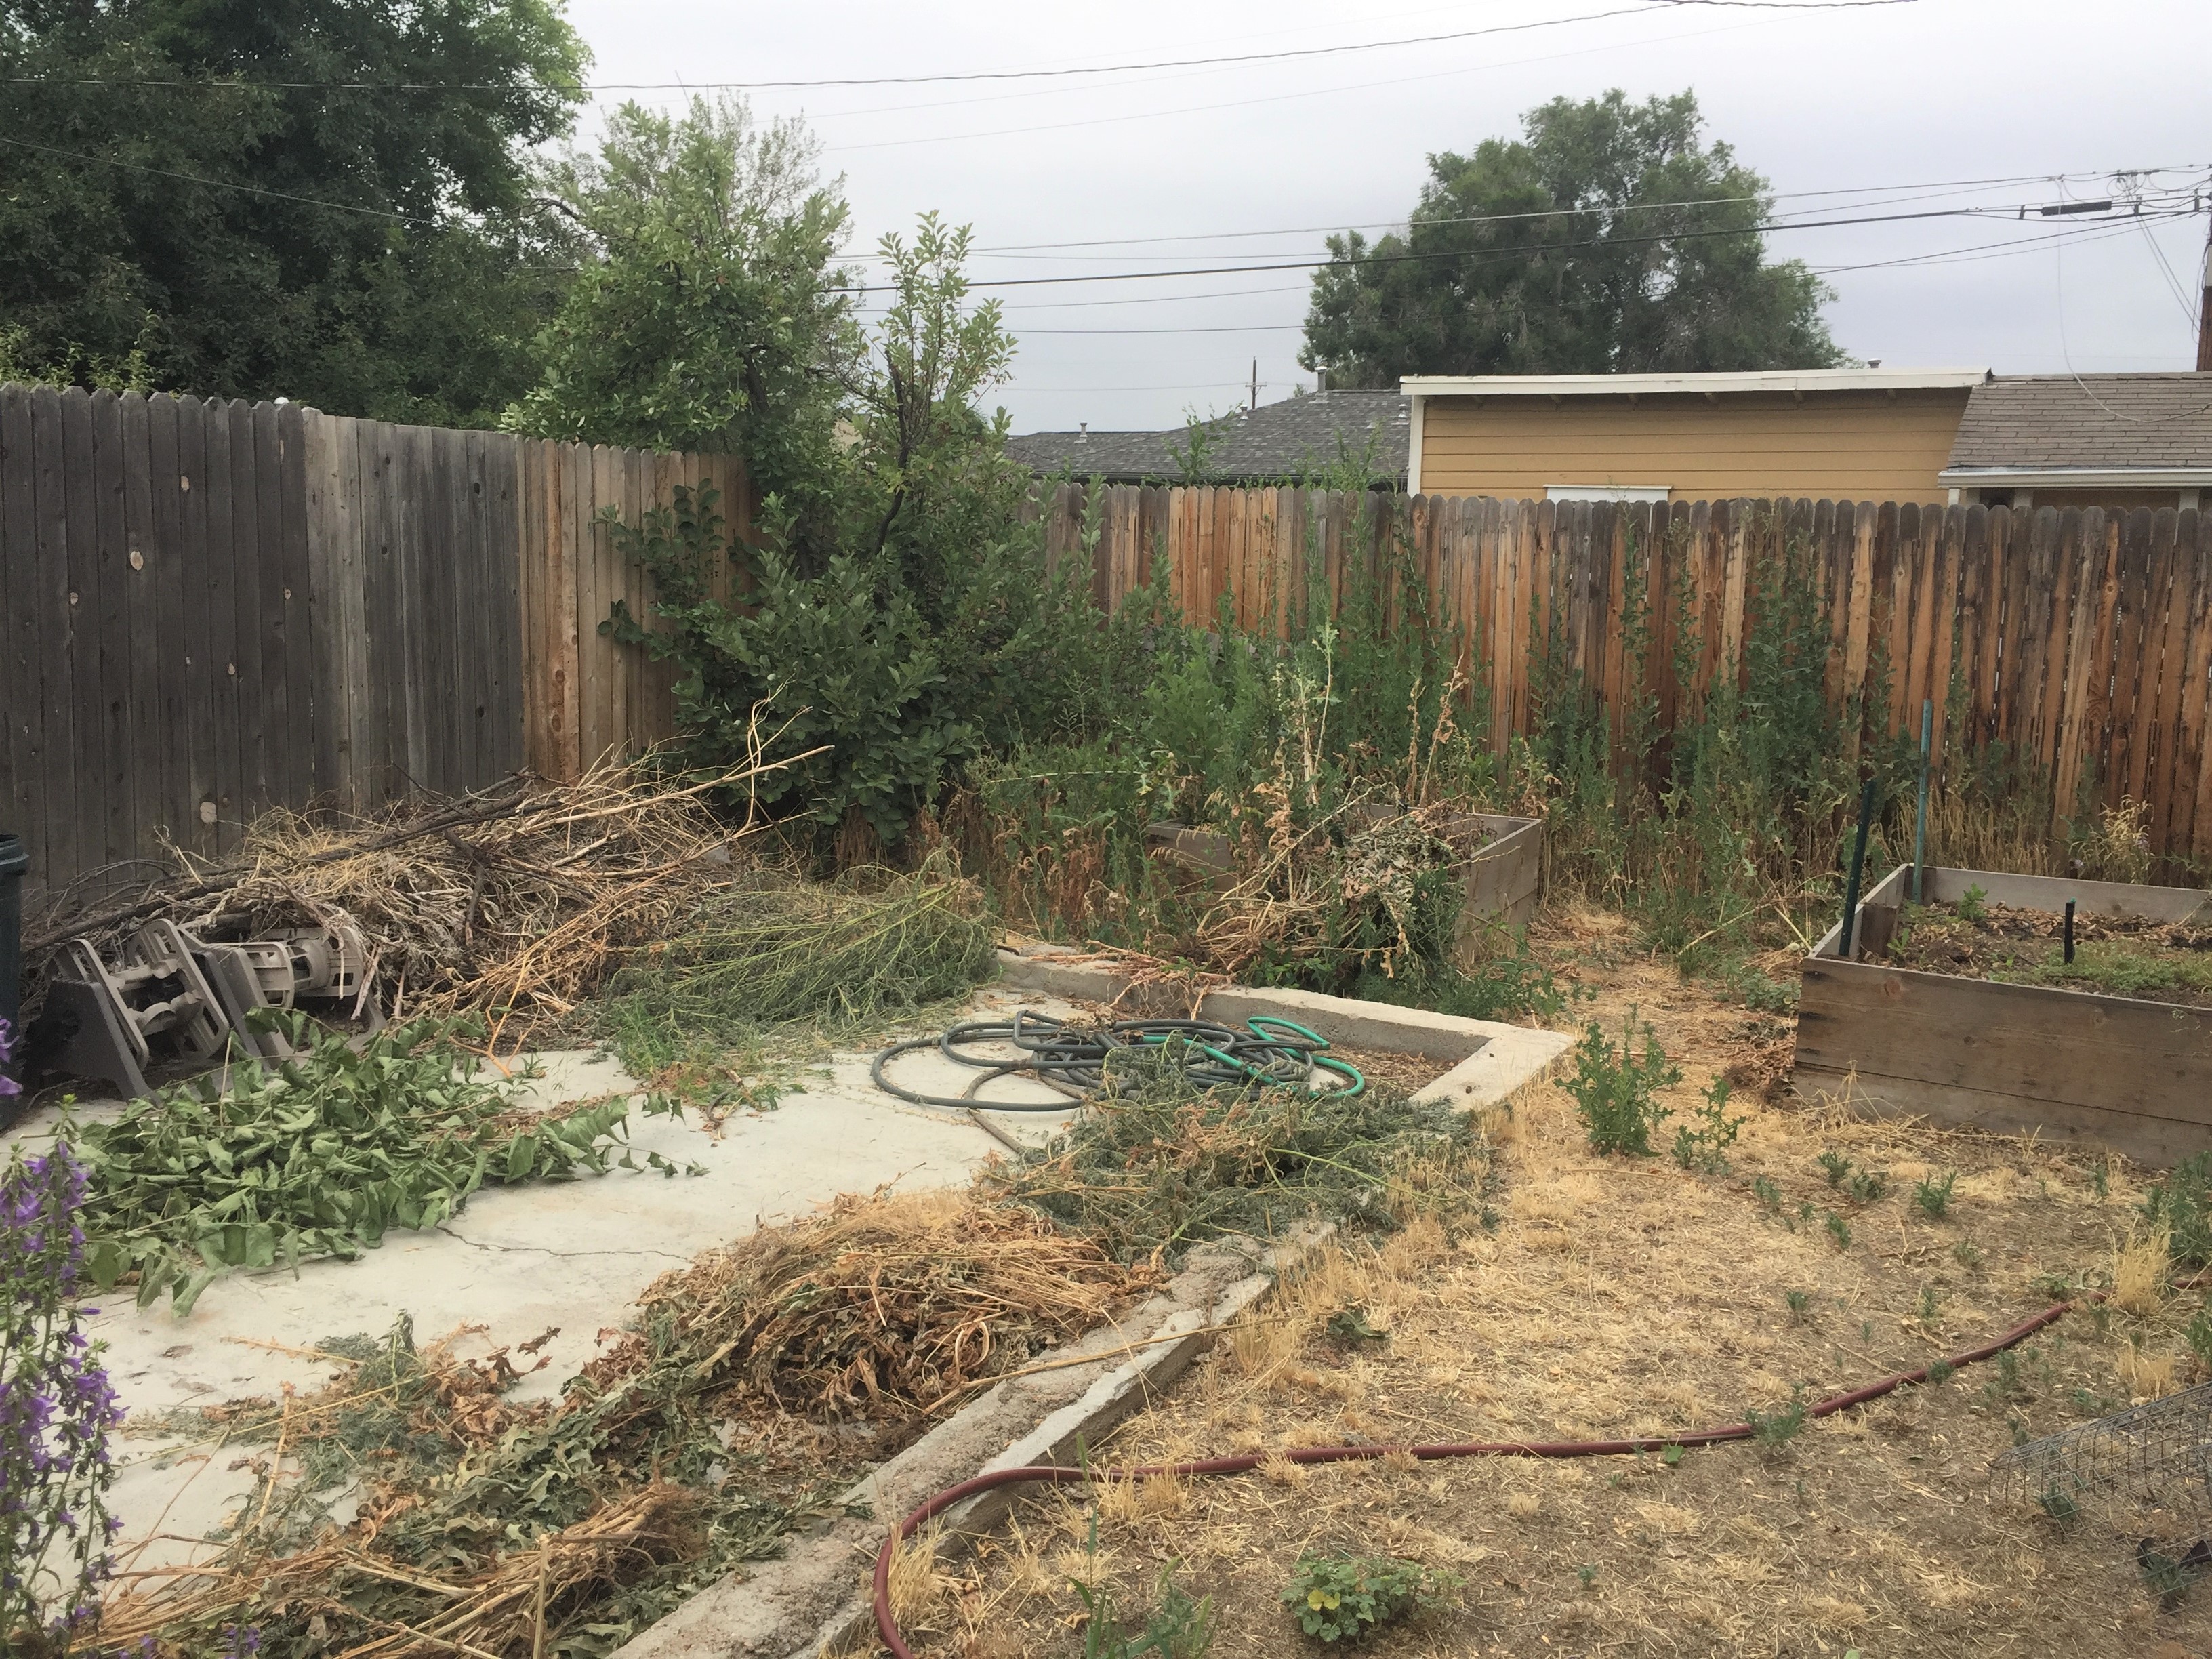
Same view, to the left, Ugh!
I even got some extra shade from the shed, making the patio more protected. And honestly, the shed is such a focal point, it makes the whole yard seem like a stage set.
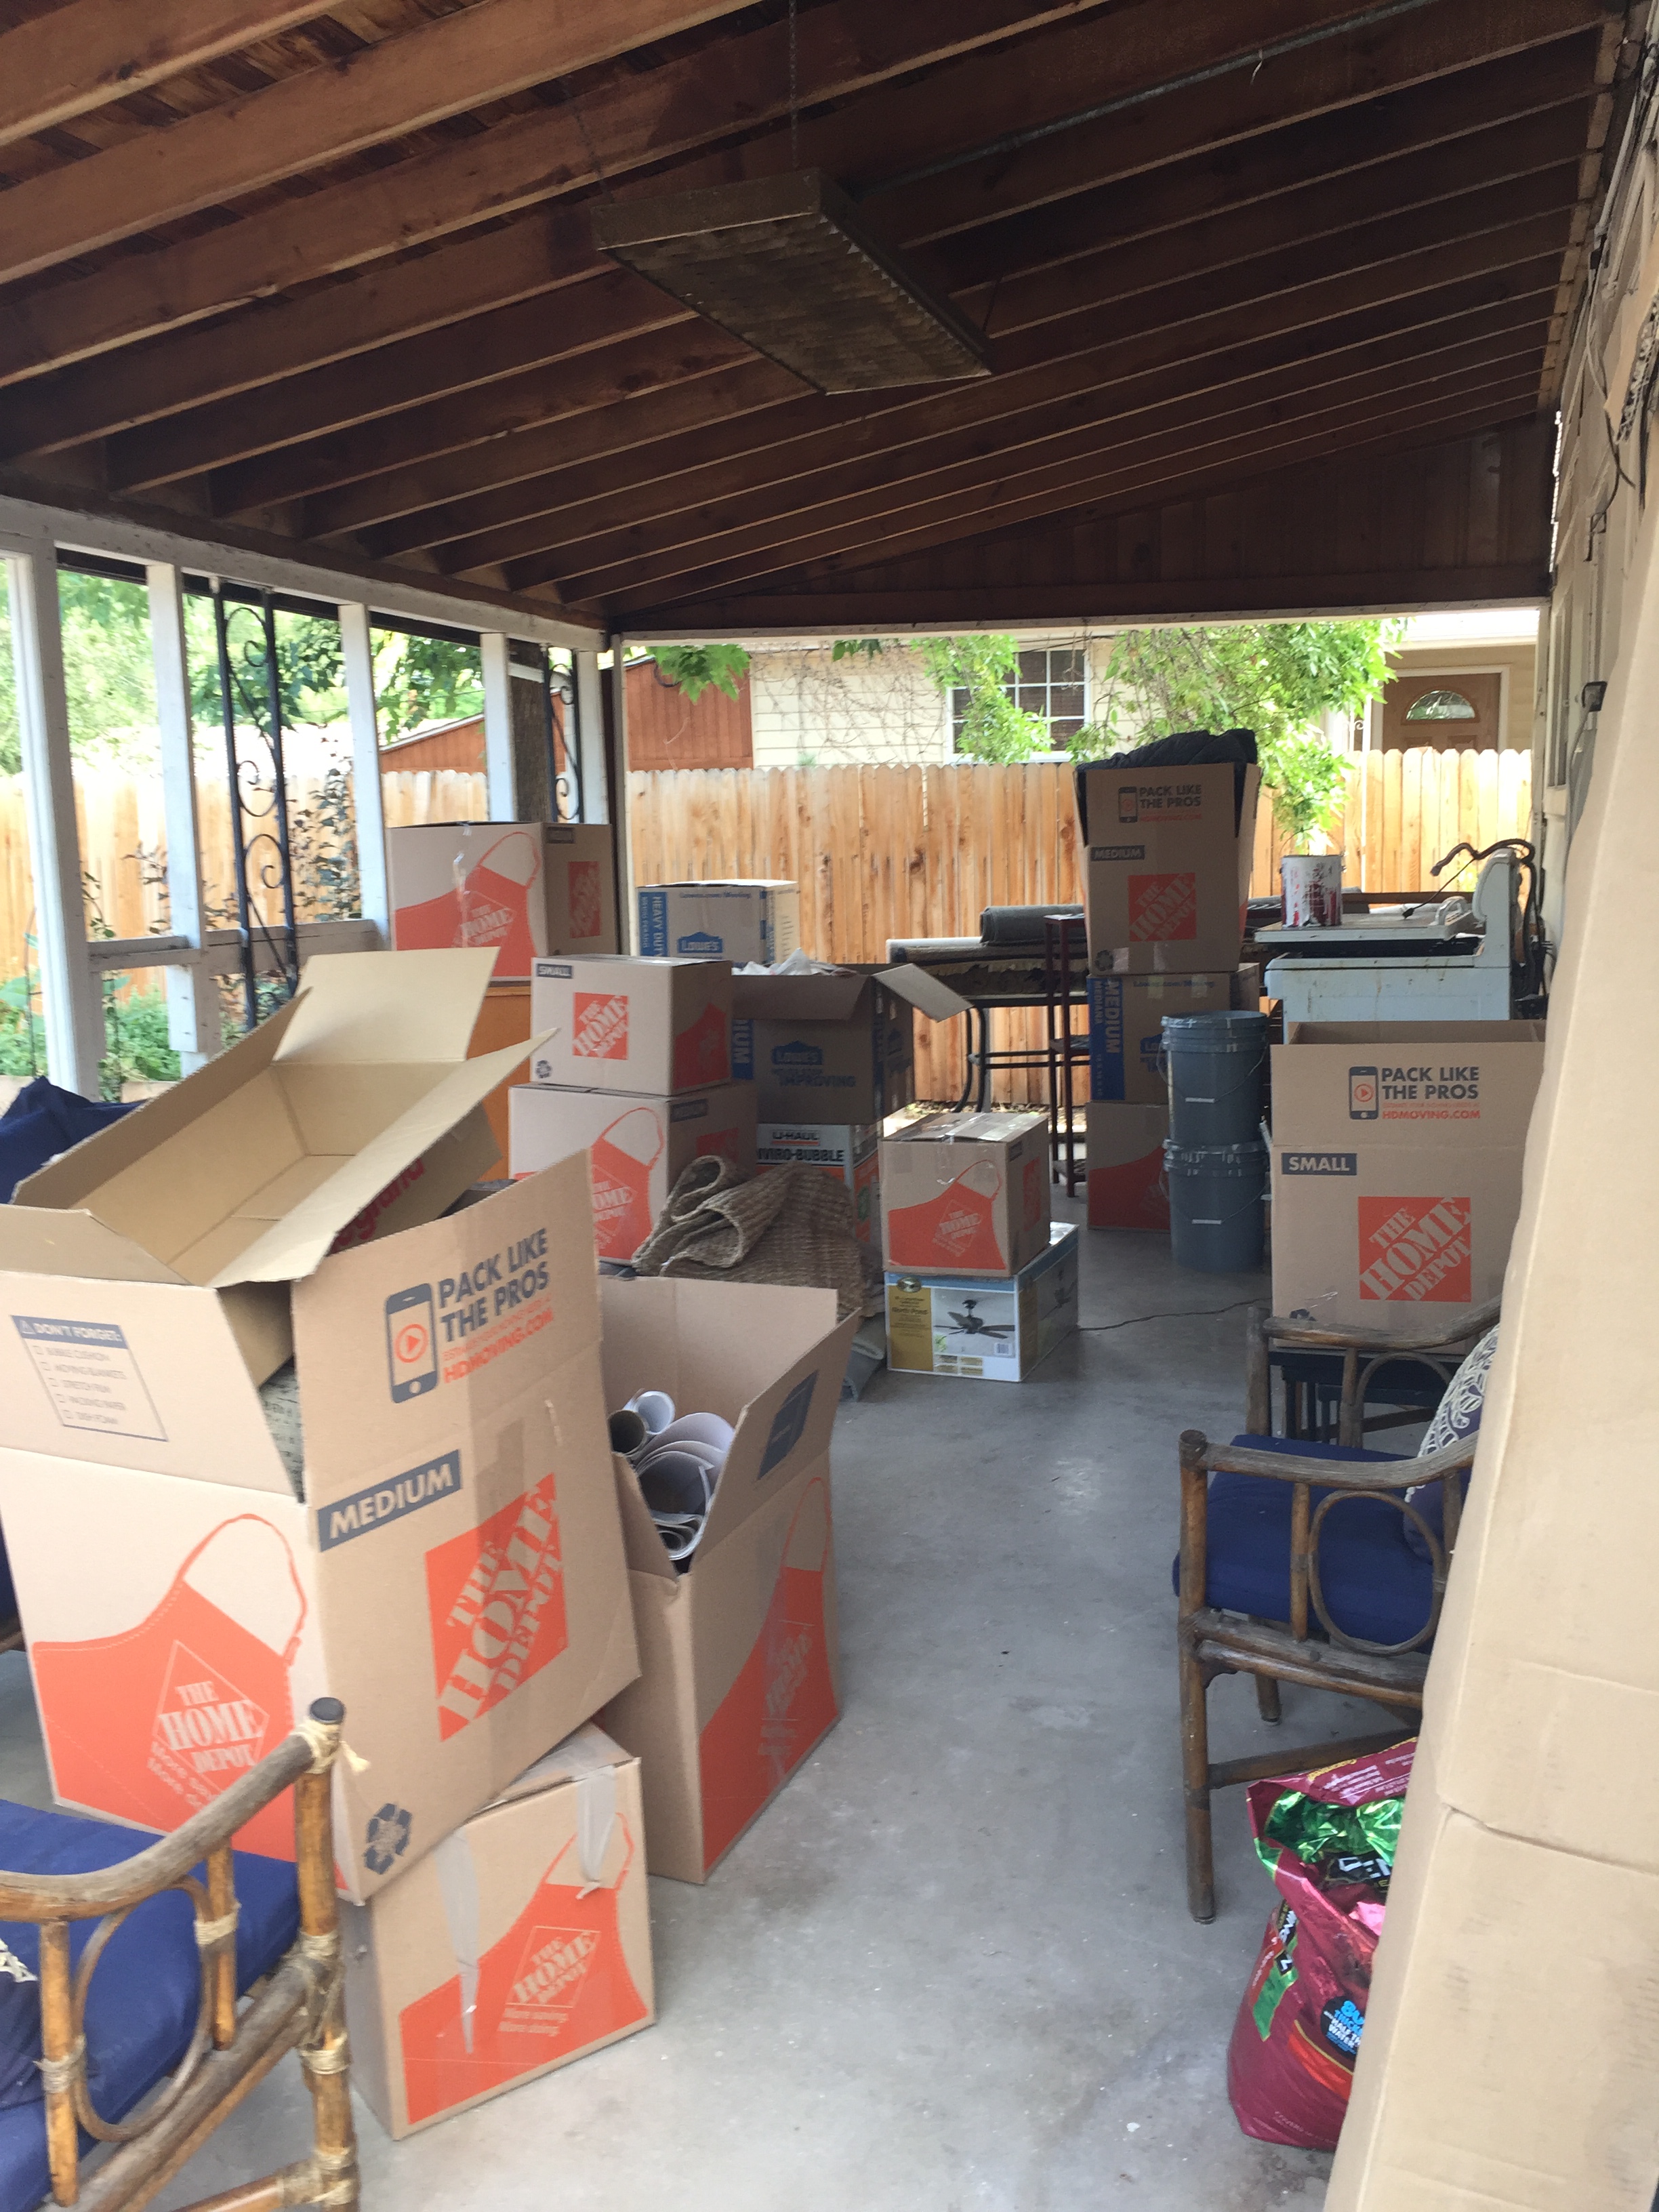
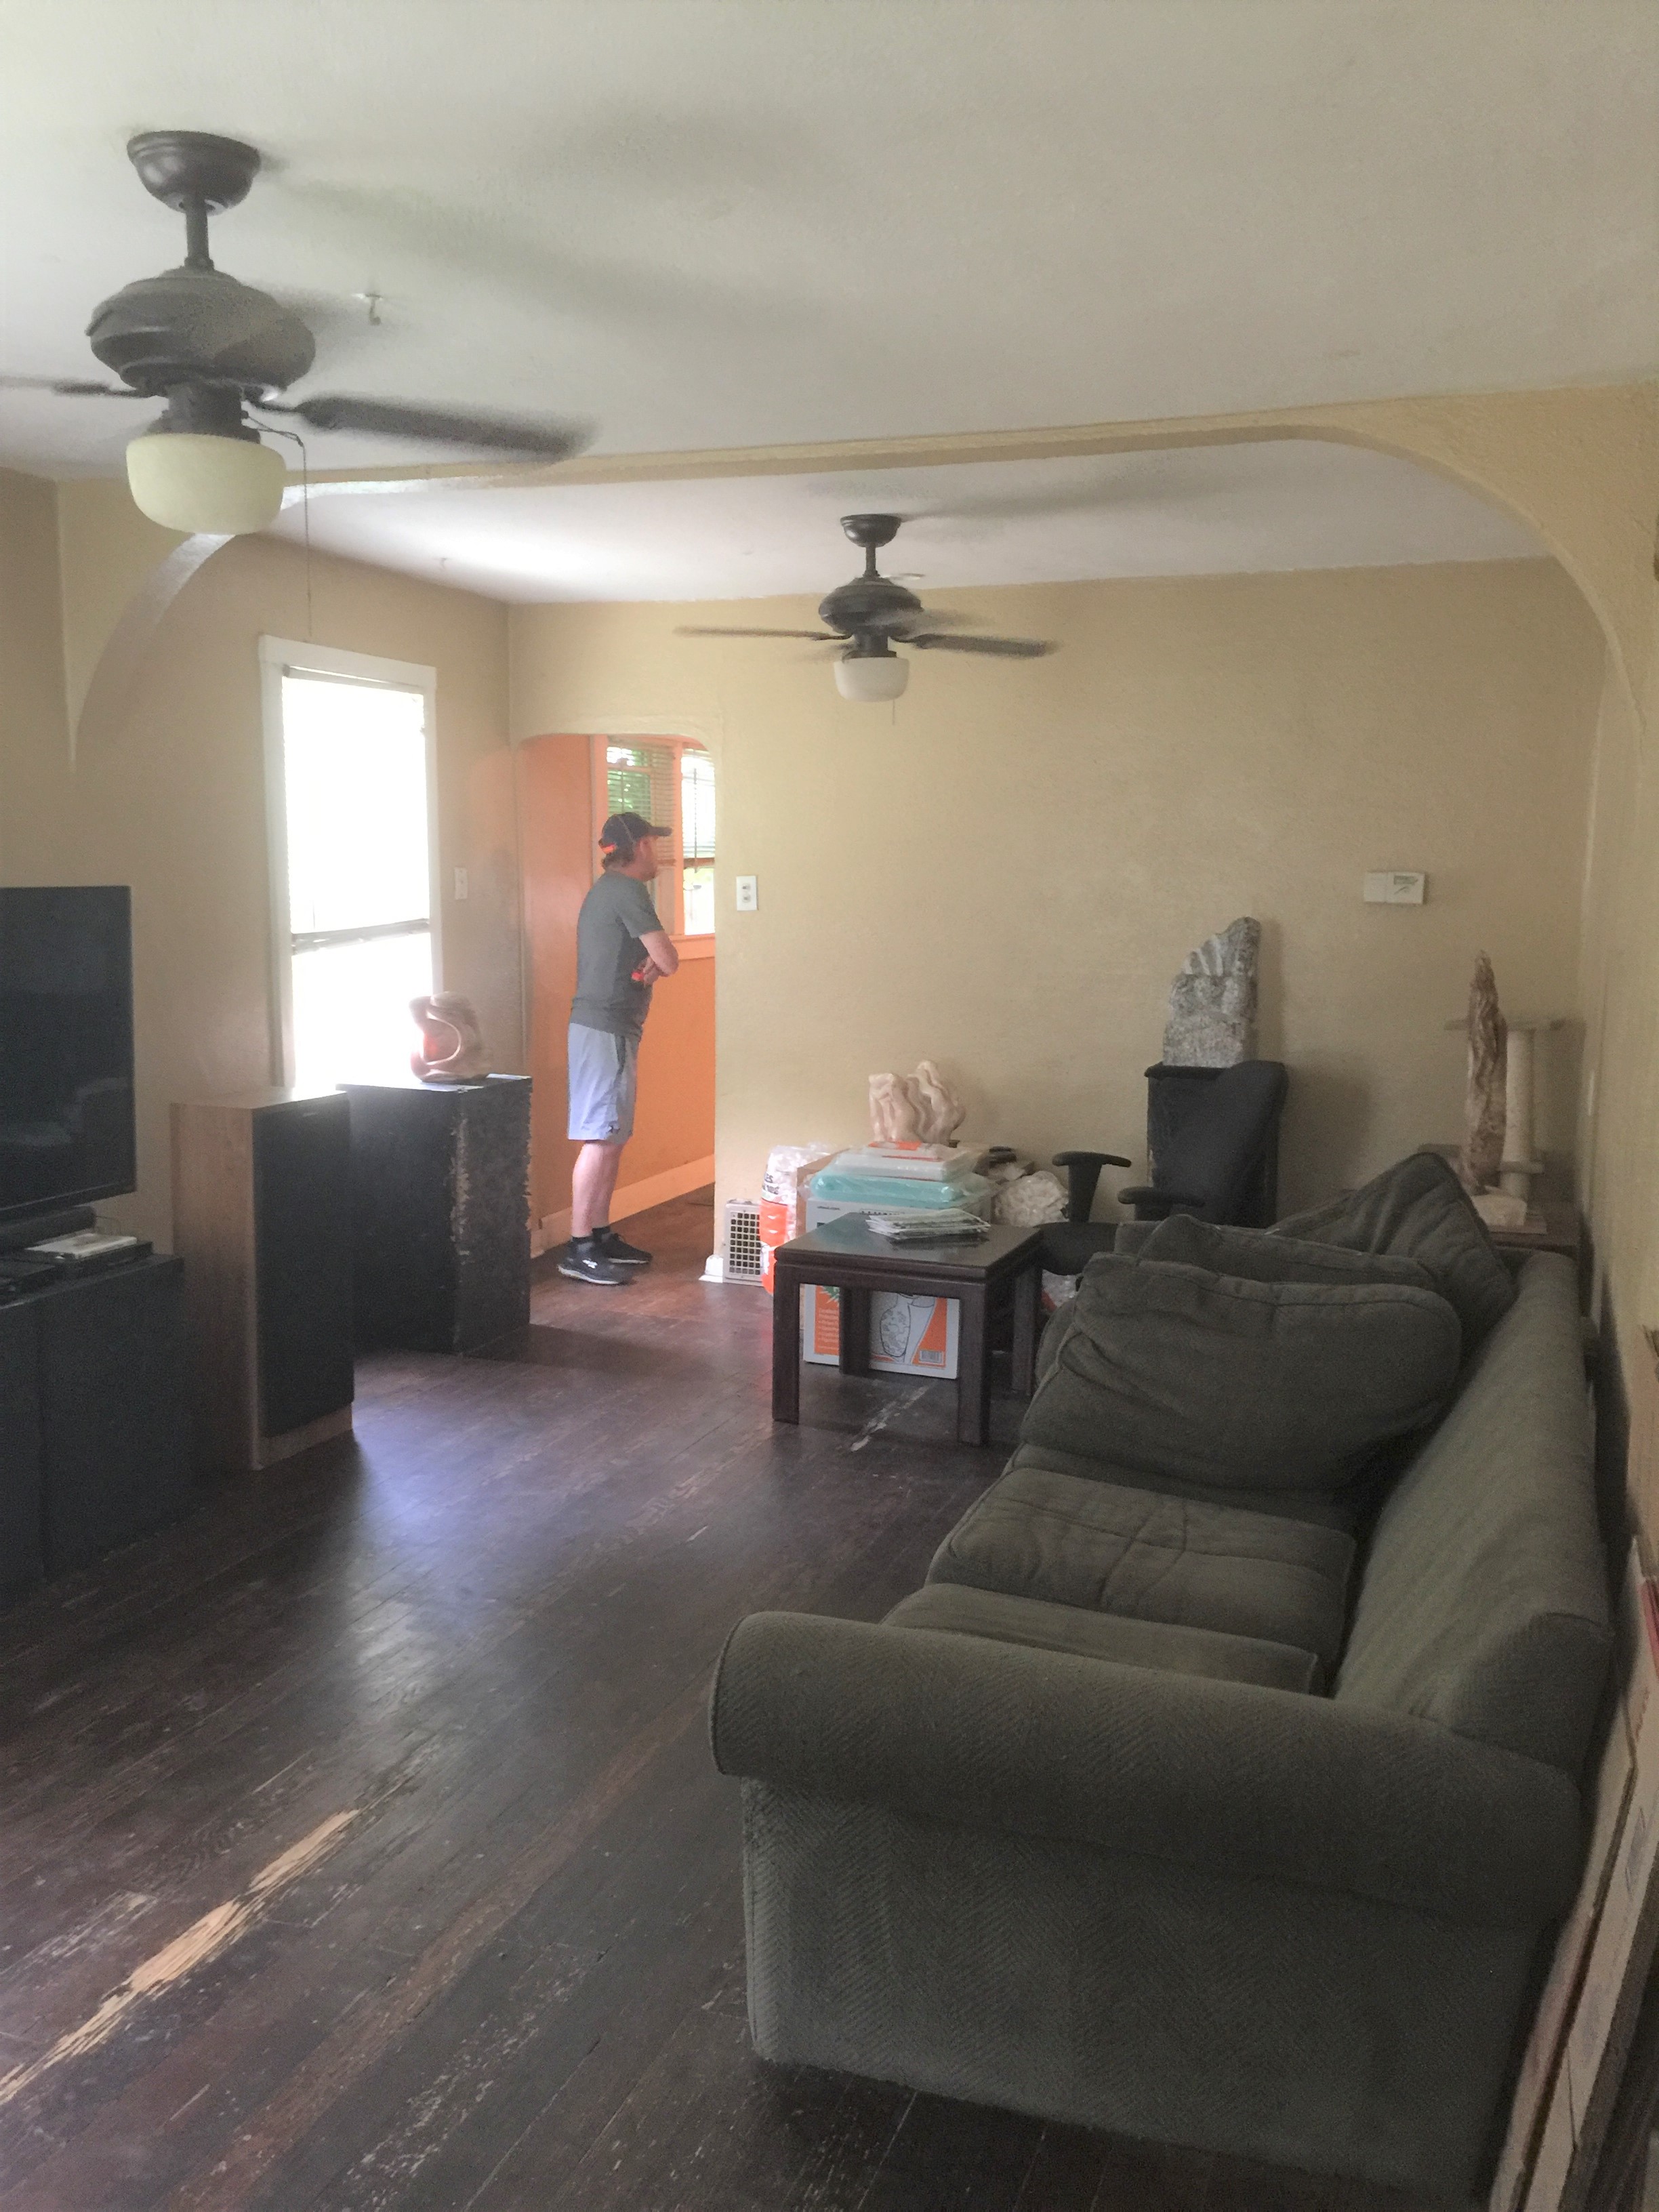
I haven’t done as much in the inside, but I’ve done some things and I have plans for more.
I added A/C, fresh paint, lots of cleaning and a new front door.
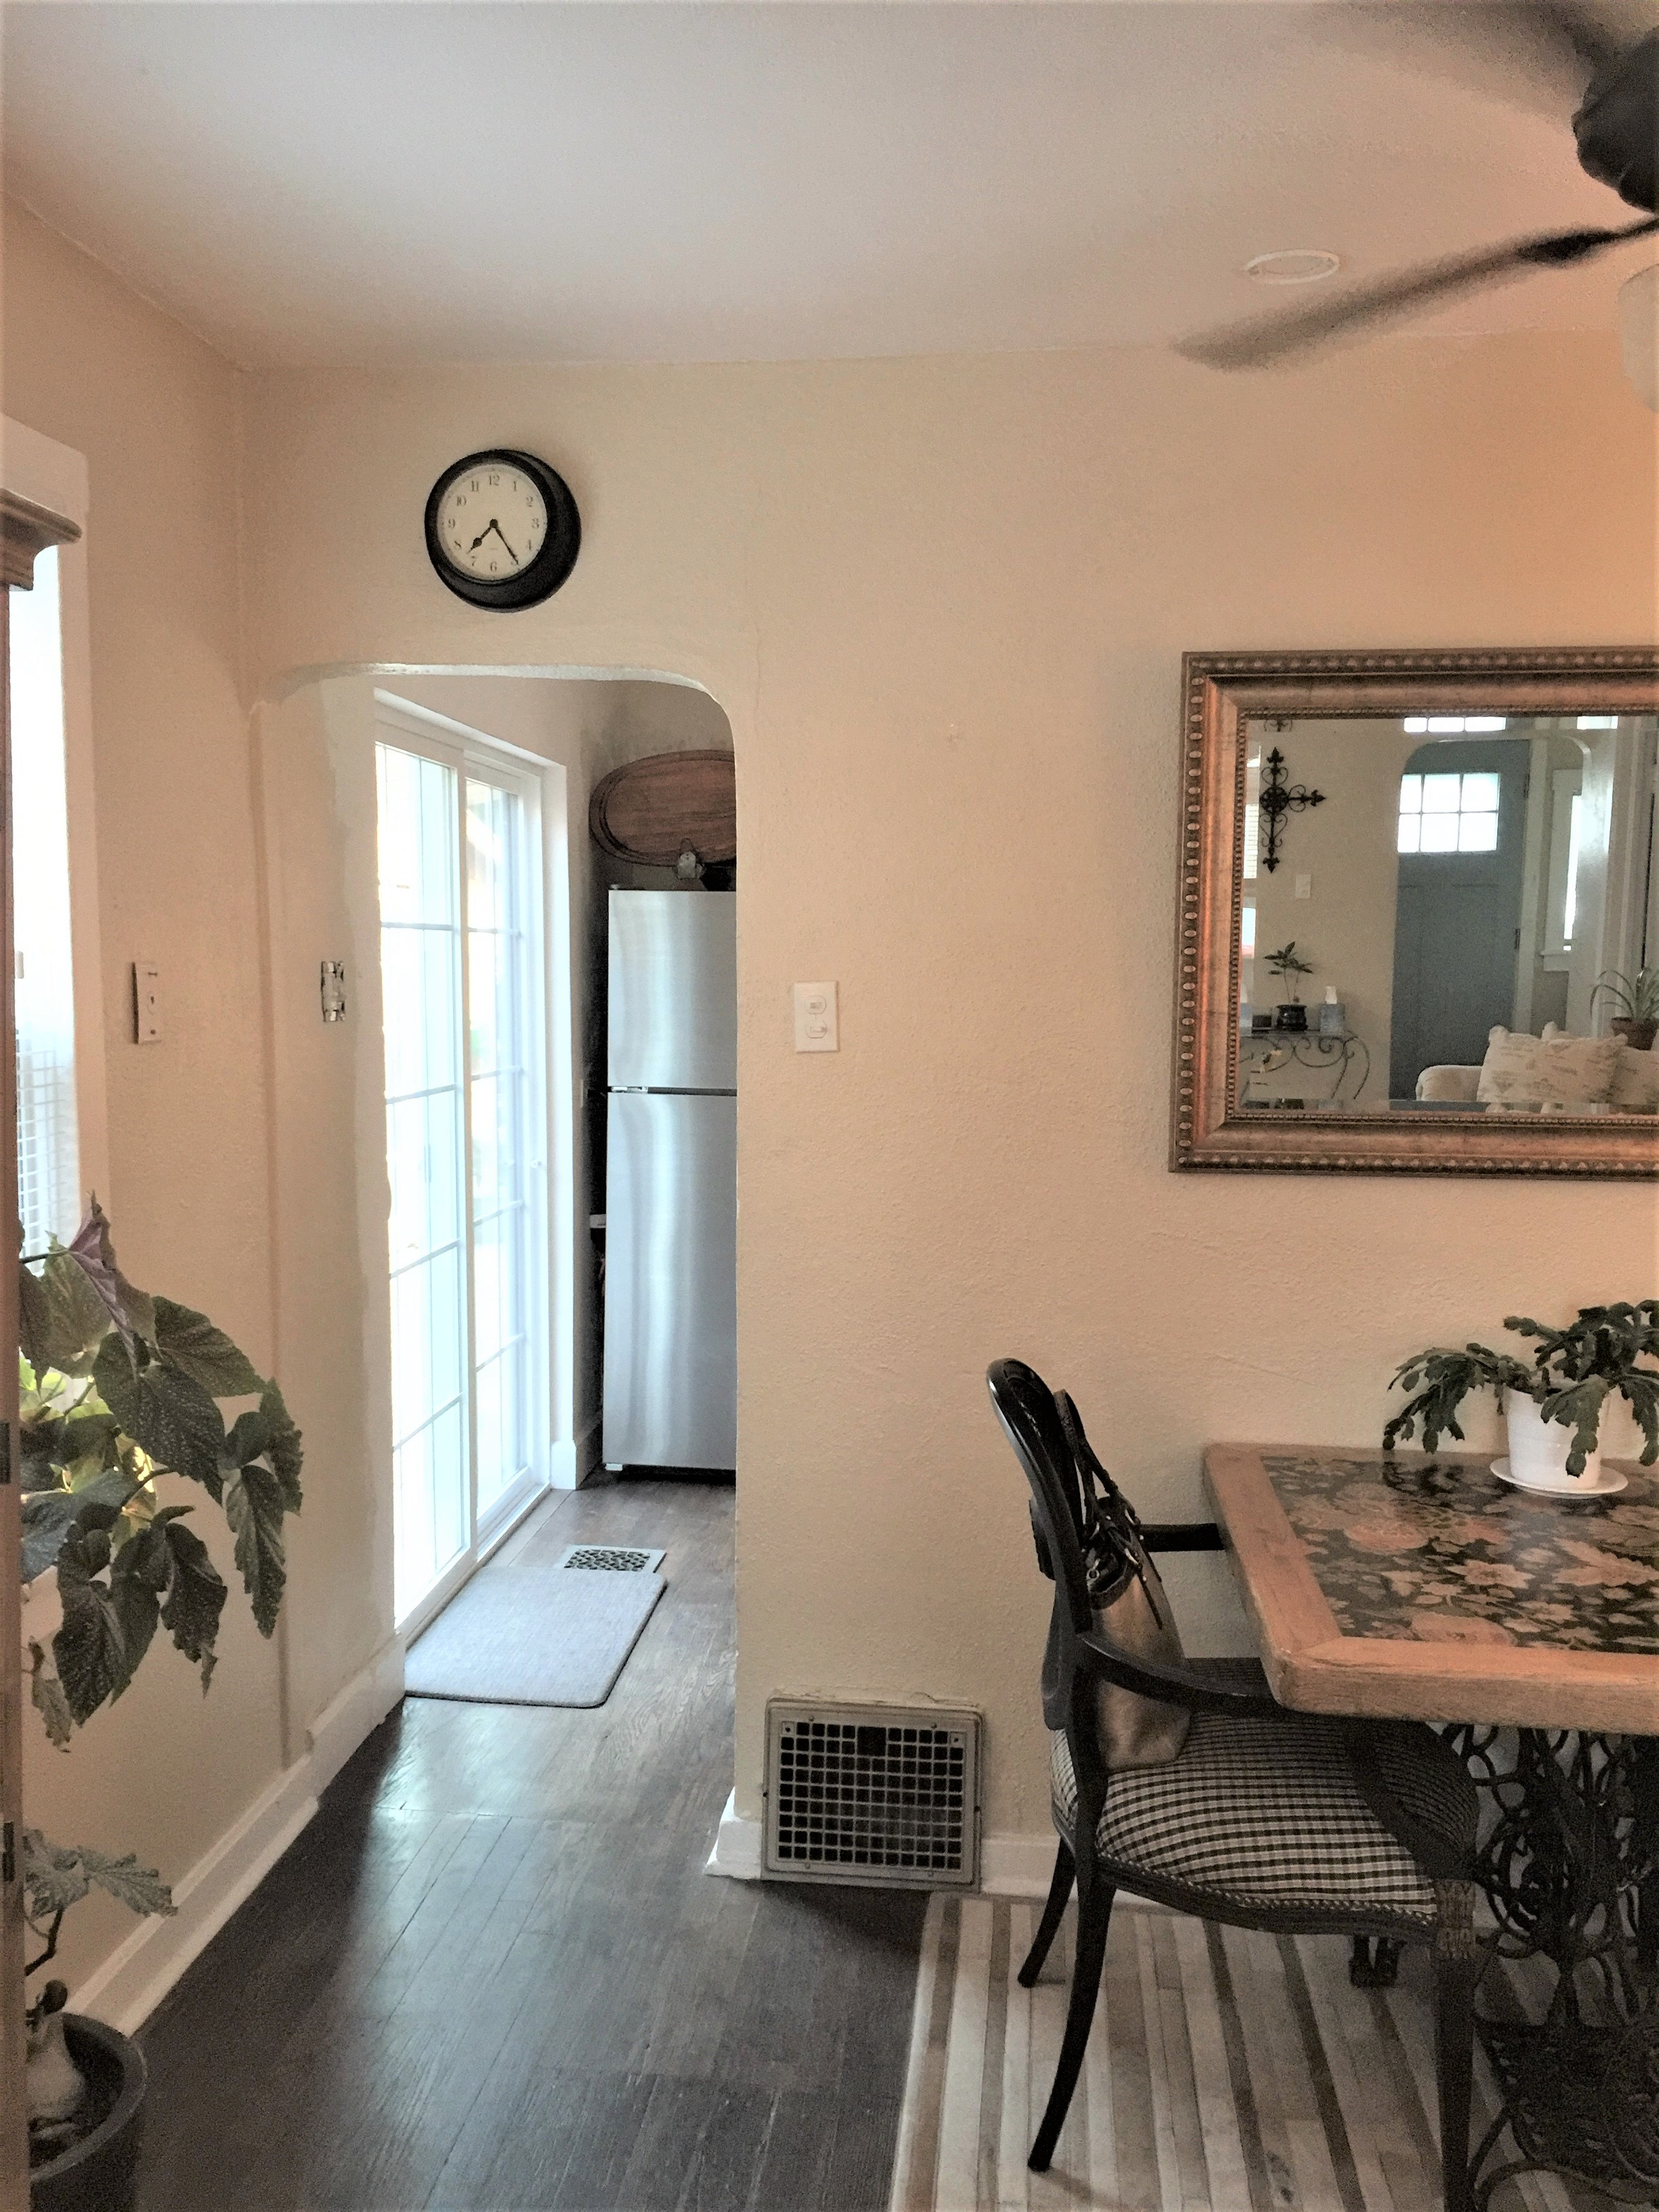
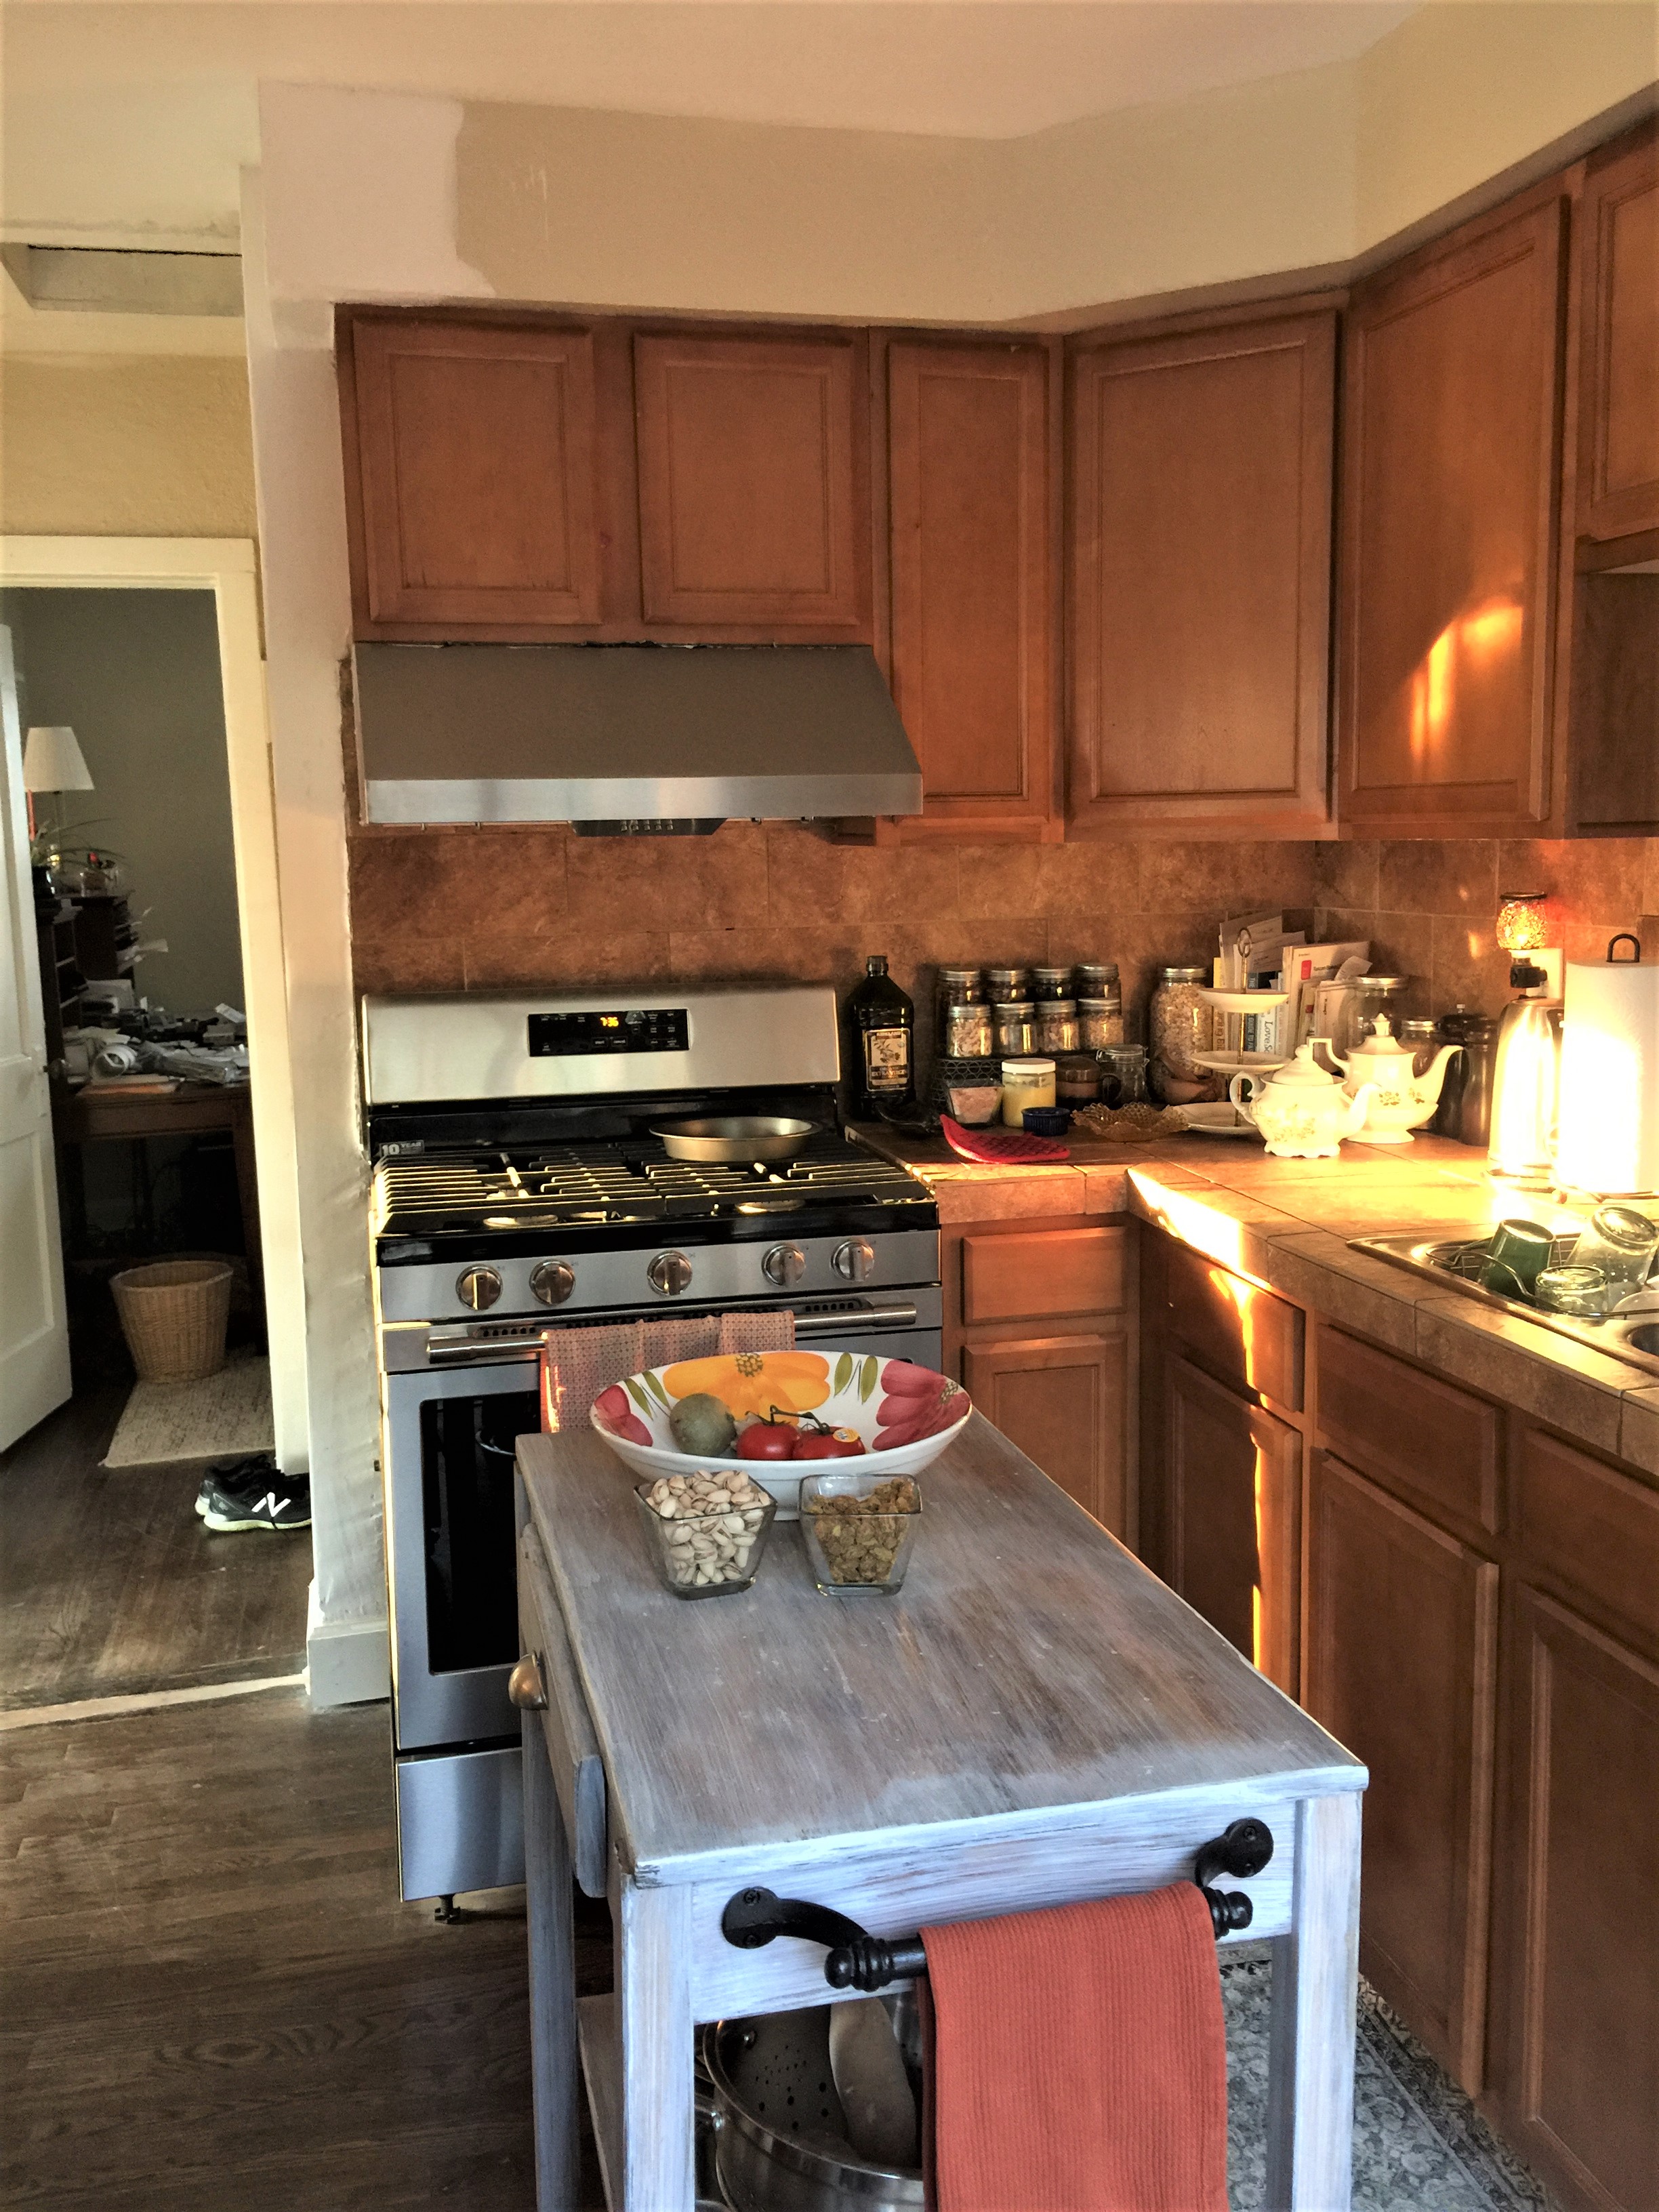
The arch on the left goes into the kitchen. I replaced the kitchen windows that you see on the left, with a slider door into the courtyard.
Itreally opened up the kitchen, brought light into the house and now, I walk right onto the courtyard from the kitchen. This was a huge change that made this house feel more updated.
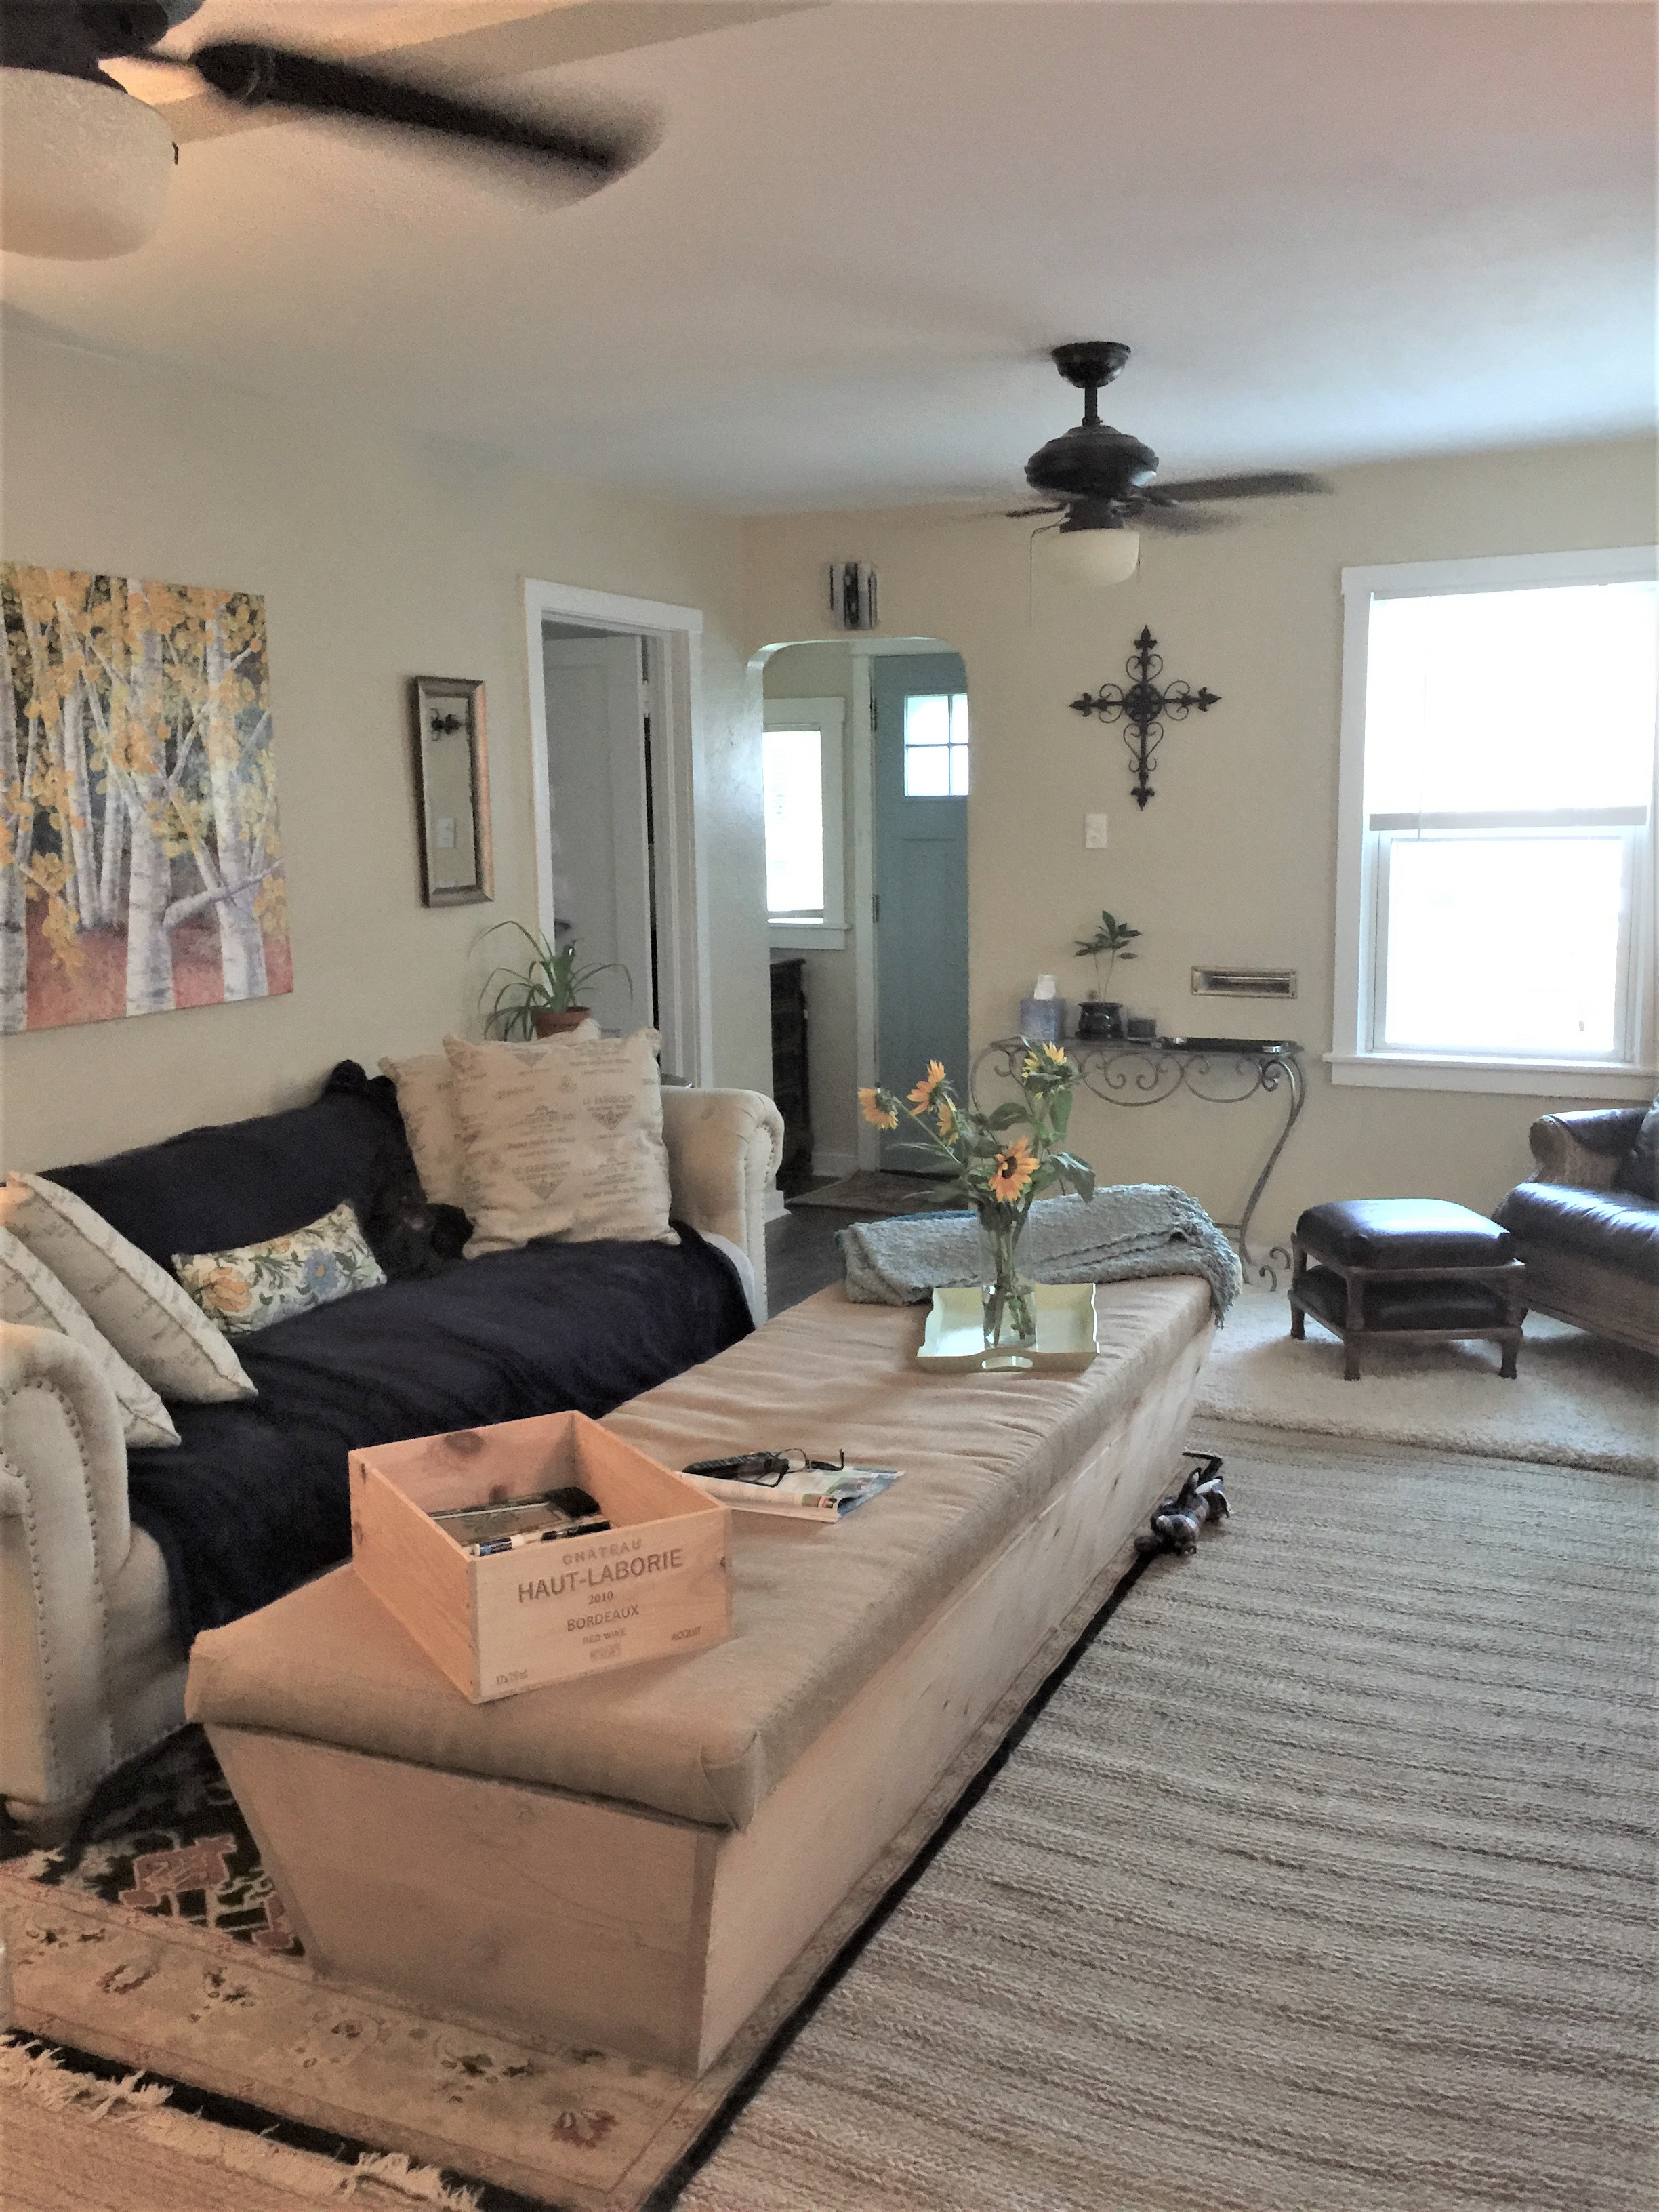
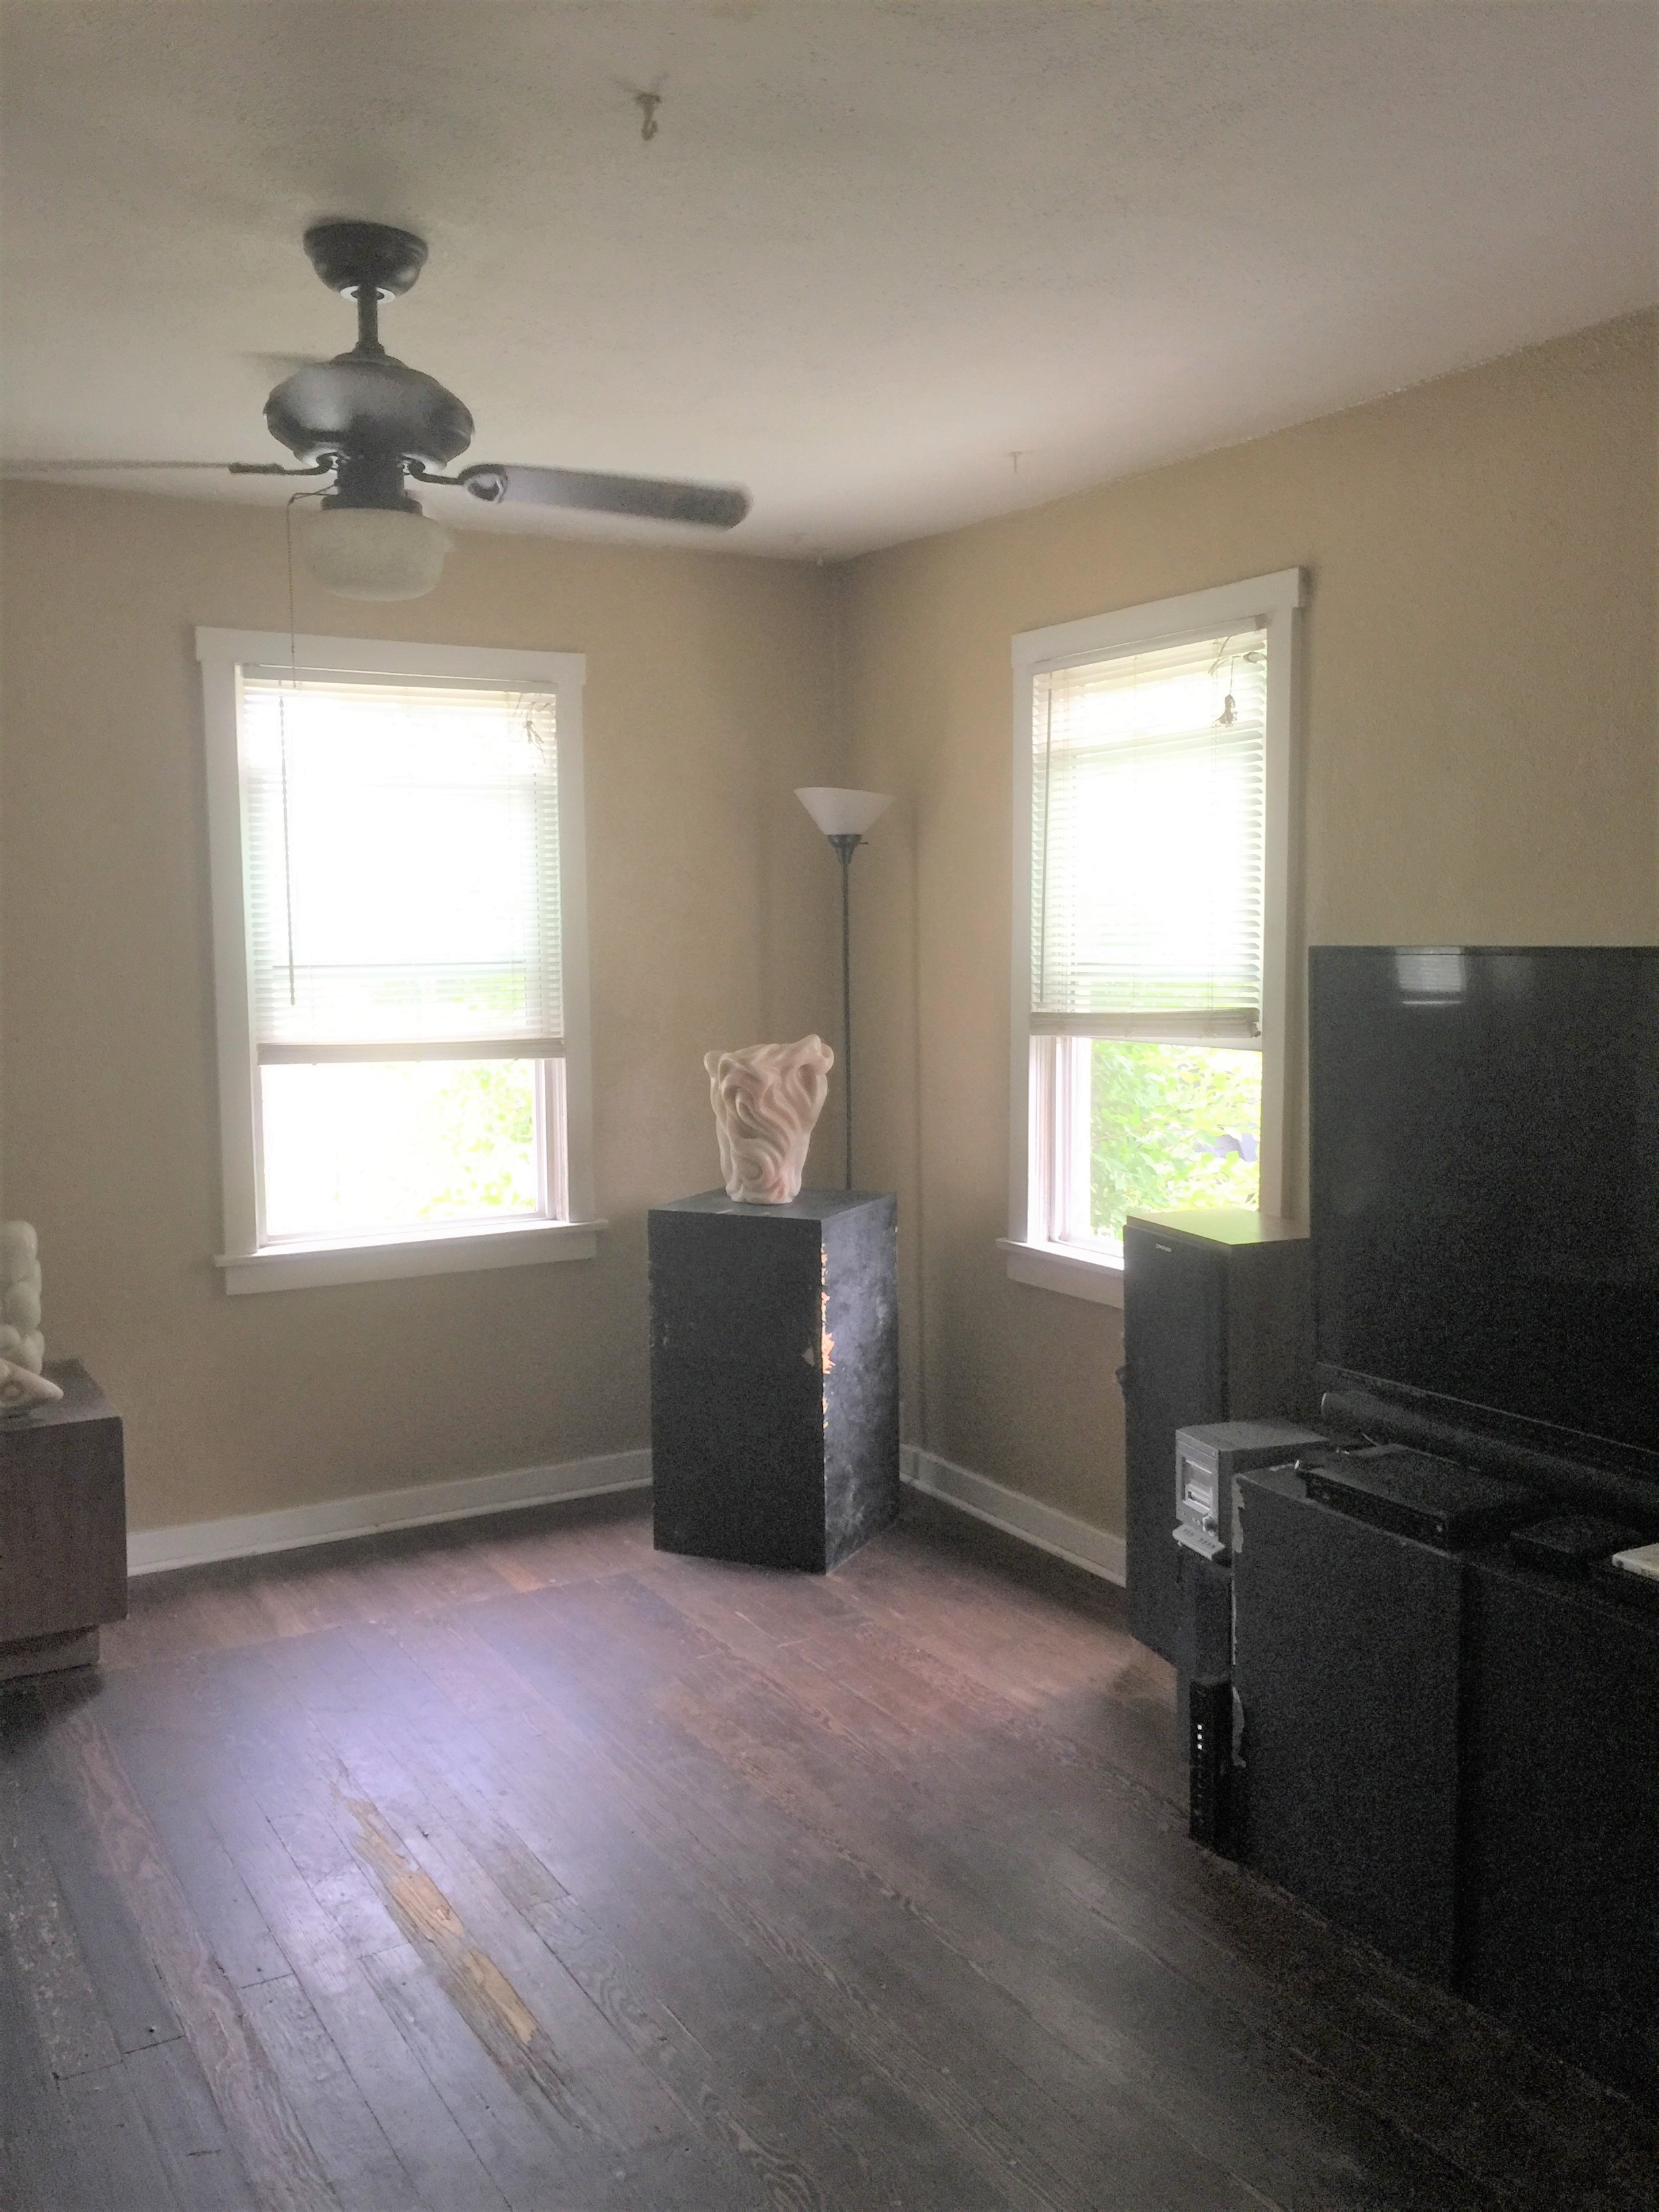
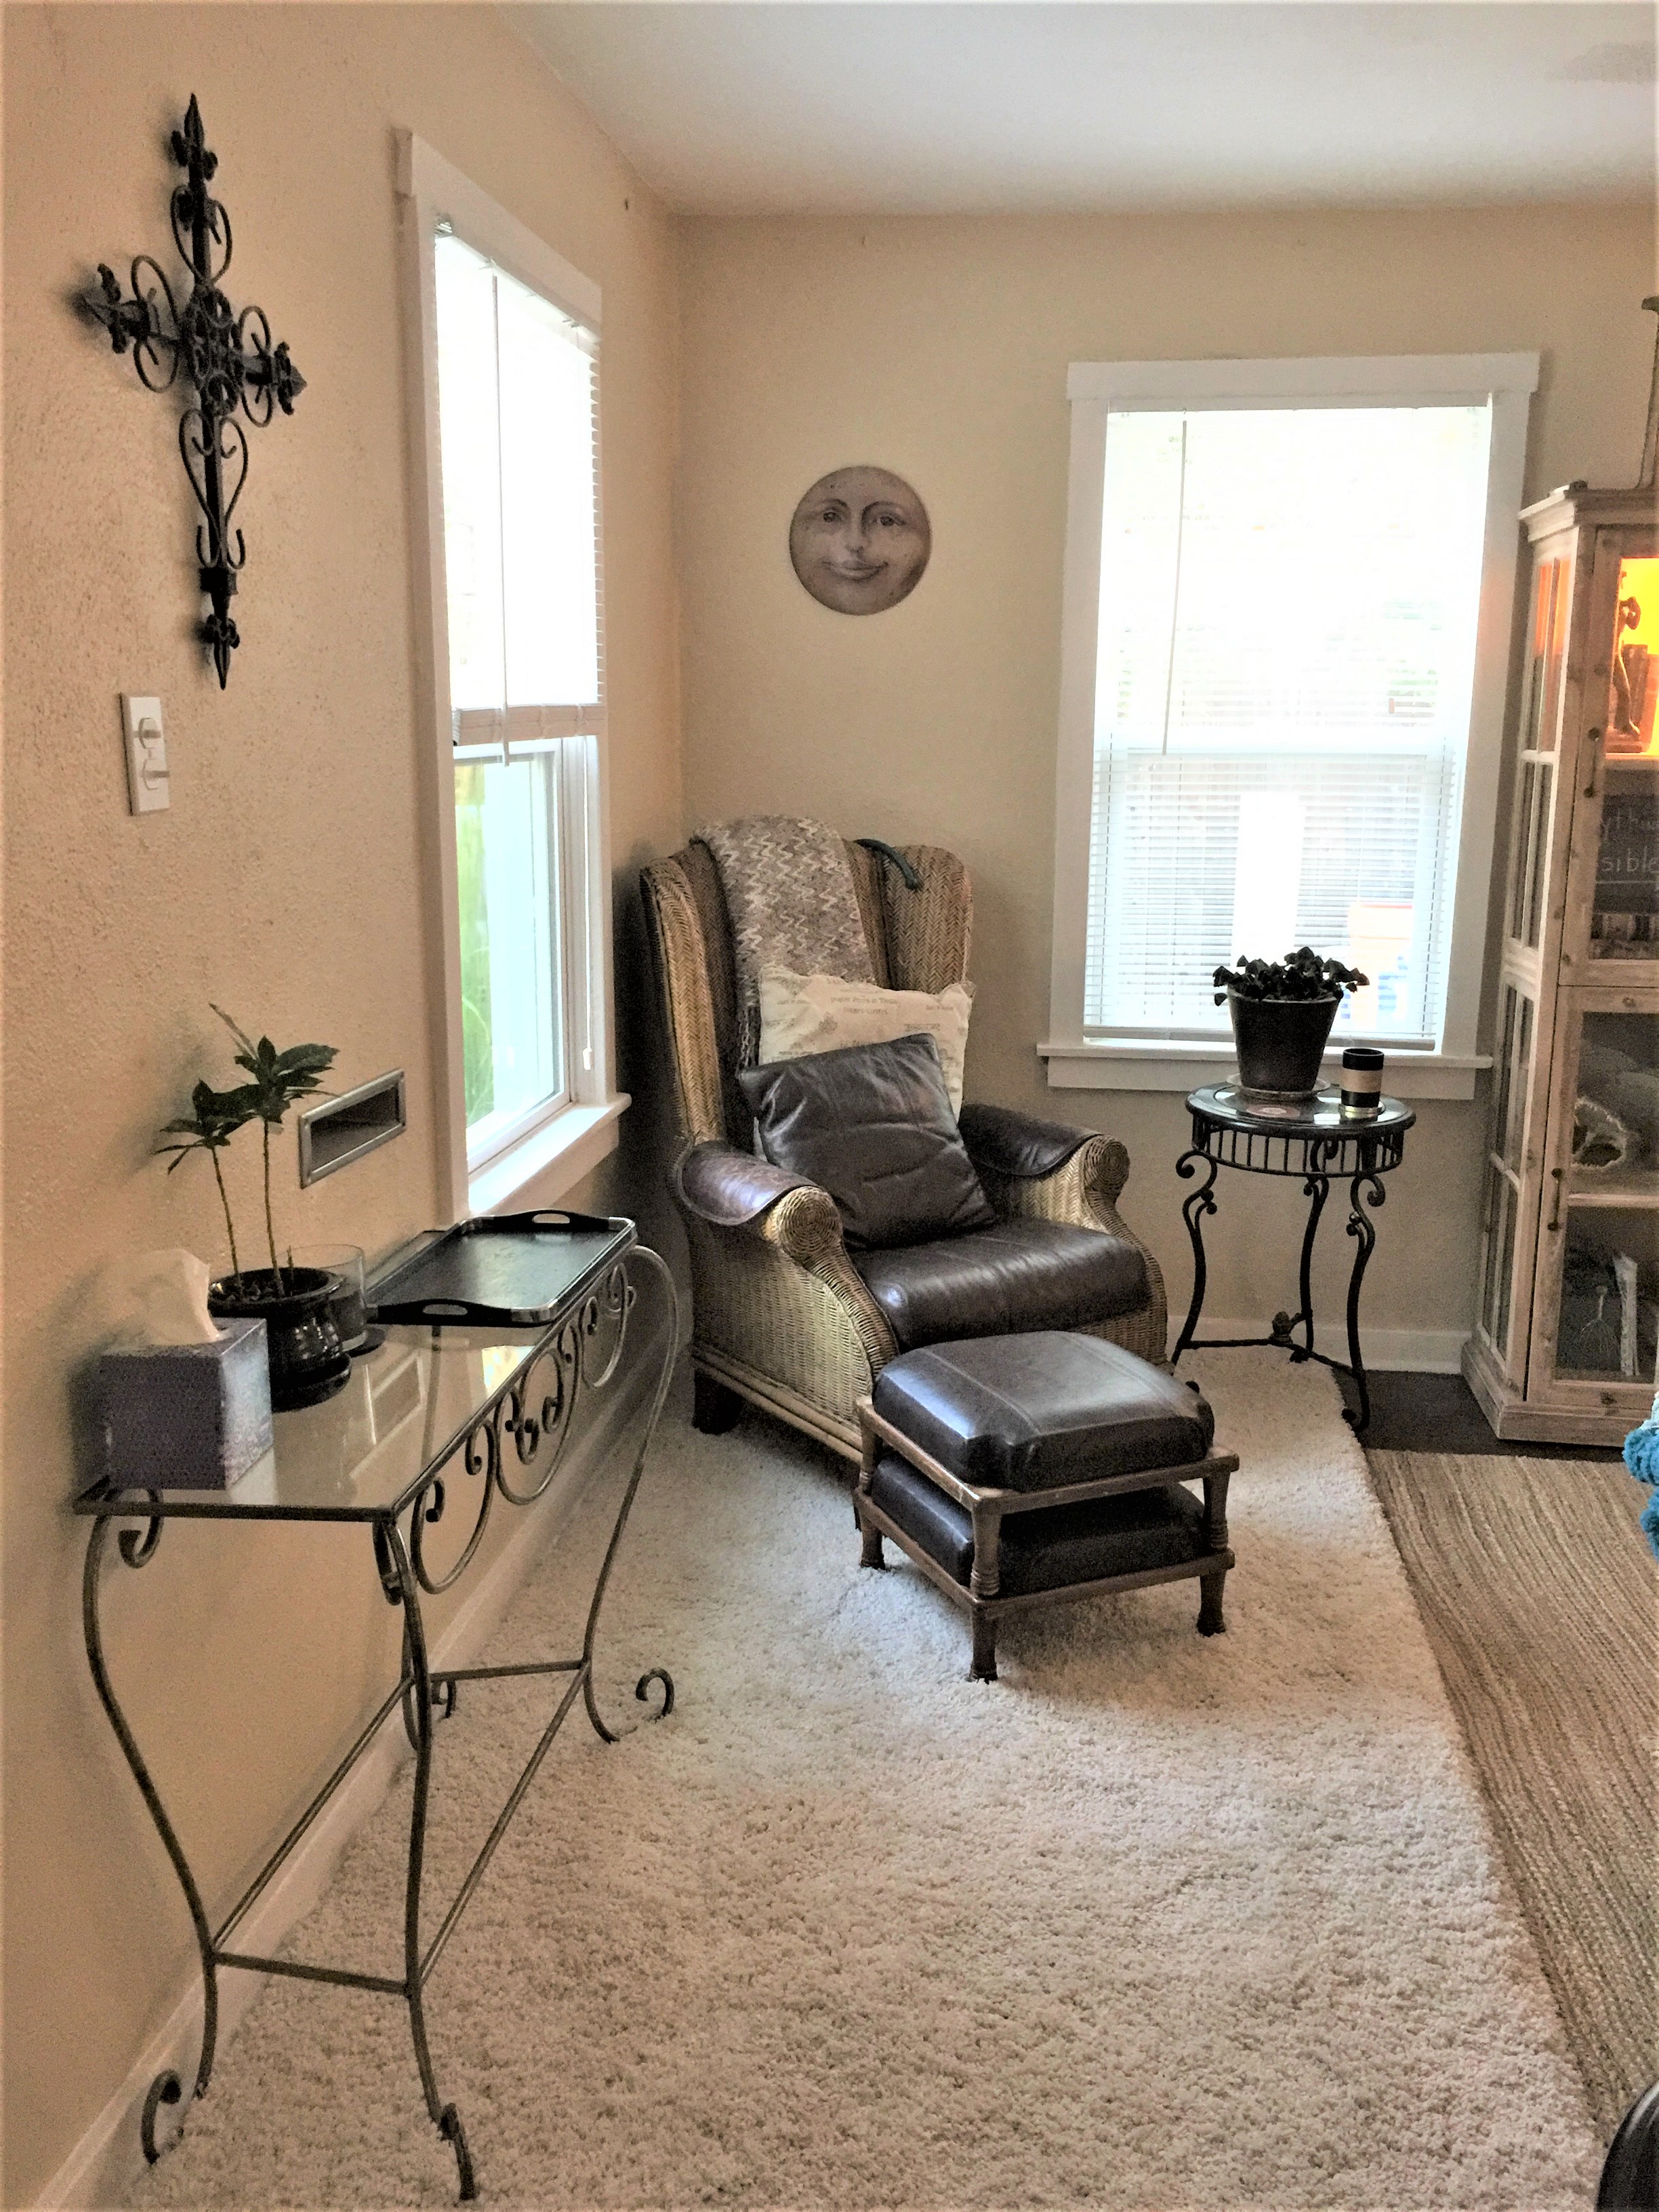
This fun corner of the living room gives the occupant a nice view of the front yard.
I made a cozy seating area with a thick shag rug to give it texture.
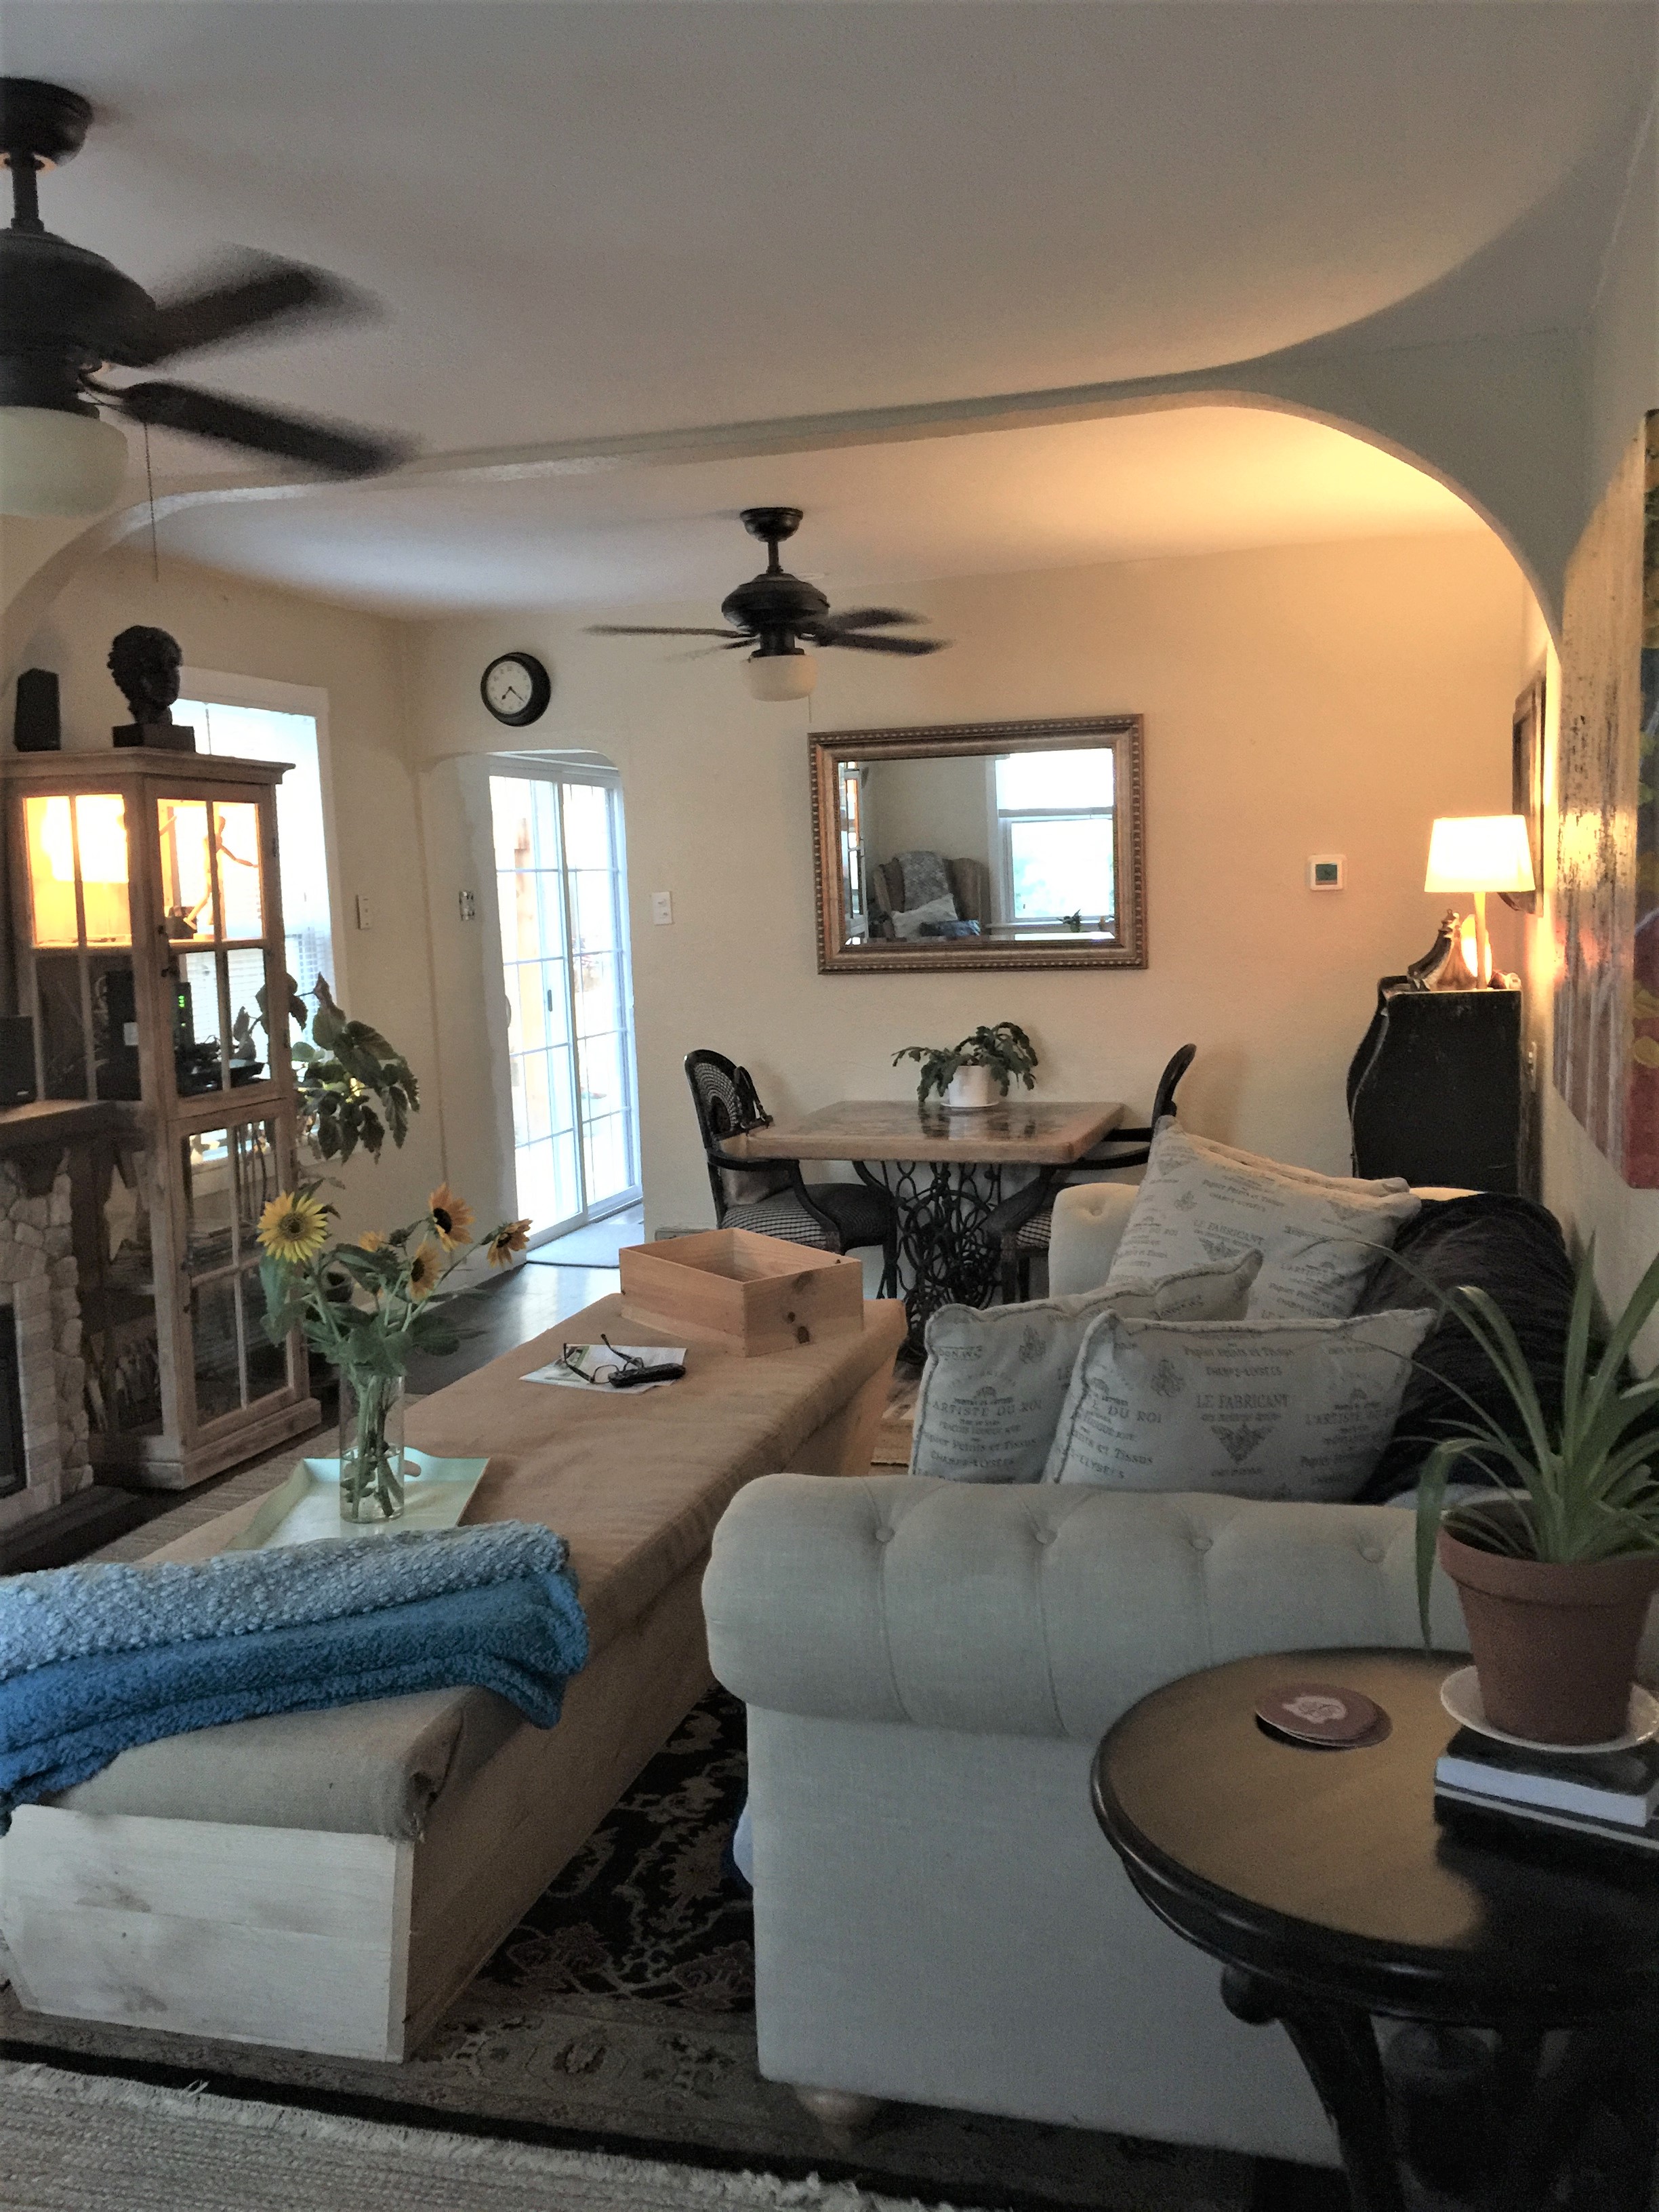
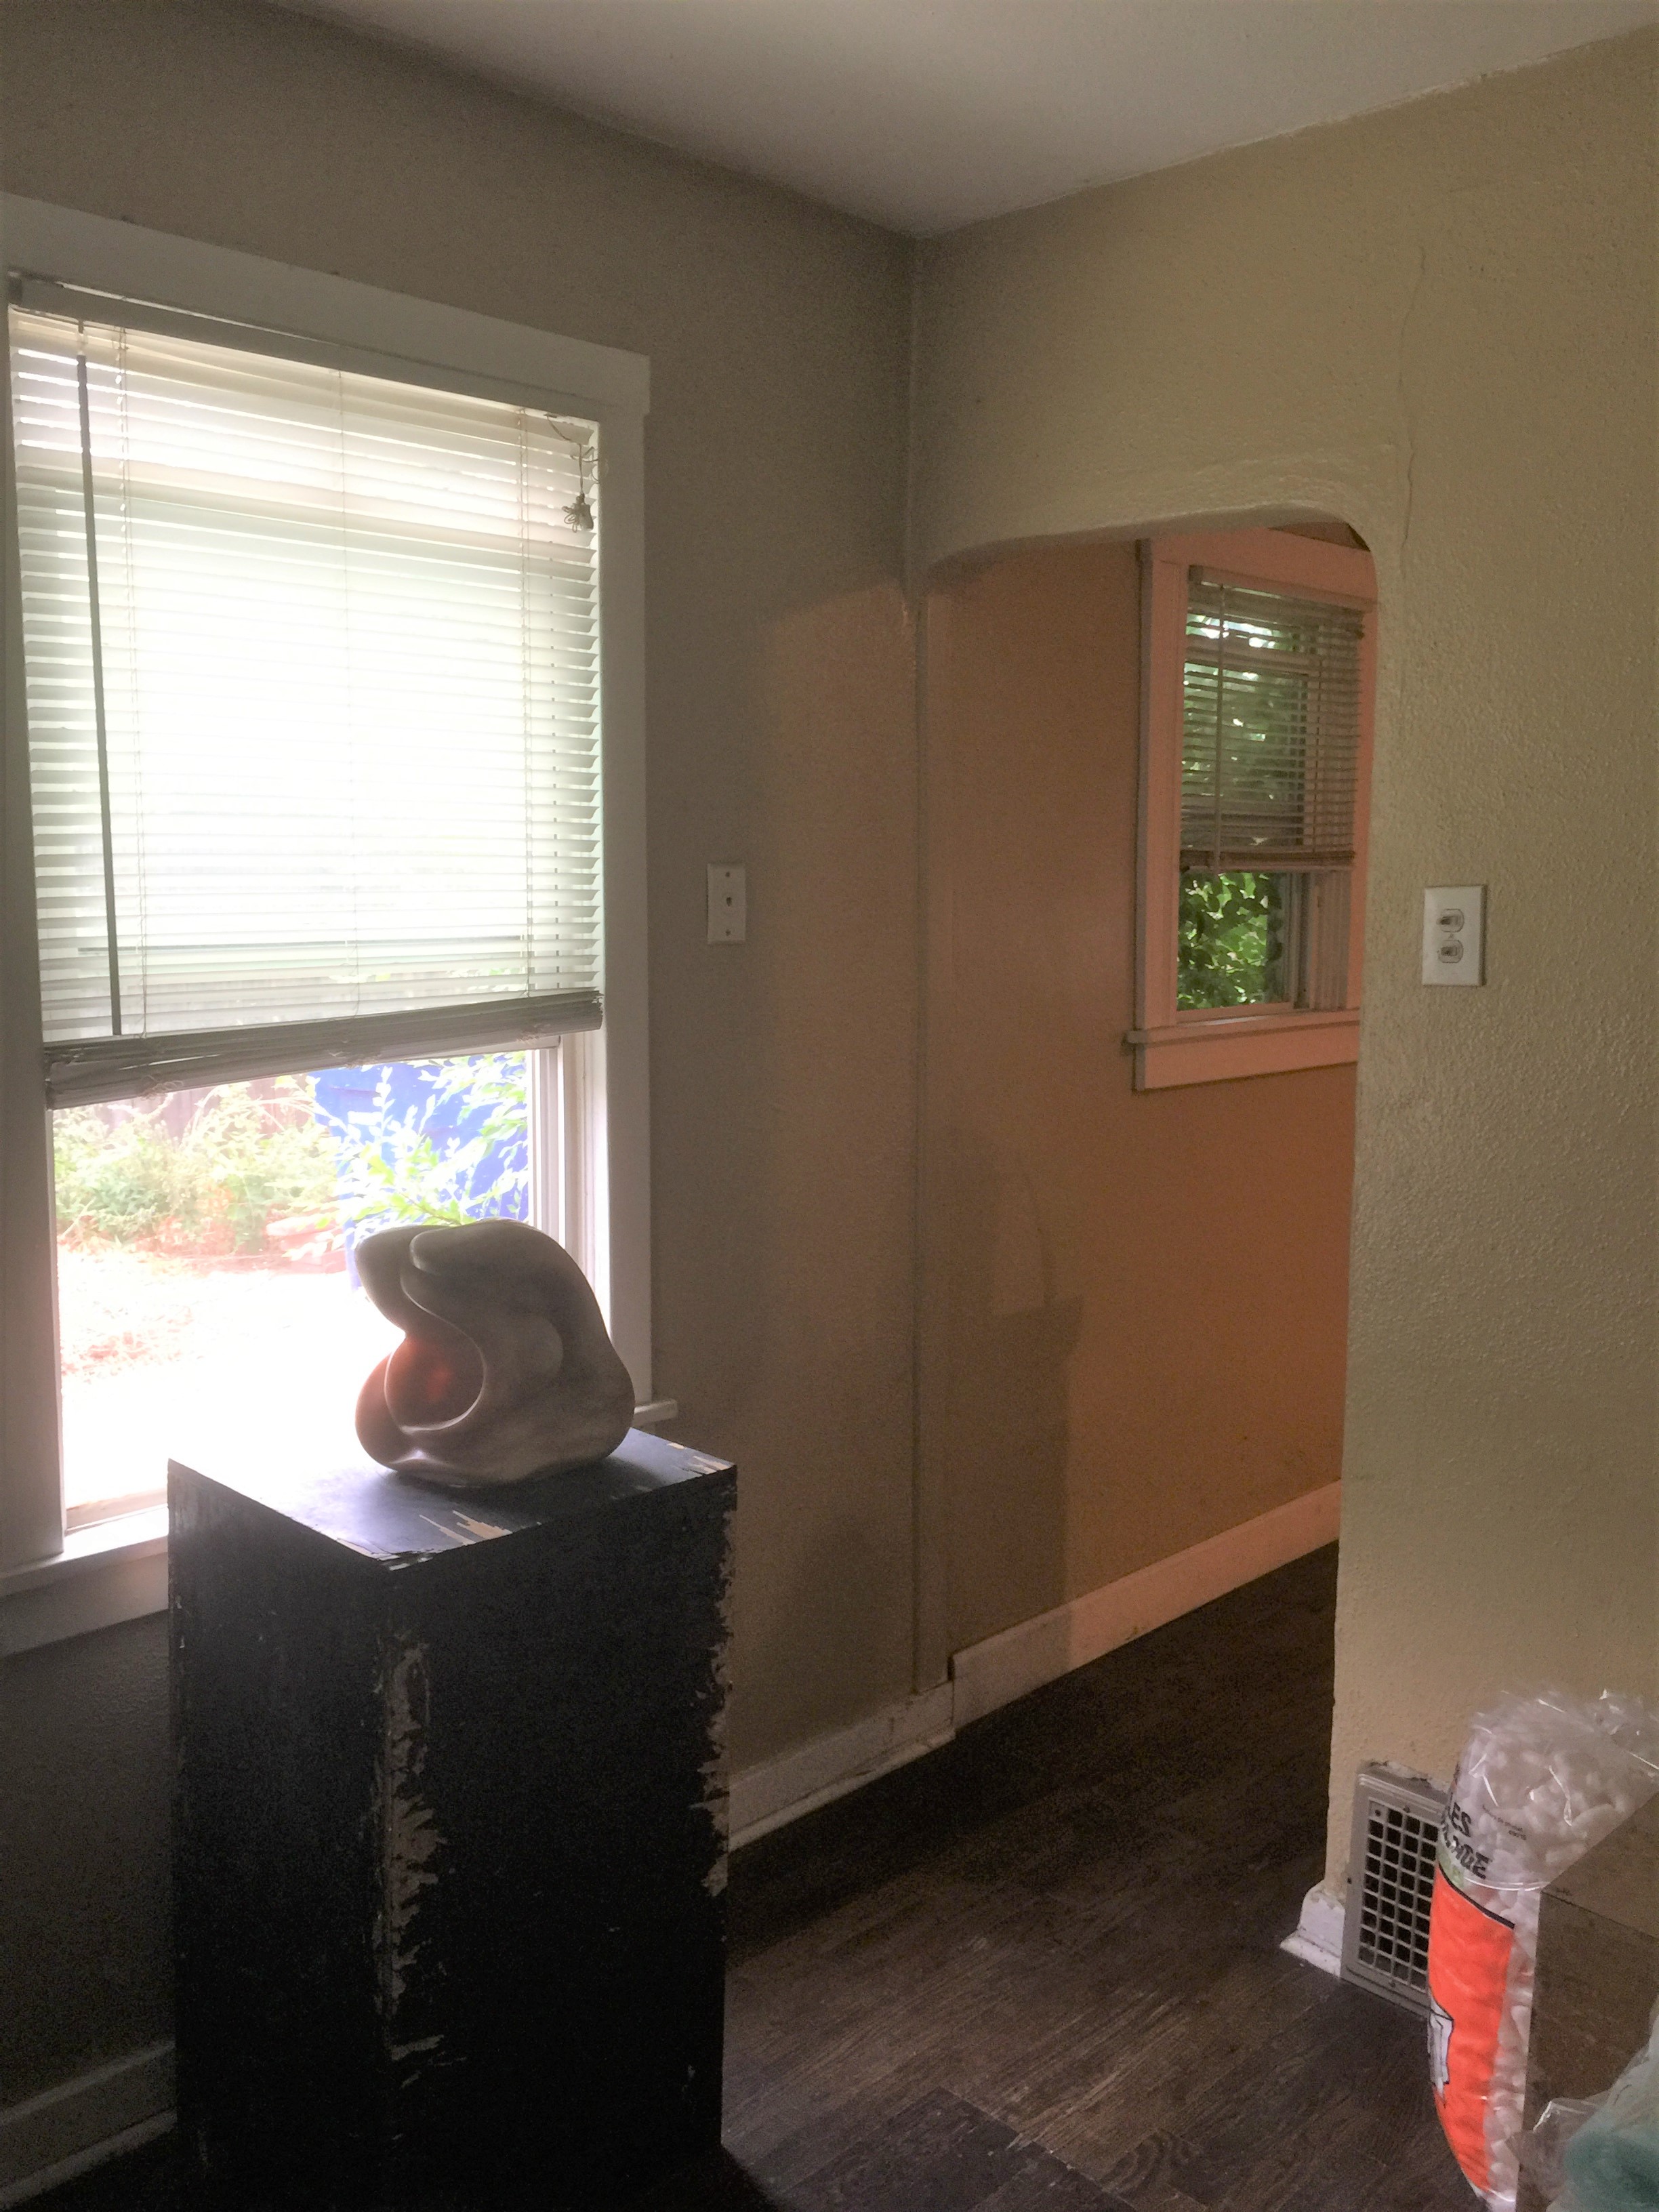
A closer view of the arched wall between the kitchen and living area, where I added a new slider door.
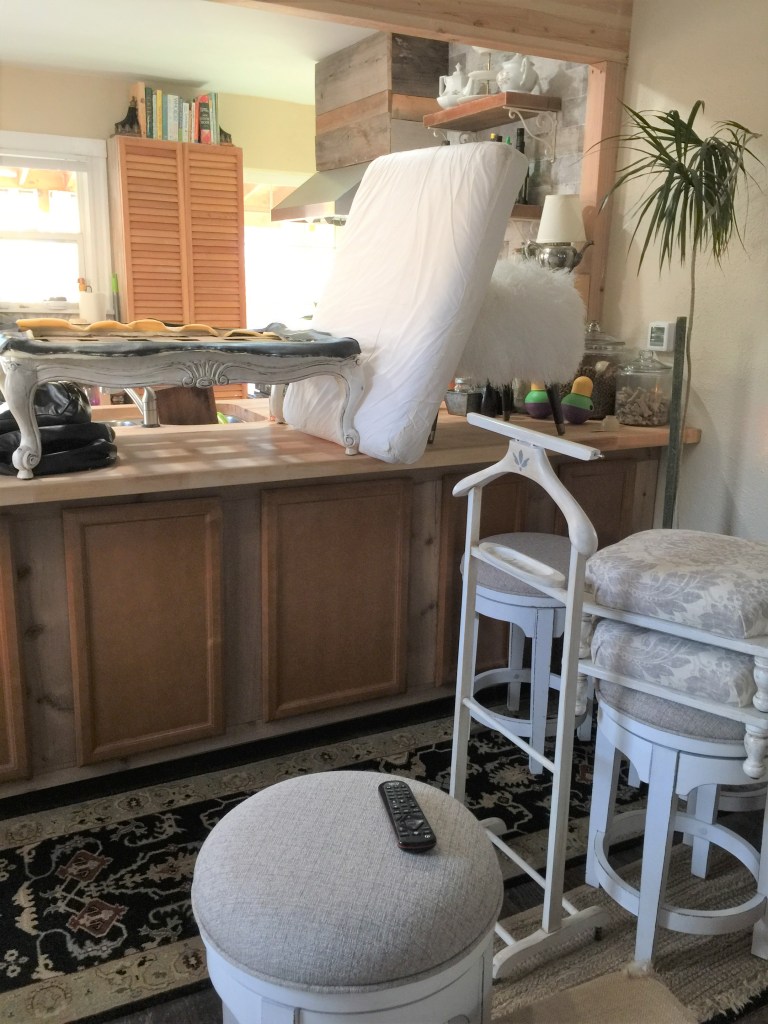
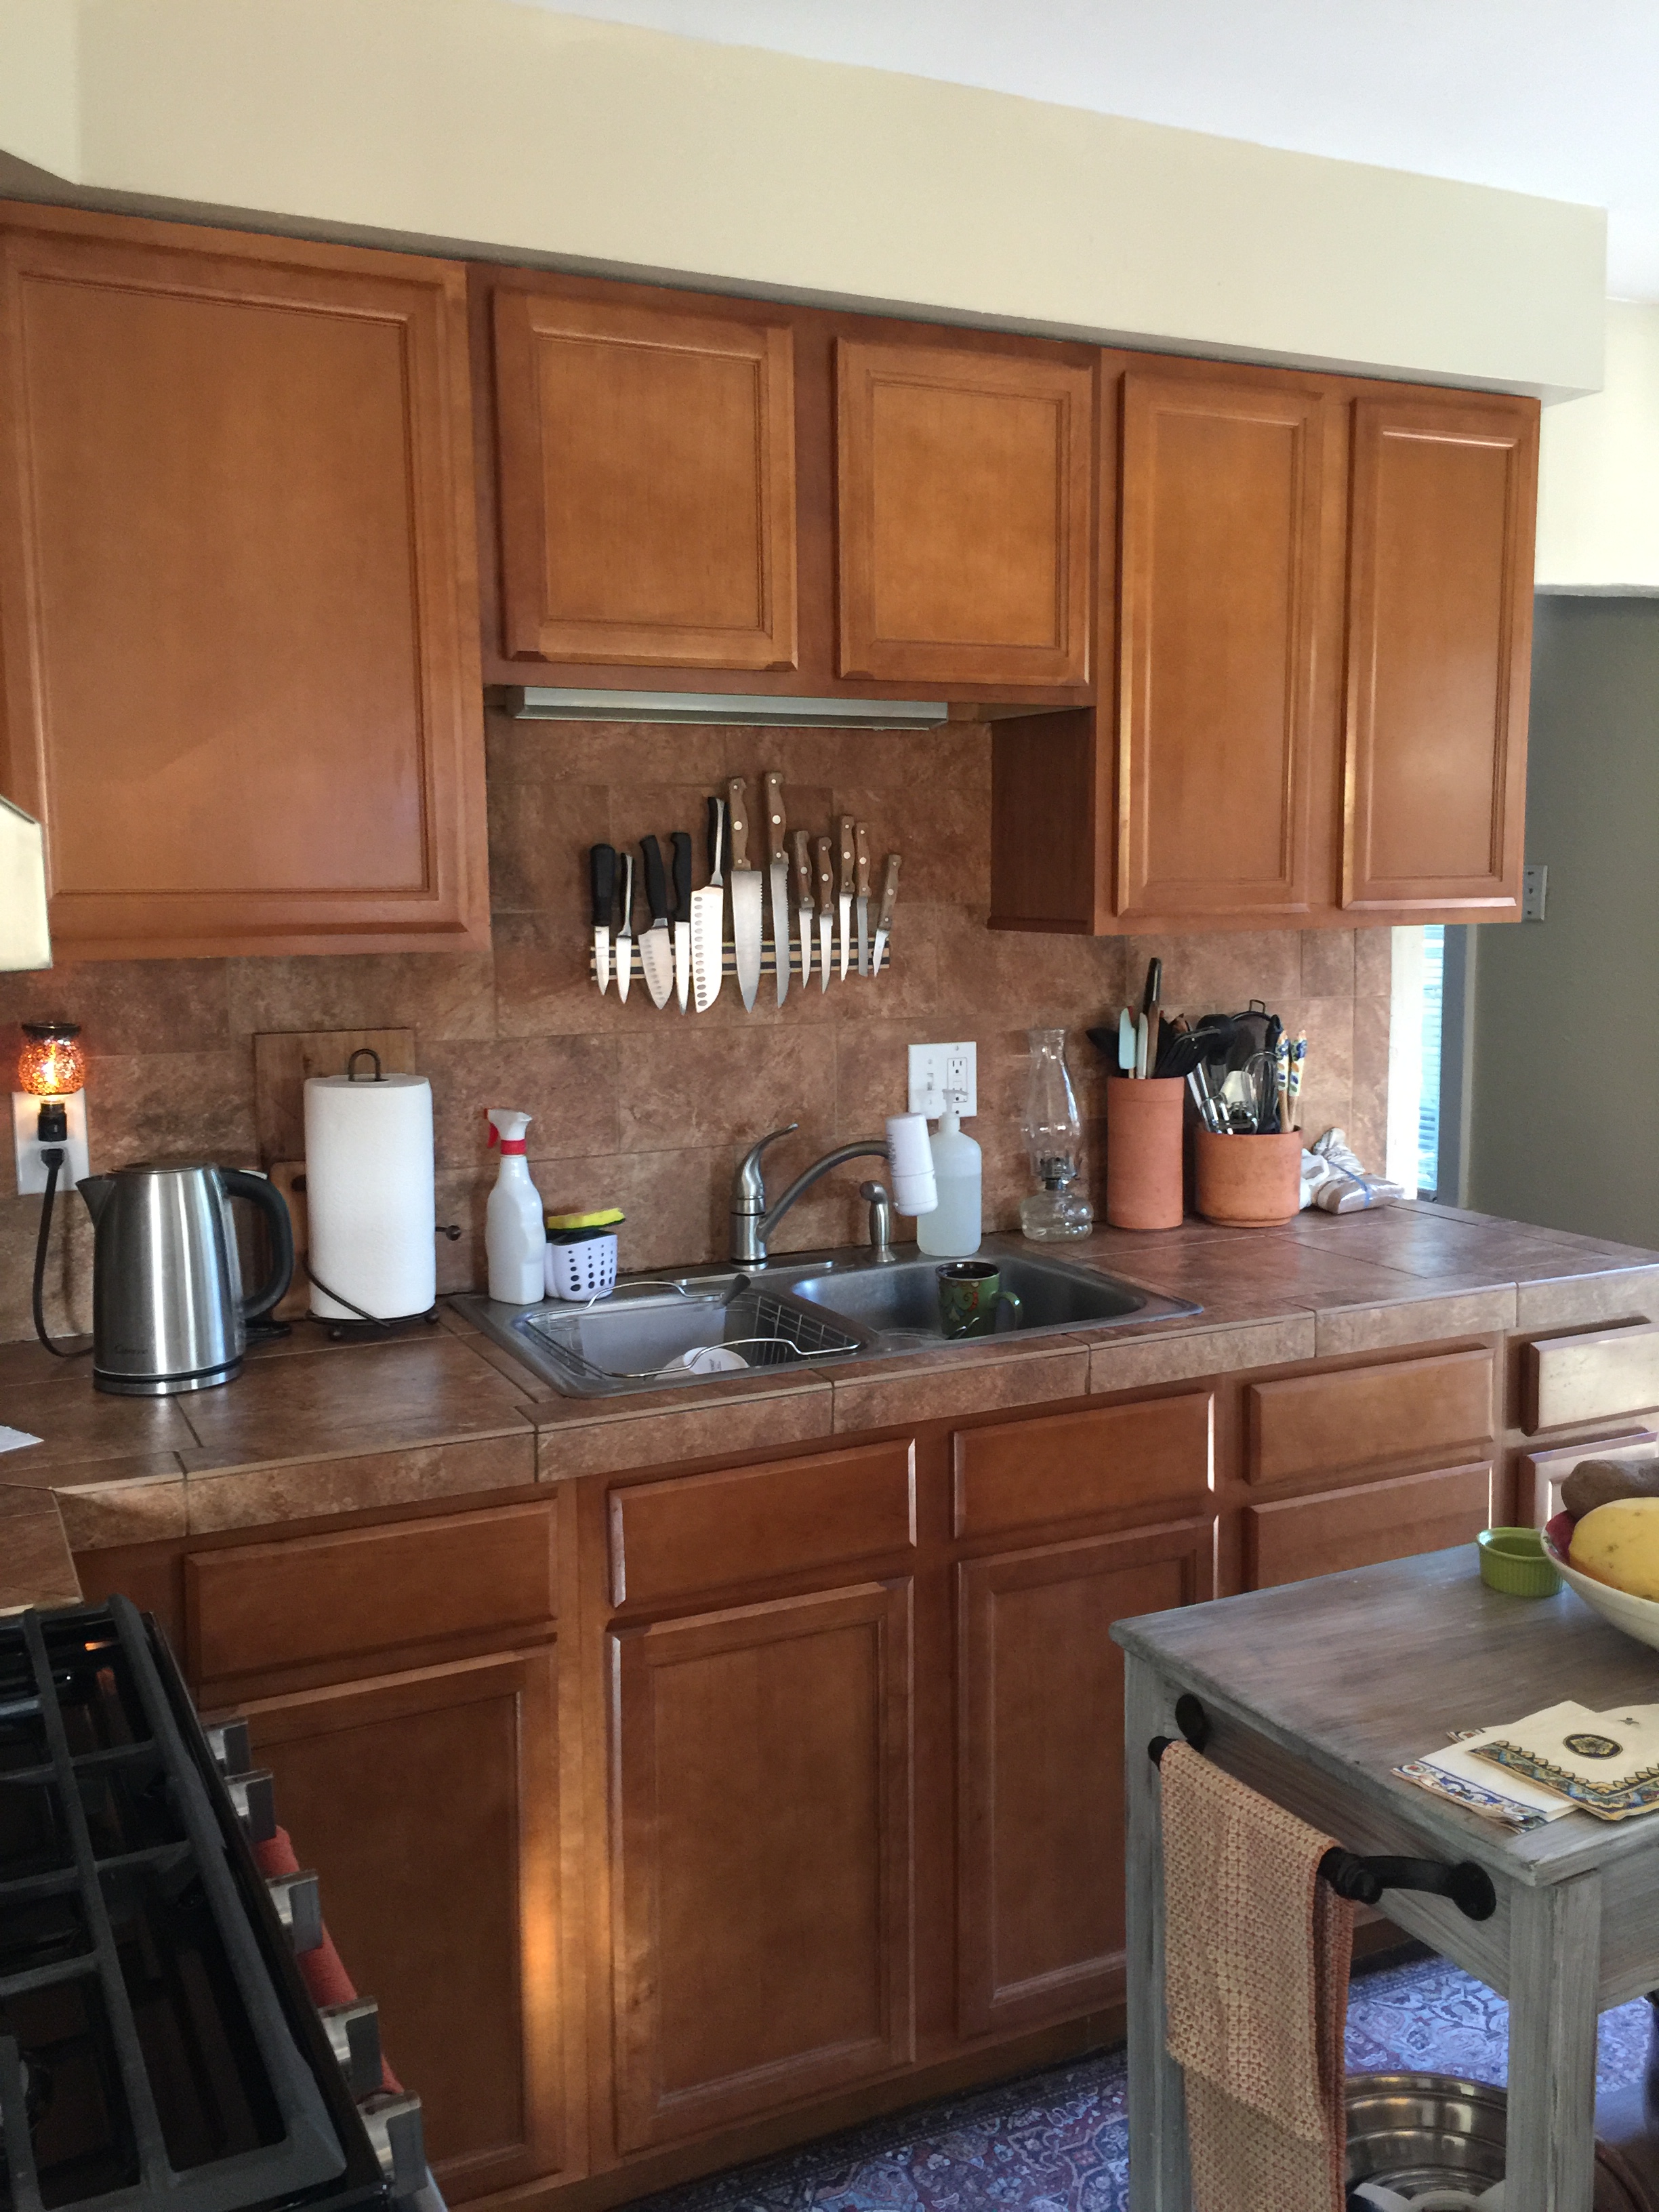
I’m planning to take this wall down between the living room and kitchen. This space is the main living space in the house and during the winter, where I spend most of my time.
I’ll lose the upper cabinets and keep the base cabinets. I want to open up the room so it feels bigger, brighter and warmer having the living and cooking space connected.
I’ll remove the weird soffit above the cabinets to open the room up, refinish the existing base cabinets, add rustic support beams, new tile backsplash, new countertops and I’m having a shelf cabinet built…
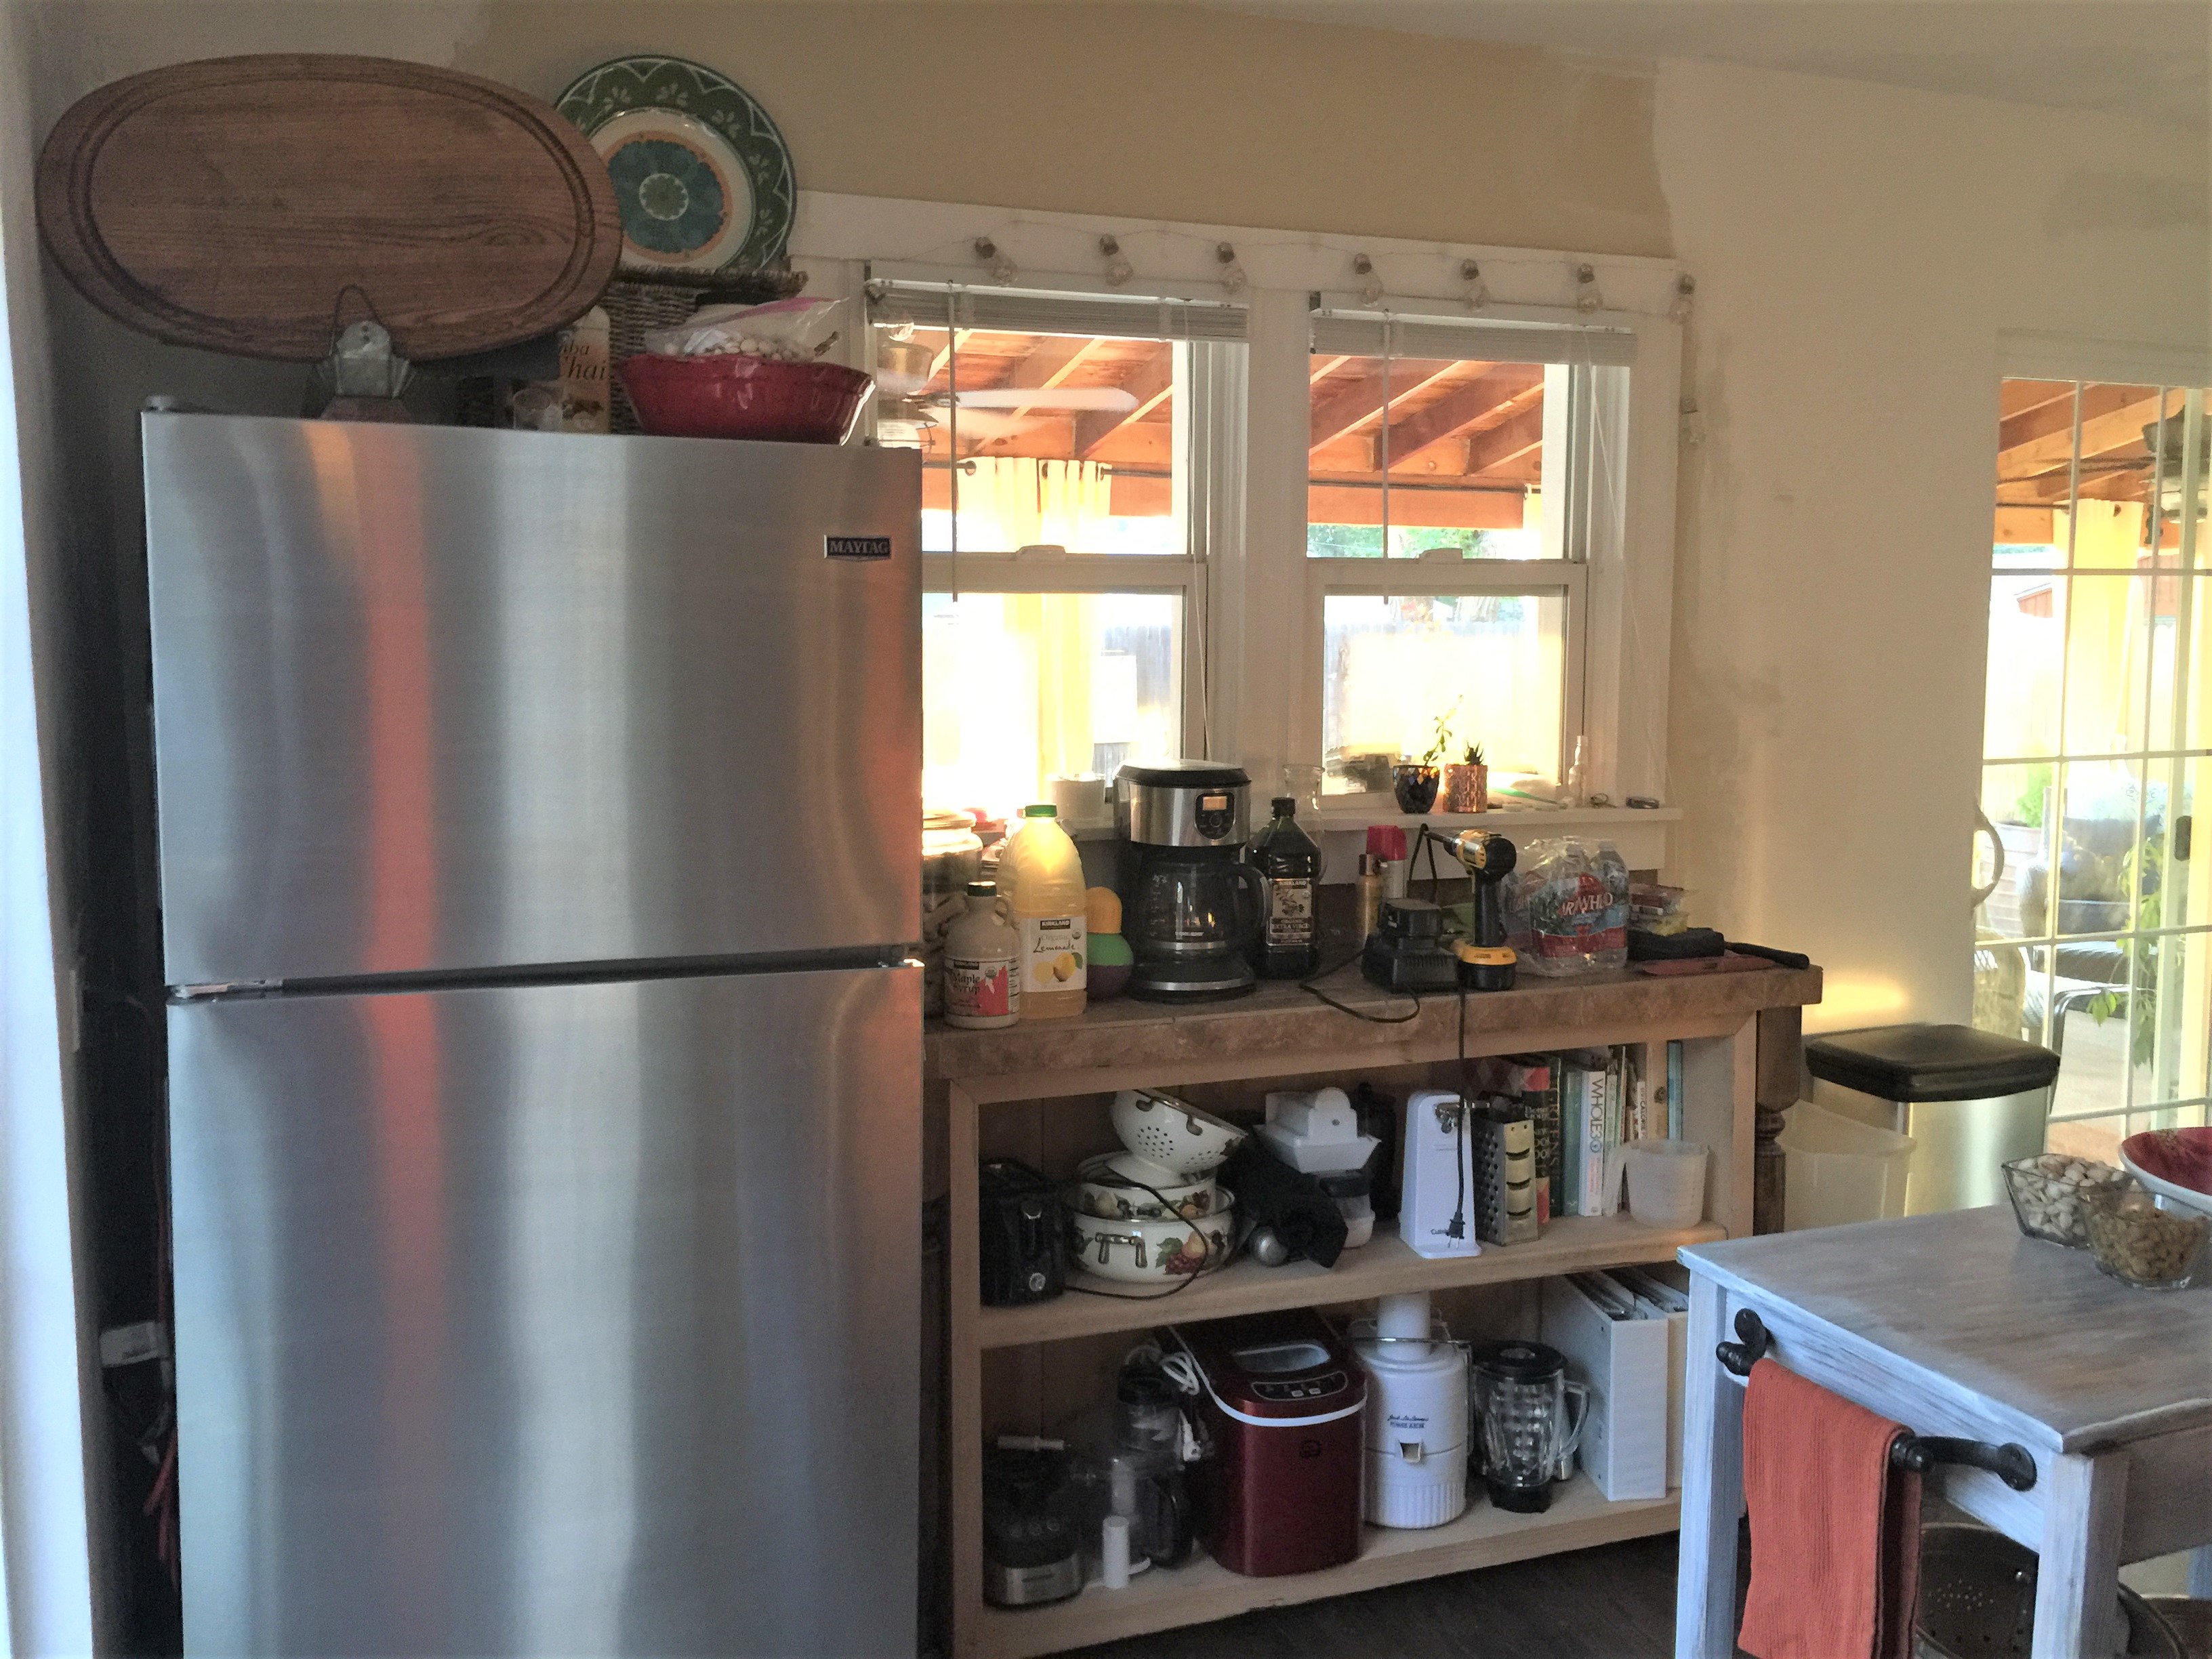
to match the cabinet you see here, below the windows. As you can see, I need more storage space and I’ll put the new cabinet to the right of the windows. It’s tall and fits the space between the windows and the back door.
Me, happy to be at this point of my project and enjoying my simple life.
I love my newly remodeled space! This project has been so fun because I get to do what works for my lifestyle today. It’s customized for me. And I’m so happy living here. Happy Anniversary, house!
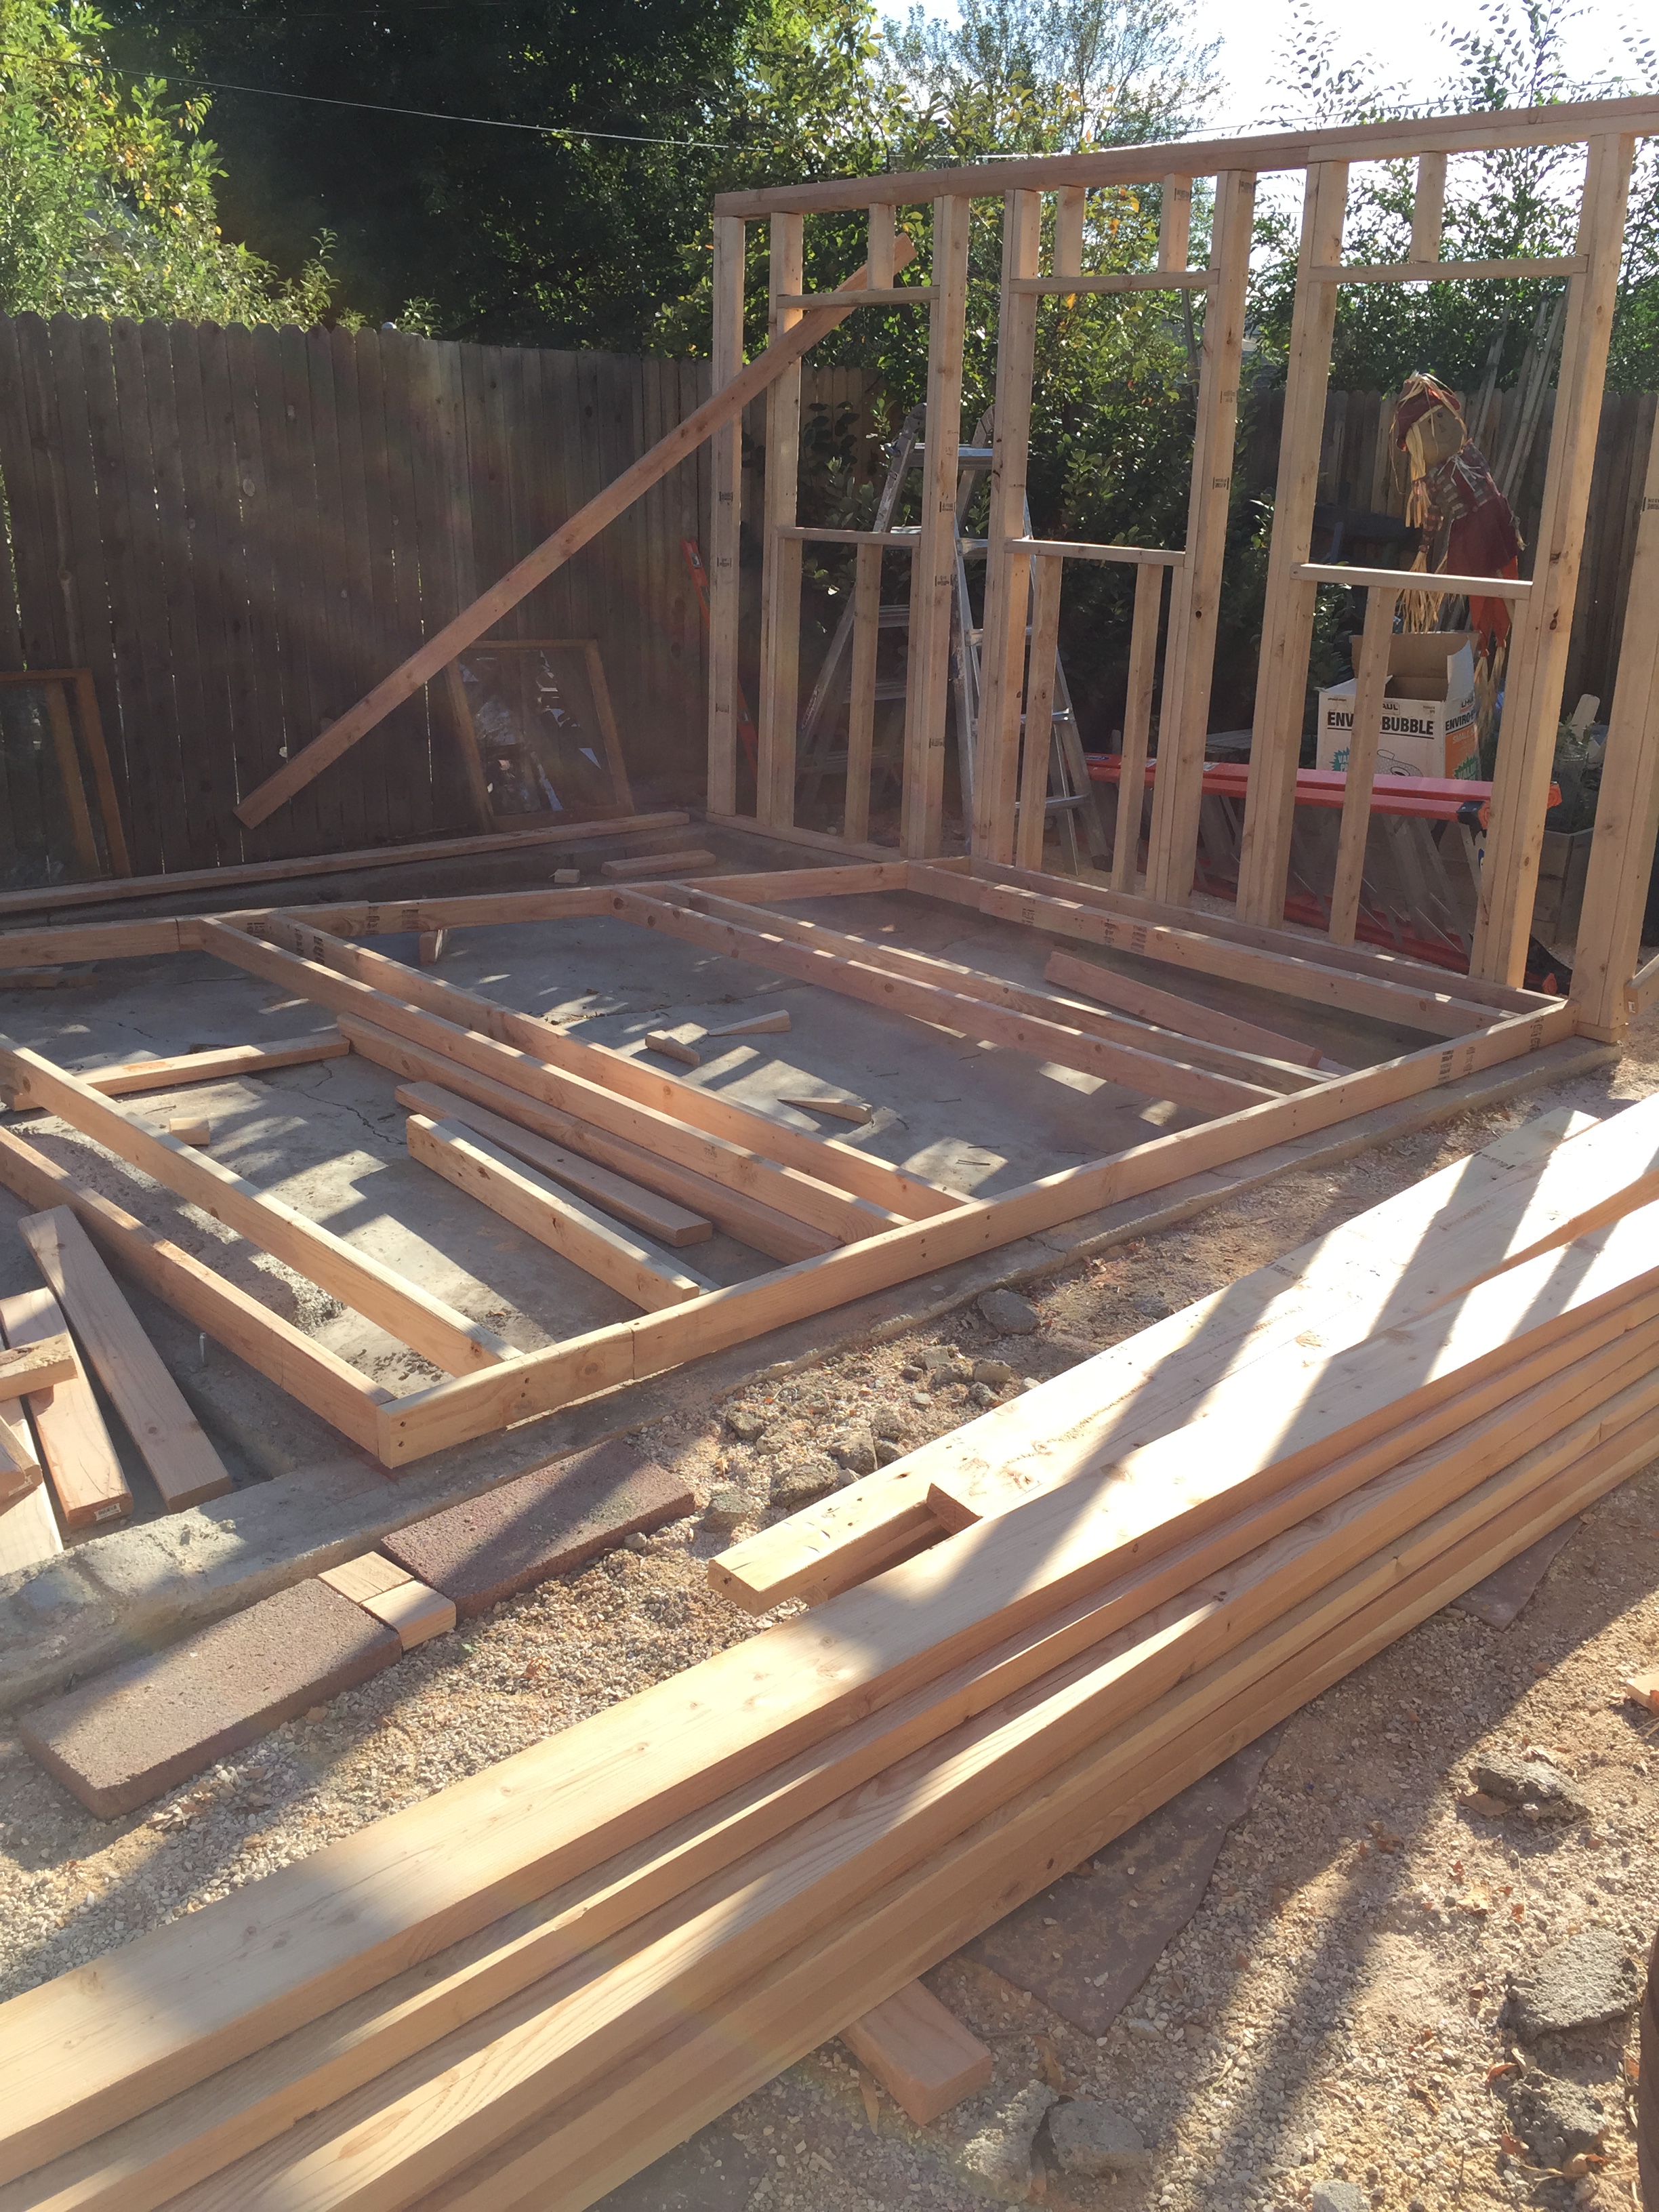
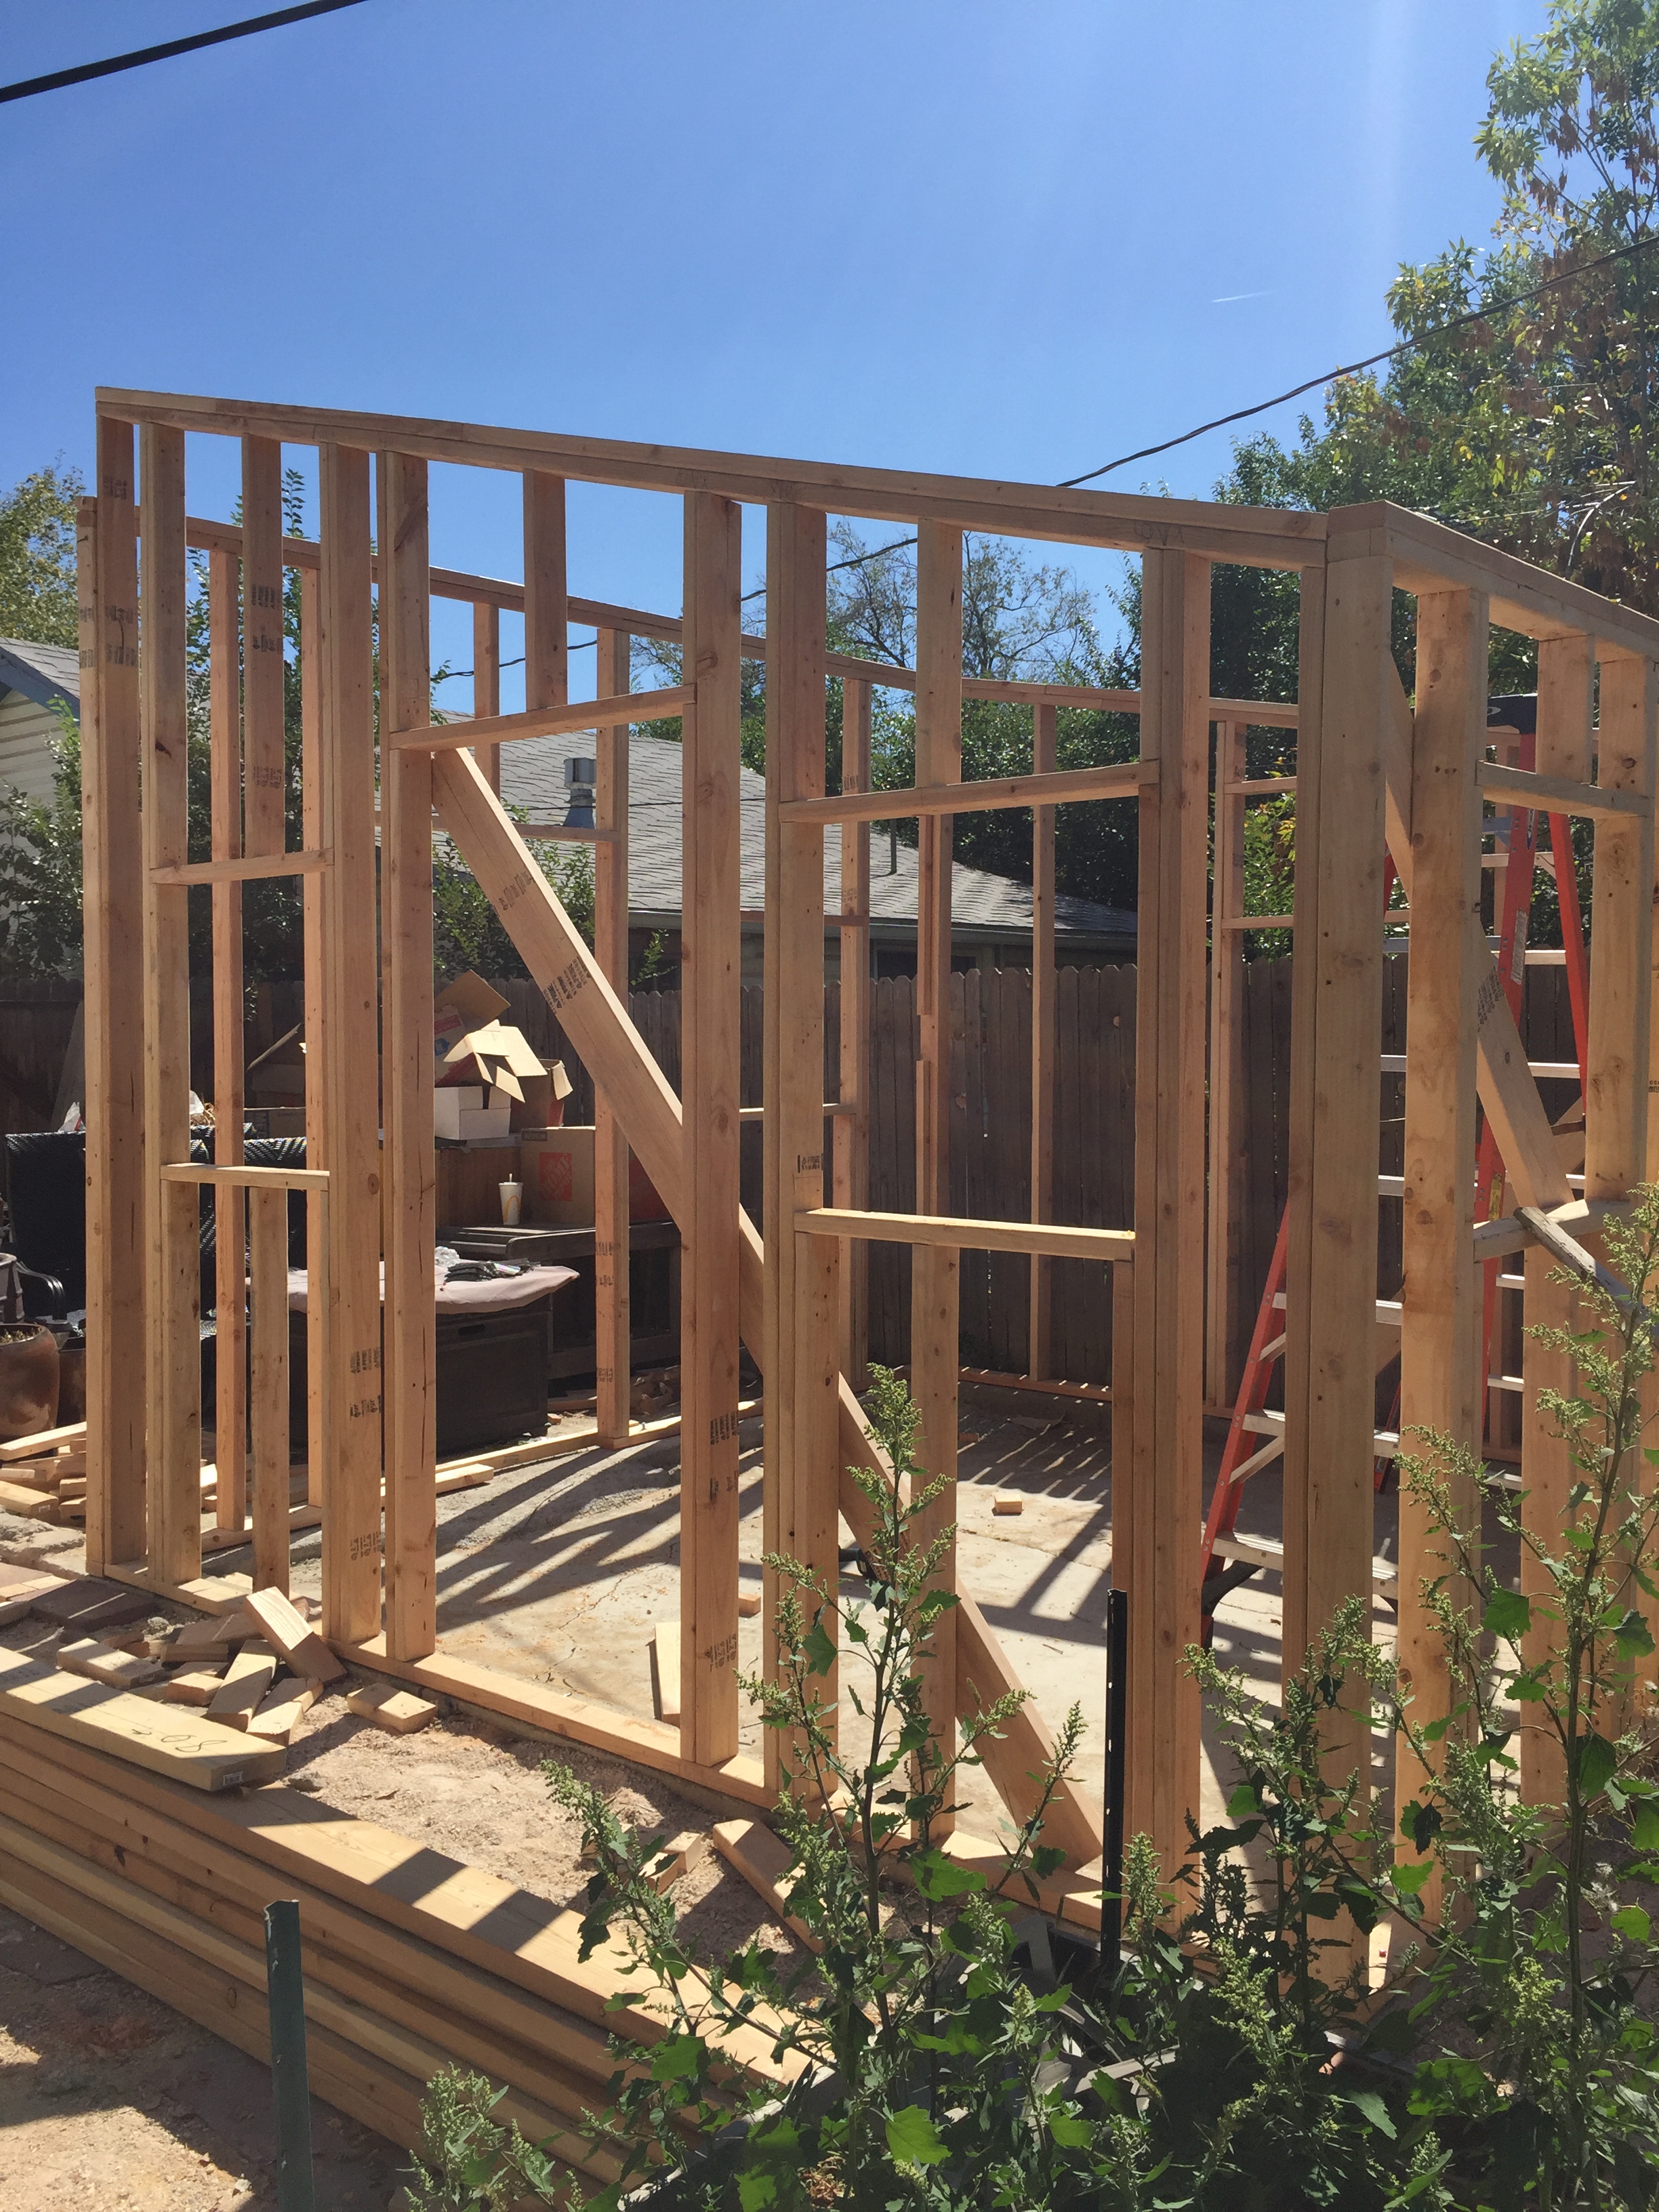
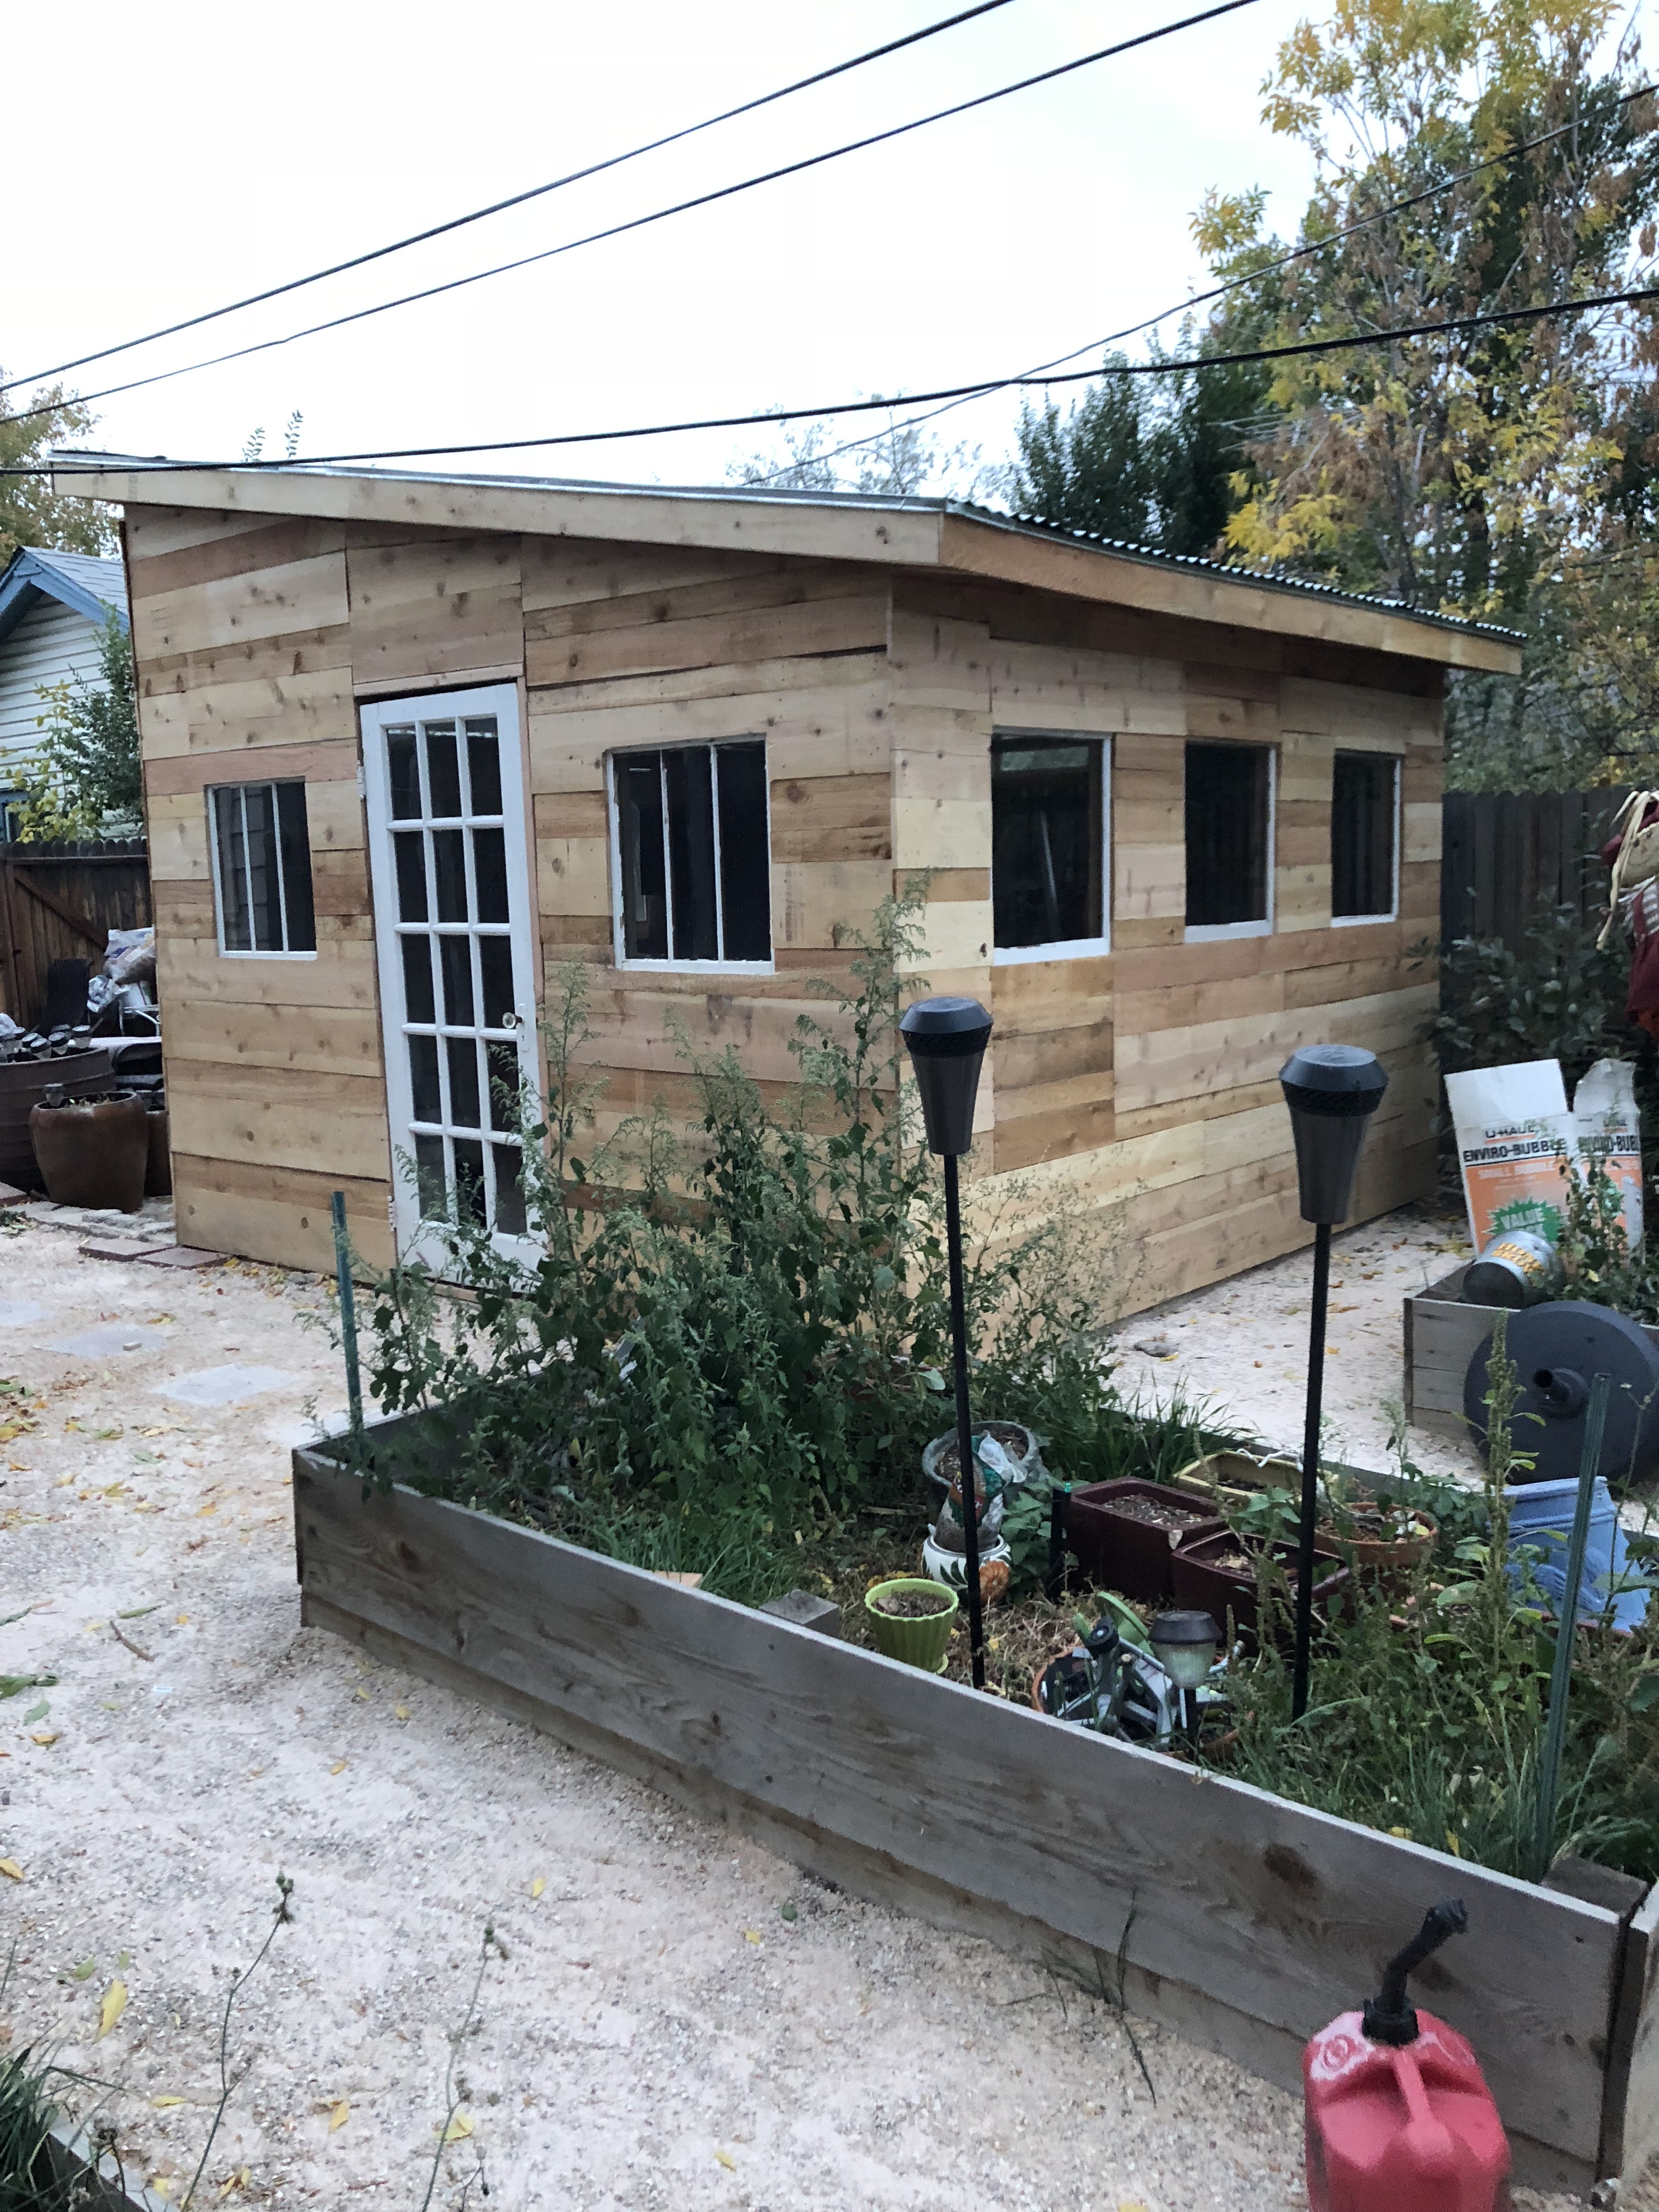
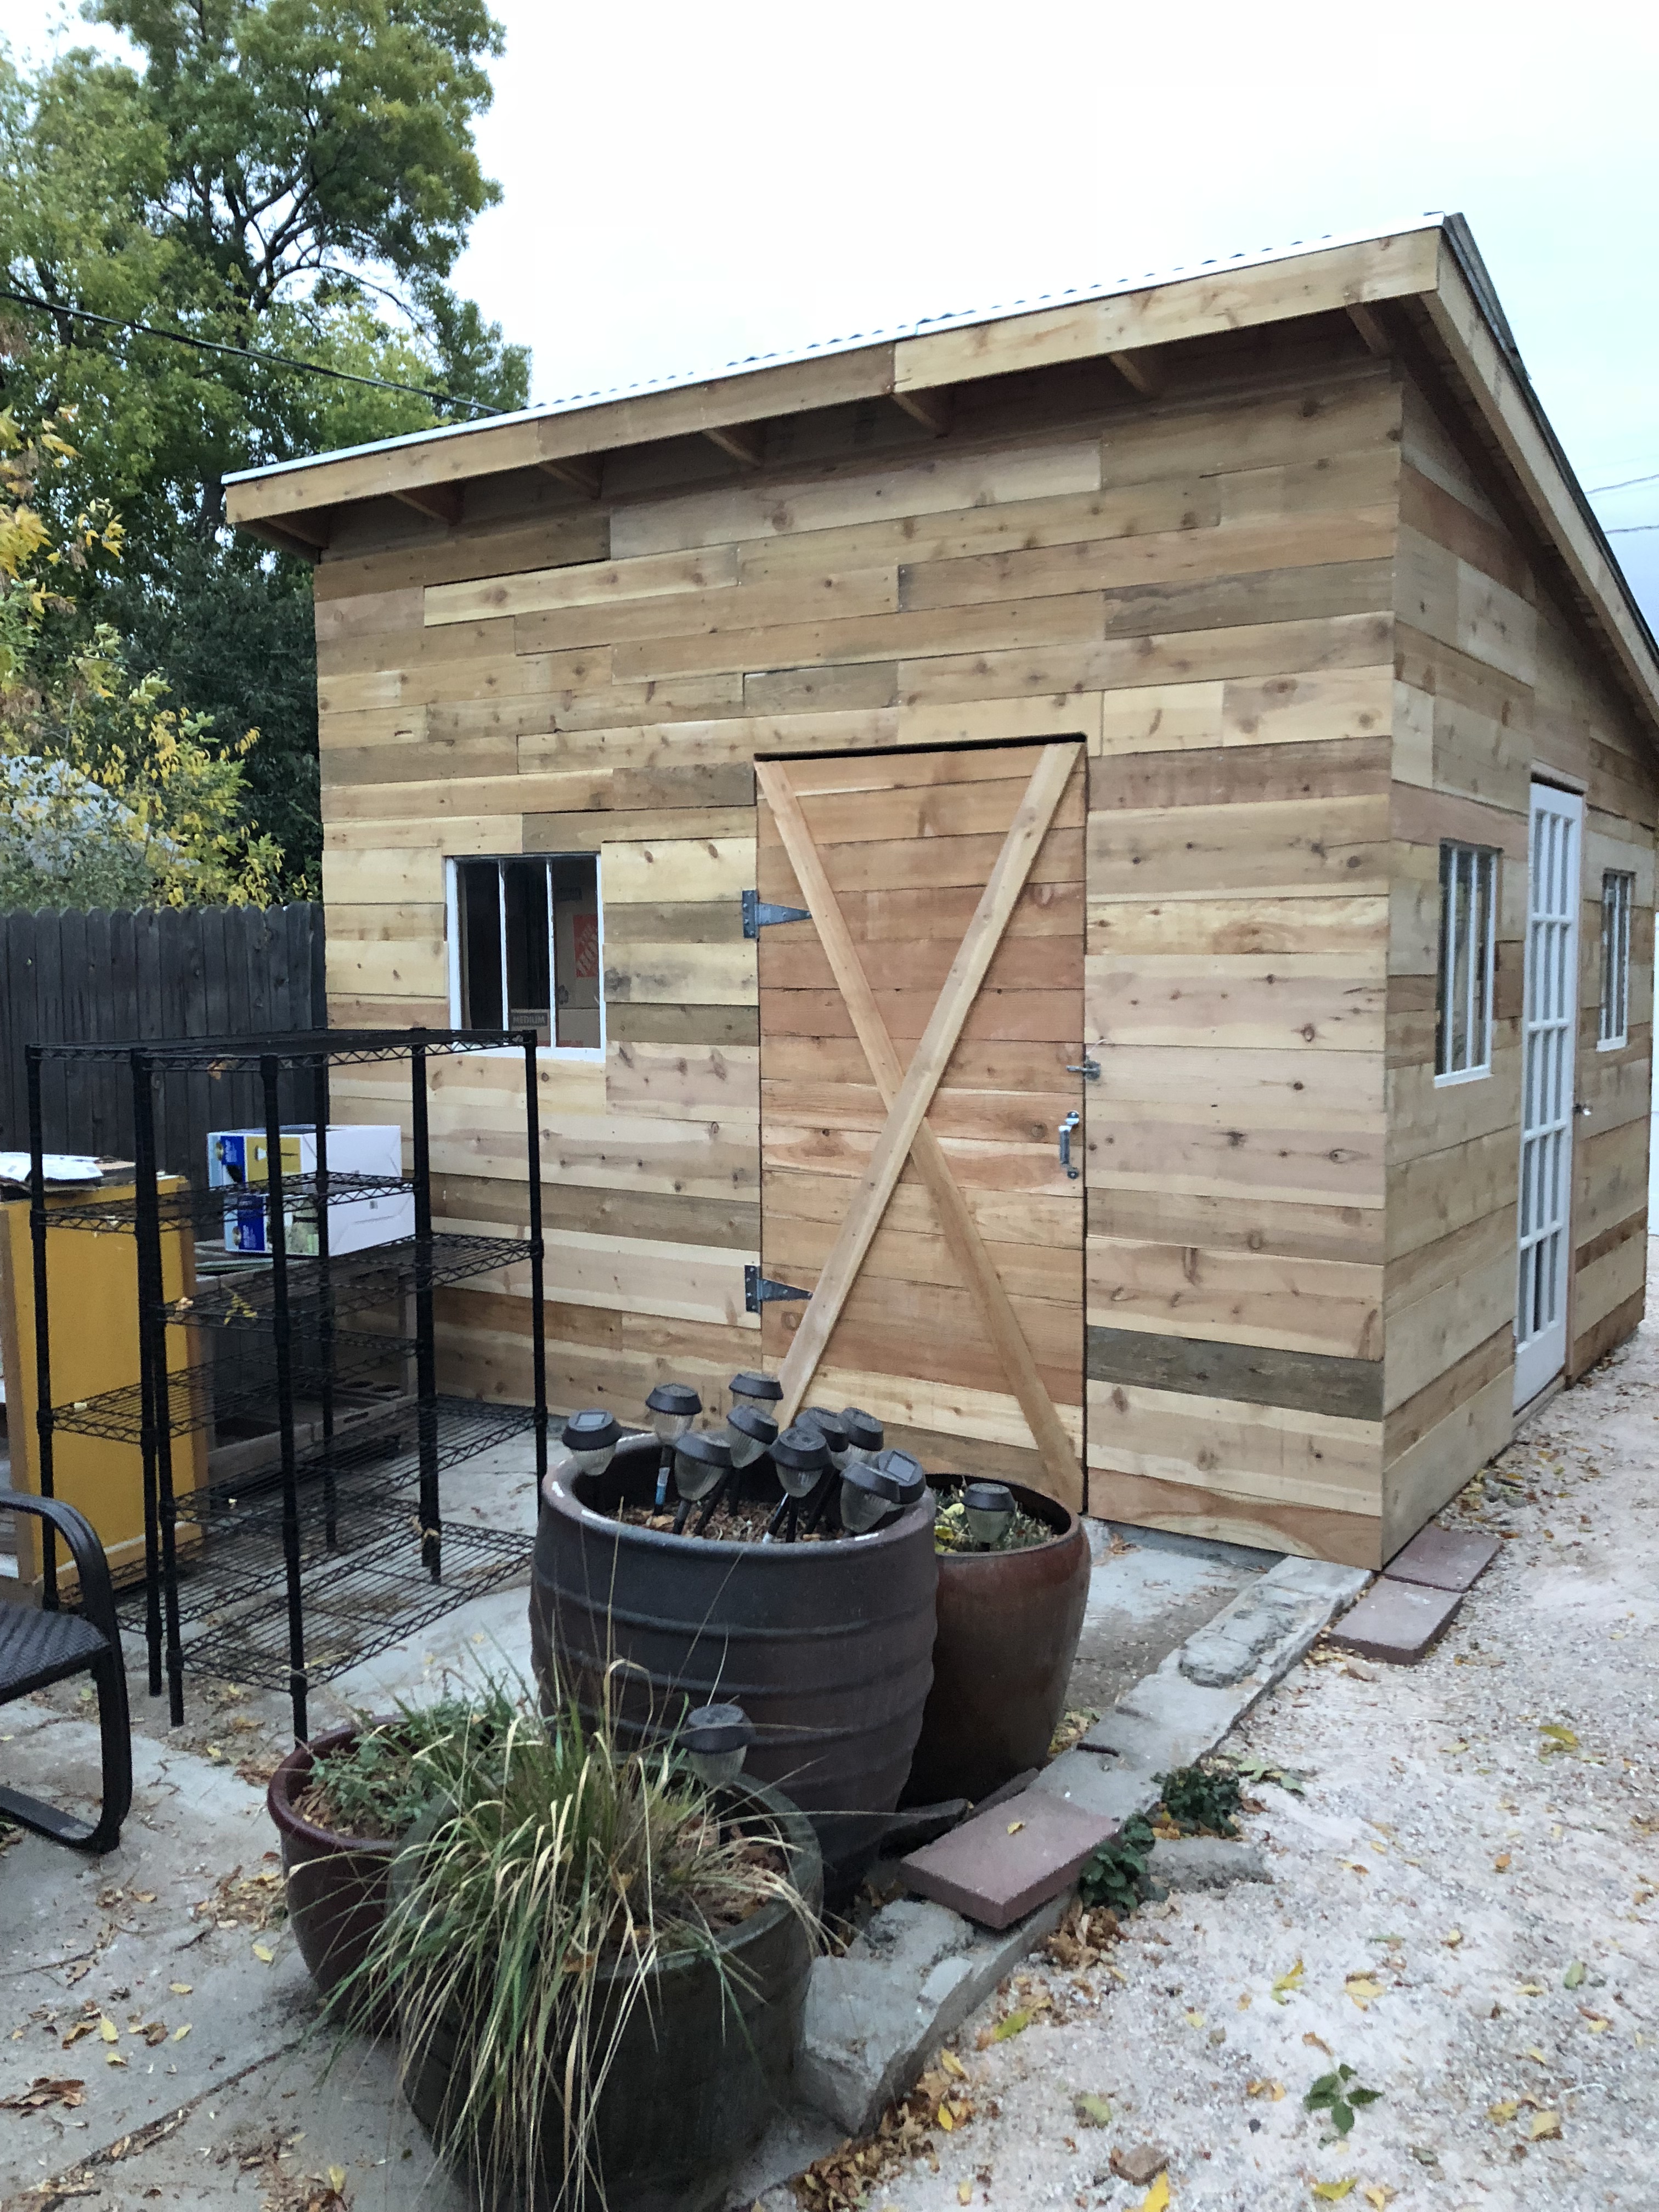
The back side of the original garage, taken down in 2012.I bought this house in 2005. I lived in the carriage house for a year and a half while I worked on the property. This is a pic of the original back yard behind the garage.Although I had tenants in this house at the time, I tried to clean up the yard and make it usable. Better than it was.The original back porch was semi-enclosed with painted plywood and screen on the top. I also inherited some fabulous lava rock. See the wire fence between the houses?My first attempt to clean up the yard with plastic edging, grass seed and mulch.Fast forward 11 years to 2016, after I took down the garage and added garden boxes in the yard and removed the painted plywood and screen from the back porch. I’ve had long term tenants in this house since I bought it 14 years ago.I took the garage down in 2012 because it wasn’t structurally sound. I left the concrete pad.September 2018 I had a shed built to accommodate my garden supplies and storage.I used half of the original concrete pad for the shed.I considered using metal “patches” on the side of the shed, but ended up only using mtetal on the roof. I’ll use the same material for the roof on my back porch.The white paned door came from the carriage house in the back. I love the shed and how rustic it is. And I definately need the storage as I don’t have a garage and my basement will be remodeled at some point in the near future.This large barn door is great for accessing the shed. I had a concrete ramp built under this door so I can wheel my wheelbarrow in and out of the shed, as necessary. Another ” Smart girl idea”!Because I have short term rentals, I needed storage for supplies in addition to my garden supplies. I had three pine shelving units I picked up at Goodwill a few years ago and secured them onto the back wall for organization.As you can see, I needed and used this space up very quickly. Now if I can keep everything this organized going forard!
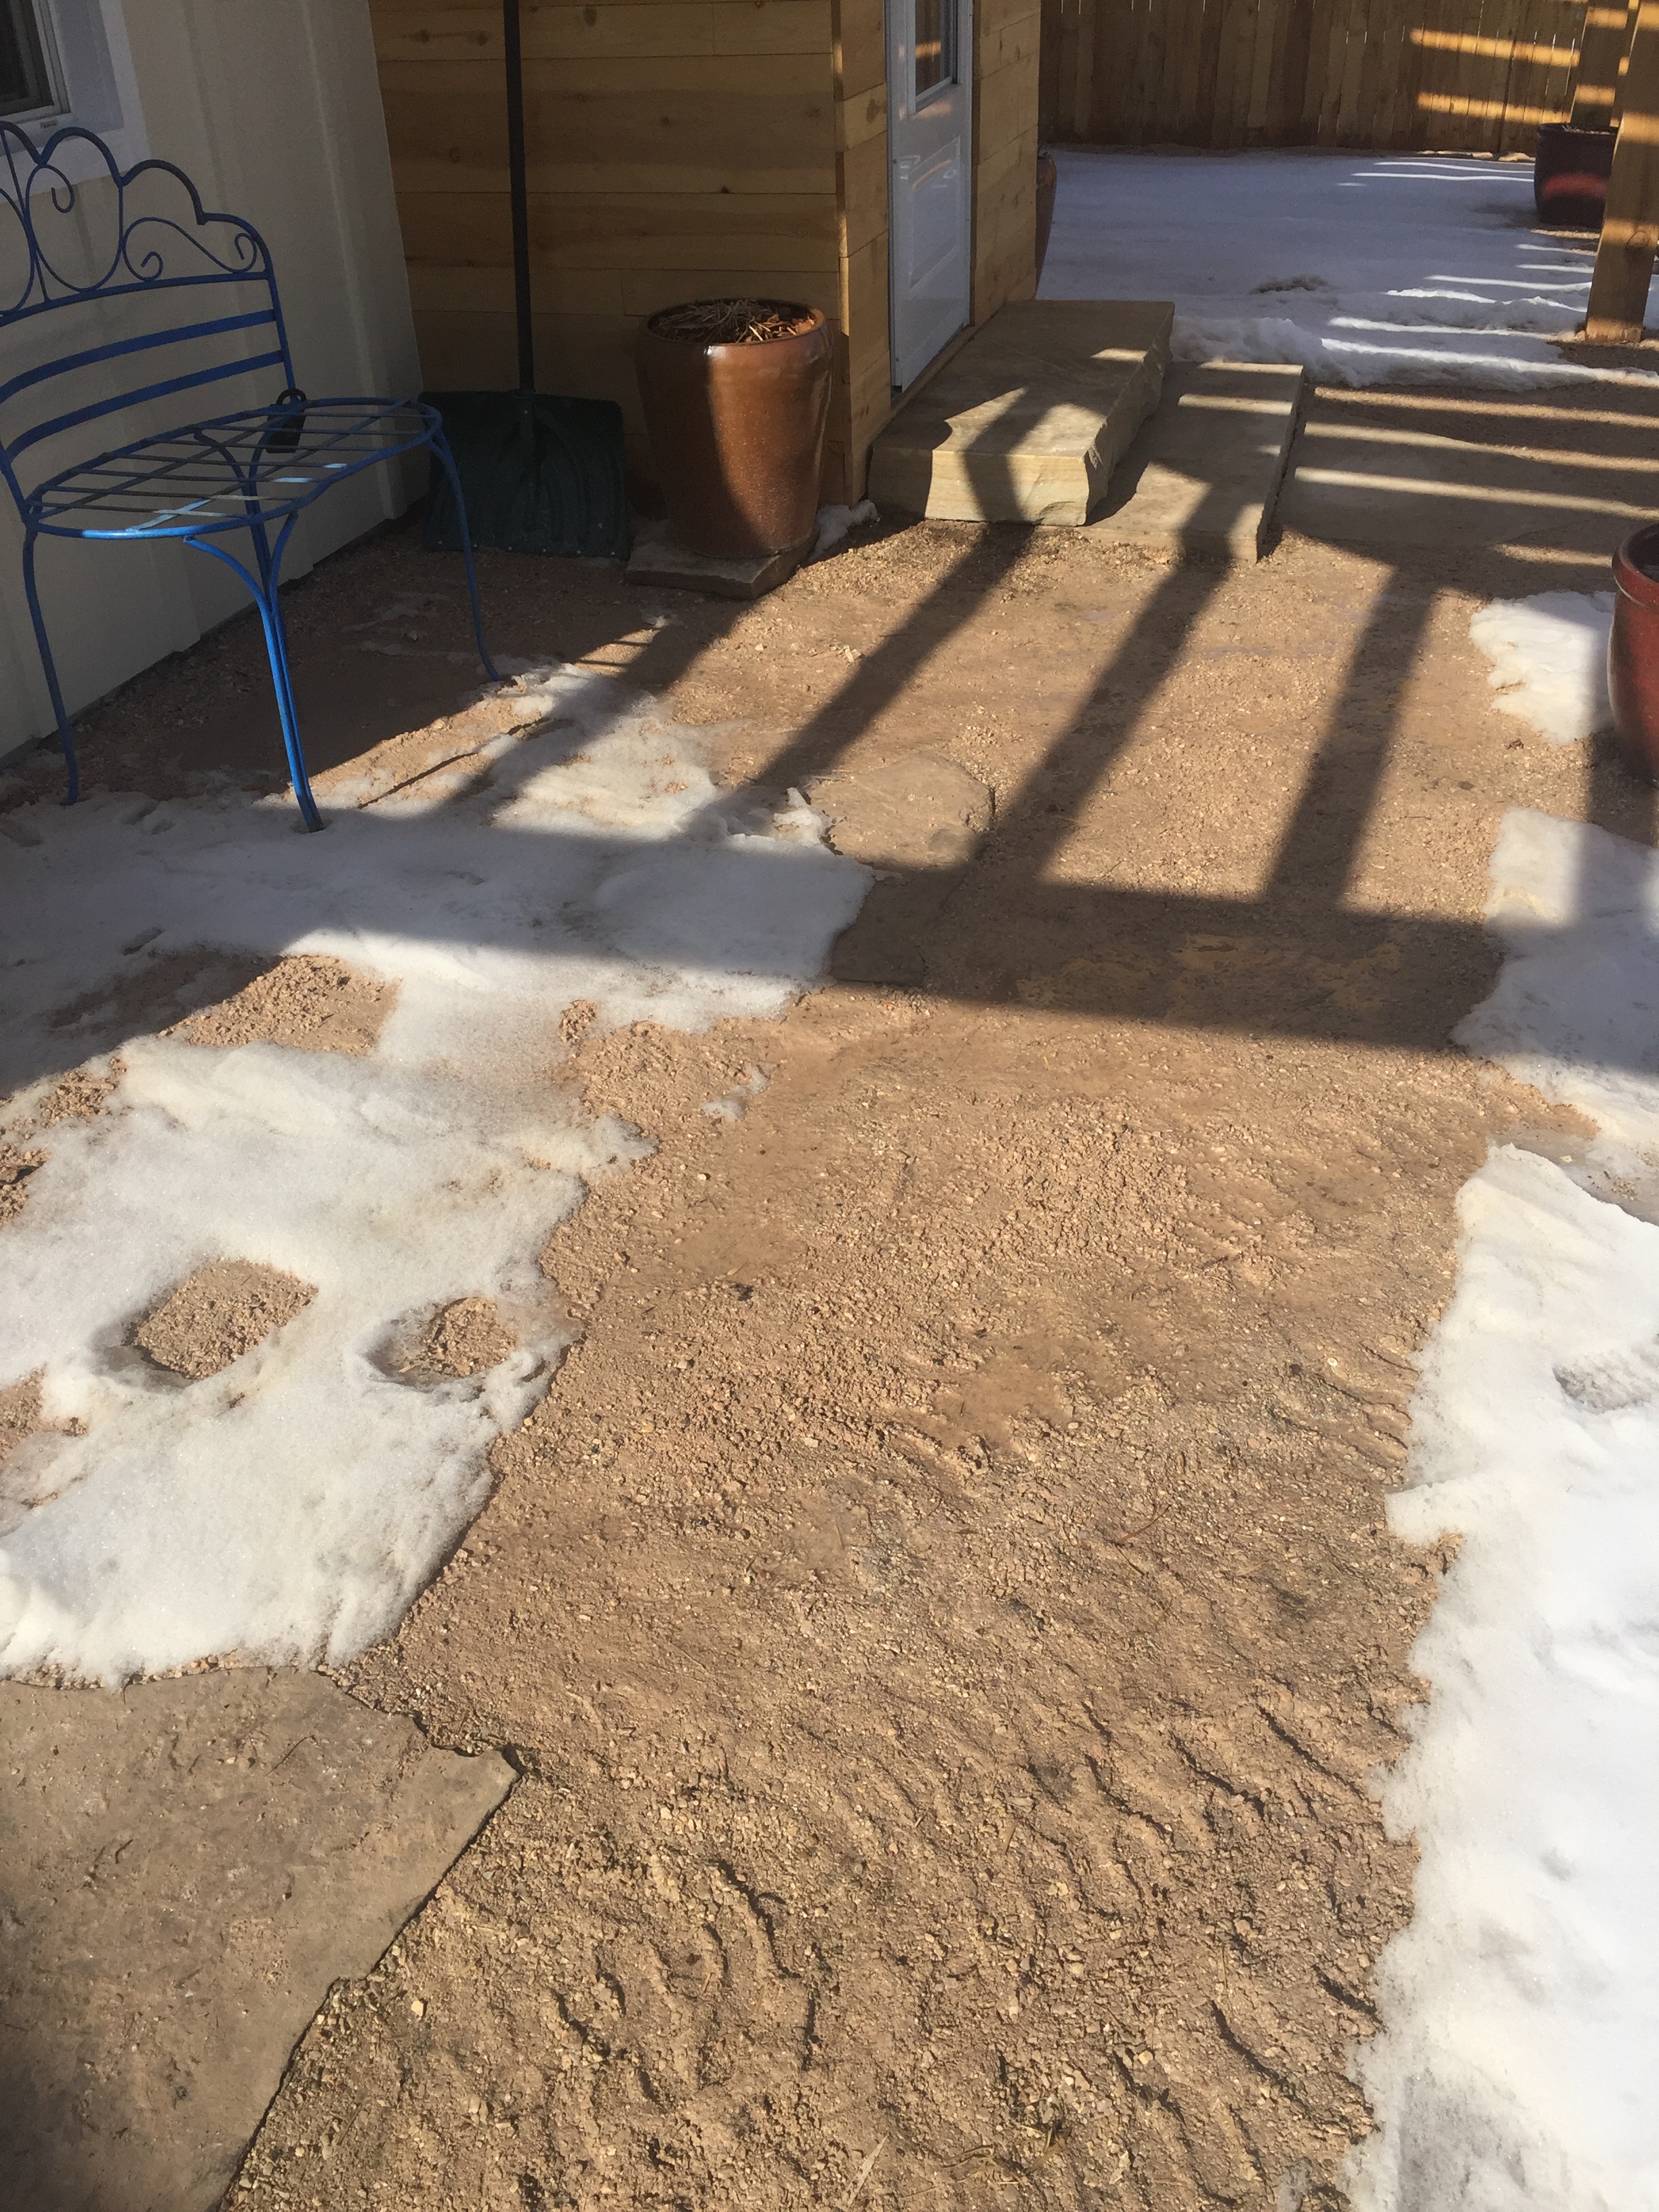
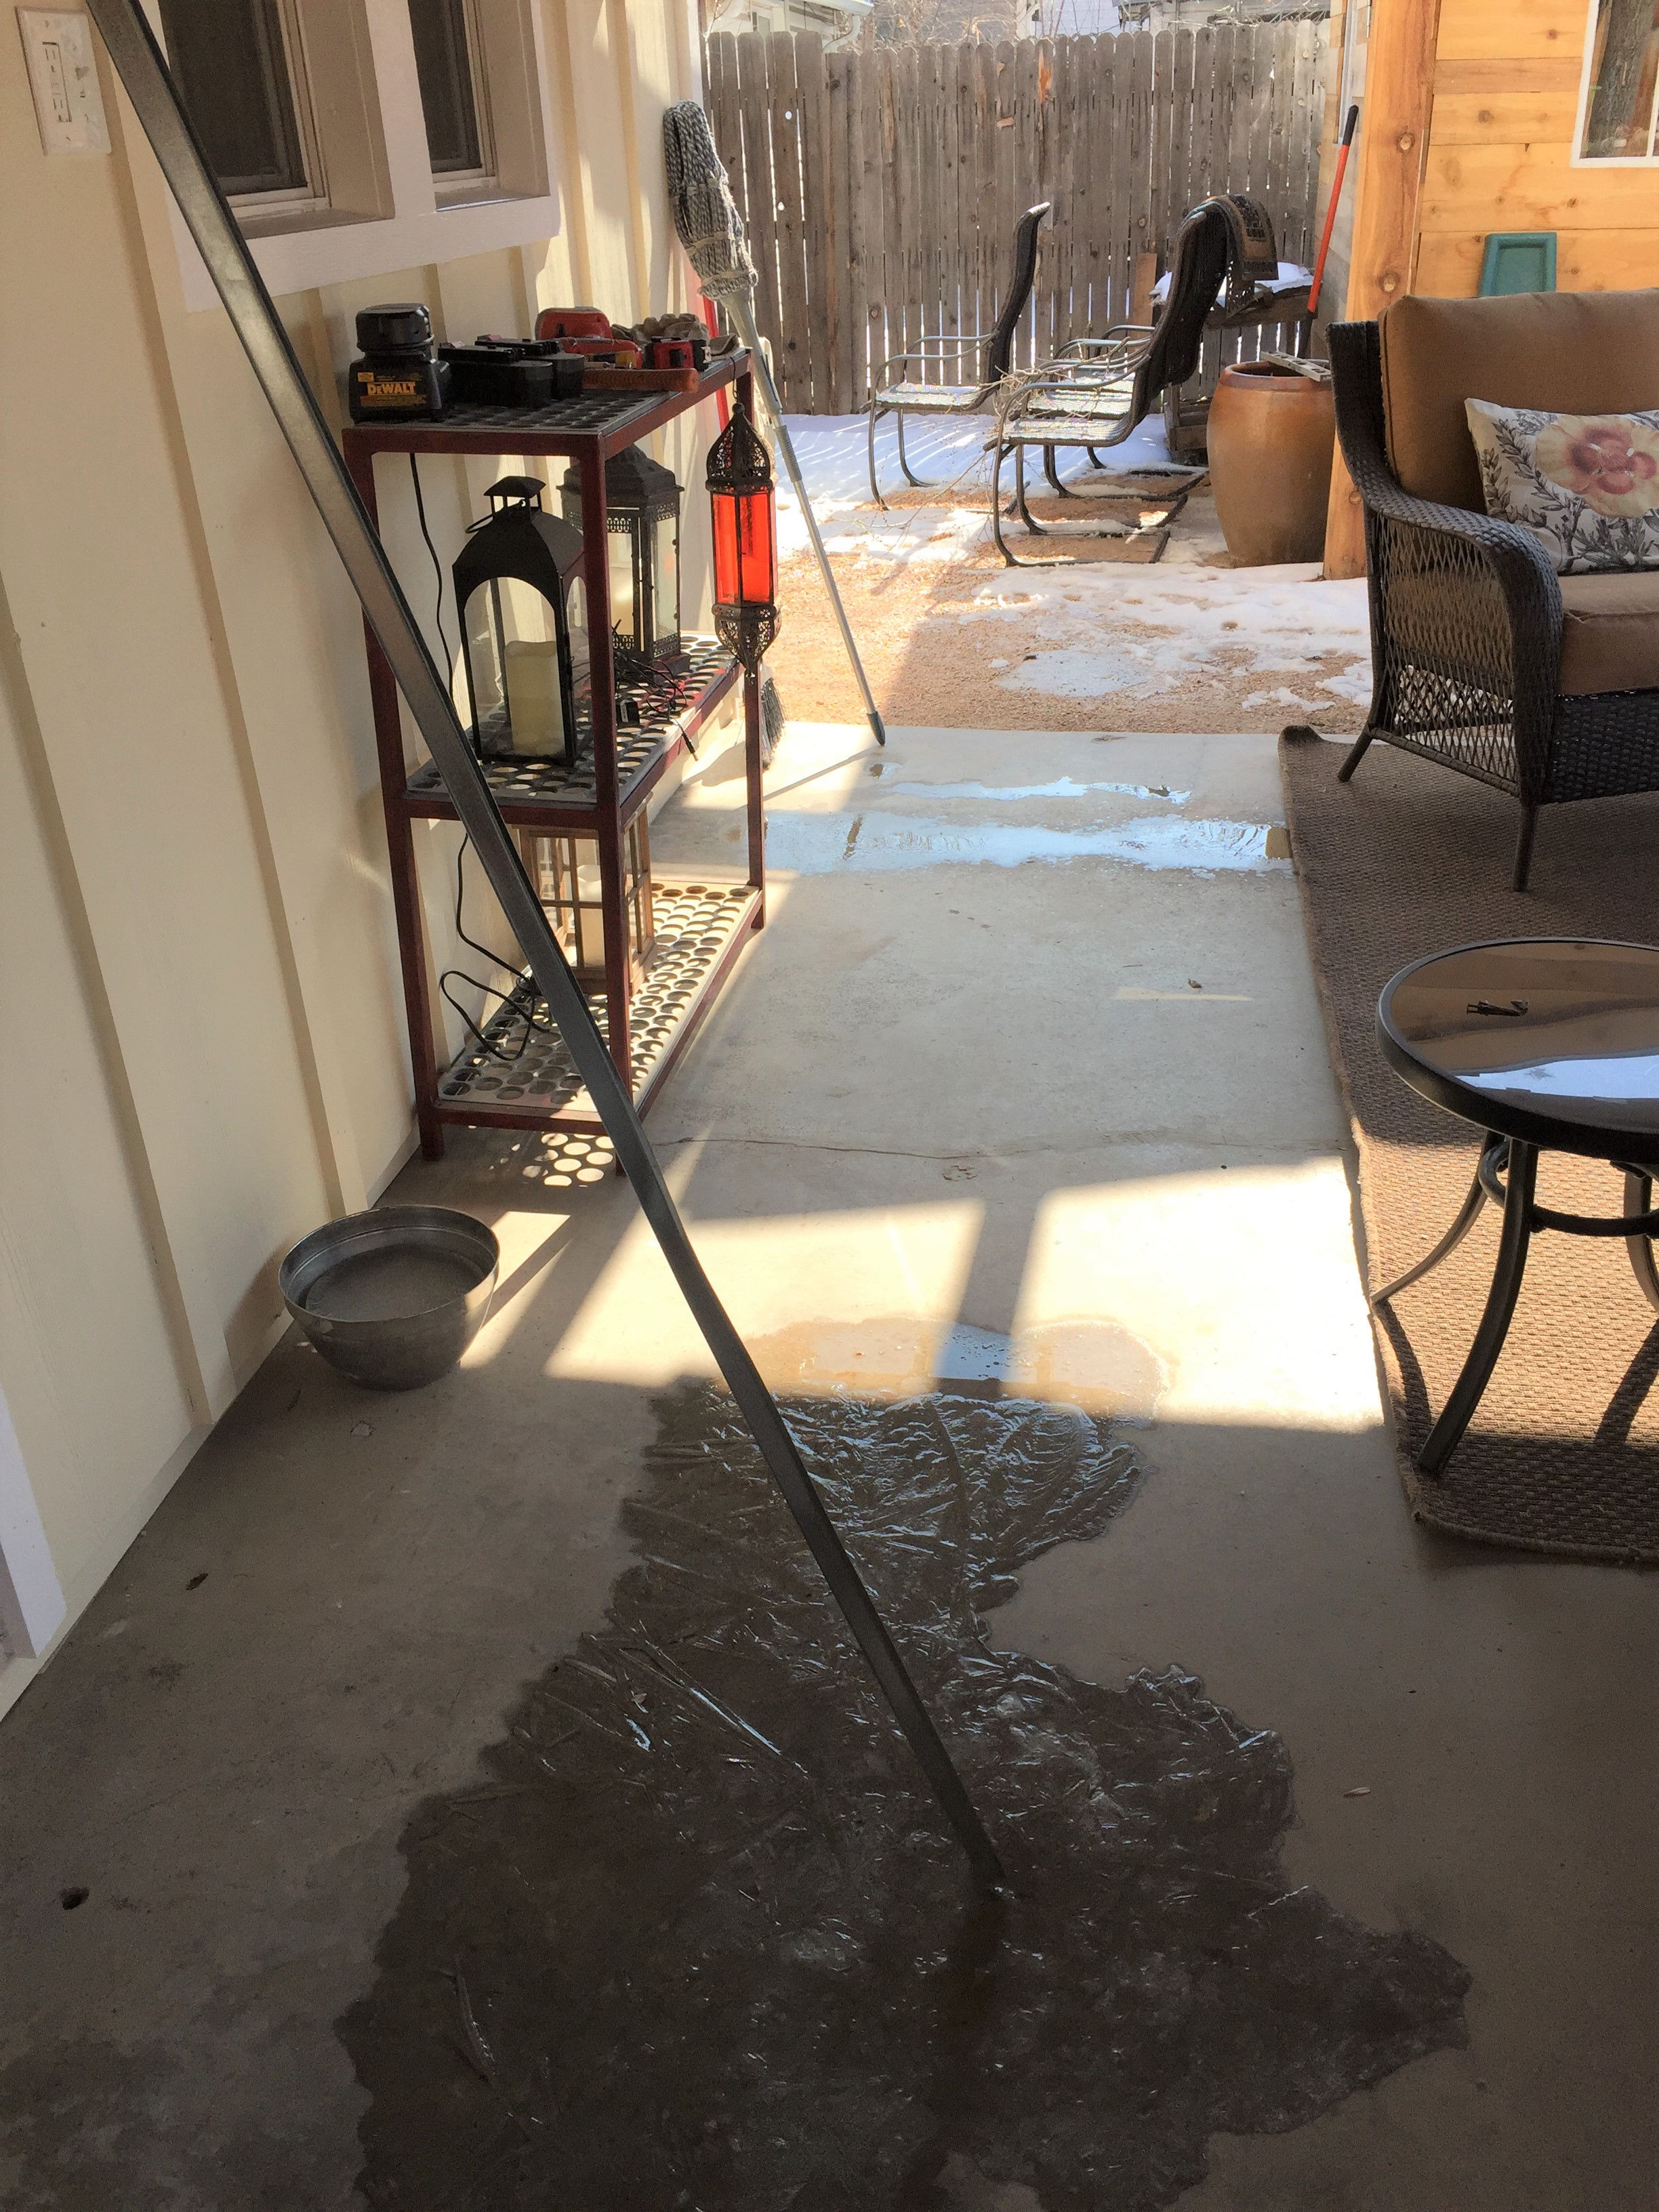
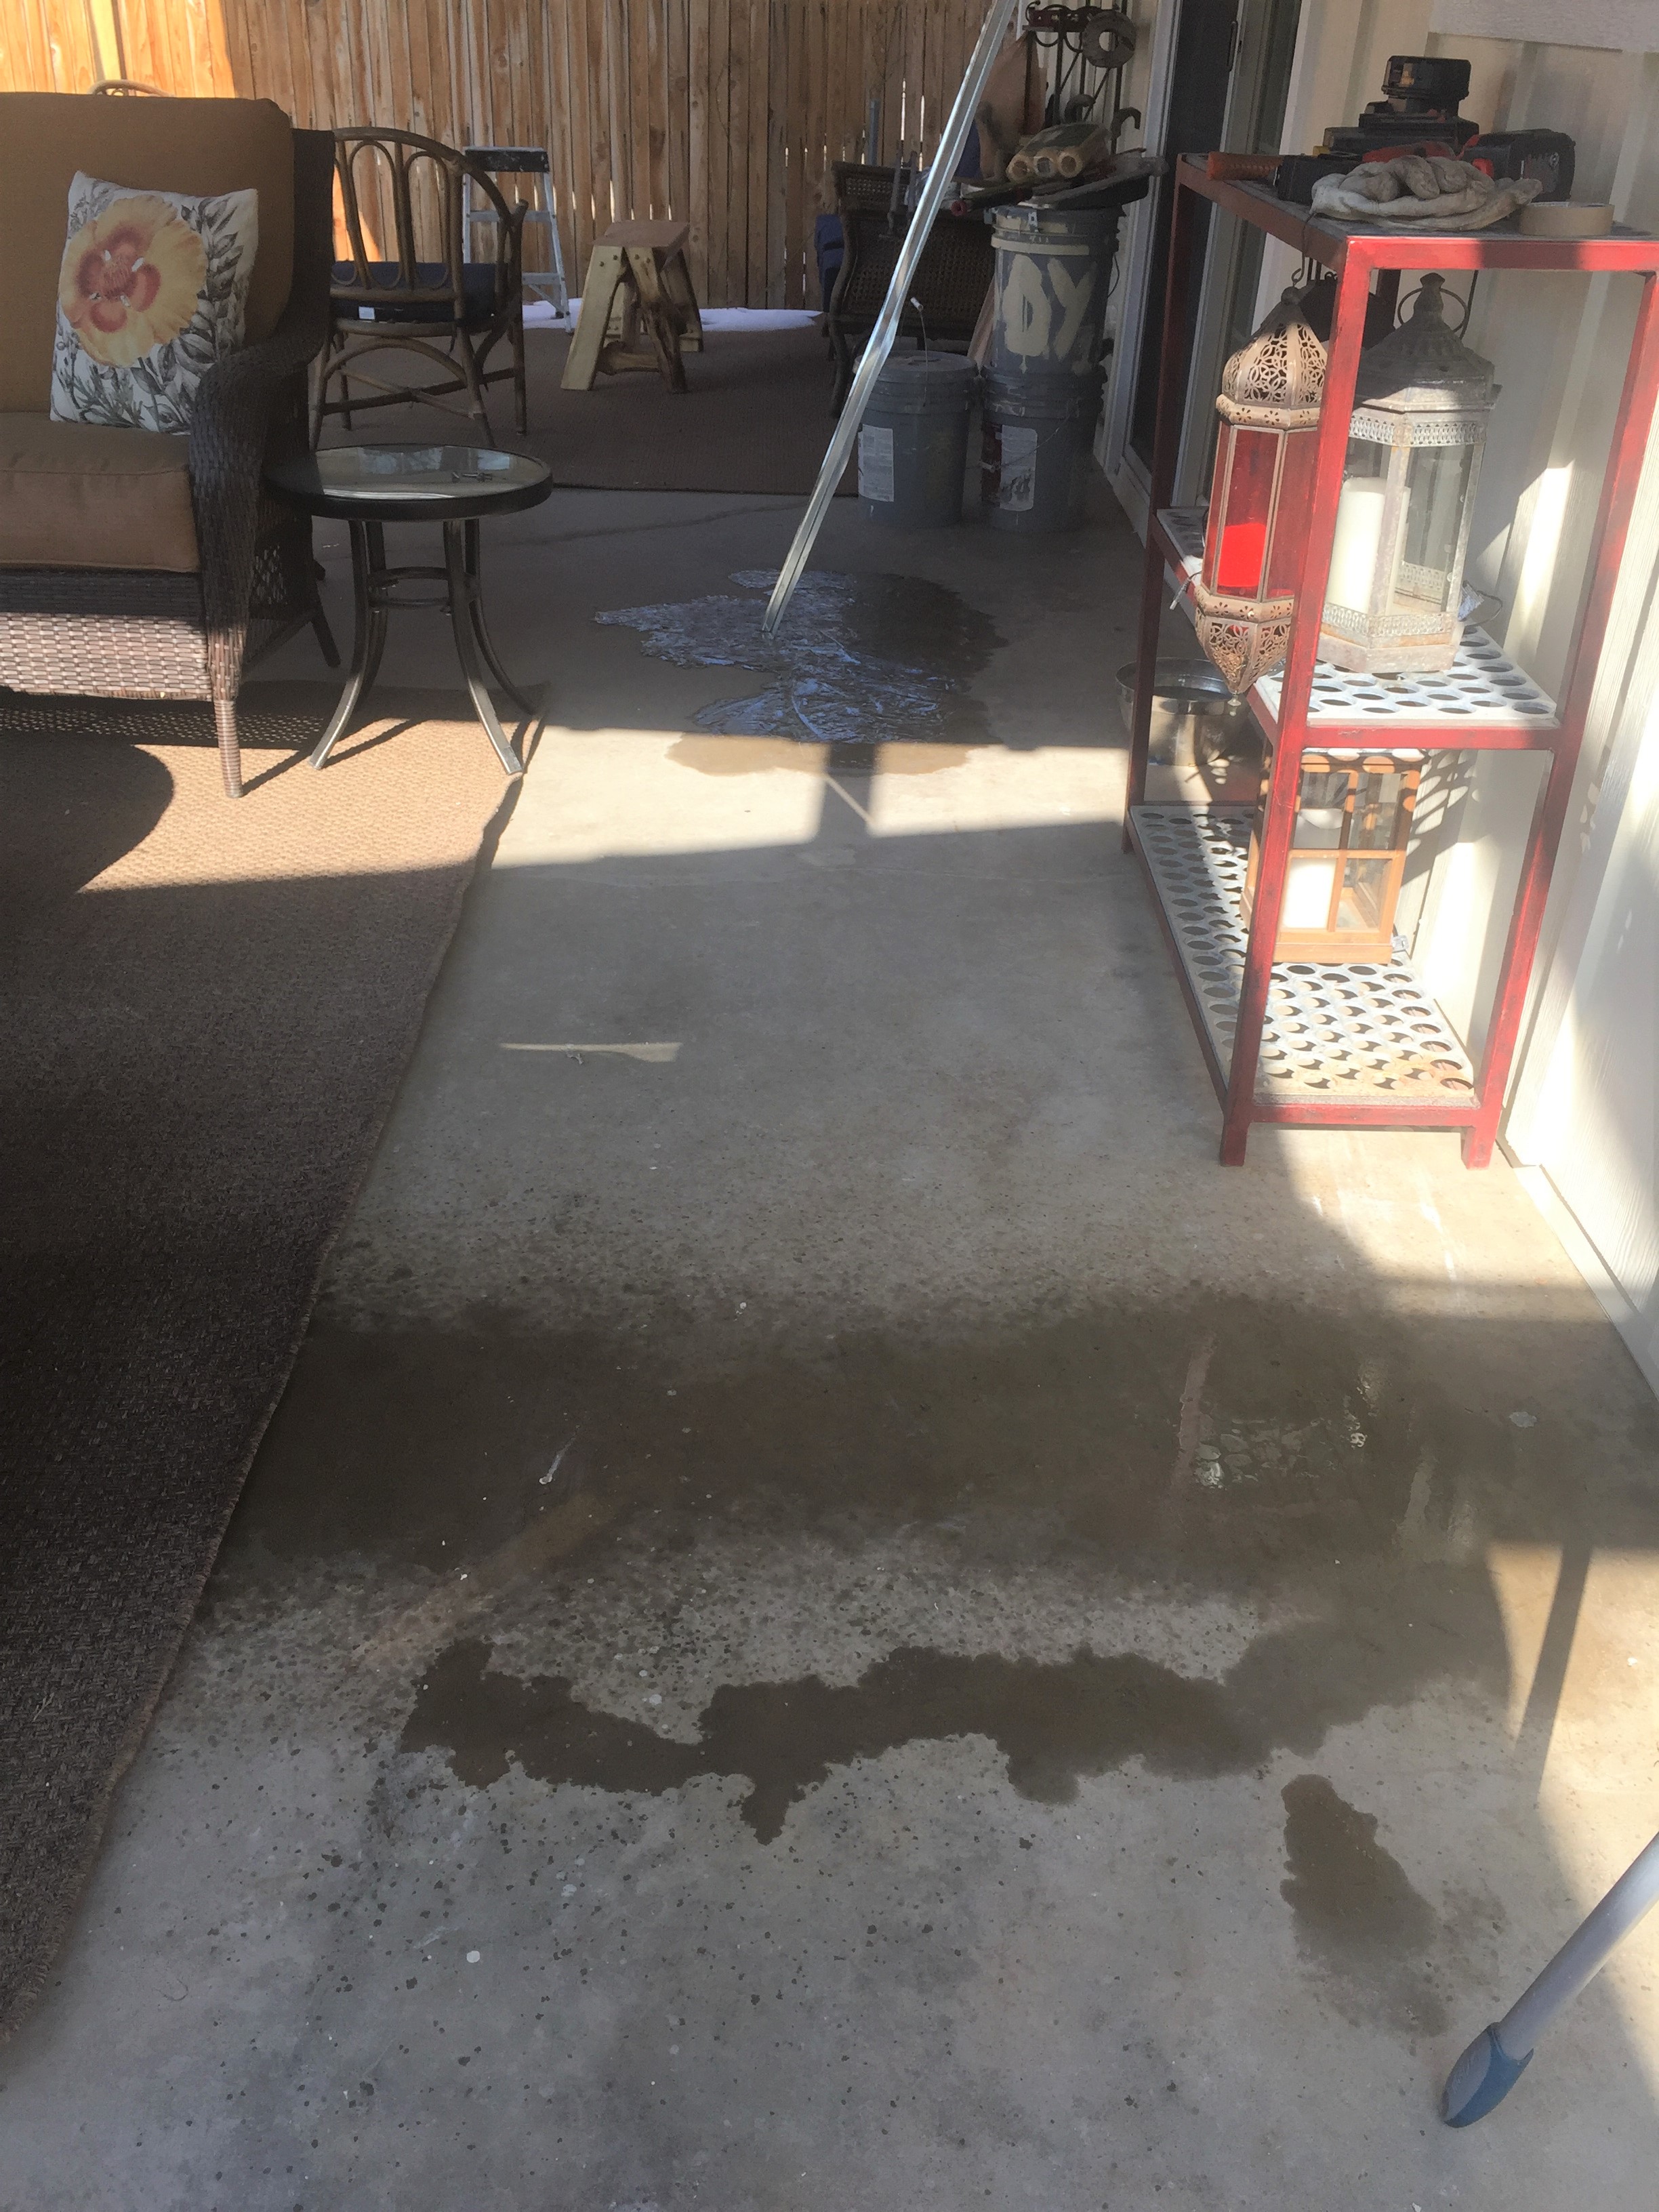
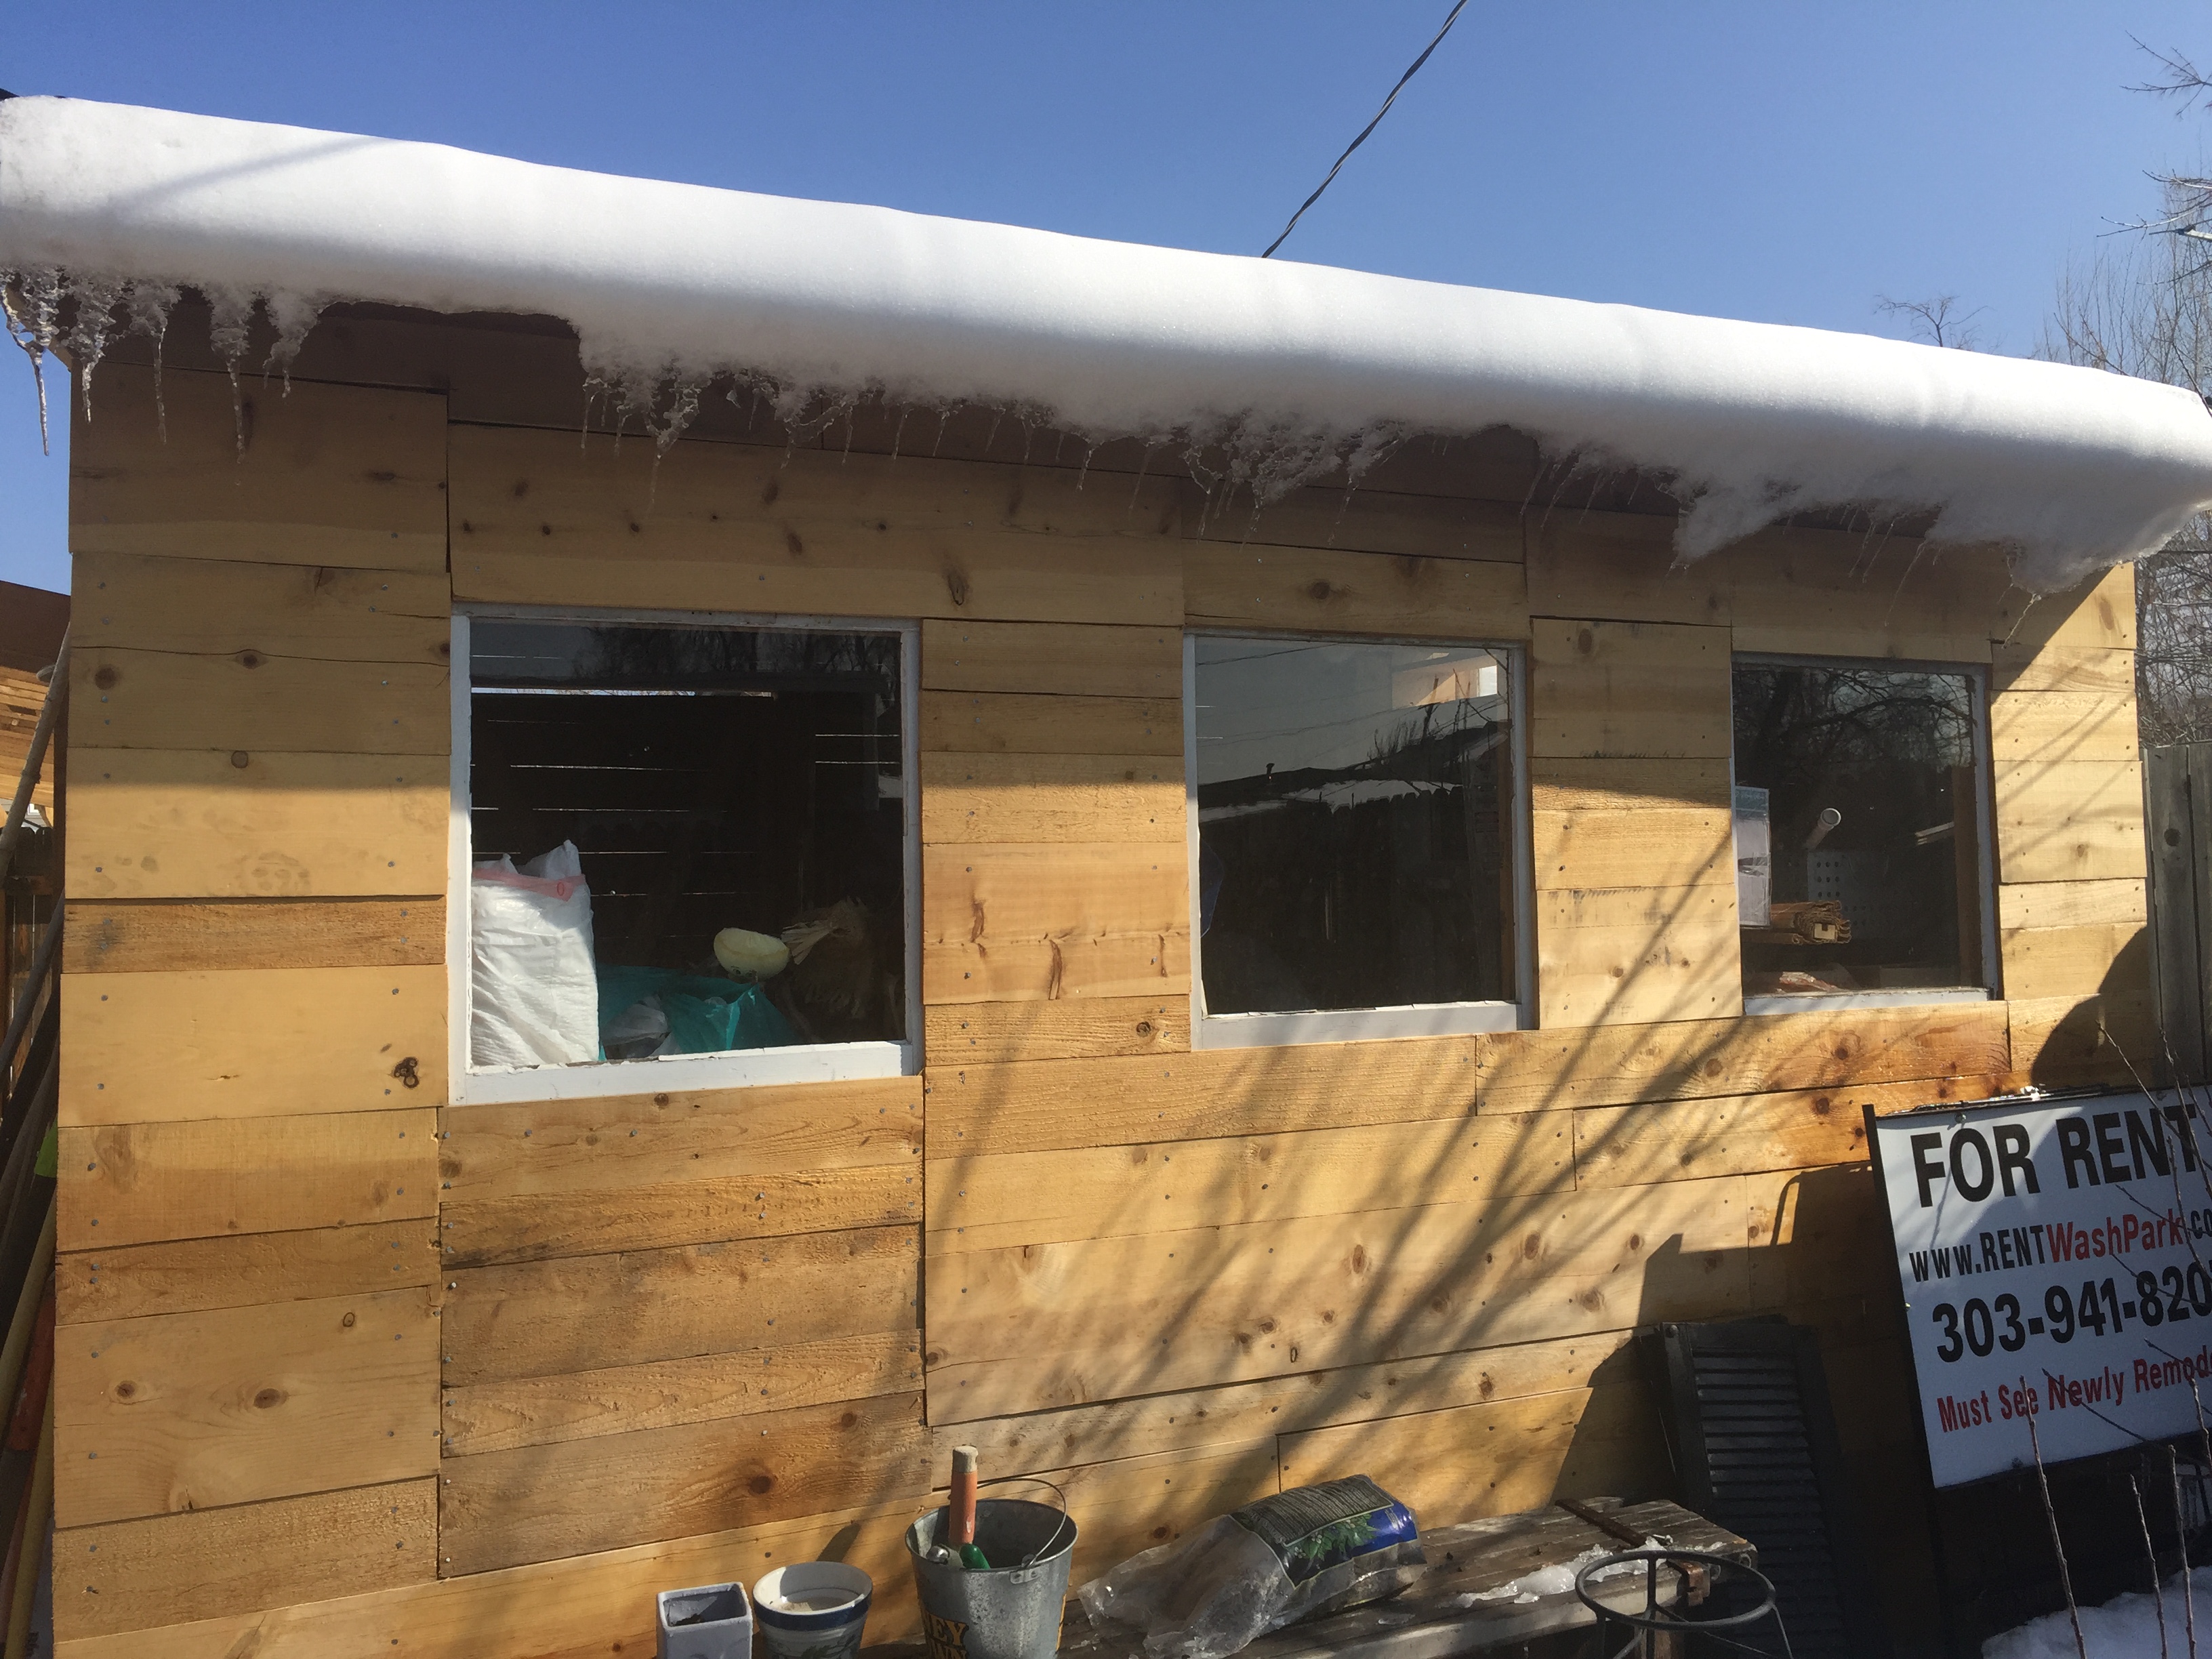
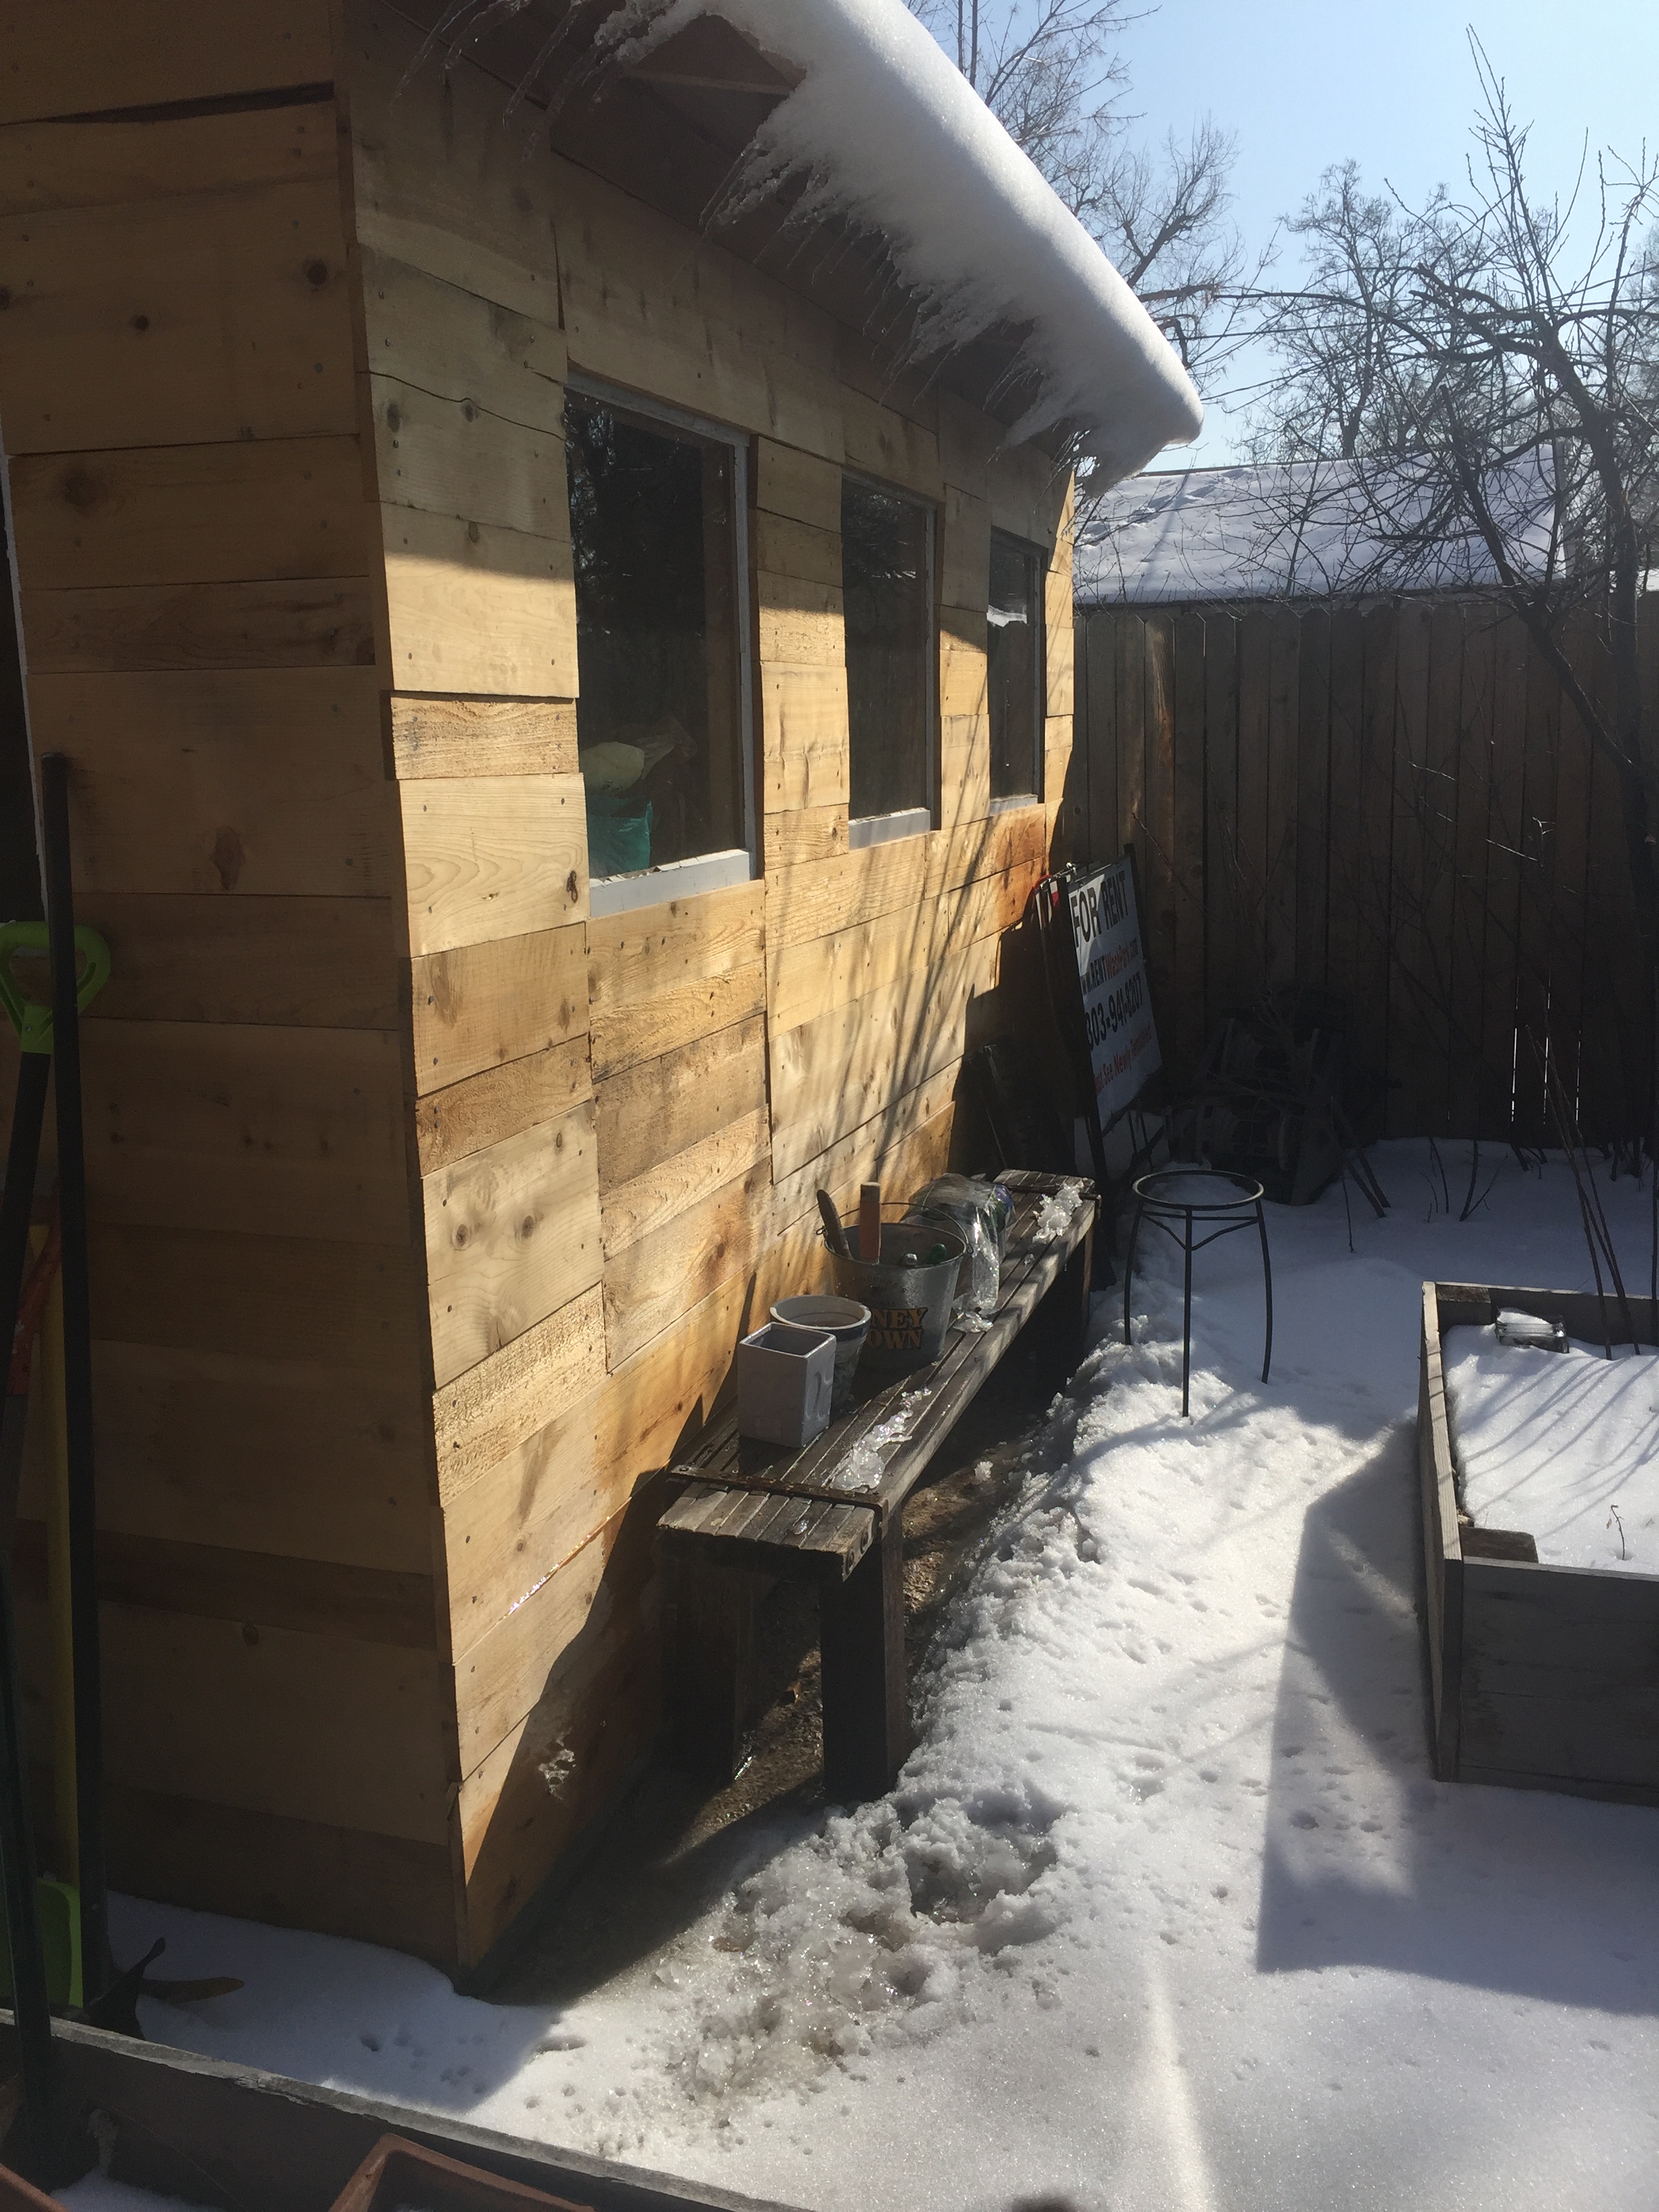
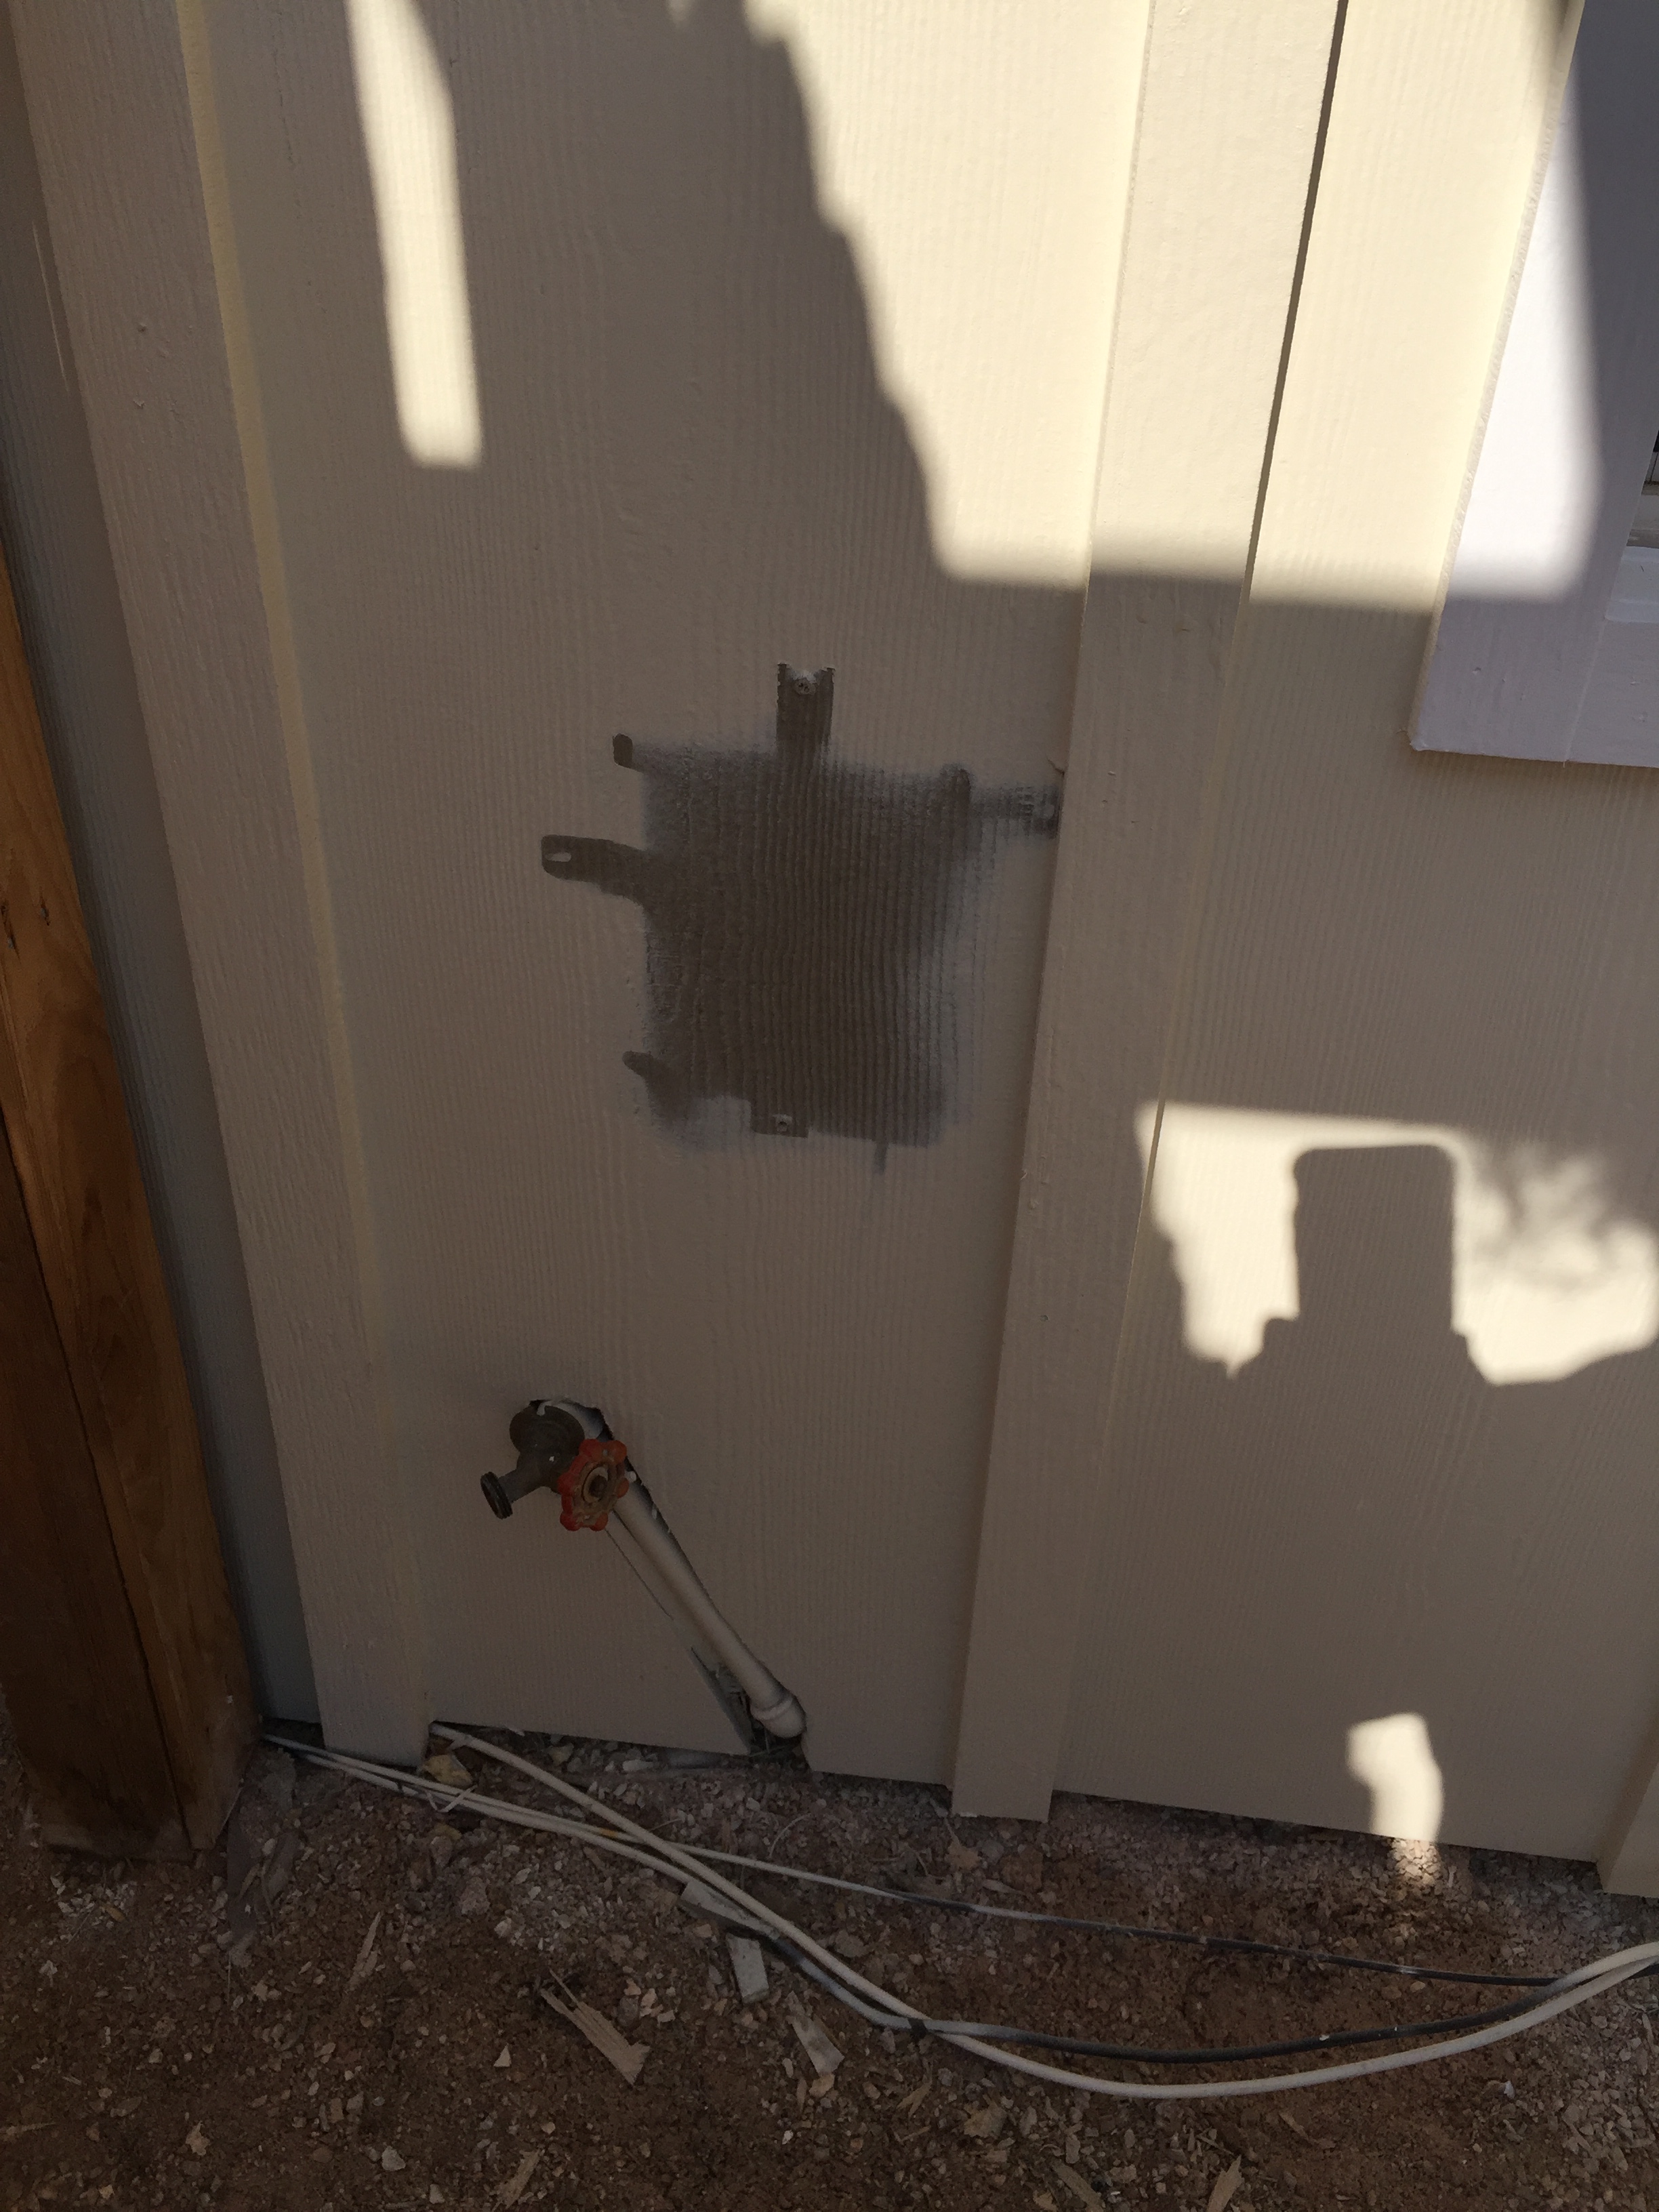
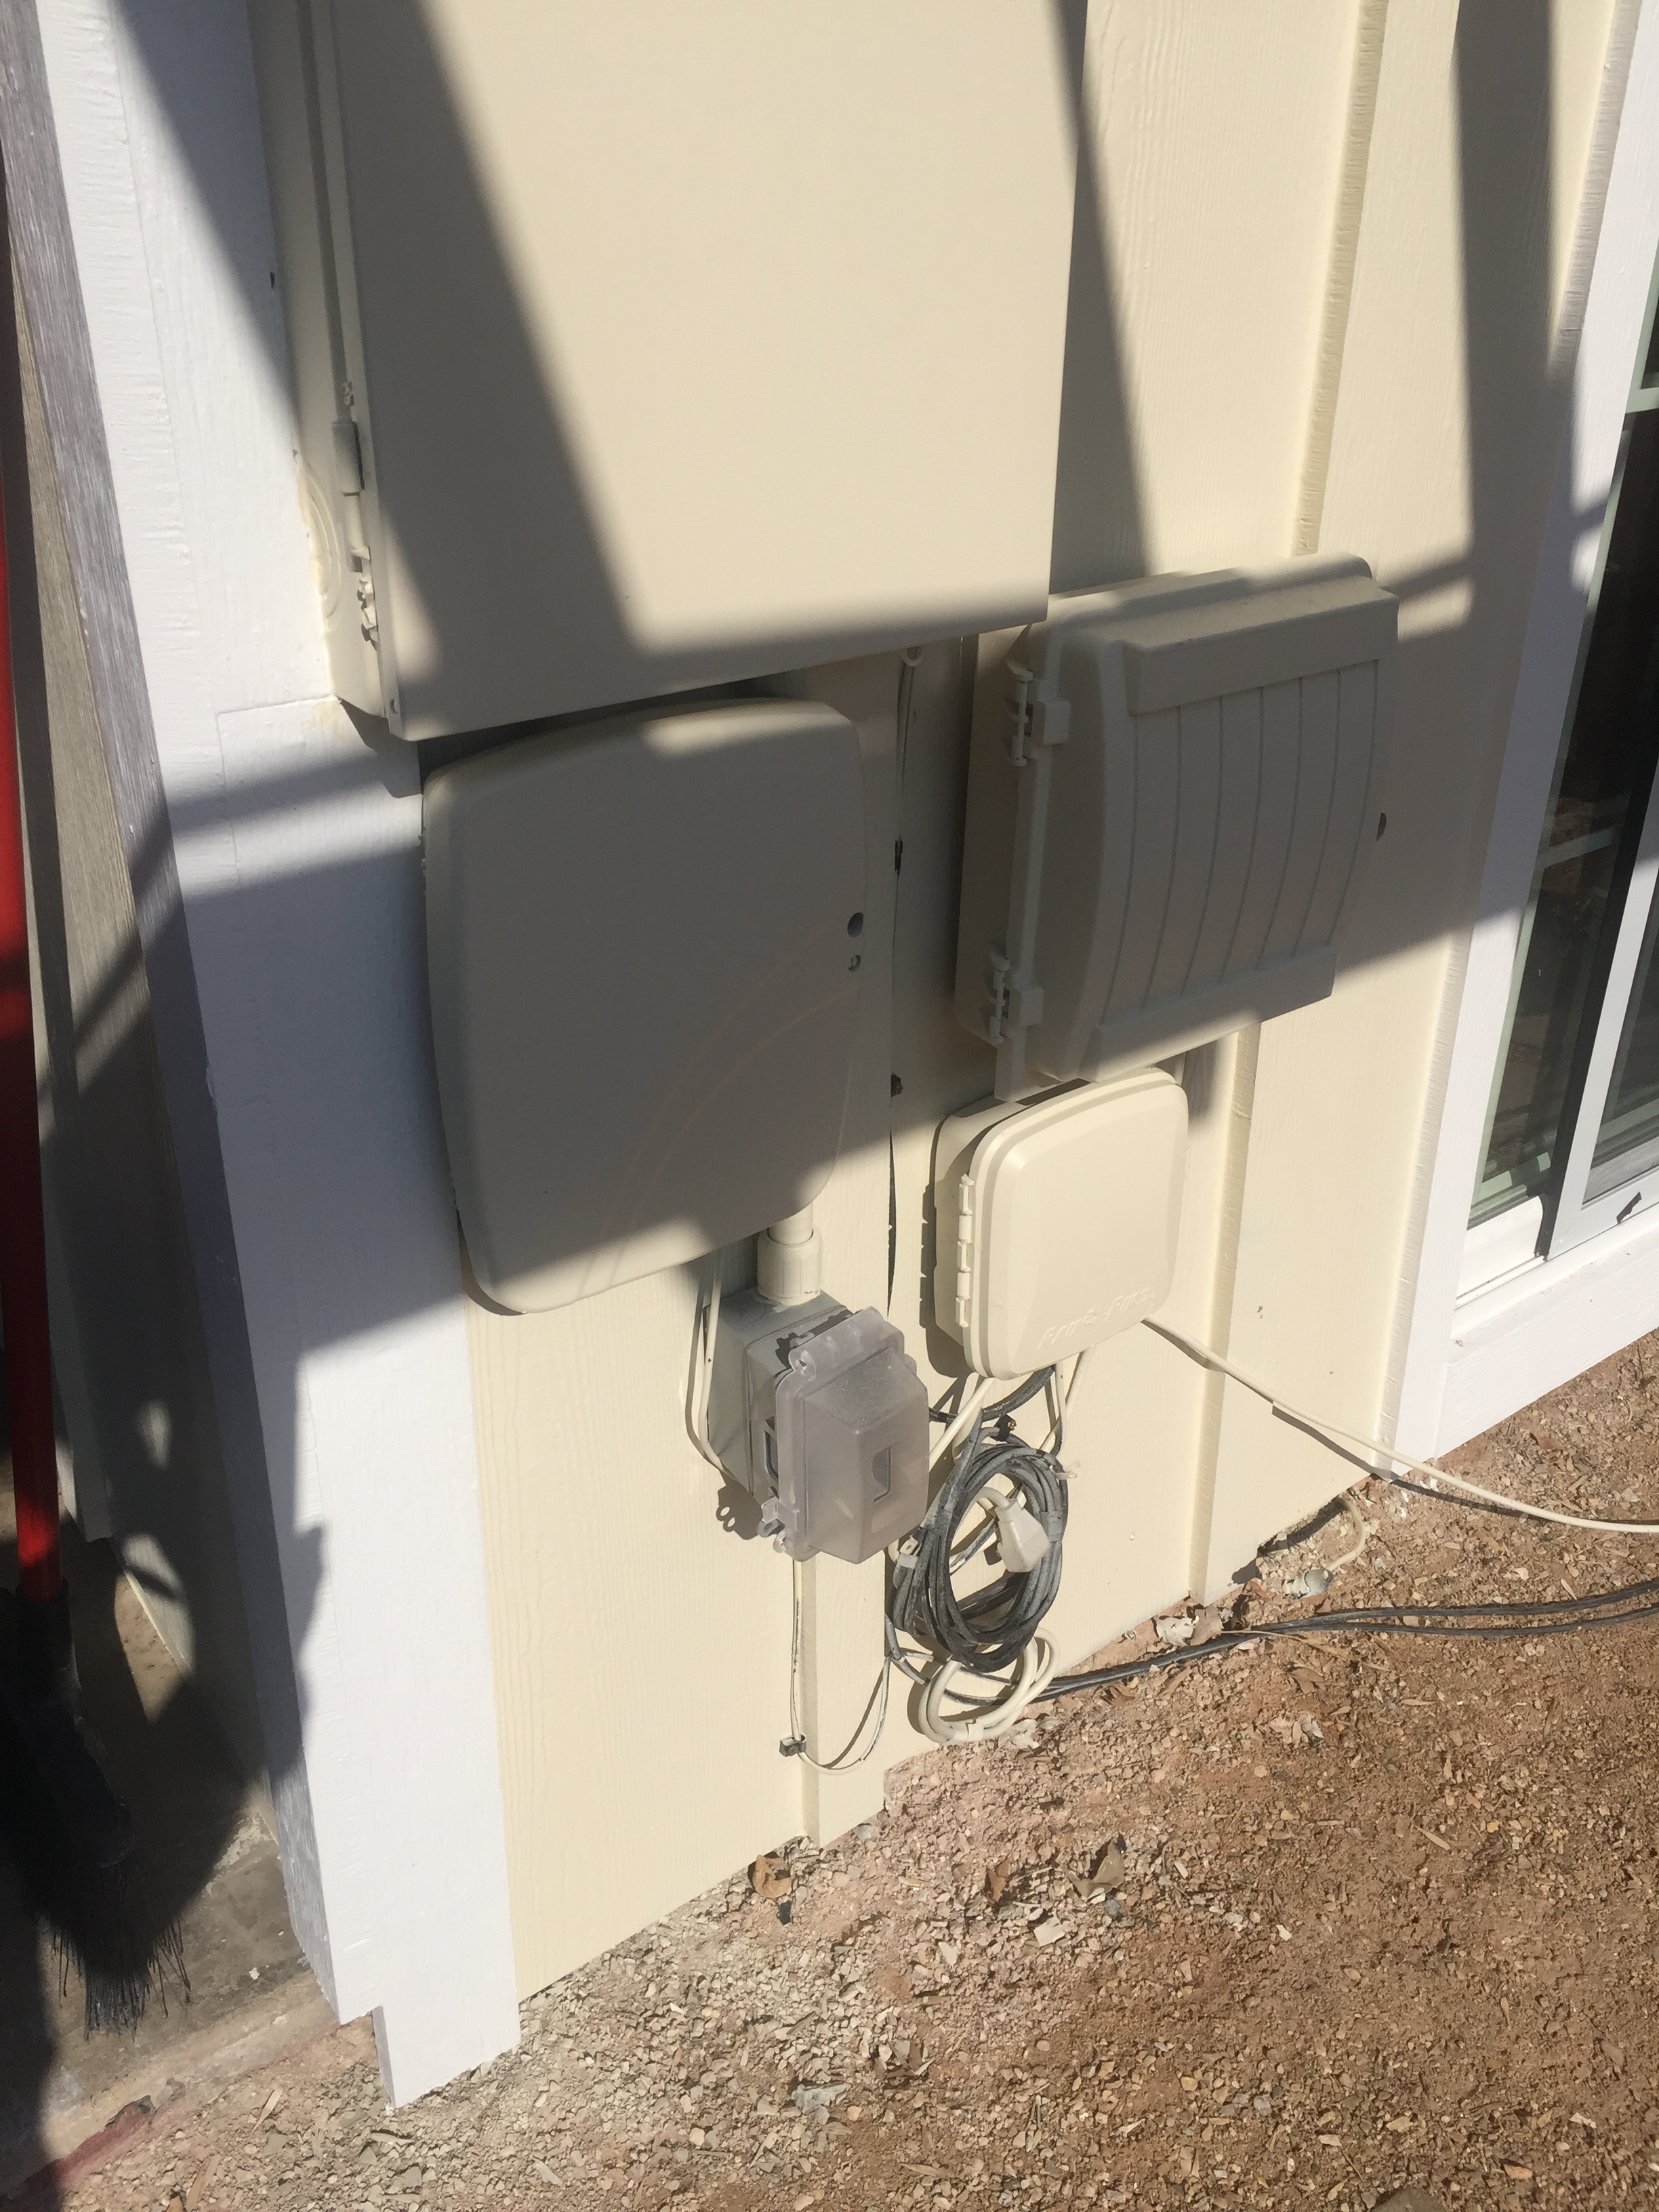
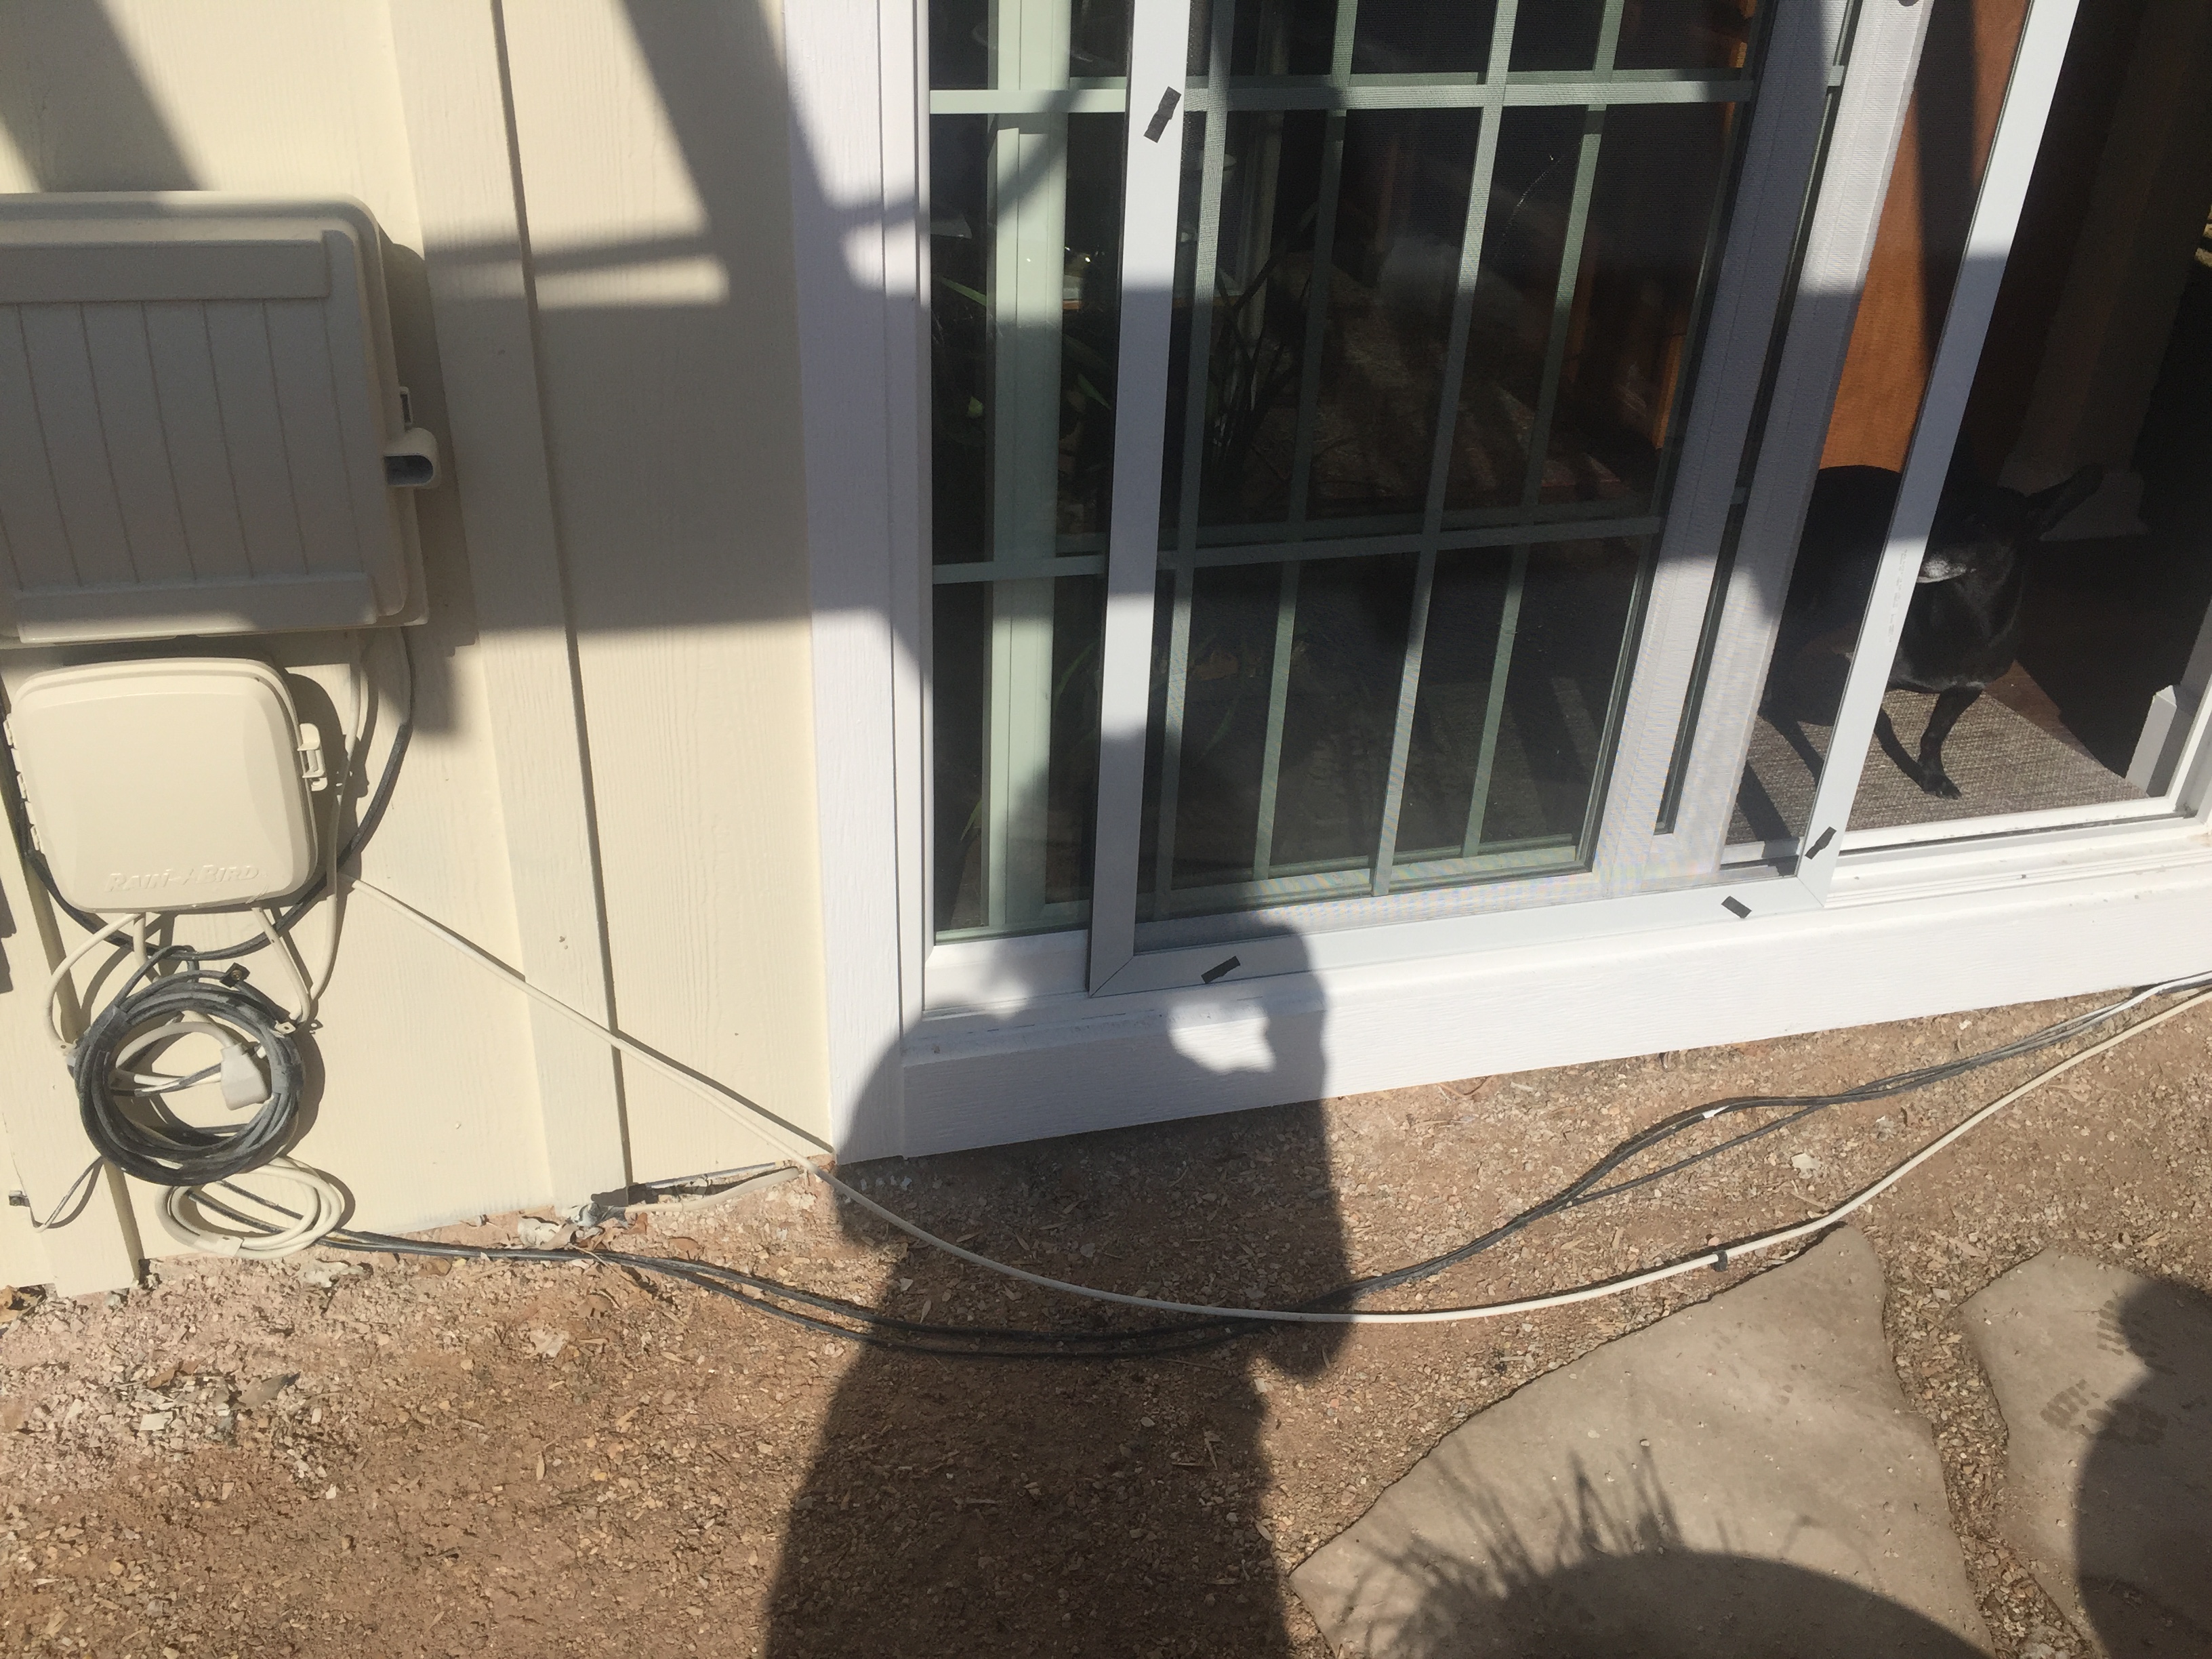
Now that the painting is done, I’m waiting for my Gutter guy to install the new gutters. Winters in Englewood are pretty mild, but as you can see we do get snow. See how the melting is running down the patio roof, pooling on the ground below? Lovely!Mud where the snow melts on my walkway from the driveway to front door. I had a tree service come and trim my trees in the back yard and grind out a few old stumps, using a big grinder on wheels. They did a great job of navigating the machinery through the yard, but left some tracks in the mud.The patio roof is prepped for the metal roofing. However, when the accumulated snow melts on the roof, it drips onto the patio. Ugh! I used a piece of drip edge to divert it away from my slider door.More than 1 leak. I got word that the metal roofing has arrived and have my contractor scheduled tomorrow to install it. Yes!Gutters will take care of this problem.There’s an ice rink behind the shed.I also had the internet and satellite service companies come and reattach the cables to the house after the siding went up. Unfortunately, an old service box was reattached after the siding and paint went on. I took it down and will touch up the spot with paint.I moved all the utility boxes to a new spot on the house and had all of the boxes painted to match the house. I may have a cover built over them to better hide them, but I like this spot better than the back porch. I may put a planter in front of them too, to minimize.All the wires are right there, under the door. I’ll bury them under the Breeze material to protect and hide them. I also will rework the flagstone steppers in front of the door to make a landing- hopefully keep inside cleaner and give the entry some visual appeal. All these little things are small, but make a huge difference in the overall look and flow of the property. Inspection complete for today!