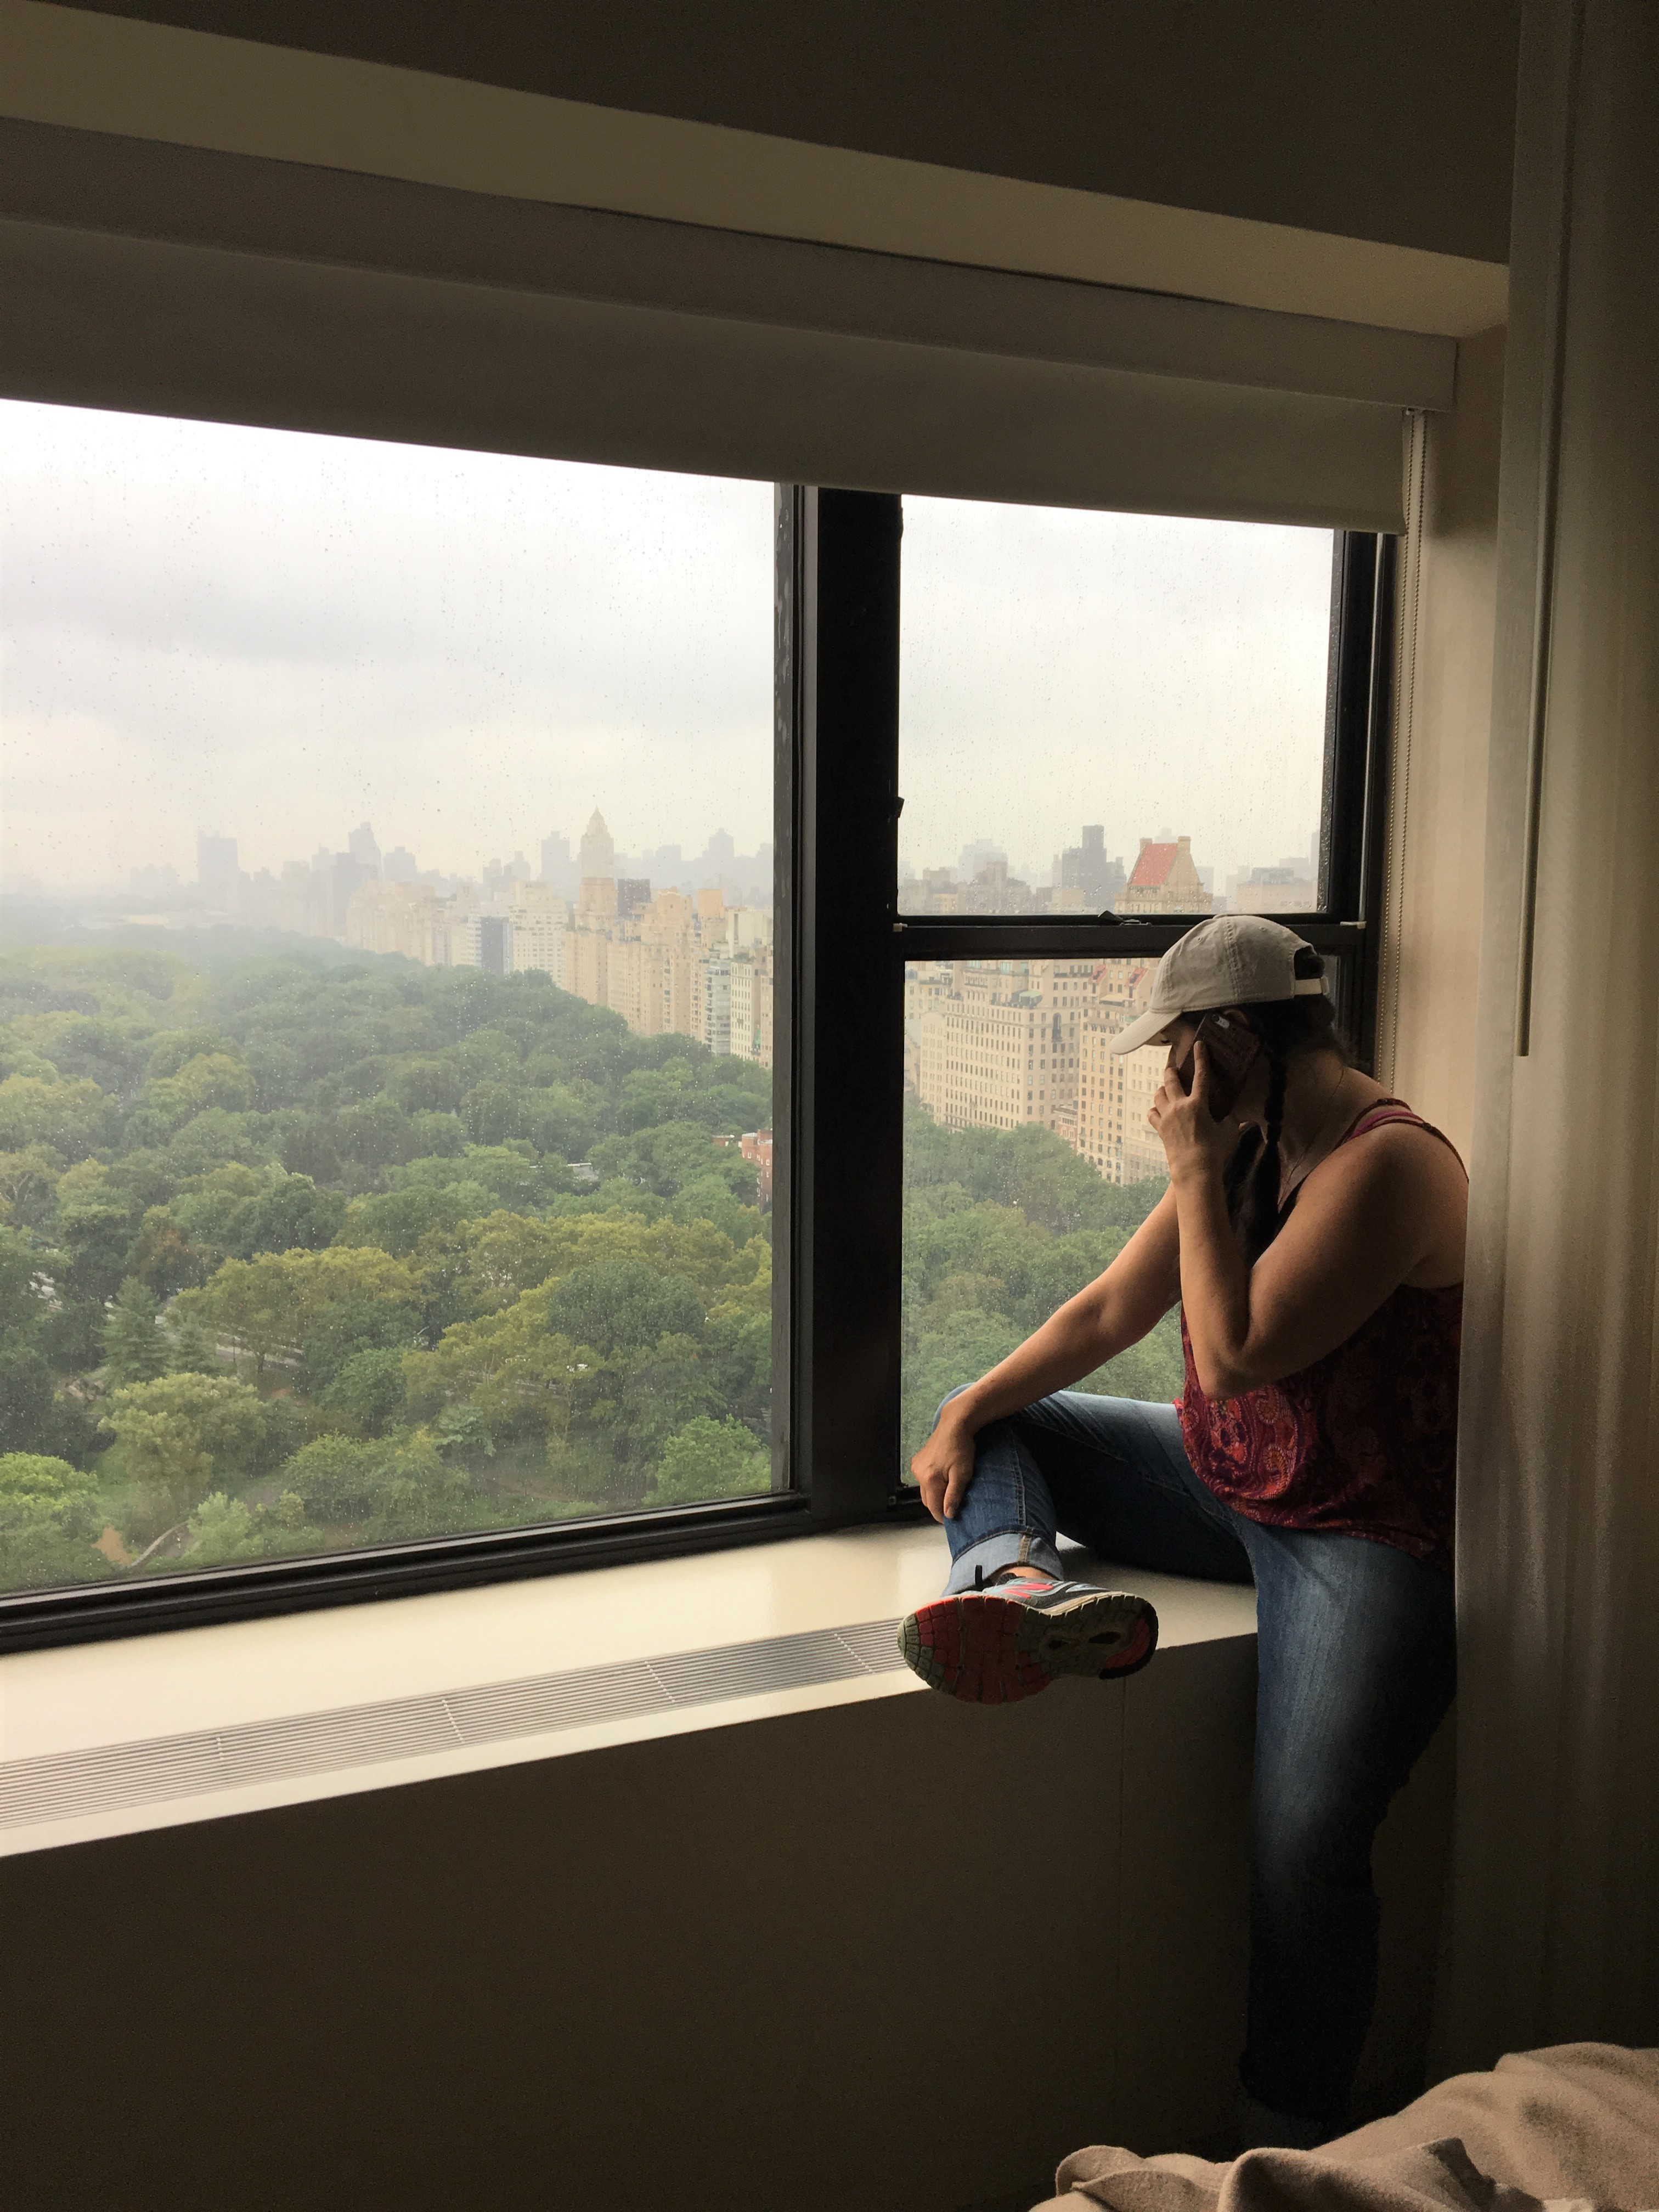
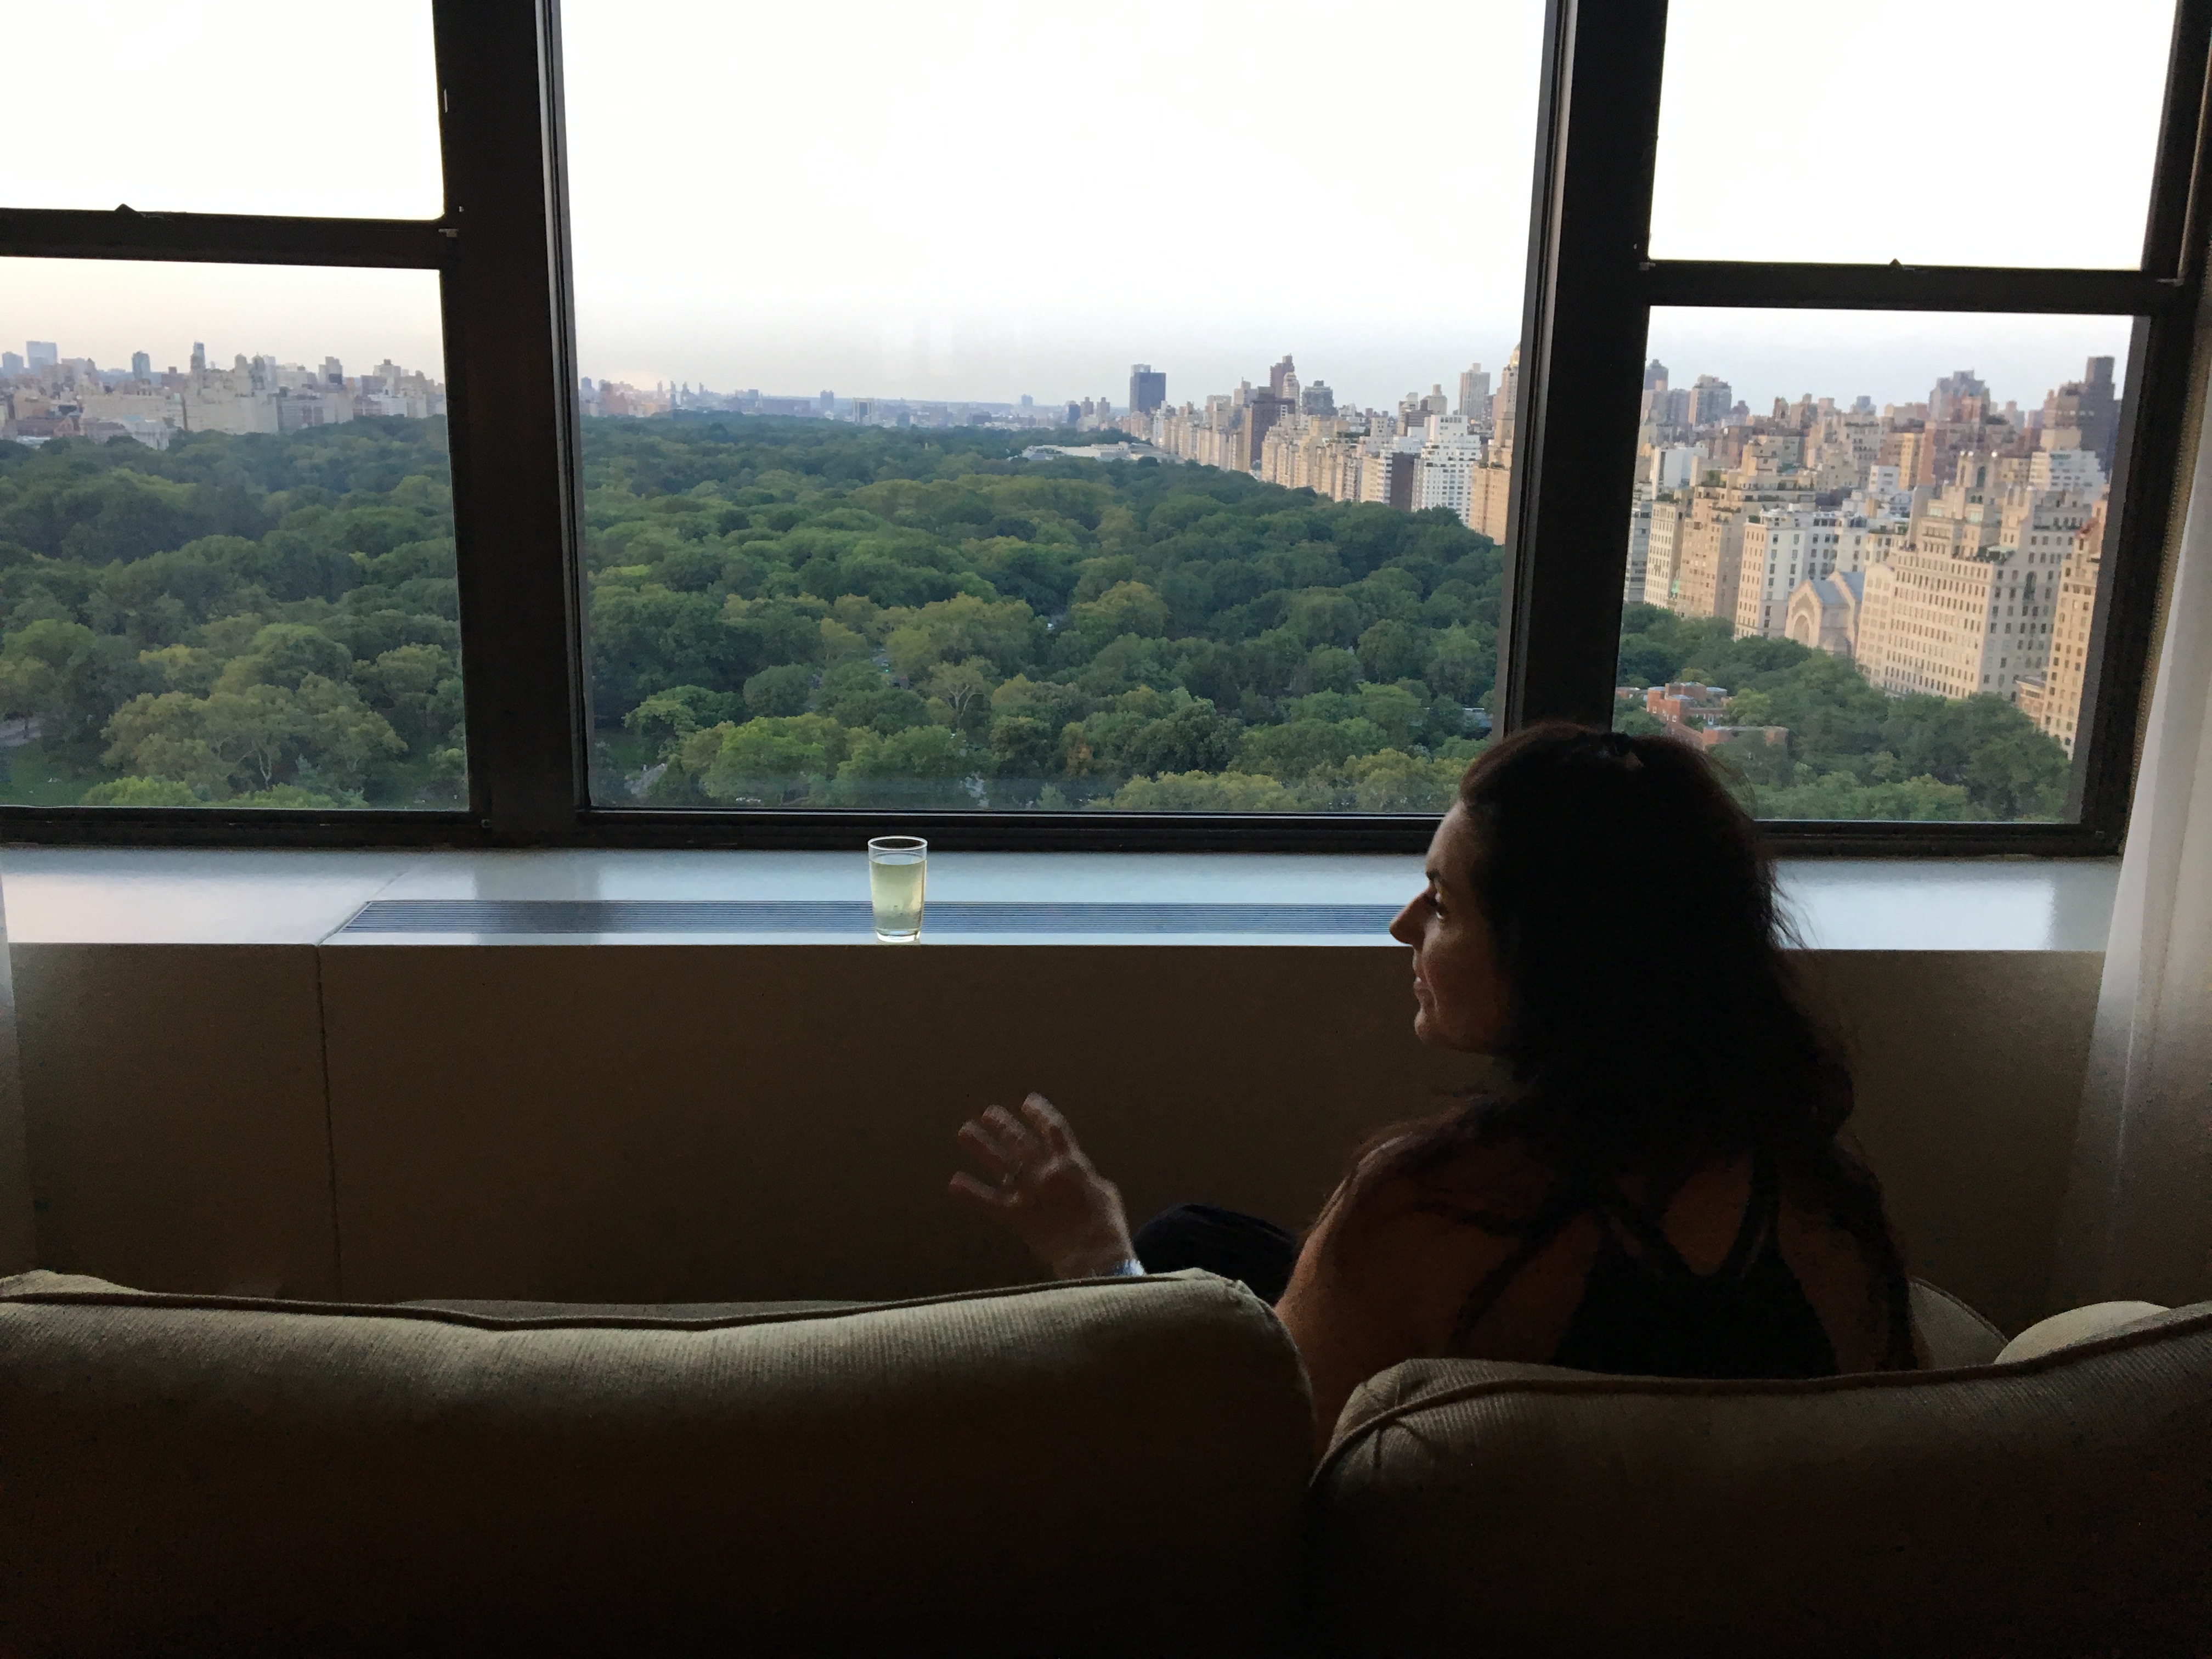
We stayed on Central Park and were ecstatic with our view. I’m taking care of business back at home while enjoying the view.The only full day we were in the city, we walked around and see what we could find on foot. I drew in the route we took.
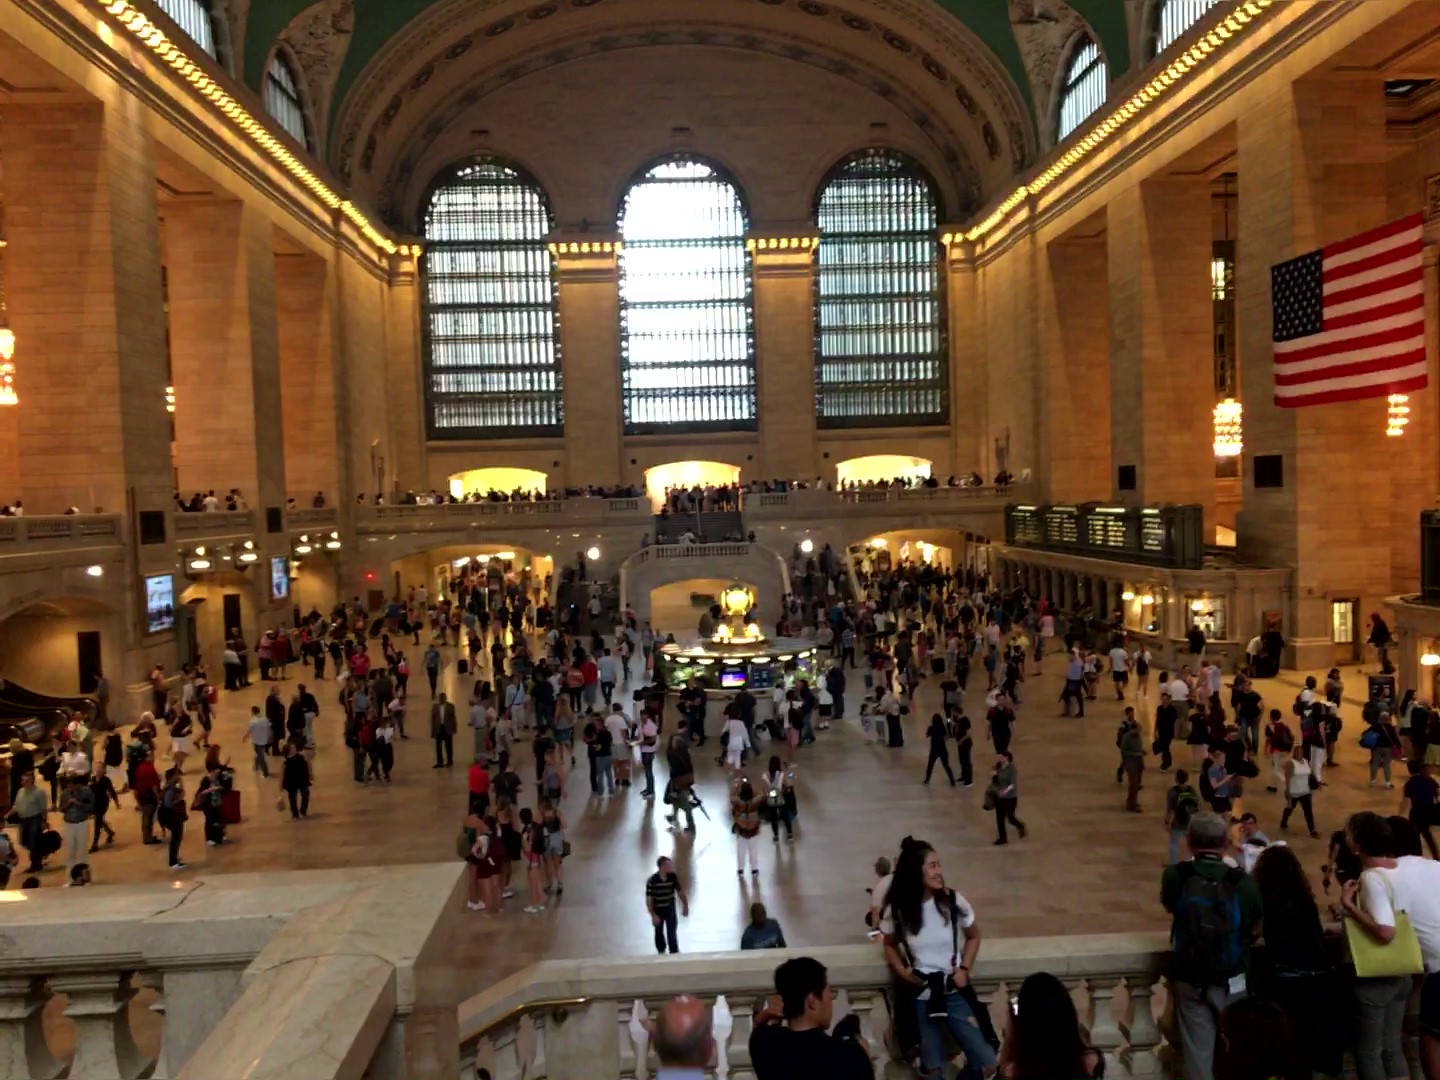
We logged about 6 miles, from my own calculations. Starting at our hotel on the park, we walked to the Hudson River, down the river walk to the Intrepid museum. We wandered around Hell’s Kitchen area, found a place for lunch. Saw a New York fender bender happen in front of us. (No, the driver’s didn’t jump out and start screaming at each other, as expected) Saks Fifth Avenue, Rockefeller Center, Grand Central Station, and ended up back in Central Park!
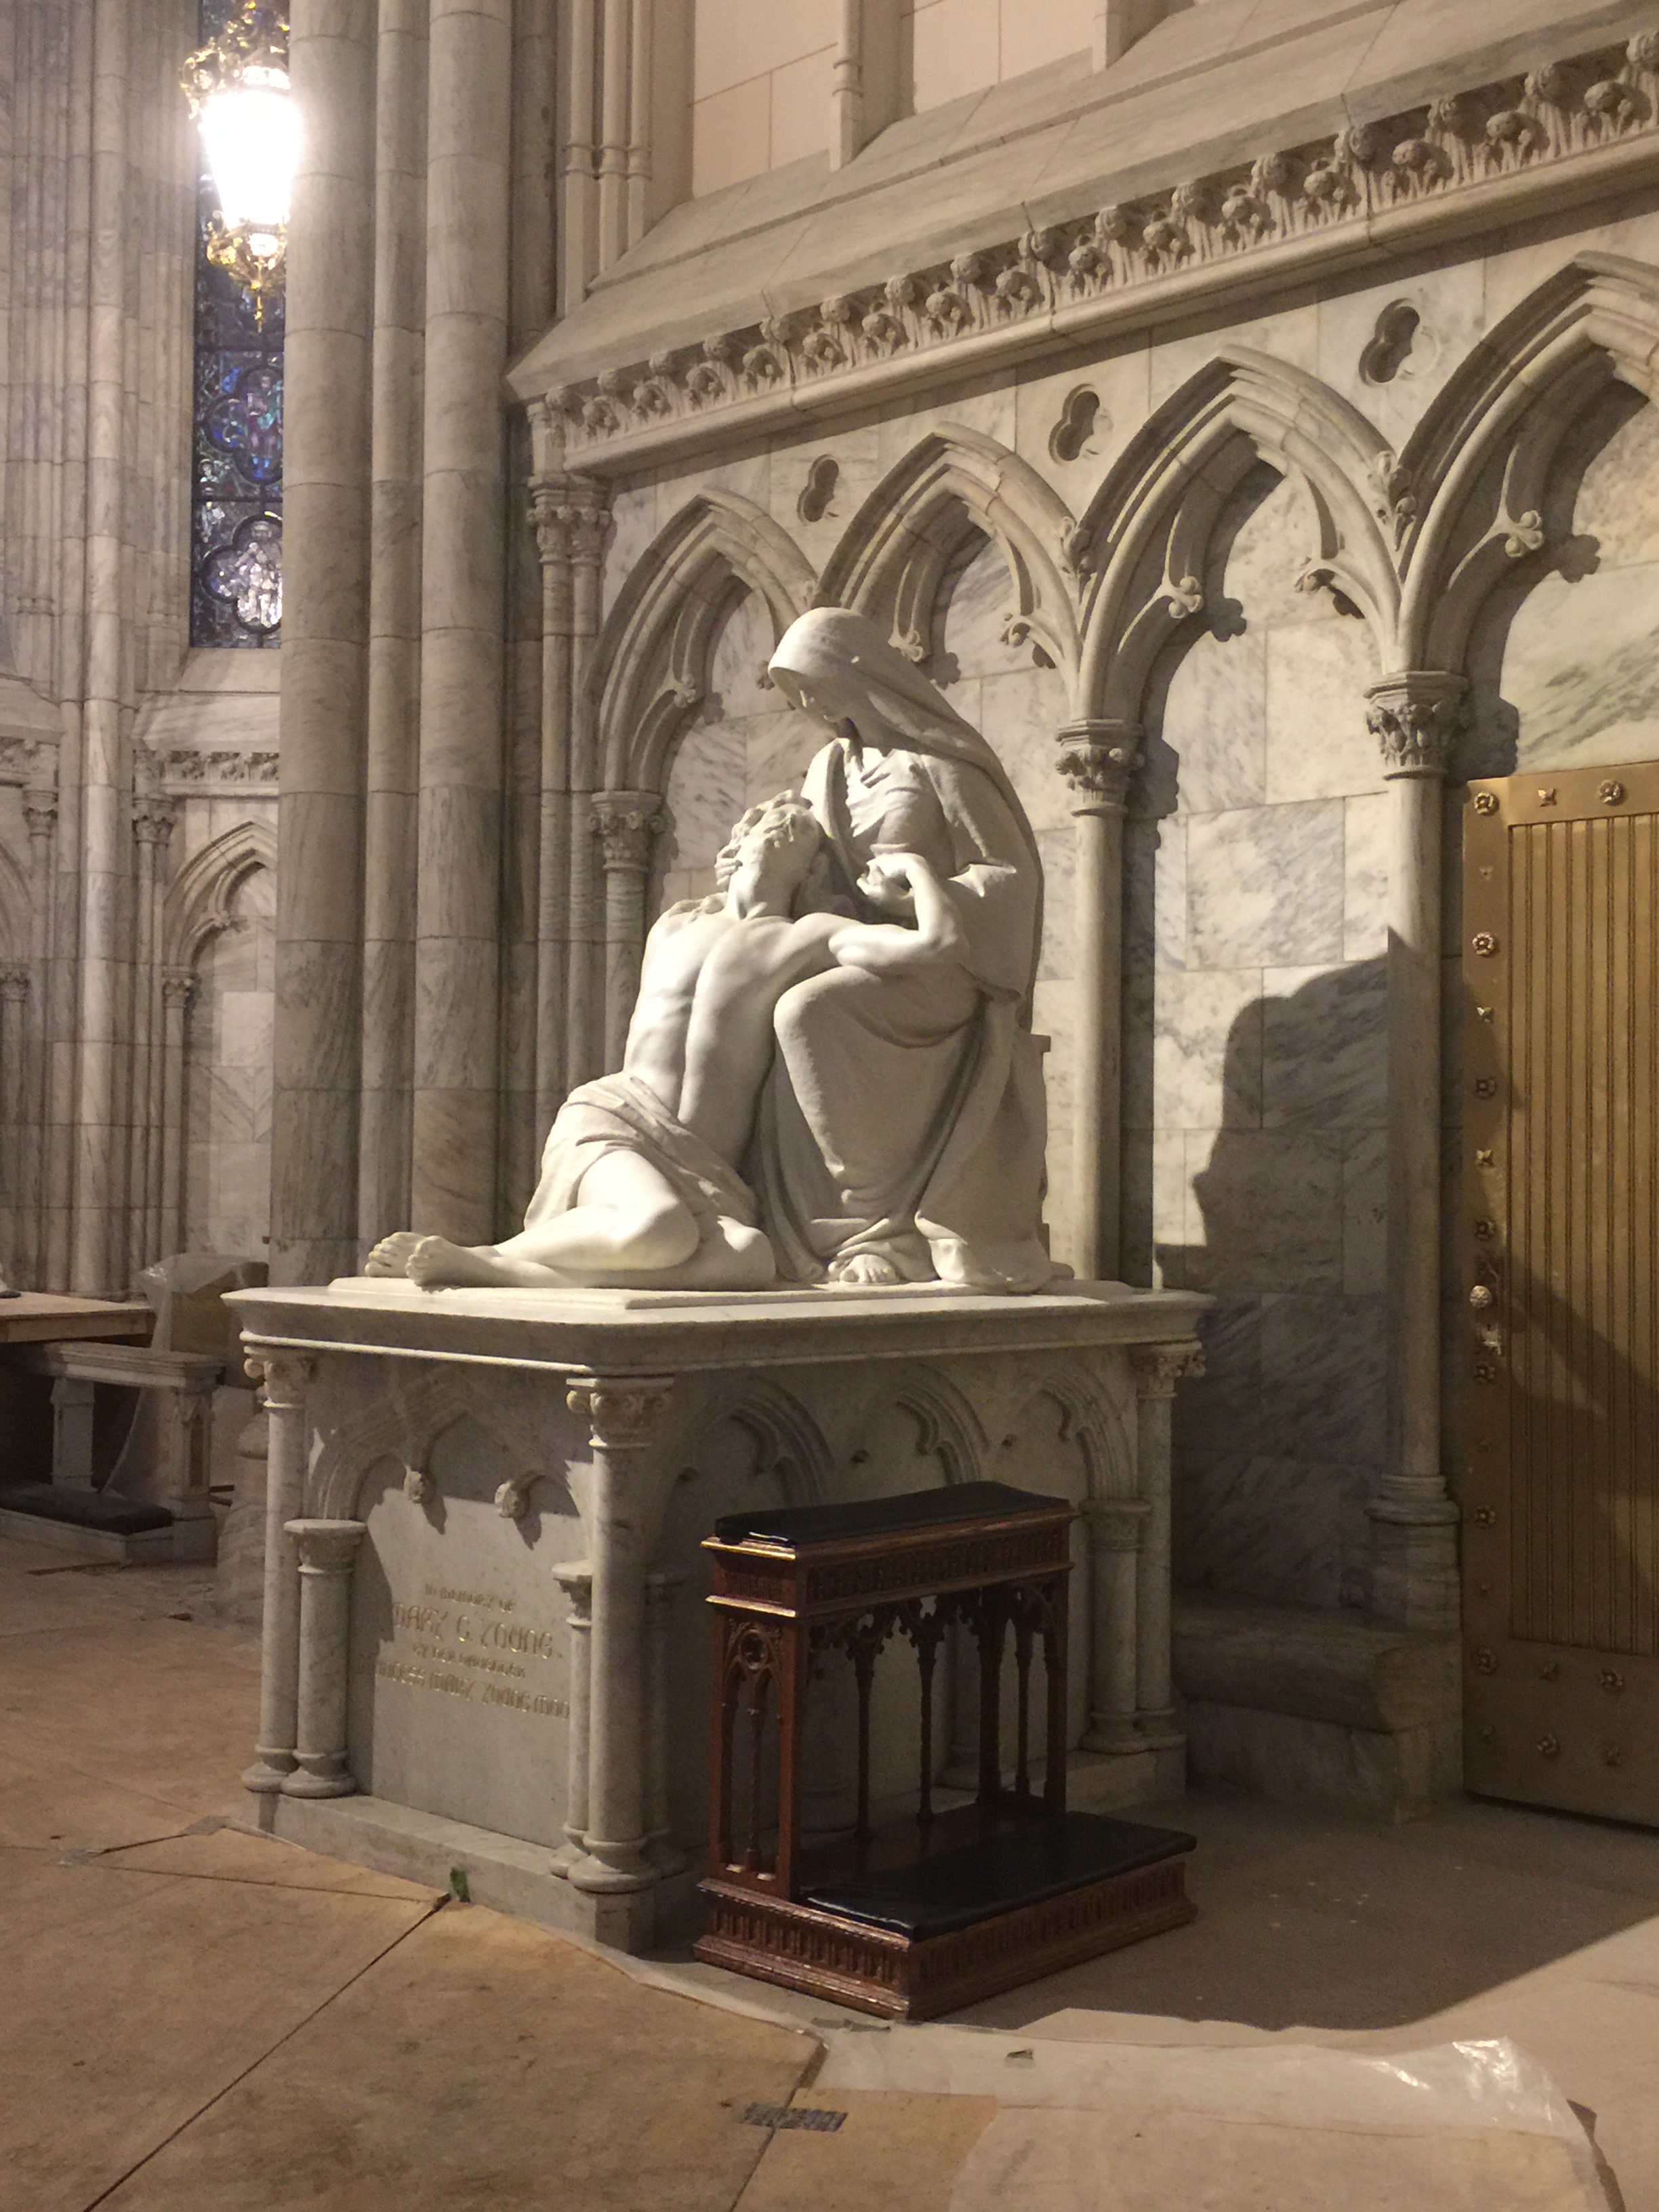
This ship is HUGE! I’m standing on the river walk to take this pic.St. Patrick’s Cathedral.Inside St. Patrick’s Cathedral is beautiful and ornate. Jesus and Mary Mother Statue inside the cathedral.Mother Teresa statue inside the cathedral.
I expected New York to be dirty and crowded and noisy and crazy. And while some of that turned out to be true, I was pleasantly surprised at how friendly people were. No one was rude or short with us, at all!
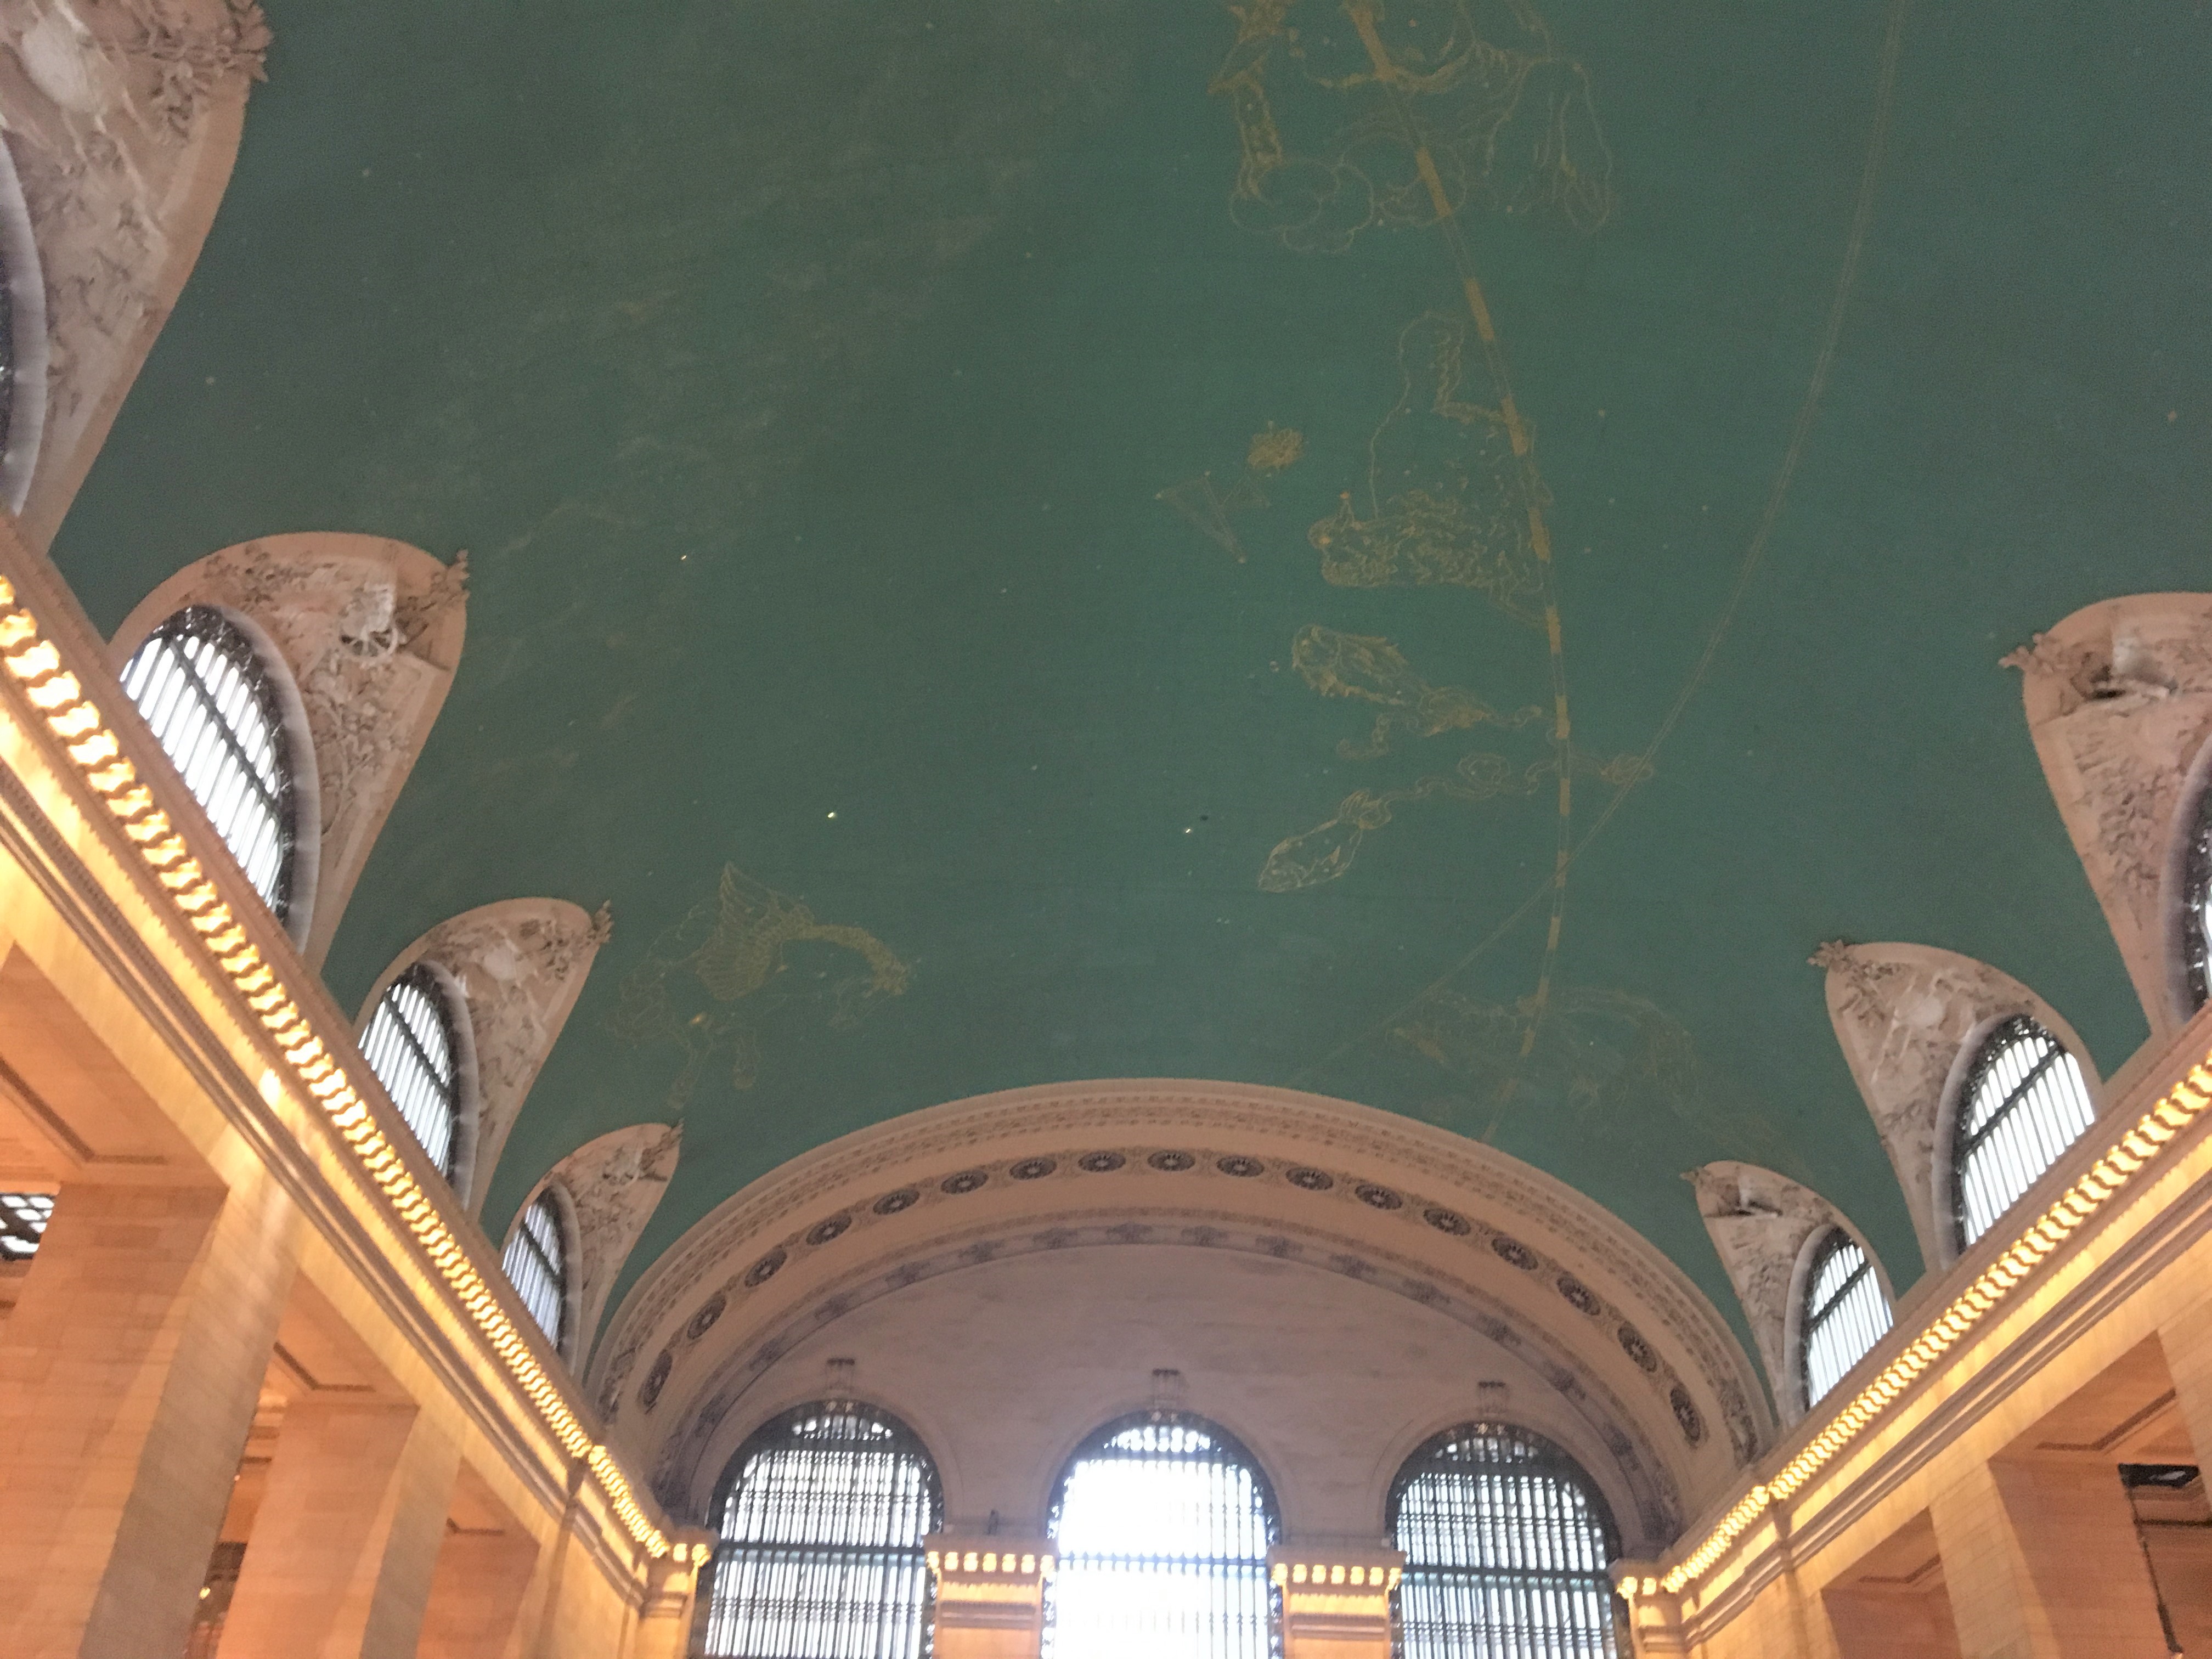
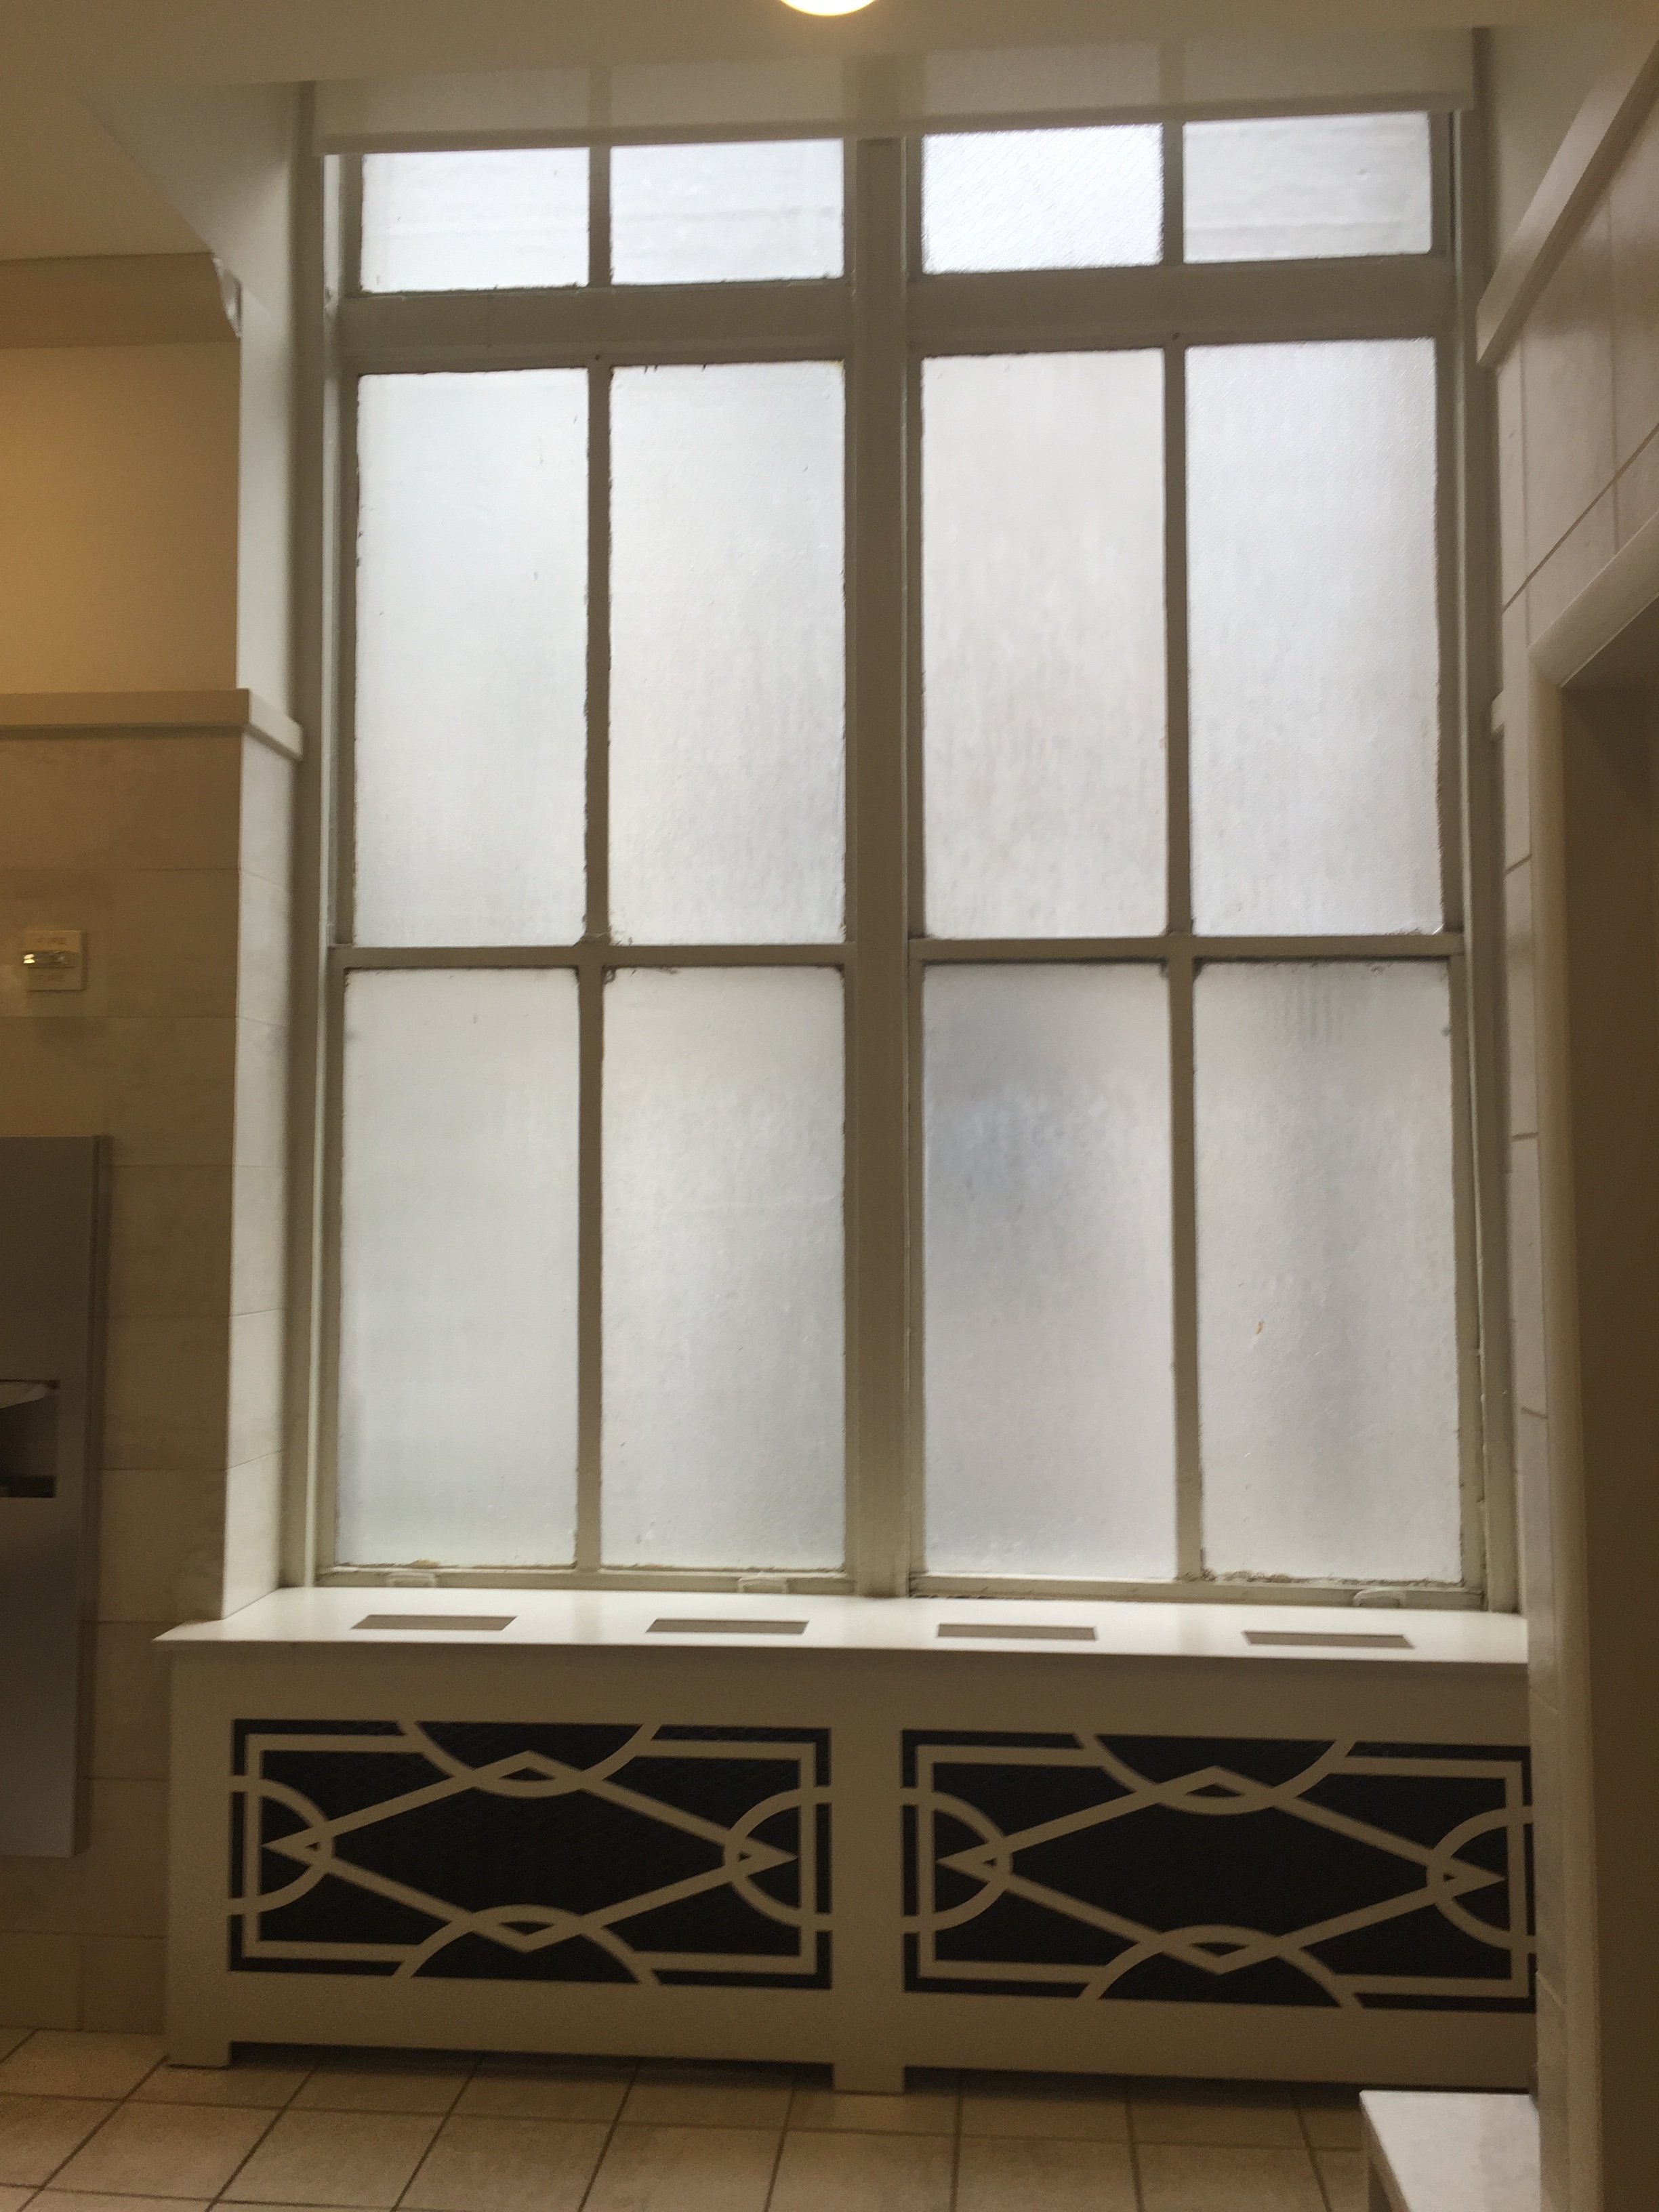
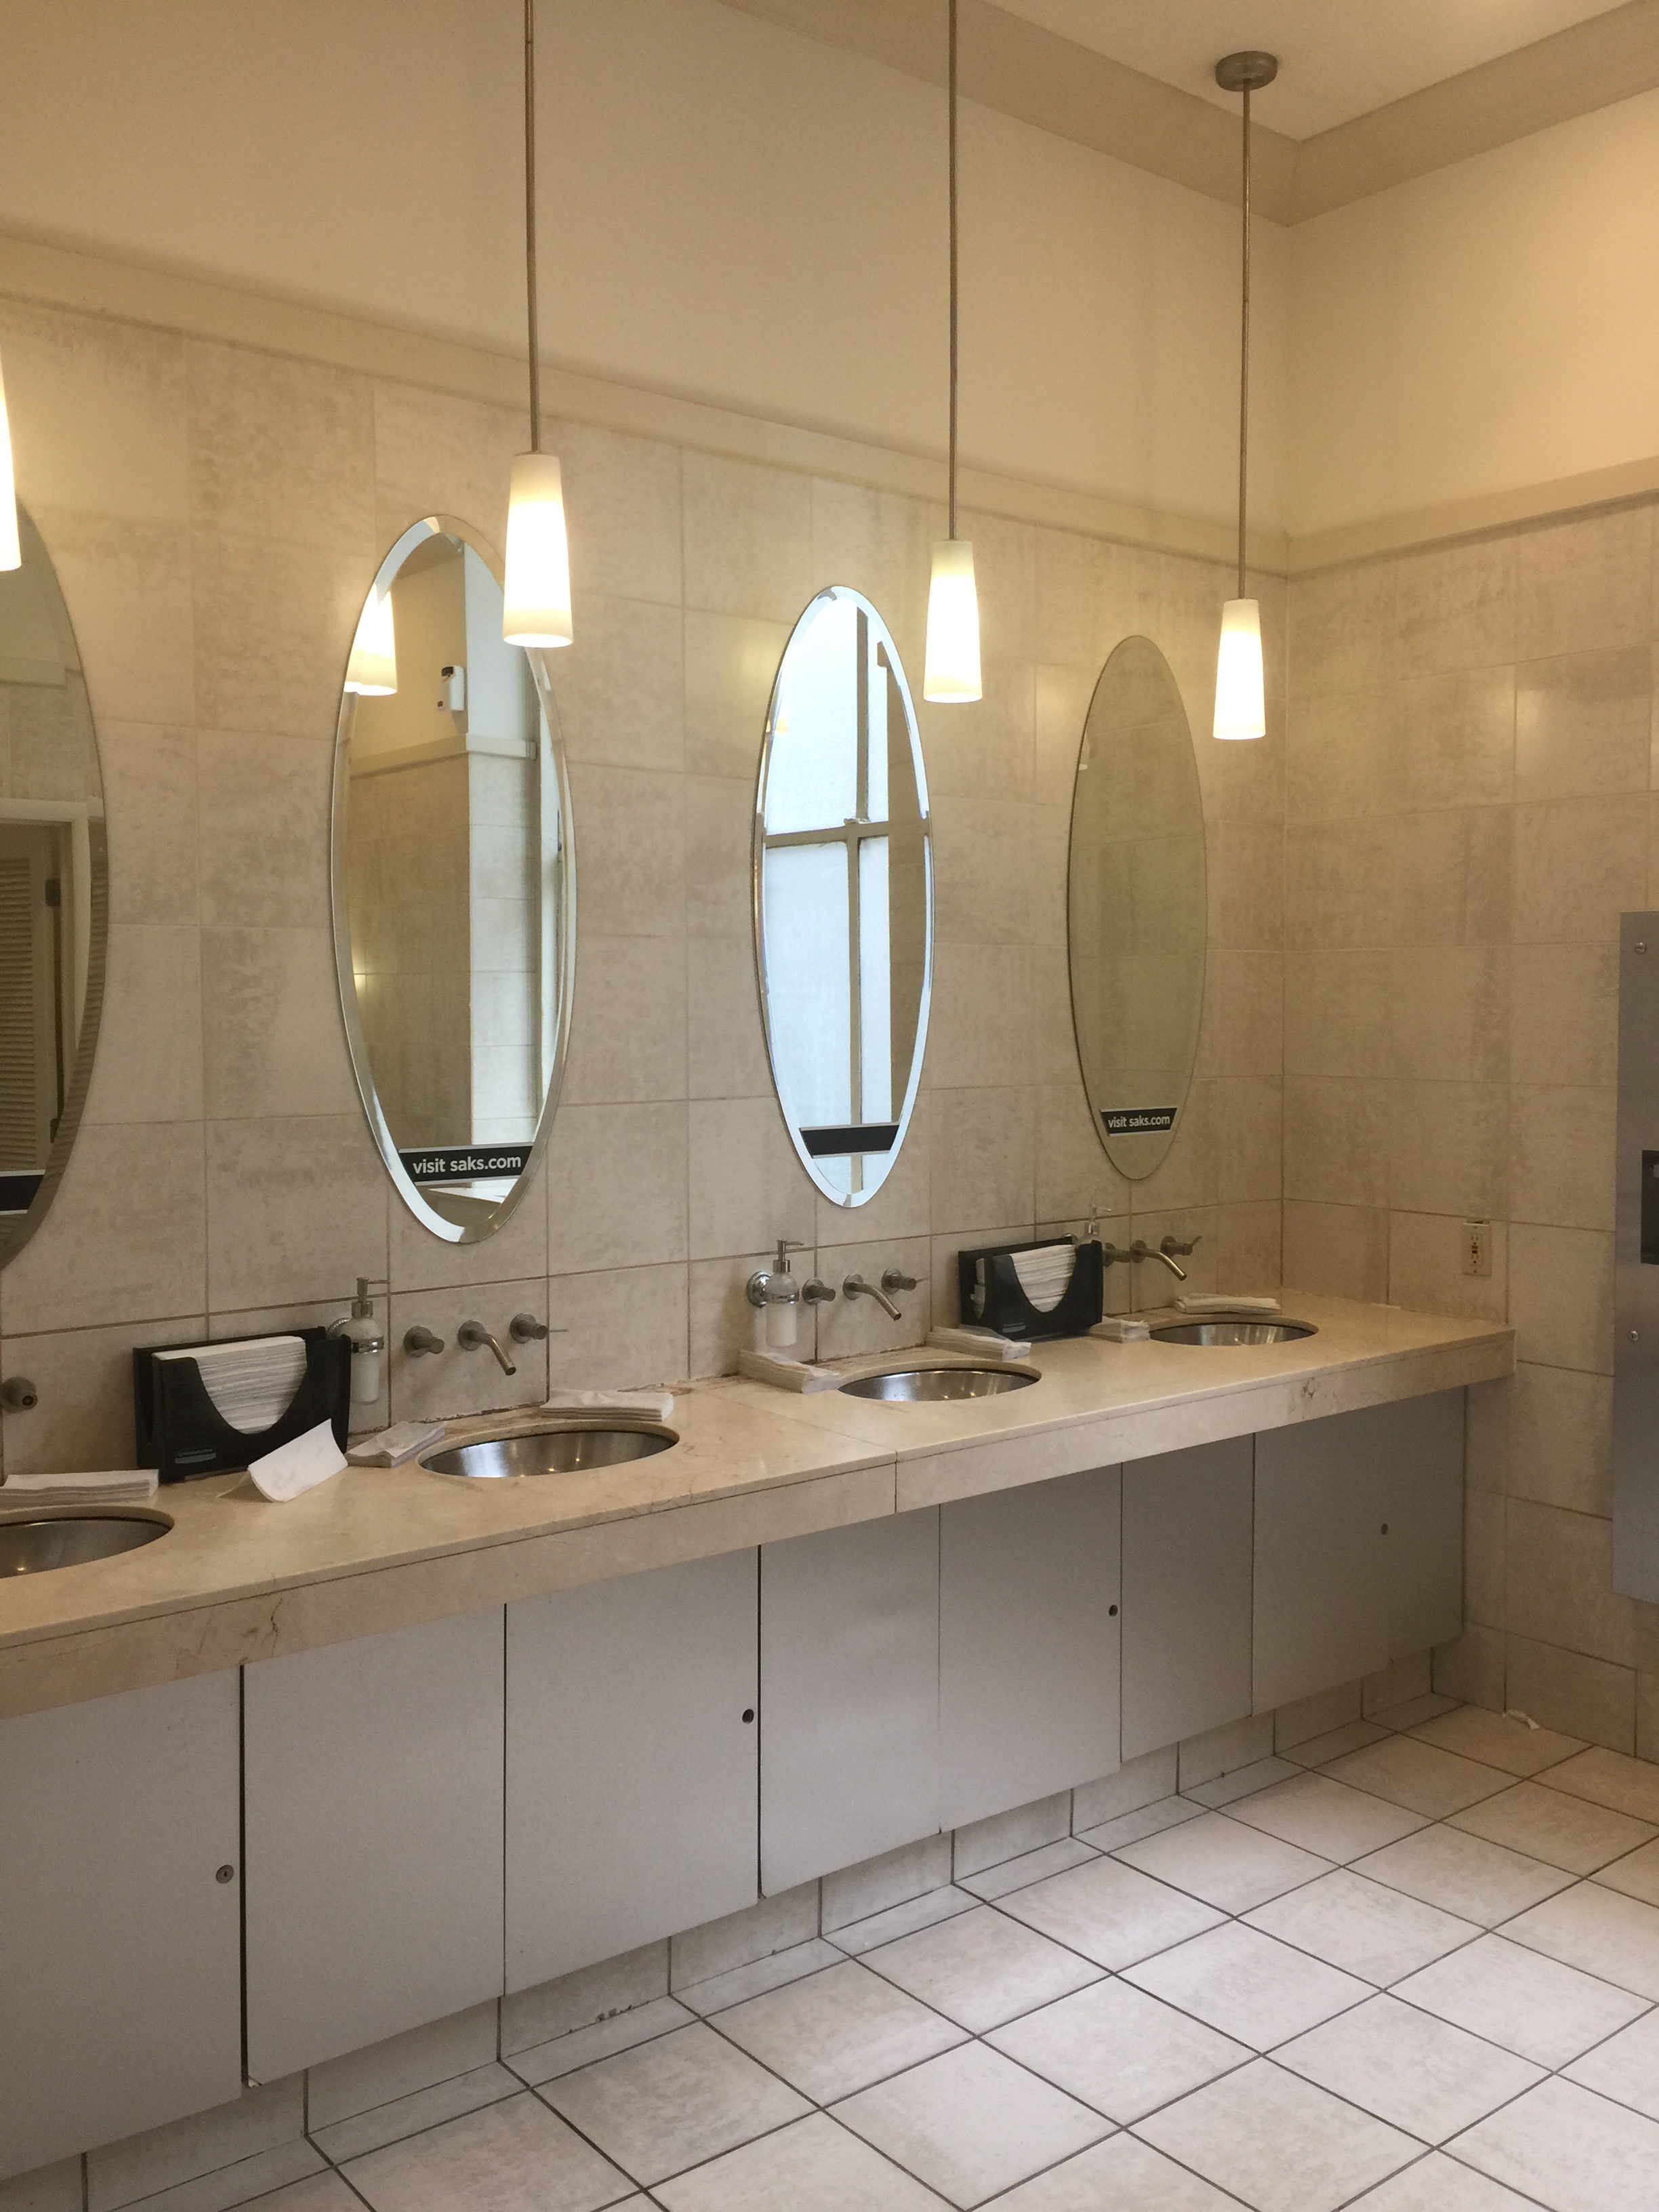
Time’s Square- crazy with people and events.This souvenir shop had a whole shelf just for “The Donald” Ok, I couldn’t help it. But just look at my face.Grand Central Station, iconic and busy. I didn’t get any pics of it, but the Market at Grand Central Station was very cool!It’s straight ahead on the bottom Right, under the arch. People are everywhere in NYC. And the station is a hub in the city.Constellations on the ceiling of Grand Central Station.This is the ladies bathroom at Saks Fifth Avenue. Vintage decor. The ladies bathroom at Saks Fifth Avenue. Not sure what I expected, but it seems to be the original bathroom. Central Park.
Being from Colorado, I understand New Yorker’s appreciating a place of nature and peace, living in such a hectic environment. We saw a small part of the park, but it’s actually 2.5 miles long by 1/2 mile wide and features the New York Zoo, Metropolitan Art Museum, amphitheaters, lake and ponds and other fun attractions. A historic and nice break from crazy!
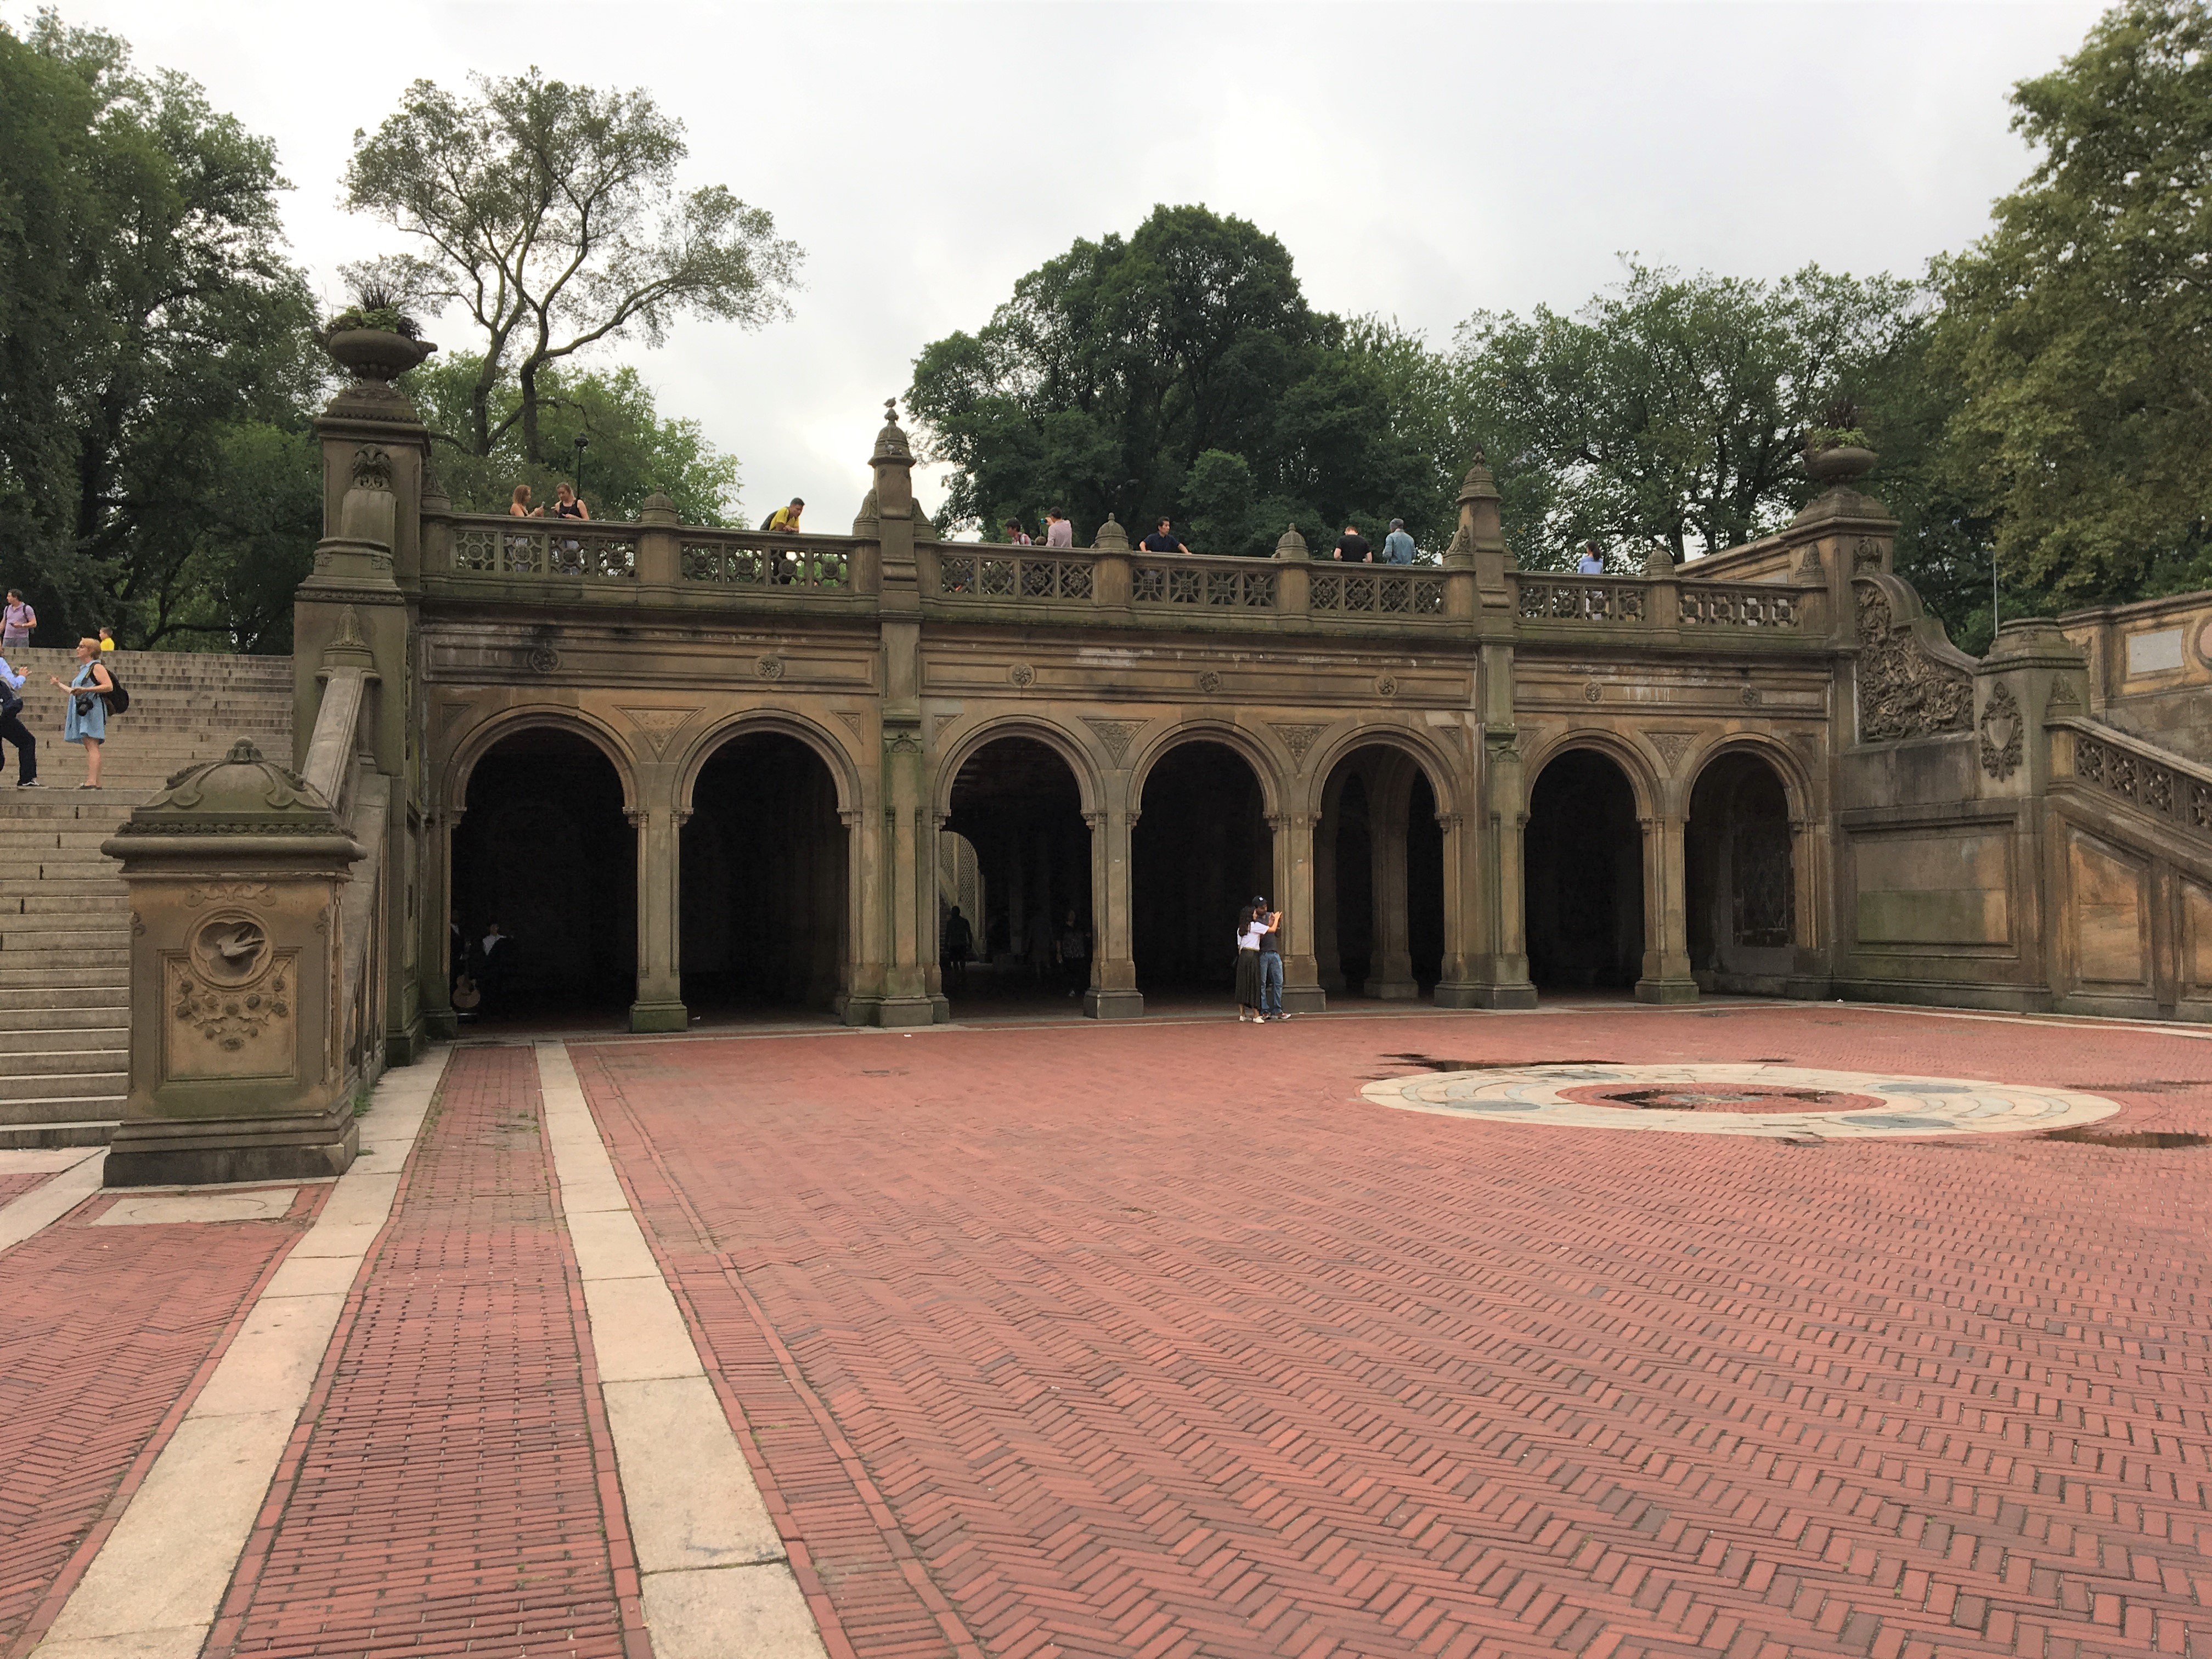
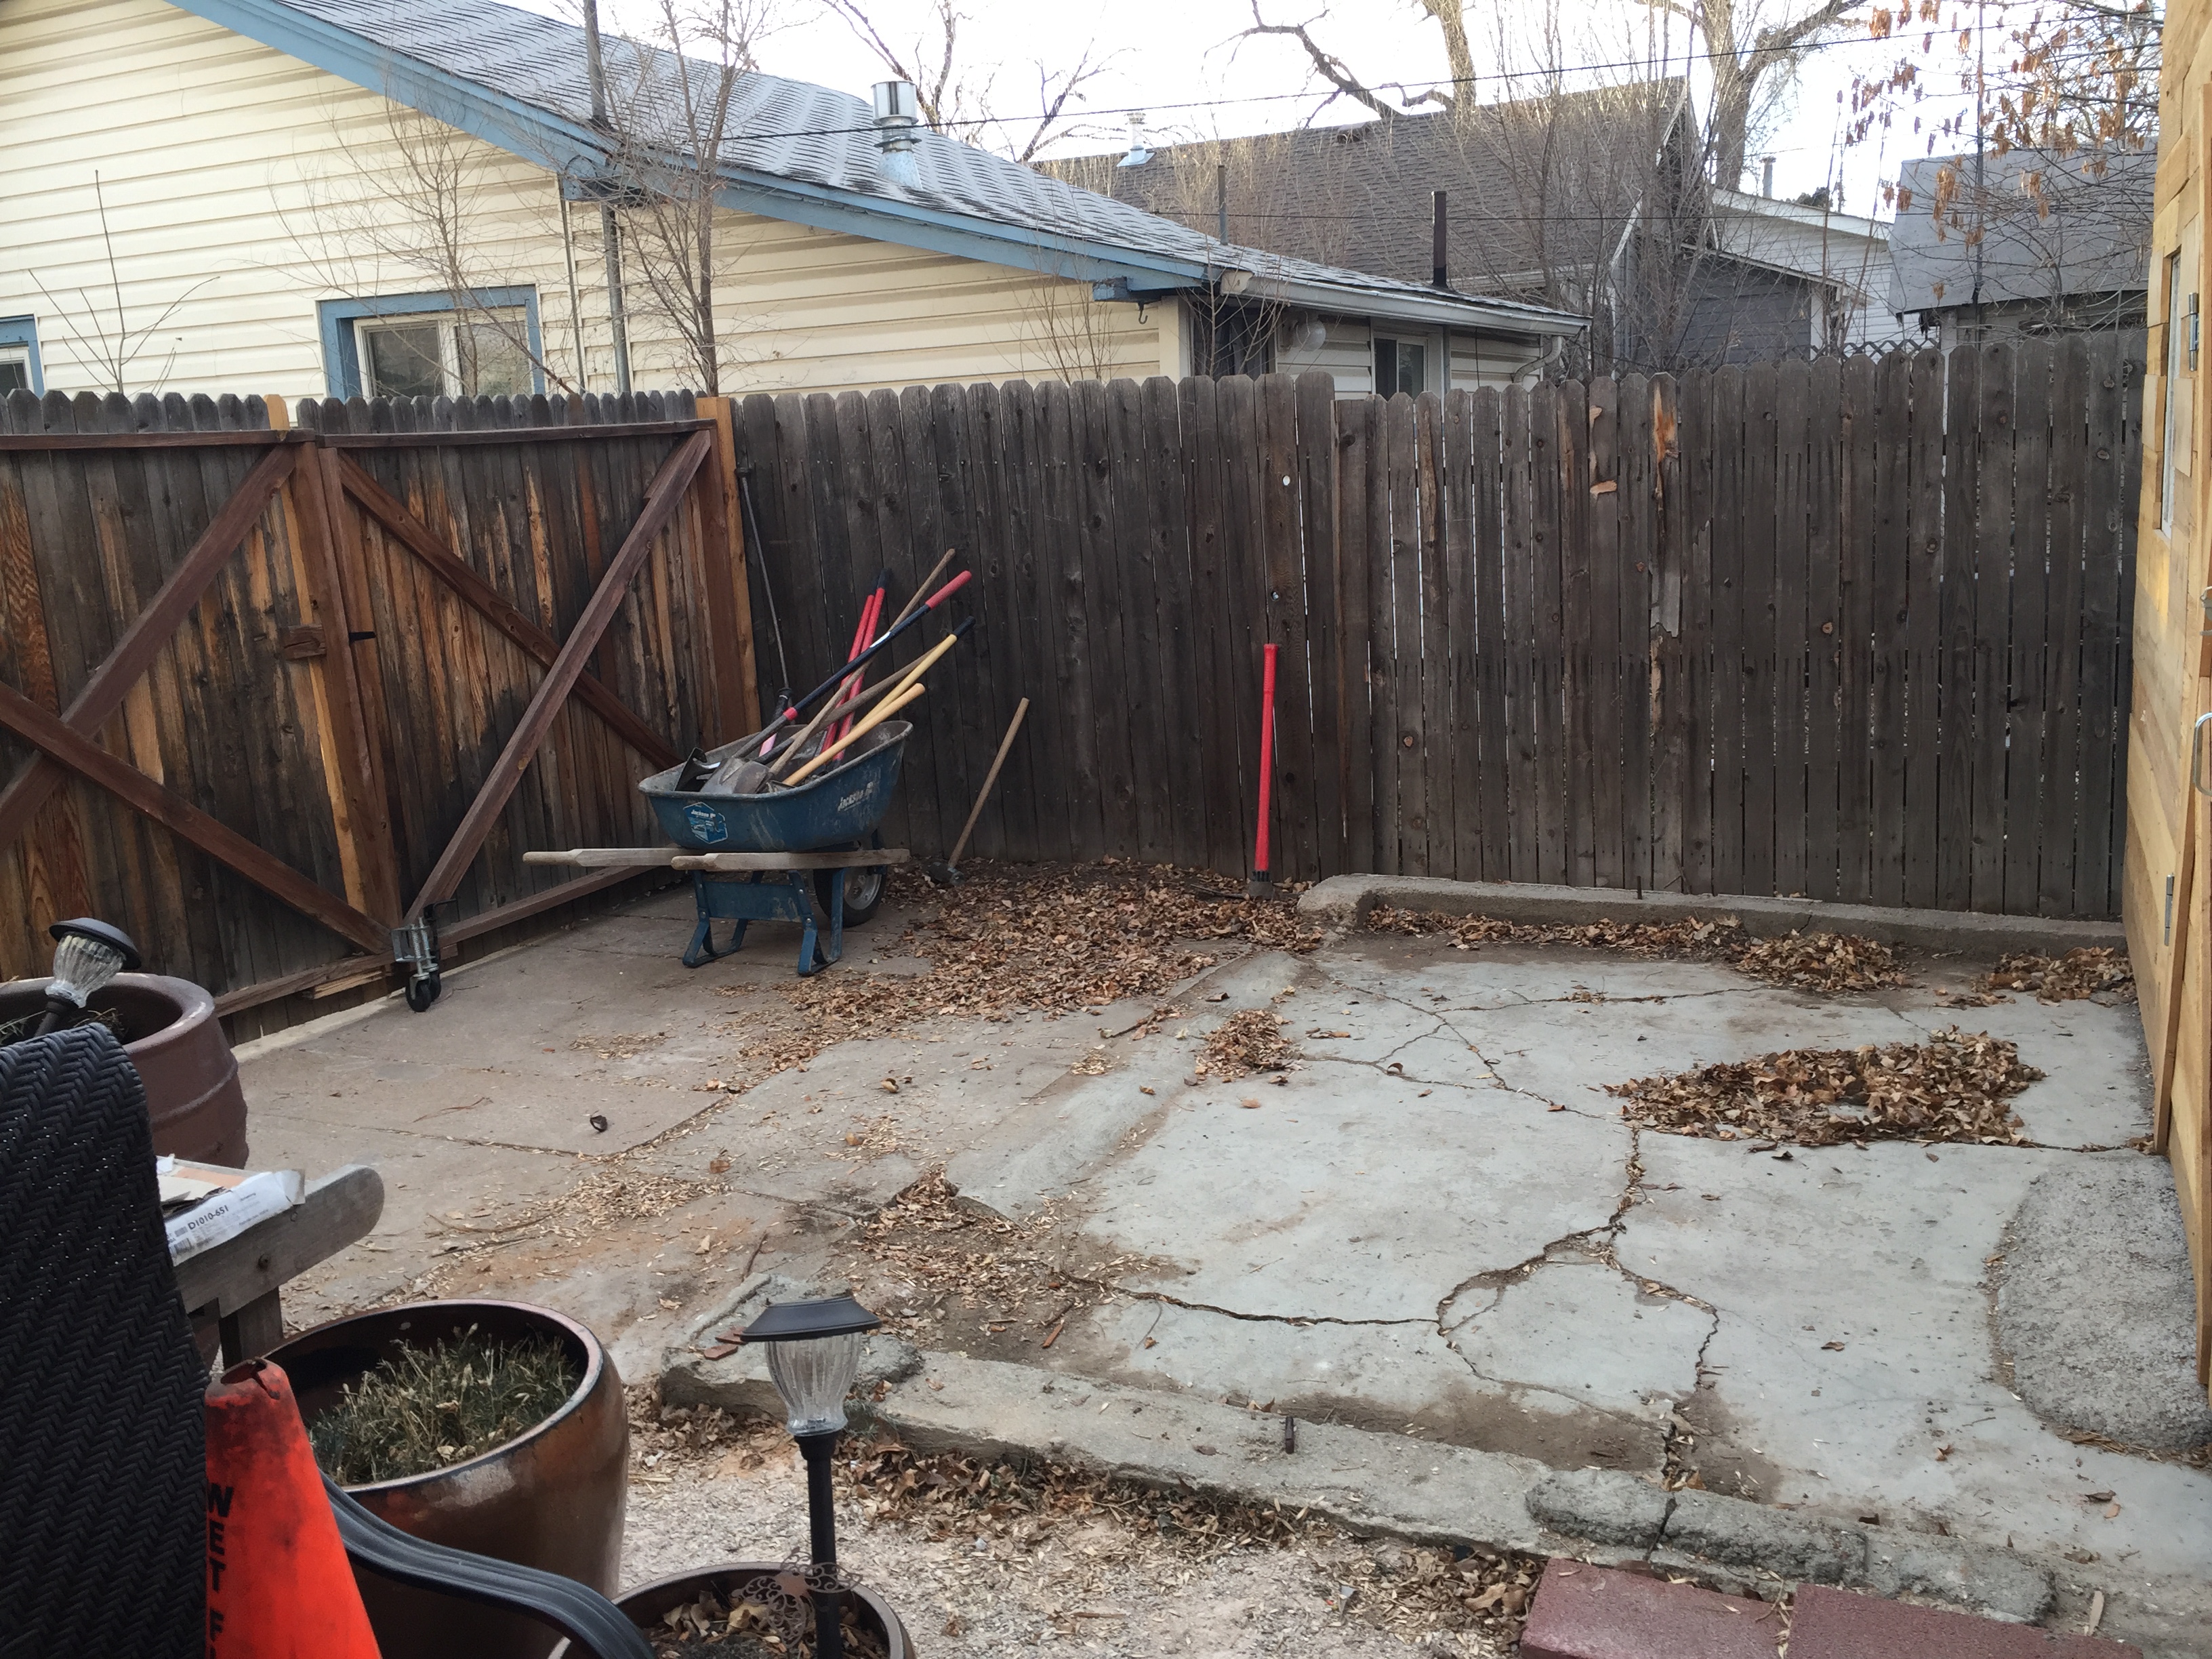
Bethesda Fountain in Central Park.Bethesda Fountain Plaza in Central Park.Every evening, our hotel offered a complimentary happy hour, which we took full advantage of.
The hotel we stayed in was only a block from Trump Tower and was housing Secret Service Agents who were there to protect the President. They stayed in the same hotel as we did, due to the high price of staying at Trump Tower. We saw them in the lobby and elevators during our stay and they were friendly and respectful. They dressed in Black combat uniforms with “Secret Service” stenciled on the front and back and carried machine guns. Geez!
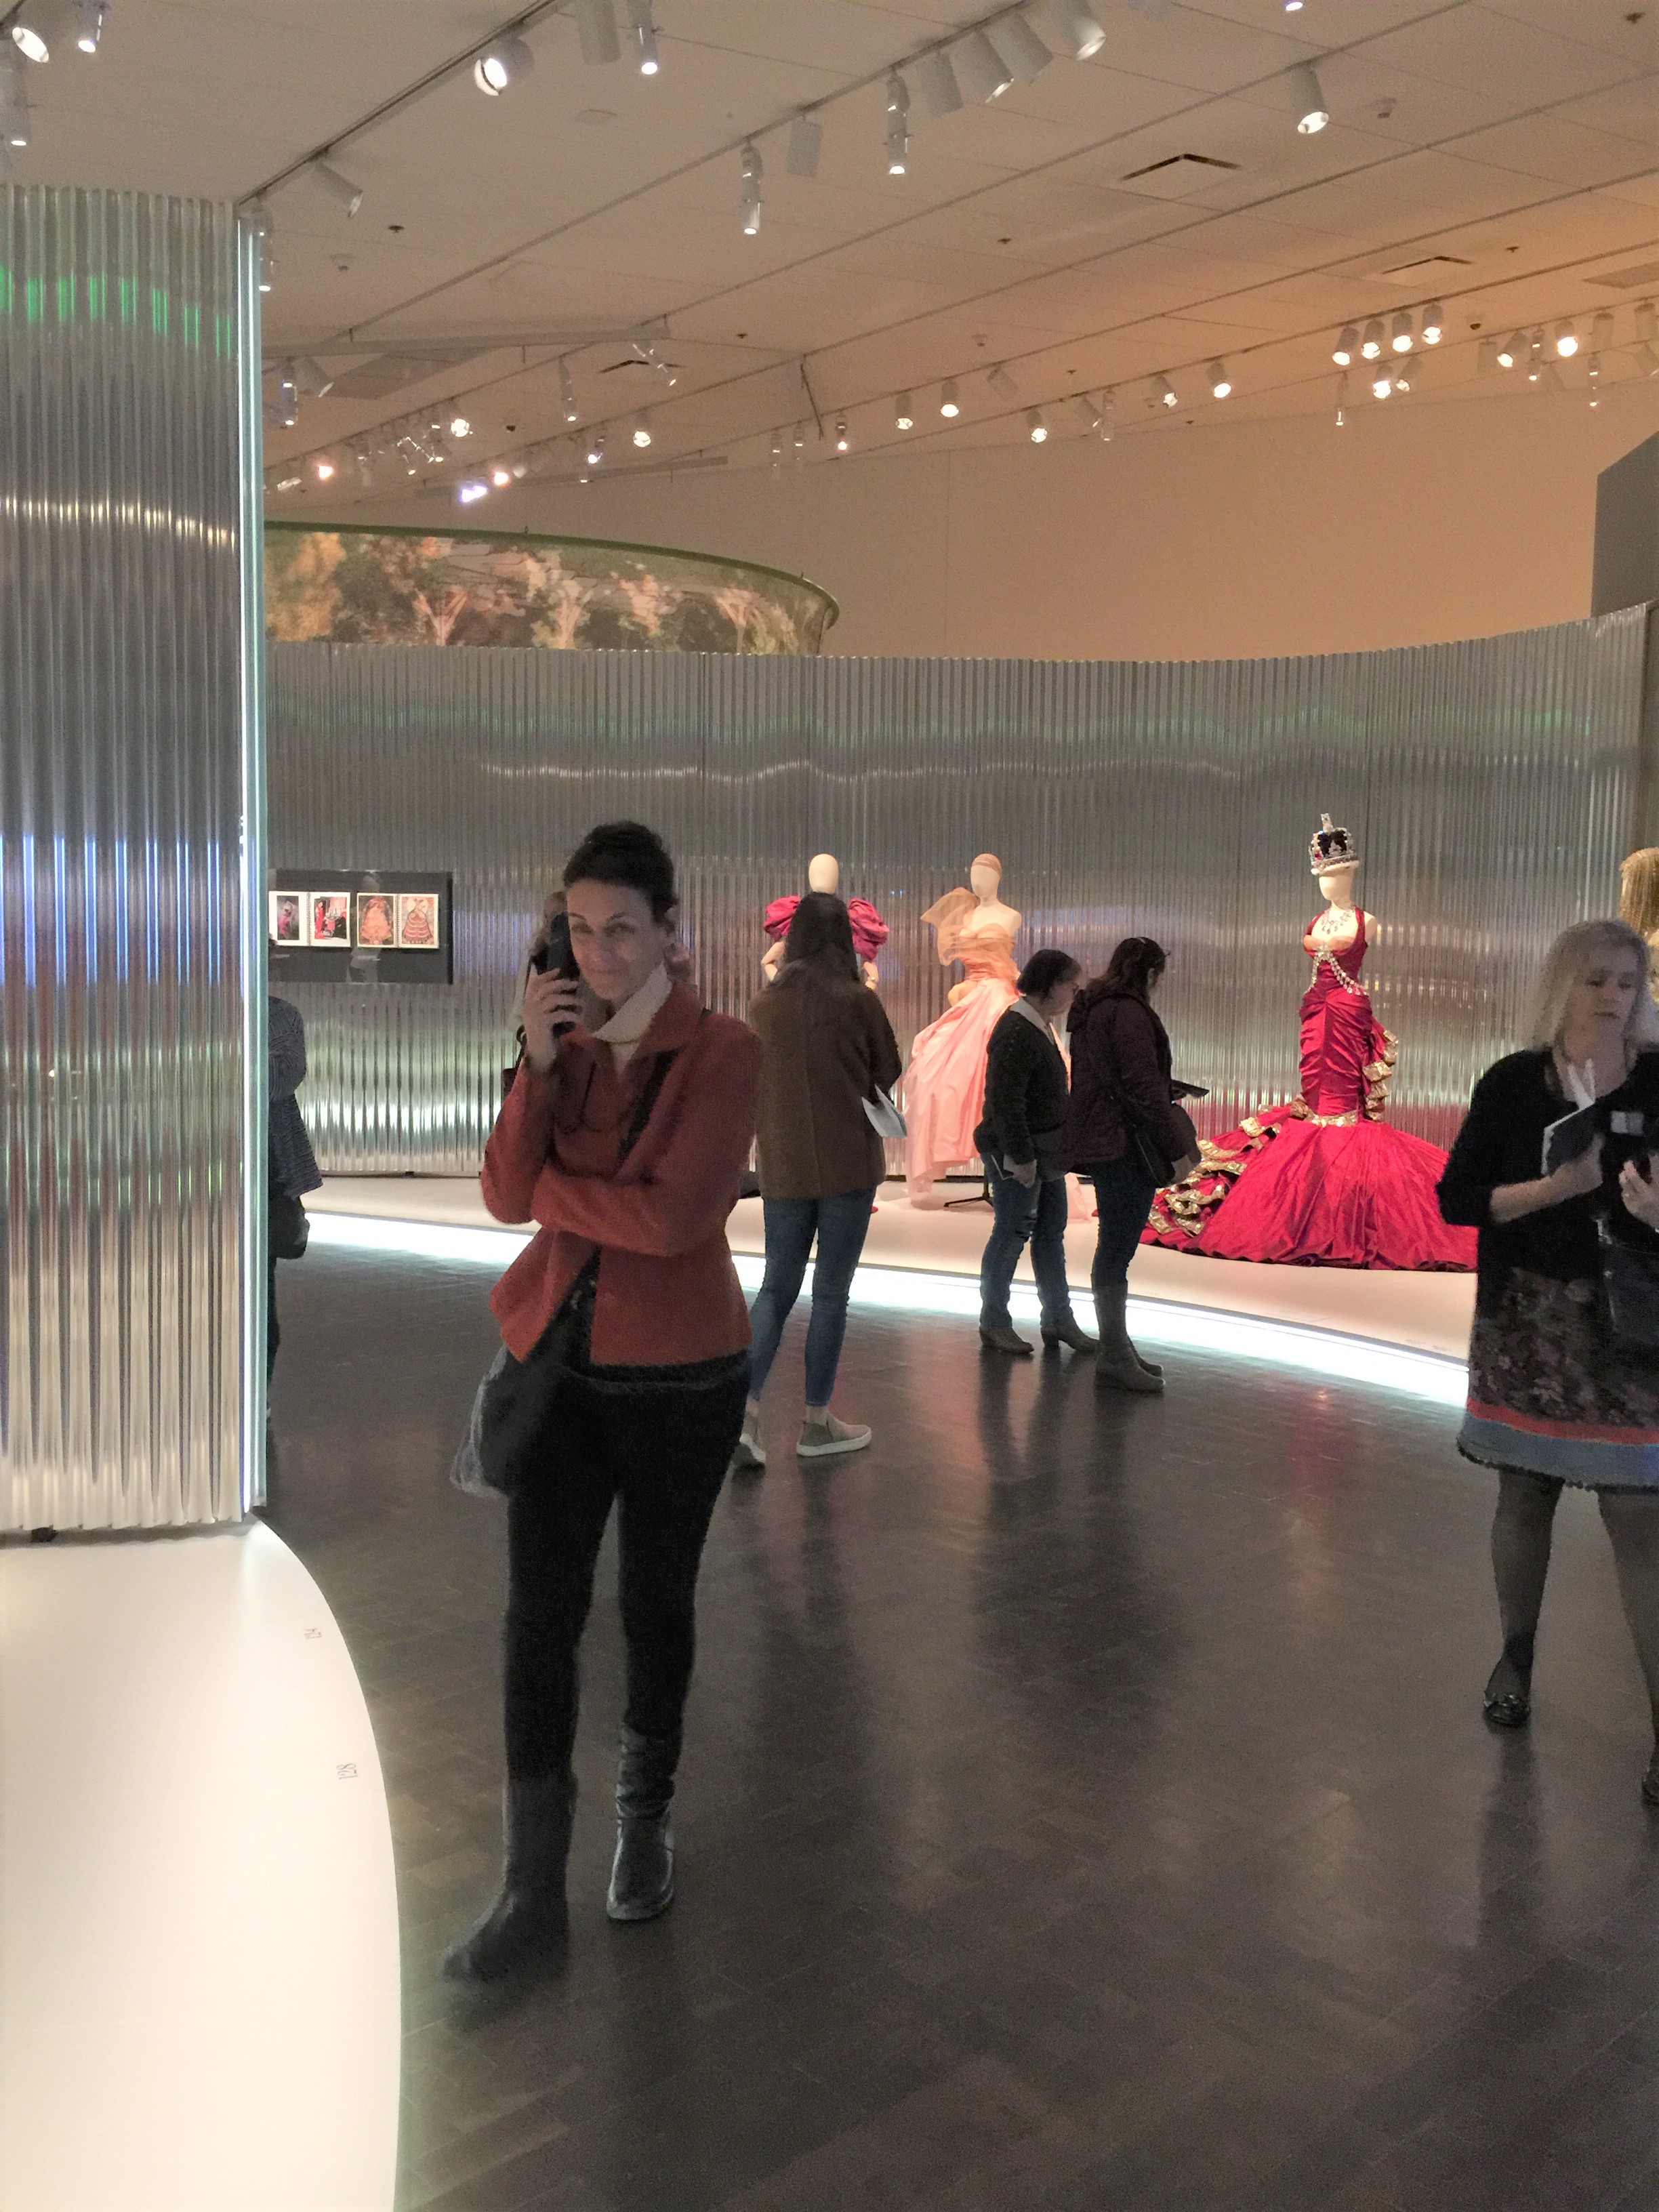
Christian Dior exhibit at Denver Art Museum with my sister, Susie. So stylish!Dior gown. The pattern is actually beaded onto the gown, making it look see through. The hand beading on both these gowns is A-MA-ZING! And look at this confection. It’s hard to see how this is a dress. Another stunning gown.
Today I live in the city, but I grew up in the mountains. I get back to my hometown, Gunnison pretty regularly. I still have family there and always enjoy getting away.
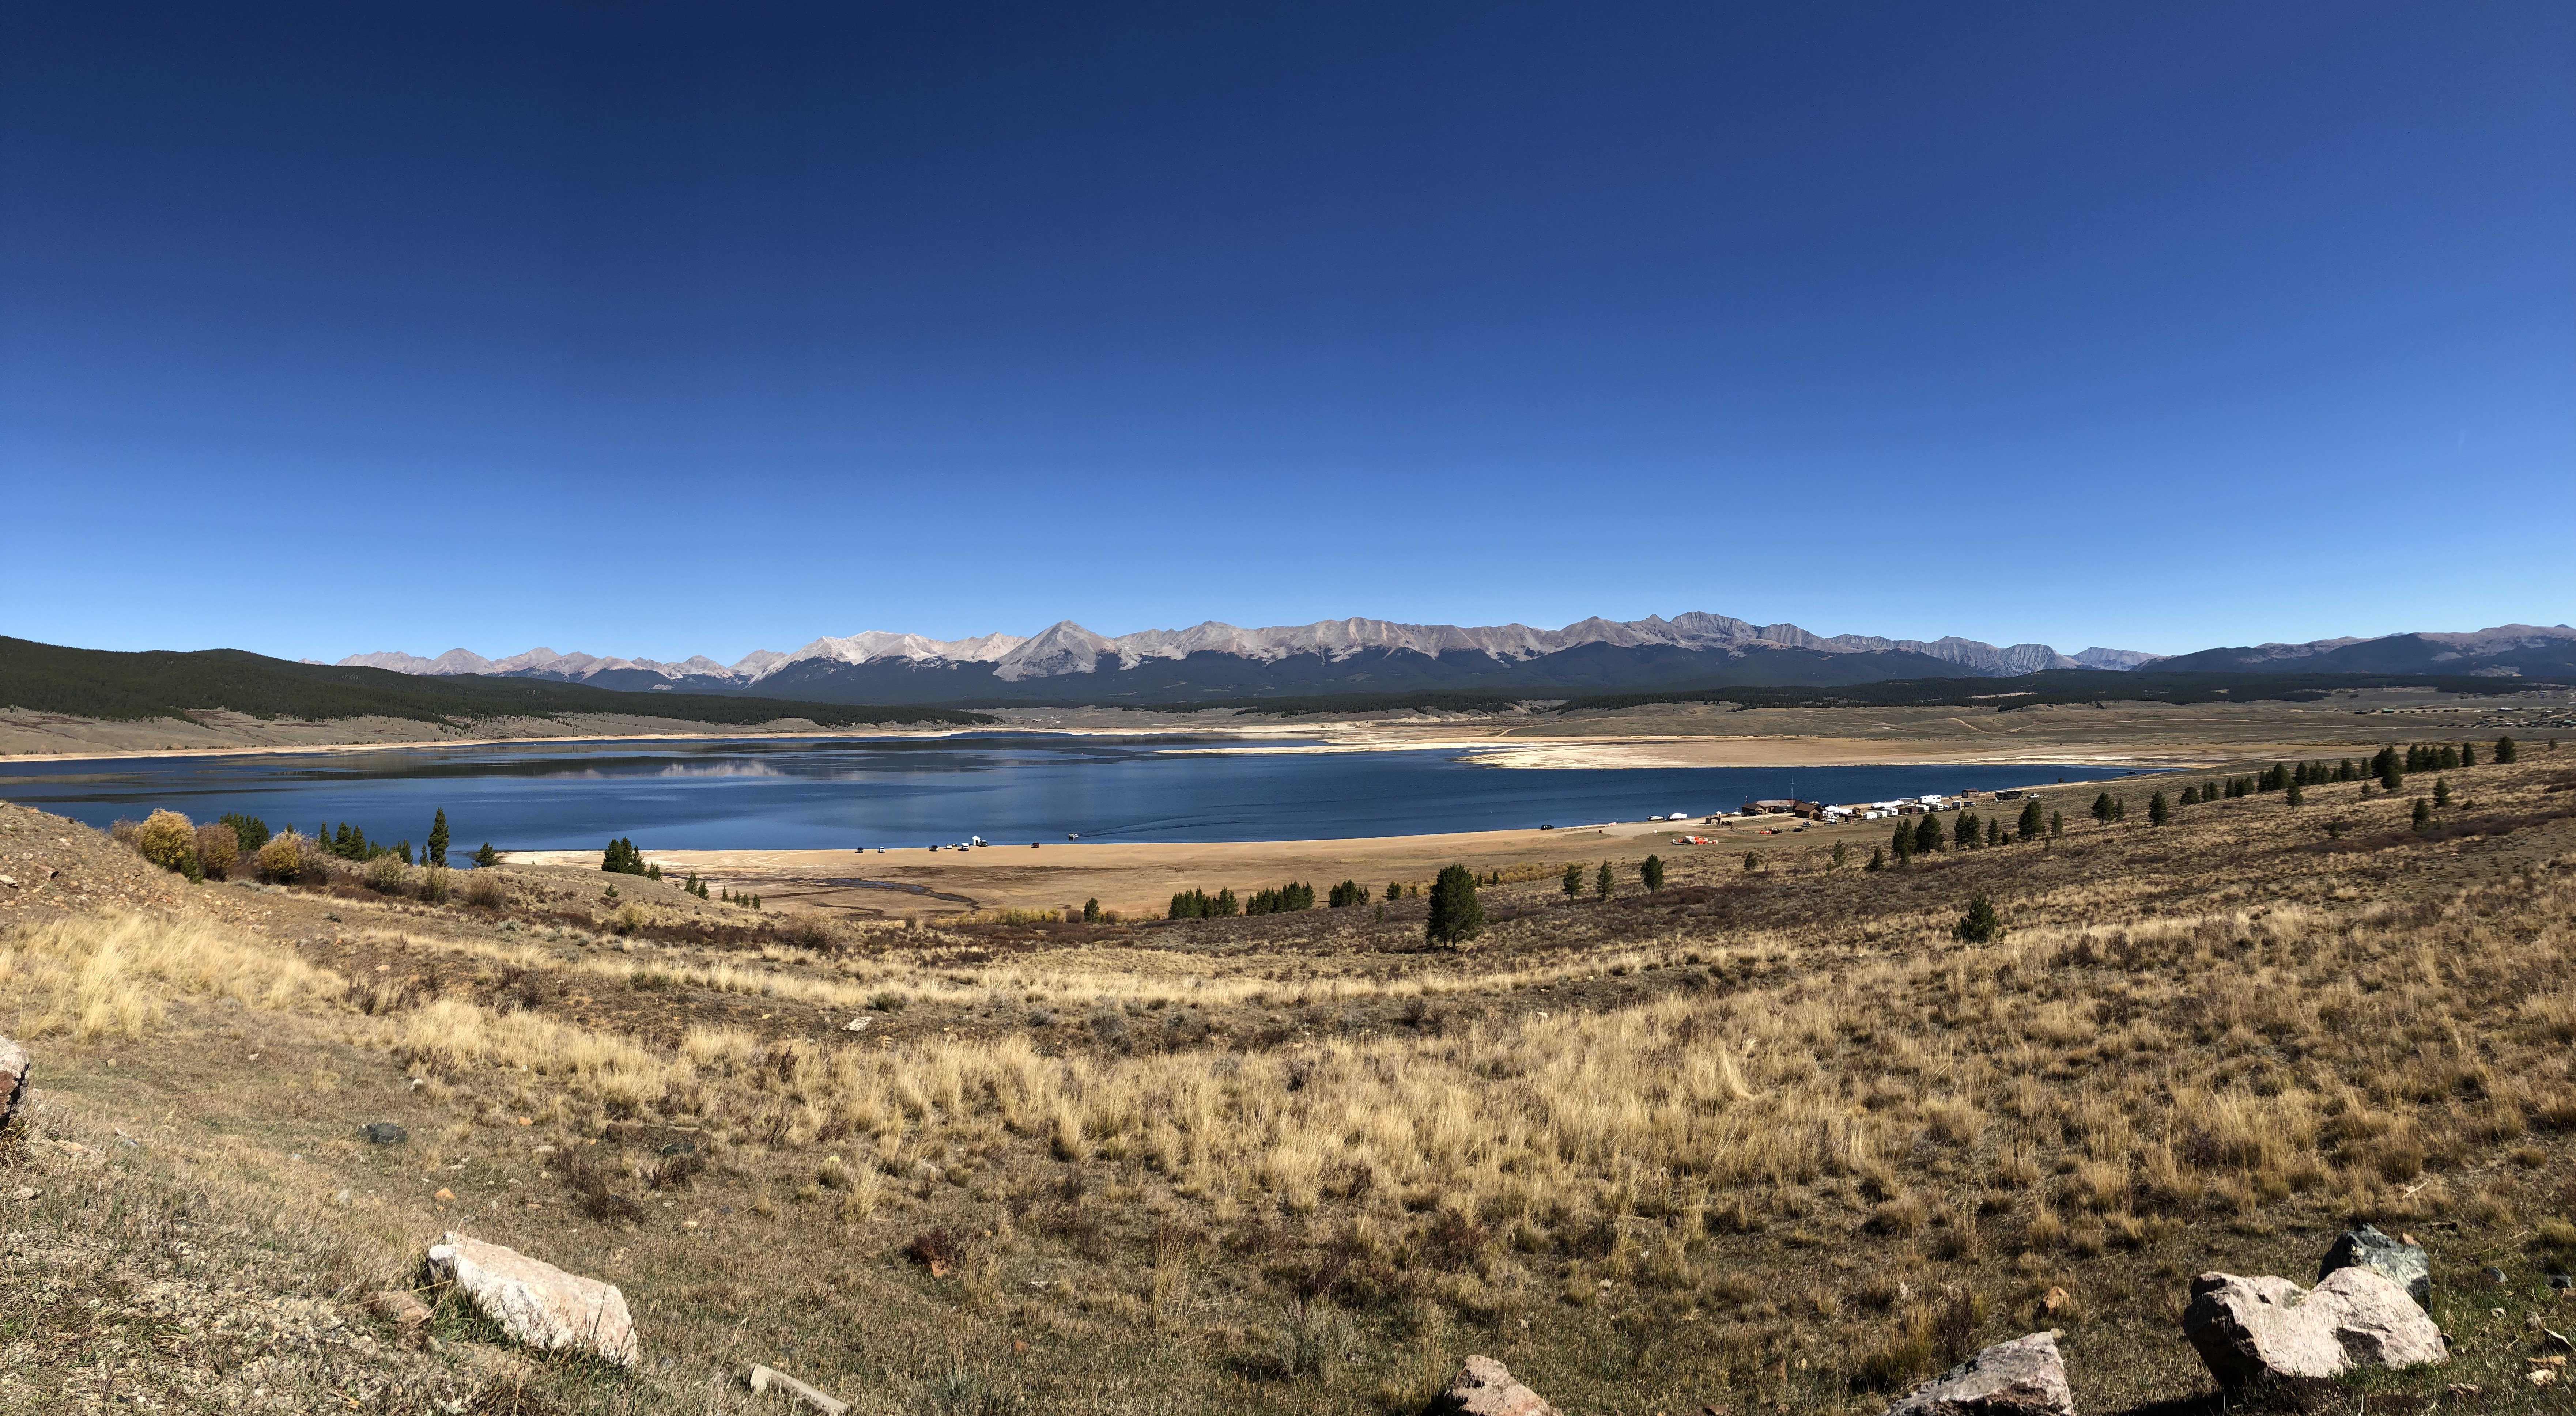
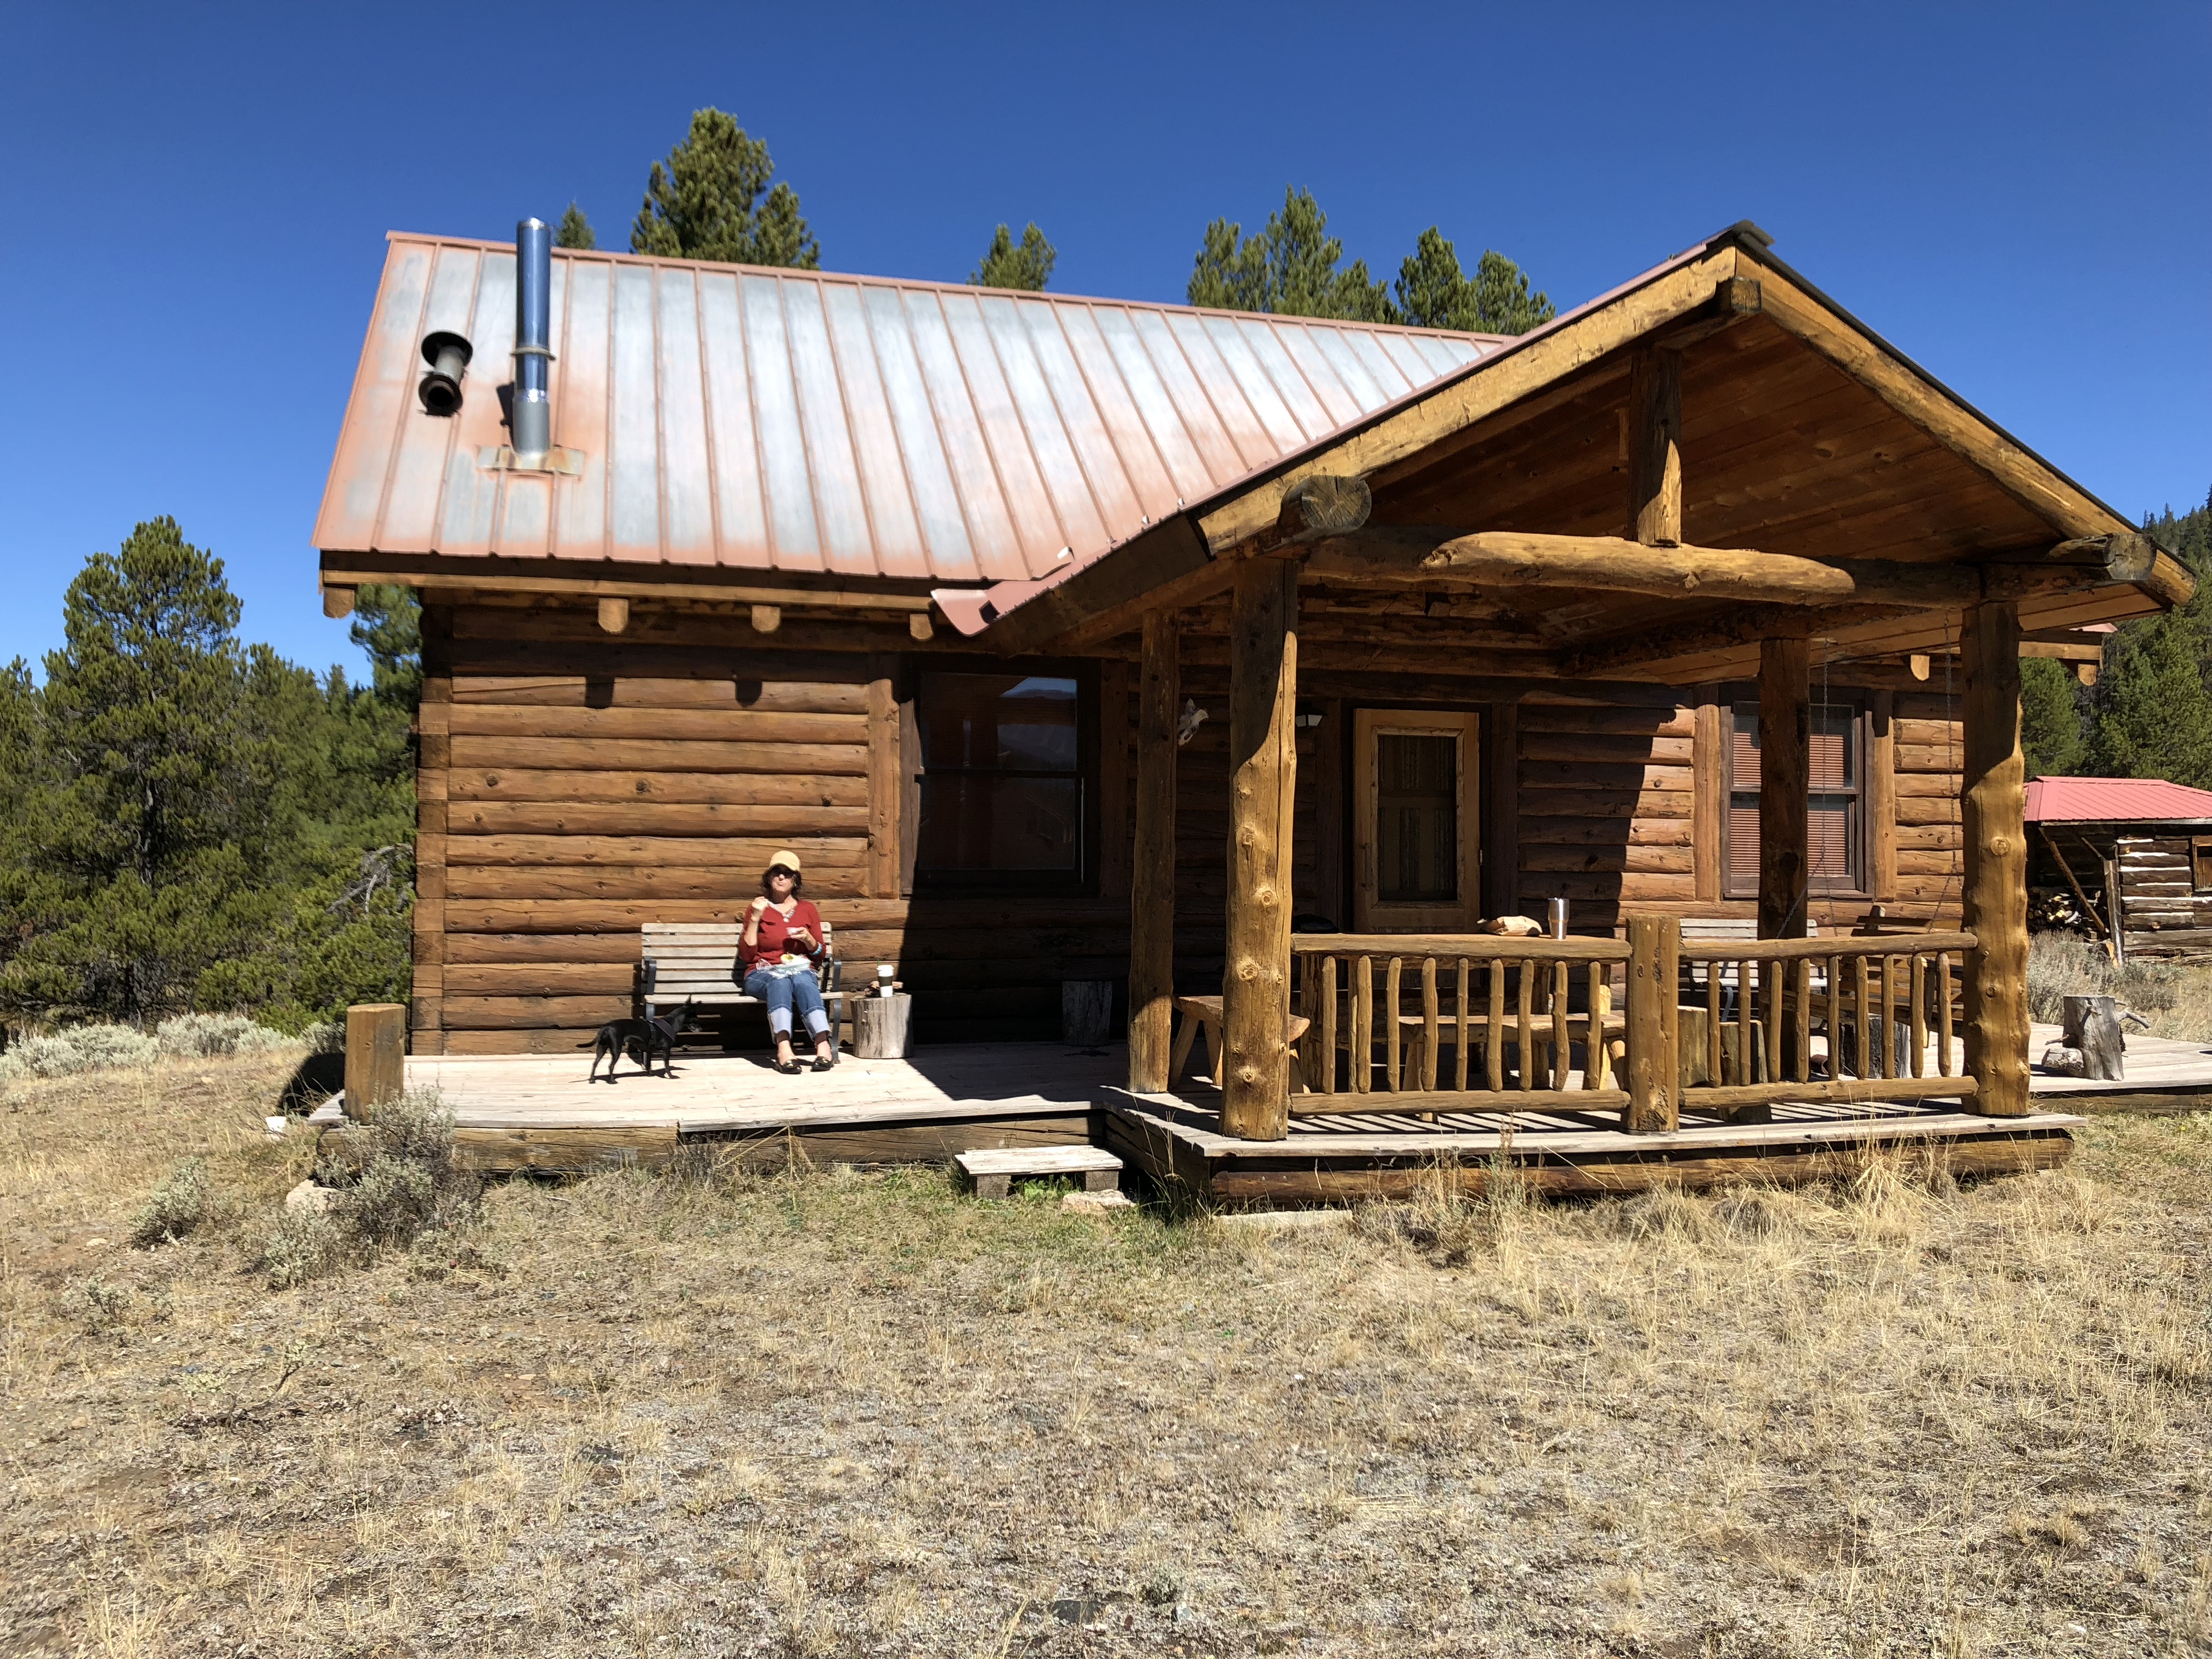
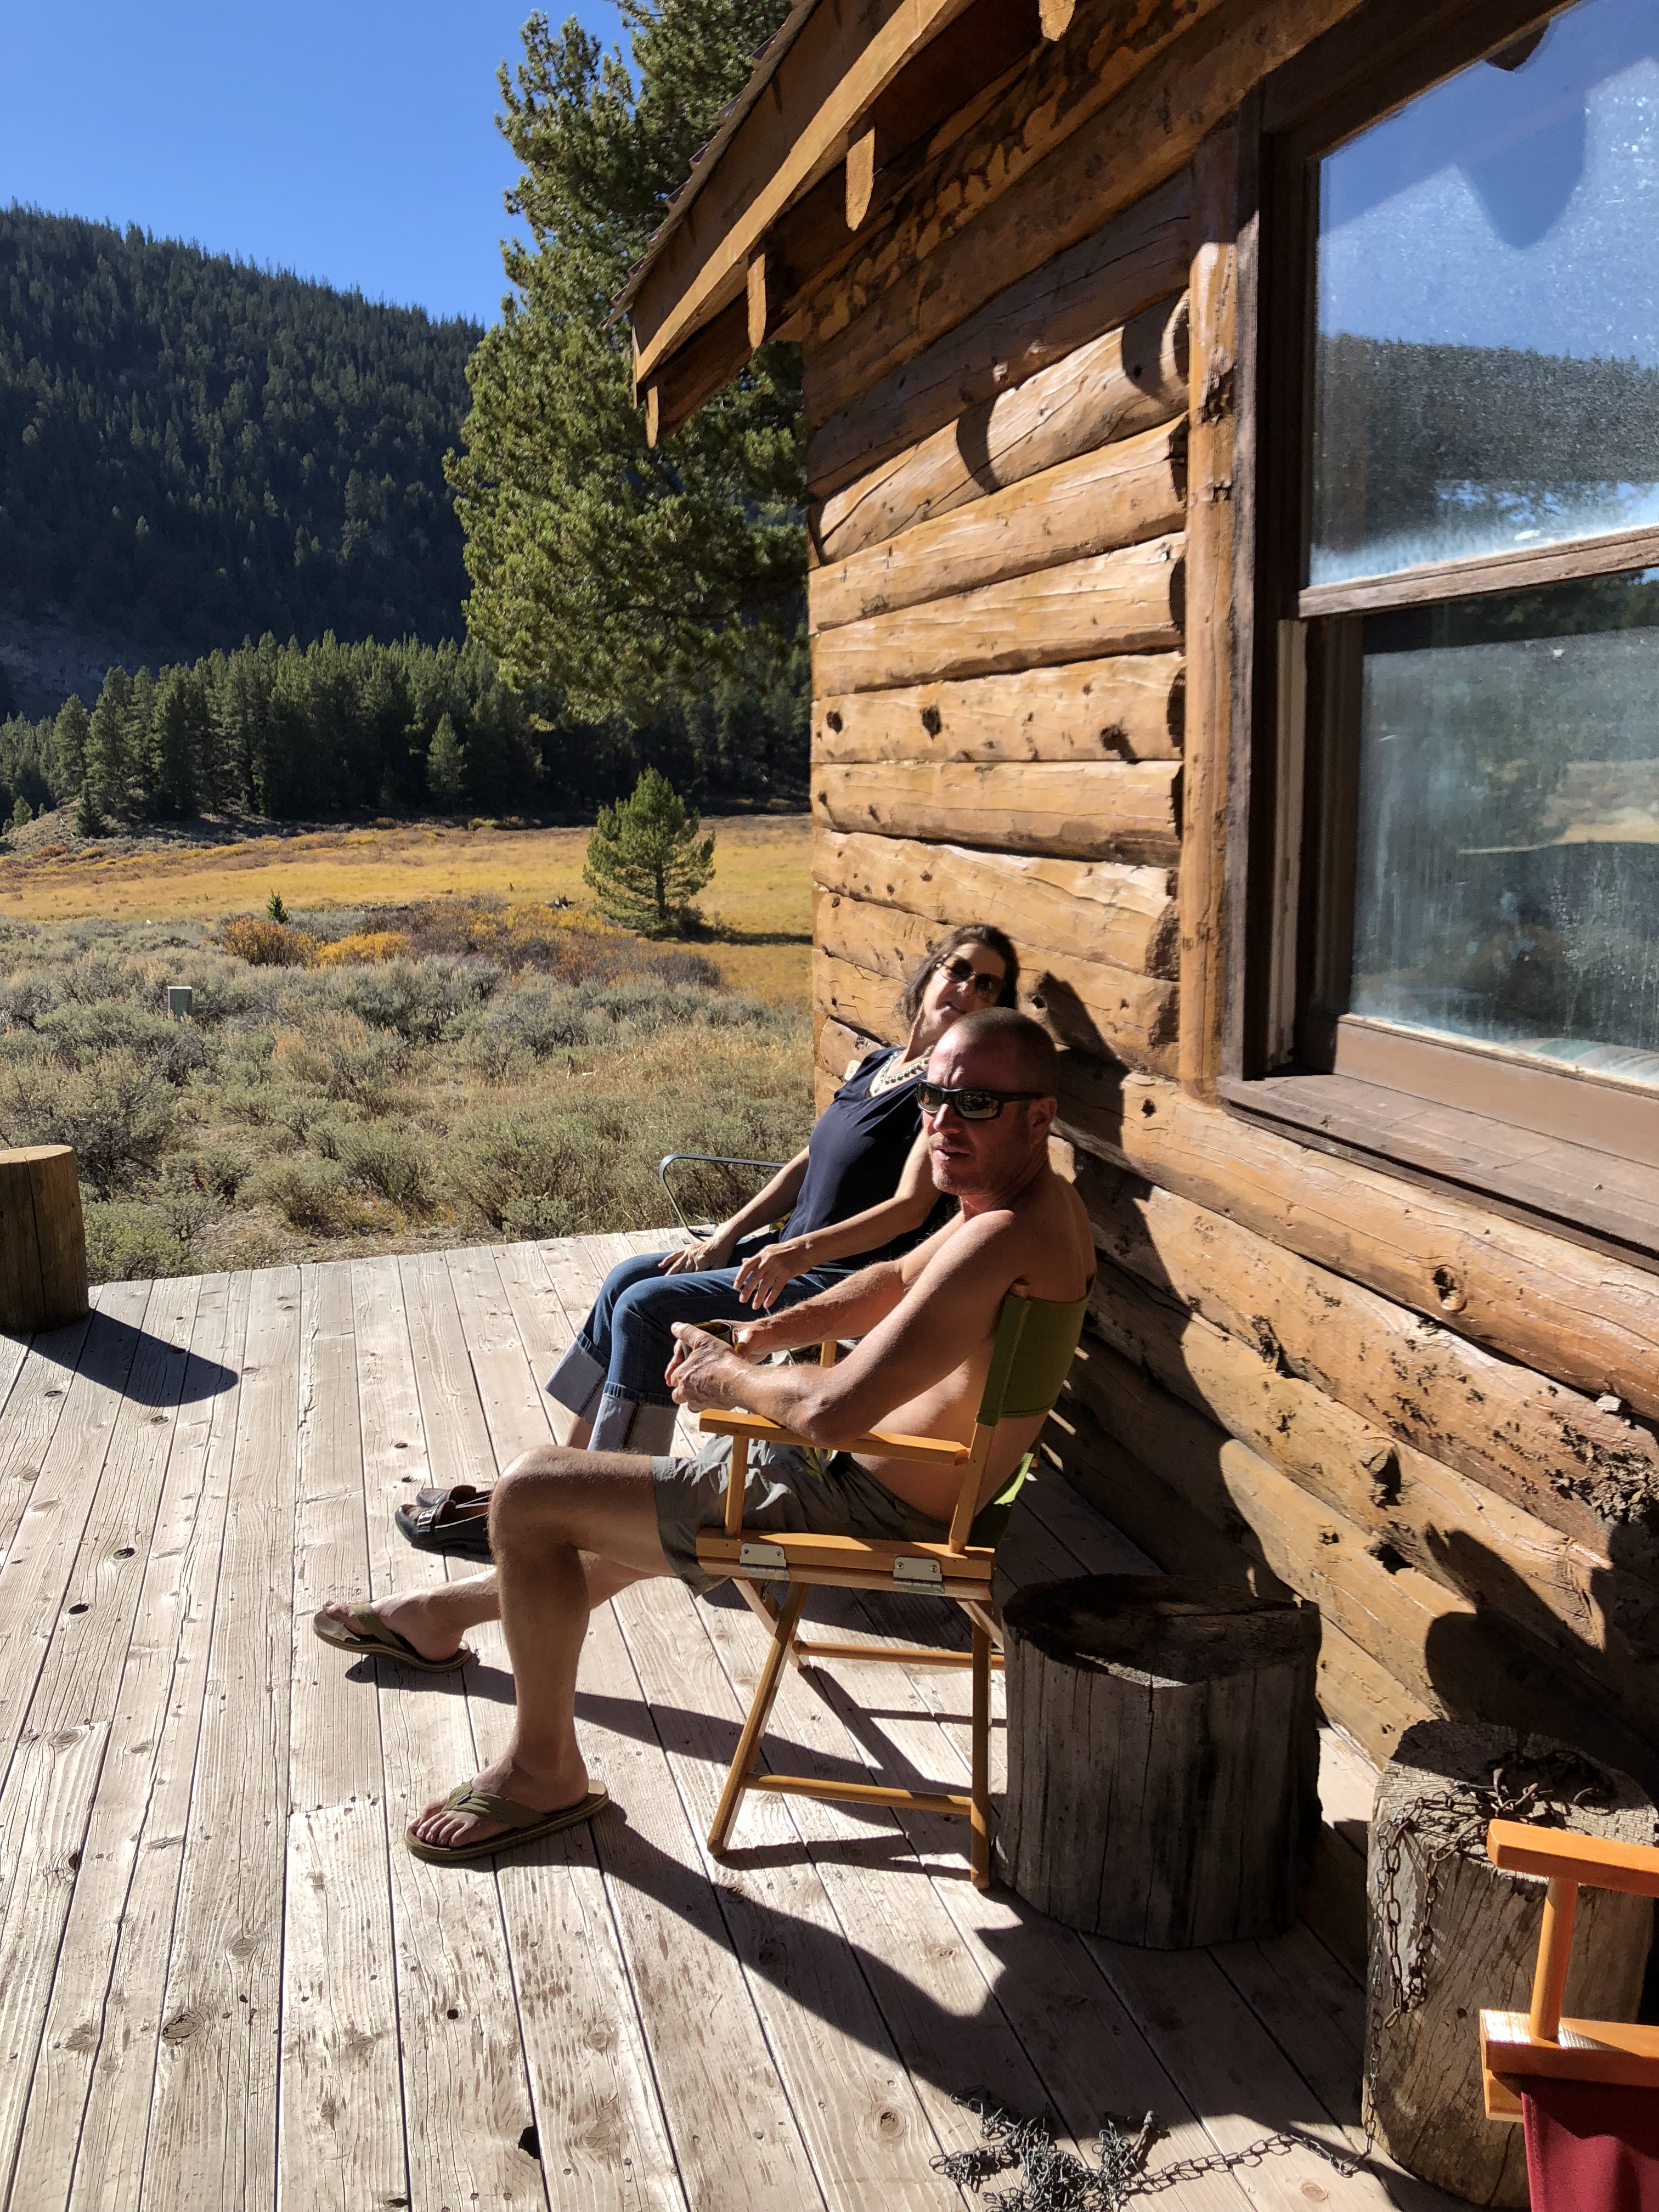
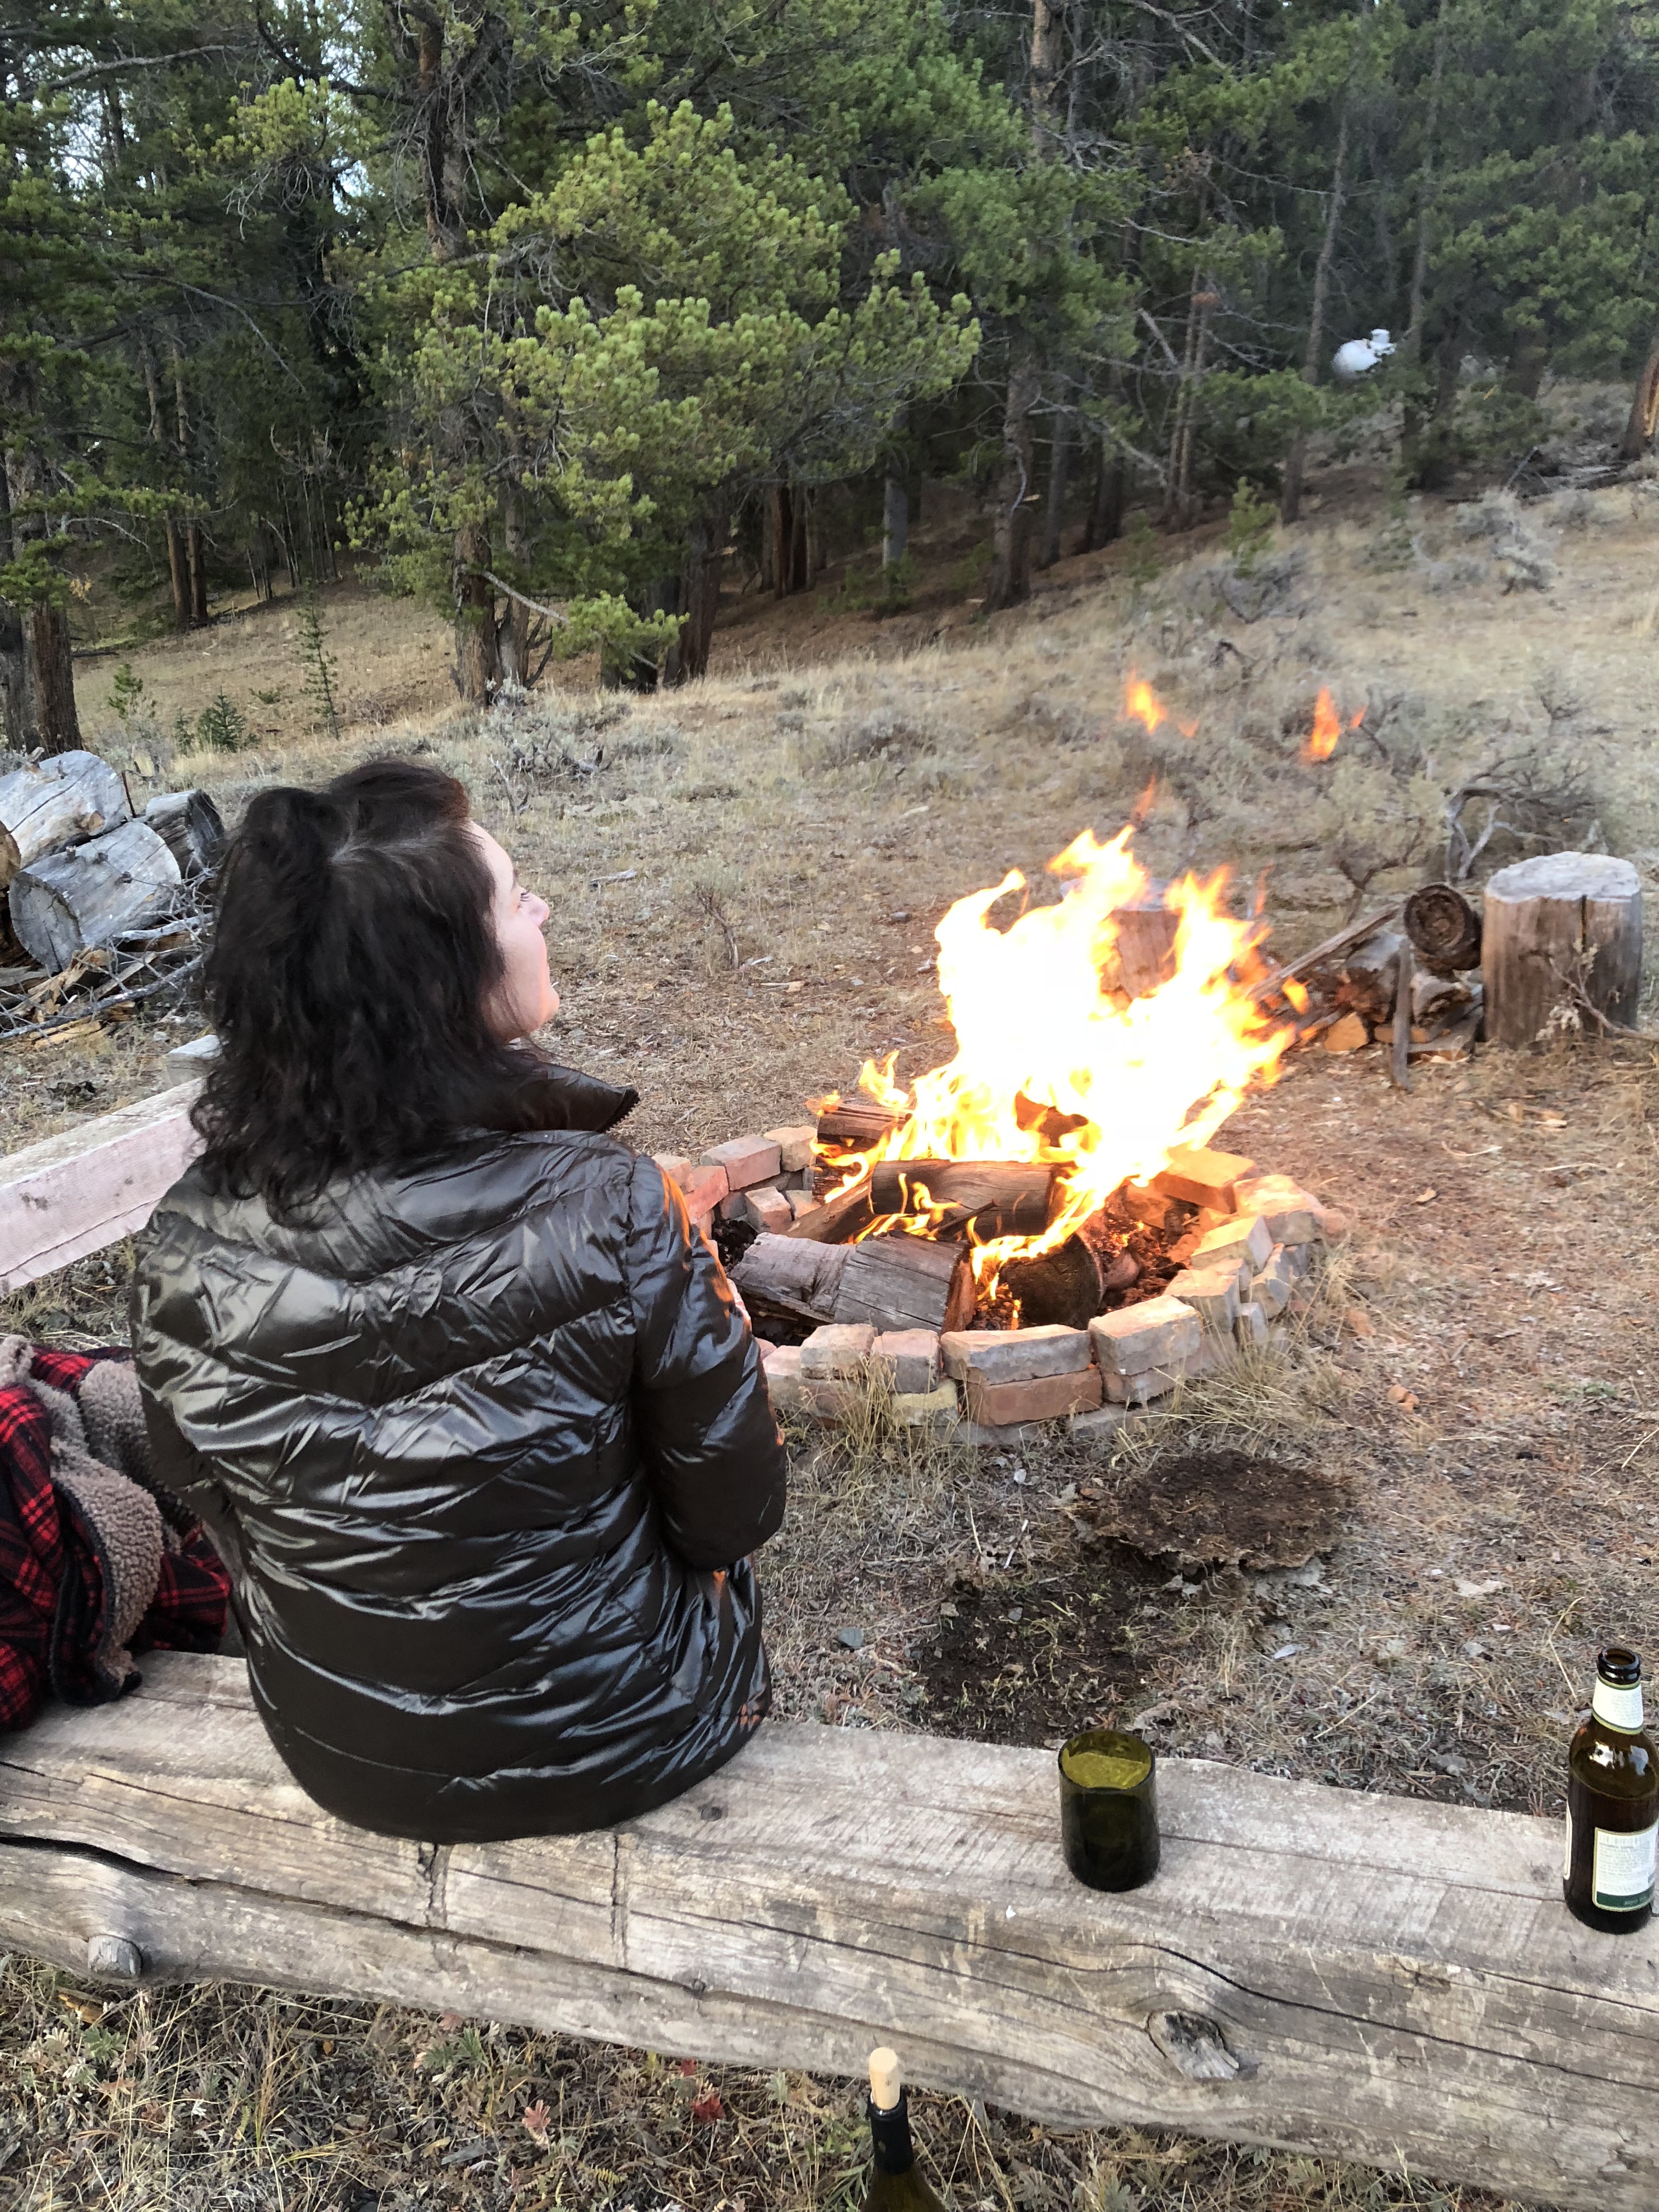
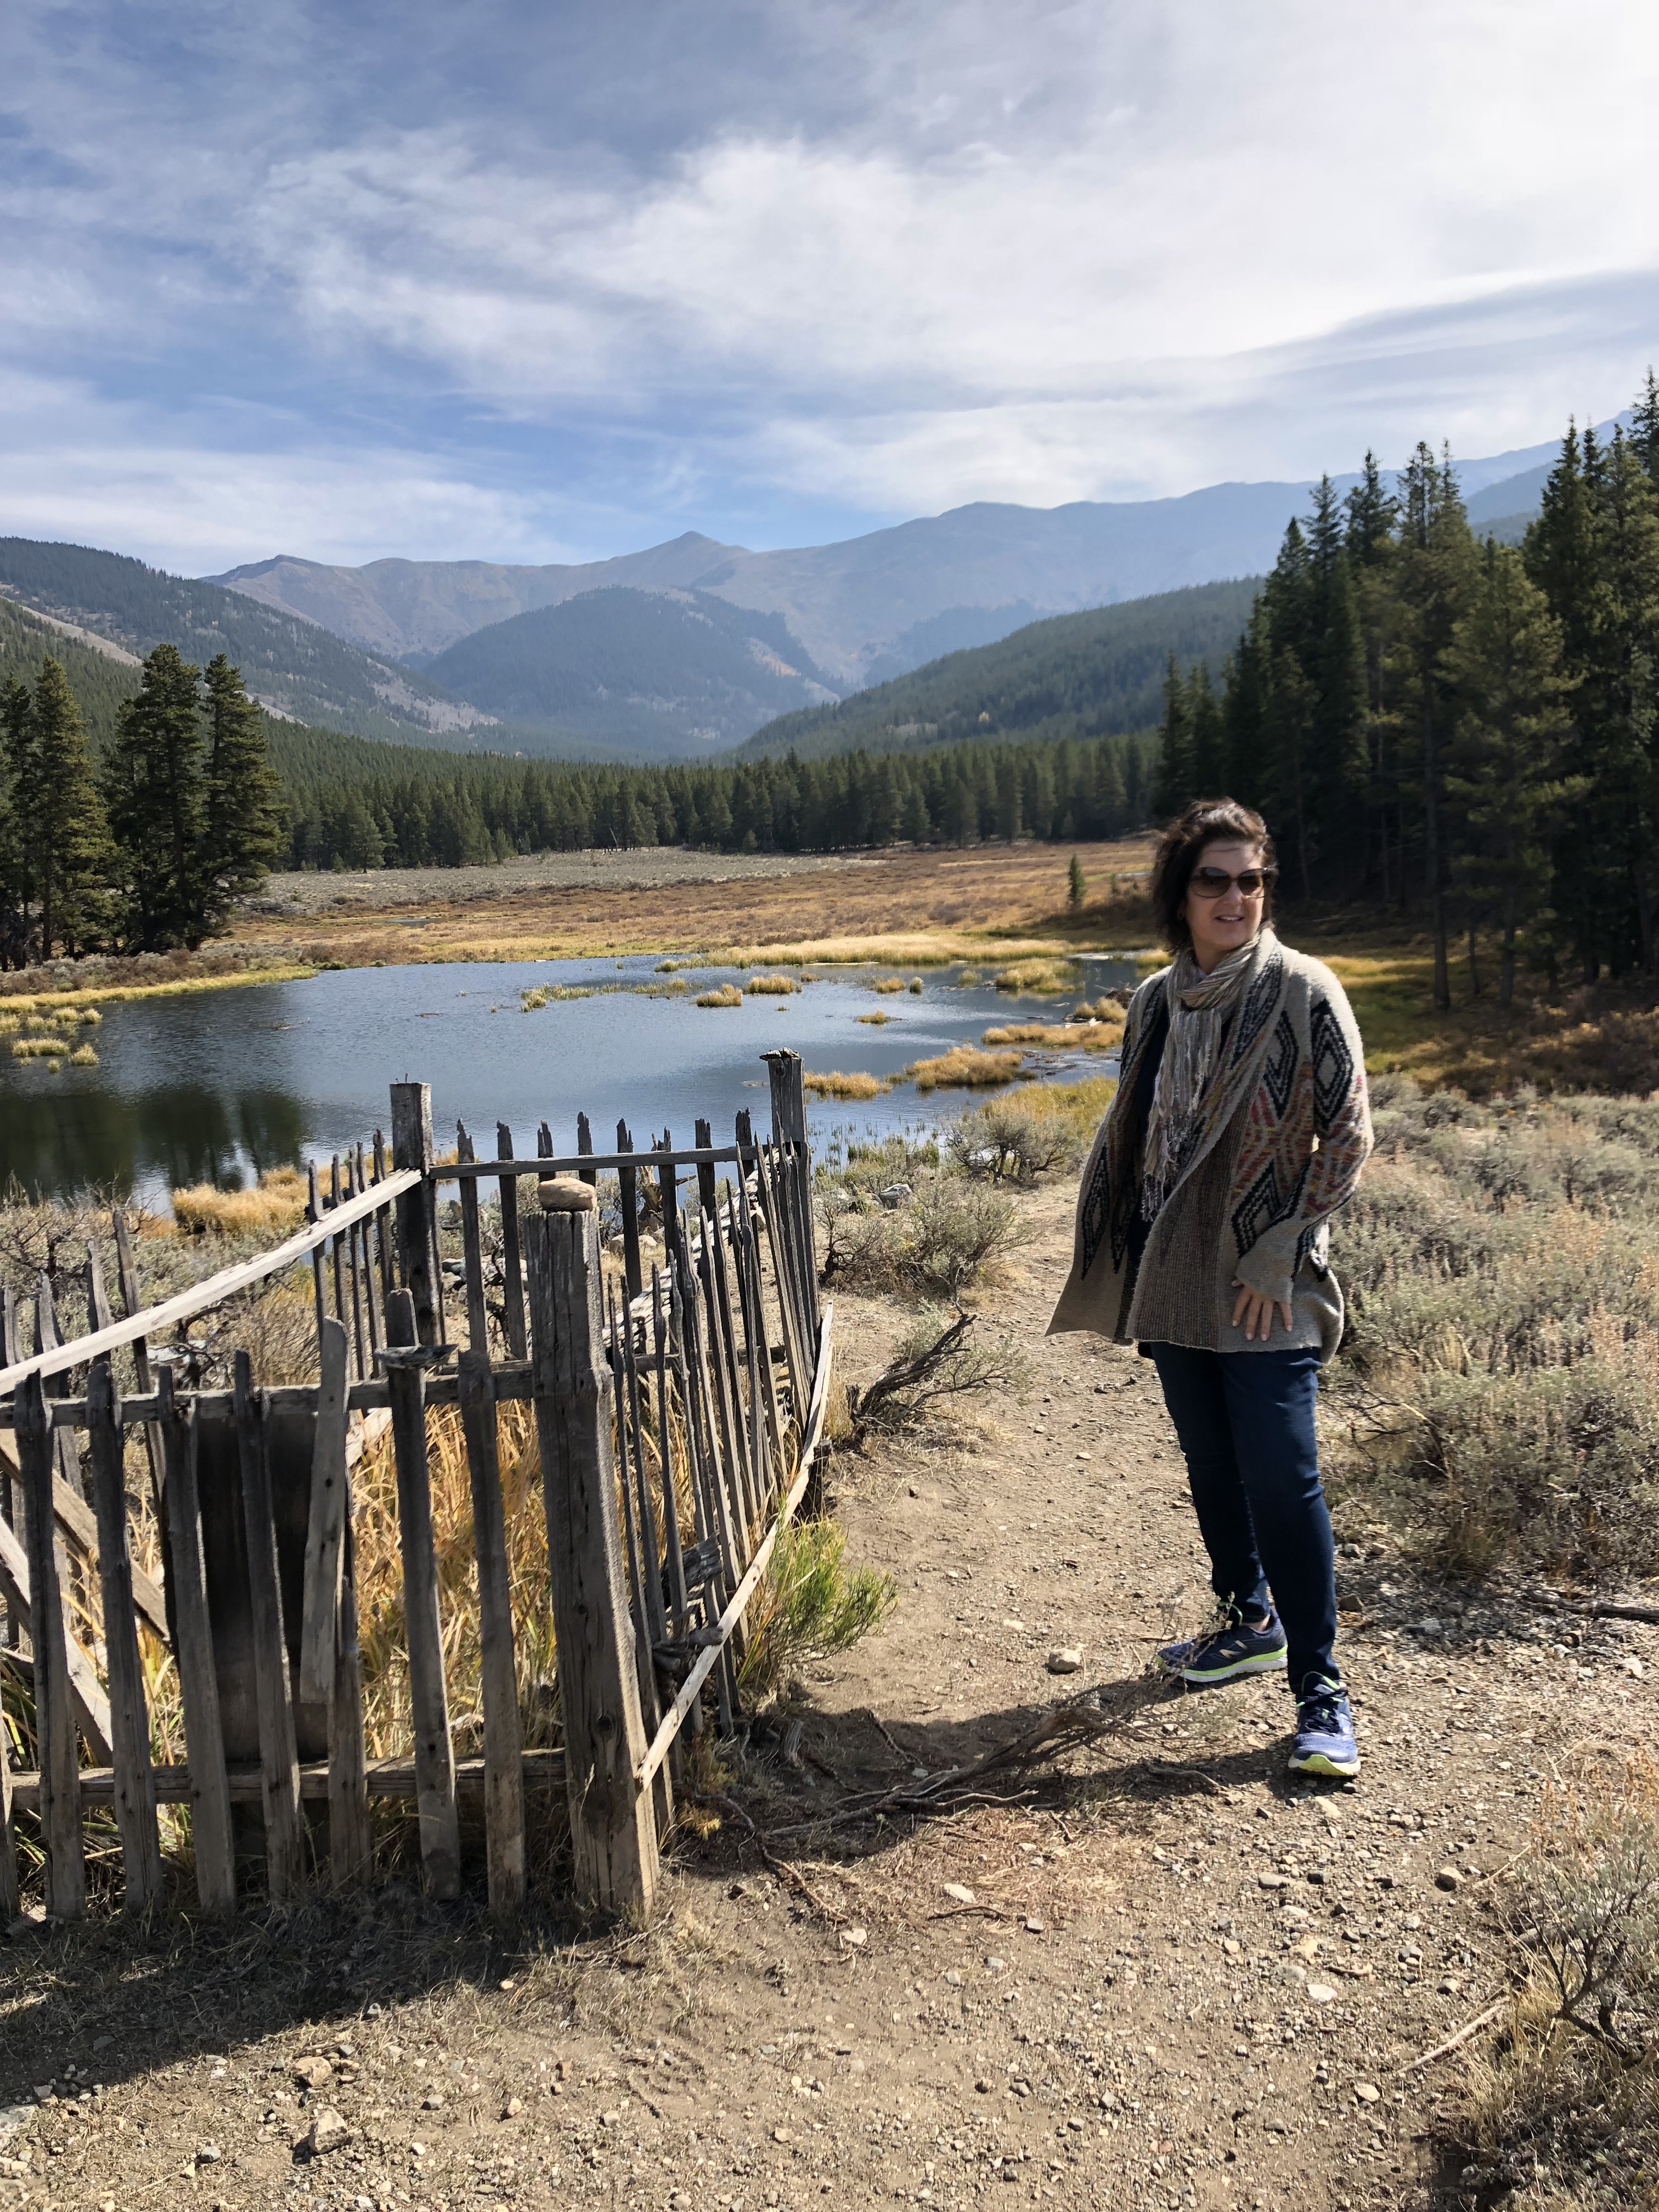
Arriving at Garlic Mike’s restaurant with friend, Janice Welborn. A fundraiser for Six Points in Gunnison at Garlic Mike’s restaurant. Among other prizes, we bid on and won a stay at the Treadway Cabin in historic Tincup, CO. Here, we’re making arrangements for our trip.Scenicdrive by Taylor Reservoir with the Collegiate peaks in the distance on the way to Tincup. The Treadway cabin where we stayed for 2 nights in Tincup, CO.We had family come visit one afternoon, enjoying the fall colors and afternoon sun. Happy hour at the Firepit behind the cabin.A daytrip to Tincup Cemetary. Separated by religion, 4 knolls make up the cemetery; Catholic Knoll, Protestant Knoll, Jewish knoll and Boot hill, where the businesswoman and well loved cook, Kate Fisher is buried. Cumberland Pass between Tincup and Pitkin. It’s windy up there!The porch swing was my favorite seat.
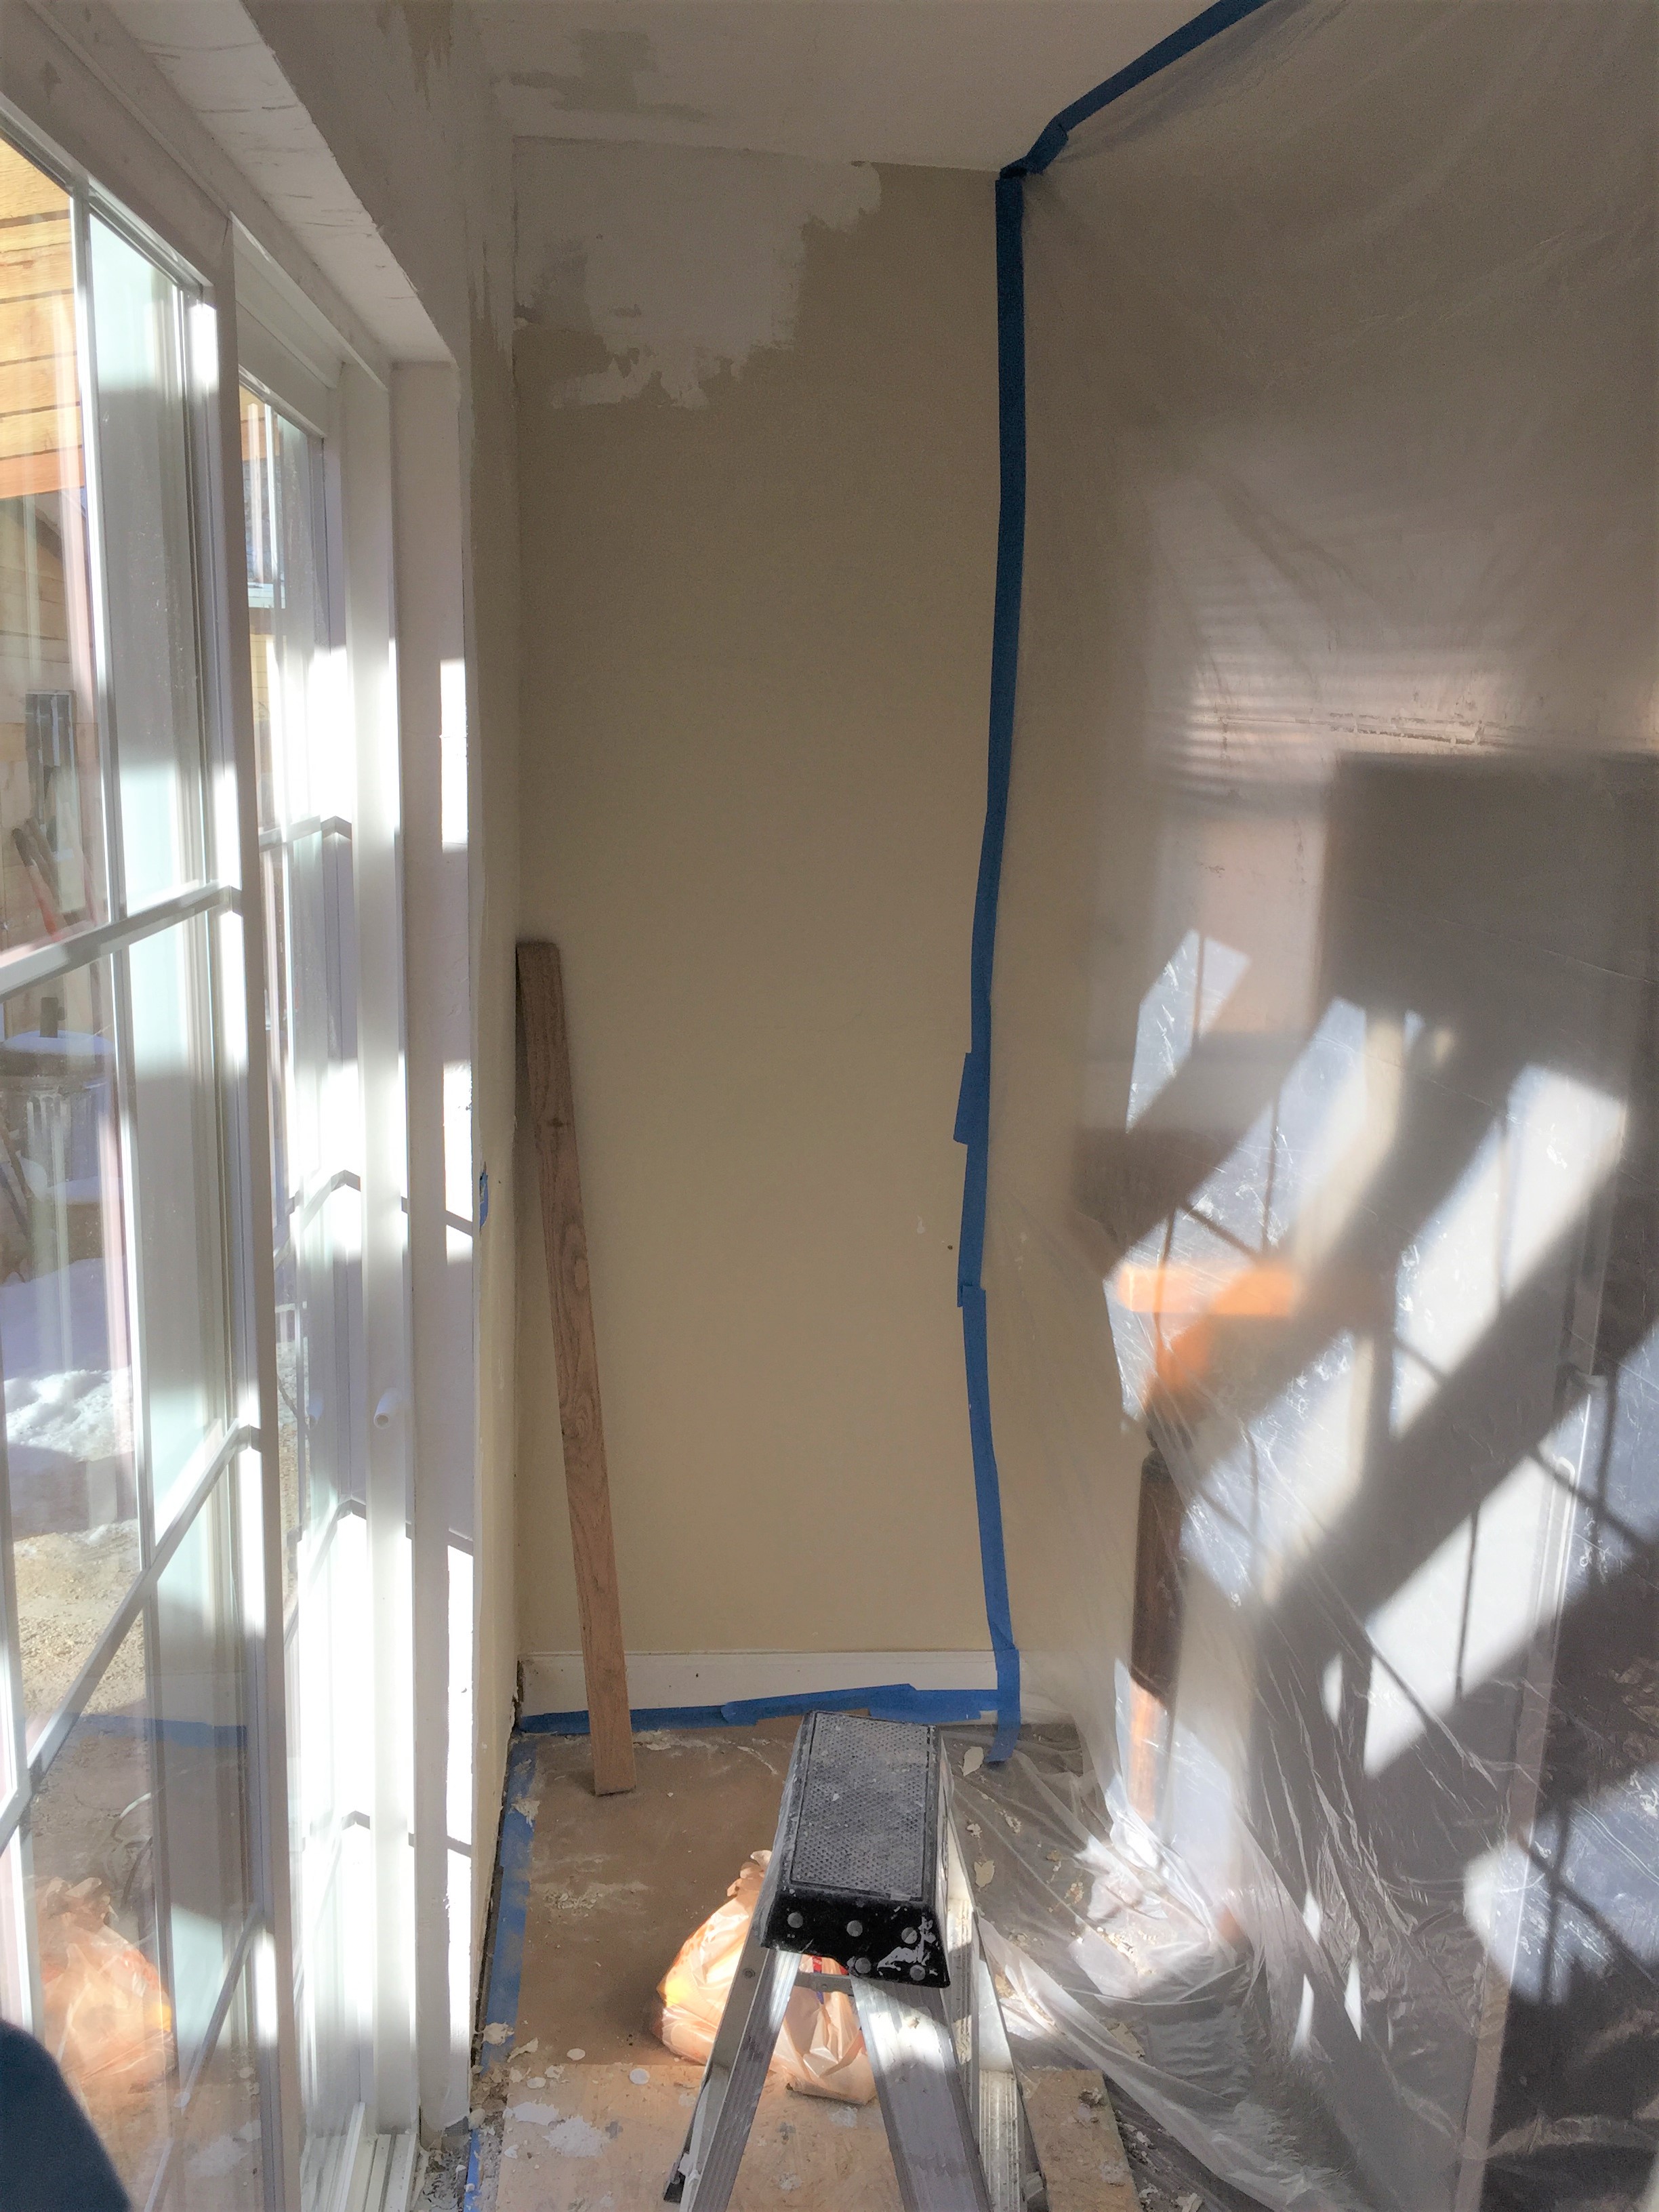
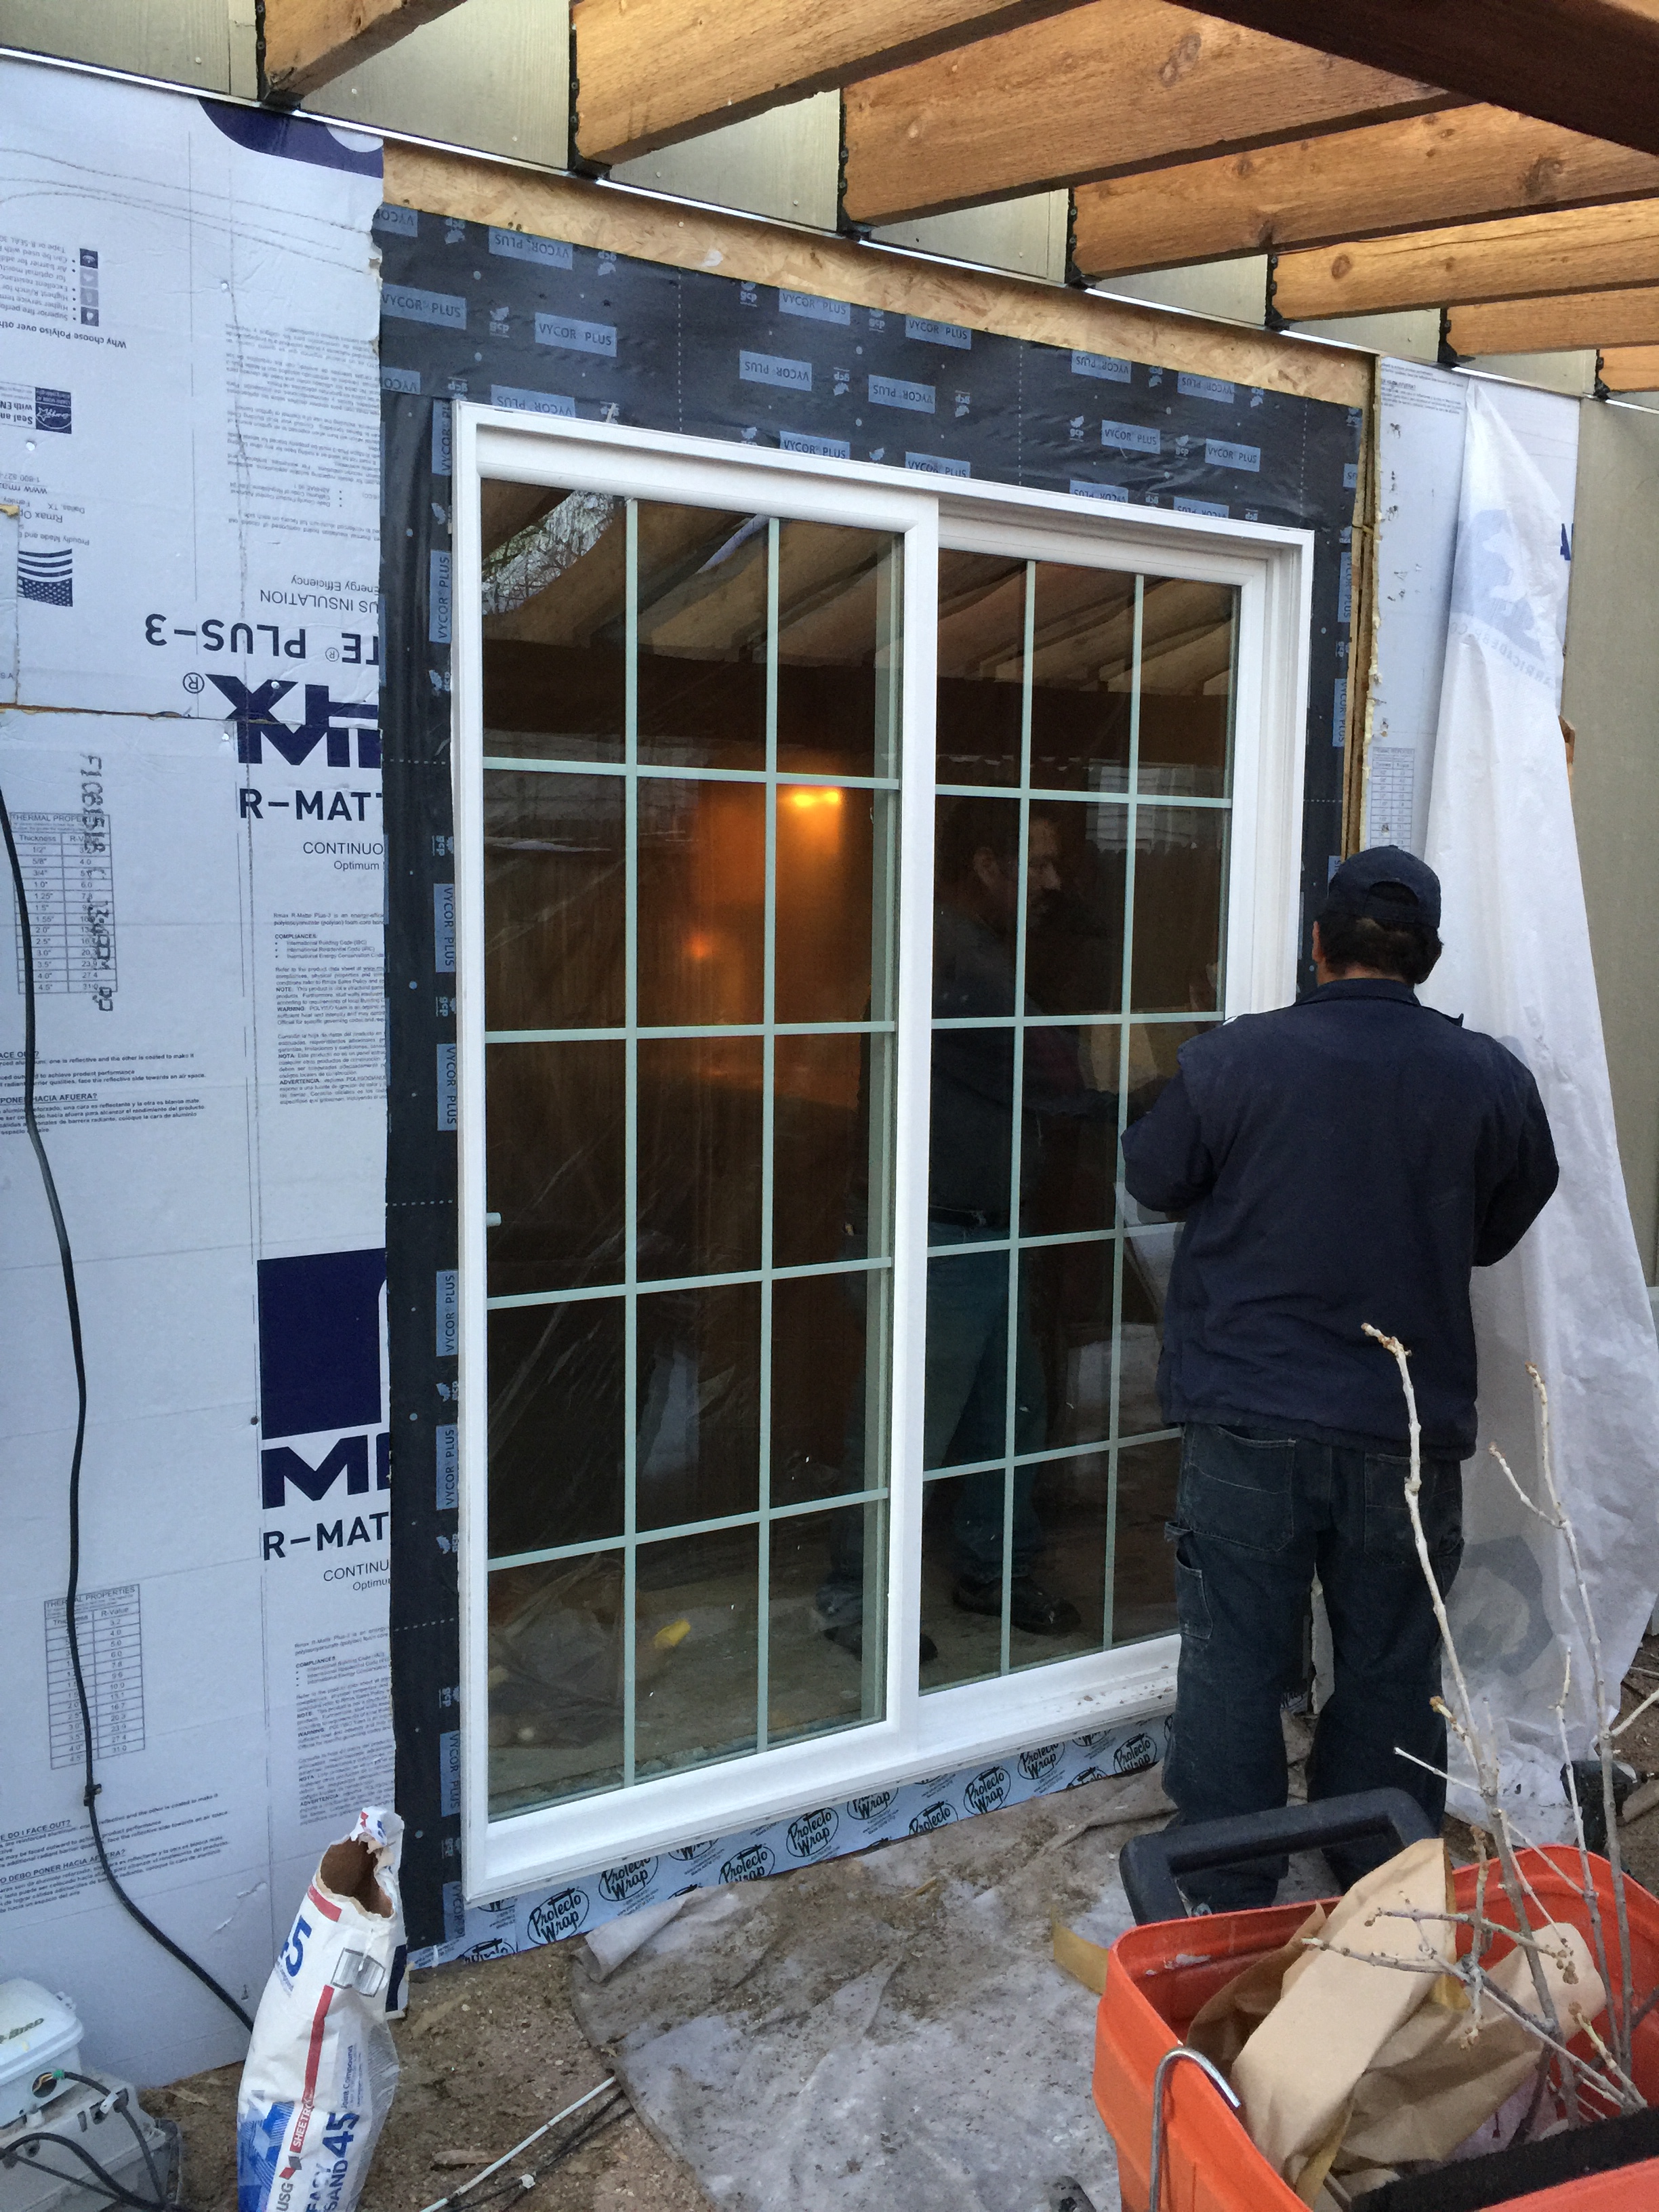
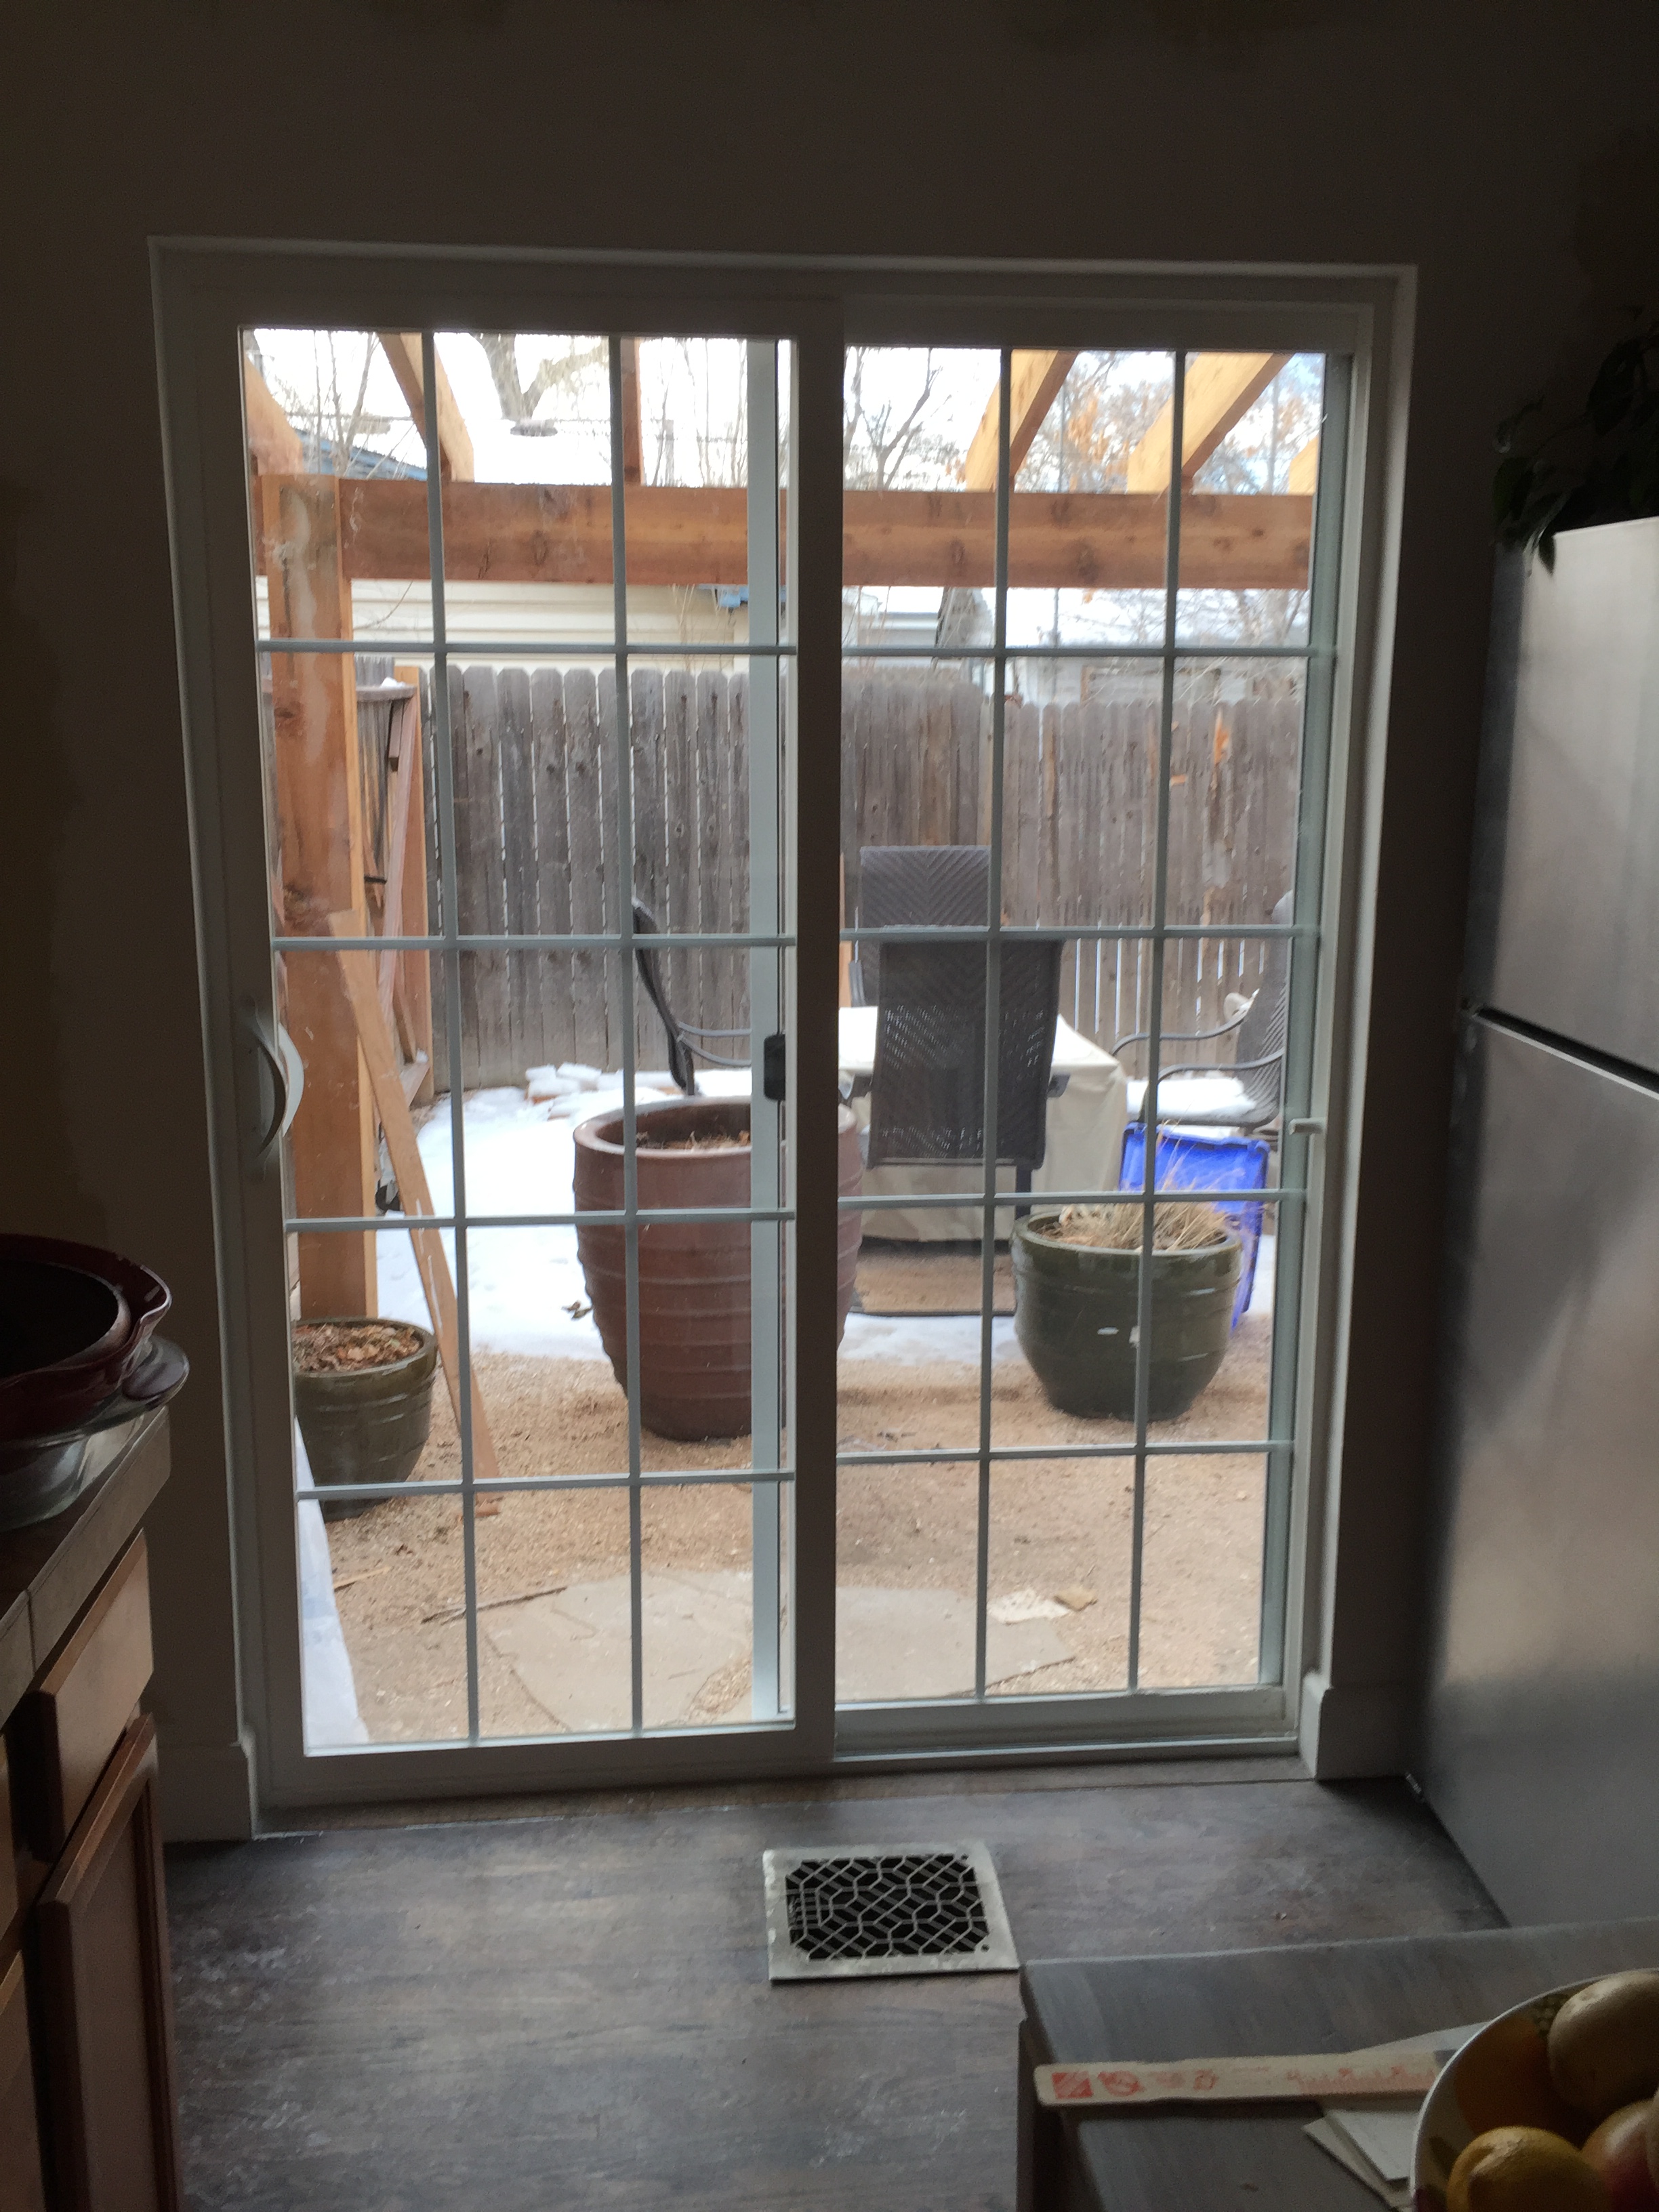
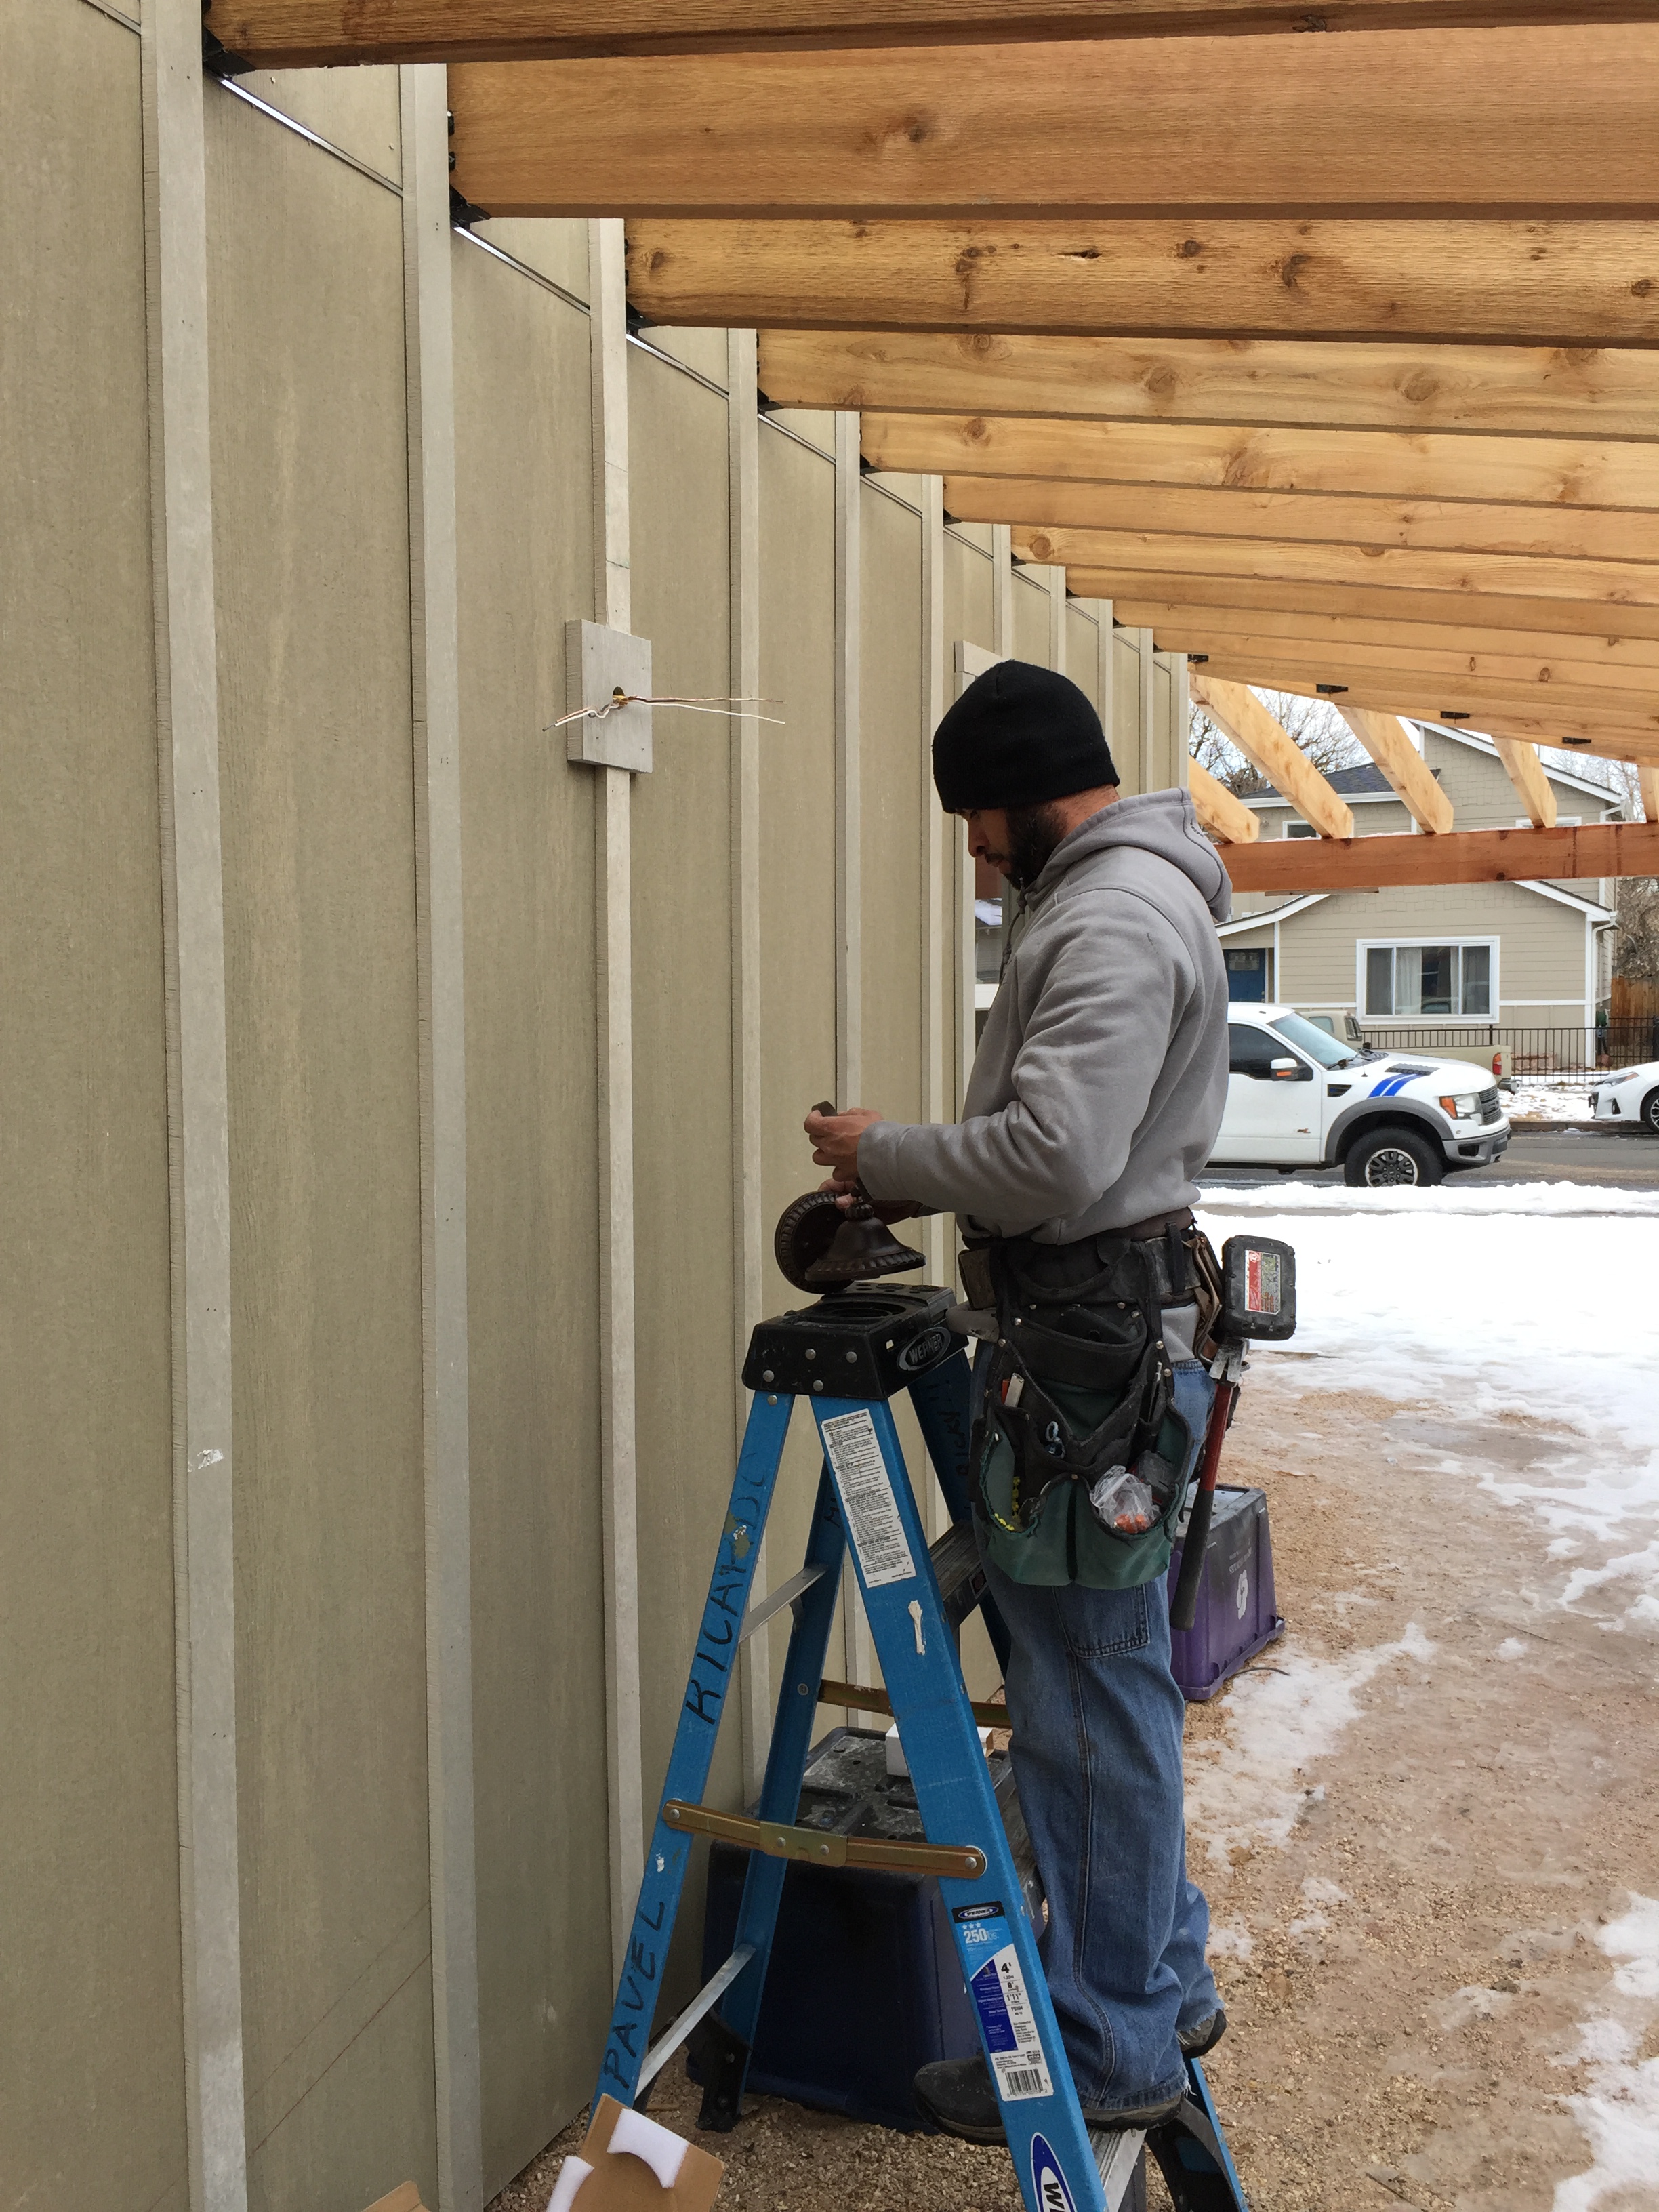
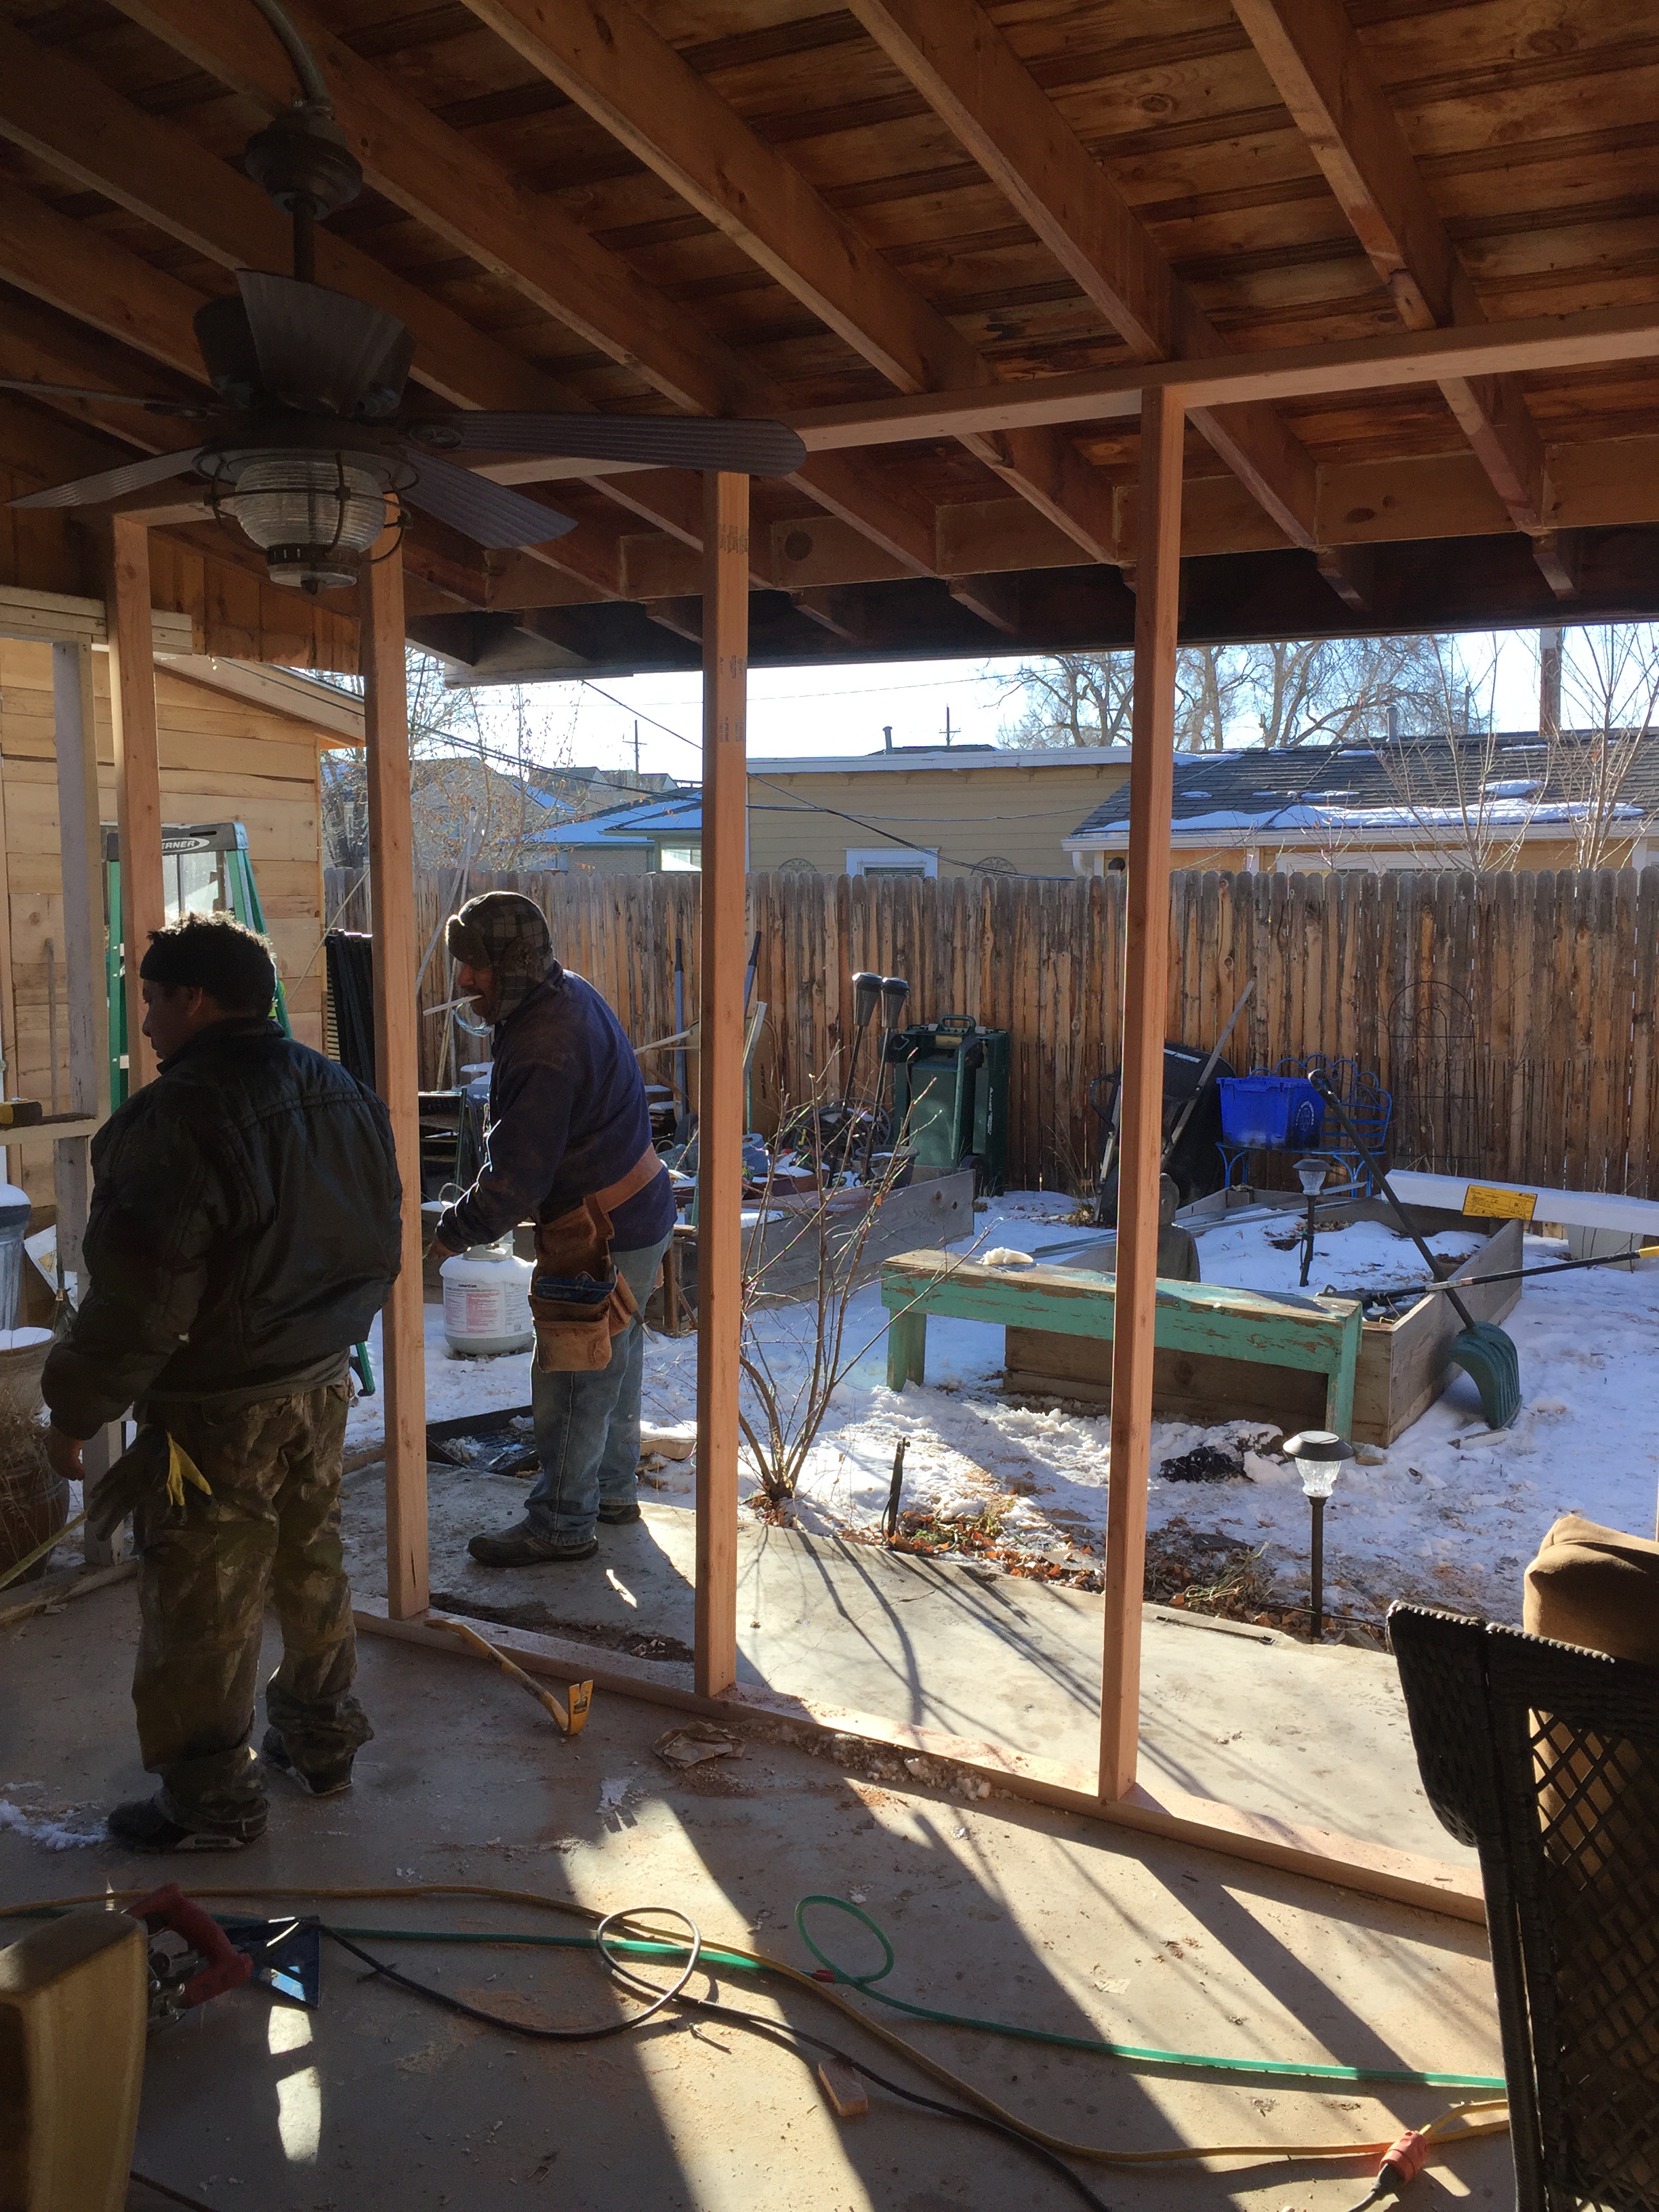
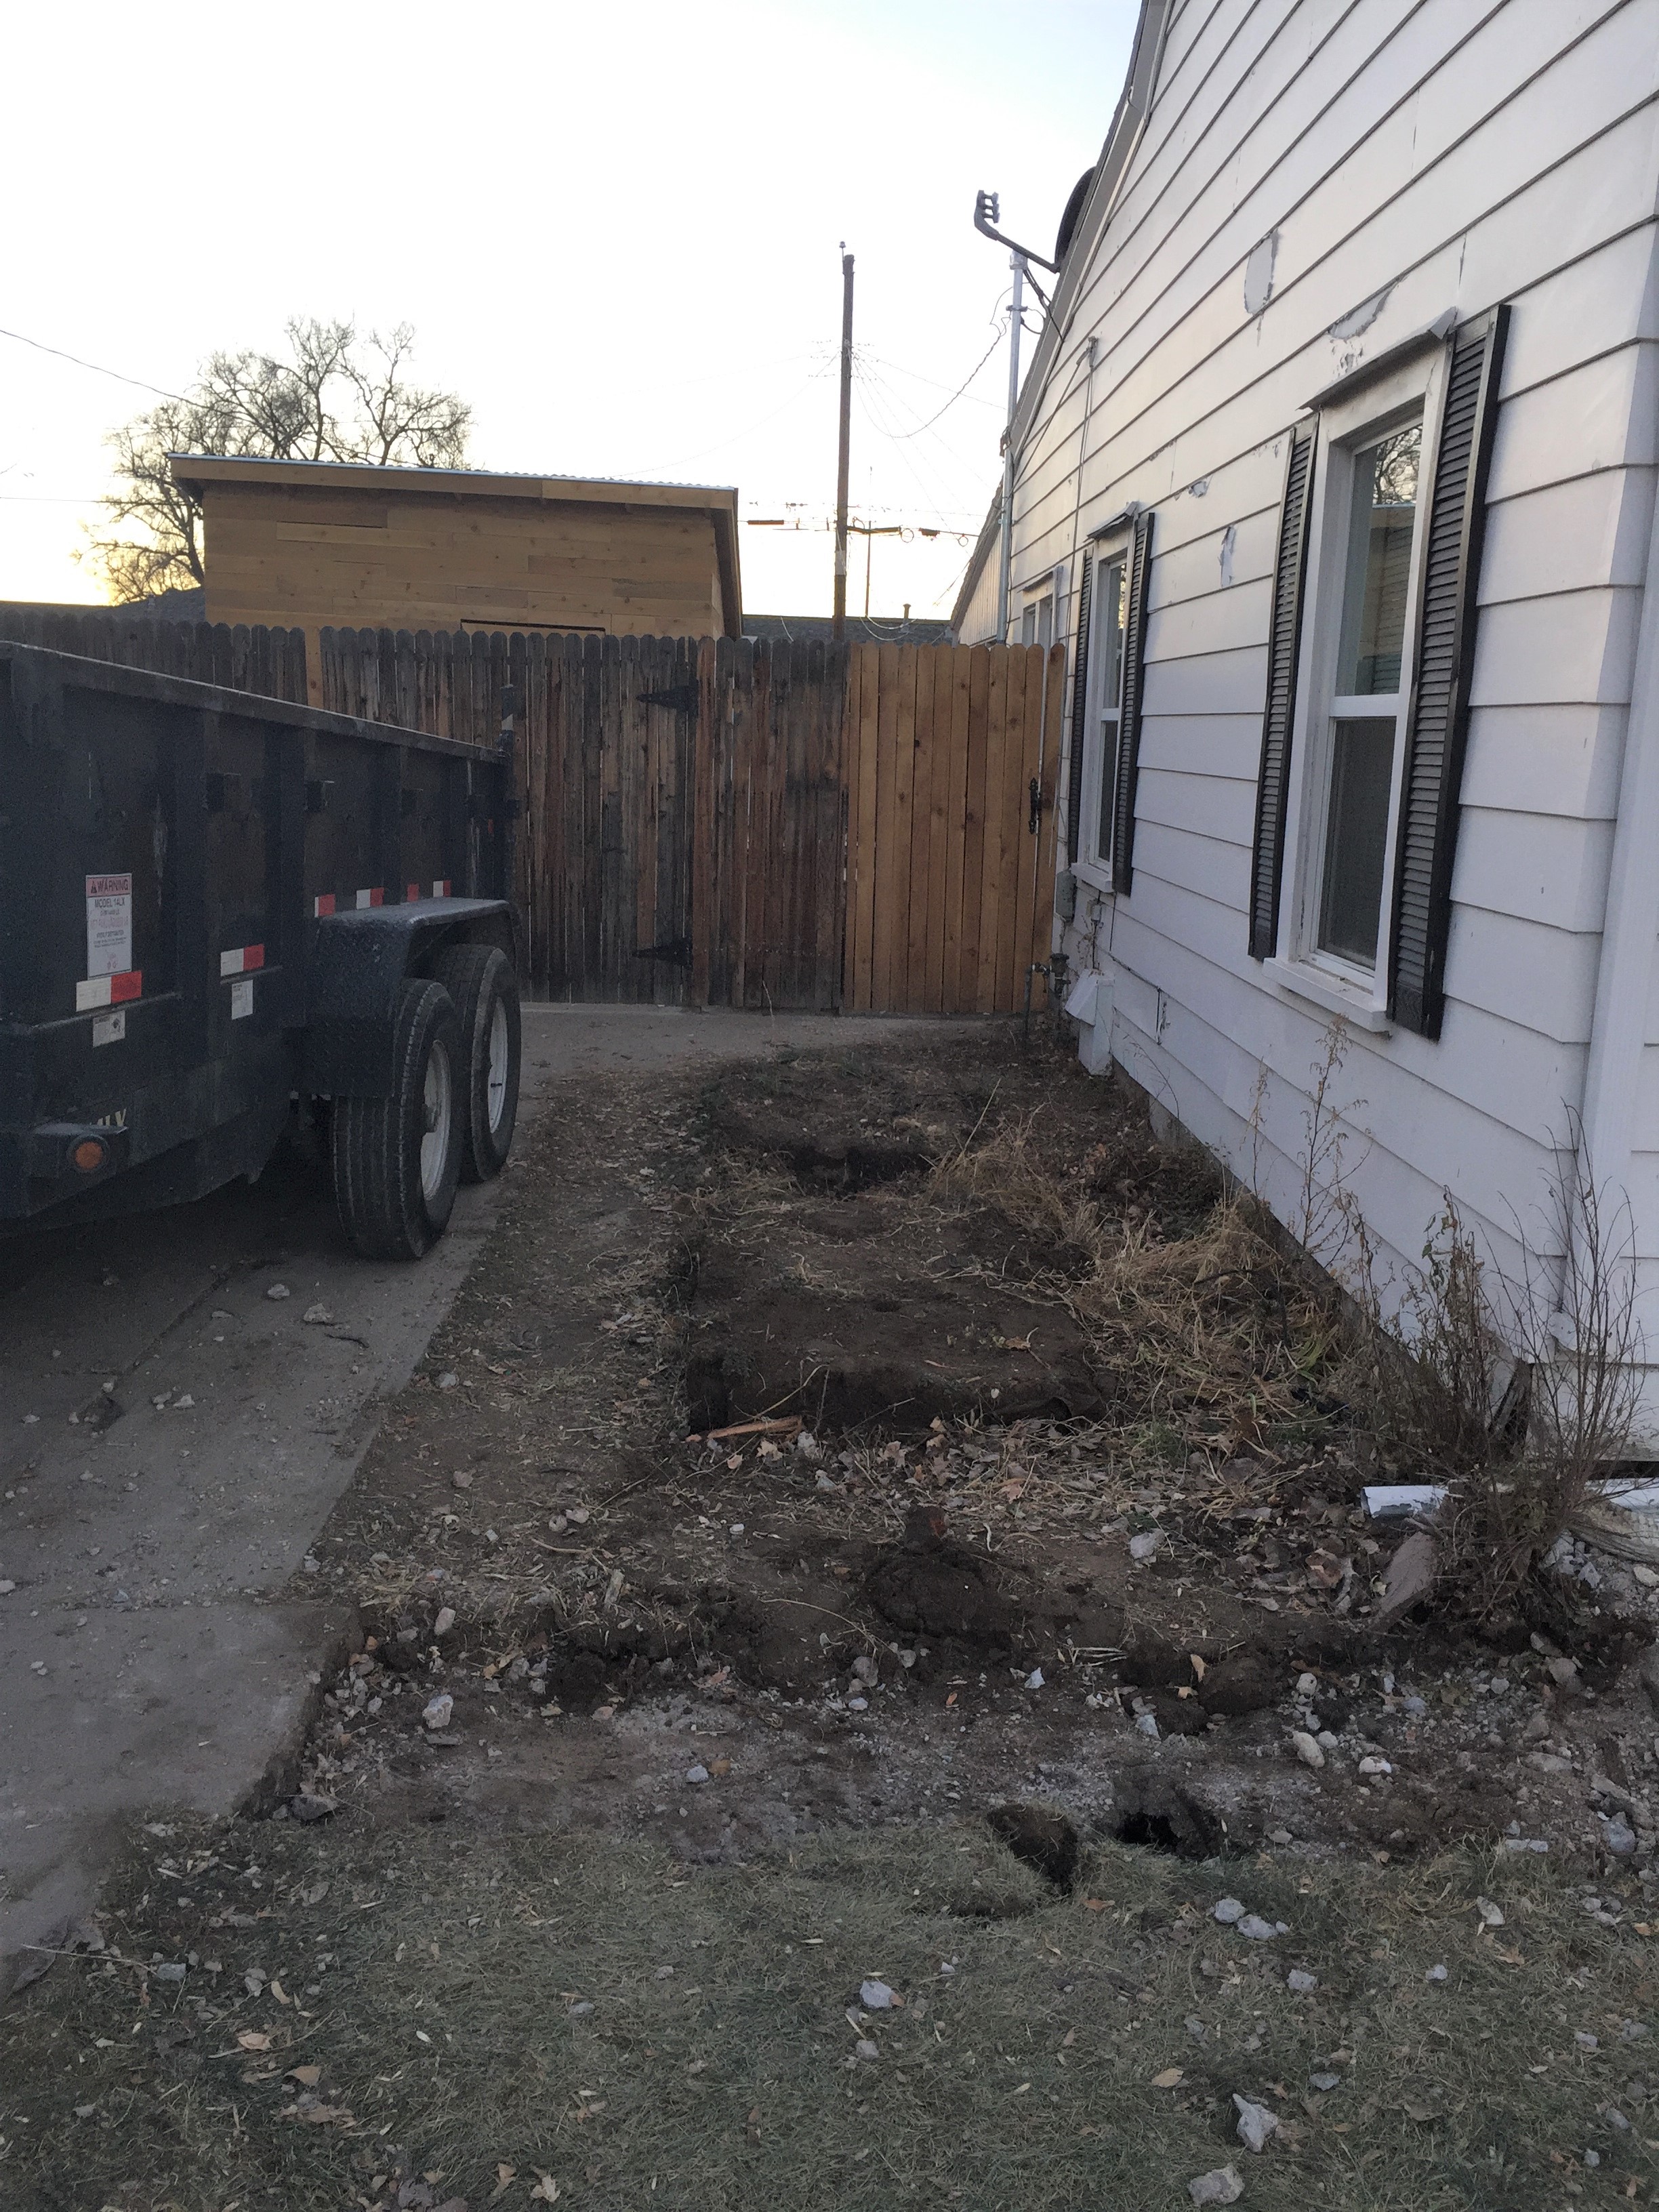
The siding crew got all the siding done and are waiting for the new patio door to arrive before they finish this area.Finally, the slider came in and David is installing it today!This is the inside wall where the new door is going.The plastic will help keep everything cleaner.
The refrigerator temporarily in the middle of the kitchen. This was expected to take 1 day to complete, but it took 3 days in reality. The door was installed in 1 day, but the plaster, sanding and details took longer. Luckily, this house has a loop layout. I can walk through the bedrooms to get to the kitchen from the living room while this door goes in. I feel like I’m camping, sort of.
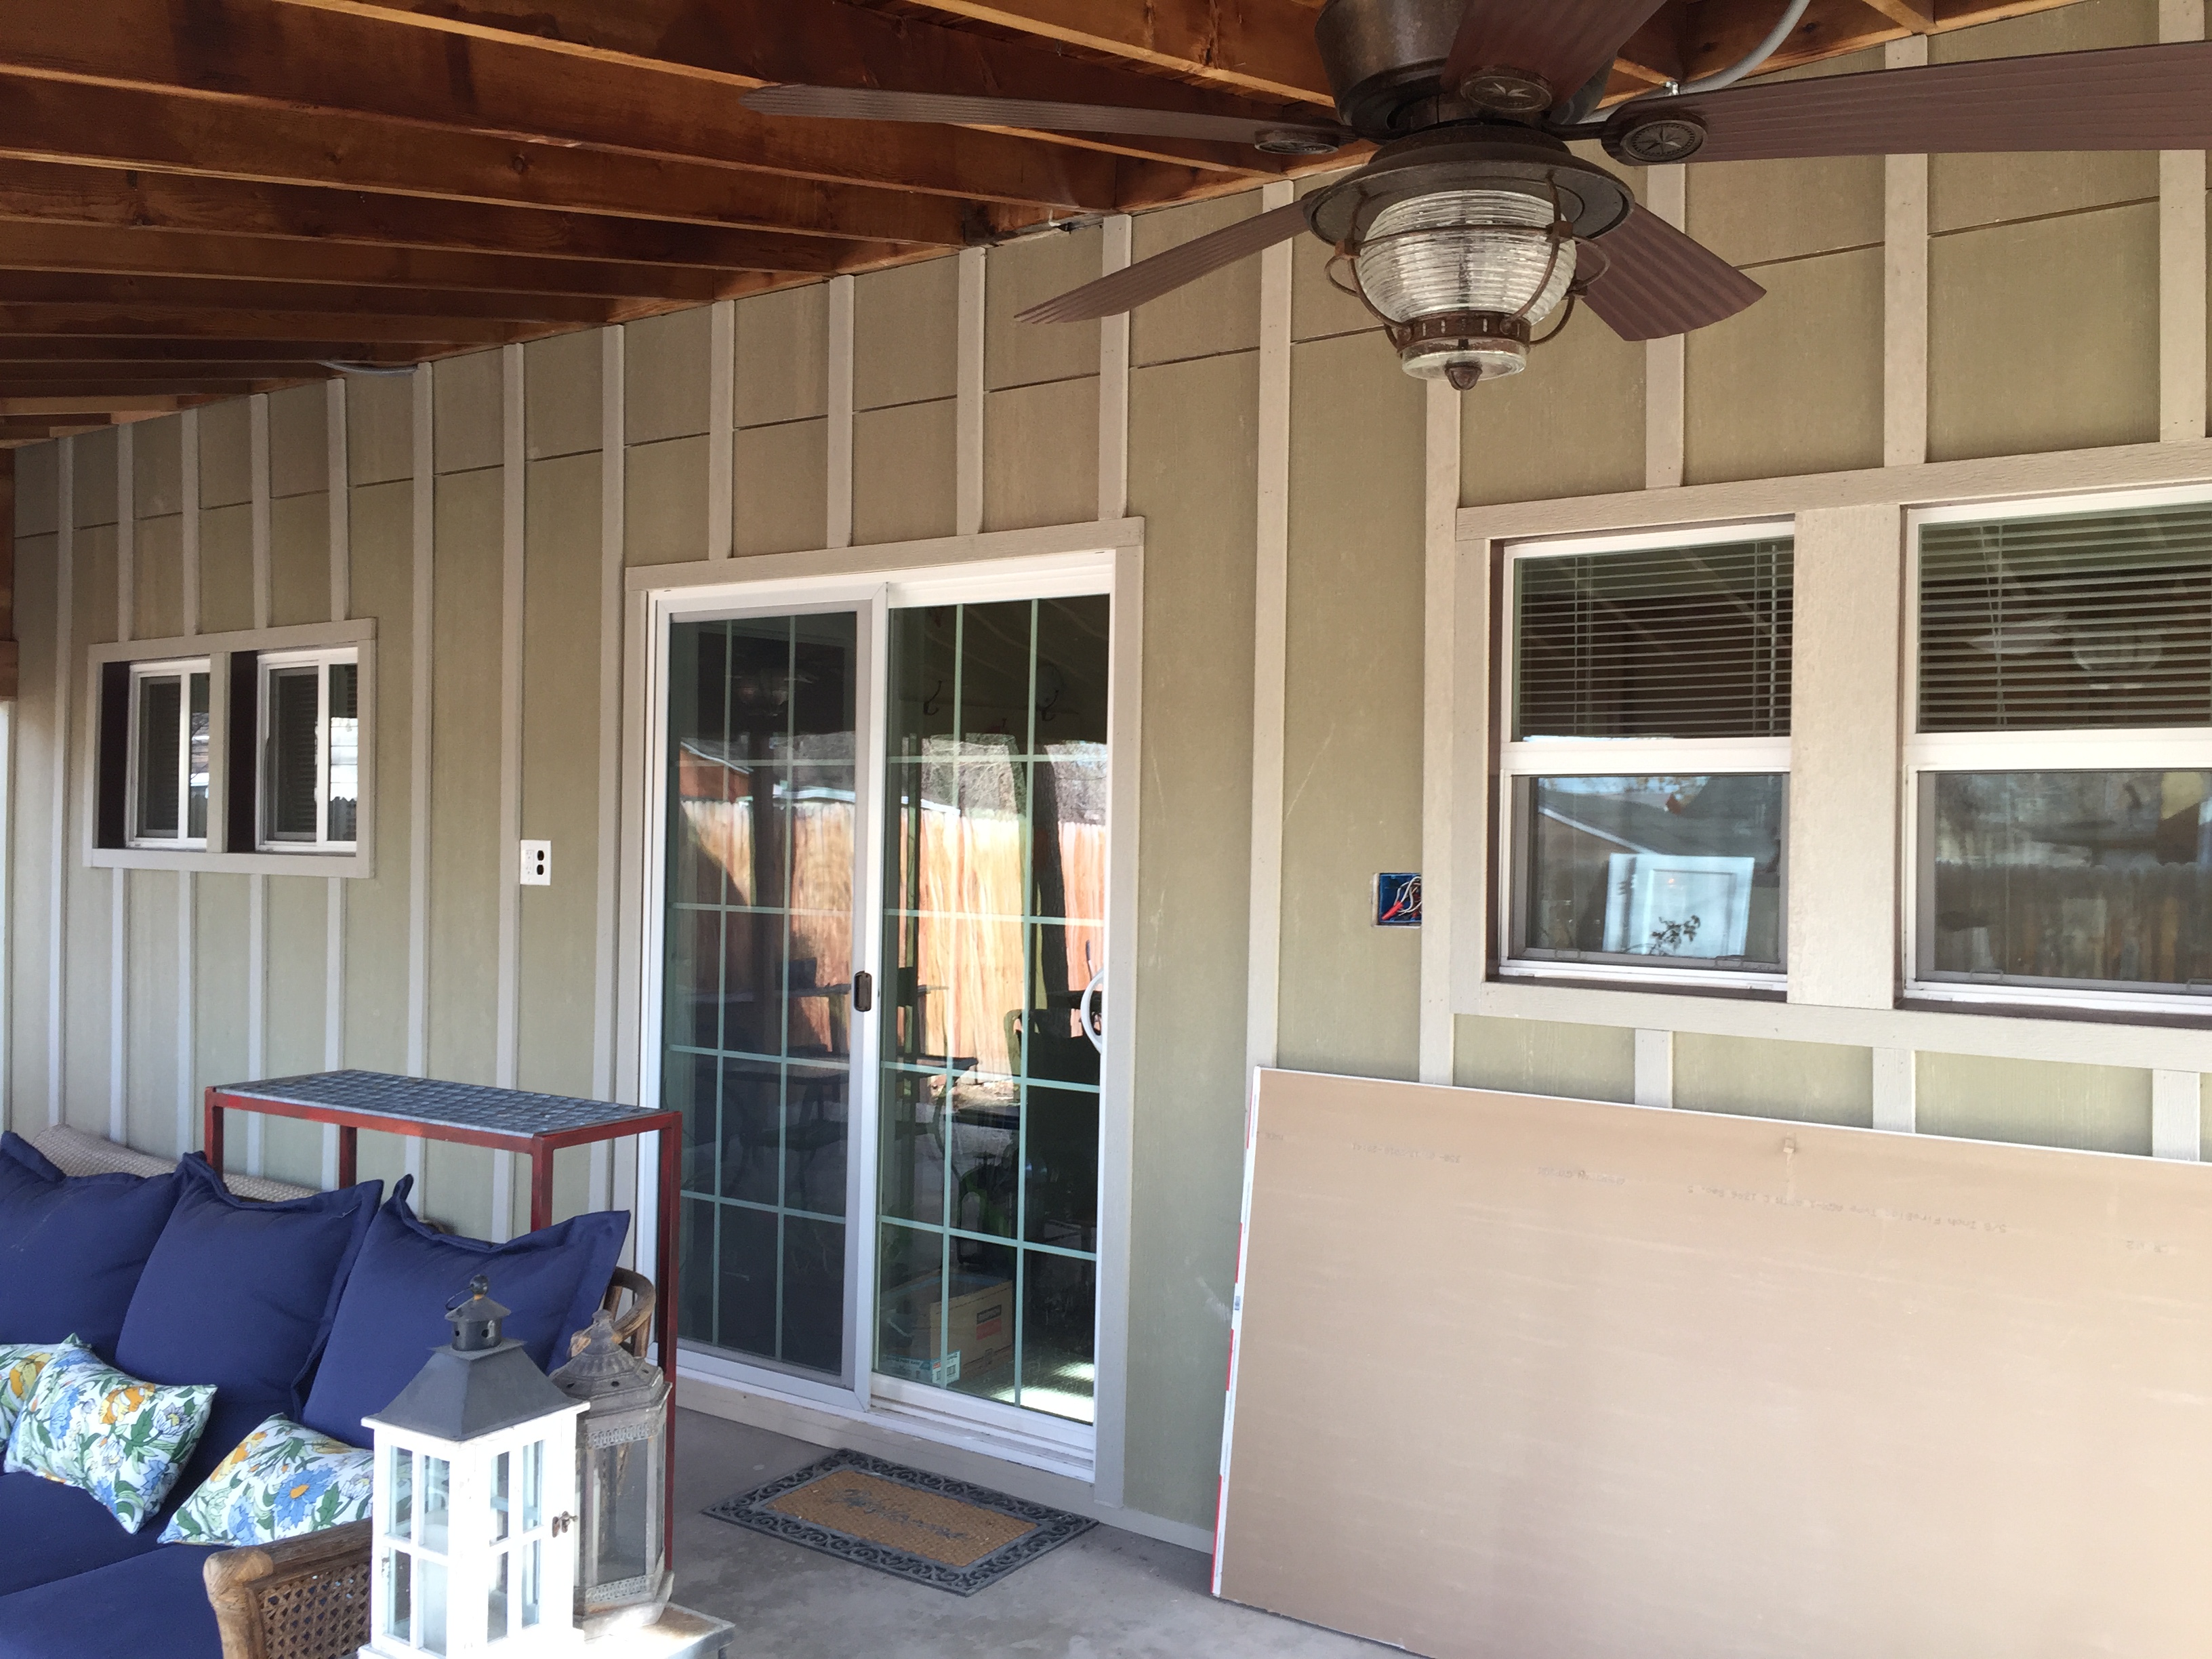
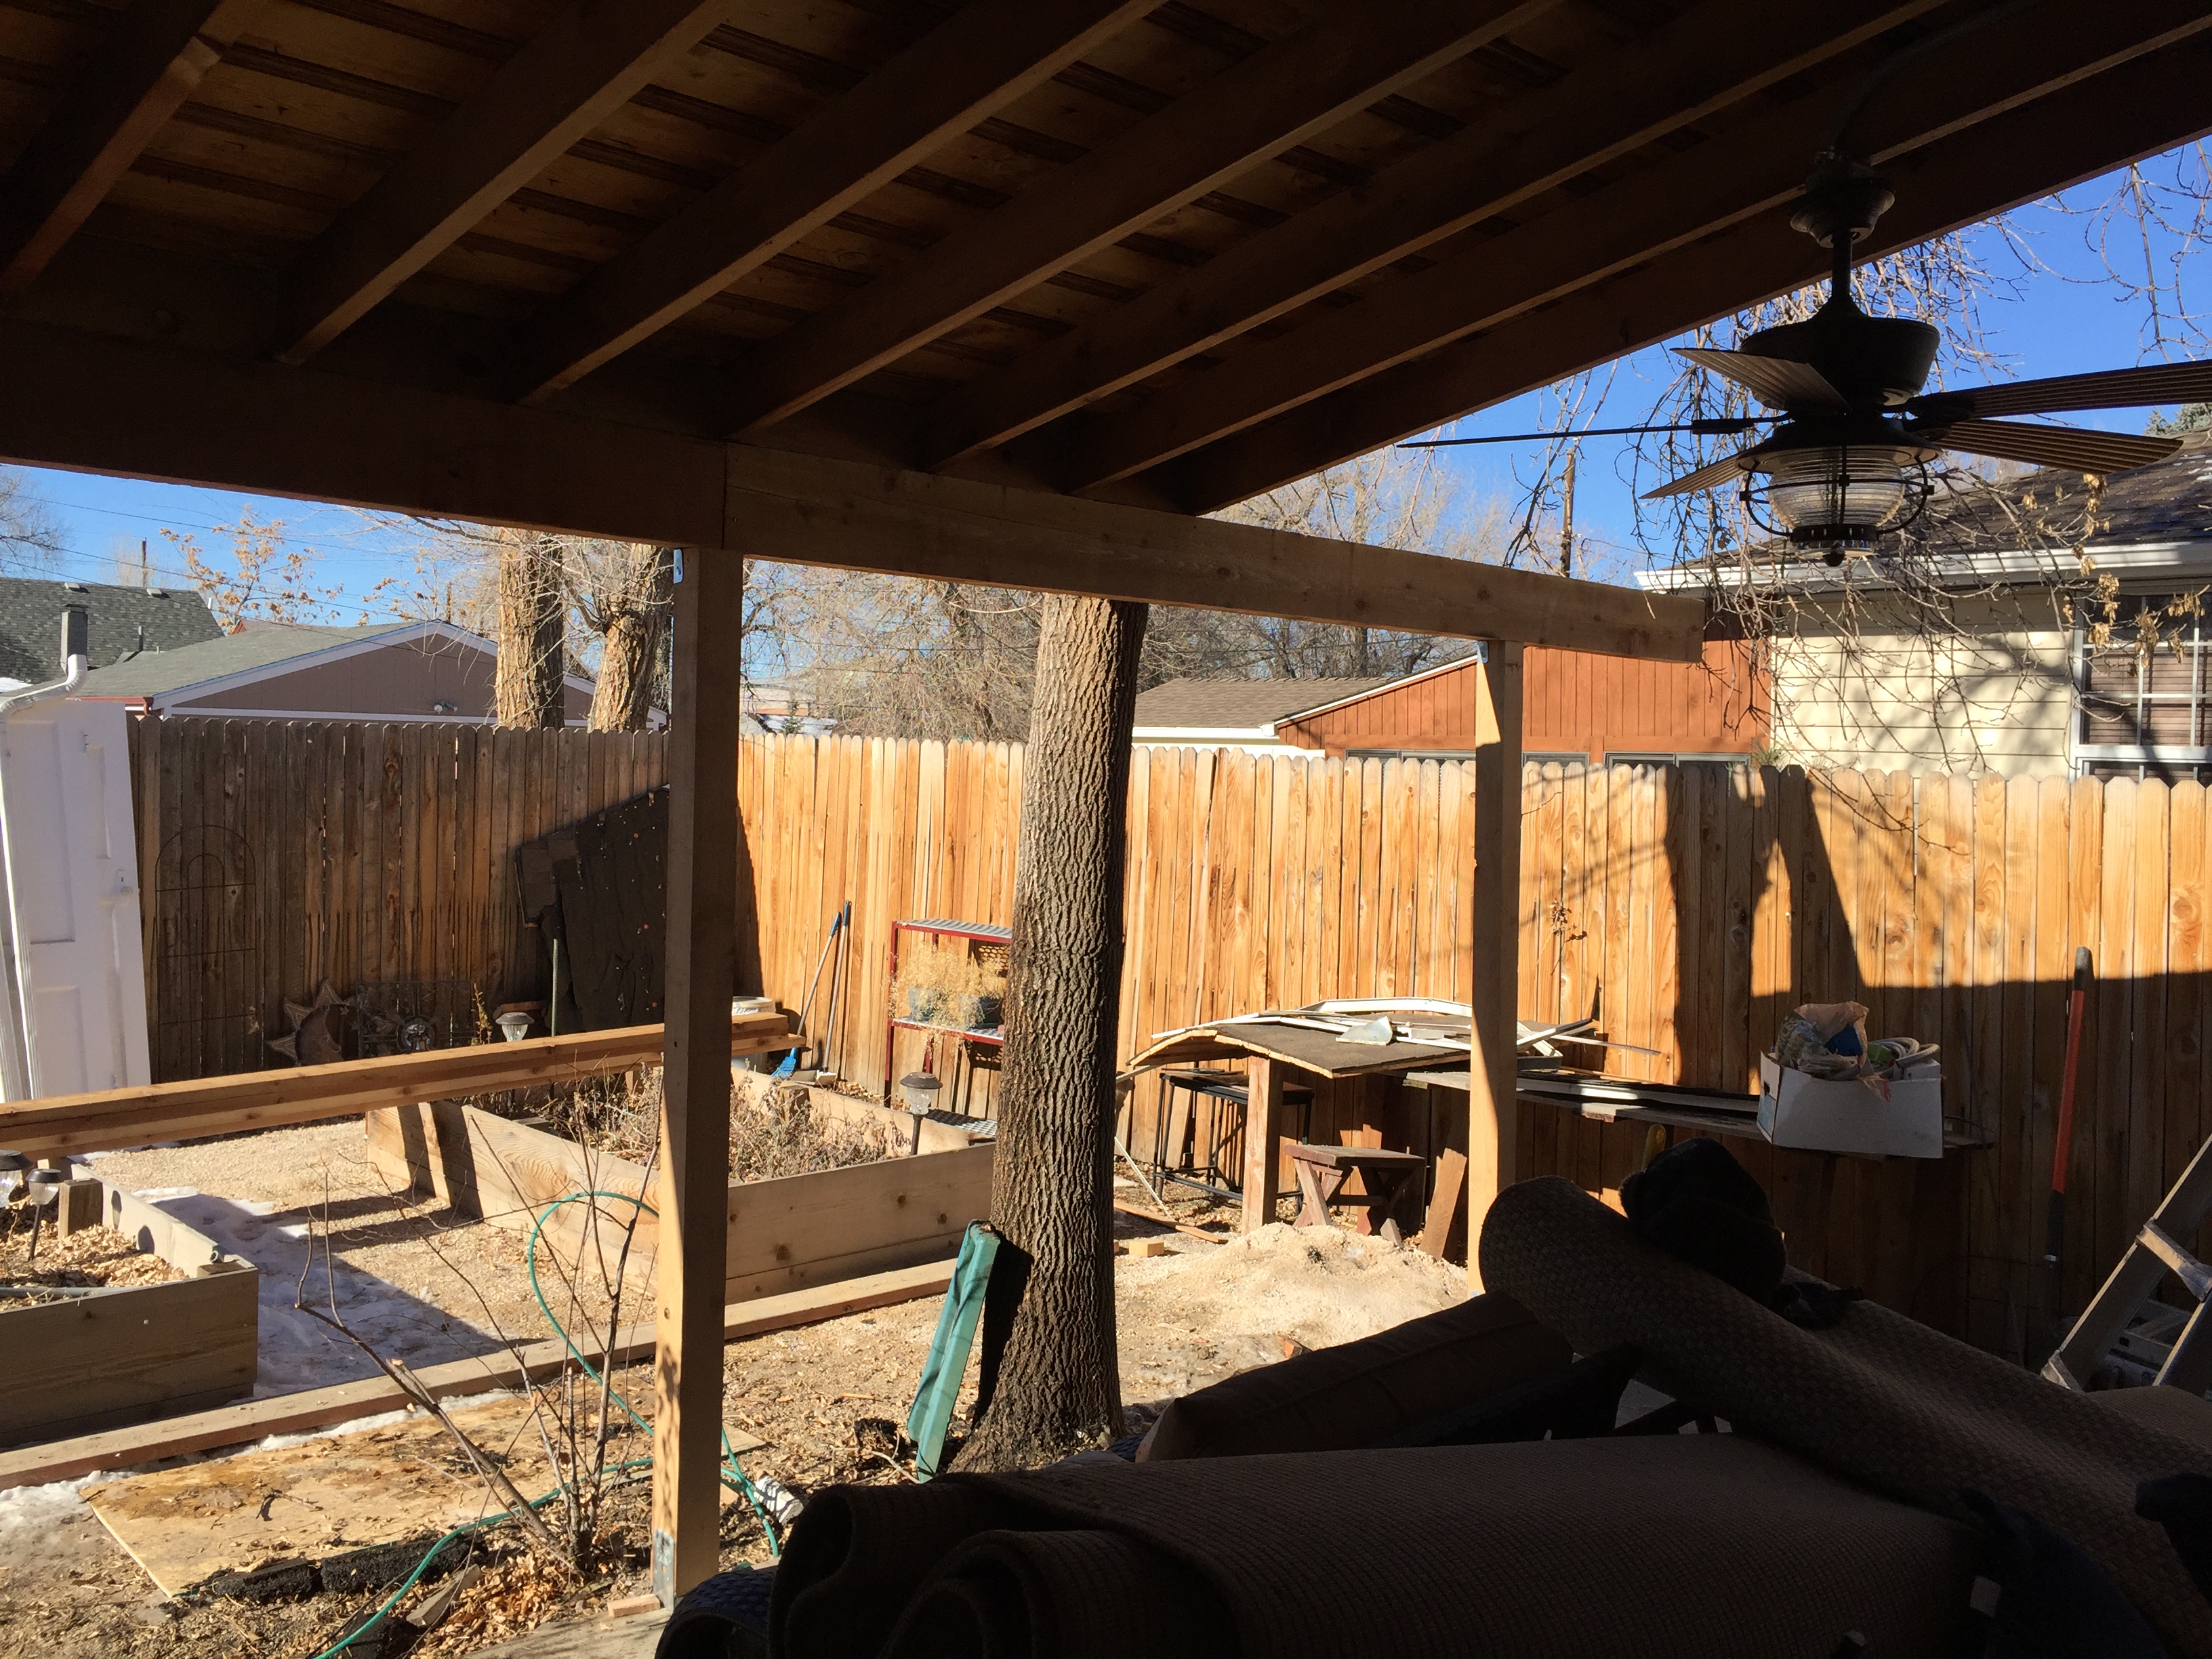
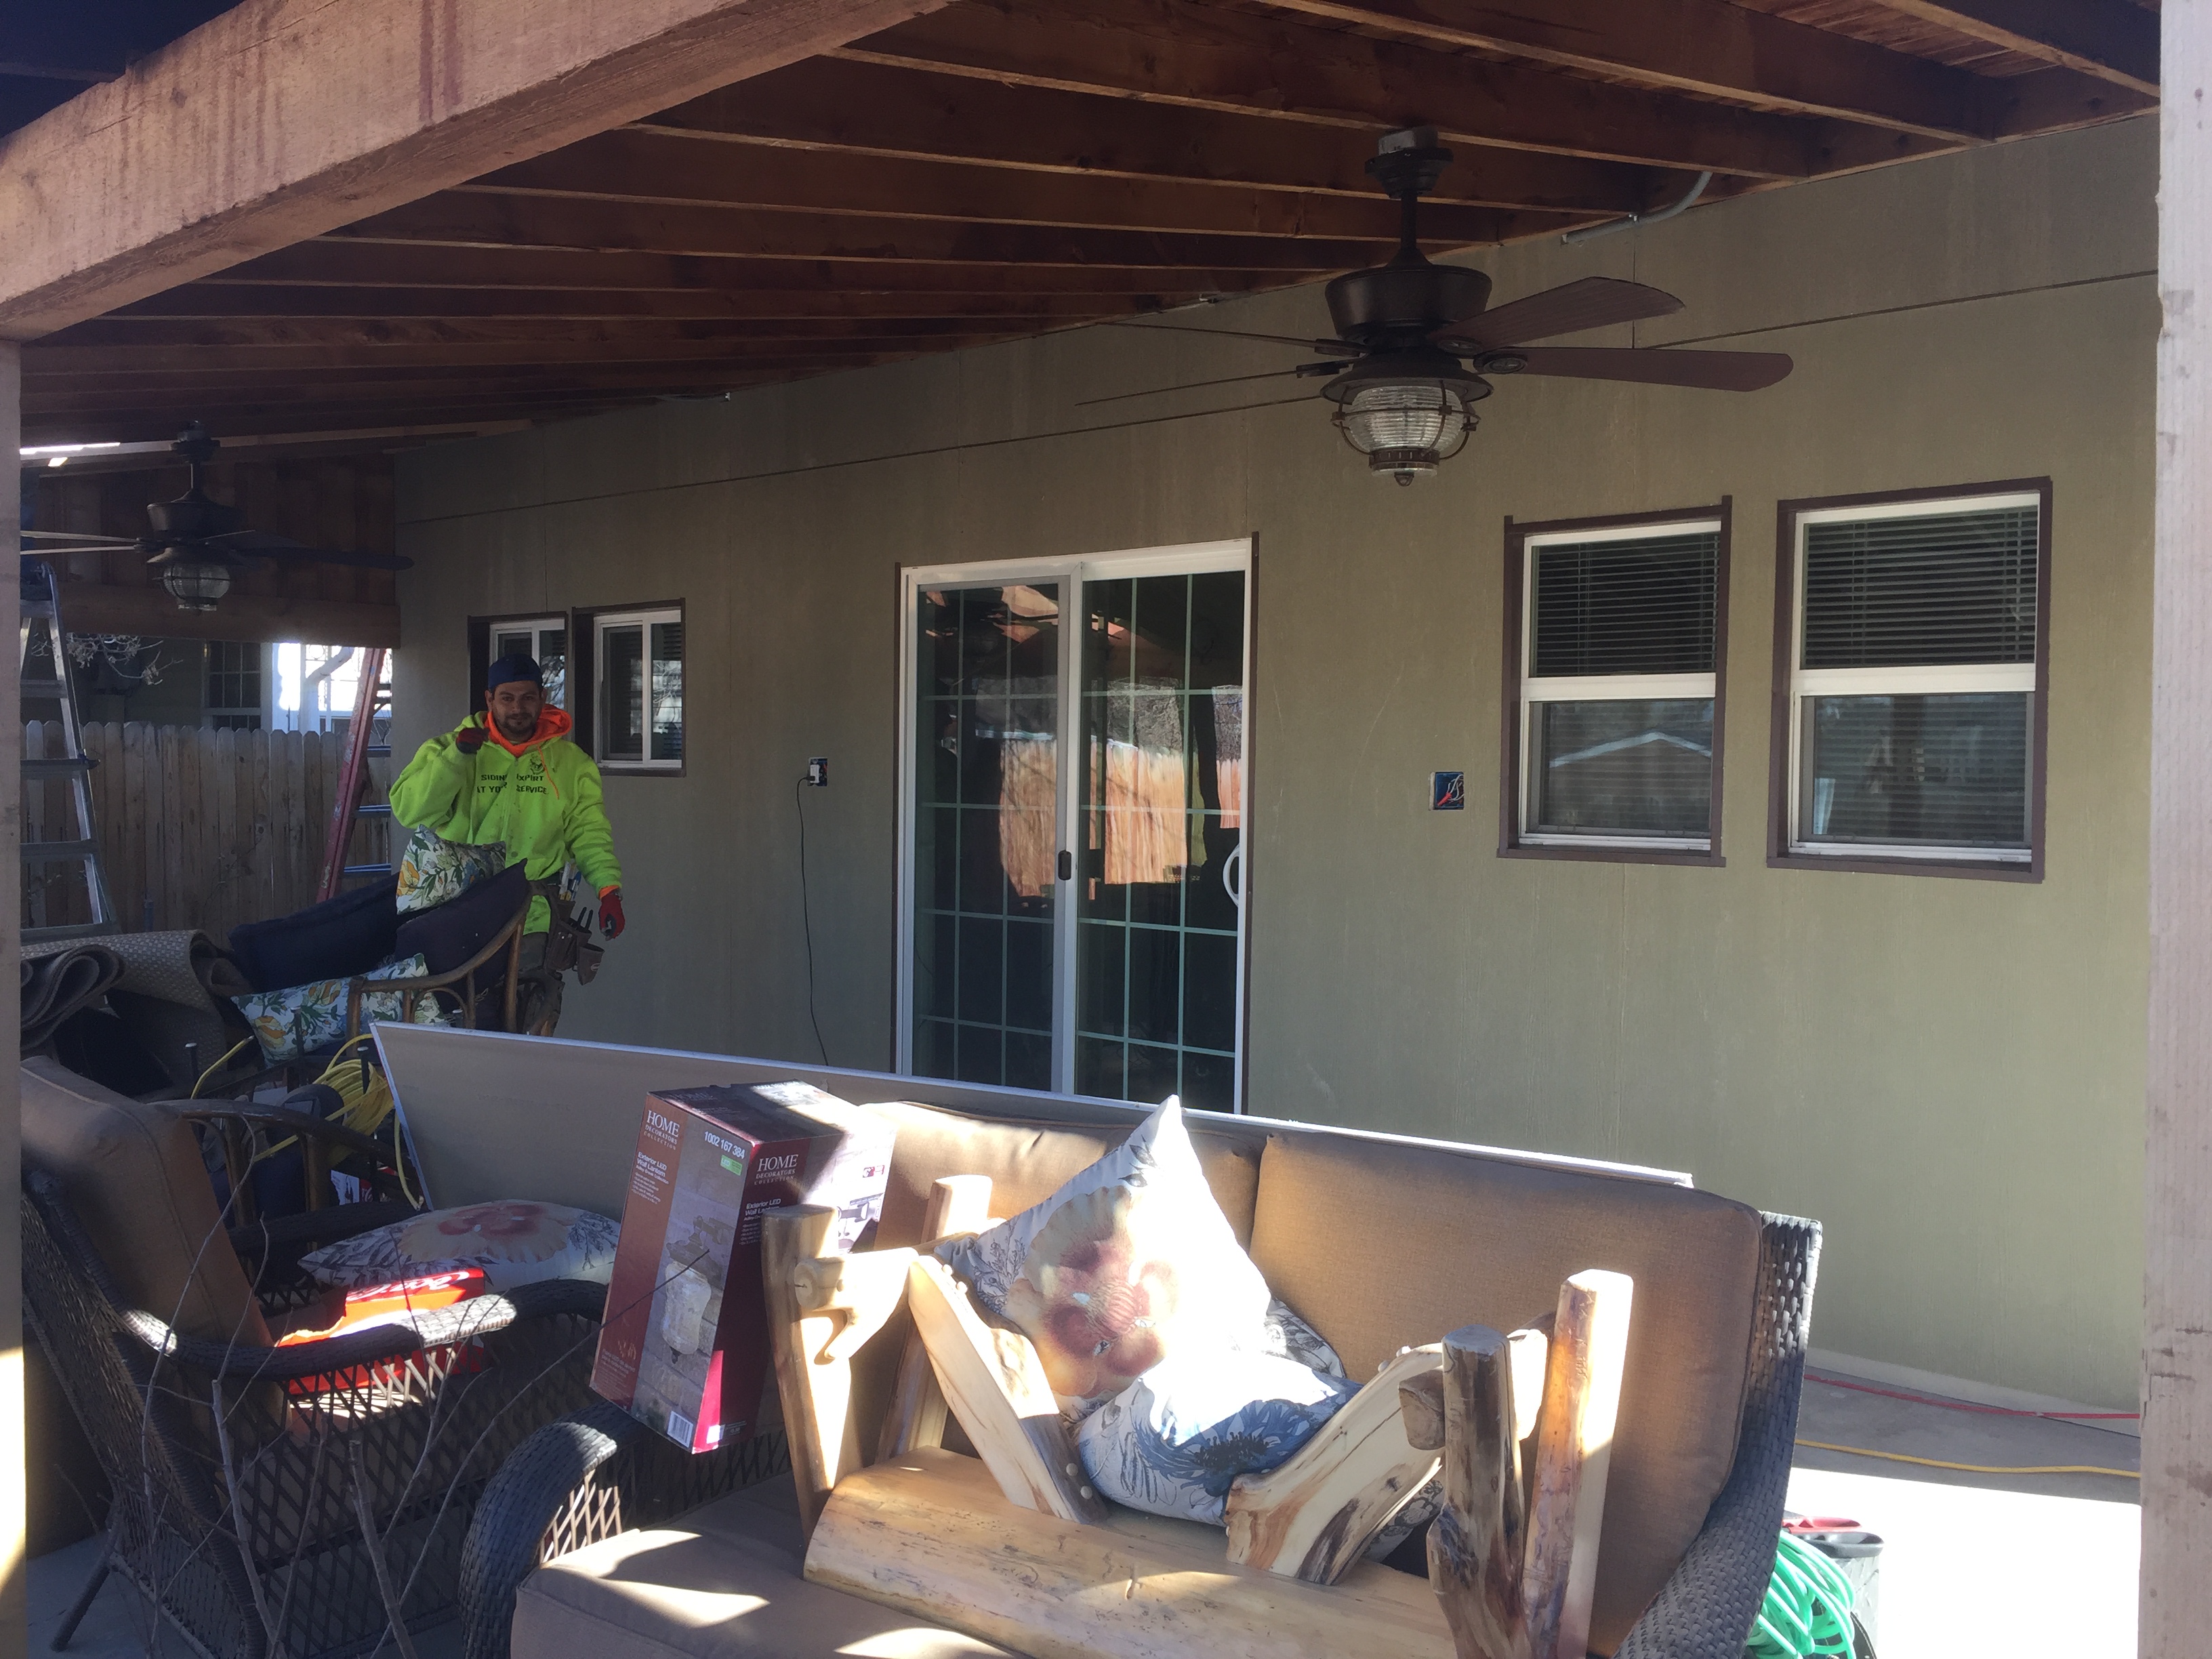
The mud needs to dry overnight before sanding, so we left the taped plastic up.We had good weather while they worked on the door. Better for the guys and better for me while the wall is opened up!It took most of the day, but I can see how open and bright this door will make my kitchen.The new door creates so much more light. You see it right as you walk in the front door!Wow, I love this new slider door! It’s much brighter and makes my small kitchen feel bigger.This is now a view. I want to clean it up and make it nice to look at.The back porch is looking so much better too! No utilities on the back wall and all the battens are now up. I’m getting used to the Green primer on the exterior walls, but the actual color will be off White, once painted.
The concrete pad expansion is done, tongue and groove panels are installed on the underside of the roof and the patio is now full size. I ‘m considering a fresh layer of concrete poured over the whole pad to cover any nicks or flaws in the concrete. But right now, I’m trying to finish the big stuff.
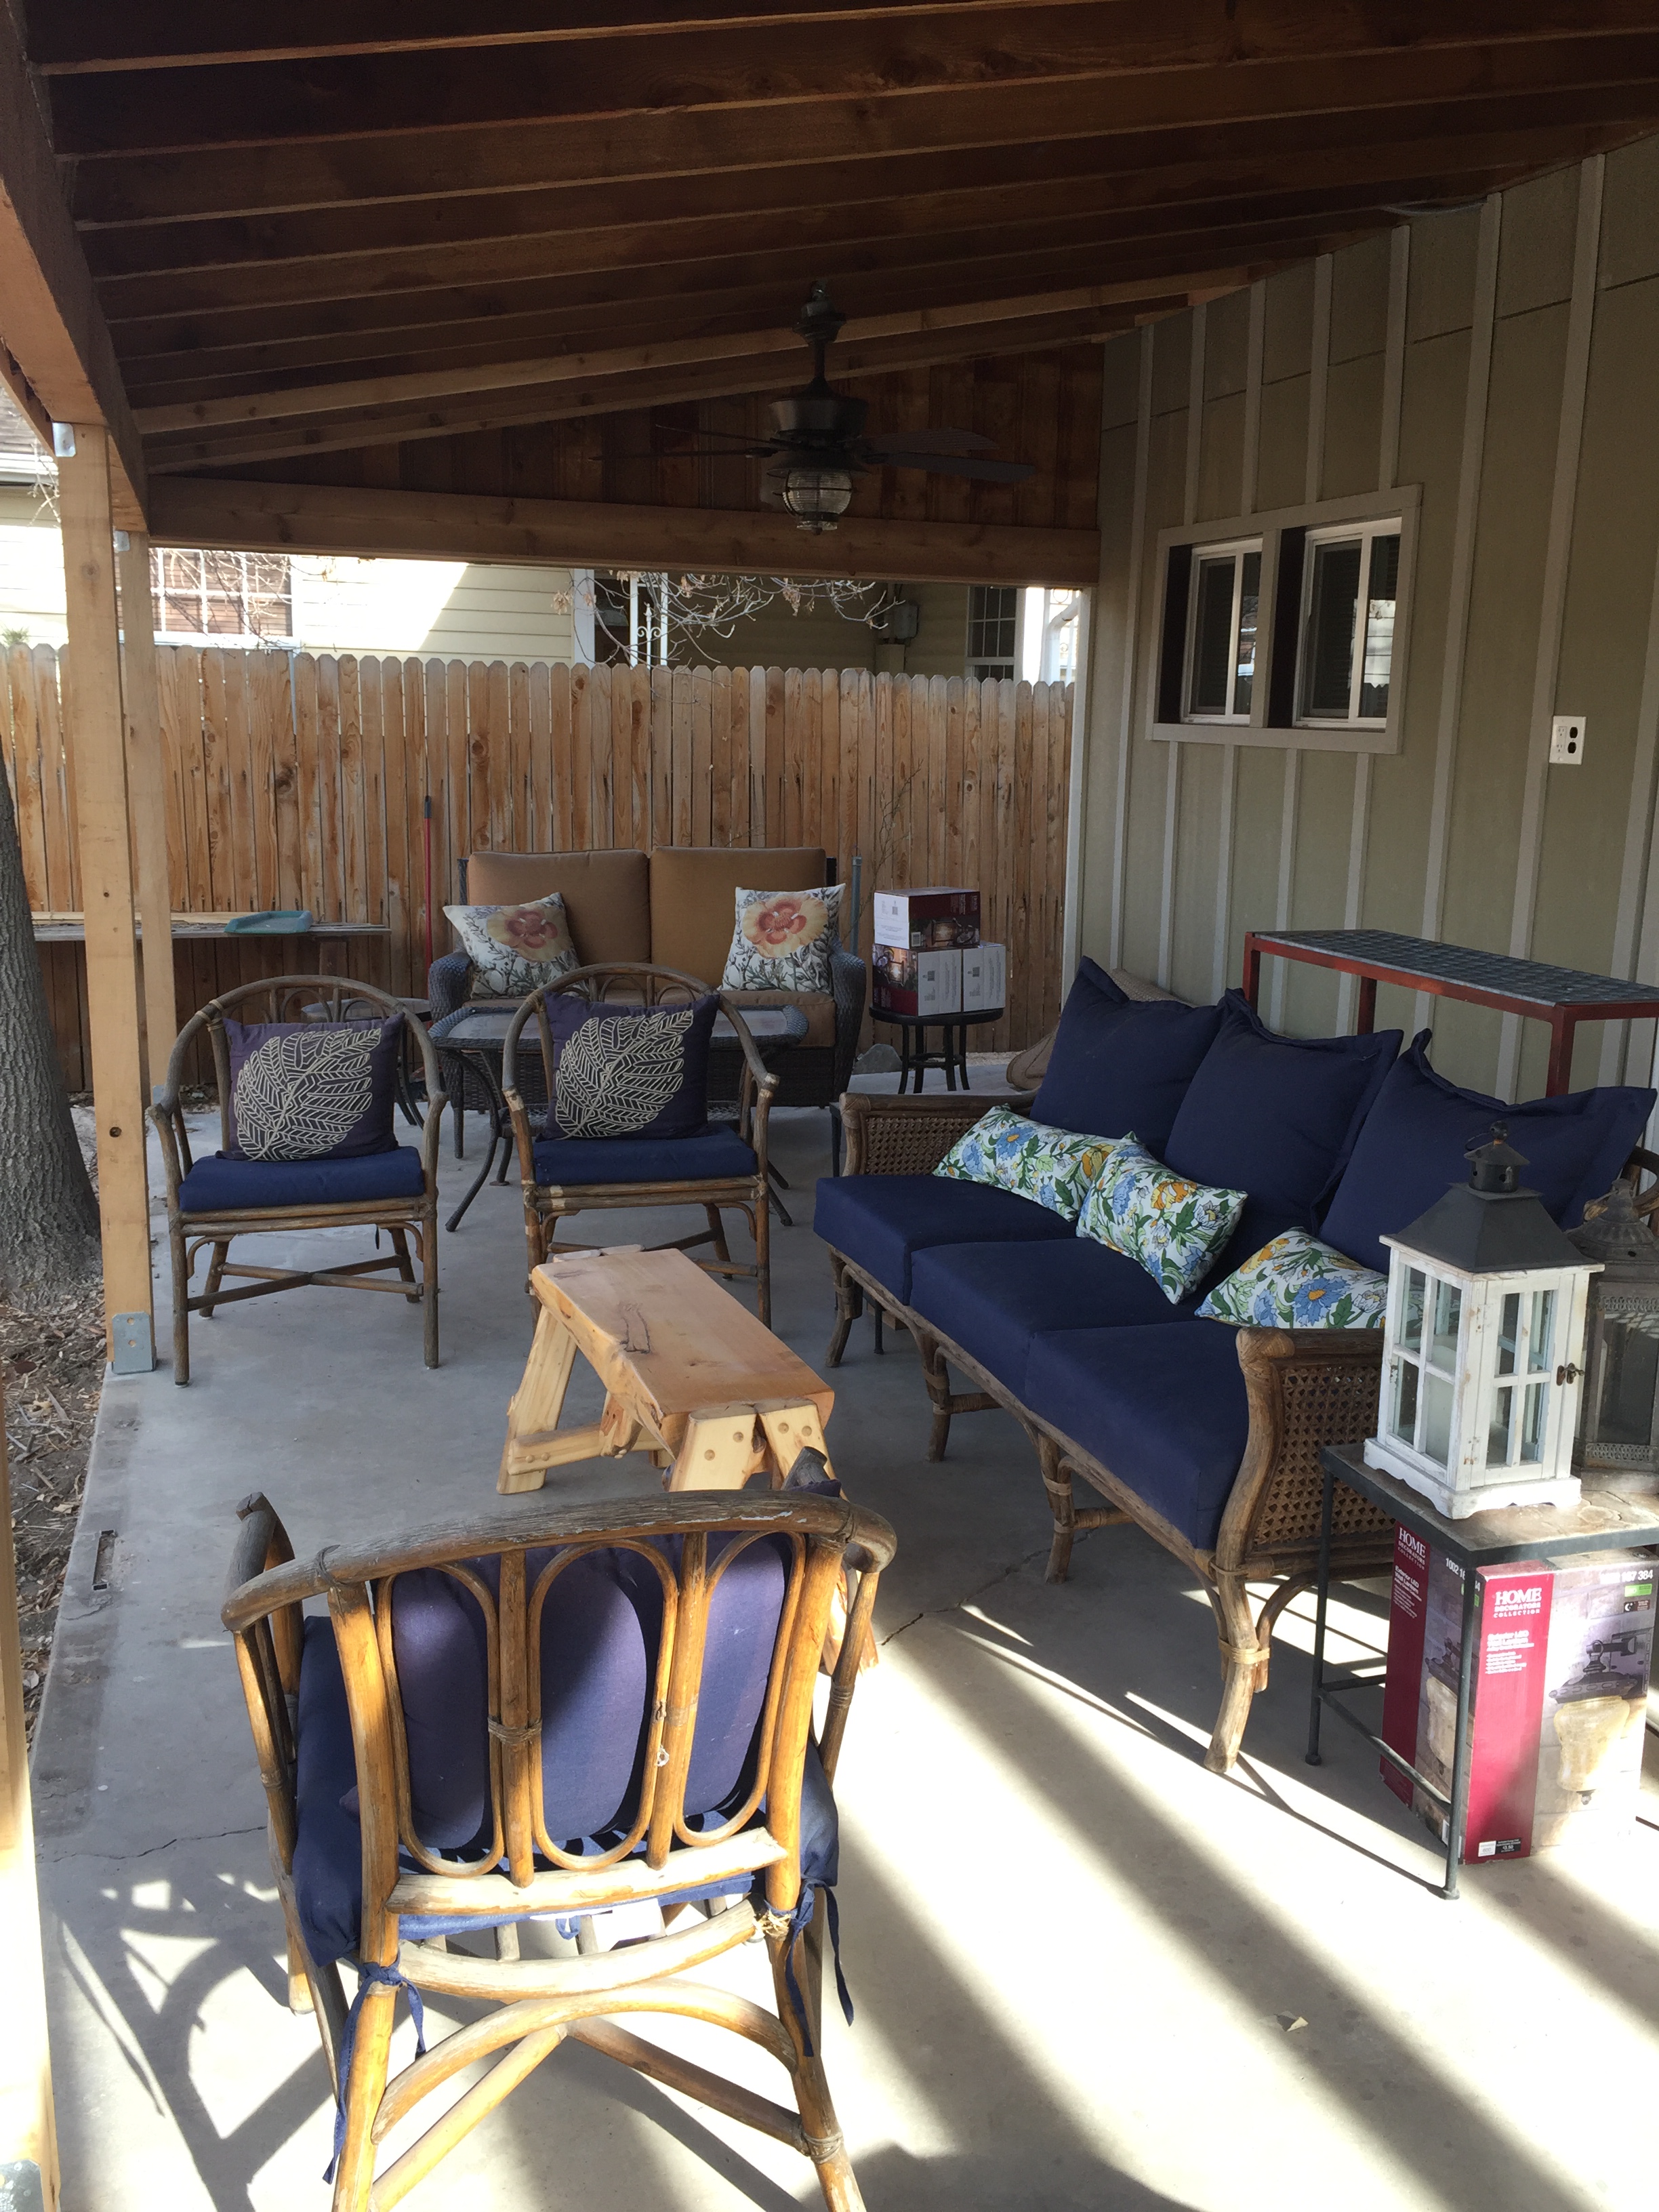
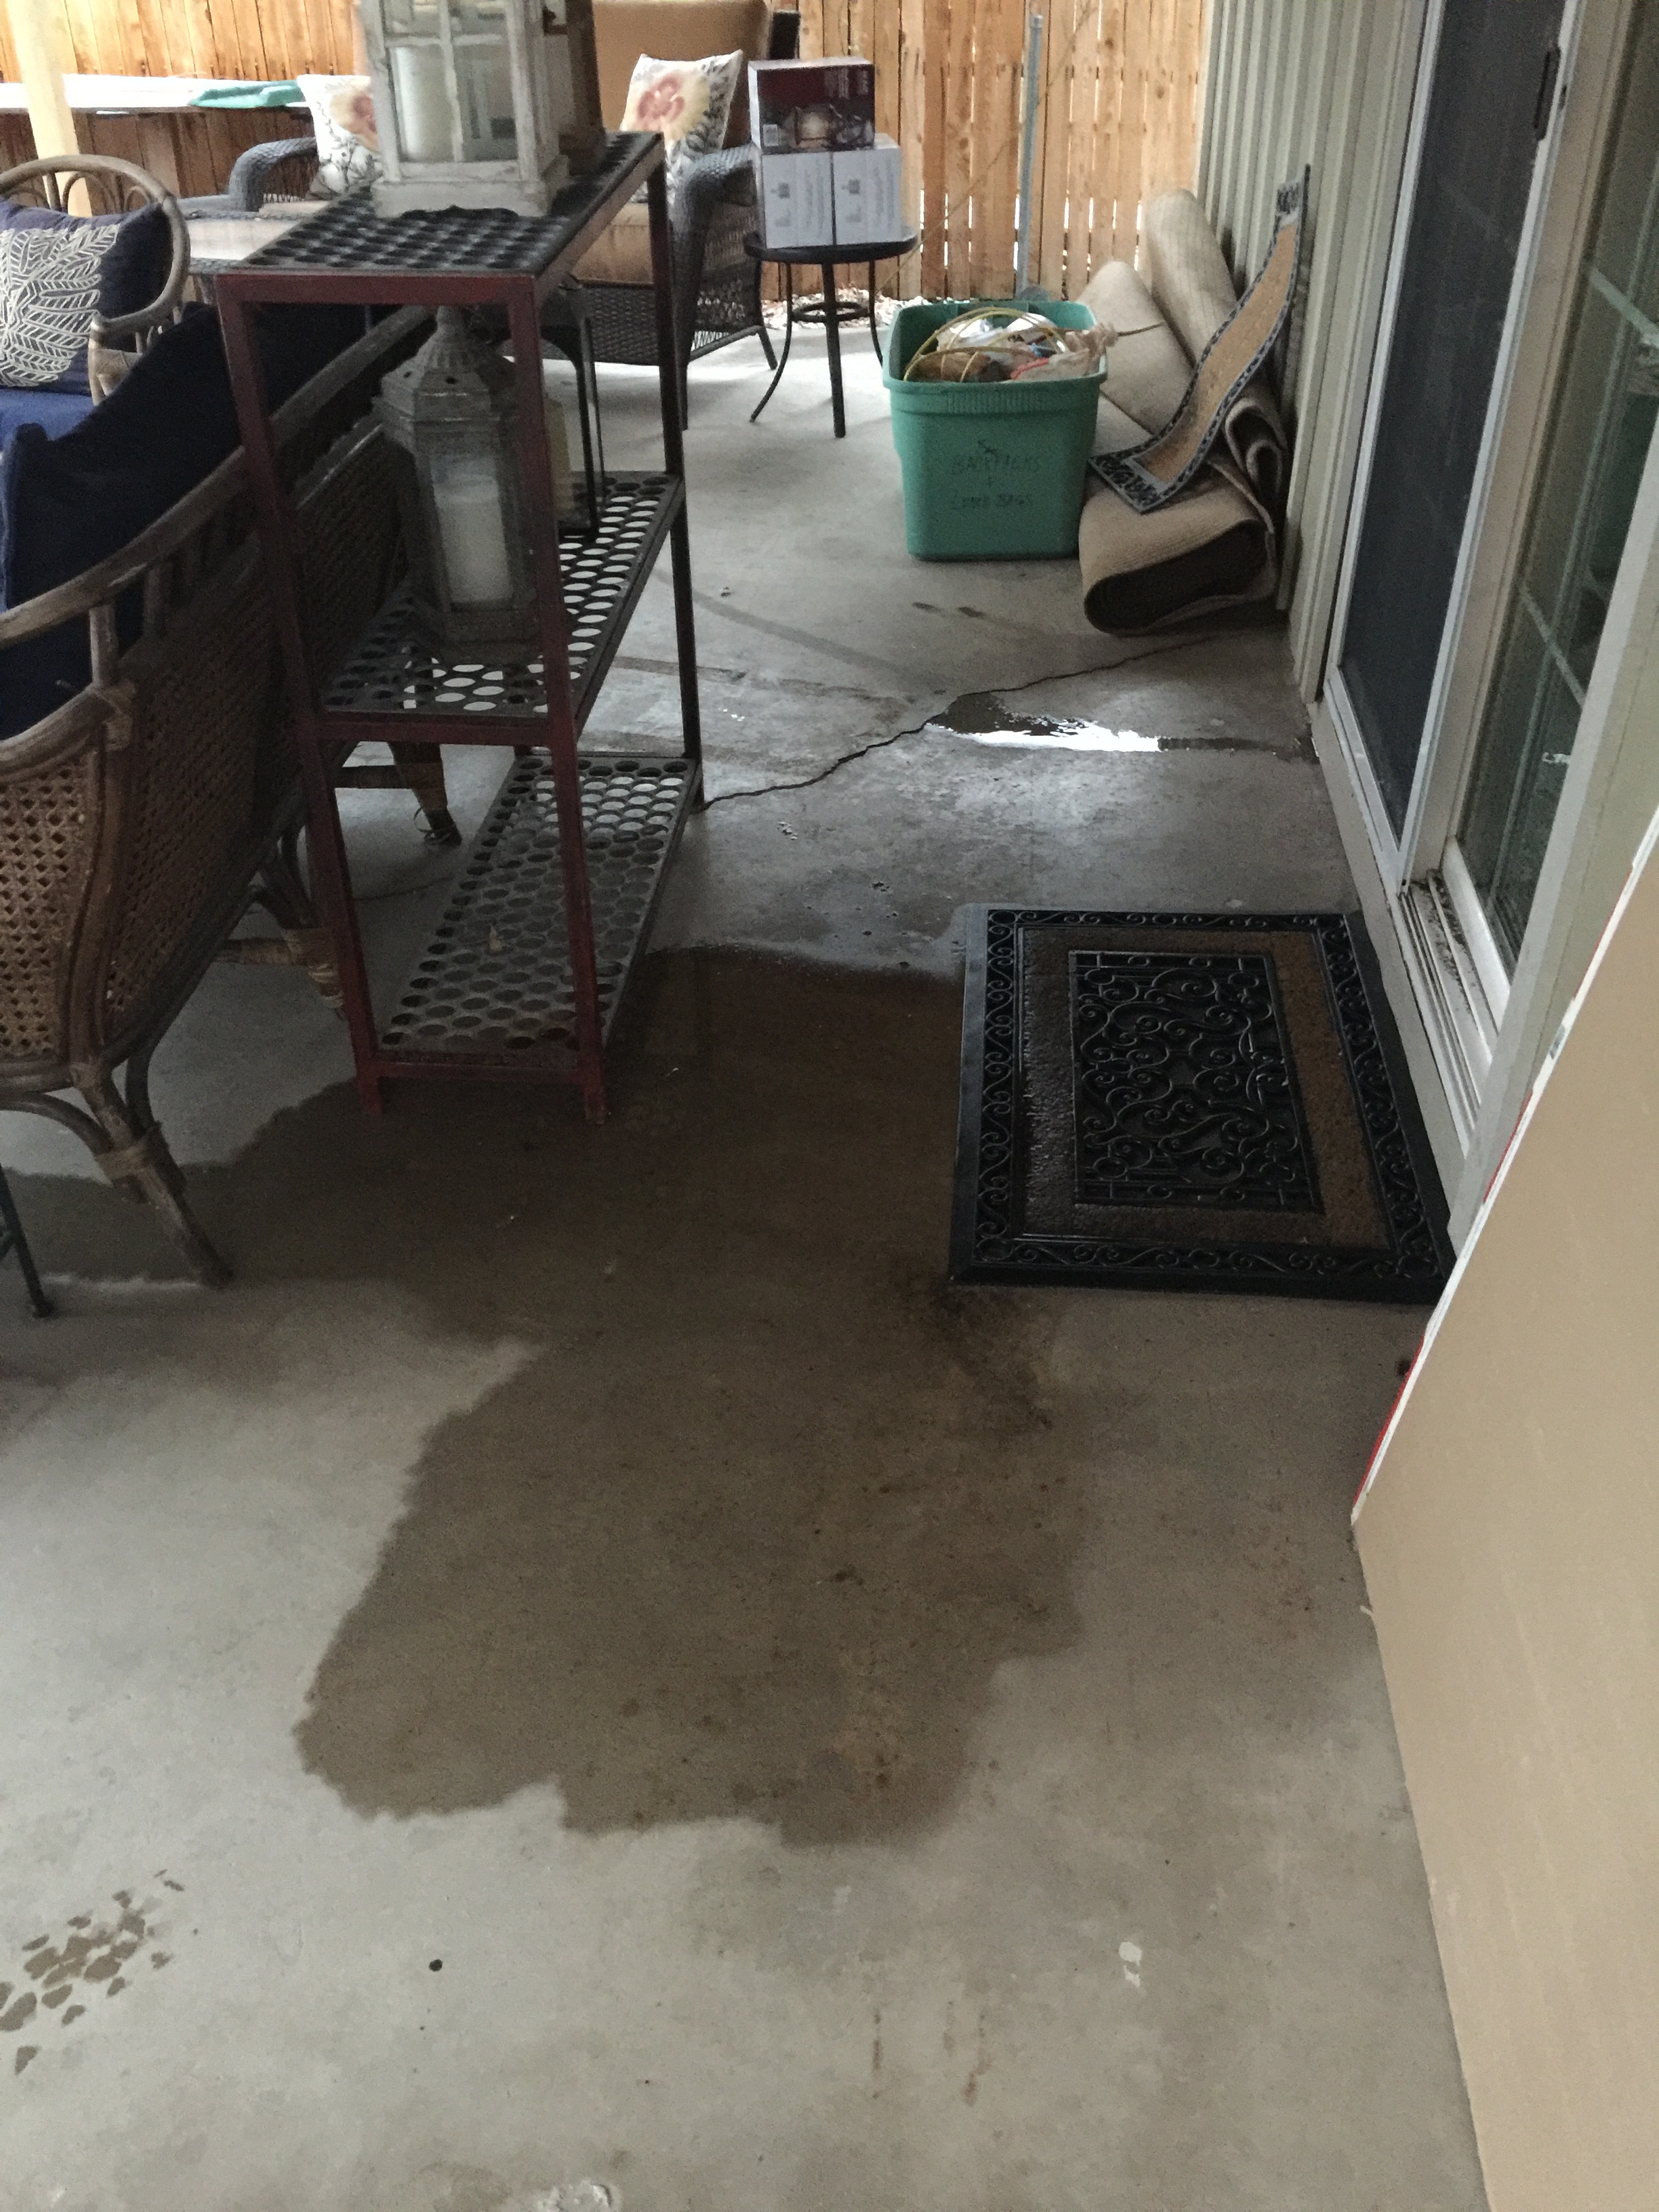
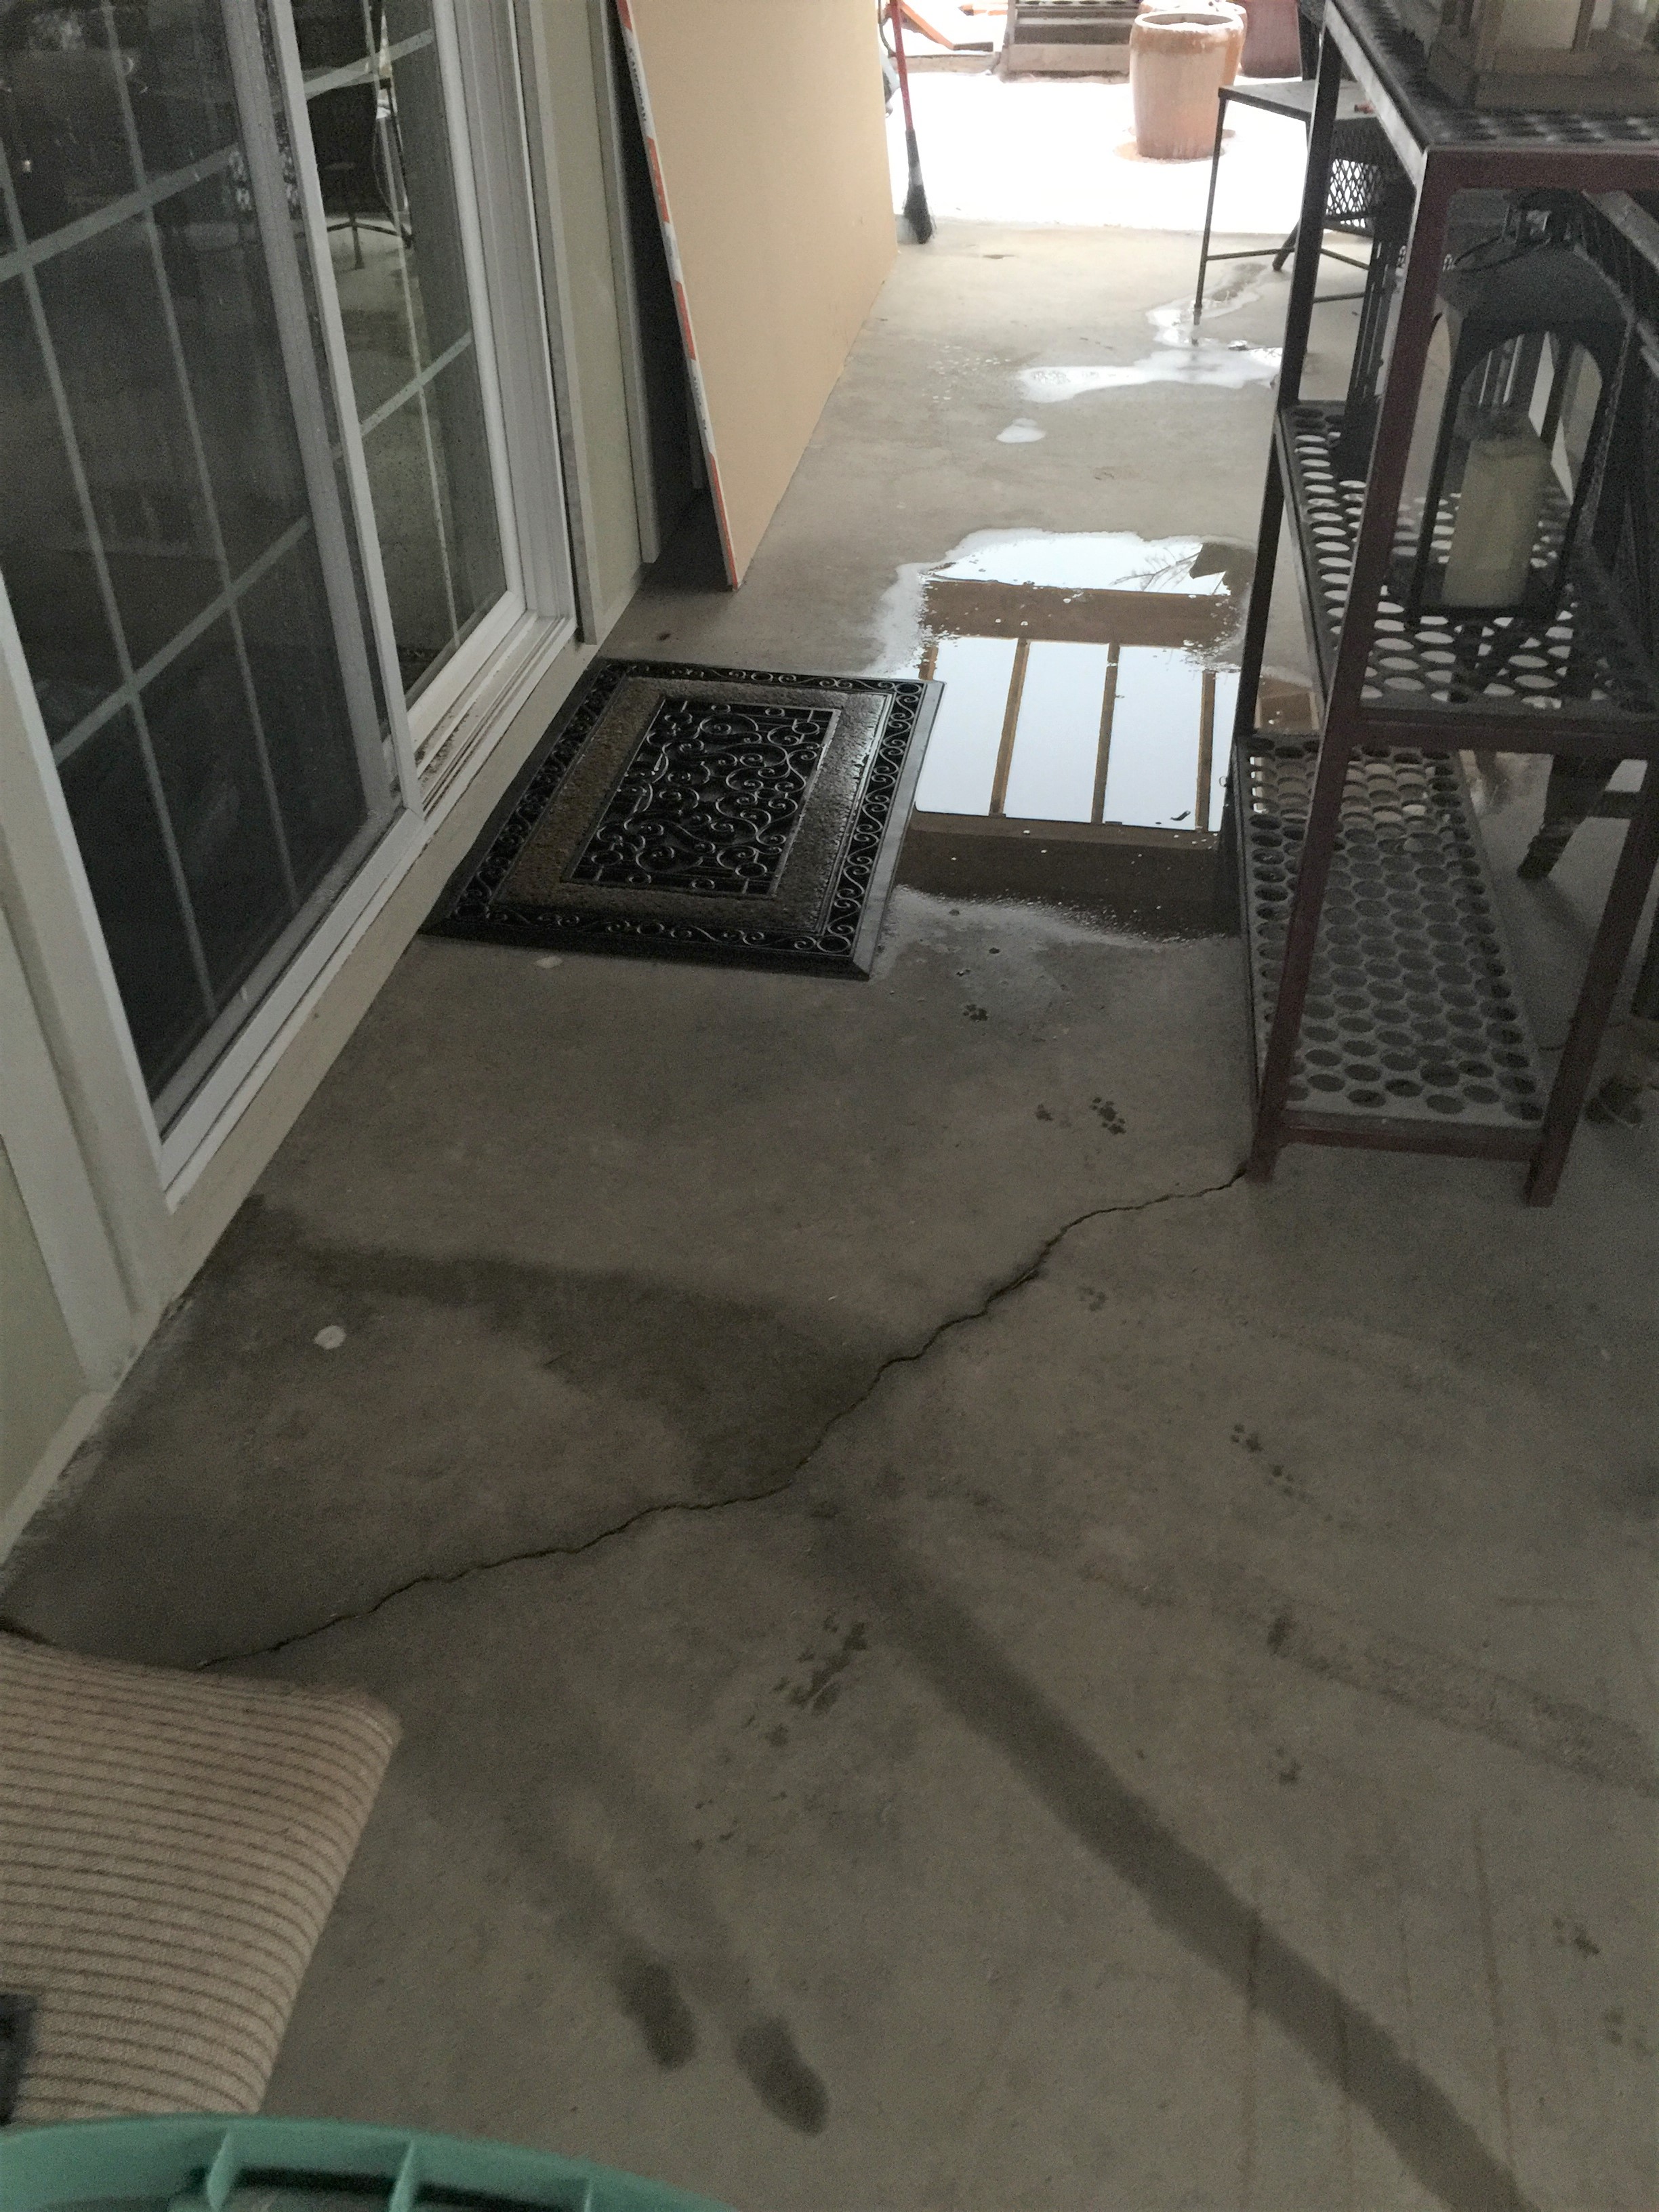
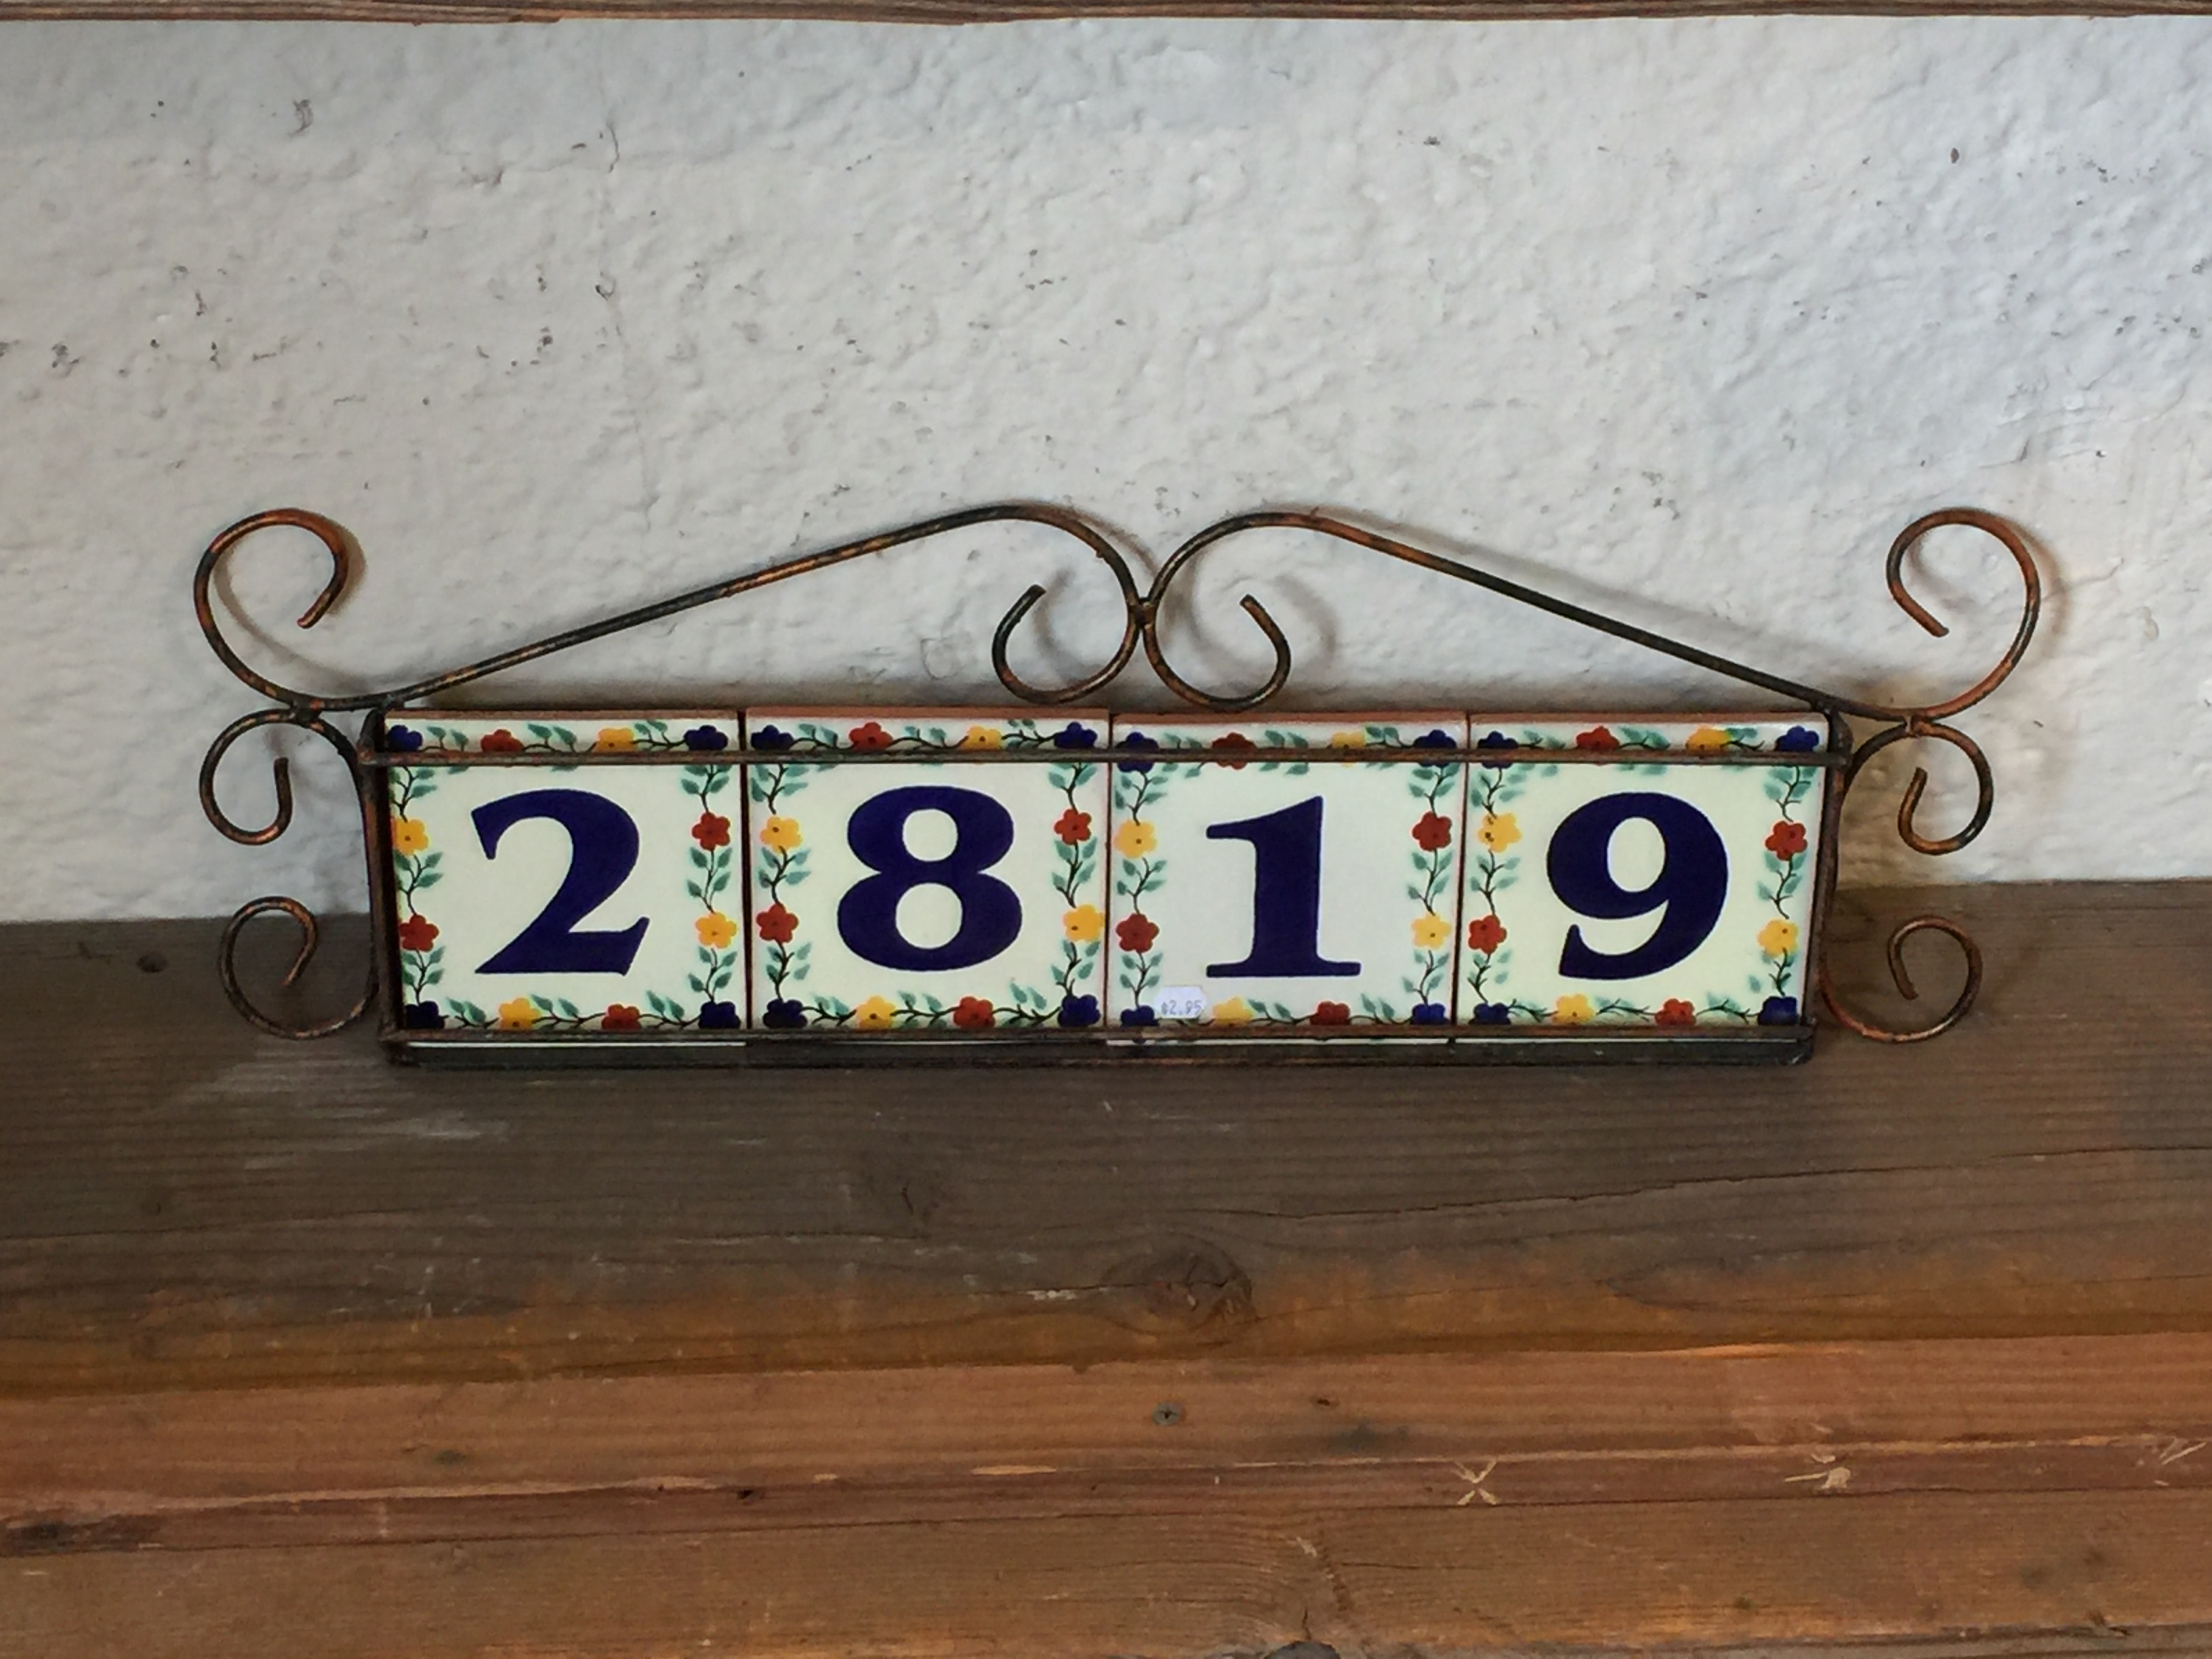
Although the exterior paint isn’t done, I’m anxious to get my patio organized so I can use it!The patio roof has been prepped for the metal roofing, which has been ordered. However, we got snow and the roof leaked onto the patio below.Right outside my back door. What a mess!Ricky, my electrician is installing the exterior lights.New exterior lights.I found these tiled house numbers locally, but I think I need something more modern. I ordered a different one online and think it’ll be better.The lights at night. I’ll change the bulbs to dimmer bulbs so I can adjust the amount of light they put out.
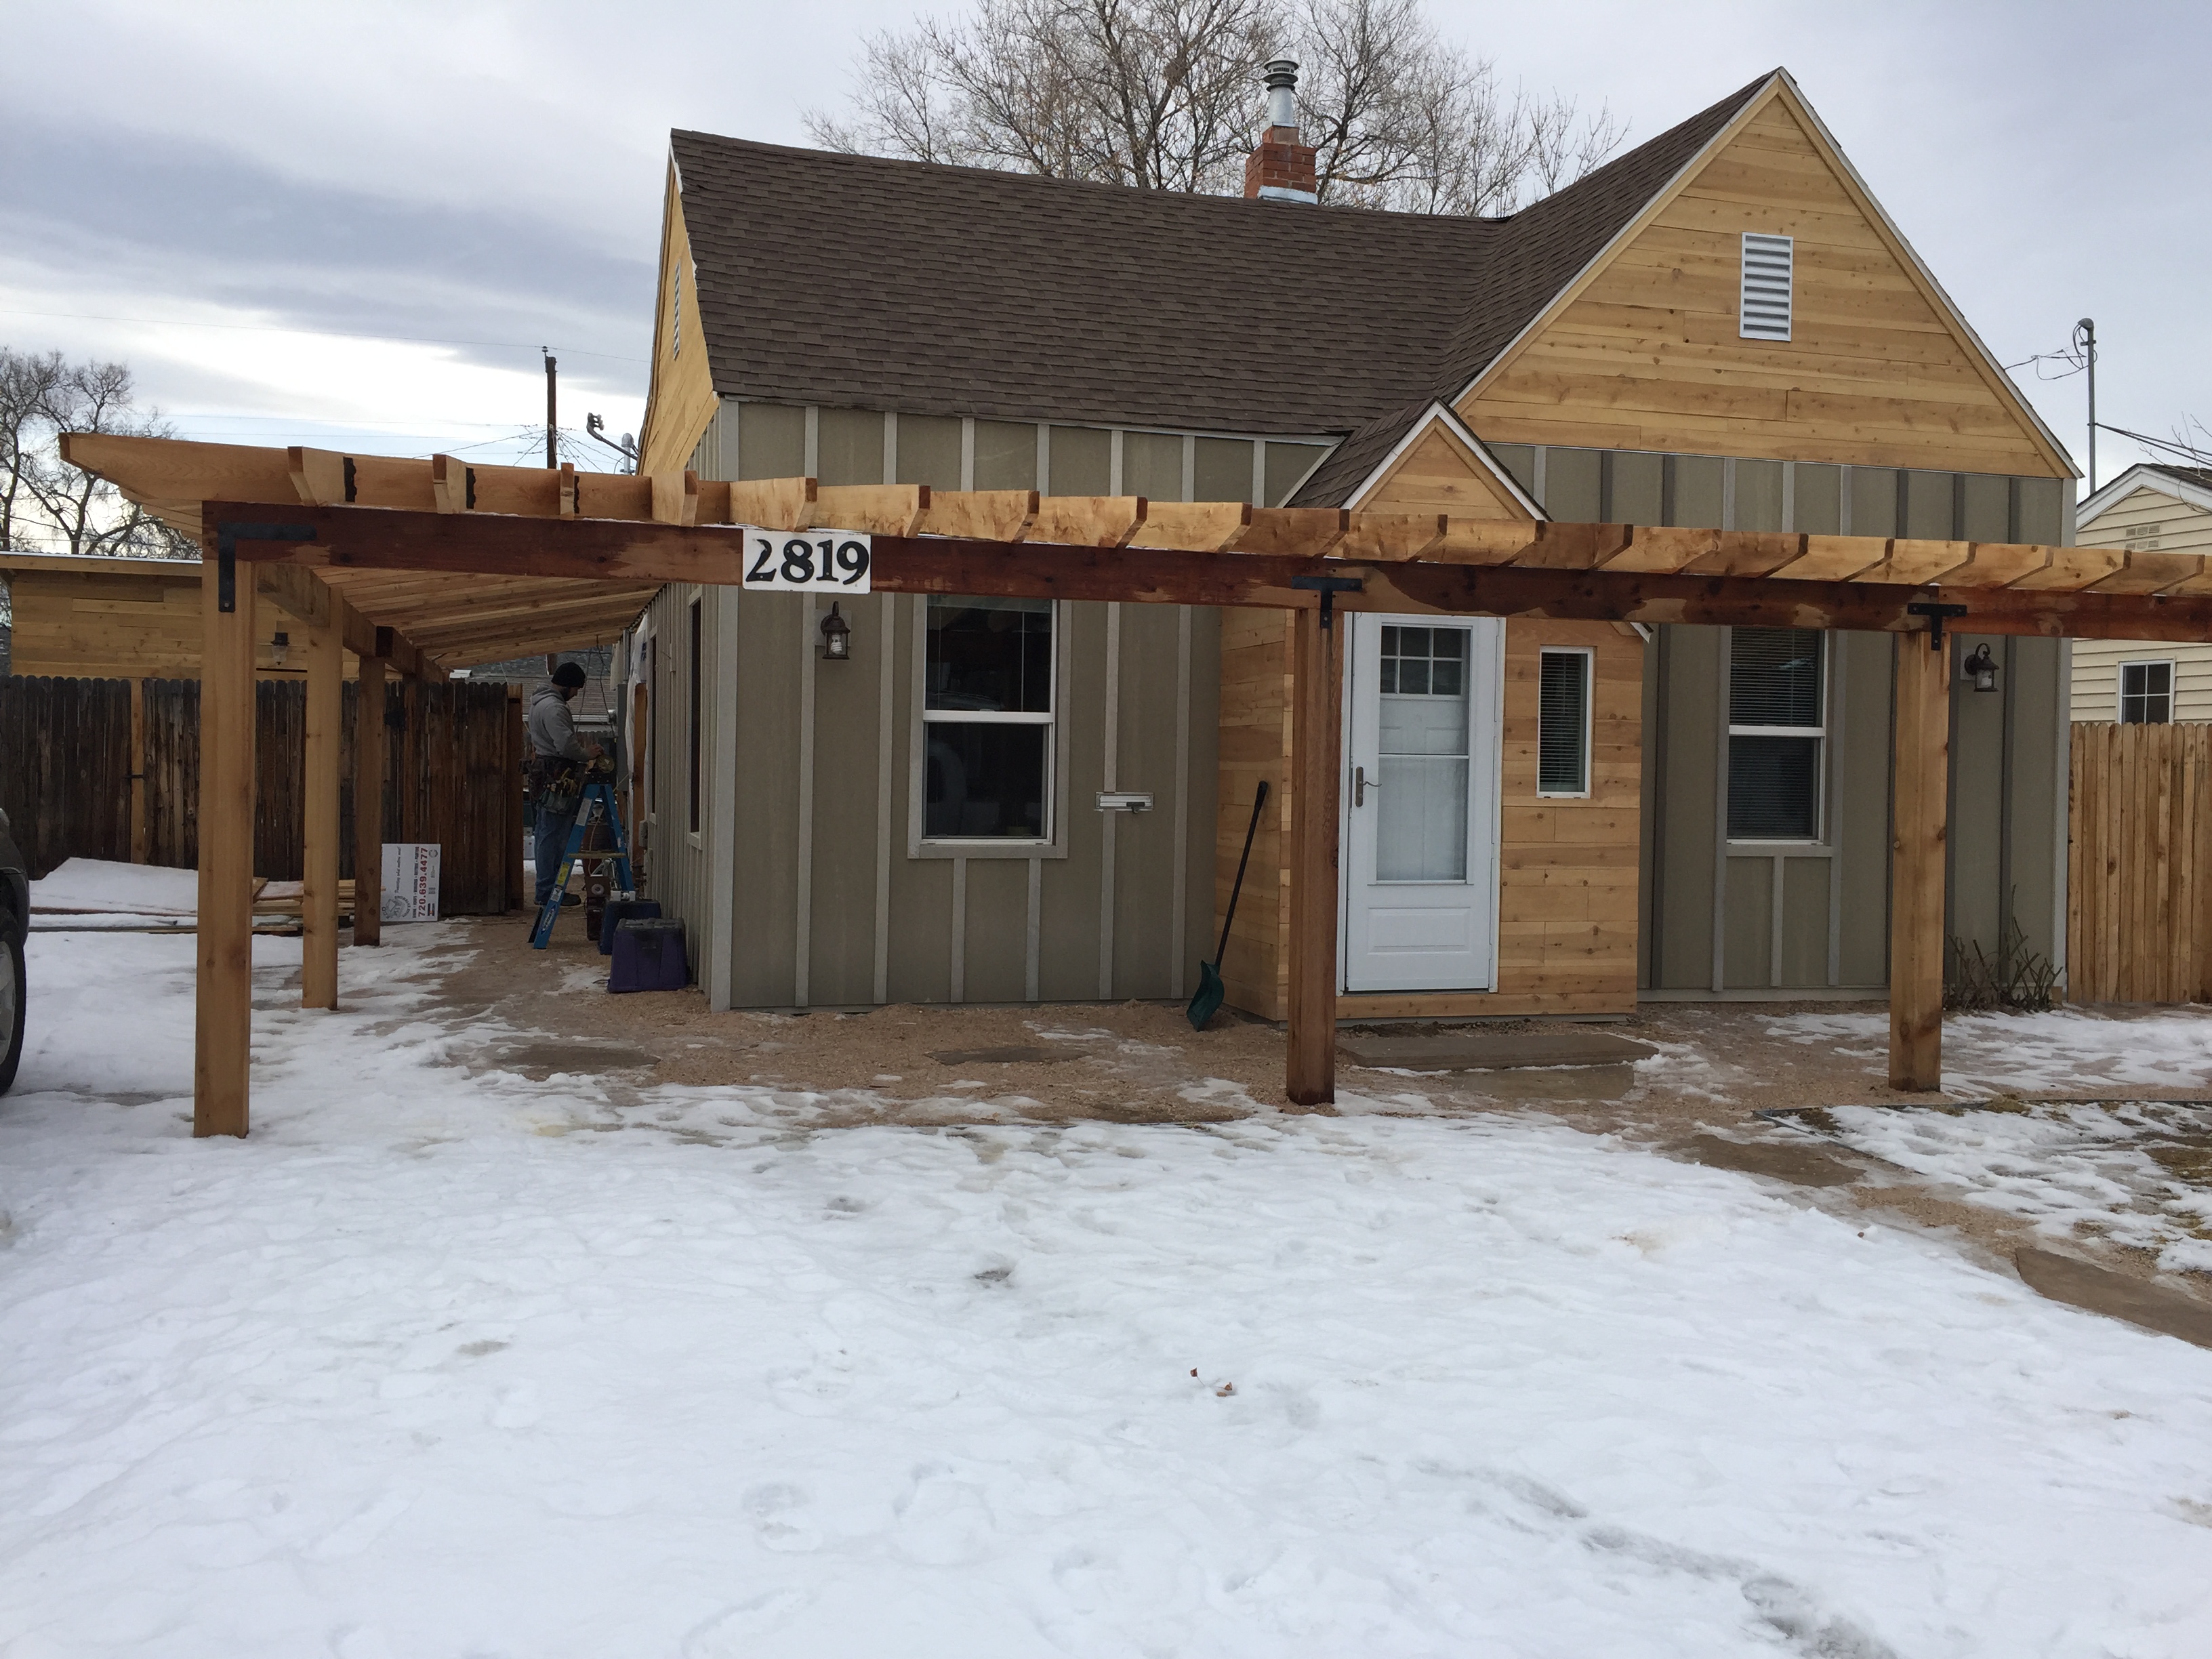
I expect the siding crew to be back next week to finish the siding around the new patio slider. I already have a painter lined up to paint the siding, and my gutter guy will be here to attach the gutters next. The last big thing is the metal roof on the back patio. Hopefully in 2 weeks this part of the project will be done.
As excited as I am for the project, it is stressful to have all this going on while living in the house! The crews are respectful and positive, but the air compressor and the constant banging leaves Rocco and I a bit overwhelmed. So we get away for a while, walk and take in the beauty of Colorado!
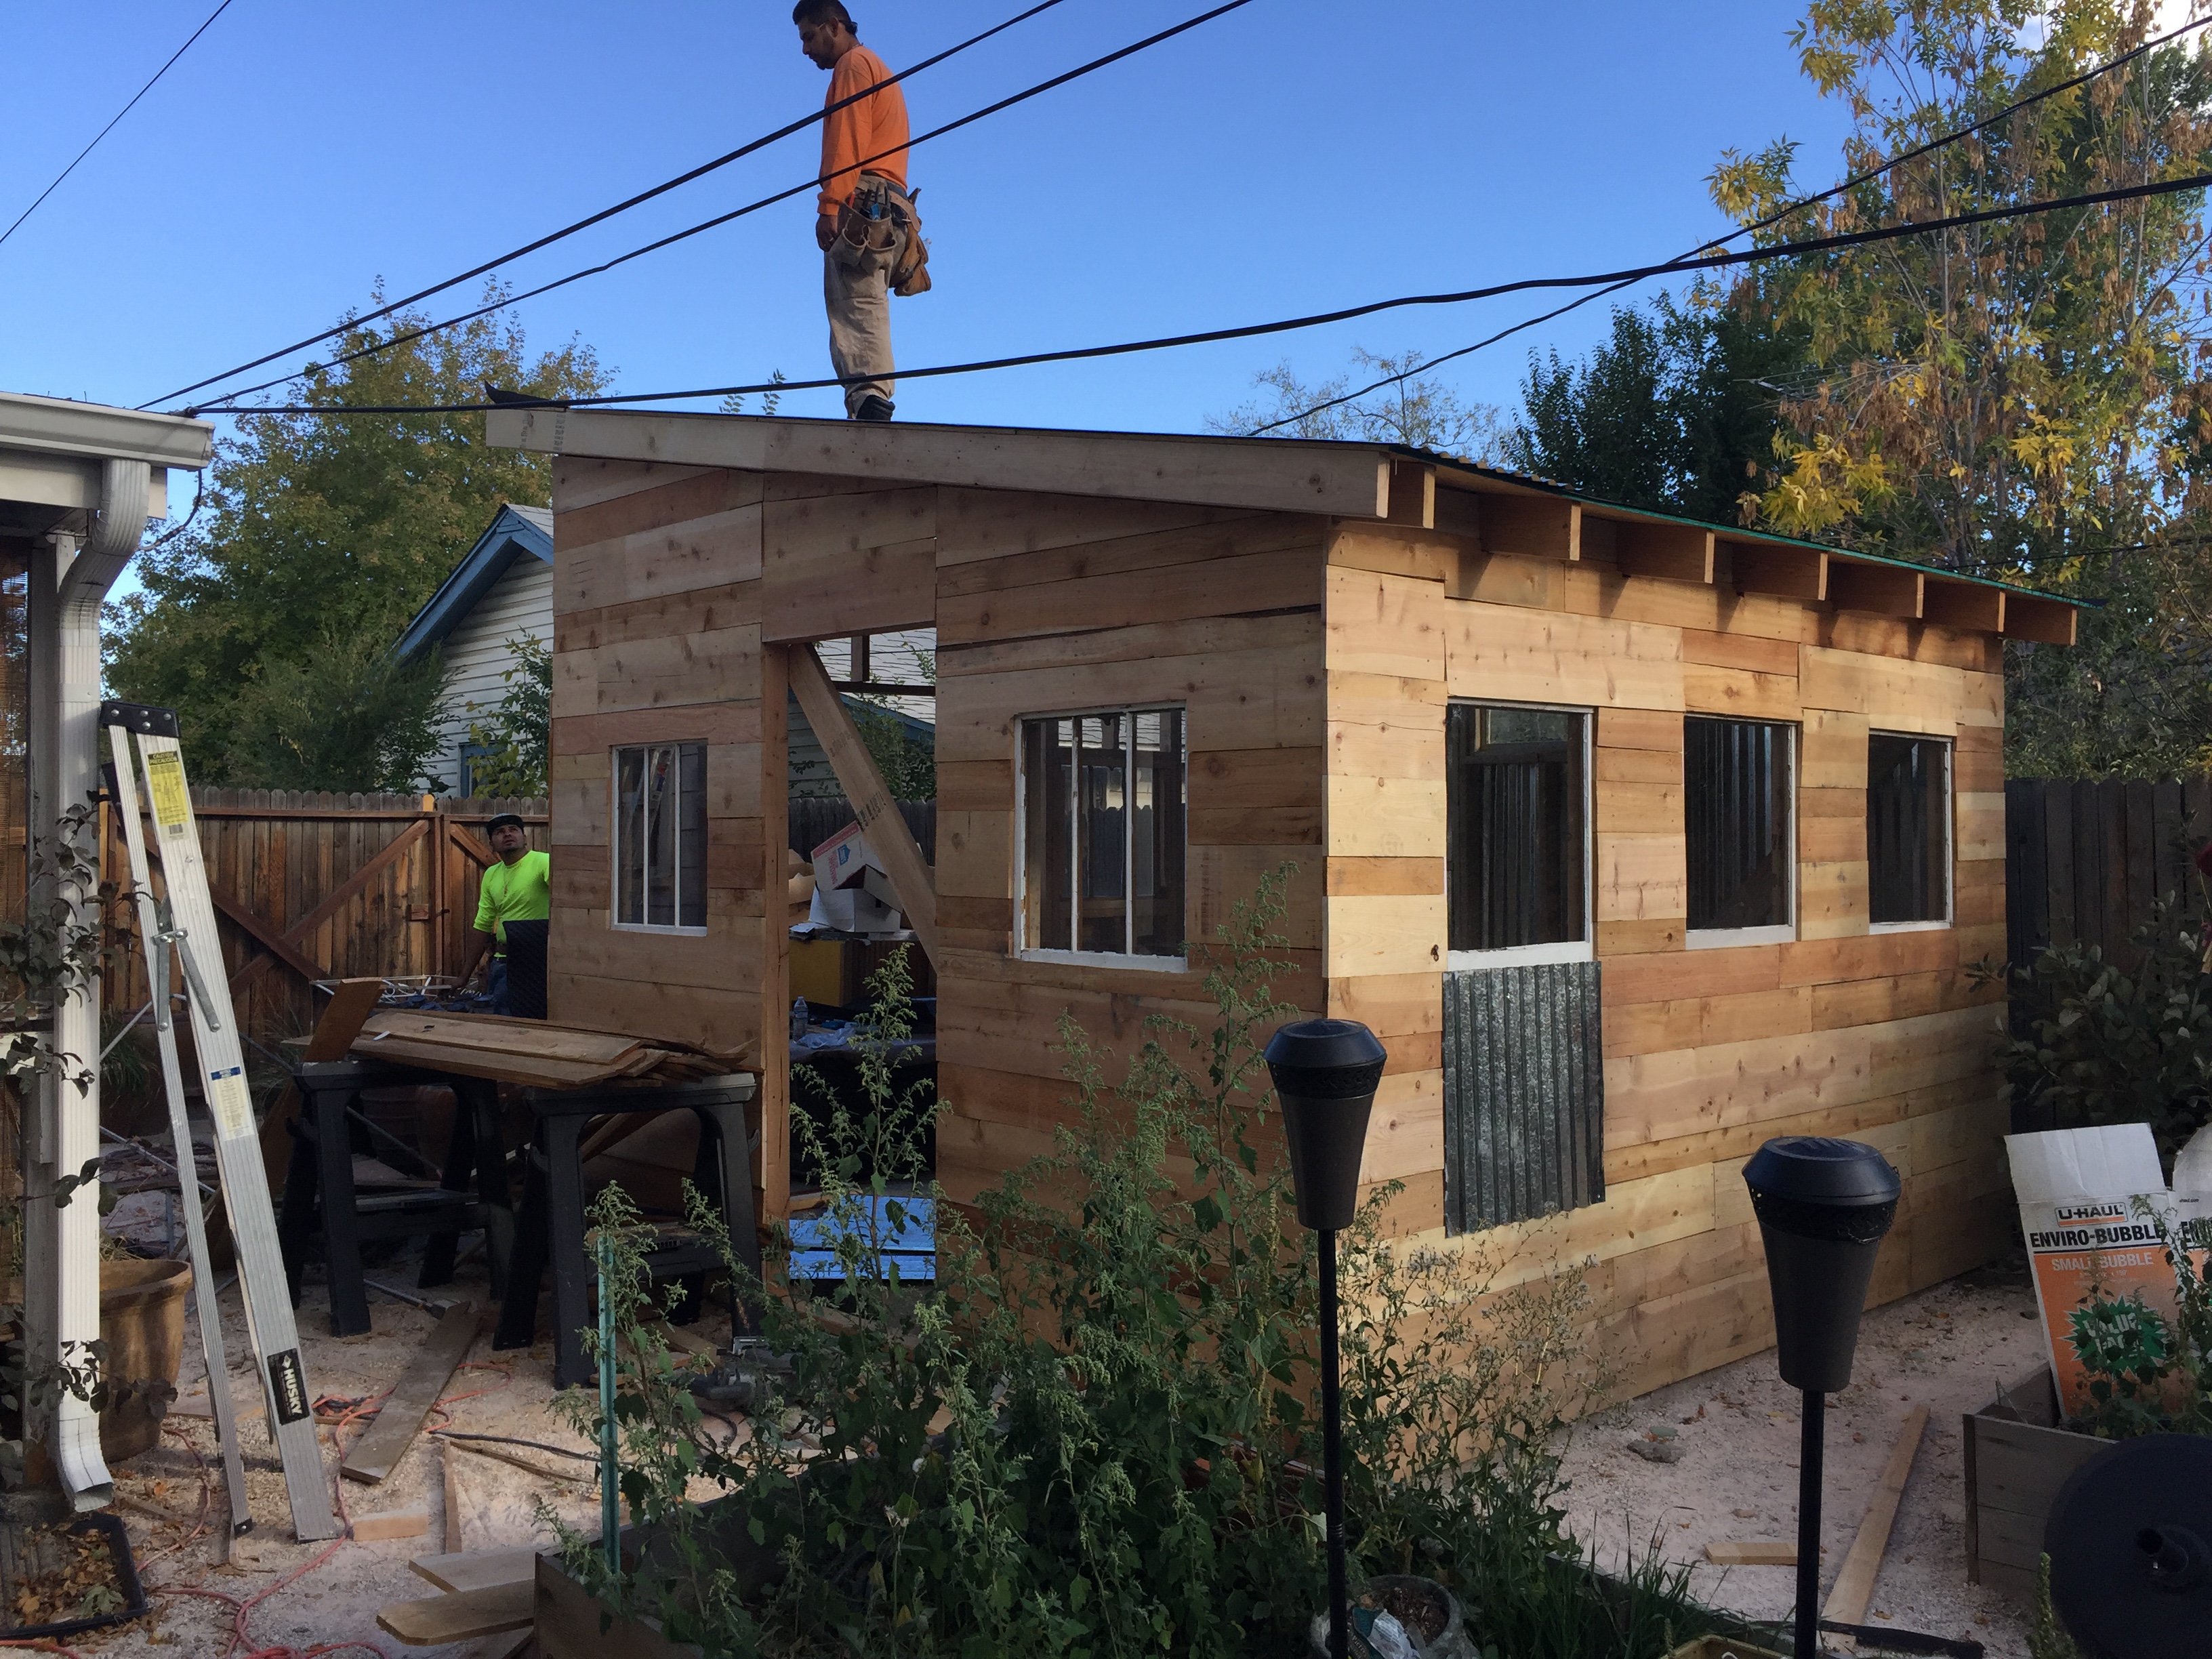
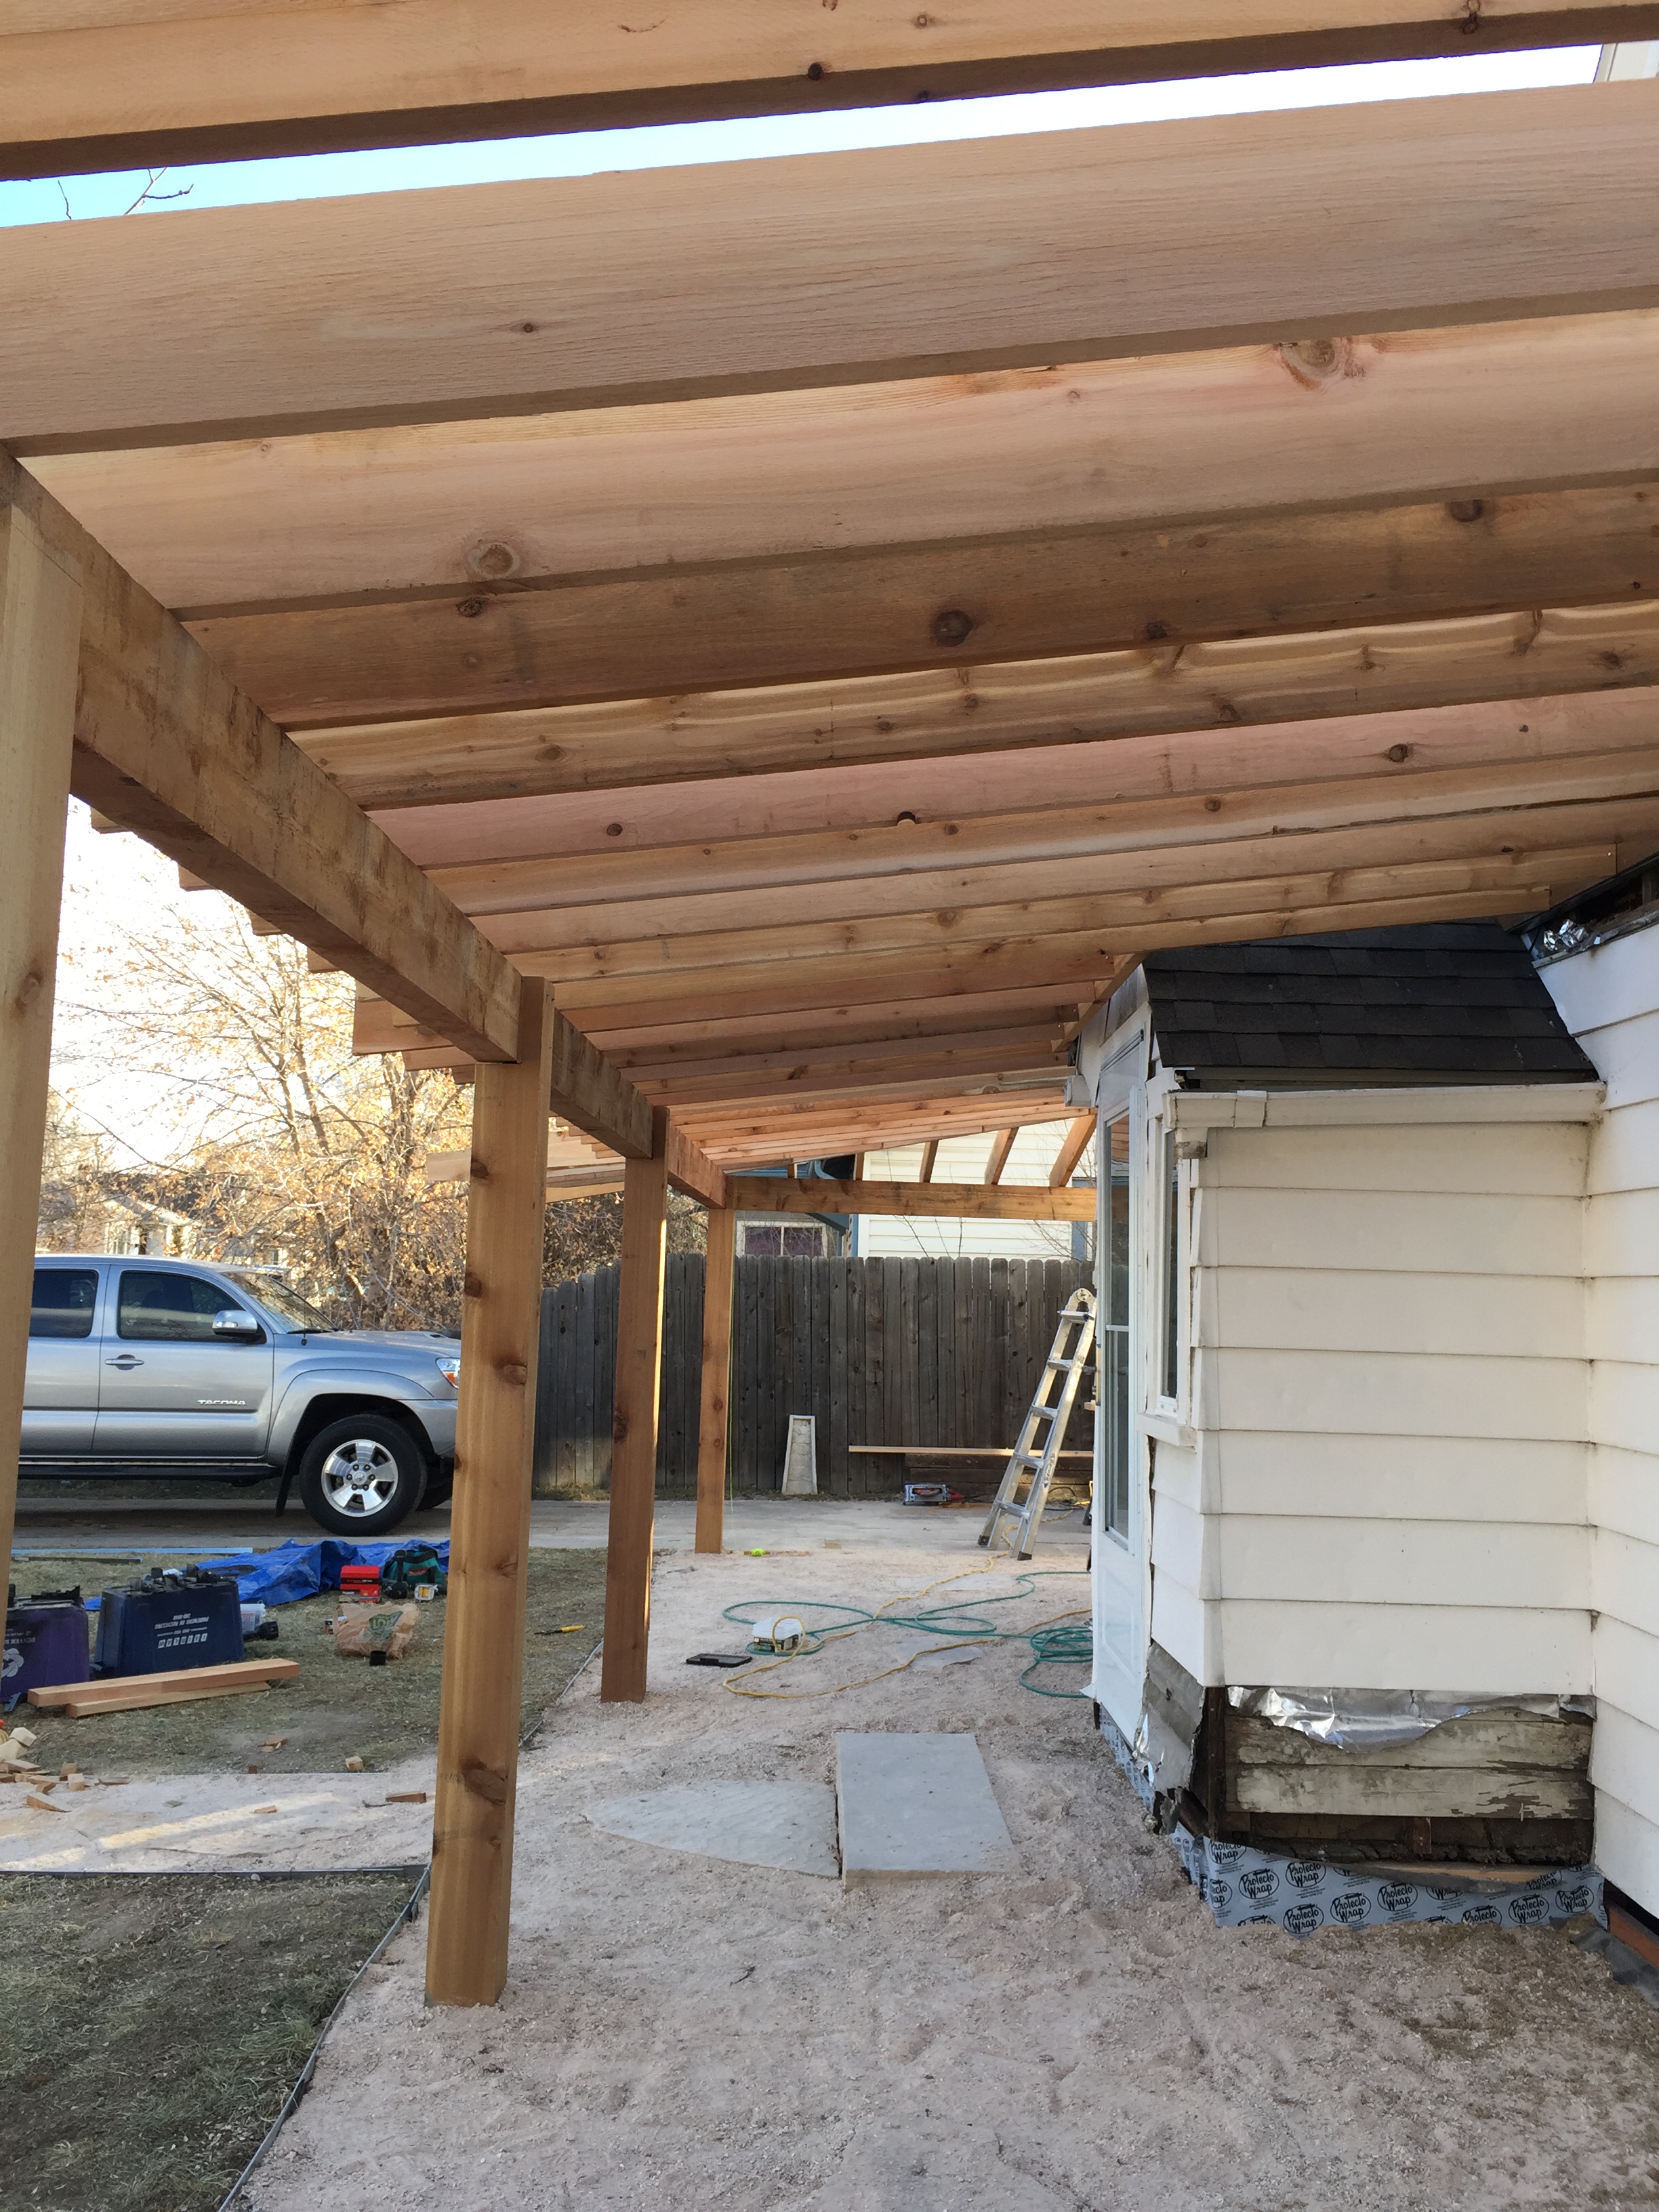
Meanwhile, David built a temporary support wall so he can replace the white 2×4’s with Cedar beams.New cedar beams open the whole space up!Extending the tongue and groove roof to cover the newly poured patio extension.View of the new cedar beams from the yard.We’ve been lucky so far, with limited weather during this project. But it is winter in Colorado and realistic to expect some snow. Fresh snow makes it look so clean.After they added insulation and plywood sheeting, finally I can see some siding.
They use a drip edge between the seams of the horizontal siding panels to prevent rain or snow to get behind the panels. It’ll get painted with the siding to blend in.
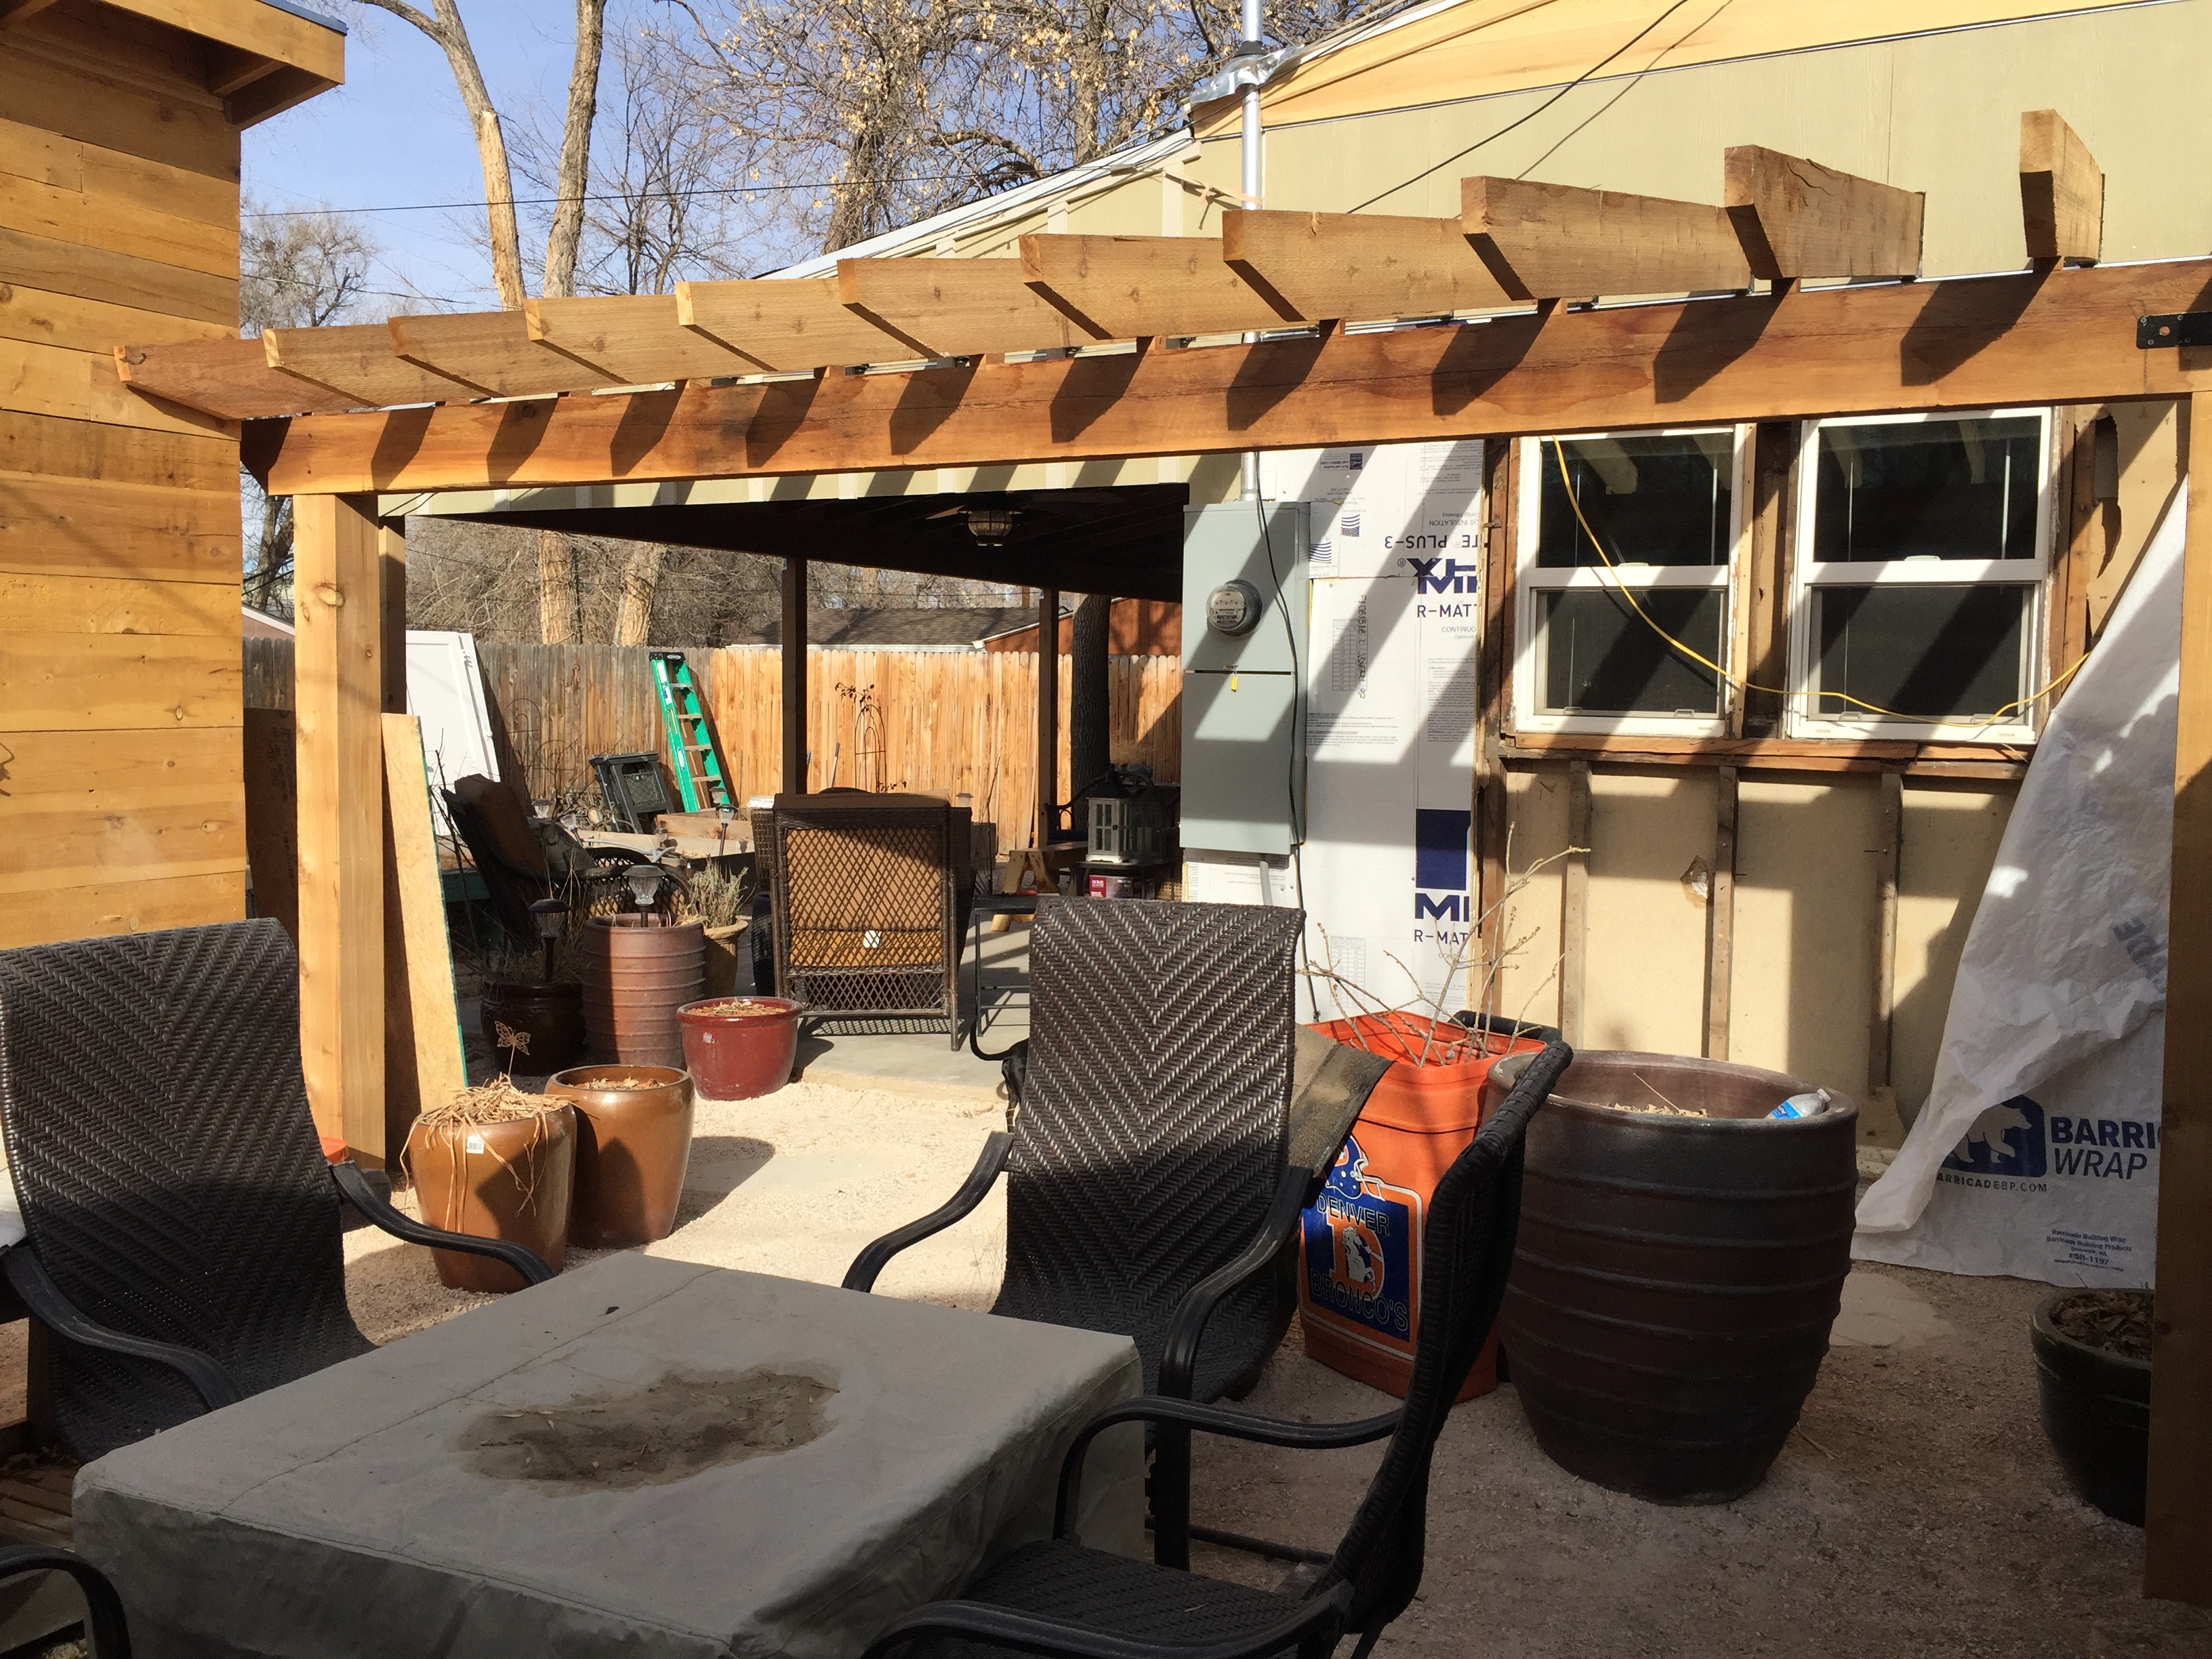
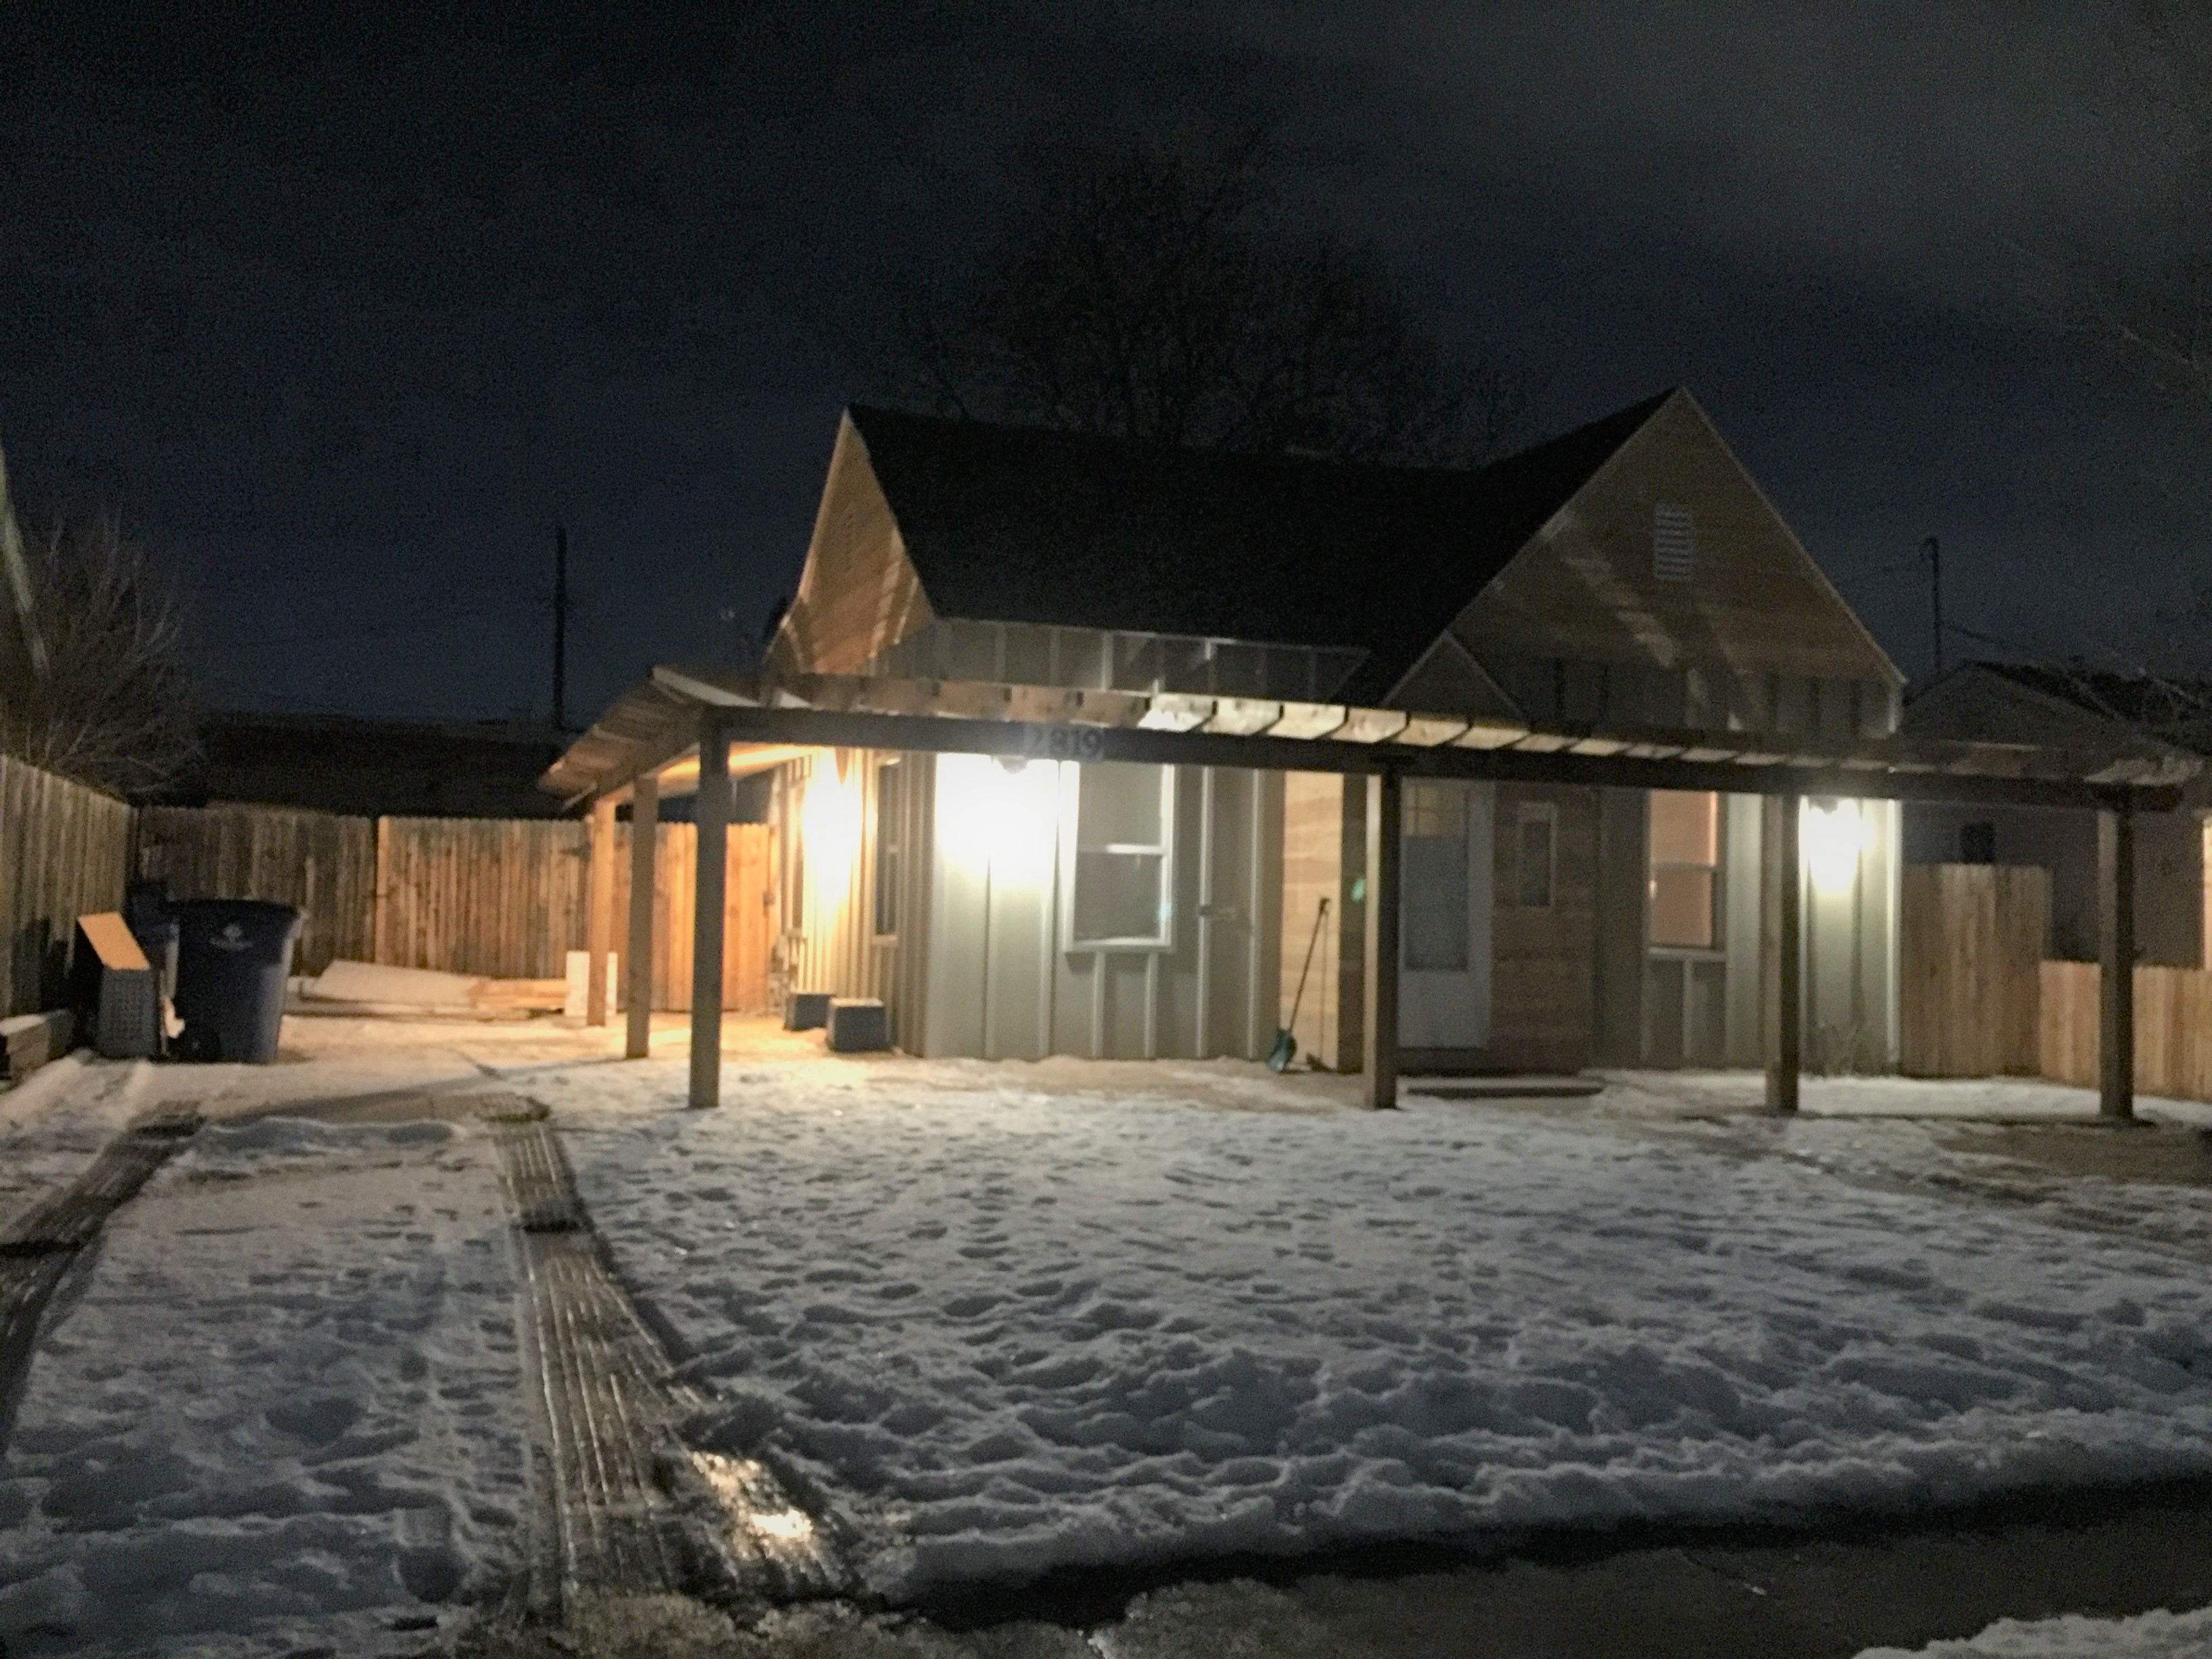
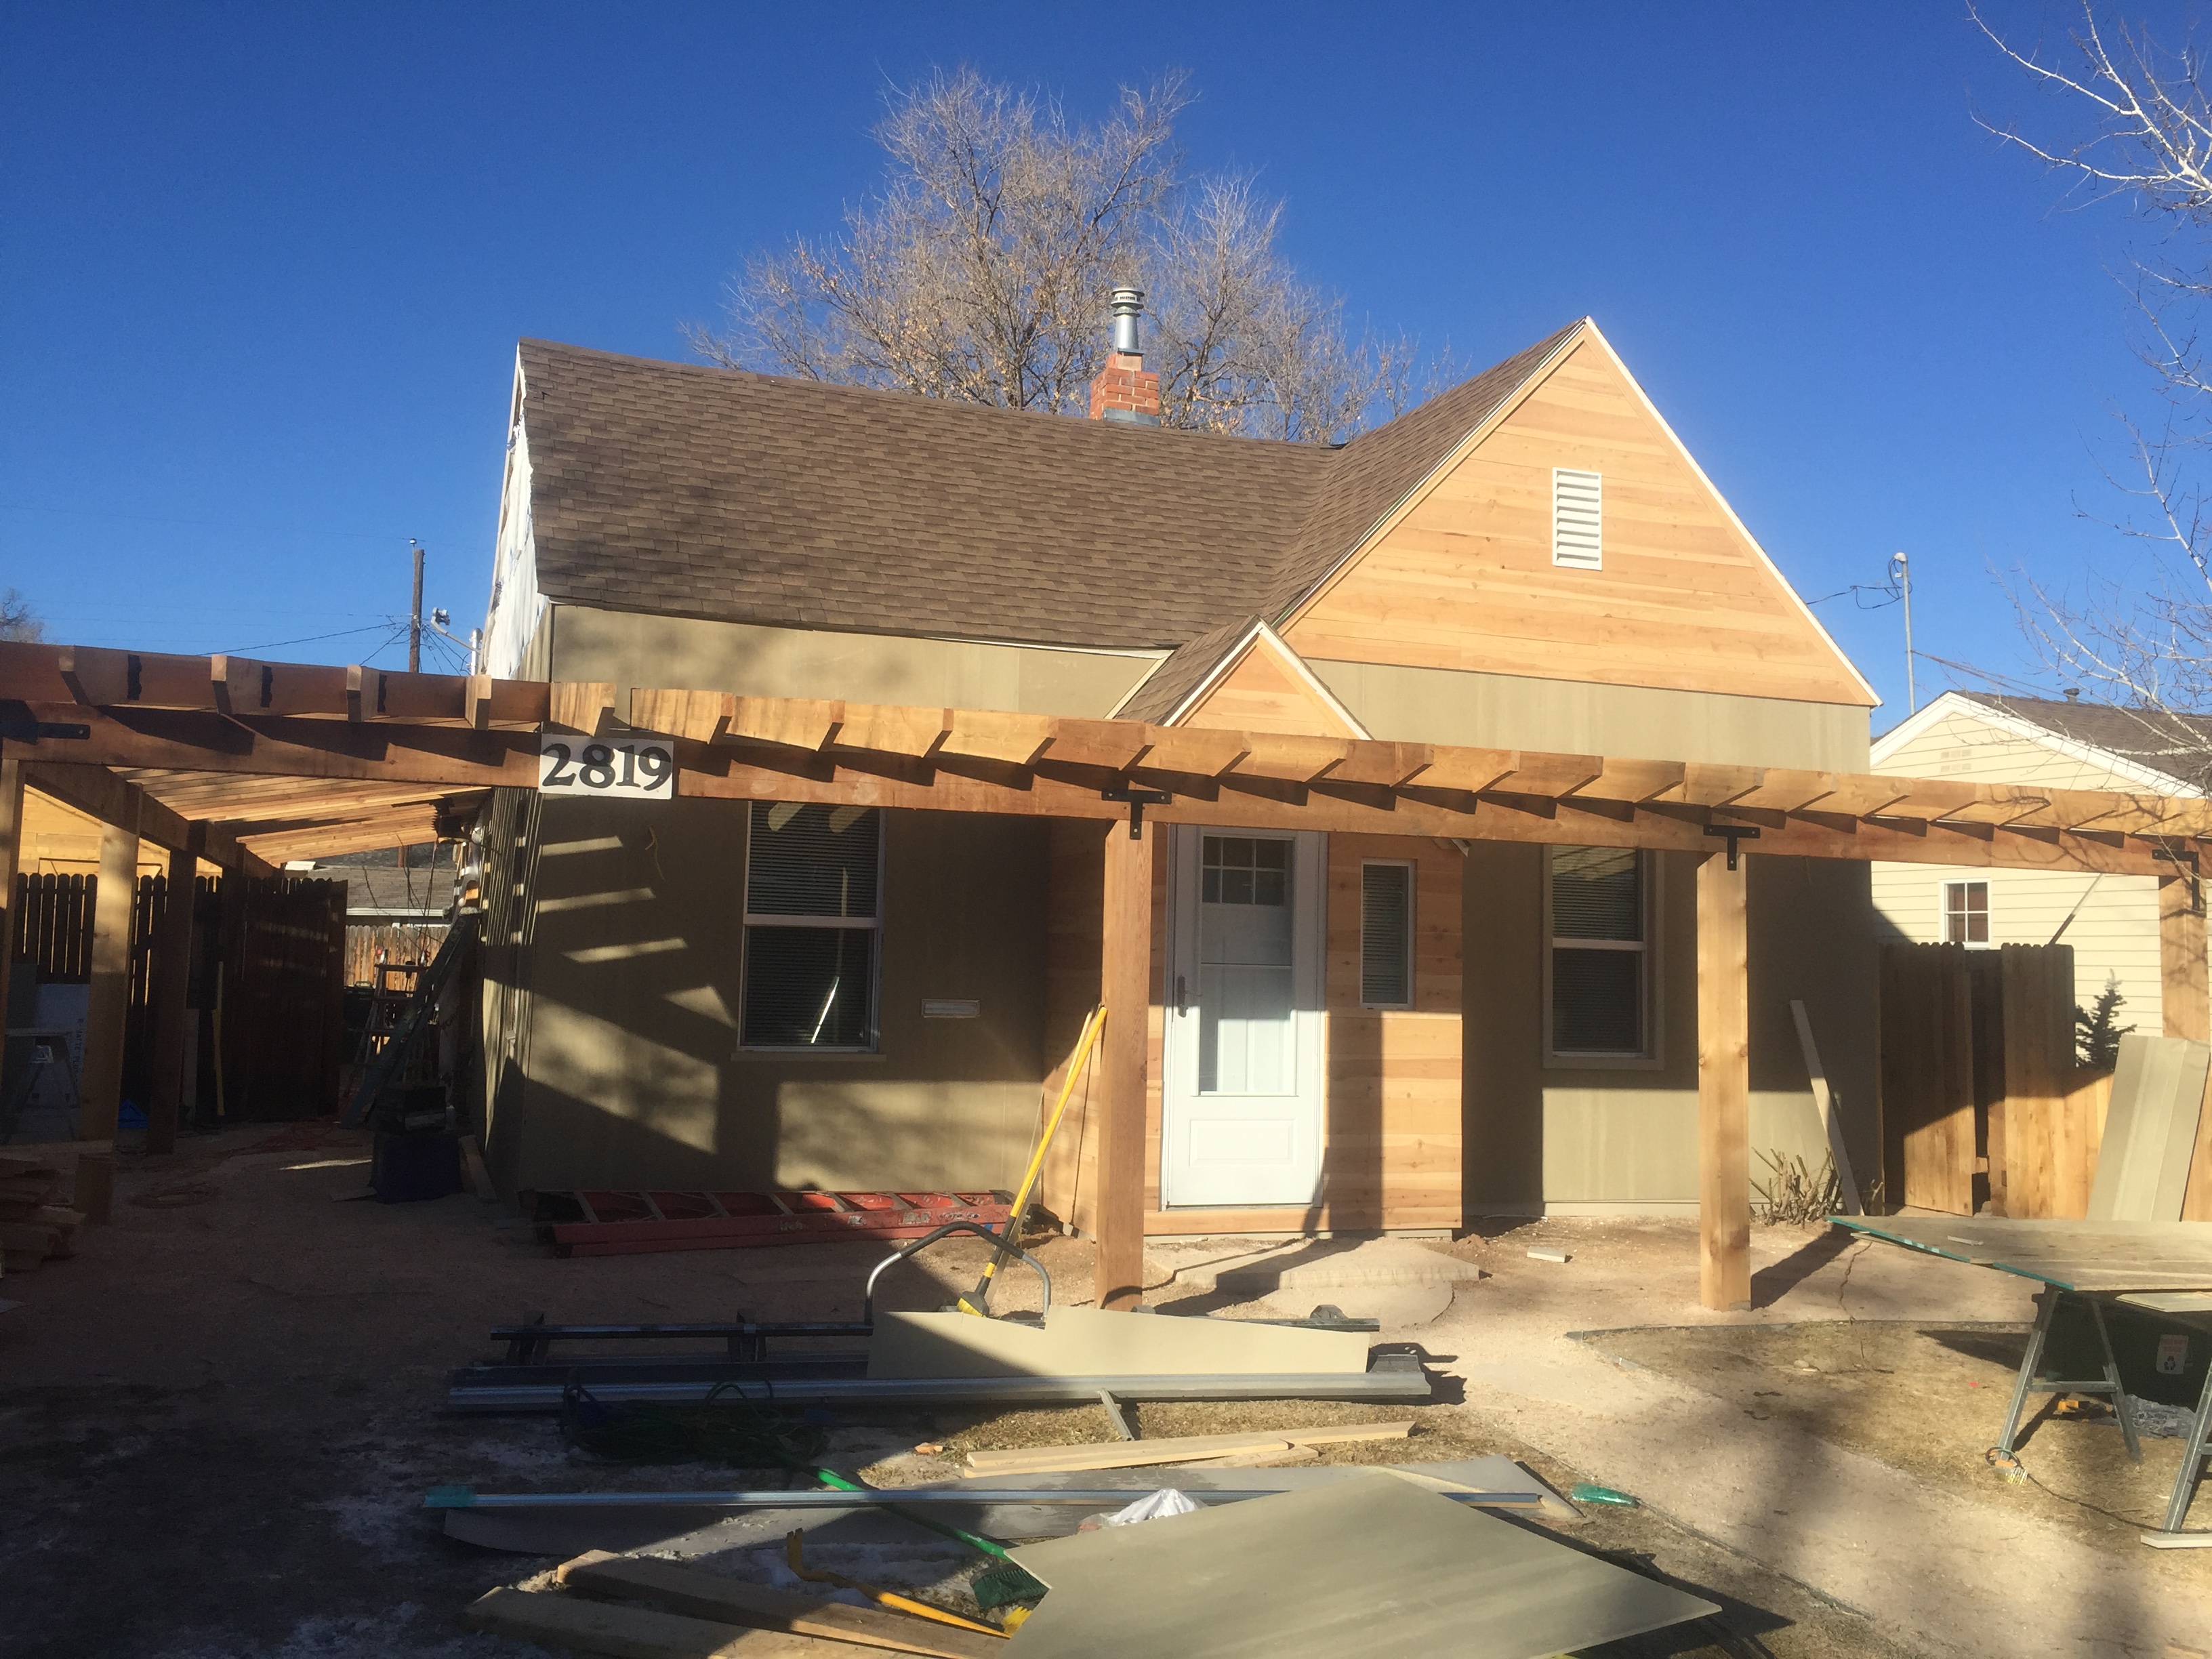
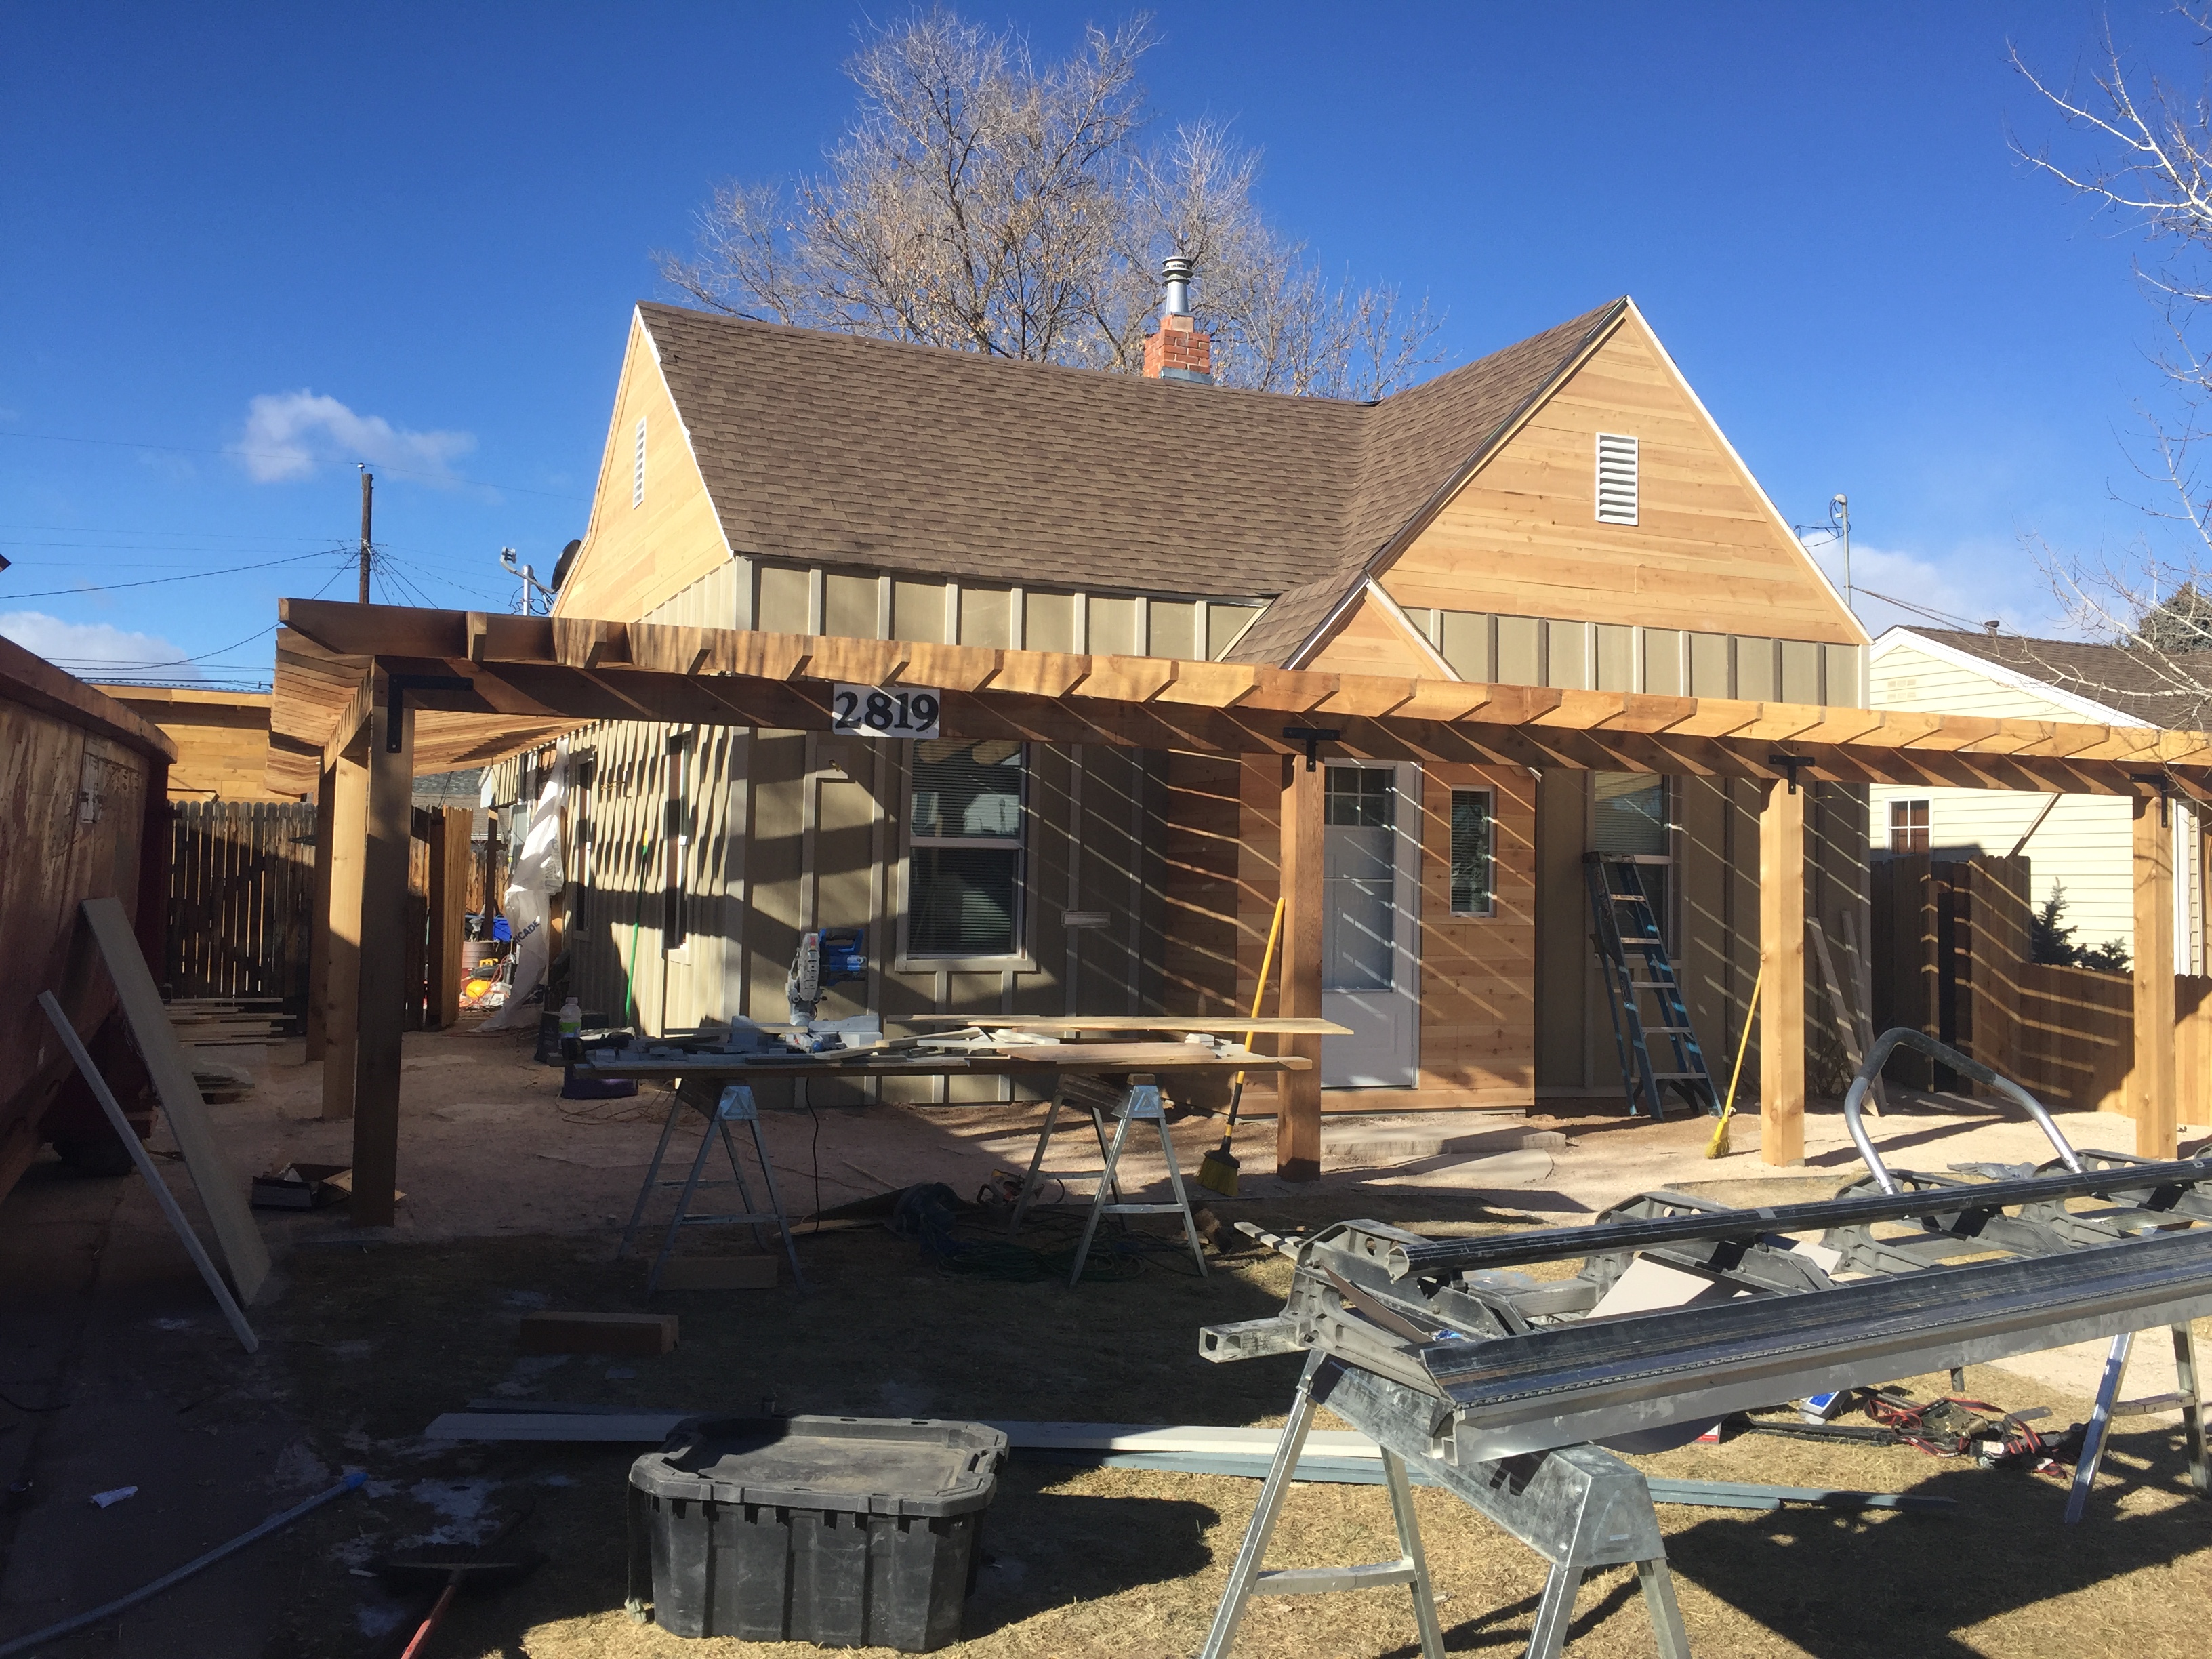
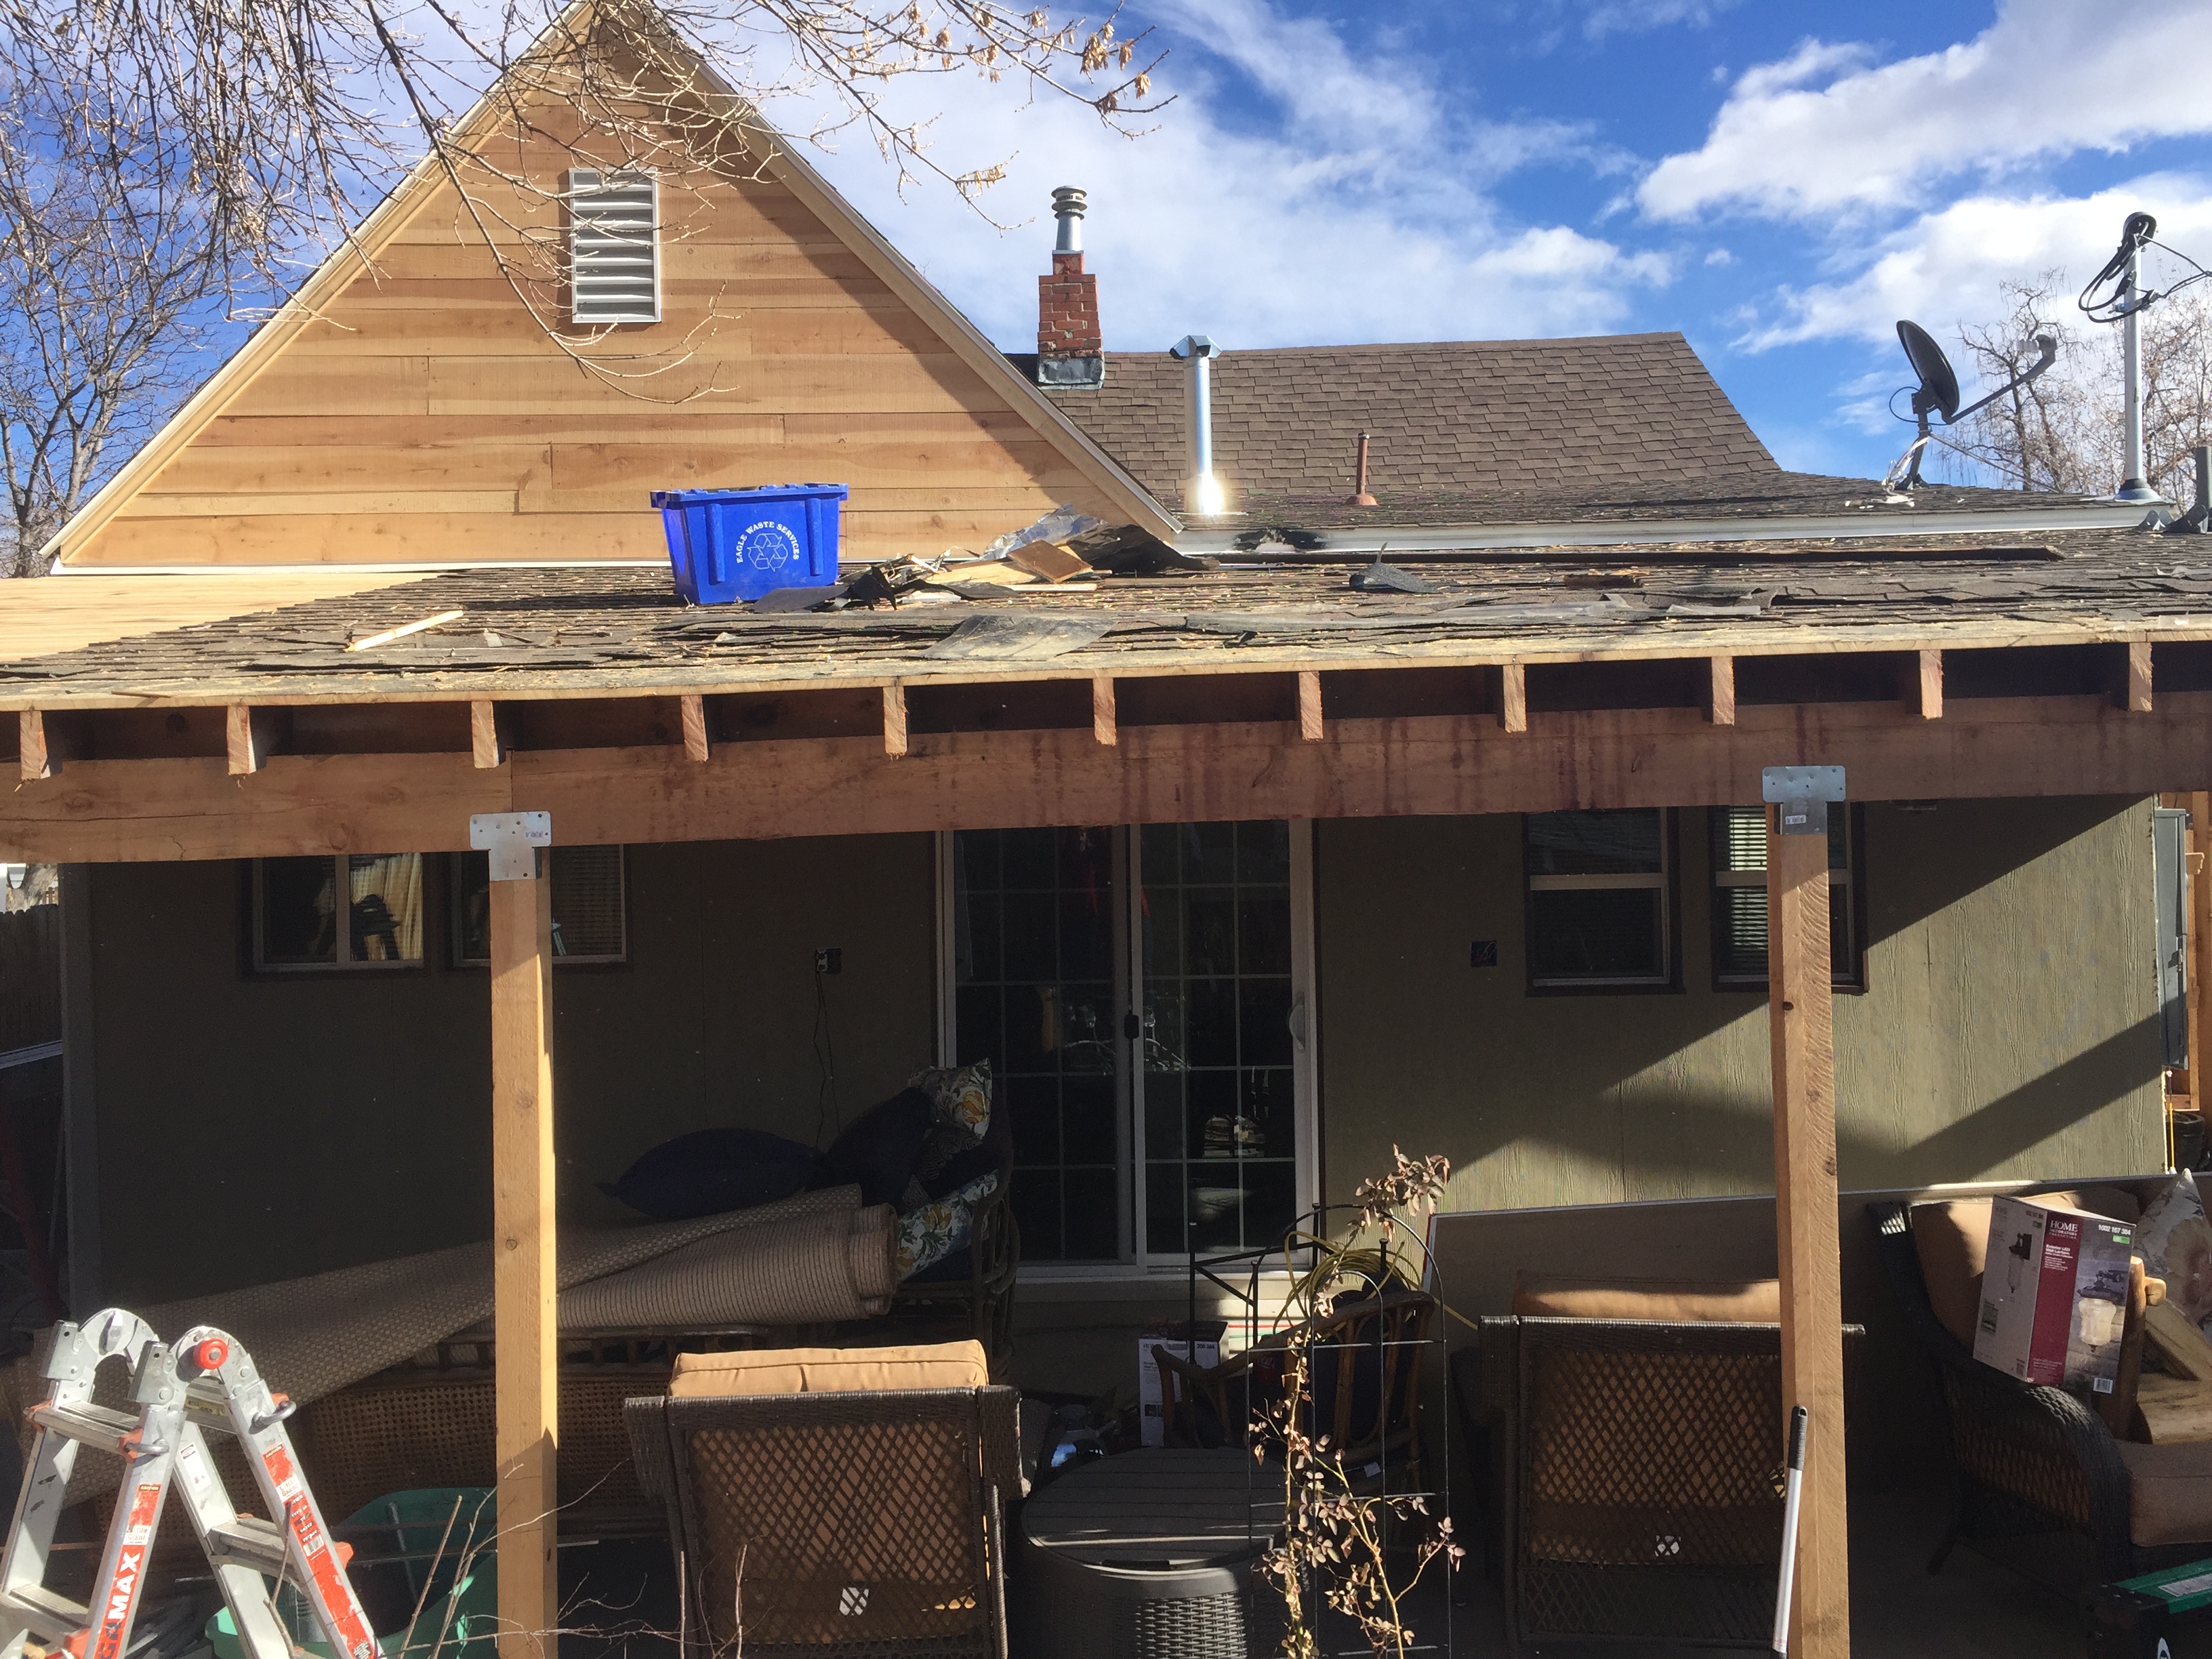
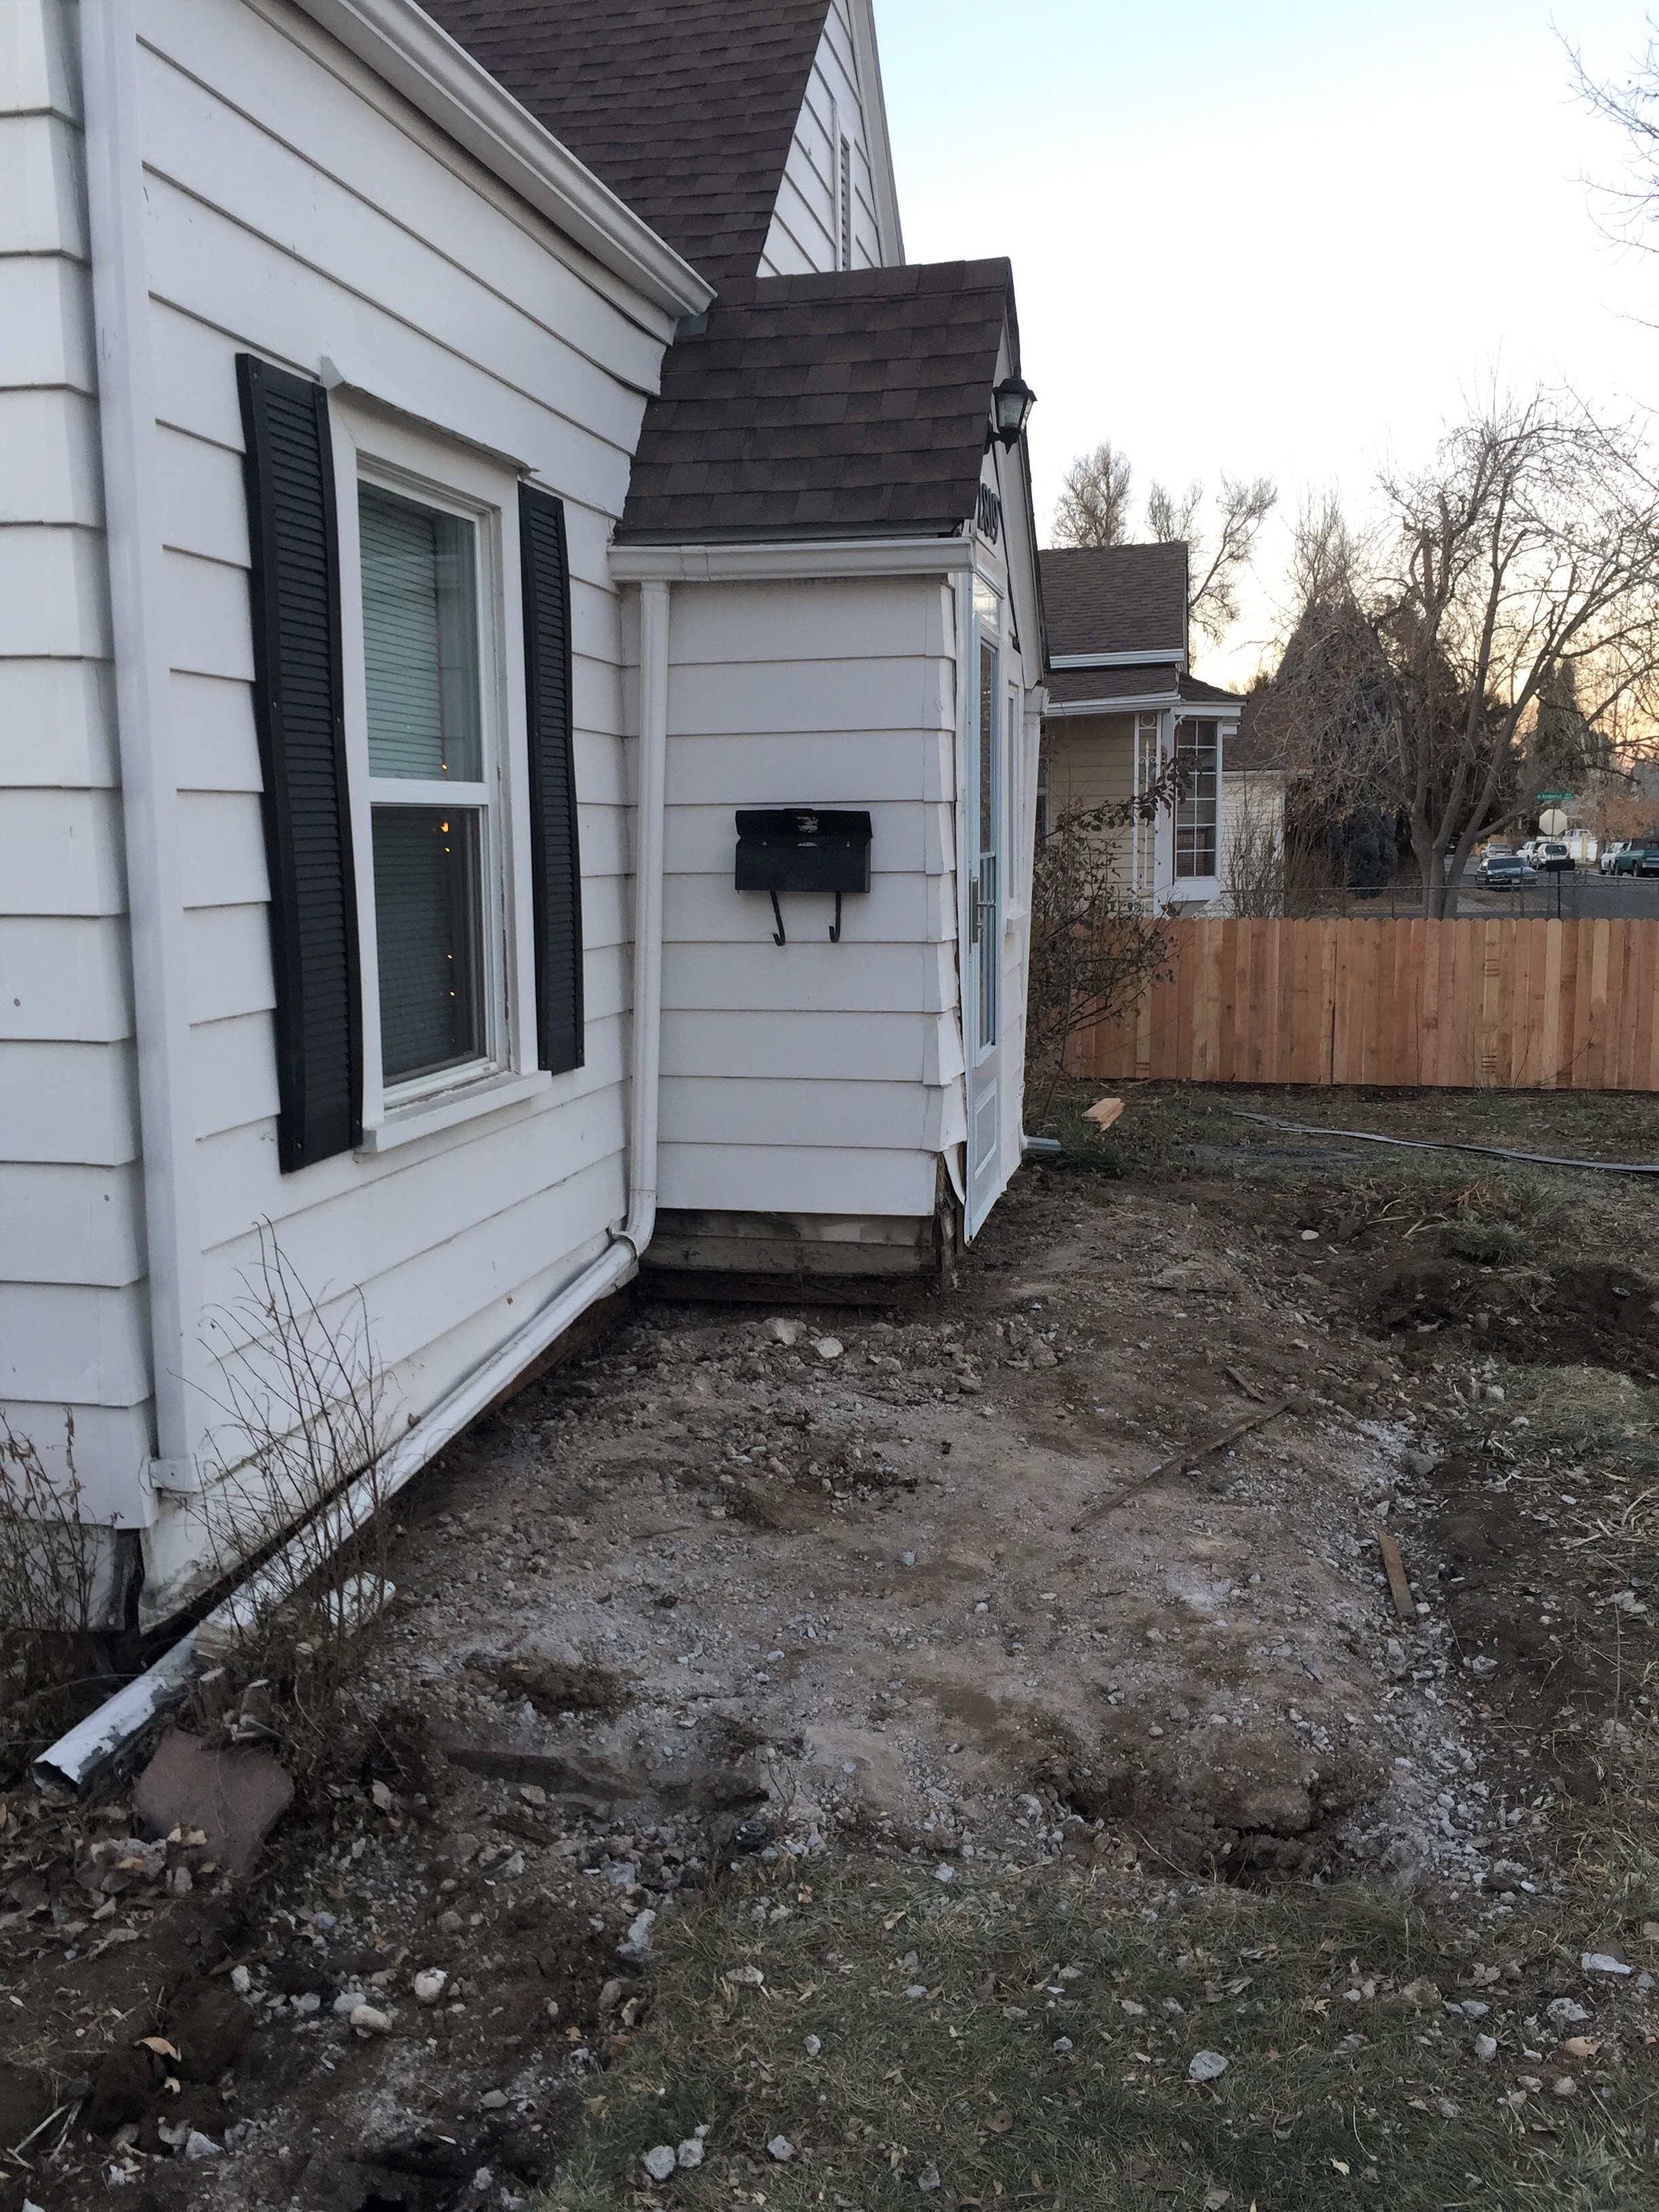
And I love the Cedar accents.All the gables will feature Cedar siding.The front door entry, Nice!Standing under the arbor gives a sense of space. Even though its open above, you still feel like you’re somewhere special.I expect the new patio door to arrive this week. This wall is waiting to be opened up so I don’t have a hole in the side of my house while we wait for the door to arrive.
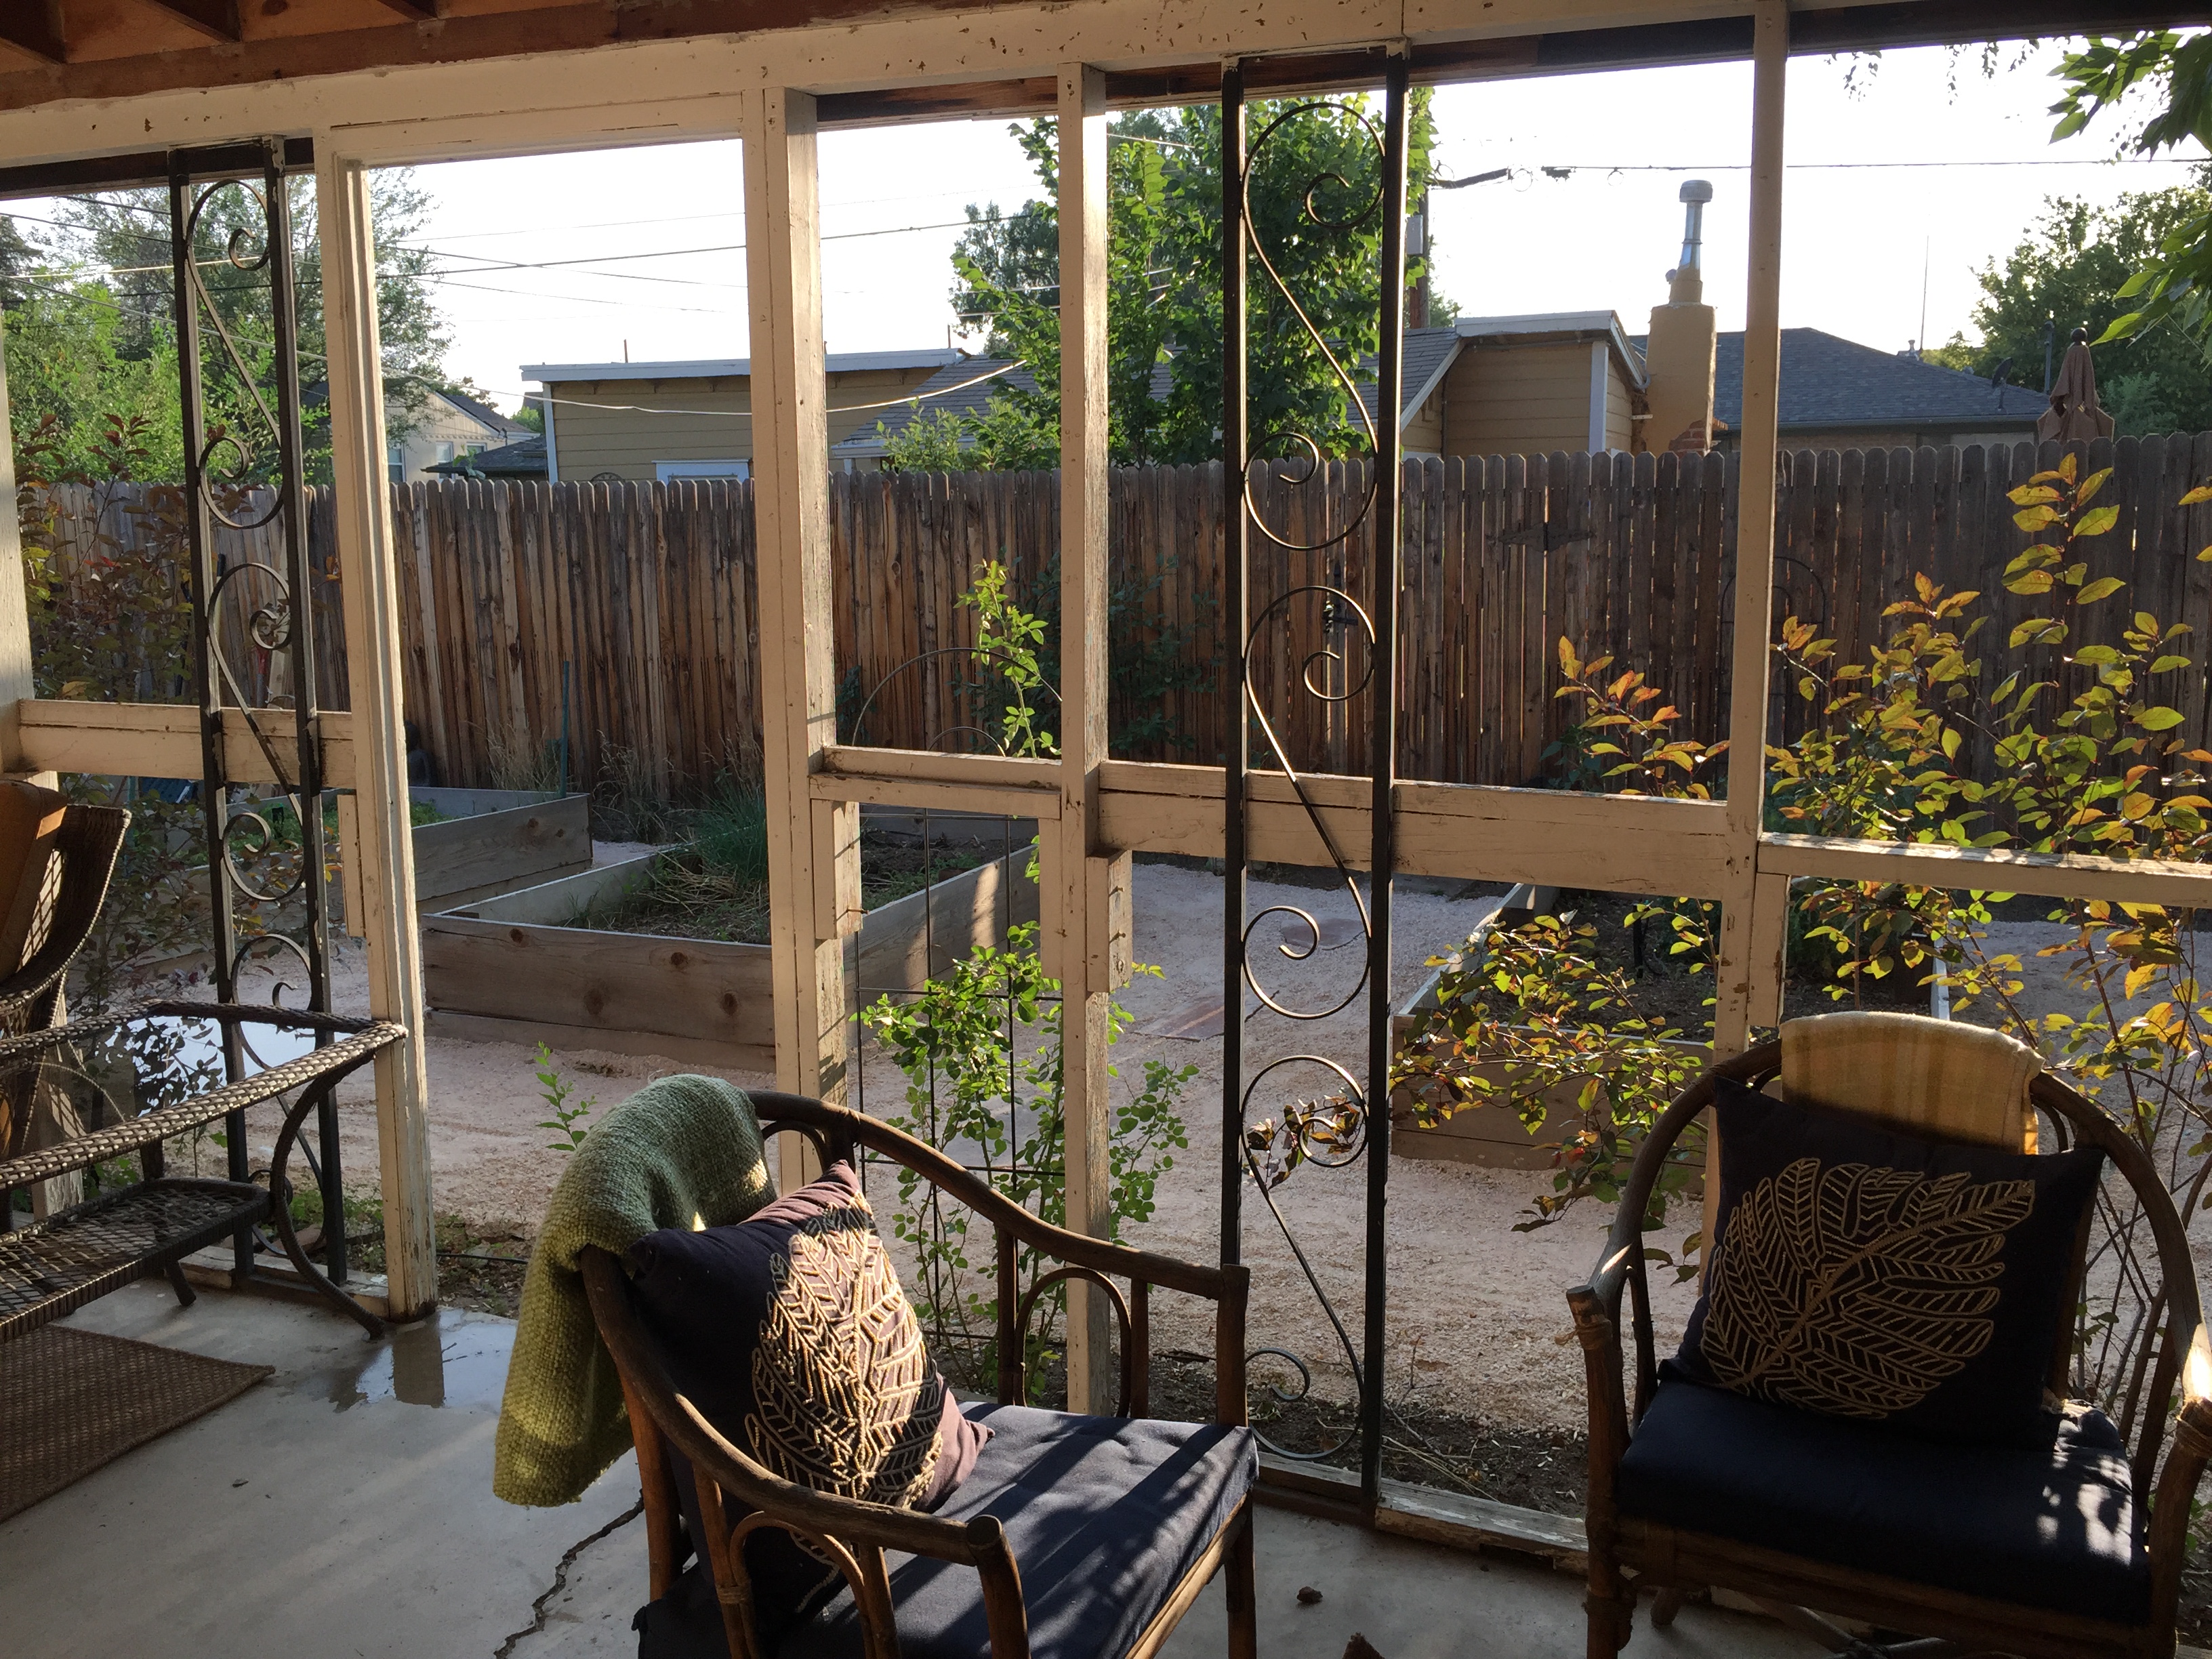
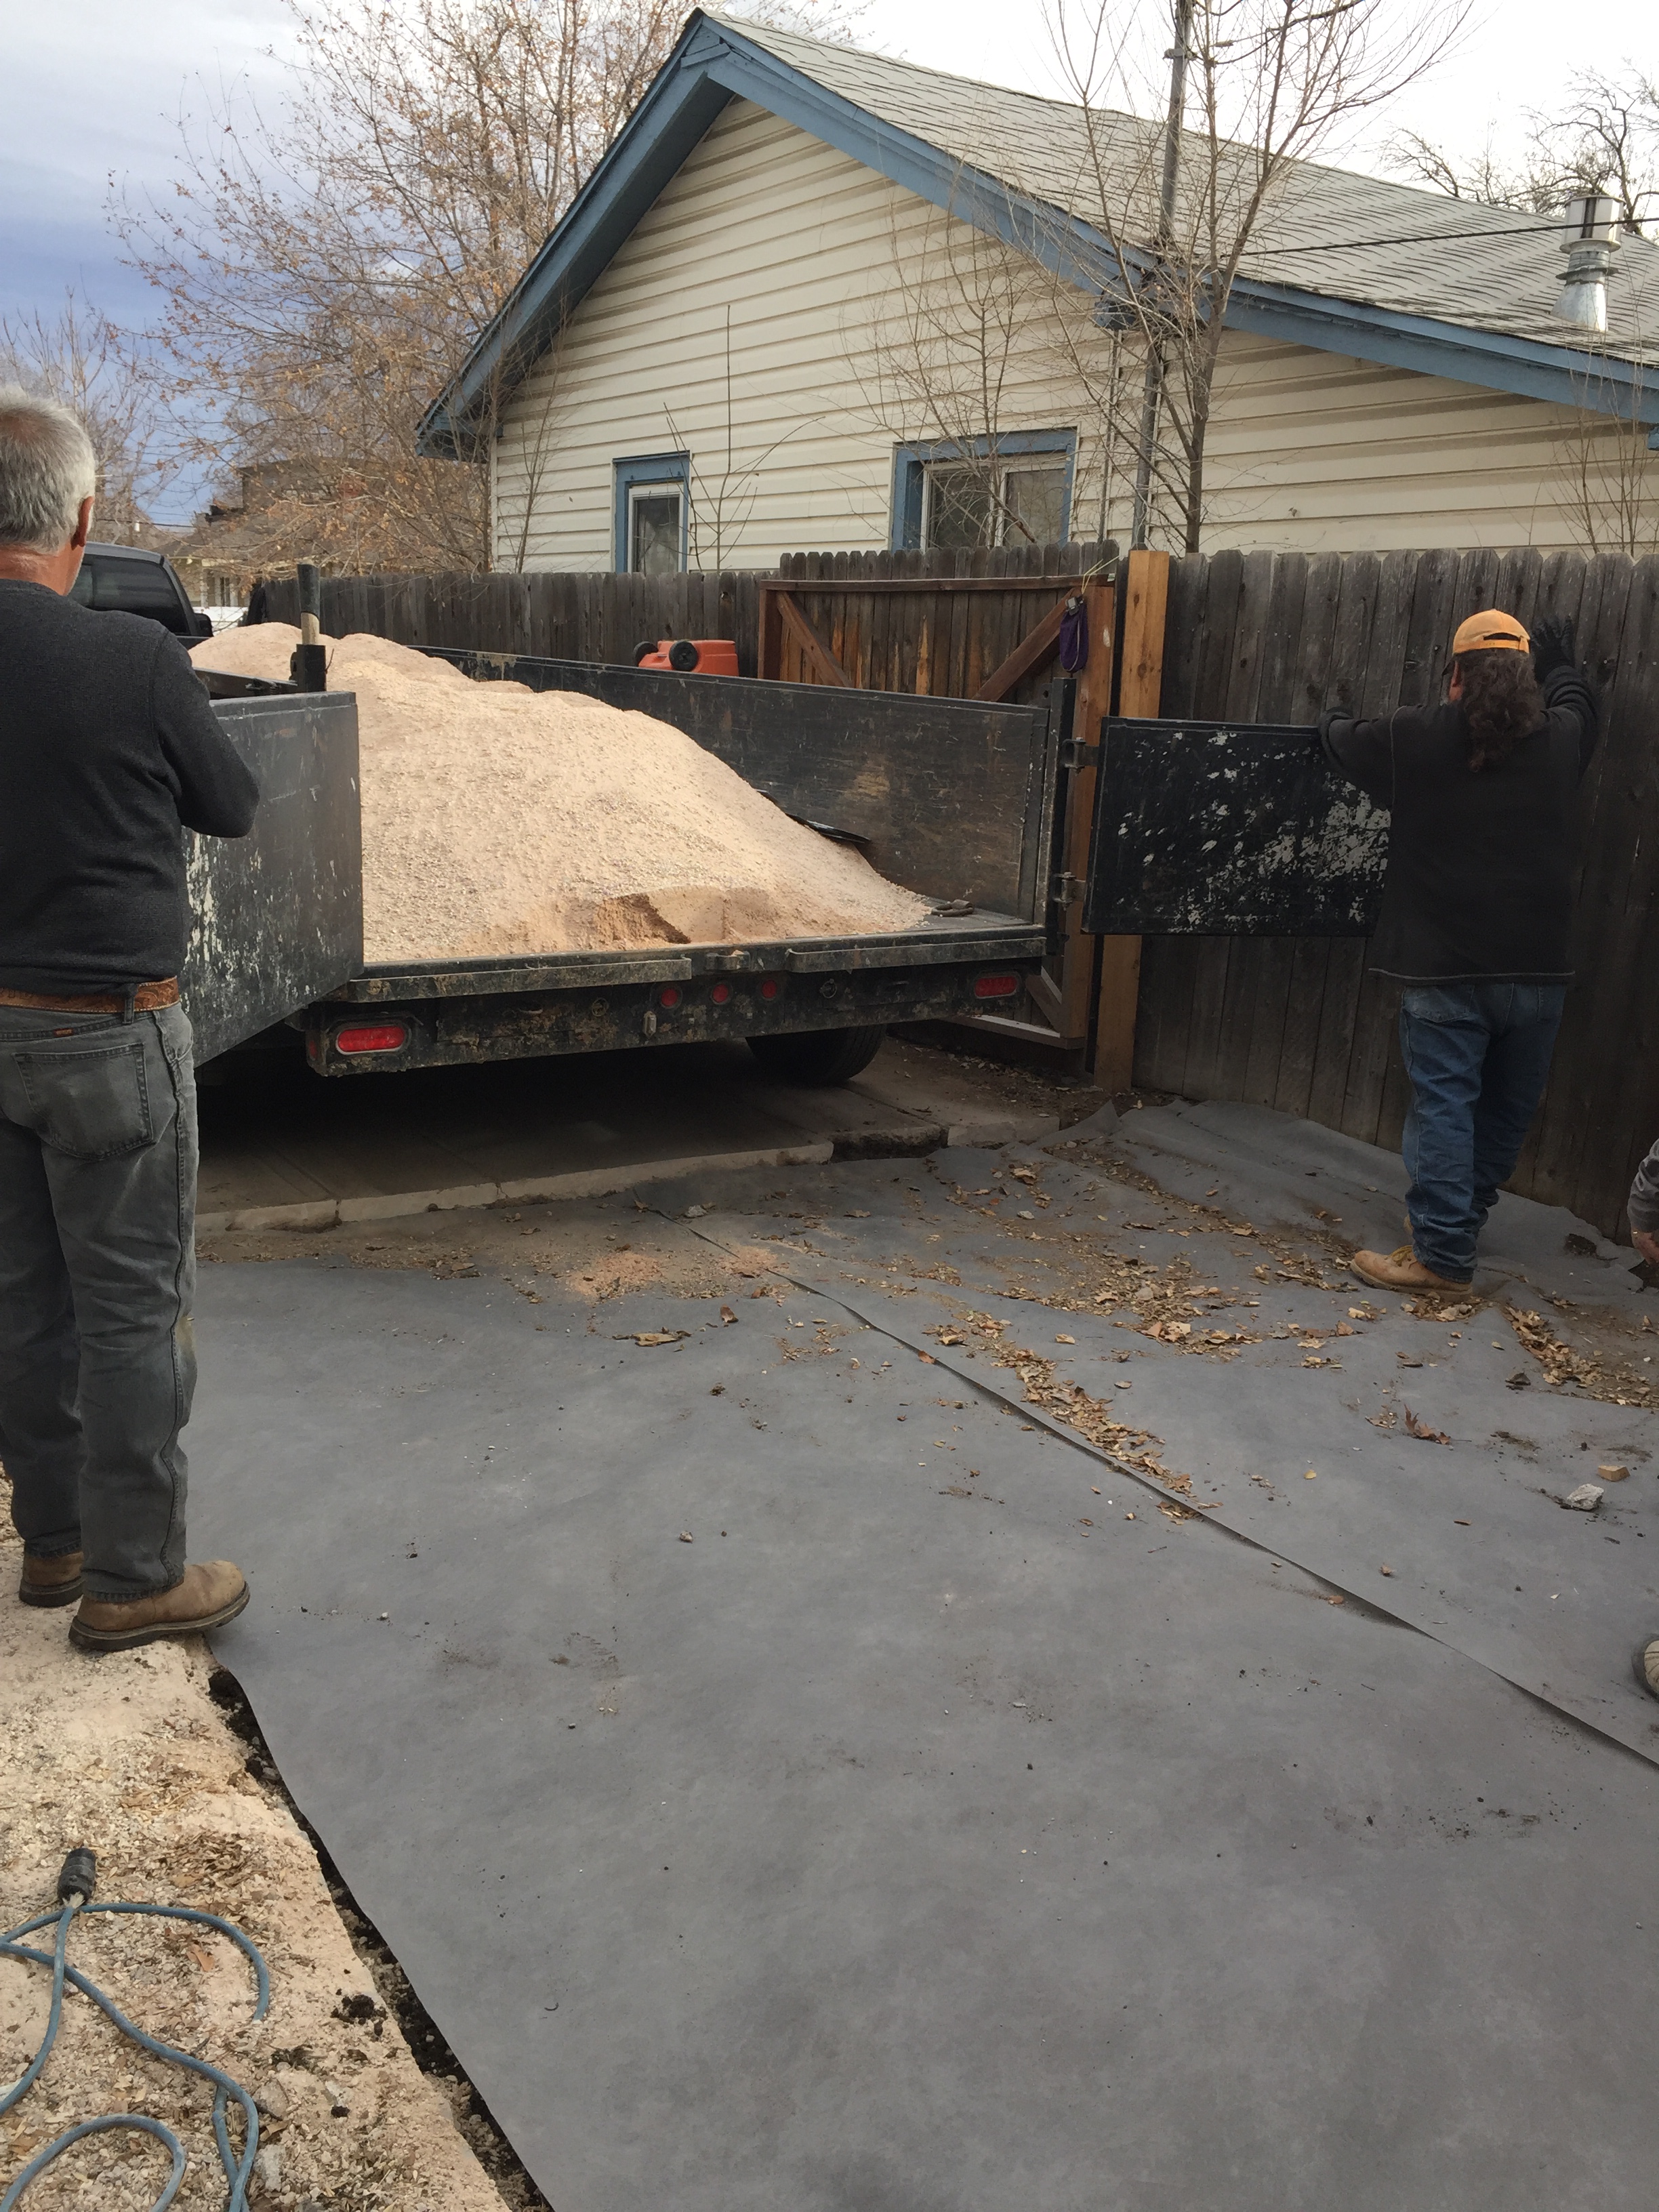
One of the challenges with any project is to recognize areas that are an eyesore and find a way to make them fun features instead. Take this spot. Currently, I have a gate from the driveway to the back yard, utility boxed (electric panel, sprinkler system, cable box, etc) mounted on the outside wall and my new outdoor seating area just to the right of this pic. With the new arbor overhead and the forthcoming sliding patio door, I can see that this will likely be the door I use the most, especially when unloading groceries into the kitchen. Once the slider in is, I’ll move the gate, add a flagstone step under the new slider and have a welcoming back door entry to the house. This spot will become a focal point and mush used area.
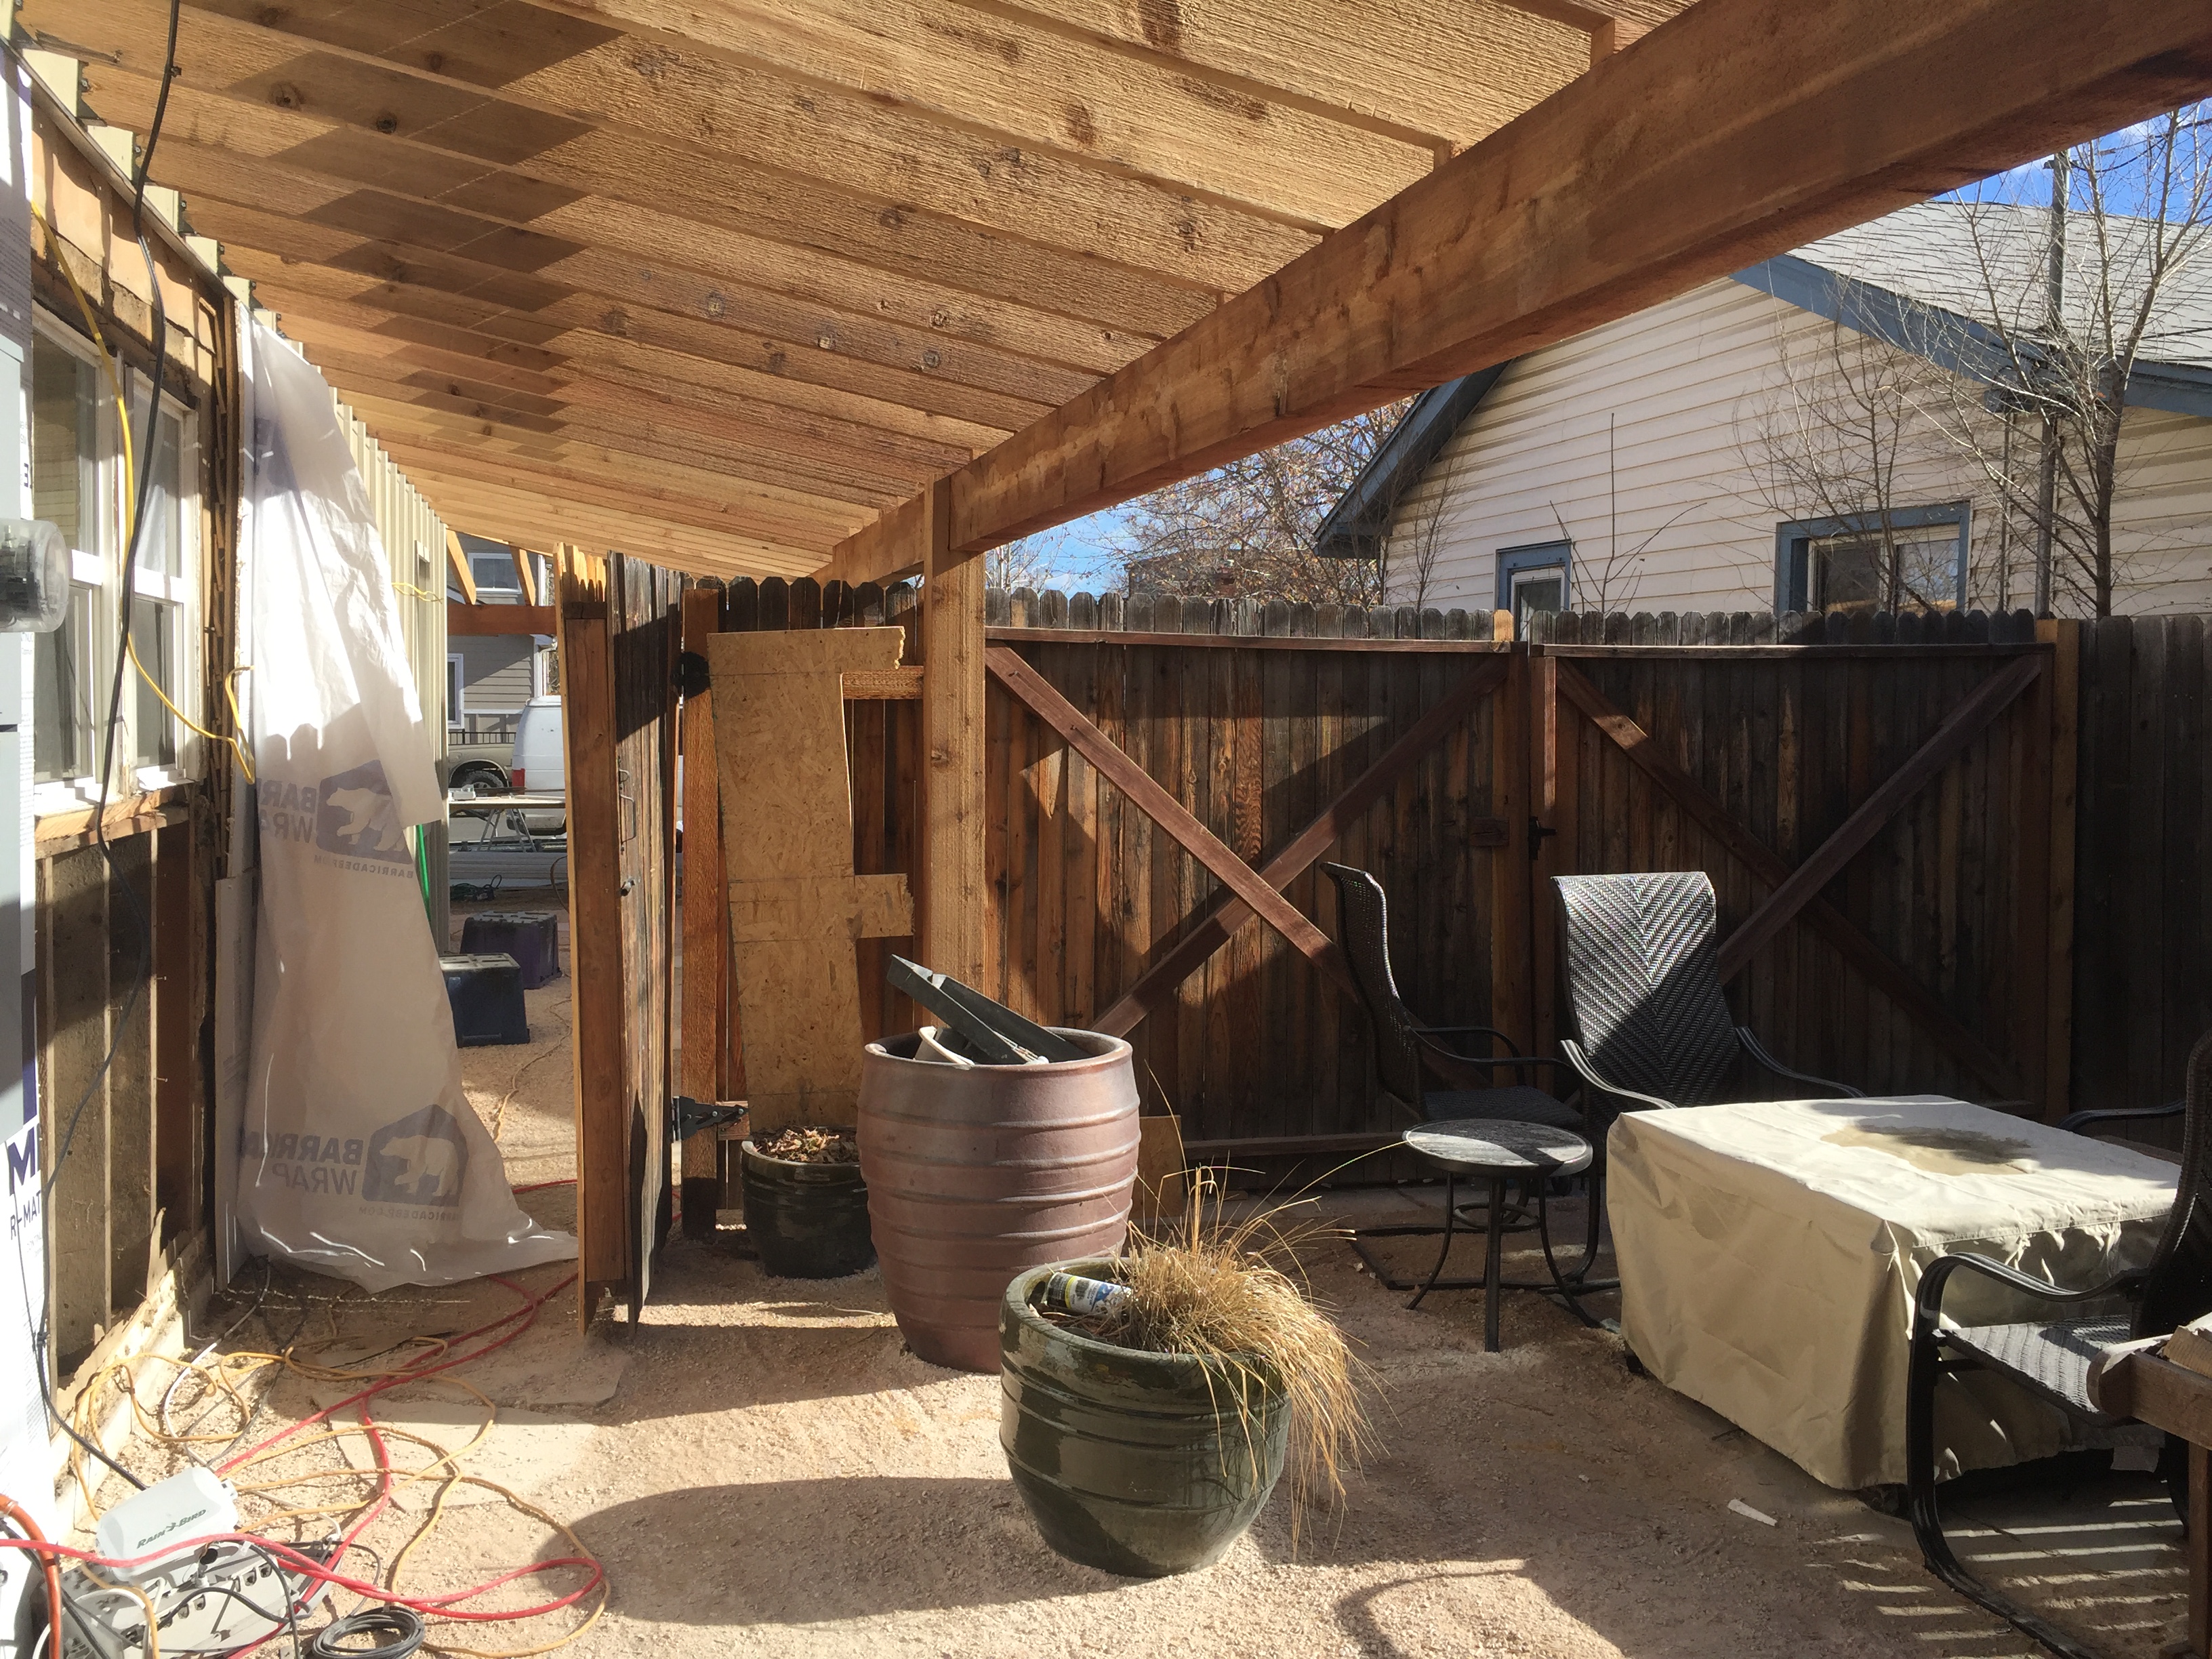
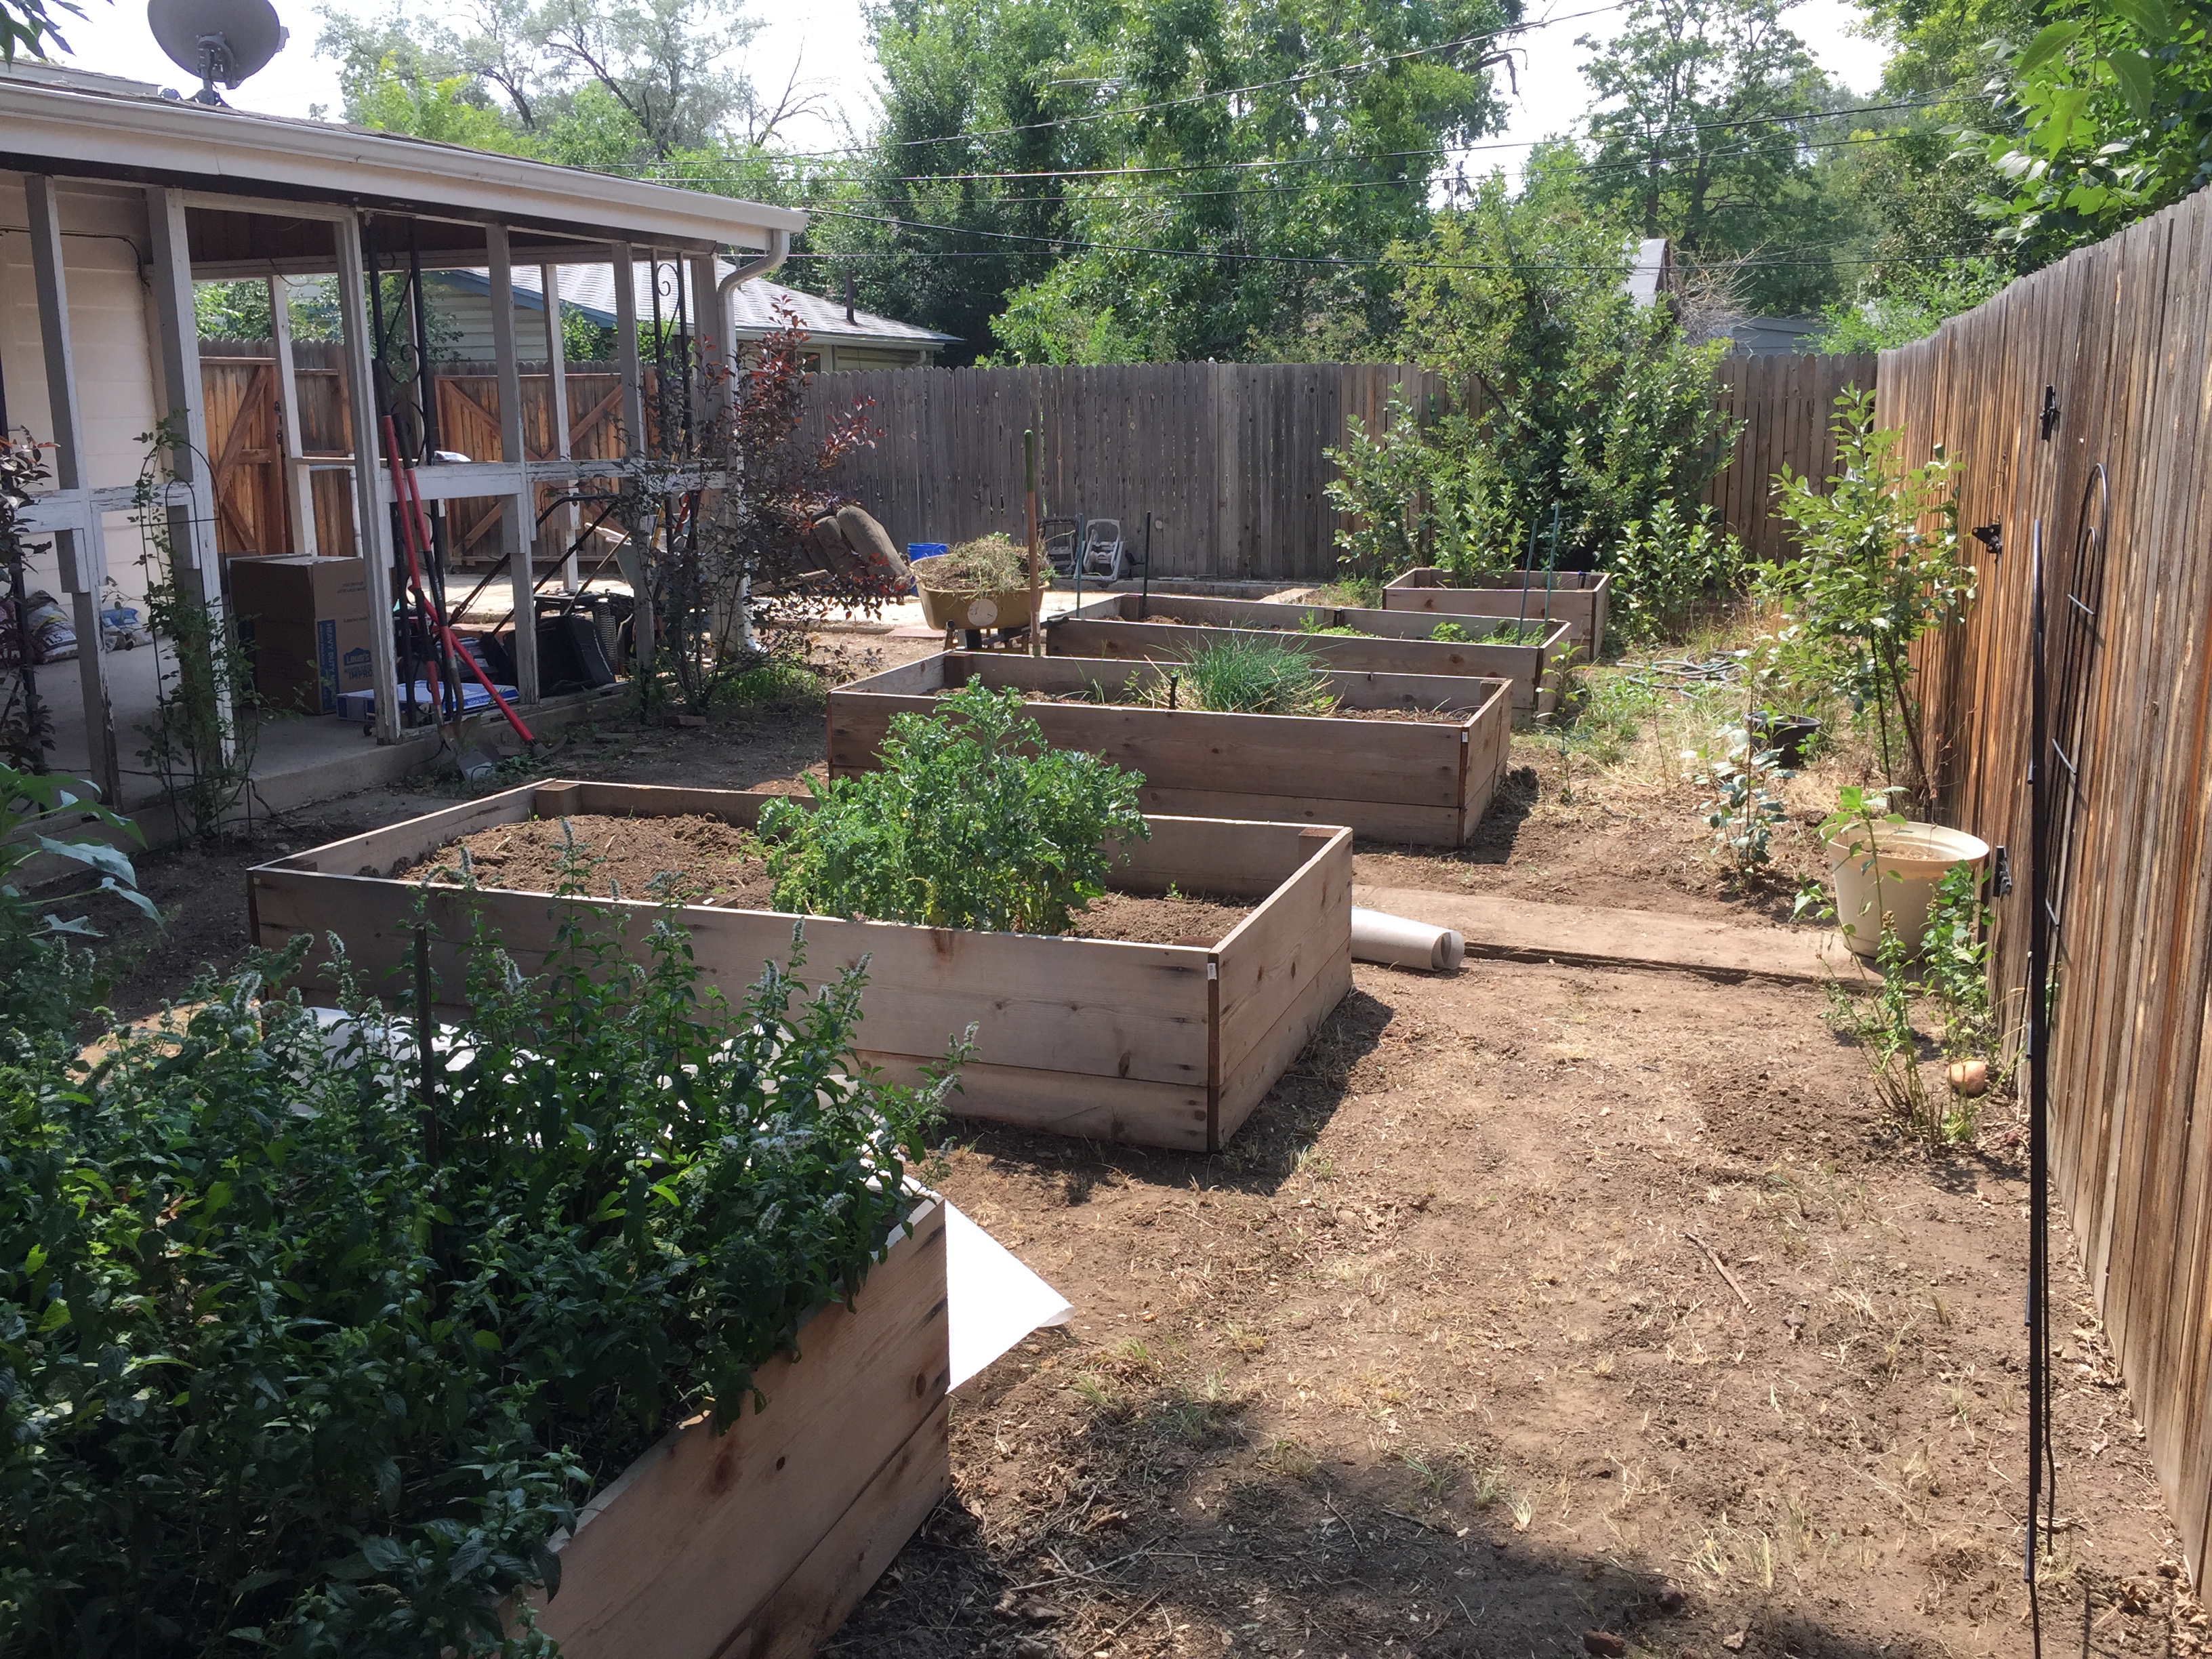
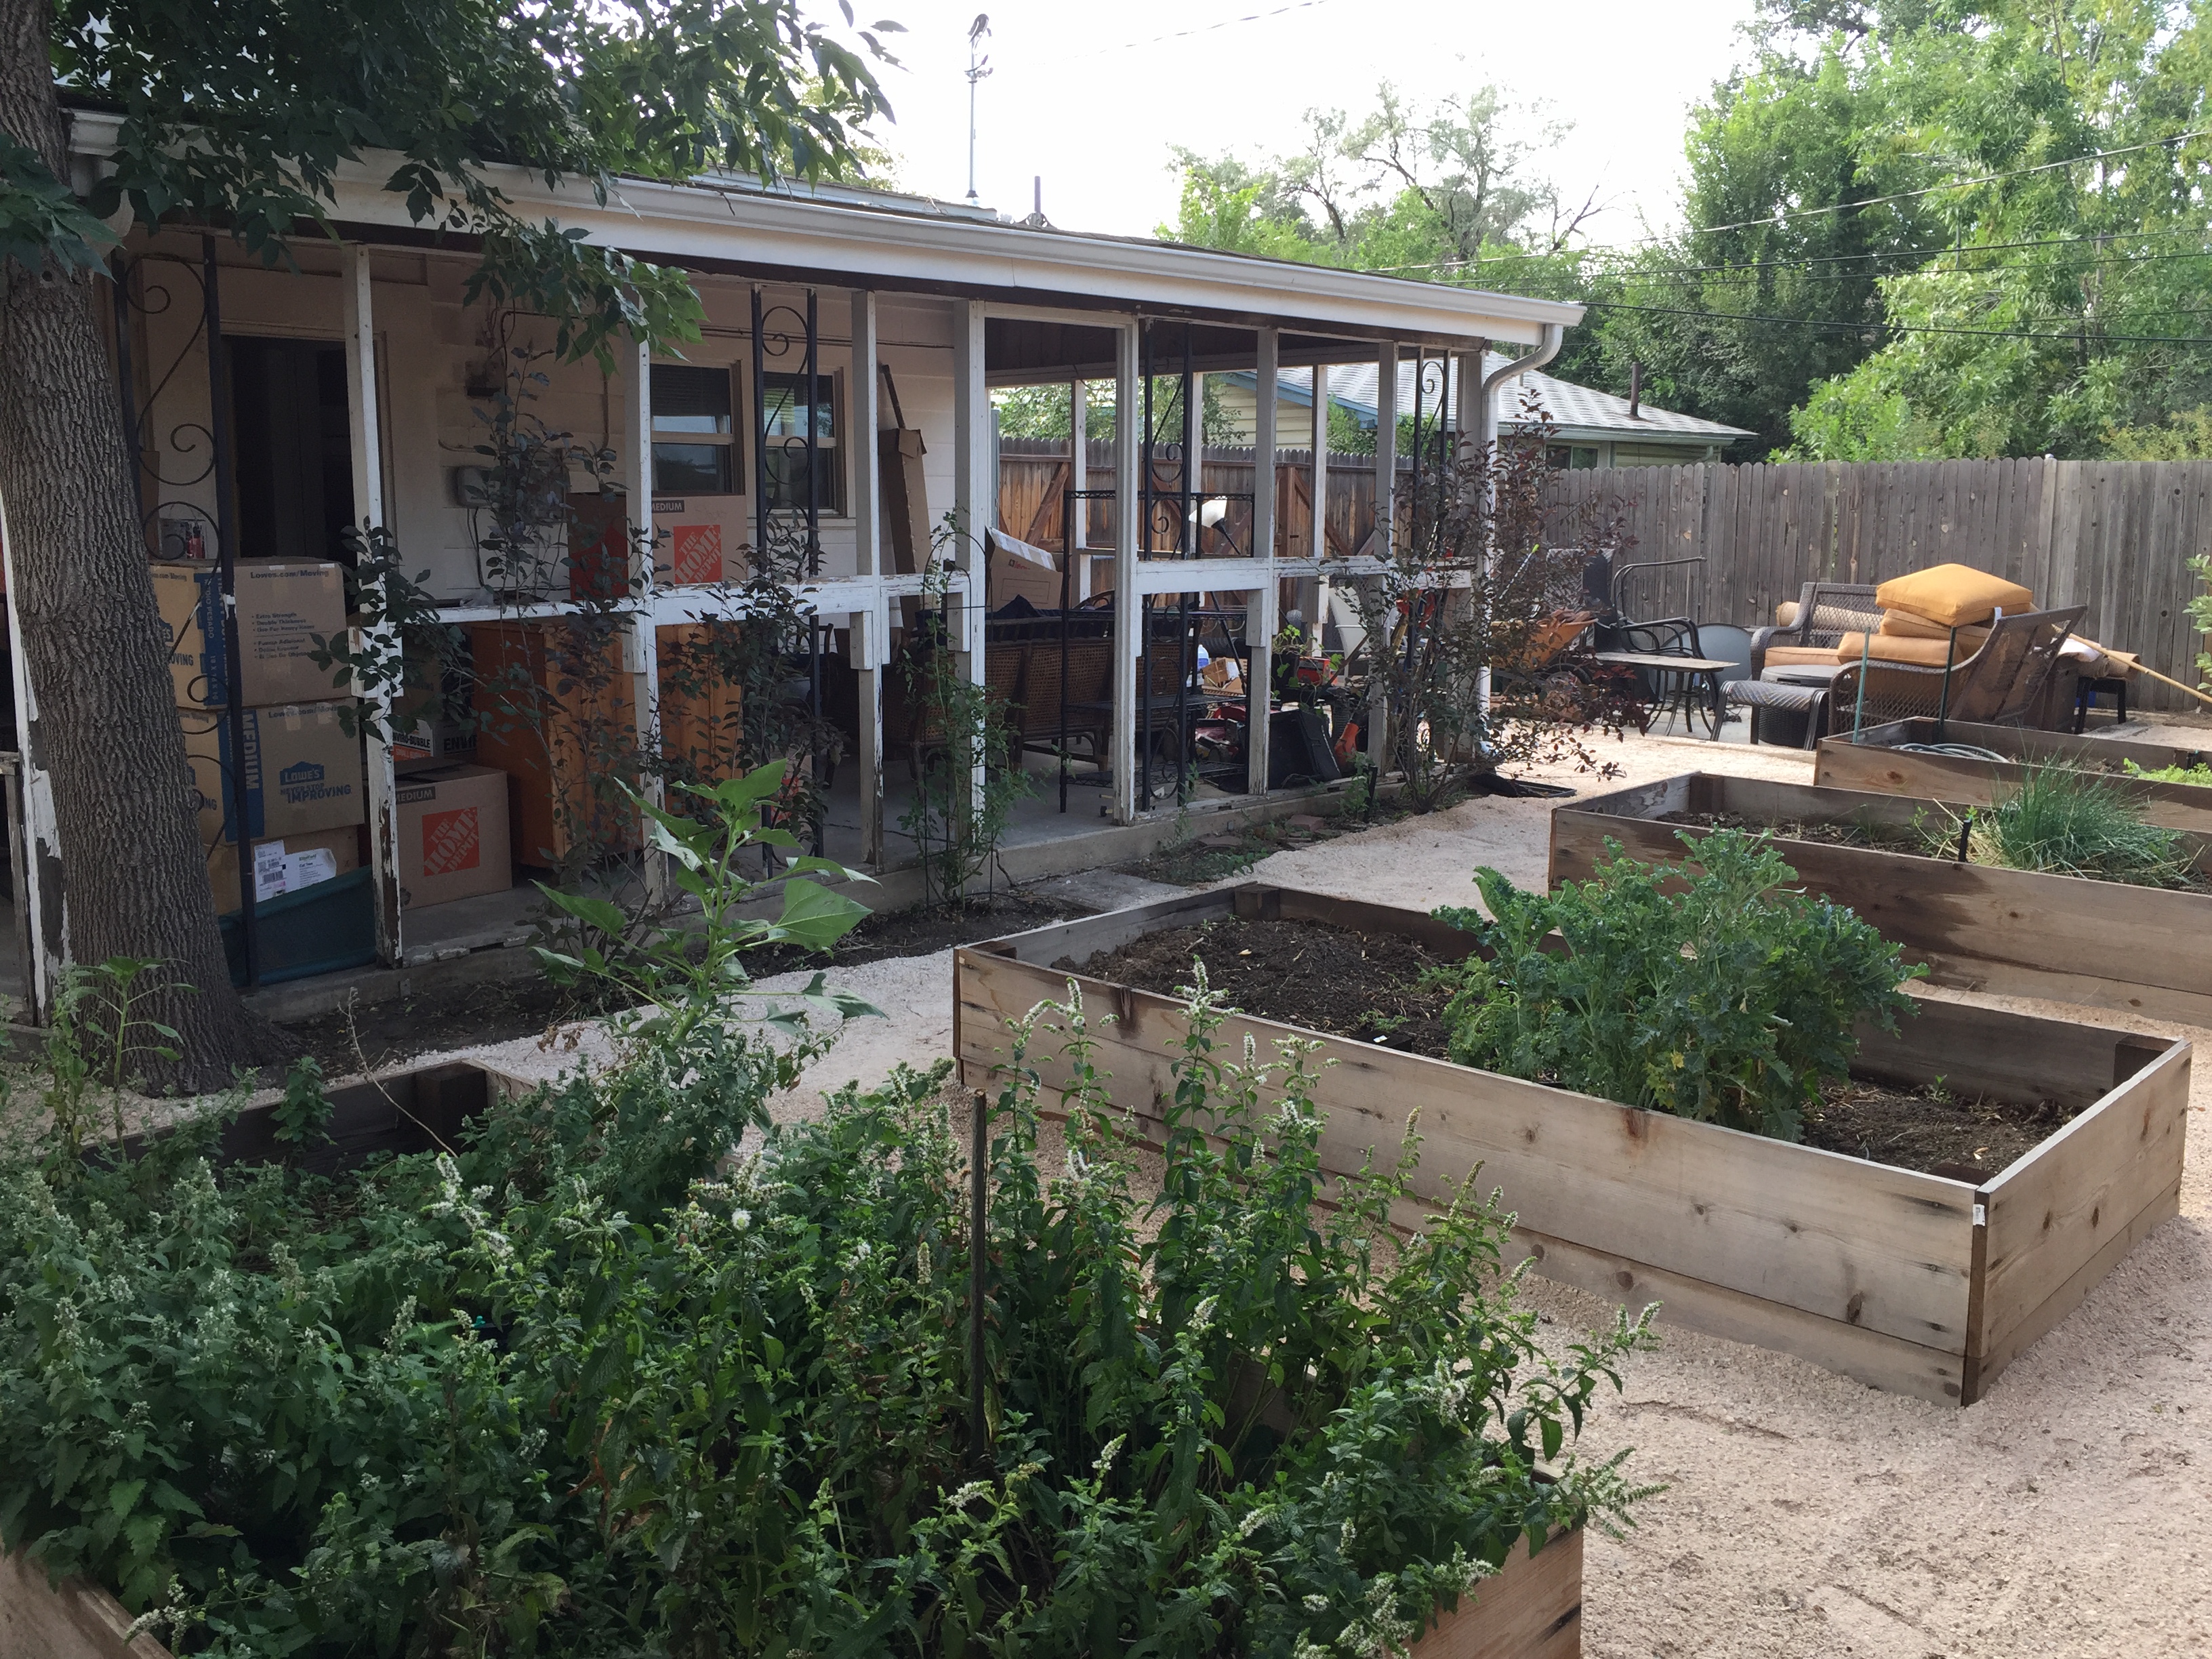
This area will become the back entry.We are lining the underside of the patio roof with tongue and groove Cedar paneling to match the existing patio roof.Wow, so much cleaner than the original back door and utilities mounted on the wall!View of the back porch from the yard.
With the new patio roof extension, I hoped to keep the old roofing shingles and add more to finish the new roof. However, considering the cost to replace or add, I decided to change it to variegated metal roofing instead. It’ll match the roofing on the shed and give the back yard a farmhouse vibe. $$ Cha-ching!
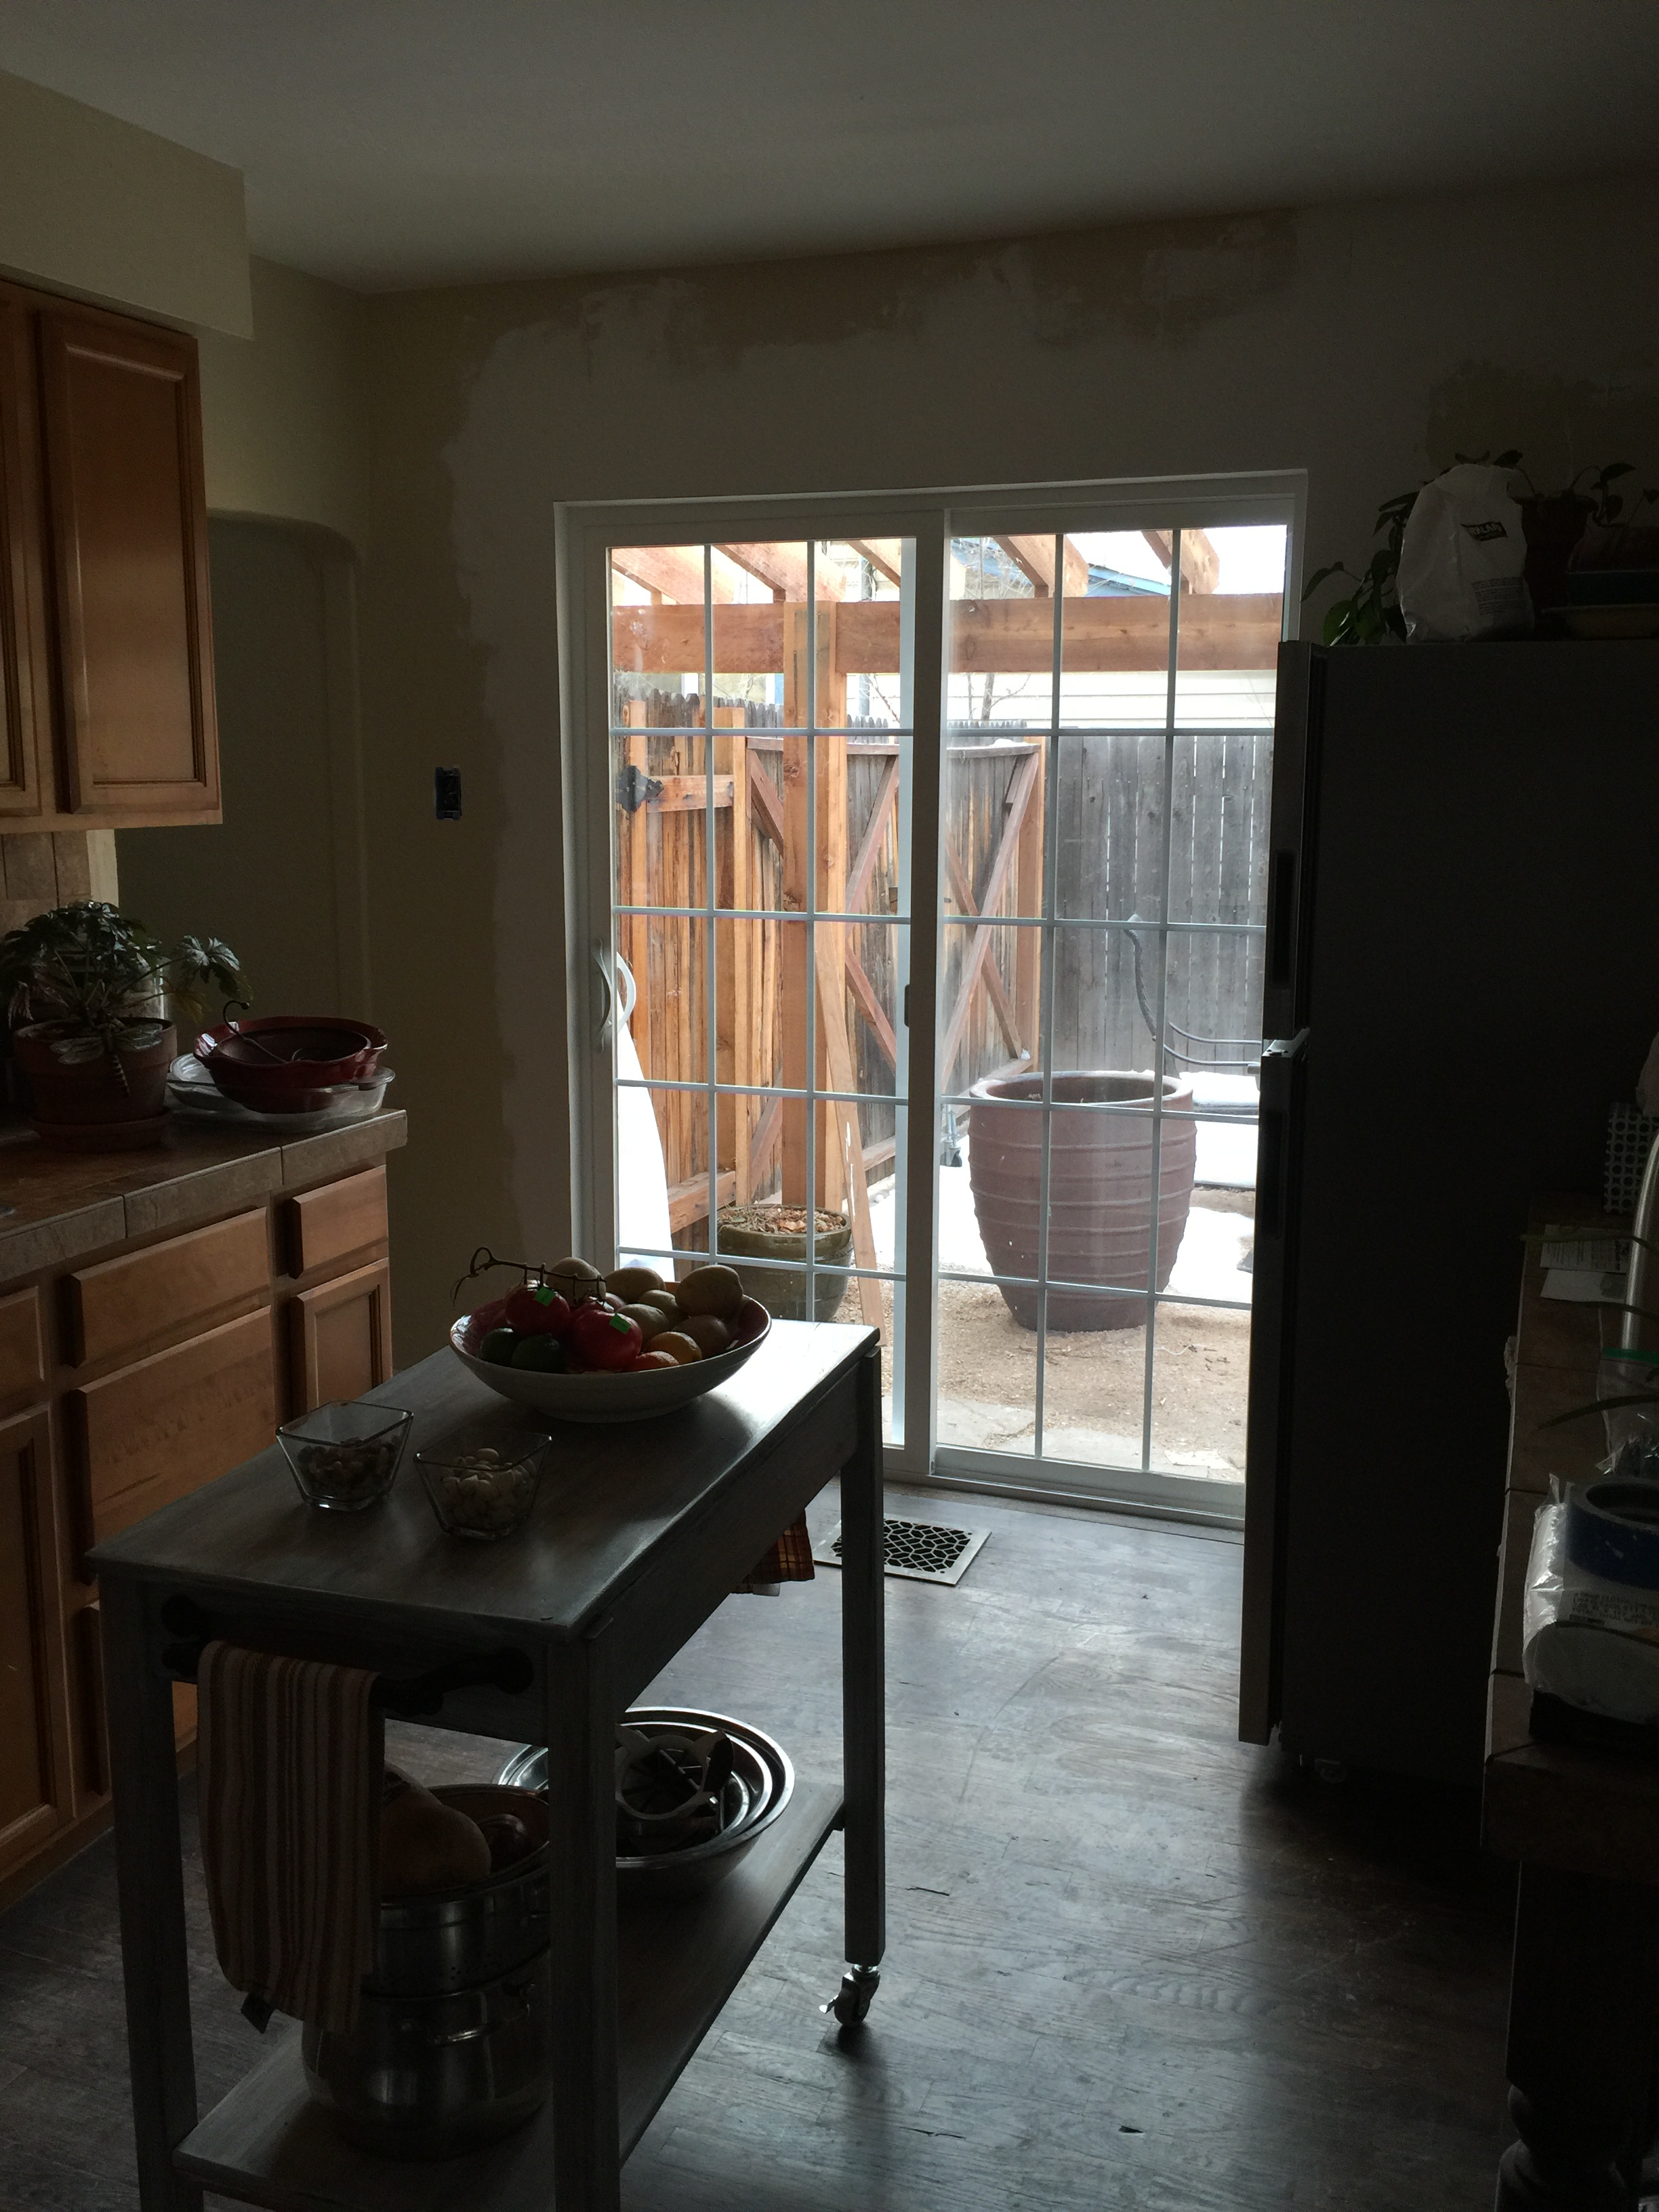
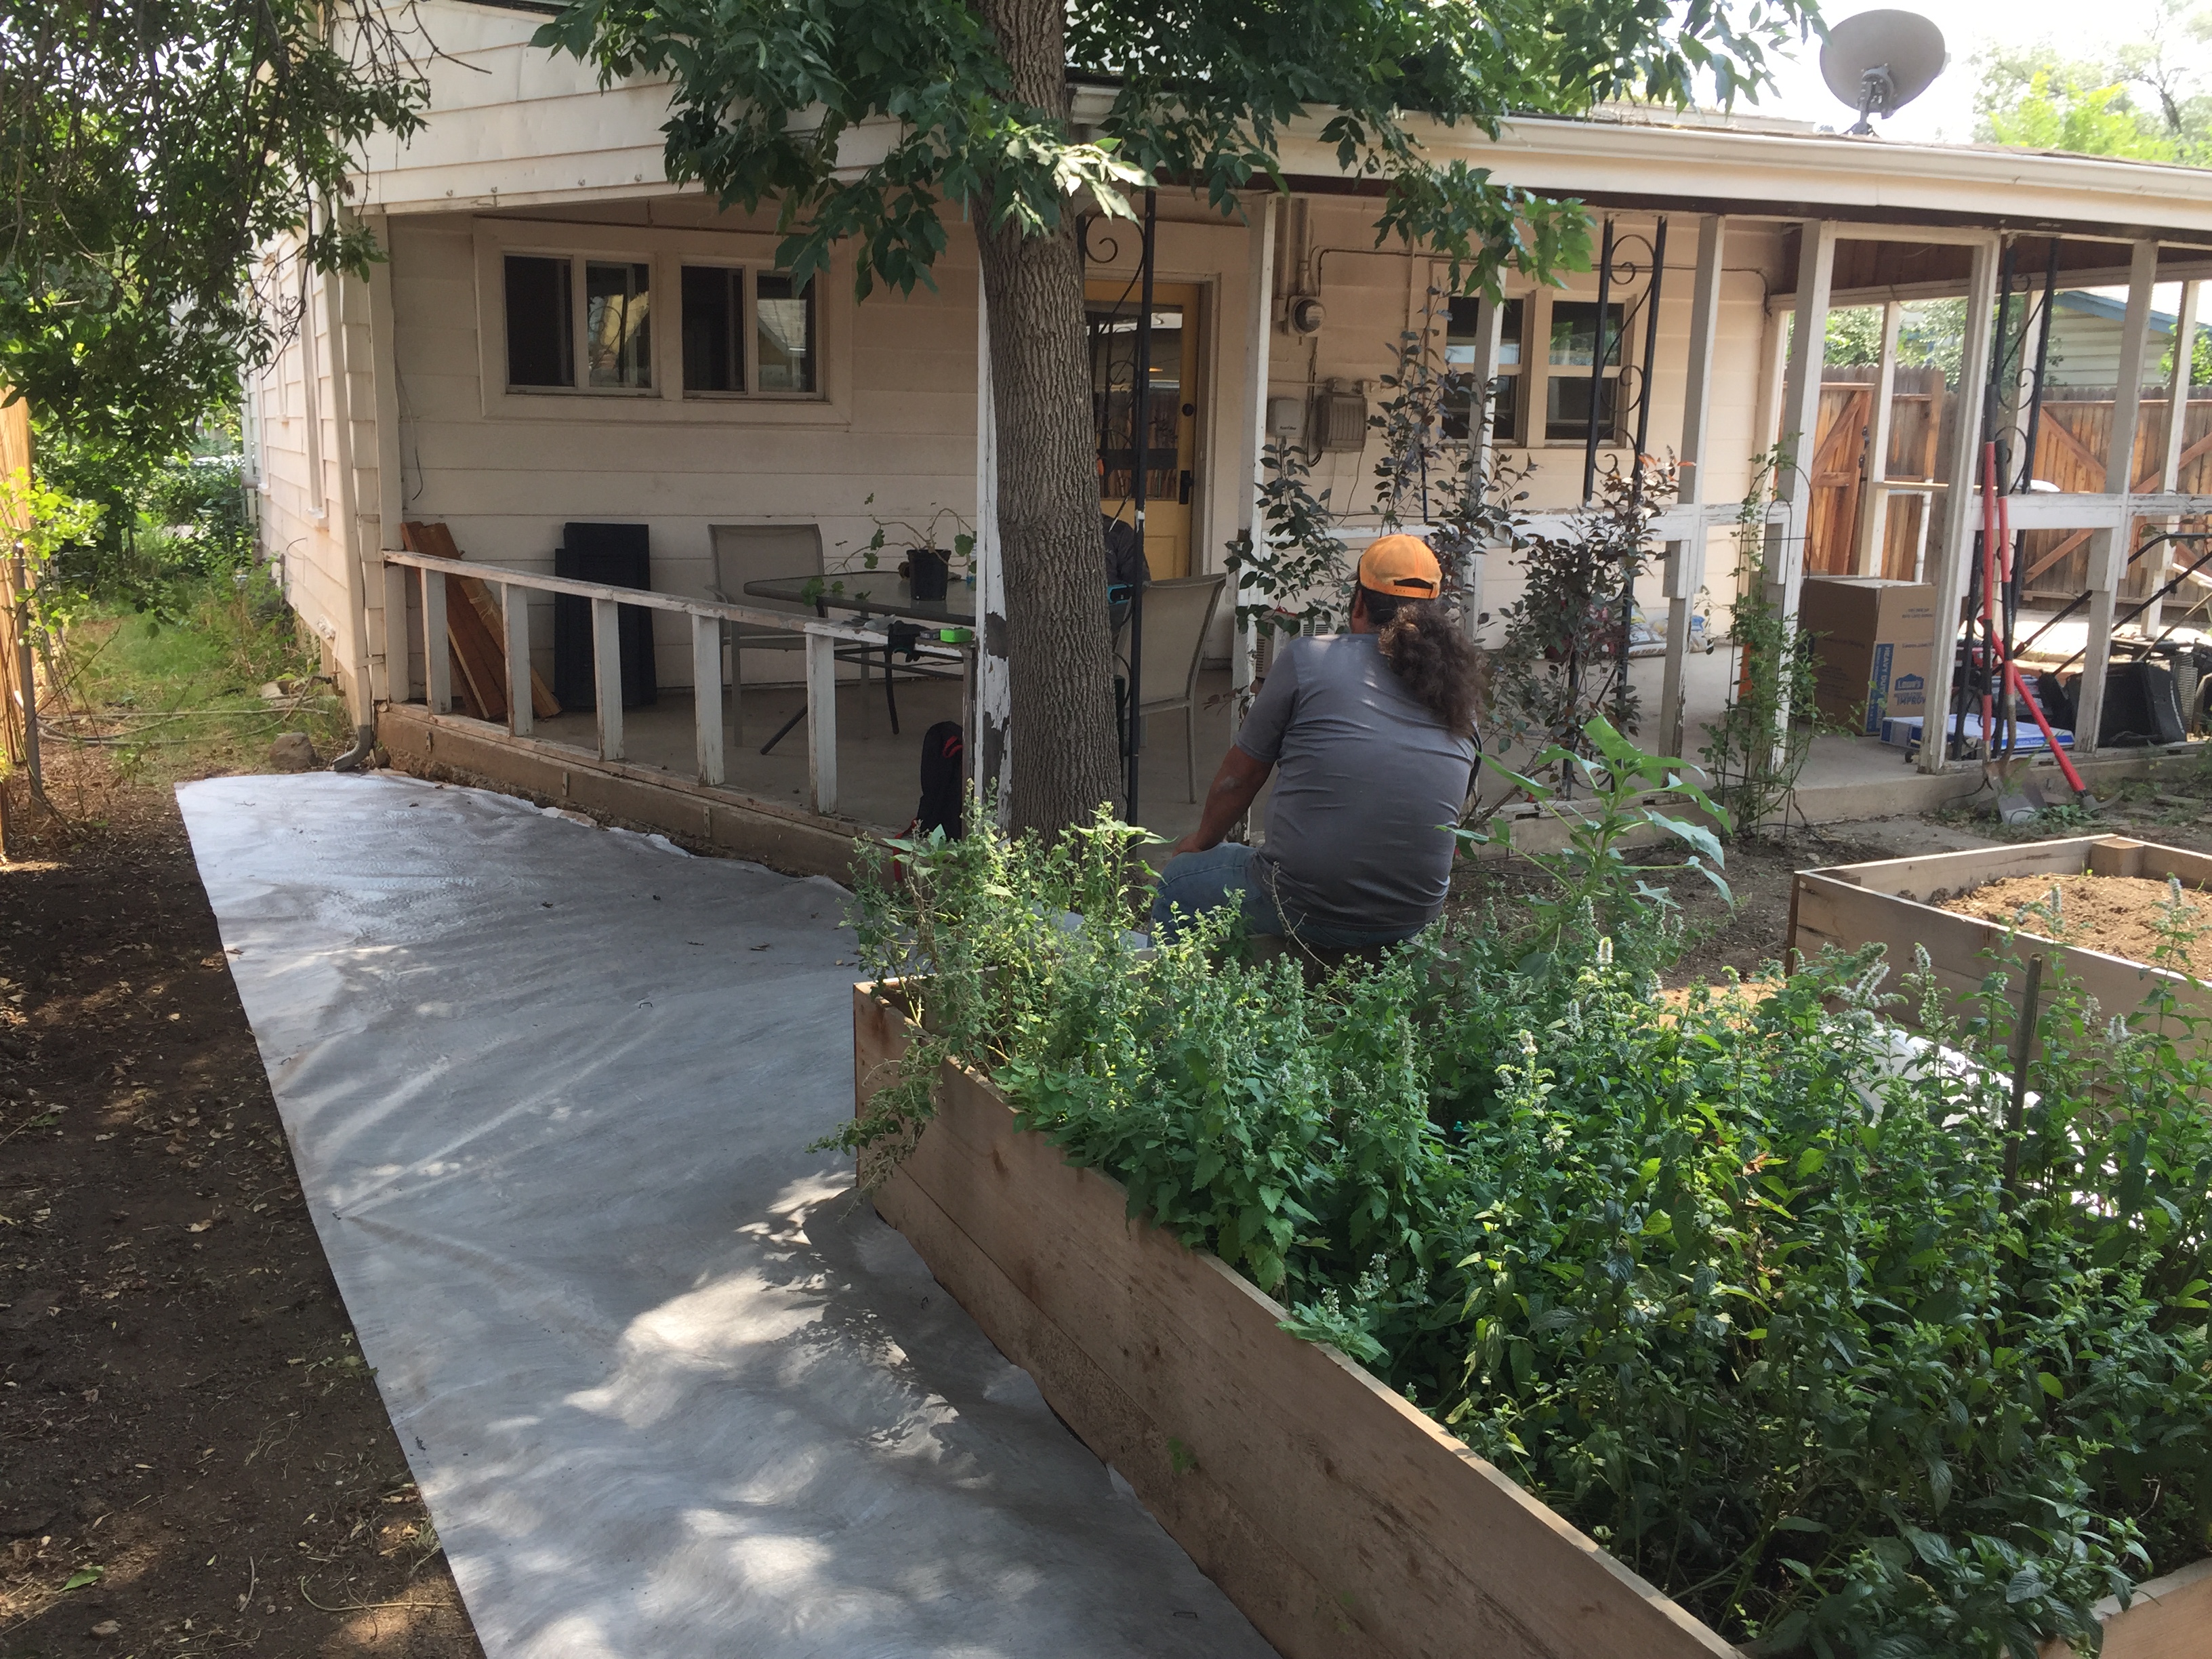
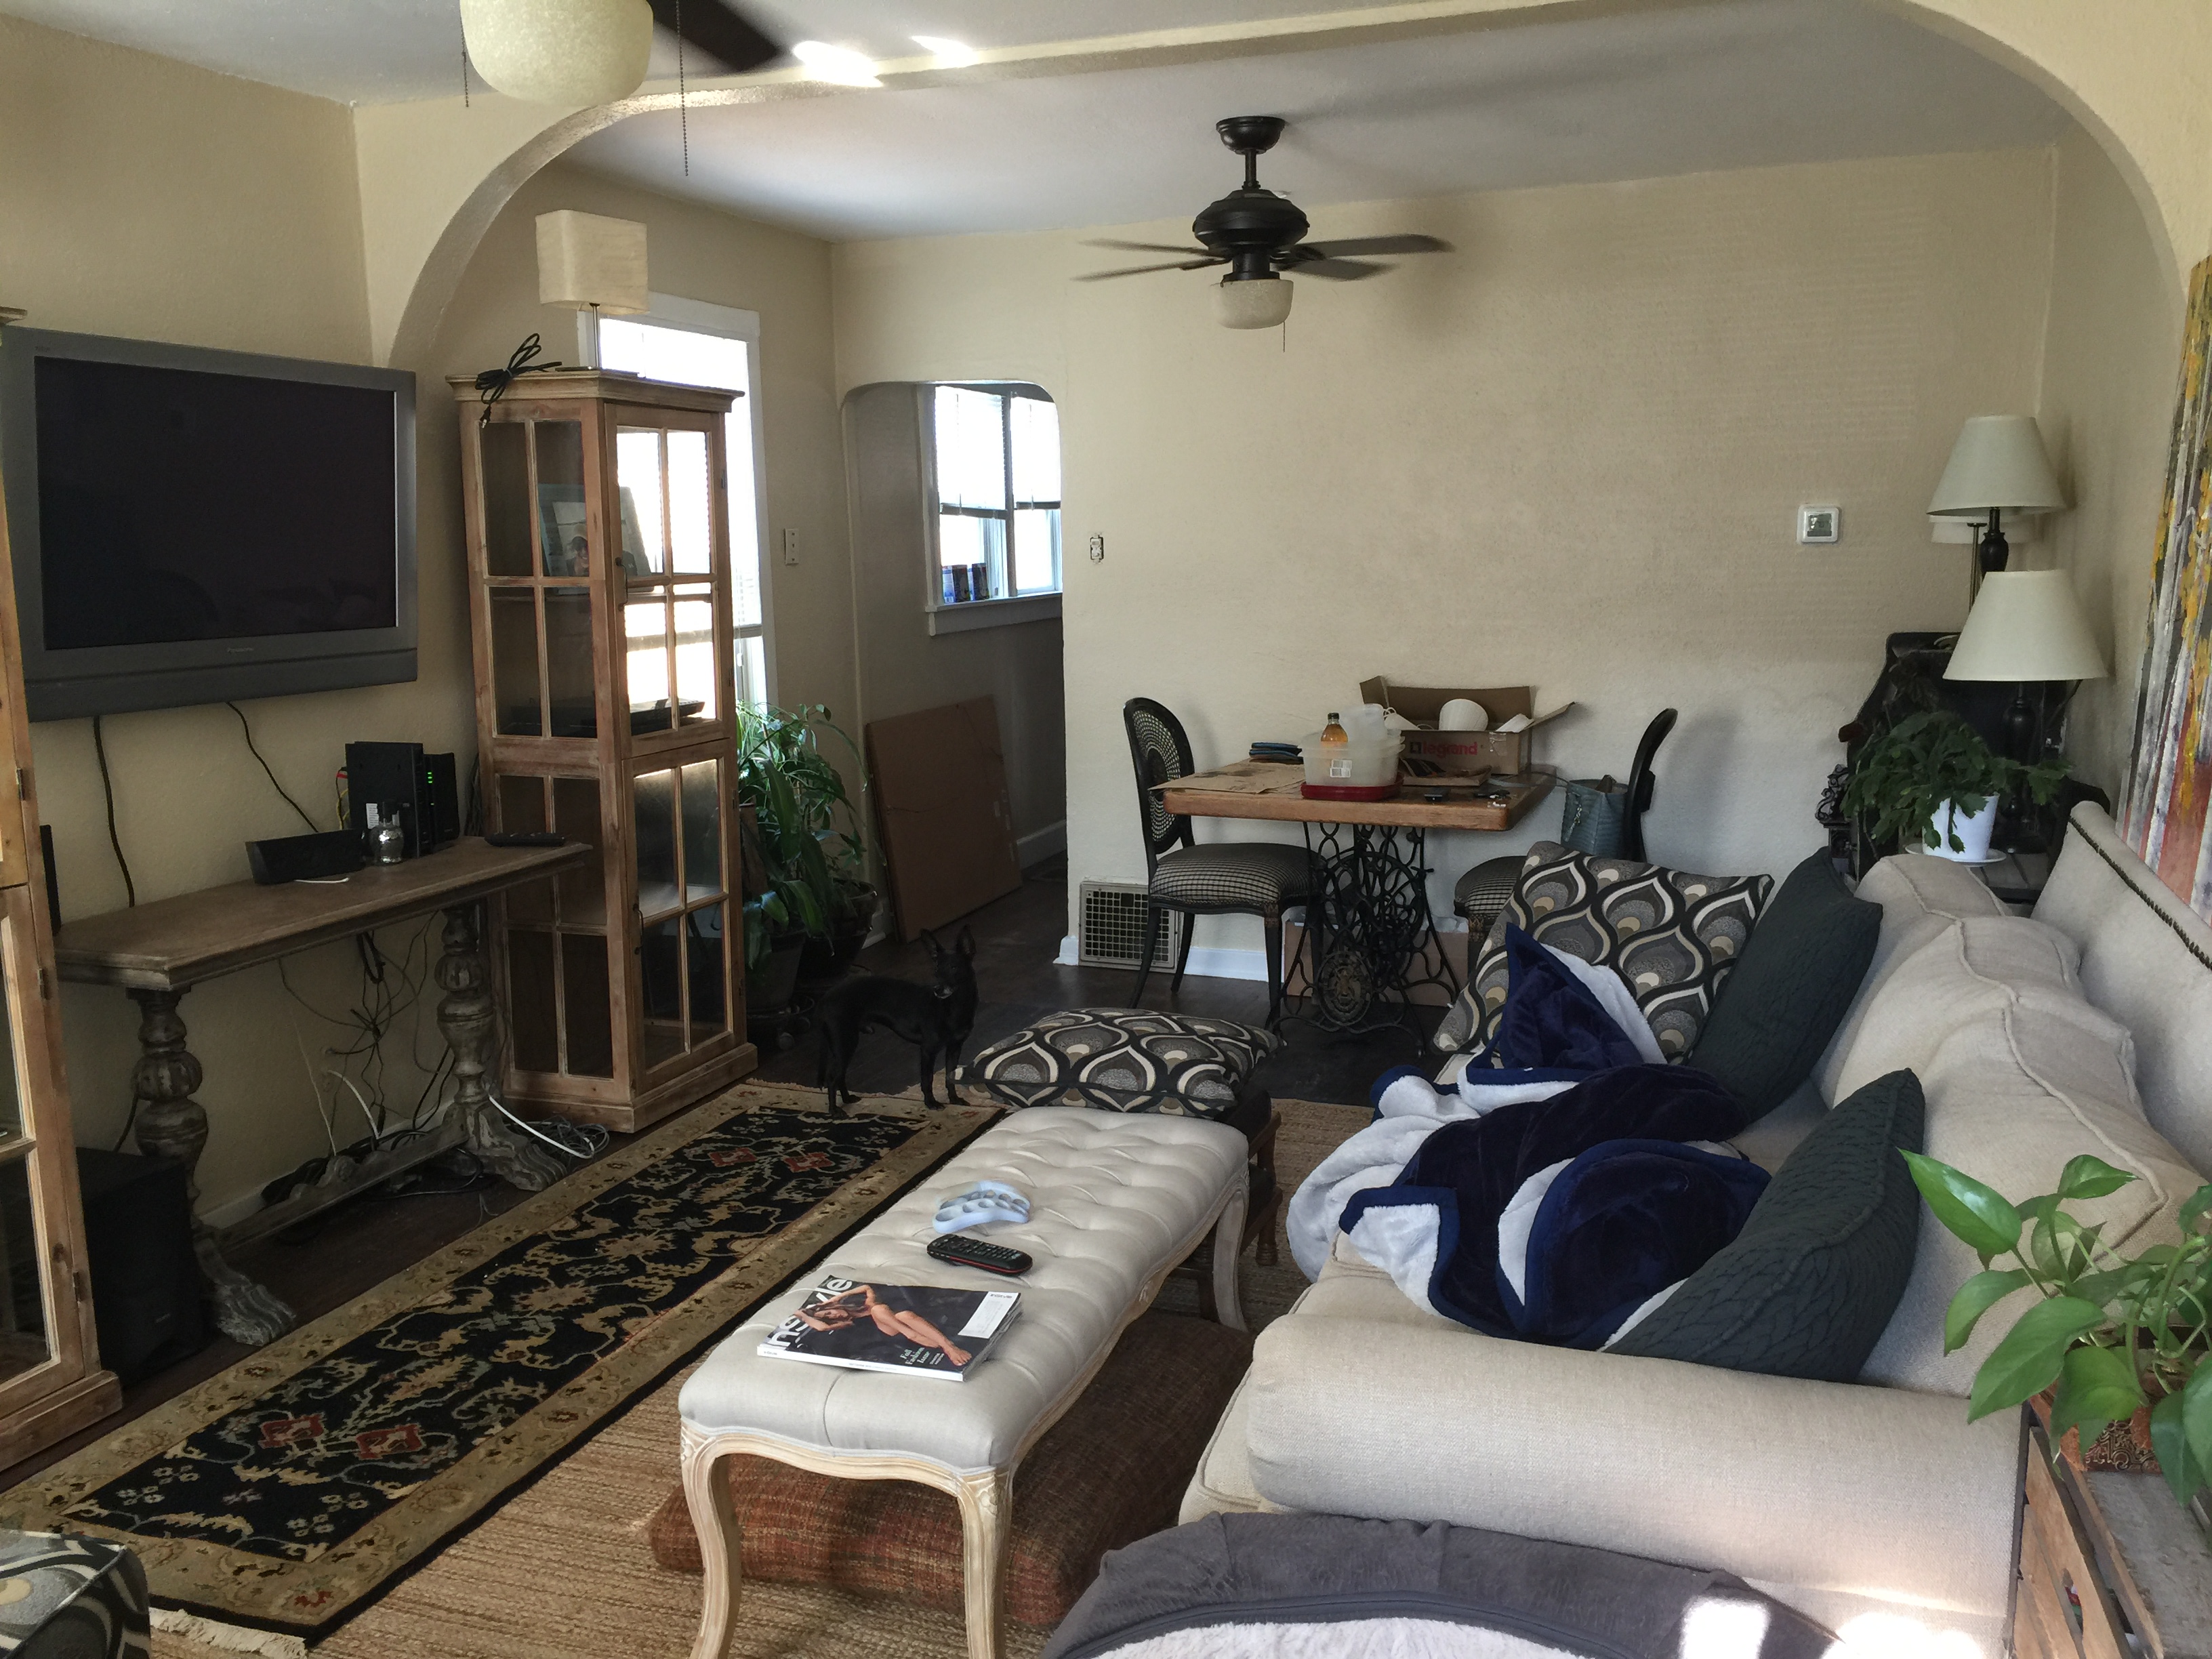
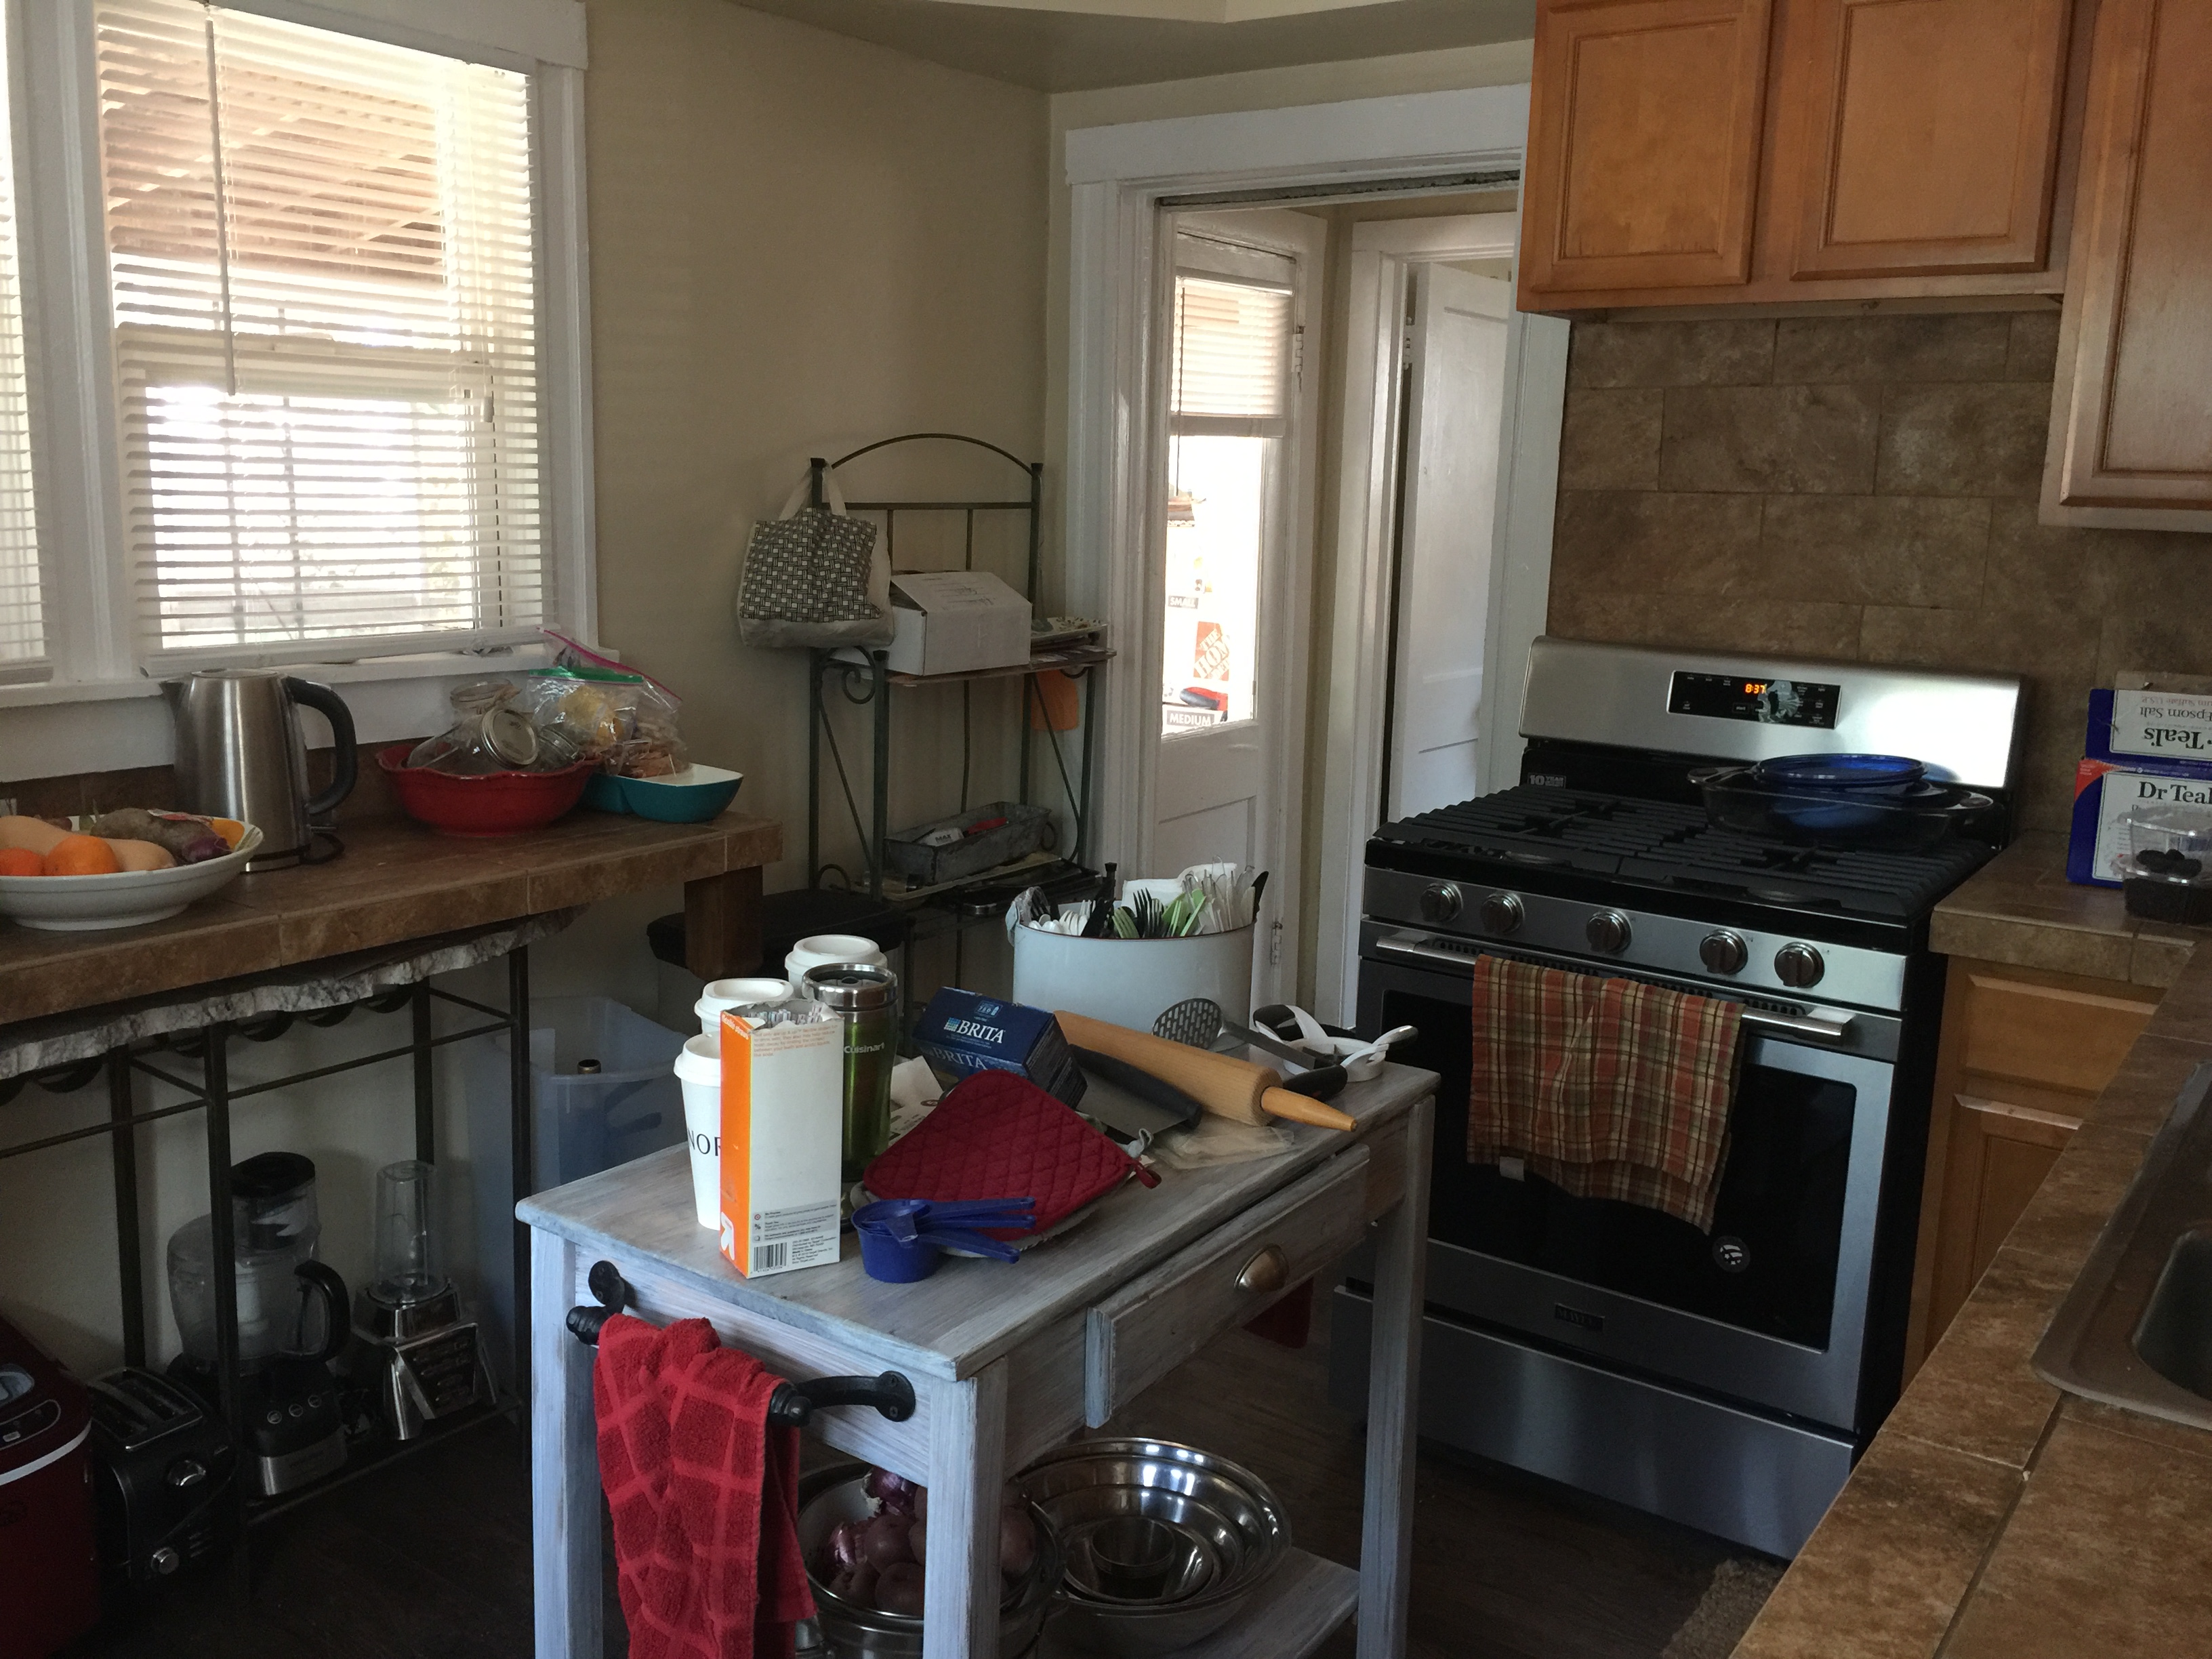
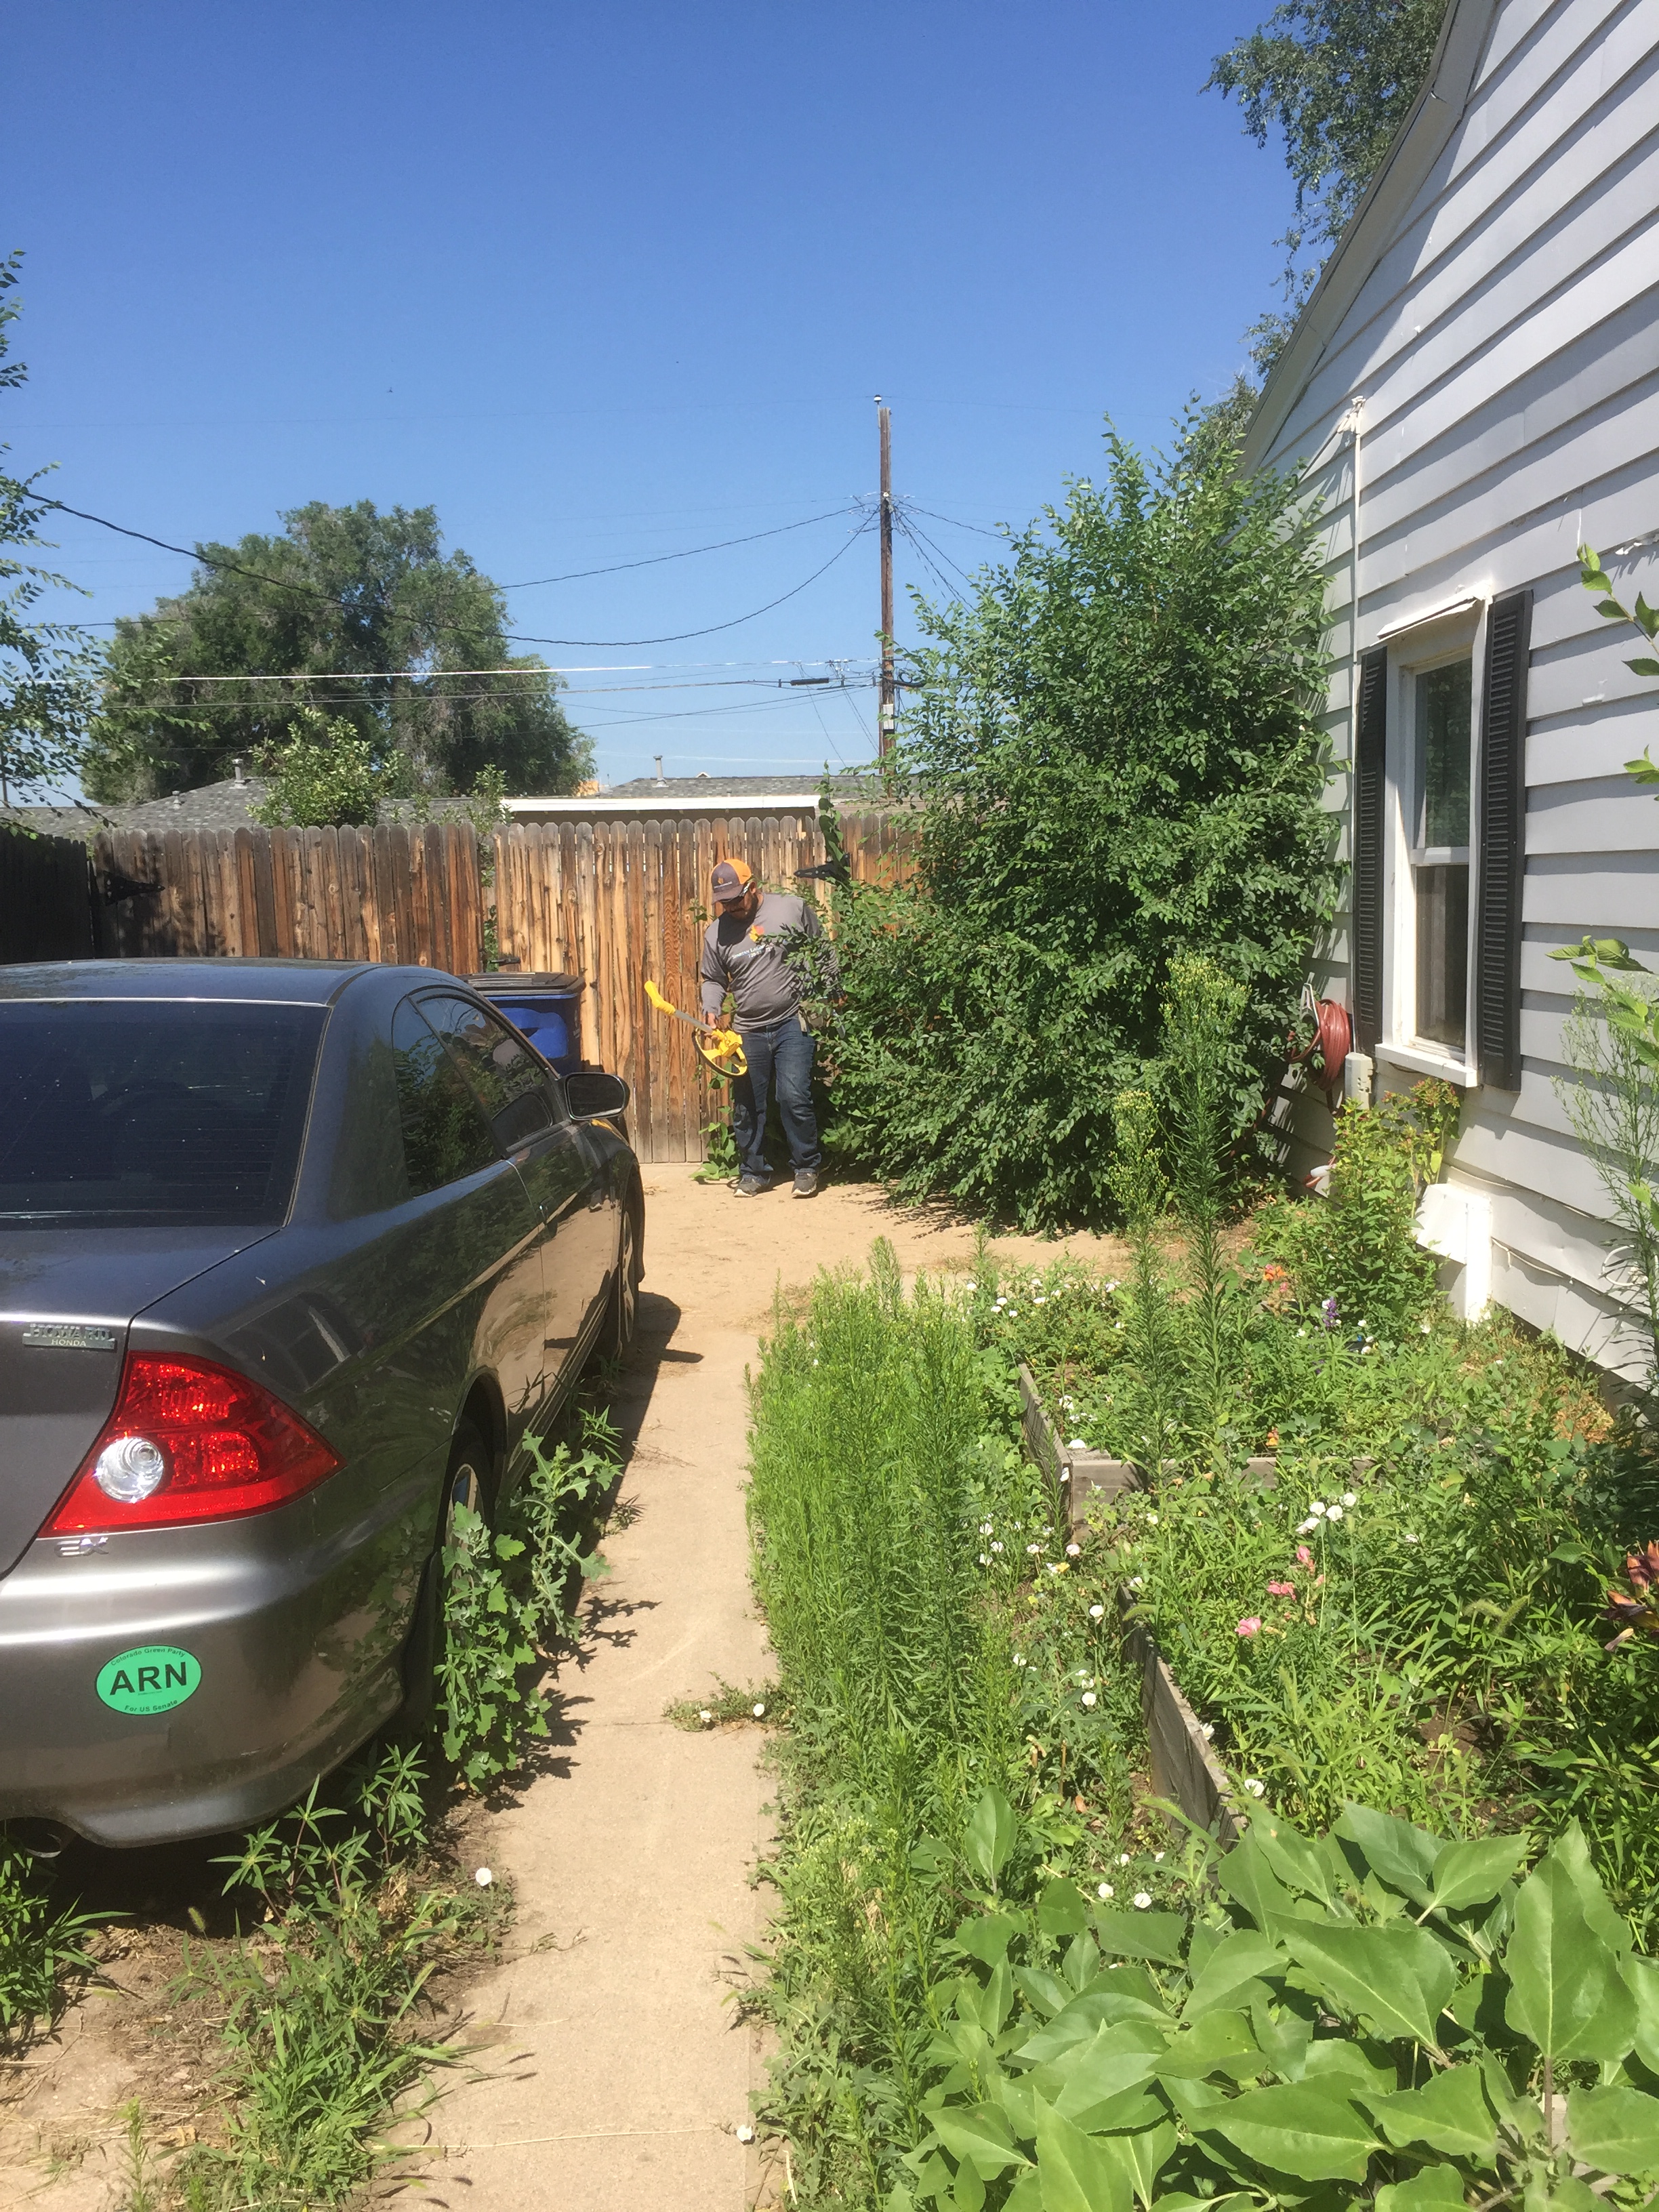
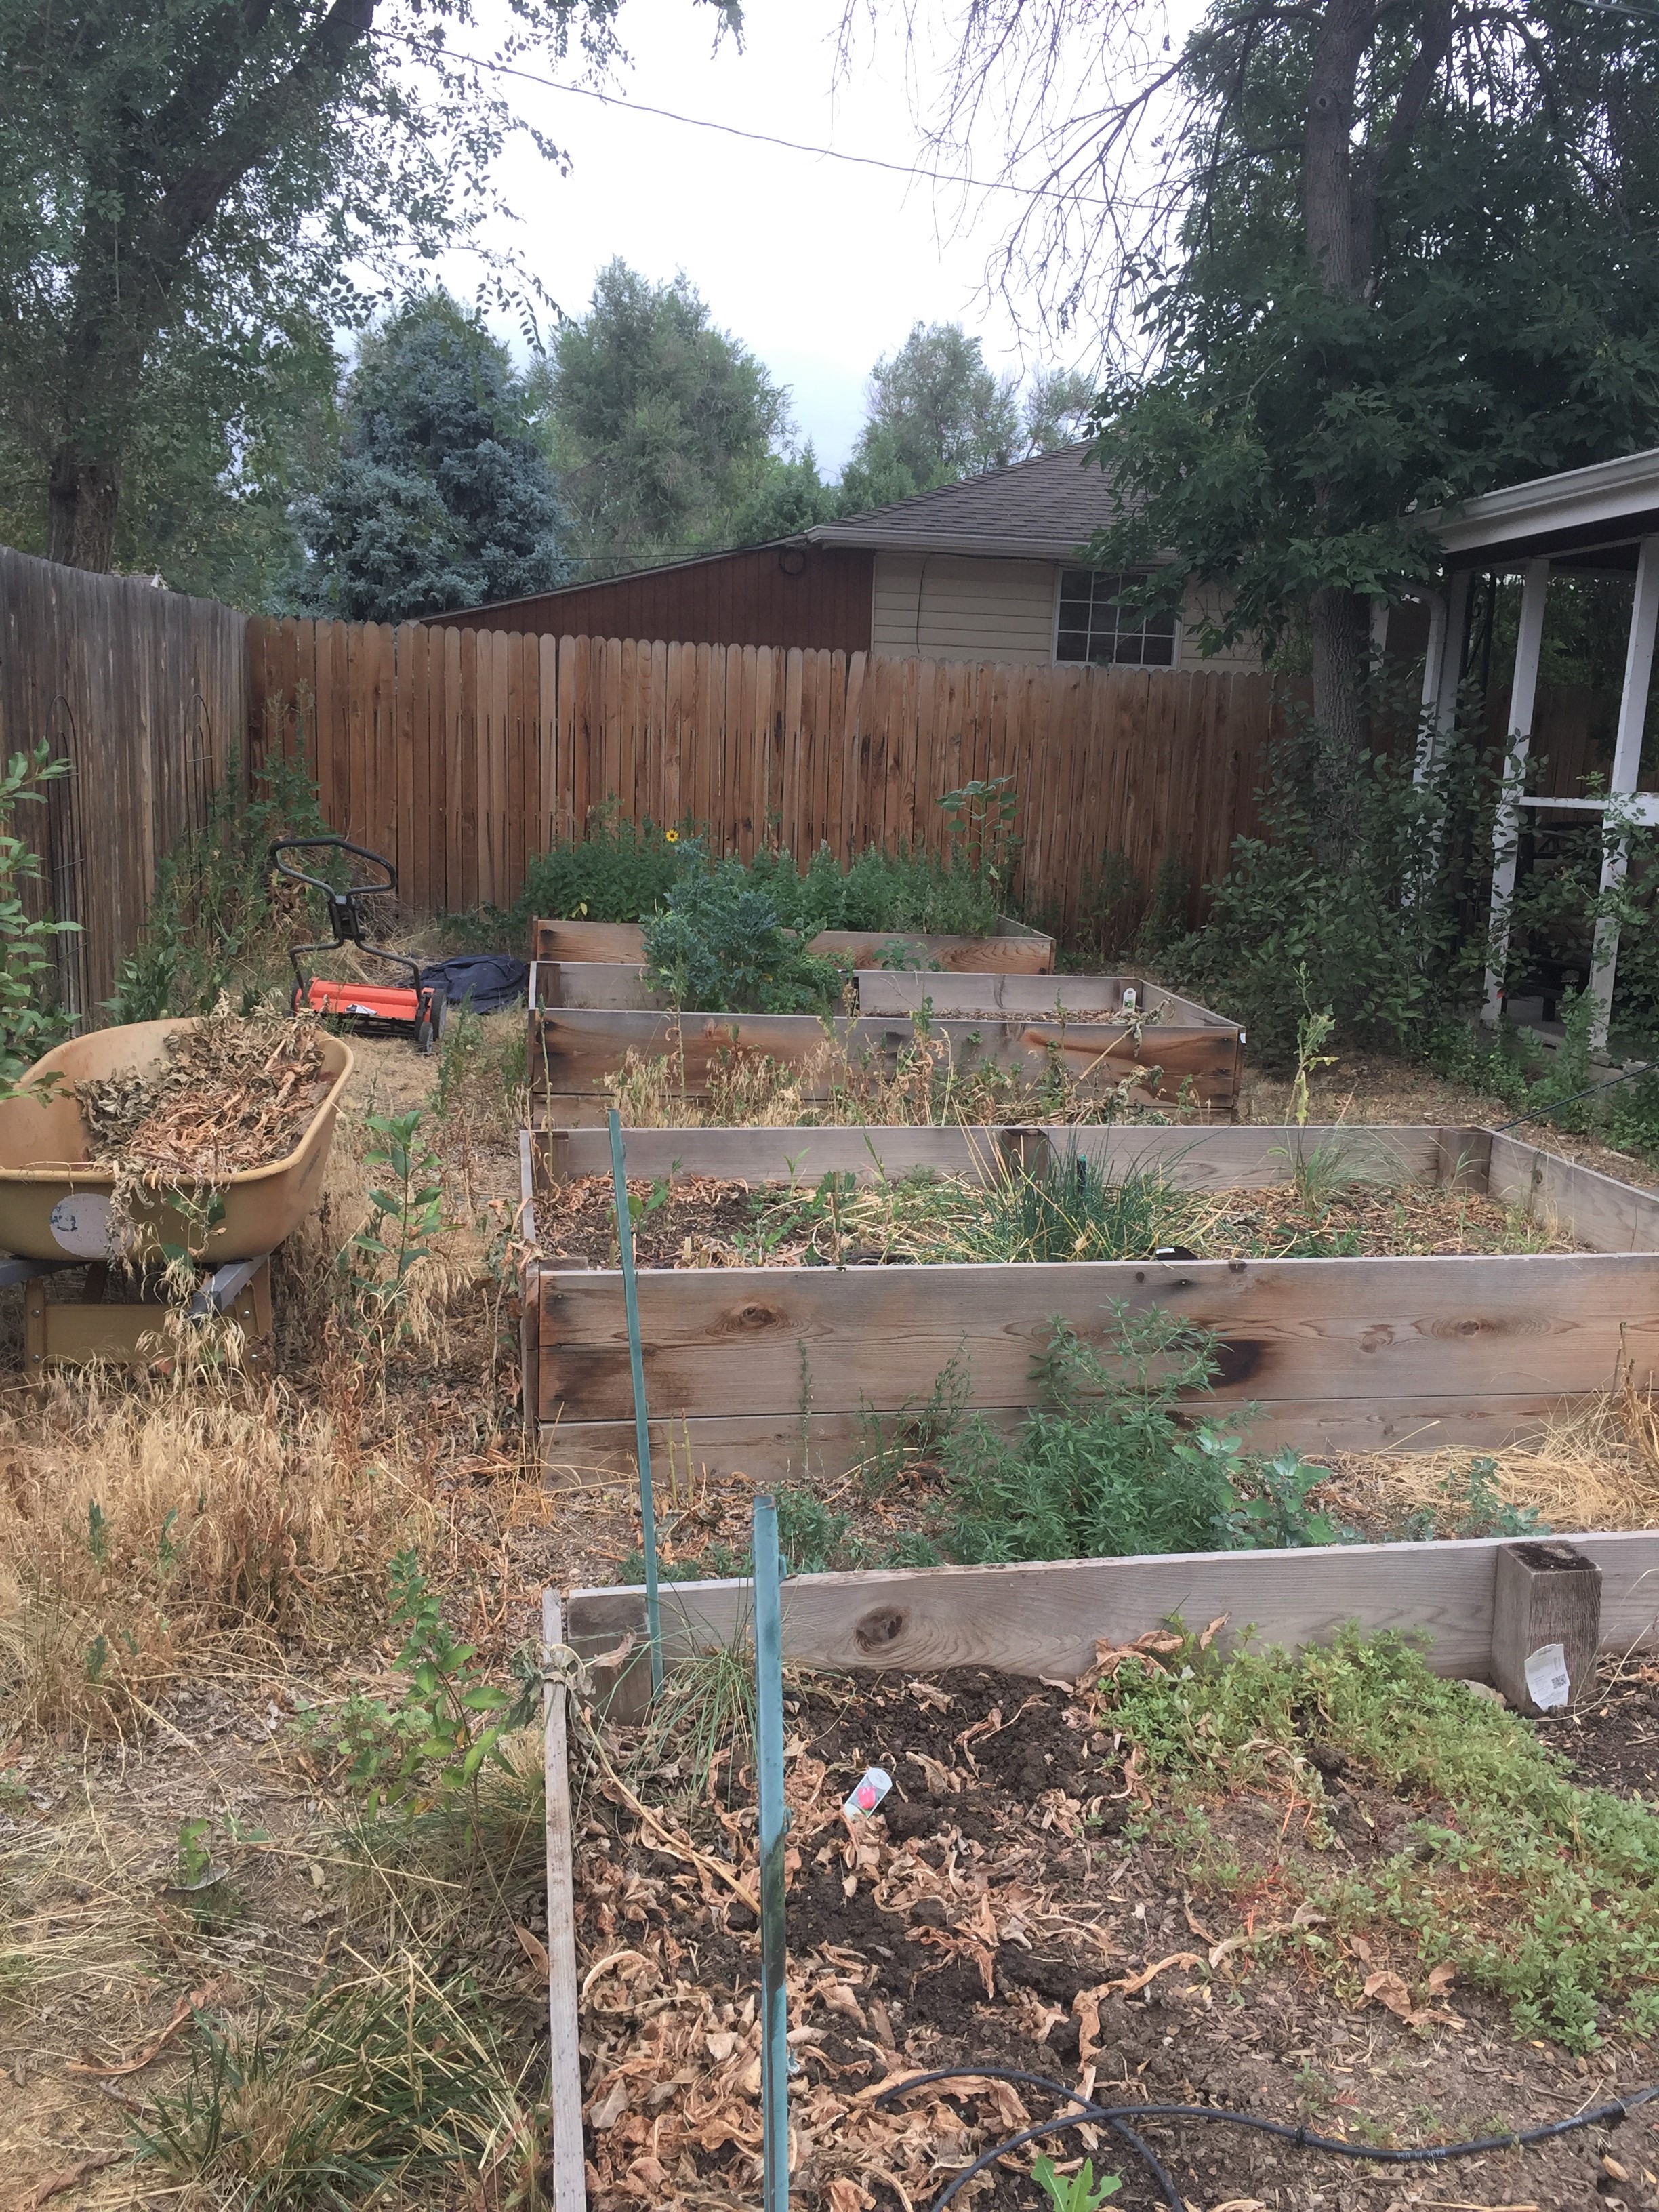
I had my landscaper scrape away all the weeds and debris in the walkways.They lined the walkways with weed barrier fabric.I used a decomposed granite material called Breeze. I love this product! It comes in several colors, I used natural. Once it’s spread out over the weed barrier, you water it down and it forms a crust. It’s clean and super low maintenance. So much cleaner with the breeze down!Moving from 2000 sf to 893 sf is tricky! And with no garage, everything lands on the back porch.With the new garden shed, I have a place for all my stuff!All my stuff landed and then gets sorted out between storage and my new smaller bungalow.The tiny kitchen was remodeled in 2012. I plan to replace the back door with a patio slider.
I’ve done 20+ remodels and each time I get excited and nervous as I plan and schedule. What is my goal? What style do I want? How much money can I spend?… the list of considerations is long!
Built in 1934, 2 bedroom, 1 bath, 893 finished square feet upstairs, 310 unfinished square feet basement. There is an original carriage house on the back part of the lot.
This house has always been in need of some TLC, and I picked away at the upgrades while I had tenants living here. In 2012, I remodeled some of the interior and took down the garage. I removed the dead juniper trees, planted an Aspen tree and threw down some grass seed in the front yard.
The garage (on the left) was in poor shape and I had it taken down in 2012, leaving just a concrete slab.
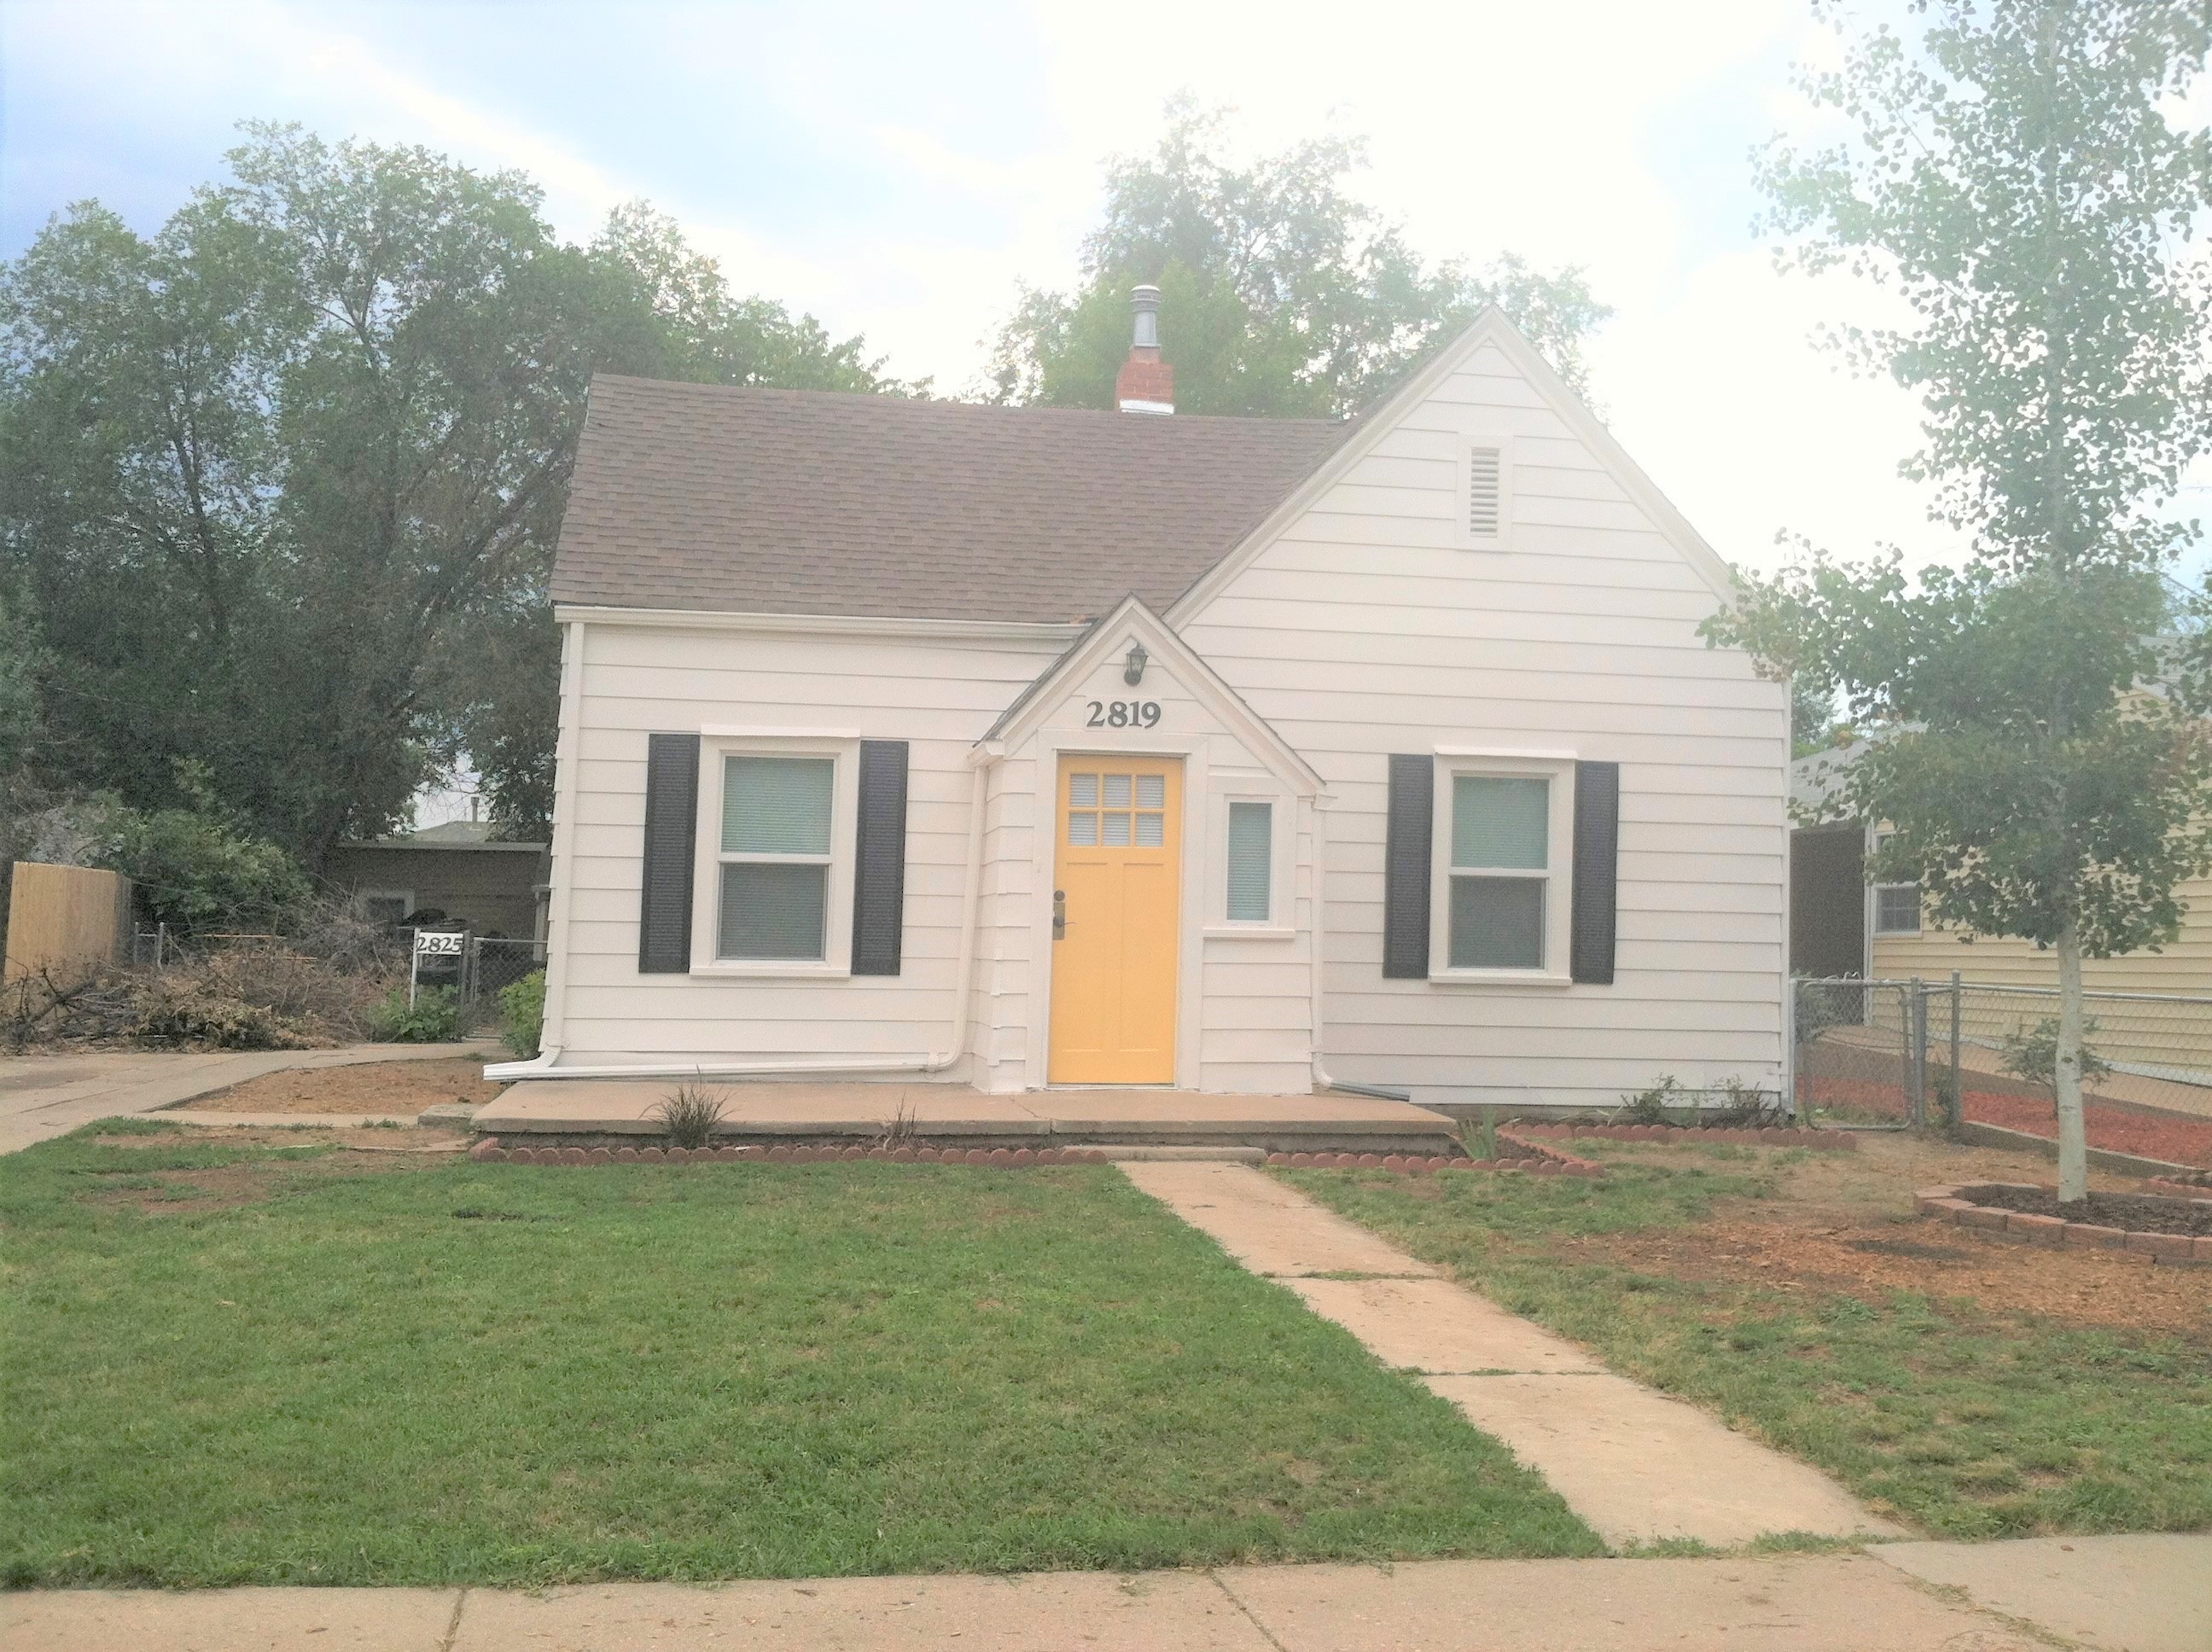
It wasn’t until recently I really thought about what I could do with this house. Once I decided to move in and work on this gem, I began the process of deciding how to proceed. Considering my lifestyle, the neighborhood and budget, I settled on a modern Farmhouse style home.
Dead Juniper trees in the front yard.Original garage.
I bought this house in 2005 with long term tenants living here ever since. When the tenants moved out, I got the opportunity to move into this house August 2018 and started the process of renovation, beginning with the exterior. My plan is to create a perfect retirement house!
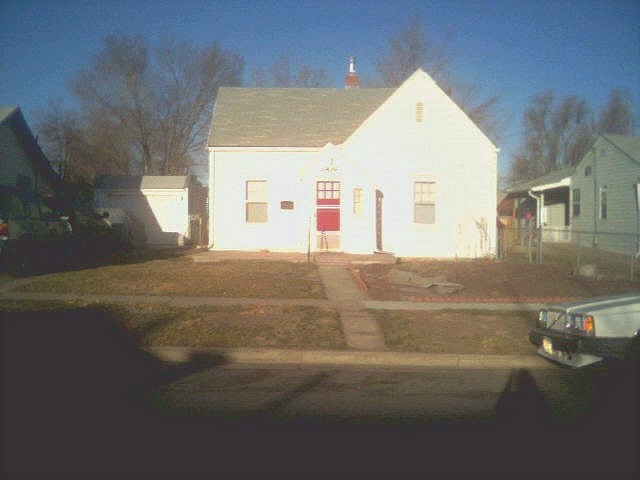
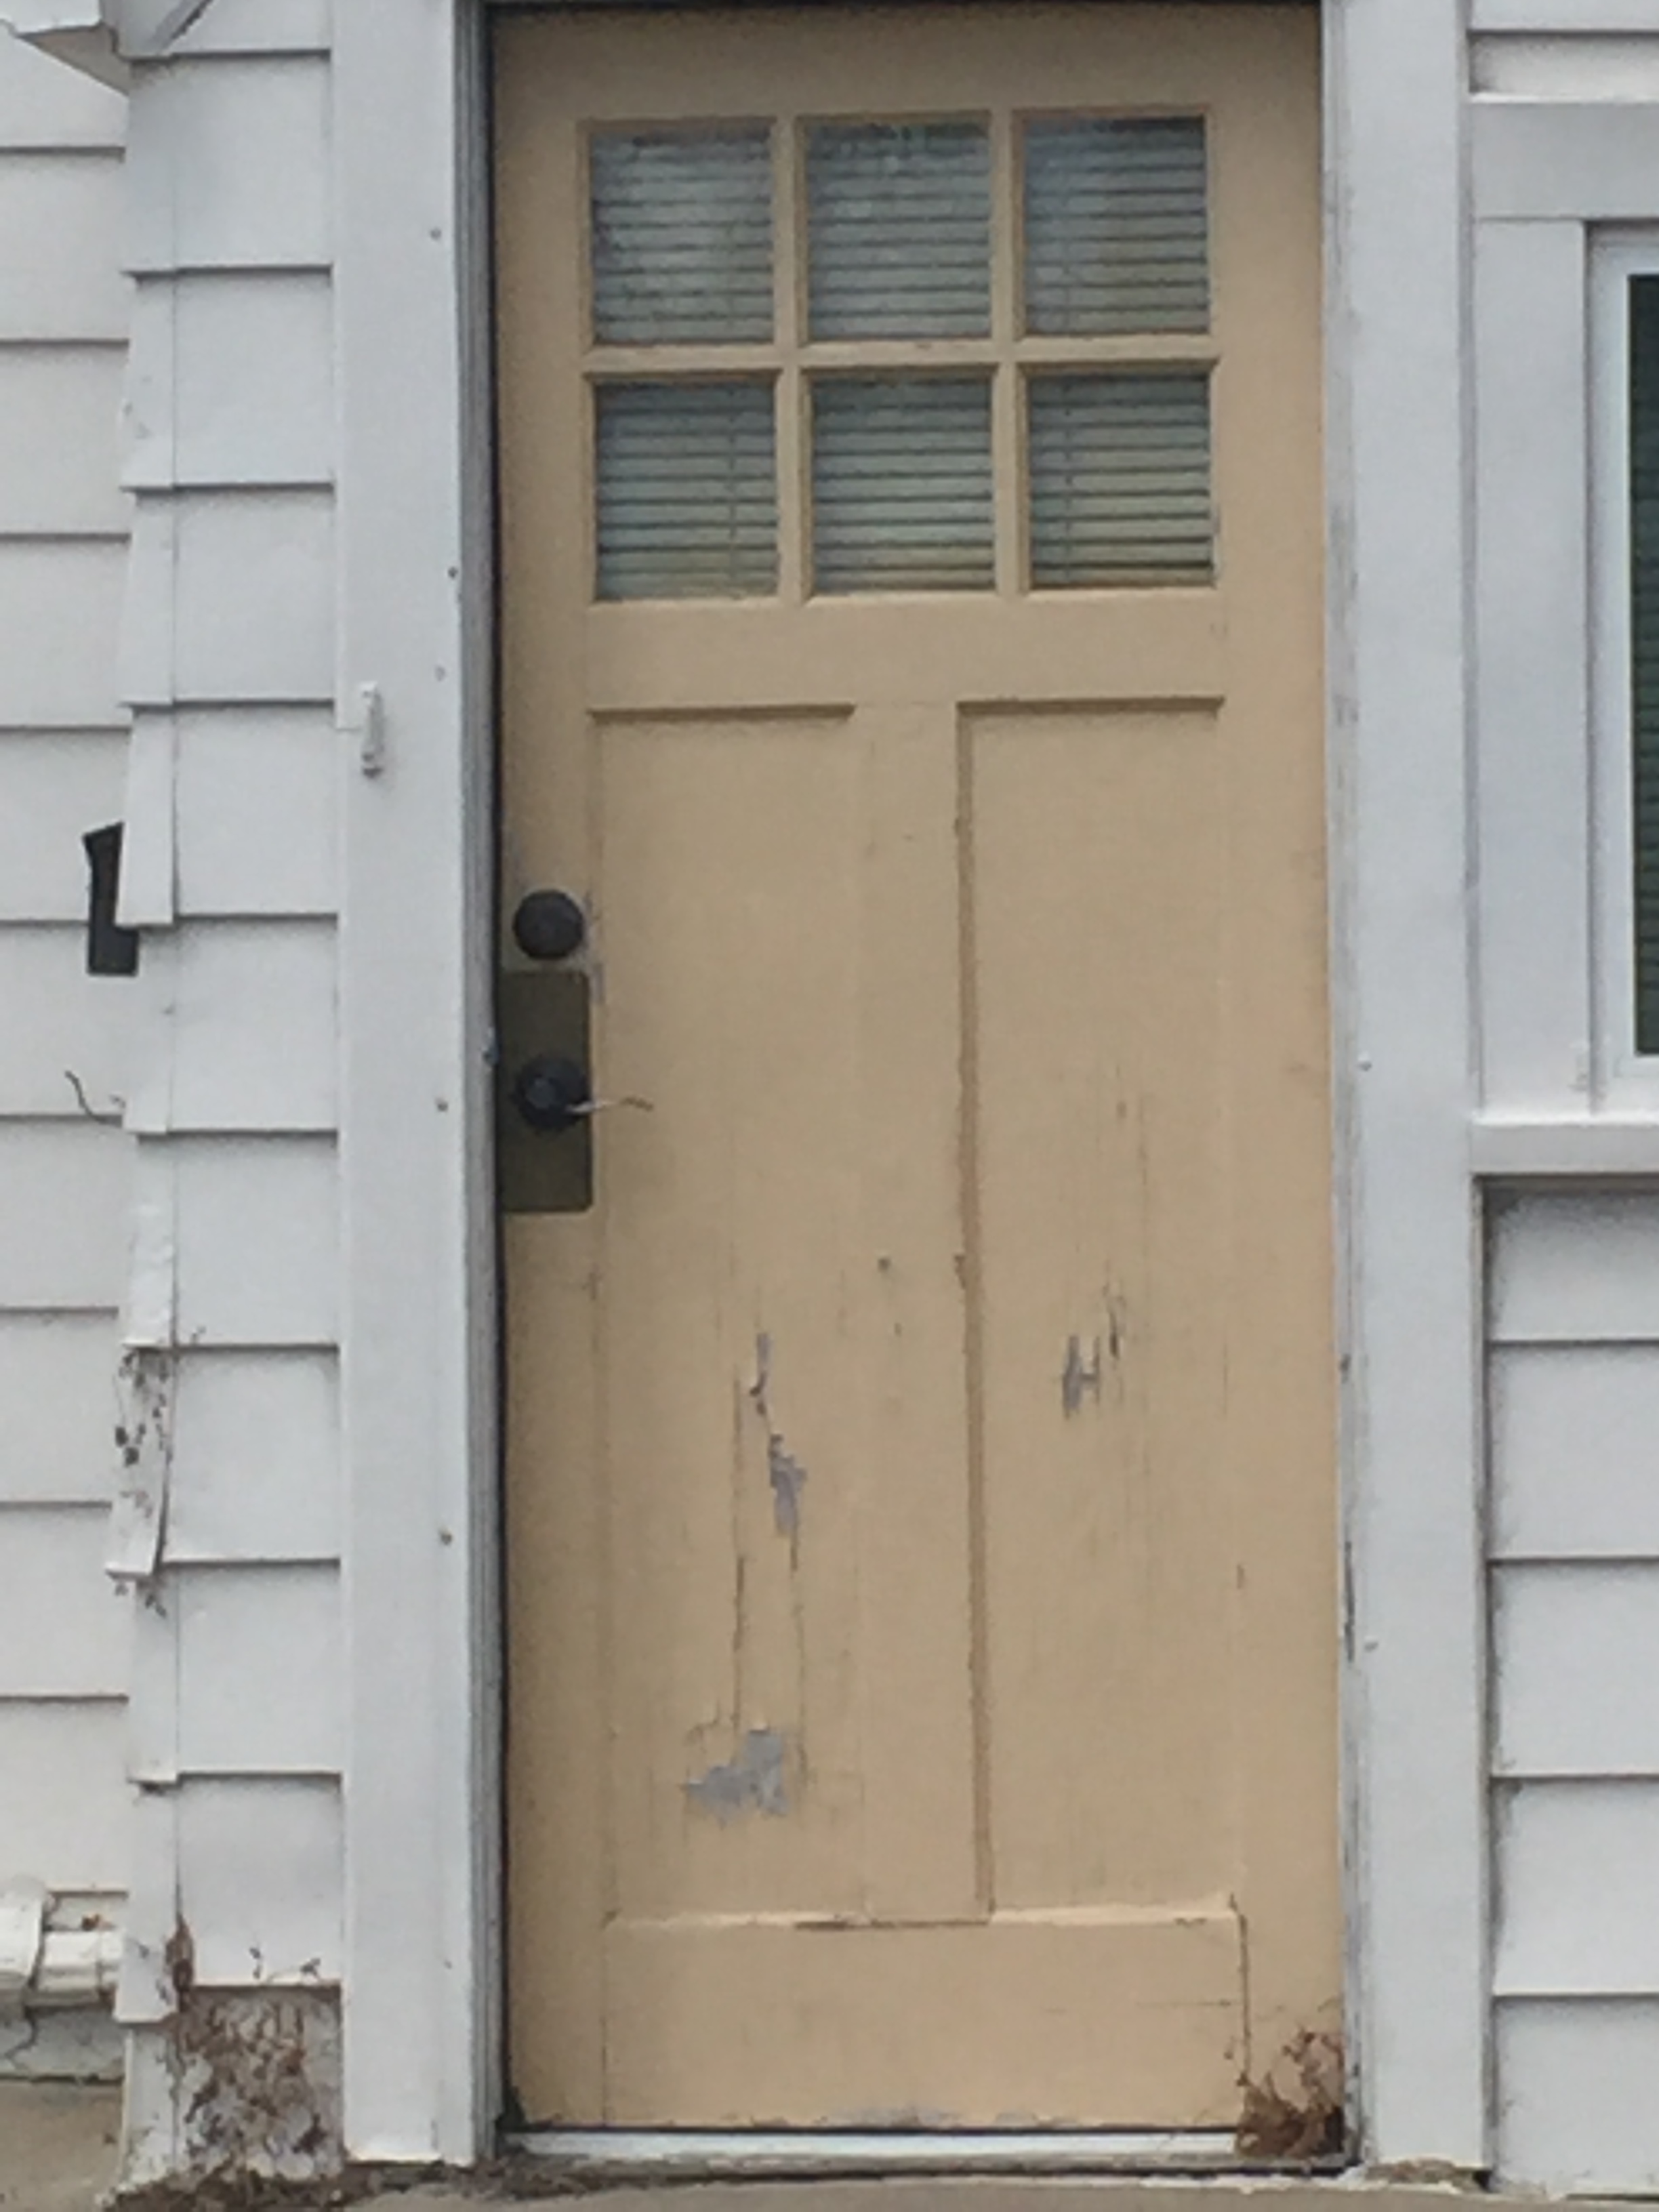
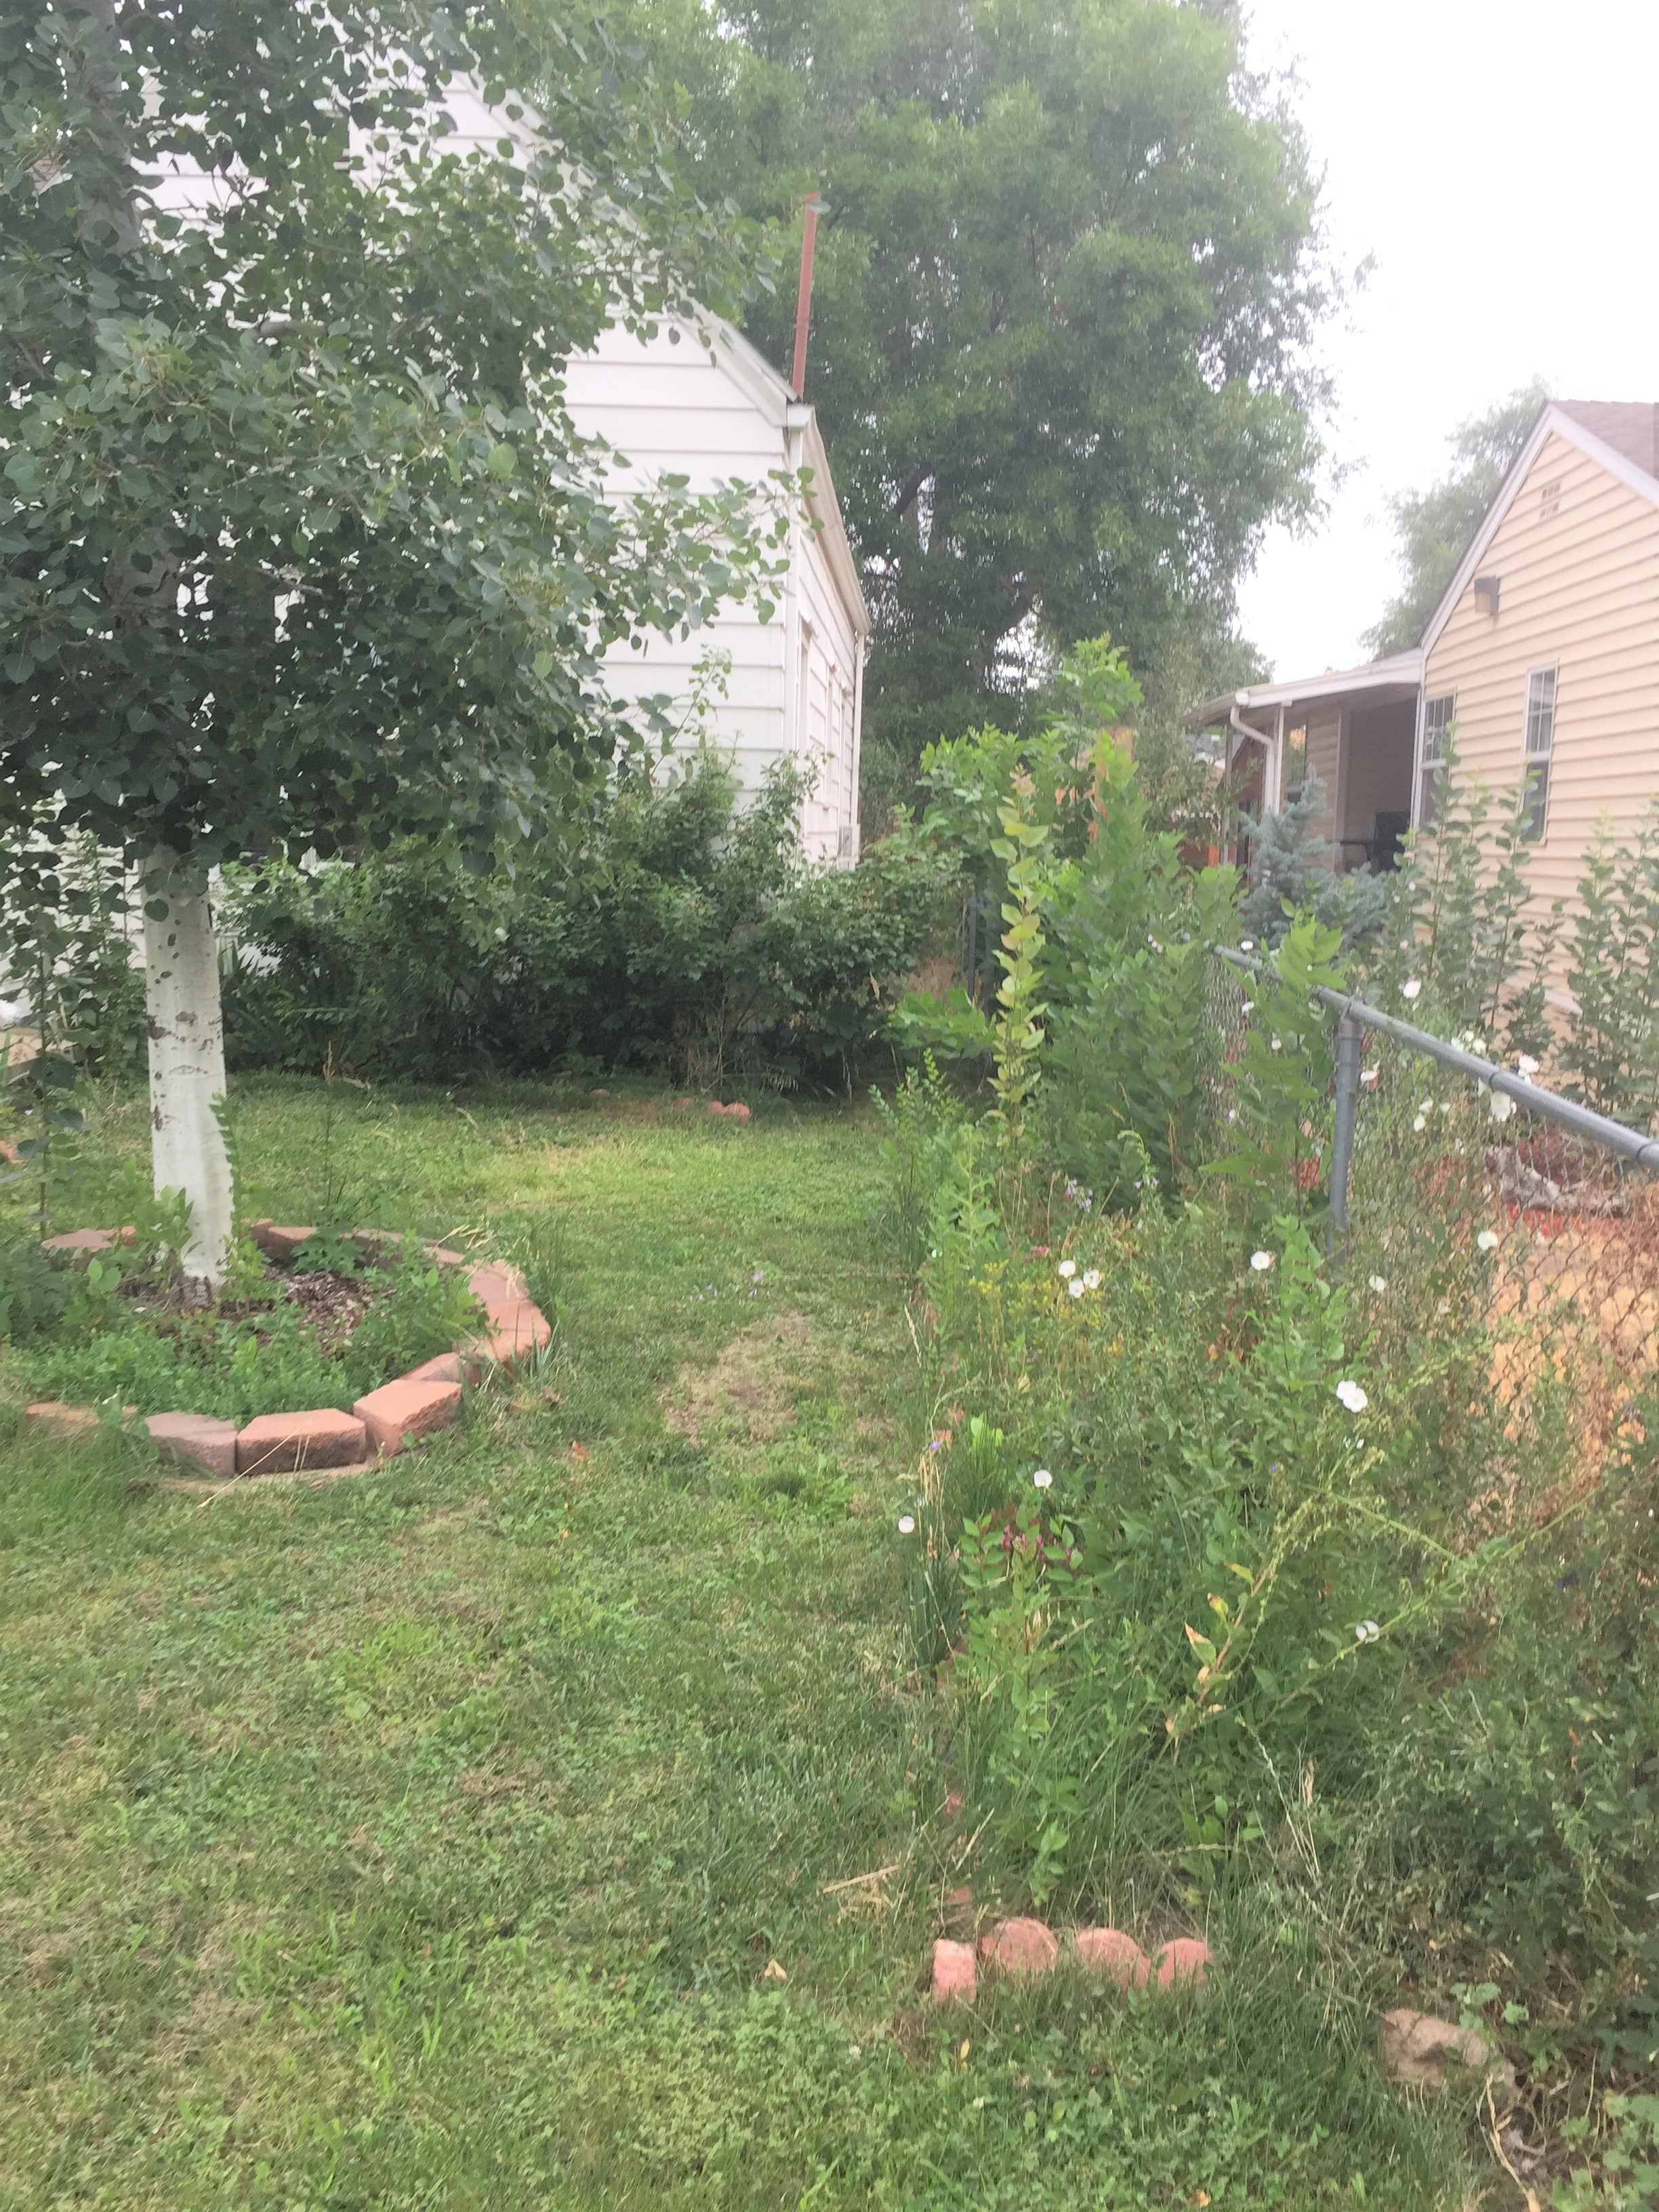
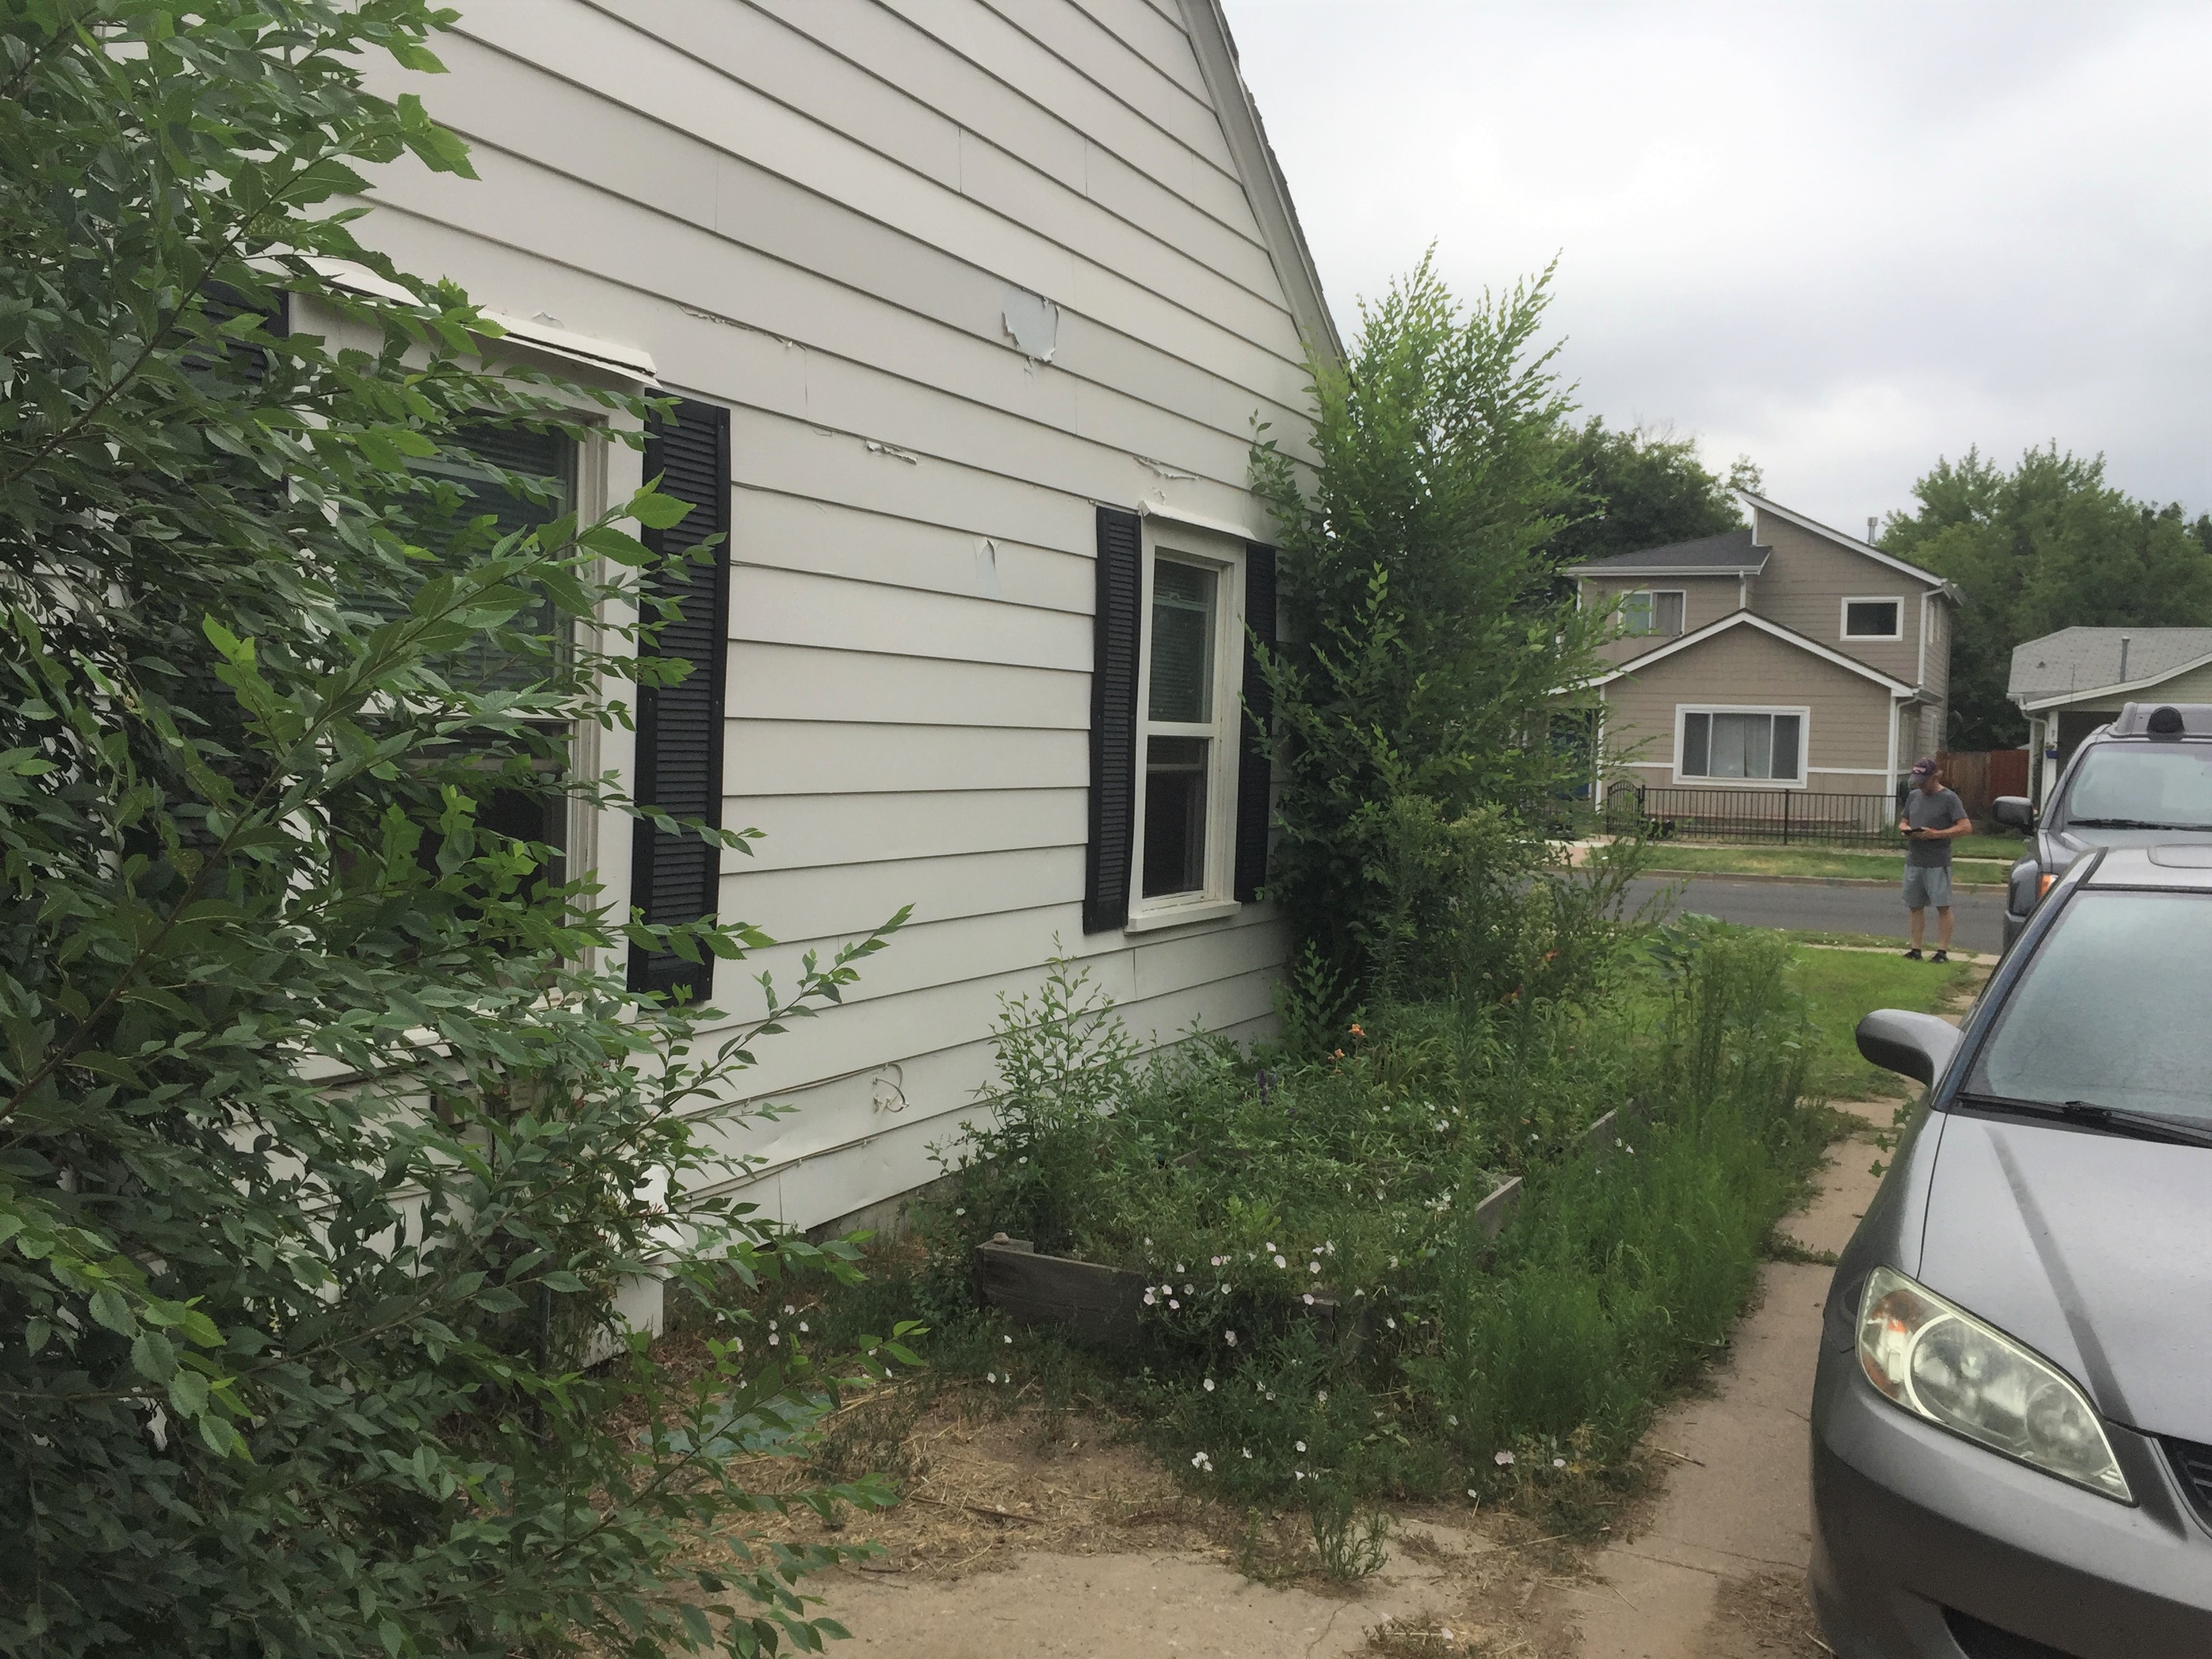
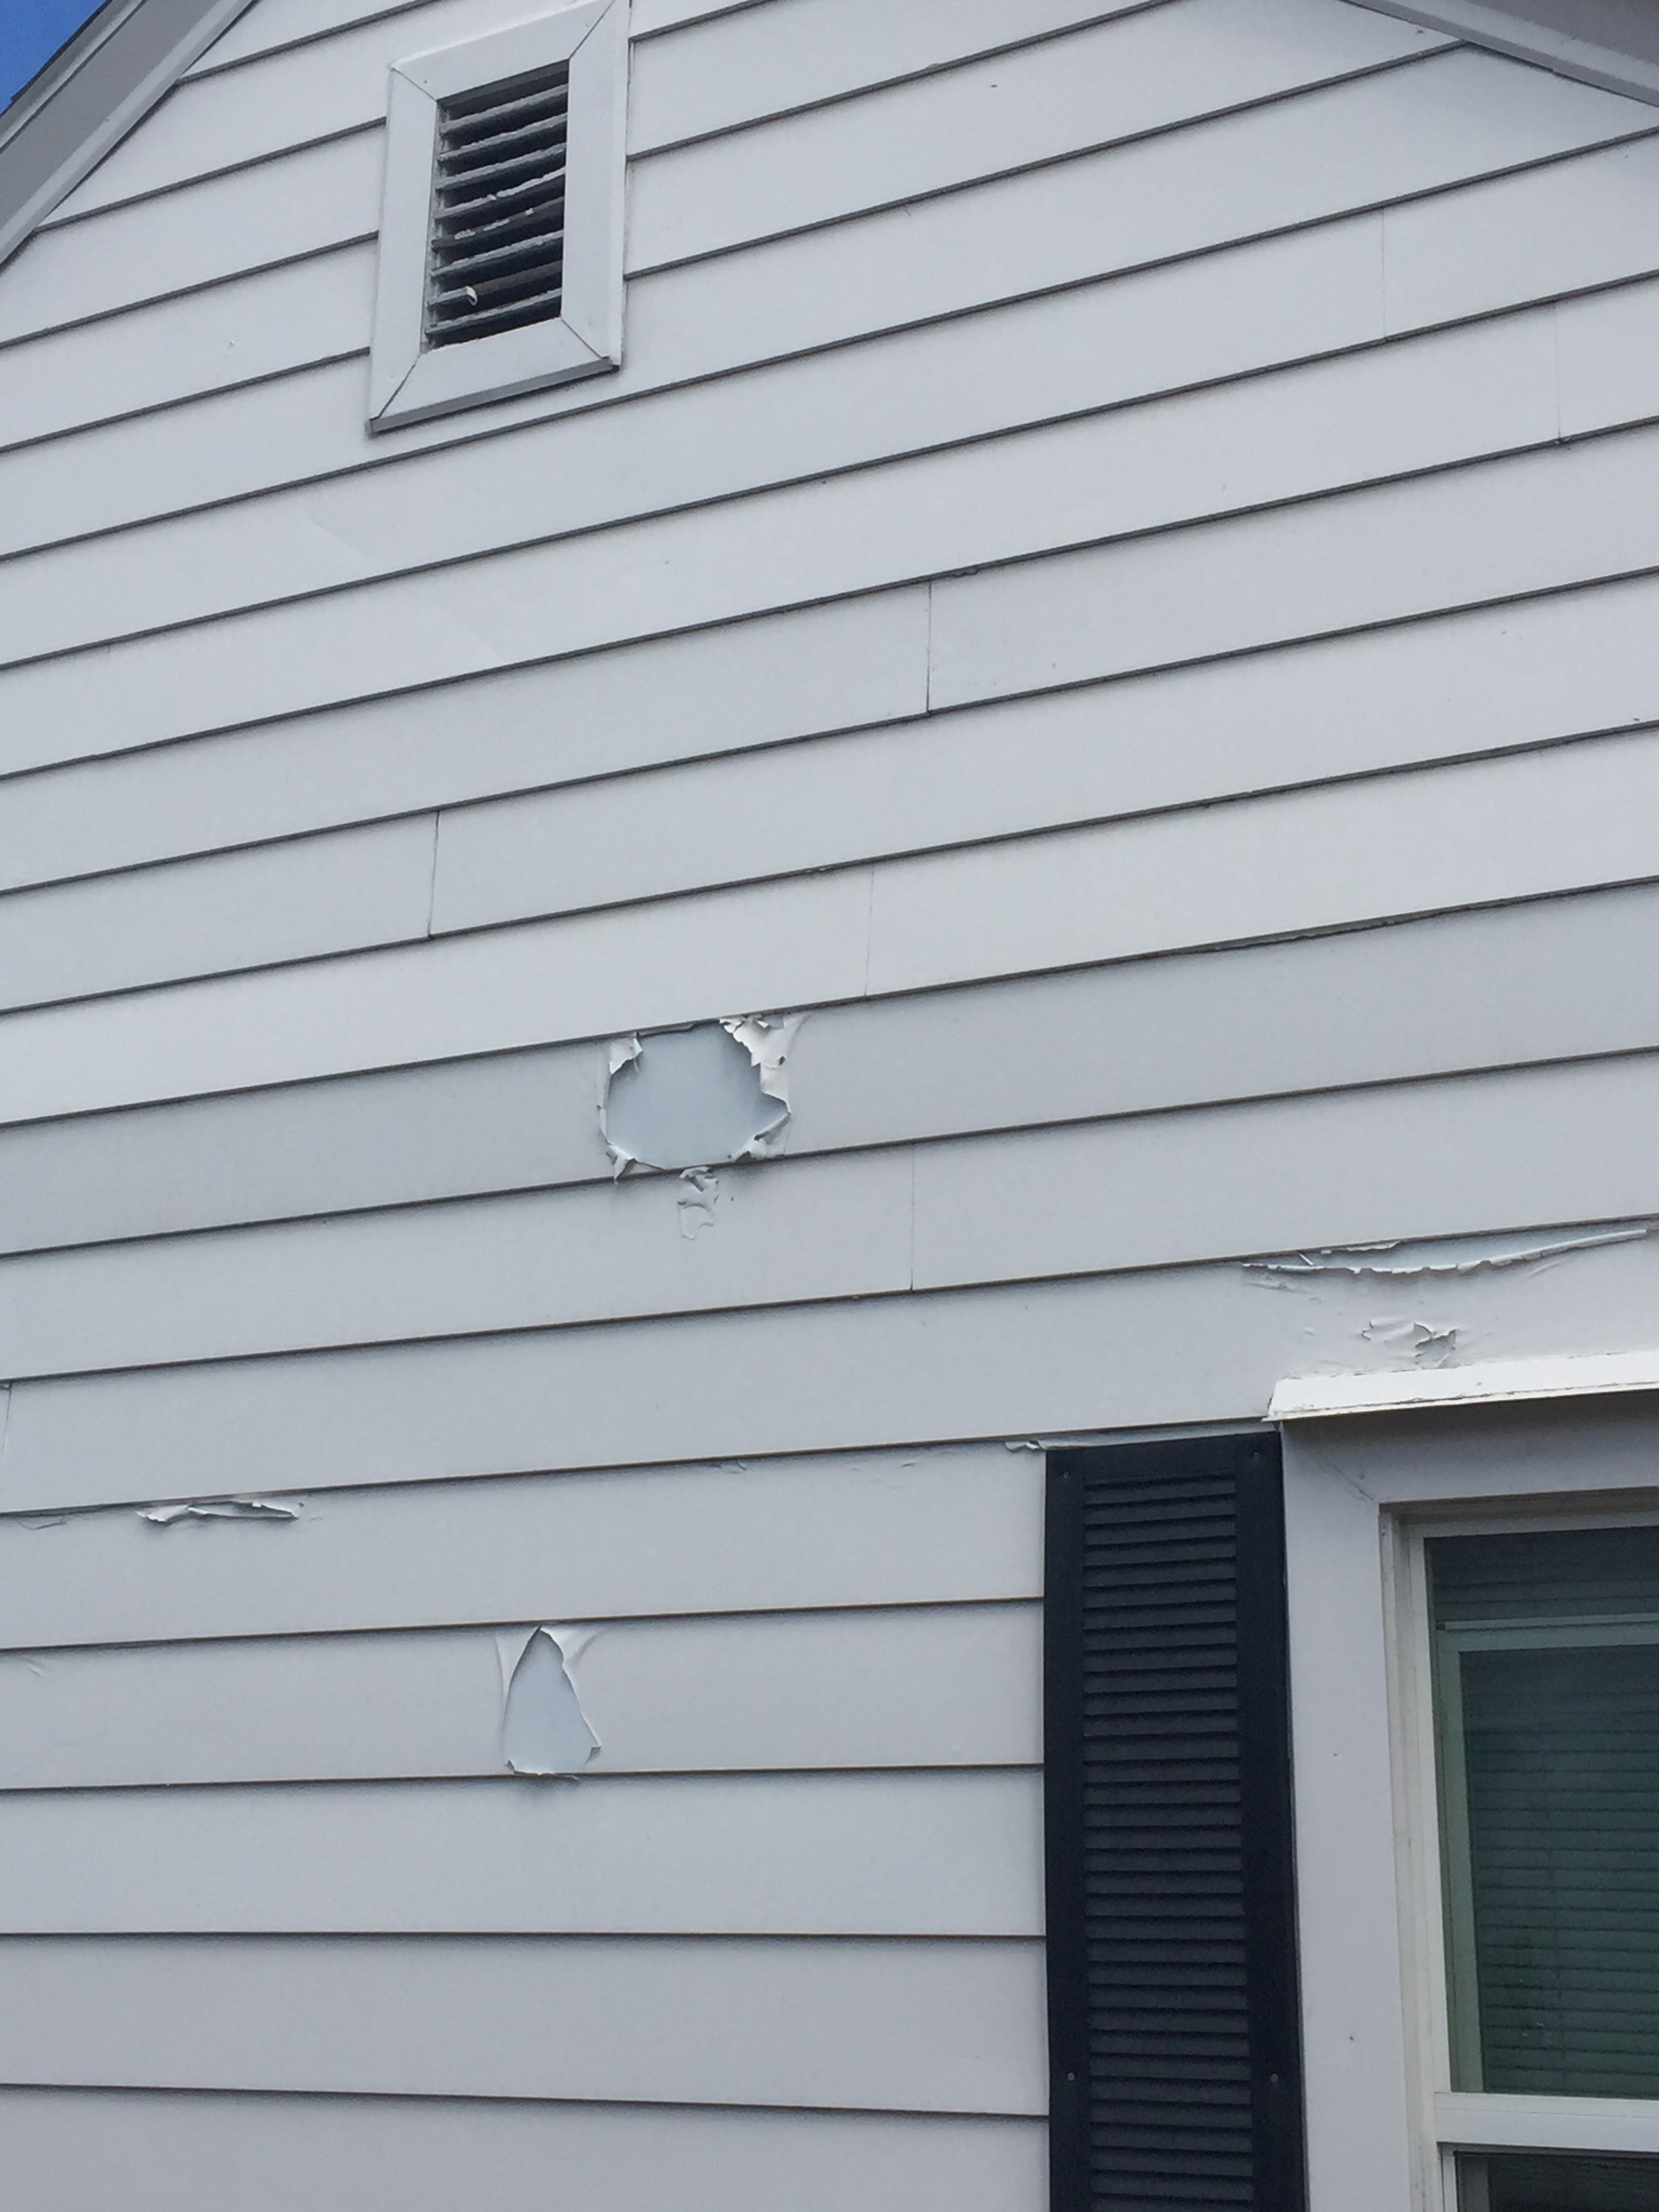
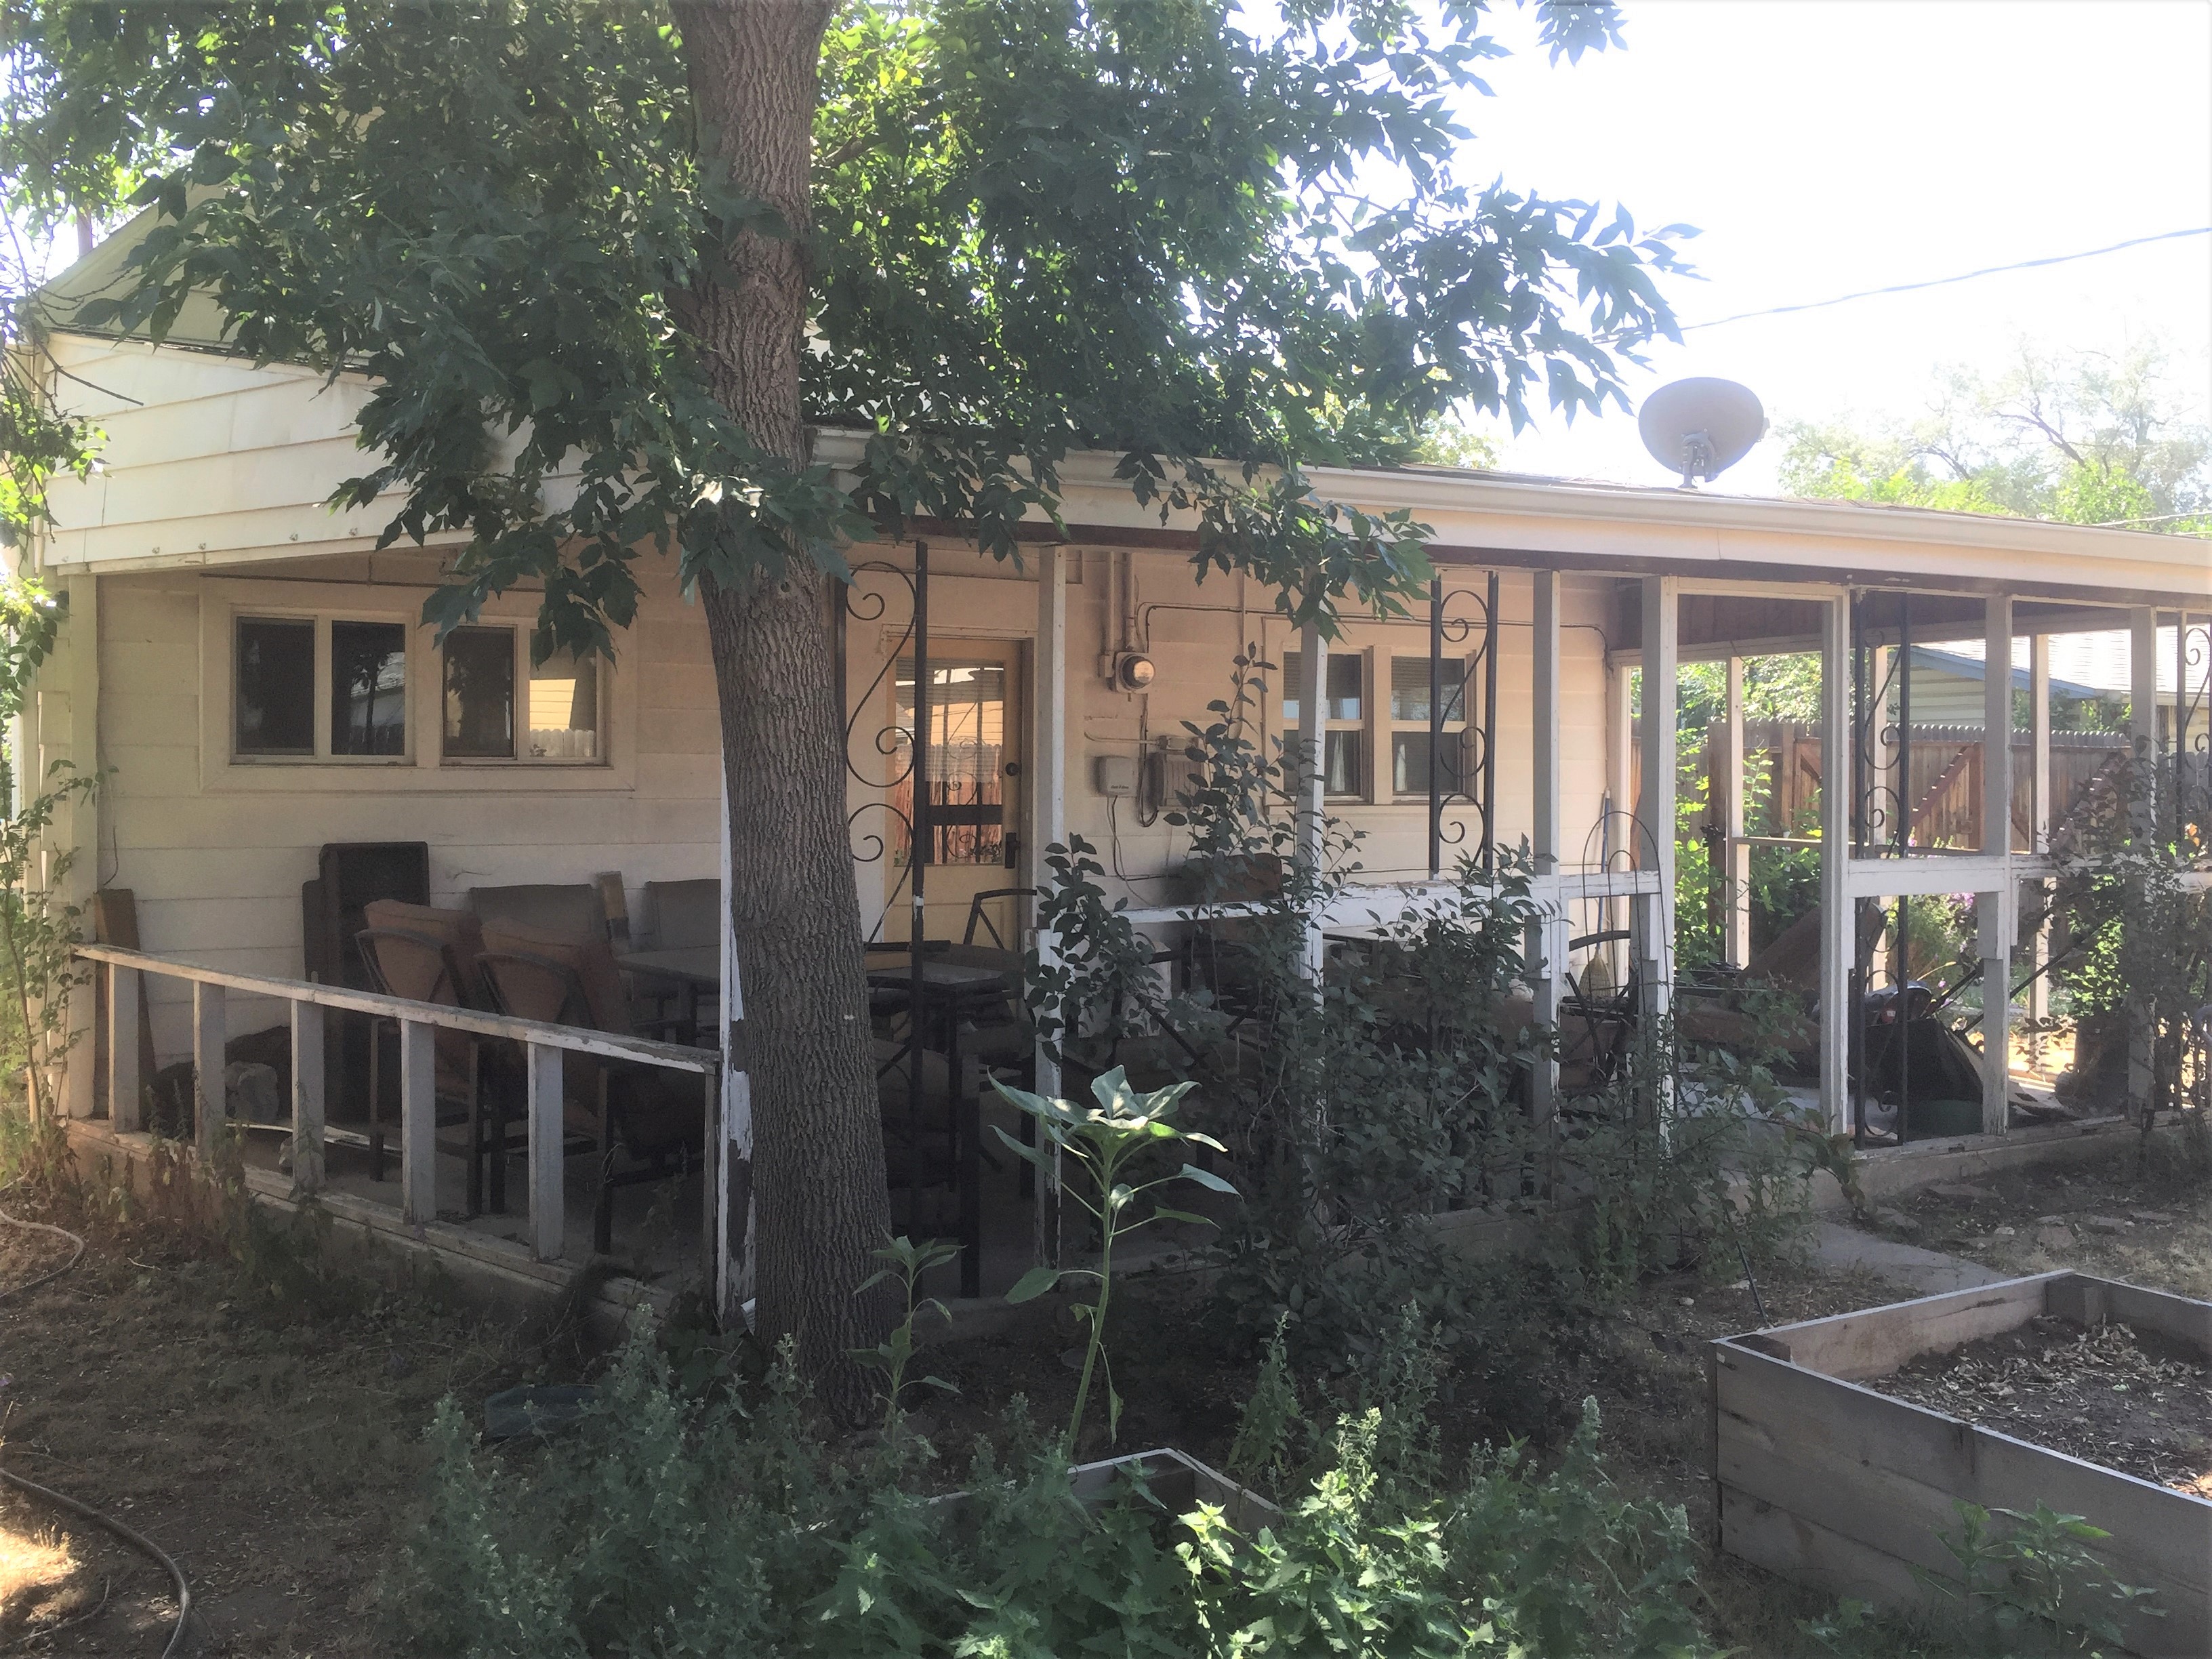
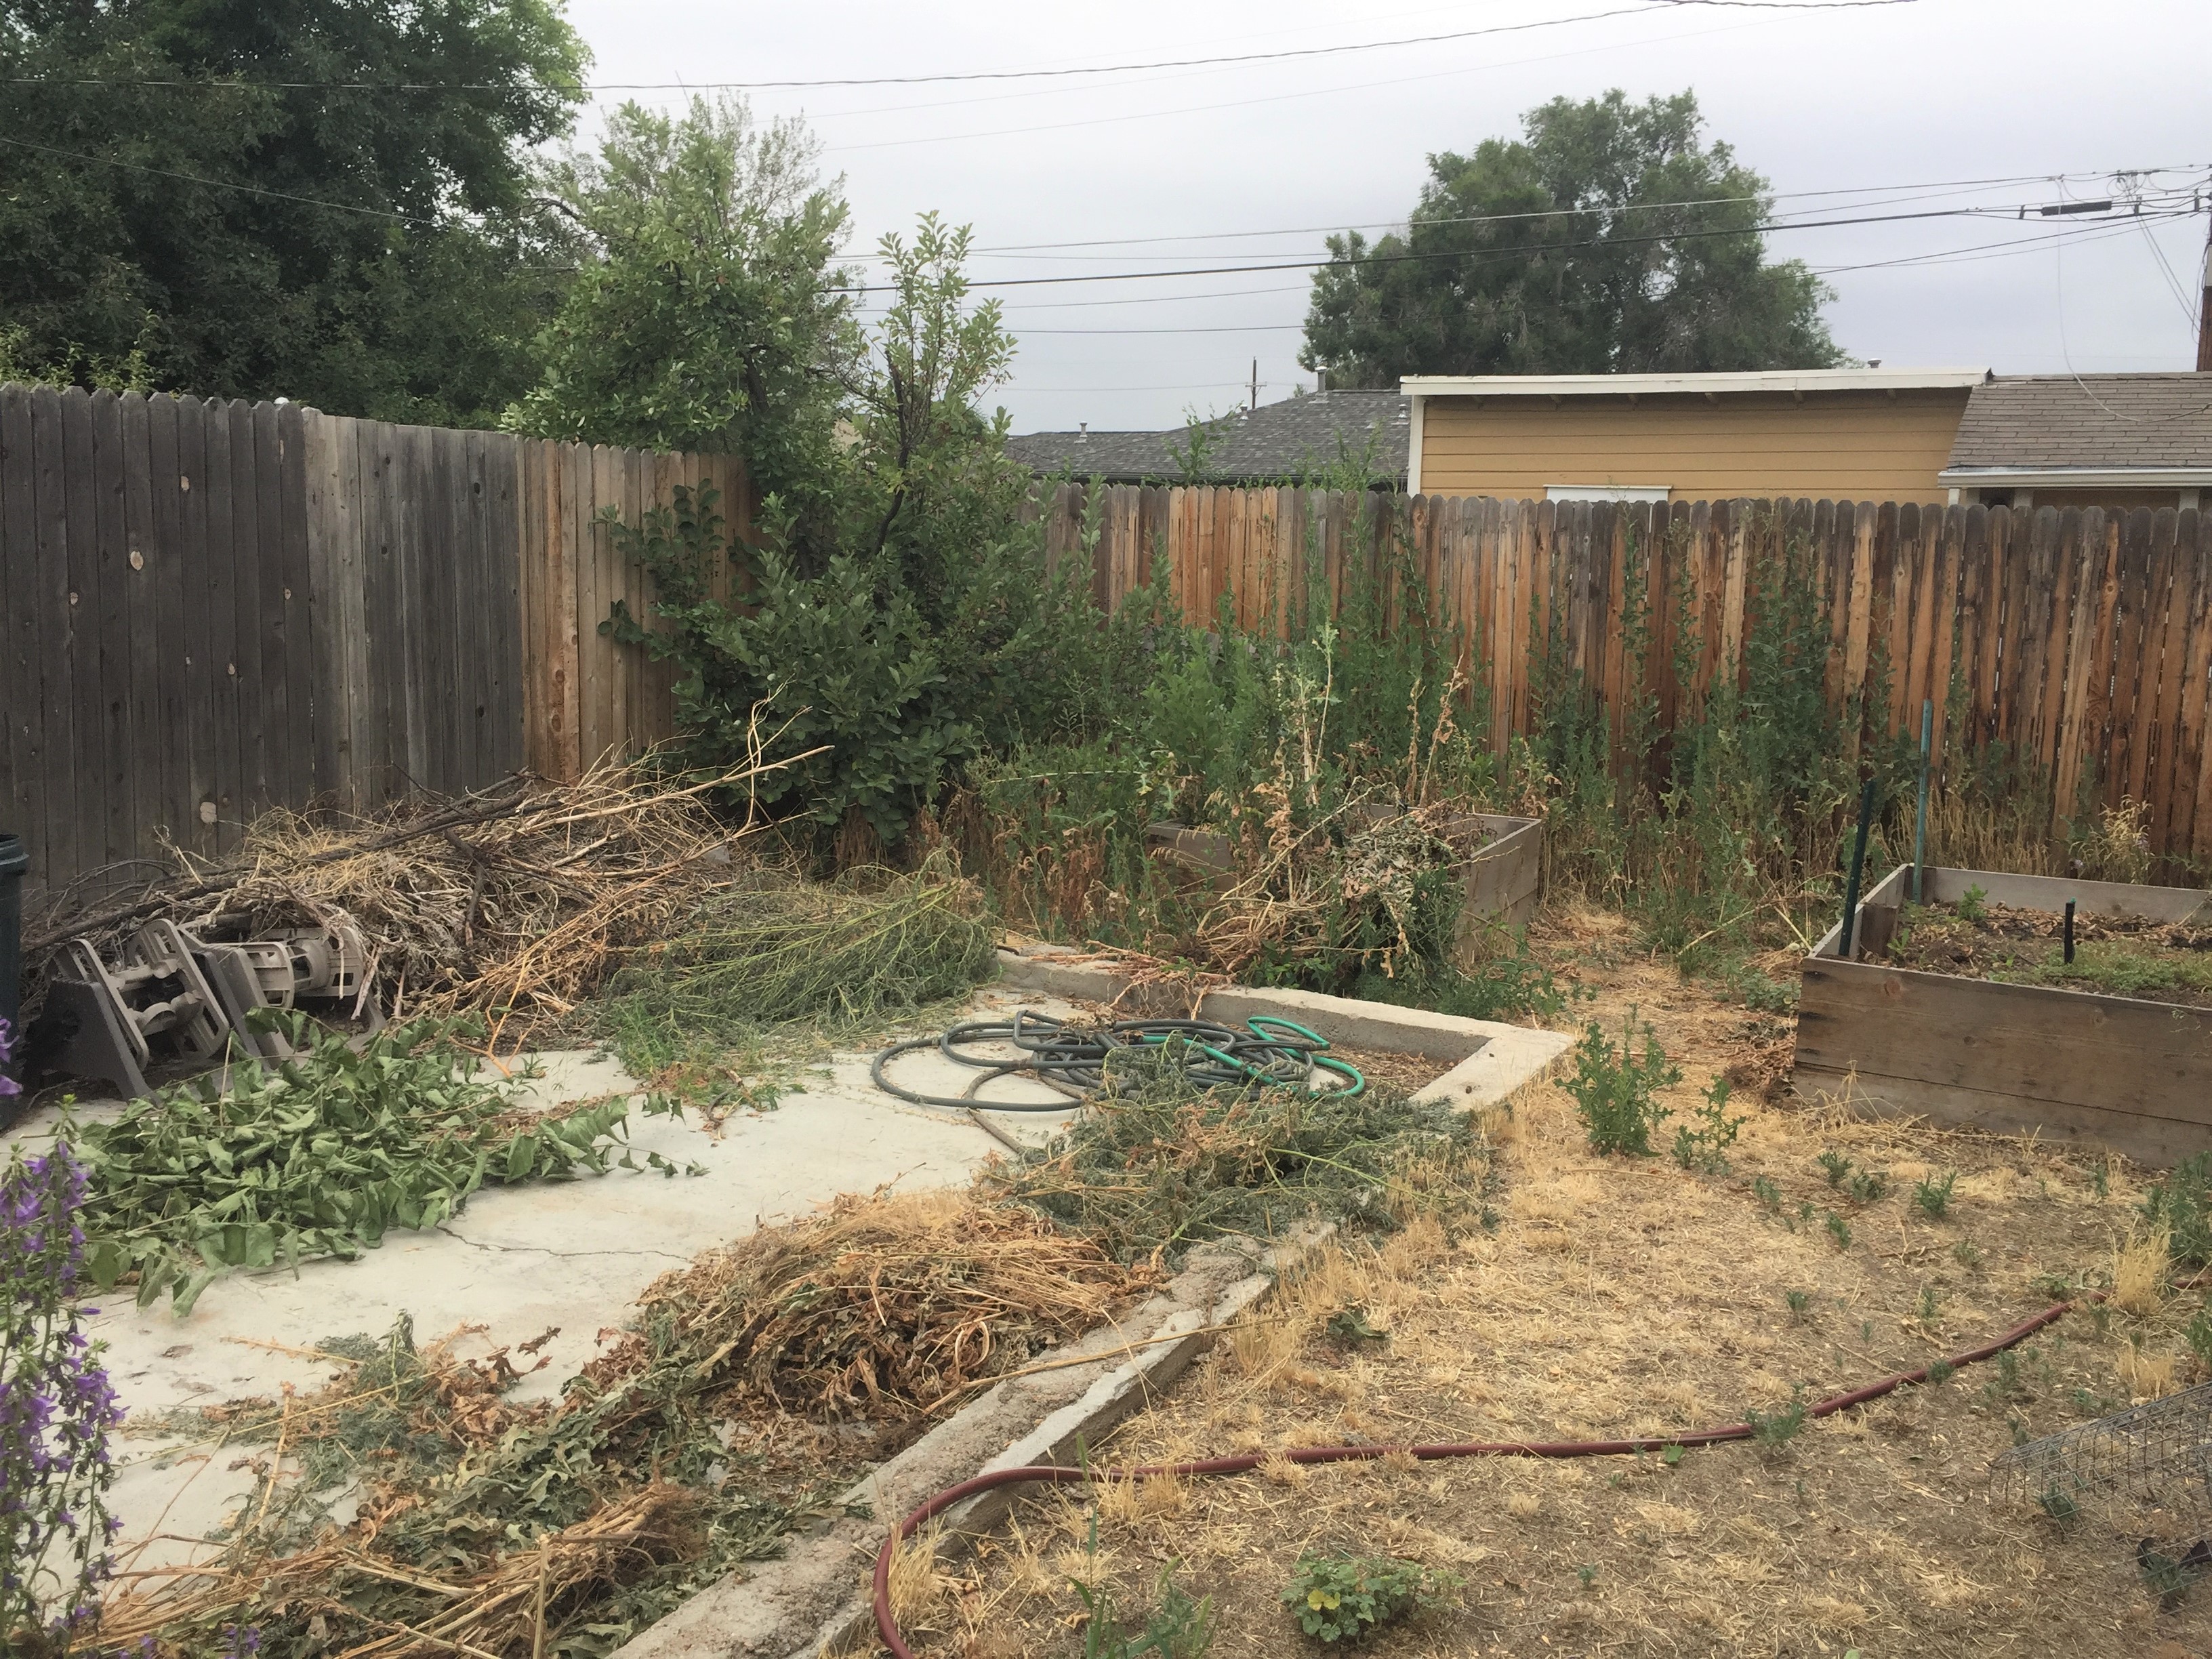
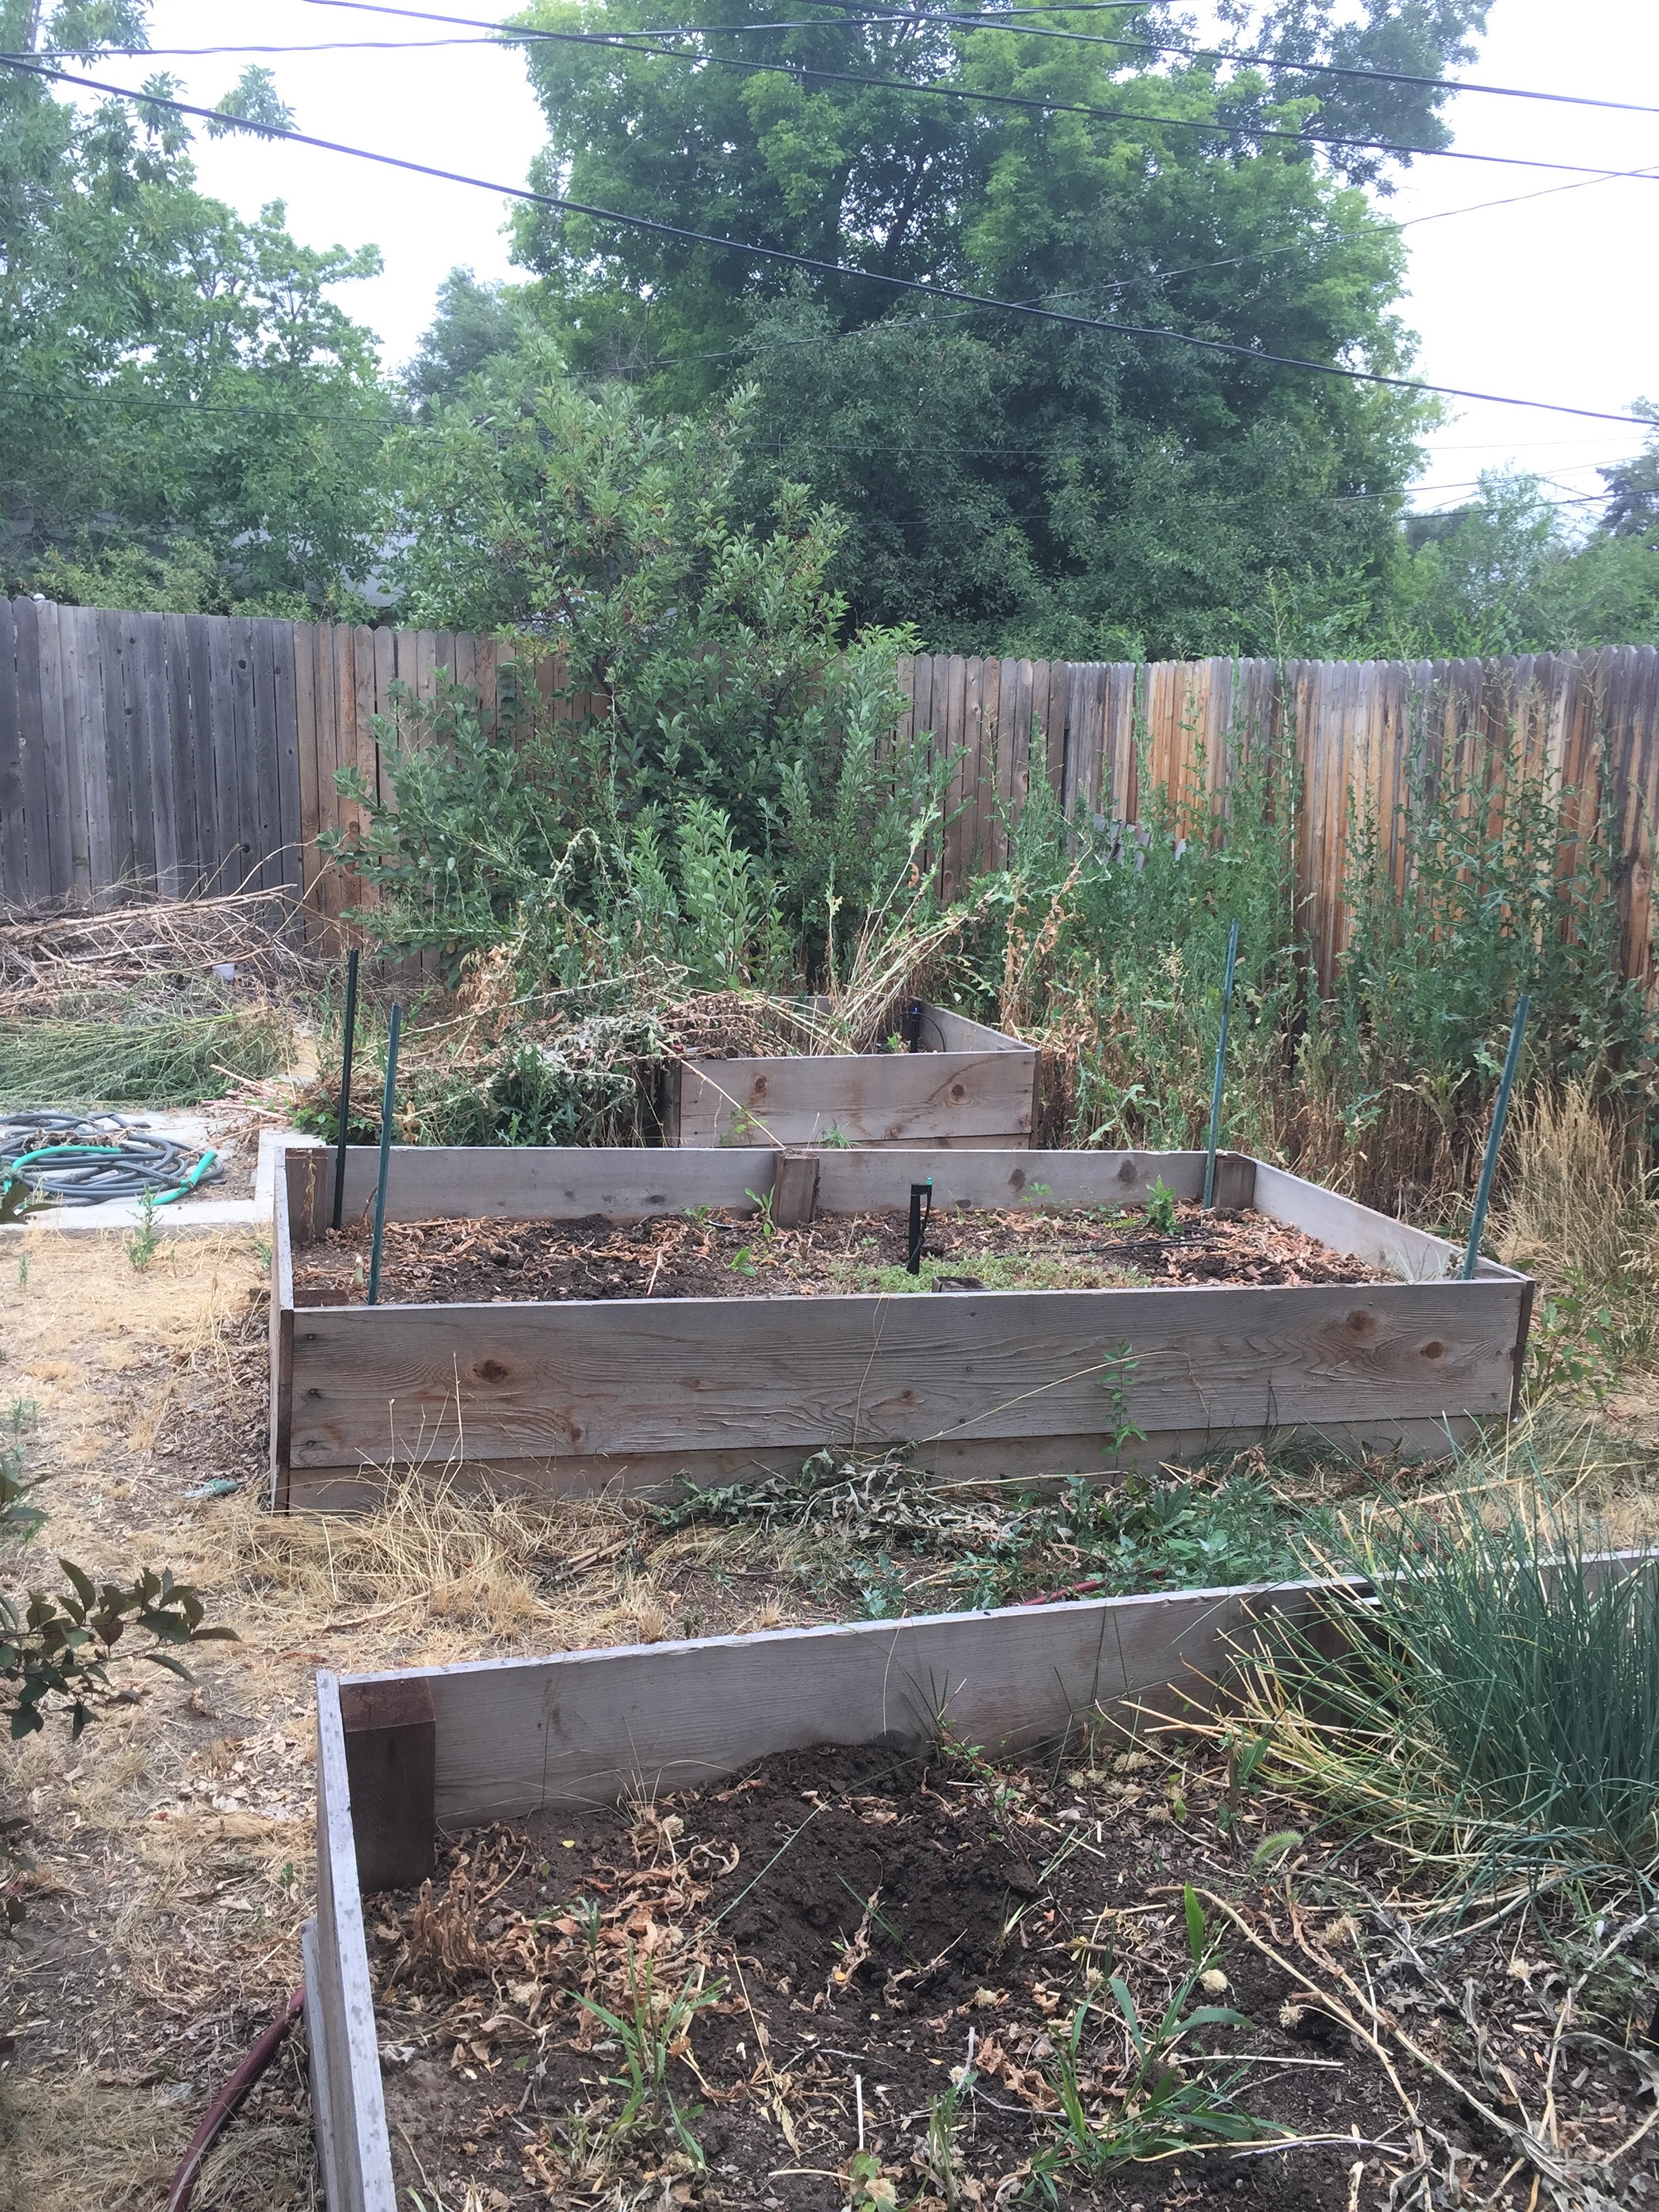
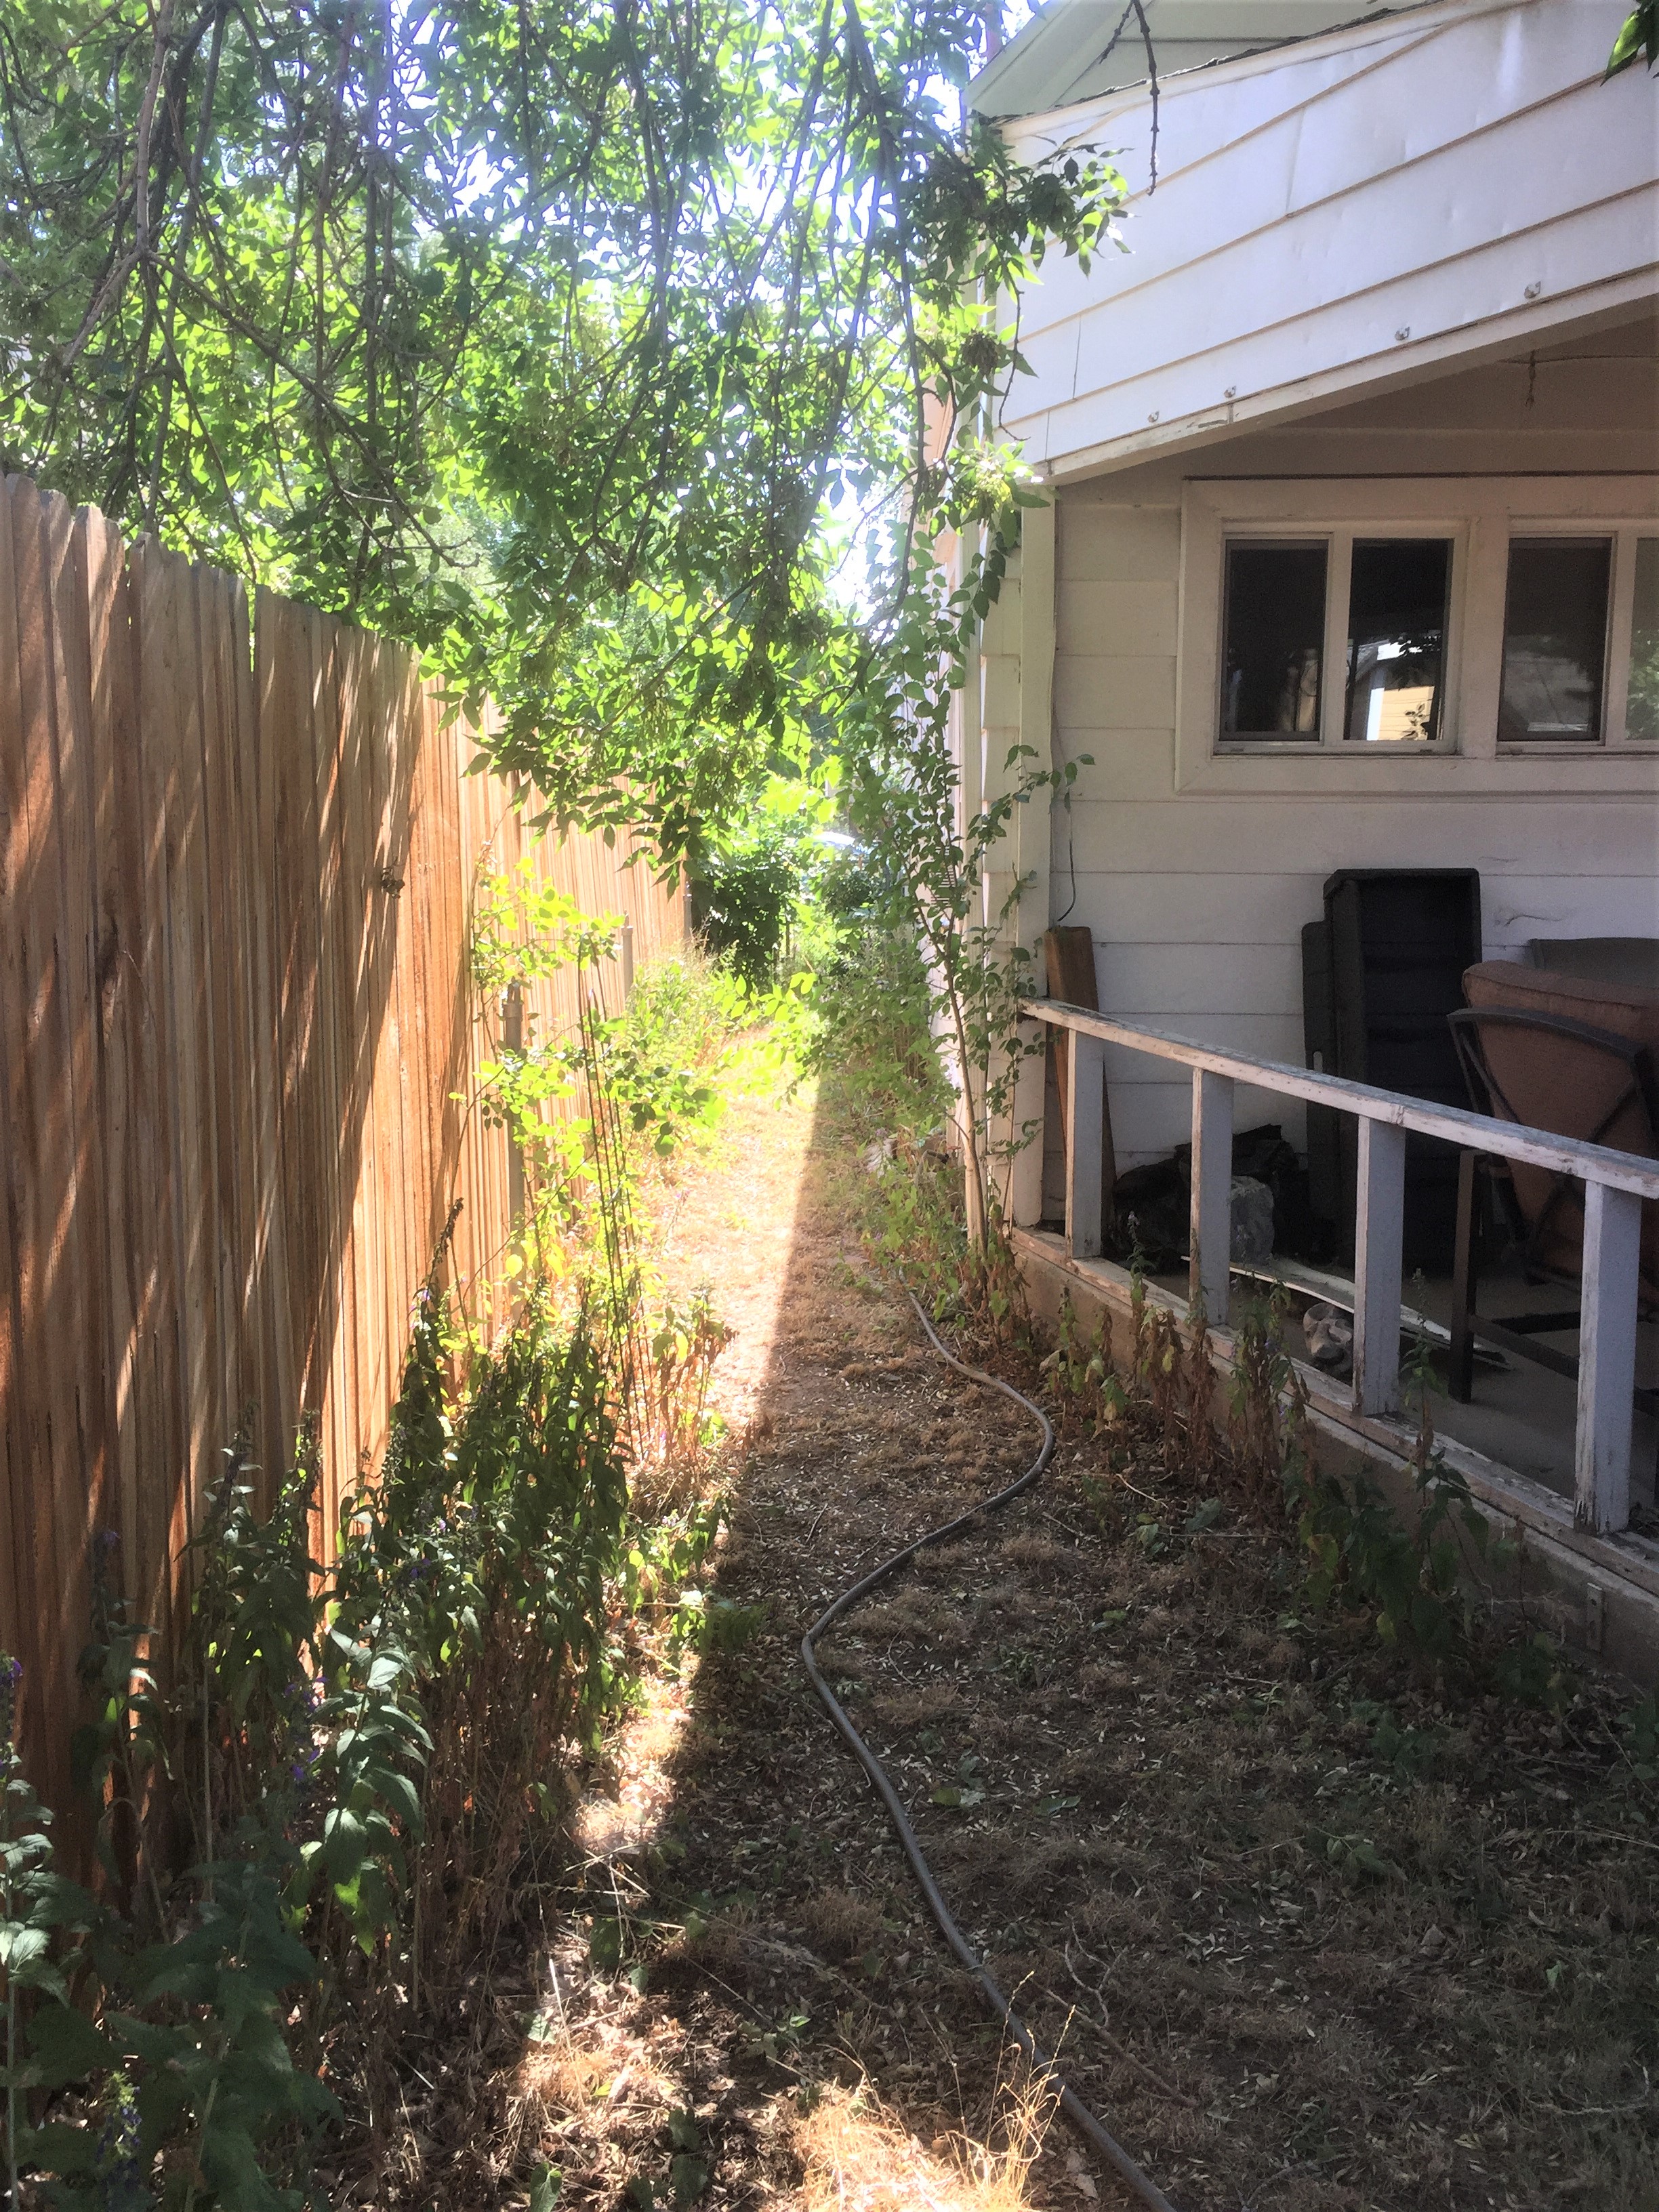
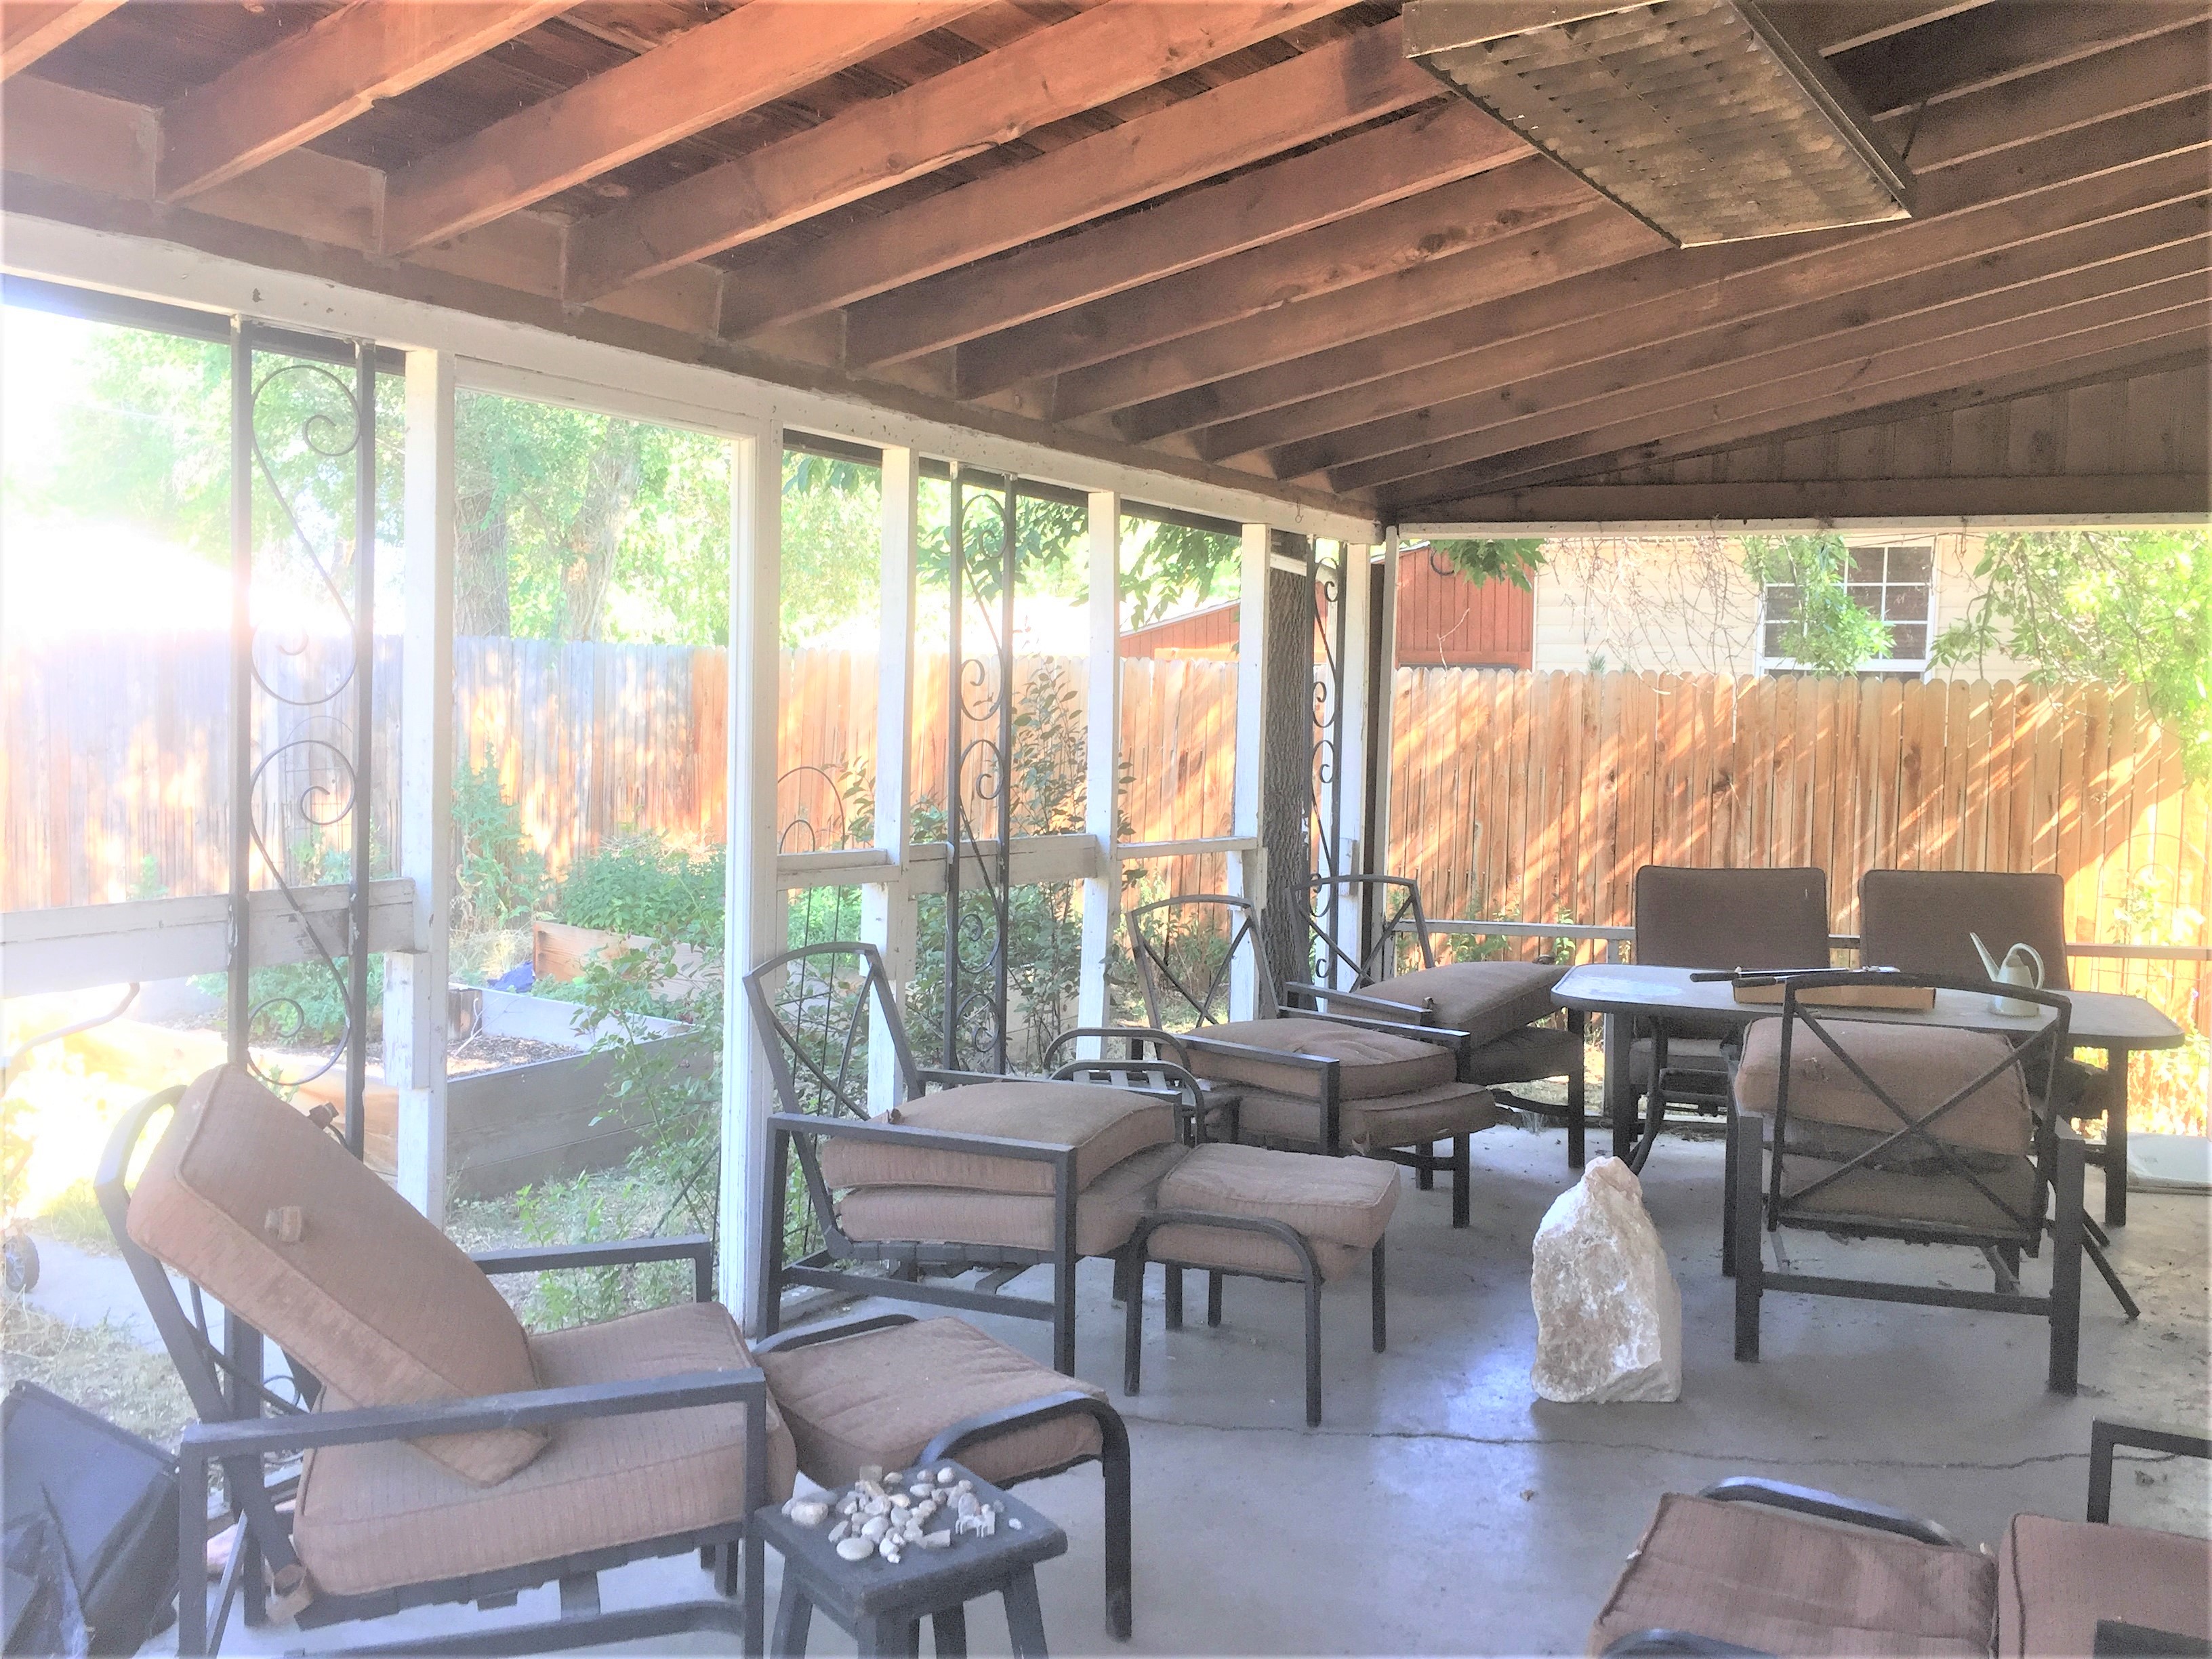
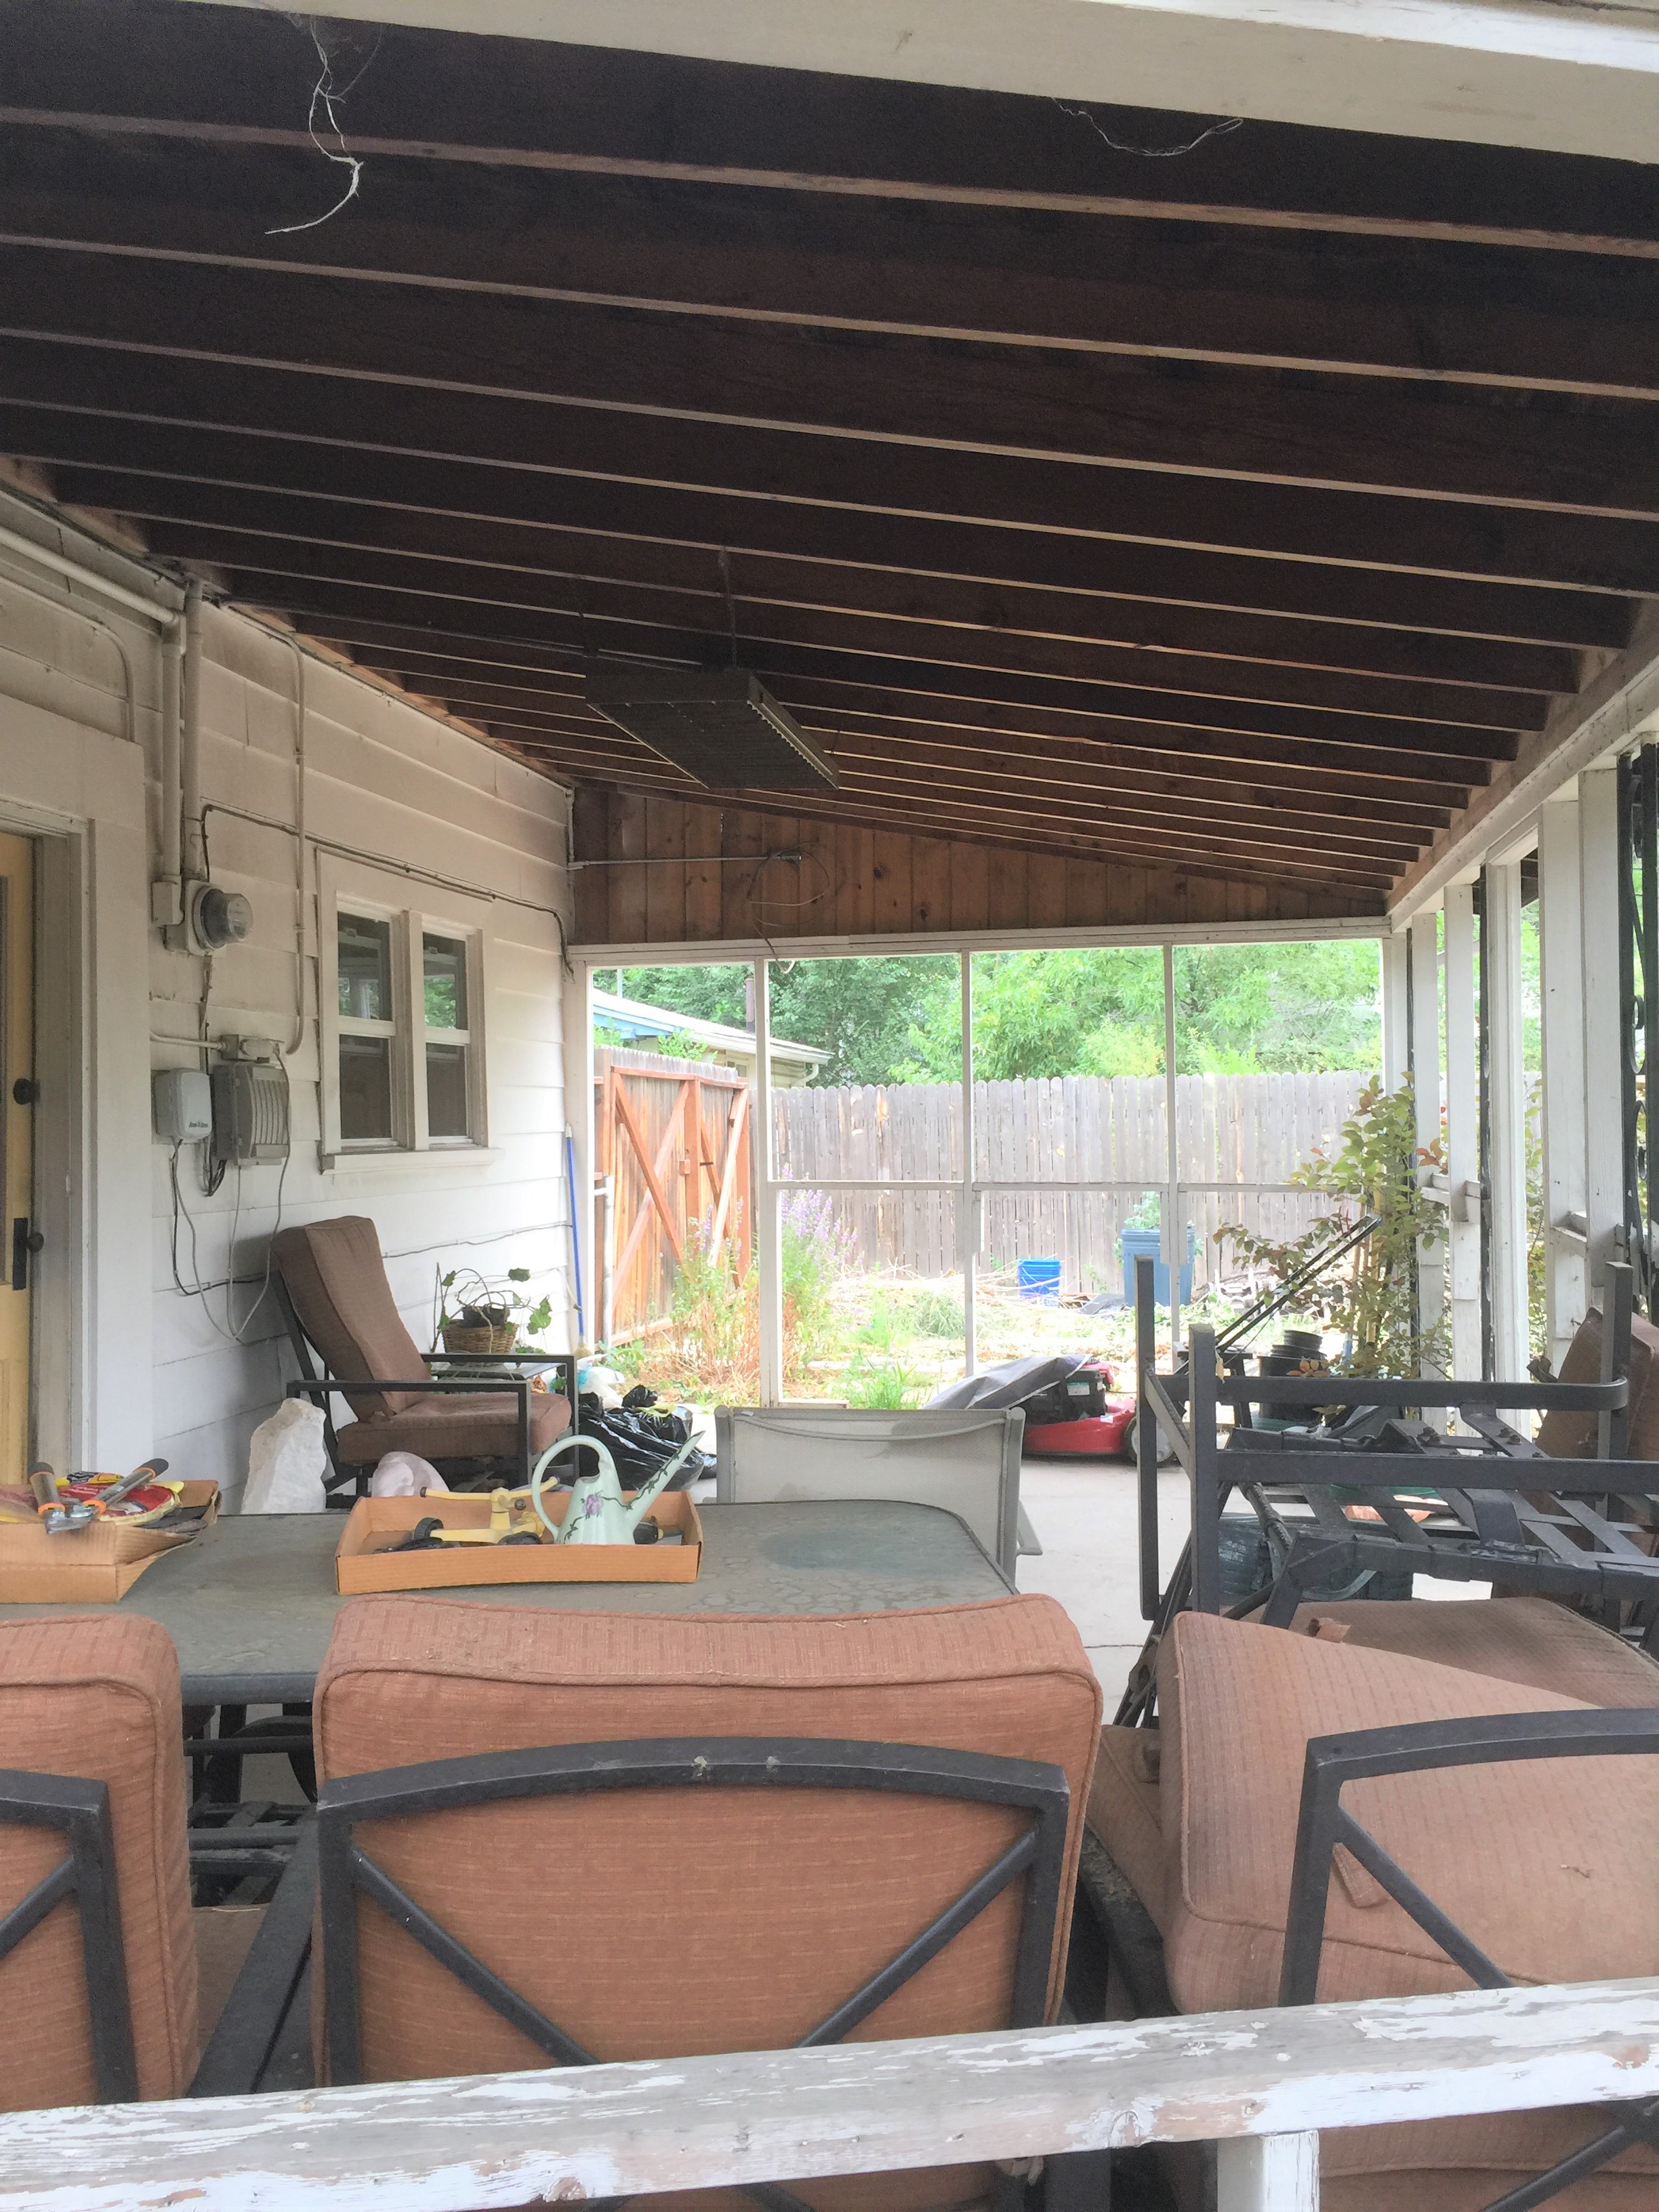
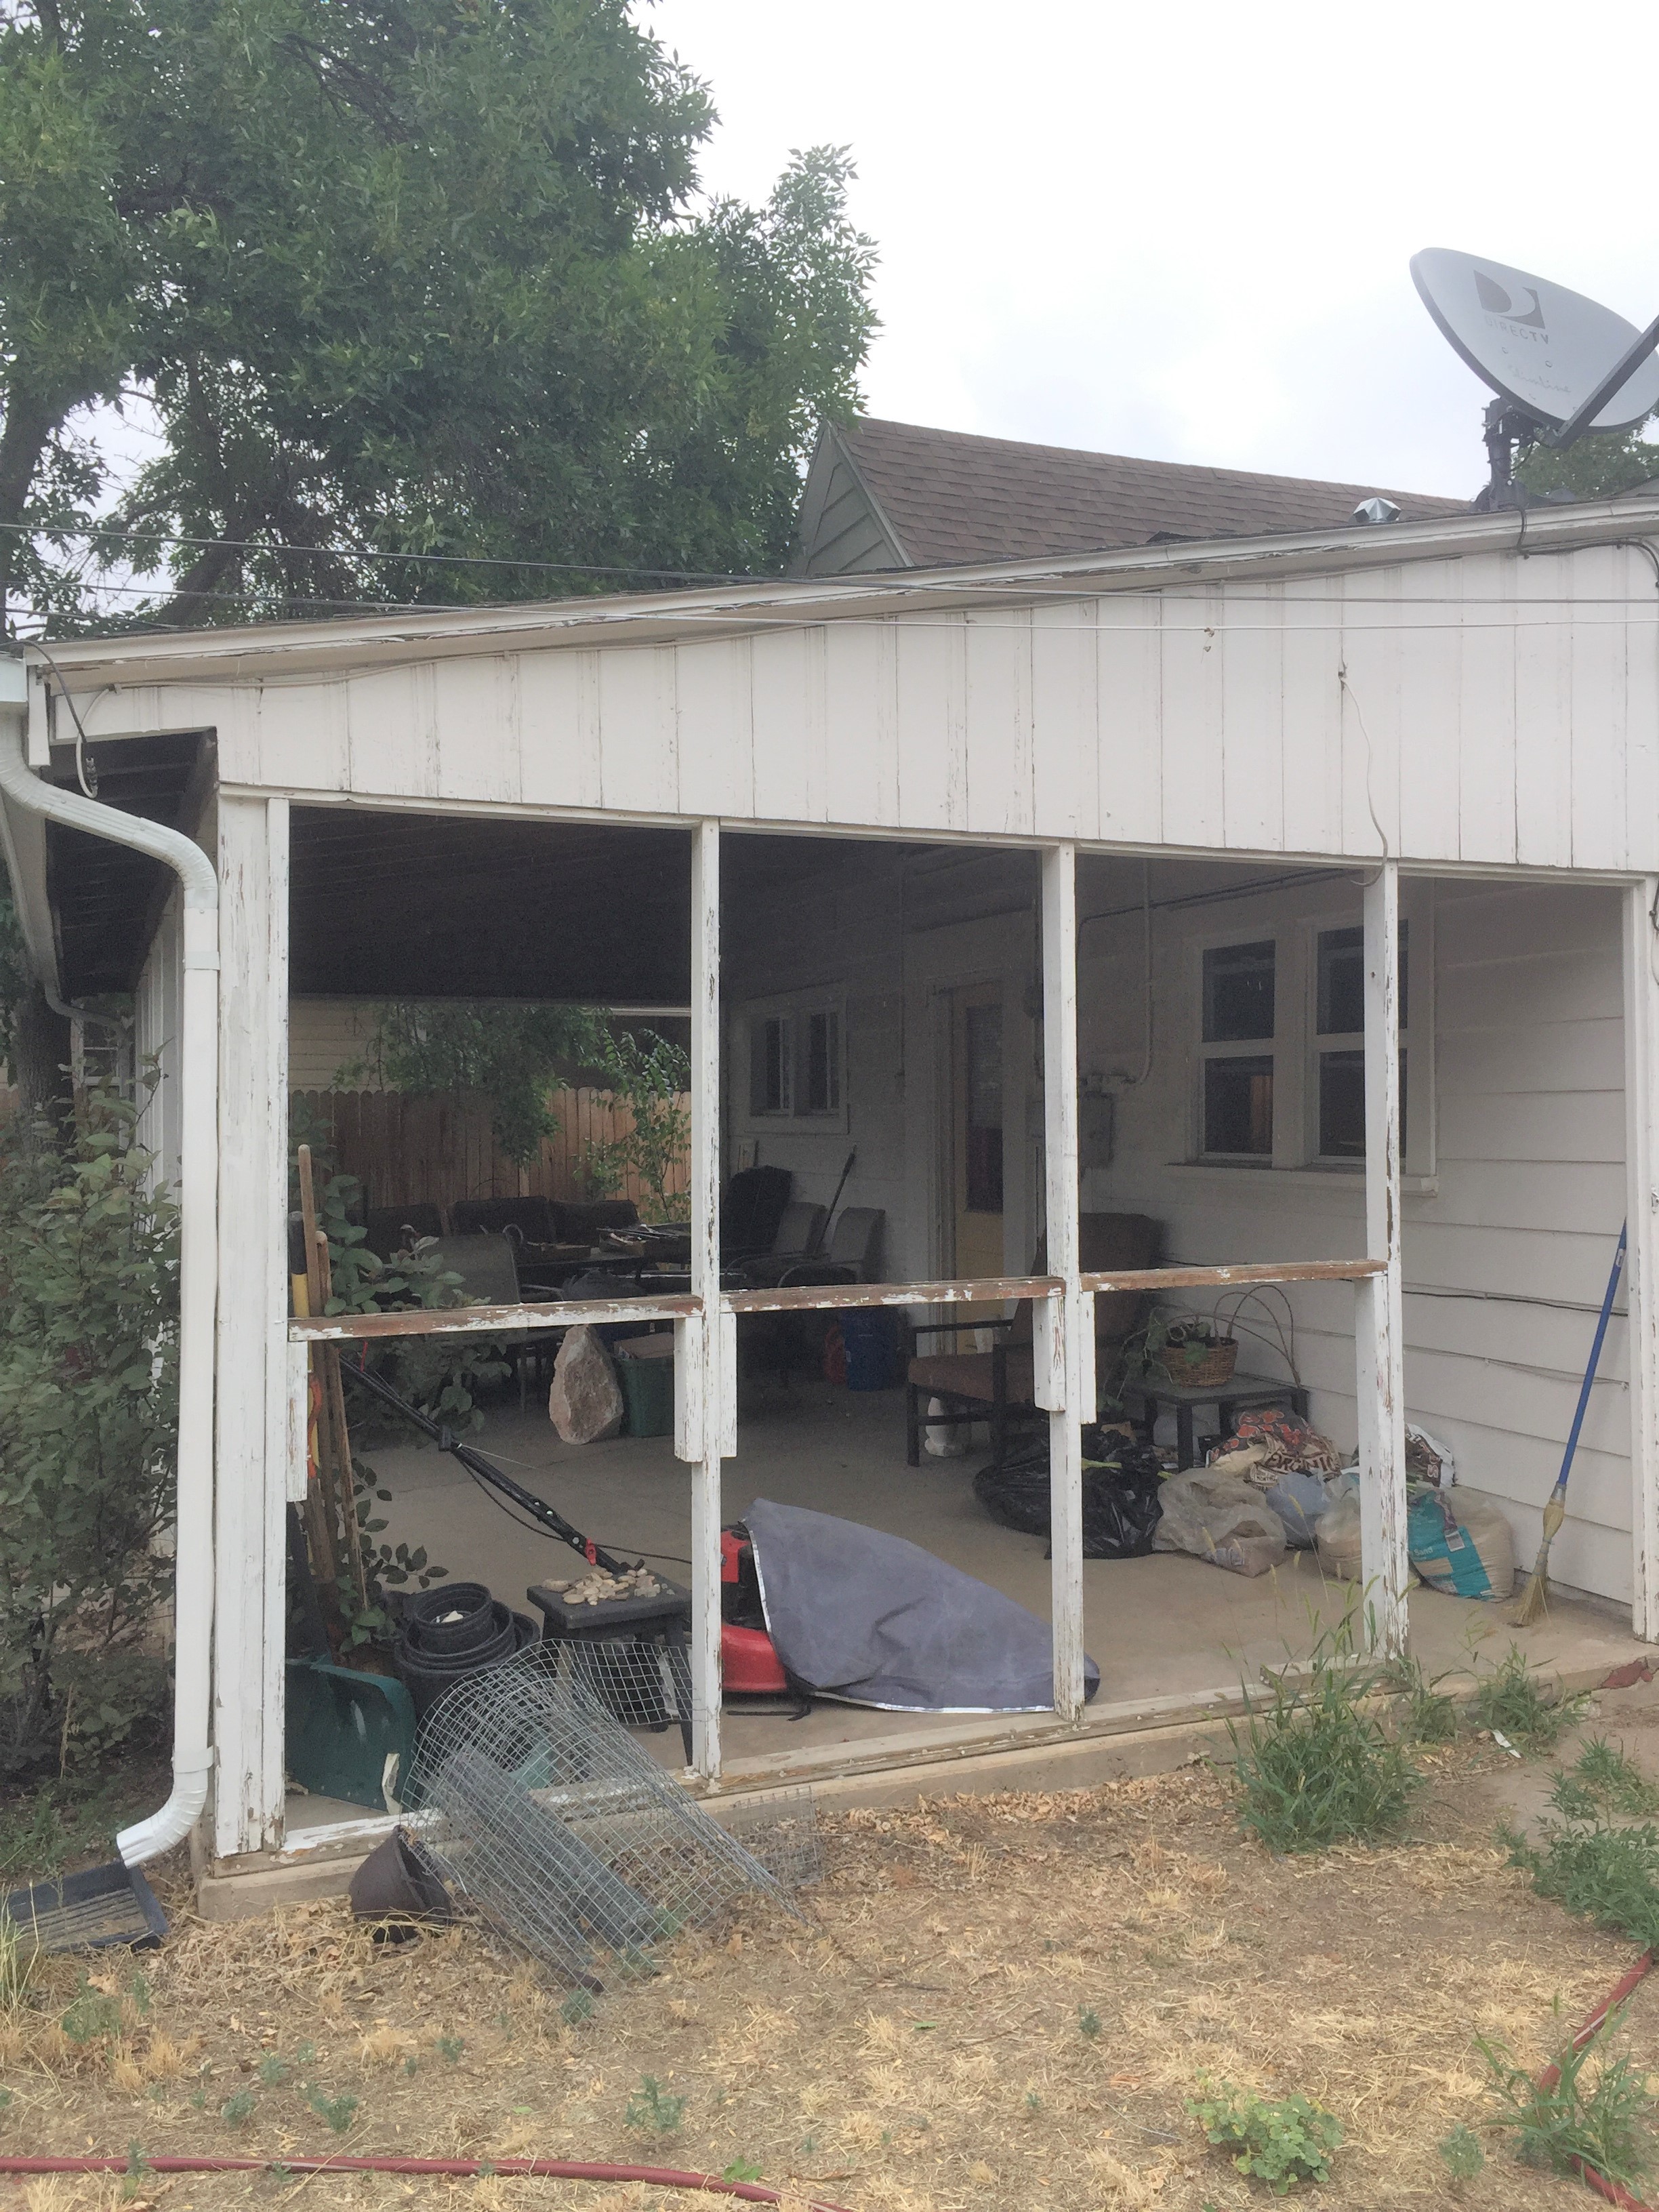
Its time to update this vintage bungalow.View from the street. The Aspen tree was planted in 2012. This is what you see as you park in the driveway and walk to the front door.Old front door.North side looking toward the walkway. Chain link fence between me and the neighbors.South side driveway and garden boxes.Overgrown garden boxes, volunteer trees and weeds.Covered back porch with iron scroll and white painted 2×4 posts.Original concrete slab once had a garage sitting on top.Overgrown garden boxes and weeds.Sprinkler system was installed in 2017.North view of back yard.North side of house walkway. I like the tongue and groove cedar paneling on the ceiling, the florescent light fixtures not so much.Back porch looking South.South view of the back porch.The original back door with utilities mounted in full view!
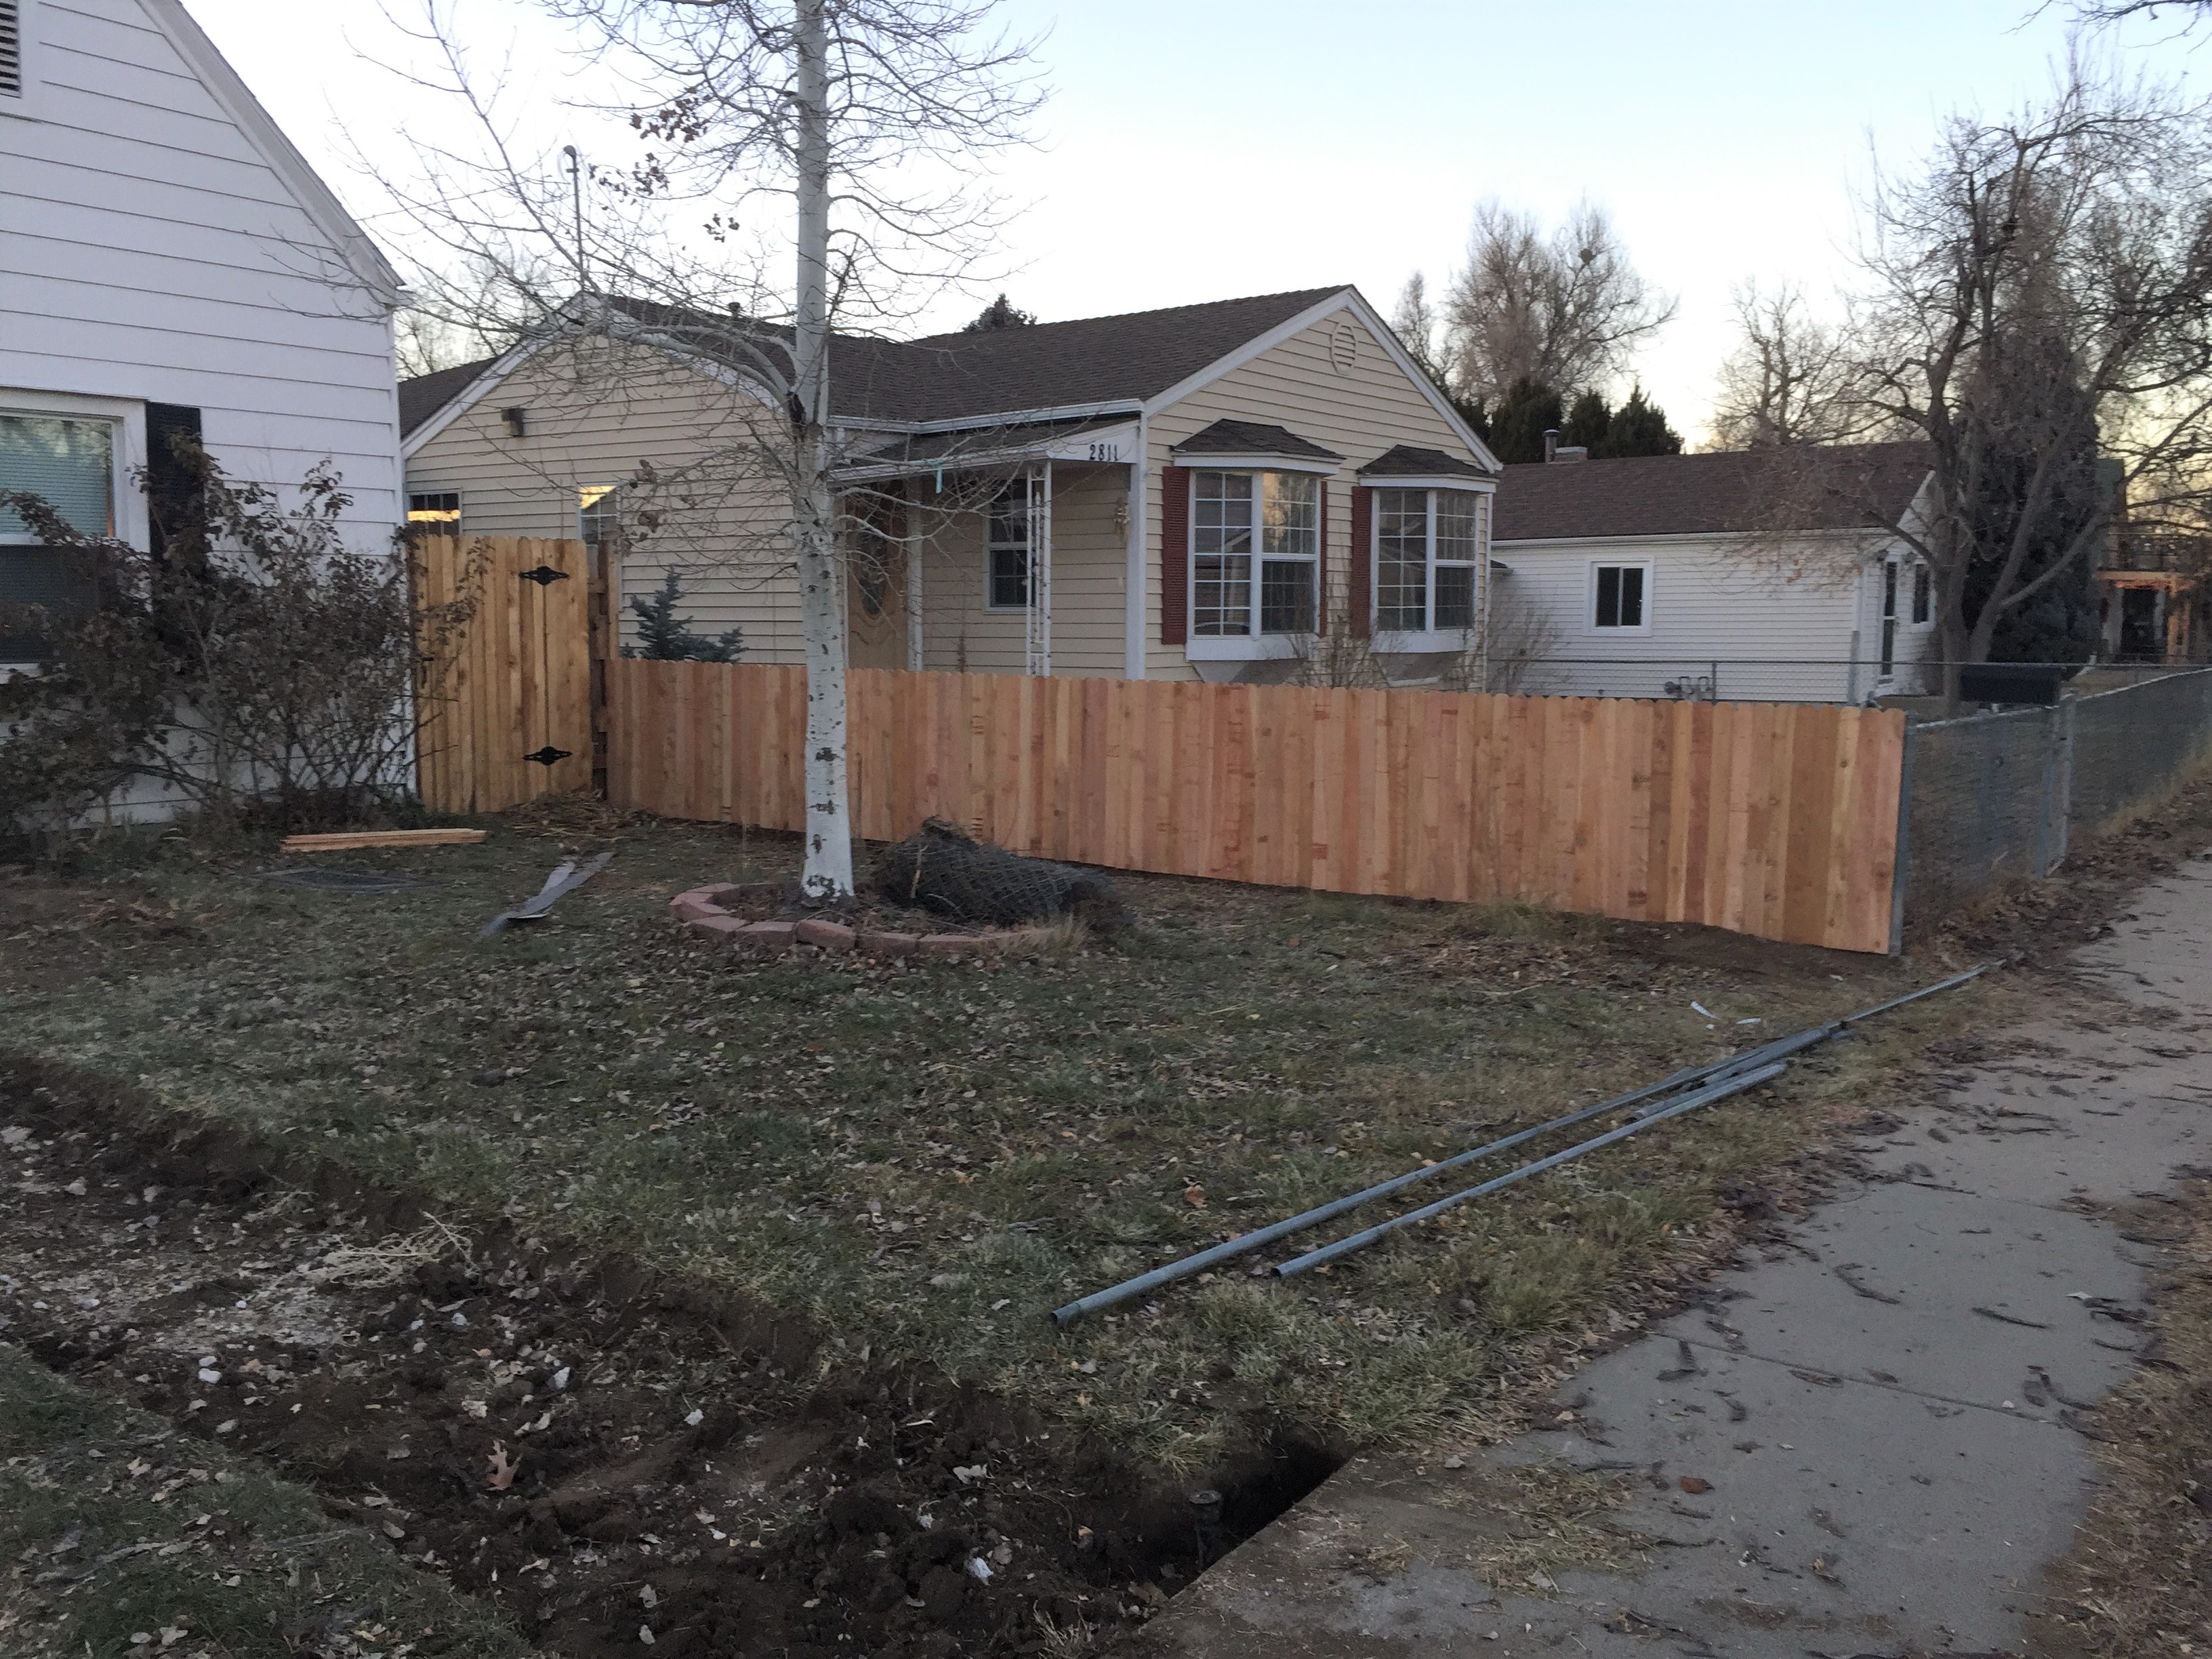
The first thing I had to do was to take out the concrete porch and walkway from the city sidewalk to the front of the house.Where the concrete walkway used to be.My awesome neighbor split the cost of a new cedar fence with me. We both are happy to see the chain link fence gone!The new fence looks clean and tidy.I also had the walkway made wider, 4′.Garden boxes are removed and a stubborn tree stump dug out.This whole landing, where the concrete porch was, sat higher than the rest of the yard.This is just ugly and beat up. I can’t wait to turn this space into a feature instead of an eyesore outside my kitchen window!
The old slab where the garage once stood is badly cracked. I used about half the slab (on the right) as a base for a garden shed with an added concrete ramp for my wheel barrow! The rest of the concrete will come out and be replaced with Breeze, my wonder material!
These guys work hard! Landscaping and construction is physical work and I appreciate the help getting these projects knocked out!
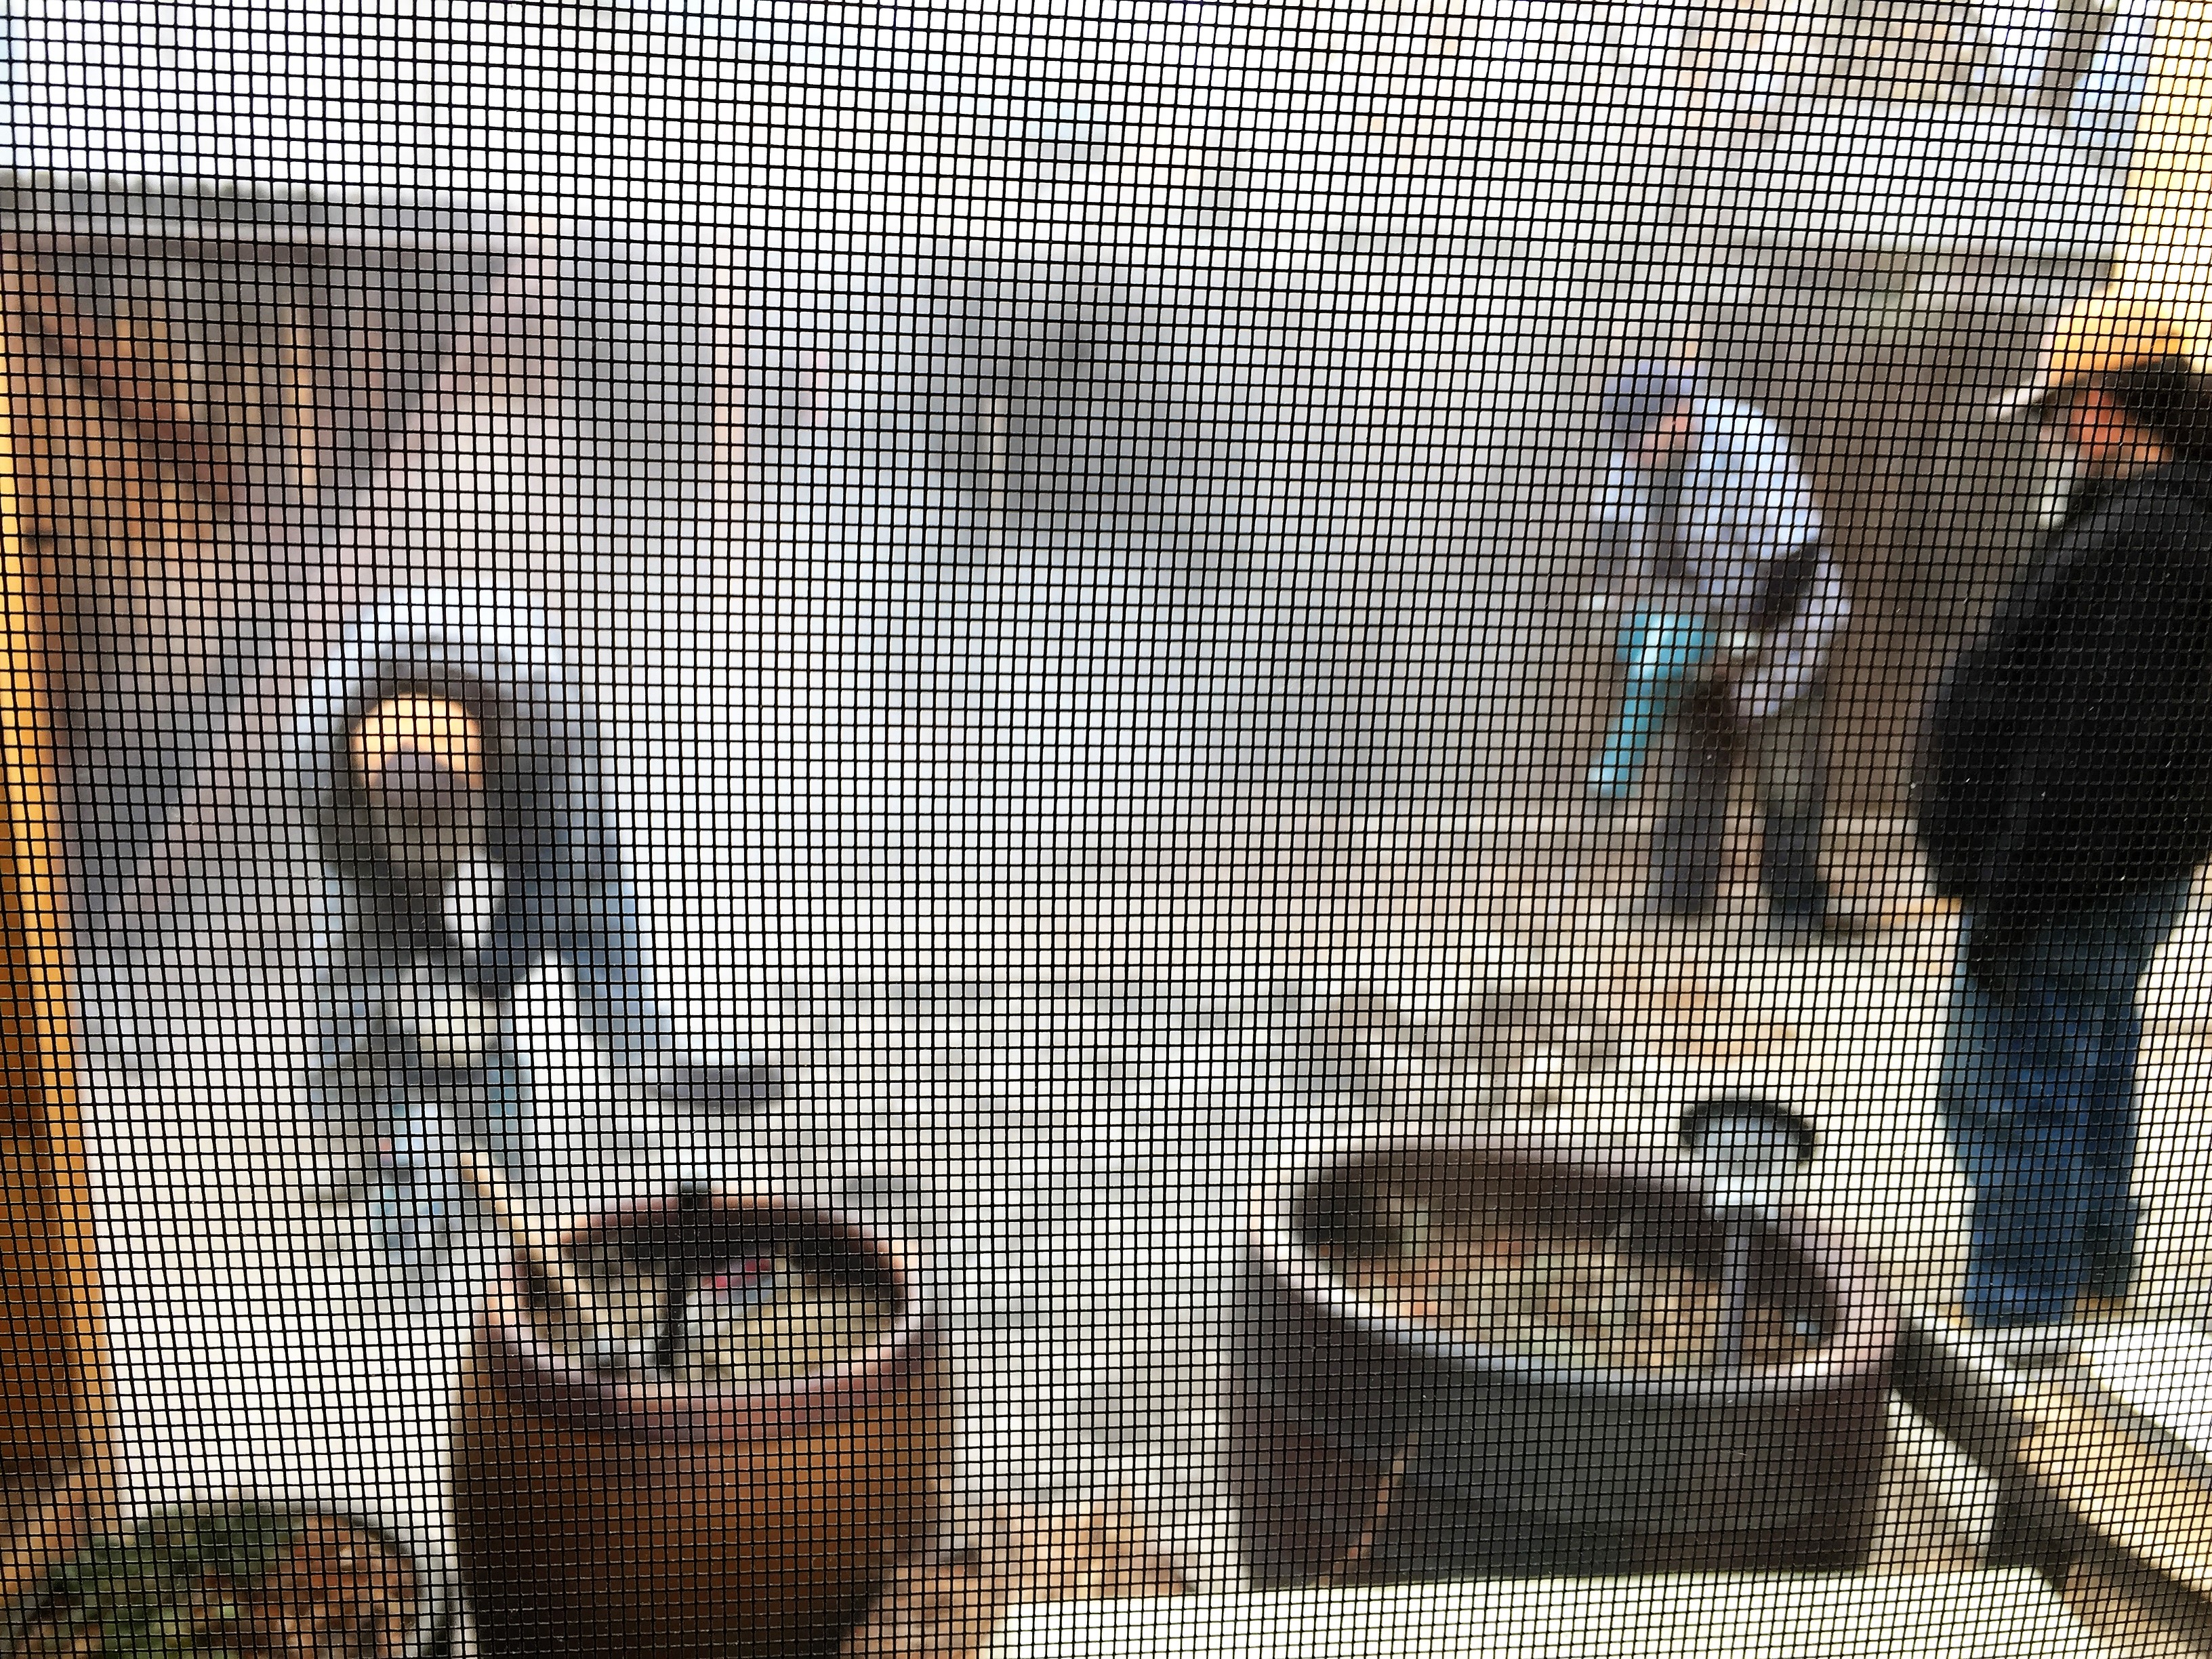
The jackhammer was super loud, so I took this pic through the window (and screen). These are the guy’s at Spartan Landscaping breaking up the concrete. Perfect way to start my morning…
Then weed barrier and Breeze.The yard is a rubik’s cube right now until I get everything done and can start the fun part of decorating and setting up!
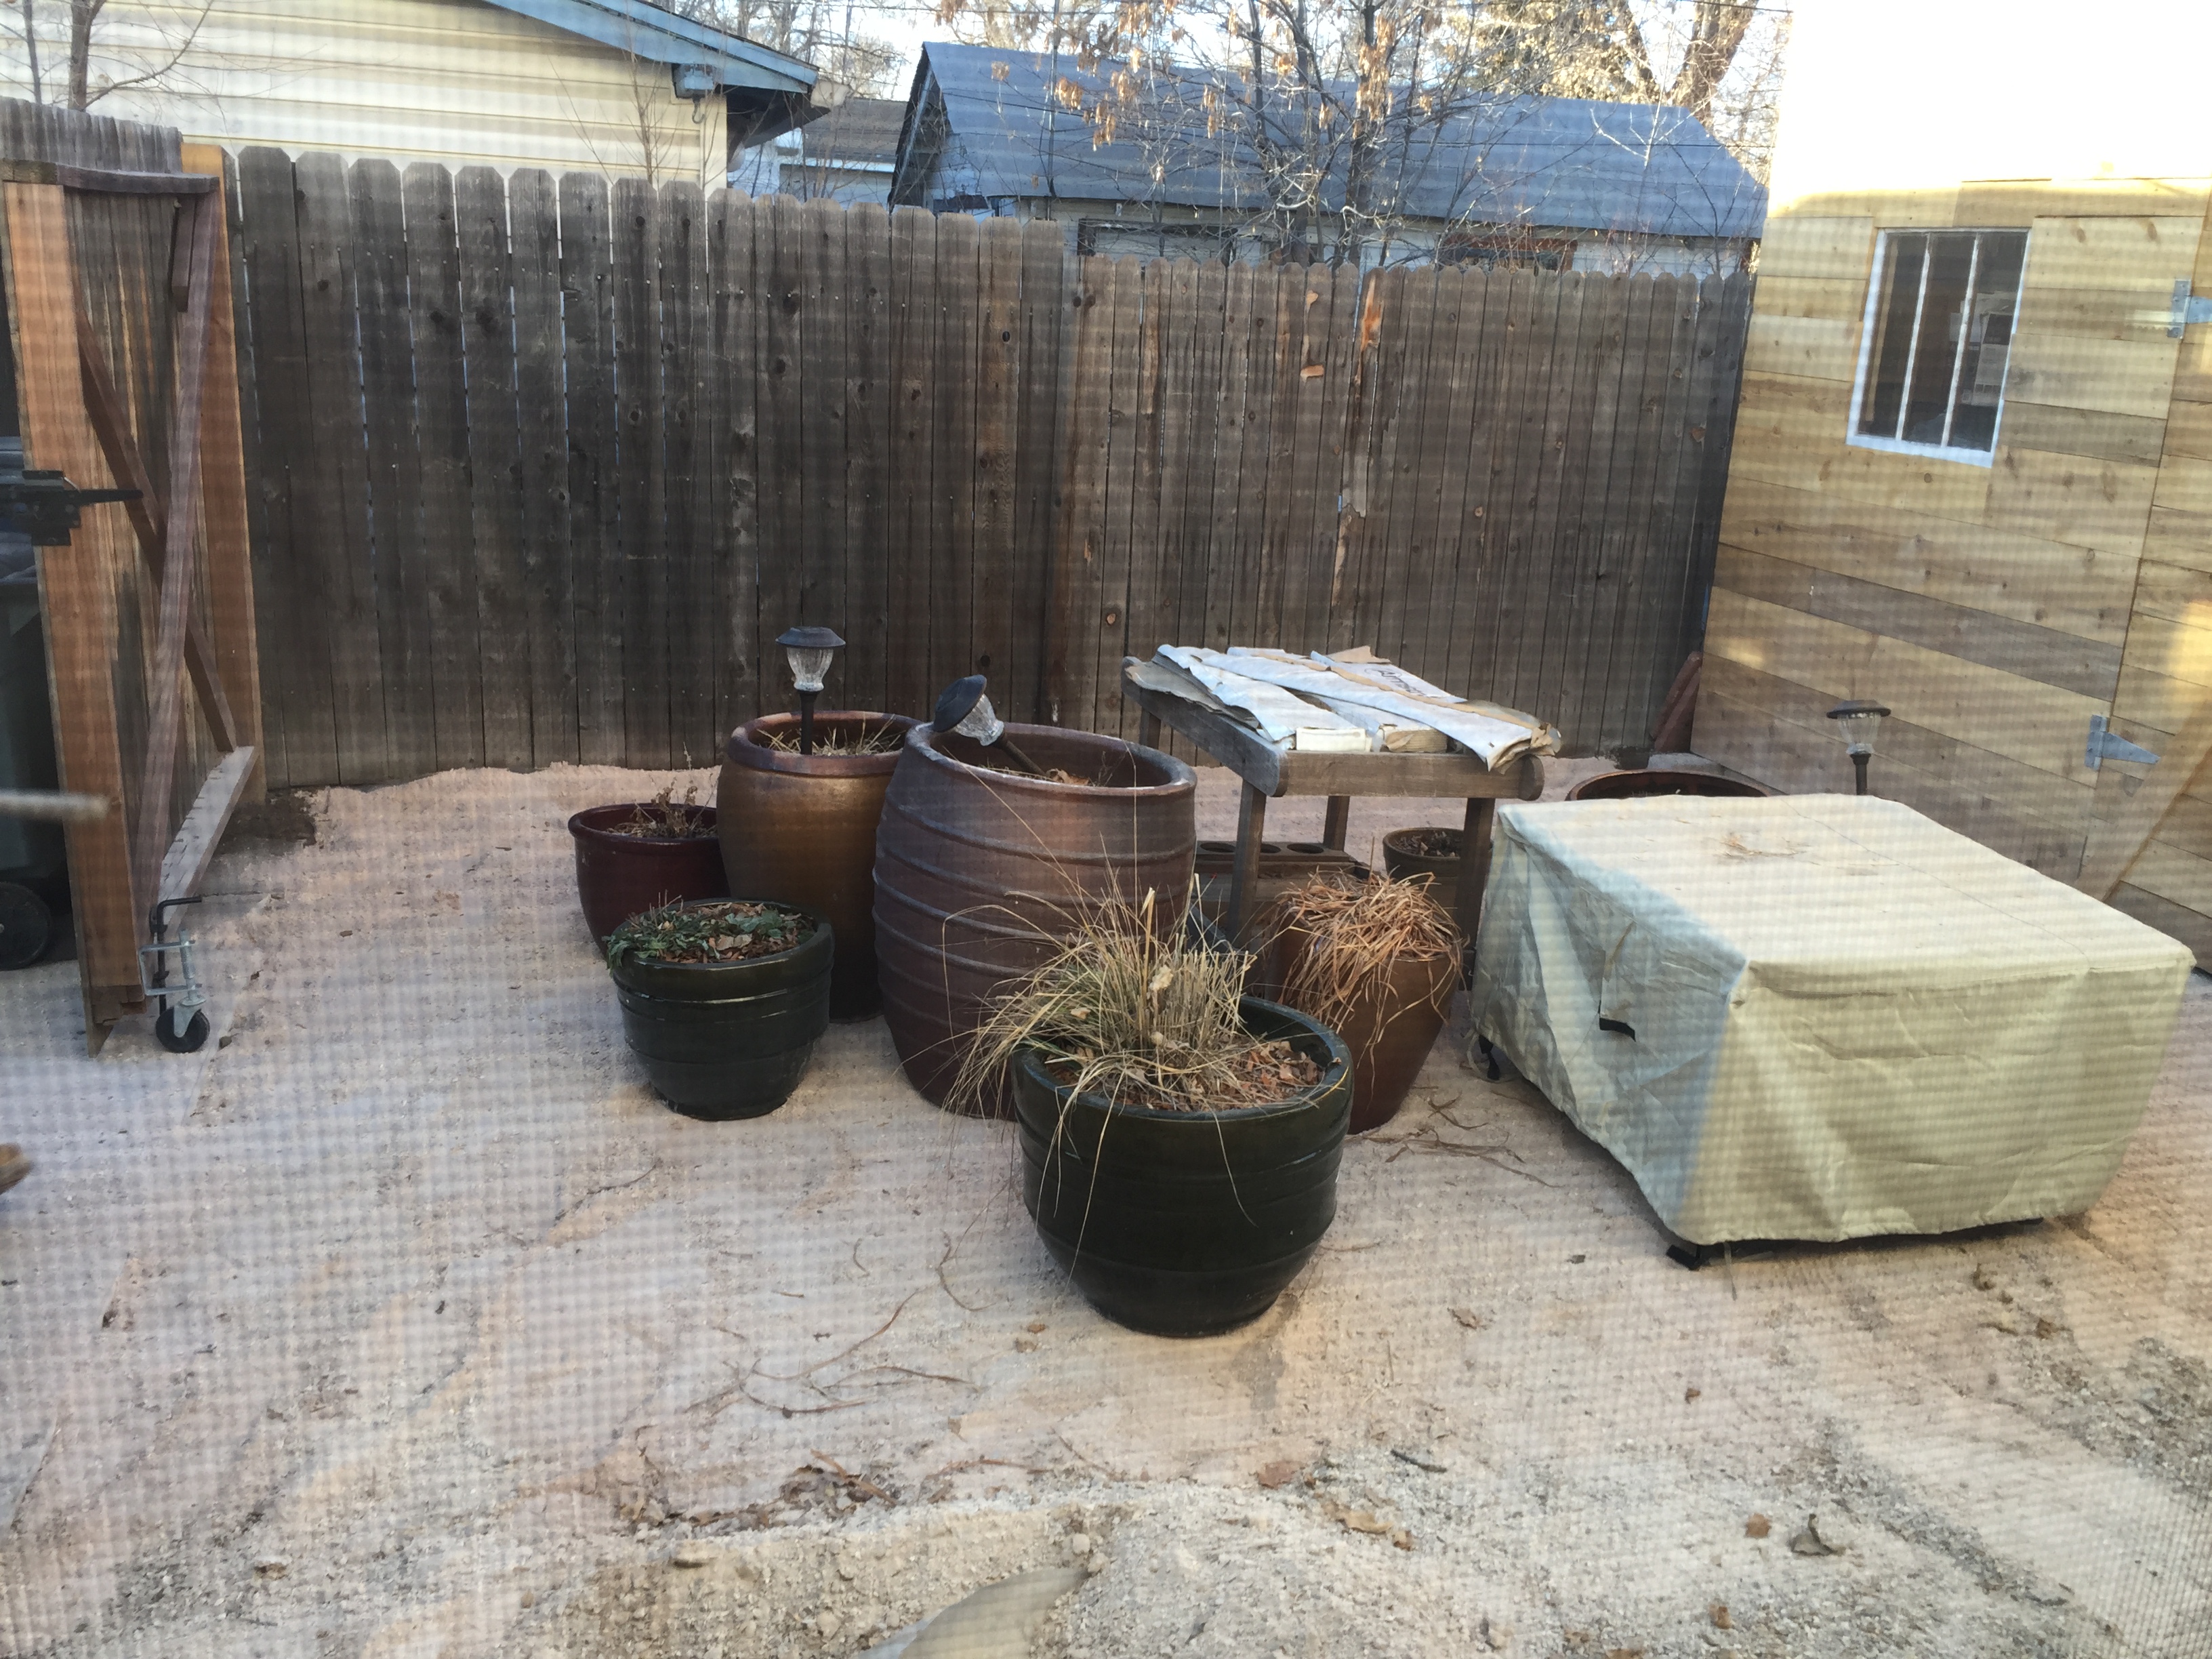
Temporarily using this space for all my big planter pots and fire pit until the siding is up on the house. Then, I’ll place the pots around the front and side yard of the house under the arbor.
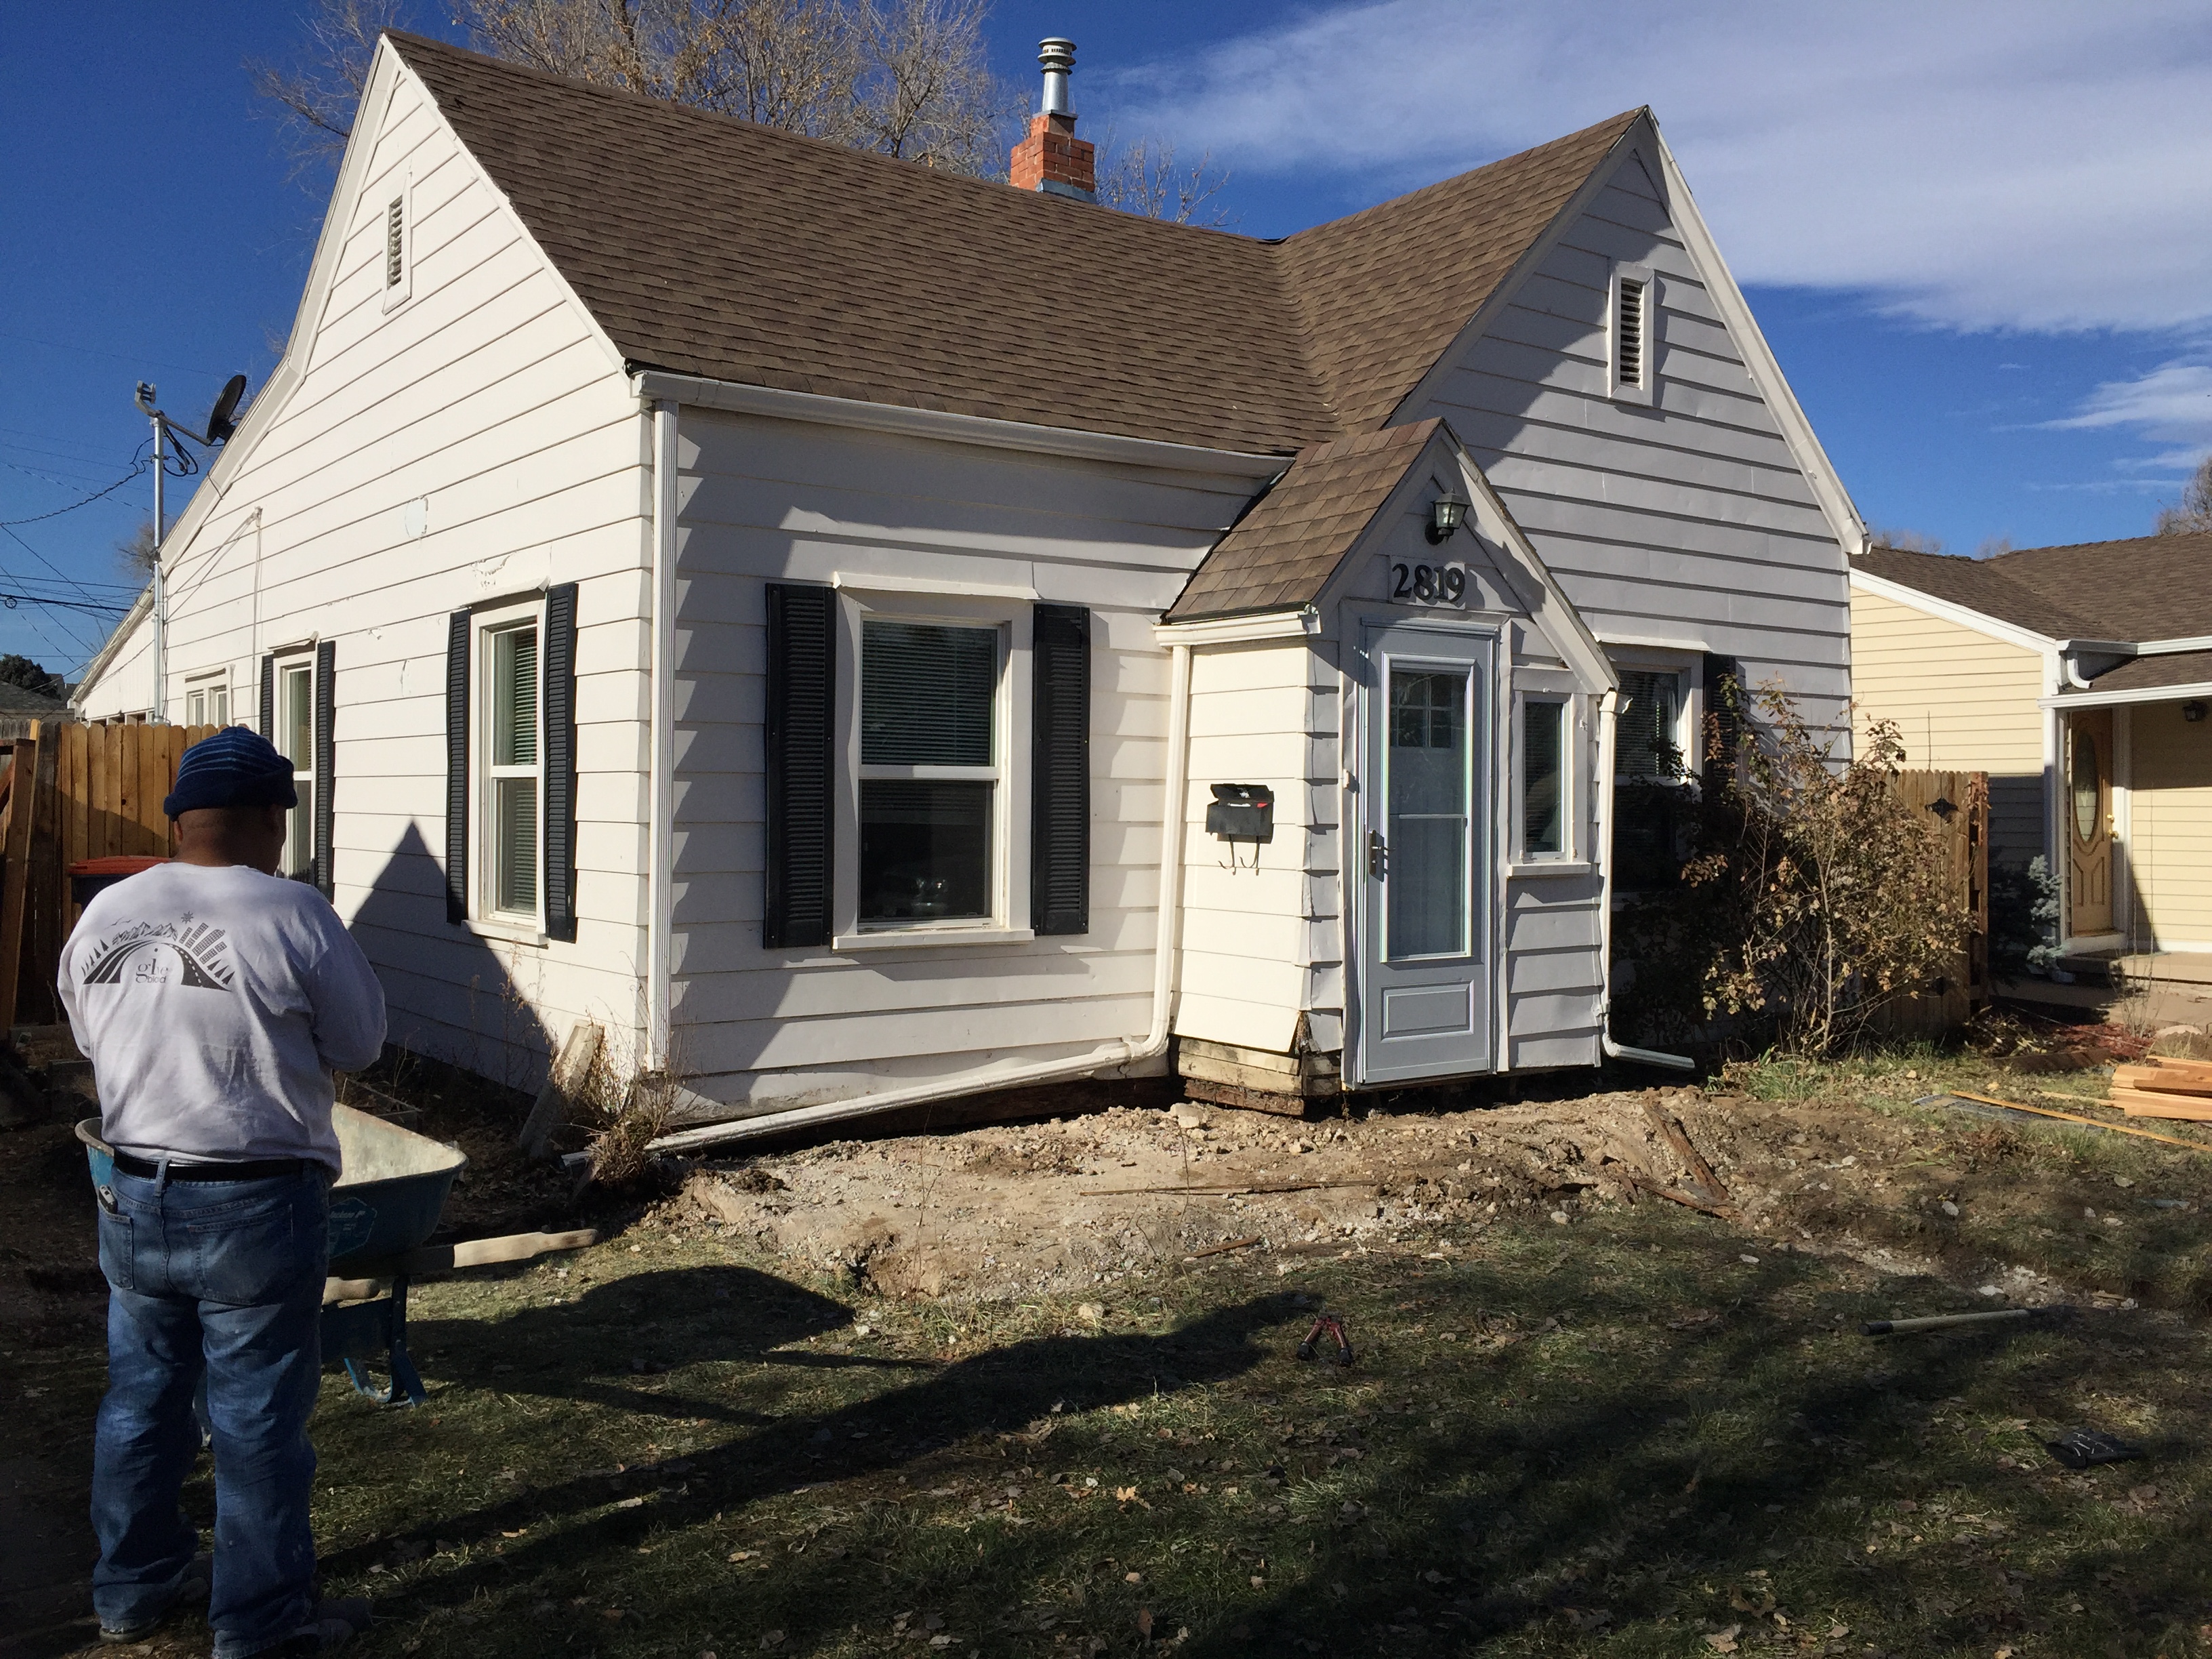
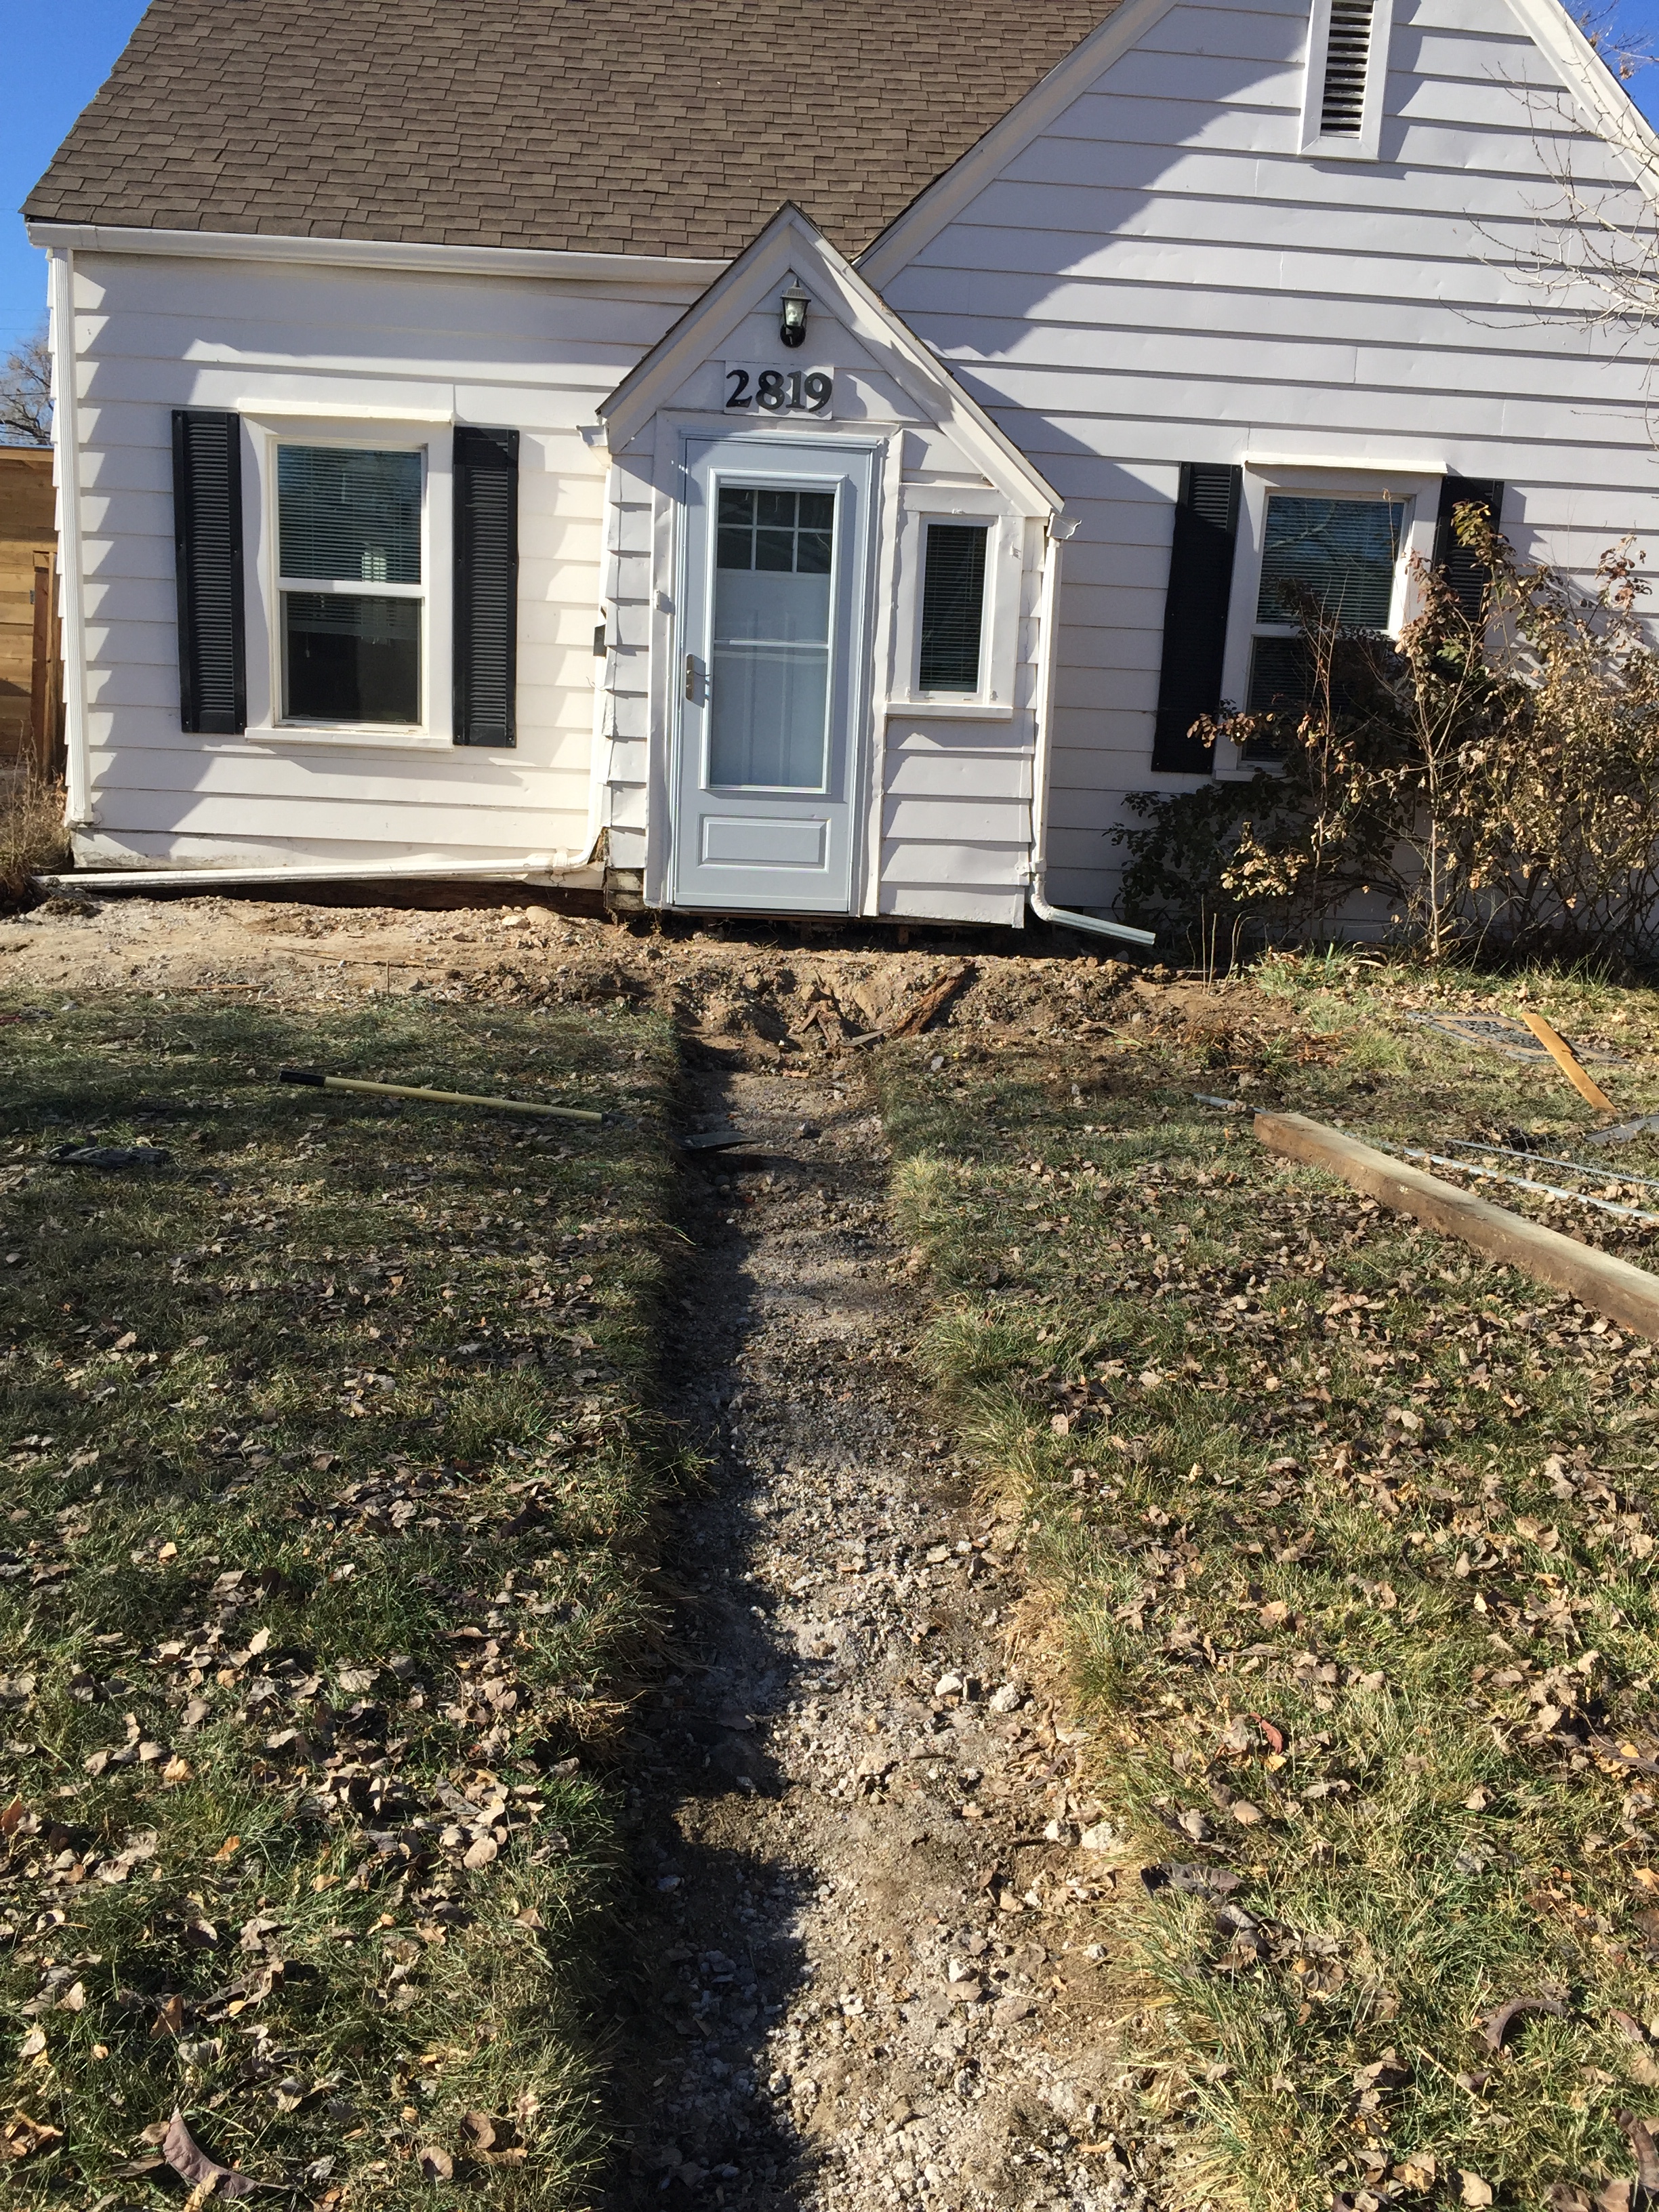
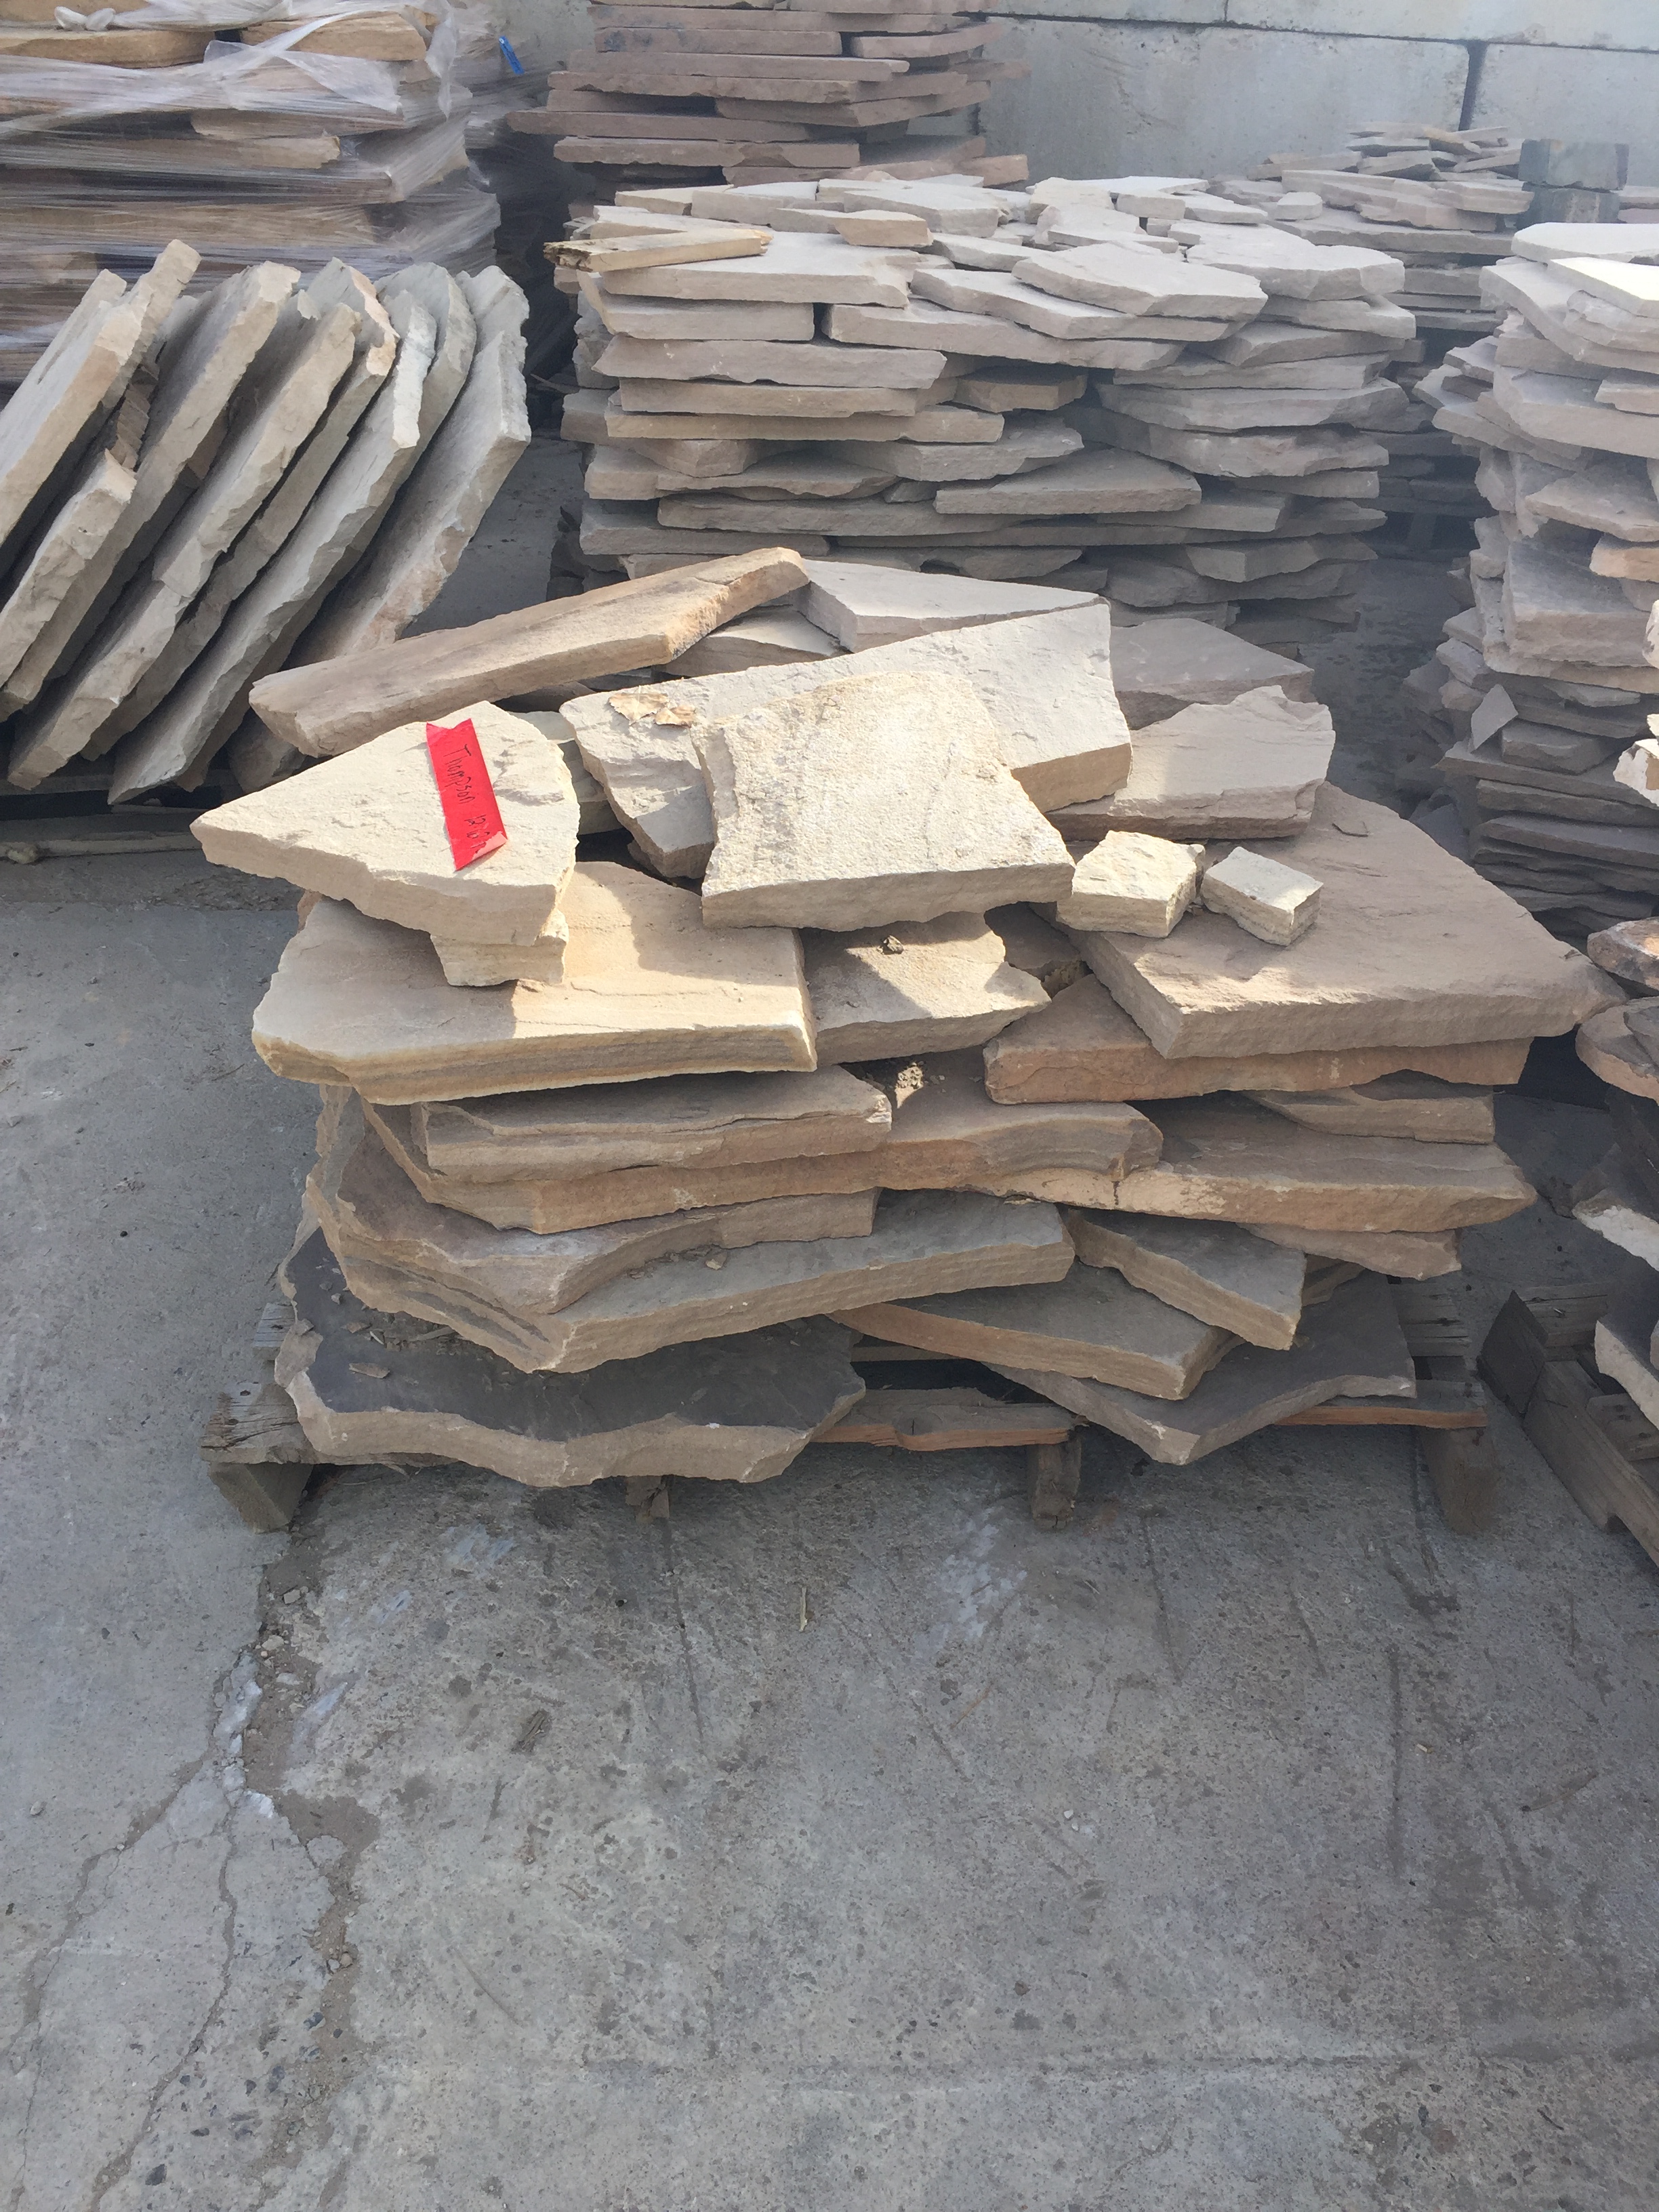
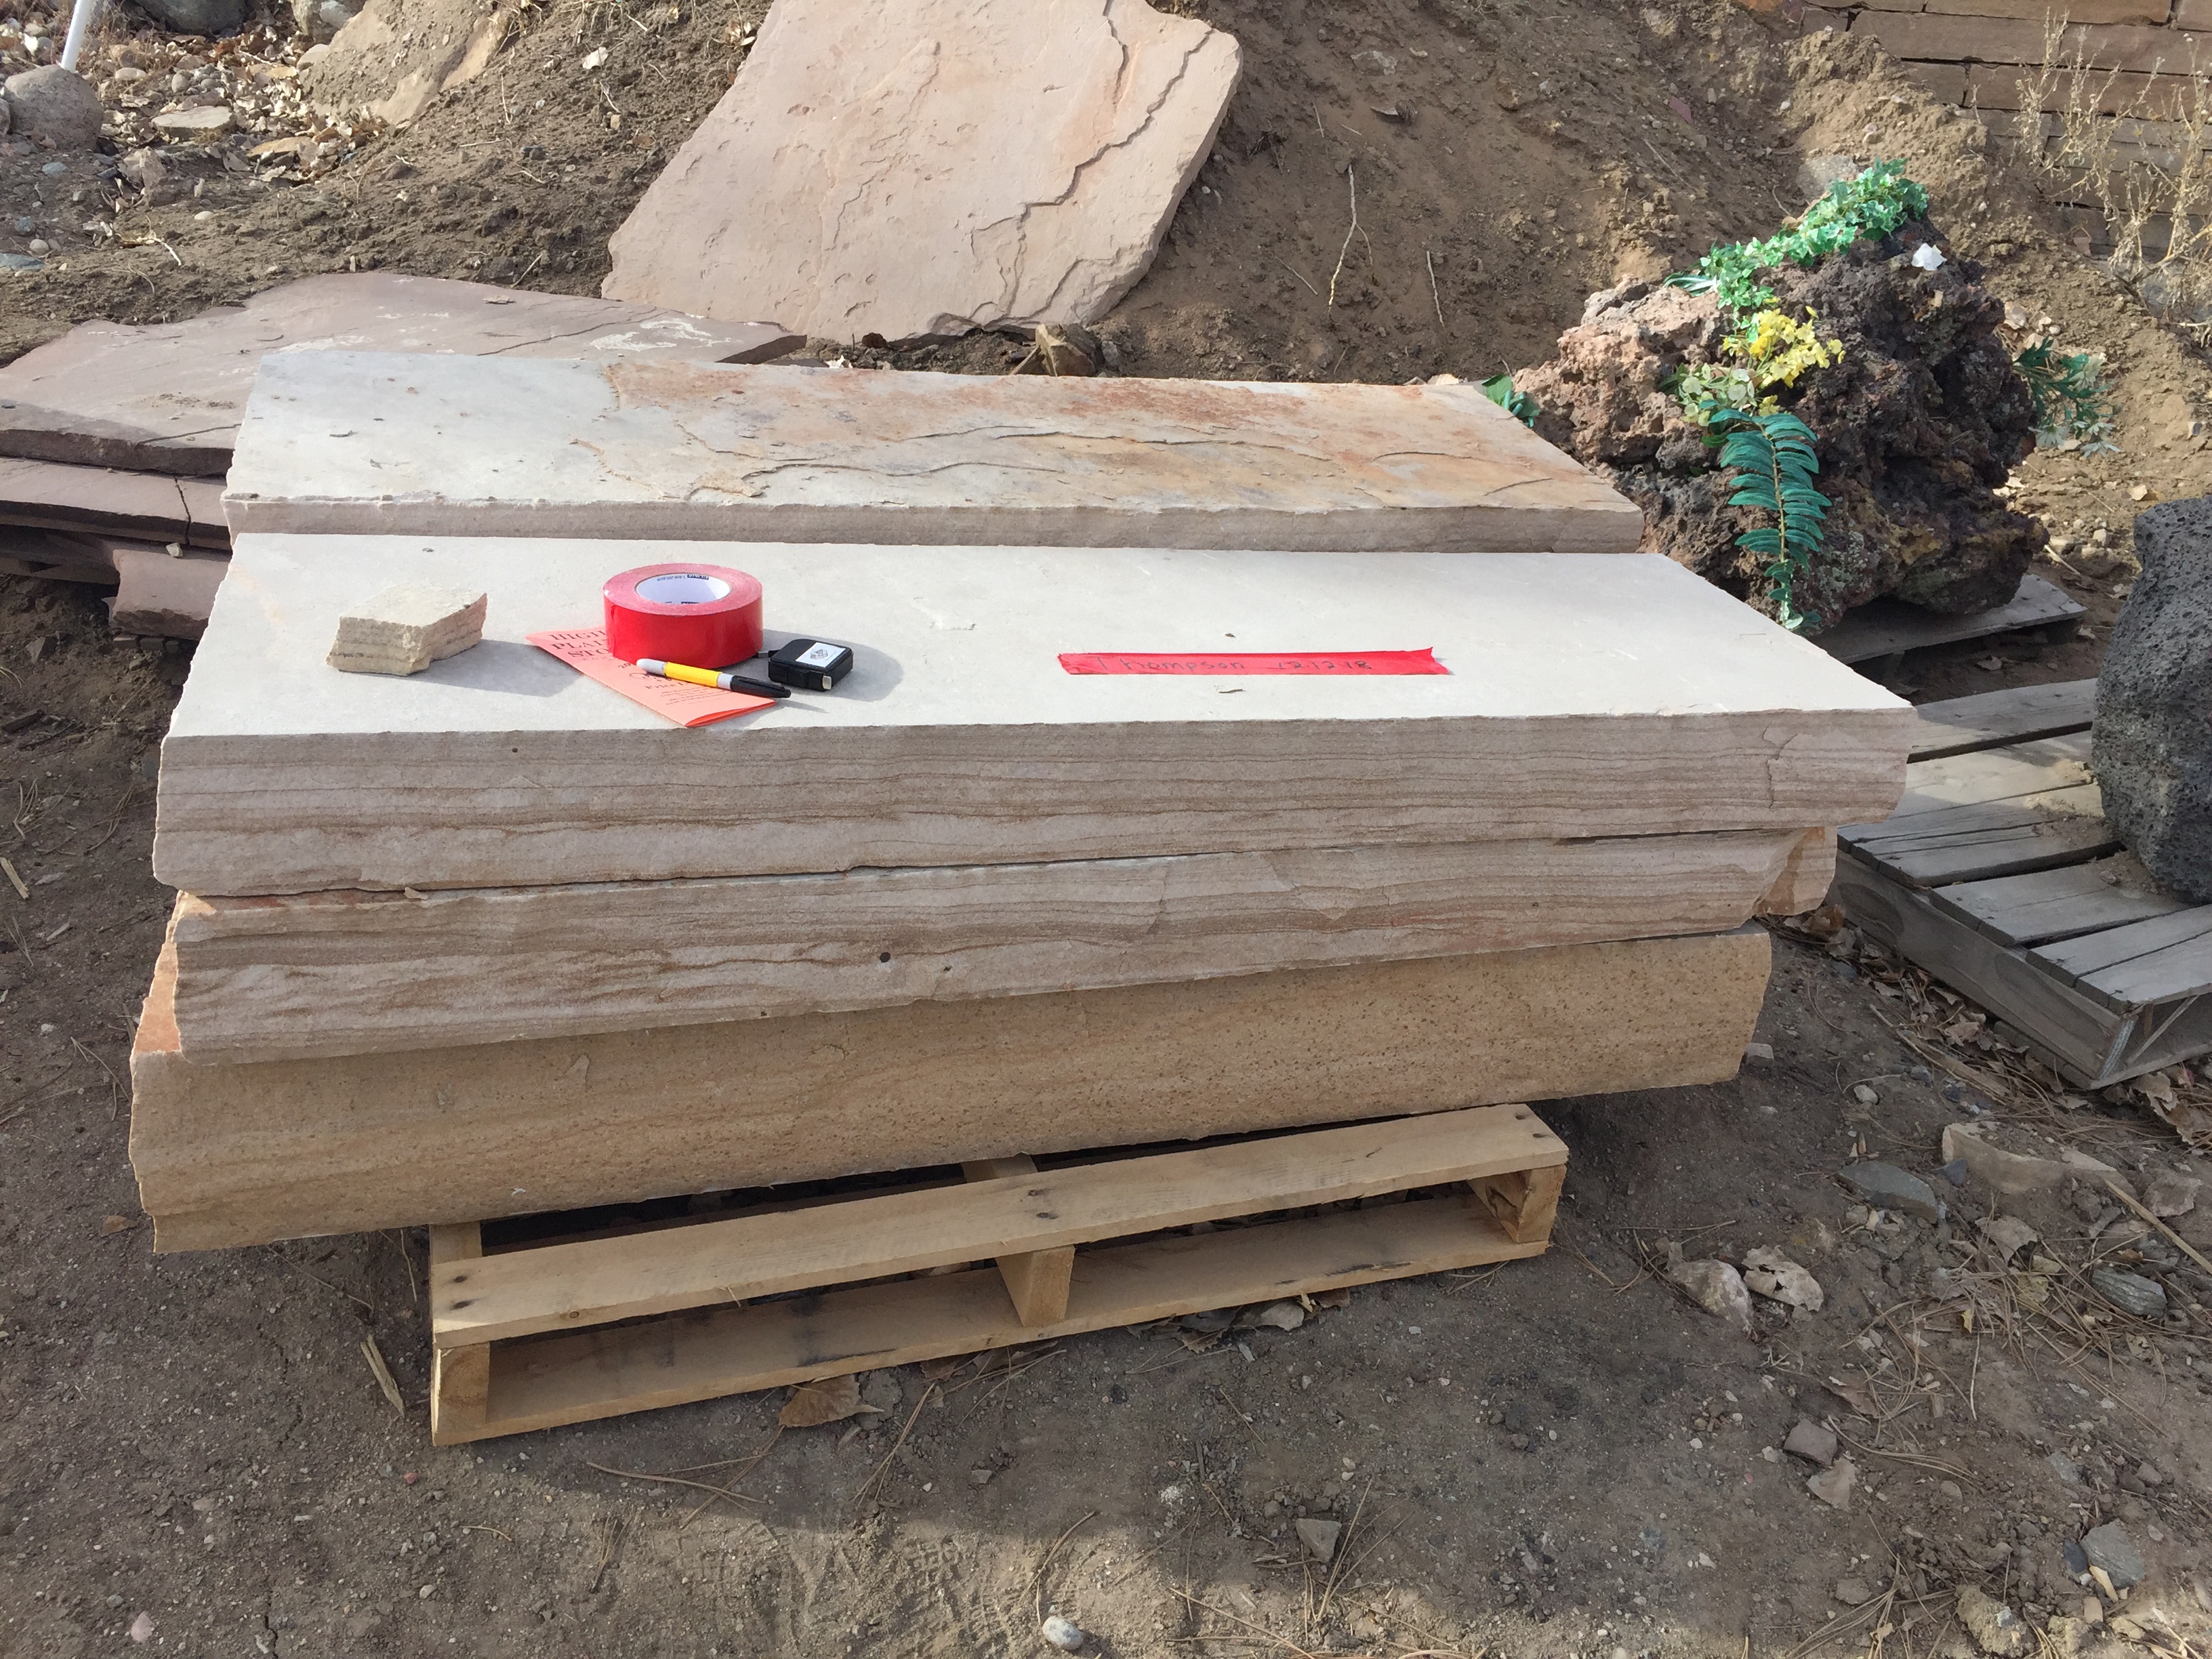
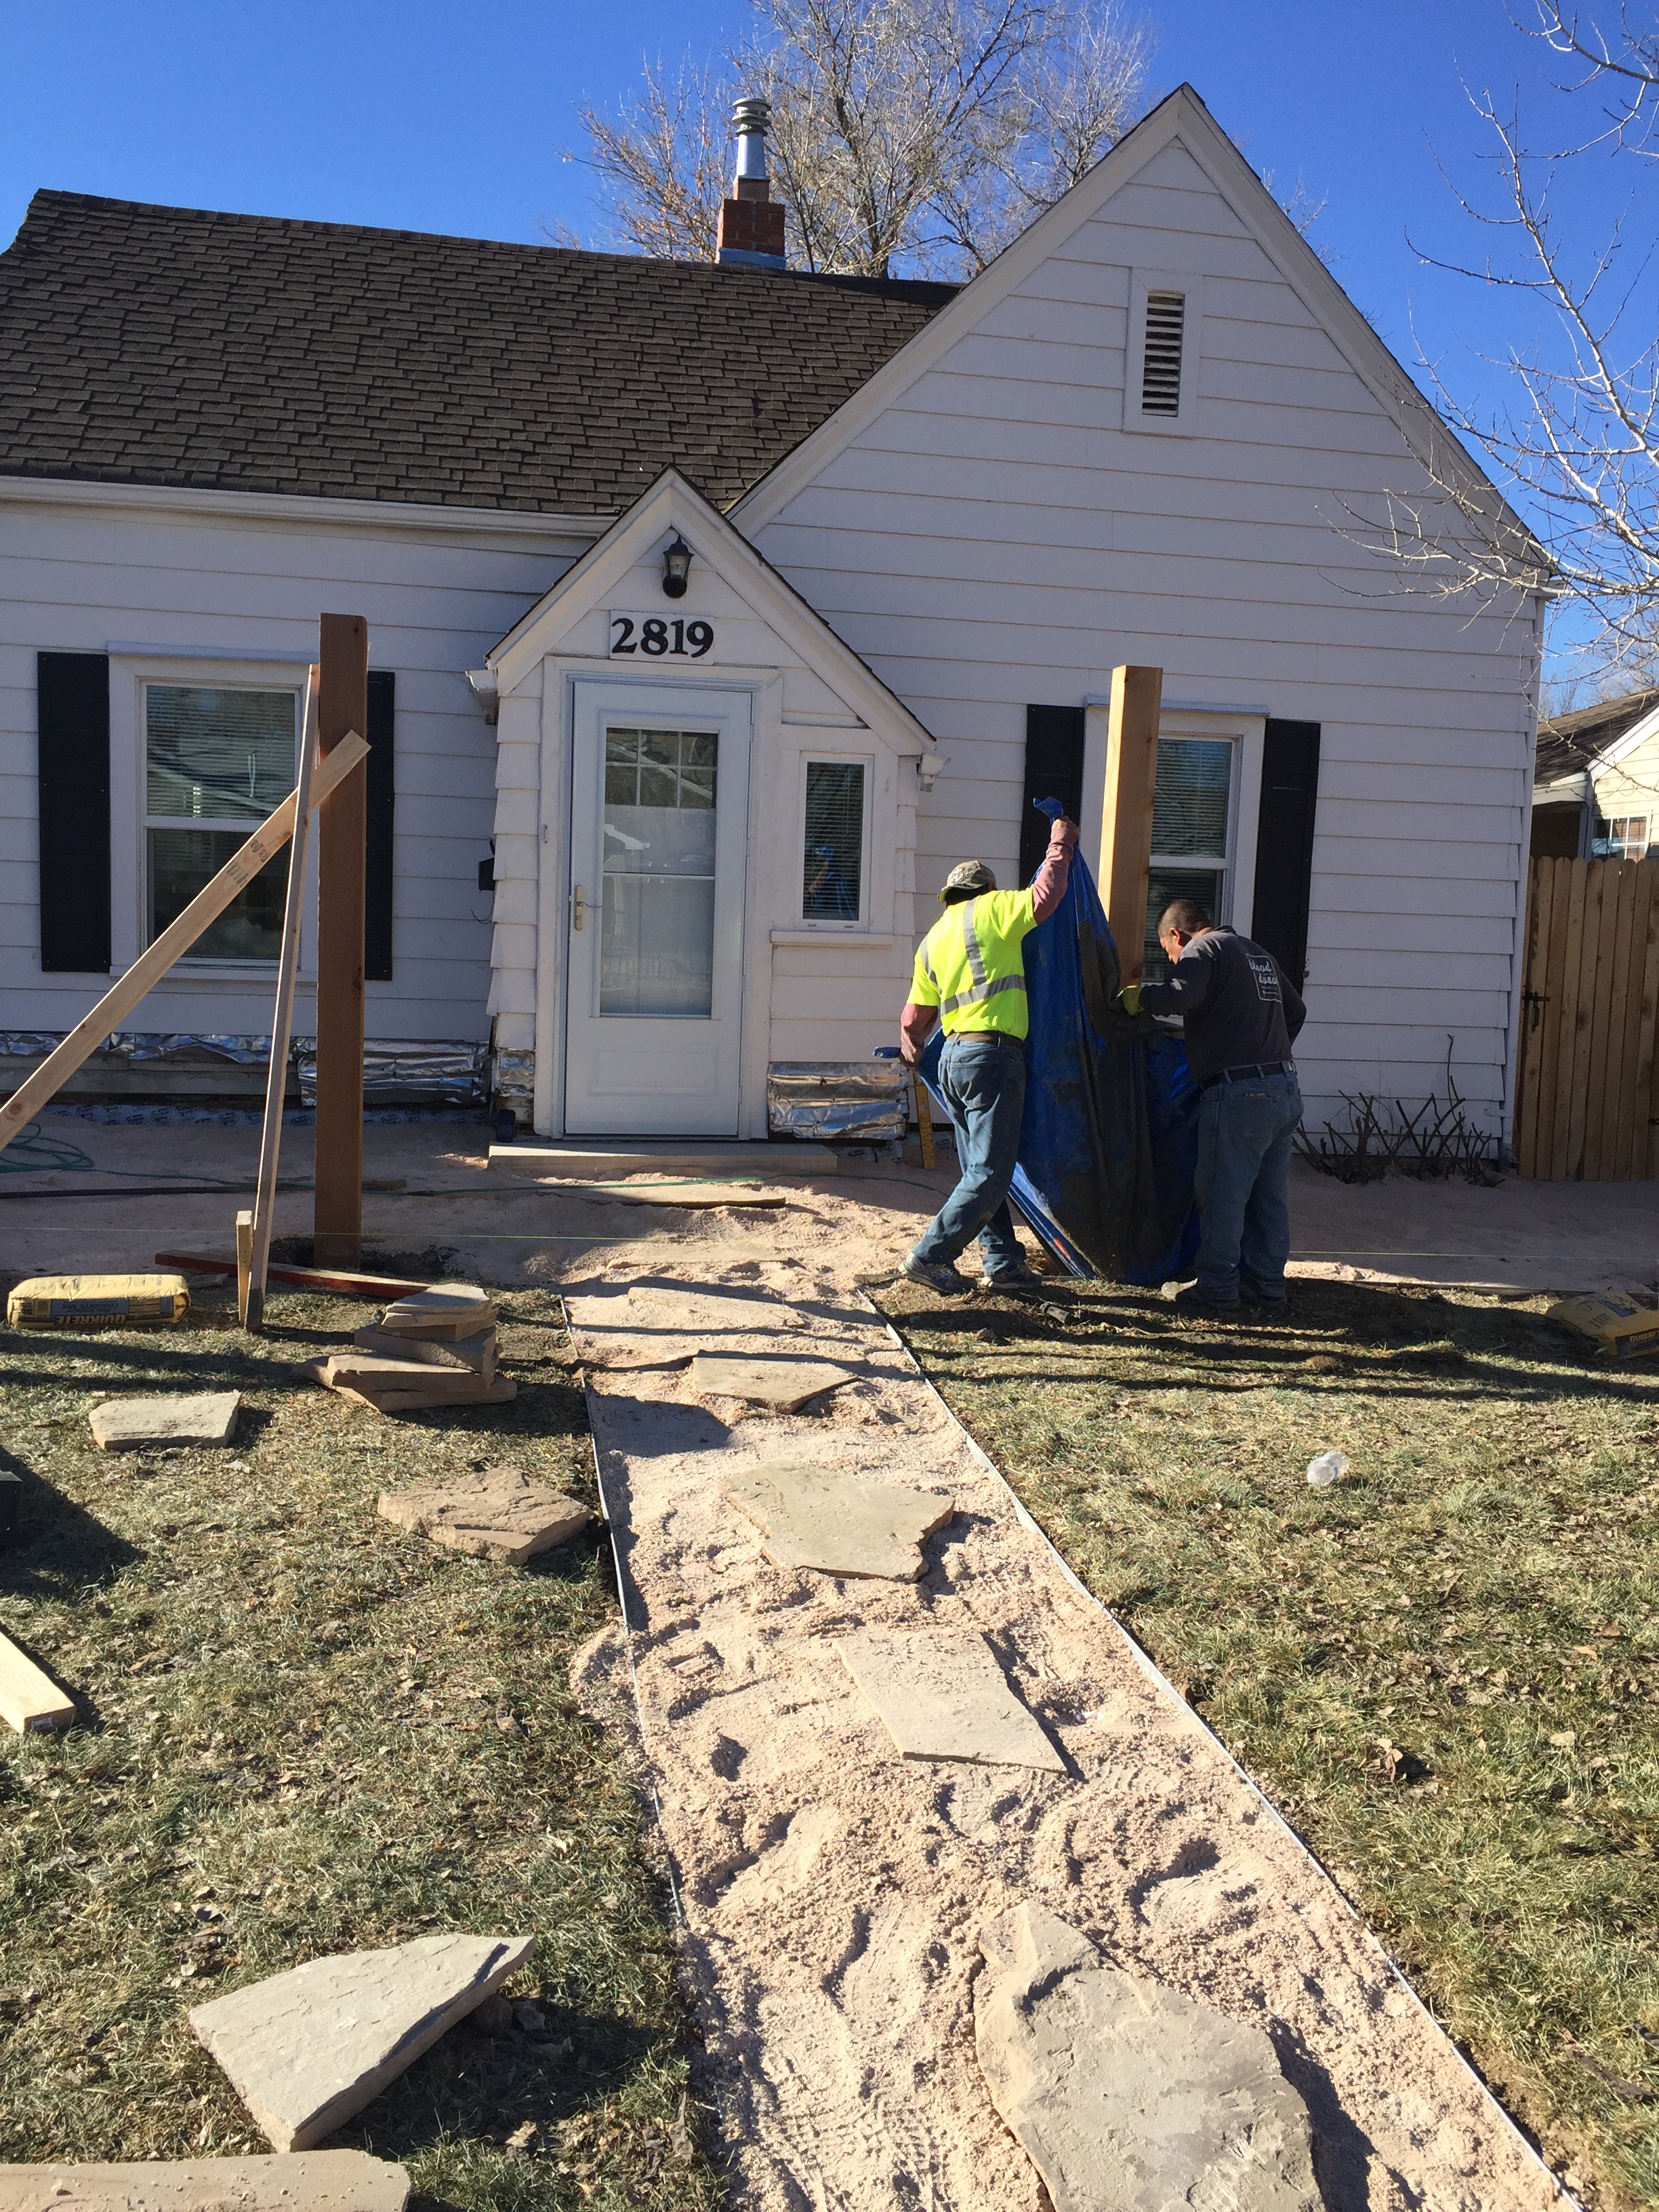
I took an opportunity to get away from all the construction to go look for flagstone. I bought this 1/2 pallet of flagstone steppers.And a 5′ x 18″ x 6″ step for the front door. The step was $275, but worth it to make the front door look more welcoming. It turns out, I’ll need a 2nd step for the front.Once the concrete was removed, we discovered there was no foundation under the entry. That’s not what you want to find!The excavation shows things previously unknown. I like to say ” Everything takes longer and costs more than expected” And this project reinforces my theory.
David poured concrete with wood footers to support the front entry. Once it cured, he added wood supports between the entry and the concrete footer, then wrapped it with moisture barrier. In the 2 days the entry had no support, my wood floors inside were falling through the bottom of the porch inside. Geez!
Reinforced entry with moisture barrier. You can see the original wood siding at the side and bottom of the entry.
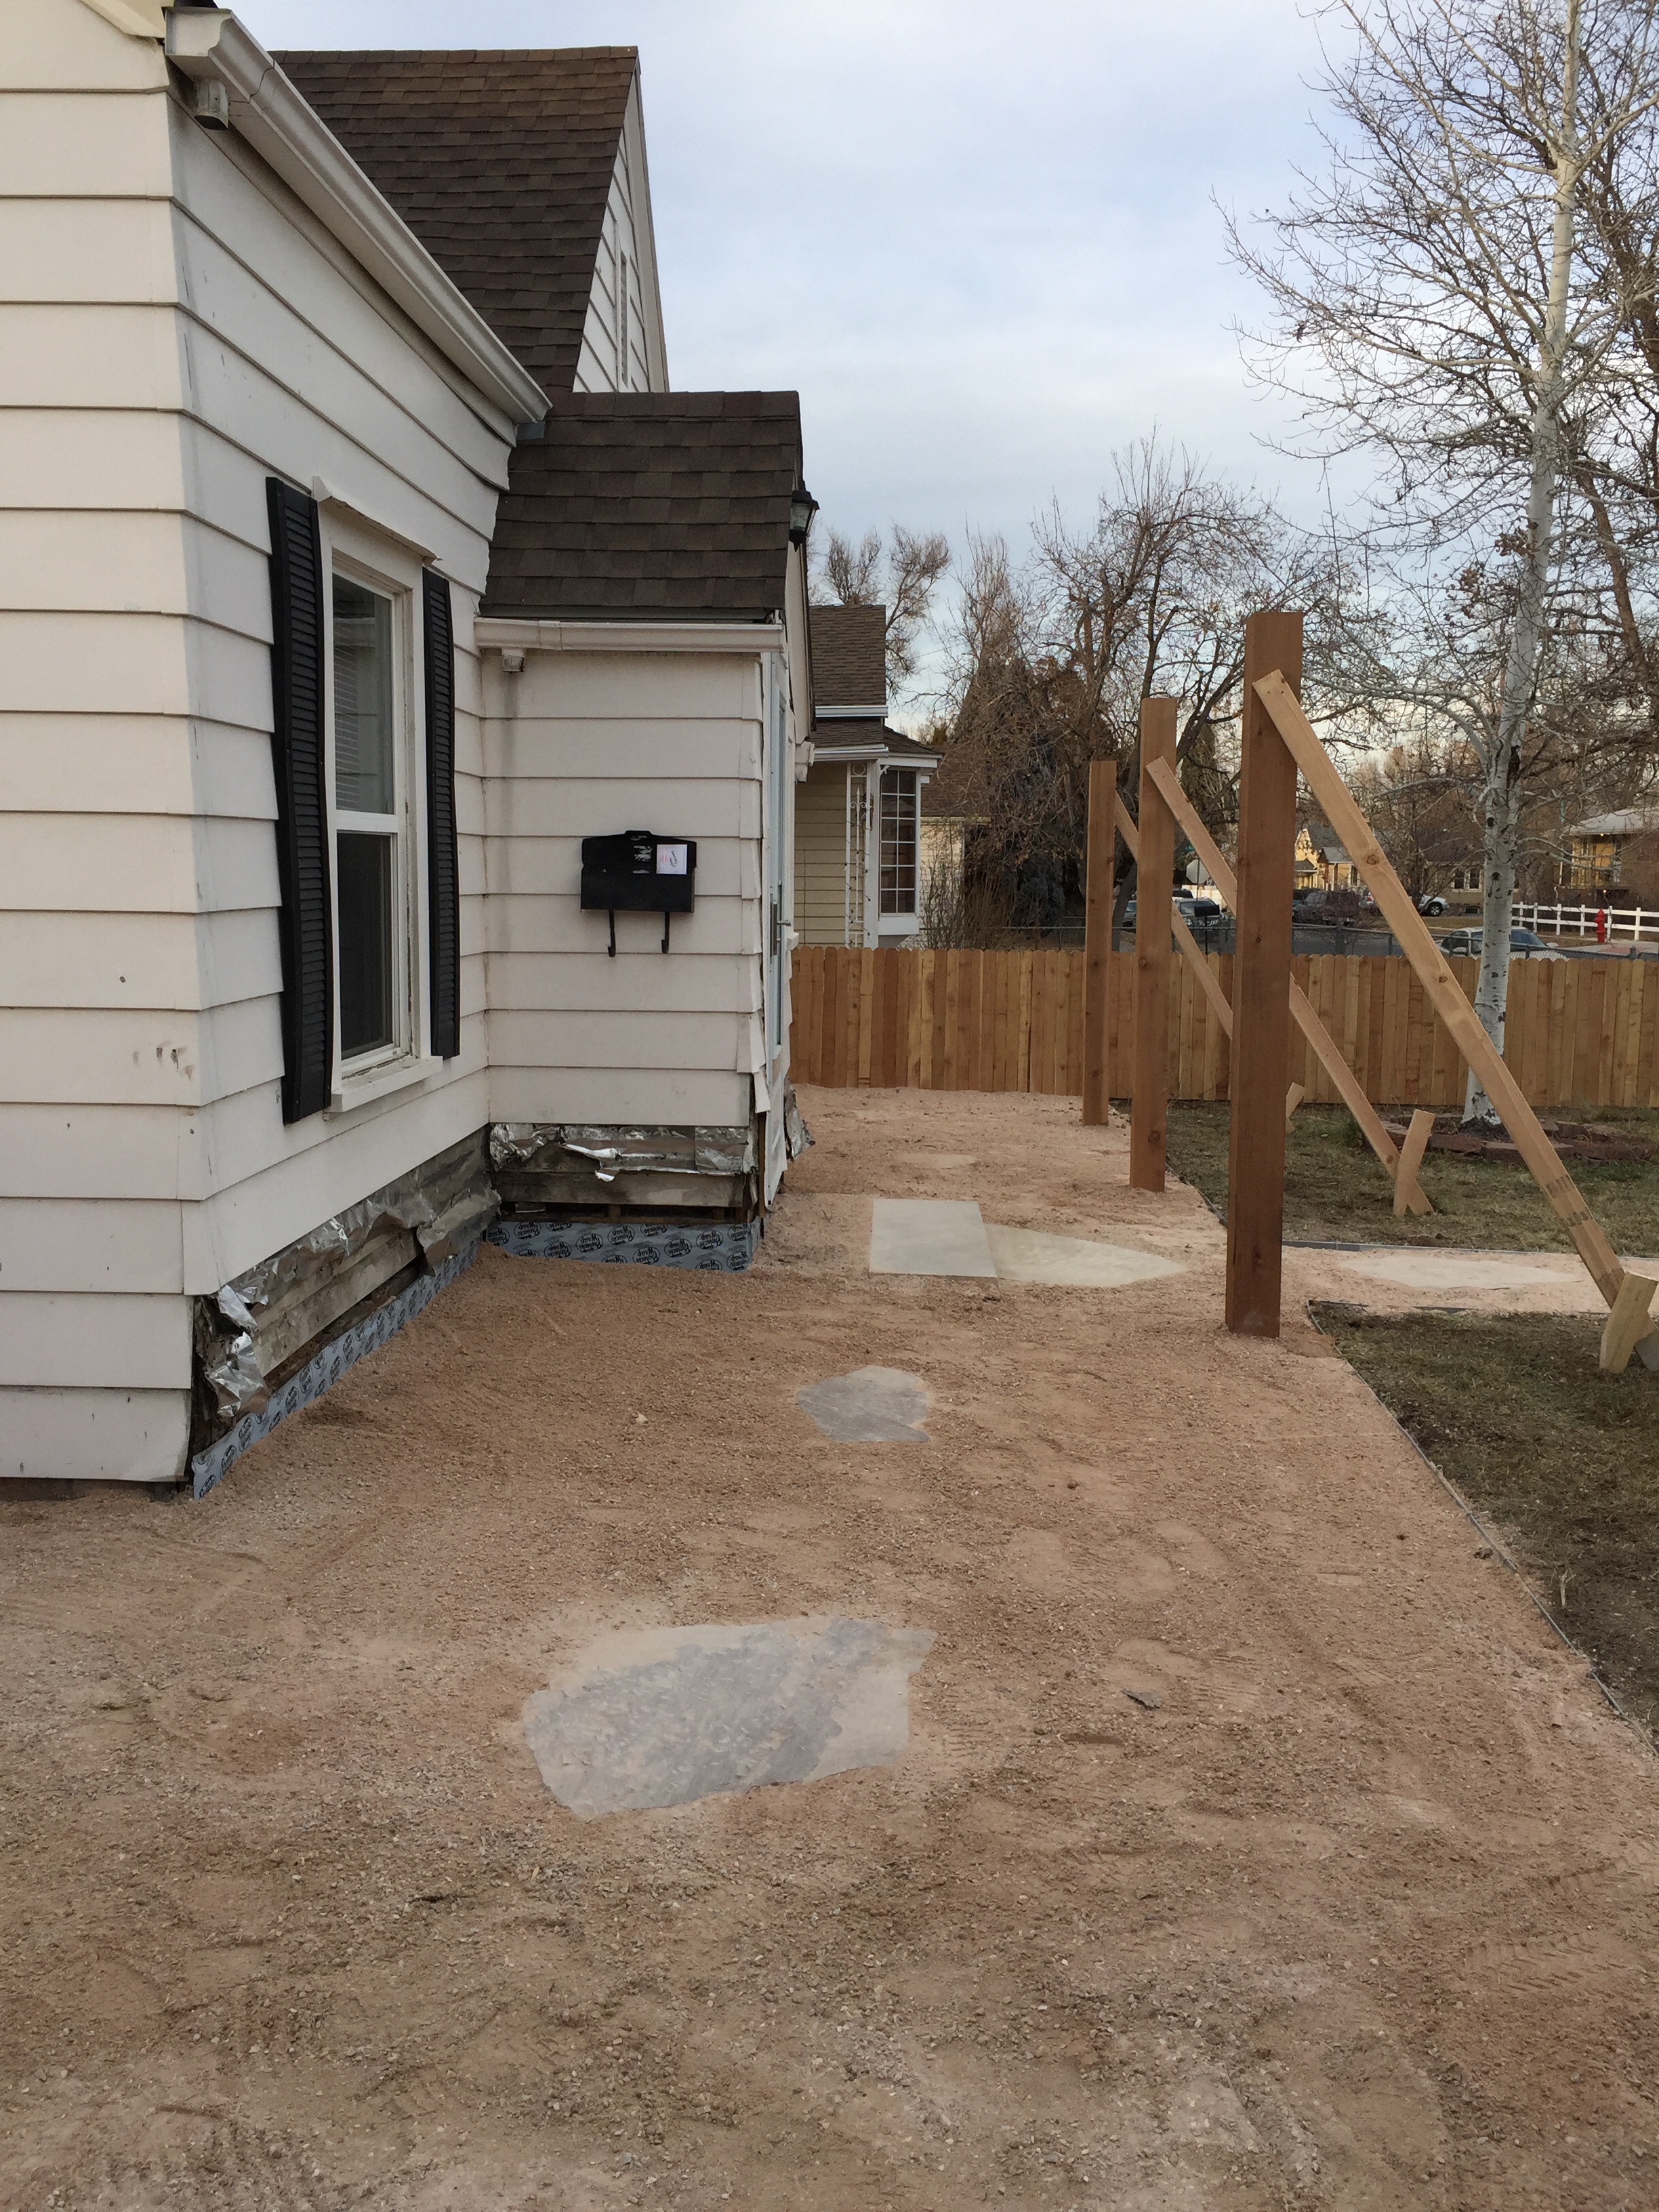
They got the breeze laid down and I didn’t like how the area where the concrete was taken out was higher than the rest of the space. Kinda like a bubble outside the front door. So the landscaper had to scrape the Breeze off of the weed barrier and take out a lot more dirt to make it level in front of the door. Then they put the barrier and Breeze back down. I used pieces of flagstone to make a walkway around the front and sides of the house. All the upside down recycling bins are covering big holes where the arbor posts will go.
After they removed more dirt, the whole front and side are level. The 2nd flagstone step is on order.
Because we removed so much dirt from in front of the door, I had to buy another Flagstone step, which I had to order and wait for delivery. This shows the landing where the 2nd step will sit, just outside the front door to the house on top of the first flagstone step.
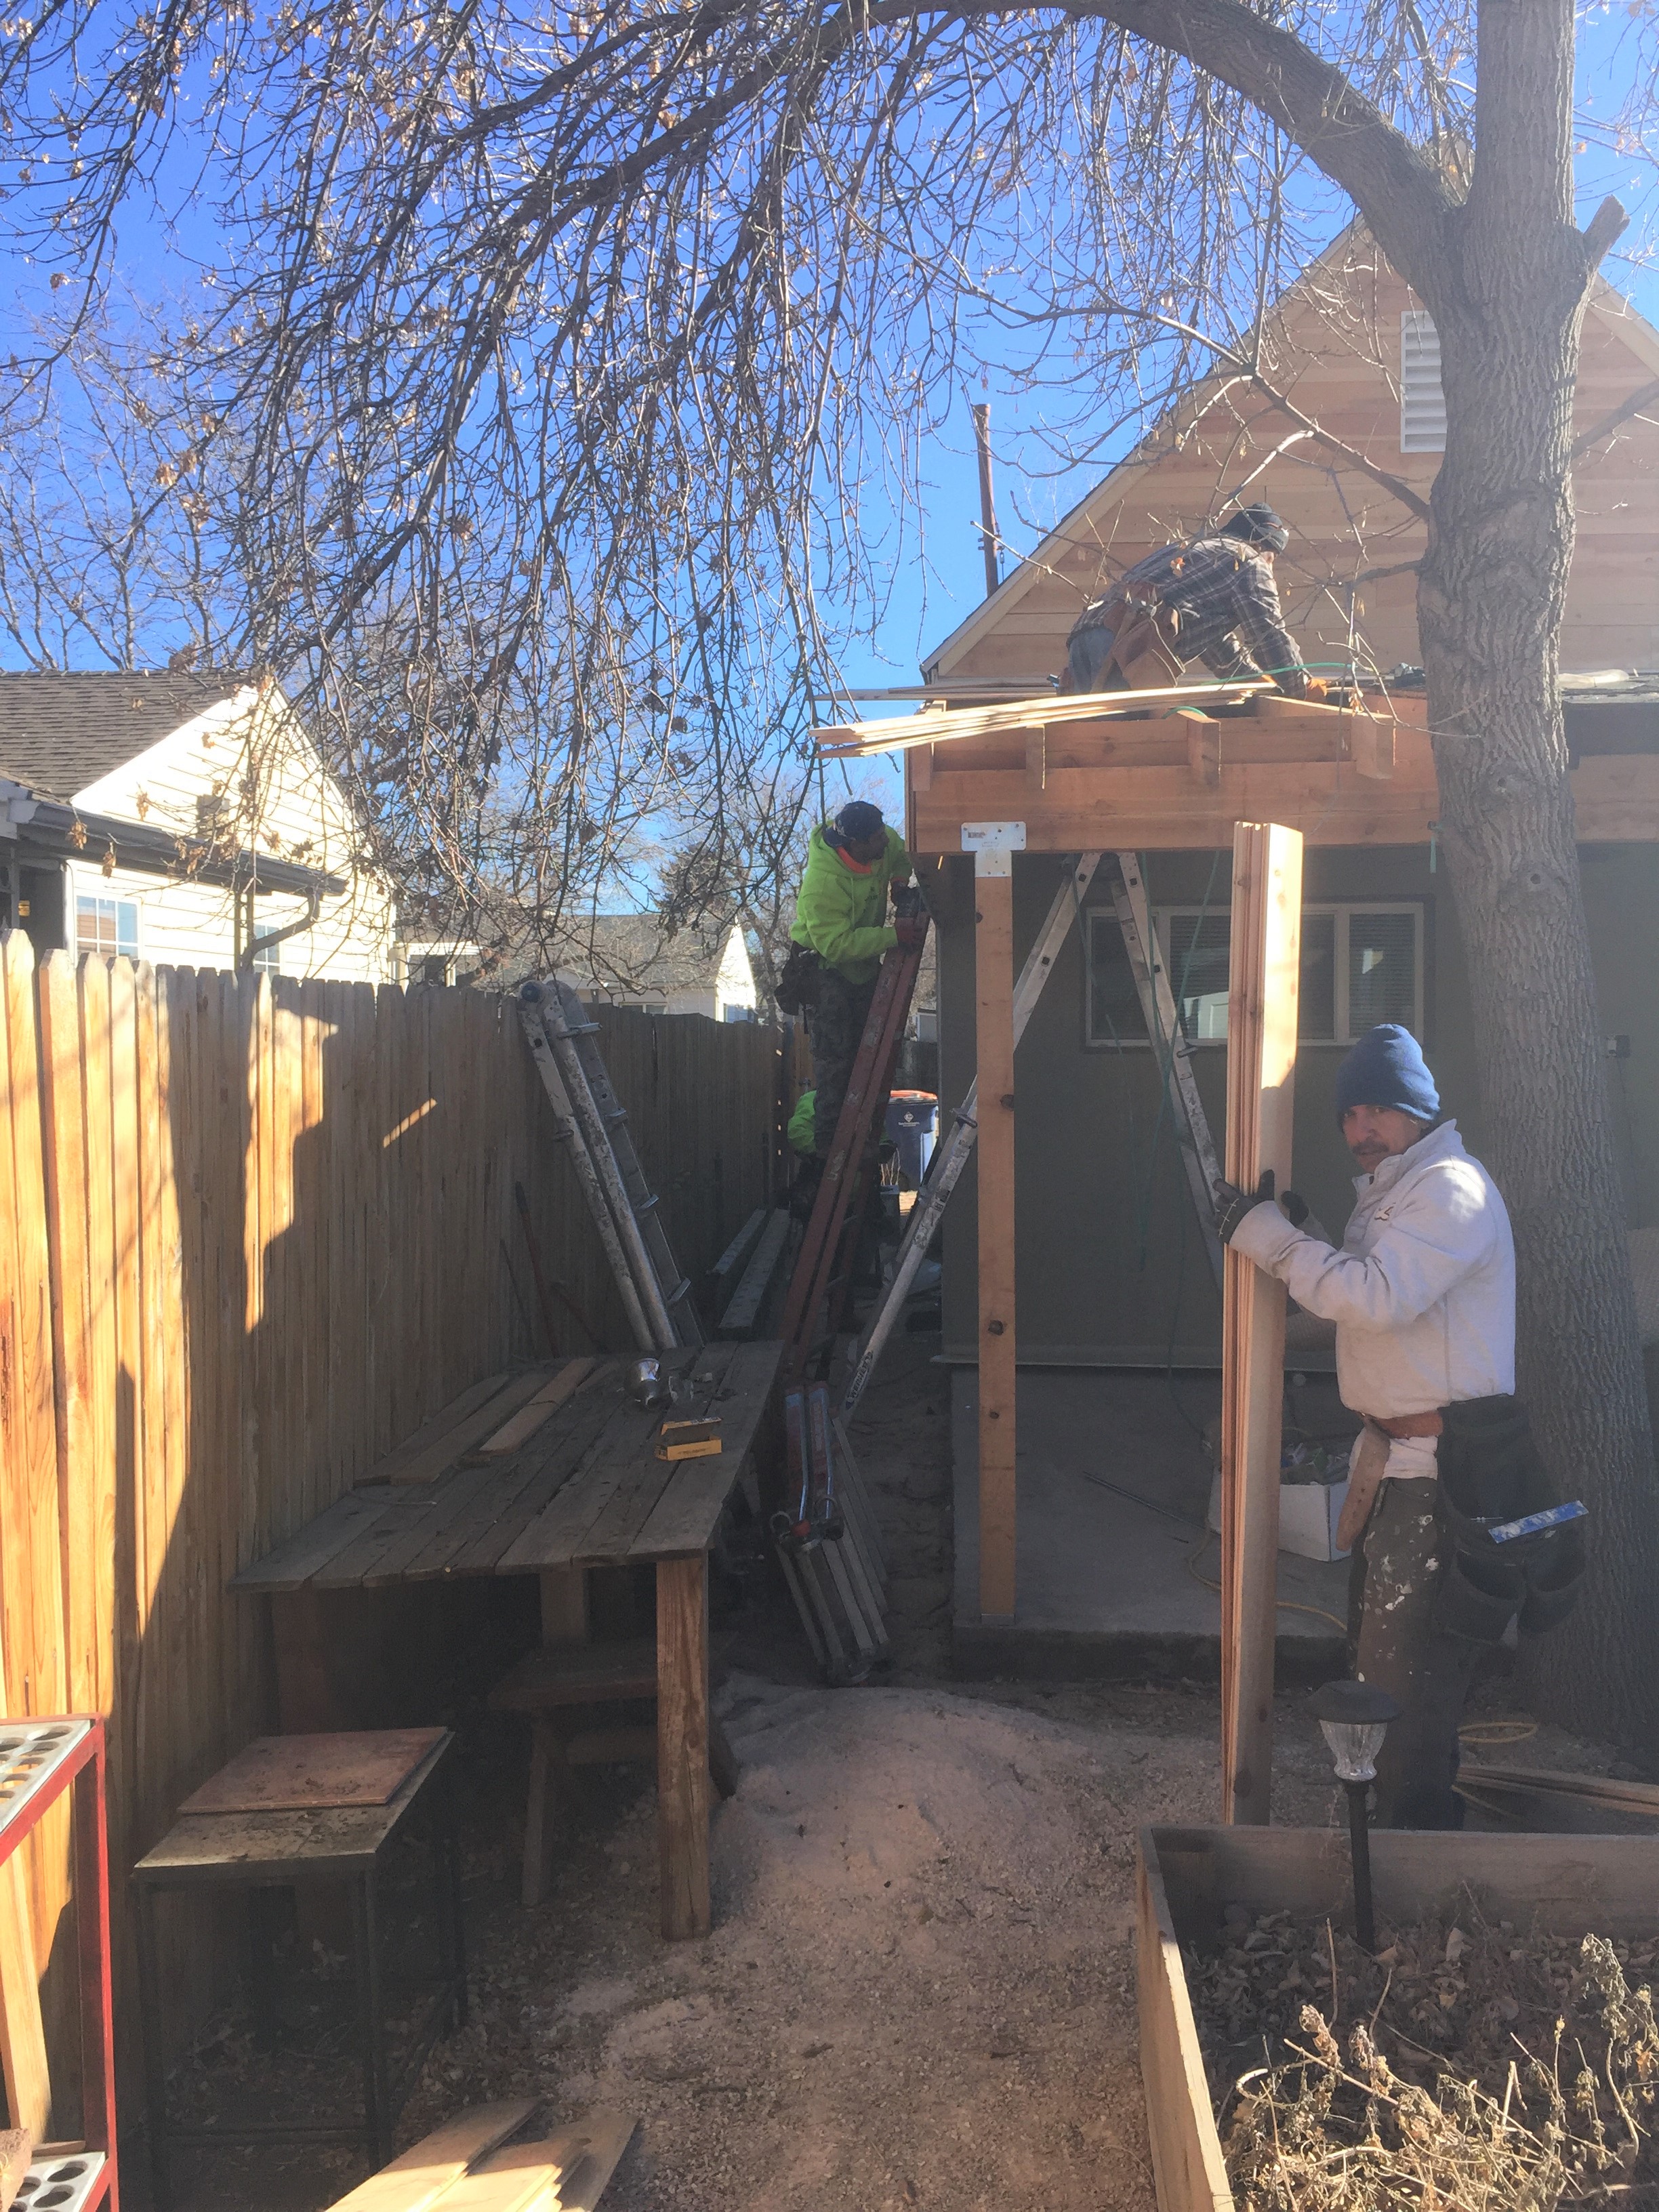
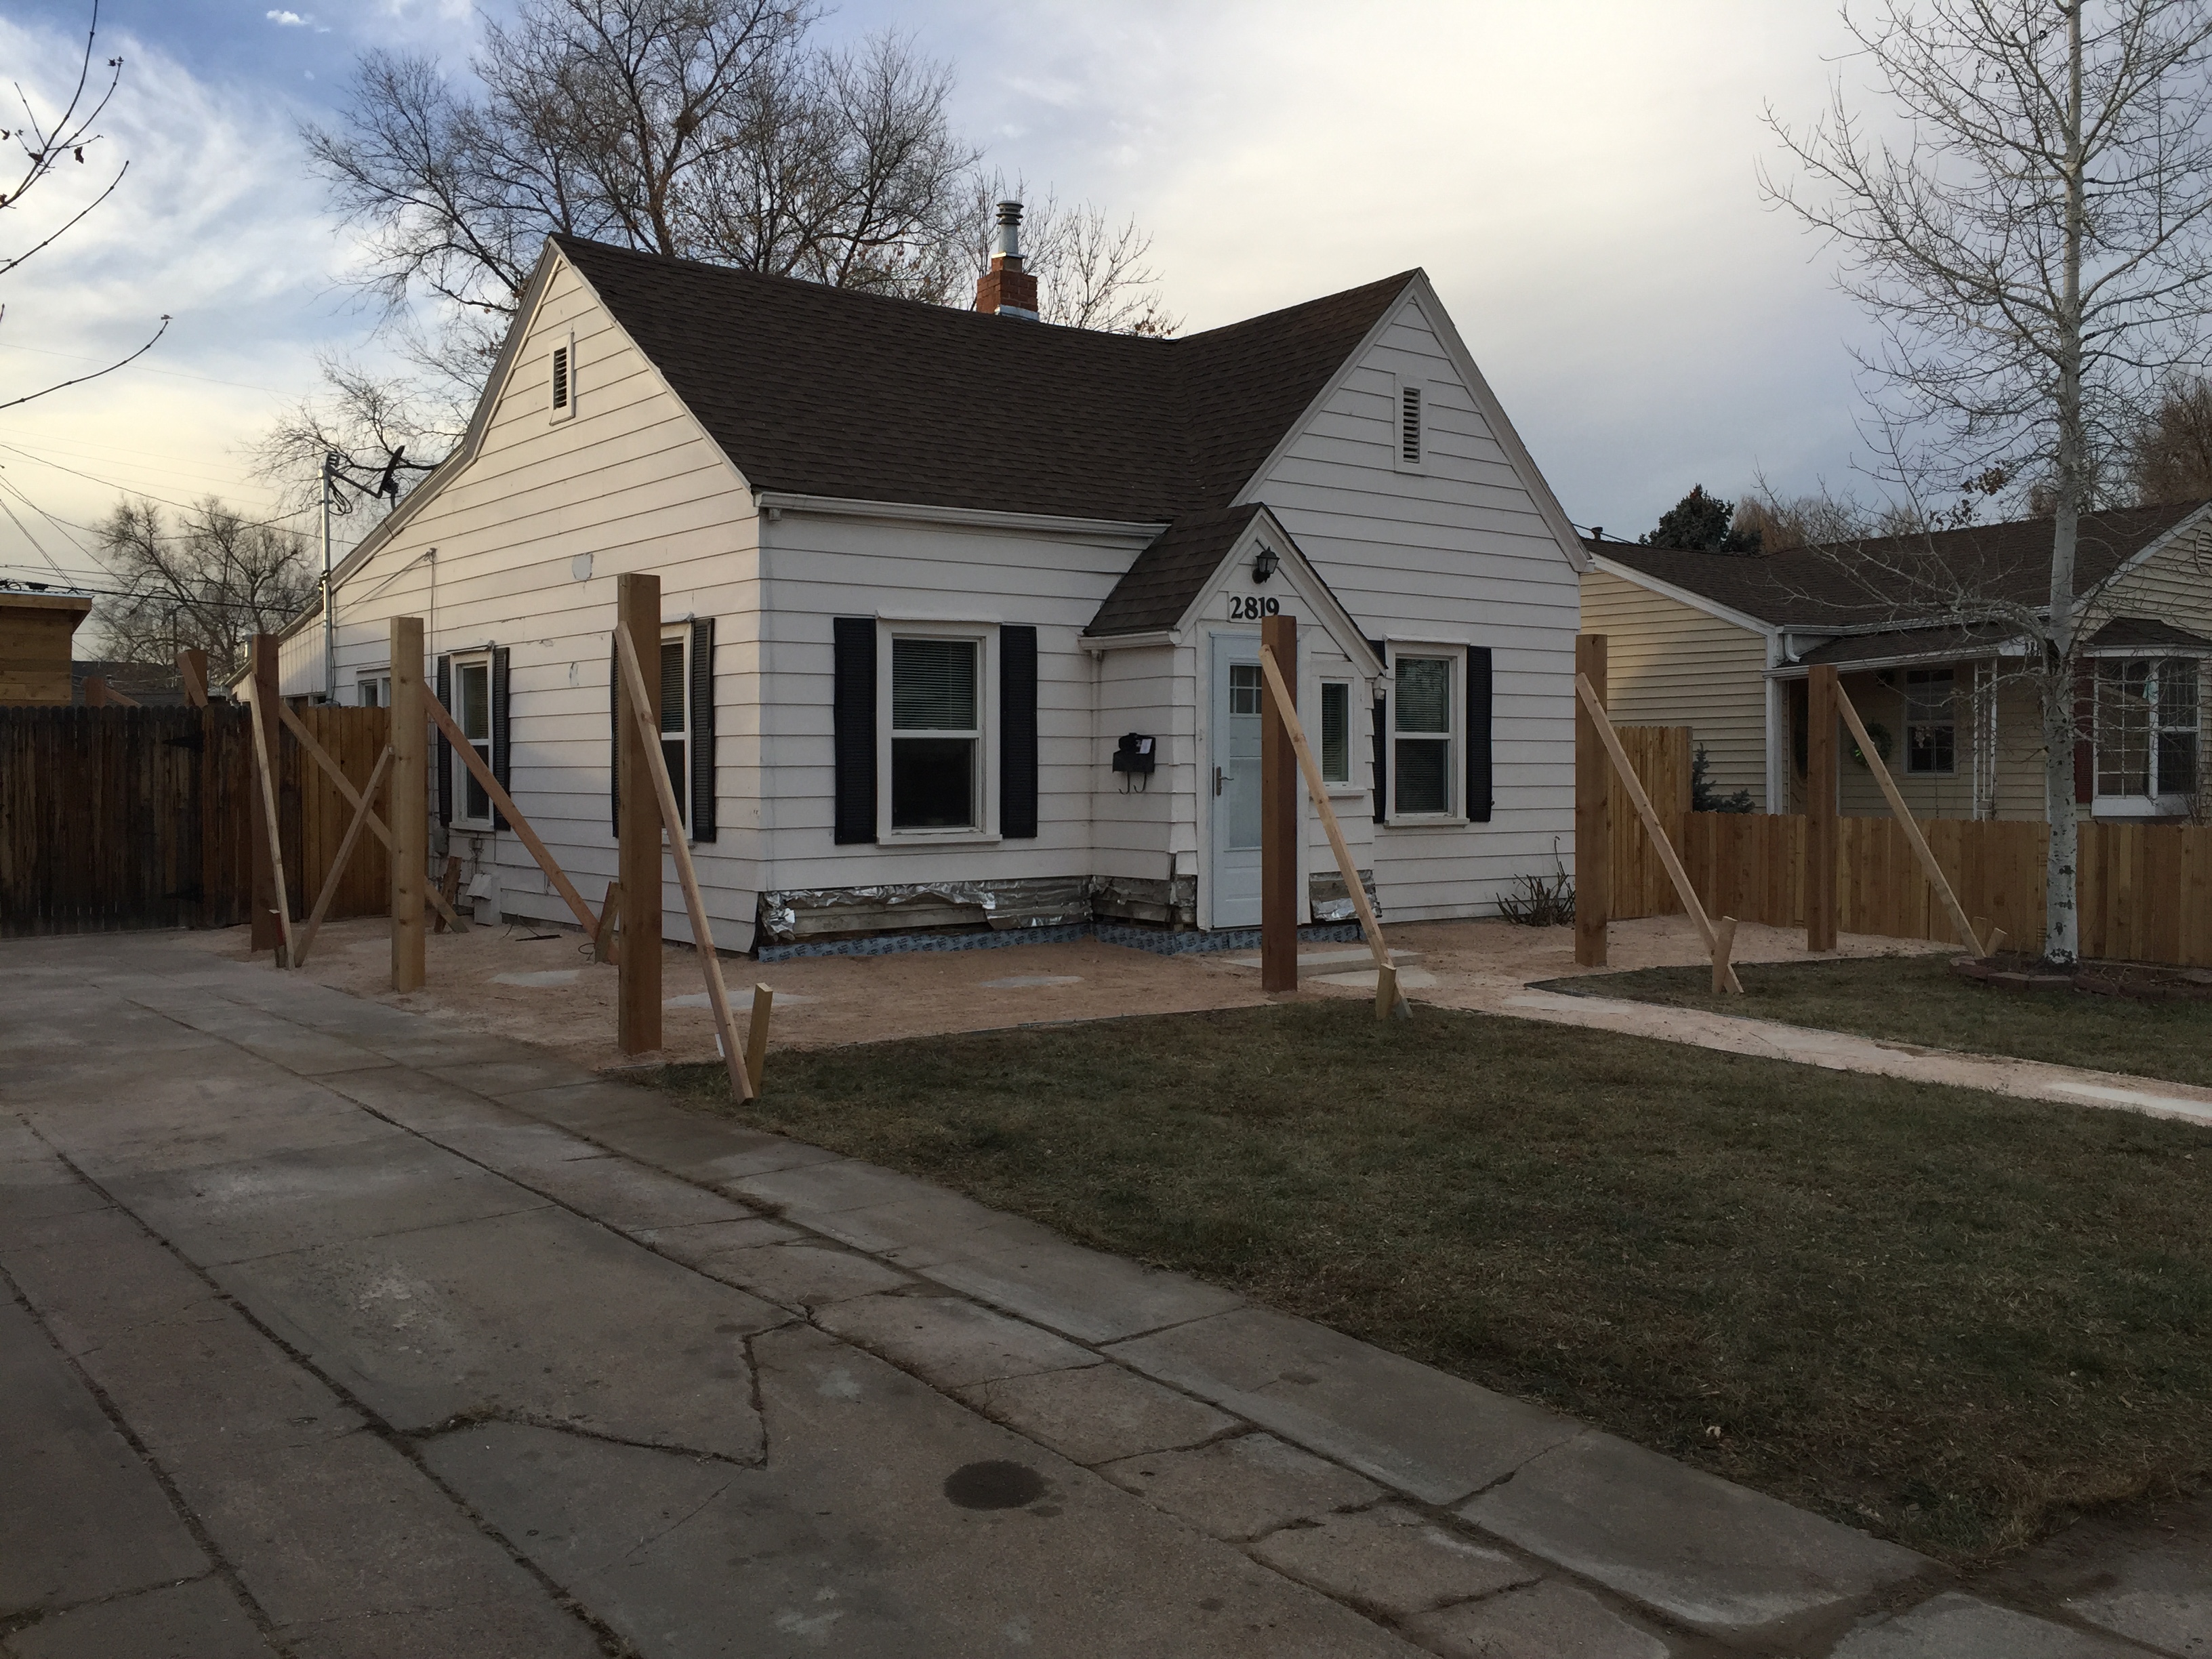
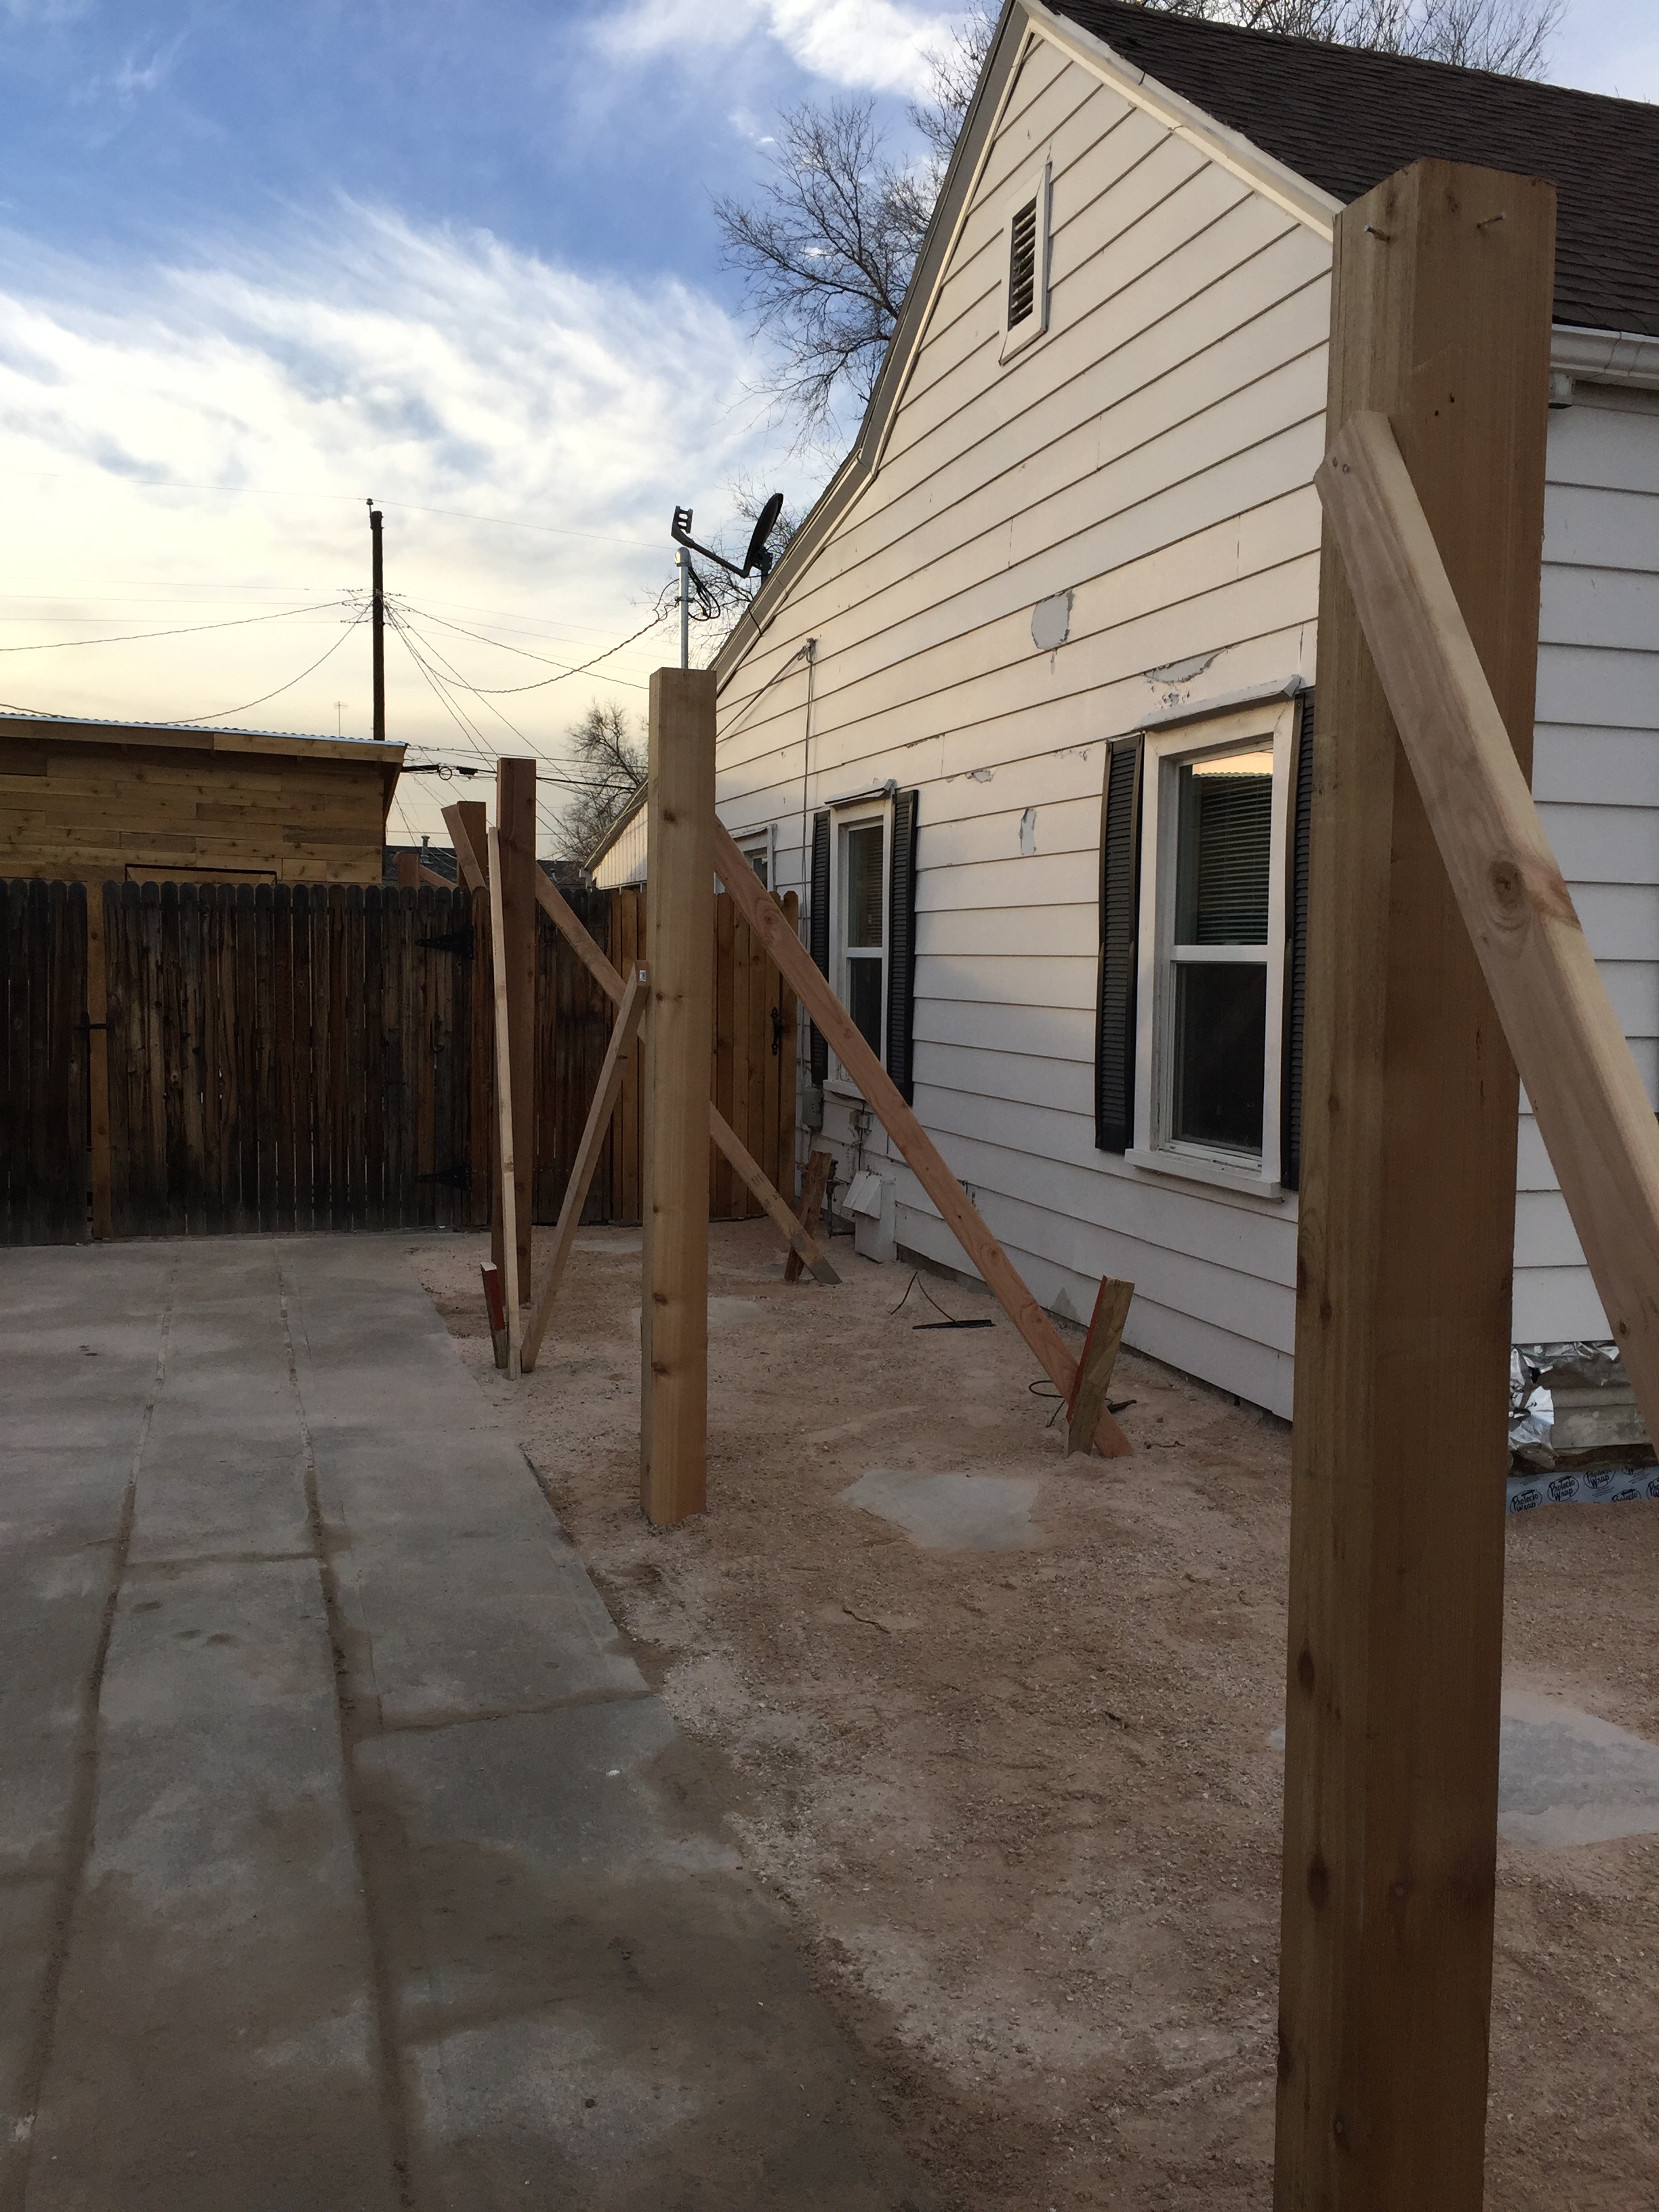
Placing 6×6 cedar posts for the arbor.
David had a great trick to pour dry concrete mix and water into a tarp. 2 guys would stand on both sides of the tarp and “mix” the powder and water by swishing it around in the tarp then pour it into the holes. Pretty smart!
Once the posts were in, they built supports to keep them straight until the concrete cured- overnight.It already looks so much cleaner!When the siding is removed you can see the back of the lathe and plaster interior walls. Very cool to see the way houses were built in the 1930’s.
Headers for the arbor will be attached directly to the support studs of the house. When they removed the old siding we discovered very old and limited insulation in the walls. Another unexpected expense!
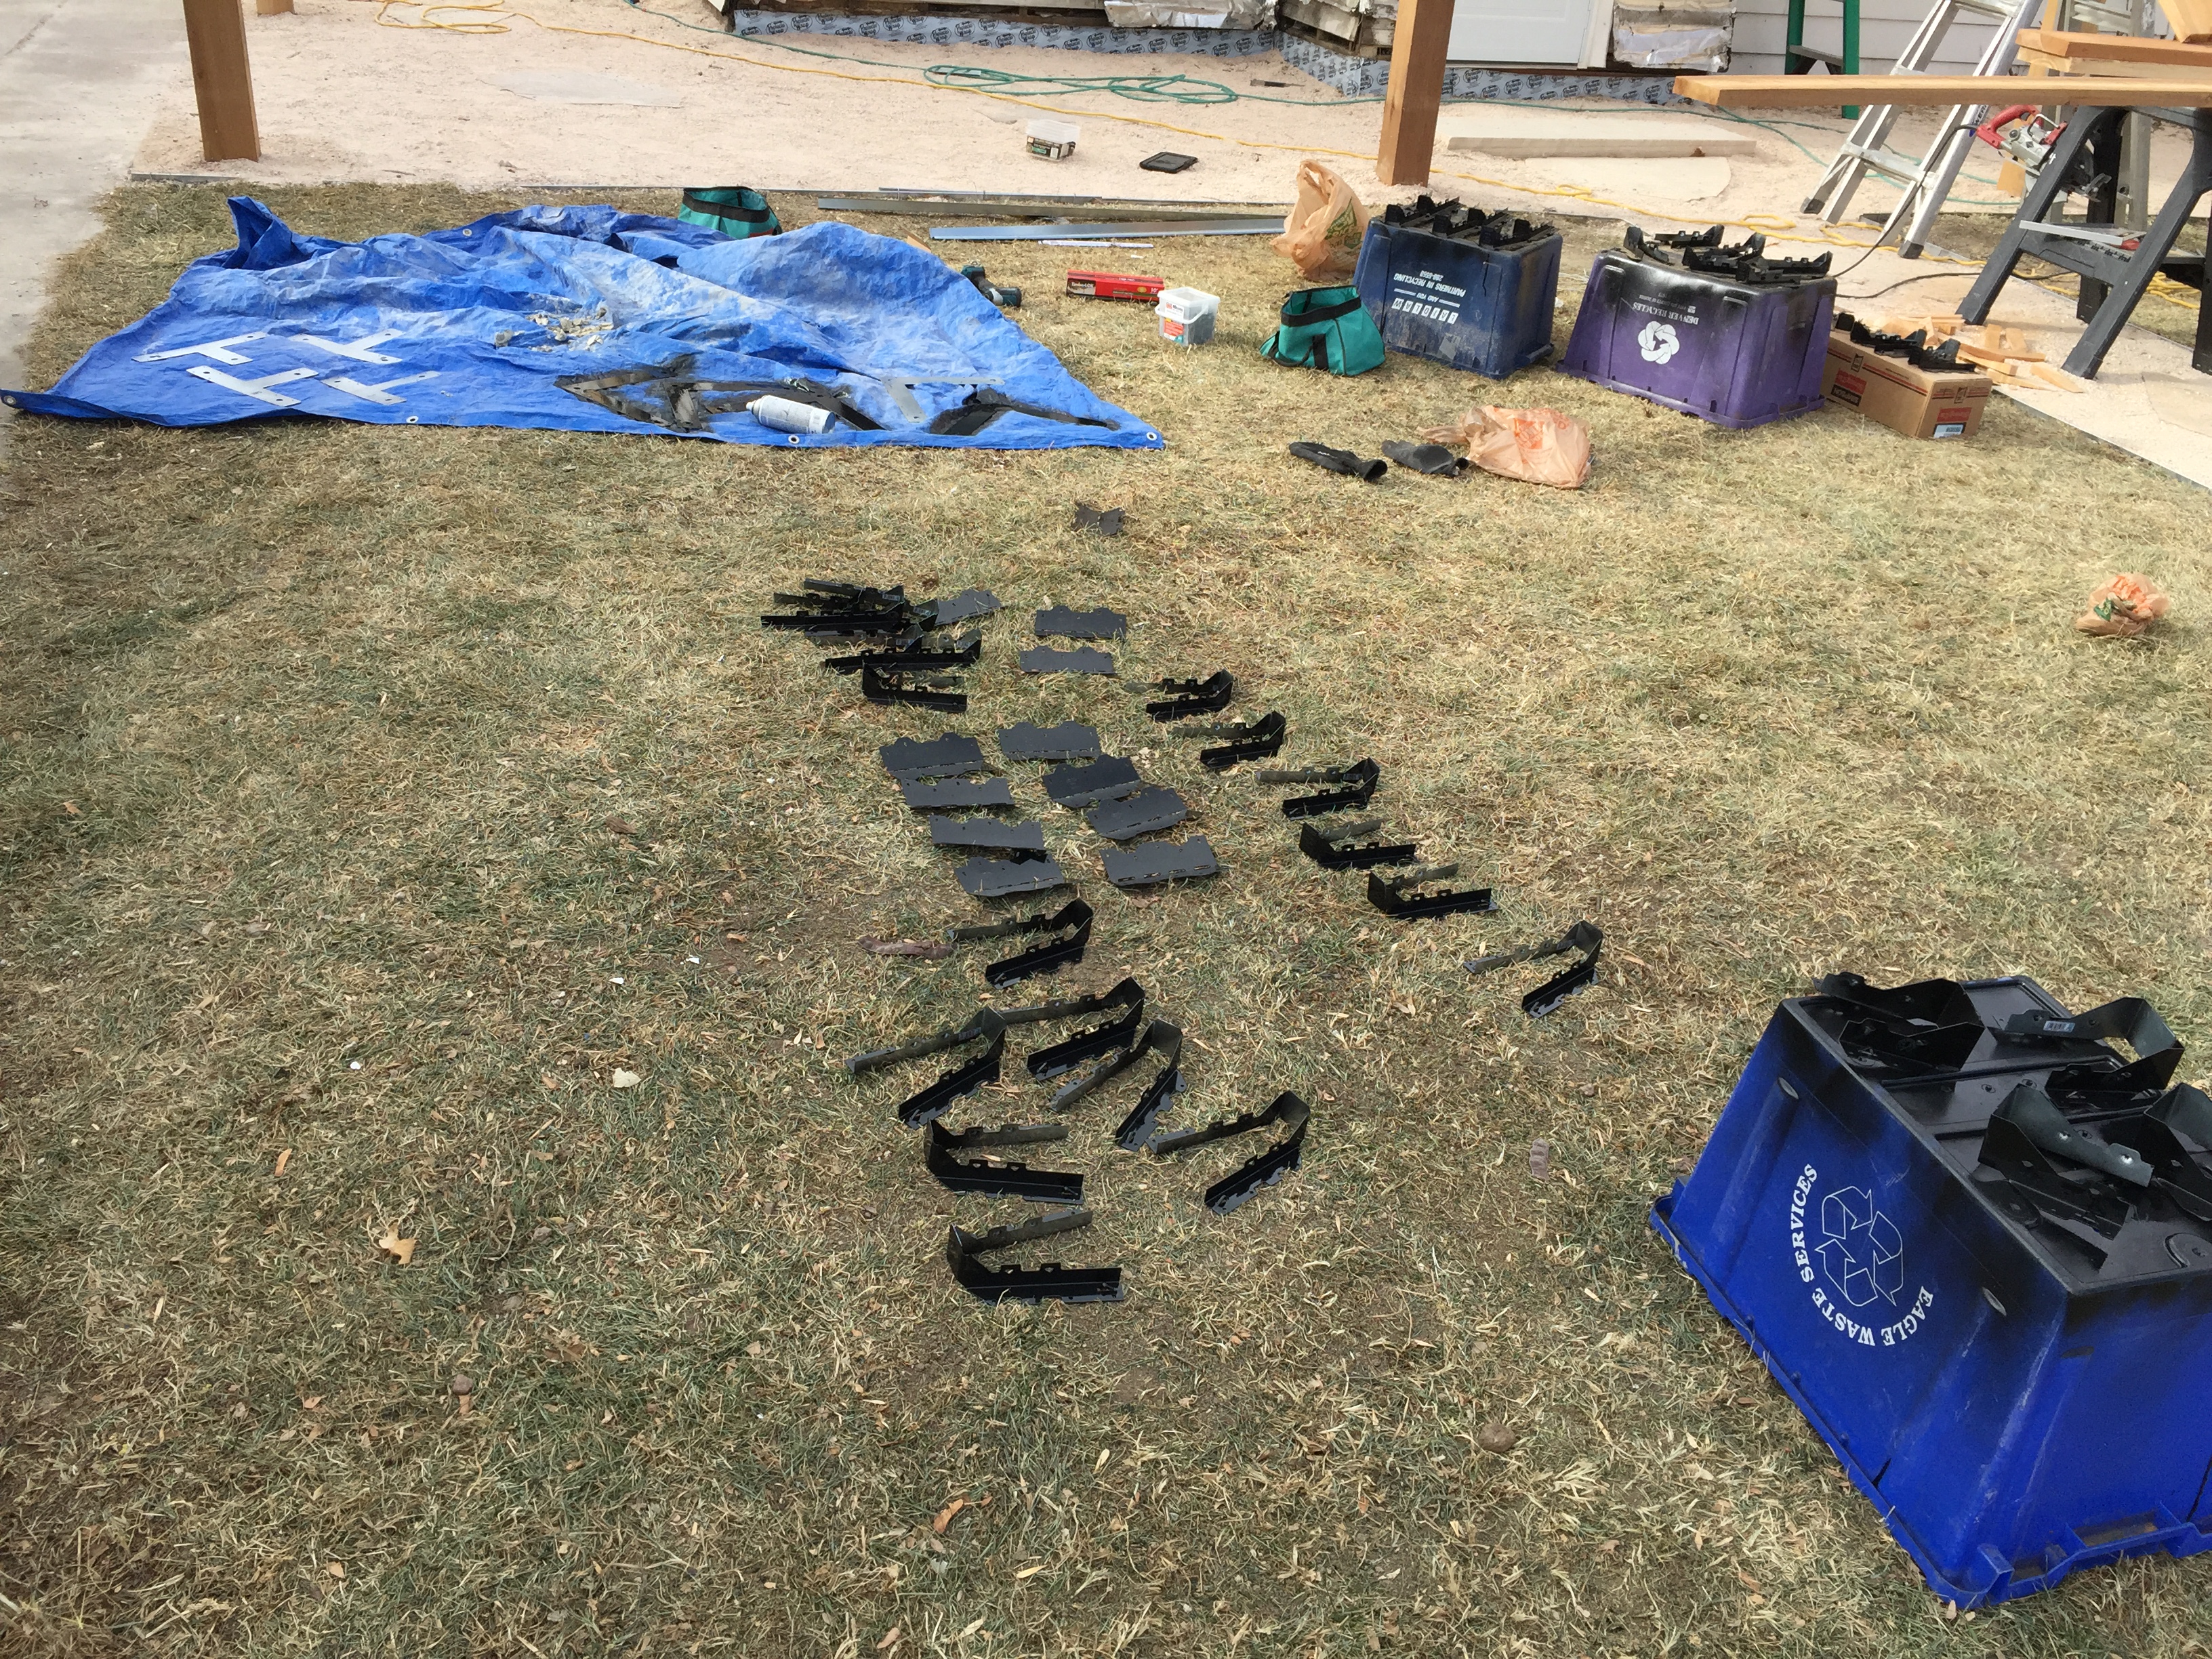
Once the headers where up, David began installing the rafters on the arbor.All the hardware and brackets had to be sprayed Black as they were galvanized originally.Finally, the space is fresh! It feels like a place to hang out. No more concrete pad, just breeze and cedar. Love it!The arbor and landscaping are done in the front! Can’t wait for new siding!