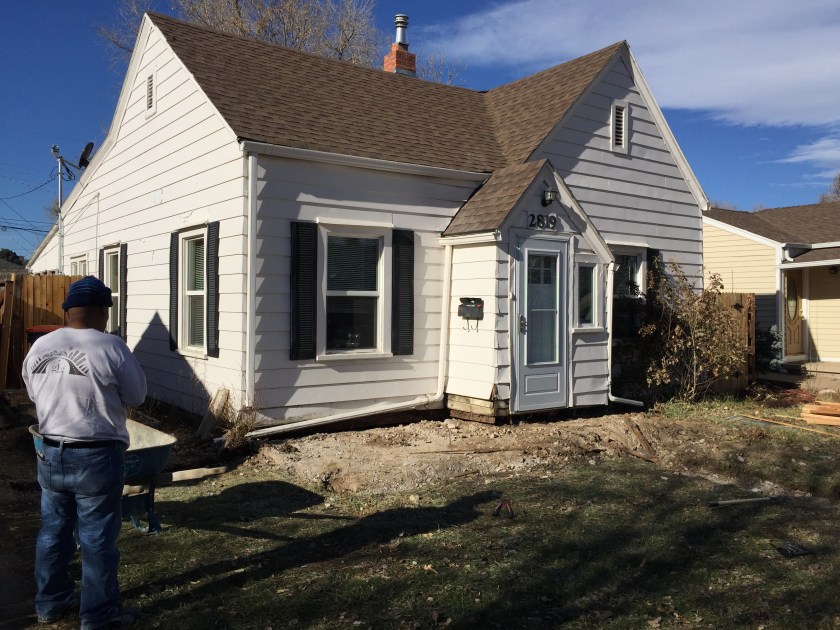
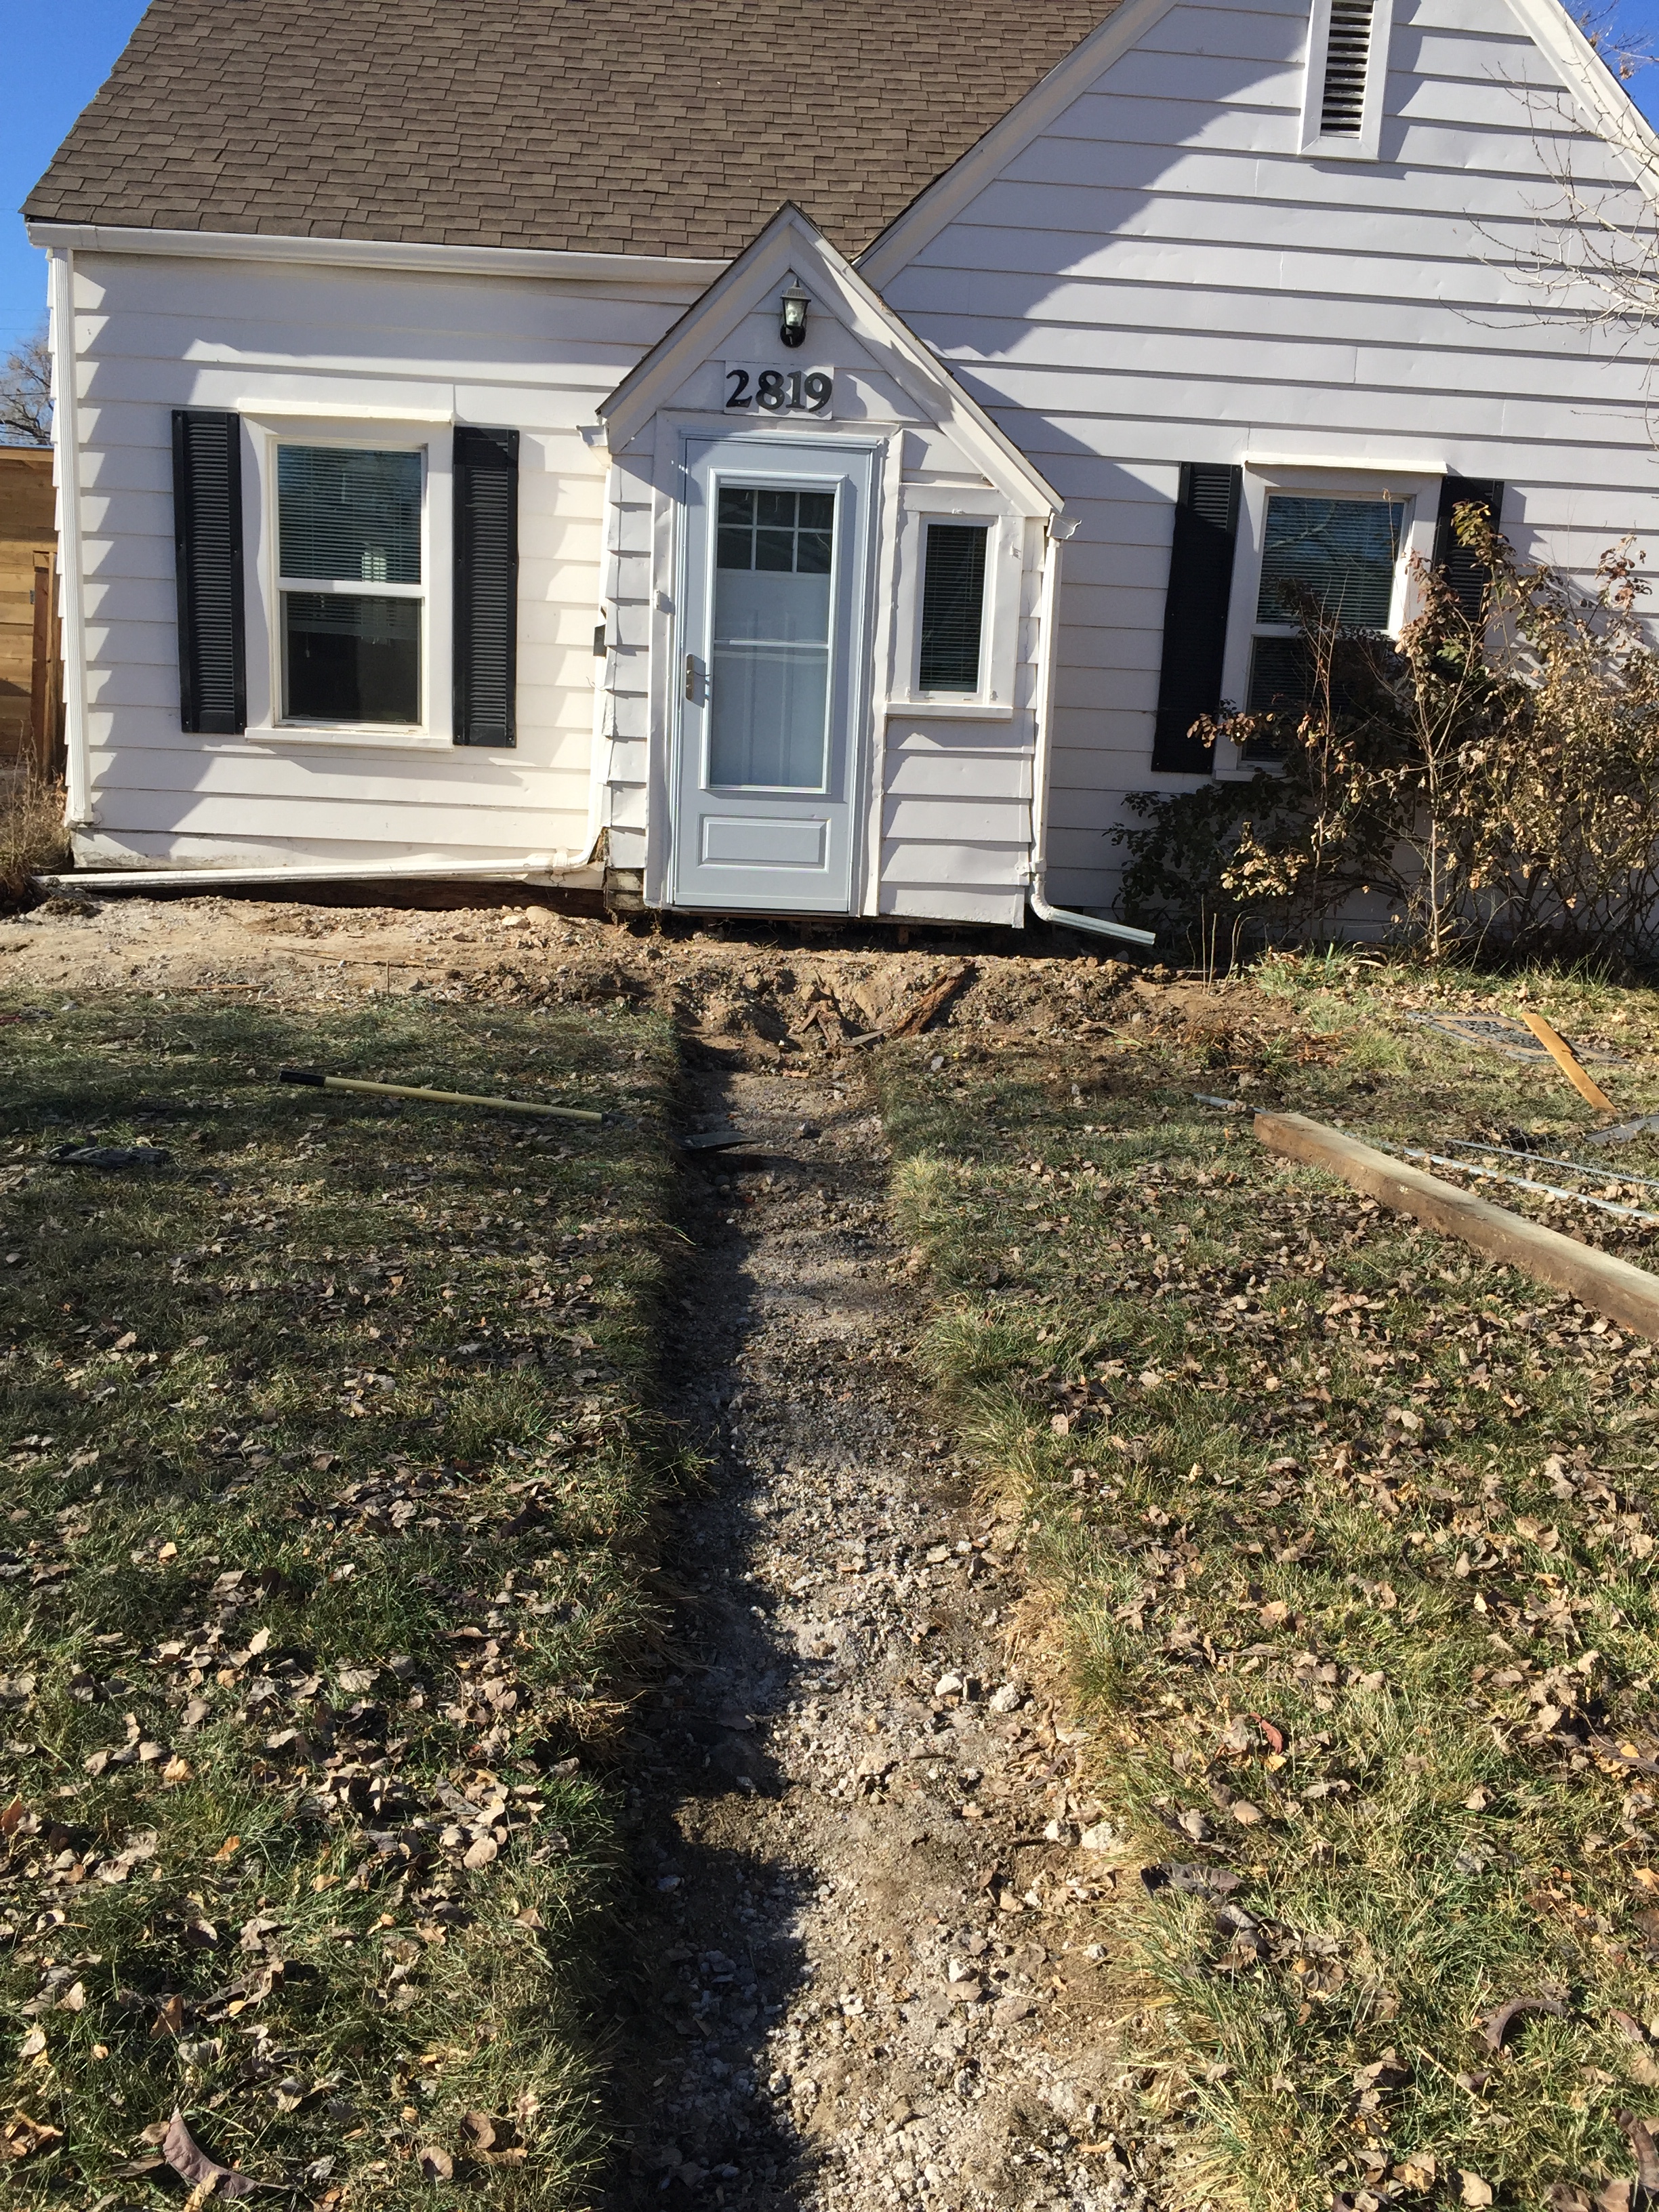
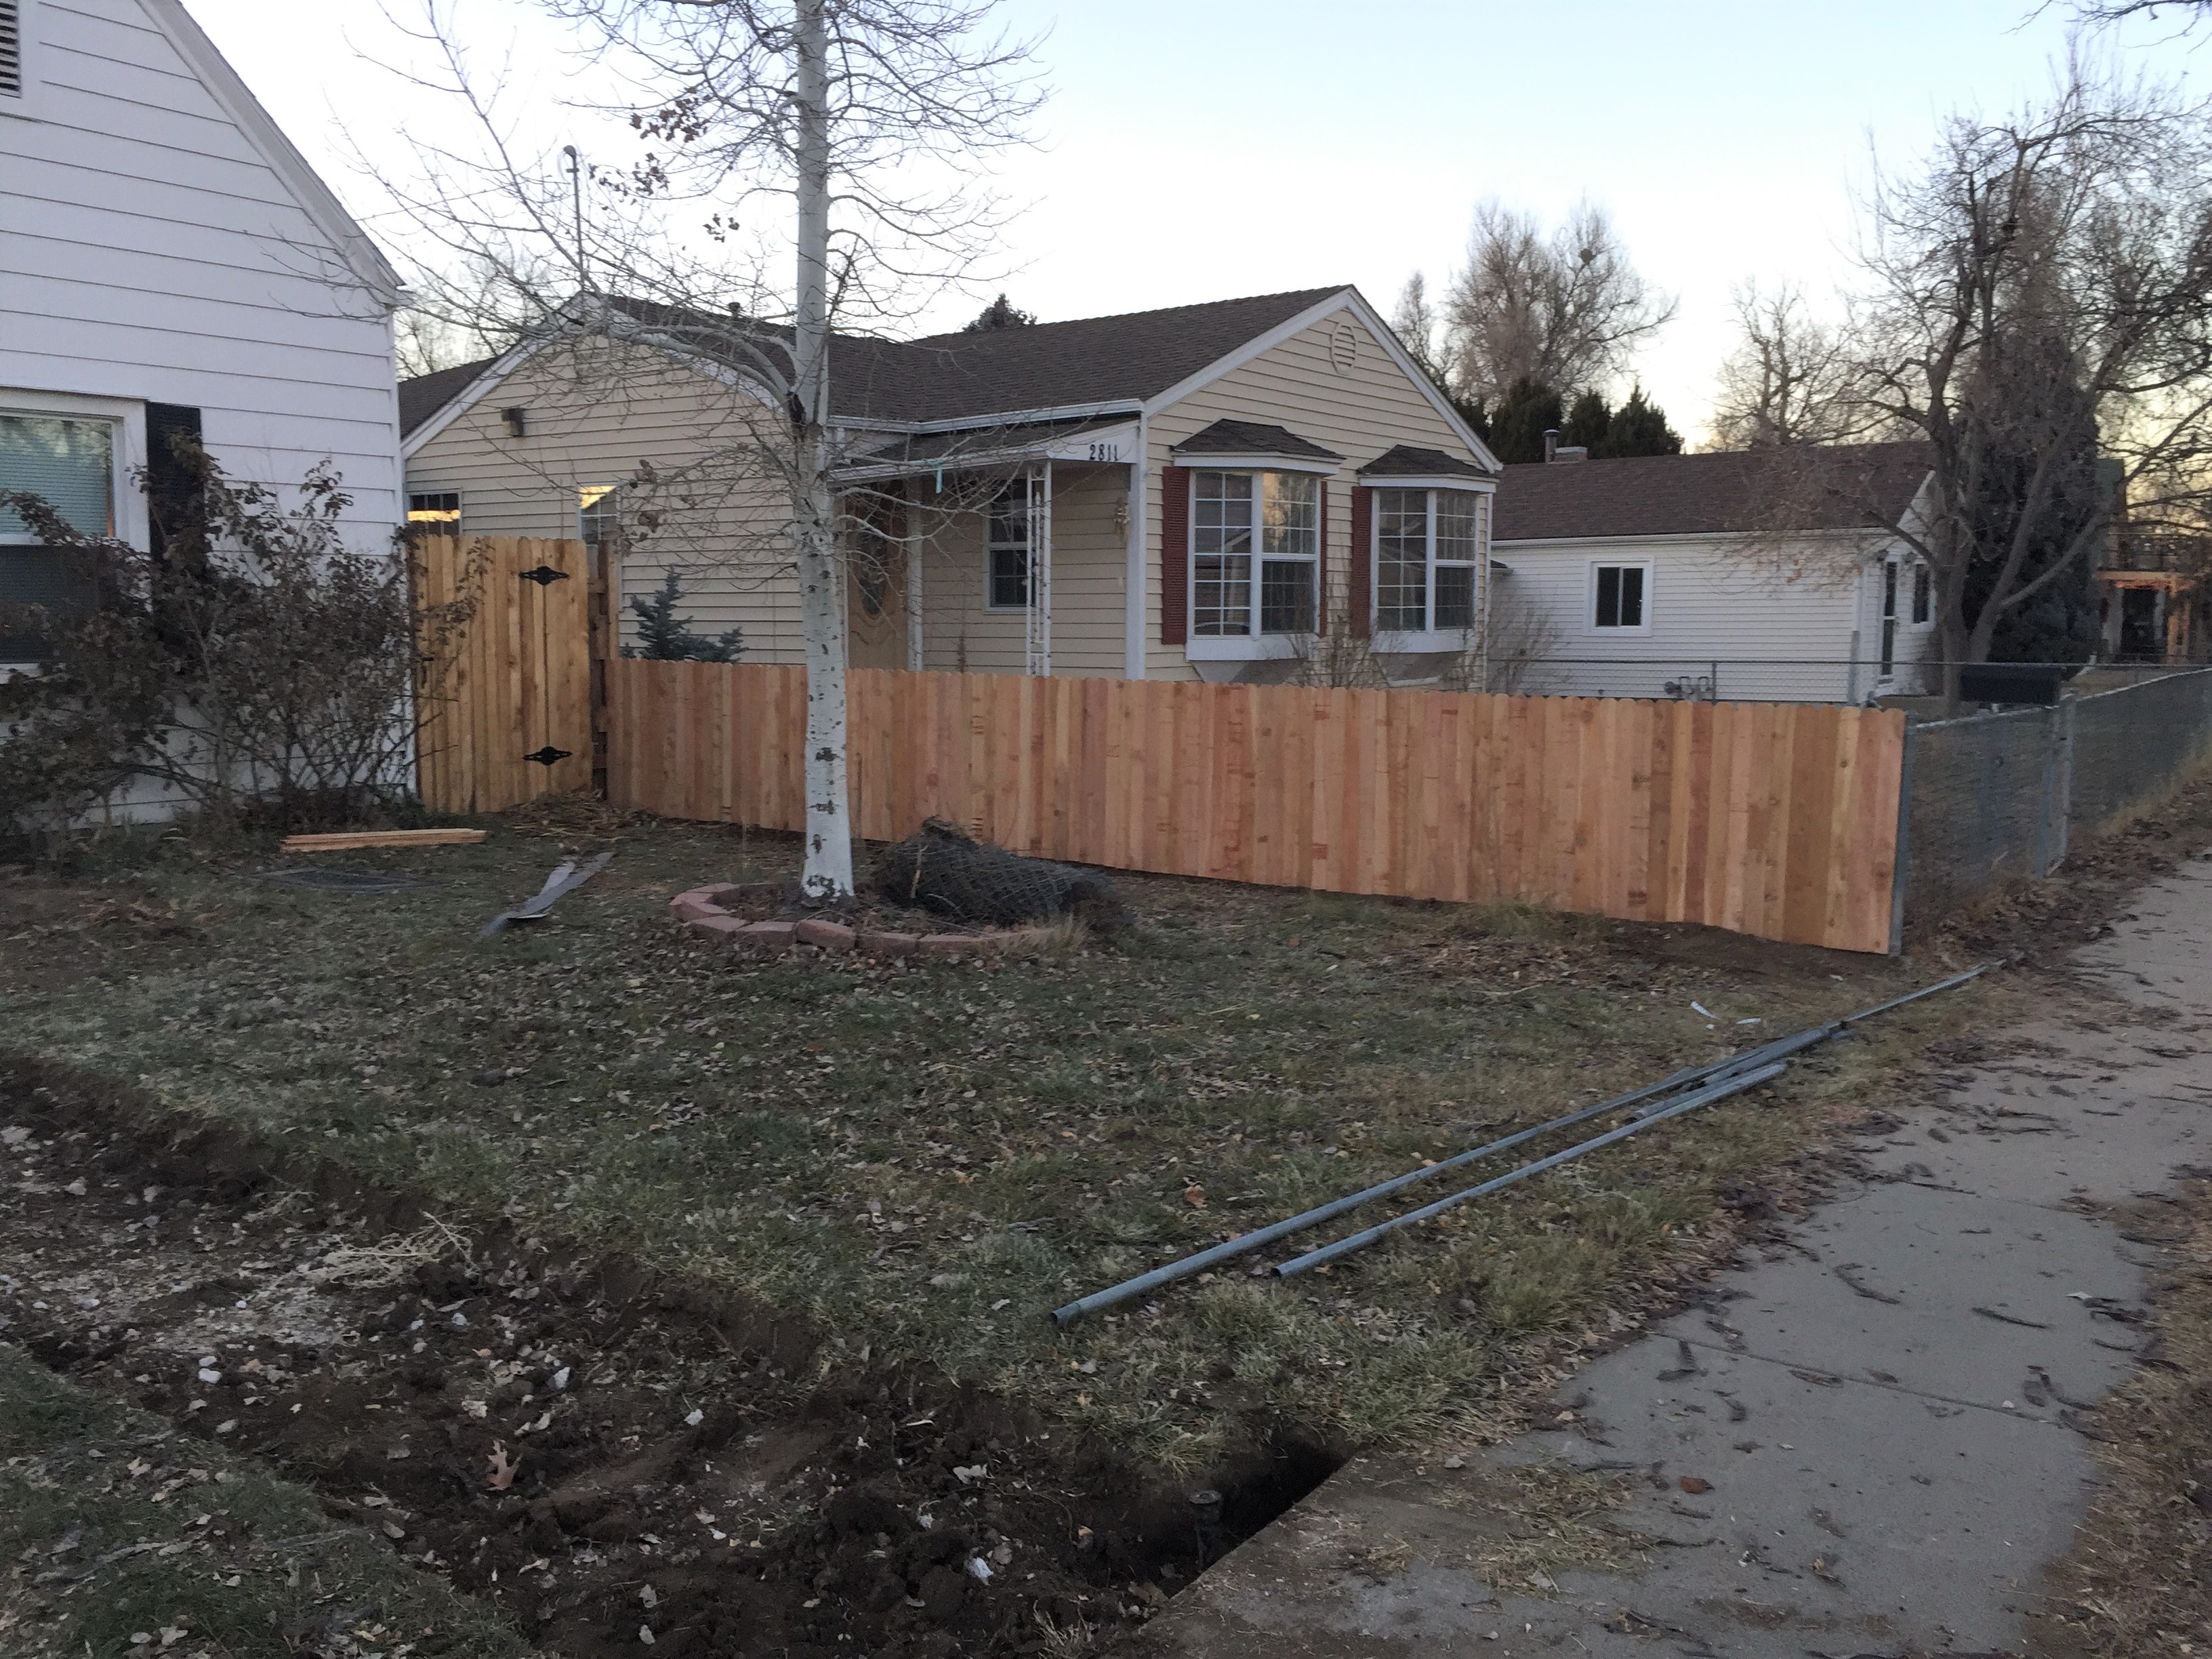
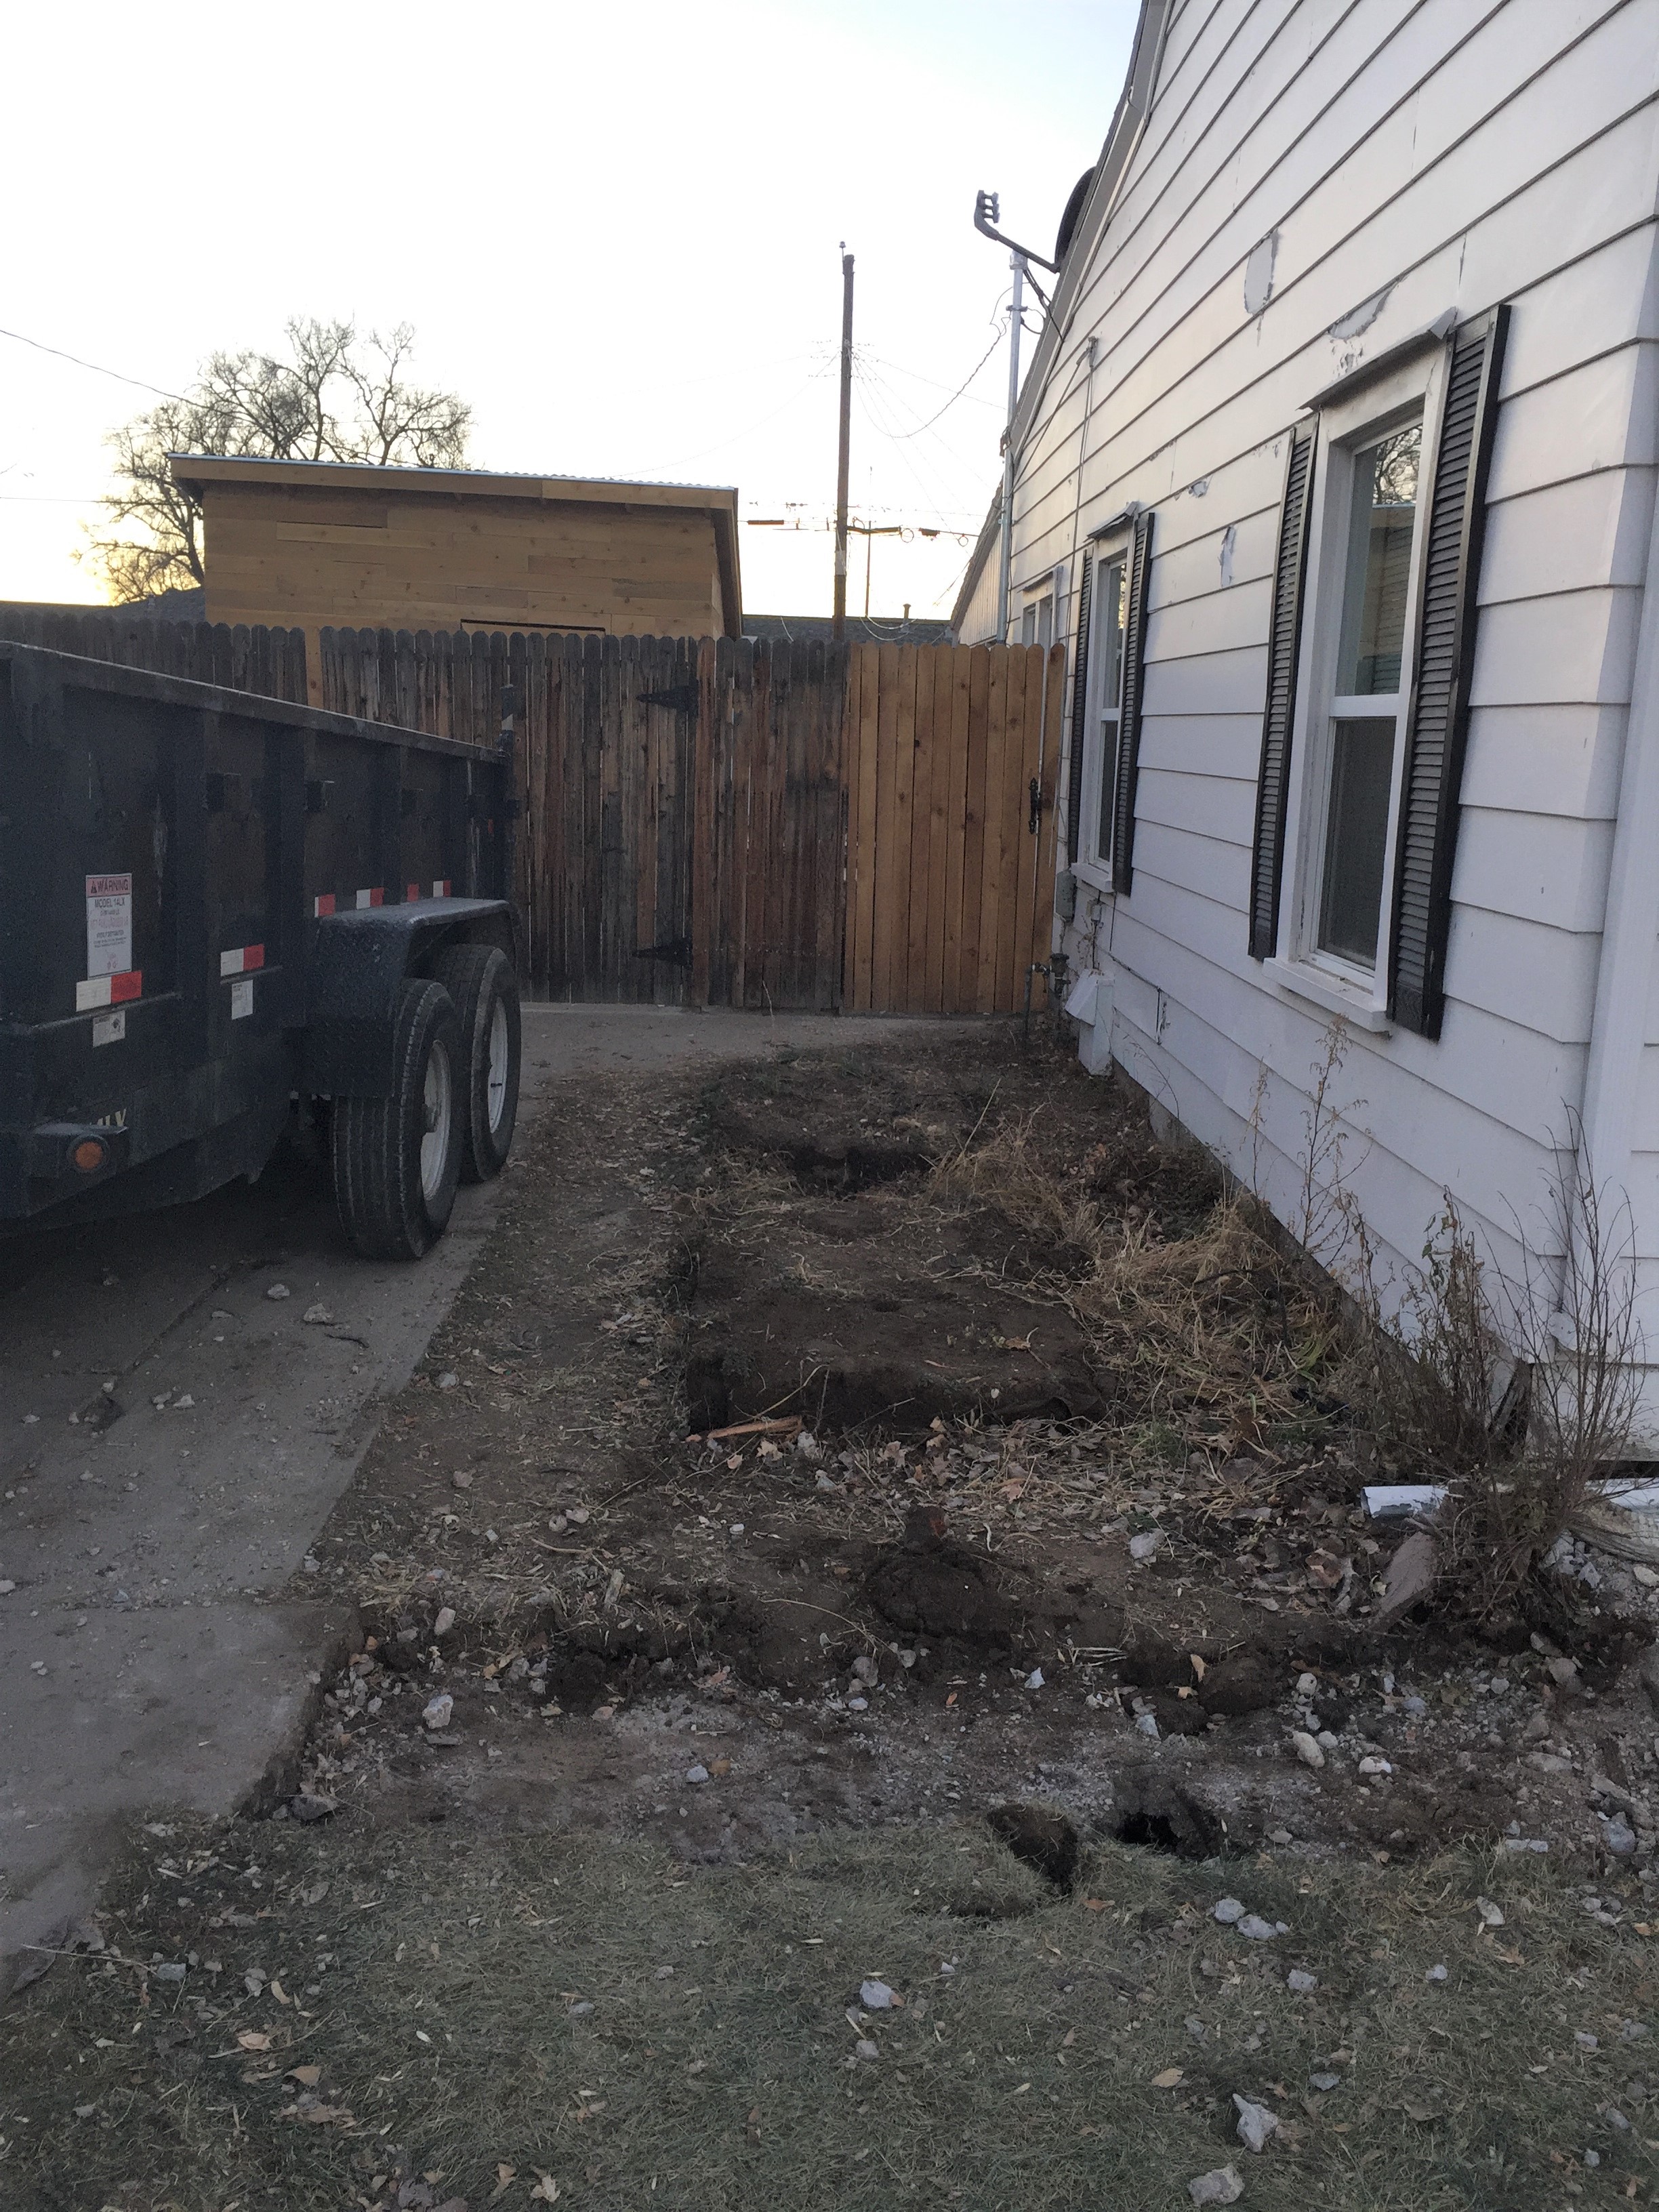
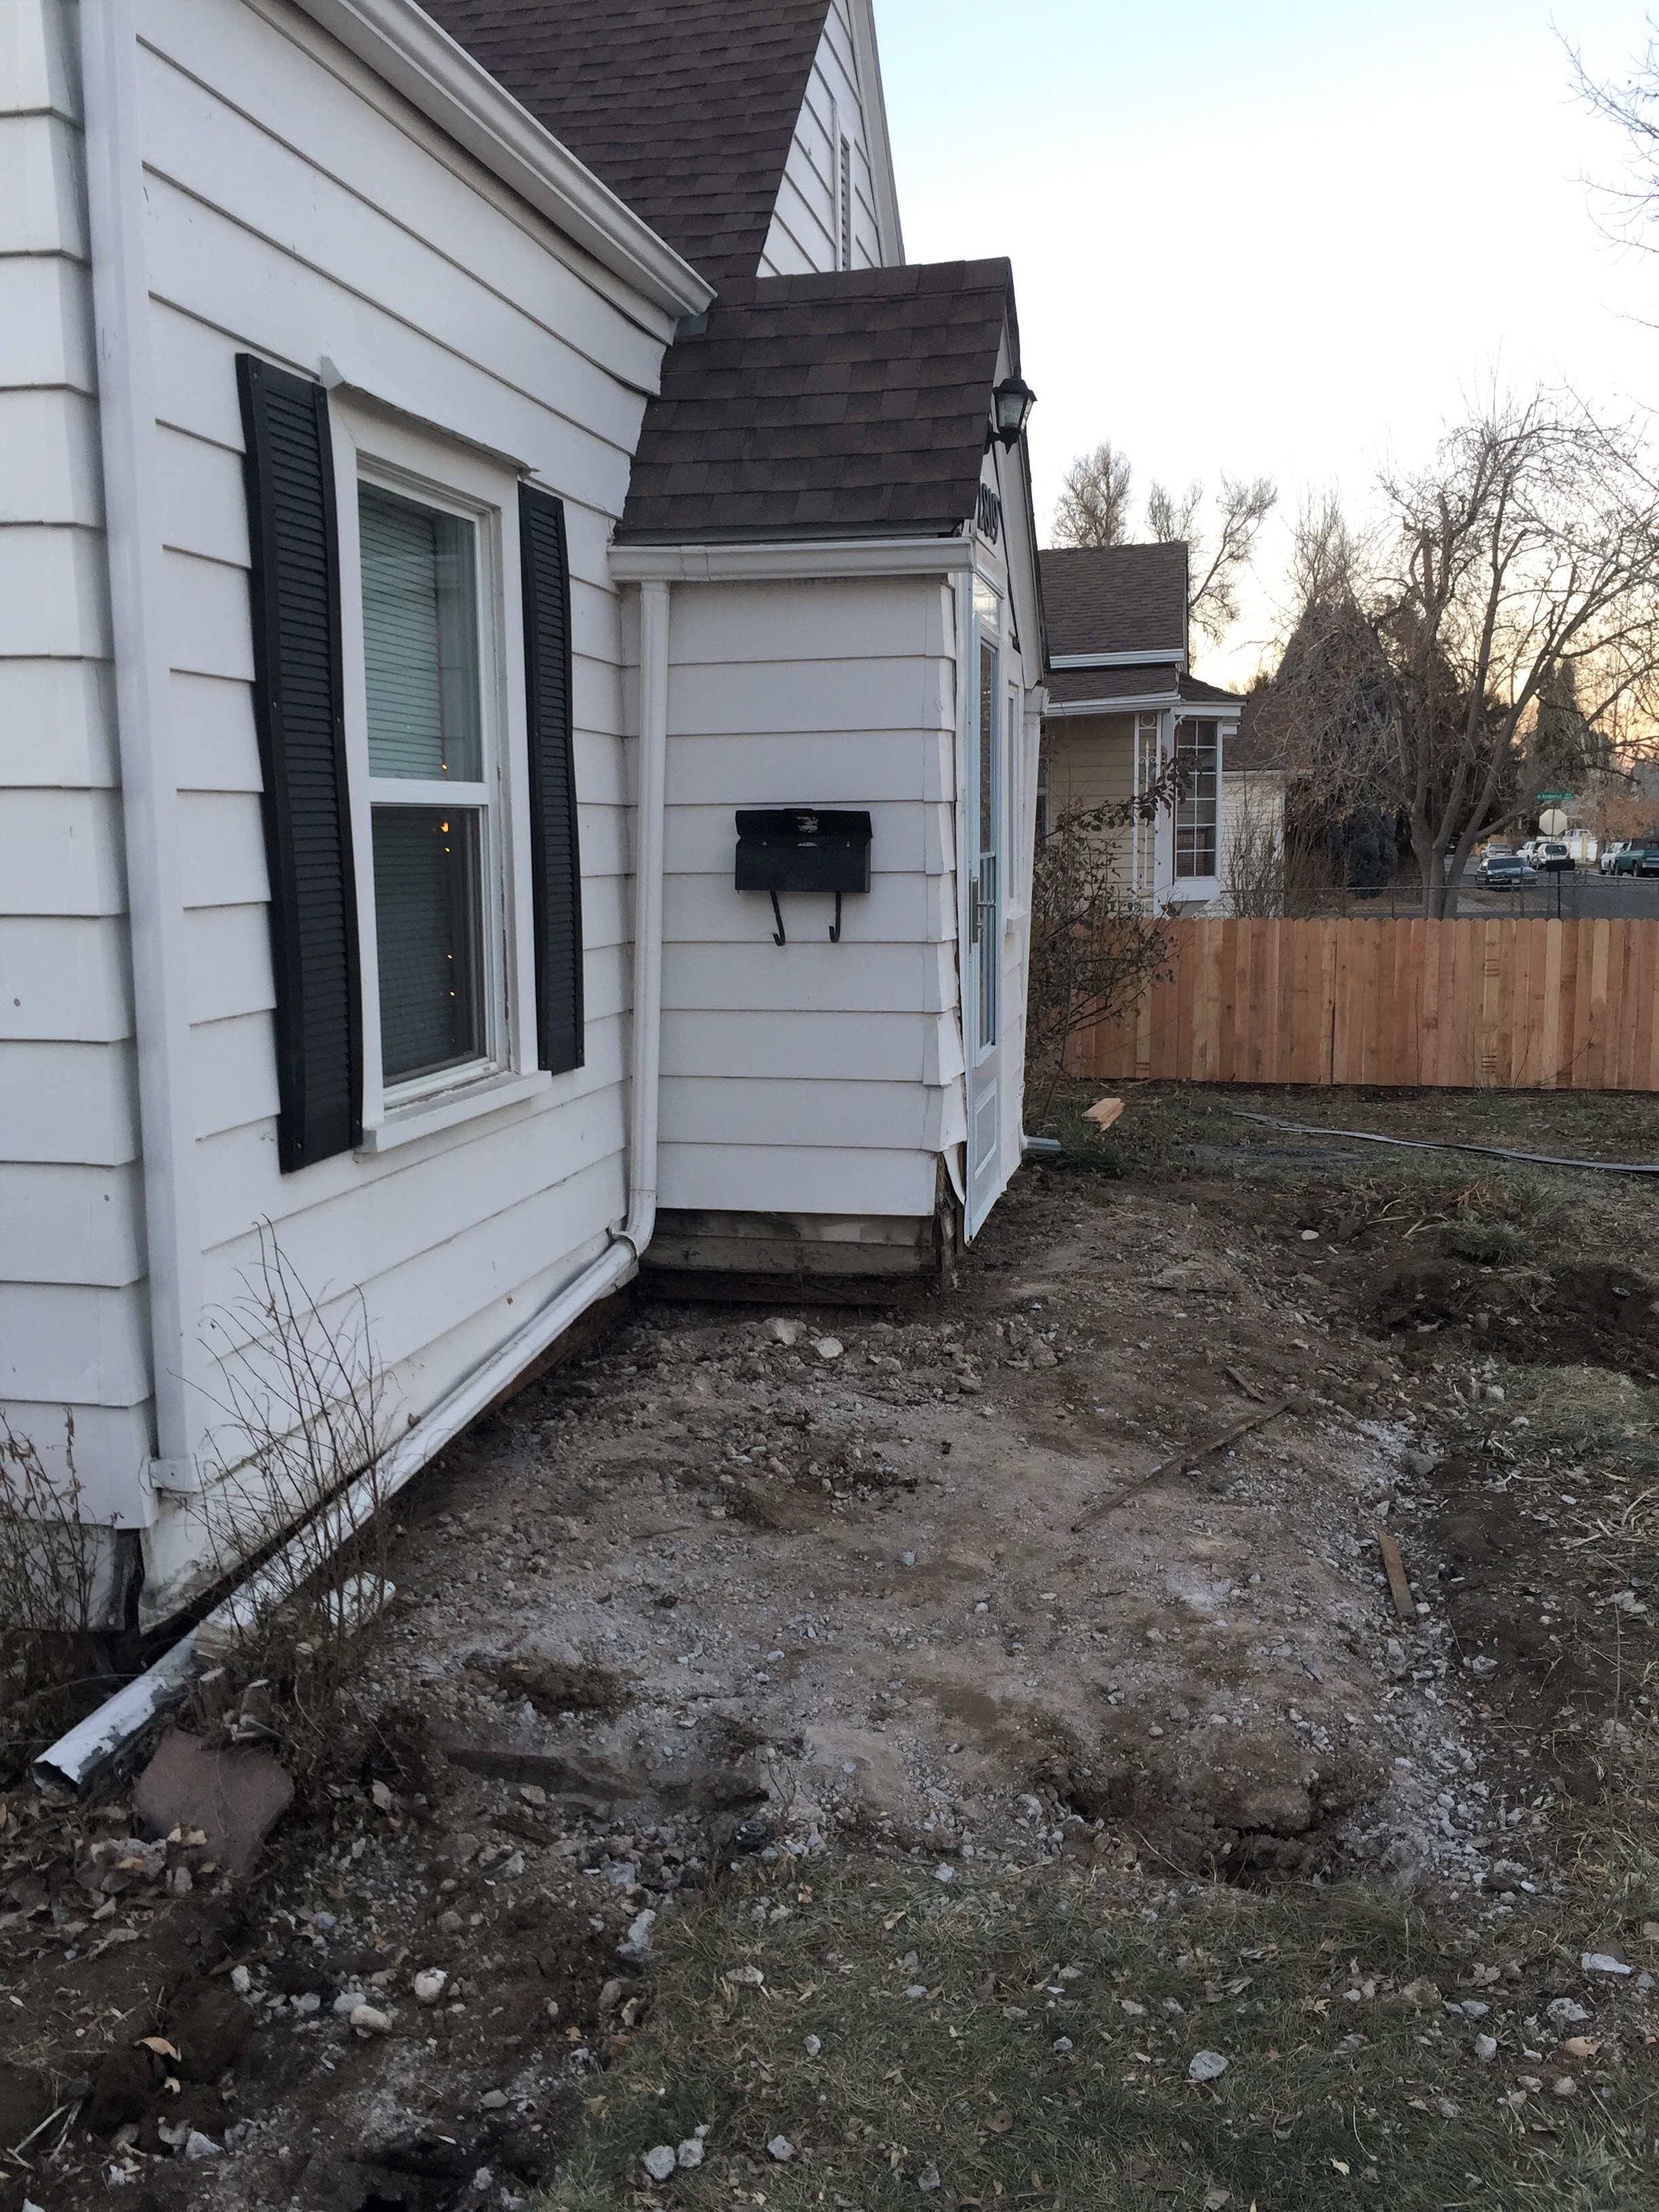
The first thing I had to do was to take out the concrete porch and walkway from the city sidewalk to the front of the house.Where the concrete walkway used to be.My awesome neighbor split the cost of a new cedar fence with me. We both are happy to see the chain link fence gone!The new fence looks clean and tidy.I also had the walkway made wider, 4′.Garden boxes are removed and a stubborn tree stump dug out.This whole landing, where the concrete porch was, sat higher than the rest of the yard.This is just ugly and beat up. I can’t wait to turn this space into a feature instead of an eyesore outside my kitchen window!
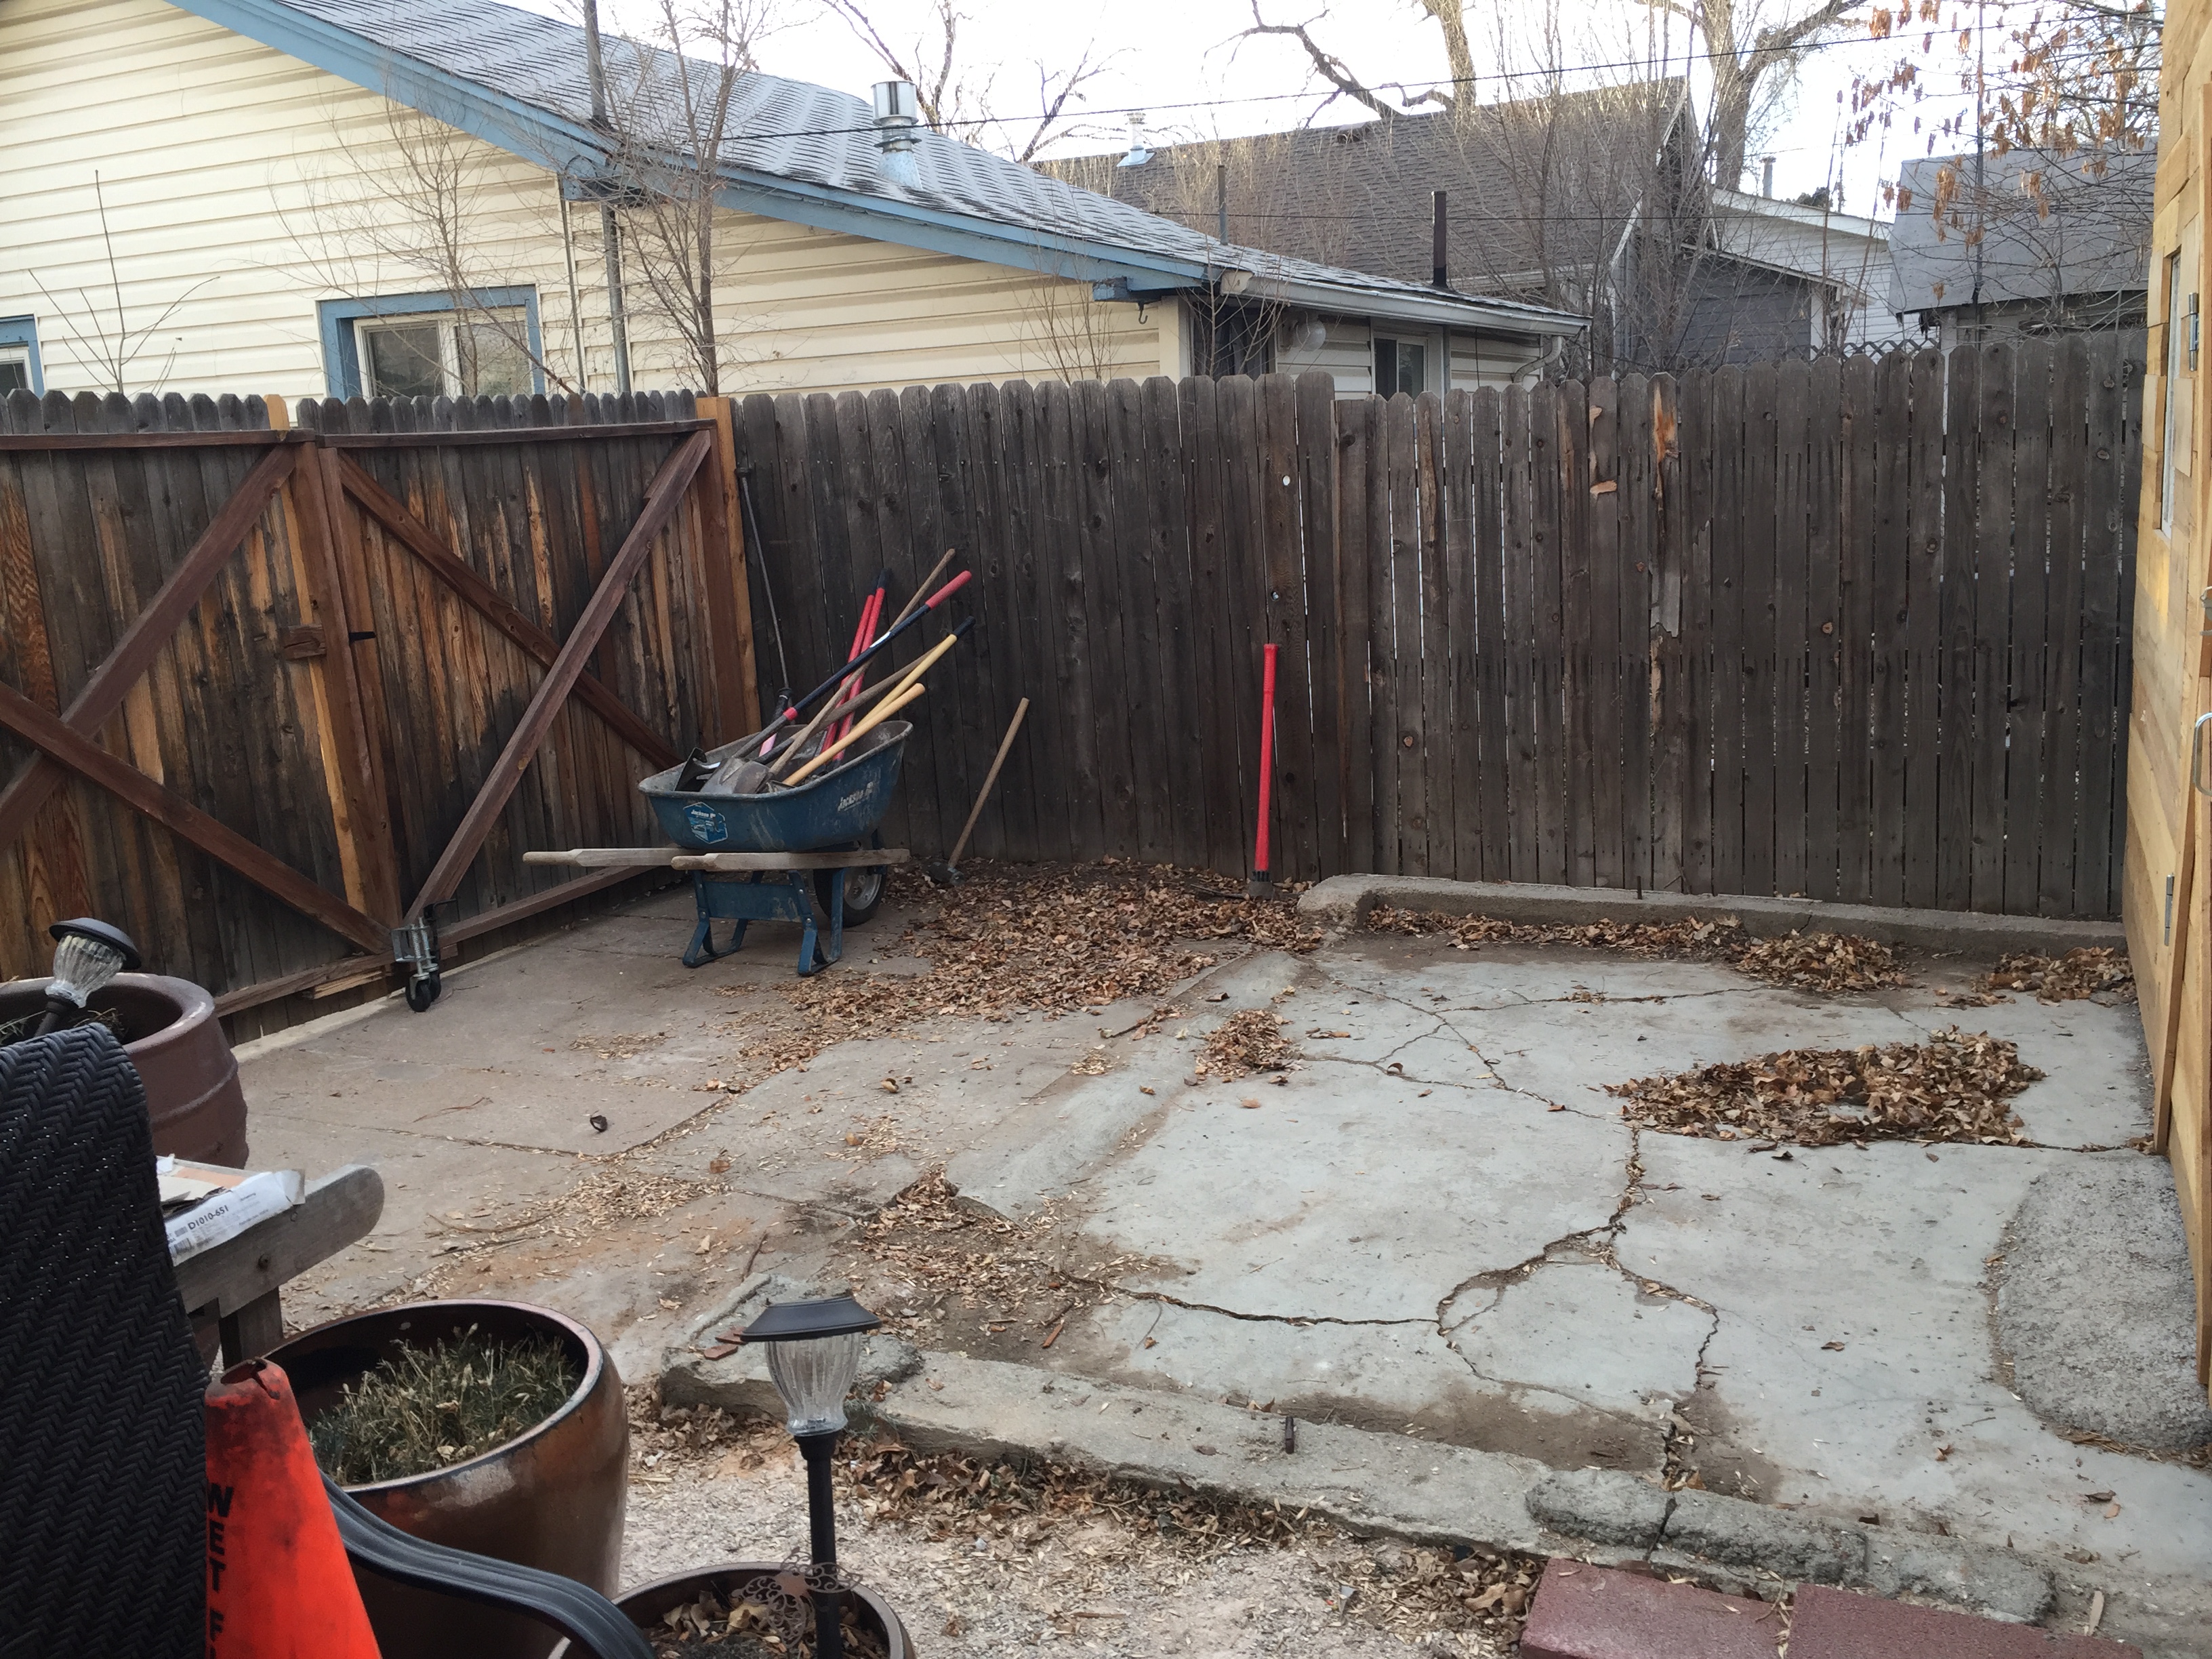
The old slab where the garage once stood is badly cracked. I used about half the slab (on the right) as a base for a garden shed with an added concrete ramp for my wheel barrow! The rest of the concrete will come out and be replaced with Breeze, my wonder material!
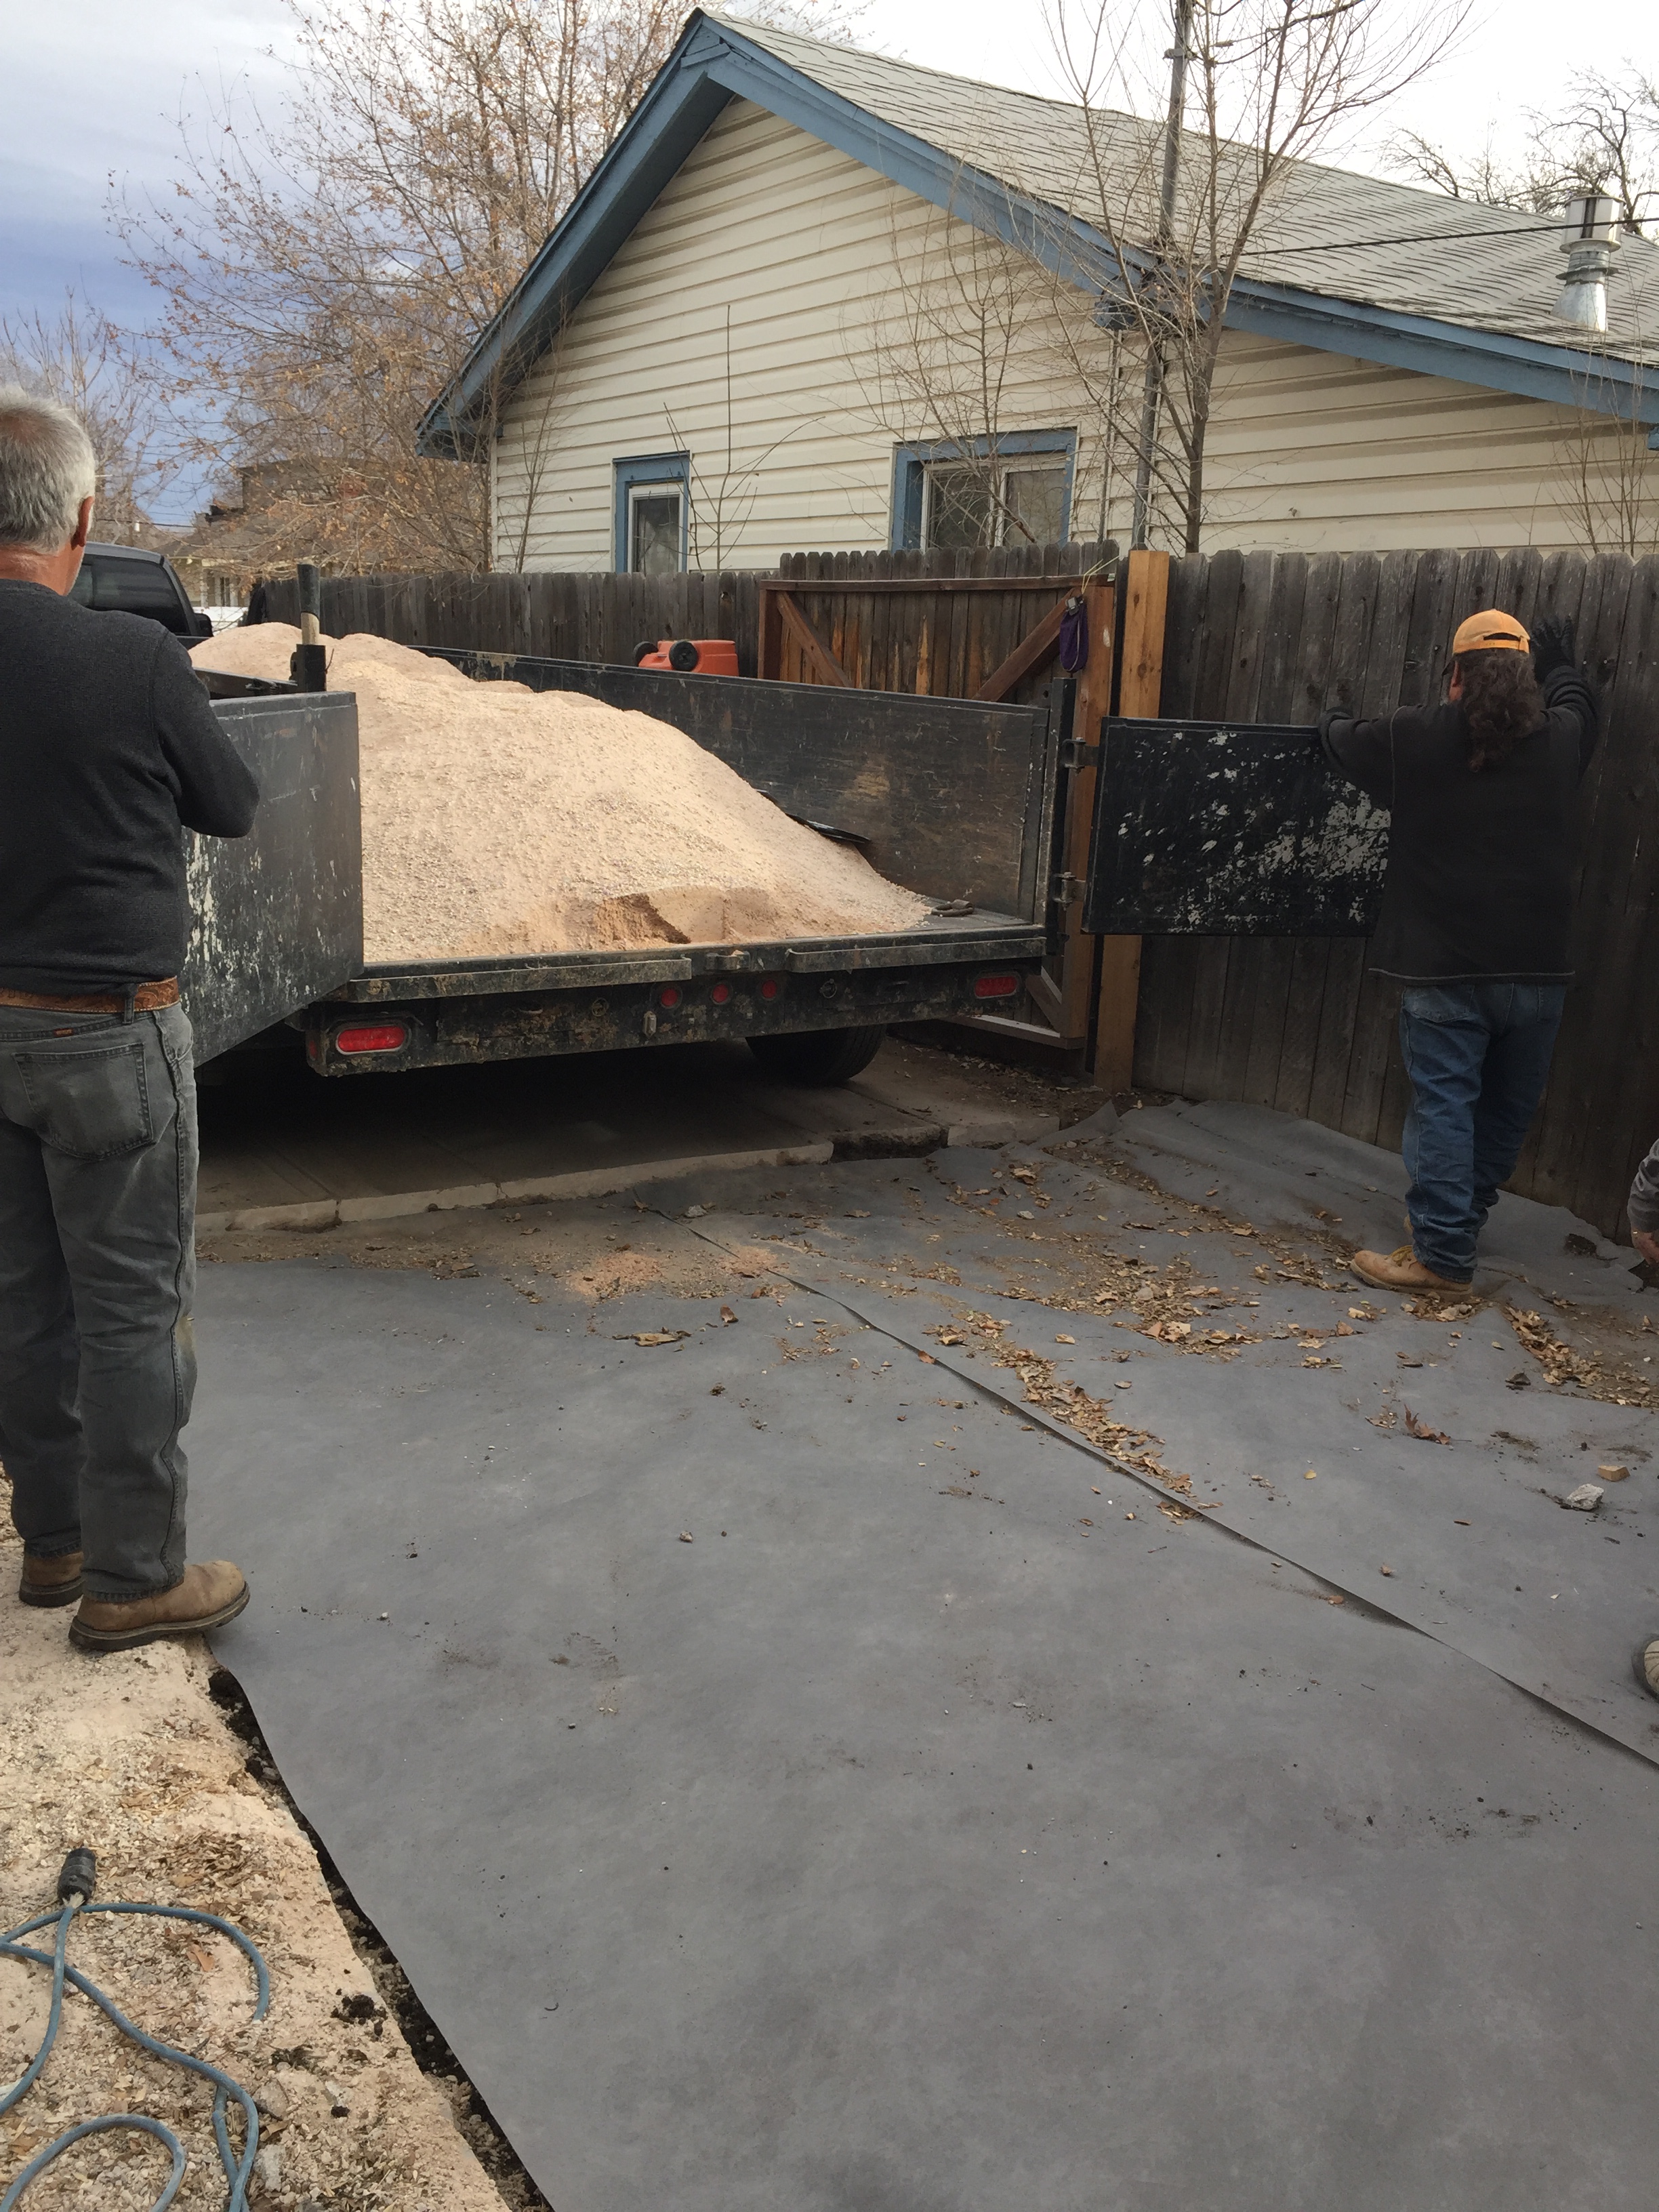
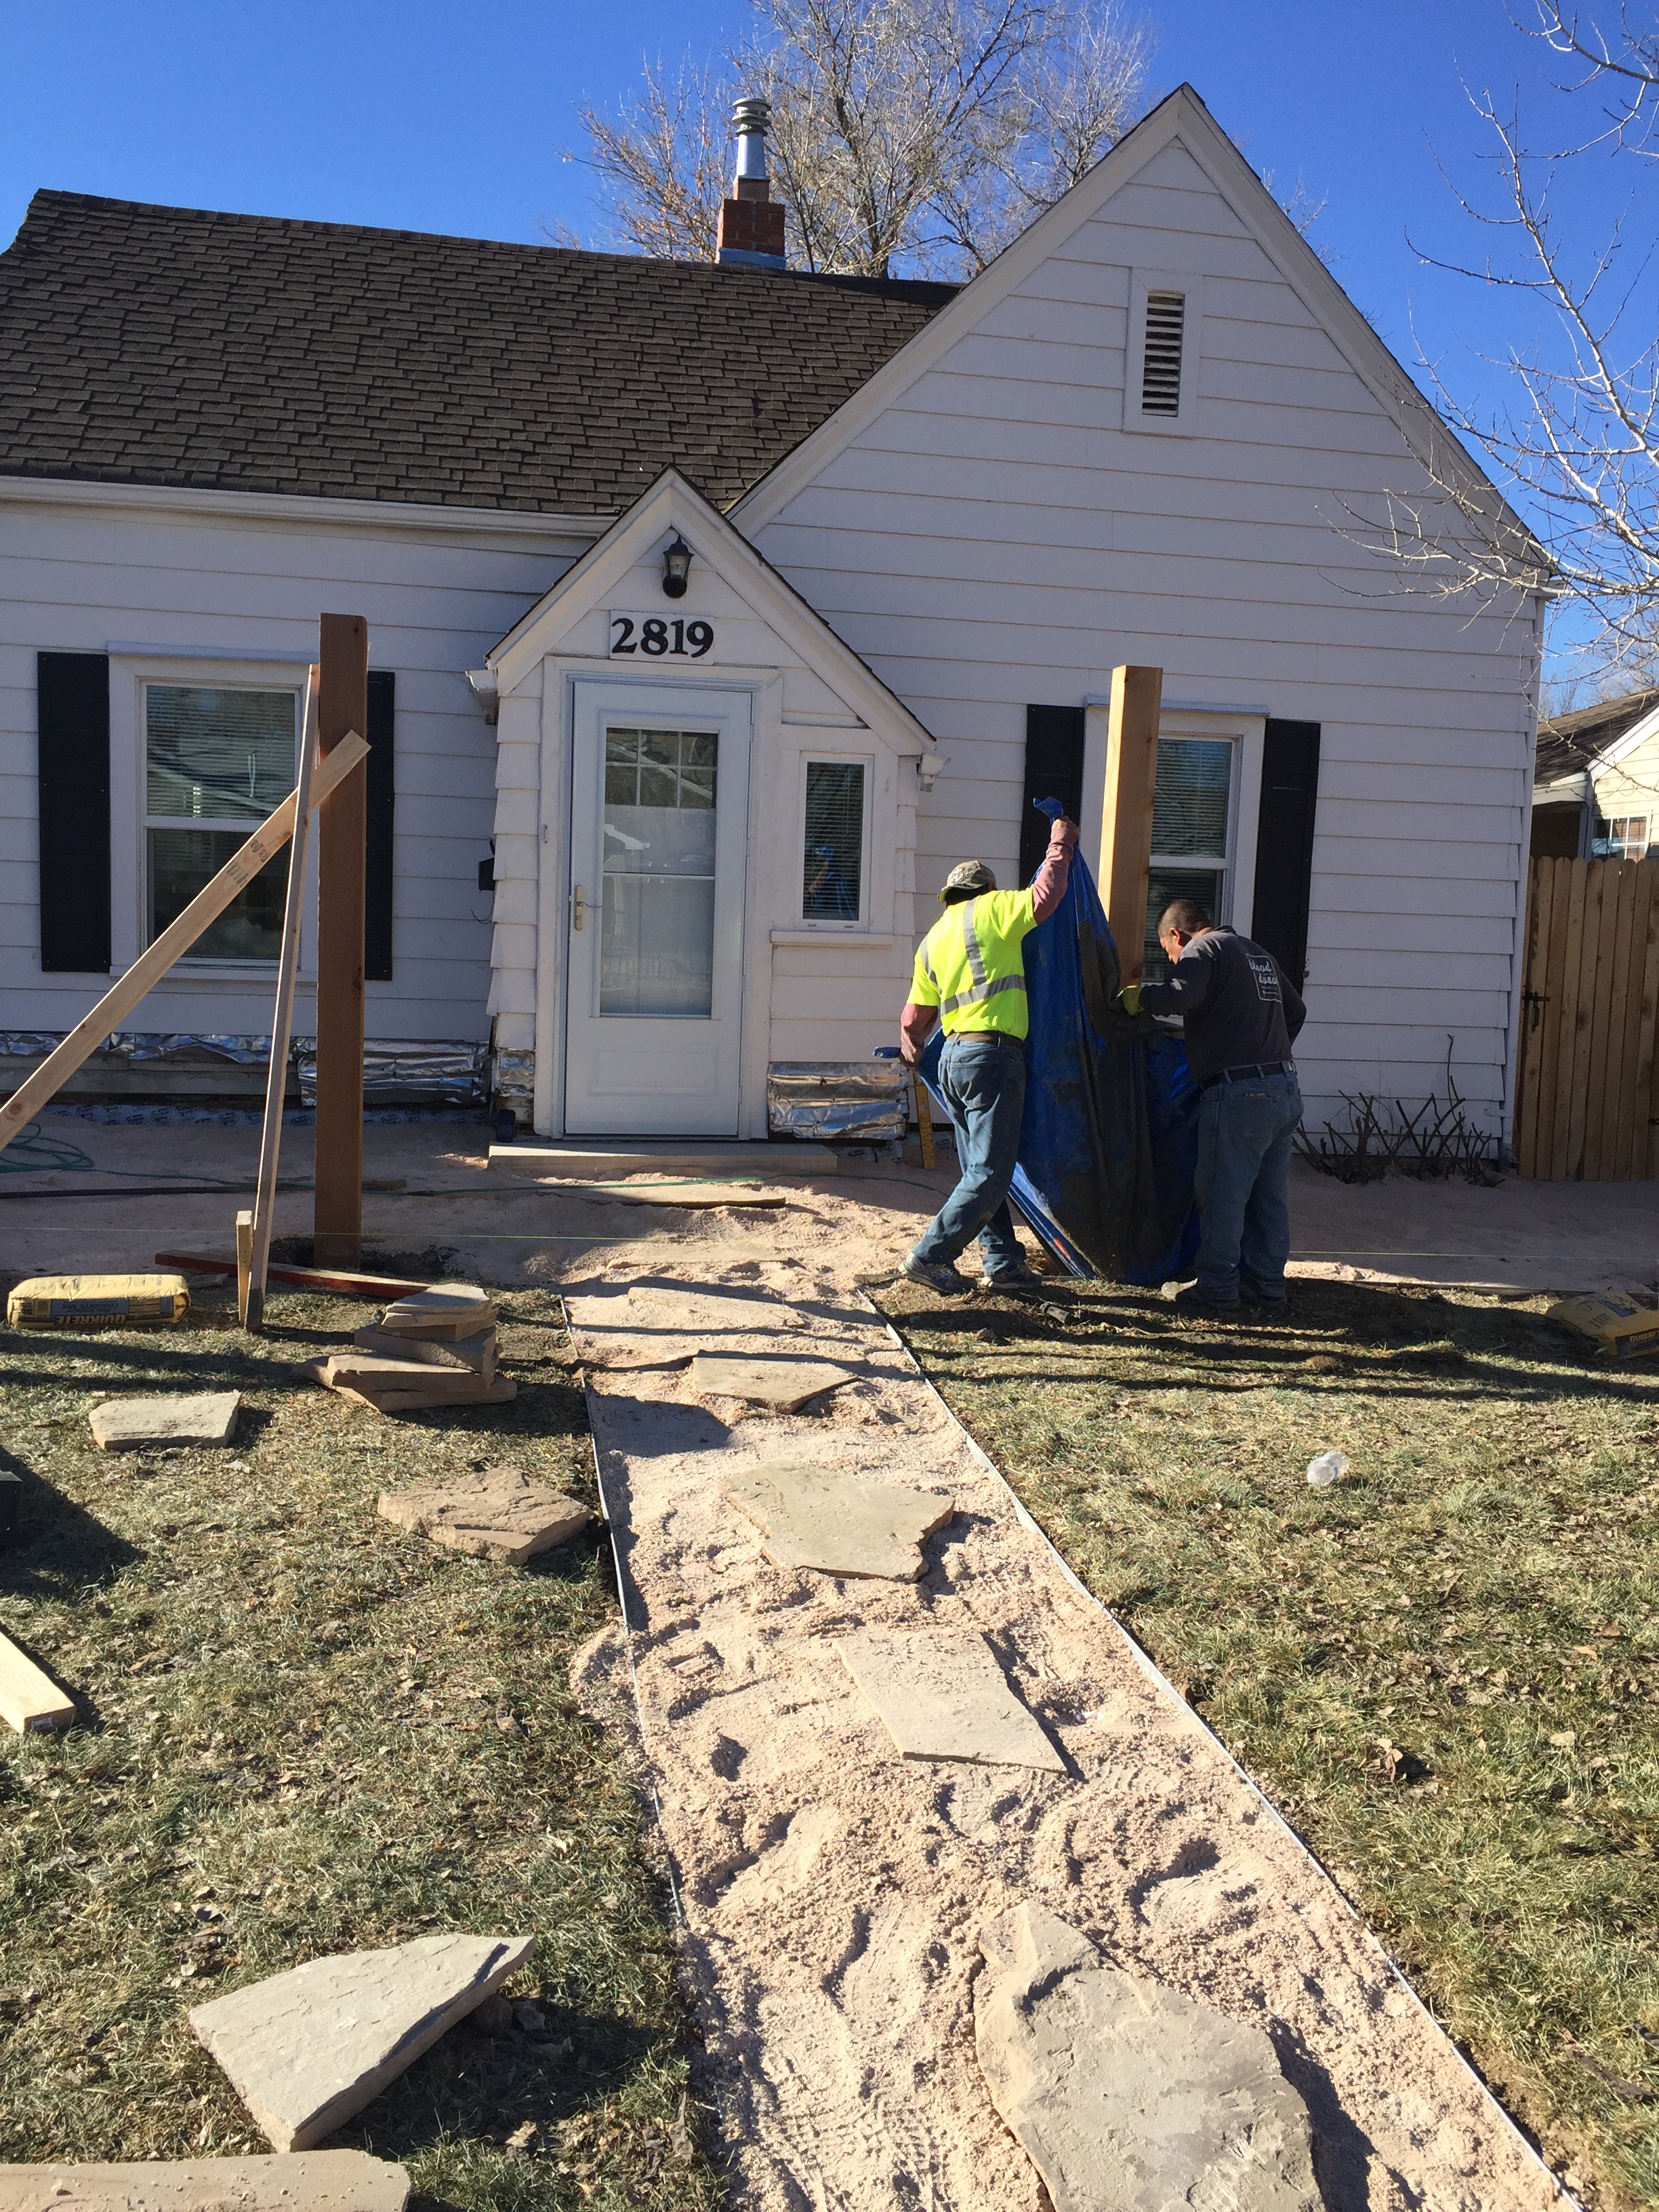
These guys work hard! Landscaping and construction is physical work and I appreciate the help getting these projects knocked out!
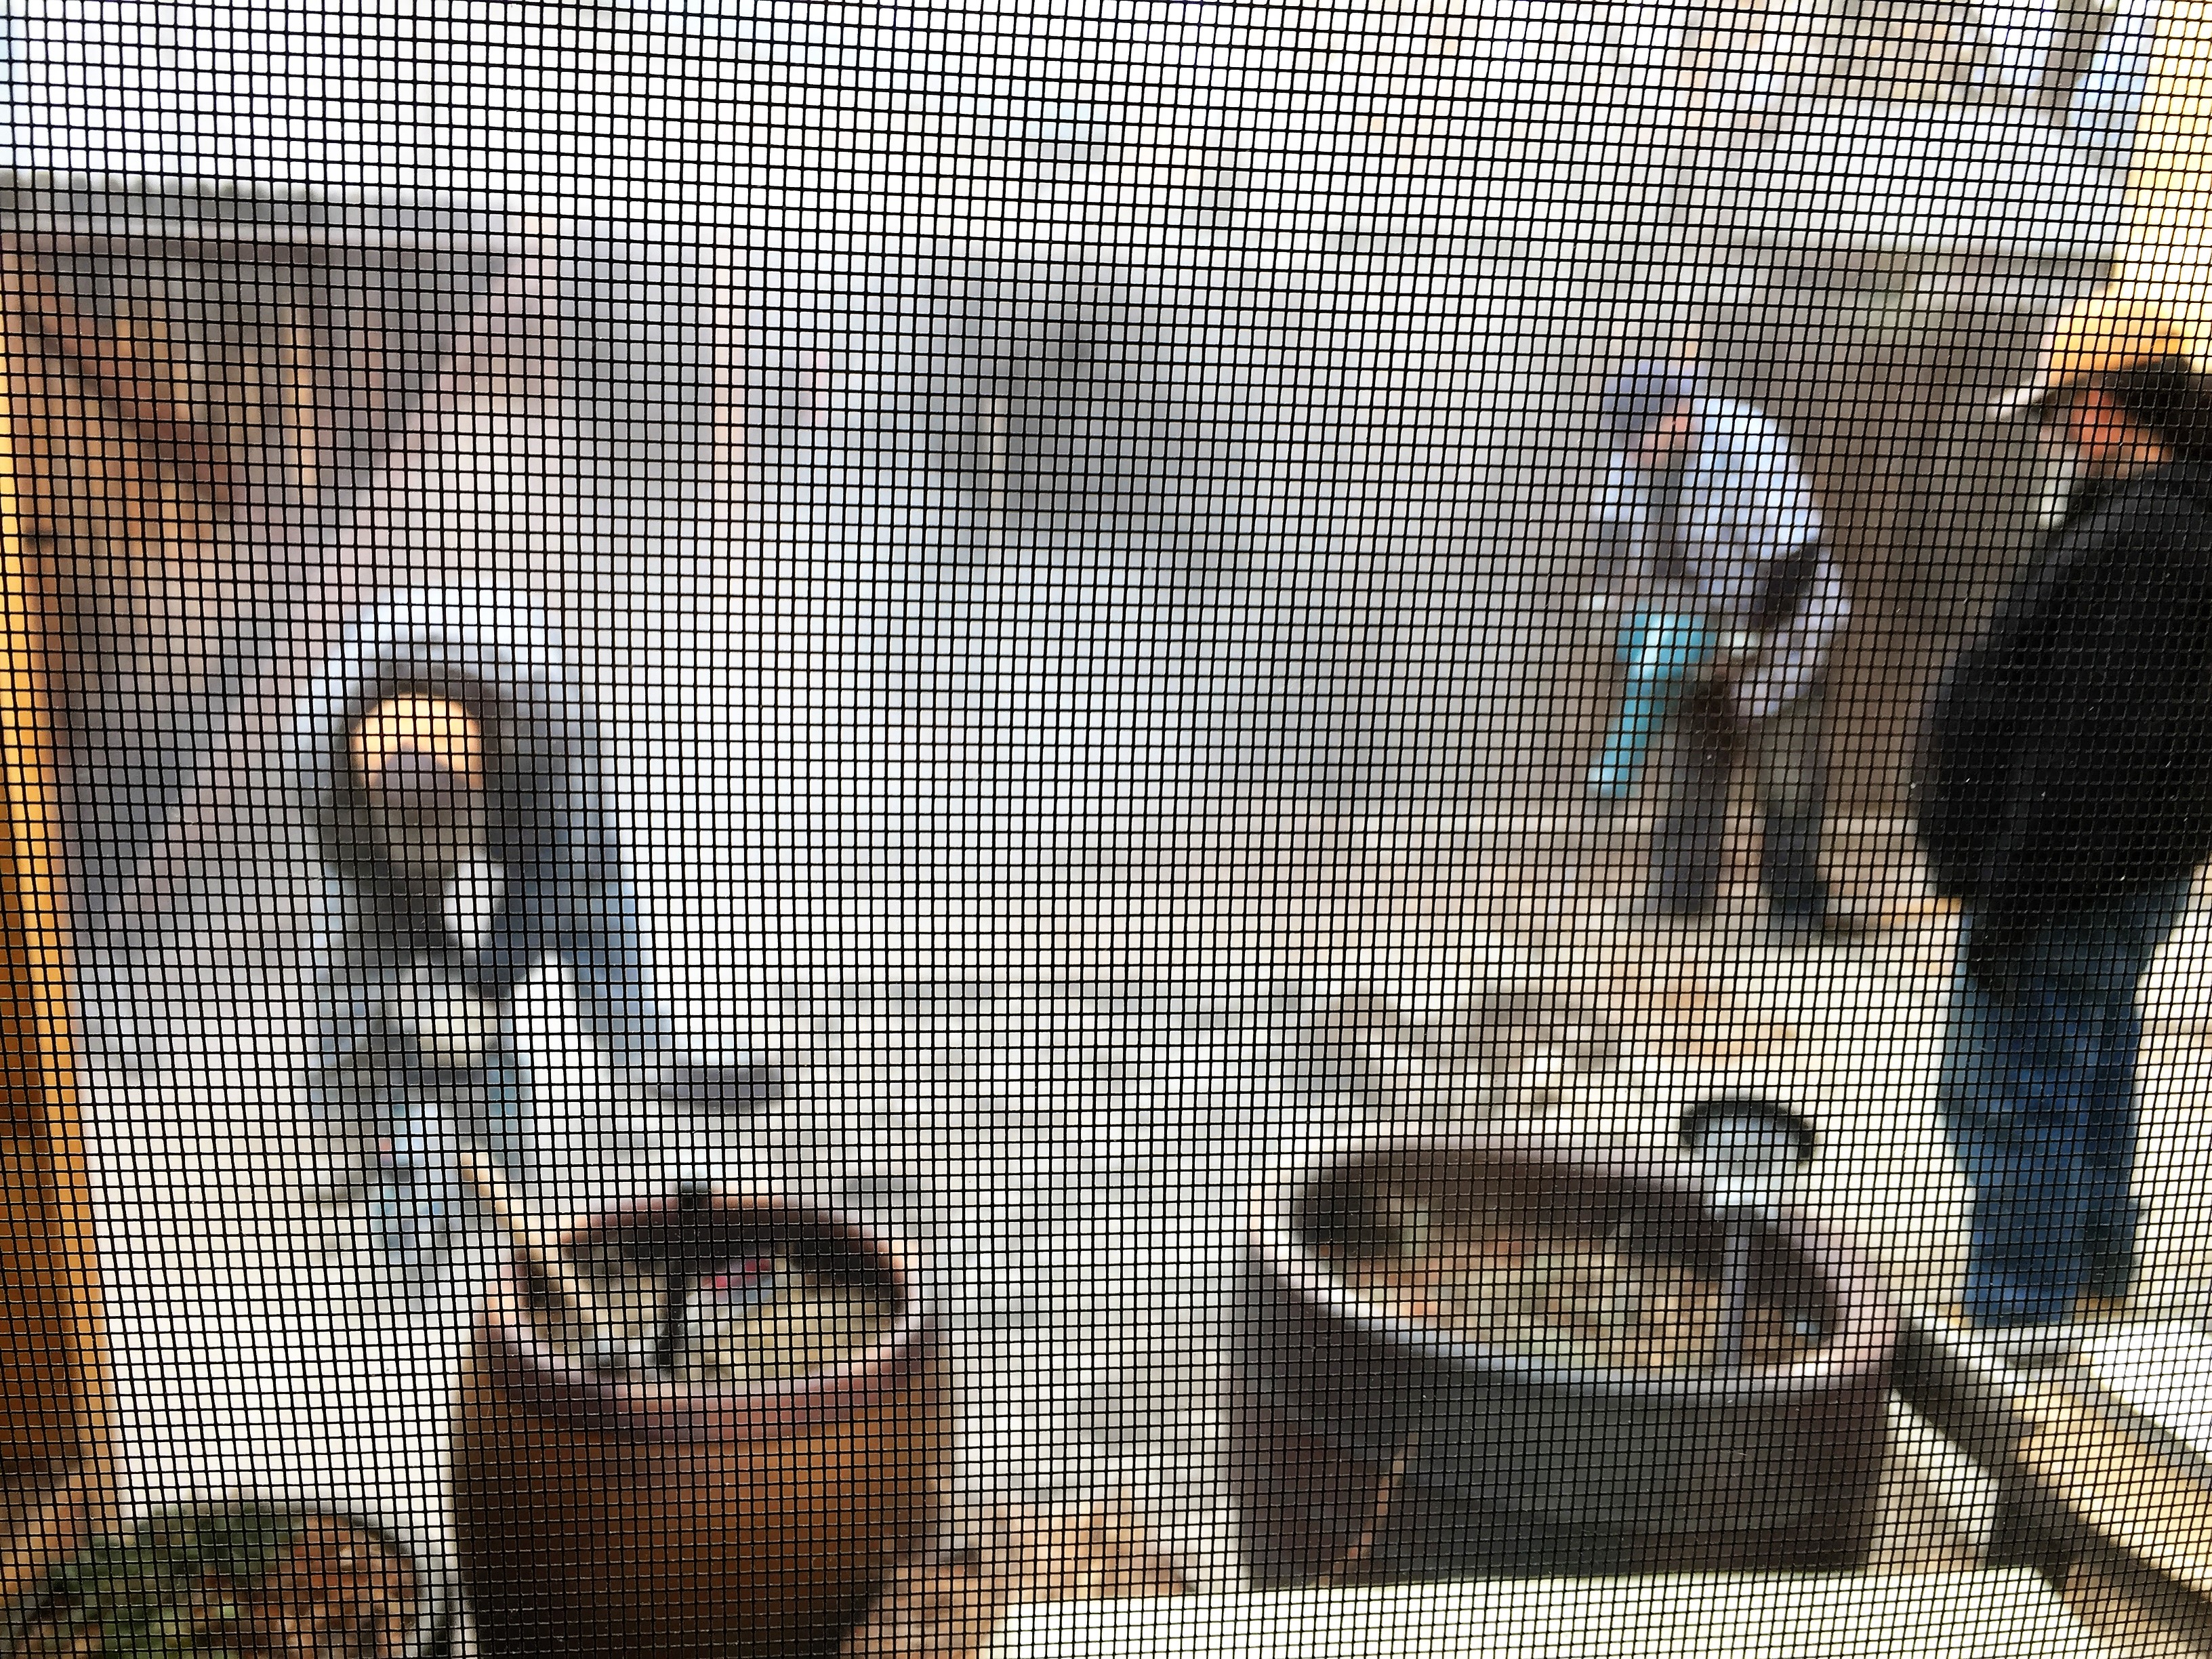
The jackhammer was super loud, so I took this pic through the window (and screen). These are the guy’s at Spartan Landscaping breaking up the concrete. Perfect way to start my morning…
Then weed barrier and Breeze.The yard is a rubik’s cube right now until I get everything done and can start the fun part of decorating and setting up!
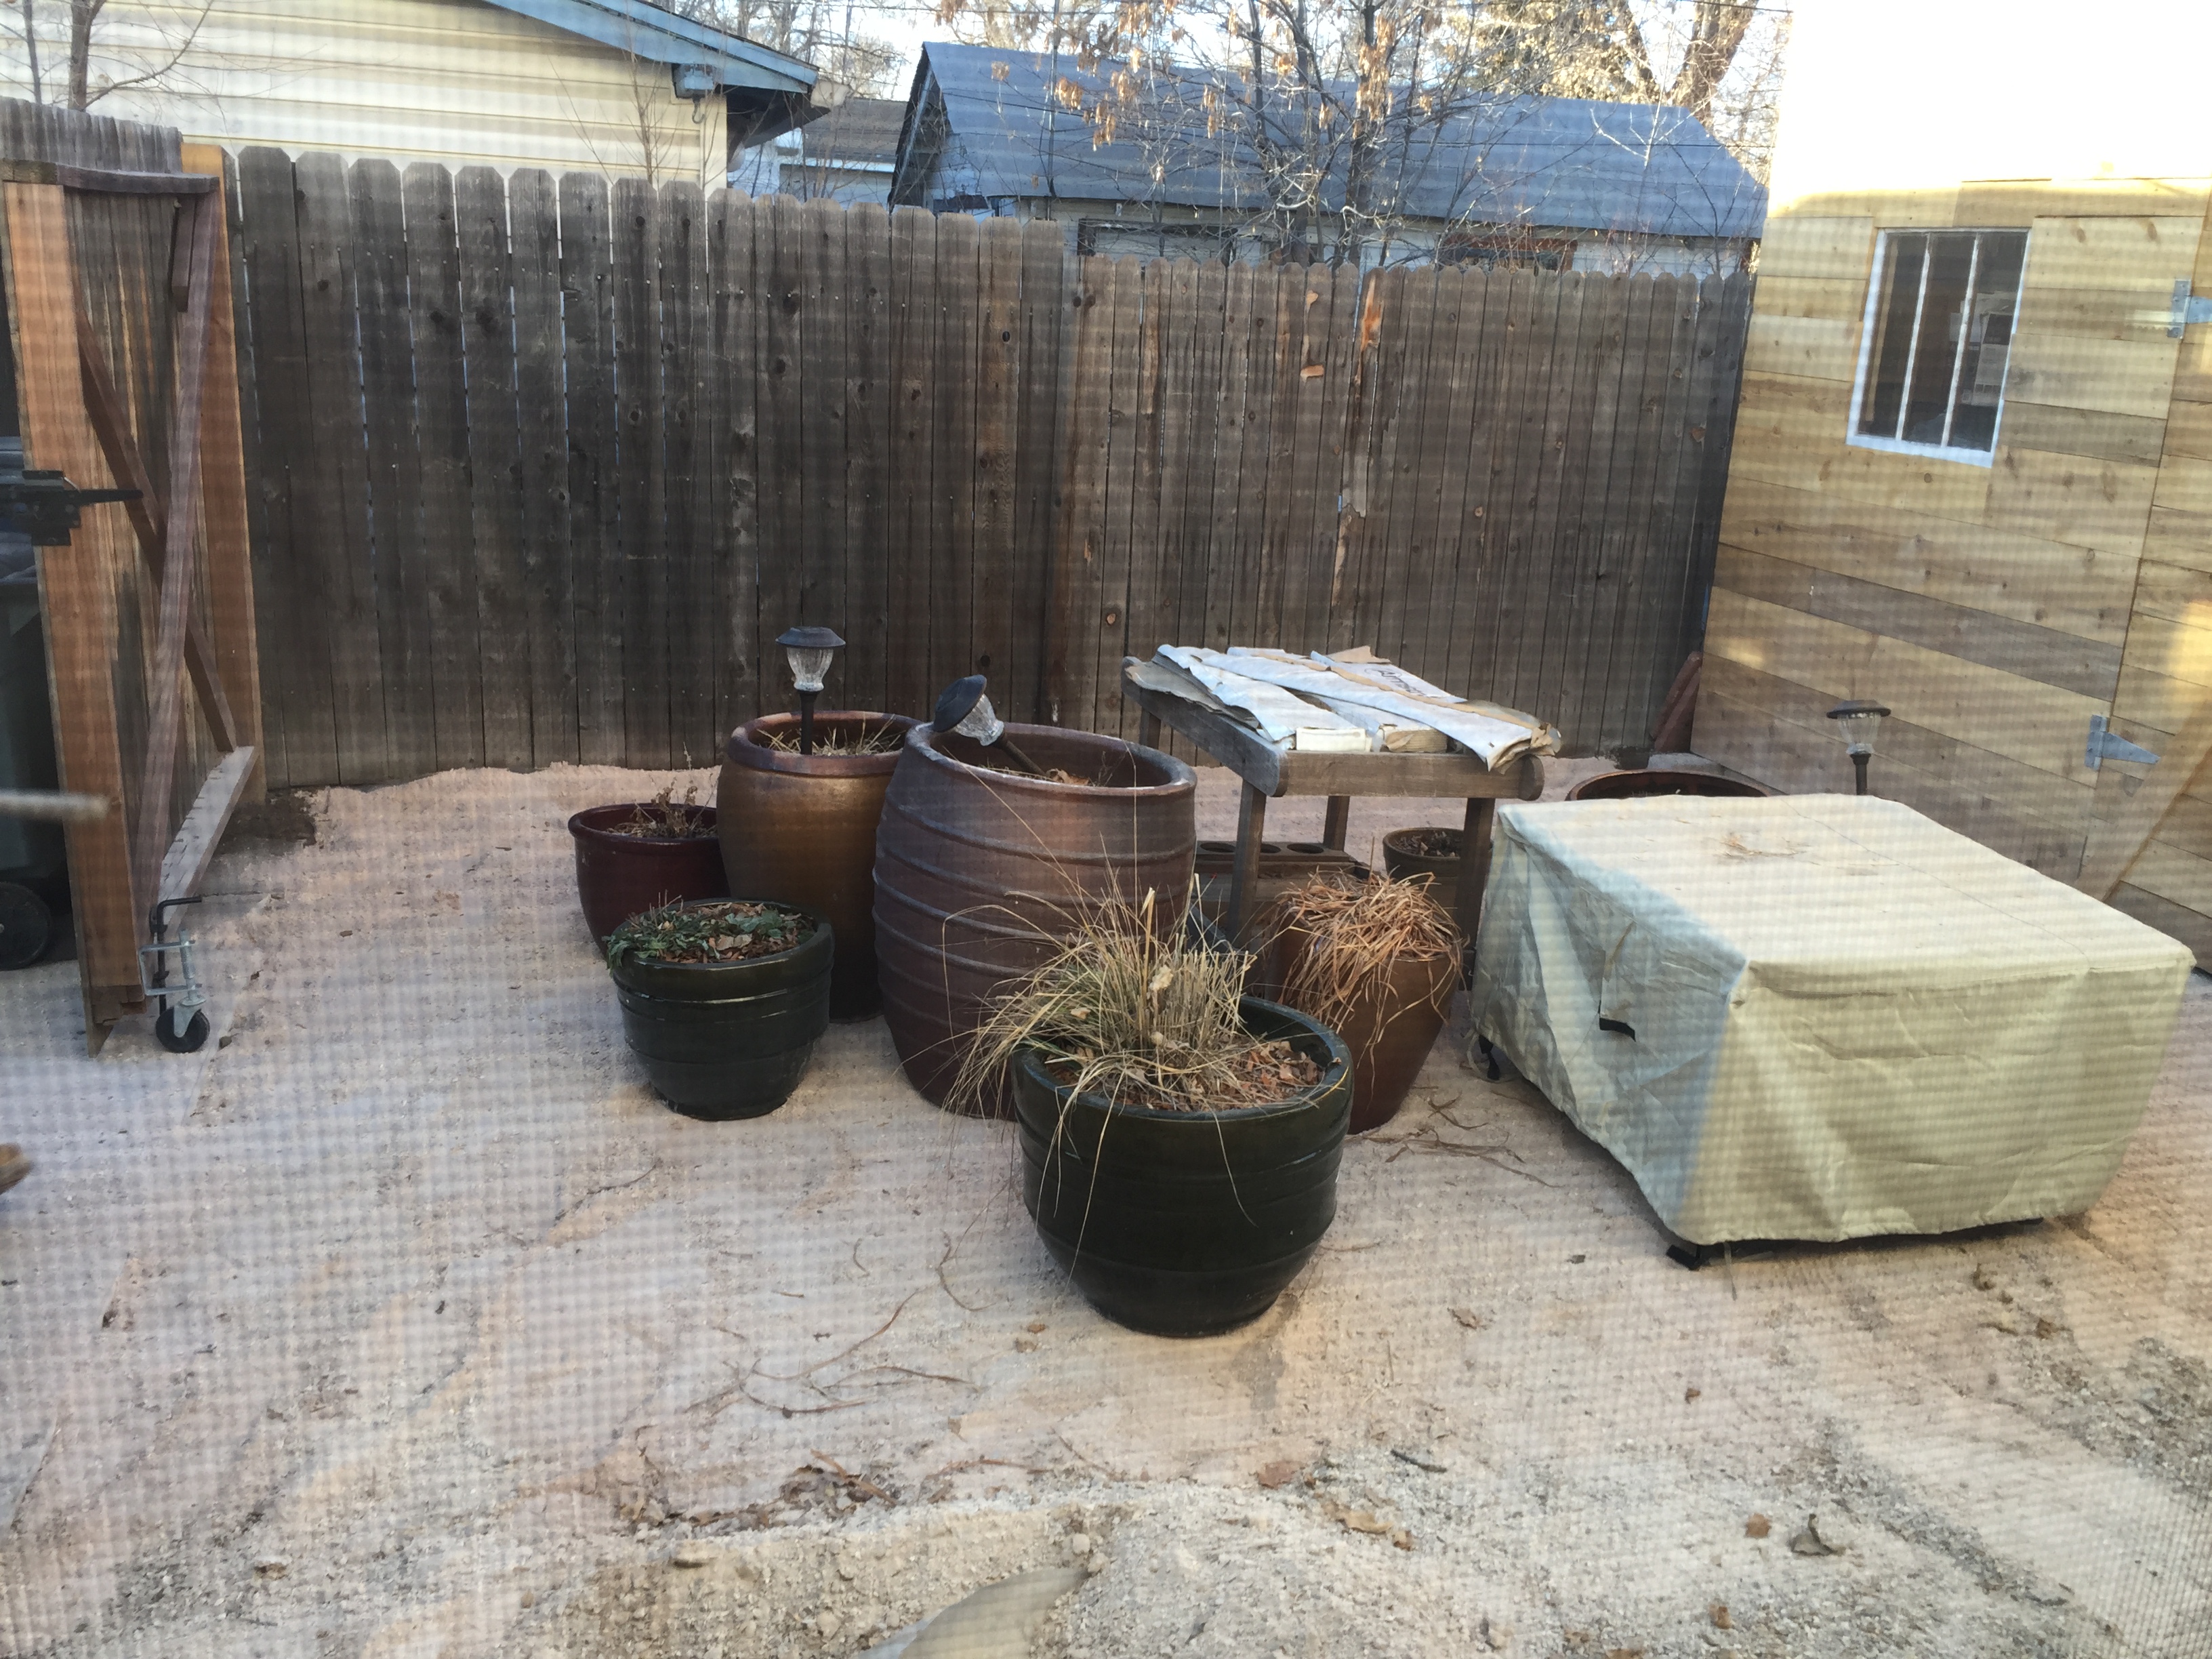
Temporarily using this space for all my big planter pots and fire pit until the siding is up on the house. Then, I’ll place the pots around the front and side yard of the house under the arbor.
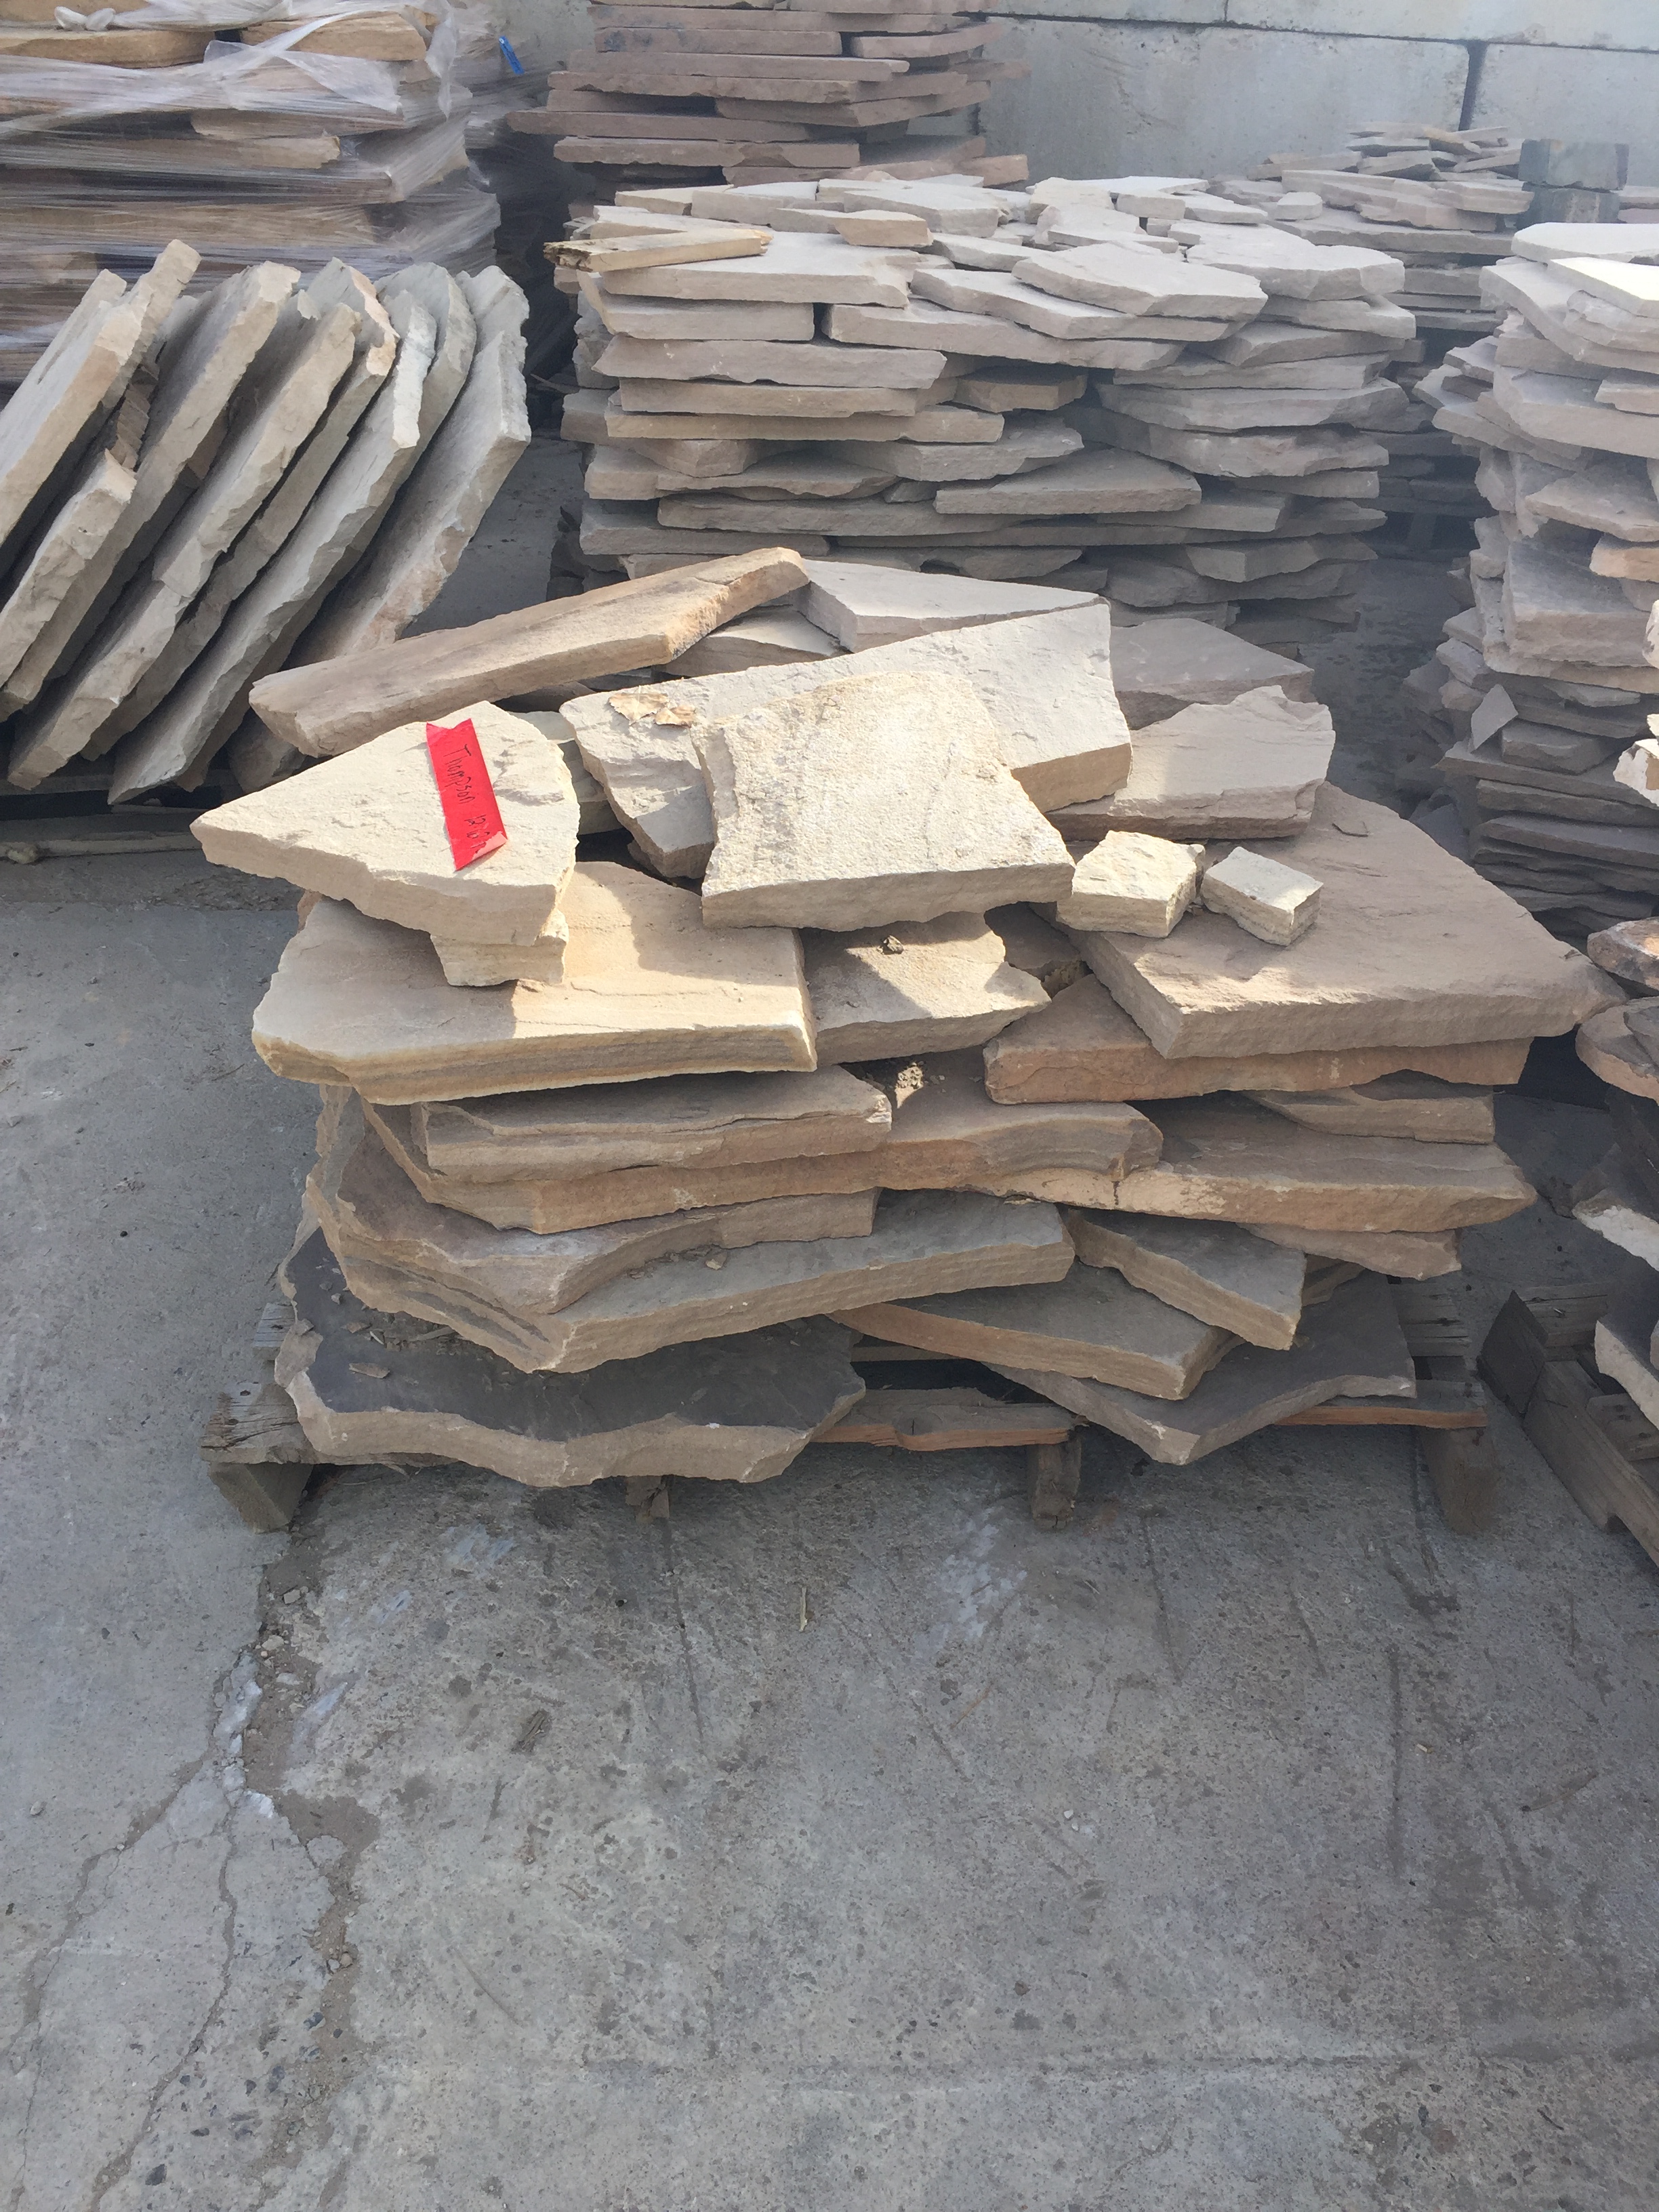
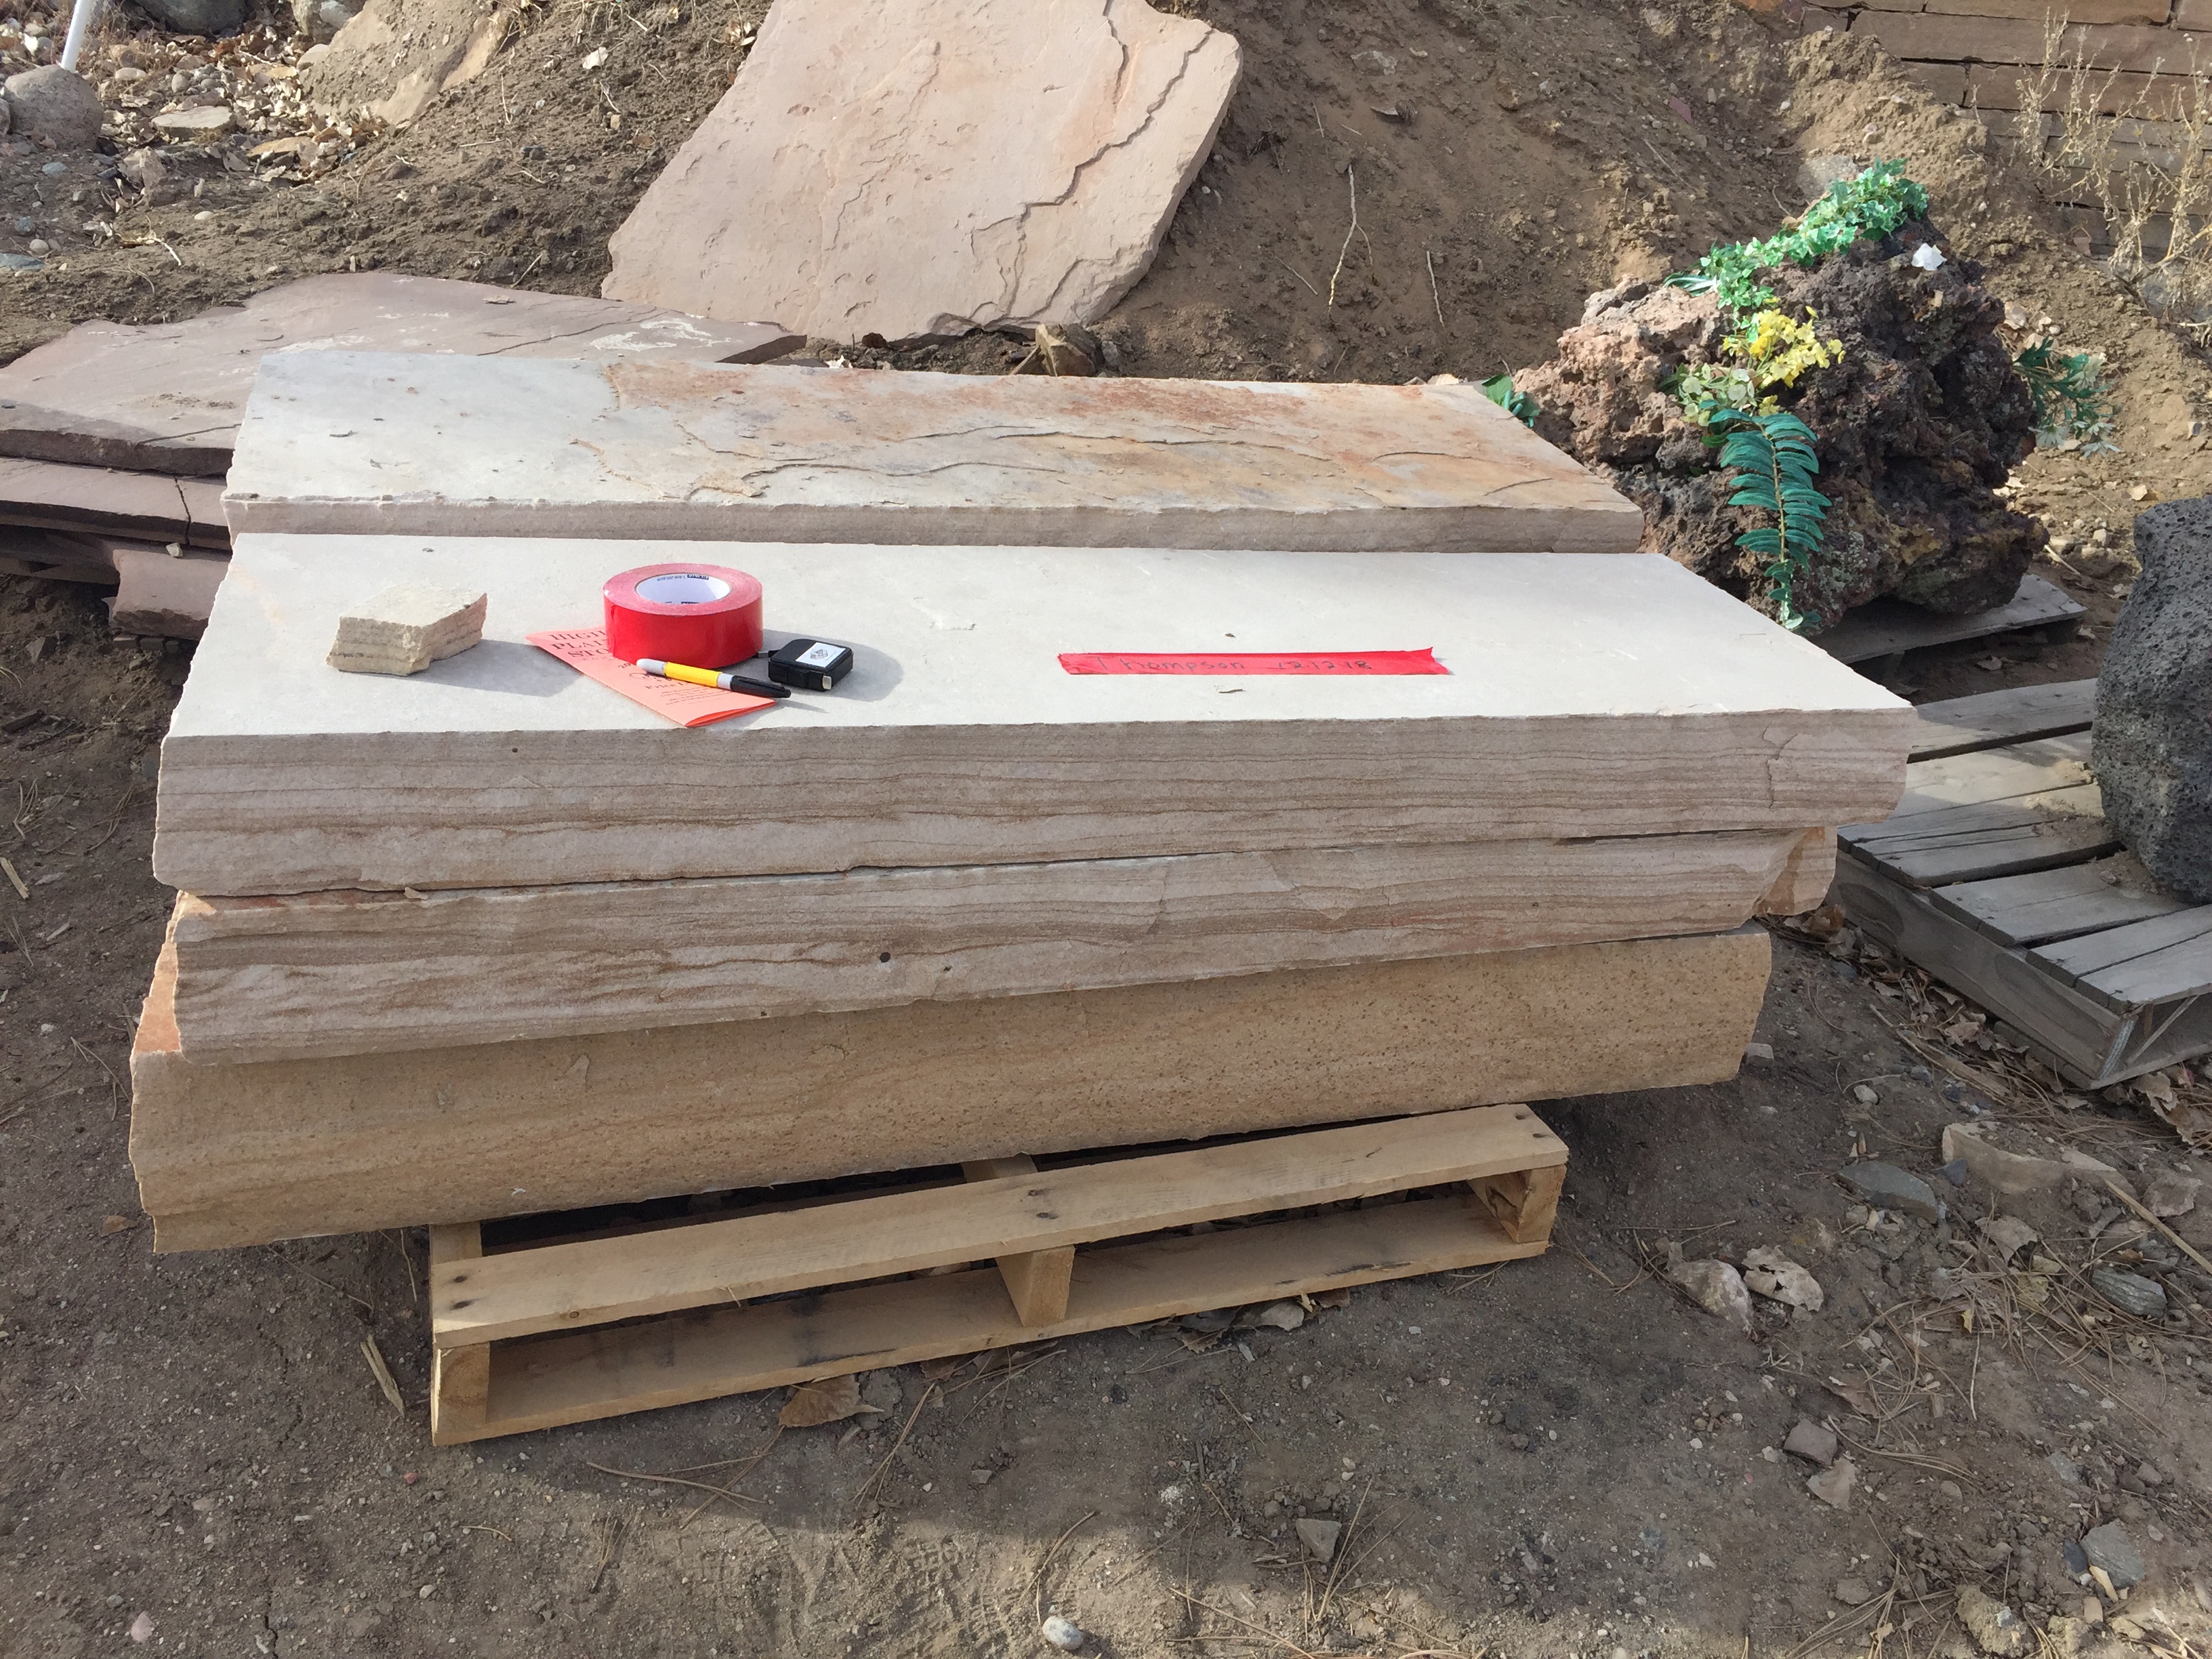
I took an opportunity to get away from all the construction to go look for flagstone. I bought this 1/2 pallet of flagstone steppers.And a 5′ x 18″ x 6″ step for the front door. The step was $275, but worth it to make the front door look more welcoming. It turns out, I’ll need a 2nd step for the front.Once the concrete was removed, we discovered there was no foundation under the entry. That’s not what you want to find!The excavation shows things previously unknown. I like to say ” Everything takes longer and costs more than expected” And this project reinforces my theory.
David poured concrete with wood footers to support the front entry. Once it cured, he added wood supports between the entry and the concrete footer, then wrapped it with moisture barrier. In the 2 days the entry had no support, my wood floors inside were falling through the bottom of the porch inside. Geez!
Reinforced entry with moisture barrier. You can see the original wood siding at the side and bottom of the entry.
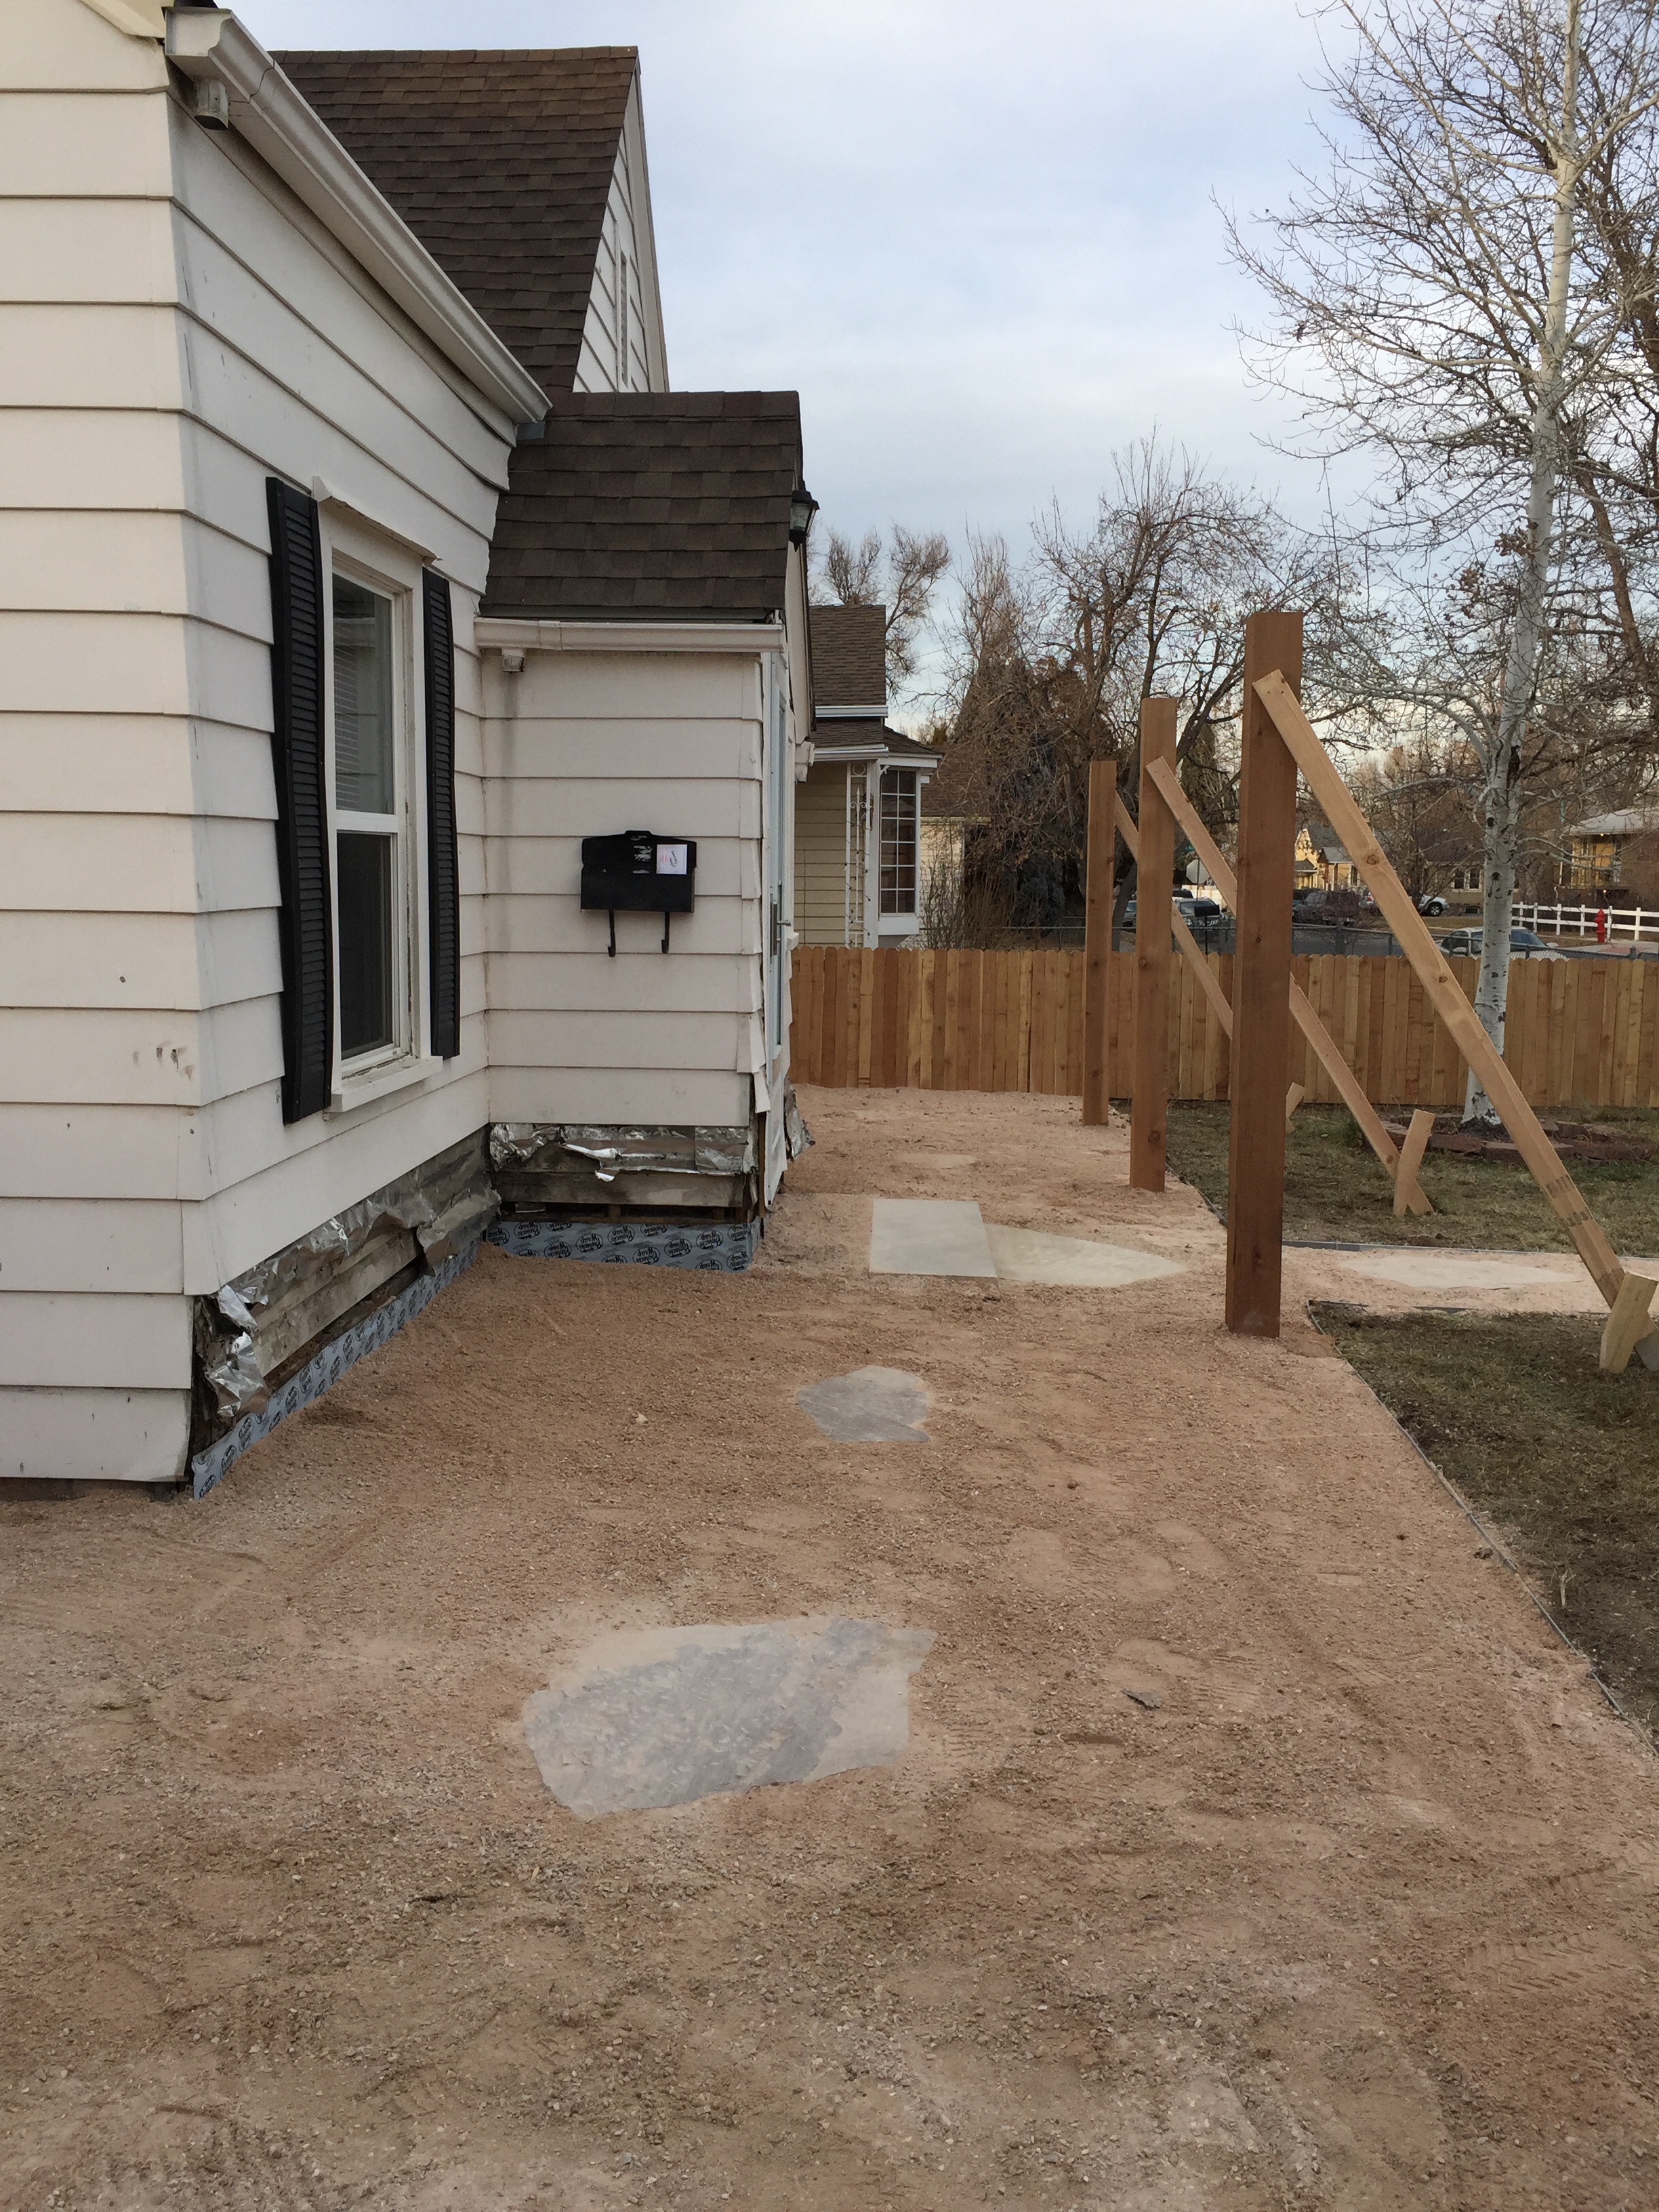
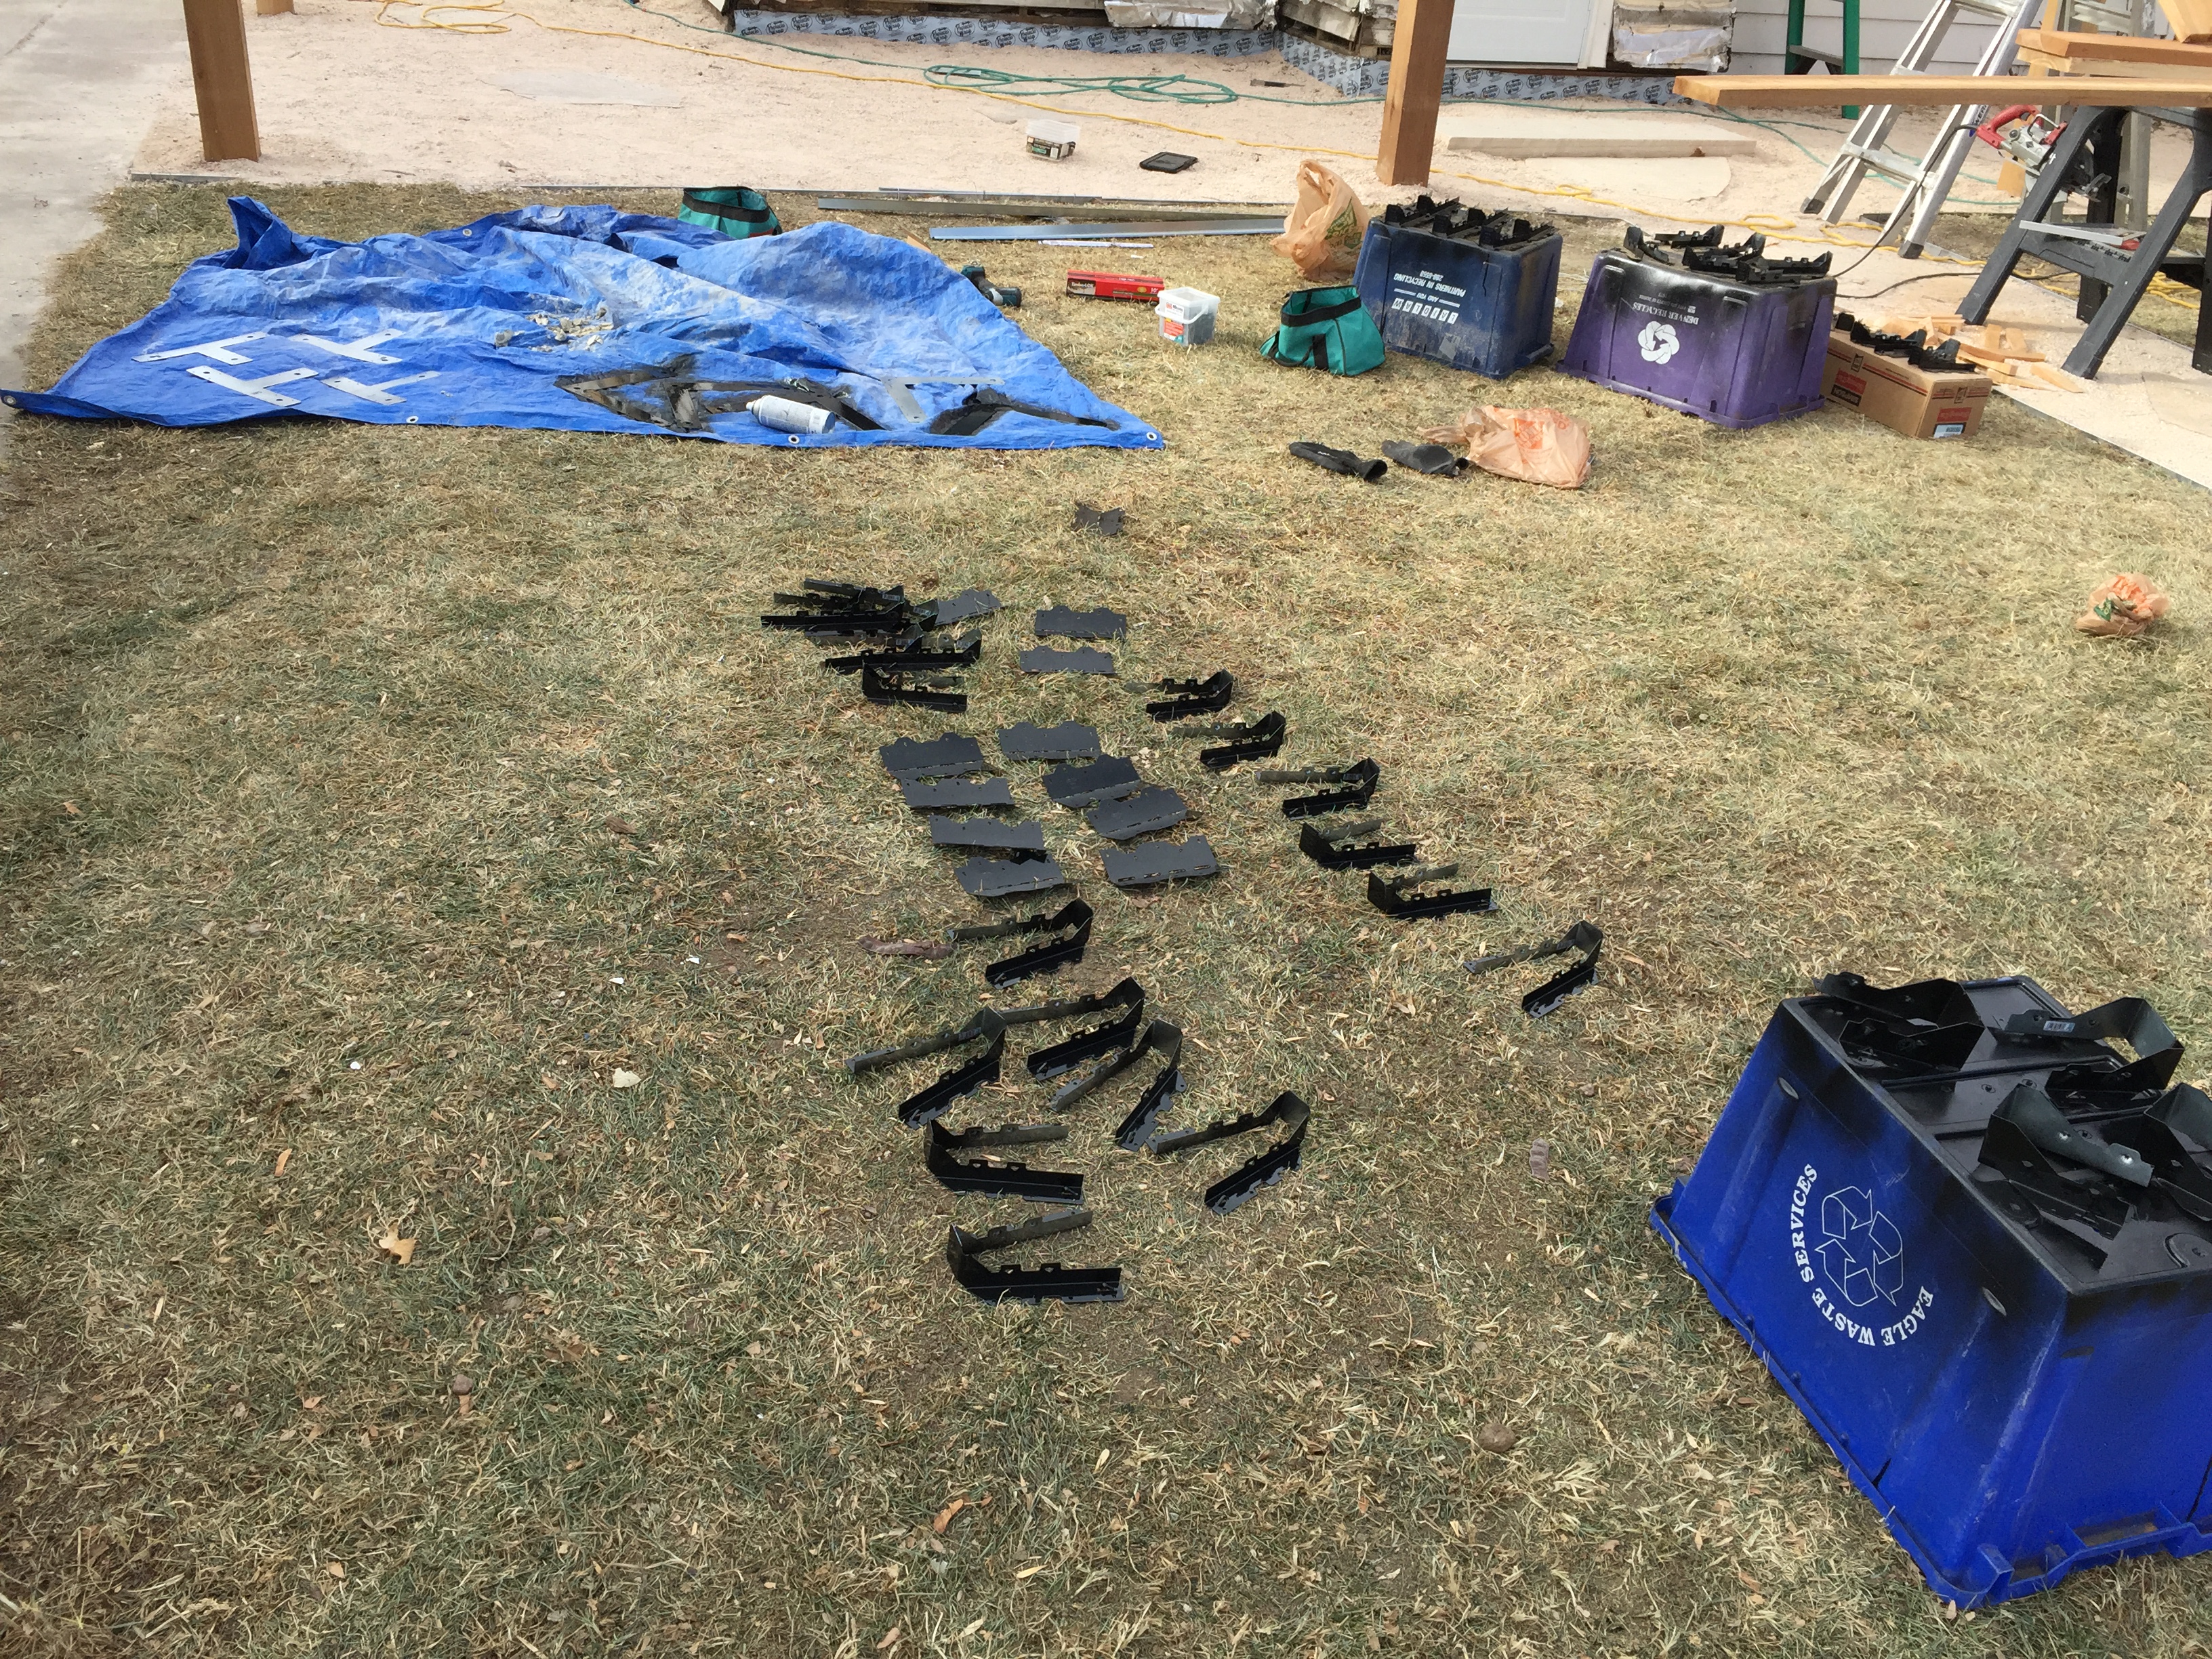
They got the breeze laid down and I didn’t like how the area where the concrete was taken out was higher than the rest of the space. Kinda like a bubble outside the front door. So the landscaper had to scrape the Breeze off of the weed barrier and take out a lot more dirt to make it level in front of the door. Then they put the barrier and Breeze back down. I used pieces of flagstone to make a walkway around the front and sides of the house. All the upside down recycling bins are covering big holes where the arbor posts will go.
After they removed more dirt, the whole front and side are level. The 2nd flagstone step is on order.
Because we removed so much dirt from in front of the door, I had to buy another Flagstone step, which I had to order and wait for delivery. This shows the landing where the 2nd step will sit, just outside the front door to the house on top of the first flagstone step.
Placing 6×6 cedar posts for the arbor.
David had a great trick to pour dry concrete mix and water into a tarp. 2 guys would stand on both sides of the tarp and “mix” the powder and water by swishing it around in the tarp then pour it into the holes. Pretty smart!
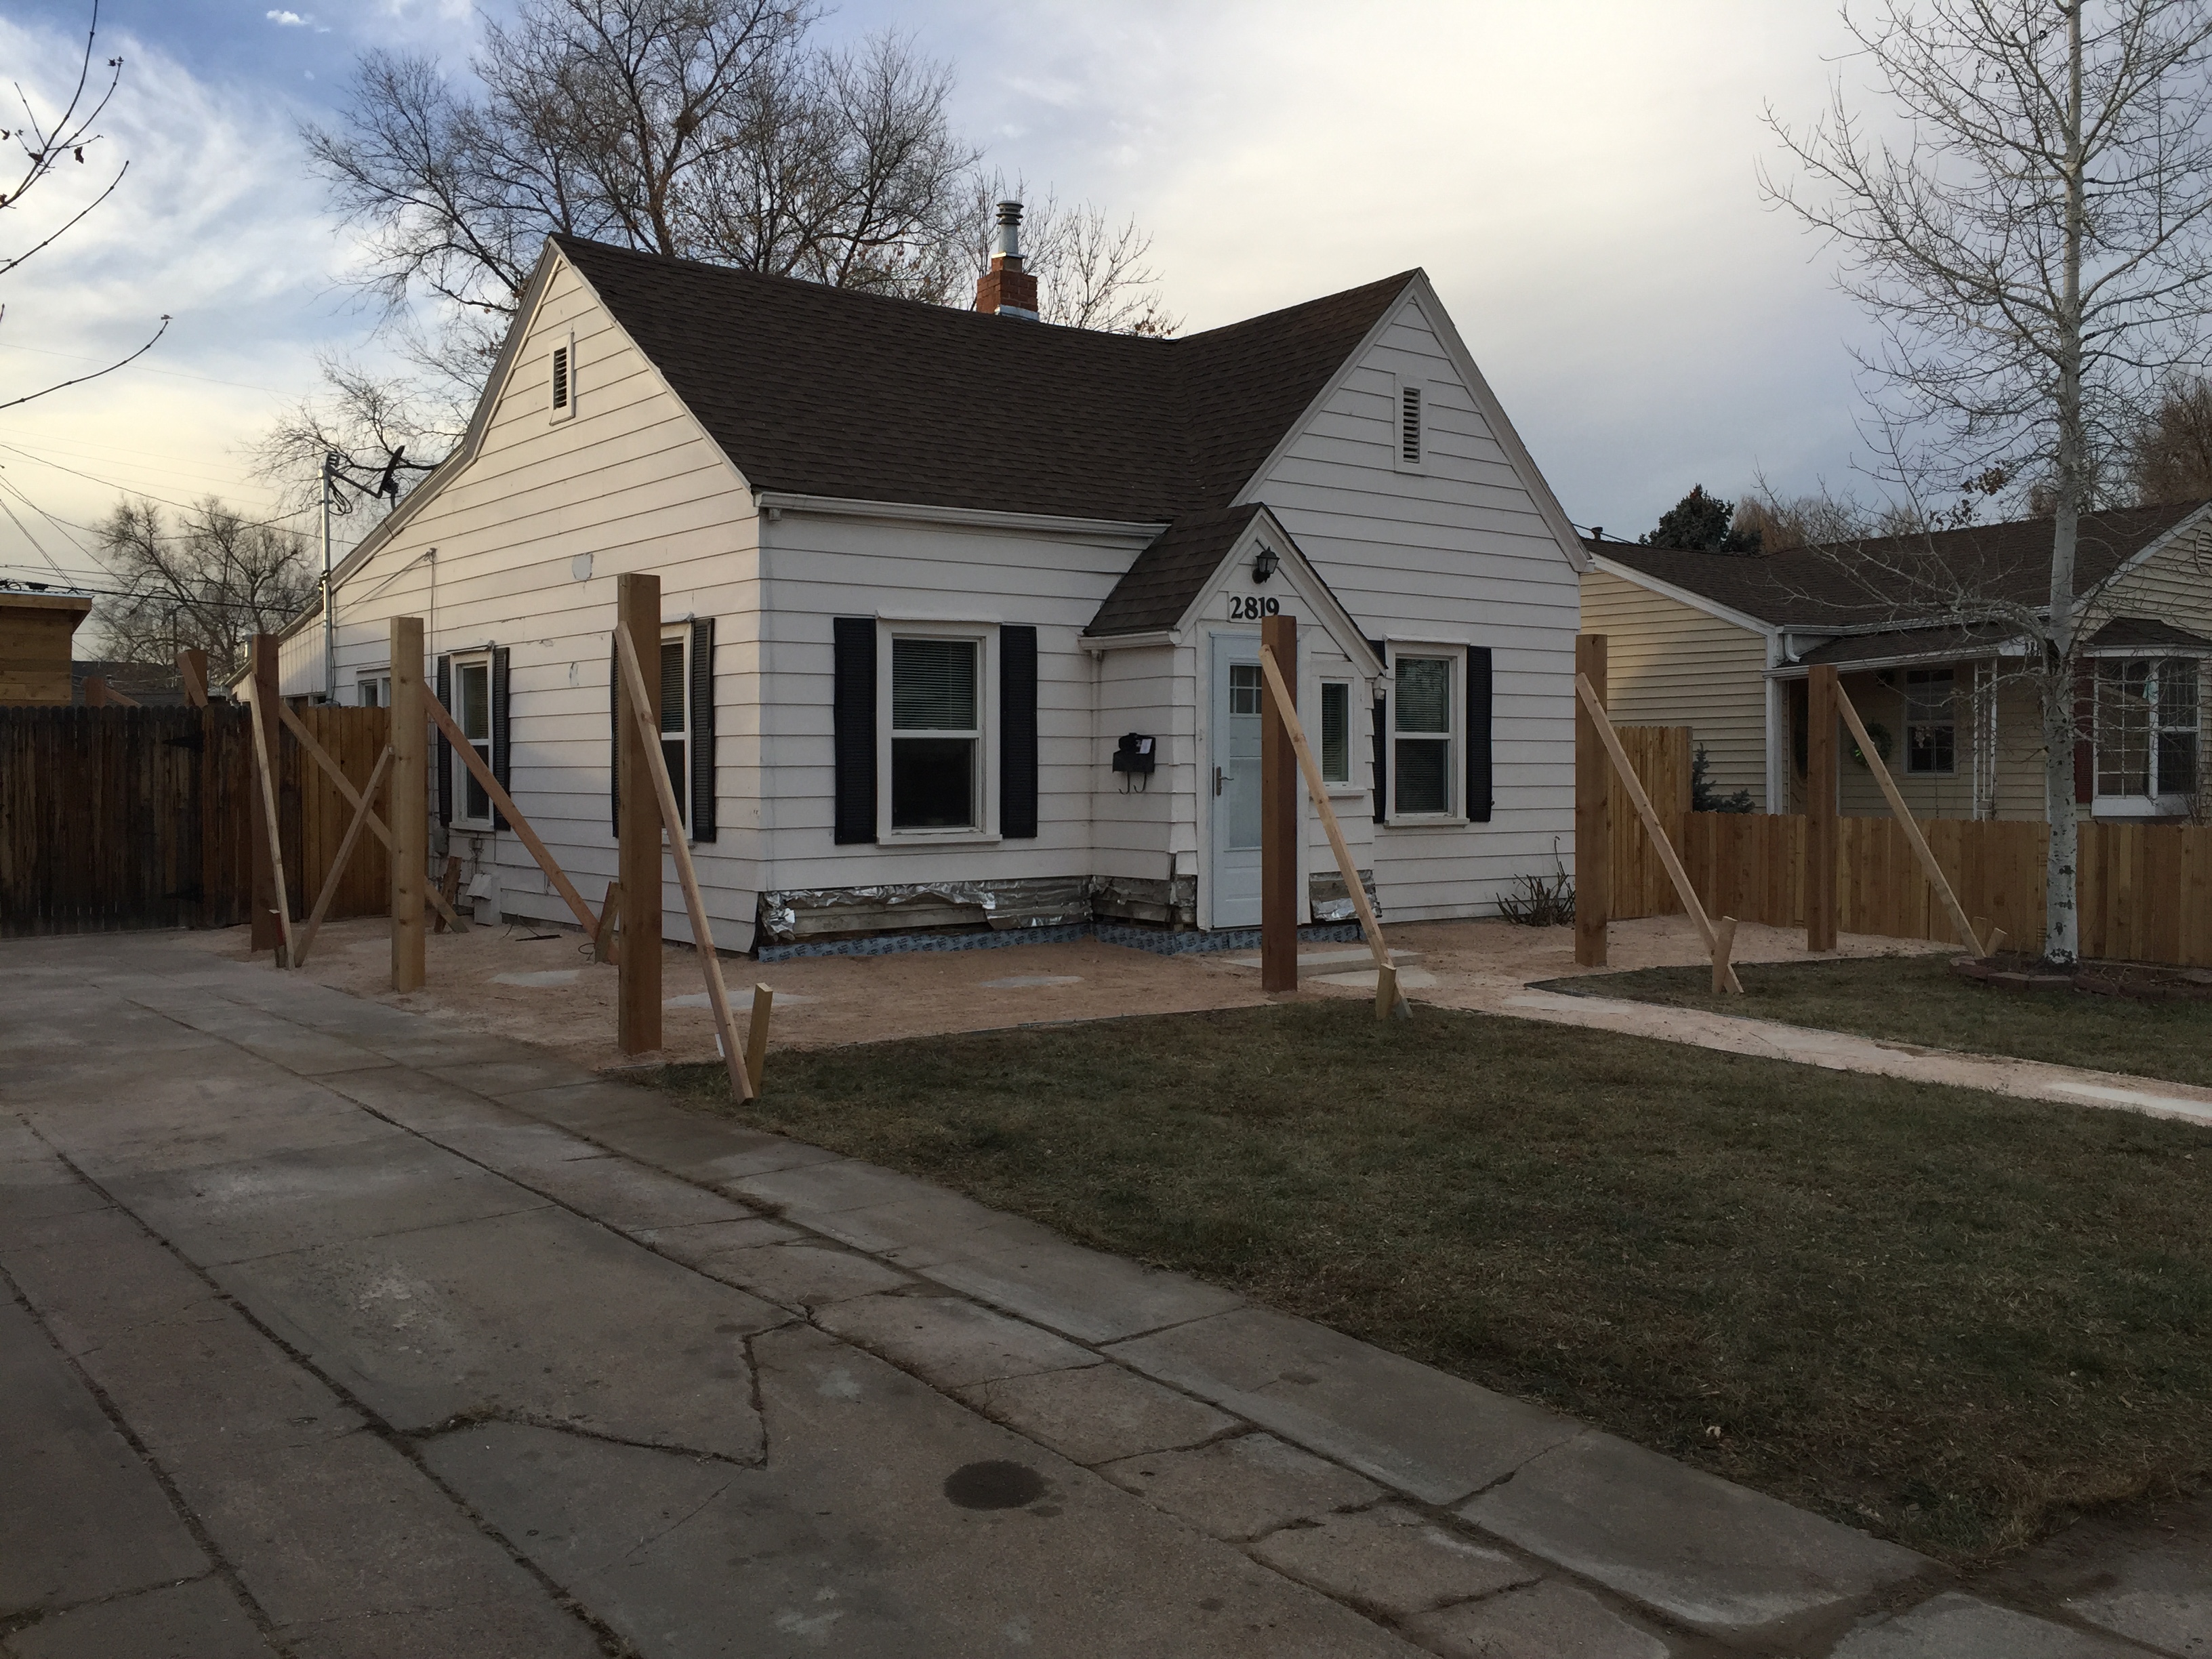
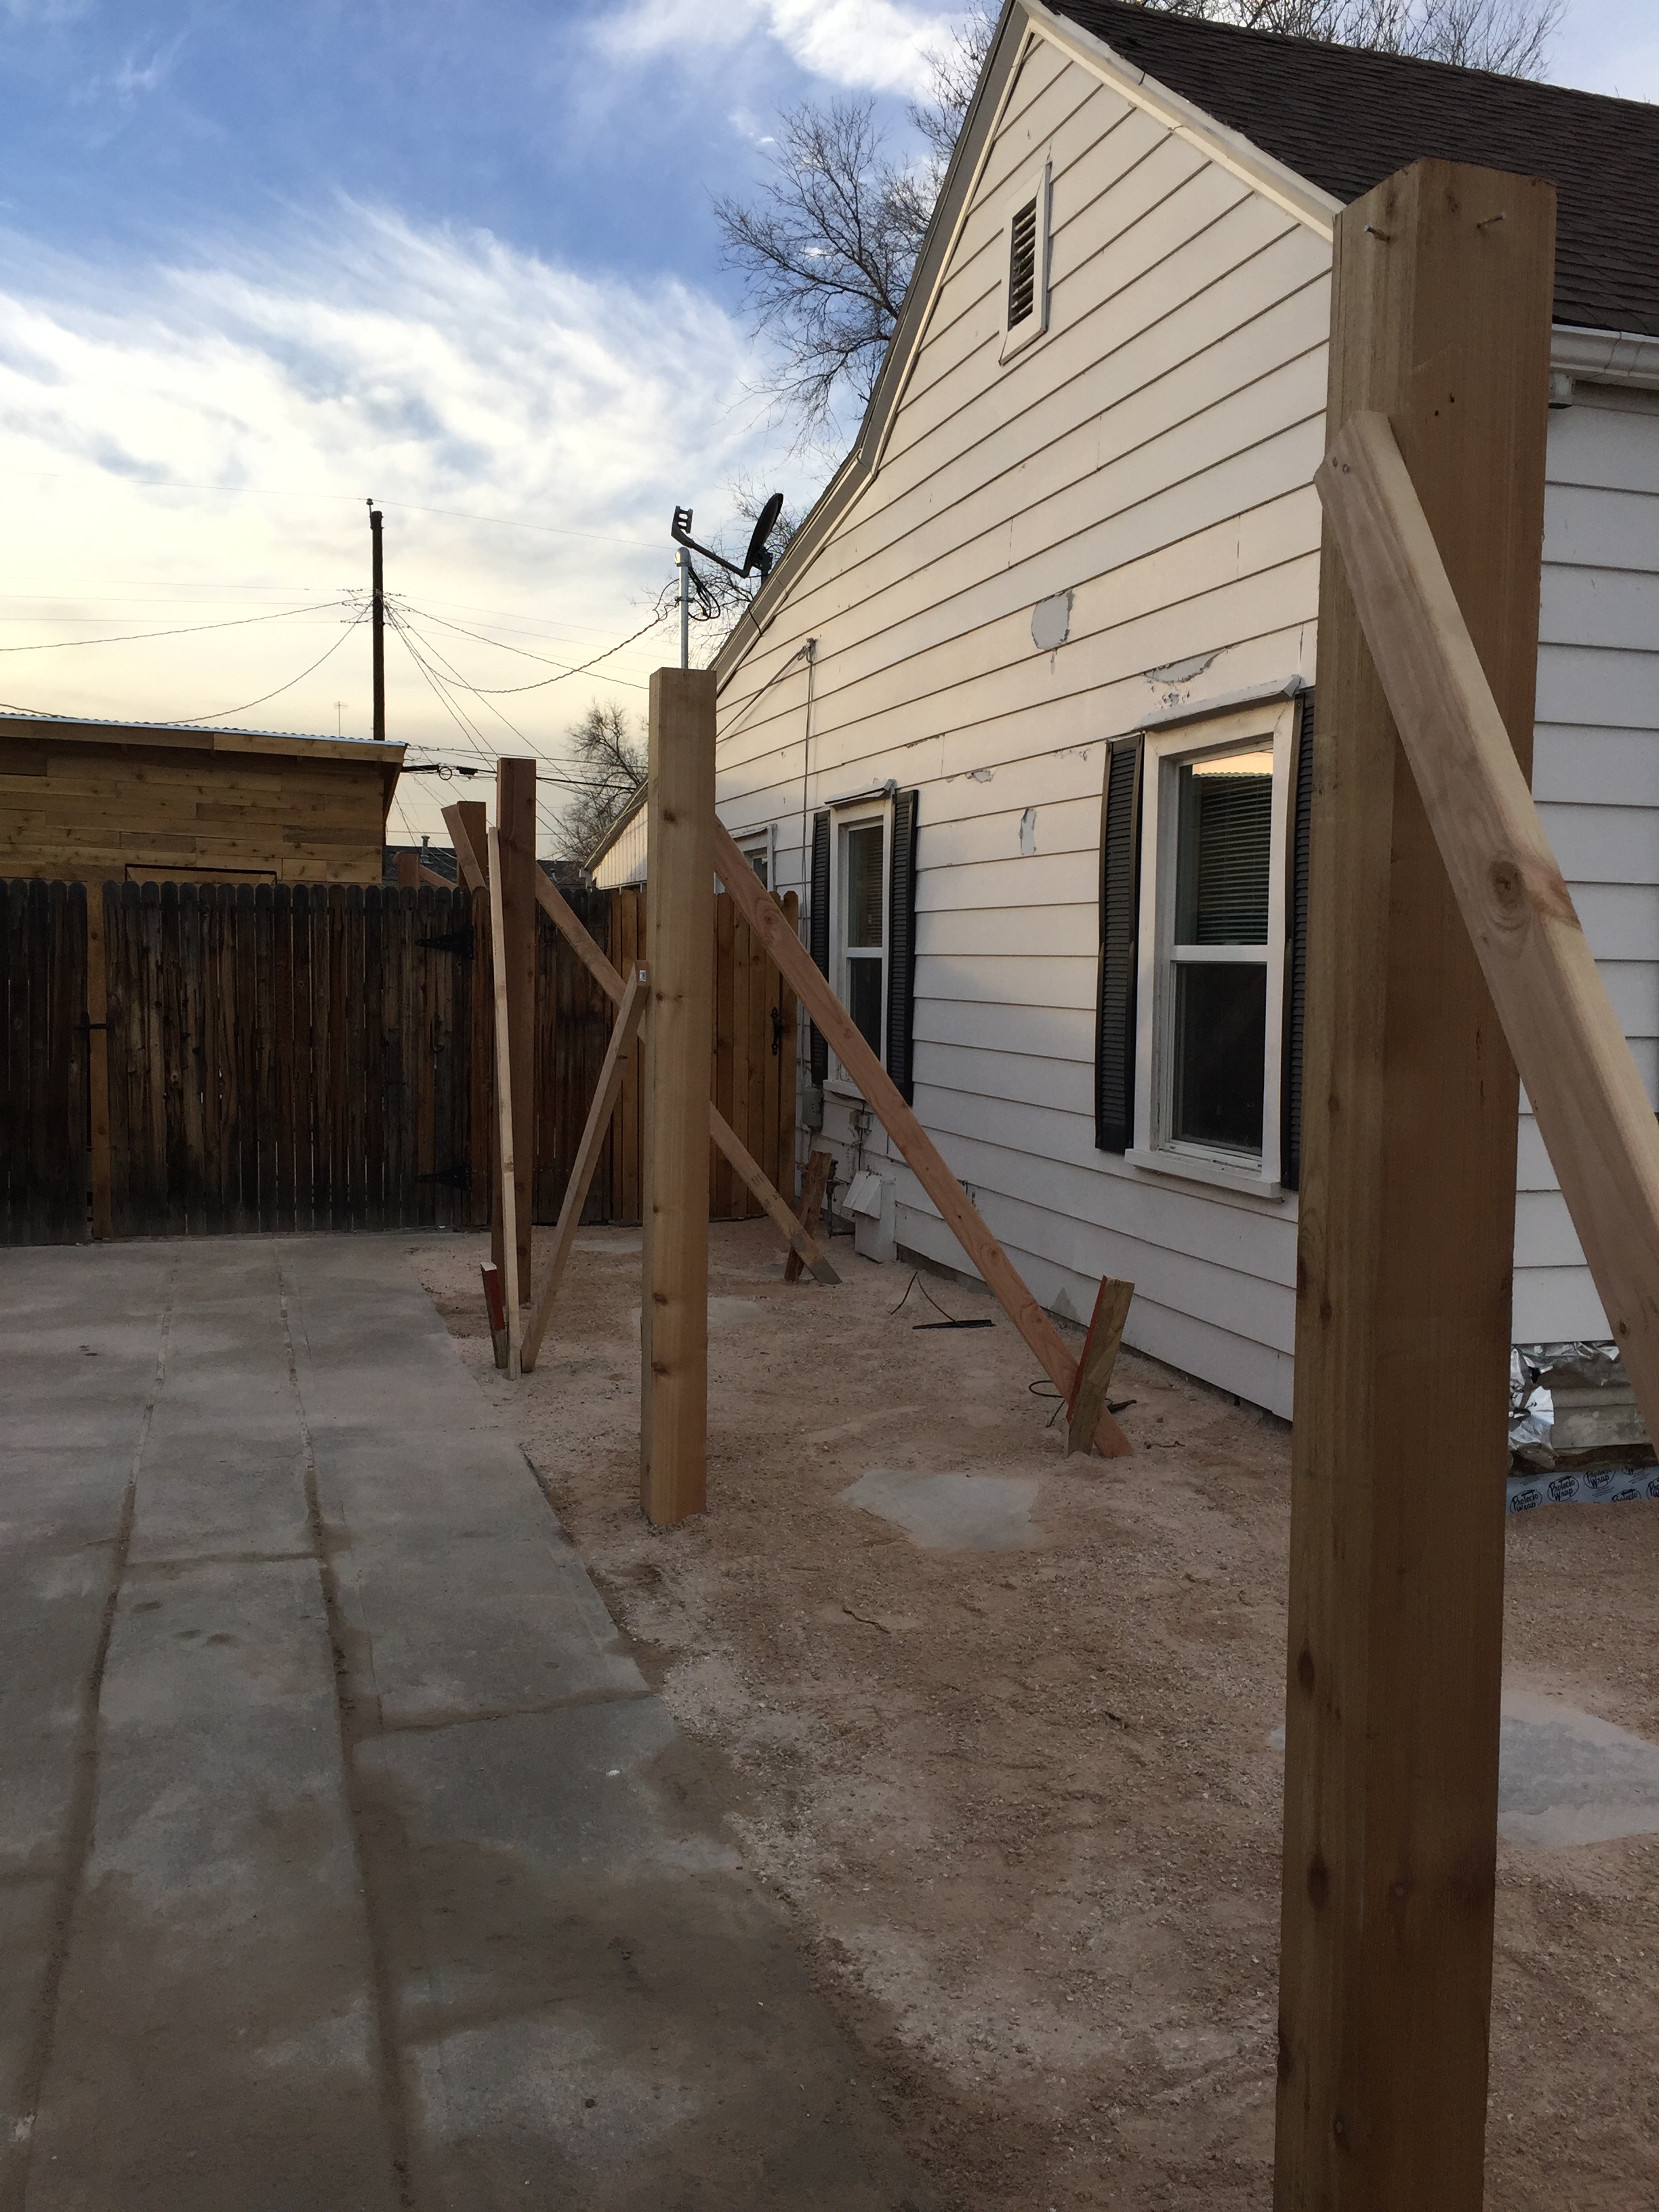
Once the posts were in, they built supports to keep them straight until the concrete cured- overnight.It already looks so much cleaner!When the siding is removed you can see the back of the lathe and plaster interior walls. Very cool to see the way houses were built in the 1930’s.
Headers for the arbor will be attached directly to the support studs of the house. When they removed the old siding we discovered very old and limited insulation in the walls. Another unexpected expense!
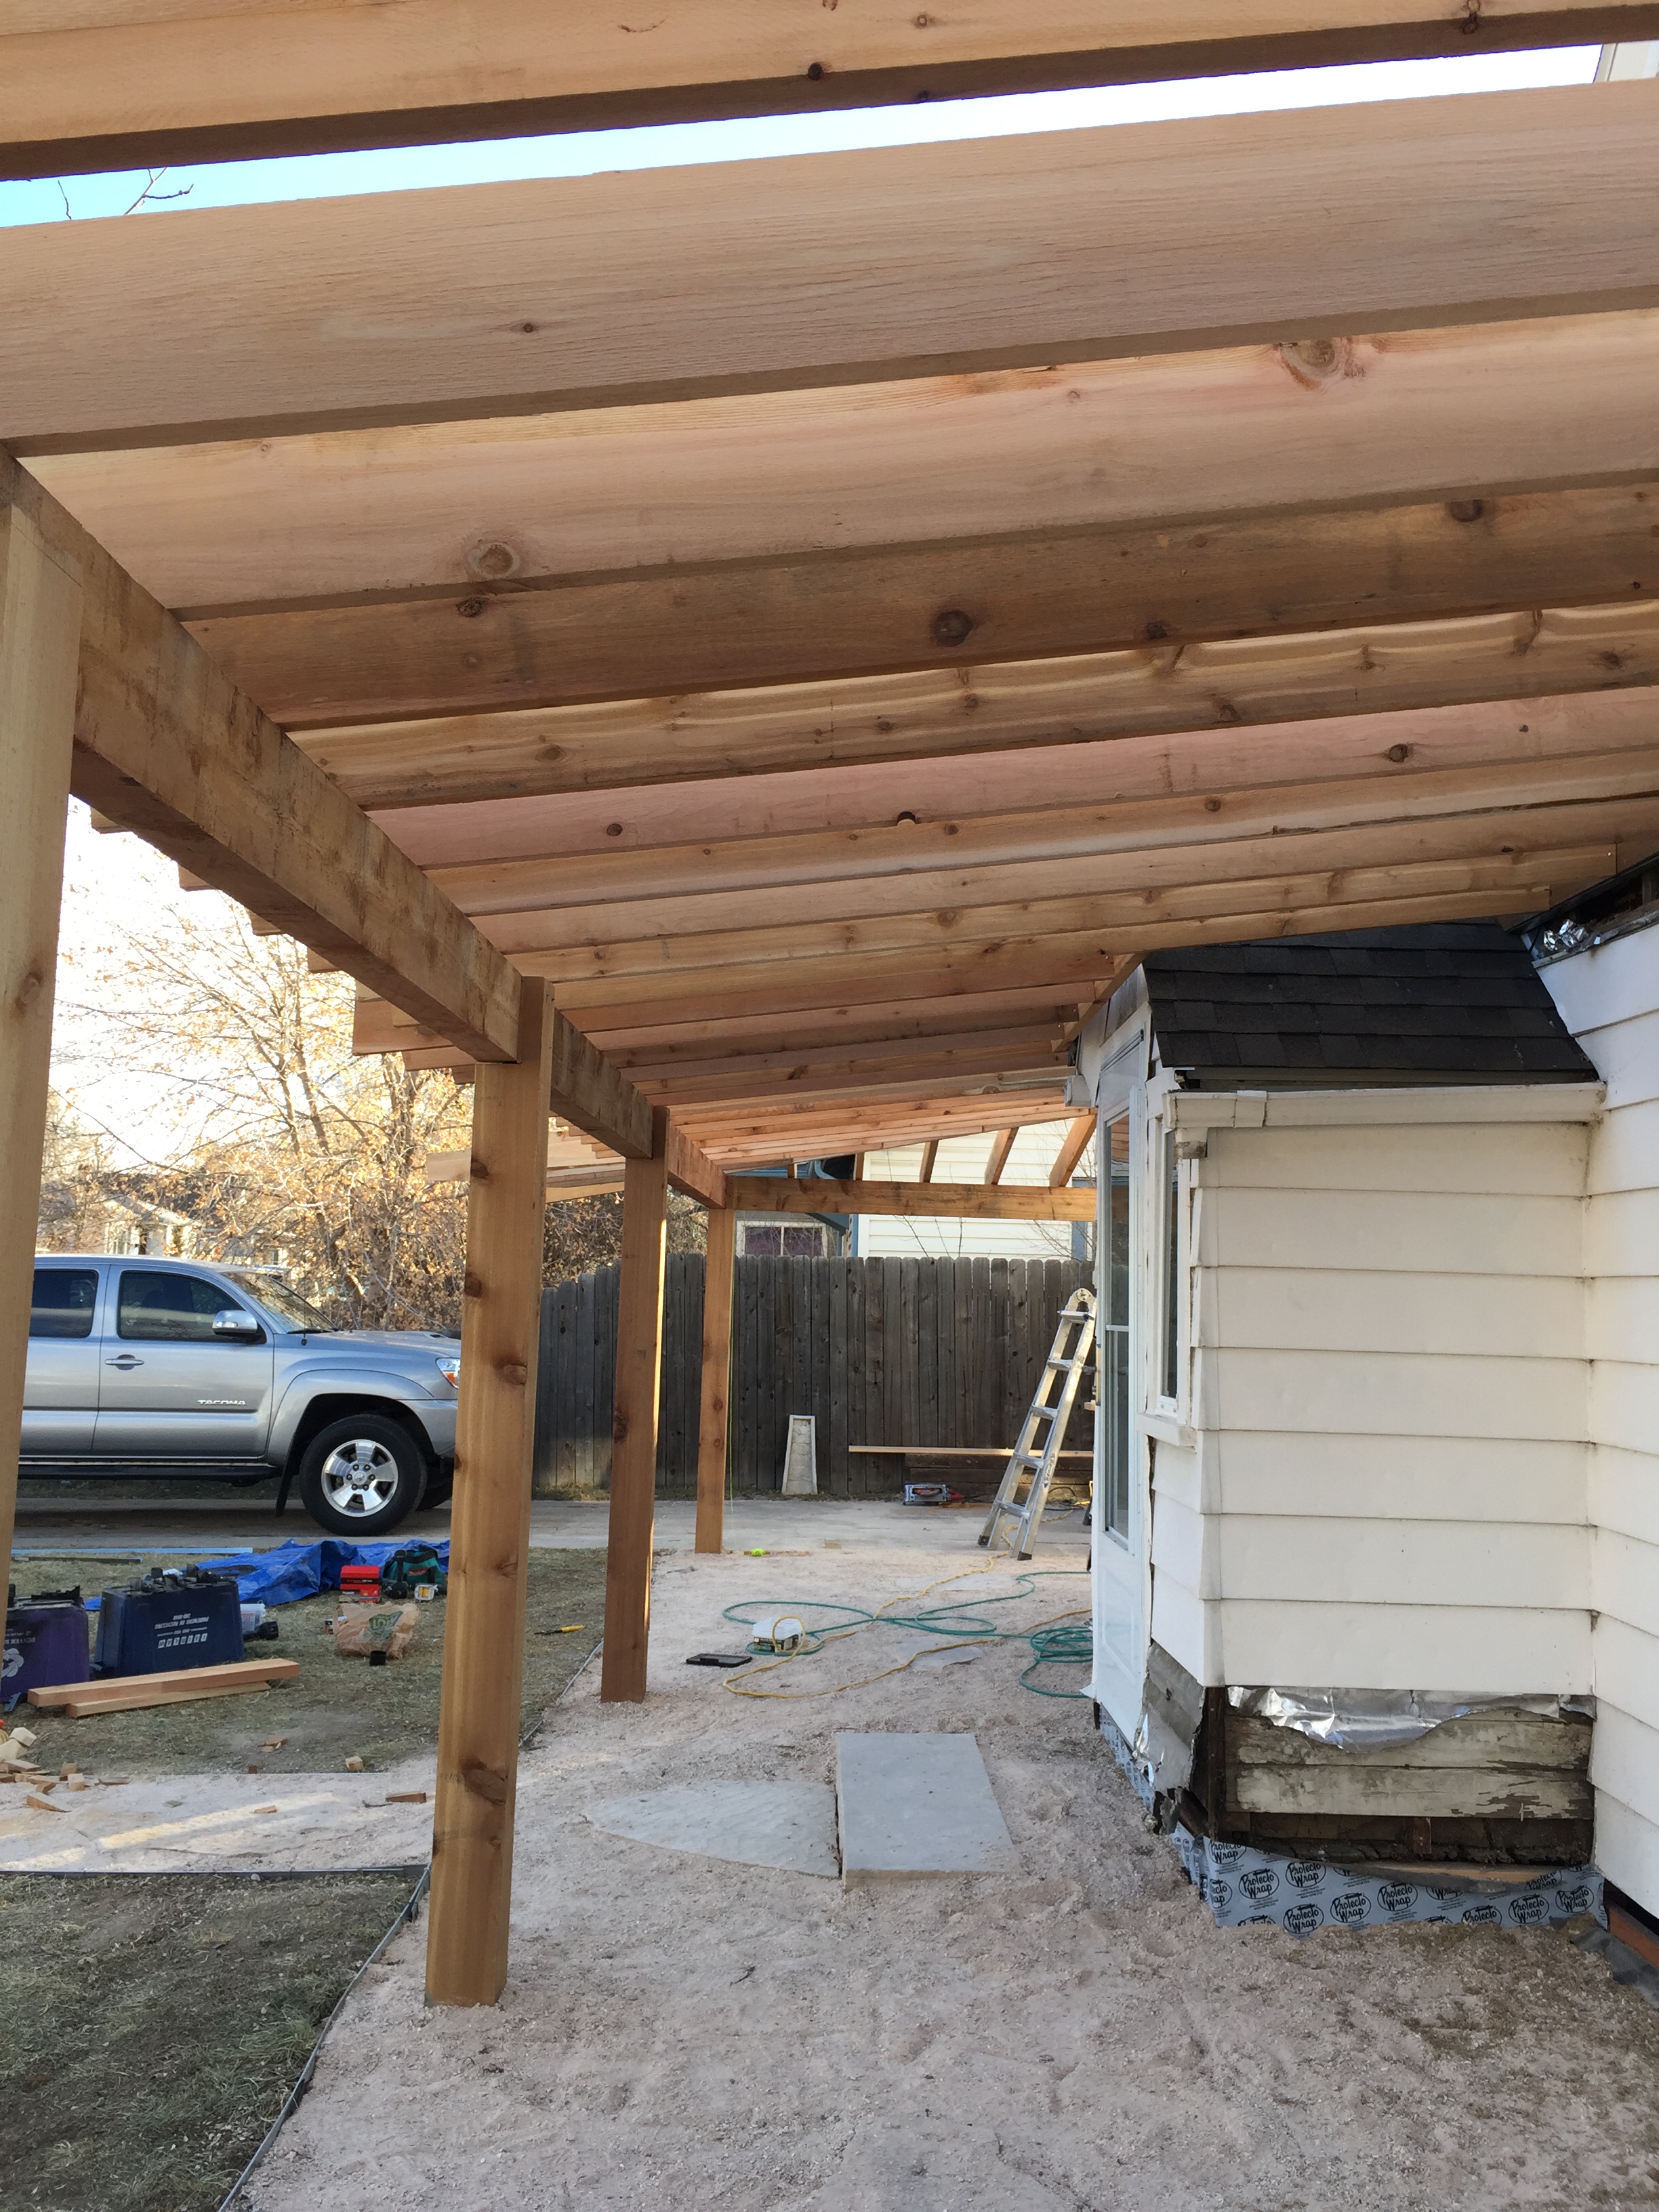
Once the headers where up, David began installing the rafters on the arbor.All the hardware and brackets had to be sprayed Black as they were galvanized originally.Finally, the space is fresh! It feels like a place to hang out. No more concrete pad, just breeze and cedar. Love it!The arbor and landscaping are done in the front! Can’t wait for new siding!
Hi! Life after my career has begun and I invite you to join me for adventures in retirement!
View All Posts
One thought on “Now, to make the exterior interesting!”
Oh my gosh ! What an amazing change. Love to see the detailed step by step process. Incredible improvement to the whole atmosphere. Bet the neighborhood is holding their breath to see what happens next.


Oh my gosh ! What an amazing change. Love to see the detailed step by step process. Incredible improvement to the whole atmosphere. Bet the neighborhood is holding their breath to see what happens next.
LikeLiked by 1 person